

Would you like to save this?
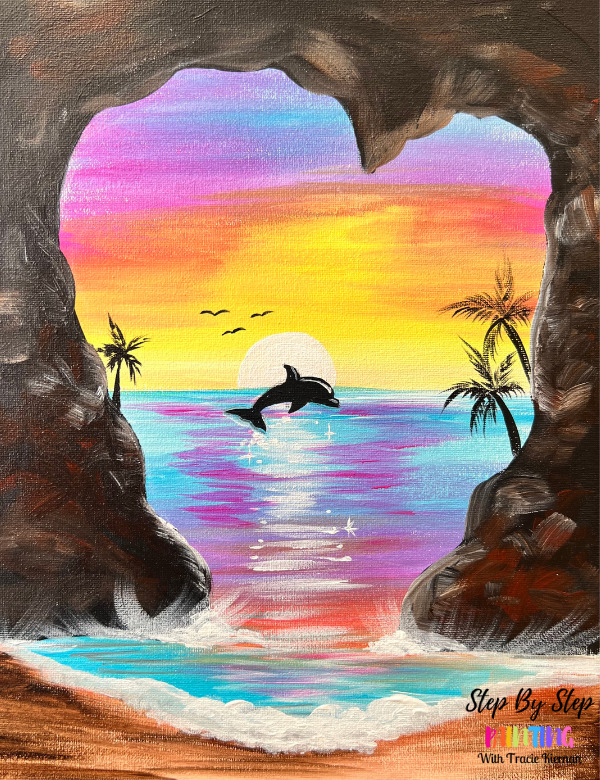
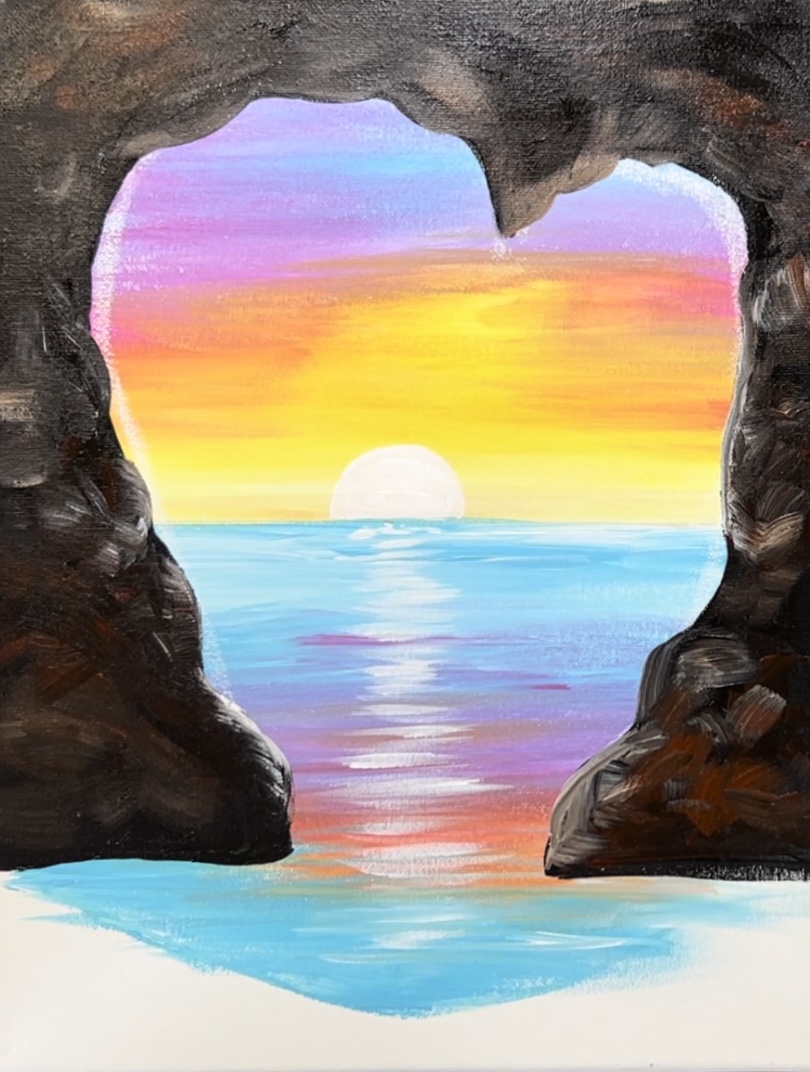
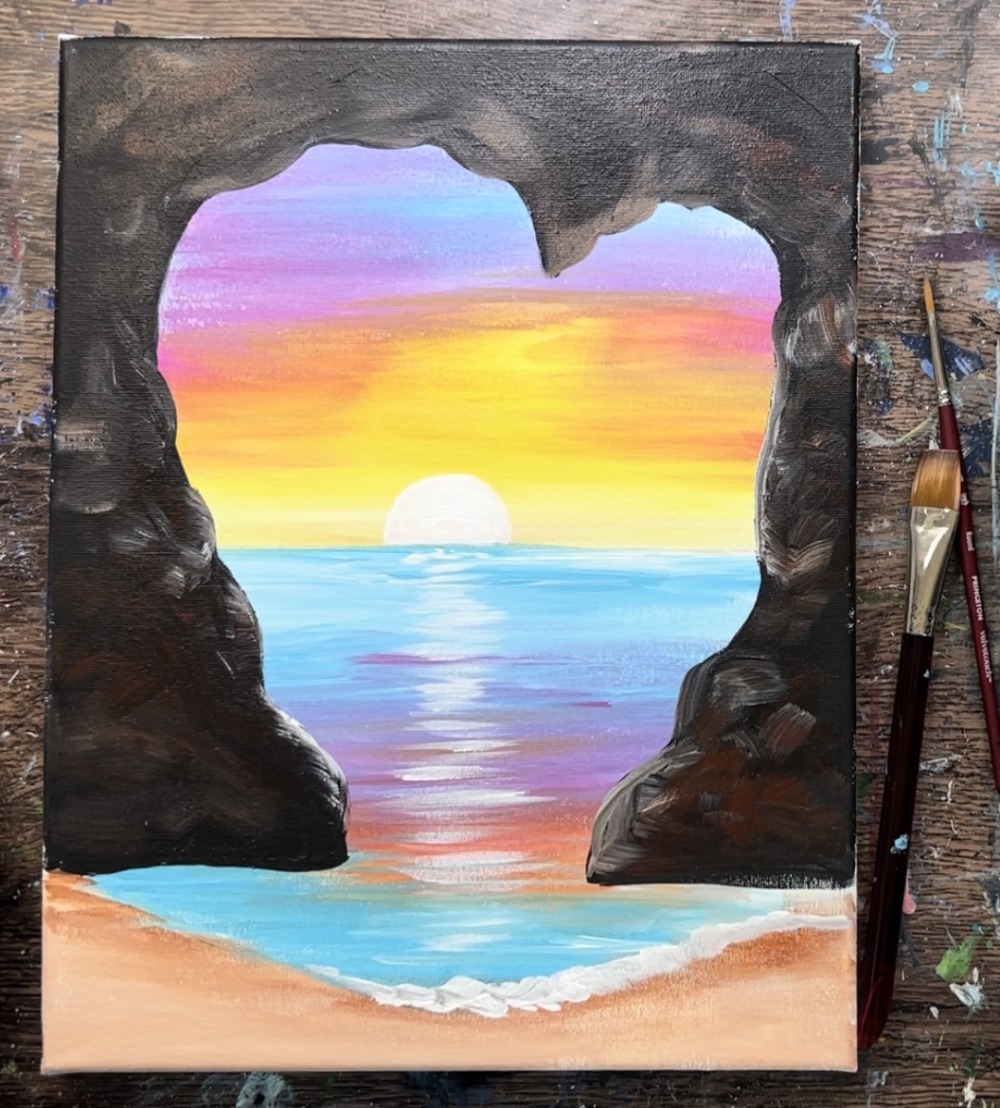
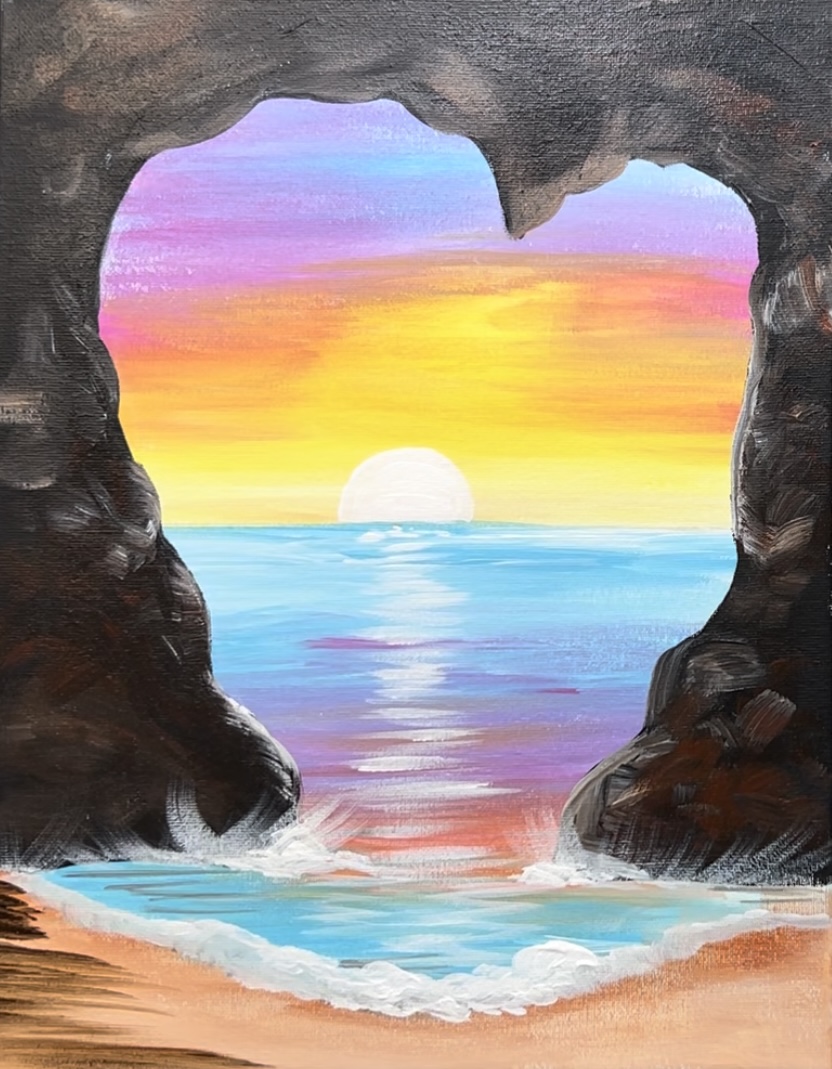
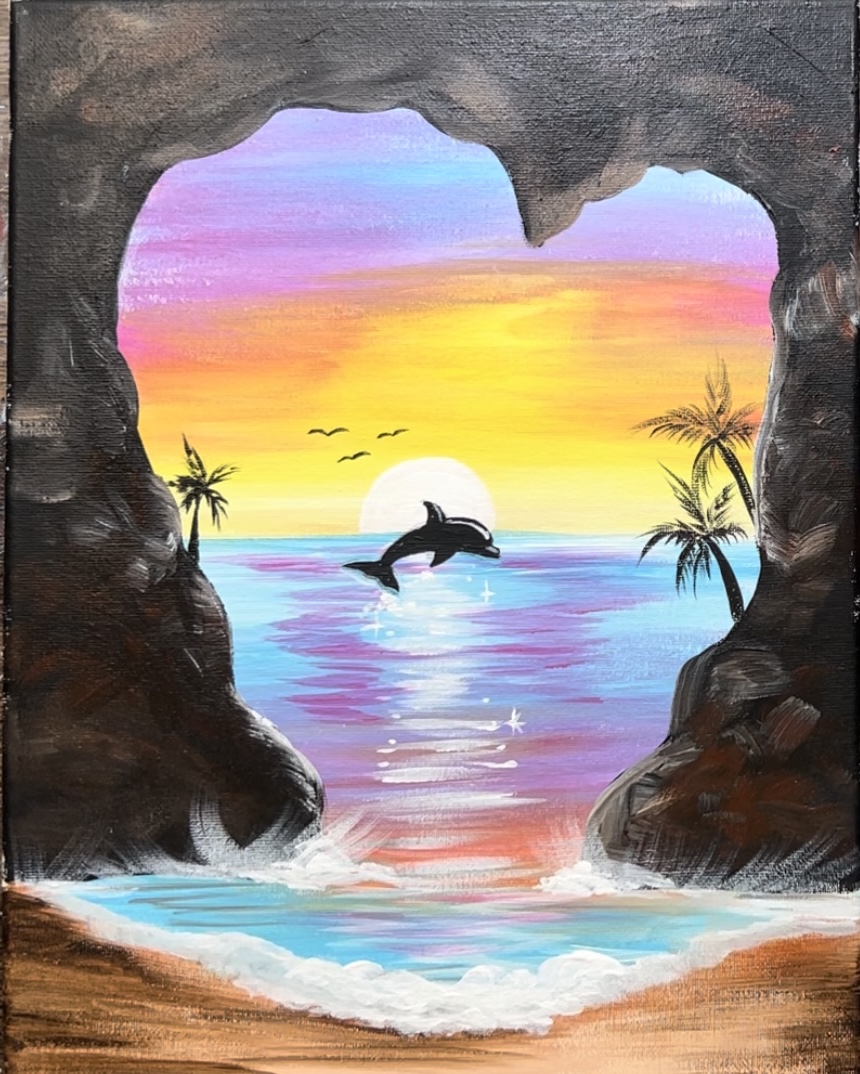
This acrylic painting tutorial will show you how to create a vibrant sunset ocean painting with dolphin silhouette and heart shaped cove.
Enjoy and happy painting!
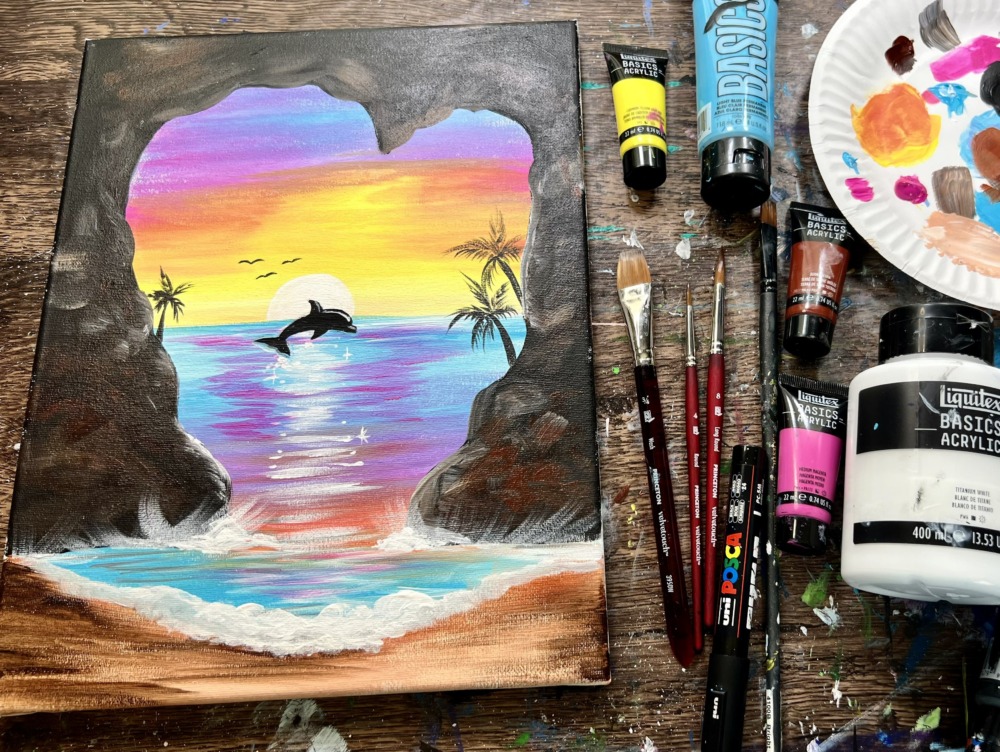
Materials Needed
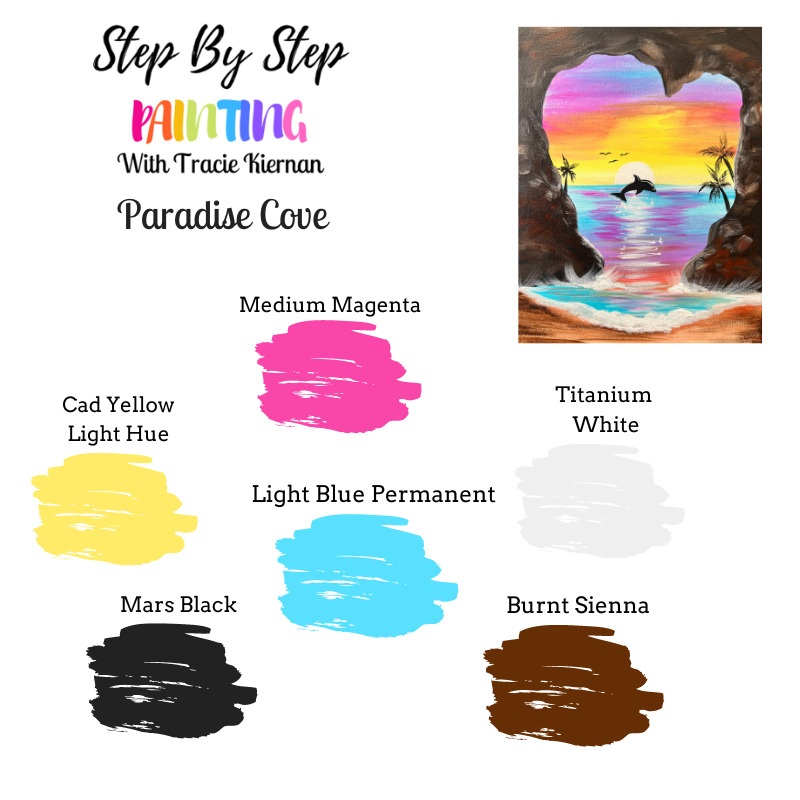
Colors
- Titanium White
- Mars Black
- Light Blue Permanent
- Medium Magenta
- Cadmium Yellow Light Hue
- Burnt Sienna
Brushes
Color Palette
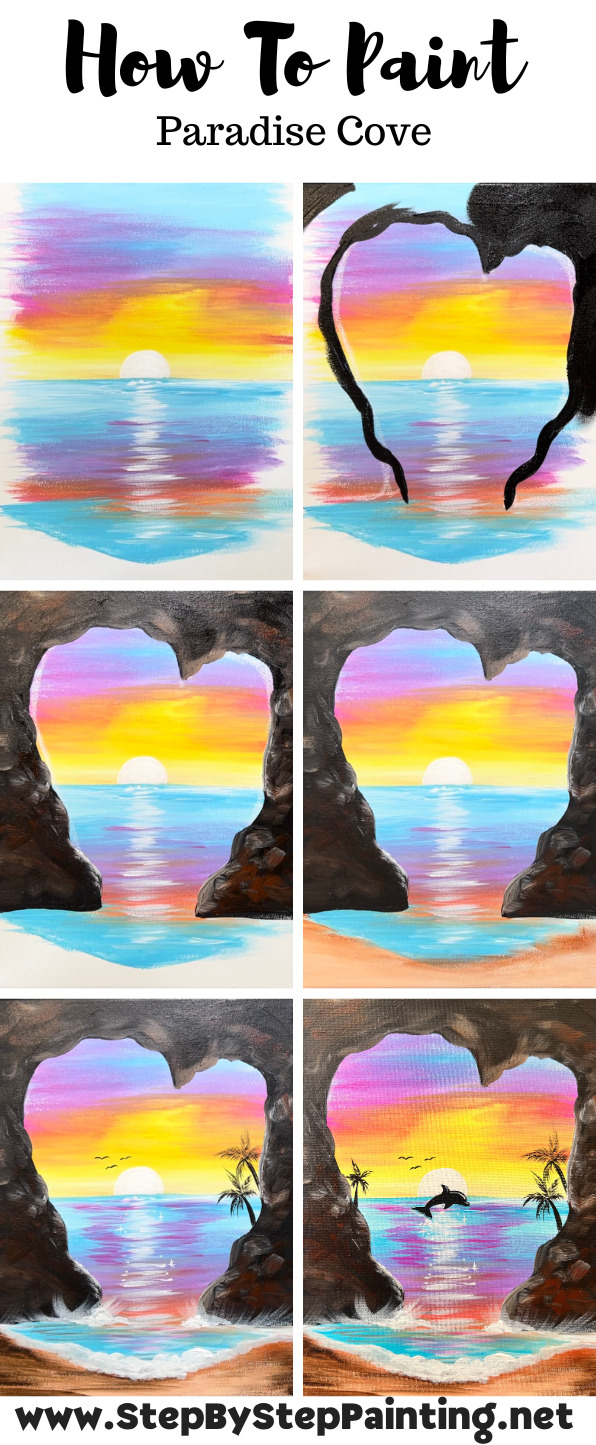
Directions At A Glance
Video
Step By Step Instructions
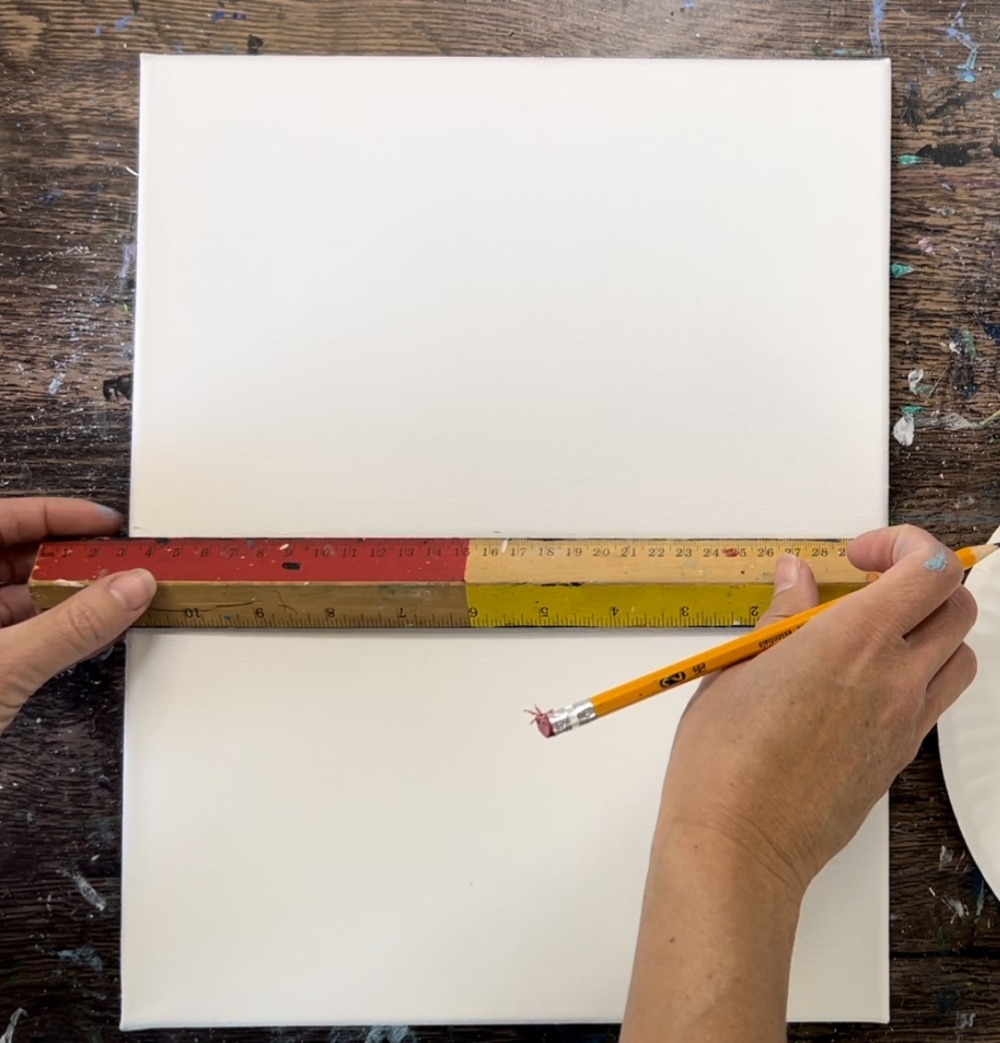
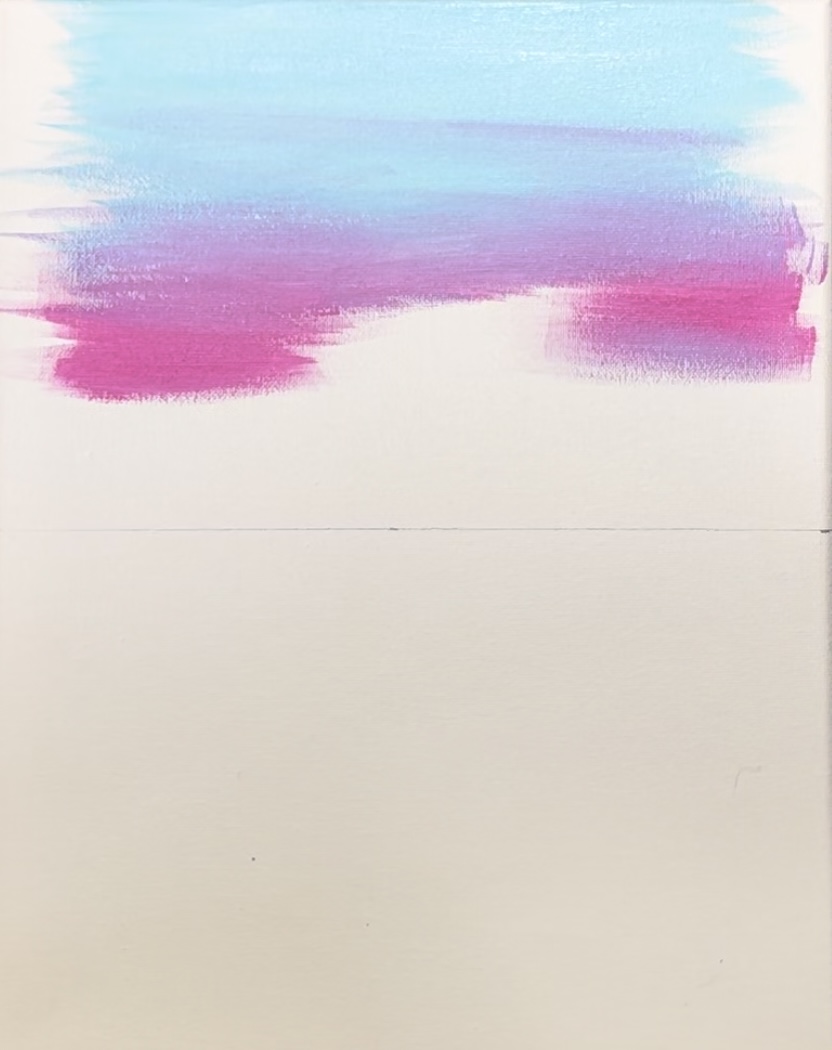
1. Draw Horizon Line
Position your canvas so that it is in a vertical position. Then locate the center of the canvas. In this case, the canvas is 14″ high so I marked 7″ (the center). Then draw a horizontal line with a pencil across the entire canvas.
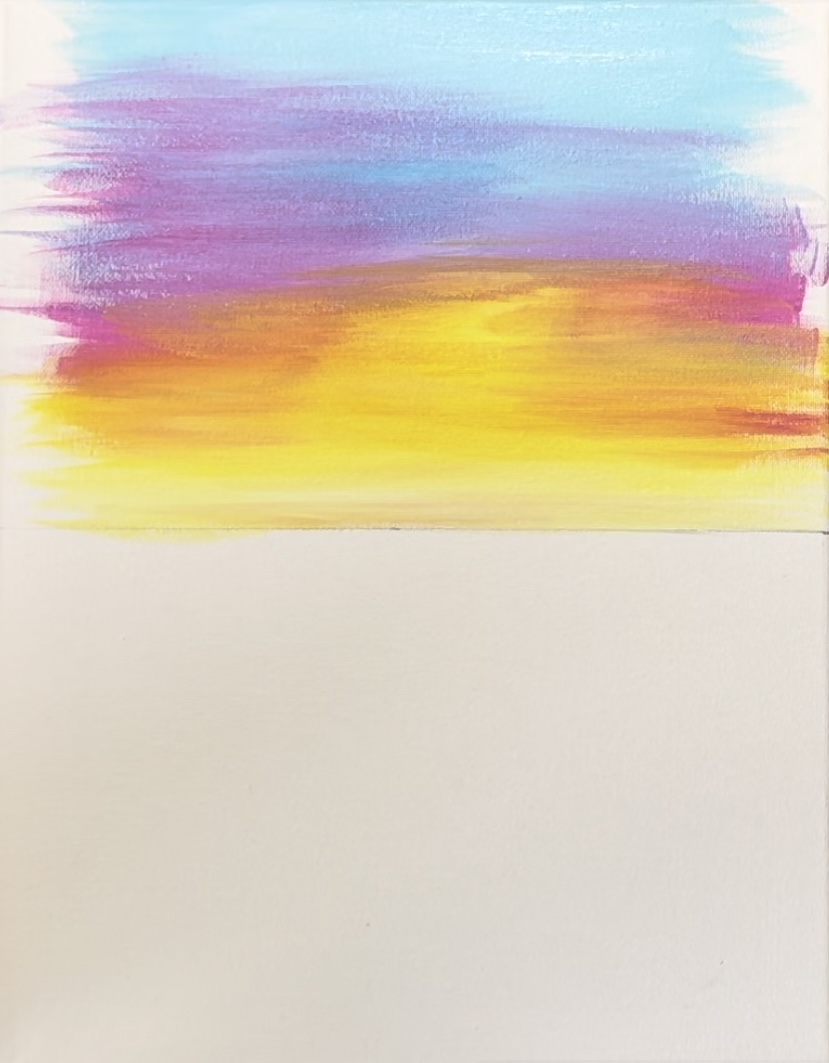
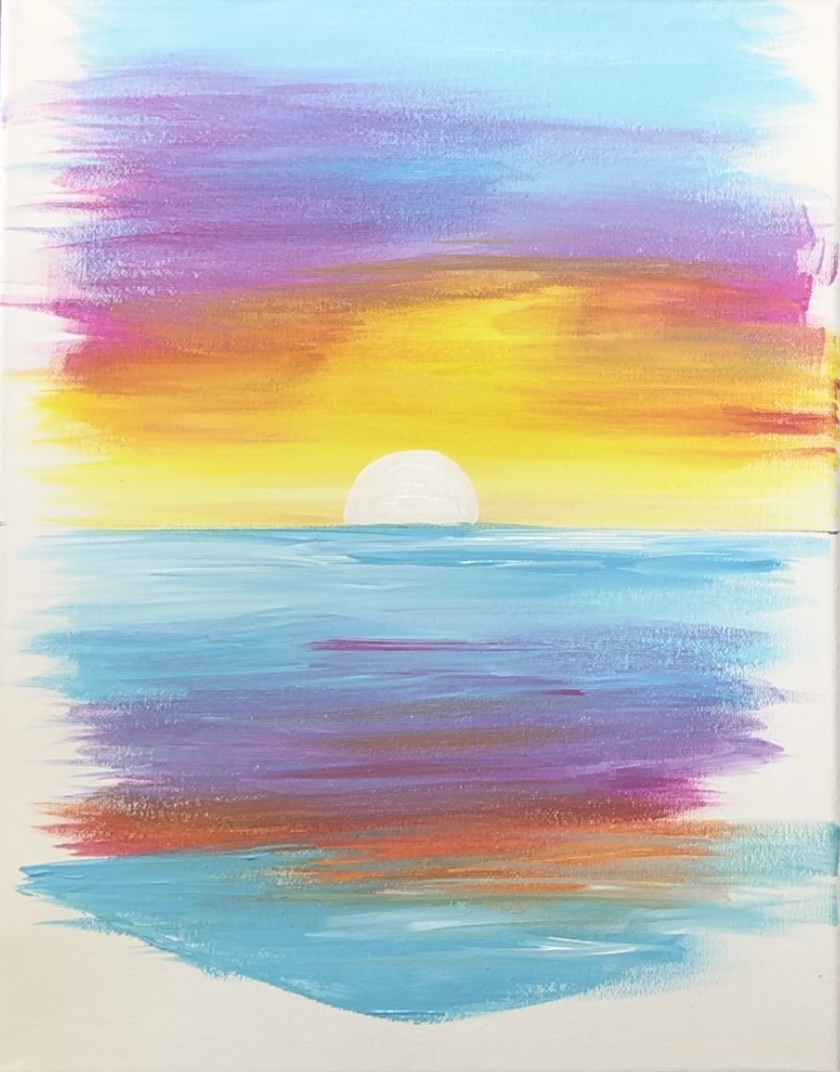
2. Paint Sky
Next, load your palette with light blue permanent, titanium white, cadmium yellow light hue and medium magenta.
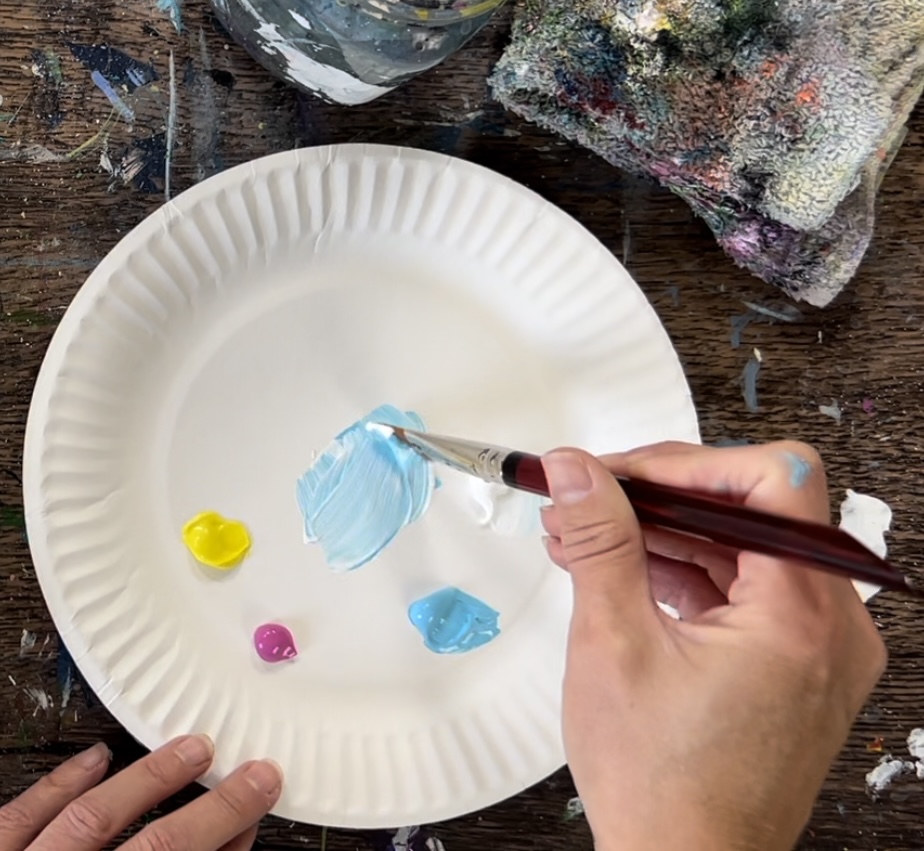
On your palette, mix equal parts light blue permanent and titanium white. Paint with the 3/4″ flat wash brush left and right strokes and fill about half of the sky area. Leave about an inch of blank canvas on the left and right because much of this area will be part of the cove that will be painted over the sky.
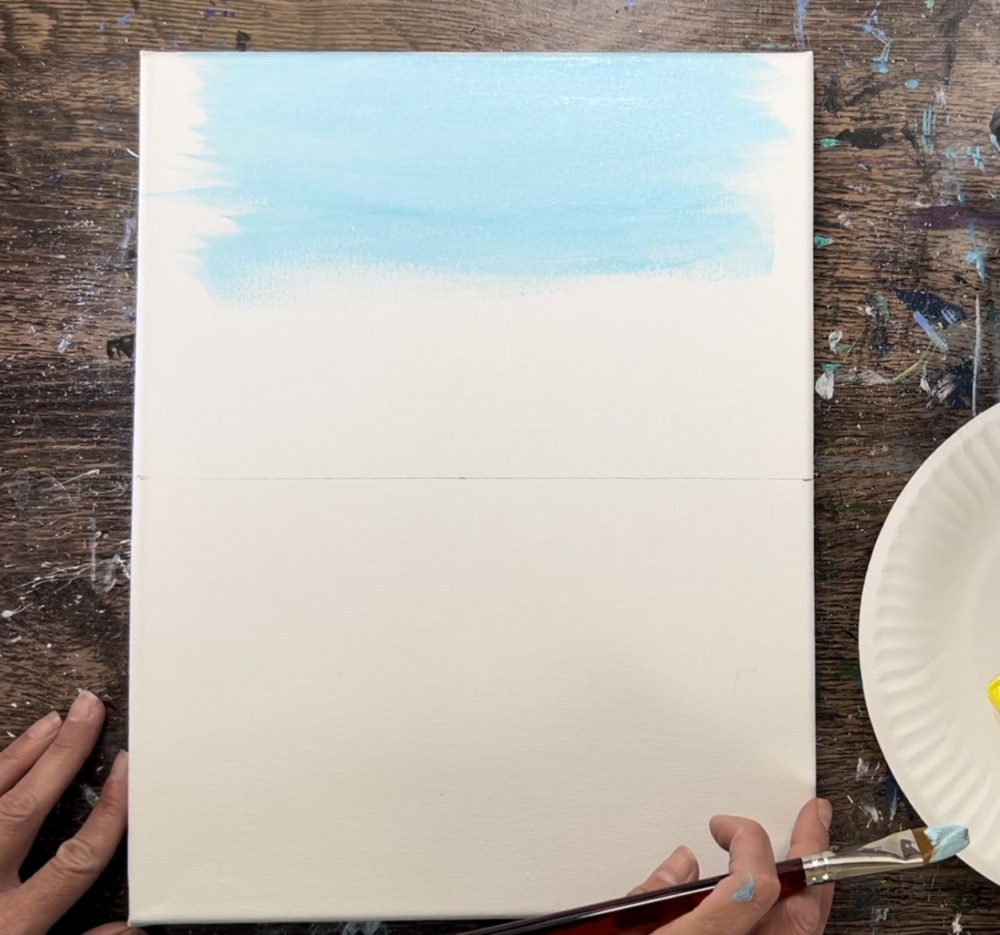
Next, load your brush in a small amount of medium magenta without rinsing the blue and white off of your brush. Paint left and right strokes and gently blend the pink with the blue. Some parts may turn purple but you don’t need to blend this all the way. You can also paint a few streaks of pink up in the blue area.
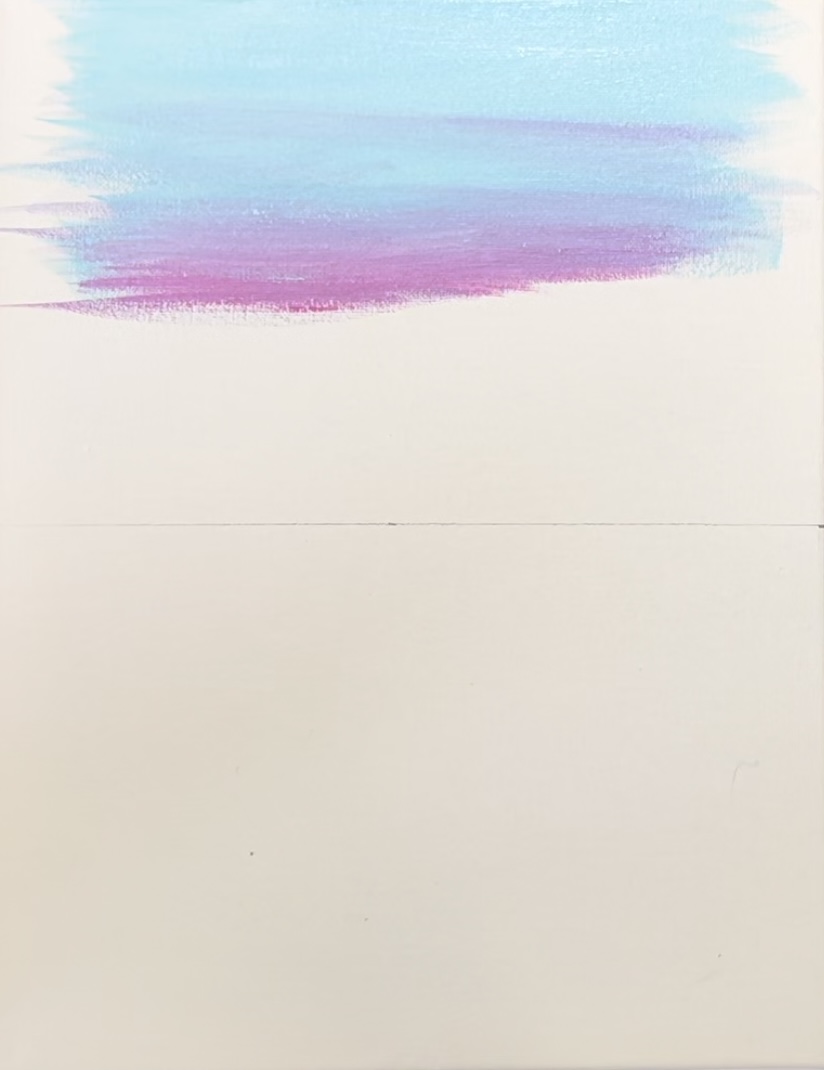
Bring the pink down further in the sky so there are areas of bright, pure pink. I left a gap in the center for adding yellow.
Next, completely rinse the brush off so there is no more pink or blue on it. Then load it into just the cadmium yellow light hue. Paint left and right strokes in the center and let it blend with the pink. Some areas will turn orange.
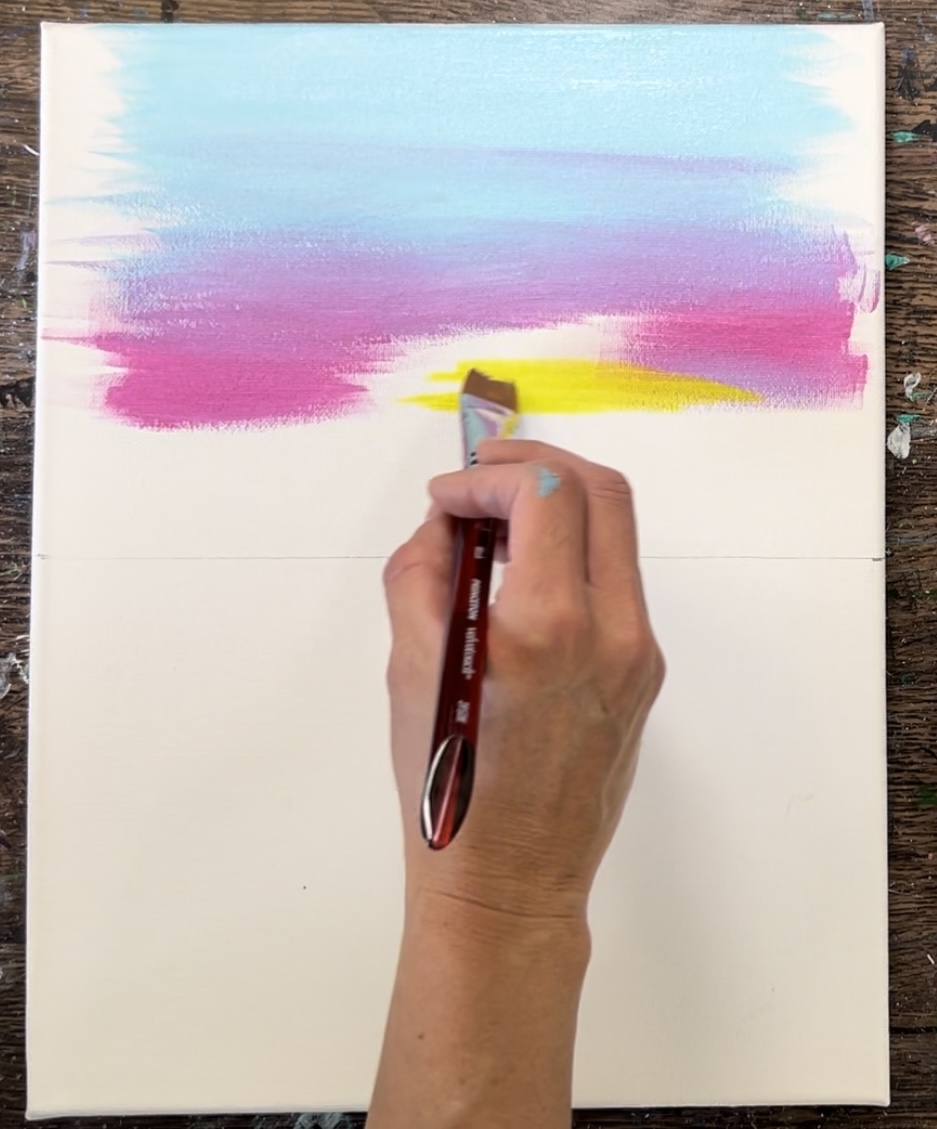
Bring the yellow down further close to the horizon line. Continue to paint left and right strokes
Add a little titanium white to your brush and paint yellow and white mixed together just above the horizon line so that it is very bright in that area of the sky.
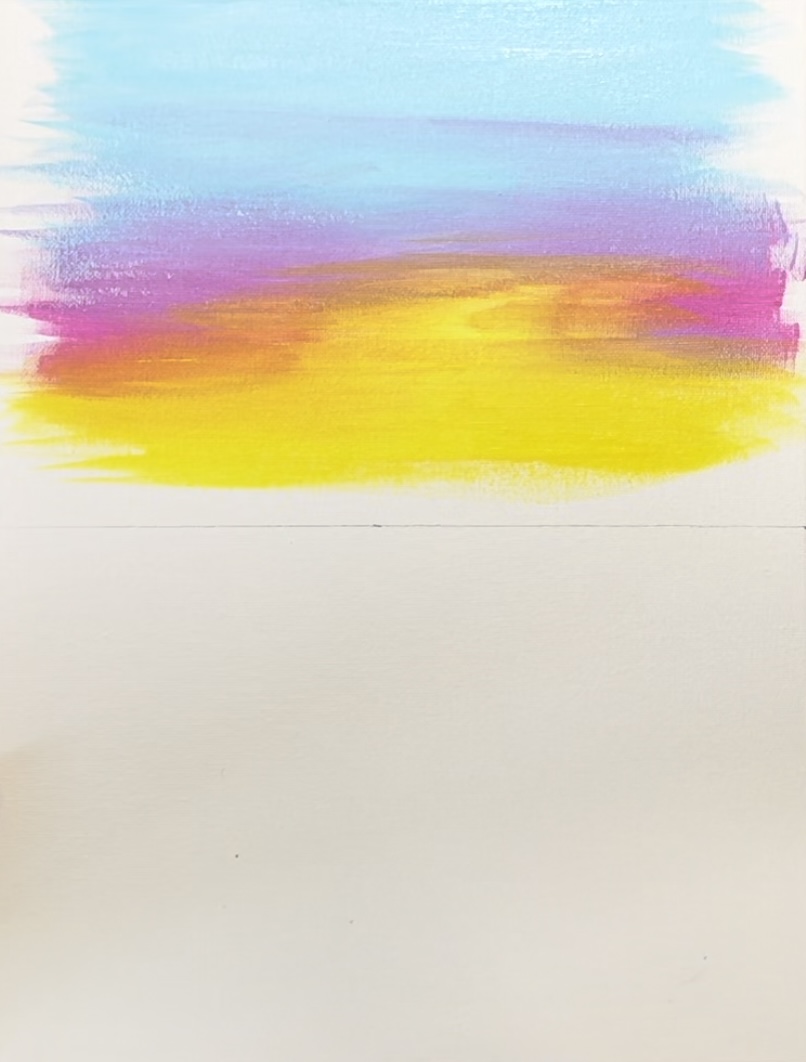
Then go back and add more color as needed. Just be careful not to over blend the color. It is okay to have streaks in the sky. I decided to add a little more pink up into the blue area.
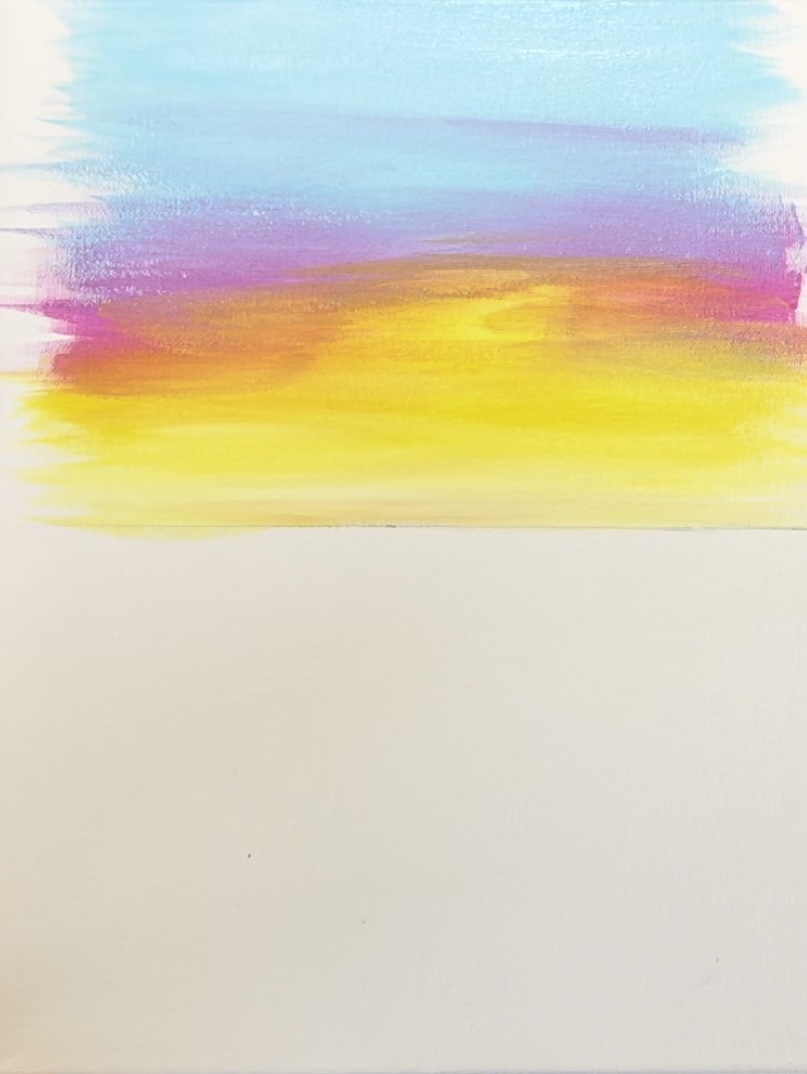
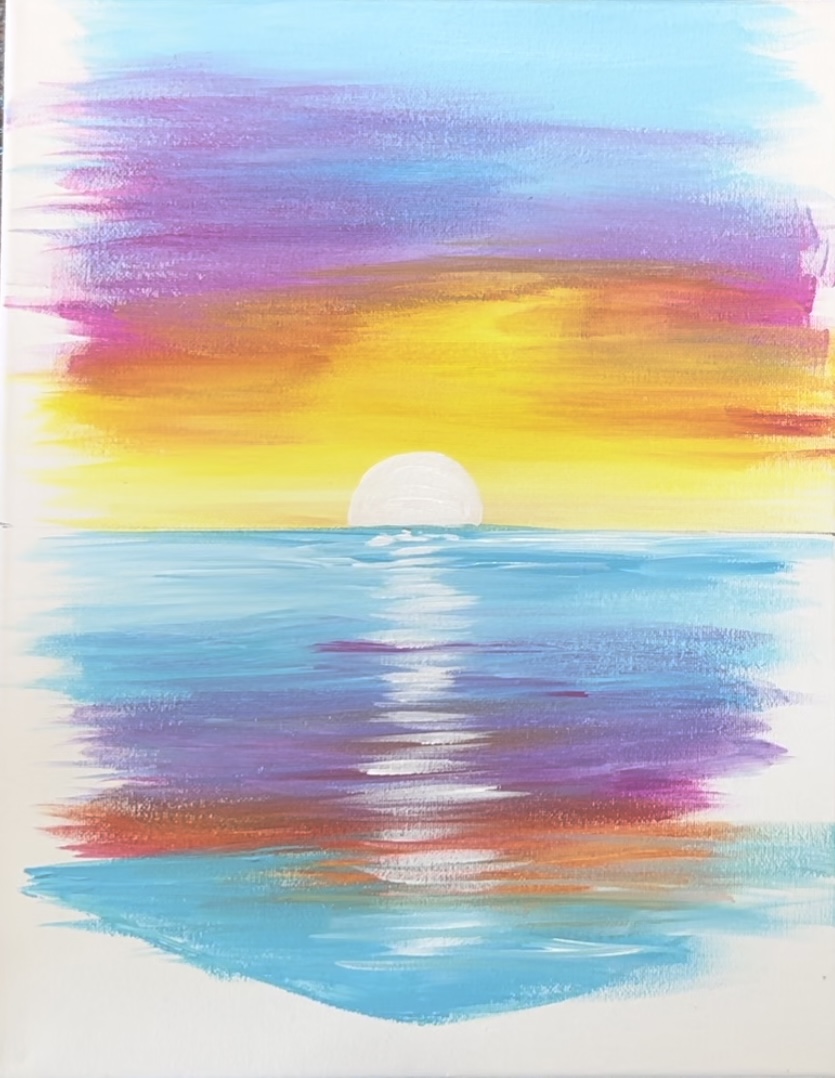
3. Paint Water
Completely rinse and dry the 3/4 flat brush. Load it into the light blue permanent. Paint left and right strokes and go about halfway down the ocean area. Add a small amount of titanium white into the color and gently blend the white but not all the way.

Then load your brush in medium magenta (without rinsing the brush).
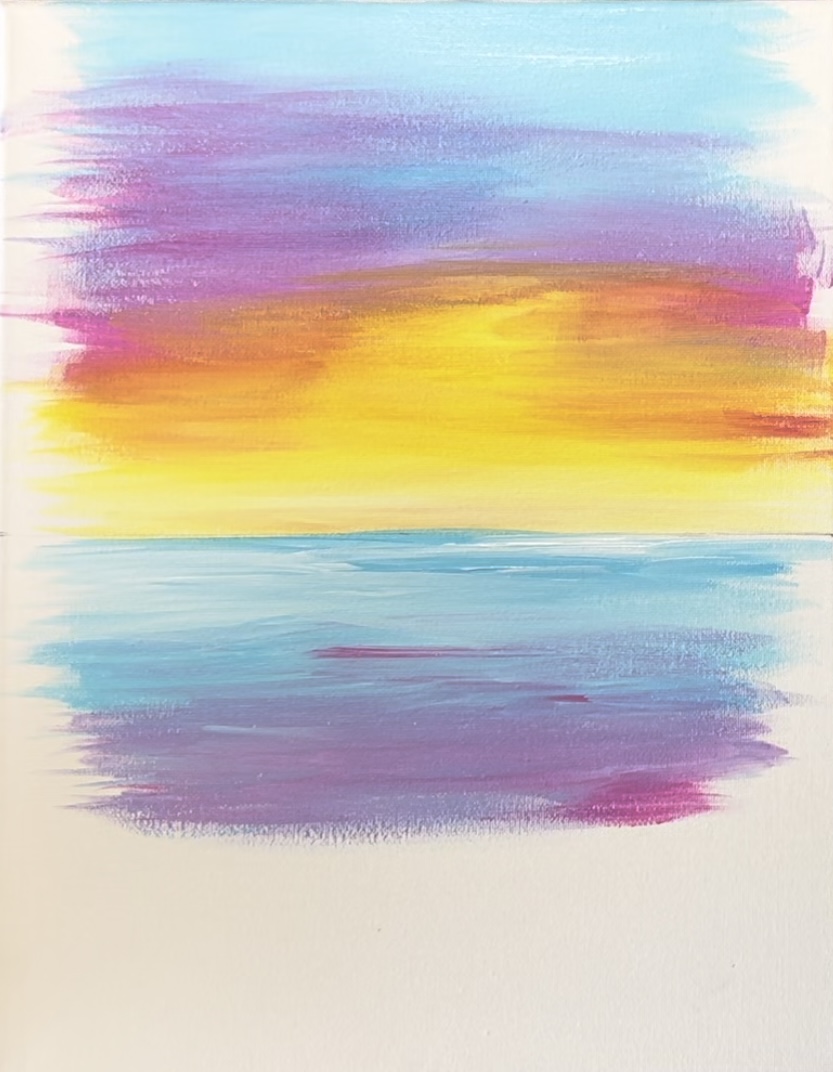
Then mix an orange on your palette. Mix about equal amounts cadmium yellow light hue with medium magenta so that it becomes an orange color. You can add more yellow if it is too dark. Paint this orange below the pink area and gently blend. Be careful not to blend too much of the orange into the blue area or it will turn brown.
Then completely rinse and dry the brush. Then load it into your light blue again and bring the edge of the water down in an inverted shape/ direction. You can use the tip of your brush to define this area. Leave the rest of the sides and bottom of the canvas blank.
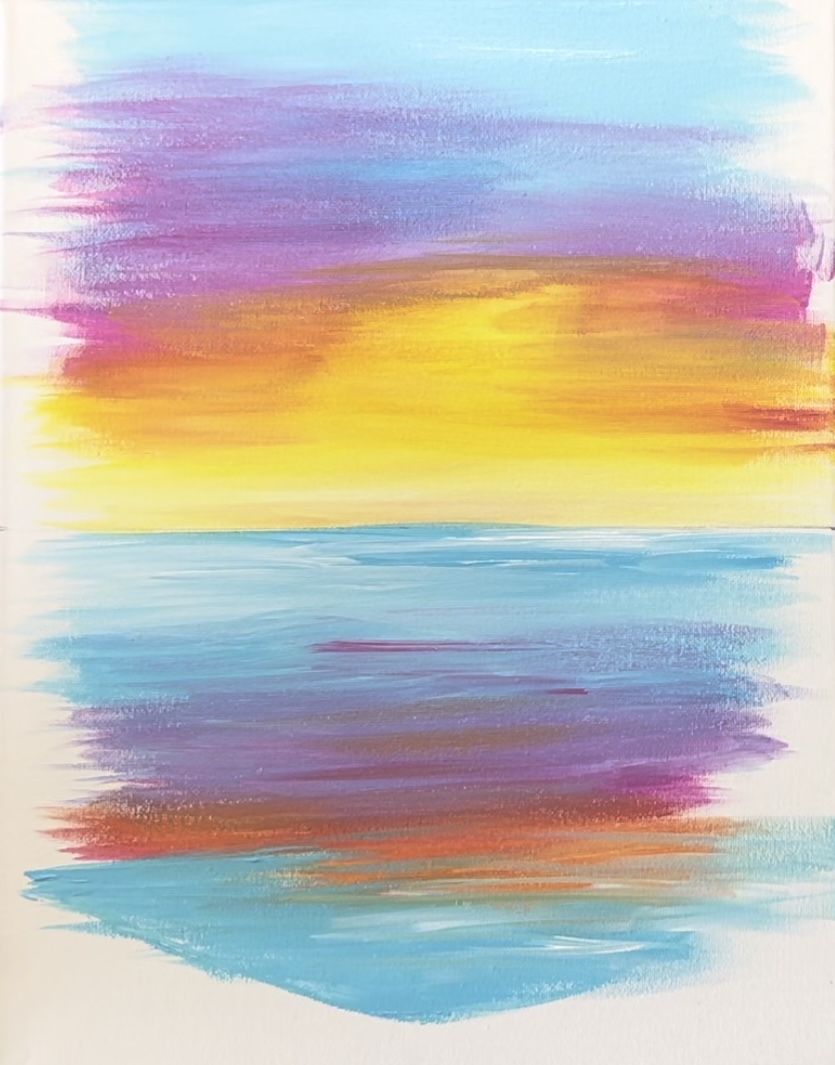
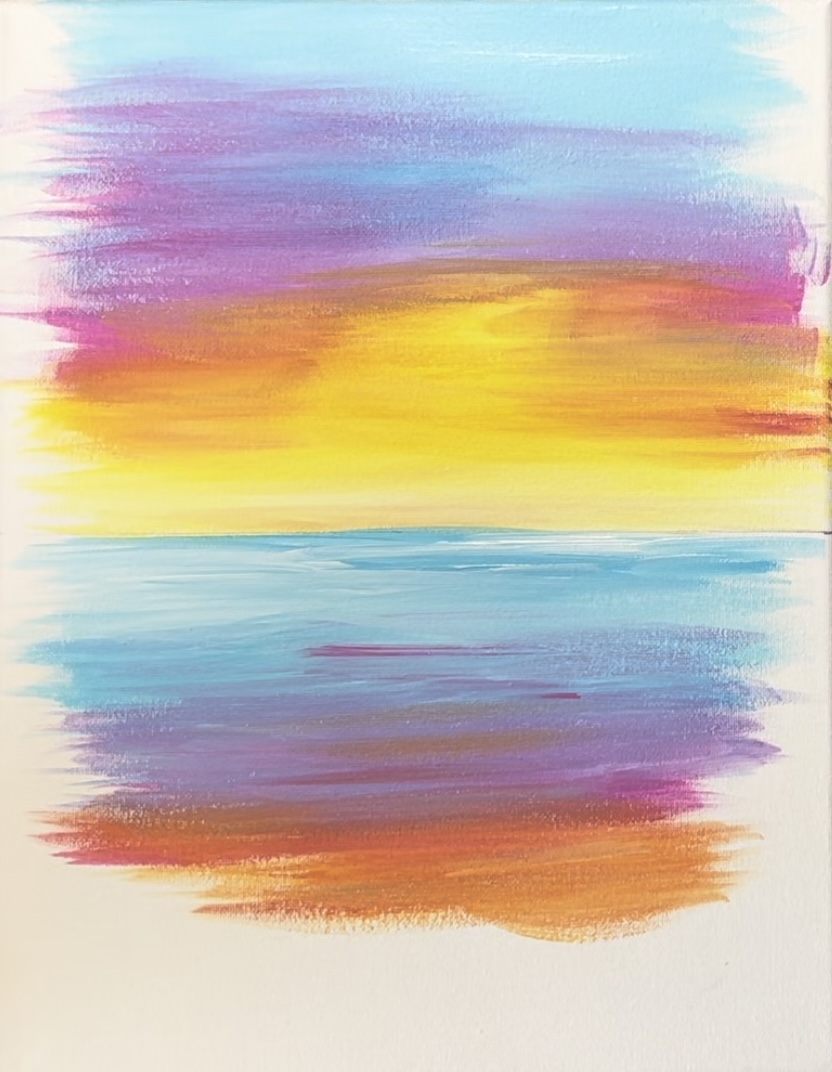
4. Paint Sun
Use the #4 round brush and titanium white to paint a semi-circle that is going down over the horizon line.
Then use the #4 round brush and titanium white to paint left and right horizontal strokes that go in a vertical direction below the sun. Allow the horizontal strokes to get slightly wider and slightly thicker towards the bottom and slightly thinner closest to the sun.
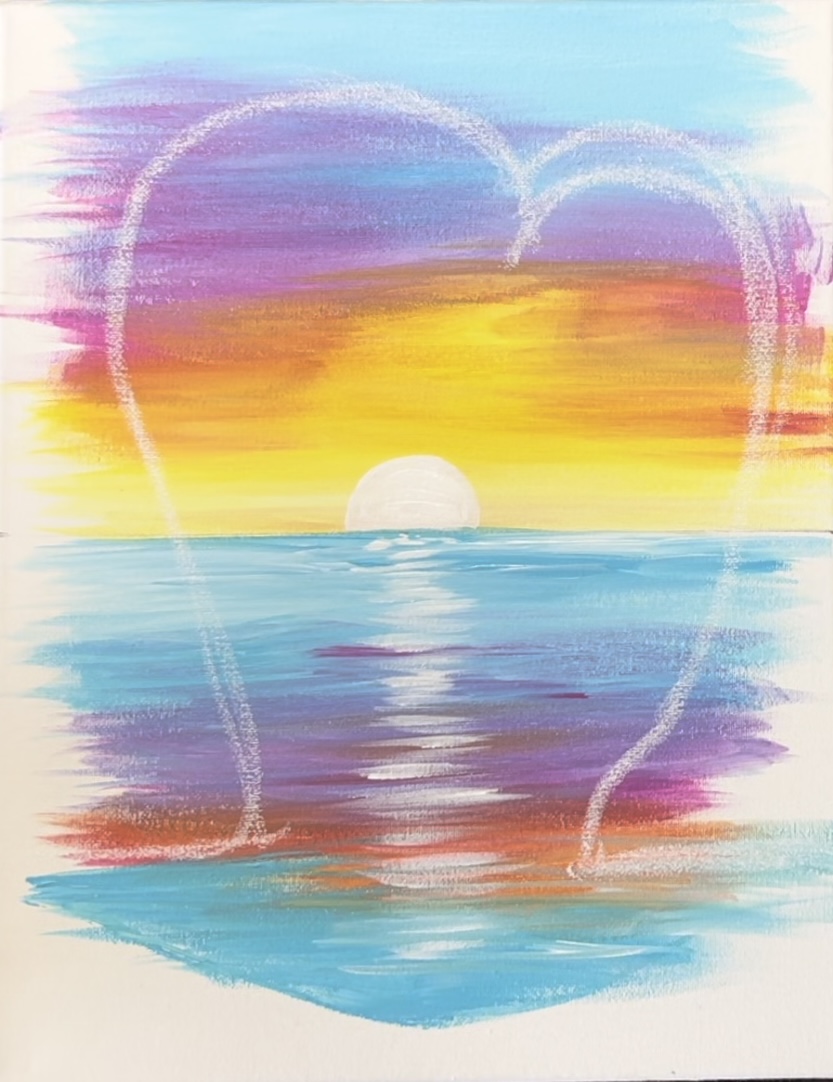
5. Paint Heart Cove
Use a piece of chalk to draw the cove. Make a heart shape that is slightly lop-sided. The left side of the heart is slightly higher and the right side is slightly lower.
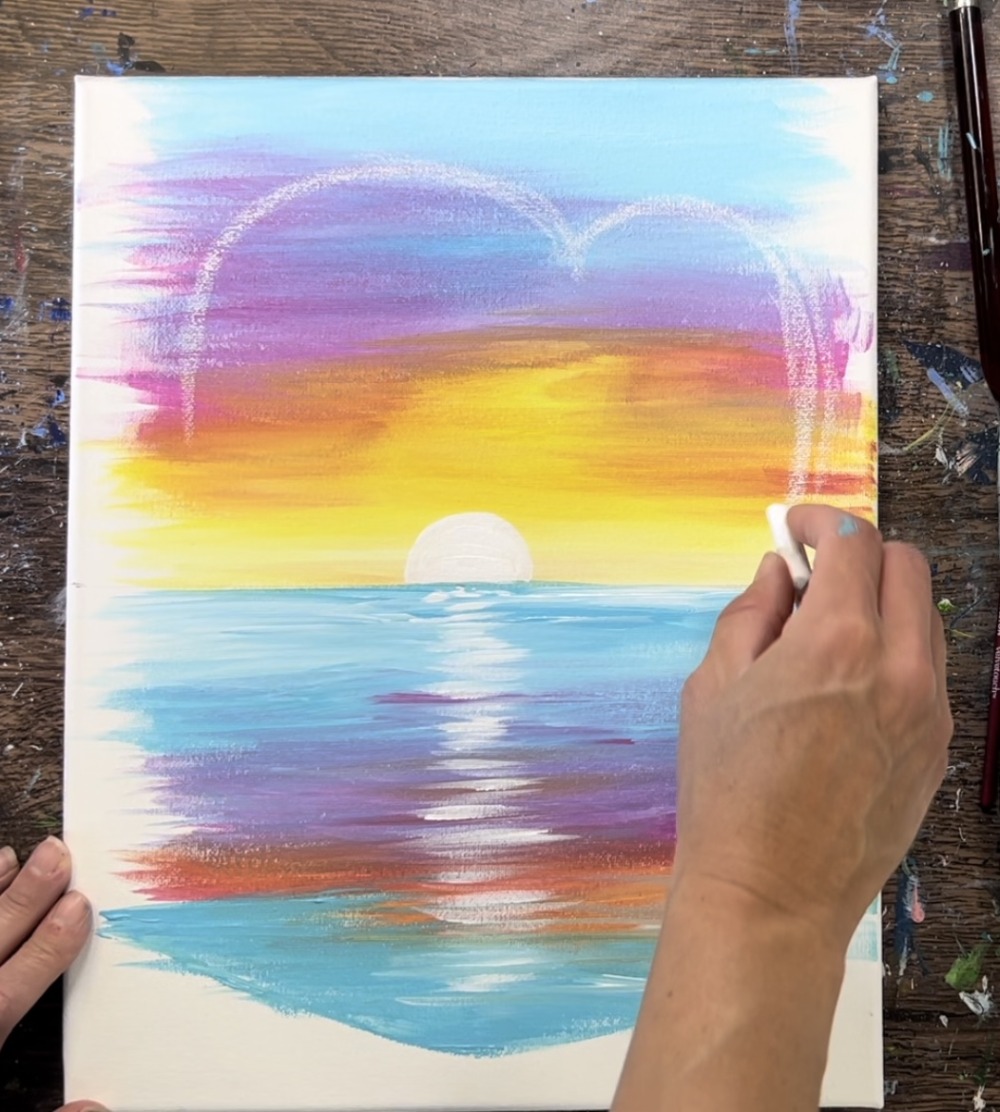
Draw the entire cove. The bottom edges of this cover are about 3″ from the bottom of the canvas and are flat/ horizontal.
Then load your palette with mars black. Use the #12 bright brush to outline the heart shape. Make the edges of this heart line to have some grooves/ waves to make it look more like natural rock formation.
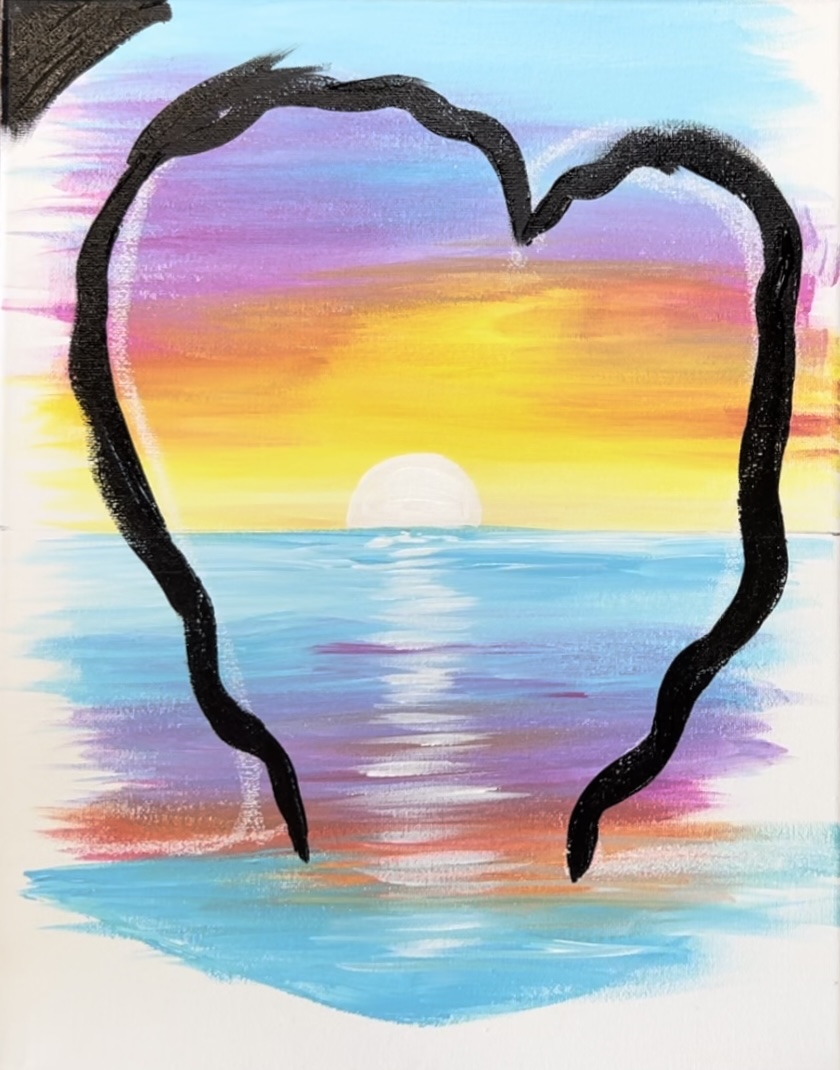
Then fill the rest of the cove area with the black all the way to the edges of the canvas.

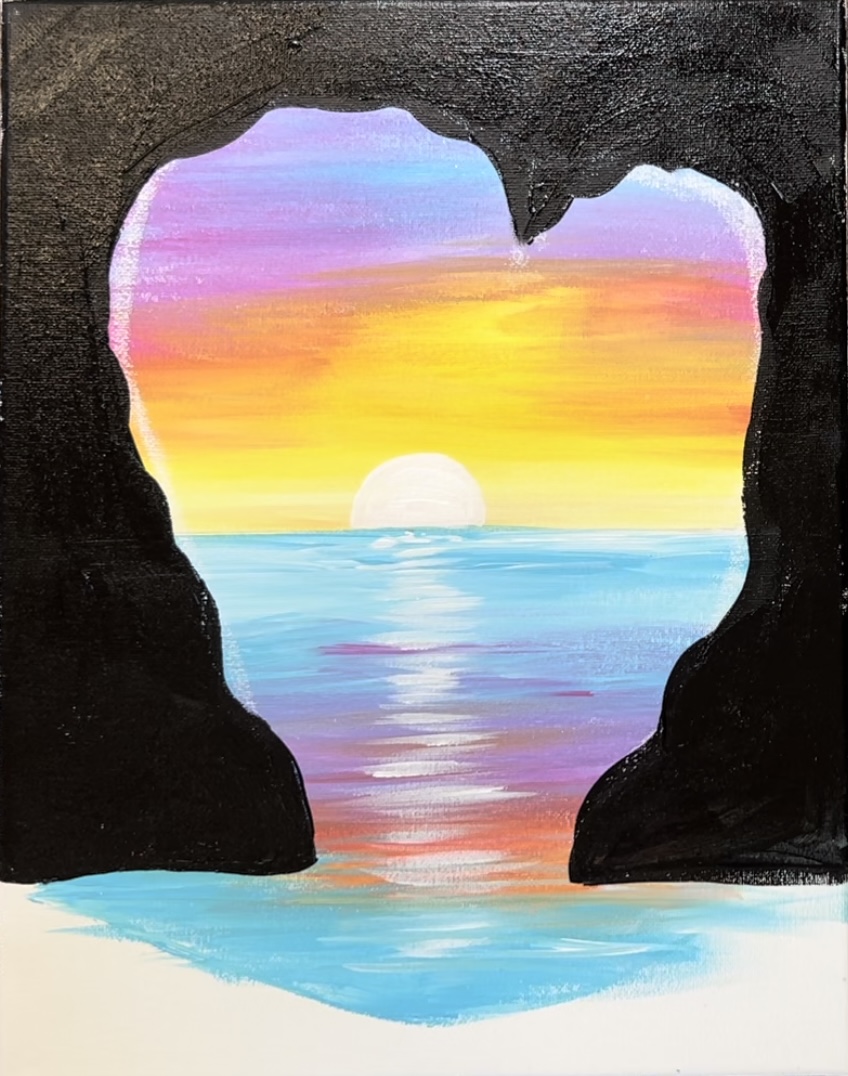
Next, load burnt Sienna onto your palette. Use the 12 bright brush to paint textured strokes onto the cove so that the brown gently blends with the black. The brown will be subtle at first. Don’t cover all areas of the black, just some areas. Leave the far edges of the cliff closest to the edge of the canvas darkest.
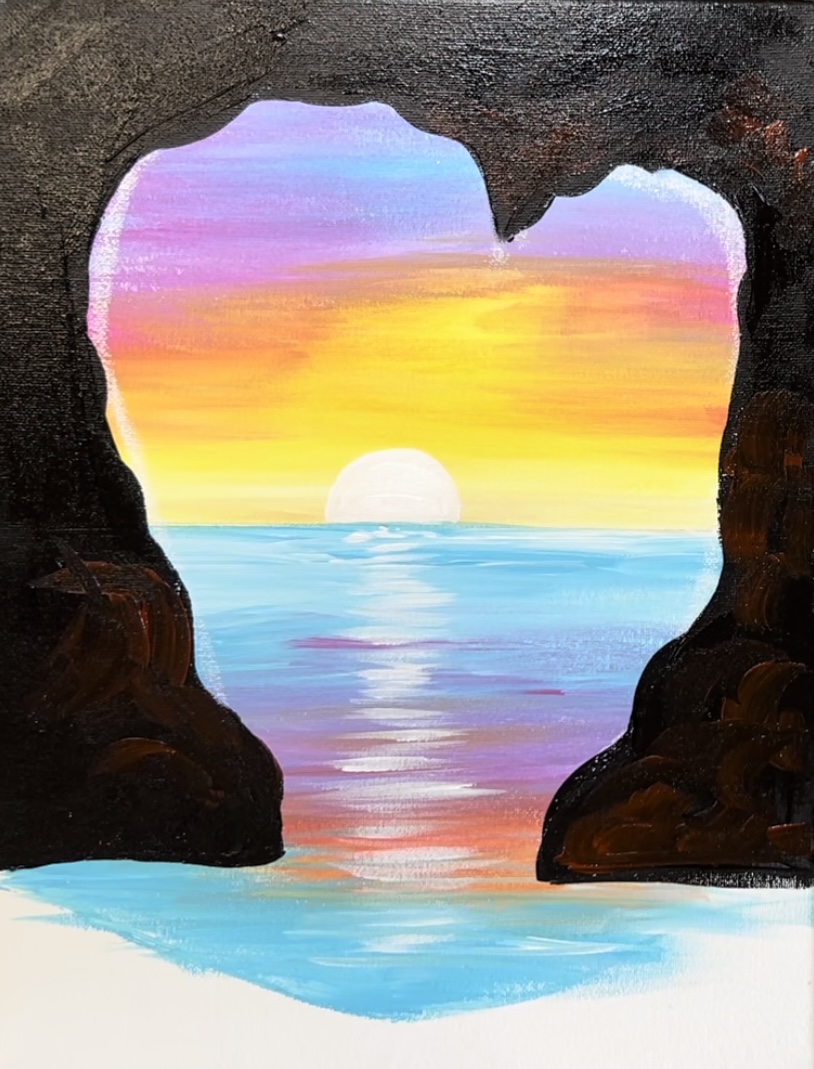
Then load a small amount of titanium white onto your brush and mix brown and black into it so that it becomes a light brown. Use the 12 bright brush to paint just the edges of the cliff (closest to the sky) with this lighter color and blend it back out. You’ll want the edge to be light but the parts furthest from the edge (the ends of the canvas) to be dark. Blend this gently on the canvas. Go back and add more black if needed to darken areas of the cove.
6. Paint Sand
On your palette, mix about equal parts titanium white and burnt Sienna together. This will make a sand color. Use the 3/4″ flat wash brush to paint everything below the light blue with this sand color. Paint left and right horizontal strokes.
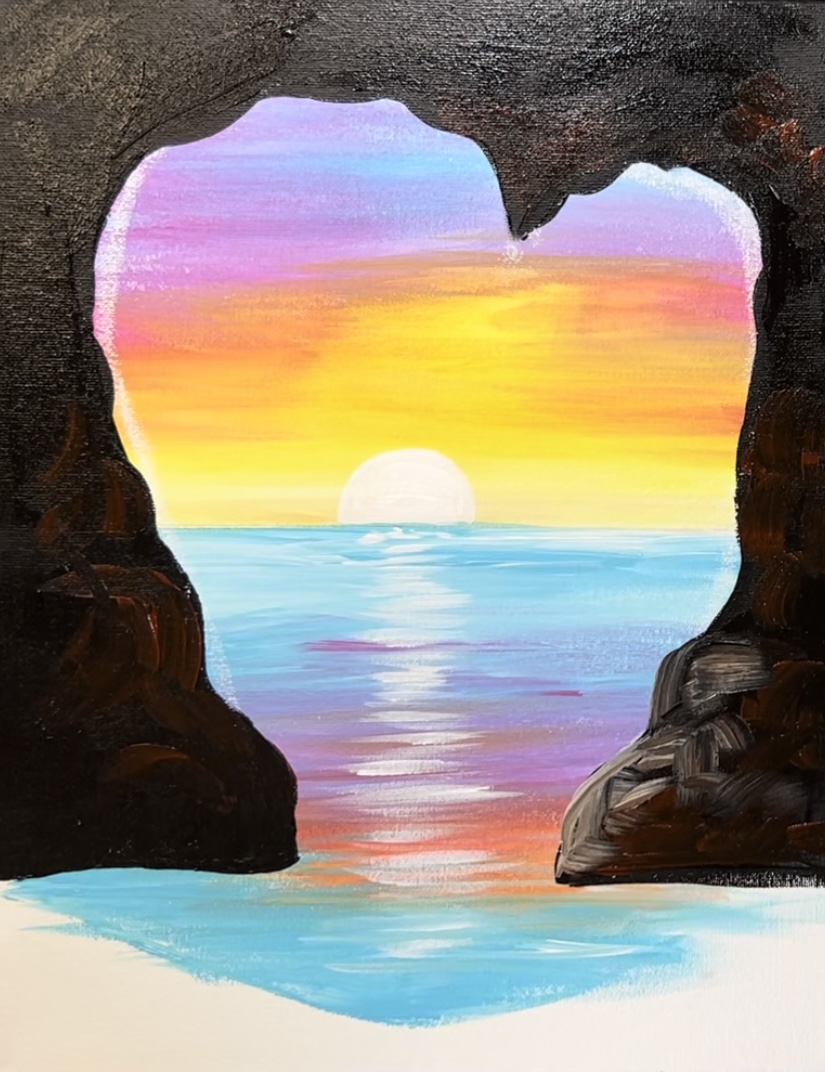
Then wipe the brush off. Load it into just burnt Sienna. This brown will be darker. Paint this darker brown just along the edges of the water area. Do this with left and right strokes. Adding this dark brown close the the water edge will allow for shadows when we paint the sea-foam in the next step.
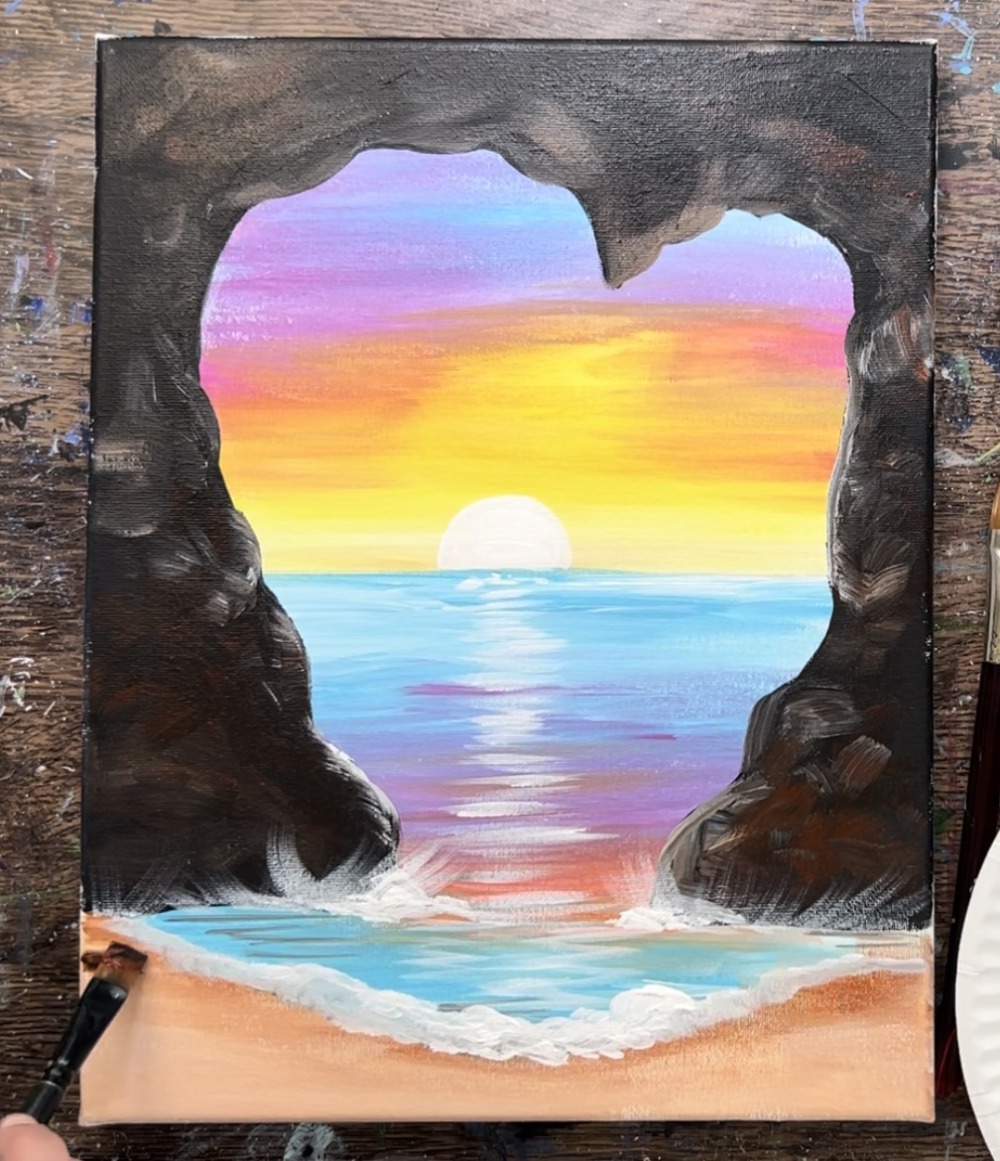
7. Paint Small Waves & Splashes
Use titanium white and your 12 bright brush to paint soft sea-foam/ waves along the edge of the water. Paint circular stokes all along this edge.
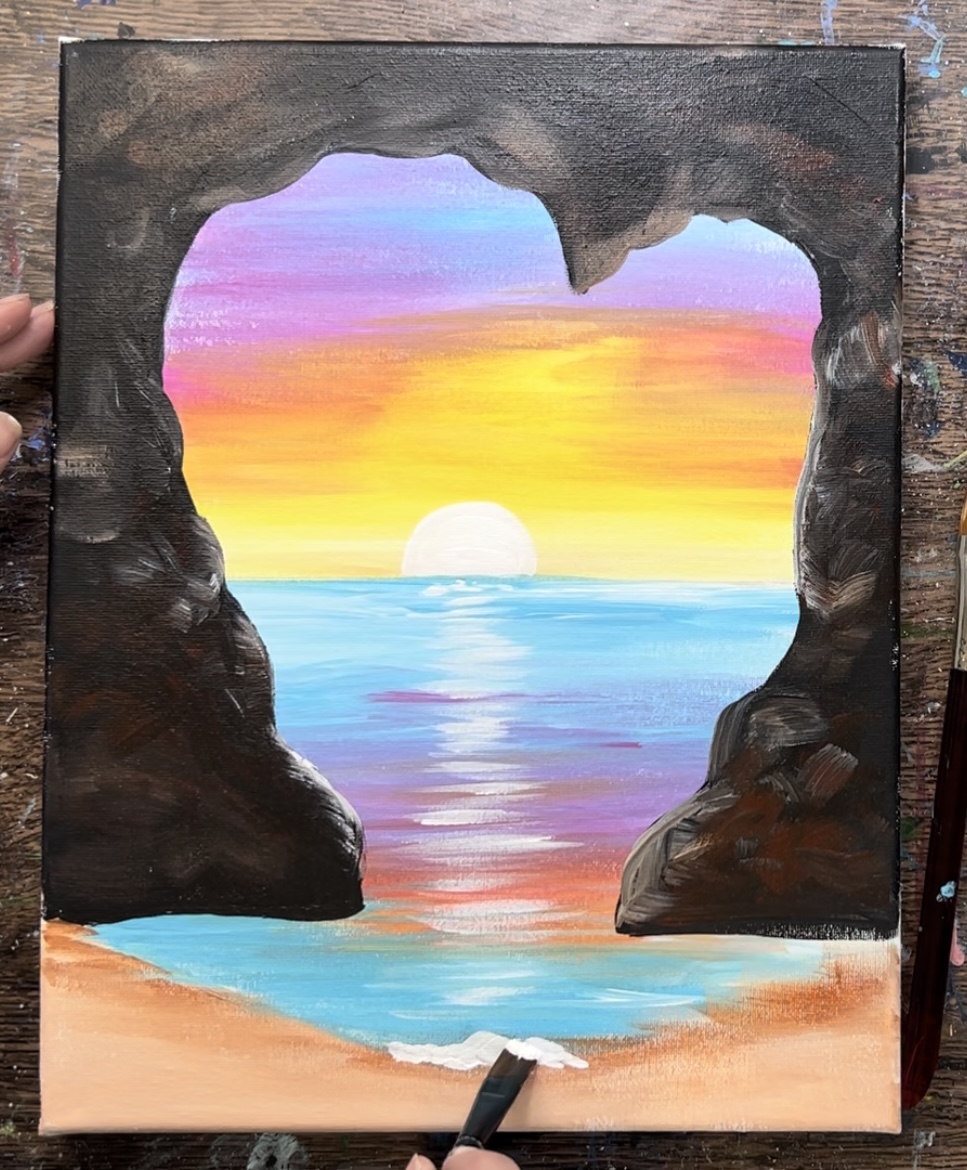
Then paint the splashes that go against the rocky area. Load the 12 bright brush into titanium white. Wipe the brush off. Then paint diagonal strokes that go up from the water and overlap a little of the cliff. You’ll want these strokes to look very translucent so make sure there is only a small amount of paint on the brush.
Then paint a few more sea-foam strokes next to the cliffy area that may overlap some of the splashes. Paint another layer of white that goes along the shore so the very top part of the sea-foam is bright and white.

8. Paint darker sand areas
Use the 12 bright brush and just the burnt Sienna to paint darker sand areas on the left and the right where this area would be more shadowy because of the cove.
Paint loose, left and right strokes. You don’t need a lot of this brown on you brush and you don’t need to cover the light sand color completely.
Paint this on both sides of the sandy area to make the sand appear slightly darker and more shadowy.

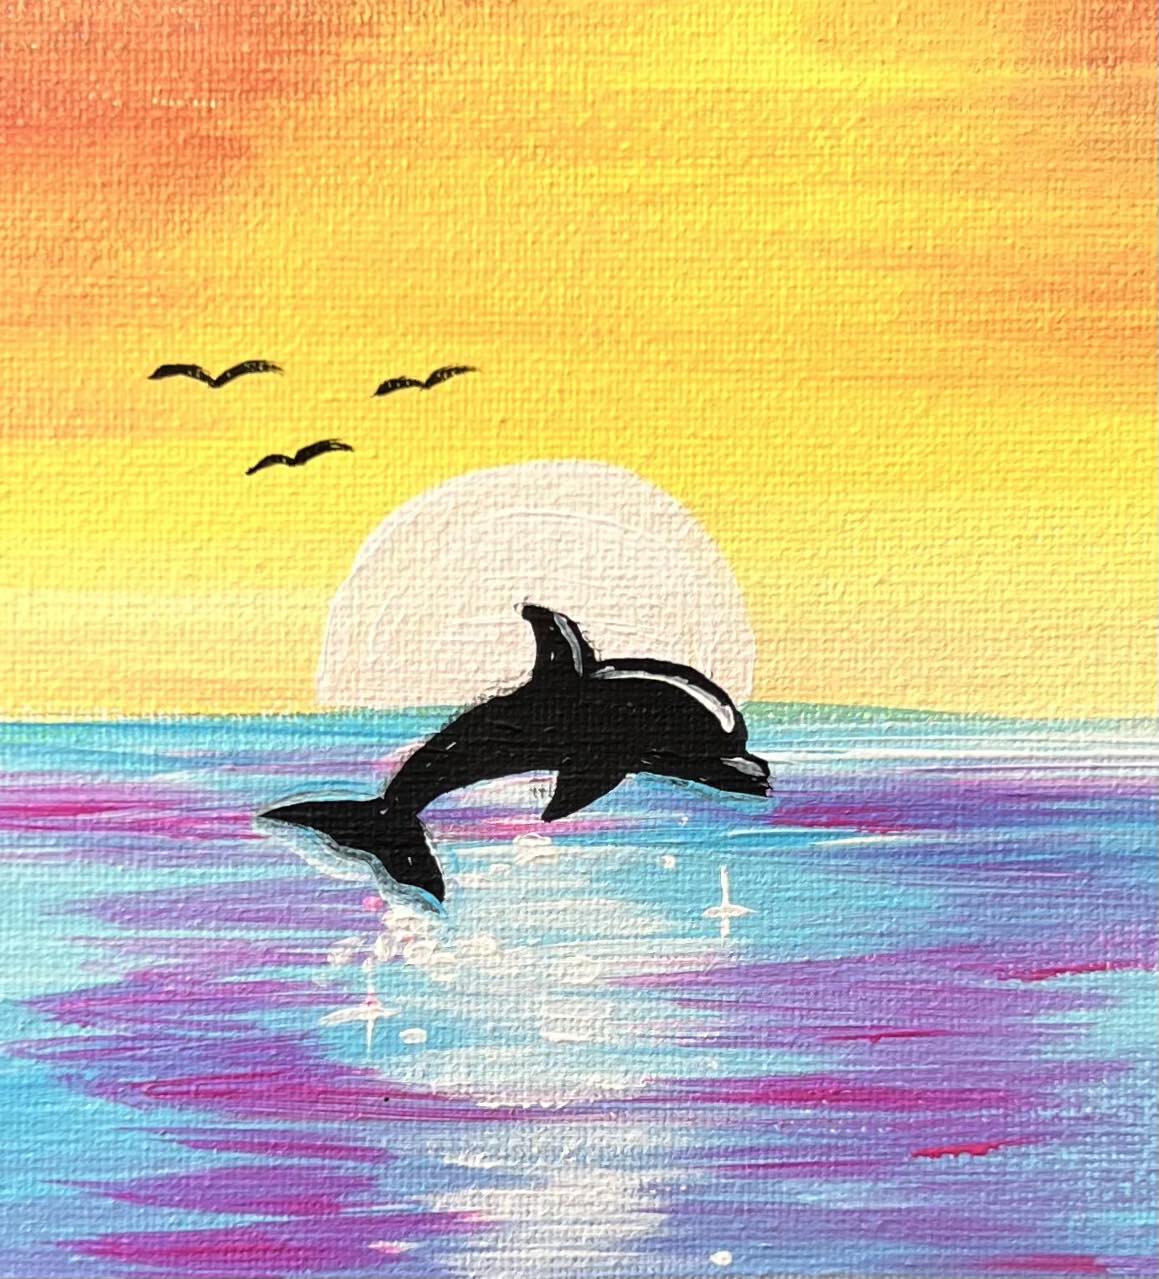
9. Paint sparkles in water
Use the #8 round brush to paint sparkles in the water. This brush is recommended because of its fine tip. If you don’t have this exact brush, you can use any brush with a fine point or even a toothpick for this step! Paint tiny dots in the water along the bright reflection area under the sun.
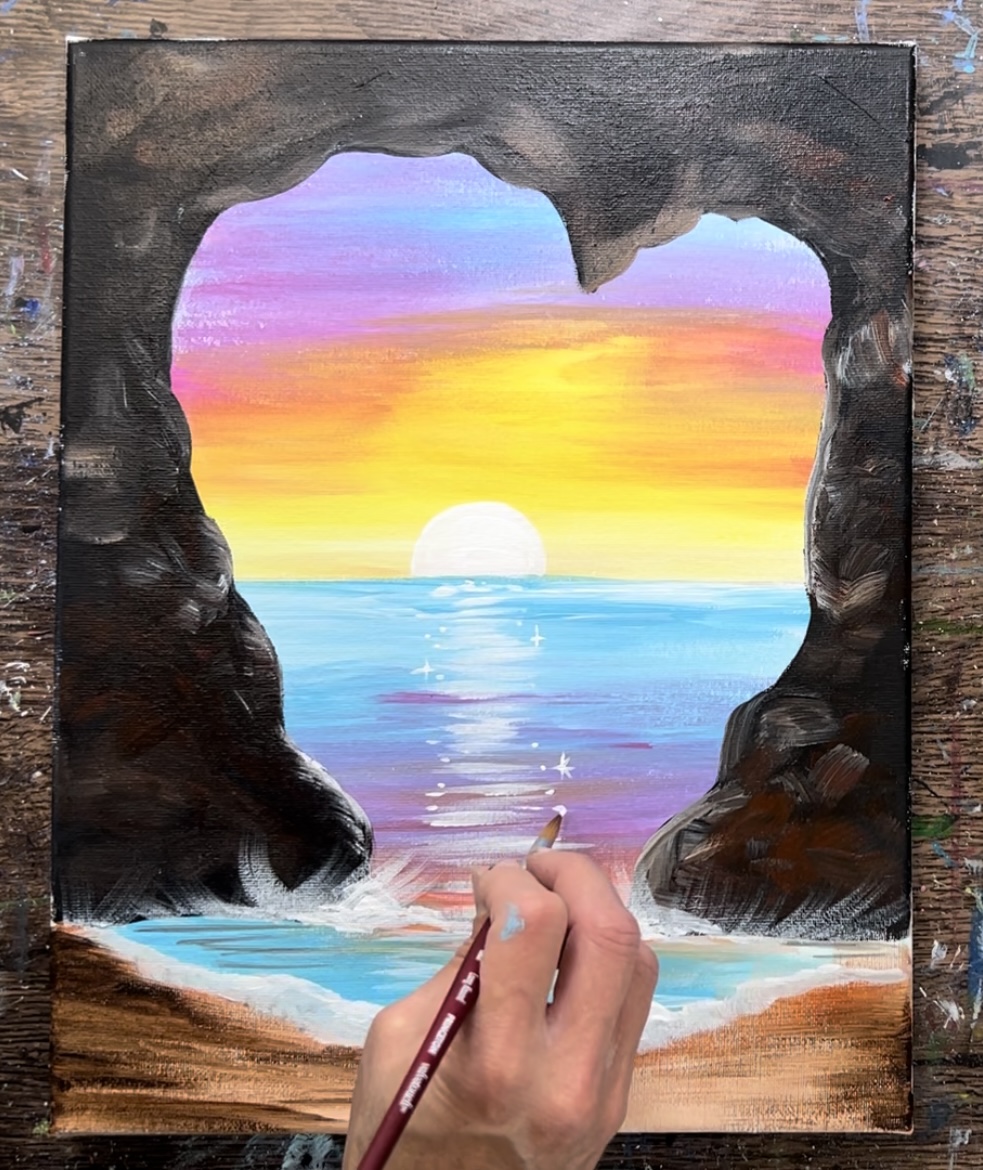
Then use the fine tip of the brush to paint star/ diamond sparkles. Drag the paint up from the center of the dot and drag it down then drag it left and right to create the diamond shape.
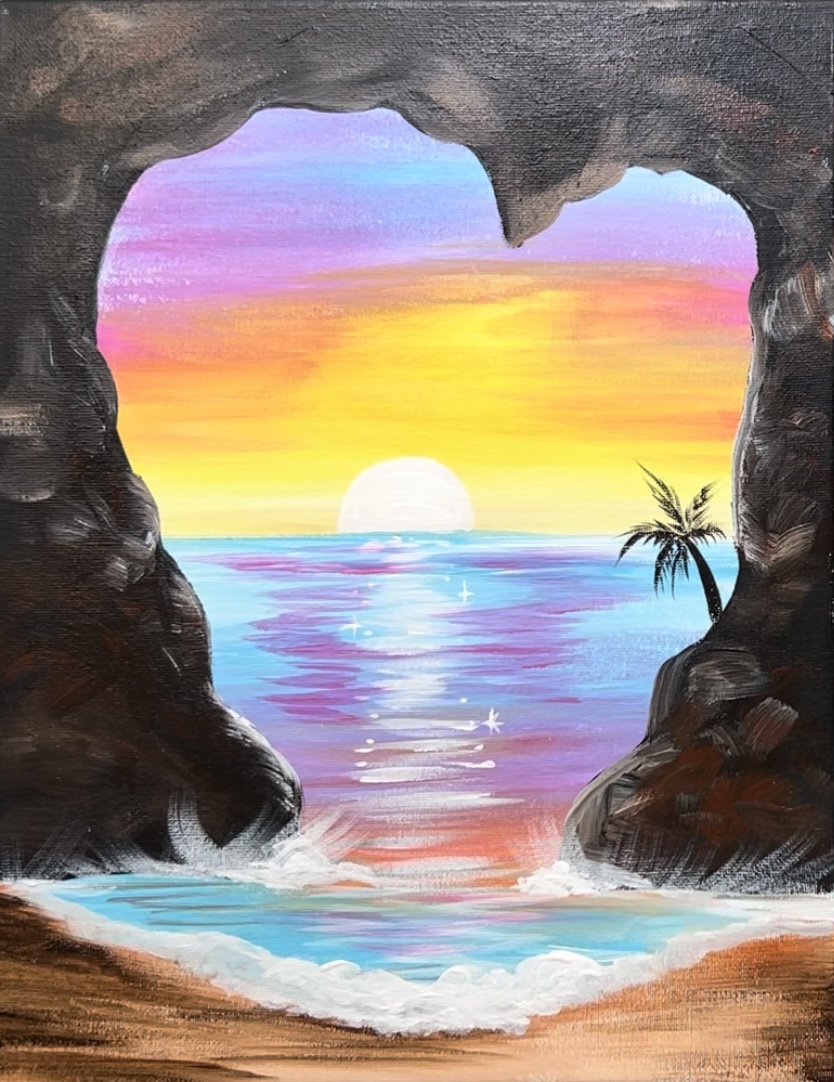
10. Paint Palm Trees & Birds
Use the #4 round brush and mars black to paint the palm tree silhouettes. Start by painting the trunk so that it is wider at the base and thinner at the top. Then paint the middle palm frond lines. Then paint the small angle lines for the palm leaves.
Repeat this for a second tree. Then paint small birds above the sun area with the round brush (or a black paint pen).

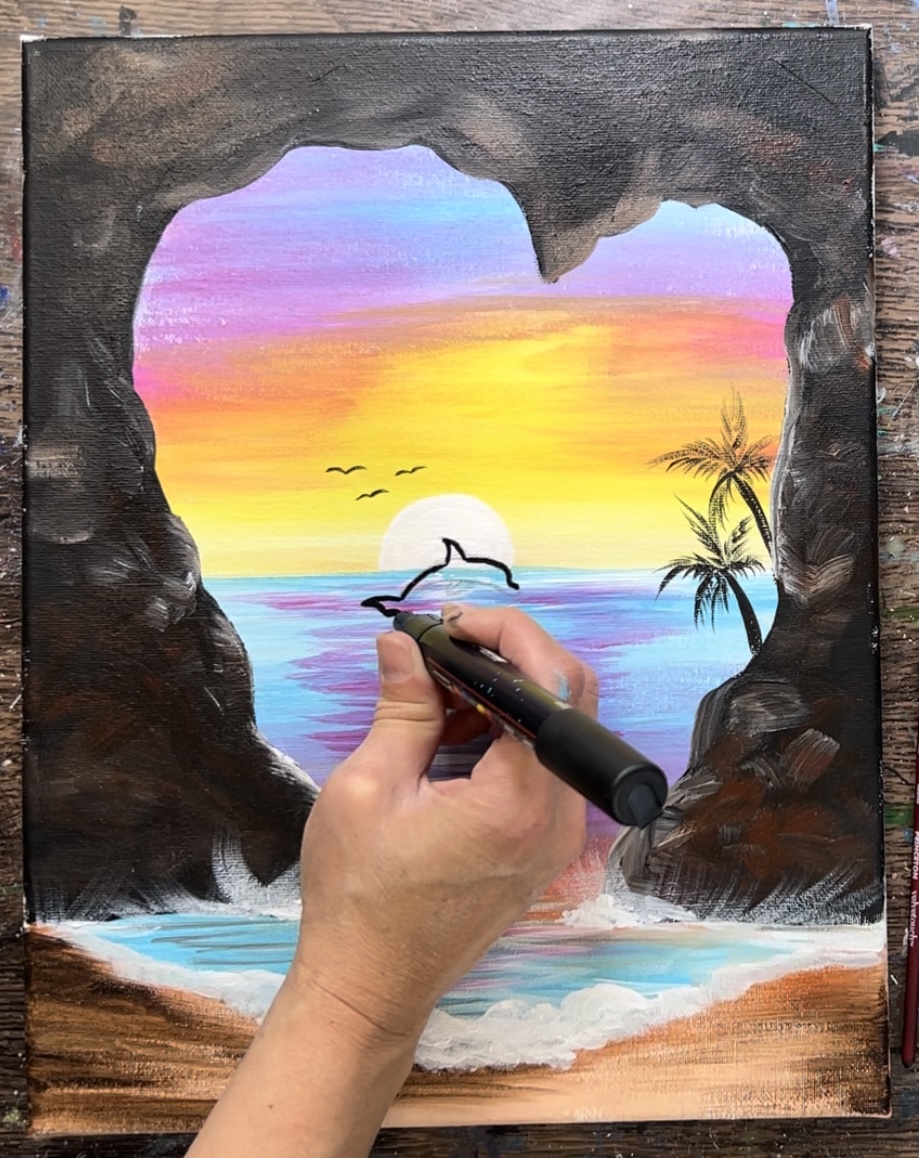
11. Draw & Paint Dolphin
Use a pencil to sketch out the dolphin.

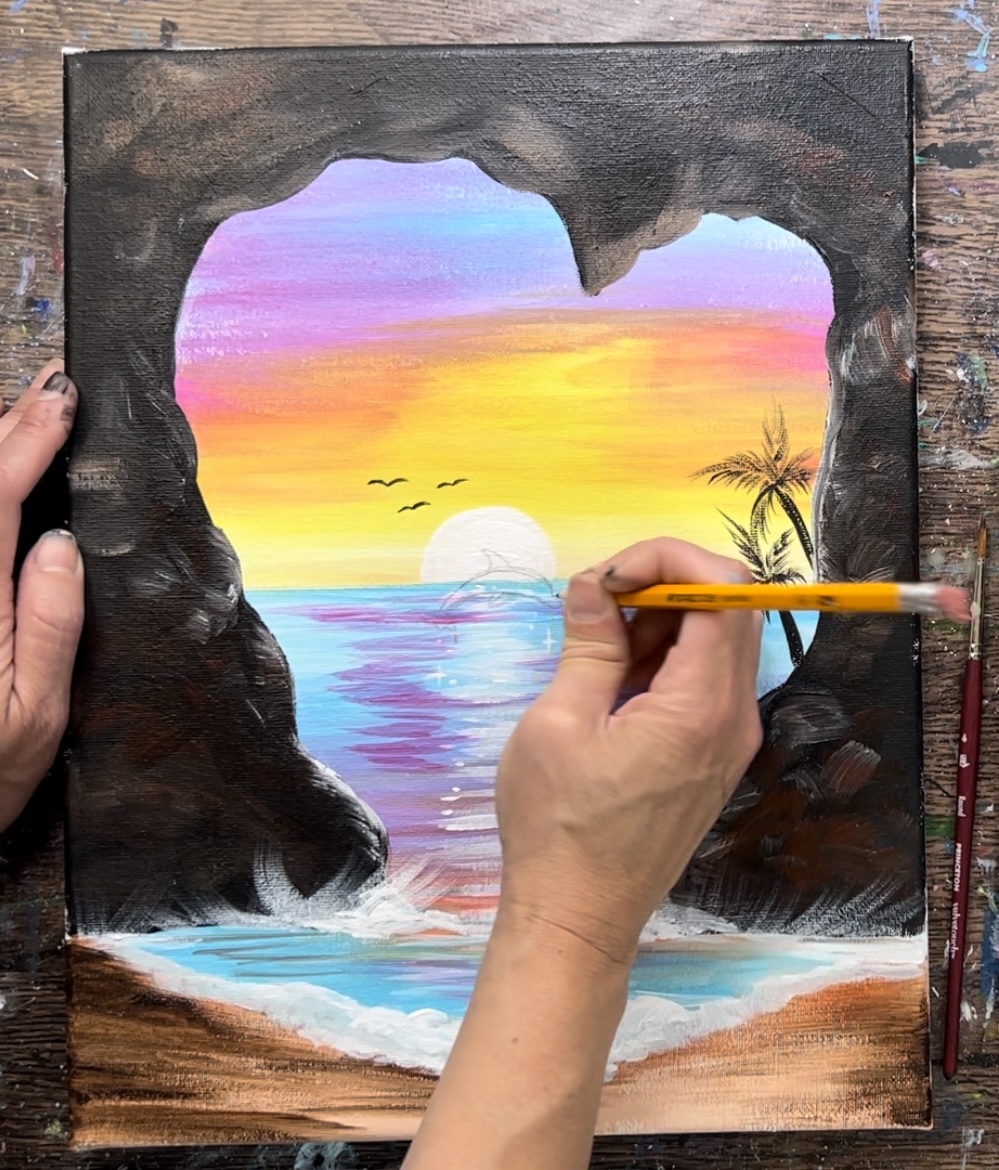
Then use a black paint pen or small round brush and black paint to paint the dolphin. It’s helpful to outline the dolphin first and then fill it in solid.
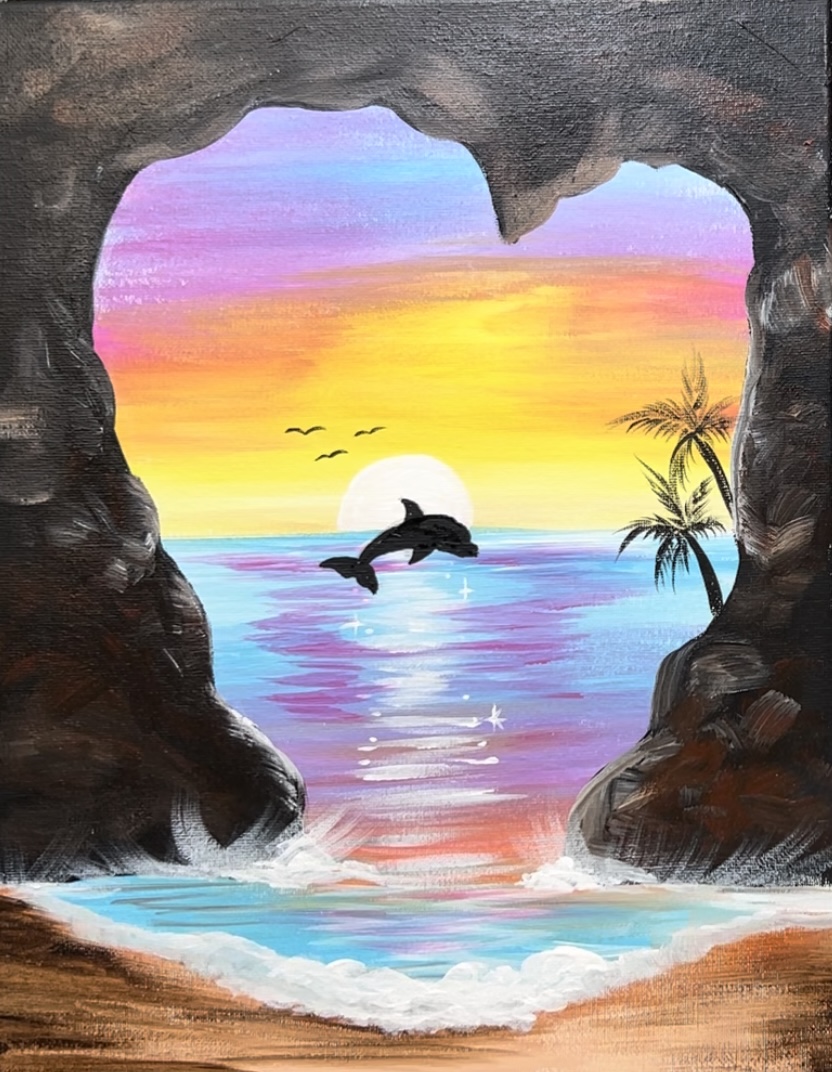
Optional: add highlight to silhouette by using titanium white to paint a slight curve on the edges of the dorsal fin, head and nose area.
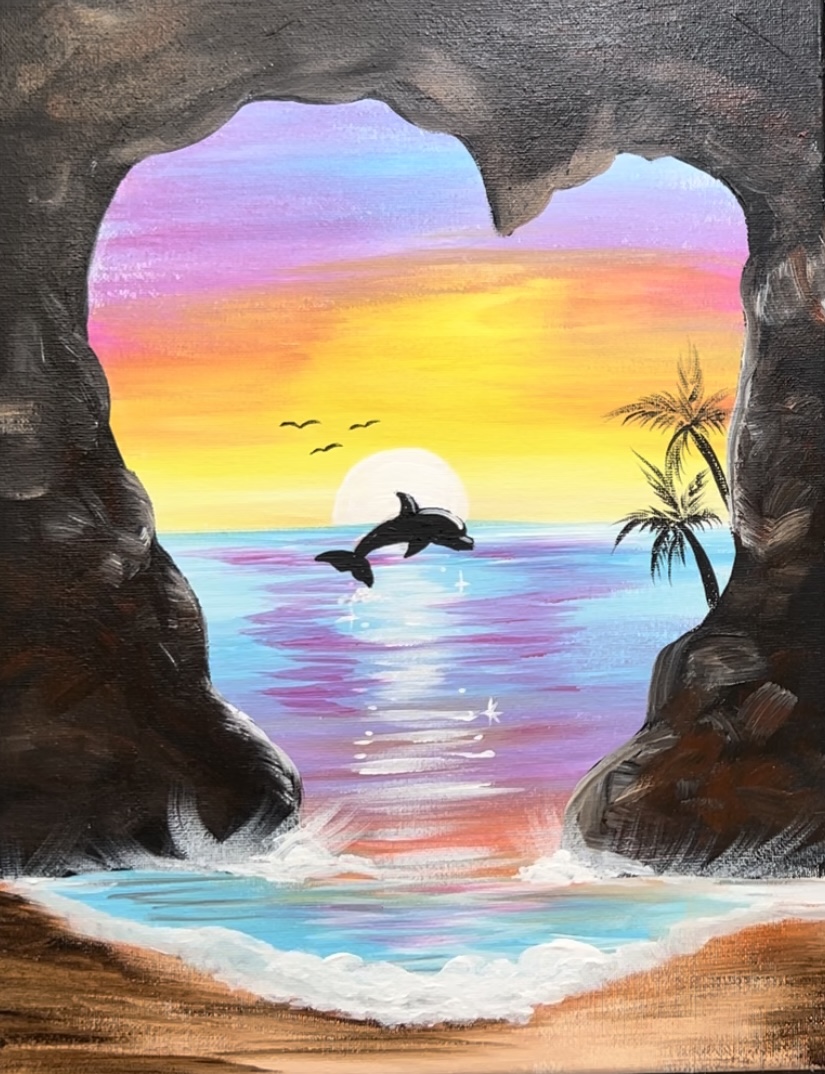
As a final touch, I painted an extra palm tree on the left!
Finished!