
How to Paint Heart Shape Dandelions
Would you like to save this?
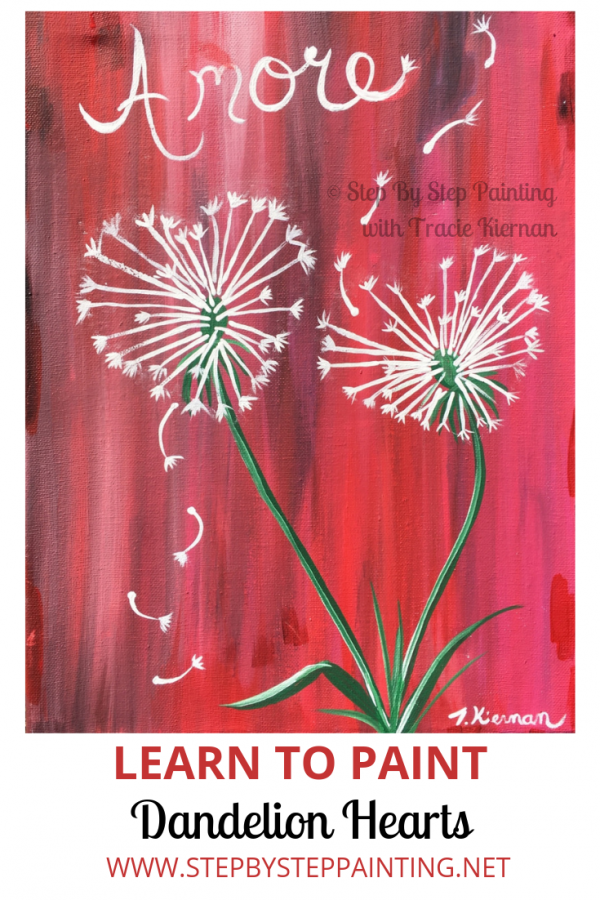
In this tutorial you will learn how to paint a simple pair of dandelions that are in a heart shape! To get the flowers to form that shape, I used erasable chalk.
The background of the painting is kind of unique! I normally don’t like to pair black and red together but in this case,I think it worked in an interesting way.
I actually used the same technique that I used in the background of my Three Hearts tutorial. I loaded my flat brush with three different colors and allowed them to just do their thing and mix together on the canvas! This technique is so fun because you never really know what will happen and no two paintings will ever look the same.
Then complete your painting with a word! I keep telling myself that I need to practice my calligraphy but it just isn’t happening! I guess my standard cursive looks okay!
Any how, I hope you have success with this painting and please share with everyone either on Pinterest or our Facebook page. Thanks for viewing this tutorial! Happy painting artists!
Materials:
- Canvas: I used a 12″ x 16″ canvas
- Acrylic Paint
- Red
- Dark Green
- Magenta
- White
- Black
- Paint Brushes:I used a 3/4″ flat for the background, a 1/8″ flat (#4 bright) for the stems & leaves and a tiny round brush (10/0 round) for the dandelion seed fluffs and word.
Directions At A Glance:
Video:
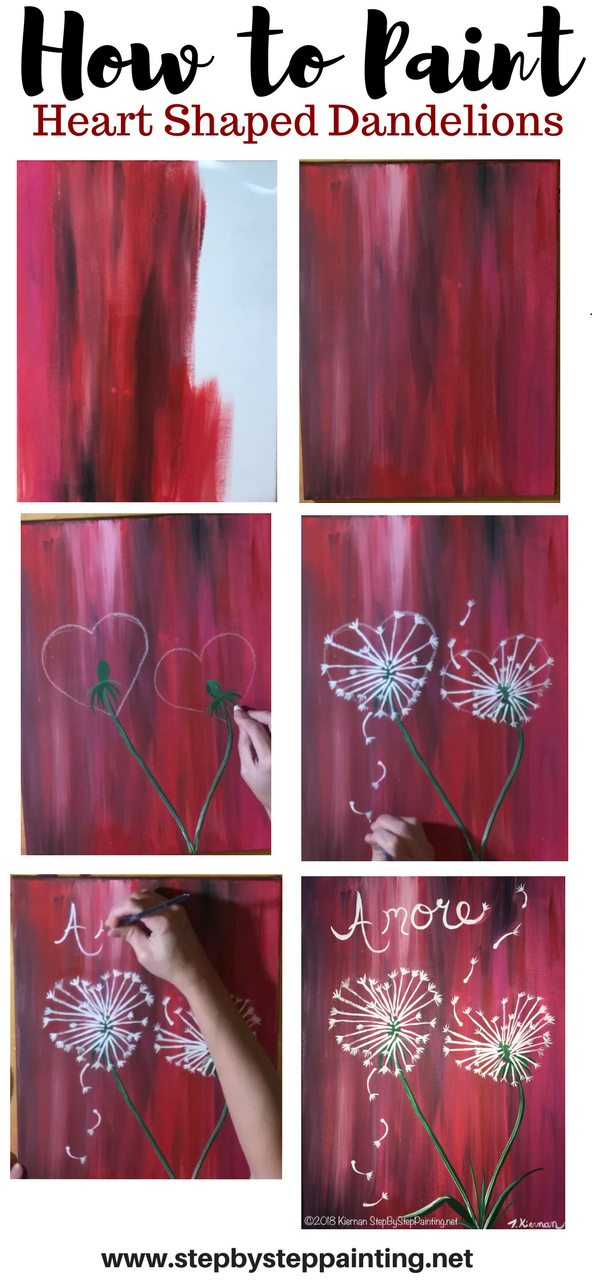
Step By Step Pictures
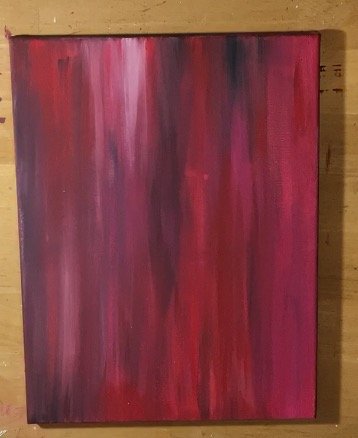
Background:
In order to make that deep red background, I used 4 different colors on my palette: Red, Magenta, Black & White. Every time I loaded the brush, I put black, white or magenta on the corners.
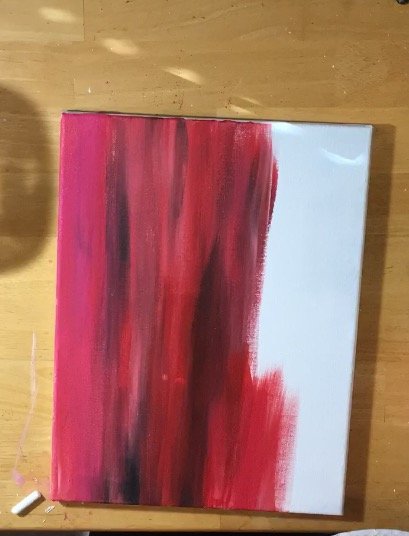
The colors will blend together on the canvas and make this beautiful abstract red background! This is the exact same technique I used to paint the background in my Three Hearts Tutorial only with different colors!
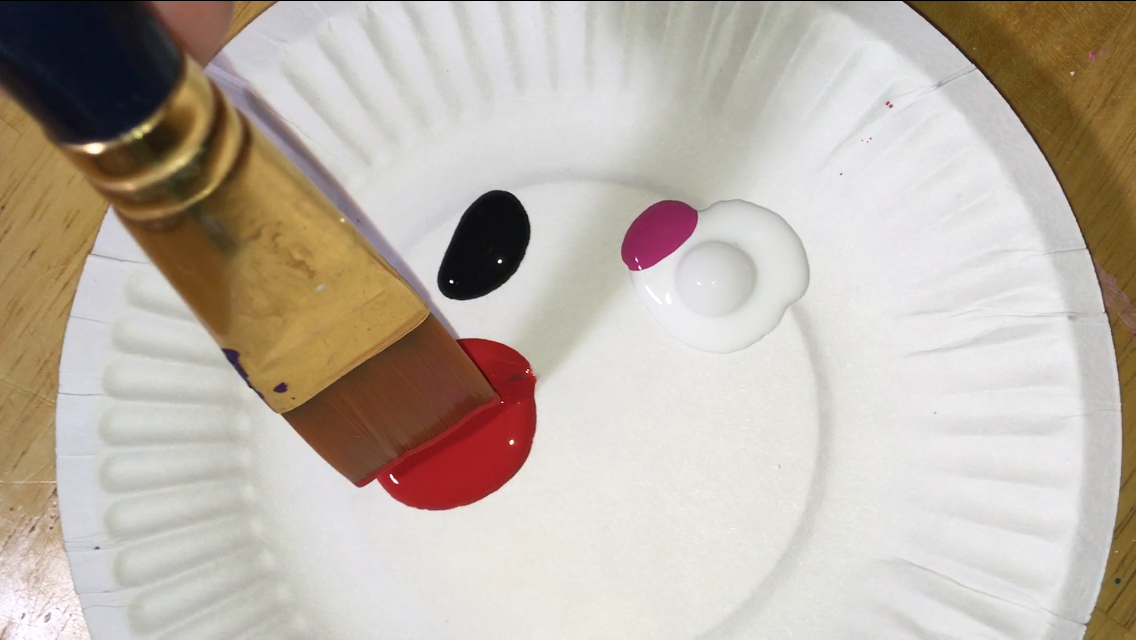
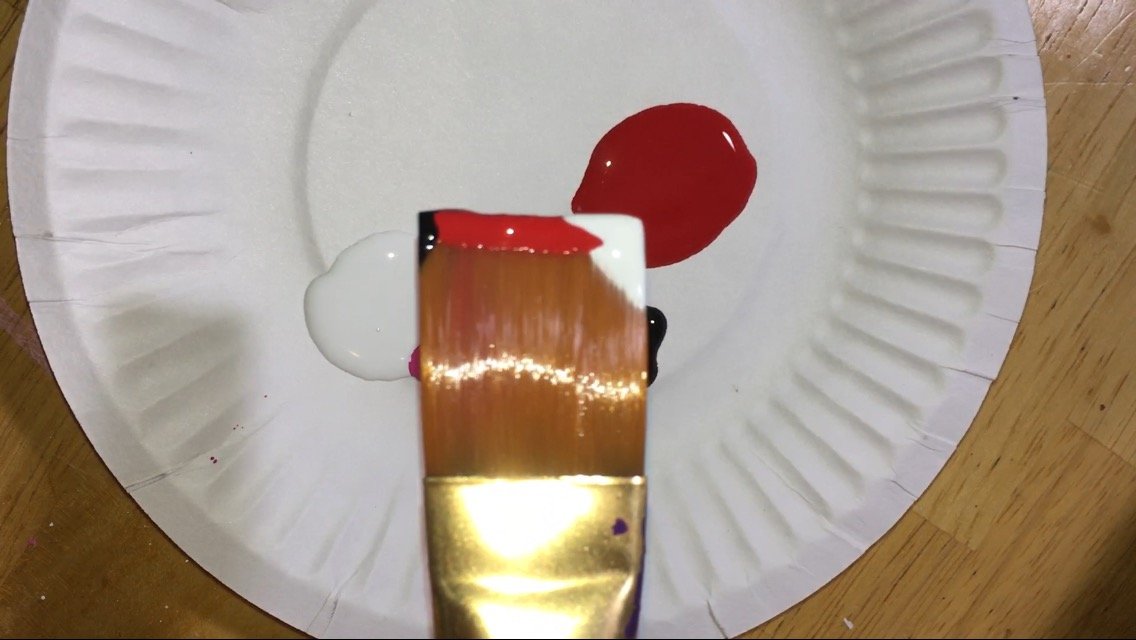
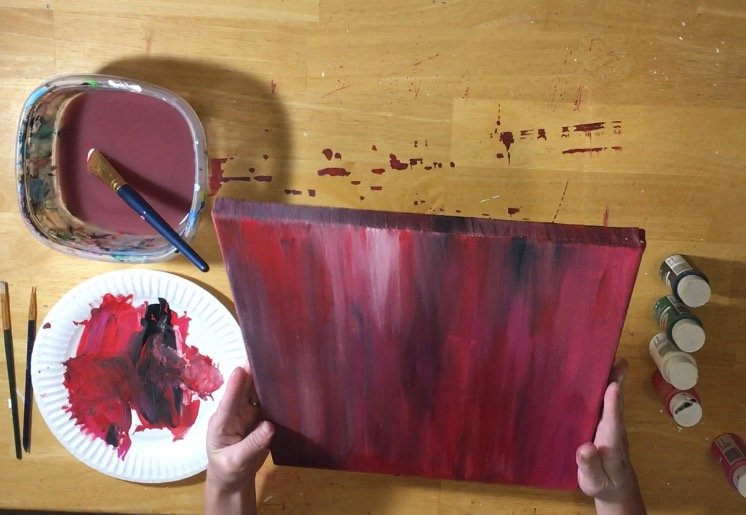
Triple loaded brush! That means you’re adding three different colors to your flat brush!
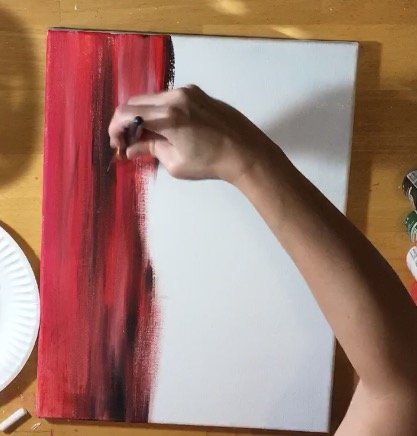
When you paint, the colors will blend together on the canvas, creating this beautiful abstract red background.
Make sure you apply some magenta in there too!
Tip: Go easy on the black! Too much of it will take over. Just add little tiny bits to the corner of the brush.
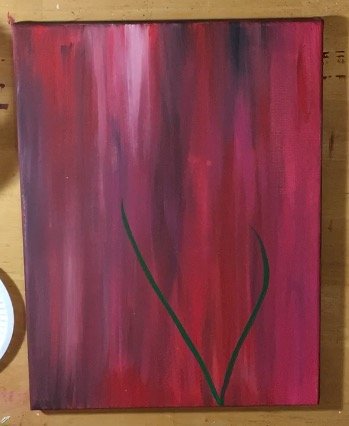
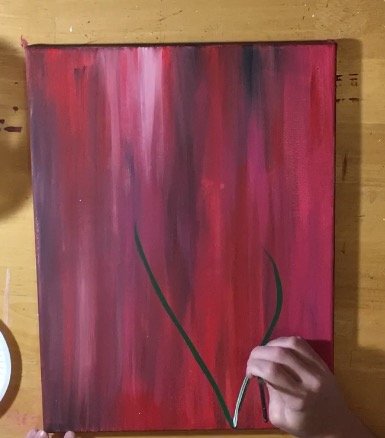
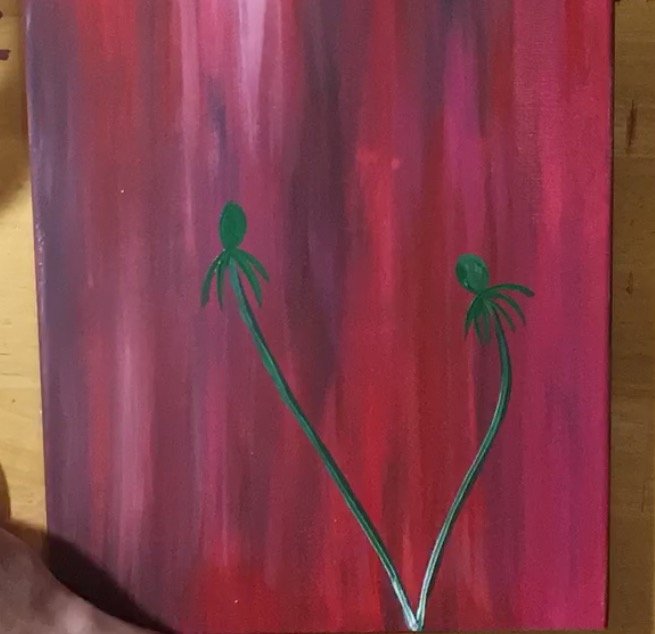
Stems
I used a dark green color and the tip of a small flat brush to paint the stems. You can also try this with black or use a small round brush if you like that better!

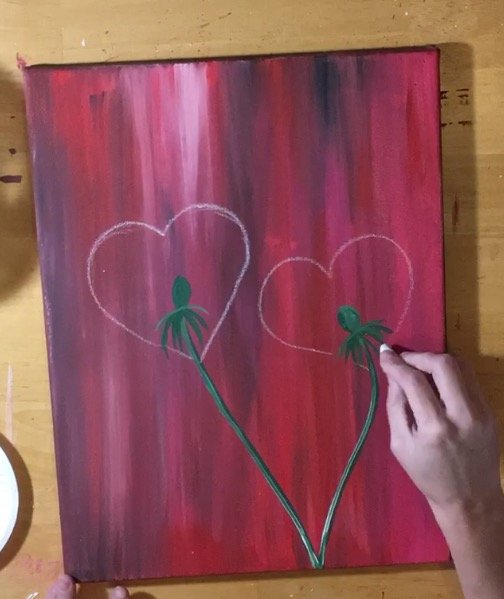
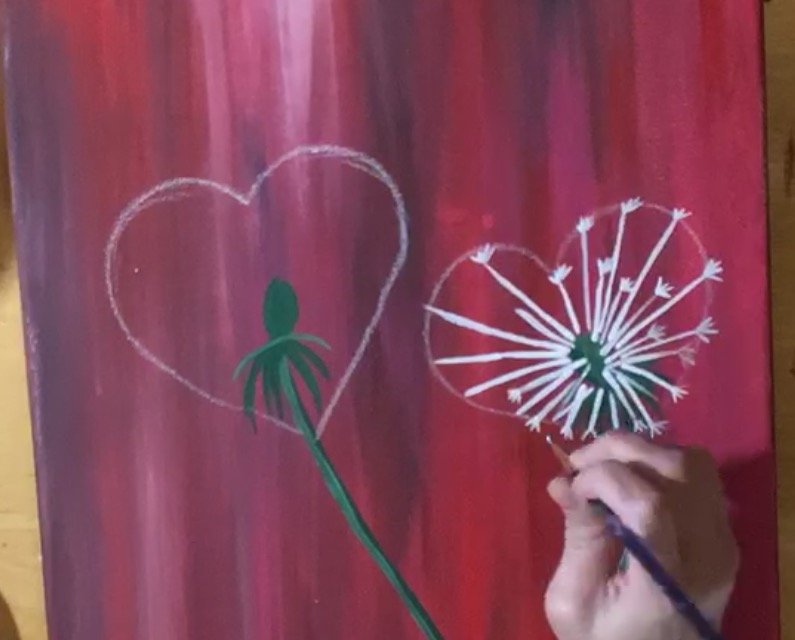
Draw Hearts With Chalk
Now here’s the trick with this painting. Chalk! Use chalk to draw hearts on the dandelions. This will help you make the white fluffy things form a heart shape. The chalk will erase with a wet brush!
When I drew the heart, I made sure it went around the entire middle part of the flower where the leaves hang down. That way the “fluffy things” would look like they are sticking downwards too.
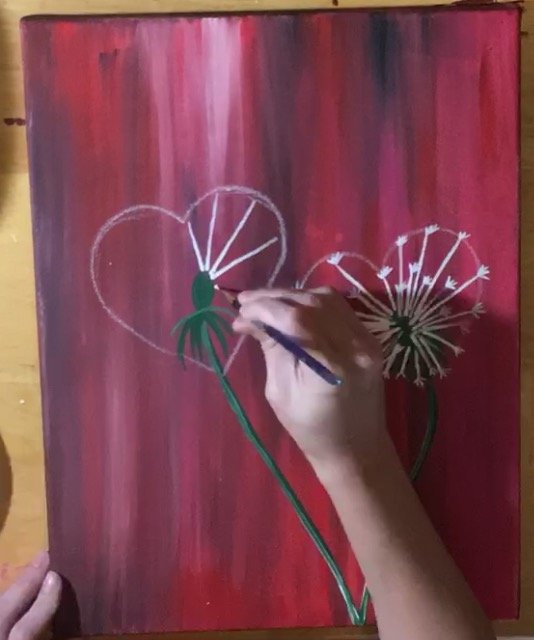
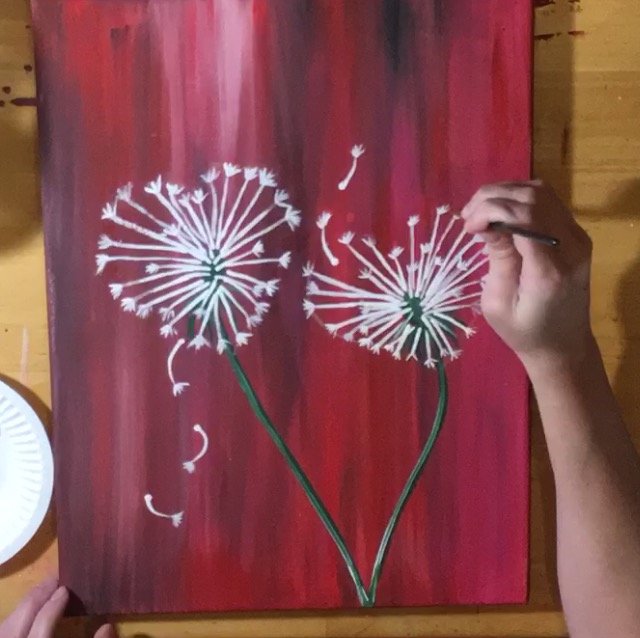
Dandelion Seeds:
Make sure you use the smallest brush you have for this step! Those lines should be very thin and dainty!
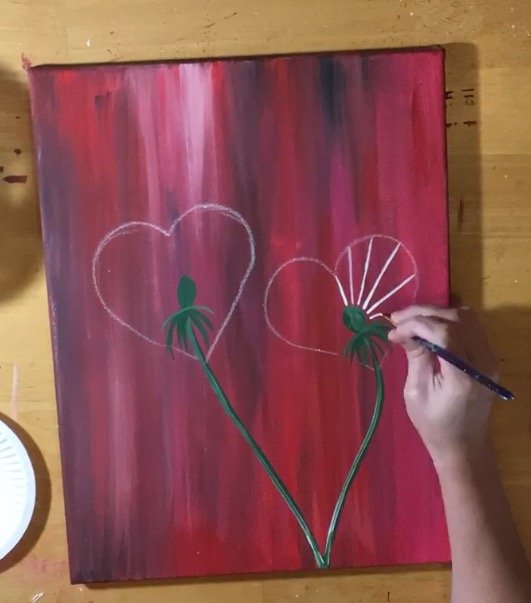
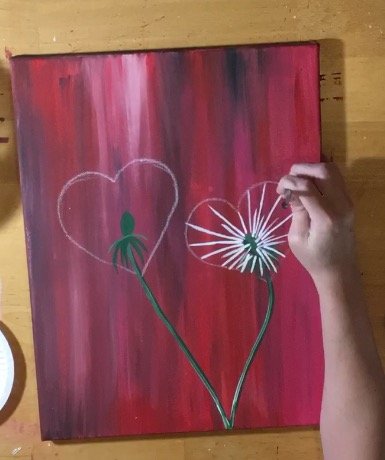
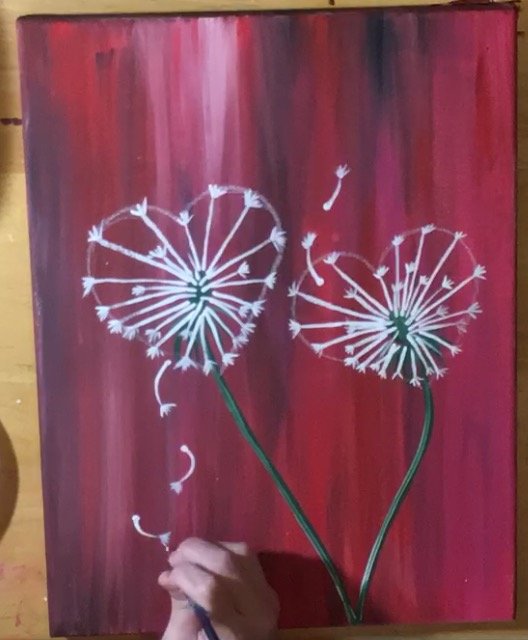
Paint Some Fly Aways
I think this was my favorite part of the painting! These wouldn’t be a dandelion without the little seeds flying away!
As a design variation, I actually could have left a greater chunk open on the flowers themselves.
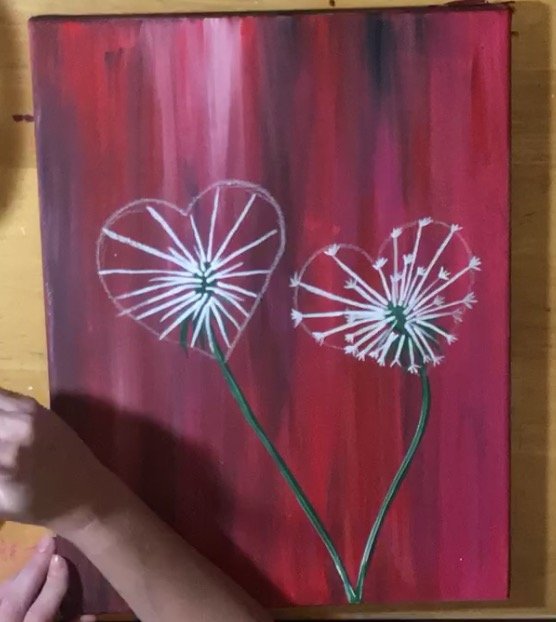
Erase That Chalk!
Make them think you meticulously painted a heart shape with each of those seed lines!
When you erase this chalk, just make sure that your paint is completely dry. Use a clean wet brush. If you use a paper towel, it might be too abrasive with the paint and scratch it off.
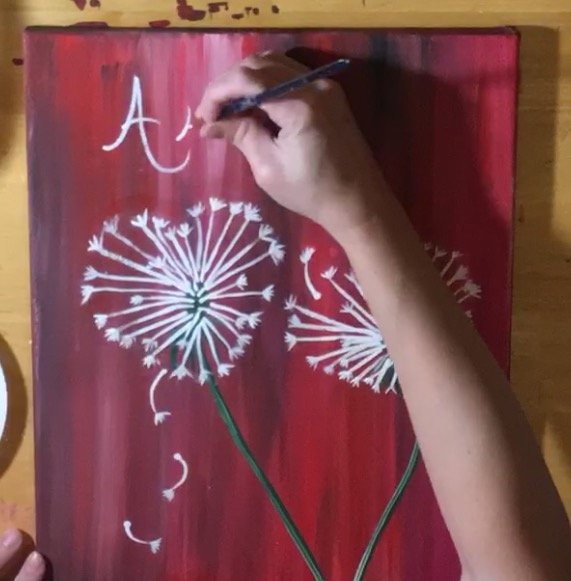
Paint Word:
This is where I always tell myself “Why am I not practicing my calligraphy skills for moments like this!?”
Any how, if you aren’t confident in writing the word, you can always do it in chalk first and then paint over it. Or, if you want to get advanced, you can find a font you love, print it out and transfer it on the canvas!
Paint Leaves and Some More Fly Aways
For me, a painting is never finished! I have a hard time walking away because I always want to add more!
Any how, I decided to paint some more fly-aways. Then I painted some leaves! You will see in the video exactly how I did this but I used the same green as the stem and a small flat brush. I also painted white for the highlight of the leaves!

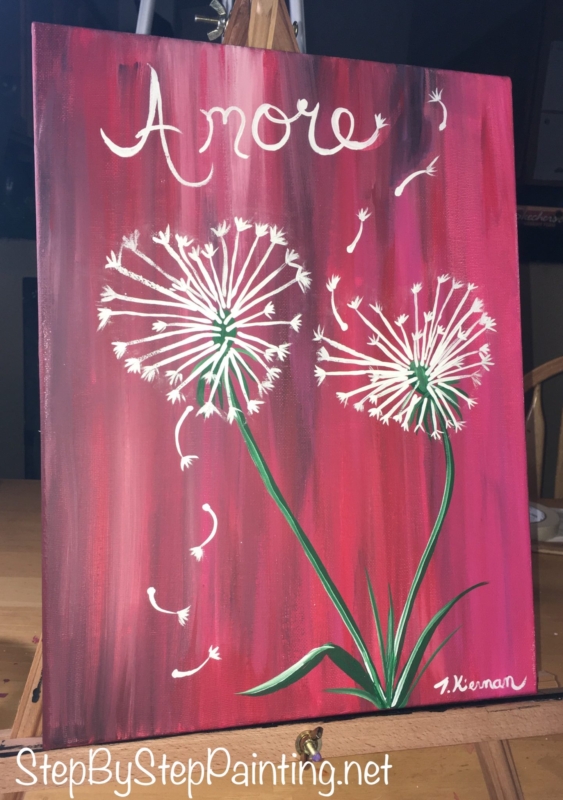
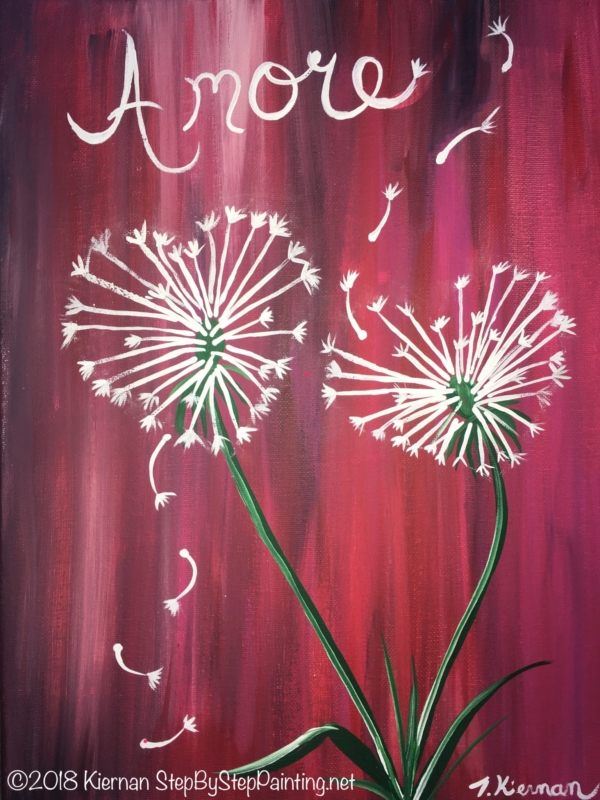
Finished!
This was so easy wasn’t it!? Please share your painting over on the Facebook Page or on Pinterest!

Share Your Art!

See Also:
can’t wait to get started, theses heart dandie lions will be for valentines day.
Yes! It’s a perfect Valentine’s Day Painting!
I just want to say thank you for creating this site. I’ve never considered myself anywhere close to artistic, but painting is something I really enjoy, despite have to training. Your site has helped me create several simple but pretty pieces that I will be placing in my new daughters nursery when she finally arrives. This experience has made me feel more confident in my artistic abilities, and closer to my baby. Thank you for all that you have done and continue to do!
Wonderful Rachel! Congrats on your addition. What a beautiful way to feel closer to your baby! When I was pregnant with my first born I painted him a mural in his nursery and that whole experience was so lovely.