
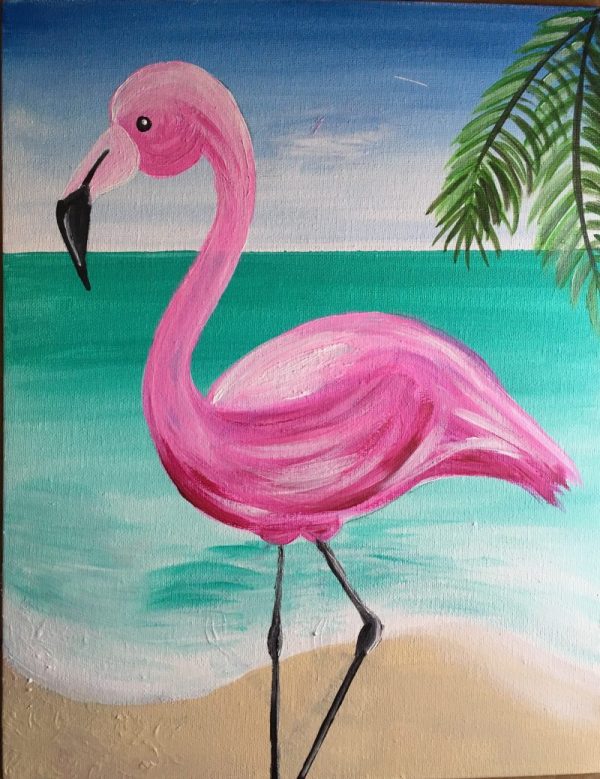
Flamingo Painting
Learn how to paint your own pink flamingo painting step by step!
This tutorial will guide you through the acrylic painting techniques to render your own beautiful flamingo painting you will be proud of.
This painting is a great one you can do with the kids. It also makes a great paint party painting because of how simple it is. Enjoy and happy painting artists!
Materials:
How To Paint A Flamingo
Learn how to render your very own beautiful flamingo painting! This step by step acrylic painting tutorial for beginners will guide you through the techniques.
Materials
- Acrylic Paint
- 11 x 14 Canvas
- Ruler
- Pencil
- Transfer Paper (If Using Traceable)
- Traceable
Colors
- Quinacridone Magenta
- Medium Magenta
- Titanium White
- Mars Black
- Cerulean Blue
- Bright Aqua Green
- Unbleached Titanium
- Hookers Green
- Light Green Permanent
Brushes
- Wash brush (3/4” to 1”)
- #12 Bright
- 1/4” Angle
- 0 Round
Instructions
- Trace the horizon line with a ruler or straight edge 2/3 the way up the canvas.
- Paint the sky cerulean blue and white.
- Paint the ocean bright aqua green.
- Paint the shore line.
- Paint white and bright aqua green closest to the shore line so it looks like sea foam.
- Paint the sand.
- Paint some white water lines in the ocean and more white closest to the shore.
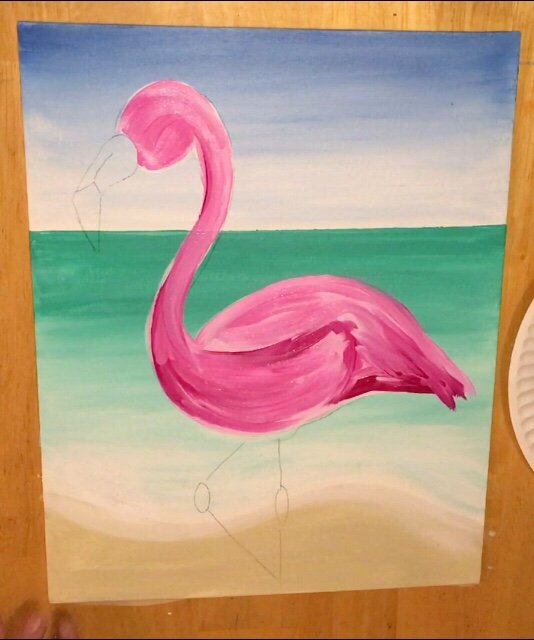
- Trace or draw the flamingo on the canvas.
- Paint a base coat of white over the flamingo.
- Paint the next coat with medium magenta on the flamingo.
- Add dark areas on the flamingo with quinacridone magenta.
- Add more areas of medium magenta.
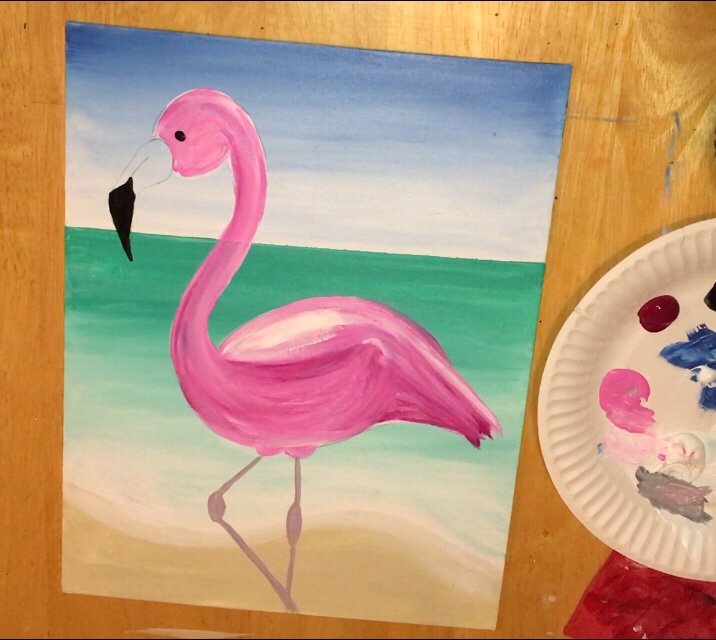
- Add some areas of white and then paint the beak.
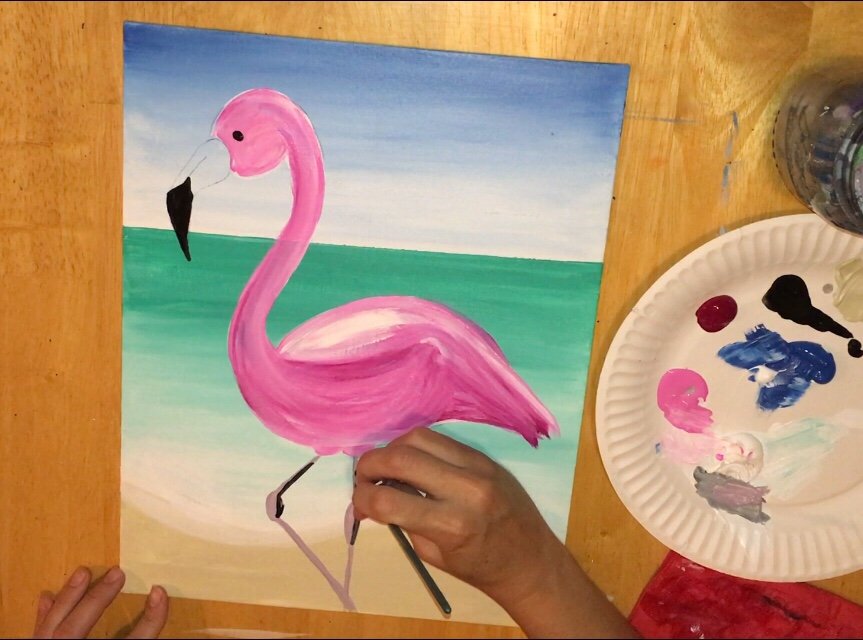
- Paint the eye and legs.
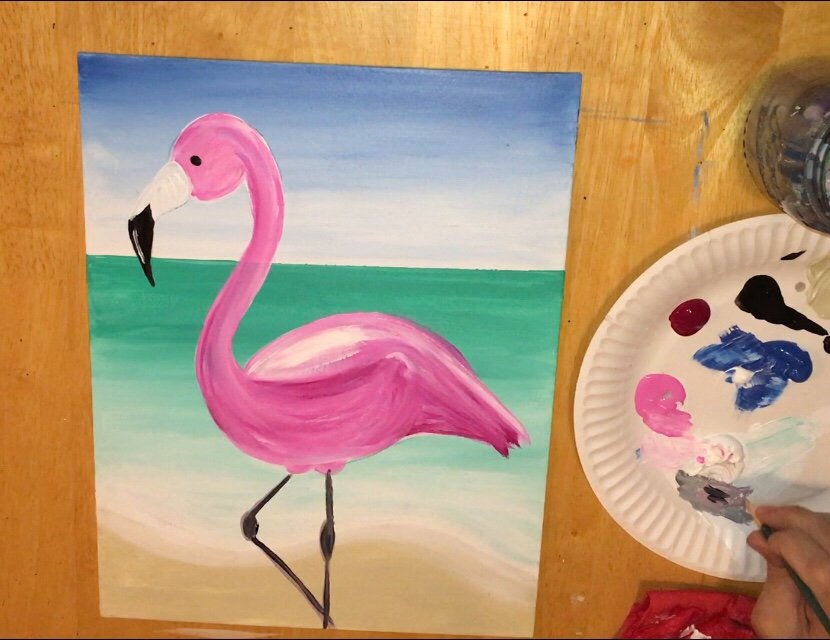
- Paint the rest of the beak.
- Paint pin portion of his beak.
- Paint the palms tree branches.
Notes
In the traceable, the leg is the opposite. Flip the leg the other way so the flamingos leg is correct.
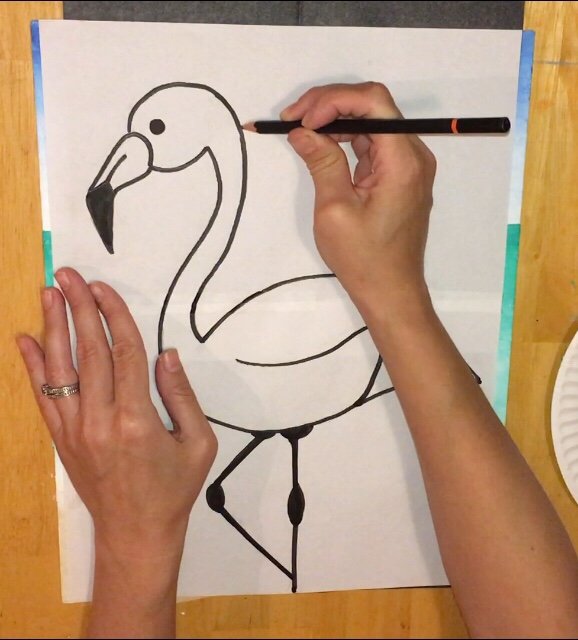
How To Draw The Flamingo:
If you aren’t using the traceable, drawing the flamingo is simple! Make sure you do all the background first before drawing the flamingo. You can see a drawing tutorial here. 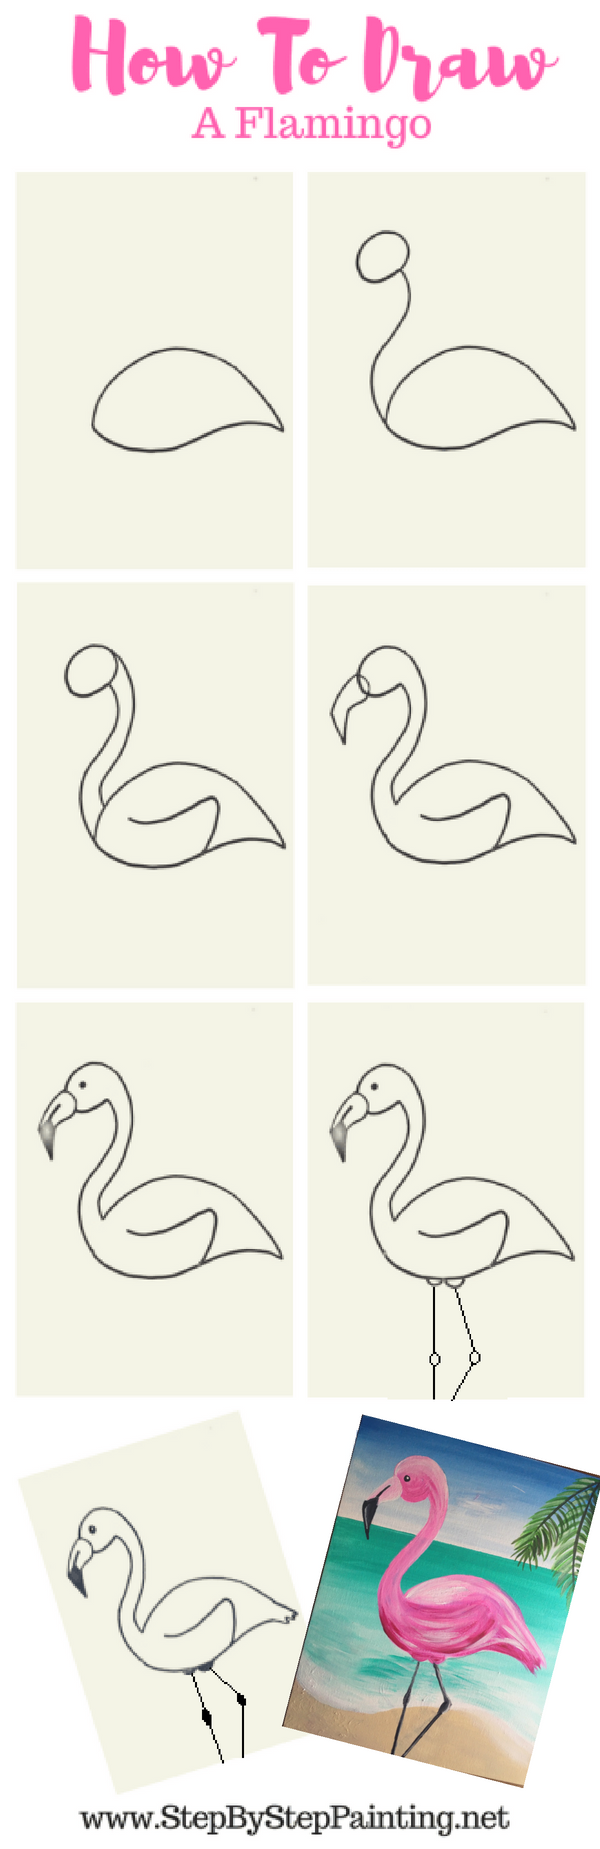
Traceable:
*Note: the bent leg should be going the other direction. I did not update this on the traceable. To get the PDF, go to the PDF library.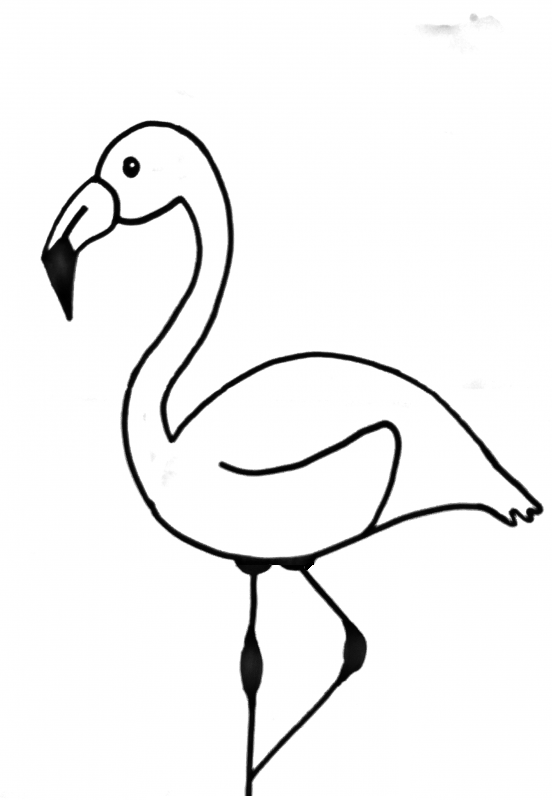 I haven’t done this yet but if you paint the beach horizontally instead of vertically, you can add smaller flamingos! Or you can get creative and use this traceable in whatever way you’d like!
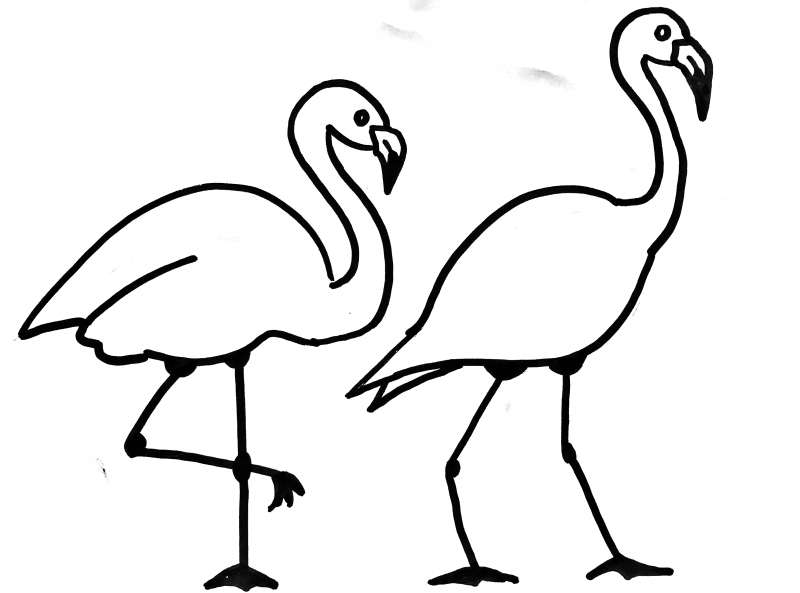
Directions At A Glance: 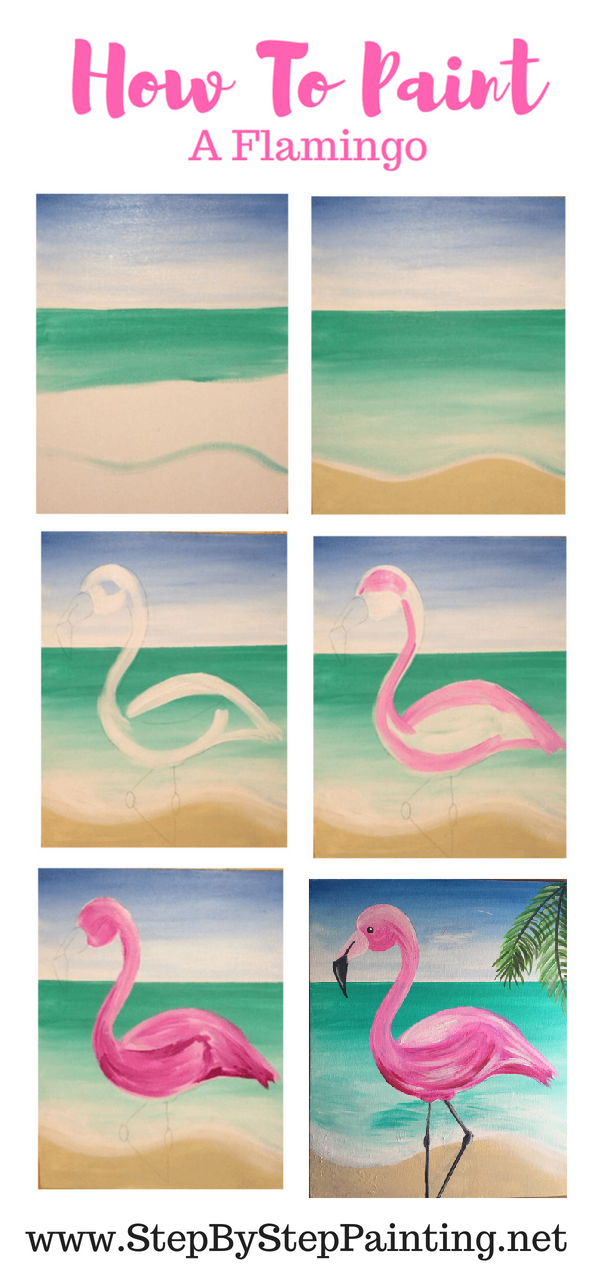

Video:
Step By Step Directions:
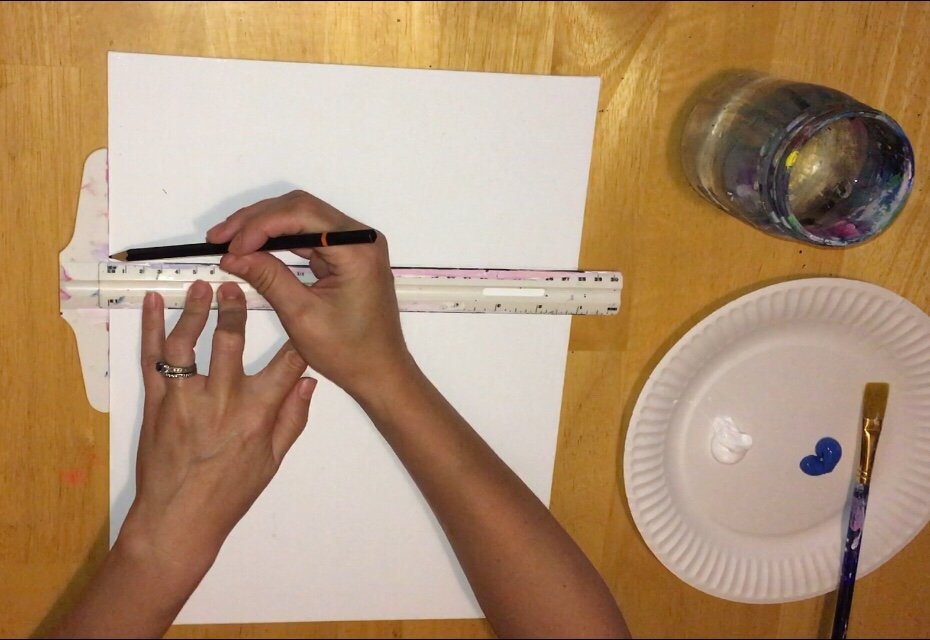
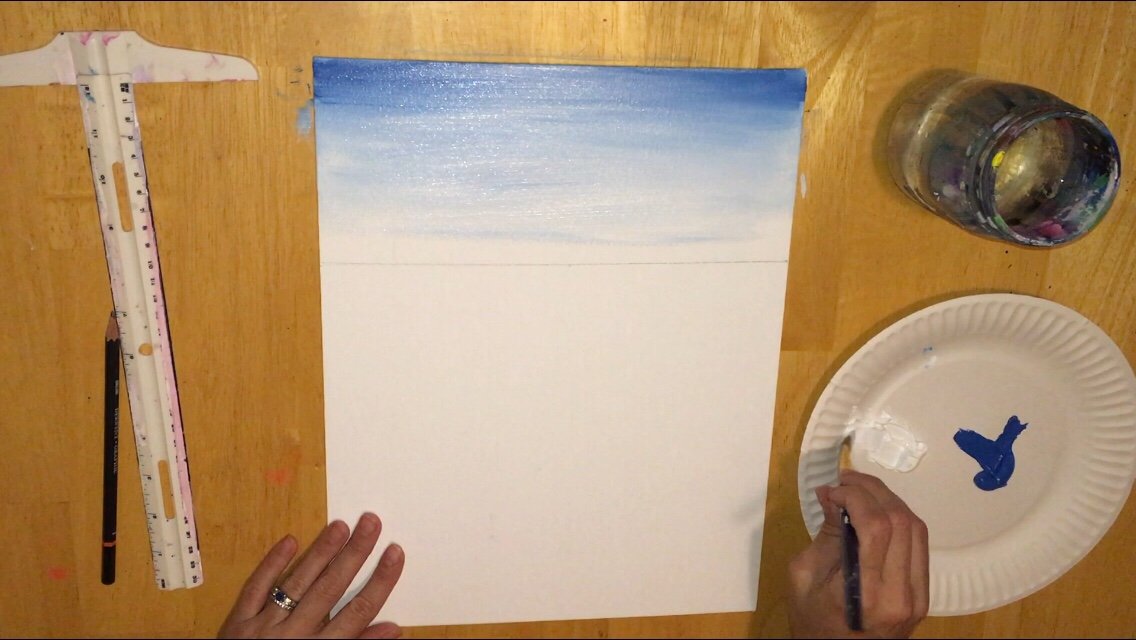
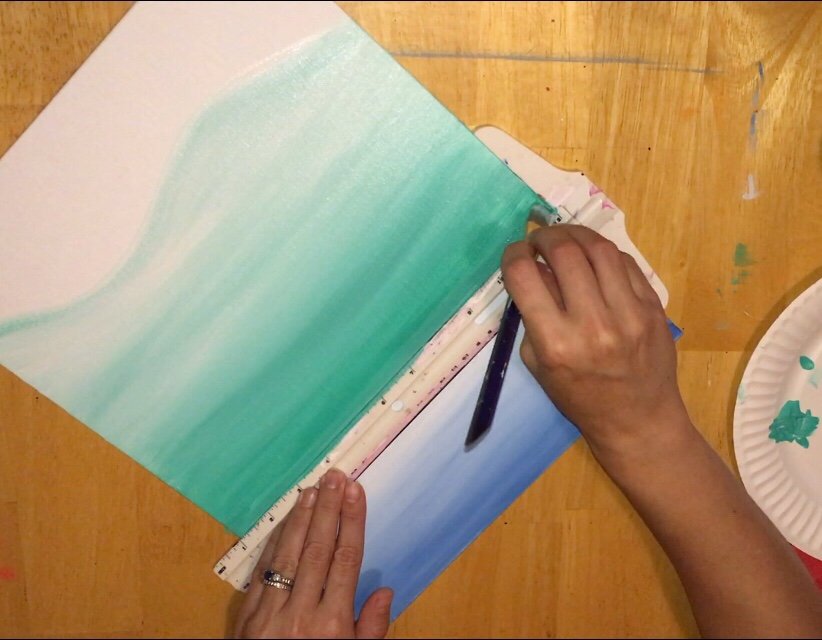
1. Trace The Horizon Line
Using a ruler, trace the horizon line 1/3 of the way down from the canvas. (The canvas is vertical facing). Since this is 14″ high, I approximated my horizon line 4.5″ down.
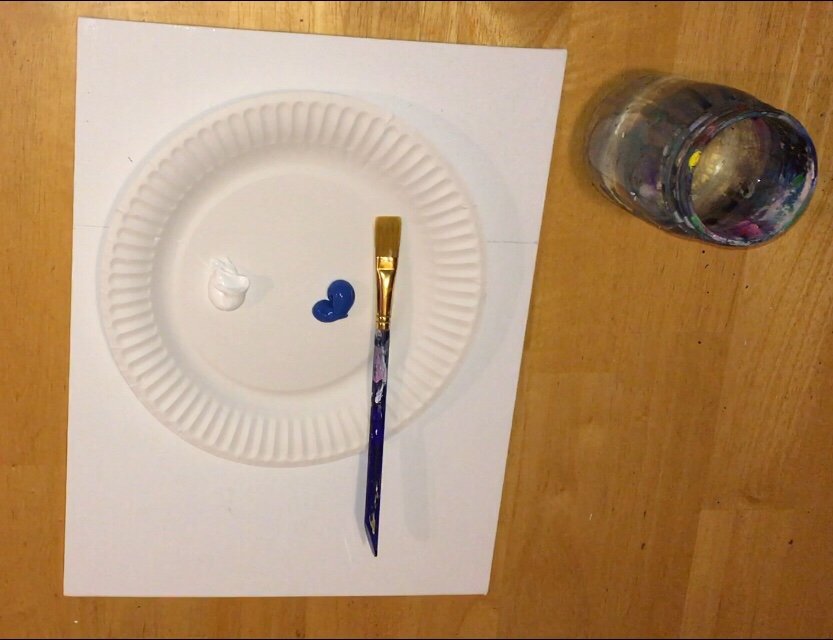
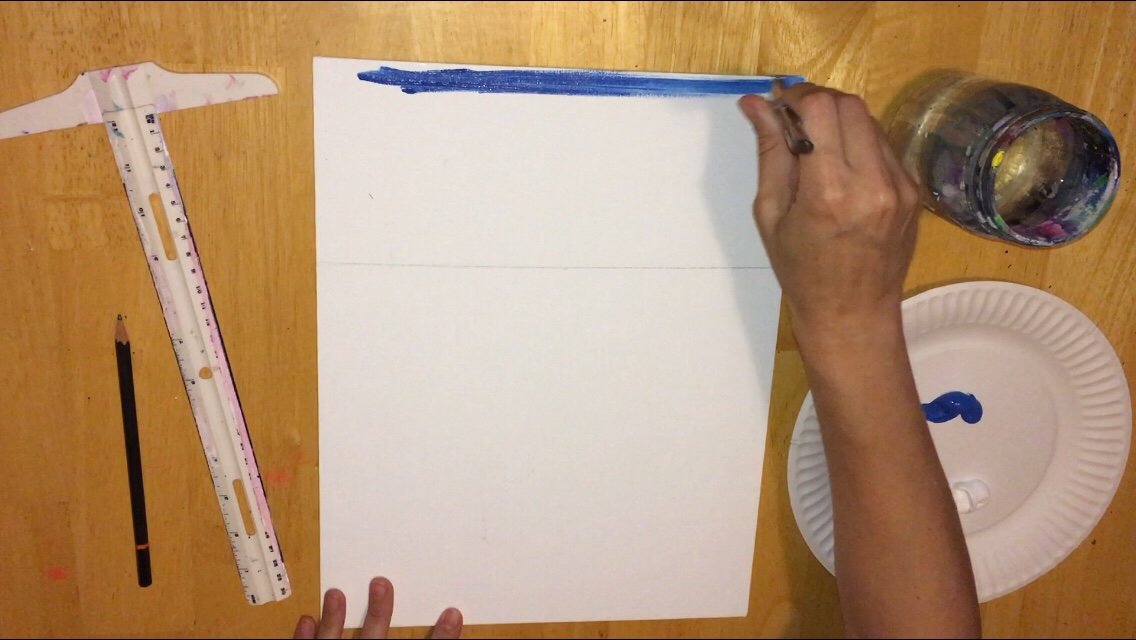
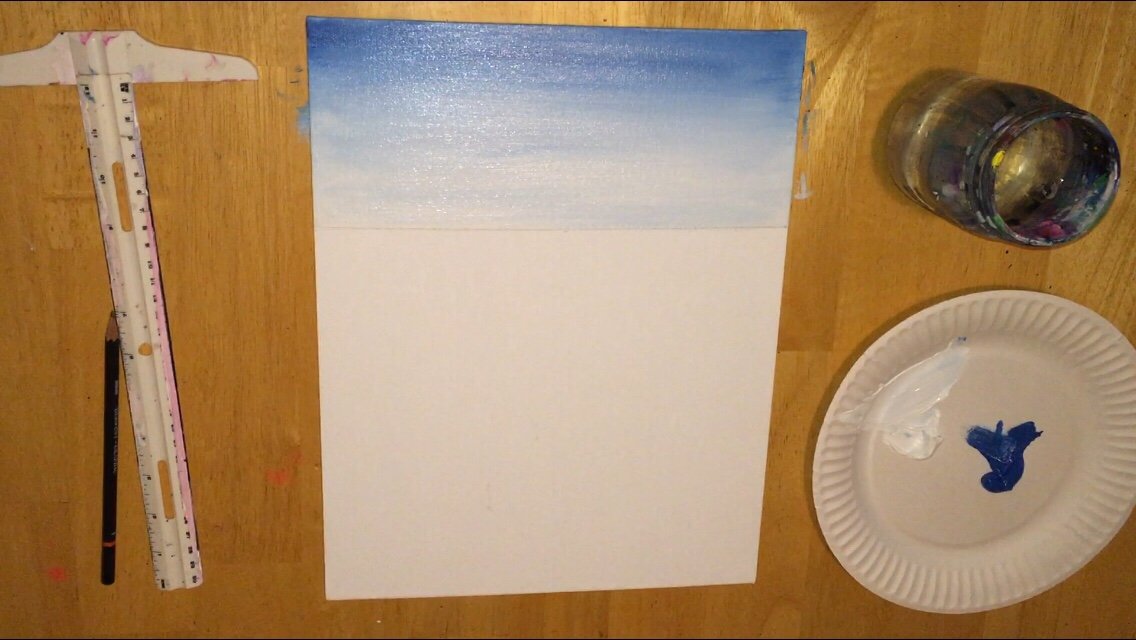
2. Paint The Sky Cerulean Blue and White
Use a one inch flat brush (or any large flat brush) to paint the sky. Start with cerulean blue and paint a solid line at the very top. Paint long horizontal strokes. Then gradually add white into the cerulean blue and blend it on the canvas. The sky should be pure cerulean at the top and it fades to a white-blue. The horizon line is a very light blue, almost white.
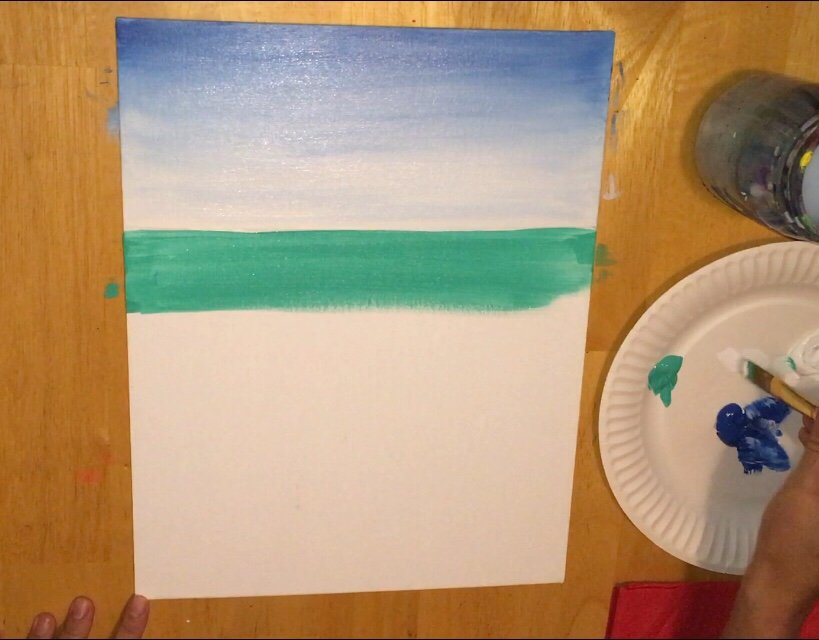
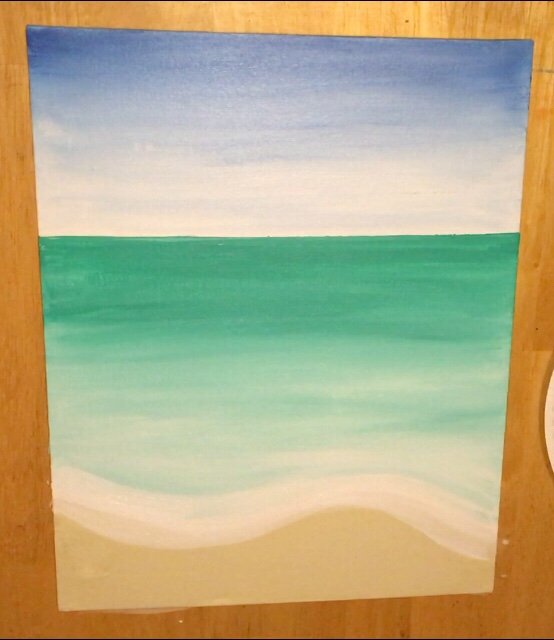
3. Paint the Ocean Bright Aqua Green
Next I painted about 2-3 inches down the ocean with pure bright aqua green. Paint long horizontal strokes. Then as you get closer to the bottom, add in white. This is the same ombre blending technique I did with the sky, only with bright aqua green.
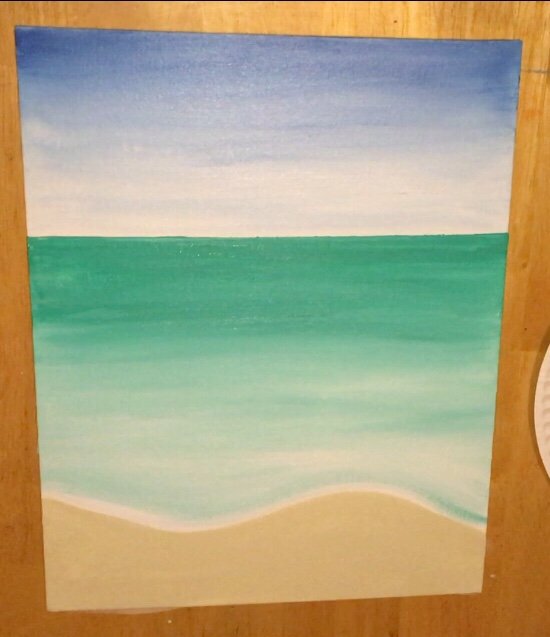
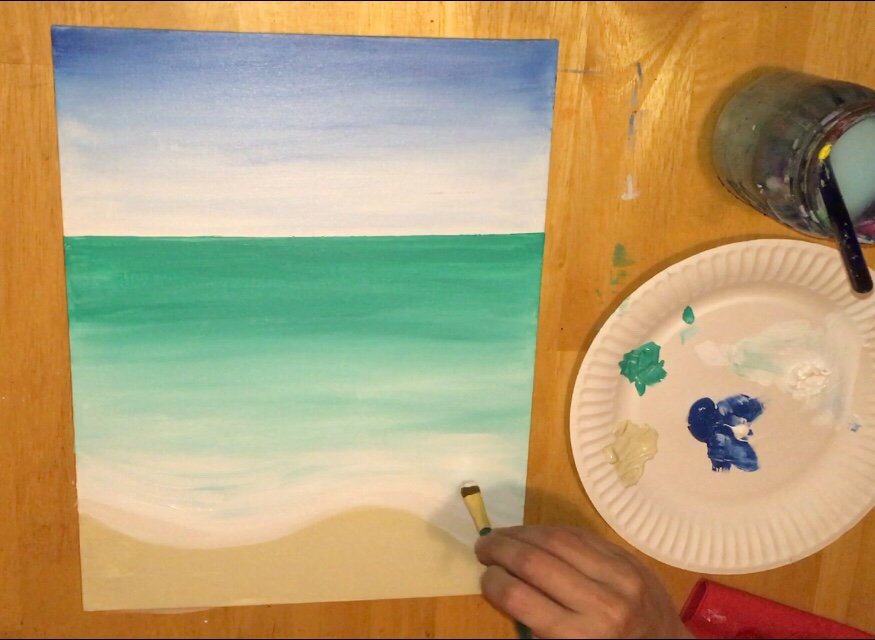
4. Paint The Shore Line
At some point I used my brush to define the shore line where the waves meet the sand. Simply paint a long wavy line with the aqua green and white that is already on your brush.
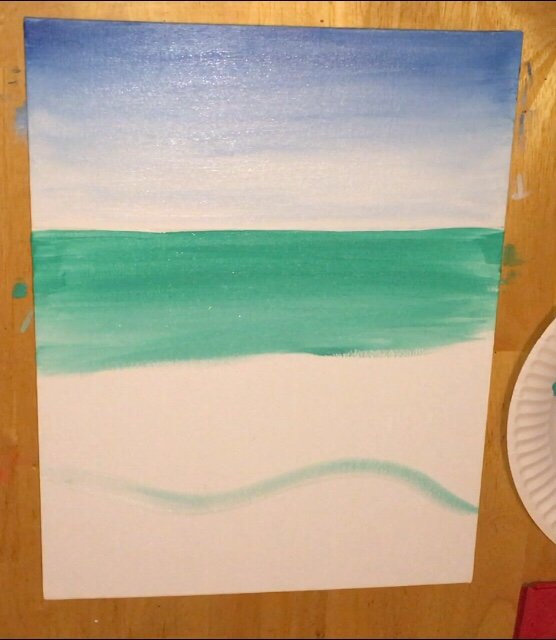
5. Paint White & Bright Aqua Green
Continue to blend the white with the bright aqua green as you paint down to the shore line. Essentially, the color will eventually turn very very light turquoise. Then go back and define that horizon line with a ruler. I like a nice crisp horizon line!
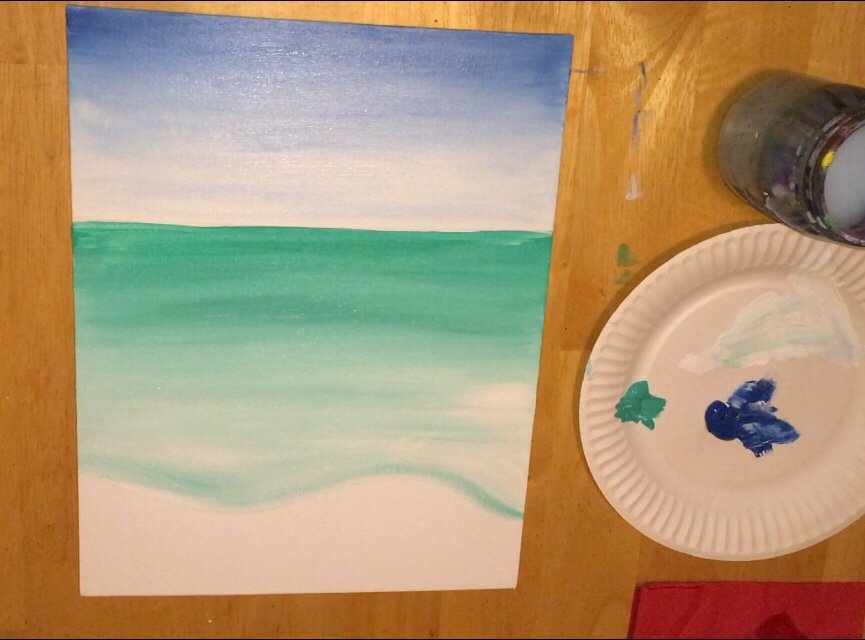
6. Paint the Sand Unbleached Titanium White
Using that same one inch flat, I pretty much filled in the rest of the area under the shore line with a solid coat of unbleached titanium white. Make sure that your strokes are still going horizontal here! I did leave a little bit of gap between the shore line and the sand. This isn’t necessary but it did help with the next step of painting the soft white waves.
7. Paint The White Shore Line Waves
I switched to a smaller 1/2″ flat brush here! Paint a thick white line that overlaps both the edge of the water and the sand. Then add a little bit more white in the water.
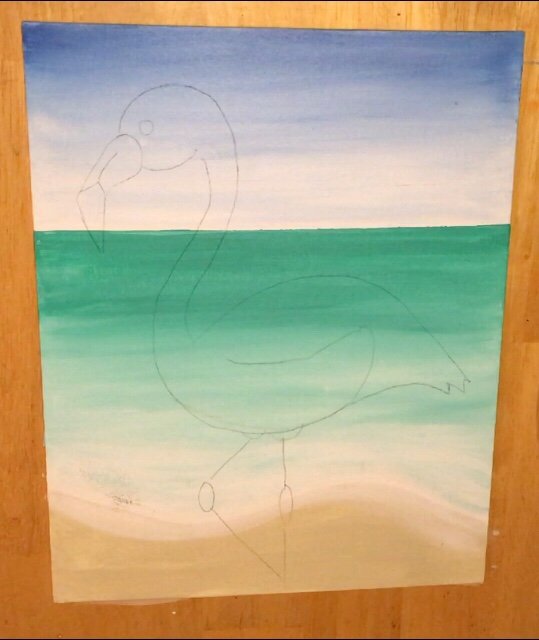
8. Trace or Draw The Flamingo
Next I traced the flamingo on the canvas using graphite paper and the printout of the traceable. Before you print this out, you will need to enlarge it about 10% and have it print on two papers taped together. OR you can print it out on a standard size computer paper and the flamingo will be shorter. Click here for more instructions about changing your printer settings. You can also hand draw the flamingo in too!
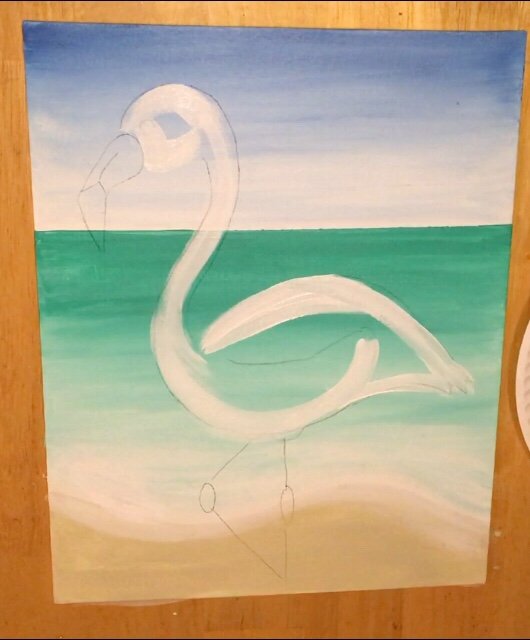
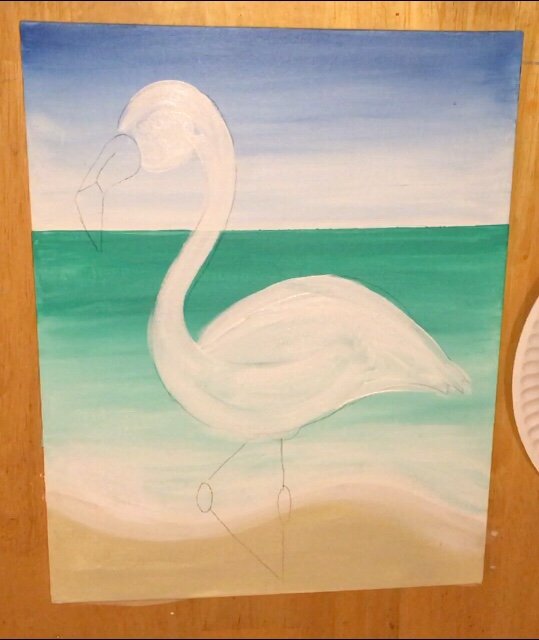
9. Paint a base coat of white on the flamingo.
I used a 1/2″ flat brush for this step. Paint the entire flamingo white. Make sure your strokes go with the shape of the flamingo. This gives it the “painting look” and not the “coloring book look”. See the pictures below how the flow of the strokes contour with the shape.
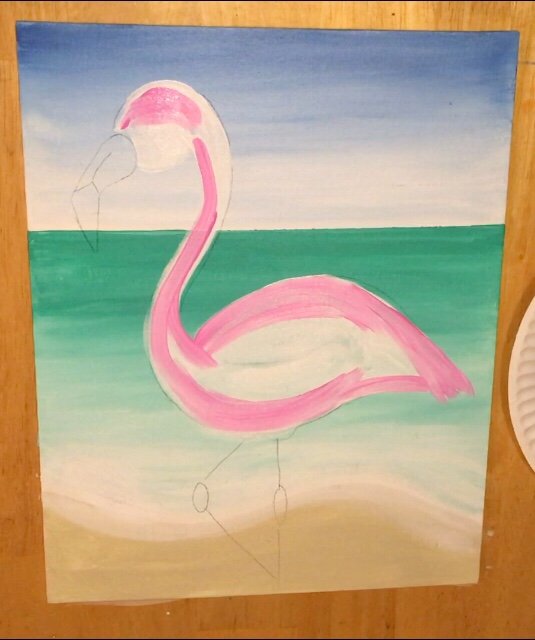
10. Paint The Next Layer Medium Magenta
You don’t need to wait for the white to dry all the way. In fact, it will work in our favor to have this next pink layer blend with it a bit. Paint medium magenta over the white. Again, very important, make sure your strokes go with the flow of the shape of the flamingo.
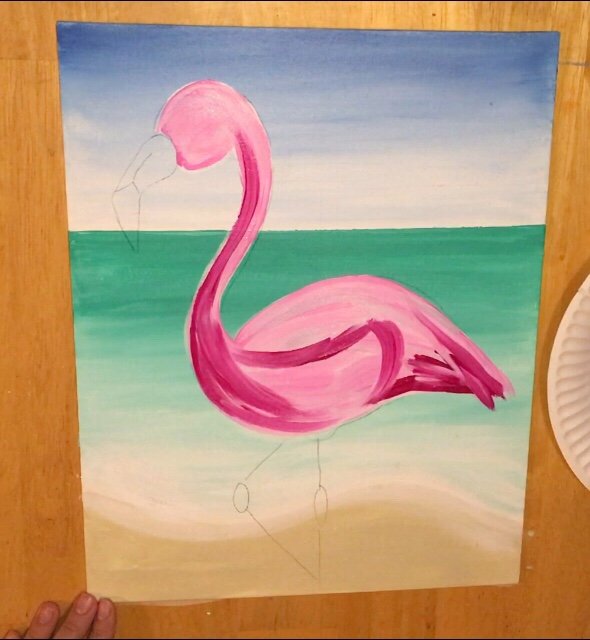
11. Add in dark areas of Quinacridone Magenta
Next I painted some areas on the neck, side feather and tail feather. Use the tip of your brush to get a thinner stroke. Let that quinacridone magenta blend with the medium magenta.
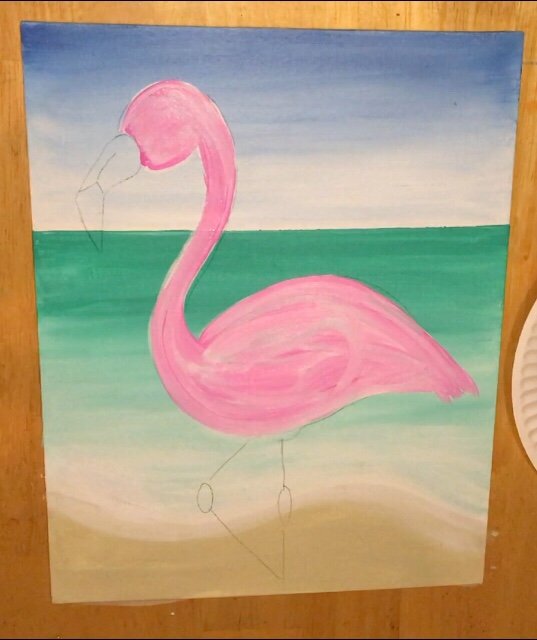
12. Add More Medium Magenta
Next I painted another coat of medium magenta pretty much over the entire flamingo. Keep that color inconsistent throughout. Make sure your strokes go with the contour of the flamingo. Emphasize his side feather and tail feather to be darker.
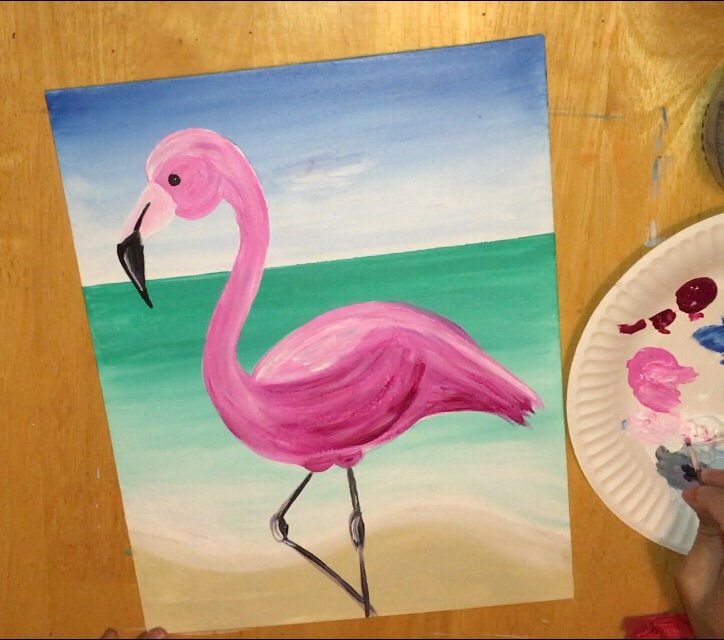
13. Add Areas of White And Then Paint the Beak
Completely clean your brush off. Add in areas of white on the flamingo. I did this on this back specifically. I think the style of this flamingo is not supposed to be realism but rather kind of abstract. For the nose tip, I used a small #0 round brush and mars black.

14. Paint The Eye and Legs
Note: this is where the bent leg should be popped the other way. The eye is just a dot of black. Use that tiny #0 brush to paint it. Then for the legs, I mixed equal parts pink and white with a tiny bit of black. It makes this gray-pink color. Use that tiny #0 rush to paint the legs in. Then paint a black line on the far right of the legs.
15. Paint The Rest Of The Beak
The rest of his beak was painted in white. Then I added just a tiny slither of white highlight on the black area. Still using that tiny #0 brush!
16. Paint in Some More Quinacridone Magenta
Then I switched to a 1/4″ flat brush. I wanted to add some more coats of color to the flamingo. I added some more quinacridone magenta to the tail and wing feathers.
17. Paint The Pink Portion of His Beak
Instead of leaving it white, I painted the white portion of this beak with medium magenta mixed with a lot of white to make a very light pink.
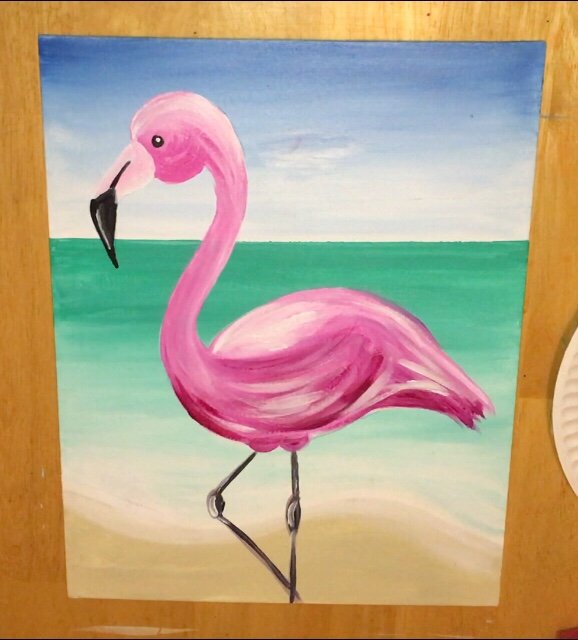
18. Paint More White On The Flamingo
I think adding white made the flamingo really pop here. I added white on the top part of this head and blended it in with the rest of the pink. Then I also added some white on his tail feathers, side feathers, back and neck. The direction of the strokes really gives the illusion of feathers. I used a 1/4″ flat for this.
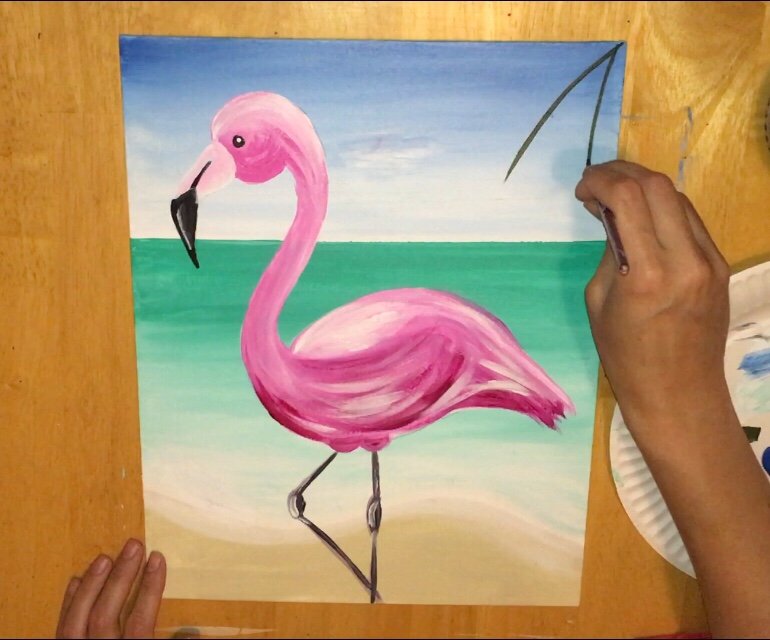
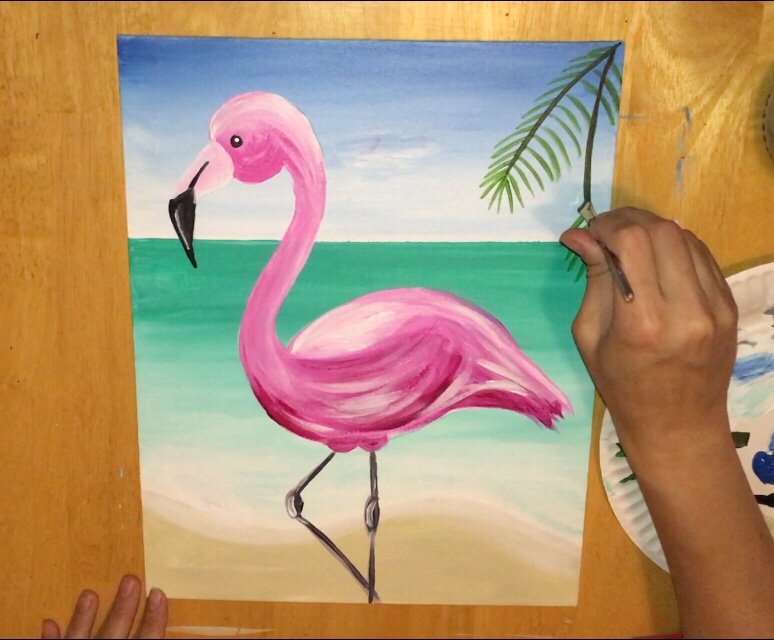
19. Paint The Palm Tree Branches
Mix hooker’s green with a little bit of black to make a very dark green. Use a 1/4″ angle brush to paint the center line of the palm. Using an angle brush will allow you to get a very crisp line. If you aren’t comfortable using angle brushes, you can also do this with a round brush. Then using that same angle brush, paint the individual palm lines with hooker’s green. I like to start my palm lines from the tip and work my way up. Do this with both palm lines.
Middle line is hooker’s green and black. Palm lines are hooker’s green.
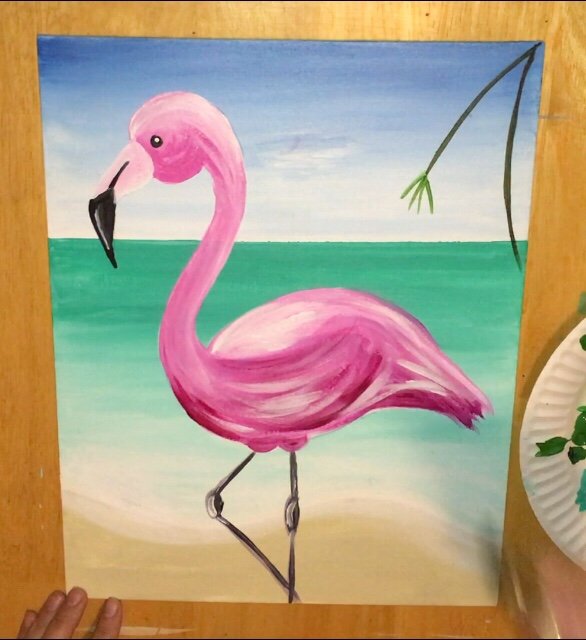
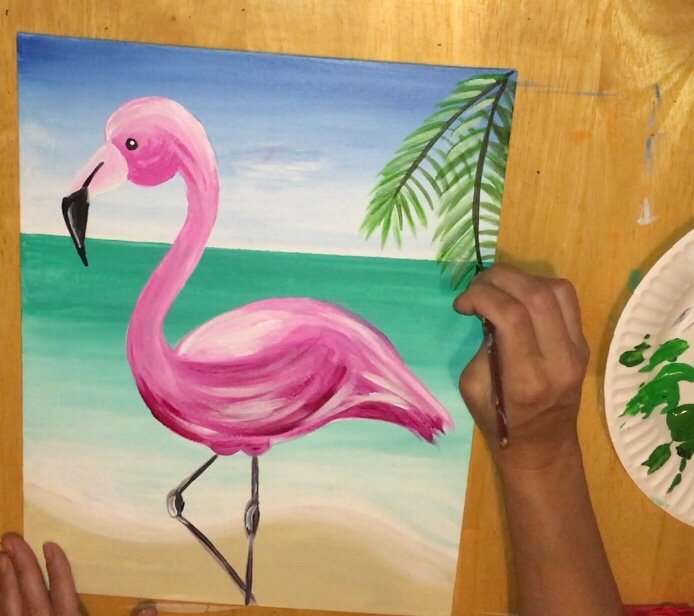
20. Add some color variation in the palms
Then I mixed light green permanent with white (equal parts). Using that light green, I painted more palm lines directly next to the ones that were already painted. I only did this on the left of the palm. This gives variation to the color almost like you are painting highlights. Then on the right side of the palm branch, I painted hooker’s green mixed with black.
Would you like to save this?
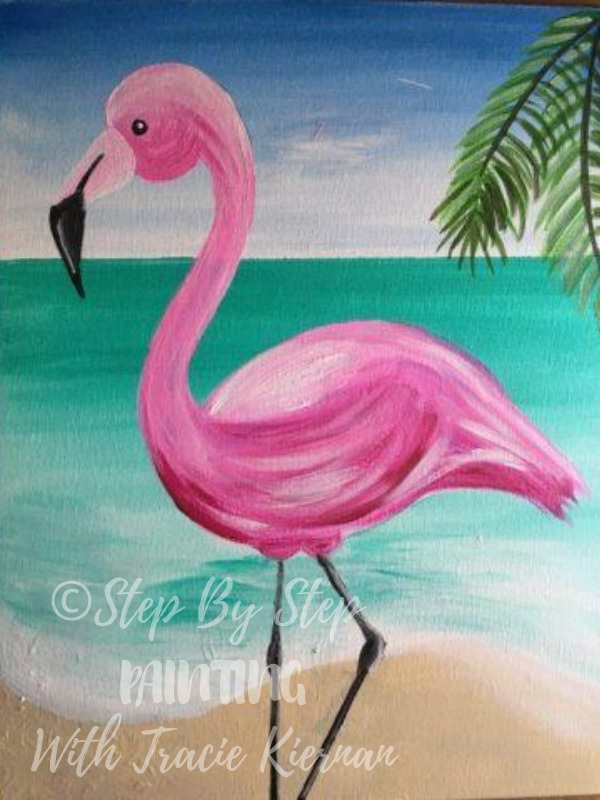
Finished! Share your art here:


I was in Art therapie today and decided to give this a shot, it was my 2nd time ever doing a painting.
I got all the background done, next week I will work on the flamingo.
Thanks for sharing
You’re welcome ? So glad!!! ❤️
I just did the flamingo! it was so much fun and turned out exactly like the one in the video! I have been painting for two years and this painting was fun and easy, can’t wait to do more!
Awesome!!! So glad you had fun!!
I’m having friends and family over tomorrow night. I’m not charging them but am hoping to get their thoughts on starting paint parties as a side income. May I use your painting and instructions for this event? I will give you all credit.
Certainly! If your business takes off, email me directly: tracieannekiernan@gmail.com and I will give you information on how my licensing works. Good luck!
This was a lot of fun! Thank you for the instructions. I love the way my painting turned out!
Awesome Tabitha! Glad you loved painting the flamingo ? ?
hoping to try painting this. it is beautiful!!!!
Thanks Tabitha! Enjoy!