

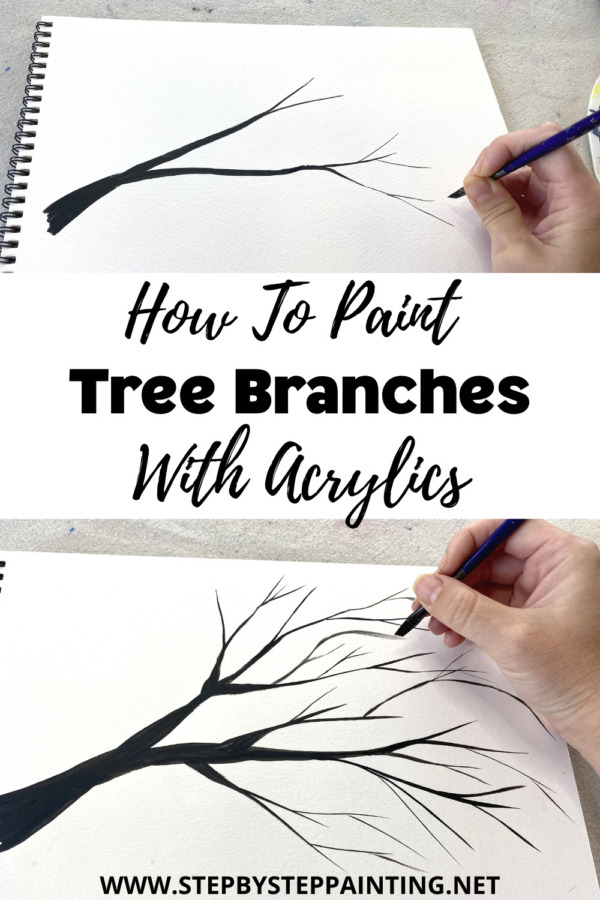
Do you struggle with painting tree branches? It is a technique that many beginner acrylic painters struggle with.
This blog post is part of a mini tutorial series I create to help beginner painters with basic techniques!
Would you like to save this?
The step by step tutorial below will show you a guideline of how to paint basic branches using two different paint brushes and black paint.
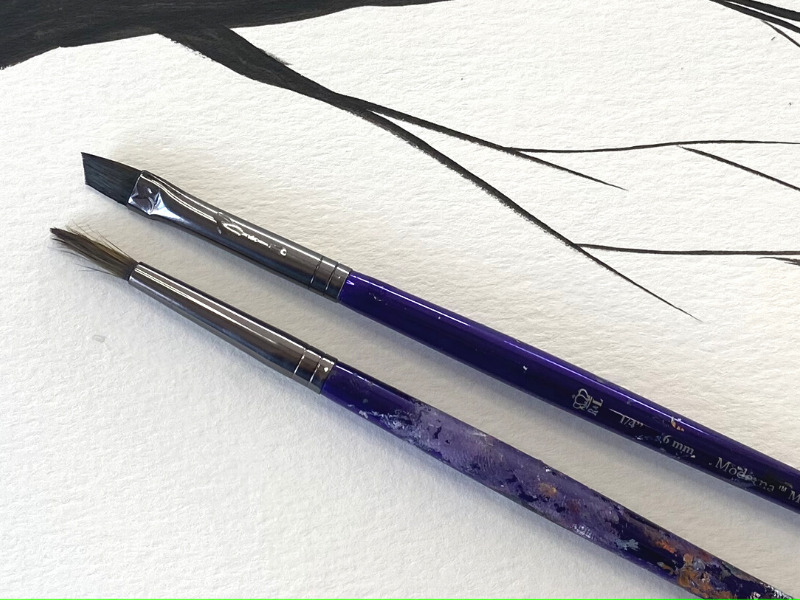
A quick note about brushes! In my opinion, there is no one standard brush for branches. You can use a round brush, a flat brush or an angle brush. You can also use a tiny liner brush for thinner branches. It really comes down to your preferences.
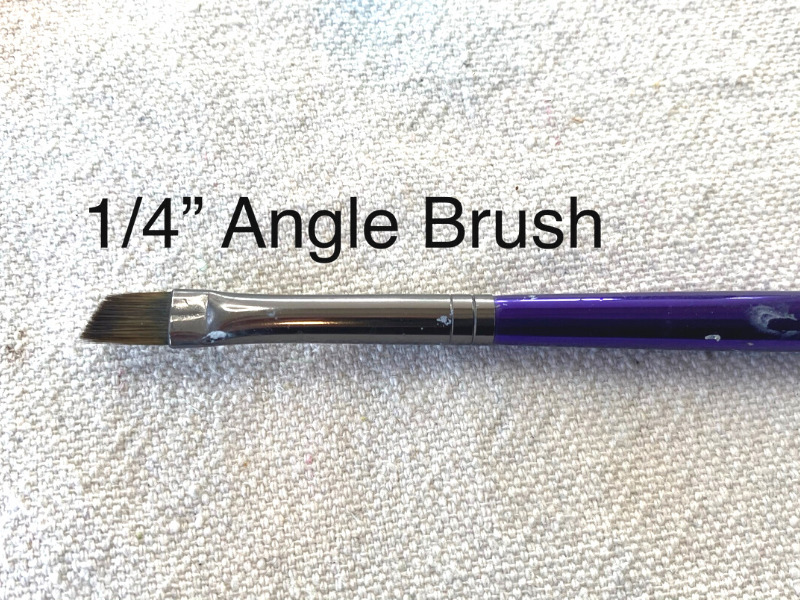
In this tutorial, I will be showing you how to paint branches using a #4 round brush and a 1/4″ angle brush. I am using Royal & Langnickel Moderna brushes.
Materials Needed
How To Paint Tree Branches
Beginners can learn a simple technique for how to paint basic tree branches. This tutorial utilizes two different brush types.
Materials
- #4 Round Brush
- 1/4" Angle Brush
- Mars Black Acrylic Paint
- Water In Jar
- Palette (I use a paper plate or plastic palette)
- Watercolor Paper, Acrylic Paper or any Practice Type of Canvas Sheet
Video
Step By Step Instructions
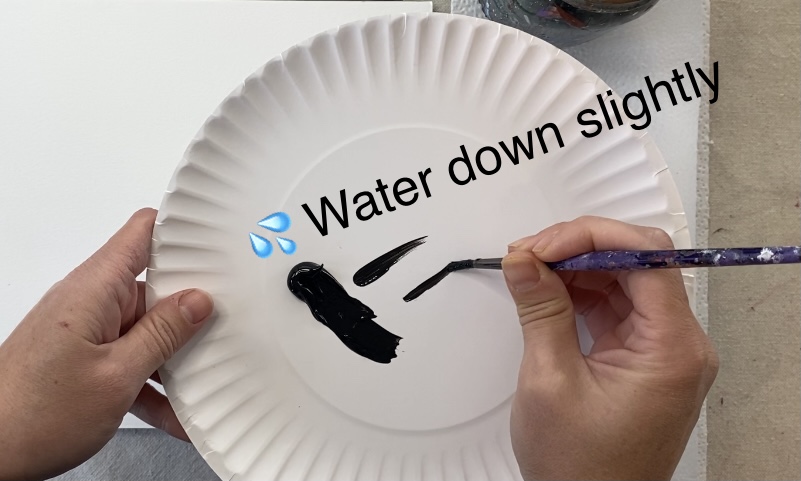
1. Load your palette with some mars black & slightly water it down
When you water down the black slightly, it will allow the paint to flow better. Swirl you brush in some water and then apply it into the paint on your palette.
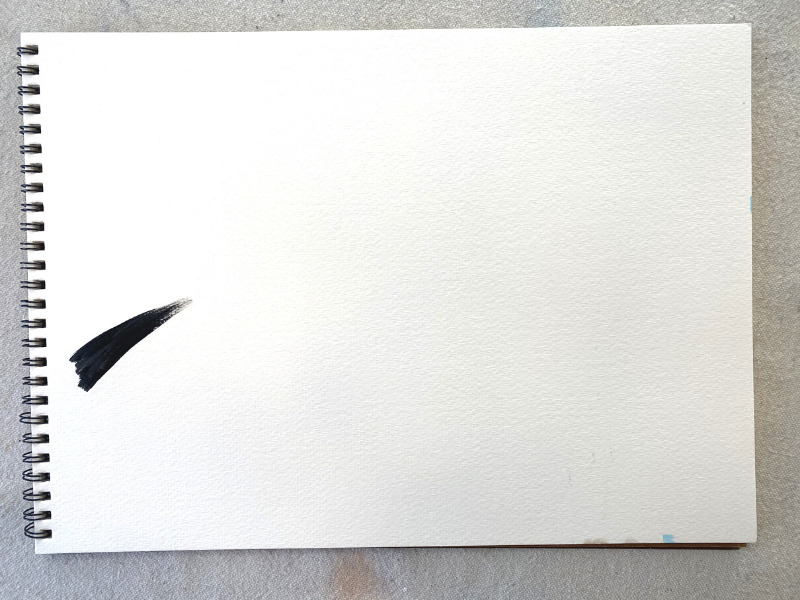
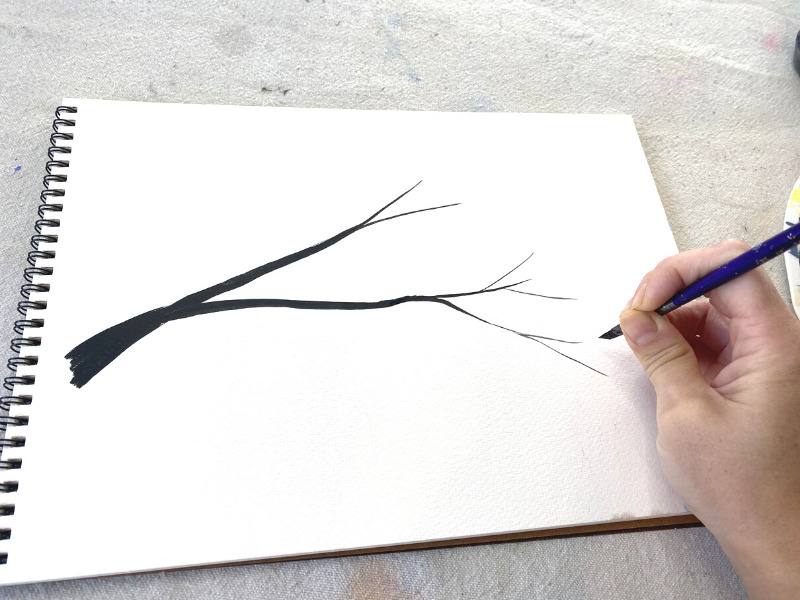
2. Start with the base of the branch and paint a thick/ triangular shape
Use your #4 round brush to paint this base of the trunk. It should start out thick and then get thinner (like a triangle).
3. Split your branch off into two sections
Use the tip of your brush and “light pressure” to split your branch into two sections. These lines should be thinner than the base branch you first painted.
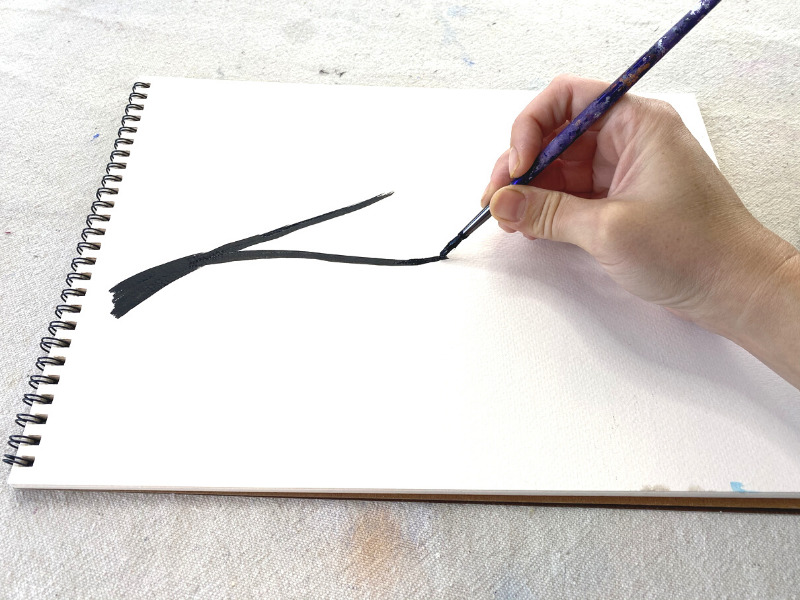
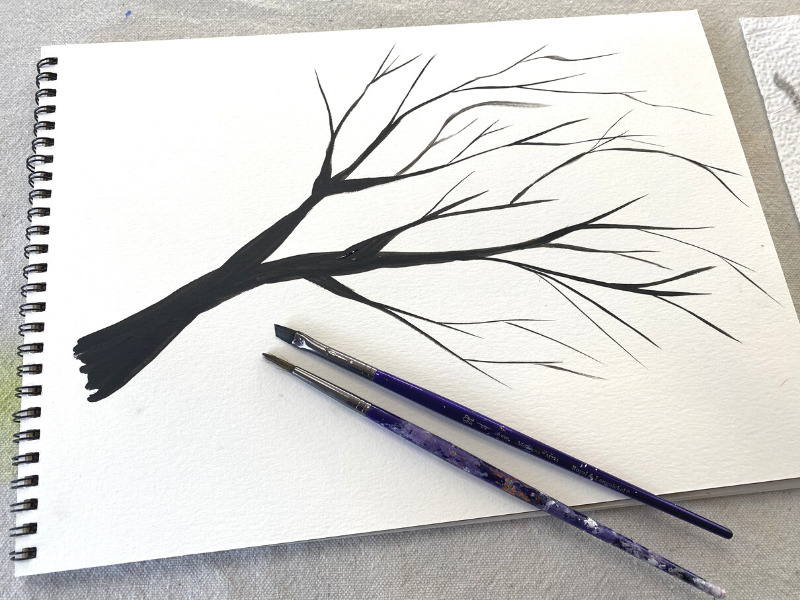
4. Switch to an angle brush for really thin branch lines
The nice thing about the angle brush is that you can utilize it to create both thick and thin lines. When you use the full width and apply hard pressure, it will create a thick line.
If you hold it so the bristles at the very top of the angle of the brush touch the canvas, it will create thin lines.
Load your angle brush in the slightly watered down black. Then paint a thin line on your branch. Use the very tip part of the angle to make the thin line.
Hold your brush so the top pointed part is on the left and paint the branch. Use just the tip of the brush to create the thin line.
Tip: remember that if your black is not “flowing” slightly add water into it.
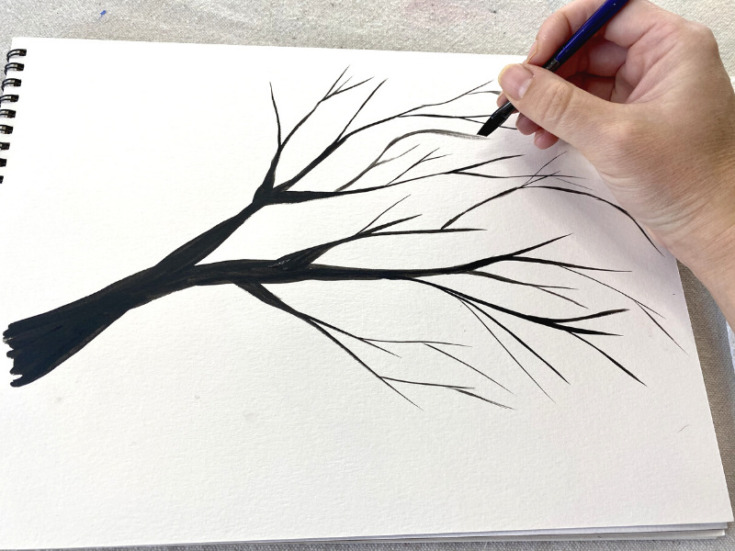
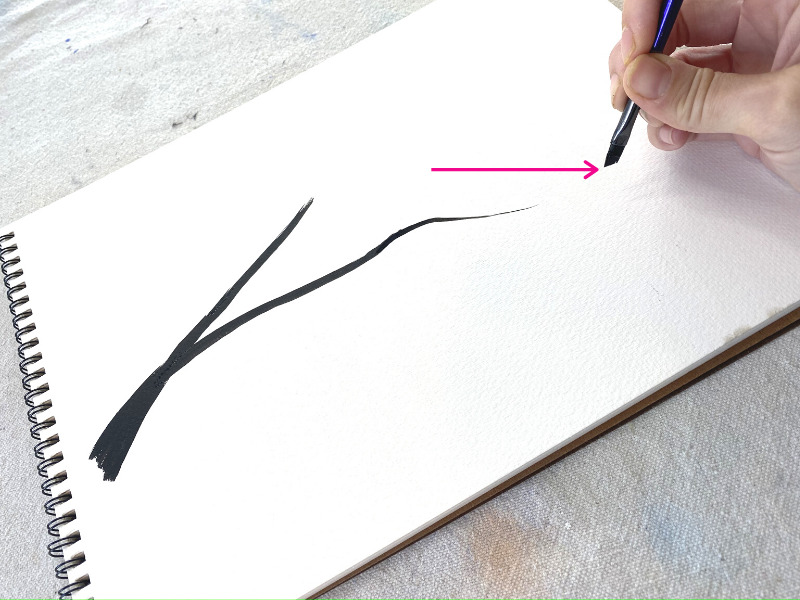
5. Paint more thinner branches stemming off from the main ones
Continue to use the angle brush to paint more thin branch lines. Have your branches go off in different “forked” directions.
6. Make some of the branches thicker
I like to do this to my branches to make them look more natural. Go back and make some of your base branches thicker/ a little “wobbly” on the sides.

7. Paint more thinner branches
Then simply take the angle brush and paint more branches. You can even have some overlap each other.

The lighter you hold the angle brush, the thinner your branch will be.
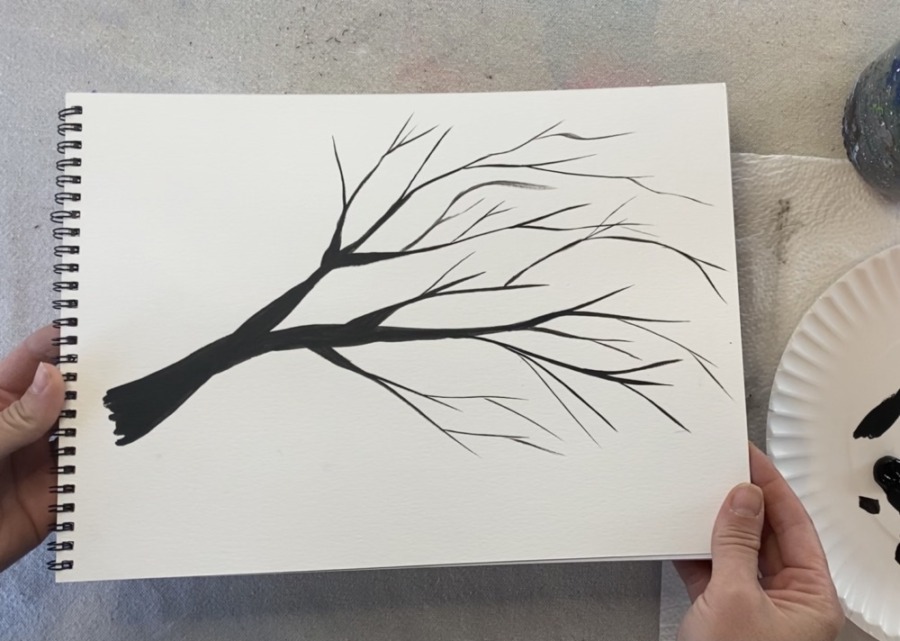
Practice, practice, practice!
Mixed media pads & water color pads are great for practicing techniques such as branches! Keep practicing and you will get the hang of those branches!

Ready to learn more?
You can check out similar blog posts for beginner painters such as: