
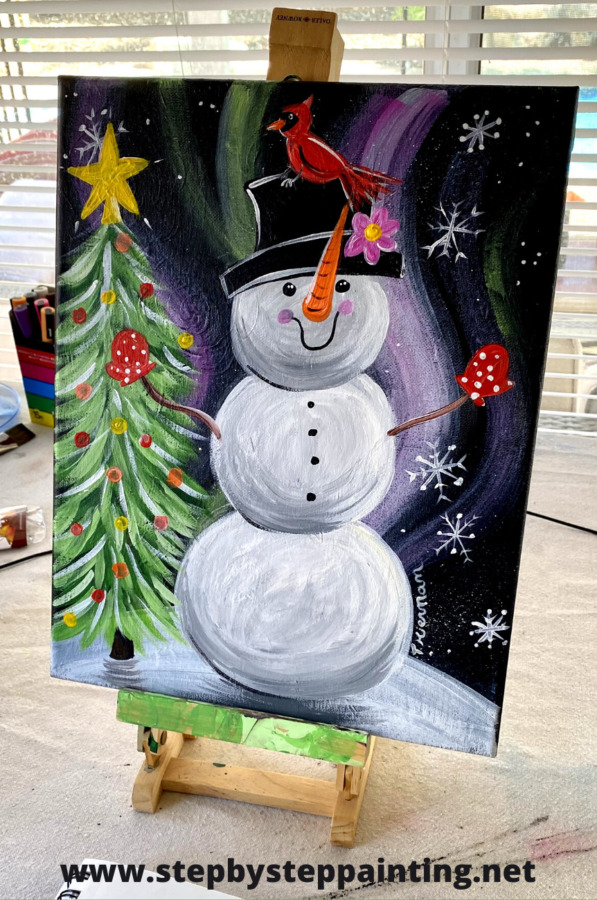
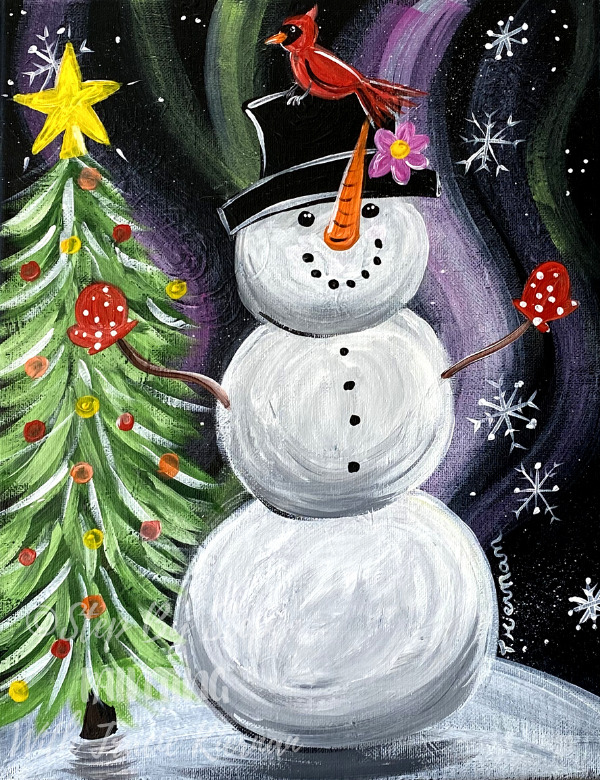
This free acrylic painting tutorial will show the beginner painter how to paint a “Magical Snowman” with aurora borealis background, a Christmas tree and snowflakes!
Would you like to save this?
I did this painting on an 11″ x 14″ black canvas. This is a great painting you can do over a “mess up painting”. Simply paint a coat of “Mars Black” over a canvas. You can also get a black canvas to do this on.
I love the aurora borealis in the sky of this painting! It is a super simple technique that utilizes a 3/4″ flat brush and the “dry brush technique”. If you did my American Flag sky painting, it is the same concept.
Enjoy and happy painting!
This post contains affiliate links. That means if you click on the link and order from that link, I may receive a small commission at no extra cost to you. To read our affiliate disclosure, click here.
Materials
Magical Snowman Painting Tutorial
Learn to paint "Magical Snowman" on a black canvas with acrylics.
Materials
Colors
- Mars Black
- Titanium White
- Cadmium Red Medium Hue
- Cadmium Orange Hue (snowman nose)
- Primary Yellow (only in the star on the tree)
- Brilliant Yellow Green
- Hookers Green Hue Permanent
- Burnt Umber (Snowman Arms)
- Medium Magenta
Brushes
- 3/4 Wash Brush
- #4 Round Brush
- #8 Round Brush
Instructions
- Paint a canvas mars black or use a pre-painted black canvas.
- Paint a white hill on the bottom of the canvas using a 3/4 wash brush.
- Paint the aurora borealis sky with a 3/4 wash, titanium white and medium magenta. Use the dry brush technique to create the effect.
- Splatter snow effects with white paint and a toothbrush.
- Wait for the painting to dry. Draw the snowman with a white chalk pencil.
- Paint the snowman balls and add a very light gray to the bottom of the balls for shading.
- Paint the tree using a darker green and a #8 round brush. Gradually add lighter green layers on the tree to create the pine tree effect.
- Paint the details on the snowman including the hat, face and arms.
- Paint the cardinal by painting the base of it white first, wait for it to dry and then paint the bird red with black accents.
- Paint snowflakes in the sky using a #4 or smaller round brush and titanium white.
- Add final details such as highlight in the hat, cardinal and on the snowman. Add ornaments and star on the tree.
Color Palette
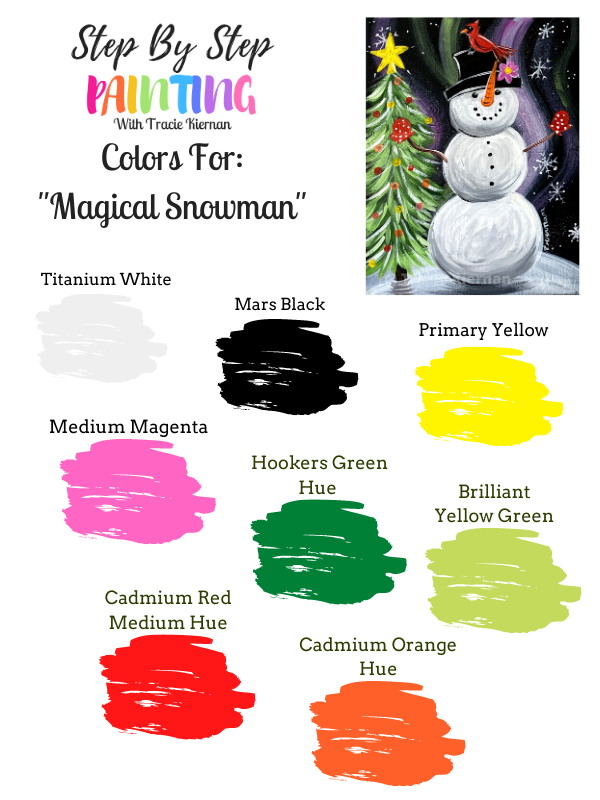
I use a combination student grade acrylic paints including: Liquitex BASICS, Artist’s Loft and Royal & Langnickel Essentials.
Brushes I Used
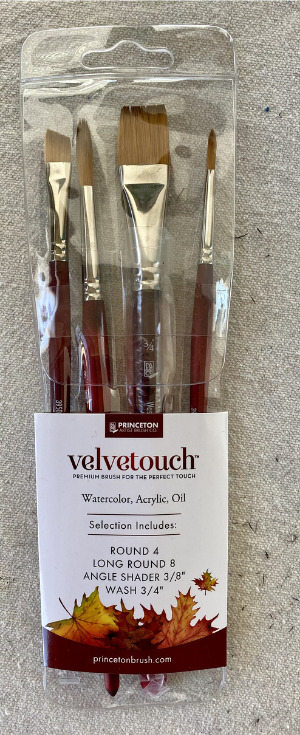
For this tutorial, I tried out this set of brushes “Velvetouch” by Princeton. You can get this exact set here! You can also find them at Joann.
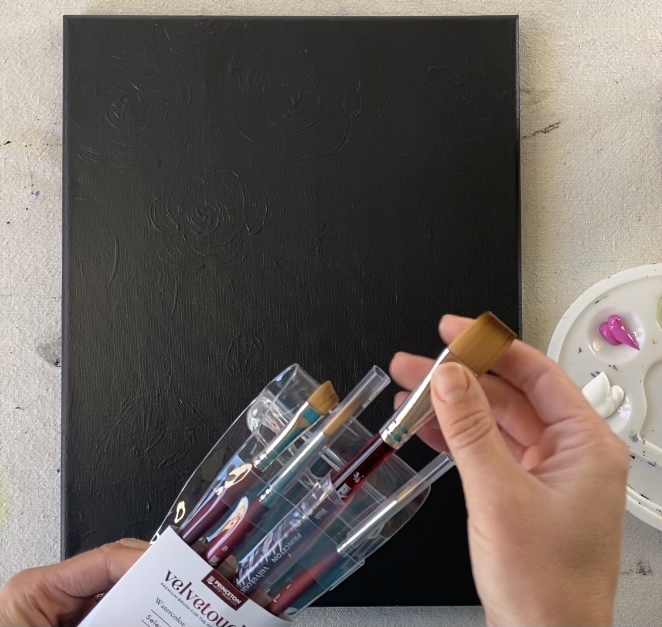
I like that this set includes three brush sizes that I most commonly use! If you are in the market for a good set of brushes, I would recommend them! They seem super durable and were very nice to use for this painting!
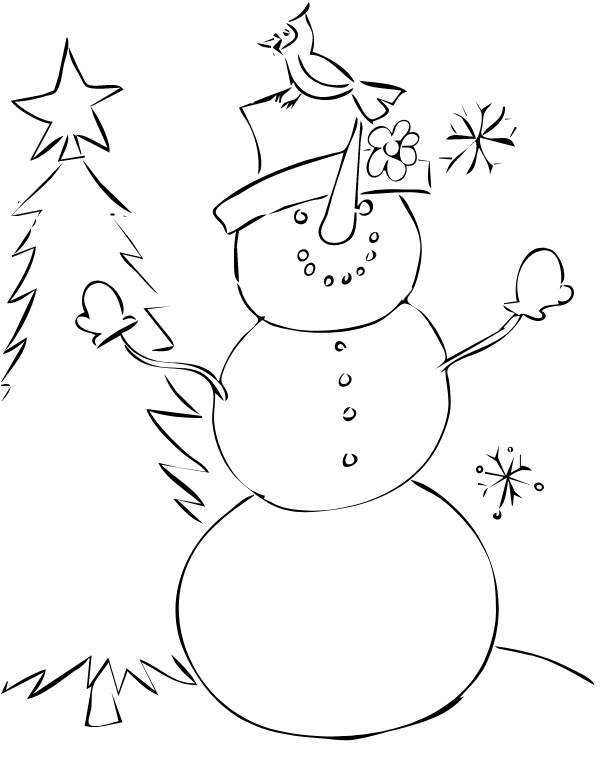
Traceable
Completely optional! In the tutorial I show you how to draw the snowman.
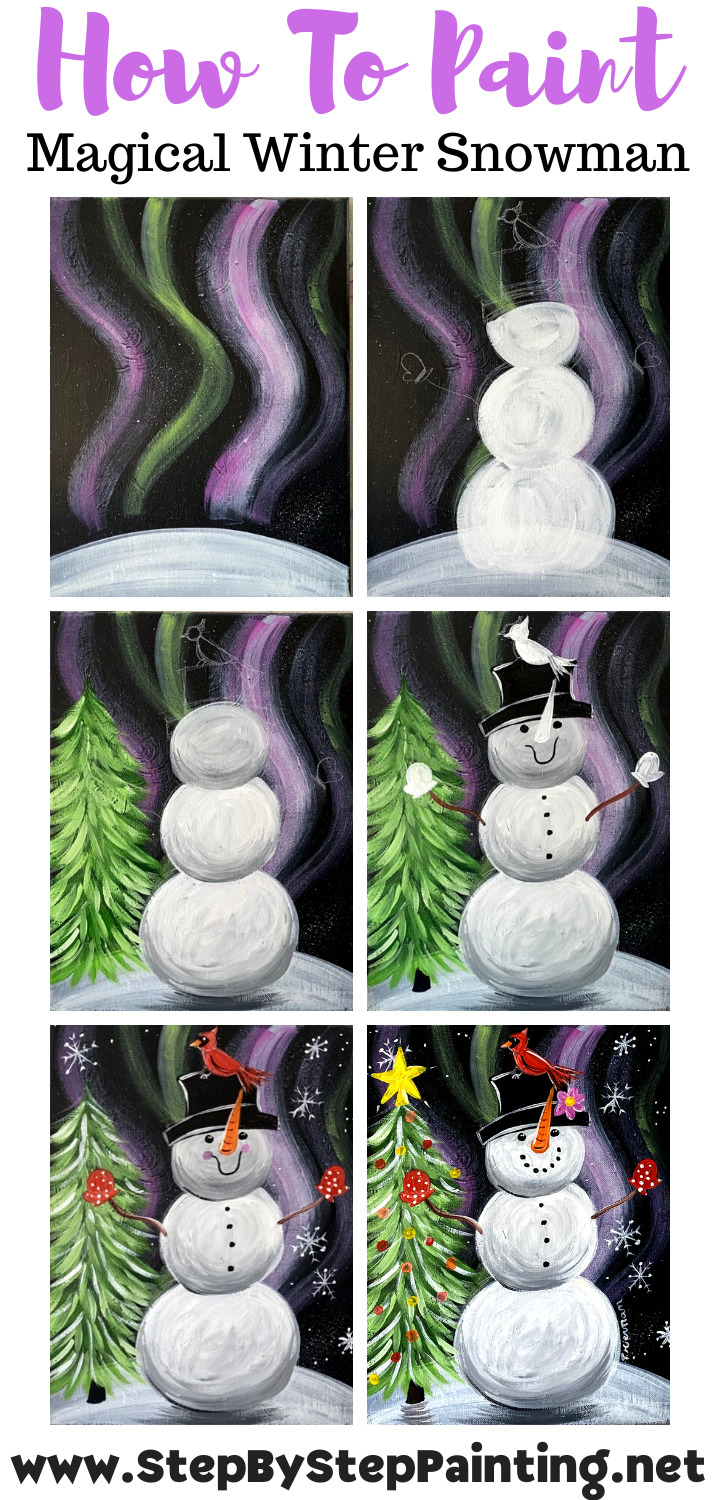
Directions At A Glance
Video
Step By Step Directions
1. Paint a canvas black or use a pre-painted black canvas
I used mars black and painted a thin coat over a painting that was a practice/mess up painting. You only need one coat for this because the mars black will spread and cover very easily!
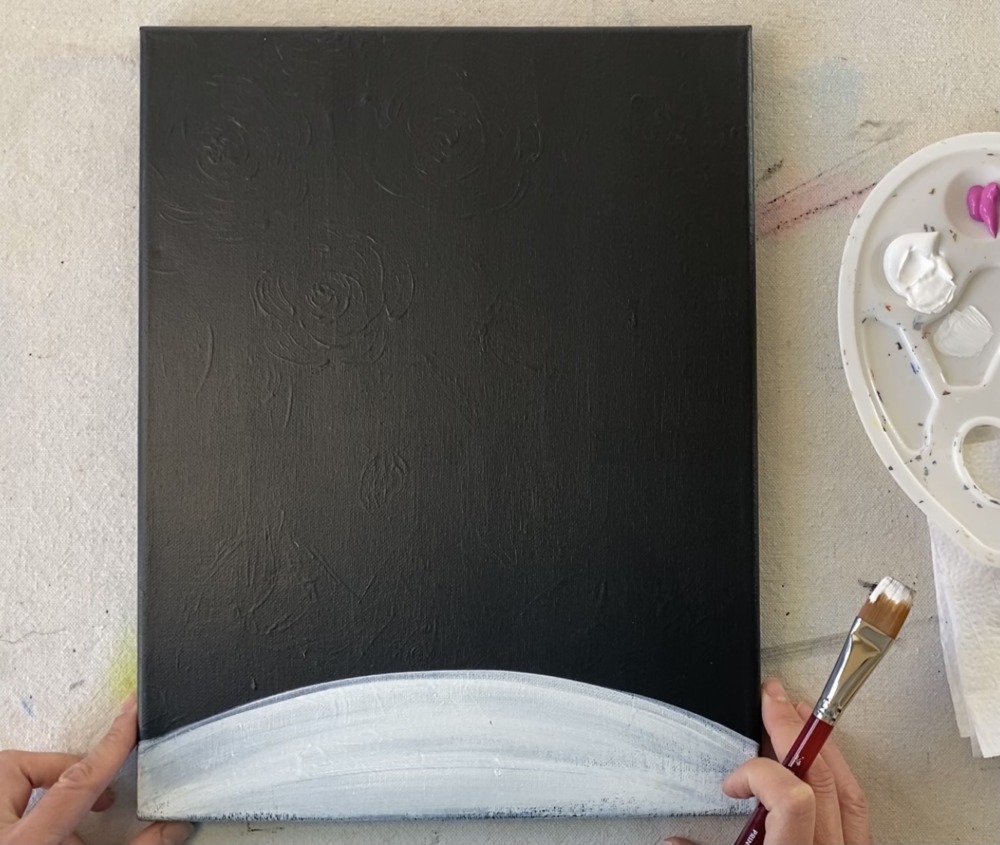
2. Paint a hill with 3/4″ wash brush
I used a 3/4″ wash brush and titanium white to paint a hill on the bottom of the painting. The height of the hill in the middle is about three to four inches.
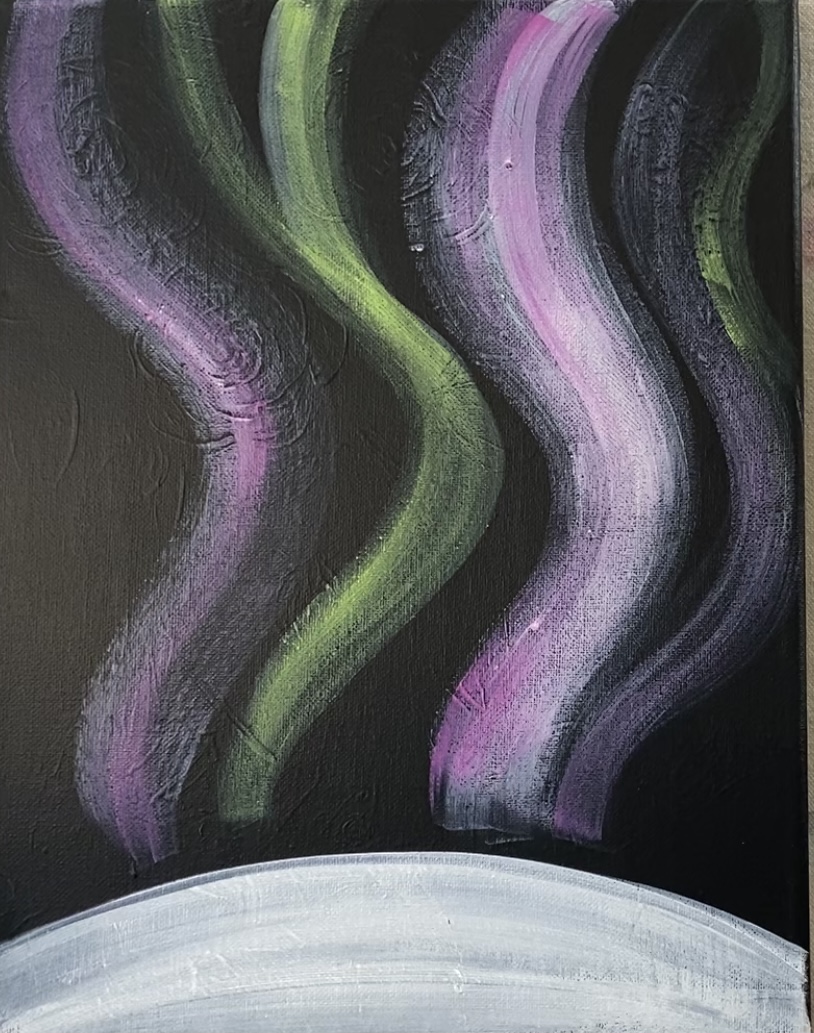
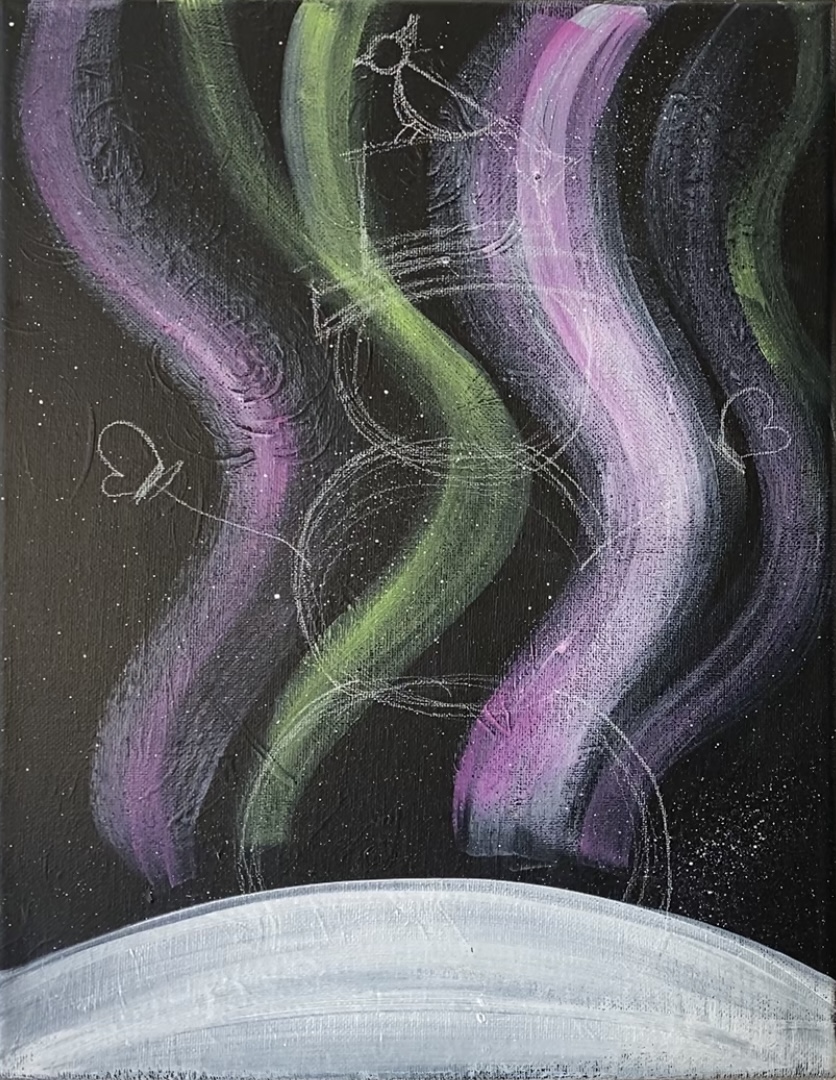
3. Paint the aurora borealis
For the aurora borealis effect, I used the 3/4″ flat wash brush and did a “dry brush technique”. This is where you do not add any water to the brush. Instead you load it in a small amount of paint and wipe off some with a paper towel. Then when you paint your stroke, it will look dry and see through.
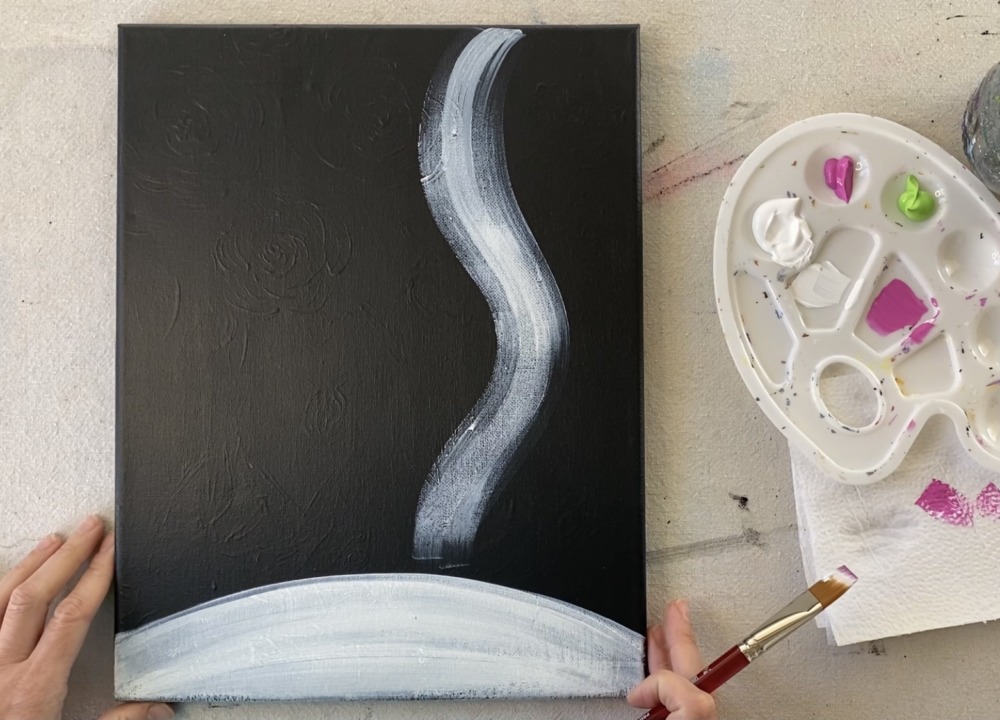
Paint a wavy dry brush line starting from the top and going down to the hill.
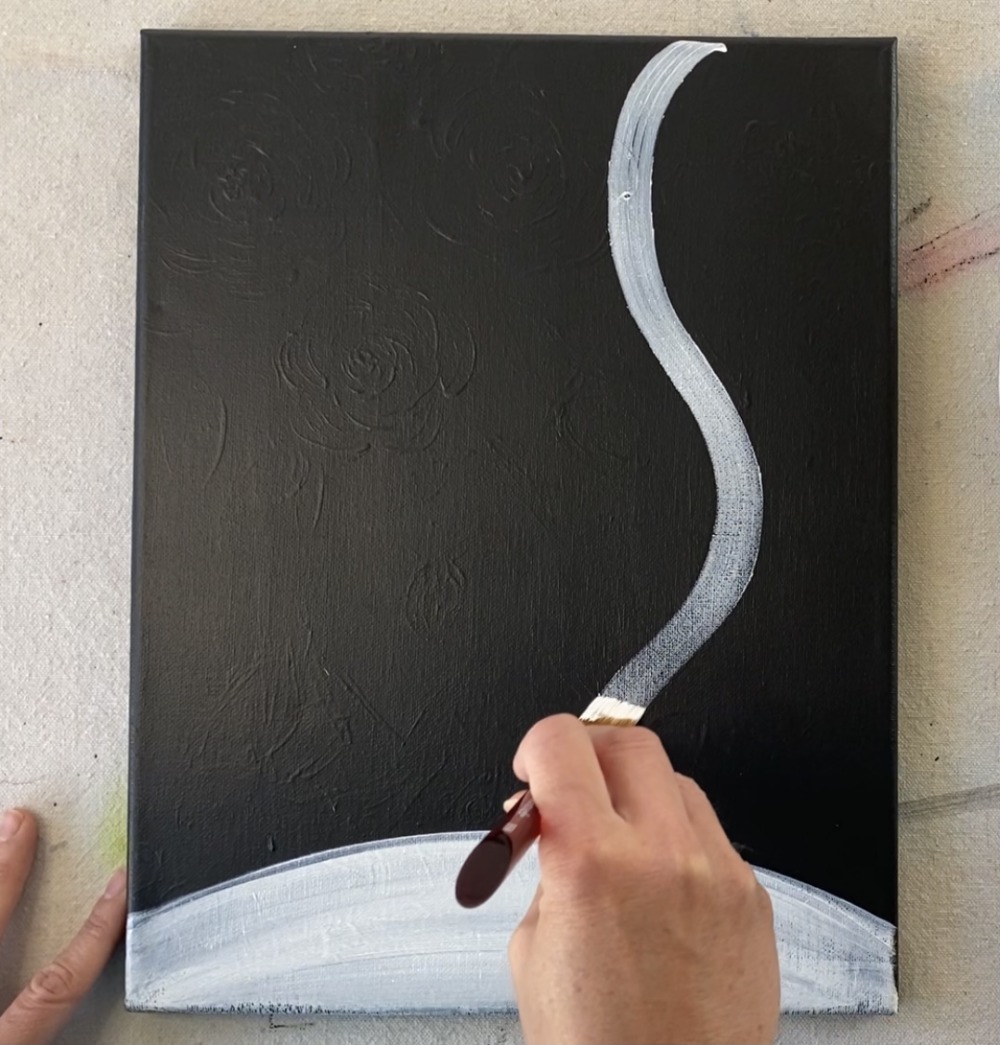
I did one continuous stroke and then made it thicker.
Then load your brush into some medium magenta and go over that white line (but you do not have to cover all of it).
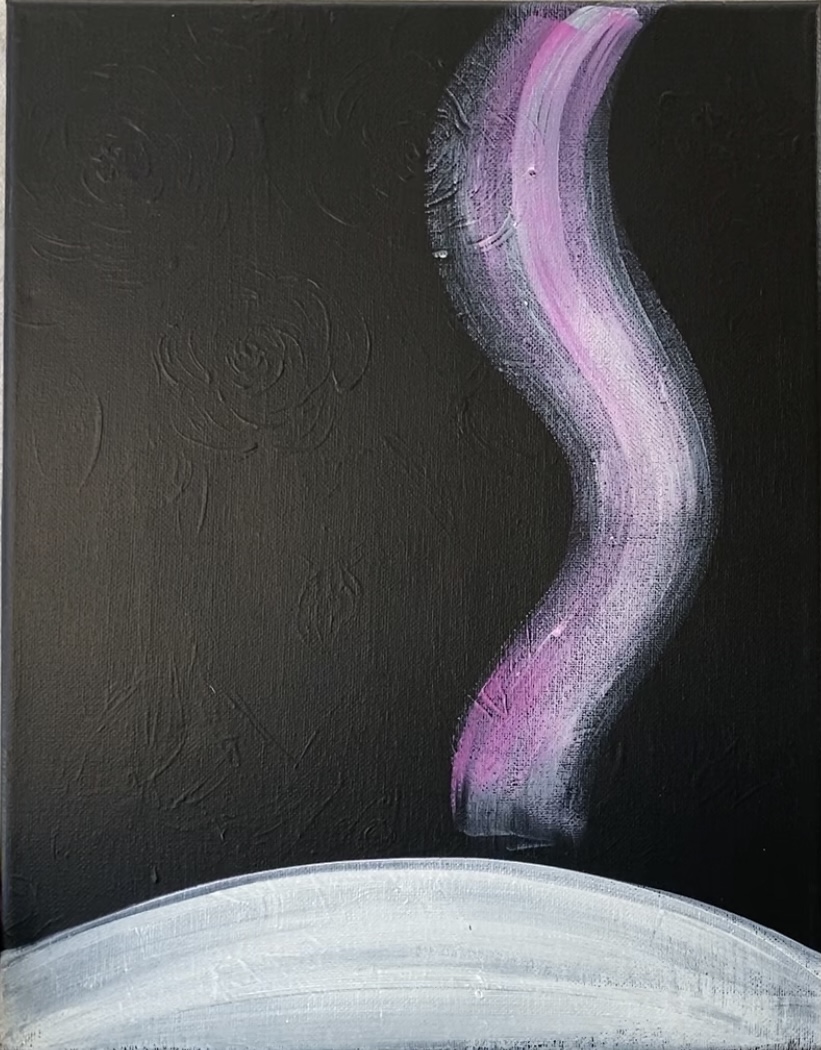
Repeat this a few times in the sky.
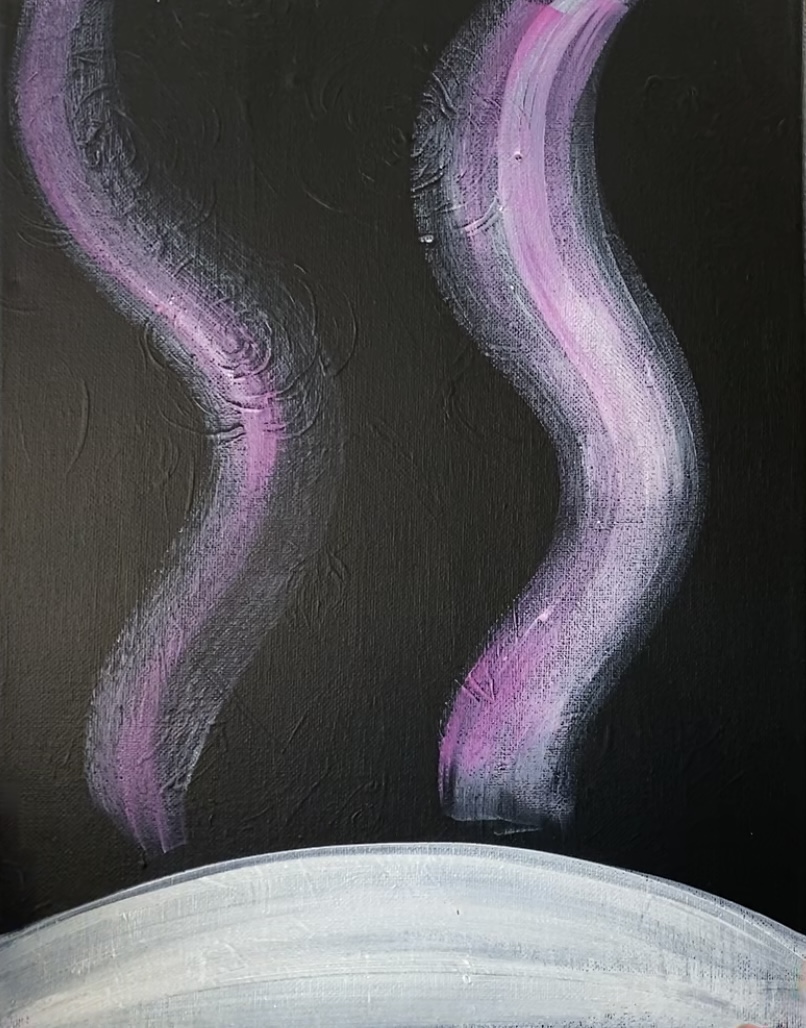
Then add a few streaks of brilliant yellow green + white in the sky.
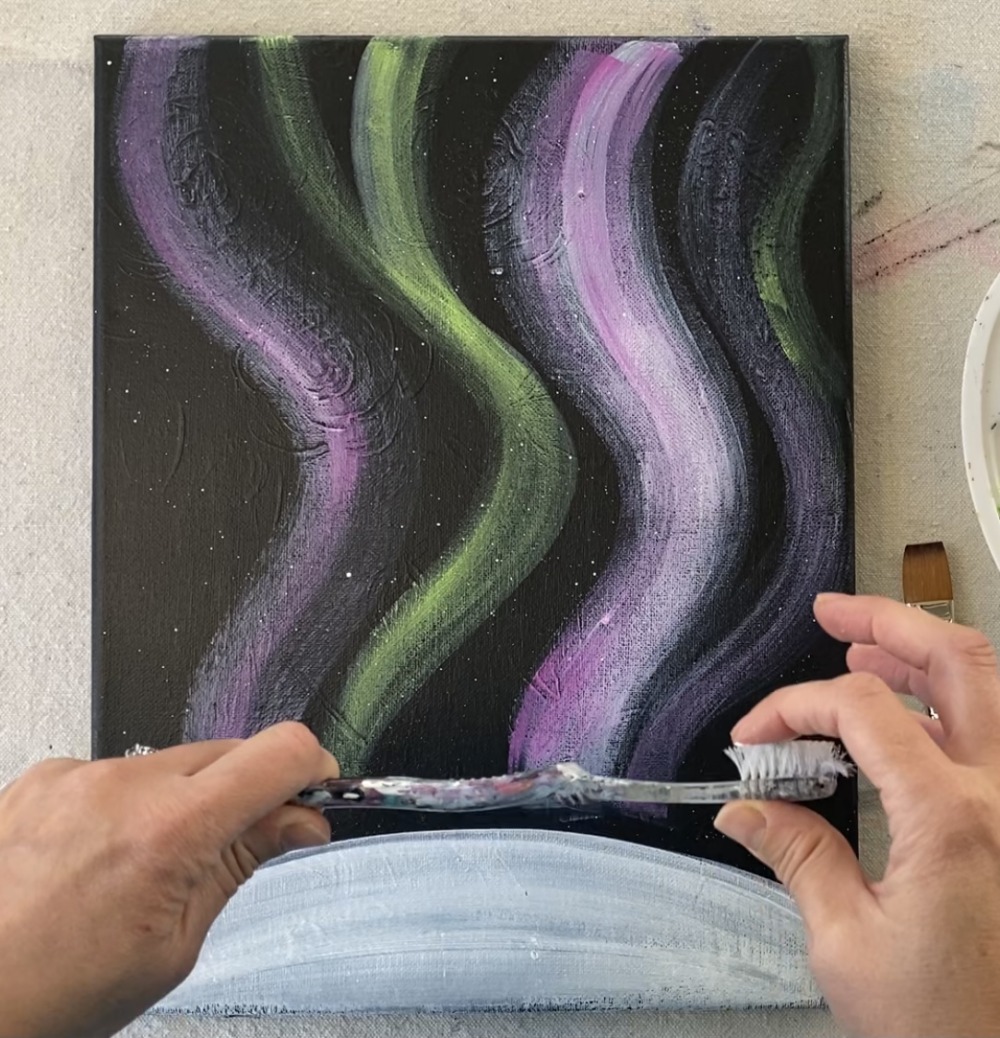
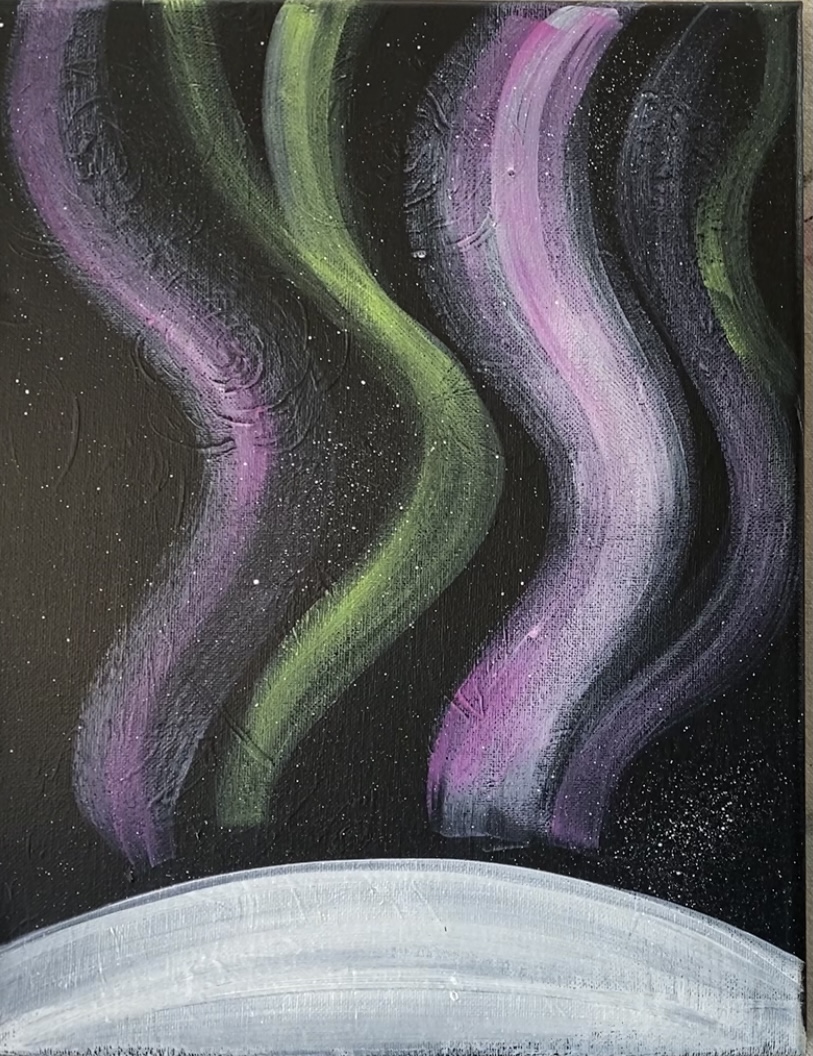
4. Splatter snow with toothbrush
Use a toothbrush and lightly add titanium white paint to it (with a little water). Test a section before splattering.
Then splatter snow effect all around the canvas.
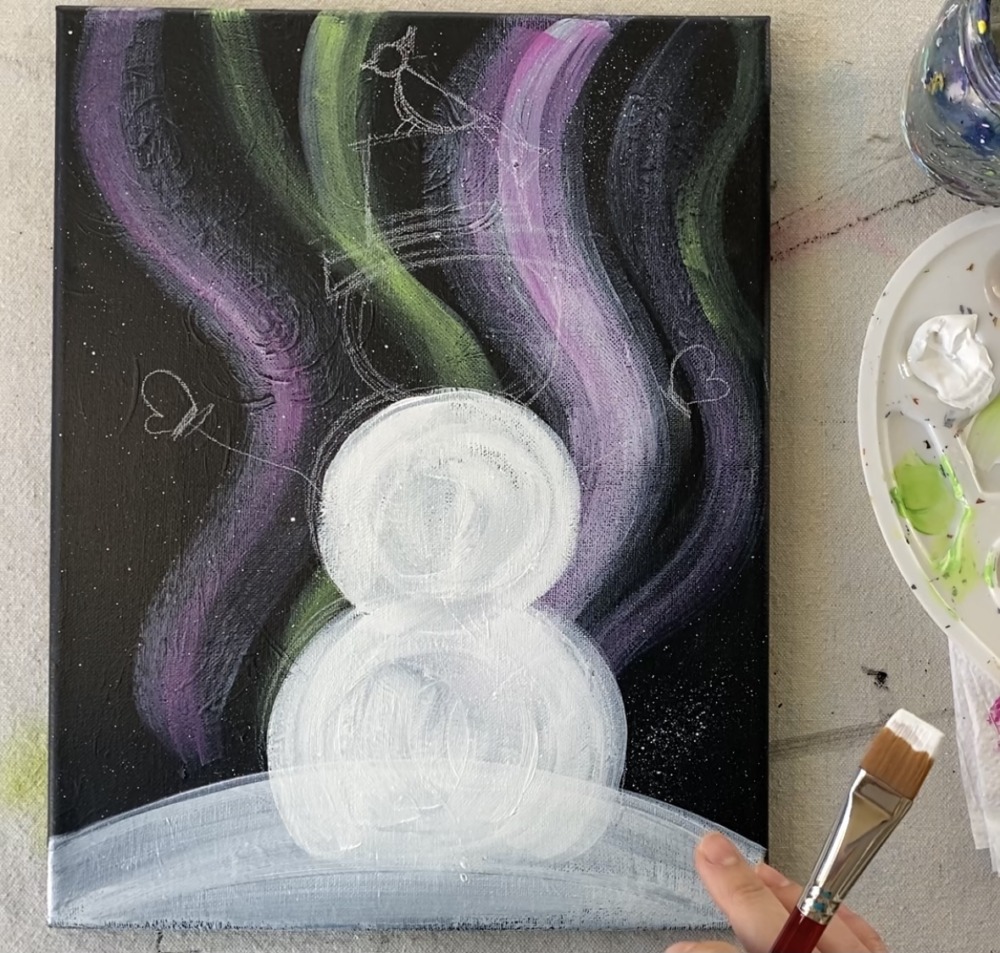
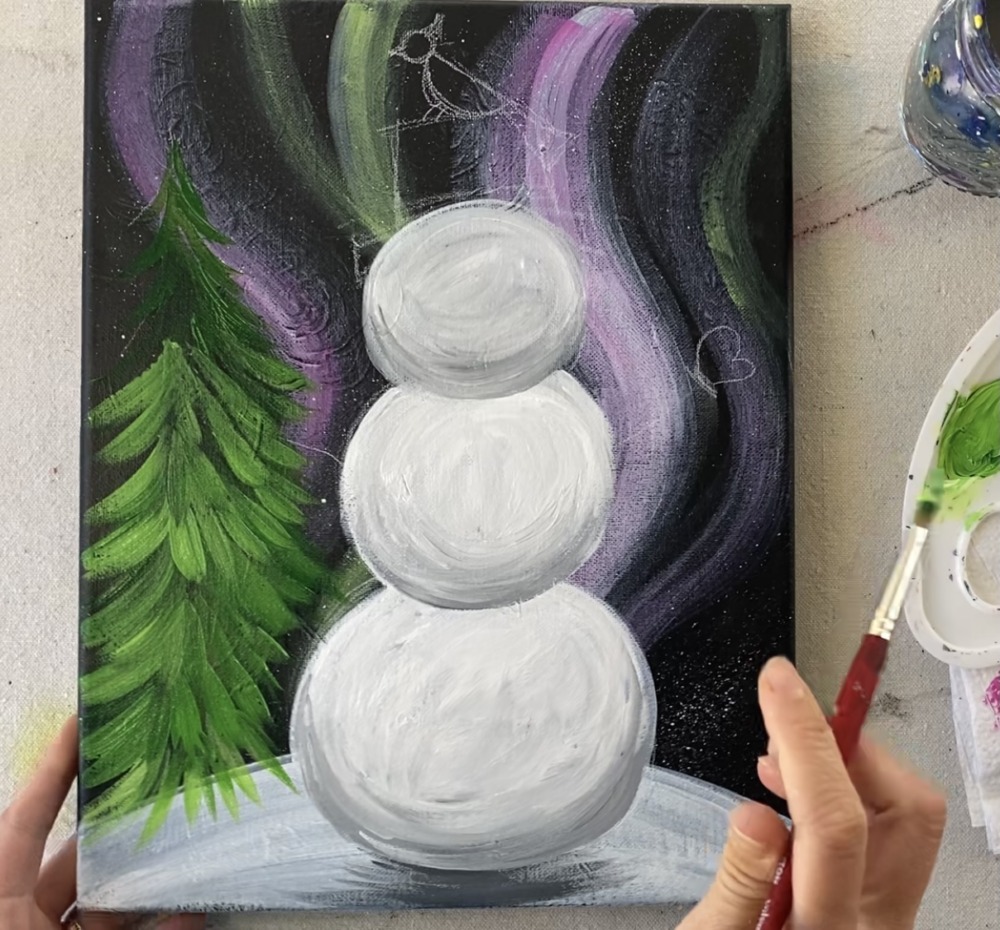
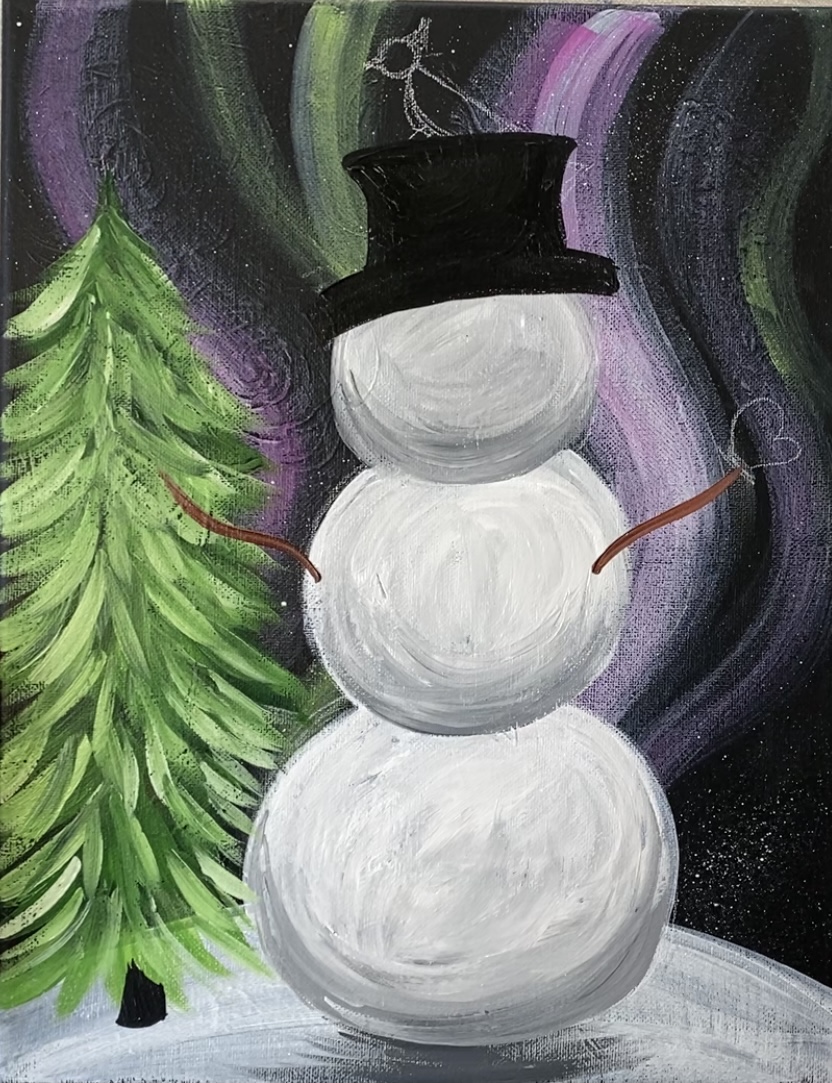
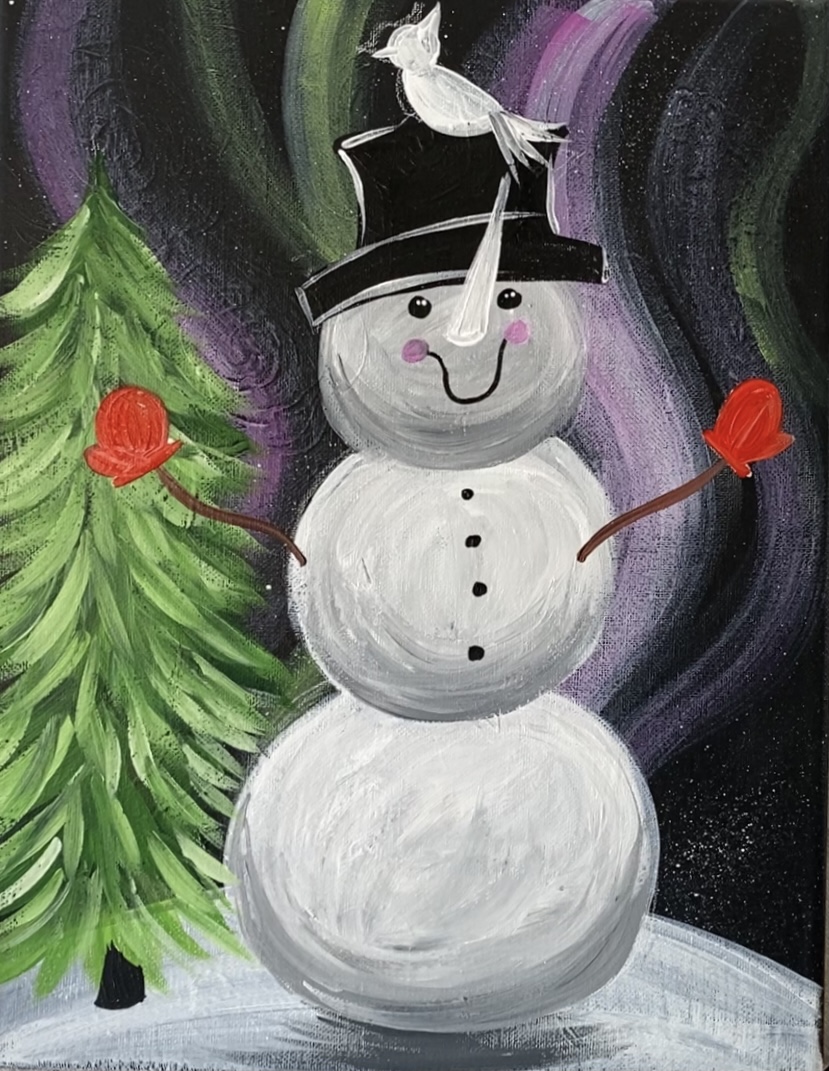
5. Draw the snowman
You can use my traceable! Or you can use a white chalk pencil or piece of chalk to draw your snowman. Start by drawing three circles that overlap each other and gradually get larger from the bottom to the top.
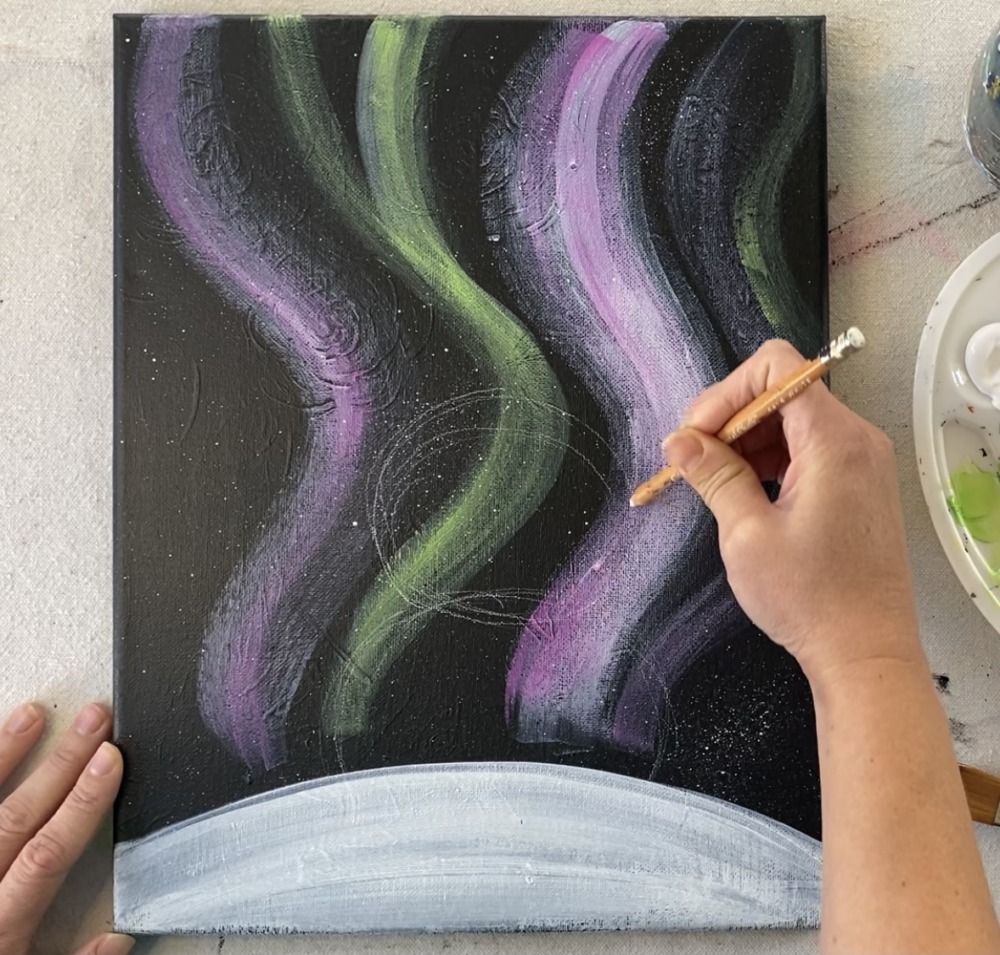
Draw his arms, mittens and hat as well as the basic shapes for the cardinal.
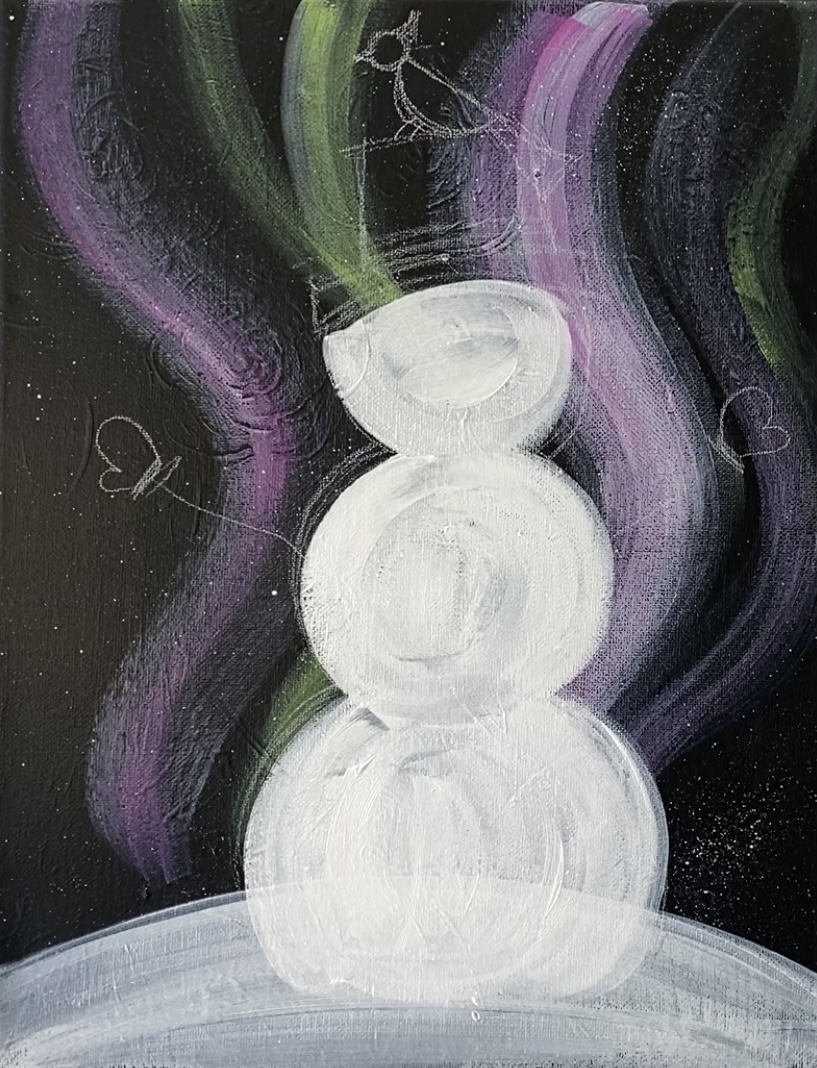
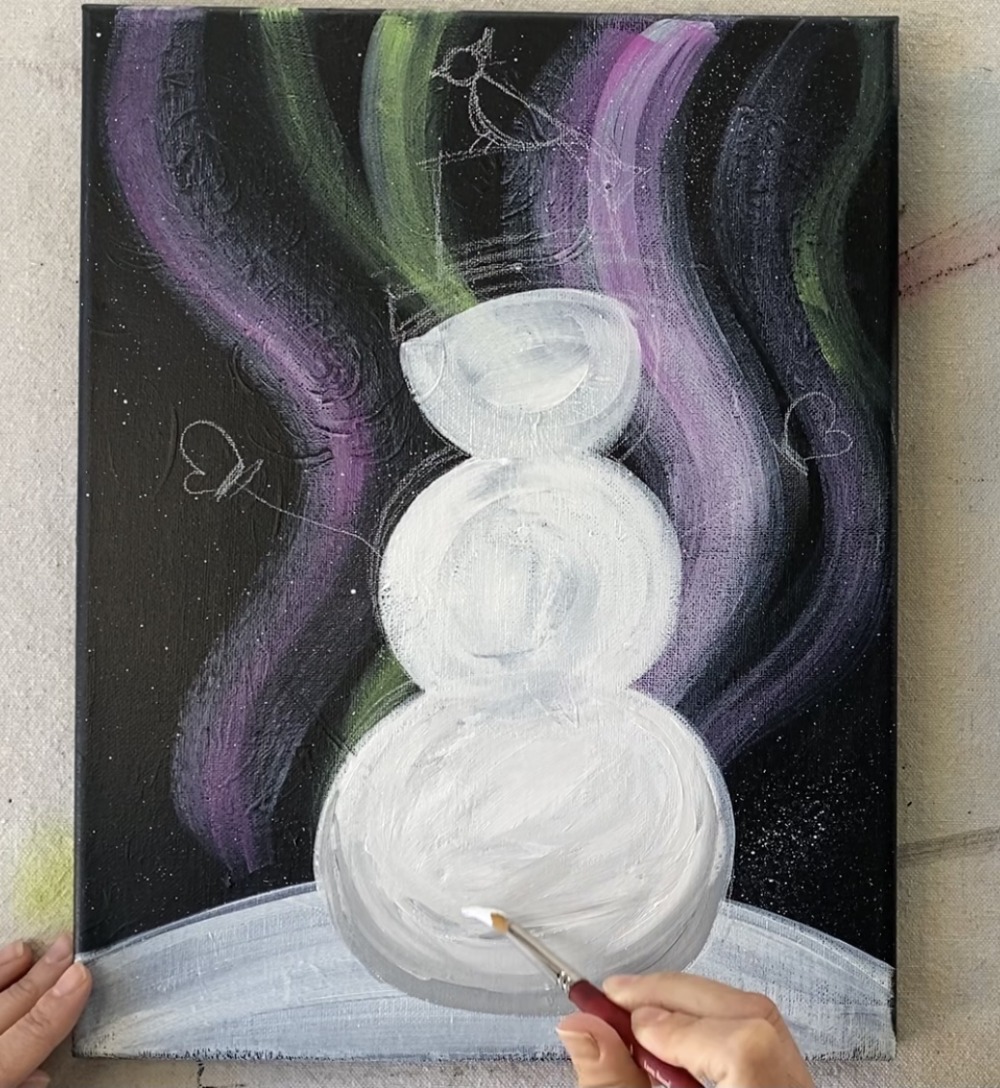
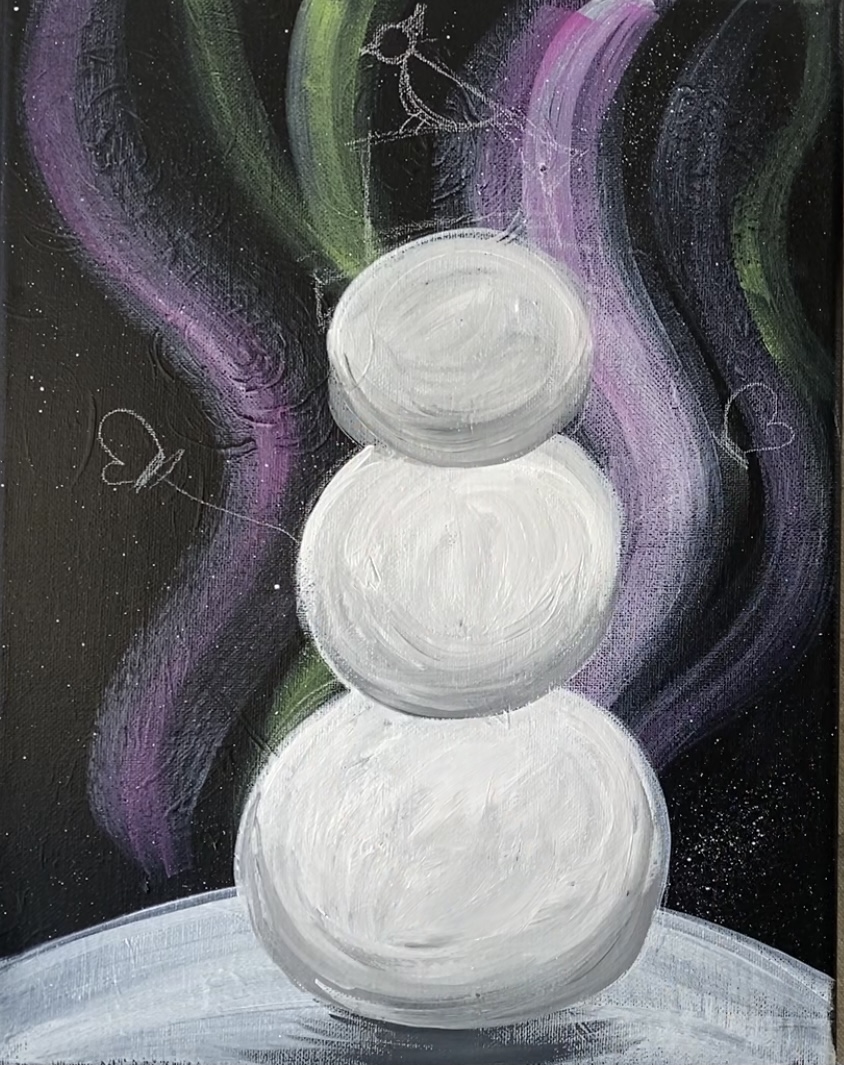
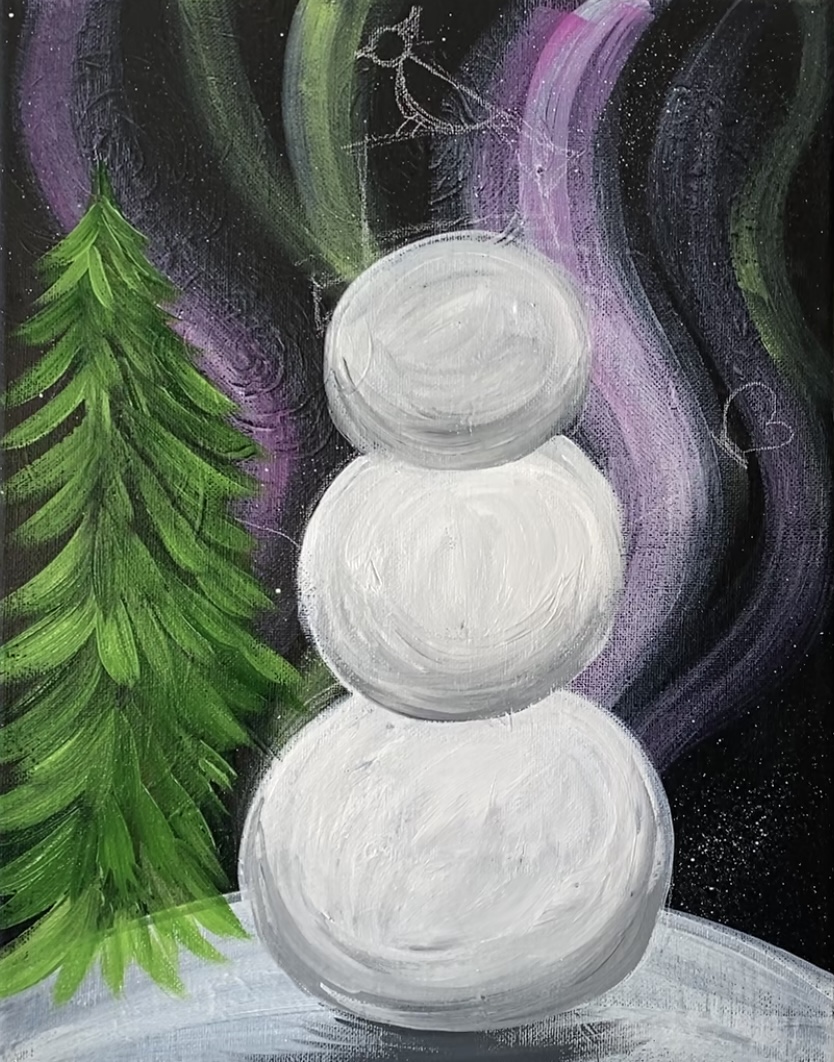
6. Paint the snowman
Then paint the snowman in using a 3/4 wash brush and titanium white. Fill each circle solid with the white.
7. Add shadowing on the snowman
To do the shading, mix on your palette a gray. To make gray, mix about 1 part black with 3 parts titanium white. Start on the bottom of the circle and add the gray.
I used a #8 round brush for this step.
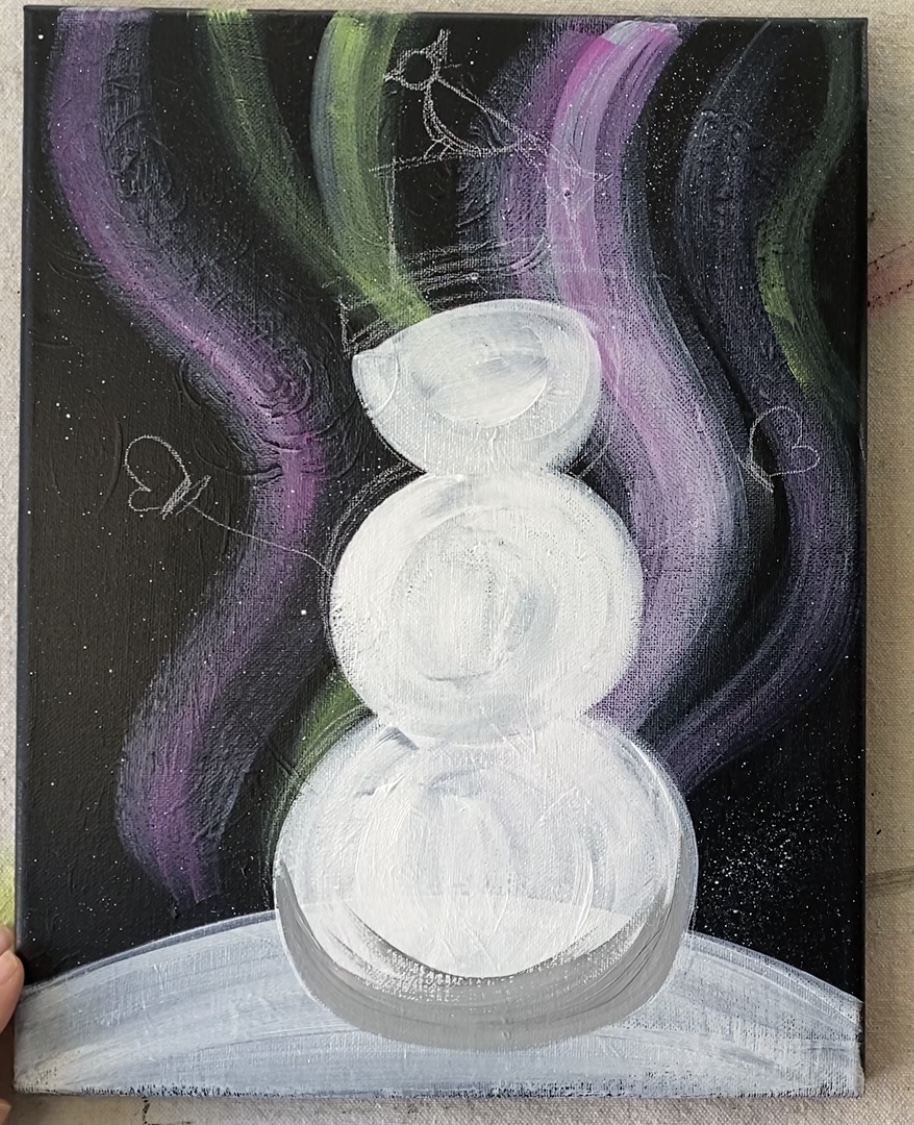
Then blend that gray back into the white by adding more titanium white to your brush (you don’t have to rinse the gray off) and blending it back up.
Add a darker gray below the snowman for a shadow effect. To do this, add tiny bit more black into your gray mixture on your palette to make it darker. Paint left and right strokes under the snowman to create the shadow.
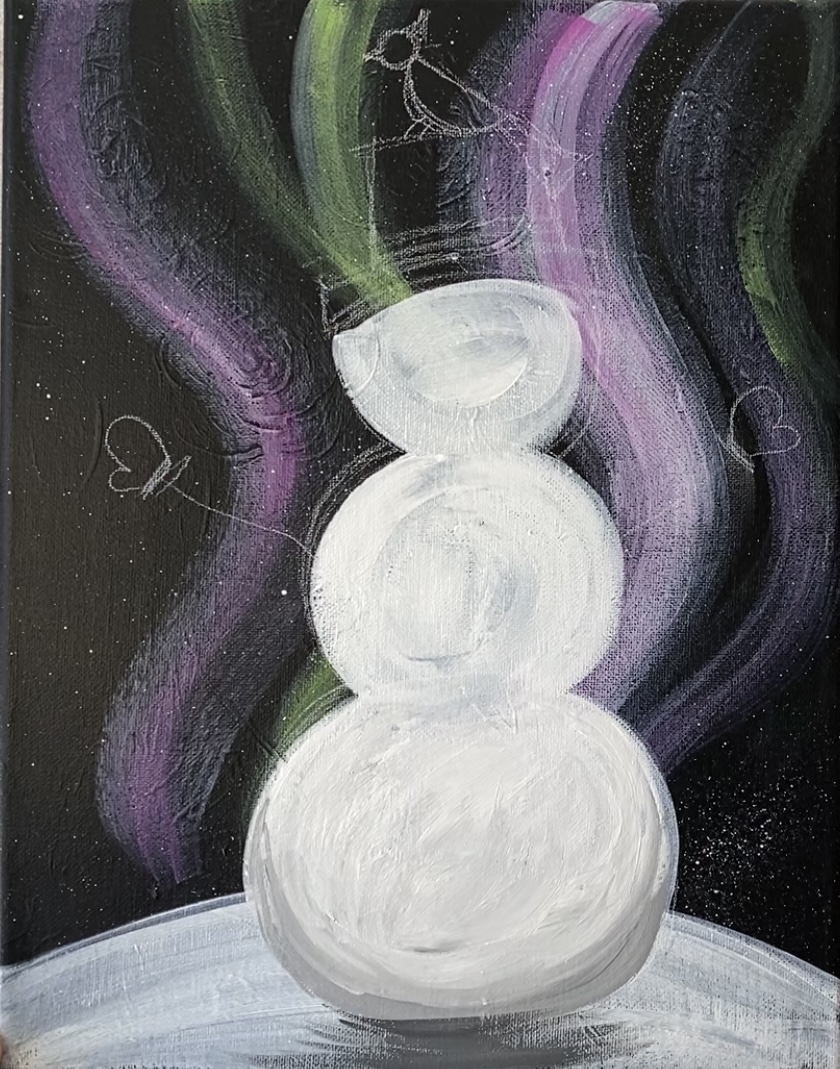
Then repeat the shadow technique on the middle circle as well as the top circle.

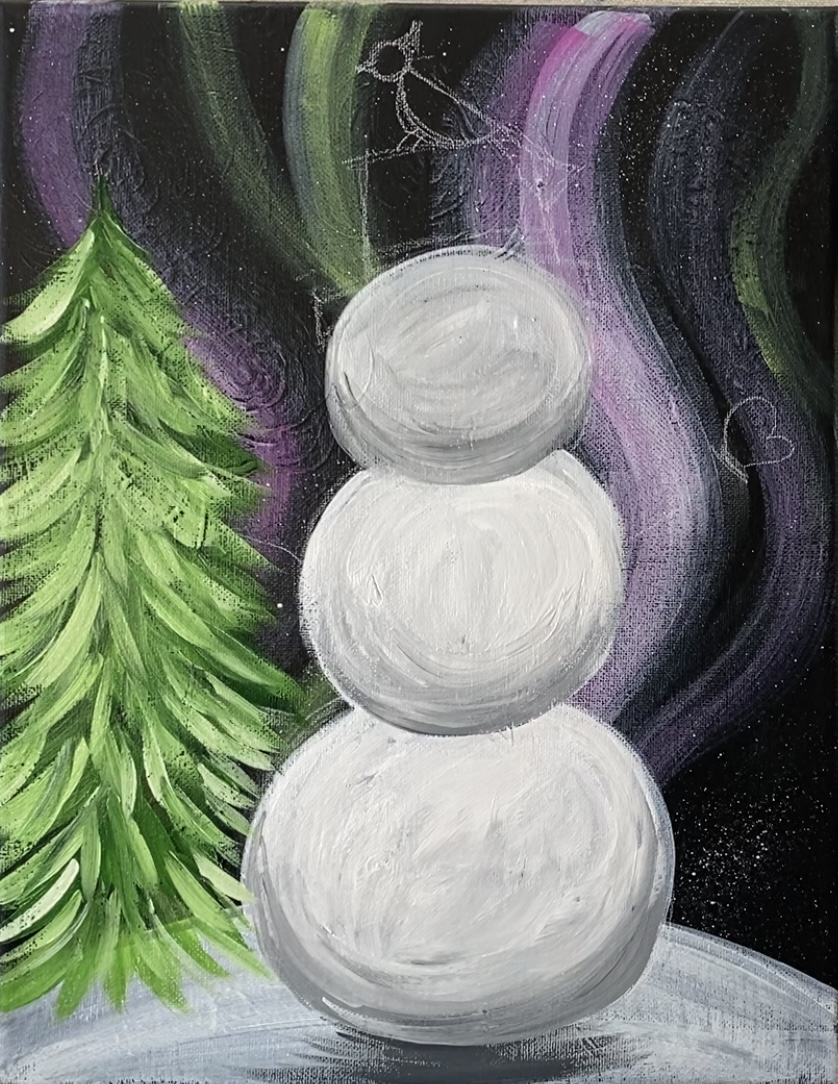
8. Paint the tree
For this tree, I used a #8 round brush and the colors: hookers green hue permanent, brilliant yellow green and titanium white. You can refer to my “how to paint a snowy tree” tutorial to do this technique!
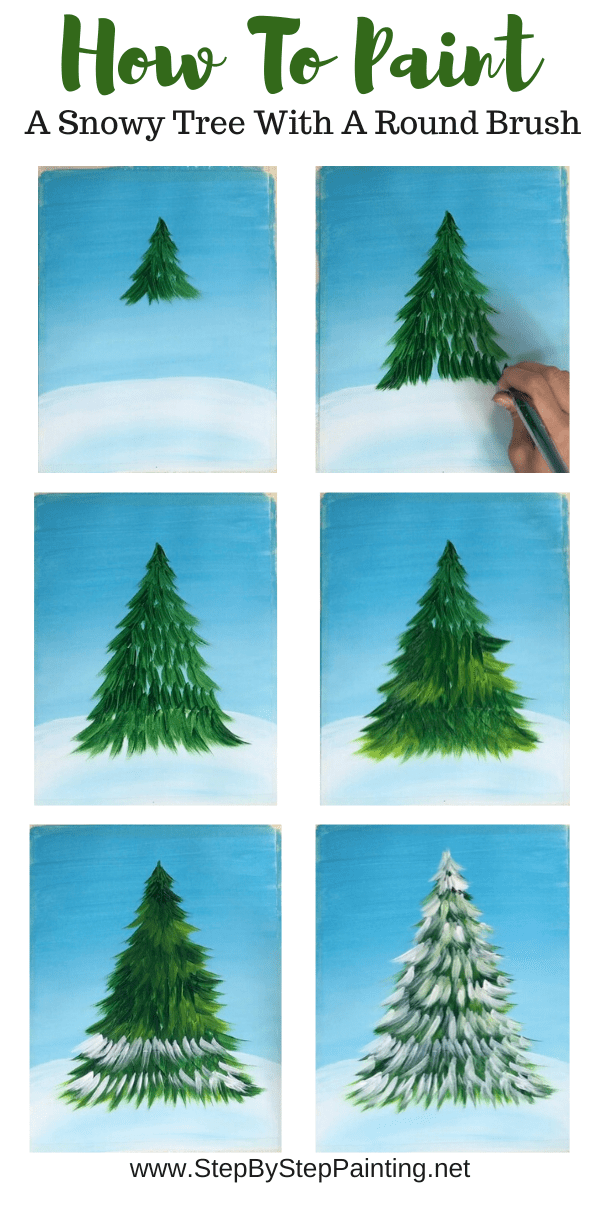
Use your #8 round brush. Start with the darker green (the hookers green hue permanent color). Start at the top. Stroke each branch downwards forming the shape of the tree.

Then use brilliant yellow green. Start at the bottom of the tree this time and stroke each branch down. When you start at the bottom, it will make it look like the higher branches are overlapping each other.
Then do one more layer with titanium white. I did not wait for all that green to dry so mine turned very light green in this third layer.
9. Paint the hat and arms
For the hat and tree base, I used mars black and a #4 round brush.
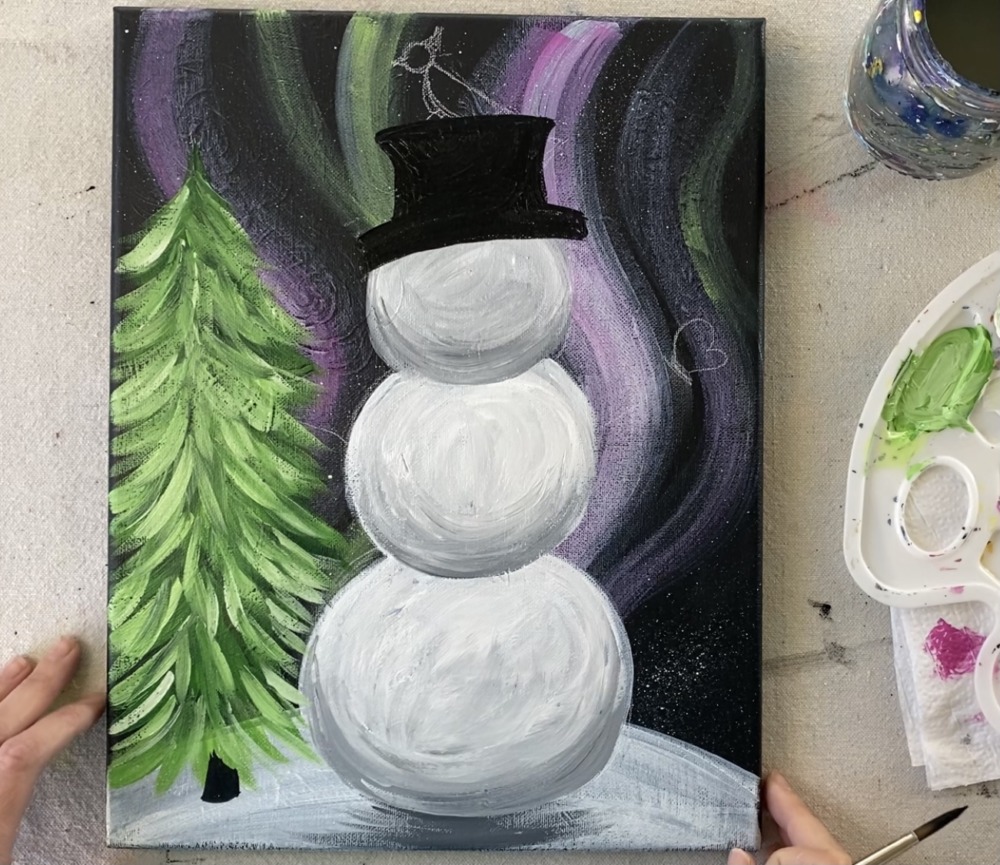
For the arms, I used burnt umber. You can mix a little white into the burnt umber to make the brown lighter.
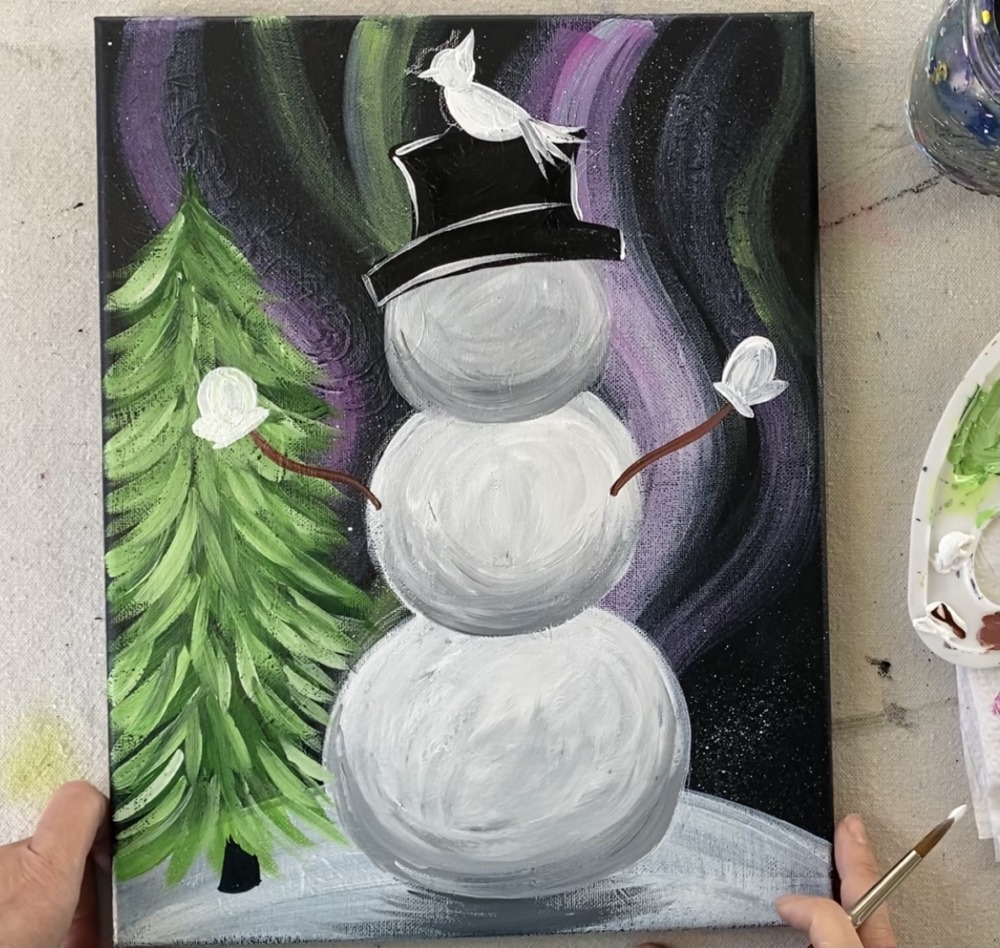
10. Paint the mittens and cardinal white
Paint the base shape of the mittens and cardinal with white then wait for this to dry before painting red.
Also, I used my #4 round brush to paint highlight lines/outline the hat. This helps it to stand out against that dark background.
11. Paint the facial features & buttons
Paint the eyes and coal buttons with black and the #4 round brush.
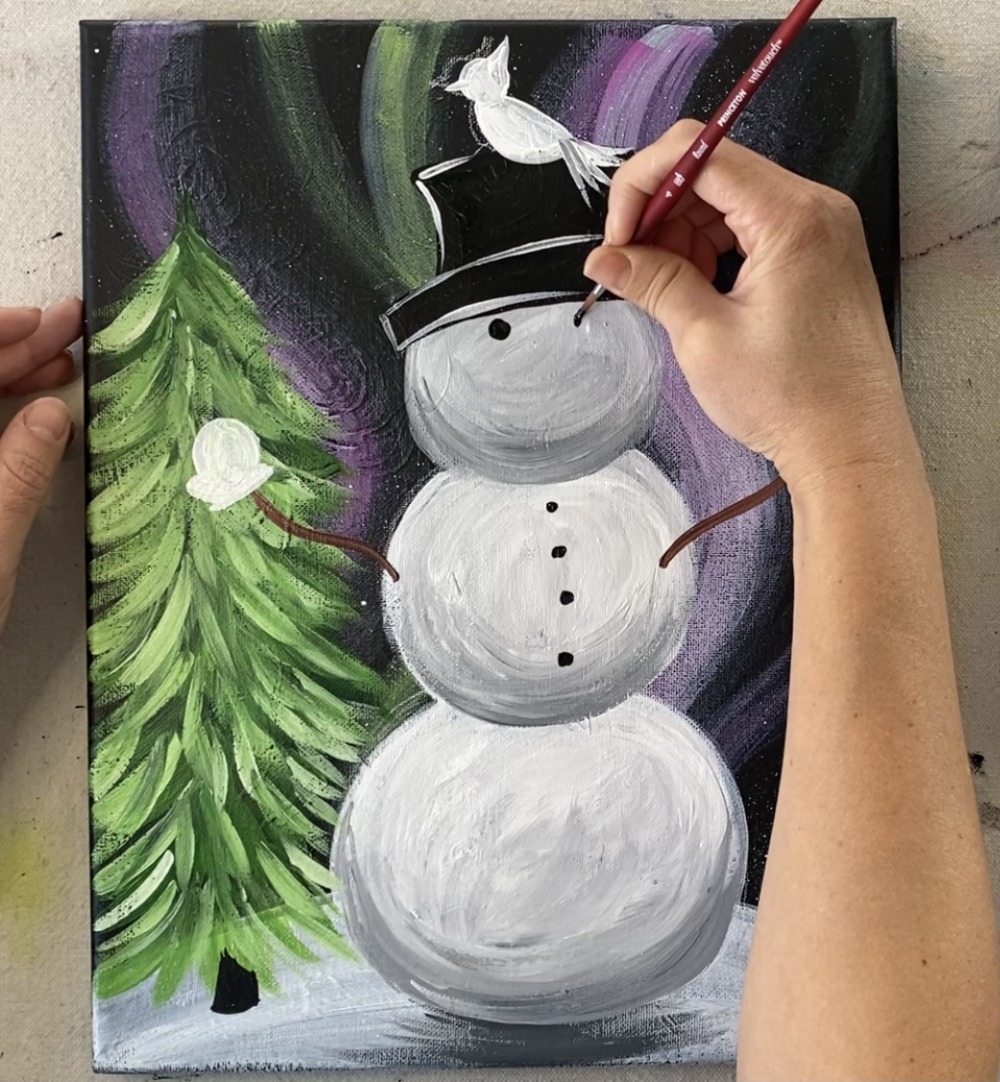
You can do a coal mouth or a continuous line mouth. I ended up changing my mouth in the end.
Then paint the carrot nose shape white. To make it look like he is looking up, have the nose pointing up.
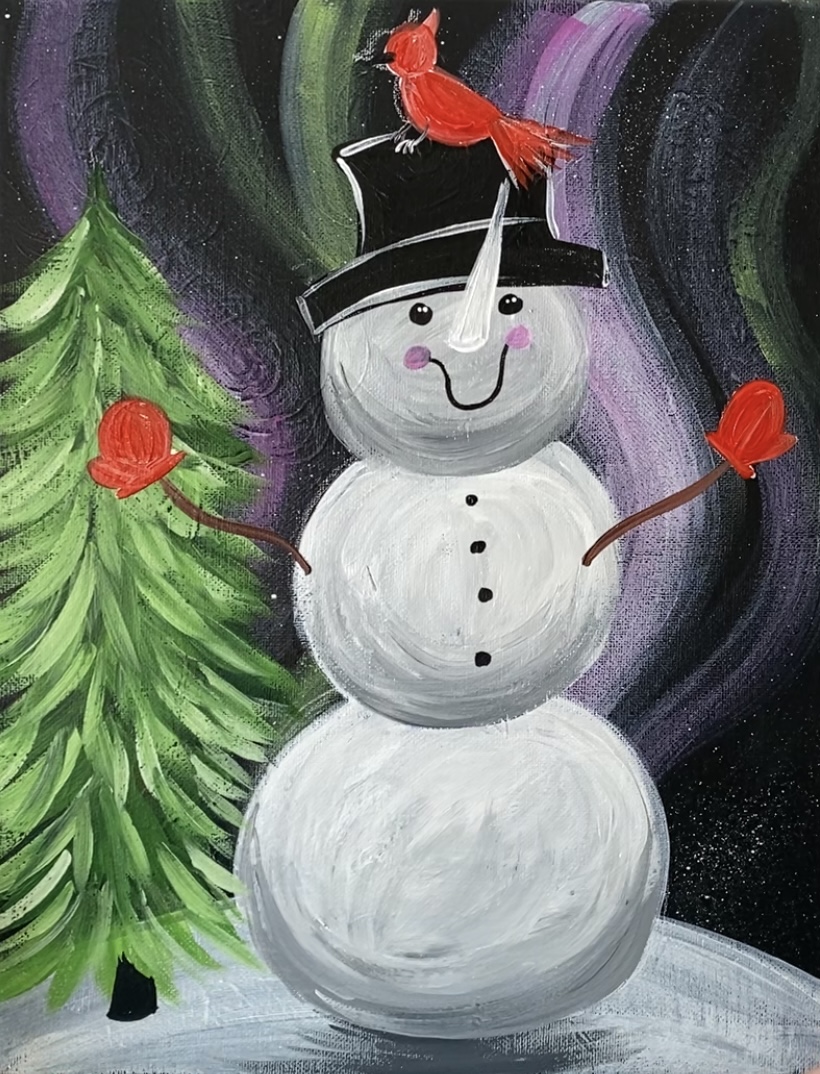
12. Paint the cardinal & mittens red
Add two white highlight dots on the eyes and paint some medium magenta circles for his cheeks.
Then paint the mittens with cadmium red medium hue.
Paint the cardinal red, his beak black and then his legs with white. Note: you can use a really tiny brush or a paint pen for some of these smaller details.
13. Paint details & snowflakes
Paint the nose orange.
Then paint snowflakes. I used my #4 round brush for the snowflakes but you can use a white paint pen or a tiny detail brush. Paint as many snowflakes as you want all over the sky.
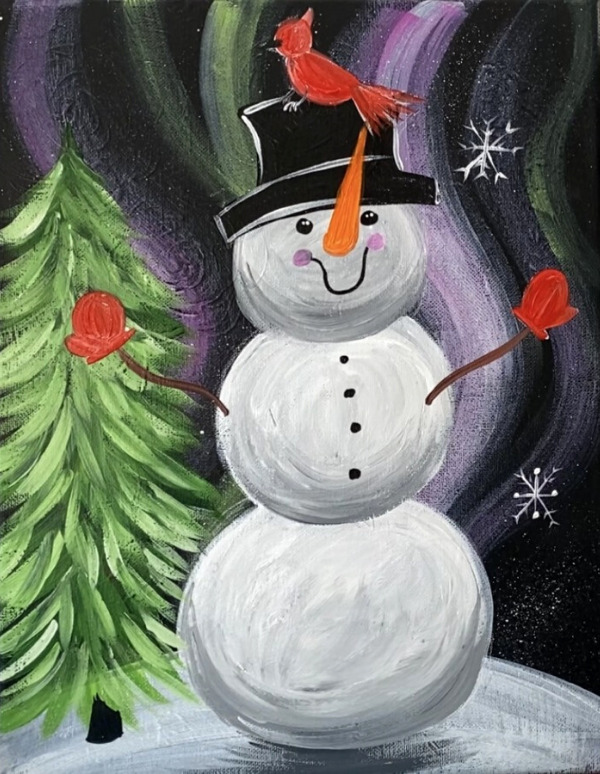
Paint small dots in the sky as well. Then paint a design on the mittens.
Paint the black on the cardinal’s face, his beak orange and the eye white. Then add some black lines under his wing and tail feather.
Paint black lines and highlight on the carrot nose (optional).

I also added another layer of white with my round brush onto the tree.
14. Decorate the tree & more details
So many details! On the tree, I painted ornaments with red, orange and yellow. I also added a yellow star on the top of the tree. To do the “Frosty the snowman” flower, paint it white first and then paint the petals magenta with a yellow circle in the middle.
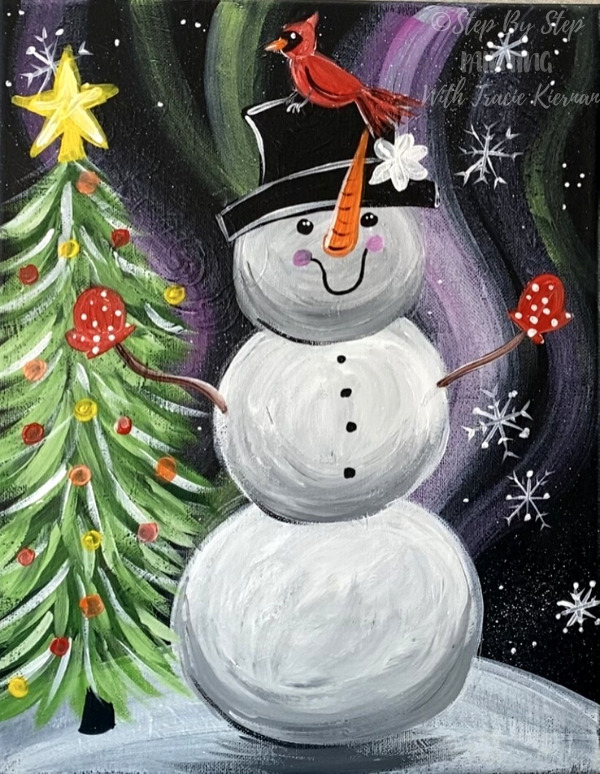
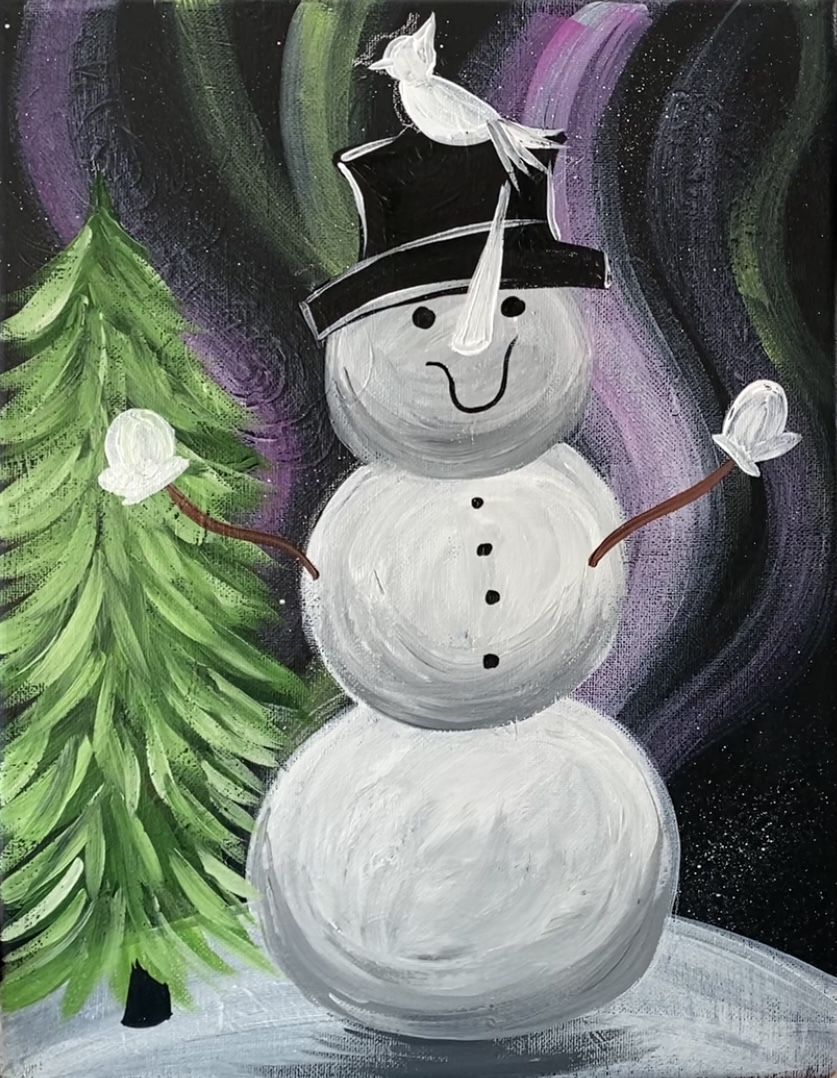
15. Finished

Some final touches: I added a shadow under the tree and decided I wanted coal circles for the mouth.

Share Your Art!


Hi Tracie!
This is yet another adorable design!! I love snowmen, and this guy is so cheerful and uplifting. I’m really glad you ended up changing his mouth in the end. The pieces of coal really add character. I’ll be painting this one with my 8 yr old niece this weekend. She absolutely loves your tutorials because they are easy enough for her to read and understand, so she can paint on her own without asking questions. ❤ You have no idea how much you help keep the art going for all these kids during this pandemic! Thank you so much for being awesome!!!
Julie P
Thanks Julie! And I agree about the mouth! Definitely gives him more character. So glad you and your niece enjoy the paintings!
This is one I am going to try. I am a beginner and this seems easy enough to try
It is pretty easy! Give it a try Diane!
This is so cute. I am painting it with a friend next week.
I was thinking of using Prussian Blue as the background, do you think it would turn out good?
Yes! I think Prussian blue would look great as the background color in lieu of the mars black!
I love doing your painting tutorials! You make it so easy for a beginner like myself. Doing the snowman now!
Thanks Sandy!