
Easy & Simple Rose Technique

Would you like to save this?
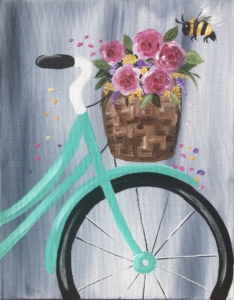
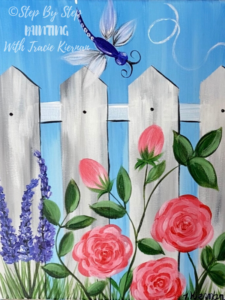
Hi friends! This is a mini tutorial that will show you the technique I use to paint roses in some of my paintings. I did these in my Spring Bicycle and Garden Fence Painting and so many others!
This is a simple method that is great for the beginner painter or someone that doesn’t want to paint a realistic rose, but rather a loose, abstract one.
You can do a lot of things with this! You can add a quote, a monogram or even a bible verse to your canvas with the floral designs in the corner or edges.
My favorite thing about this technique is sometimes you can just zen out and paint the flowers & not really plan where you are going. It’s much like doodle painting!
See Also:
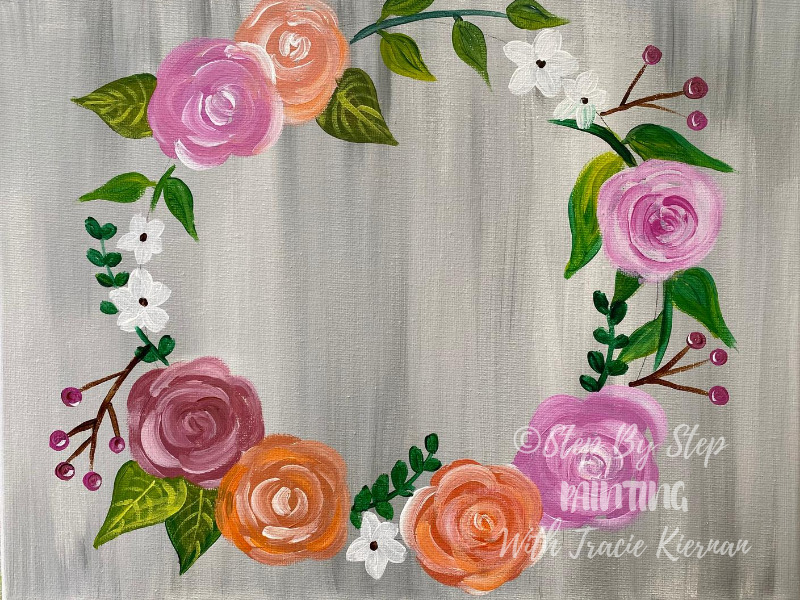
Learn how to paint a wreath with roses!
Materials:
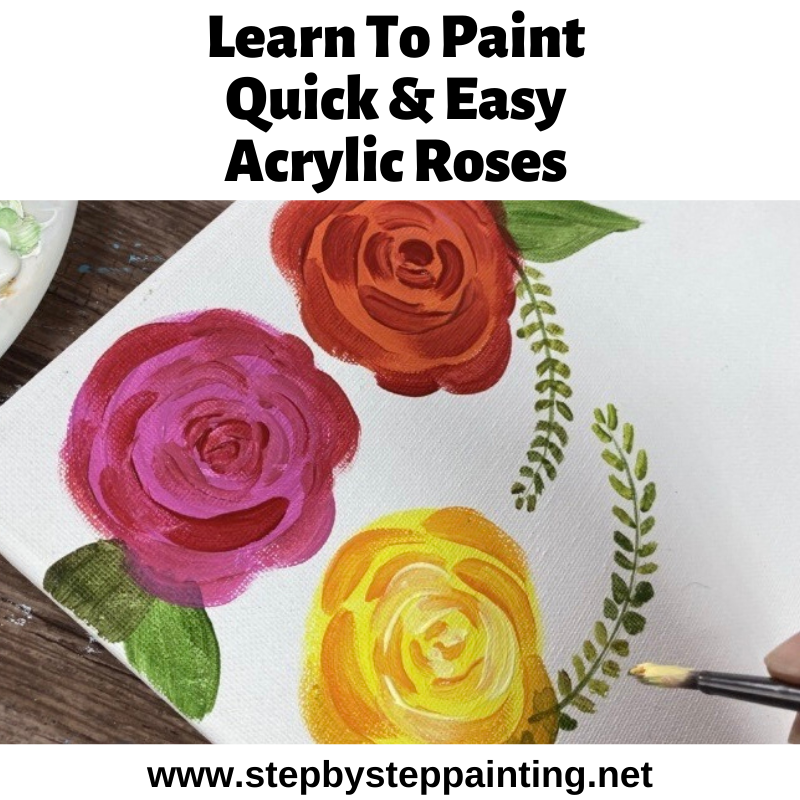
How To Paint Simple Decorative Roses

Learn how to paint simple and easy roses with this loose stroke, decorative technique. Add these roses to any canvas painting project.
Materials
Colors
Notes
You can use any palette of colors for this technique! I will demo a yellow, pink and red rose. You do not have to use the exact shades of colors I used and can even apply this technique to different color roses.
Color Palette: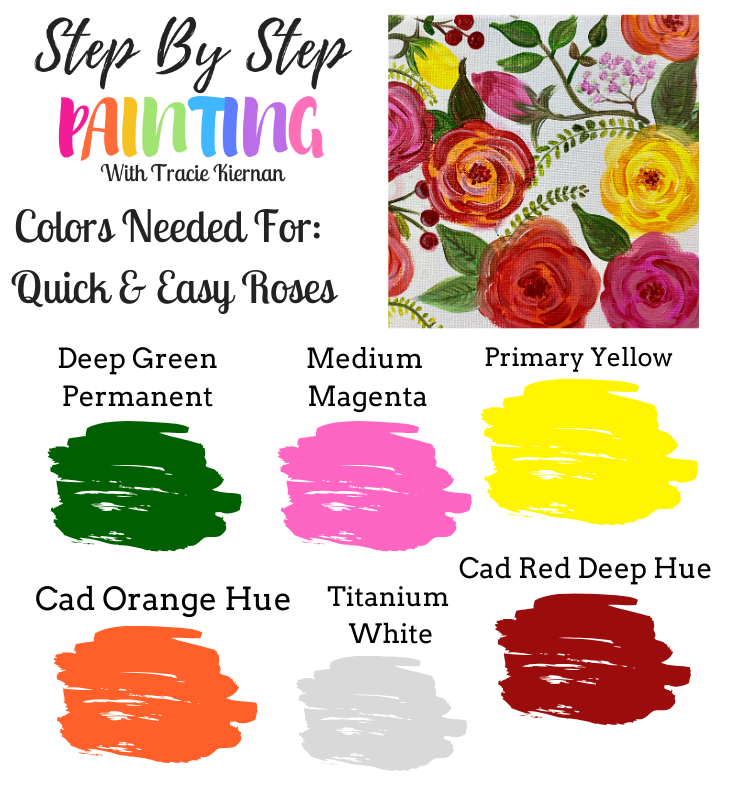

There are so many color combos you can do with this technique! You also do not have to use the exact shades of orange, yellow, red and pink.
Directions:
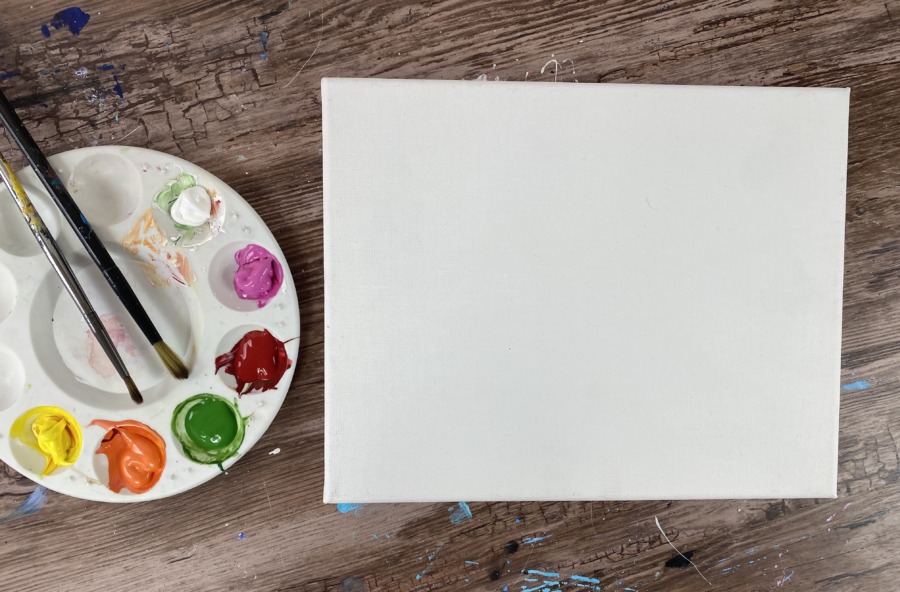
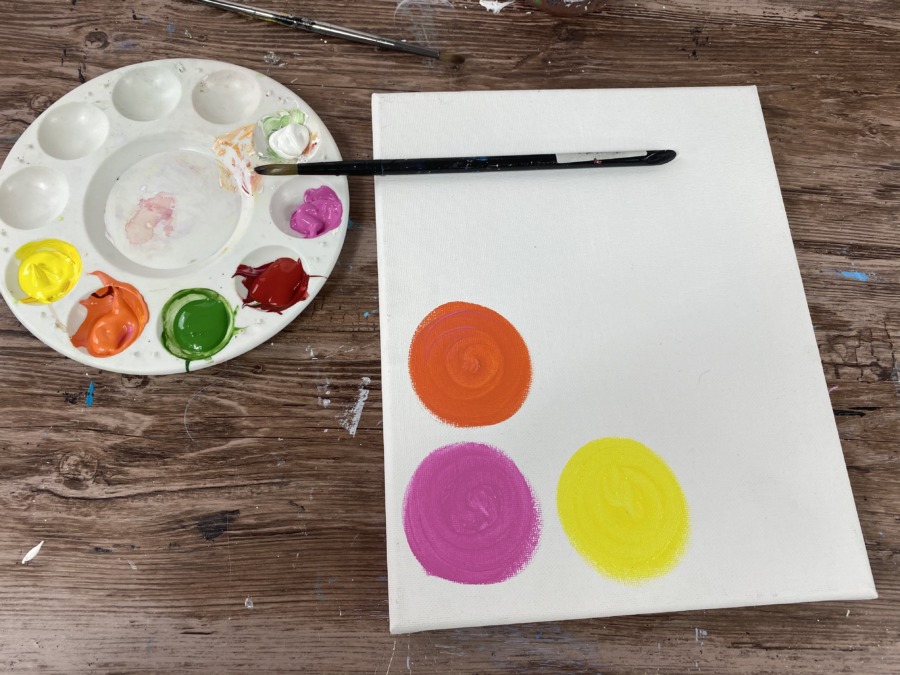
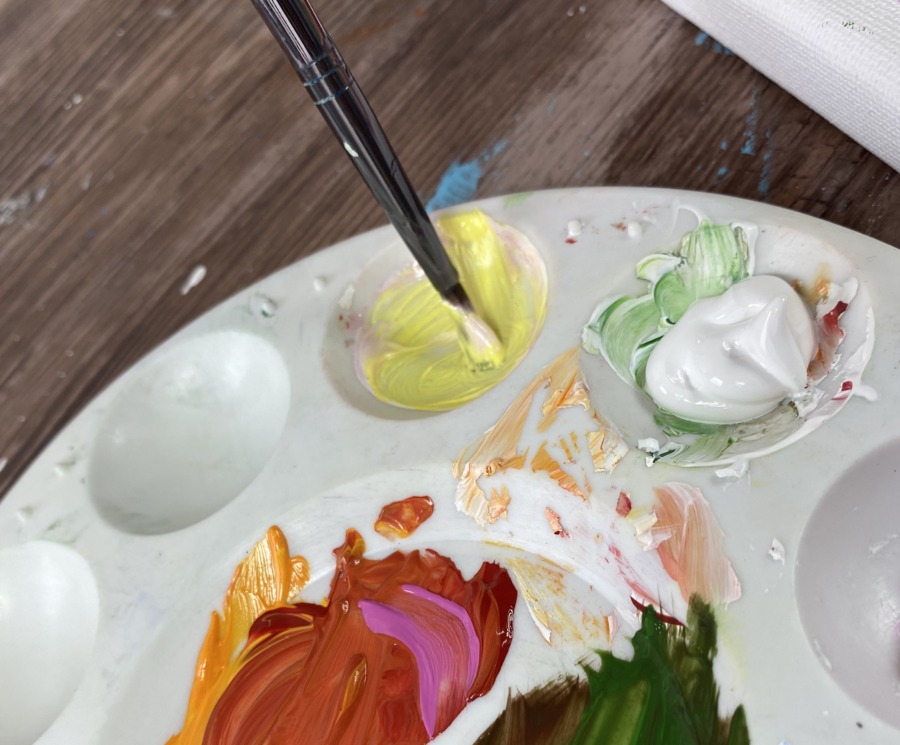
1. Prepare your palette of colors and the surface you will be painting on
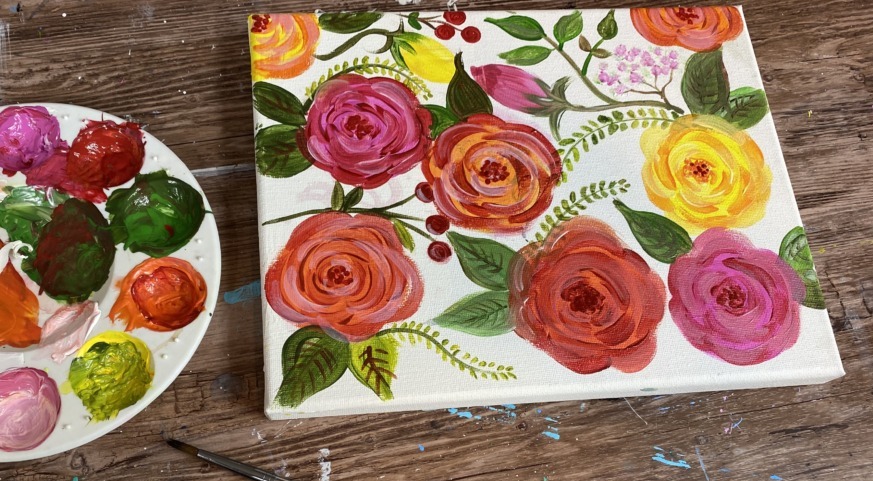
I am doing this on a blank 8 x 10 canvas! You can paint the background a solid color or even do a wash!
The colors on my palette are: titanium white, medium magenta, cadmium red deep hue, deep green permanent, cadmium orange hue and primary yellow.
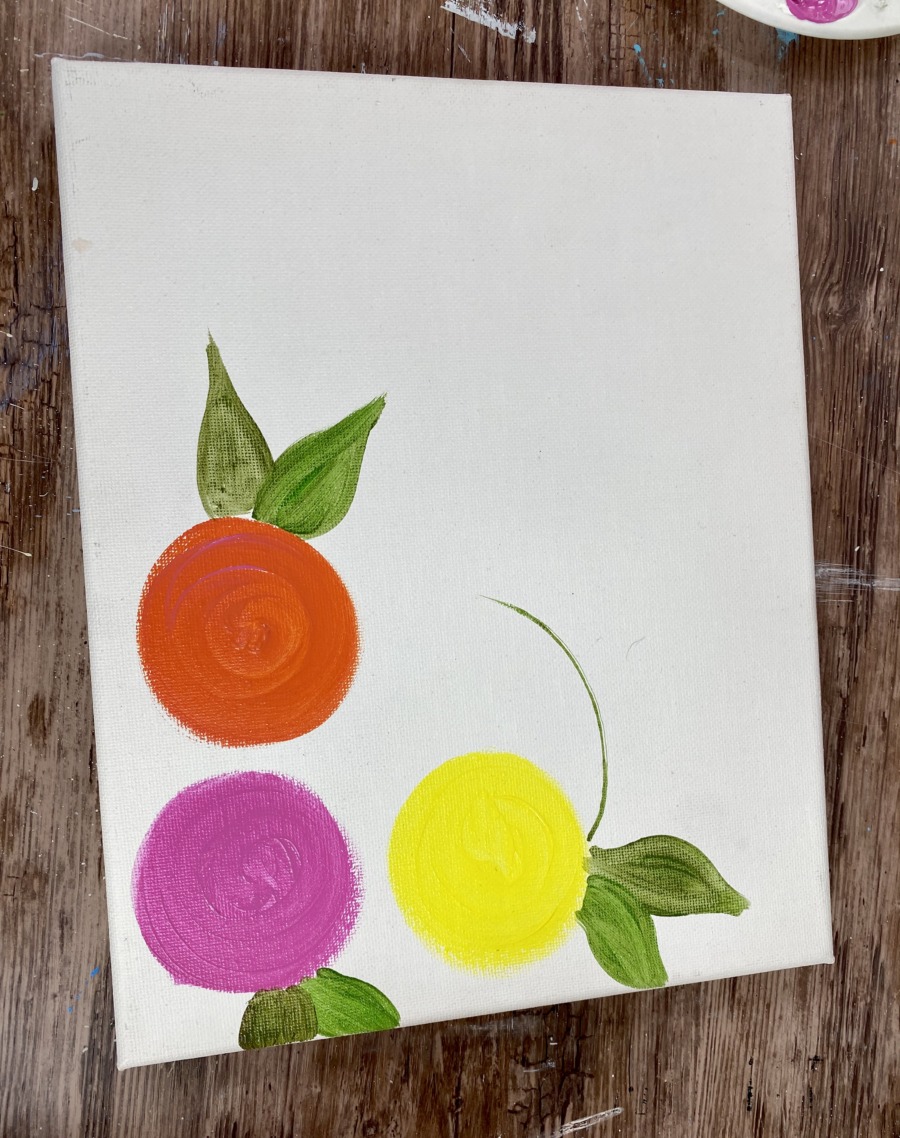
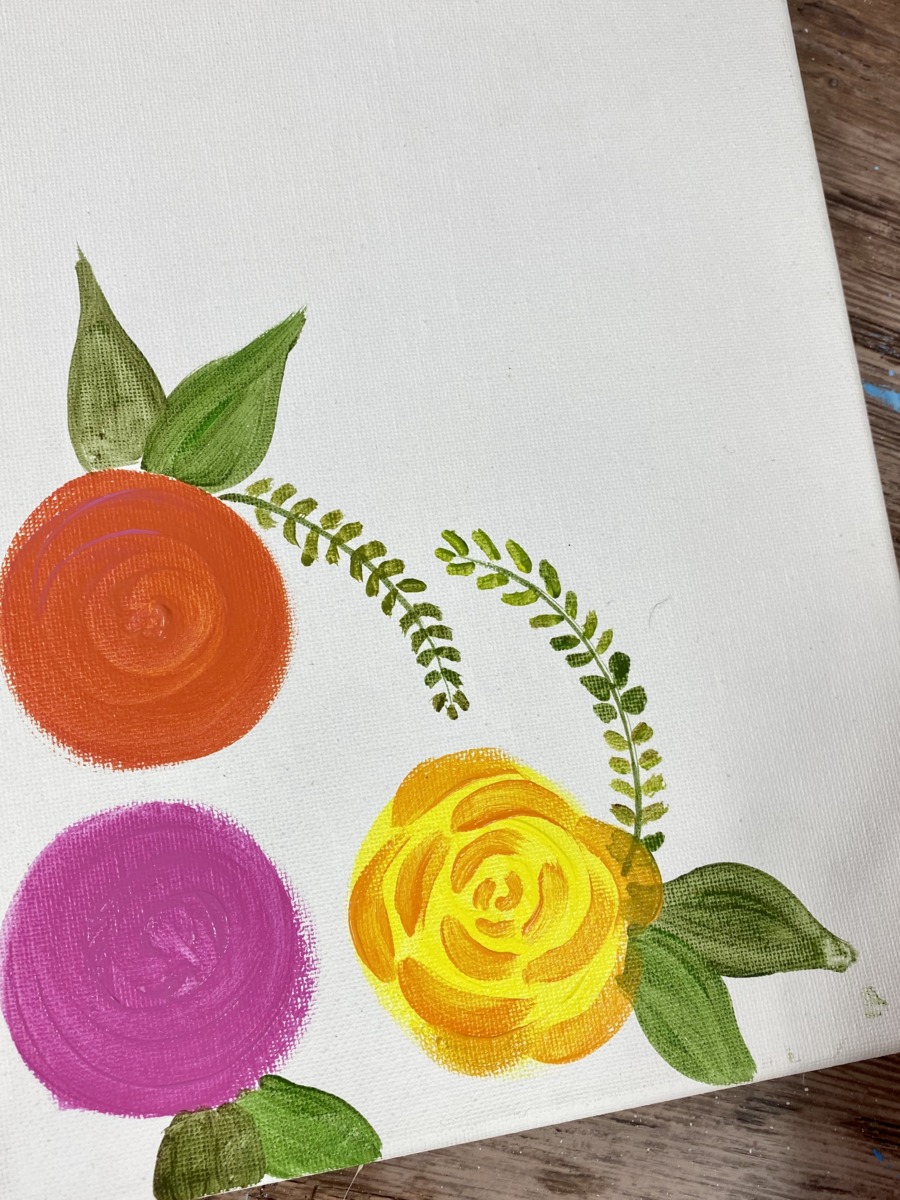
2. Paint a circle about the size you want your rose to be
I used a #8 round brush for this, however, you can use any size round brush! Larger roses would require larger round brushes.
Paint a circle about the size that you want your rose to be. Try to get your paint strokes to go in a spiral direction.
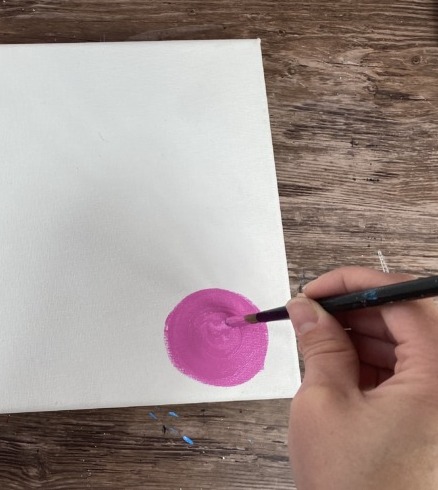
In this demo, I am doing a pink, orange and yellow rose so I painted three different color circles.
3. Paint some leaves while your circles are drying
With my 4 round brush, I mixed a little red with my green. This gives you more of a natural green looking color.
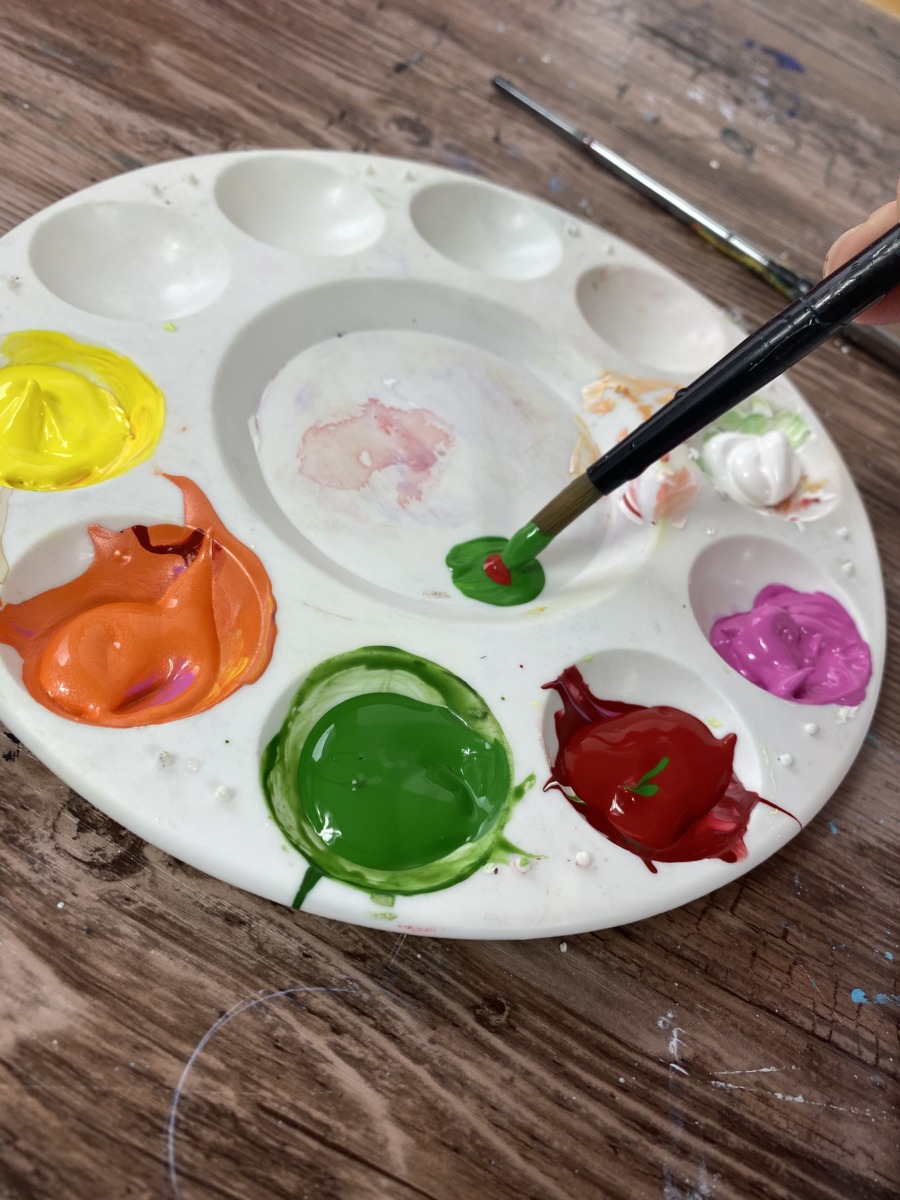
Then paint some loose leaves next to each of your circles.

Tip: to get some color variation in your green, try loading your brush in different amounts of the red-green combo.
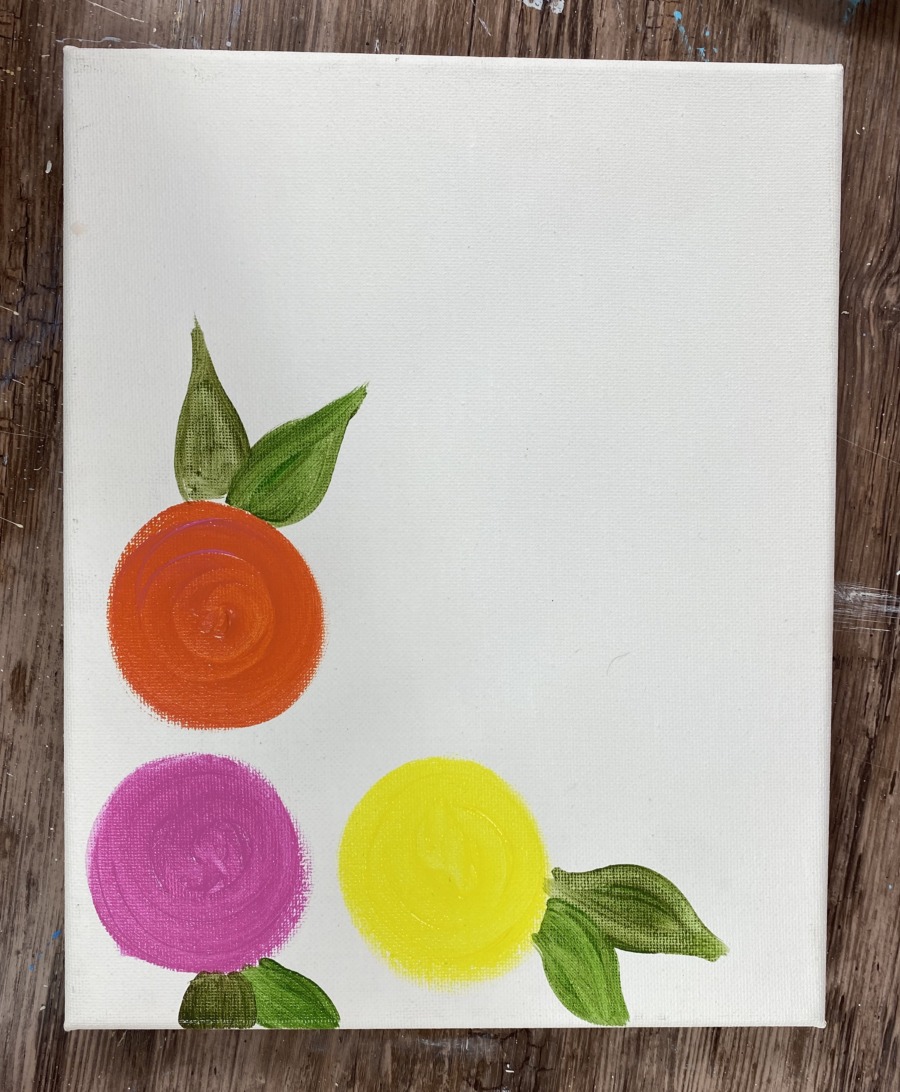
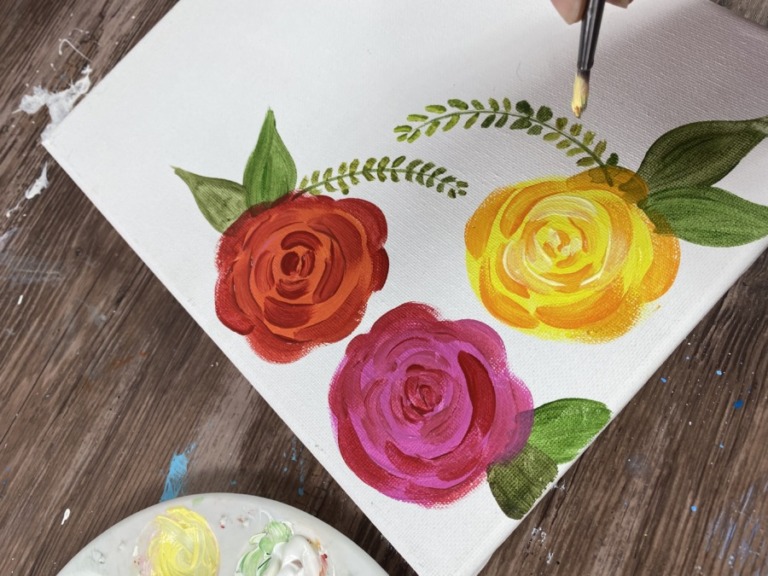
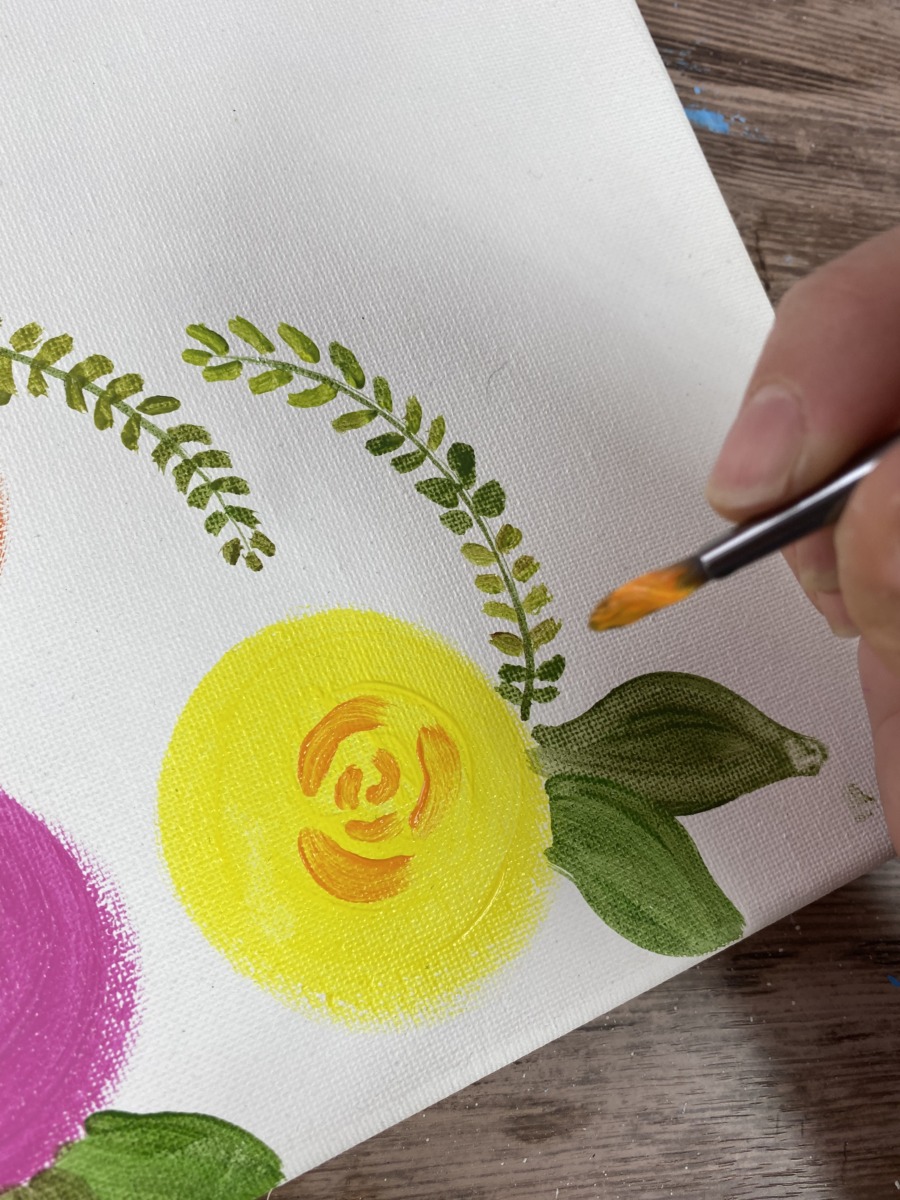
Then I painted a long stem for a different type of leaf. I used a 5/0 round brush for this to get that thin line.
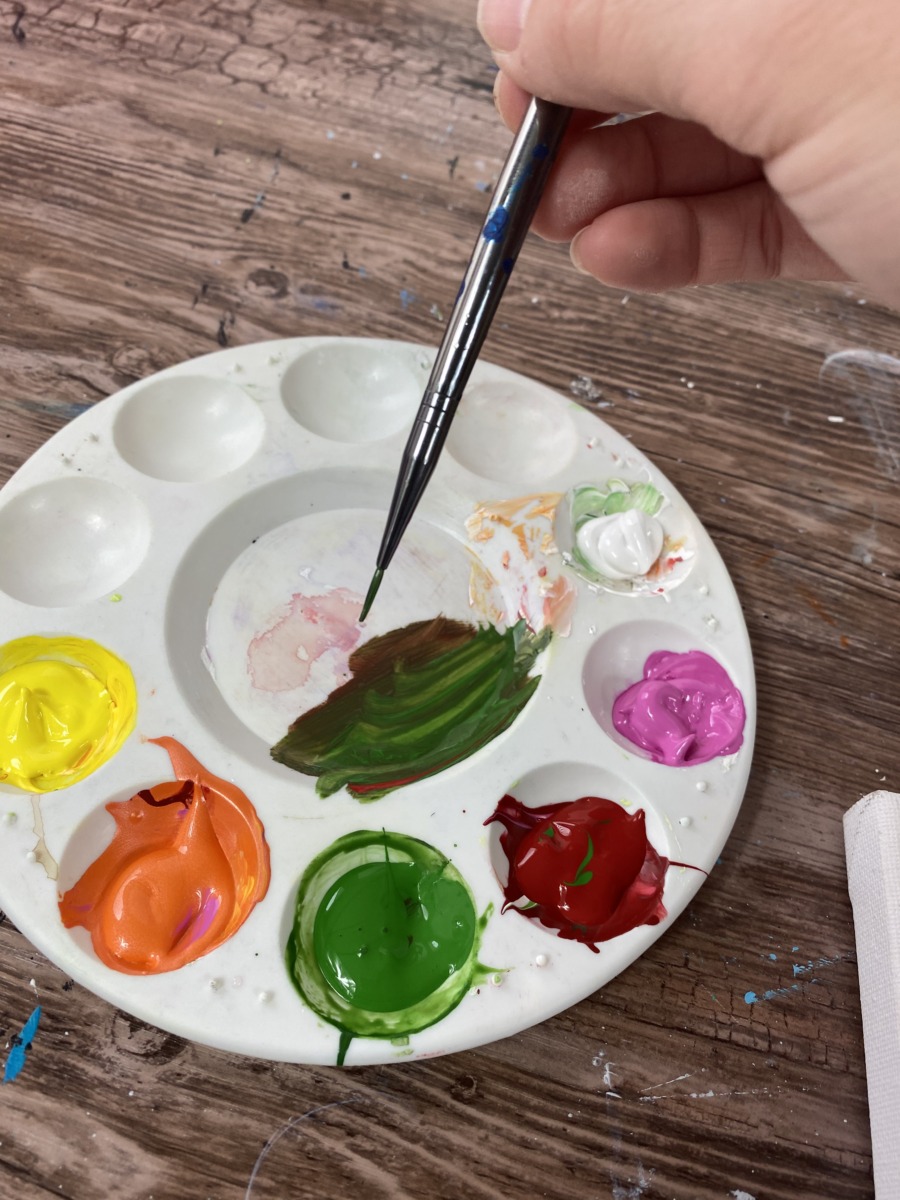
And on both sides of this thin line, I painted tiny leaves using my 5/0 round brush. Also, I added a bit of yellow to that green-red combo.
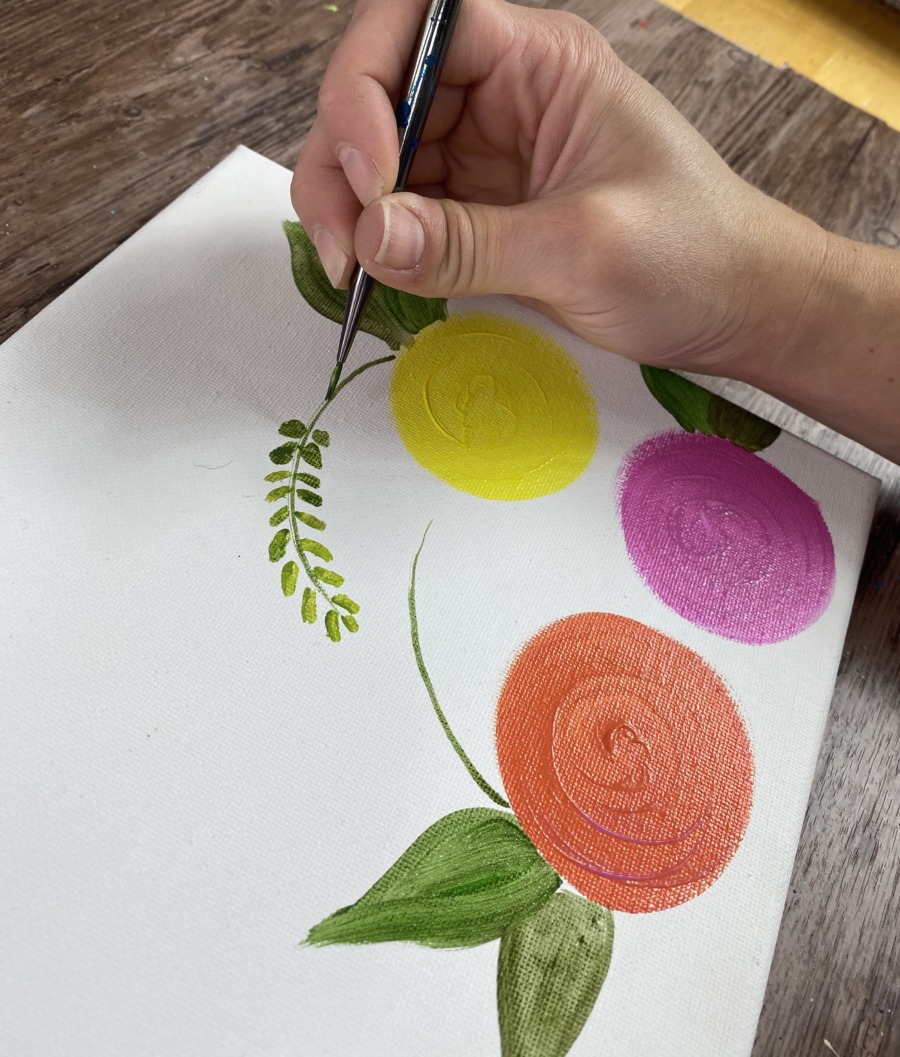
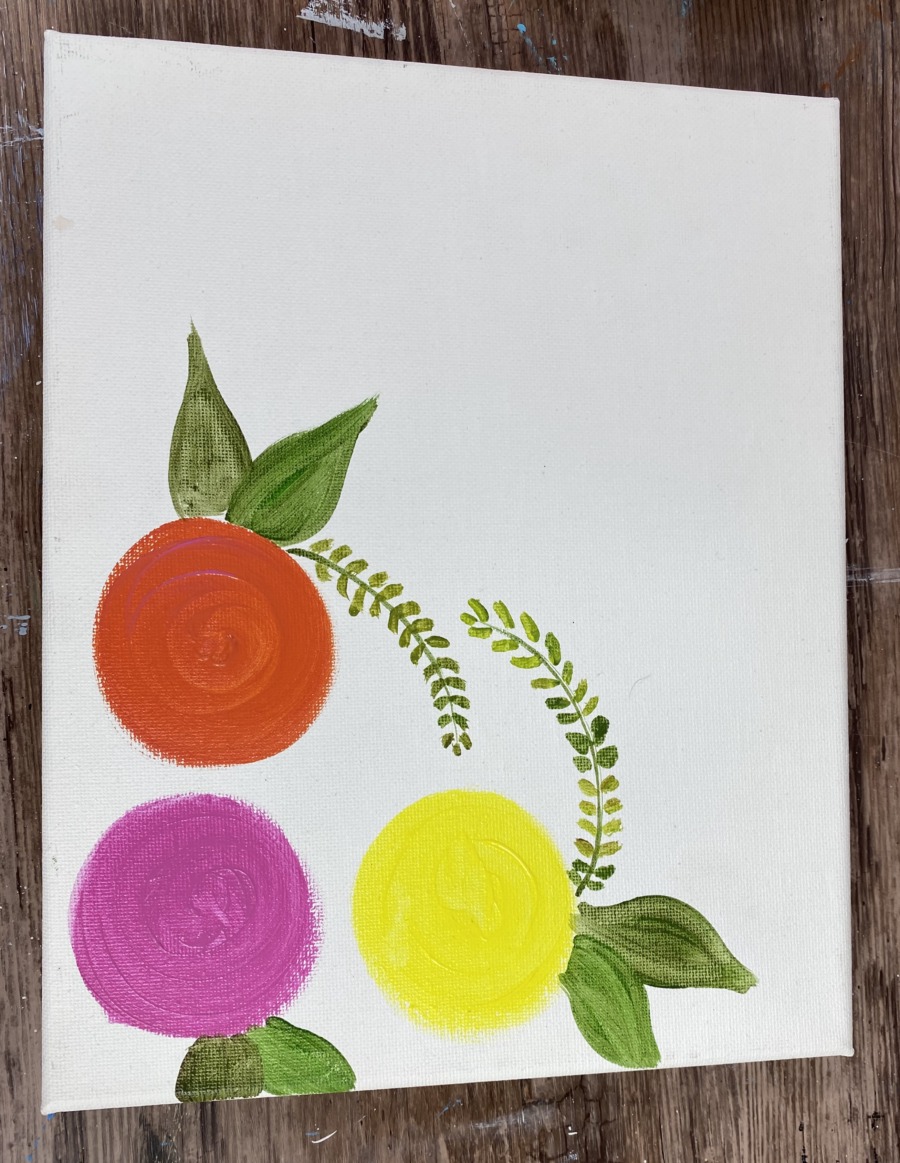
You can keep going with these leaves and do more if you want!
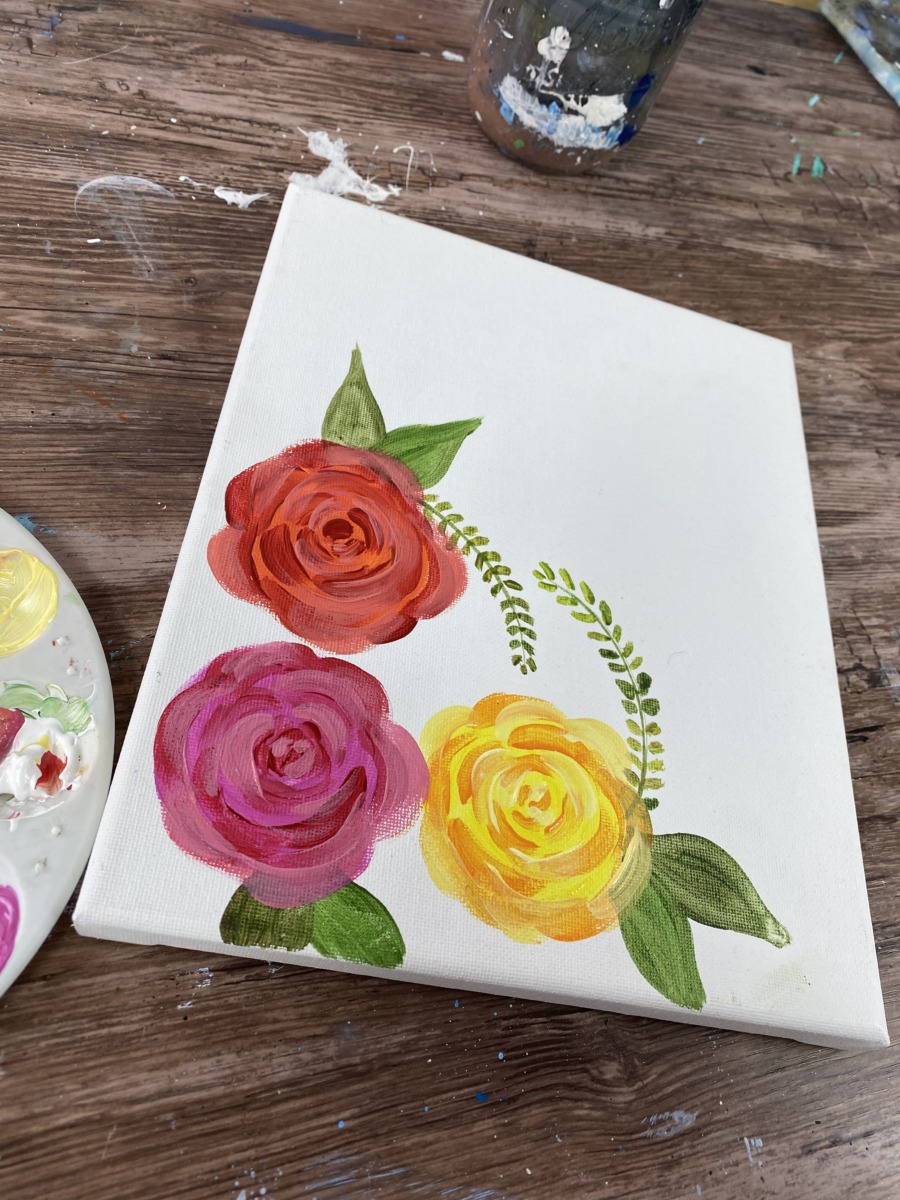
4. Paint the petals of the roses
Now that the circles are (mostly) dry, I will demo how I did all the rose petals.
I started with the yellow rose. On my palette, I mixed orange with some yellow.

Then I used my 4 round brush, started in the middle of the circle and made some small curved marks.
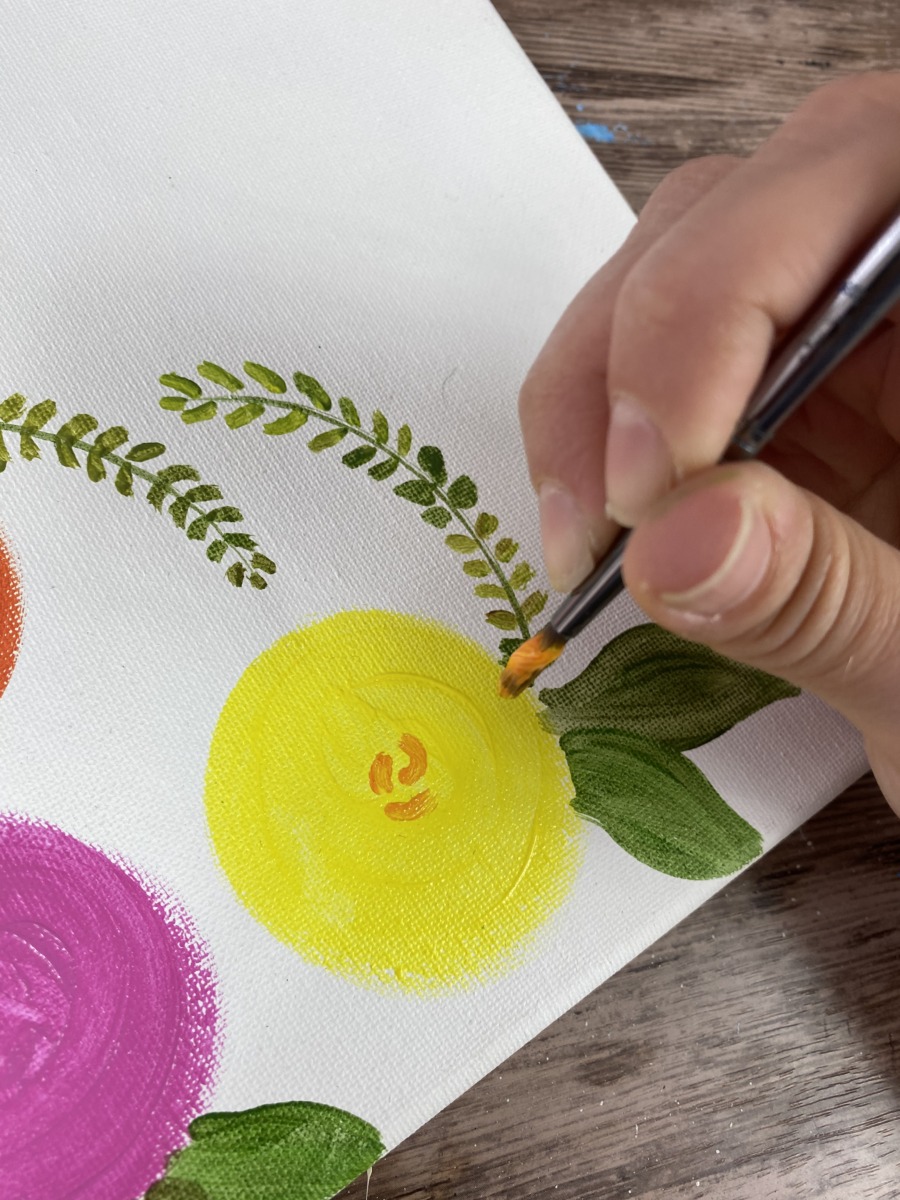
The type of stroke I am doing here is a “comma stroke”. You can read more about how to do this stroke here, however, it doesn’t have to be a perfectly shaped comma stroke. Just a curved line!
Keep painting these curved, comma strokes and have them get slightly bigger as you work your way to the outer edge of the circle. Also, they are kind of staggered.
When you do get to the outer edge of the circle, go outside of the lines so the curve of your stroke forms the circle into a flower shape!

Repeat these steps for each of the circle. For the orange rose, I did red strokes for the petals.
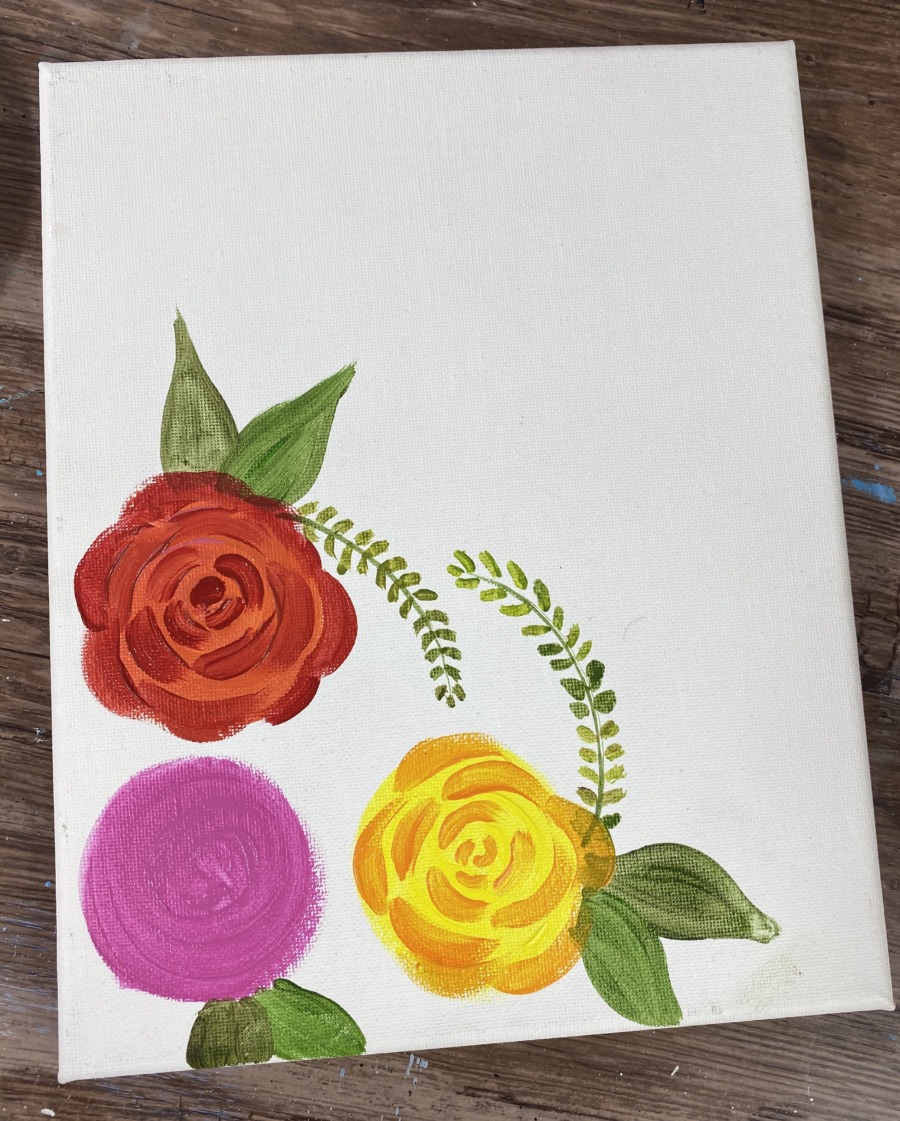
If you want, you can mix a little orange with your red to get the strokes to be a little red-orange.
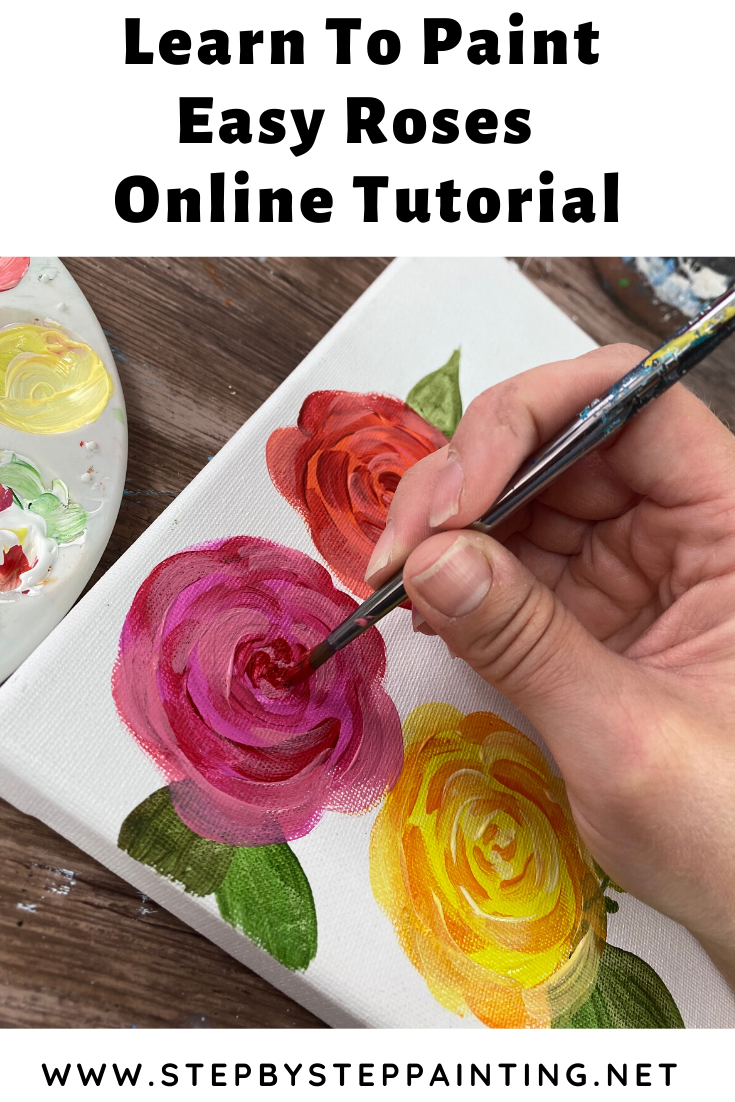
Then for the pink rose, I did red mixed with a little pink for the petals.
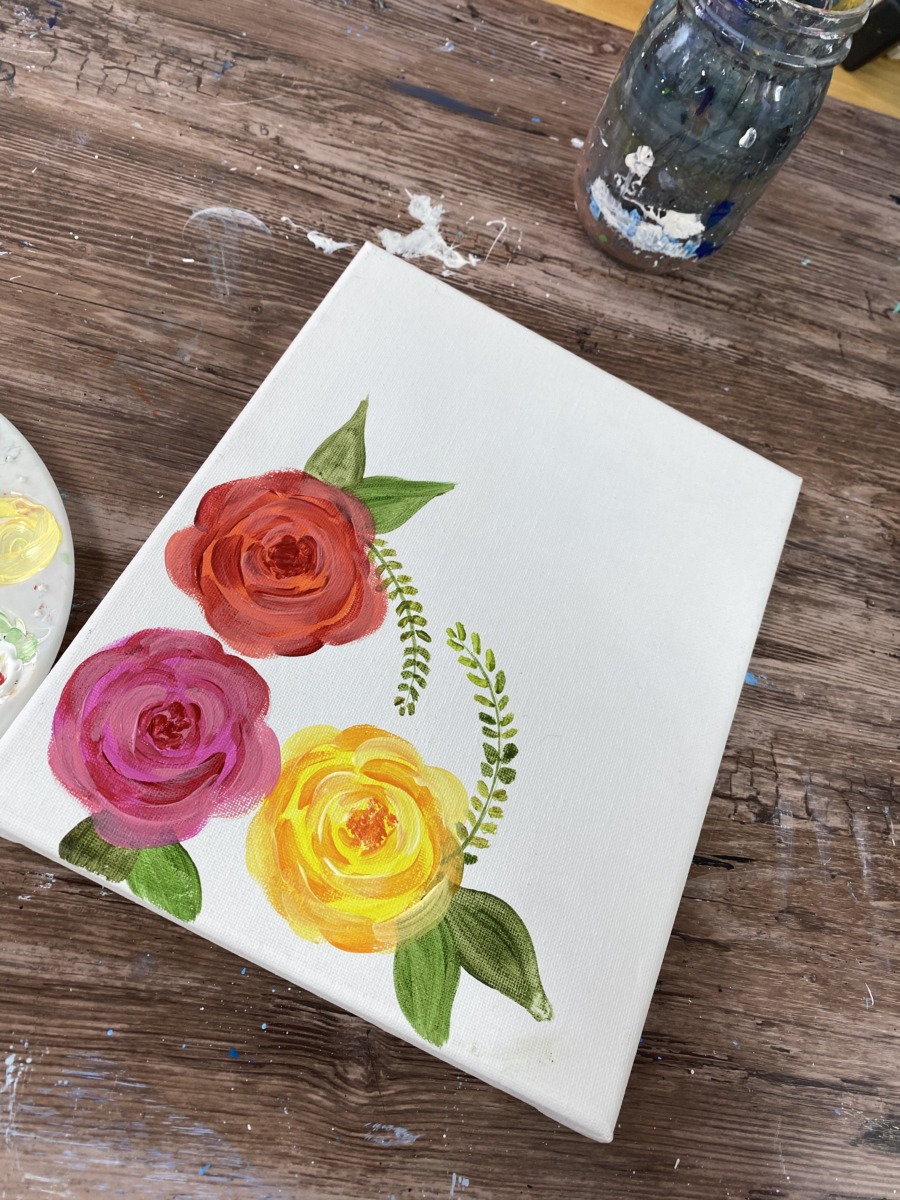
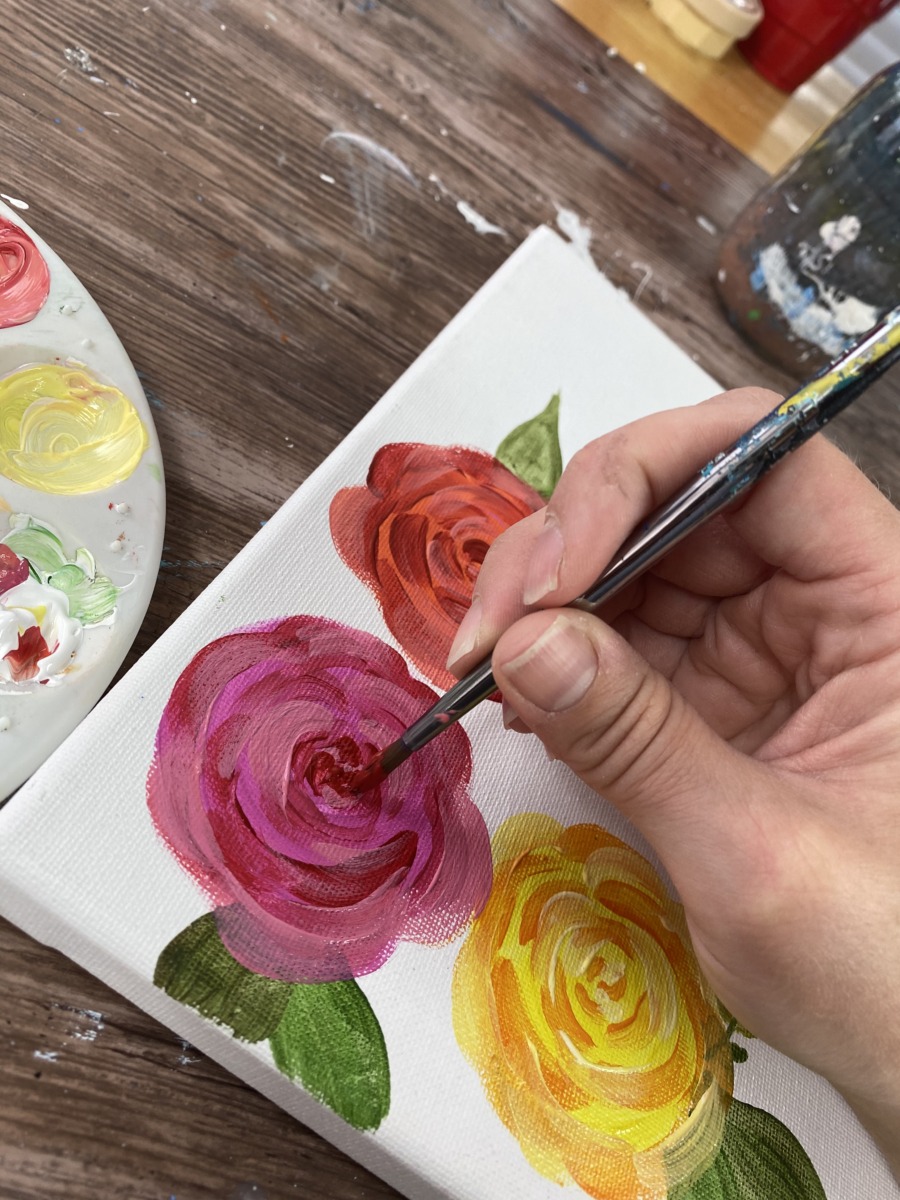
5. Add A Lighter Color In The Petals
You can leave the roses as they are with the two colors you used to paint them. Or you can add additional petal strokes with a lighter color.
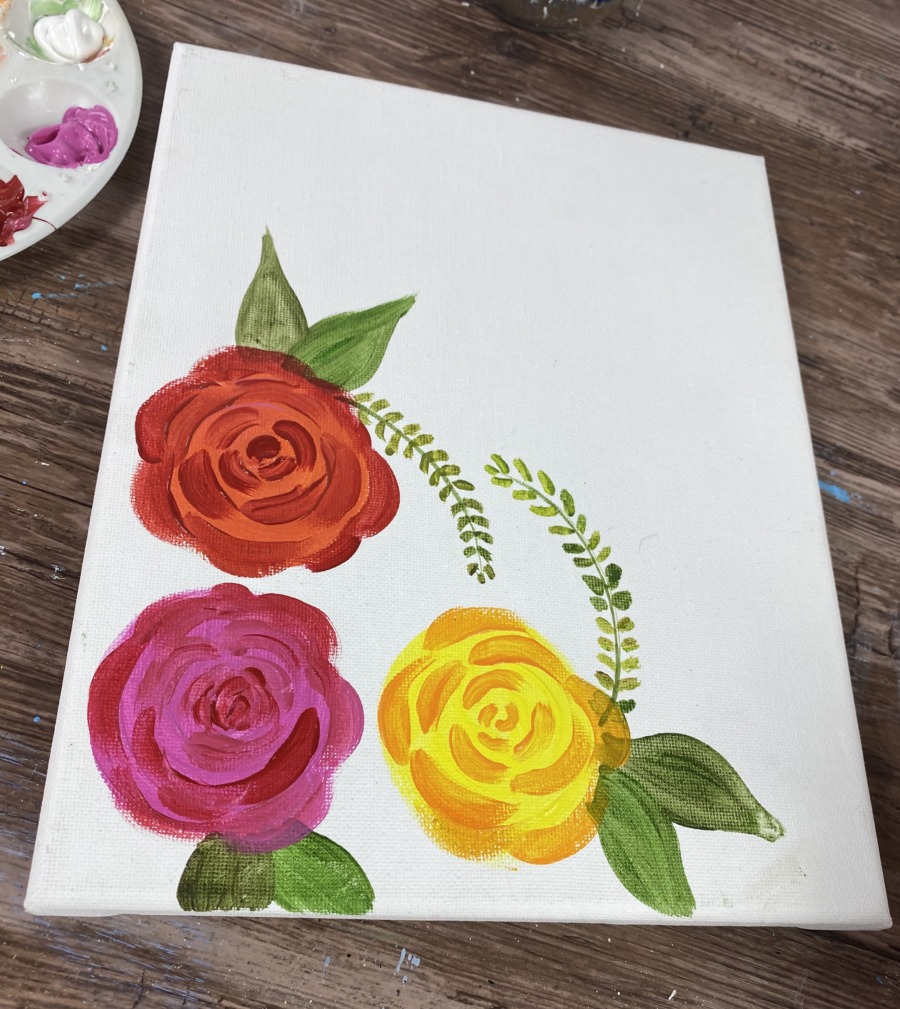
To do the lighter color in the yellow rose, I mixed titanium white with primary yellow.
Then I painted the lighter colored strokes. These strokes do not have to go over previous strokes, they can overlap and go in their own fashion. But still, start in the middle and work your way outwards.

Do the same for the other roses. Mix white with whatever your base color was for the rose.
Lastly, I like to take this a step further and make sure the center of the roses are nice and dark. I took red and painted small dots in the center of all three roses.
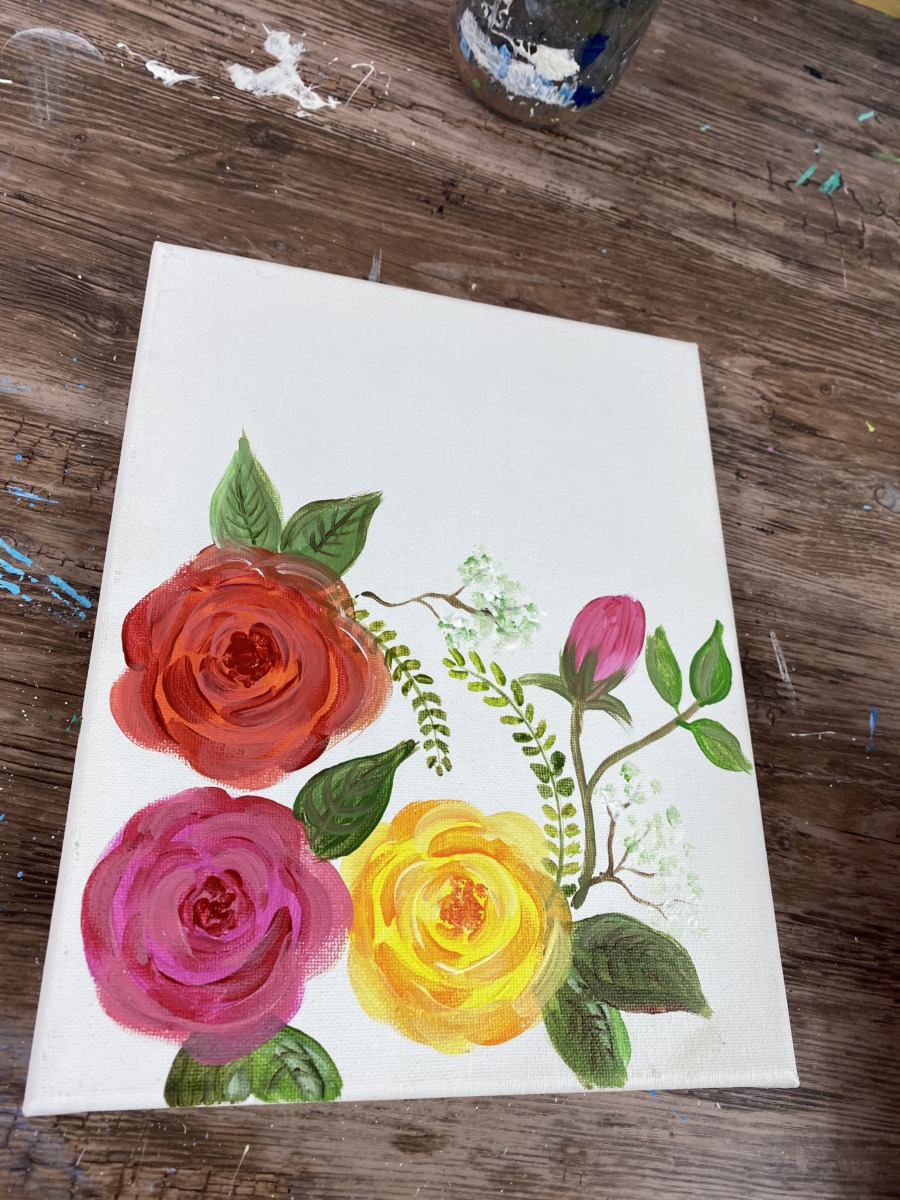
6. Keep Going!
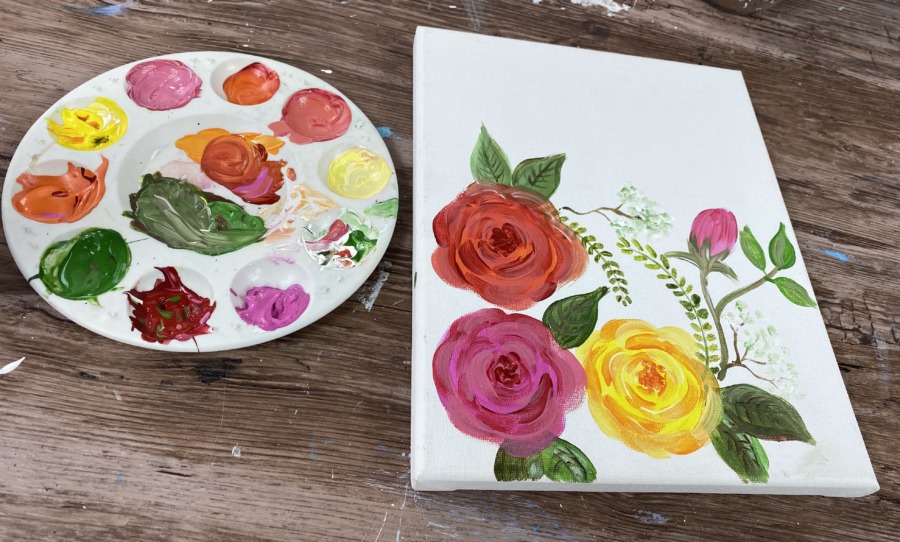
You can keep adding more designs to this! I decided to fill my whole canvas with different leaves, baby’s breath, berries and some more roses! This is so fun and relaxing!
You don’t need a plan, just keep painting!


See Also:
I just tried this & my roses came out so good!!! I’ve always been intimidated by painting them so this was an awesome guide. I am officially obsessed with this website, it’s amazing. Thank you so so much, I can’t wait to try more!!!
Yes you are so welcome Emily!!! So glad you enjoyed doing these roses.
I never knew how to get my baby’s breath painted the right way and I see you painted some but it didn’t show in the video but I cam kinda see how you did it and it turned out so cool with the baby’s breath and the berries and everything else u added. Definitely helped in my learning process in how to tackle the painting of roses lol, never knew how to get them juuuust right even in an abstract way! Thanks to your technique I can add more twists to the colors and dimension of the rose. Very very beautiful and inspired!!! Thank you
Truly easy and great results. Would love to see more flowers. Thank you so much! Can I try this technique with water colors?
Ya definitely! I imagine this technique would work for watercolors!
Thank you for taking the time to take pictures of each step instead of just doing a video. It seems like everything I look at as a new painter is a video which is very frustrating because then you are constantly playing and stopping, playing and stopping the video as you paint each step. So there is absolutely no sense of flow. When you just have to scroll the page up a little as your going along it doesn’t break the flow of painting at all. So, just know that whatever effort you put in to the step by step pictures here is greatly appreciated!
Hi Tracie, I’m new to acrylics but I find your instructions so easy to follow ( I signed up for emails) and so much fun! I’m currently working on the Roses and I can’t believe how nice they are coming out! Thank you, Tracie, I can’t wait to try another of yours!
Wowww lovely
Helped a lot??