

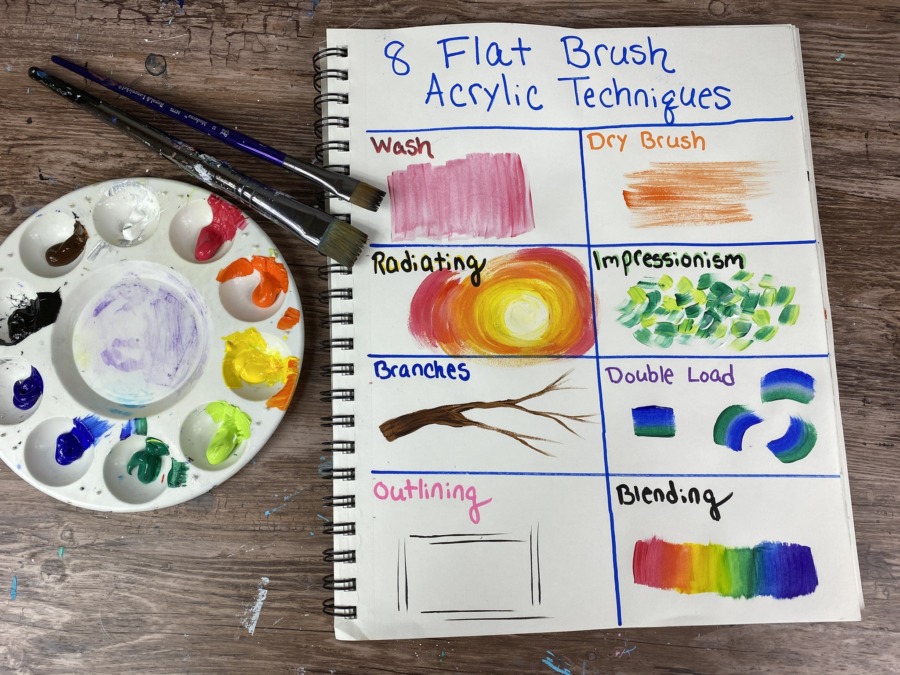
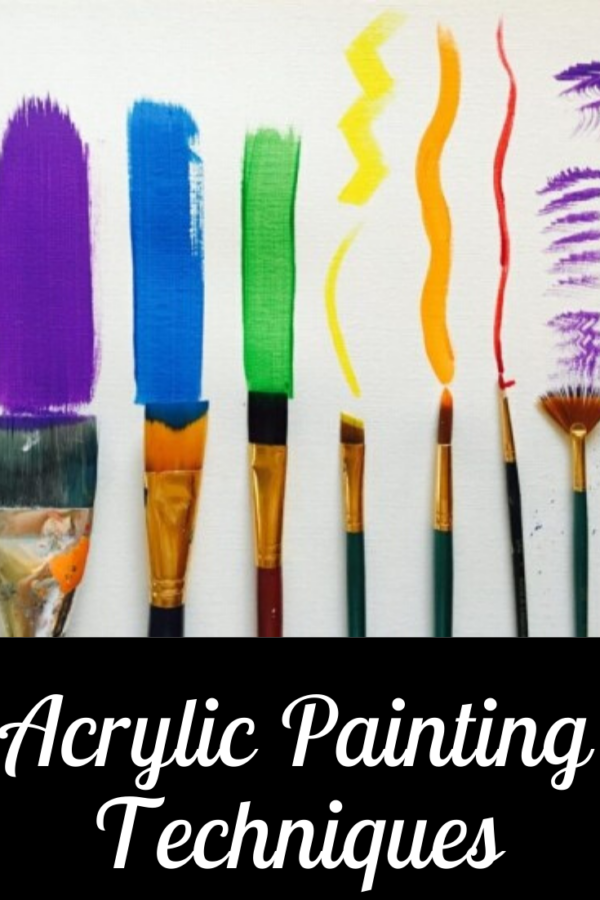
8 Acrylic Flat Brush Techniques
Whether you’ve done one or one hundred paintings, practicing brush techniques is always a great exercise!
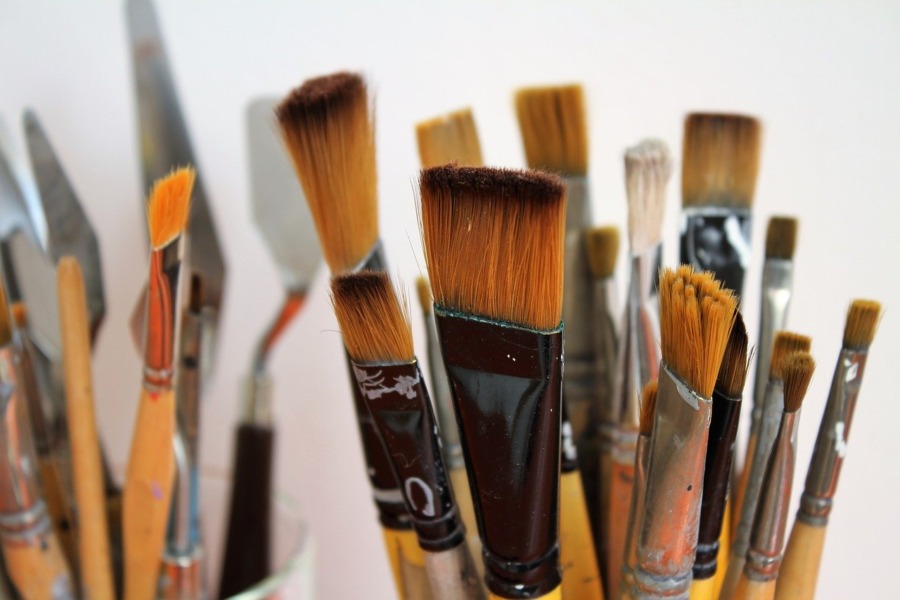
A flat brush is the most commonly used and versatile brush for acrylic painting – at least it’s the one I use the most often!
Flat brushes come in all sizes and are typically labeled with a measurement (3/4”) or a number (12). They can also be categorized into subtypes such as “Bright”, “Shader”, “Wash”, etc.
See Also:

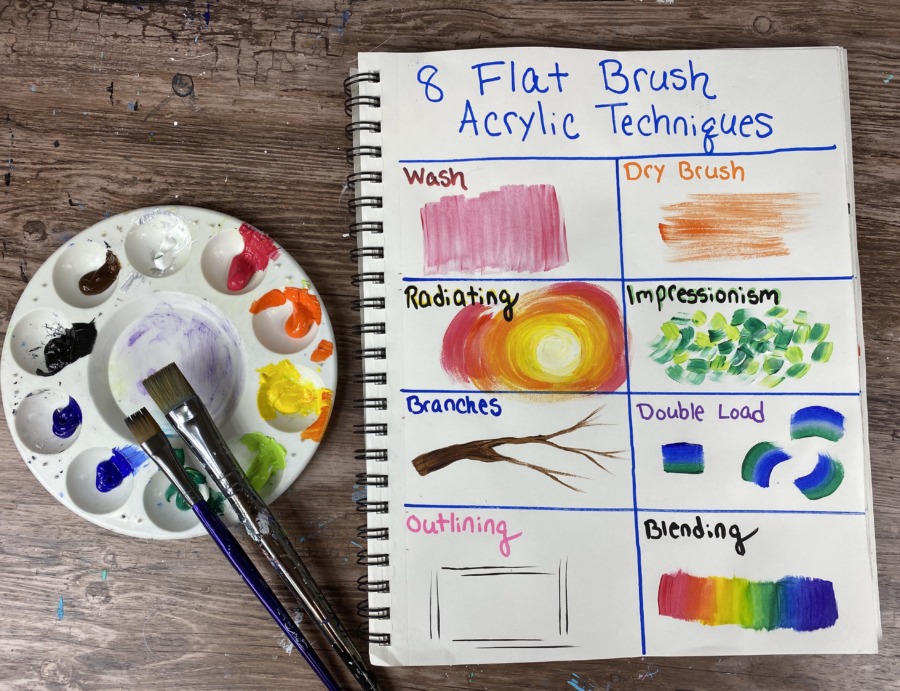
In this post, I will be demonstrating 8 different flat brush techniques to practice in a sketchbook or some mixed media paper.
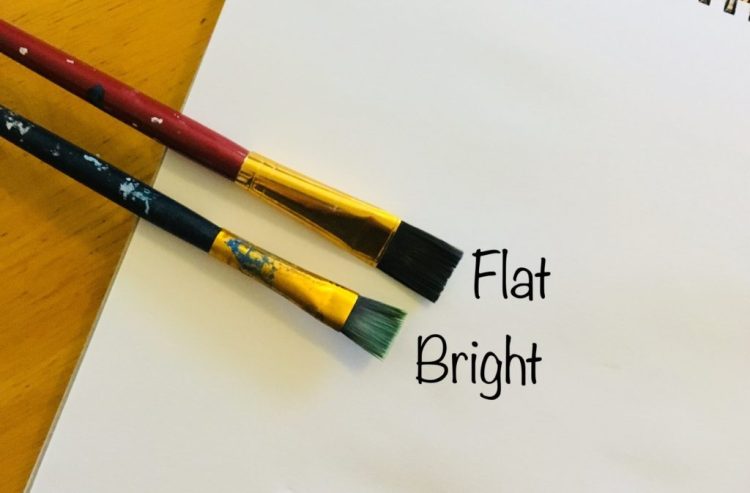
I will demonstrate using two of my favorite flat brushes and the ones I use the most often in all my paintings – a 3/4” Wash and a #12 Bright!
You may be wondering if you have to get those exact brushes and, honestly, it will depend on your own preferences! Artists tend to gravitate towards different brushes and you may find that you have your own favorites too!
The ones I like to use the most are the Royal Zen line of brushes. Simply Simmons is also a popular economical choice of brushes, especially their 3/4” wash.
What is the difference between flat and bright?
You may also be wondering what this difference is between a flat, wash, shader, bright, etc.! A wash is generally a wide brush labeled as a measurement and it is used to fill large areas. I use a wash brush to fill the background of my canvas paintings.
A bright brush is a flat brush with shorter bristles. The shorter bristles allow for easier control of the paint.
A shader brush is another name for a flat brush but typically shaders have longer bristles. Personally, I do not use the longer bristle flat brushes much.
If you want to learn more about how brushes are labeled and a general overview of all brush techniques, you can check out my popular post “Acrylic Brush Techniques”!
8 Flat Brush Techniques
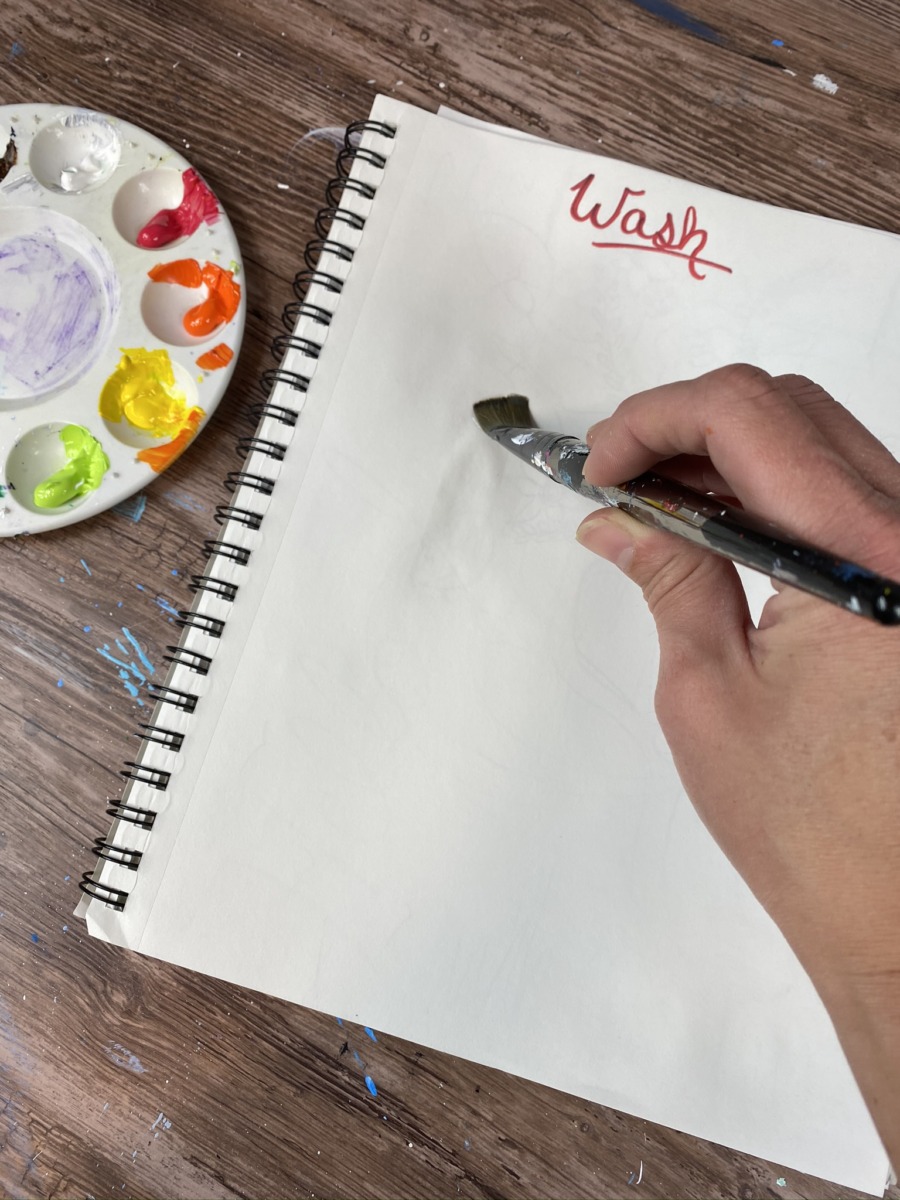
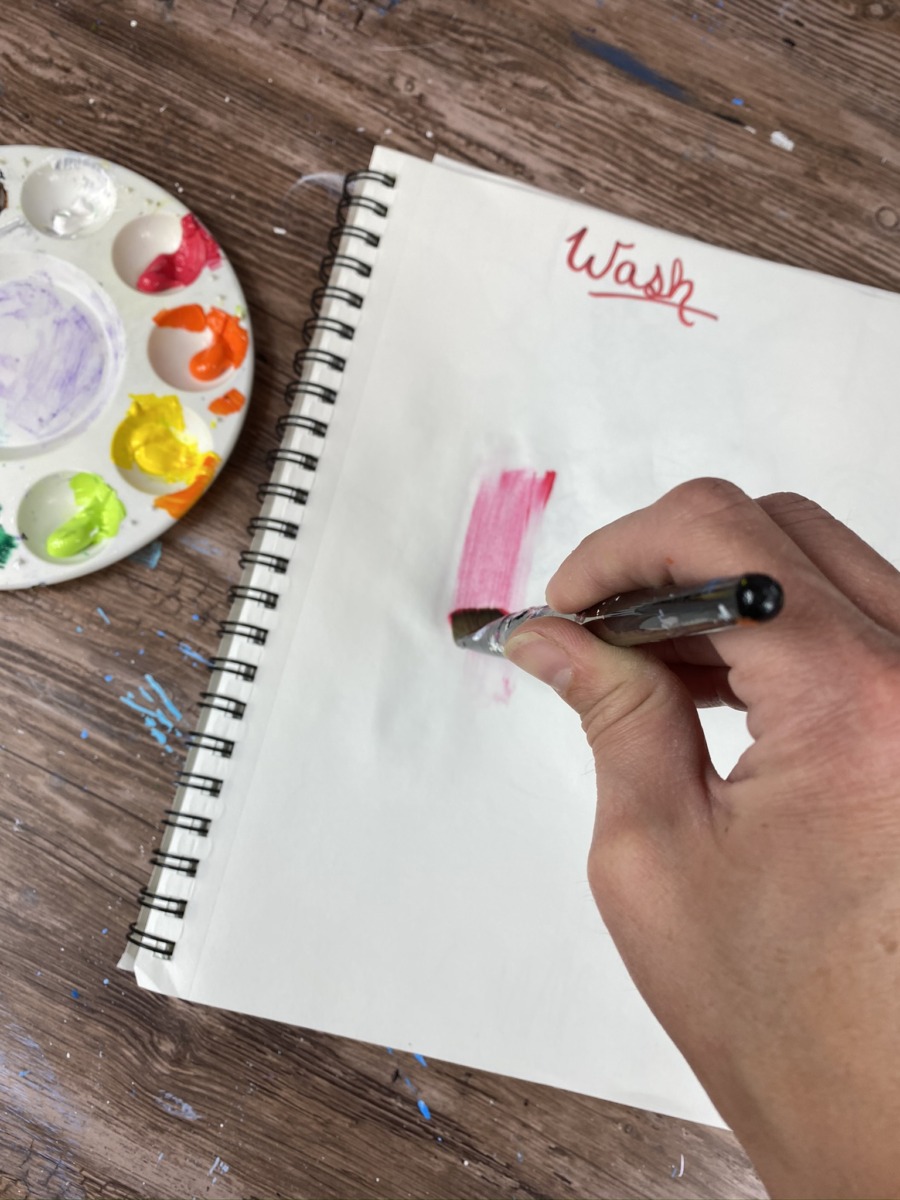
1. Wash Technique
The wash technique is done with (you guessed it) a wash brush! My favorite size wash brush is the 3/4” flat.
A wash fills a large area and is typically a thin layer of paint. It can be one or multiple colors.
Some artists like to fill their entire canvas with a wash of paint first because it gets rid of the intimidating stark blank white canvas.
There’s a couple ways to do this but I will demonstrate a simple method.
First use a clean wash brush and dip it in the water. Then paint a thin layer of water that covers the area you want to fill in.
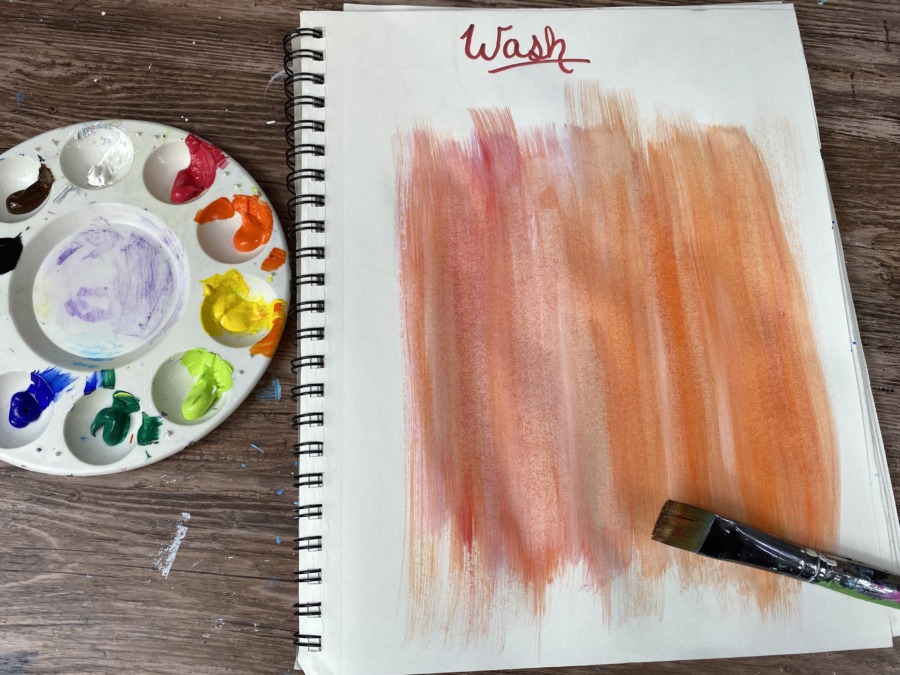
Load your brush in the paint and paint in one direction. Depending on the look you are going for, you can do left and right, diagonal, etc.
You can also add multiple colors to this wash to make it look interesting! I especially love adding titanium white to a wash.
What if I don’t want to use water to dilute the paint?
If you don’t want to use water, you can get a special medium called “flow aid” that will thin the paint for your wash but does not dilute the paint like the water does.

![]()
You can also do this without wetting your canvas first. You can add just a little water to the brush and swirl it around in the paint on your palette to thin it a bit and then apply the wash technique.
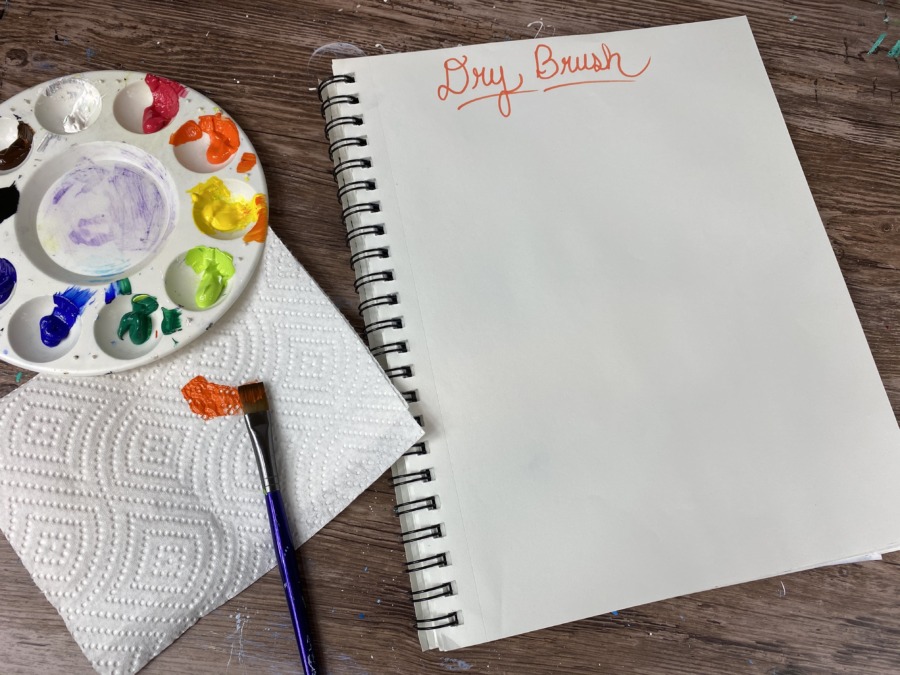
2. Dry Brush
This is one of my favorite techniques because it really makes for interesting texture.
To do a “dry brush technique” you need to start with a very dry brush. If it has been wet, dry it off with a paper towel.
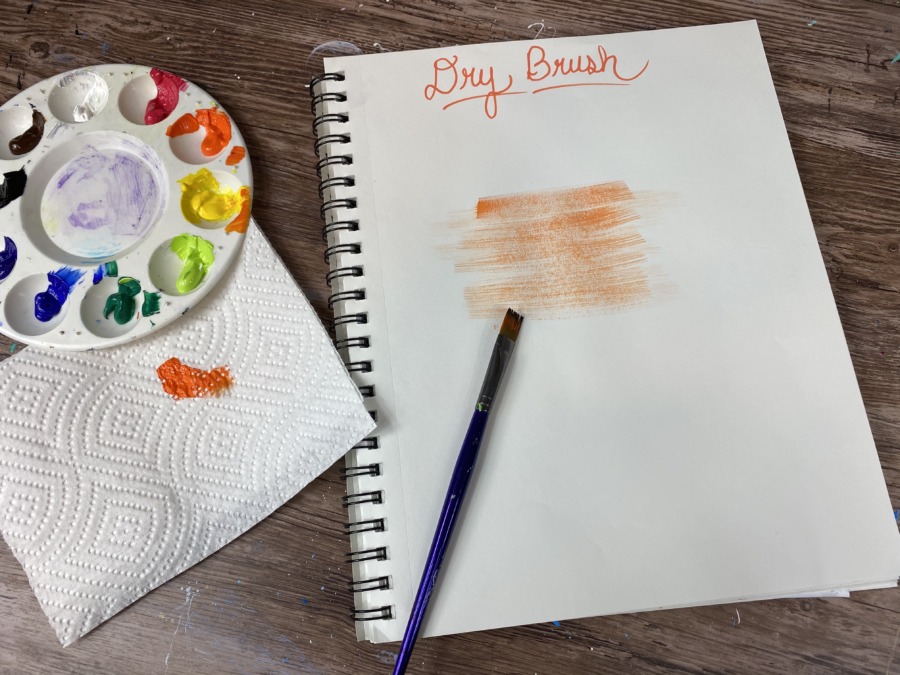
Load it in the paint. I typically will only load the tip of the bristles.
Then dry it off with a paper towel so only a small amount of paint is left!
Paint your strokes. It should be dry, see through & faded.
You can apply dry brush over previously dried acrylic painting layers to add interesting effects. I did this technique in the white fence of my garden painting to make it look rustic!
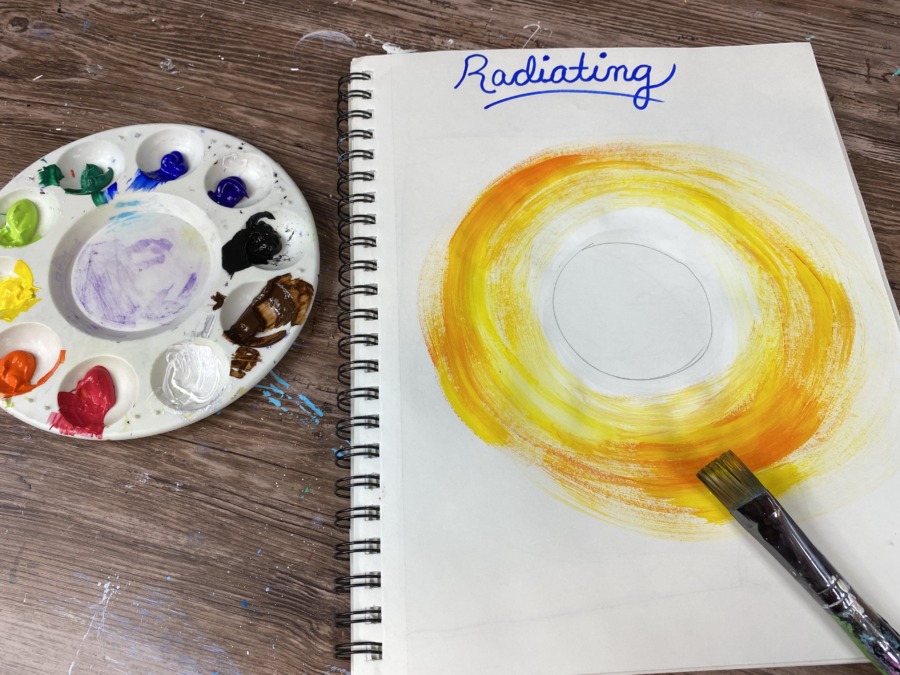
3. Radiating
Using a flat brush to create a swirly sky of color radiating around the sun or moon is a common technique you see in a lot of beginner paintings!
You can do this with any color combo but one that I recommend is an analogous color scheme (colors that are next to each other on the color wheel).
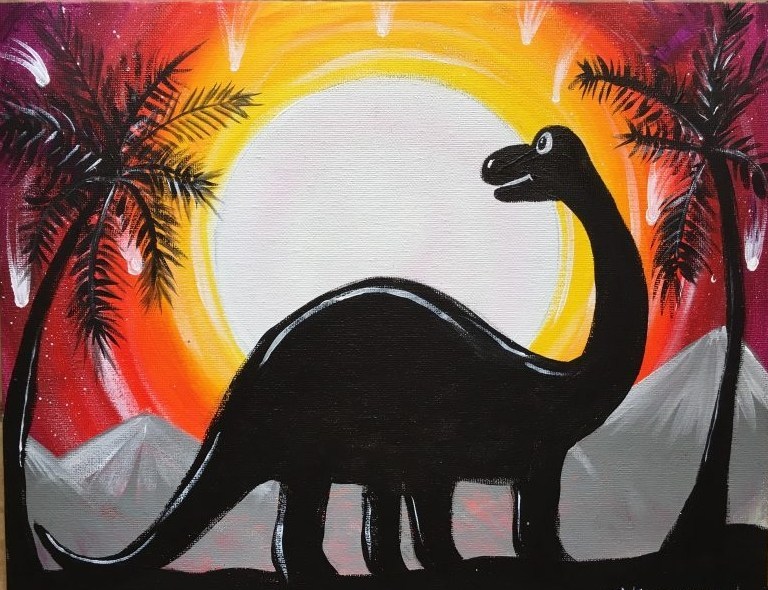
It certainly creates stellar, eye-popping contrast!
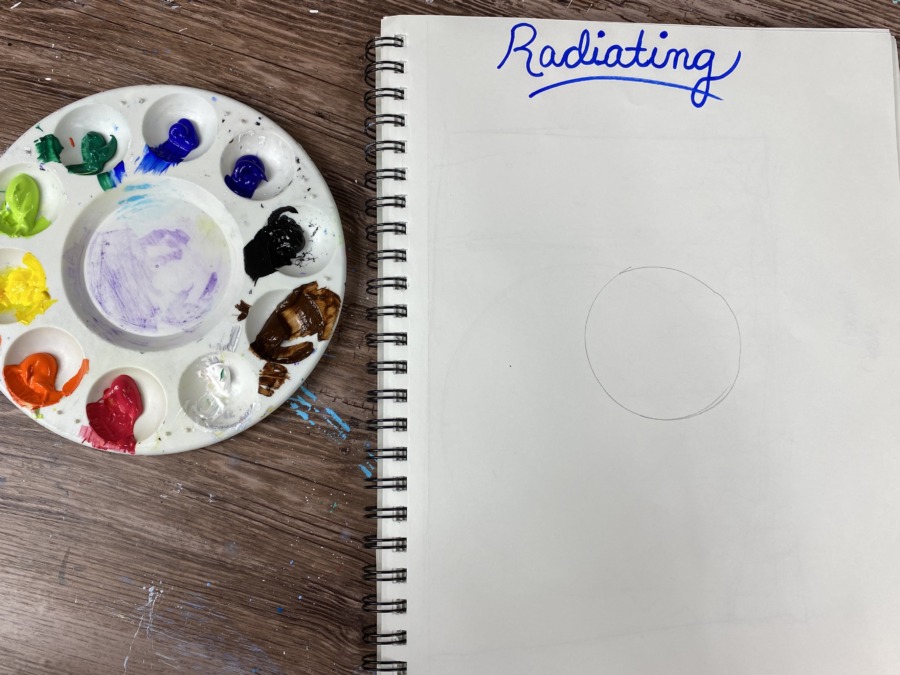
To do this, start by lightly drawing a circle about the size of the moon or sun you are painting.
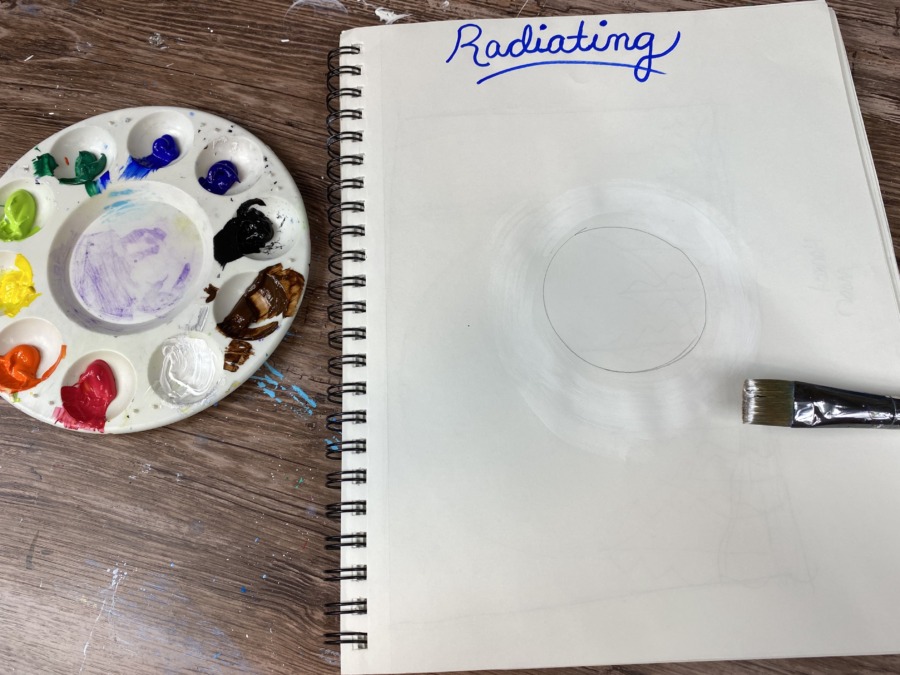
Then use a 3/4” flat brush and load it in some white. Paint a circle with that white using the full width of the brush.
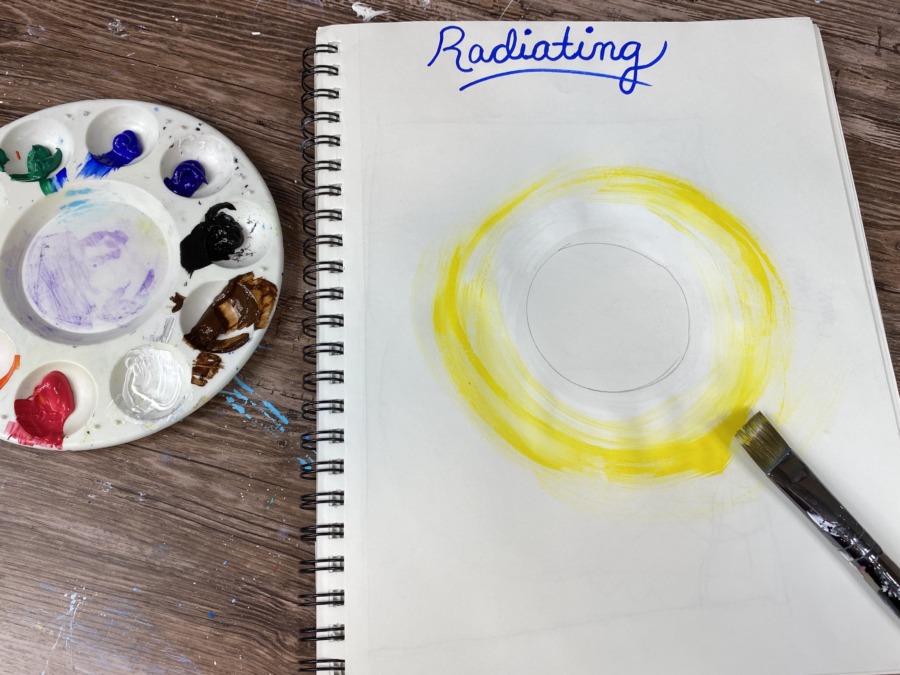
Then, without rinsing your brush, load it in some yellow and add more circular strokes that blend out from that white. The colors will blend on the canvas.
You may have to work the colors a bit to get them to blend. Also, don’t overload your brush with paint.
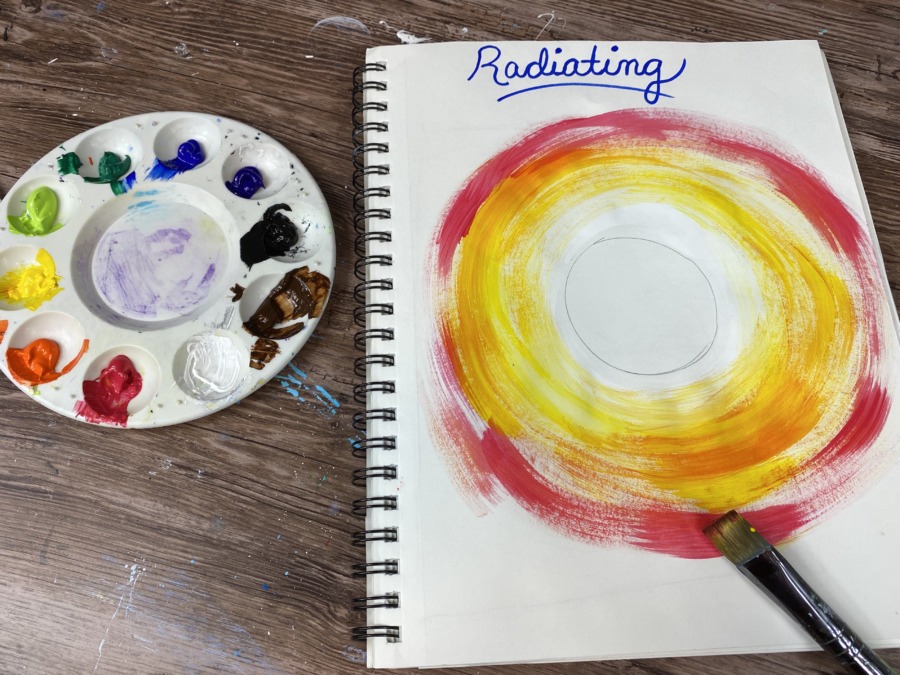
Then load your brush, again without rinsing, in a little orange. Continue to paint in circular strokes working your way outwards.
Repeat this with some primary red.
Tip: keep a paper towel handy to wipe off excess paint on your brush as you go to load new colors.
As a final touch, I like to completely clean and dry my brush off and then add just white to the brush. The white also helps the colors to blend a bit more.
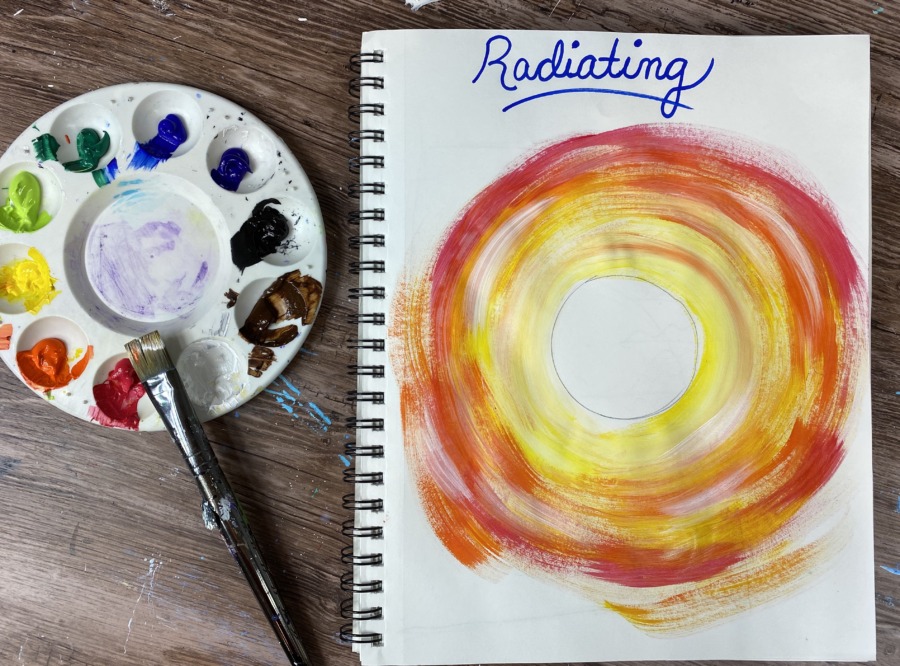
Add circular strokes of white that slightly blend with the colors. This adds some interesting color variation in the sky!
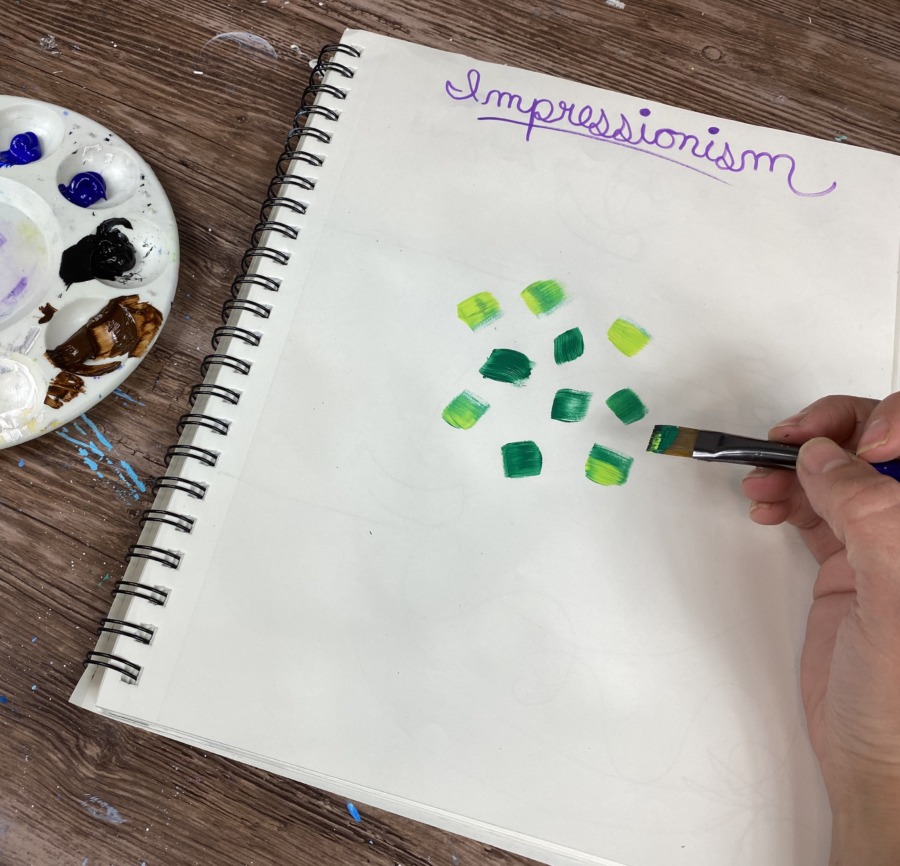
4. Impressionism
I’m not sure if these stroke techniques are really called “Impressionism” but they certainly remind me of something from a Renoir painting!
Try using a bright brush to do these types of strokes. Load your brush in the color and make sure all the bristles on the sides have paint, not just the tip.
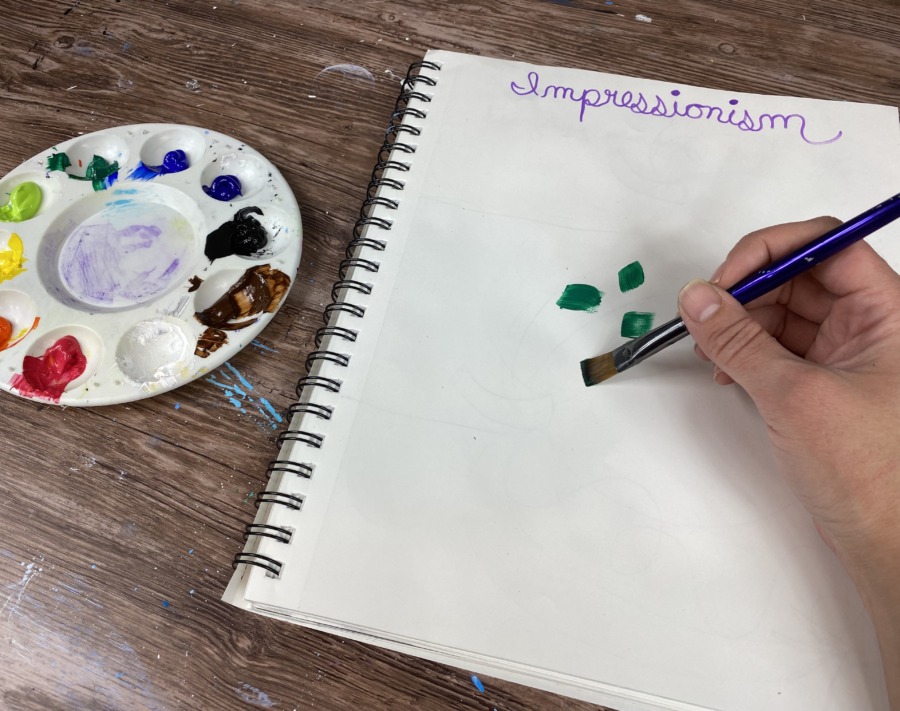
Use the whole side of the bristle to make your short, thick stroke. Thick is the key here!
Then “flip flop” your brush to make more short strokes going in different angles.
Try loading the brush in other colors (analogous in this example). The colors in each stroke will blend to create interesting color combinations.
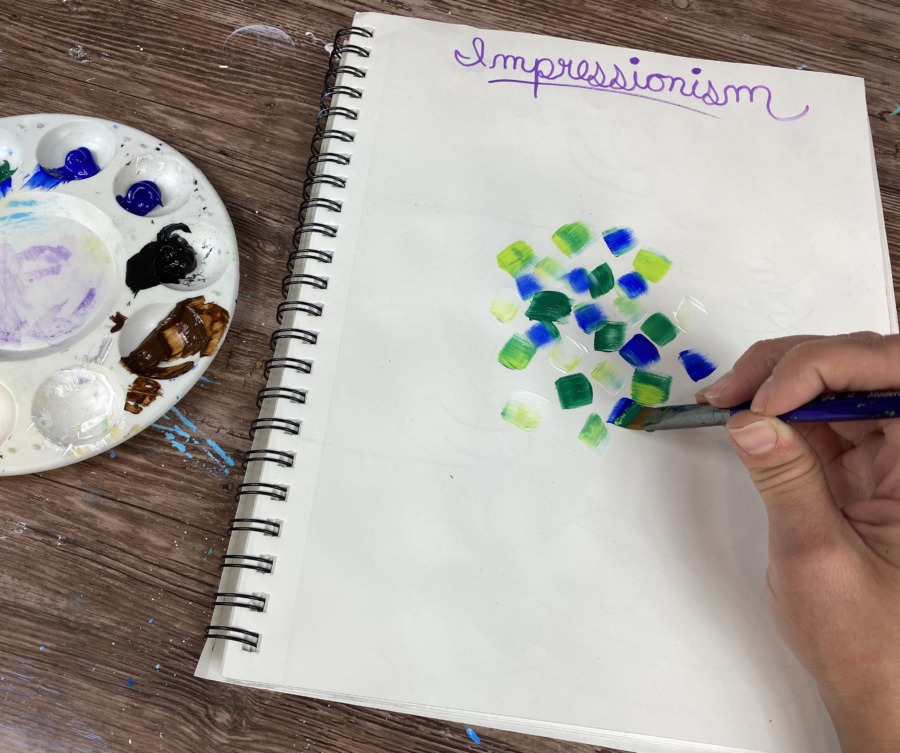
My favorite thing to to is add white in this technique and watch how that white beautiful adds new tints to the colors
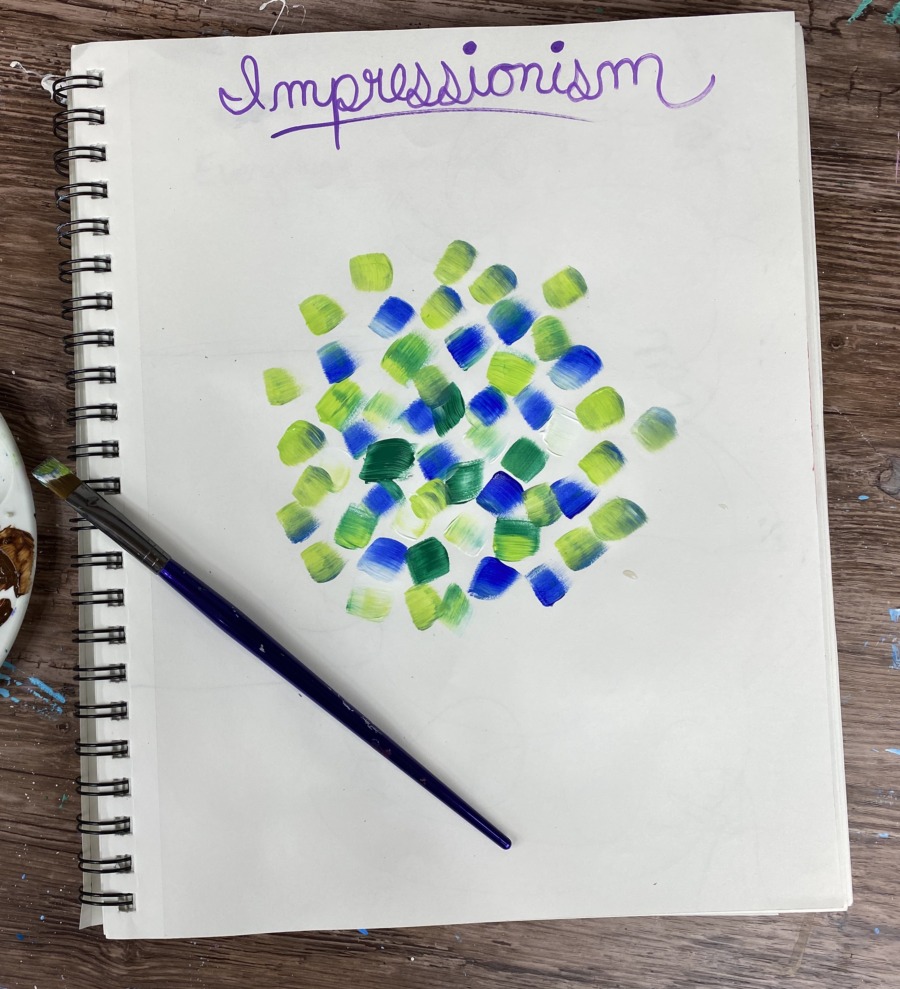
A good example of when you would use this technique is if you are painting leaves on a tree. I did this in my Fox & Birch Trees painting!
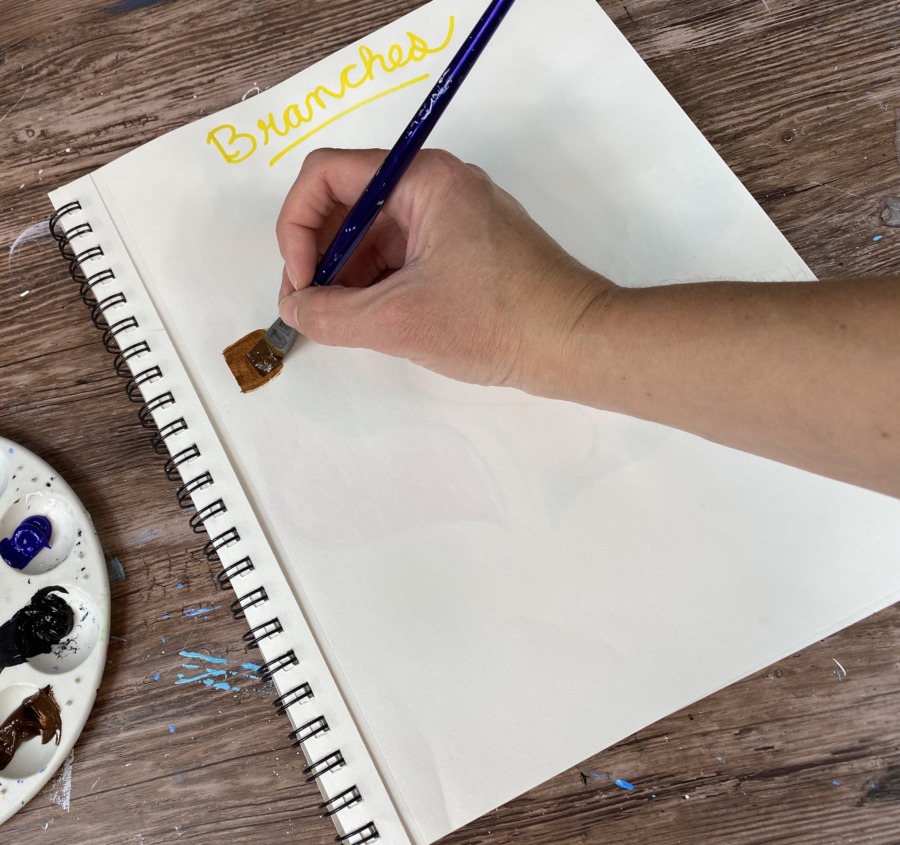
5. Branches
Branches can be done with a round brush but a lot of times I grab my 12 bright brush to do branches!
Because a flat brush can be held horizontally for wider strokes, and vertically for thinner strokes, this adds a lot of flexibility in creating thick and thin lines for branches.

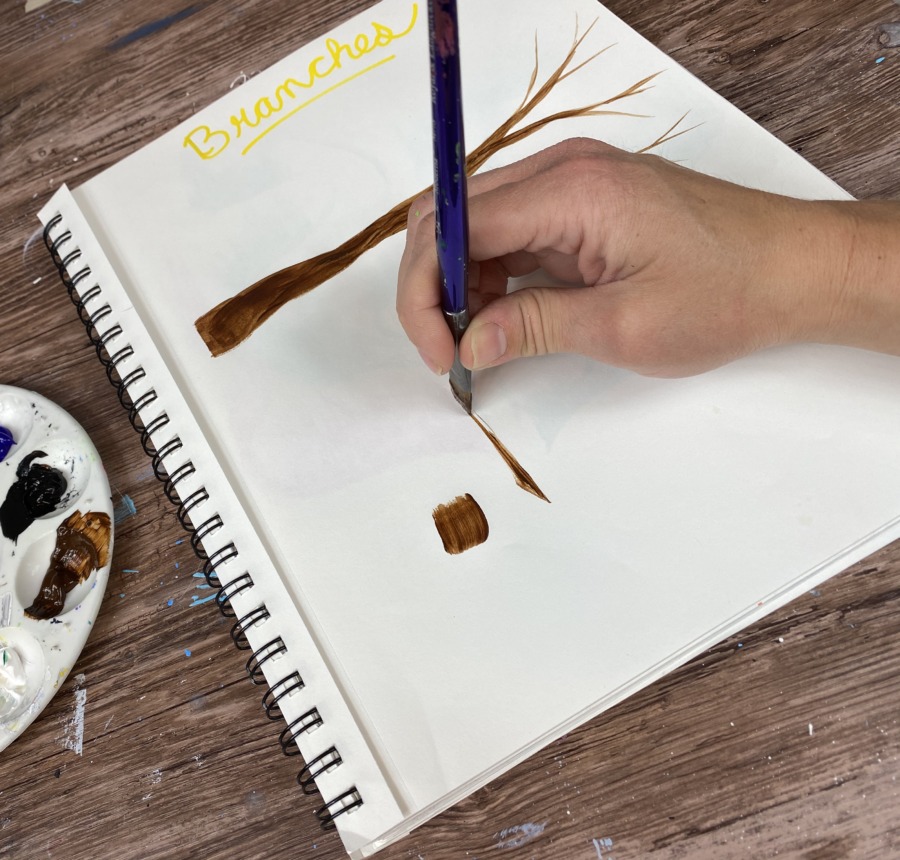
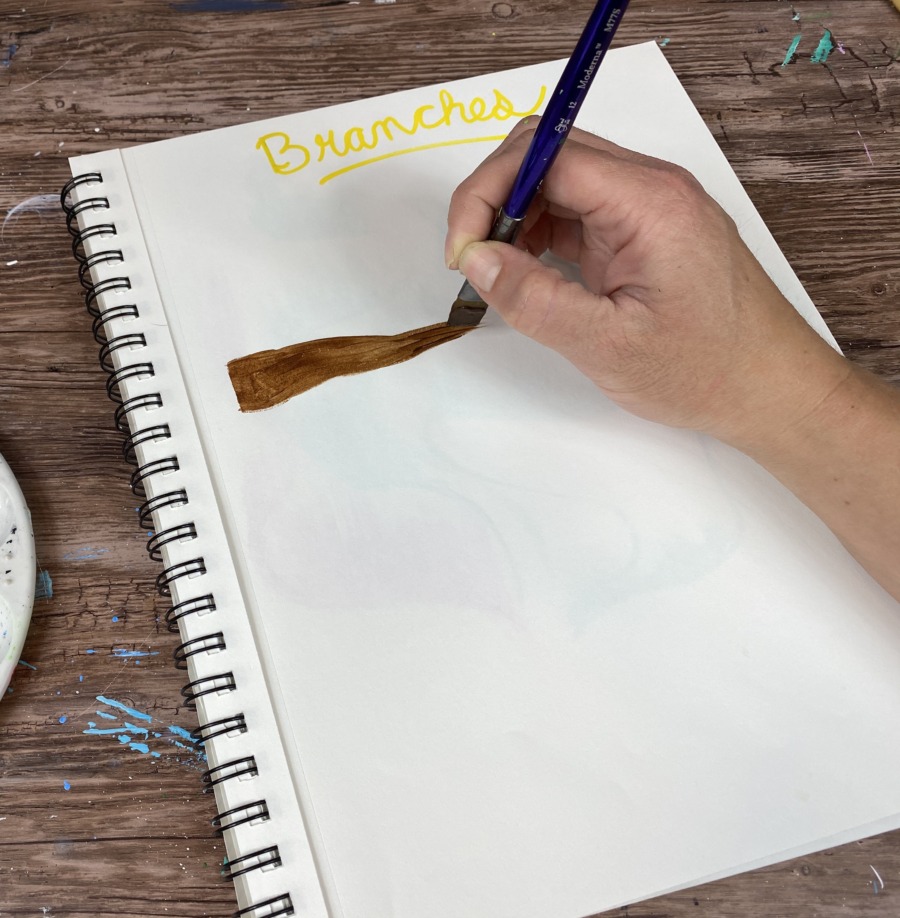
To start a branch, hold your flat brush using the wide part of the bristles to make a wide stroke.
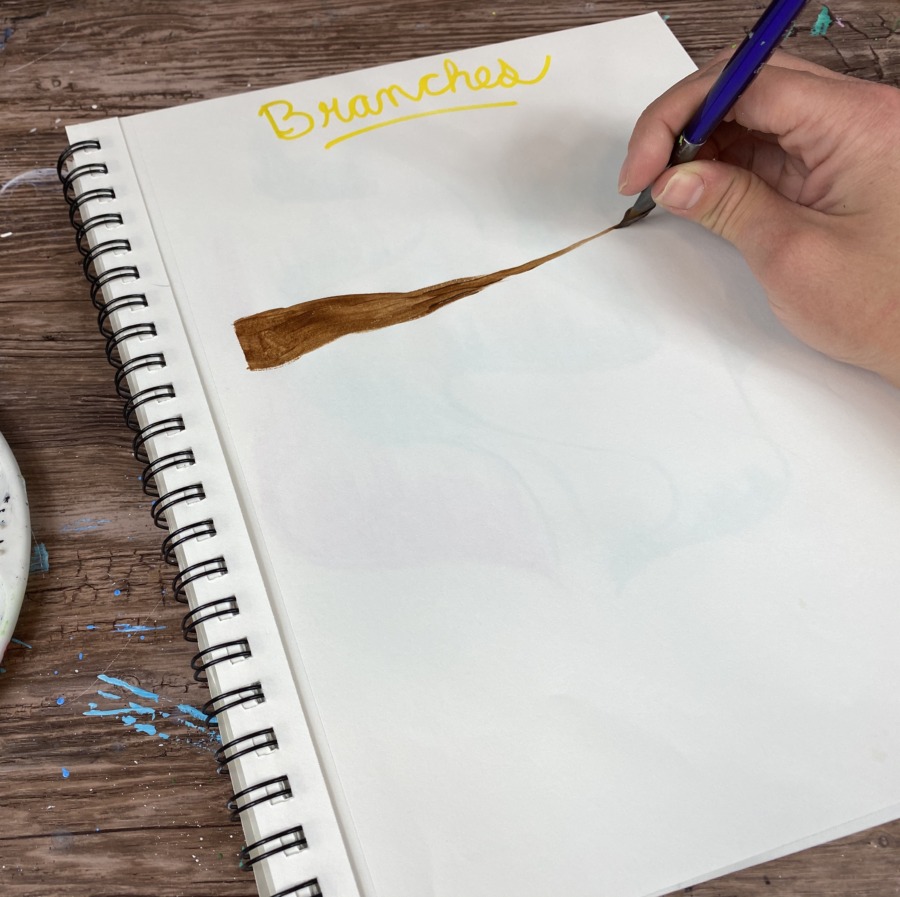
Then turn your brush to use just the tip of the bristles to create thinner stroke of the branch.
Tip: when you feel more comfortable with this technique, try “wiggling” your stoke a bit to make the branch more wavy and natural looking and not so geometric.
As your branch goes to a tip, hold your brush very lightly so the tip goes to a very fine point.
Create 2-3 branches like this that stem off using just the tip of the brush.
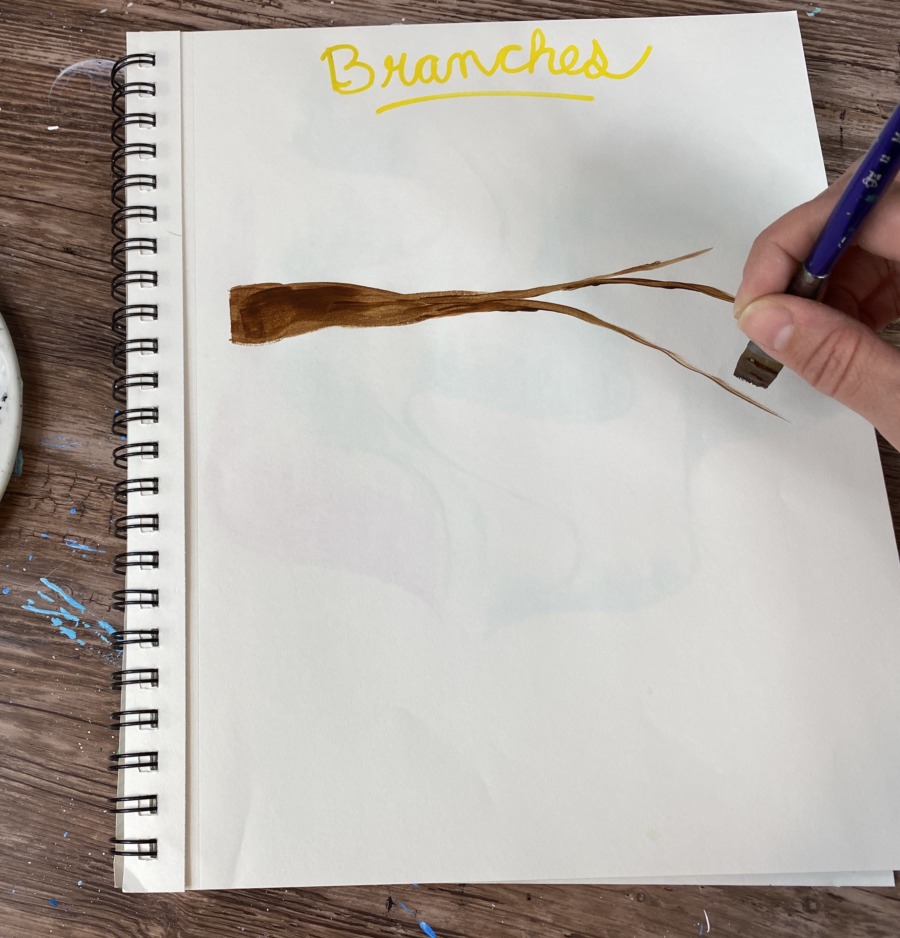
You can vary the thin and thickness even more by changing how hard or soft you are holding the brush. Hold your brush very lightly to create fine branch lines.

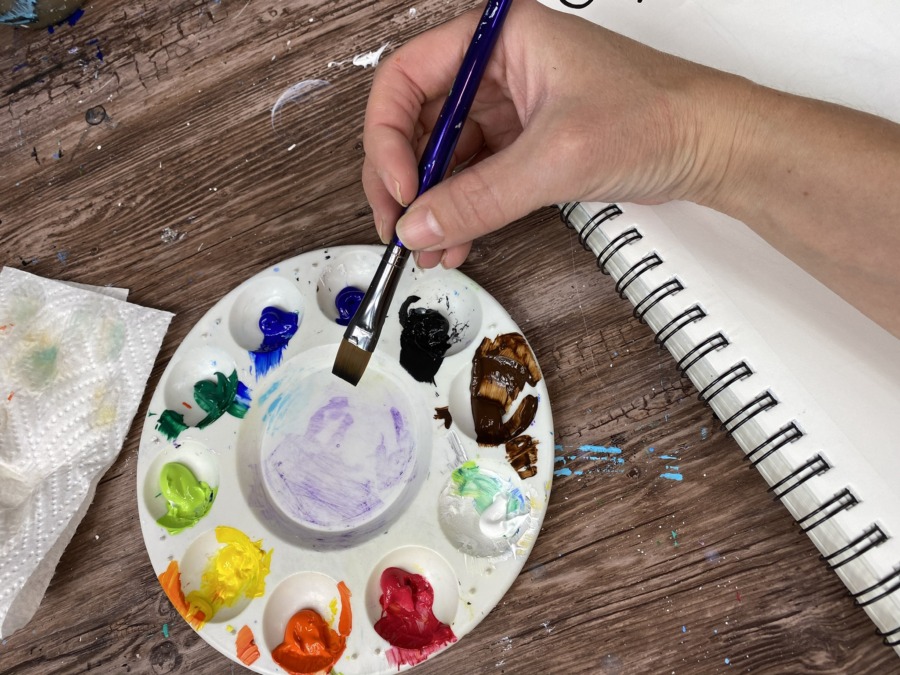
Tip: when you load your brush, make sure to get the paint right at the tip. To get the tip of your bristles nice and flat, drag your brush out a little on your palette.
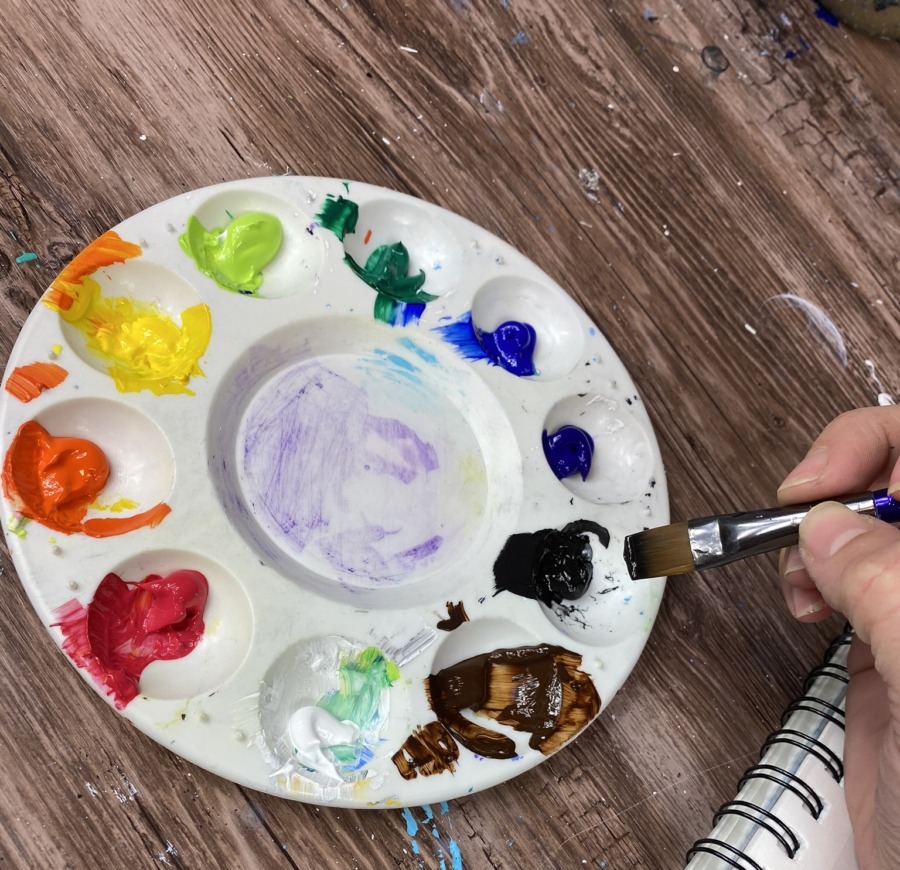
6. Double Loading
The double loading technique is great if you love blending colors right on the canvas!
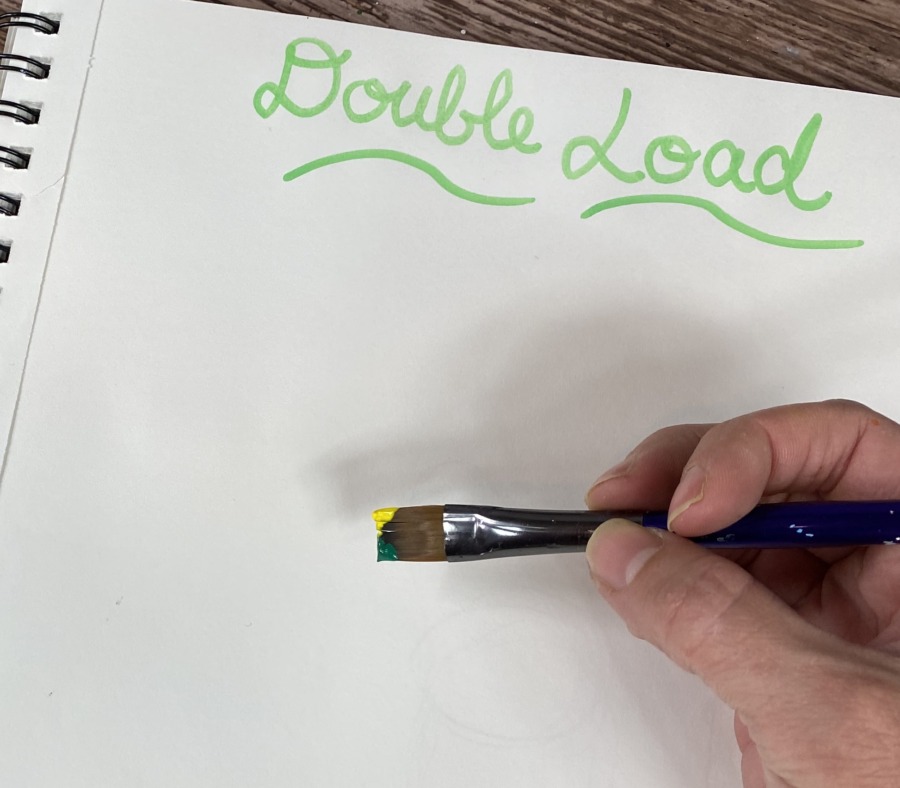
To do a simple double load technique, grab a flat brush (12 bright in this demo) and load one corner in one color and the other corner in another color.
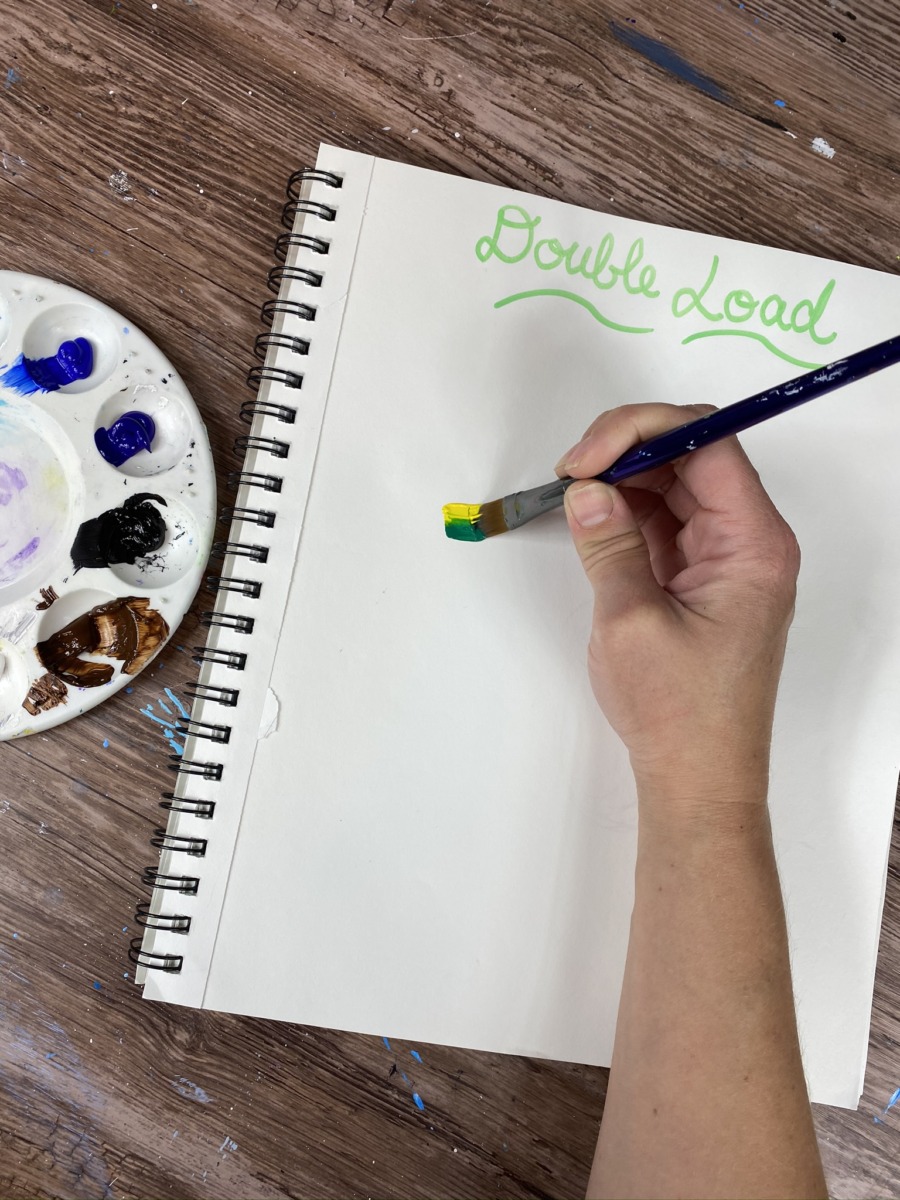
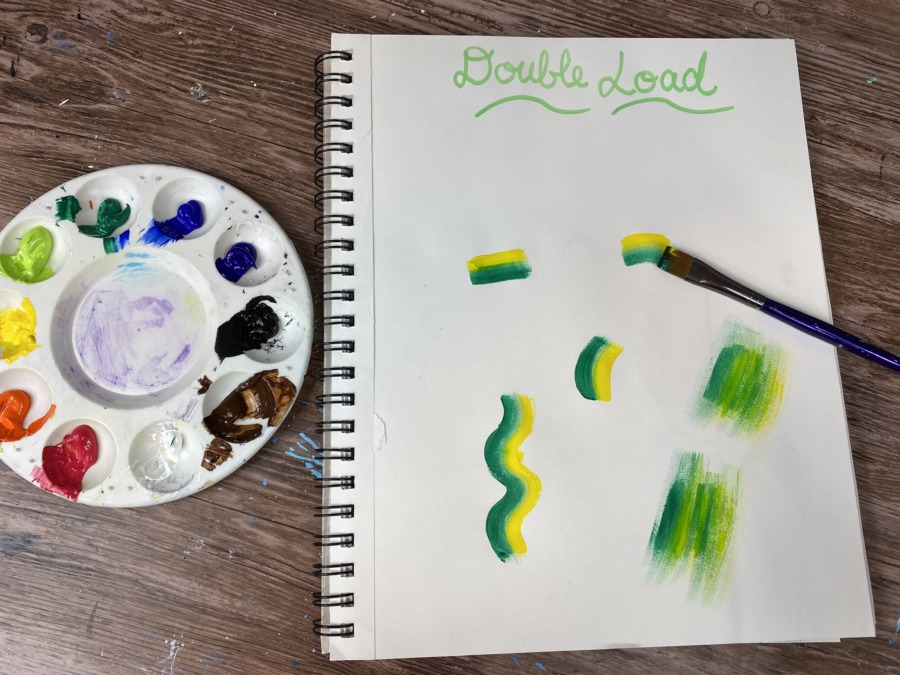
Paint a stroke any size or direction!
You can also double load your brush and have the colors blend together to create and abstract “wash” combo of colors. This is fun to do for backgrounds of paintings.
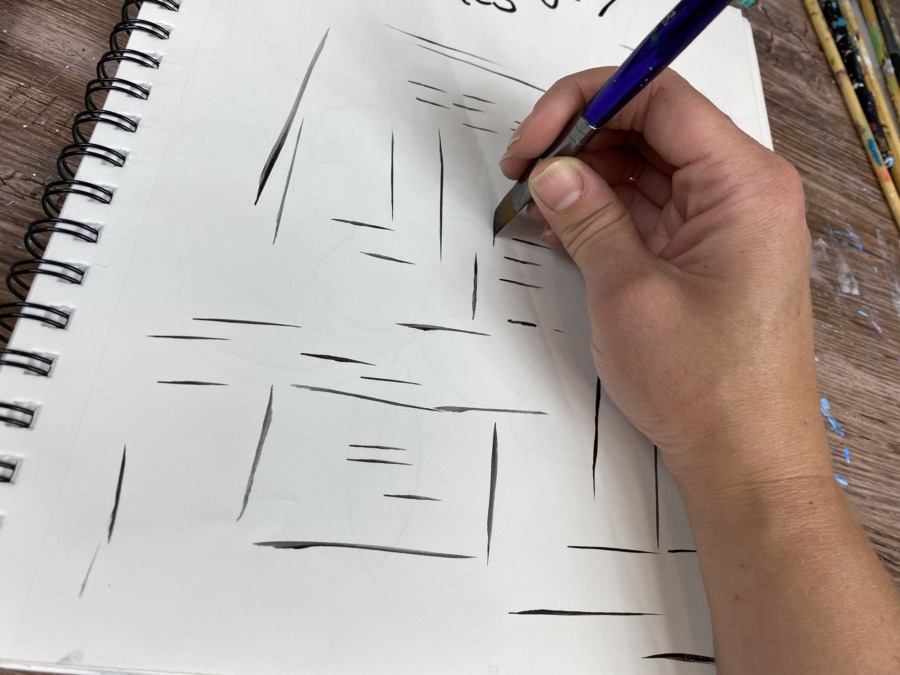
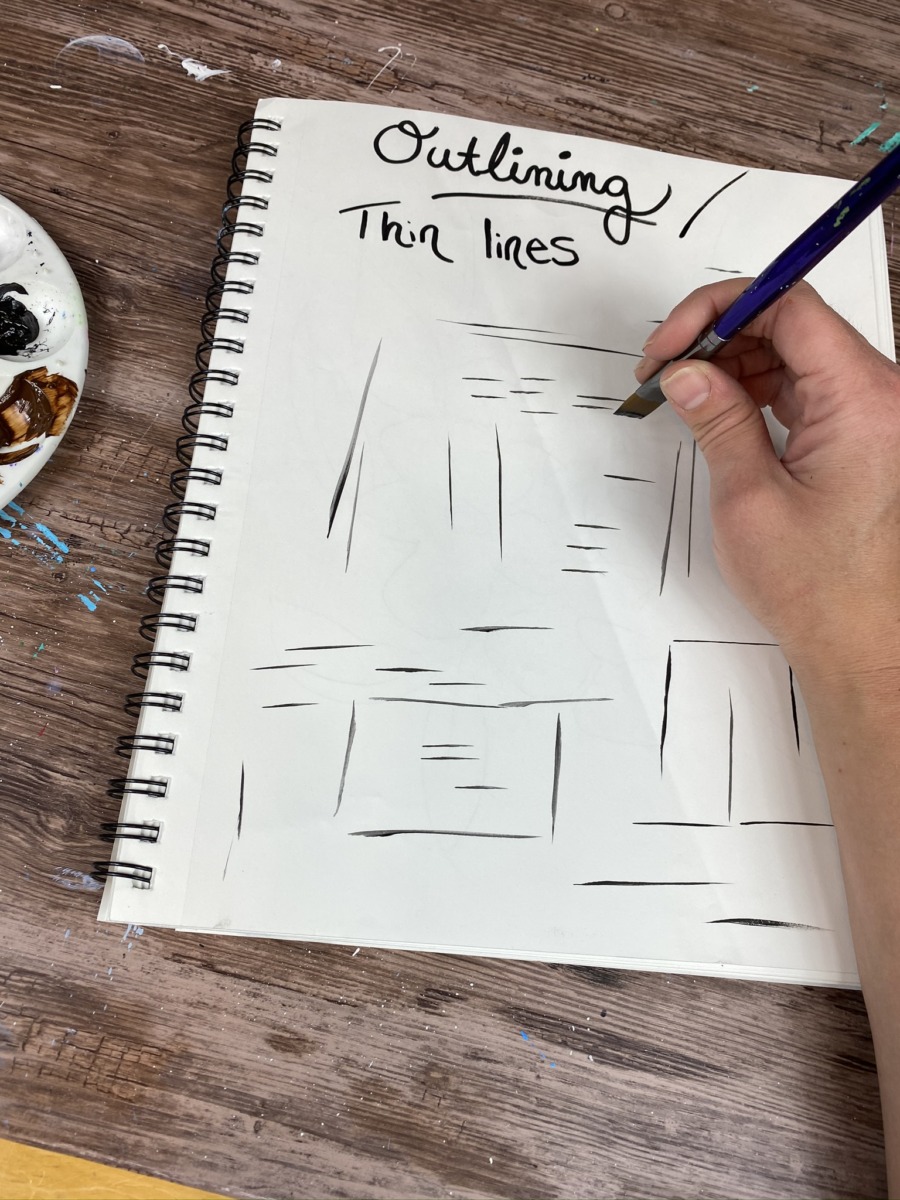
7. Outlining
A flat brush is probably not a favorite brush to use for outlining, especially for organic shapes!
But it can still be used for creating thin lines.
To create that crisp straight line, you will need to make sure your bristles go to a nice straight fine edge right at the tip. If the tip is too thick or the bristles are fraying outwards, it won’t work.
In this demo, I loaded my 12 bright in water first and slightly wiped off so it wasn’t dripping. Then I loaded it in the paint and made sure there was paint right on the tip.
Drag your brush on the palette to get your bristles to gather together and to make sure your paint is right there on the tip.
Then make your mark holding your brush vertically. Hold the brush very lightly and steady and you will get a crisp, straight line!
It takes some practice but it is a good exercise to practice brush control!
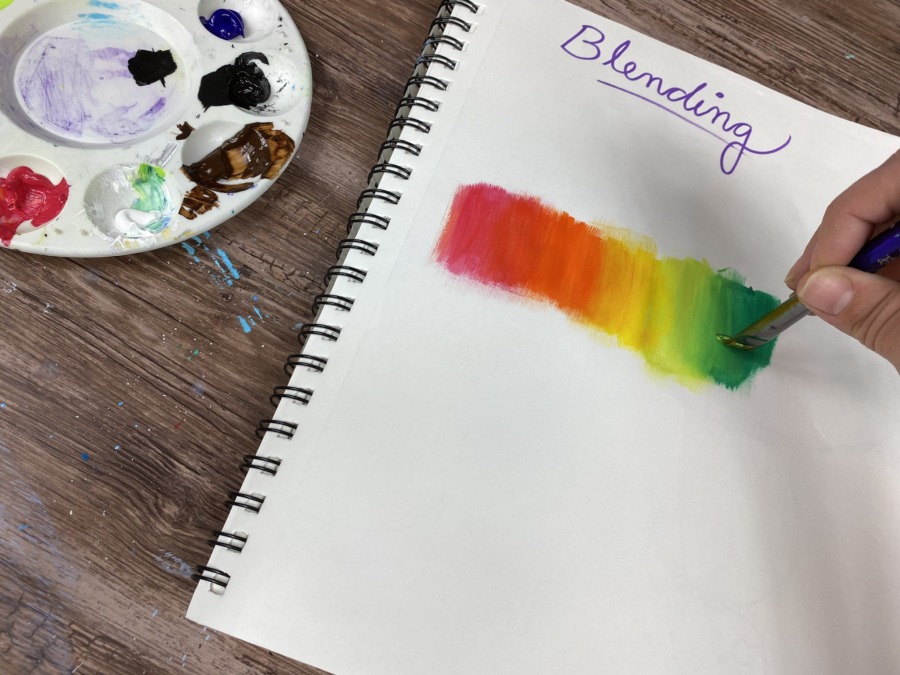
8. Blending
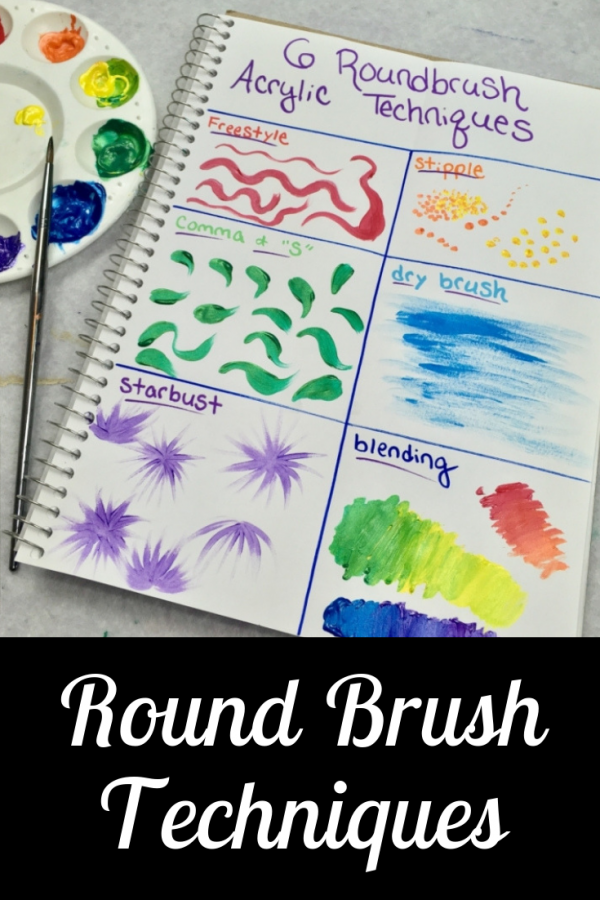
You can blend with any brush! I included blending in my 6 round brush technique exercises and I will include it here too because it’s a great skill to practice every brush with.
In this example, I did the rainbow spectrum starting with primary red and blending all the way to purple. I also blended a color with white.
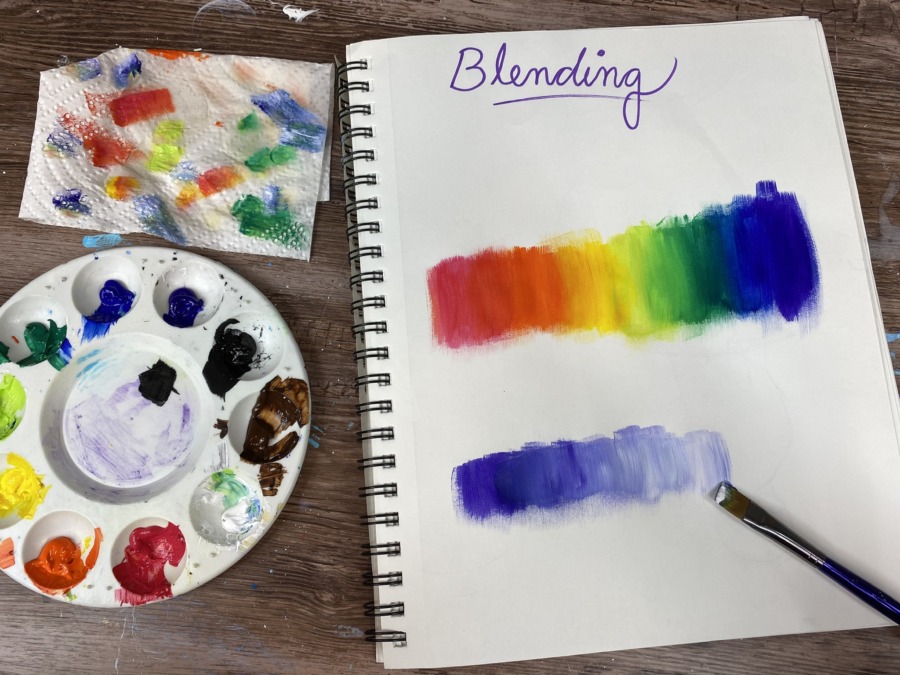
I like to blend using the wet-on-wet blending technique where the colors blend on the canvas.
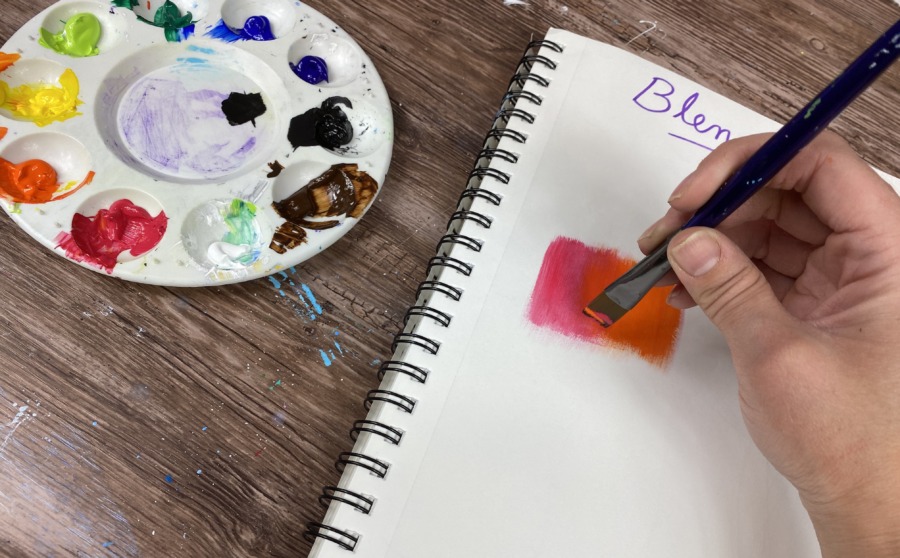
When you go from one color to the next, apply the second color close to it and very carefully go over part of the previous color. The two colors will blend together.
Tip: Don’t over load your brush when you are blending with one color to the next! Sometimes less is more with blending.
Final Thoughts!
I’m sure I left out some great techniques you can do with a flat brush! These are common ones I use throughout my tutorials and practicing them really helps you be more aware of how you’re loading the brush and controlling the brush!
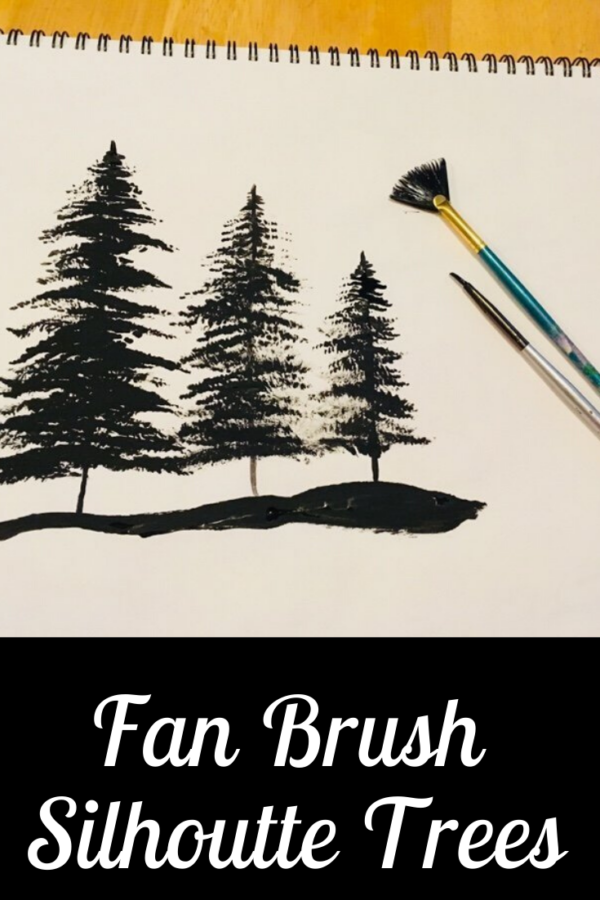
If you loved the exercises in this post, you can check out my 6 round brush techniques, how to paint fan brush trees & my basic acrylic brush techniques!
See Also:
This was very helpful! Your explanations
Were clear and easy to understand.
So thank you very much!
Excellent ly explained thanks very much ..