
Would you like to save this?
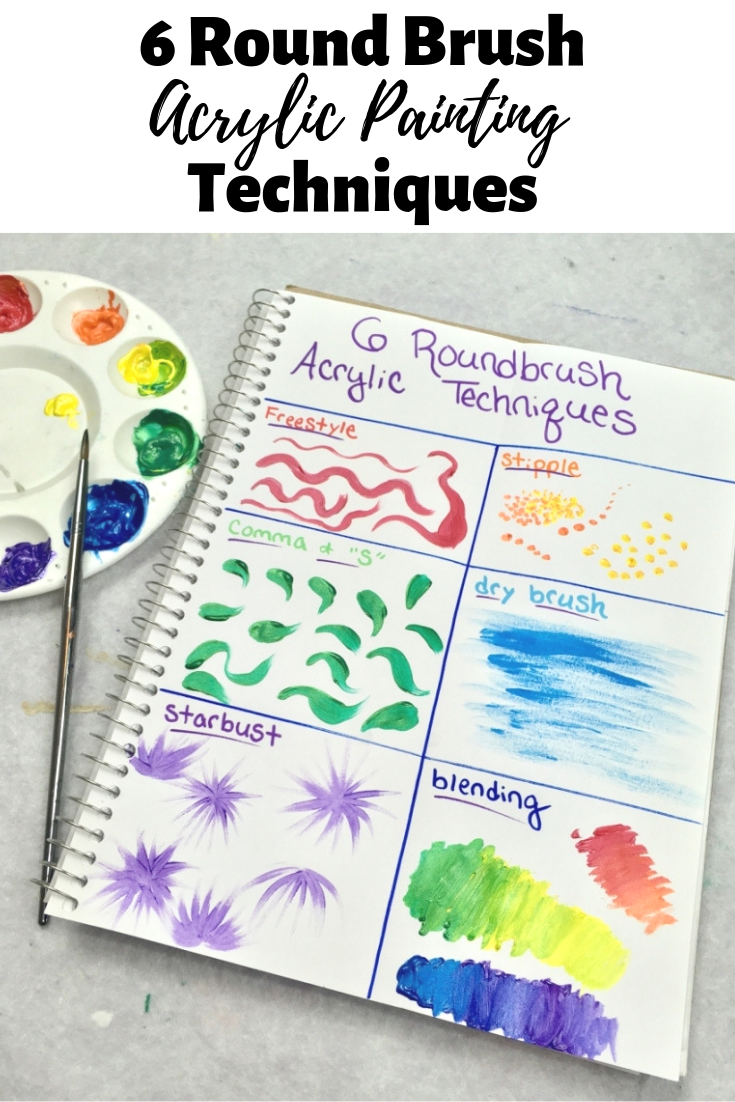
Acrylic Painting Techniques With A Round Brush
This post will explain in detail some acrylic painting techniques using a round brush.
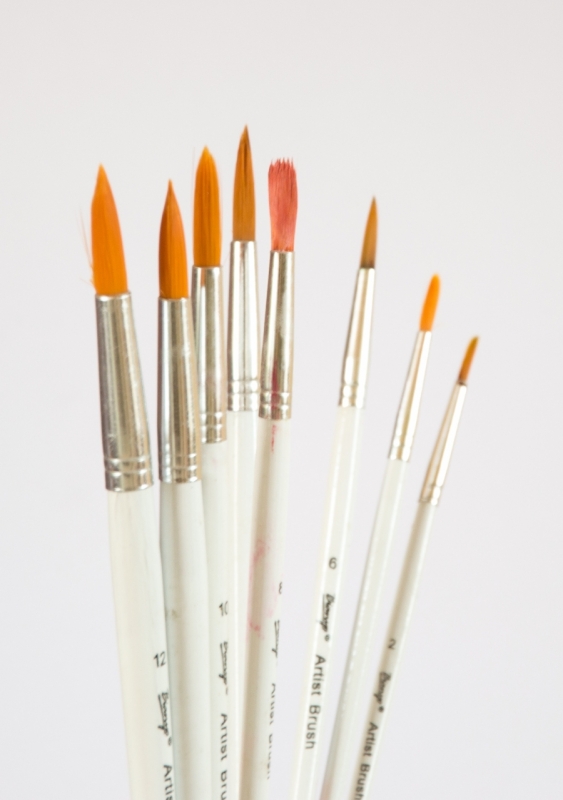
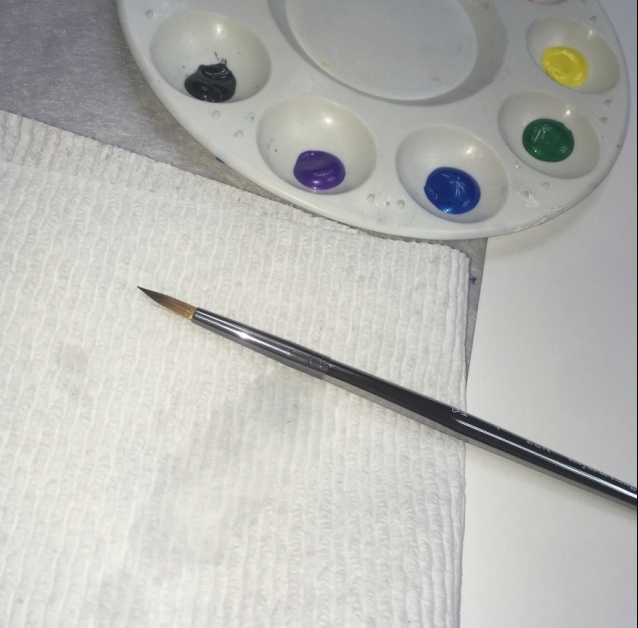
A round brush is one of many types of acrylic painting brushes. They range in size from a very large radius to a very tiny radius. The typical round brush will form a point with its bristles.
The tip of the bristles is also called the “toe”.
There are several different techniques that you can do with just this brush. For example, you can change how you hold the brush, how much pressure you’re putting on the brush, how much paint to add to the bristles, etc.
In this post I will demonstrate 6 basic techniques that you can use and practice with a round brush. I find these fun to use as a warm up exercise before doing a formal painting.
Which size round brush do I use?
Round brushes come in various thicknesses and lengths. For the demonstrations in this post, I will be using a #4 round brush with synthetic bristles.
Typically, the larger the number, the larger the radius of the brush. Some very small round brushes are labeled with a number and a zero. For example: 3/0, 10/0 and 20/0 have a very tiny radius.
Pretty much, you can do the exercises in this post with any size round brush but I recommend you find one that is sort of a medium size.
Where do I practice these techniques on?
You can most certainly do these on a canvas. However, I like to practice brush stroke techniques in my basic drawing sketchbook or canvas paper.
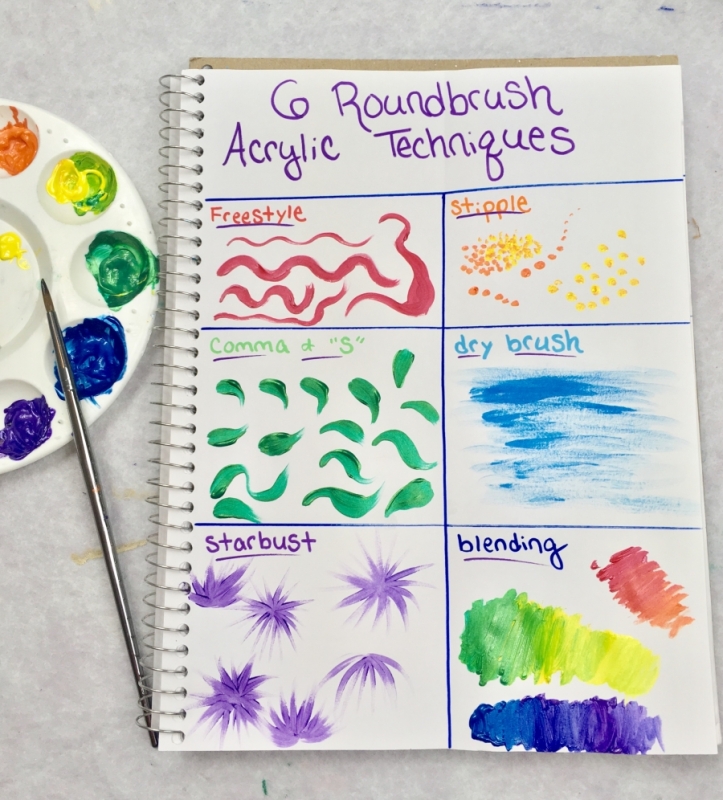
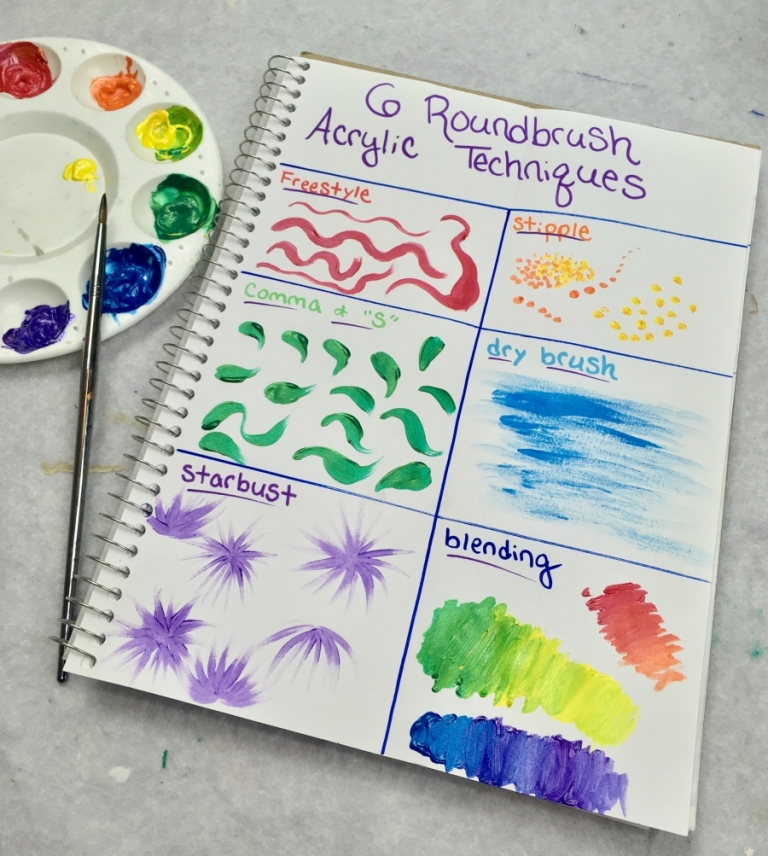
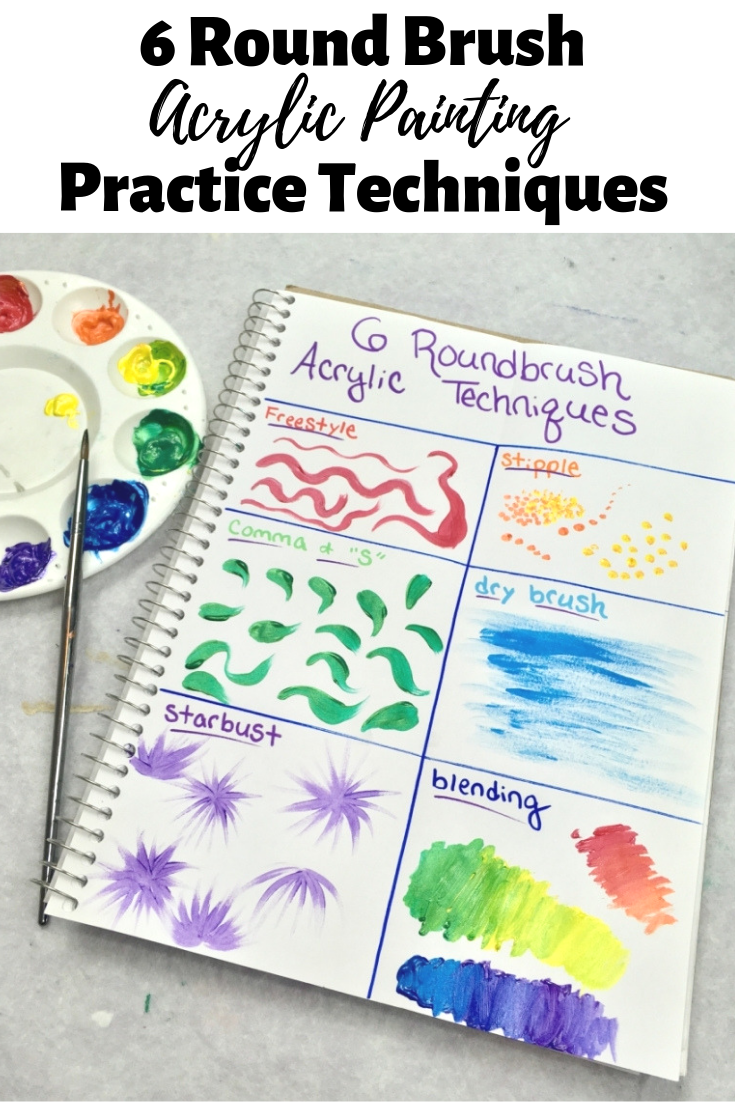
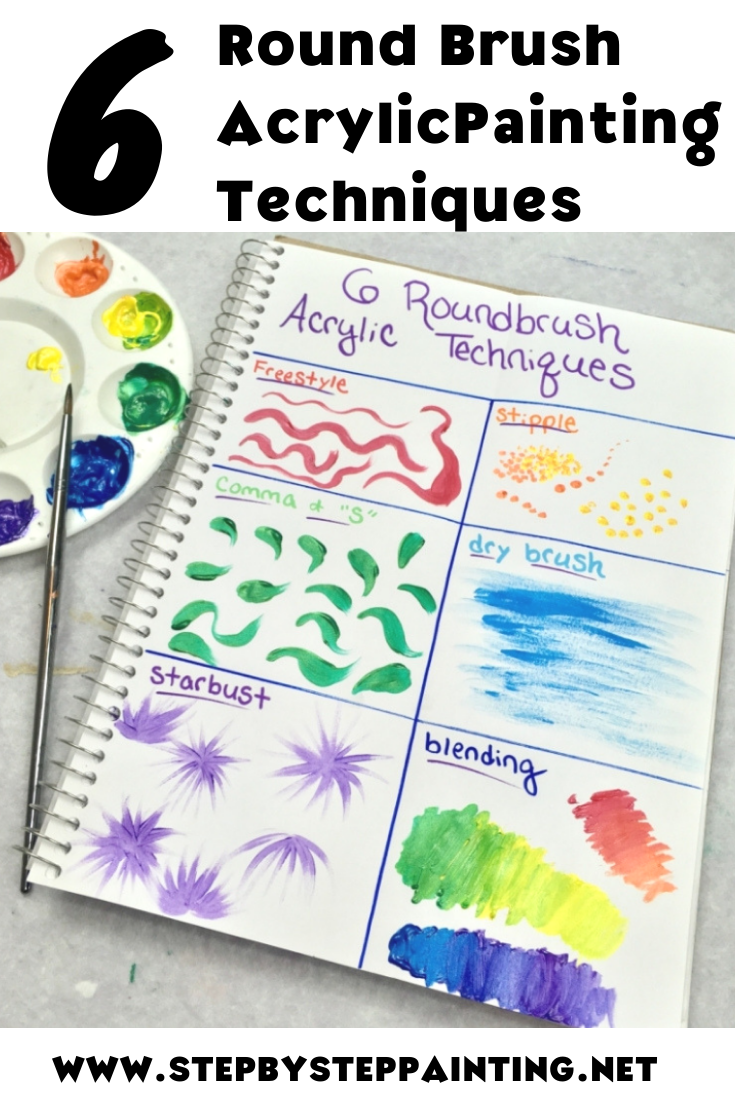
6 Round Brush Technique Practice Exercises
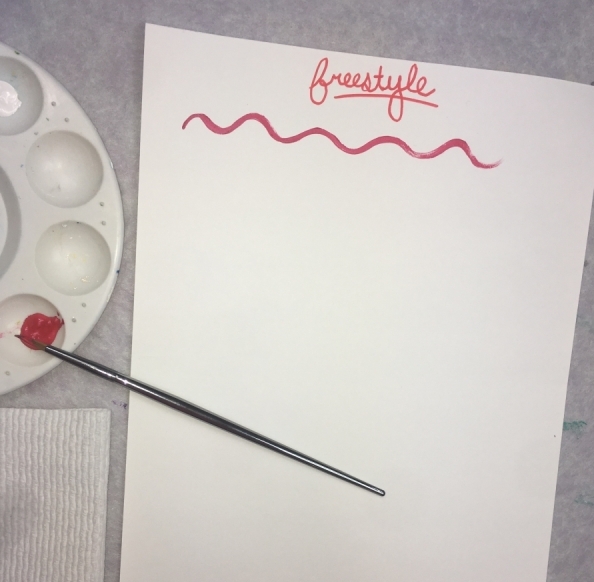
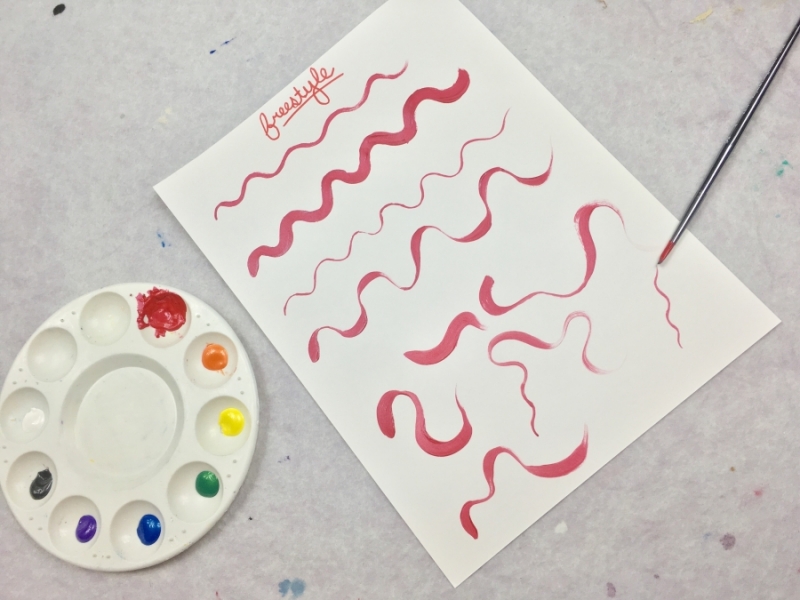
Technique #1: Freestyle Lines
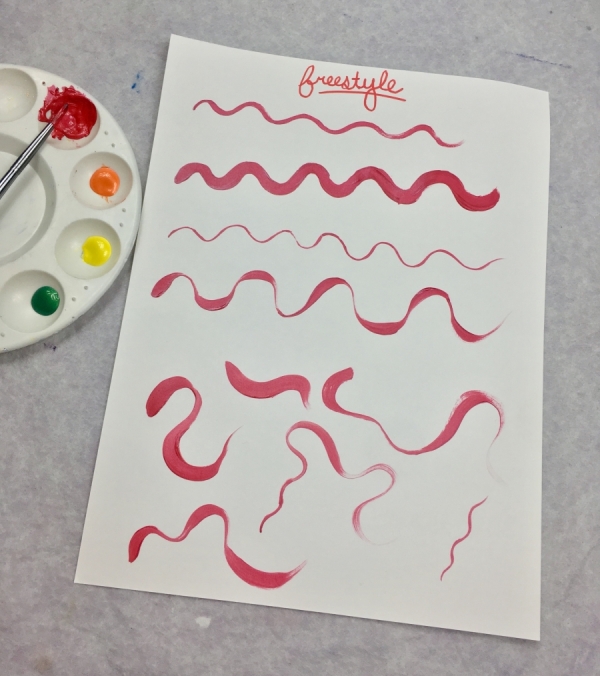
If you need to paint a flowing, wavy line, the round brush is a great tool for that! I’m going to call this a “freestyle” exercise.
To paint a freestyle line, dip your round brush in water and pat it slightly dry. Dipping your brush in water first is helpful for the flow of acrylic paint. Make sure you wipe the metal part of your brush so water does not drip down unexpectedly.
That metal part is called the “ferrule”.
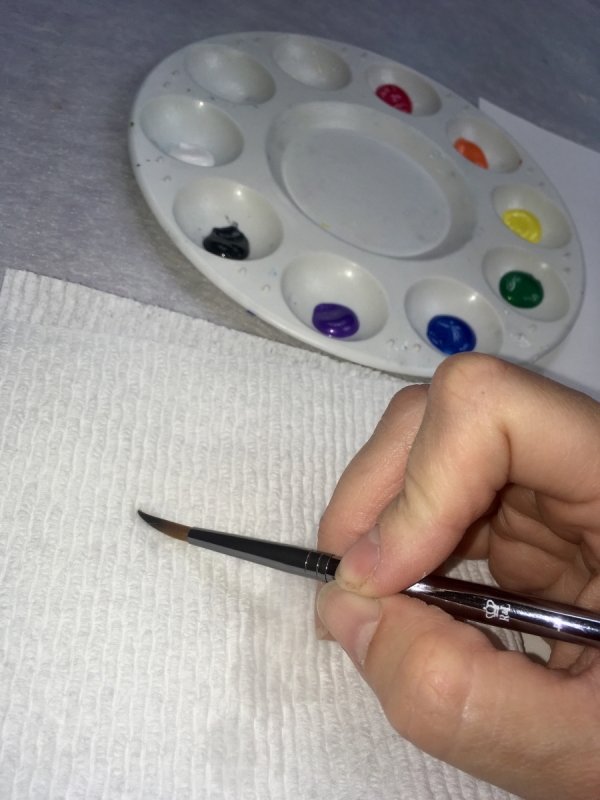
Then dip your round brush into your desired paint color. I find it helpful to twist your brush as you’re loading the paint to keep the bristles pointed.
Paint any kind of freestyle line. I did a wavy line for this demonstration.
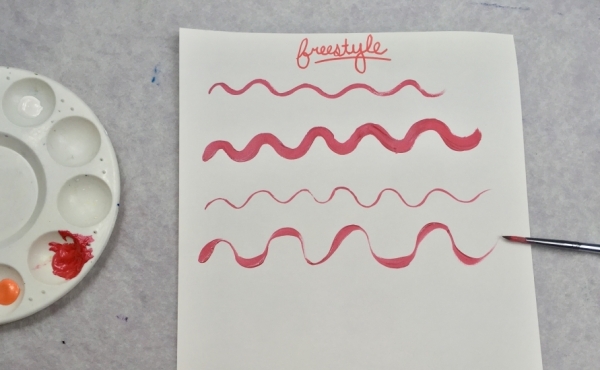
If you need to change the thickness of the line, simply adjust the pressure. Press harder with the brush to achieve a thicker stroke.
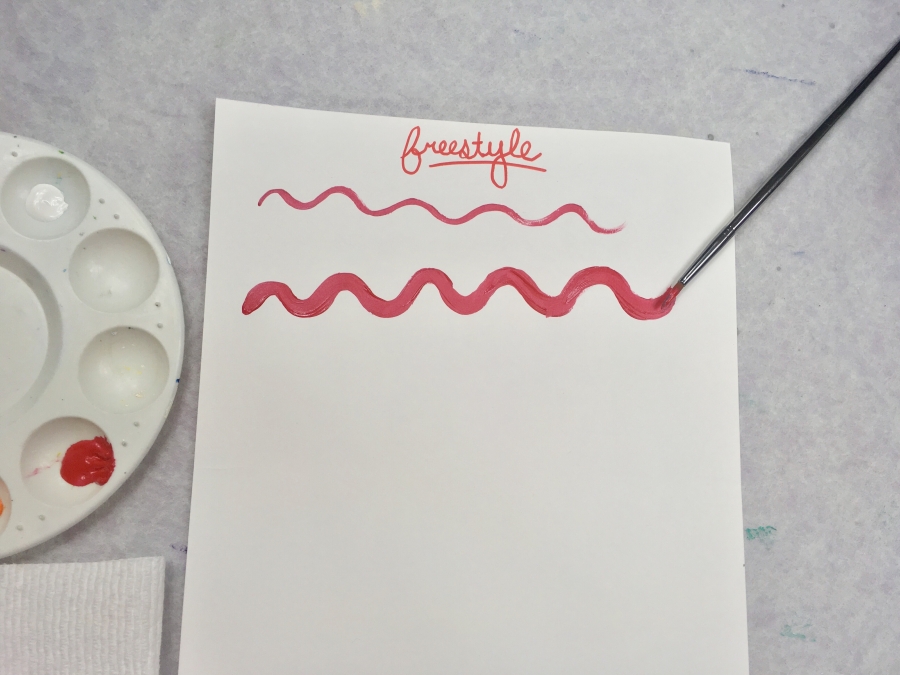
Press lighter to achieve a thinner stroke. Did you know you can achieve a very thin stroke with a very large brush simply by holding the brush very lightly with just the “toe”?
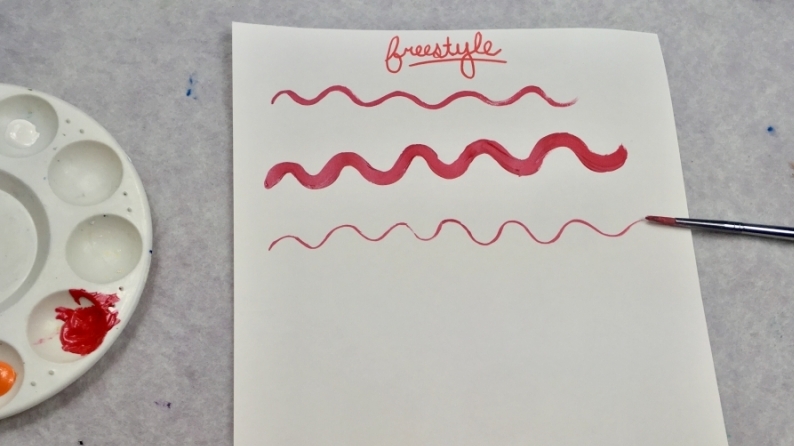
You can even go back and forth between hard and soft pressures. Try experimenting with this to see what happens. This variation in thickness is especially helpful when you are painting tree branches!
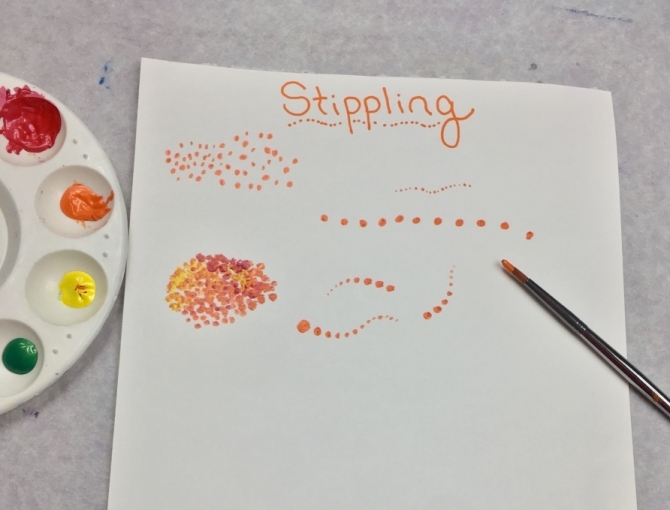
Technique #2: Stipple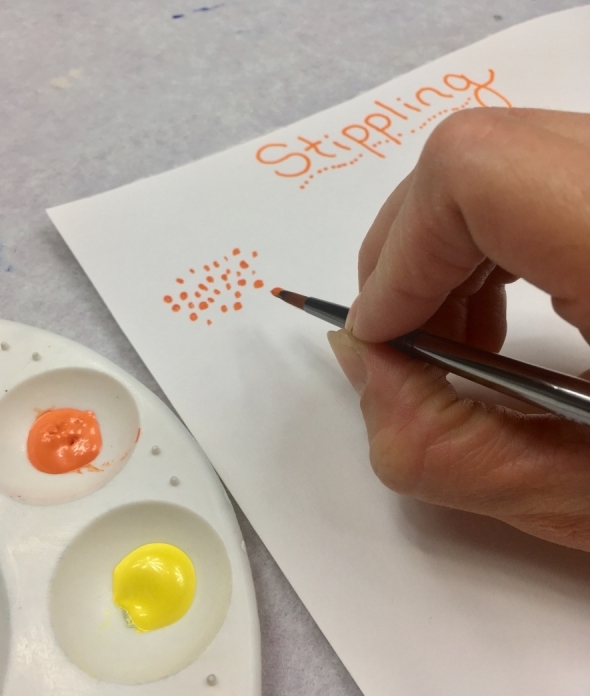

Stippling means to paint dots. You can stipple with any kind of brush. A lot of artists use dotting tools or even Q-Tips because they are great for creating this effect! In this demonstration I will show you tips for stippling with your round brush.
To achieve a stipple technique, simply dip the tip of your brush in the color. Make sure there is a generous amount of paint on the very tip of the brush.
Again, make sure you wipe the ferrule so no unwanted water tracks down the bristles.
Dot the brush.
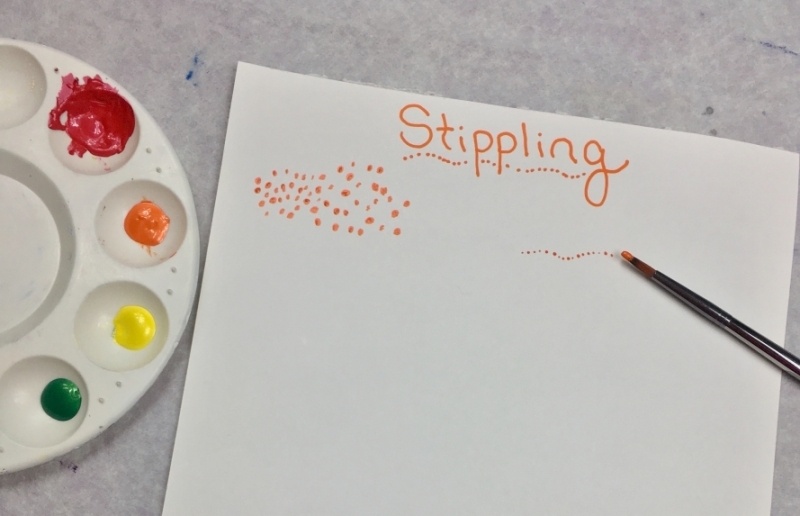
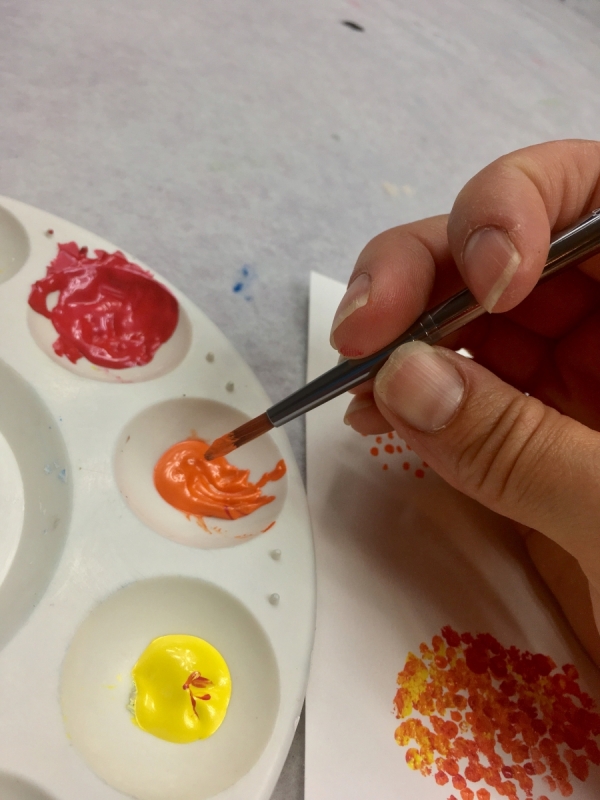
Even though you’re just painting dots, you can still create some interesting effects with stippling. Try varying the pressure of the brush when you dot to create larger and smaller dots. You can also try using multiple colors.
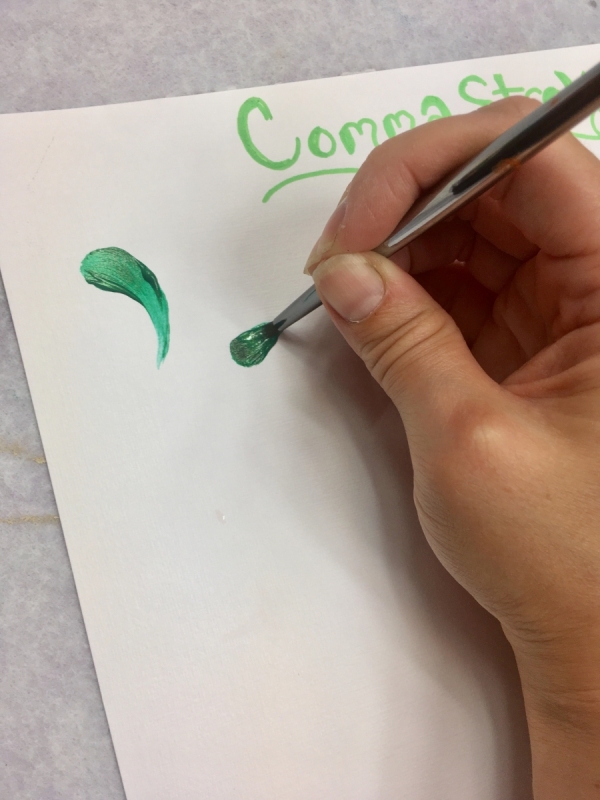
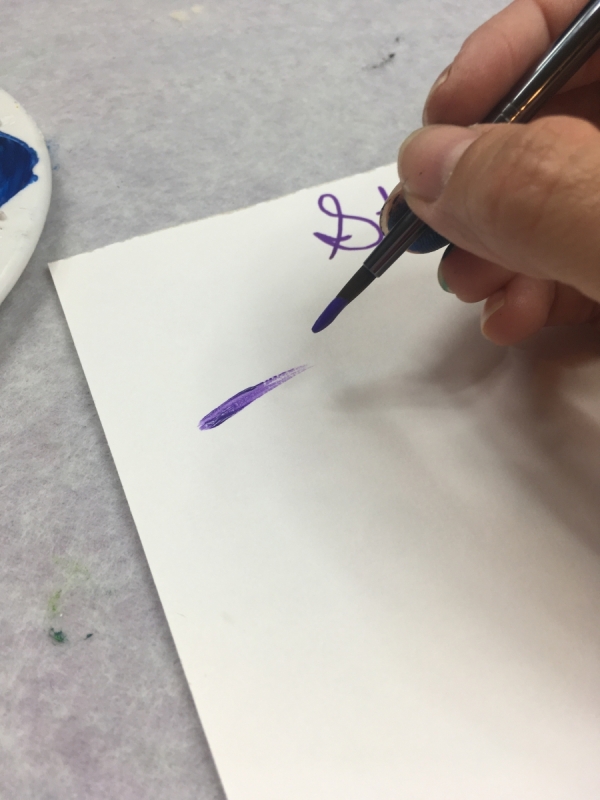
Technique #3: Comma Stroke
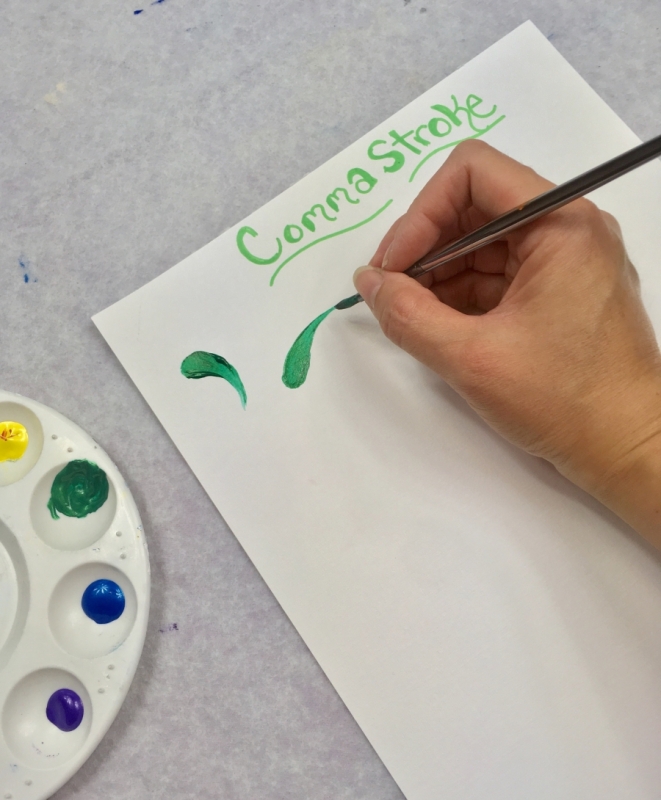
A comma stroke is a common round brush stroke technique that looks just like a comma. It’s used often in painting leaves, petals or anything that is this sort of organic shape.
To achieve the comma stroke technique, wet your brush first and pat it gently on a paper towel. You’ll want the brush wet, not dripping but not necessarily dry. And of course, make sure you wipe the ferrule.
Then load your entire round brush in a generous amount of paint (meaning all the bristles are covered).
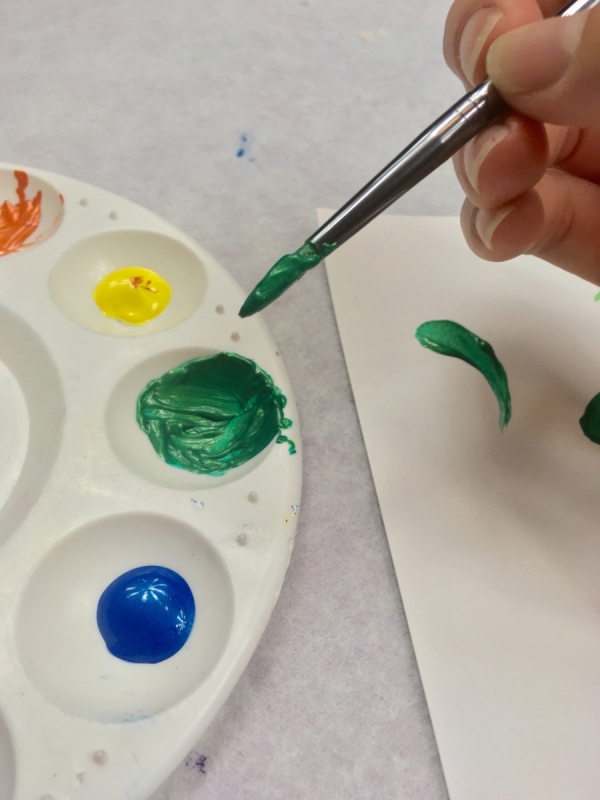
Start out with the brush at an angle. Use full pressure and press using all the bristles to achieve a thick mark. The mark should look rounded on the edge.
Then paint in a curved motion releasing the pressure to a thinner stroke much like your are painting a comma. I find it helpful to twist the brush as you’re releasing the pressure.
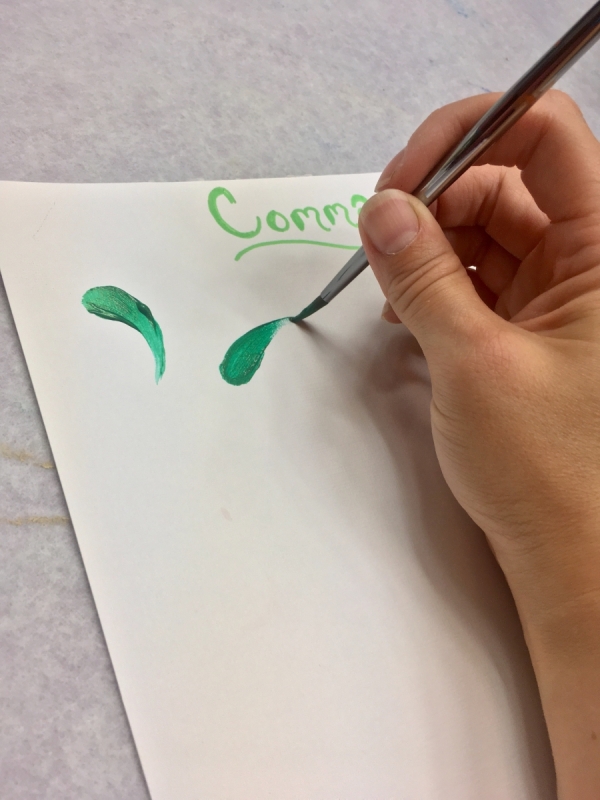
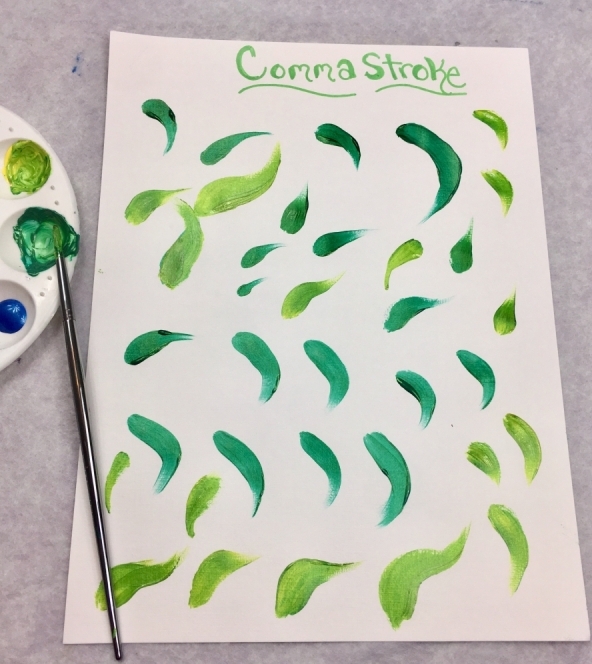
There’s all different variations of this stroke. You can do an upside down comma by starting out with light pressure and ending with hard pressure. You can also do what is called an “S stroke” which is essentially the comma but forming the letter S.
This comma stroke has a bit of a learning curve to it. However, I believe it is such a helpful stroke to learn because it allows you become more aware of how you are controlling the brush!
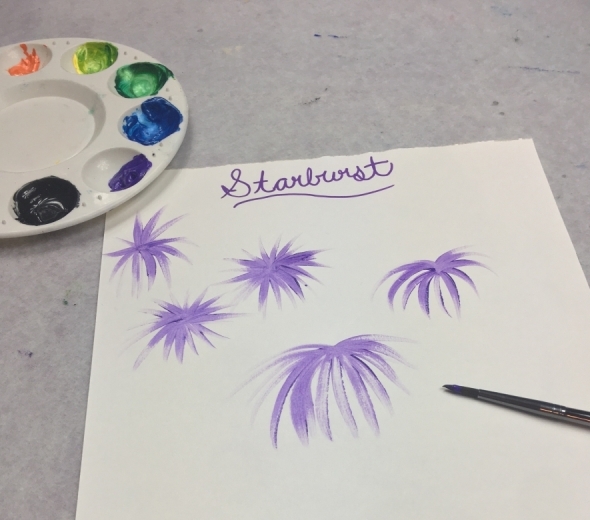
Technique #4: Starburst
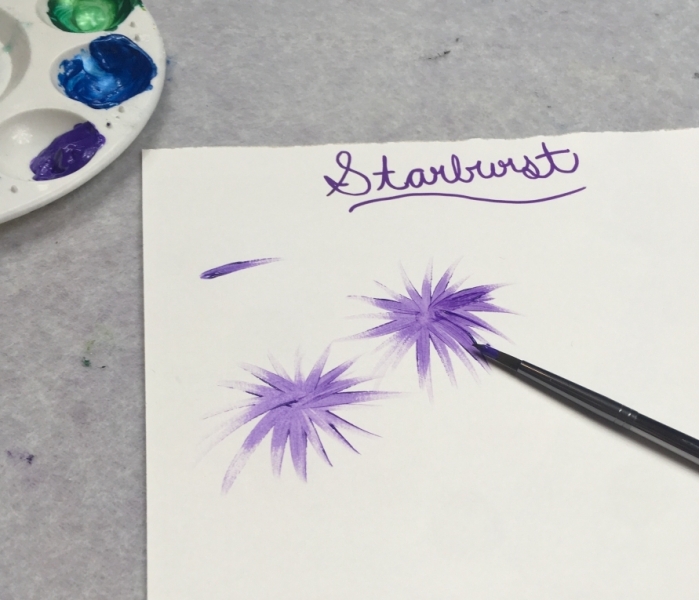
I’m going to call this technique the starburst because…well I just like making up names for these things! I do this when painting fireworks, palm leaves and sometimes when I’m painting simple flowers.
For this technique, you’ll want your brush to be dry. Don’t dip it in the water. If it is wet, dry it off gently with a paper towel.
Start by loading the brush bristles about half way (the tip and some of the rest of the bristles). Loading it all the way is not necessary but you can fully load it if you’d like.
When you start your stroke, use full pressure at first and then quickly release the pressure to very light pressure. The stroke should look nice and solid and then when you release the pressure it should get thin, light and dry.
Try painting an actual starburst with this technique. Start in the middle with each line and paint outwards.
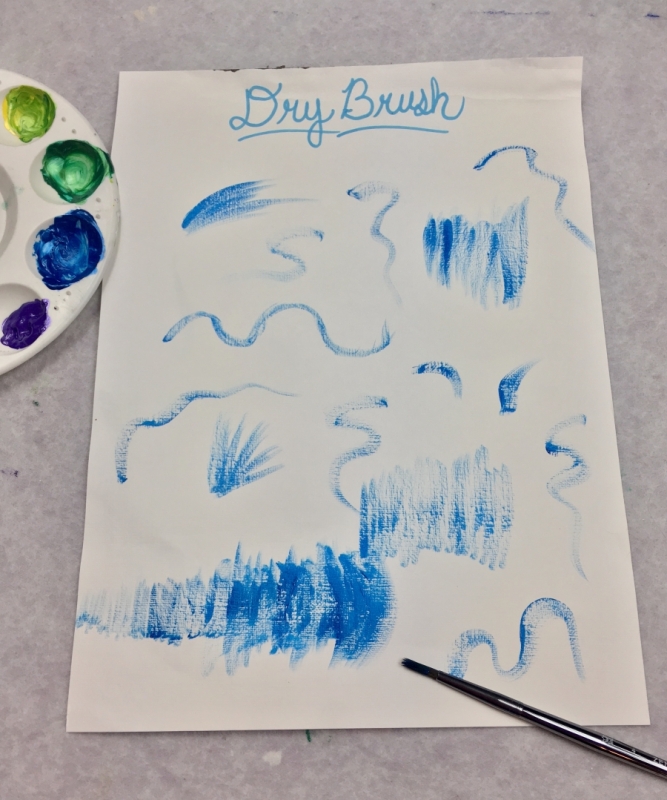
Technique #5: Dry Brush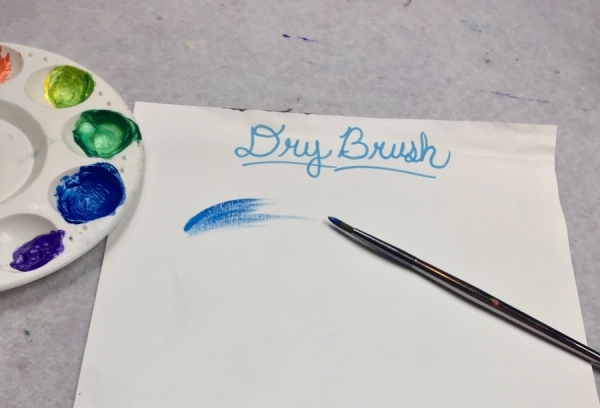

I love the look of dry brush on paintings! You can achieve a dry brush effect using any brush. And actually you can combine this dry brush technique with any of the other techniques on this post (dry brush free style, dry brush comma, etc.)!
When you dry brush, you want to make sure that your brush is dry. Do not dip it in the water. If it is wet then gently dry it with a paper towel.
Then dip your brush in a little bit of paint. You may wish to only load the tip or the full brush depending on what you’re trying to achieve.
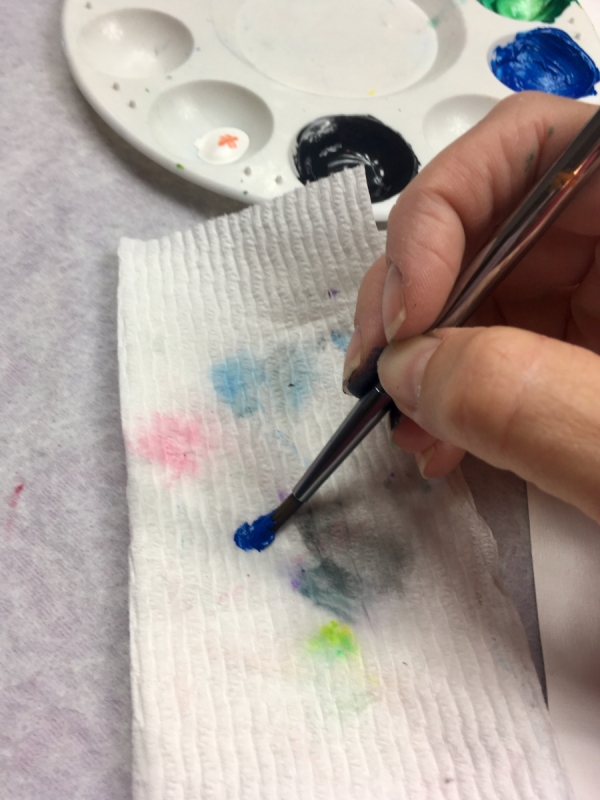
Next wipe off some of the paint with a paper towel. There should still be paint on your brush but now it’s a small amount.
Paint using light pressure.
You can achieve different values using dry brush by altering your pressure and adding more or less paint to the brush. Essentially it all needs to be translucent meaning you can see the color below.
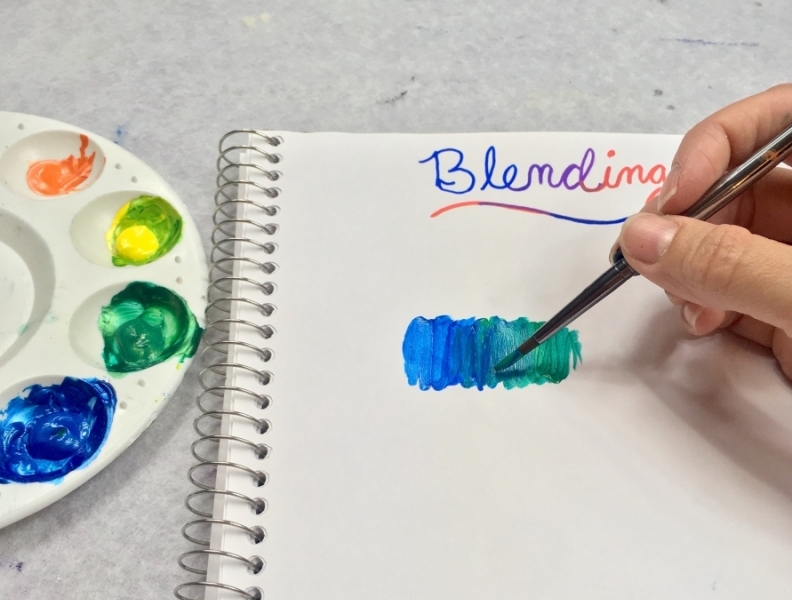
Technique #8: Blending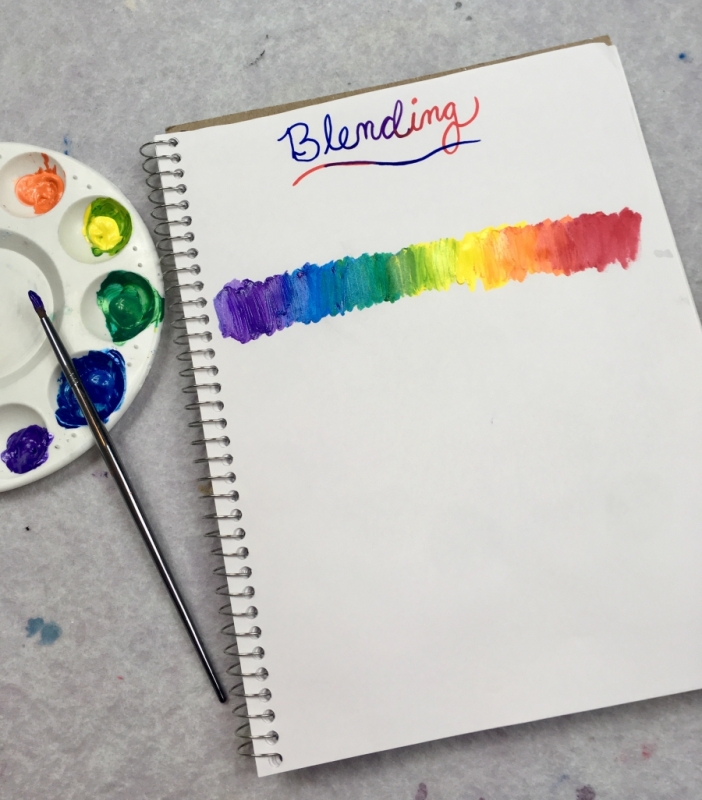

Blending can be done with any brush and there are multiple ways to blend acrylics. For this exercise, I’m using the wet on wet blending technique where I mix the colors on the paper instead of on my palette.
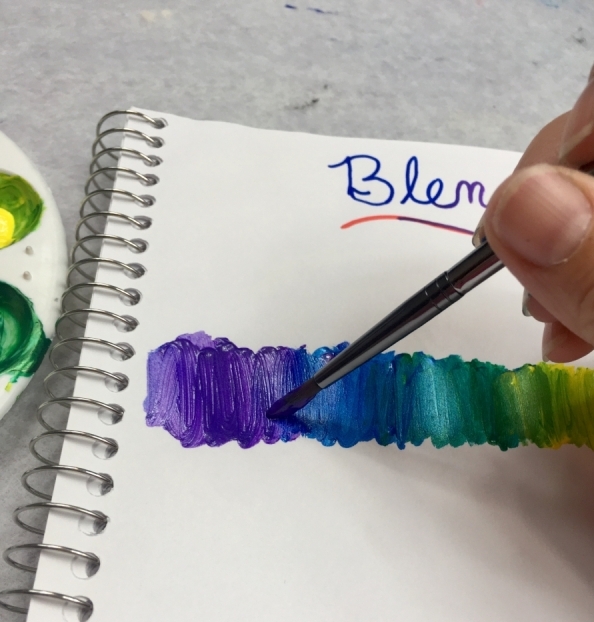
A good exercise to do is to create some kind of gradient. In this case, I created an analogous color spectrum of purple to red.
Load a generous amount of blue onto your round brush and paint little up and down strokes. Then without rinsing your brush load green onto your brush.

To get that blue to really blend with the green, paint over the area where the two colors meet. Work the colors while they are still wet and mix them together. Then when you are done blending the two together, use just green to paint the pure part of the green.
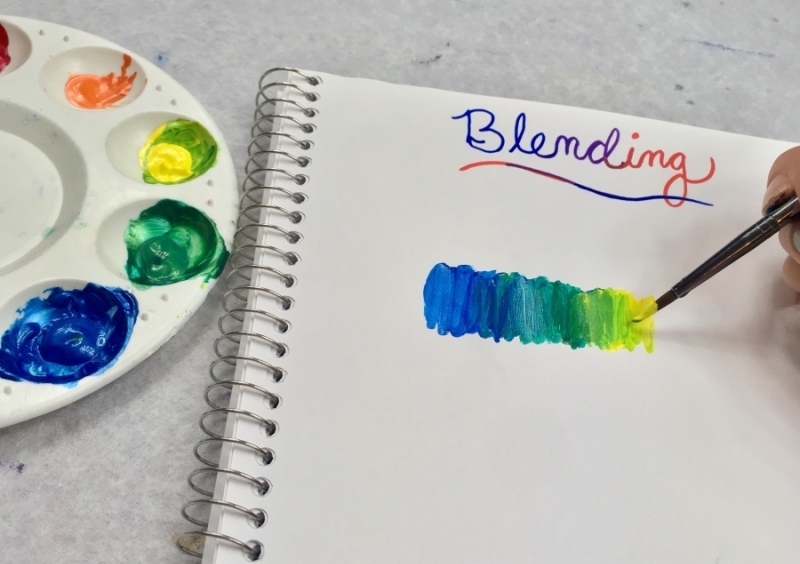
When switching from green to yellow, you’ll want to rinse the brush off to ensure all the blue is off of your brush. Add the yellow to the brush and repeat the same process of working the colors on the paper while they are still wet then blending out to the pure form of the yellow.
I painted the purple on the left side of that blue. Since the blue was dry on my paper, I simple added both blue and purple to my brush to paint the transition. Then I blended it out.
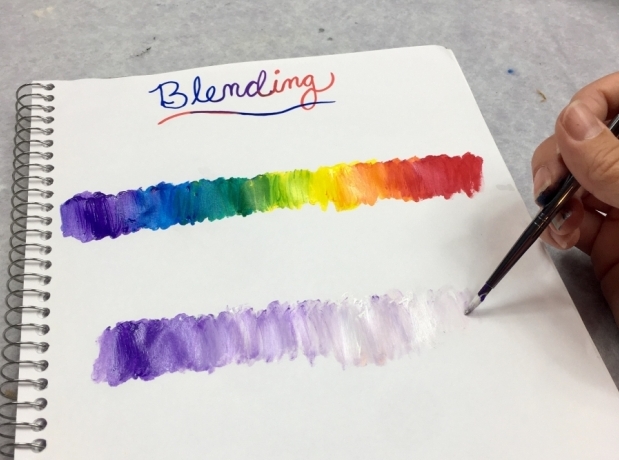
You can do this same technique with white to paint a monochromatic spectrum. That means you are using one color (in this case purple) and only adding white or black or gray to it (in this case I used white).
I started with solid purple and as I painted to the right, I gradually added more white until the gradient became an almost pure form of white.
Blending has it’s own learning curve too! When you do it often it becomes something you don’t think too hard about because you get accustomed to how much paint to add to the brush in order to create a smooth blend.
In Summary…
Practicing your brush techniques is an essential part of learning how to paint and improving your skills! You become more aware of how you’re holding the brush, how much paint you’re loading onto your brush and how hard of soft you are pressing.
I encourage you to practice in a sketchbook often and you’ll gain extra confidence when it comes time to grab that round brush!
This is definitely not an exclusive list of techniques. There are many others, especially with “decorative painting” which utilizes skilled fancy strokes such as that “comma” and “s stroke”.
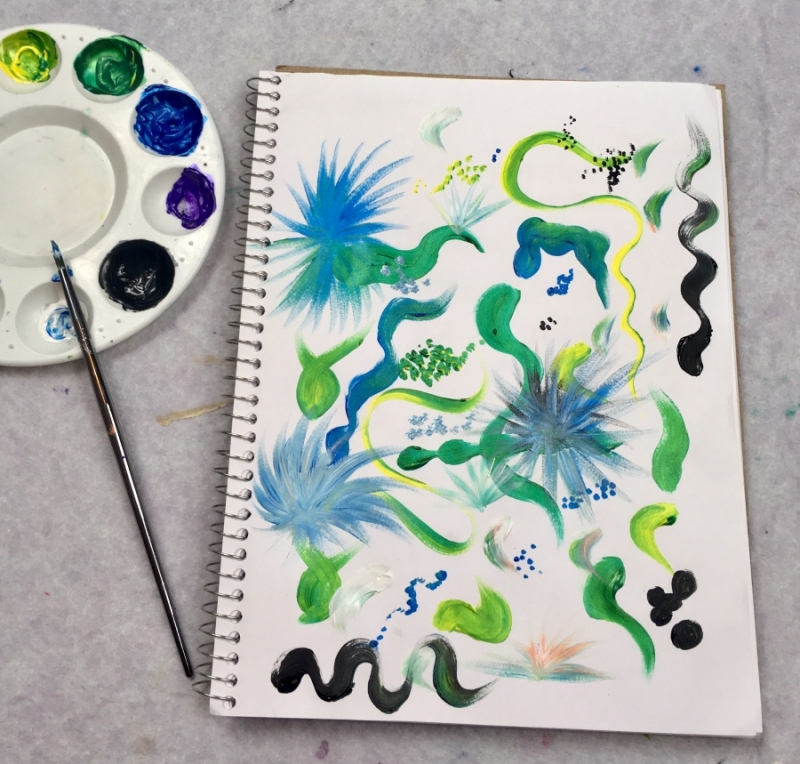
Bonus Exercise…
As a super fun exercise, play some music and create an abstract painting. You don’t have to think about what it’s supposed to look like, just pick a color scheme and paint all different types of round brush strokes.
Did you find this post helpful? Please share!

See Also:
Love this site so easy to follow for a beginner thanks
Thanks Joan! So glad I can help!
So many great tips! Thanks!
You’re welcome!
i like the way you explain. You have a good approche, easier to understand what to do.
This was a great exercise and fun.
Thanks Janet! Glad you enjoyed!
thanks for all the great tips and instructions. I am from Germany and have almost searched everything on the Internet for simple pictures. But your site is just great and I’m so glad I found it.
You’re welcome! 🙂
Thank you for showing exactly what I needed in using round brush techniques. In your explanations of the different strokes of a round brush you make it so easy for us. Thanks
You’re welcome Lynette!
You share so generously and also thoughtfully repeat the harder bits. Be blessed.