

Floral Wreath Online Painting Tutorial
Would you like to save this?
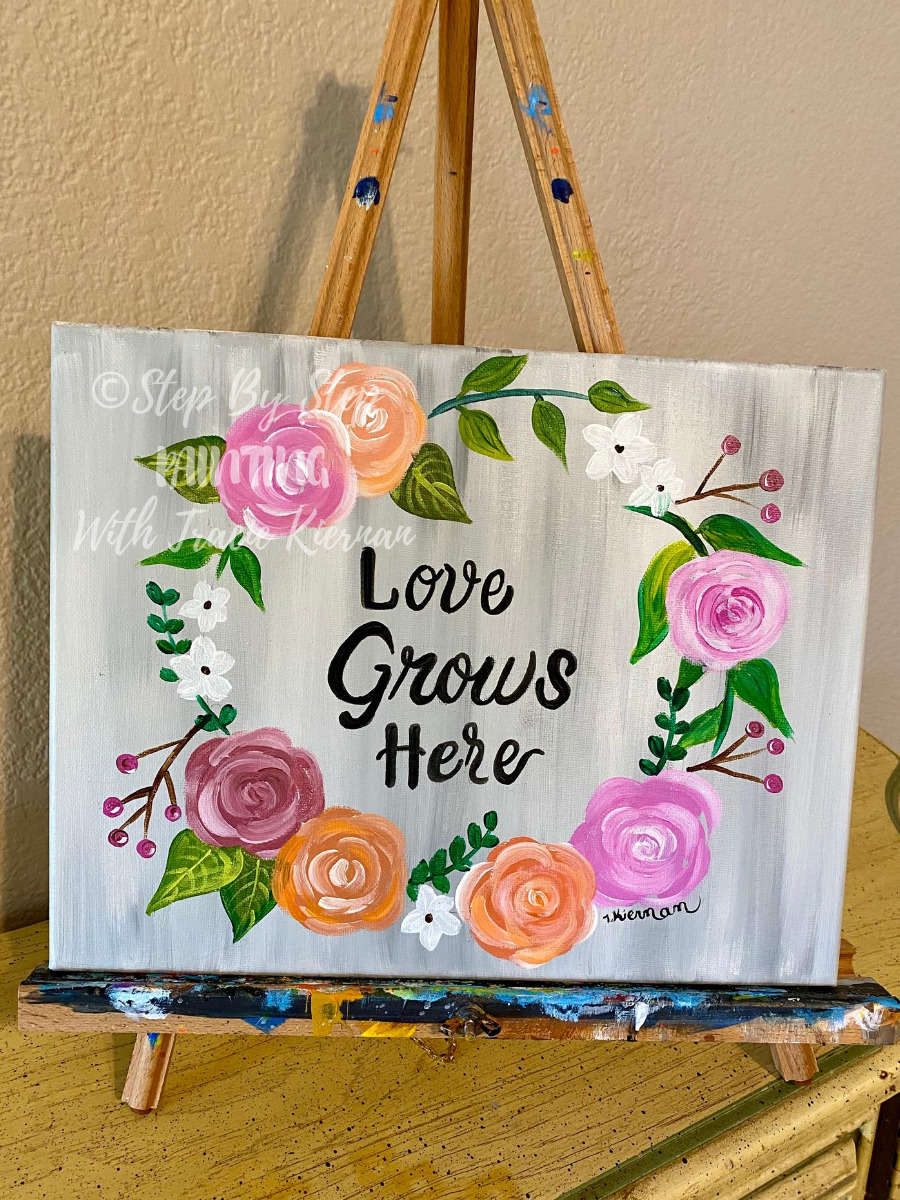
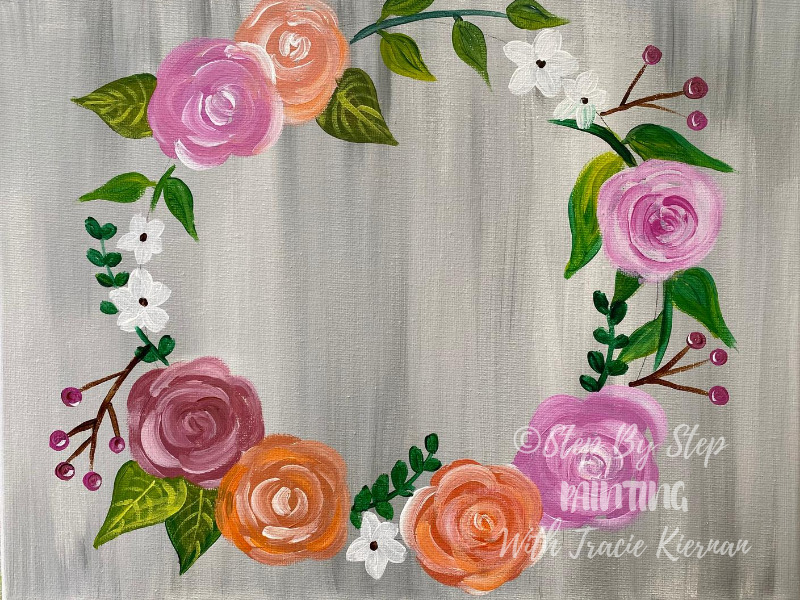
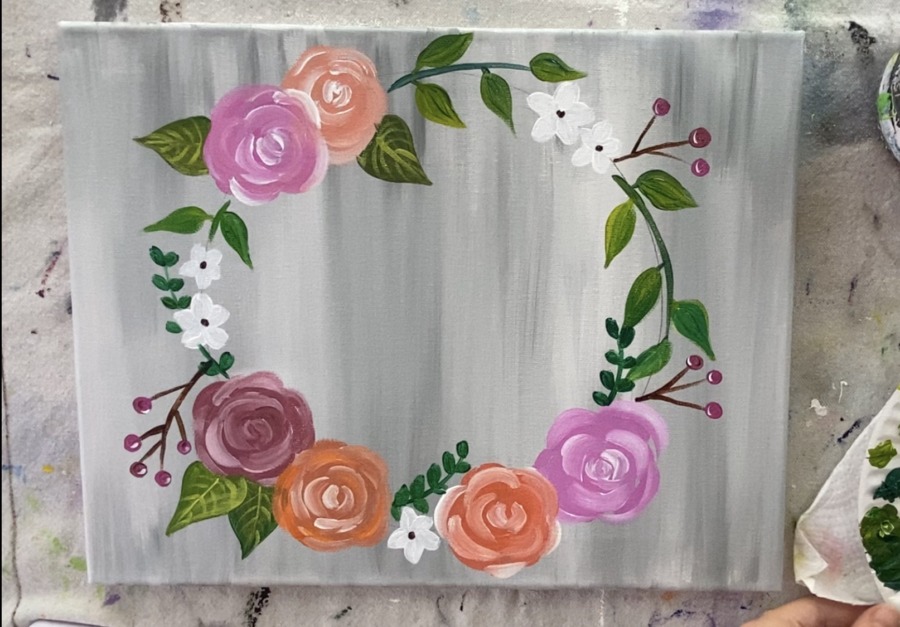
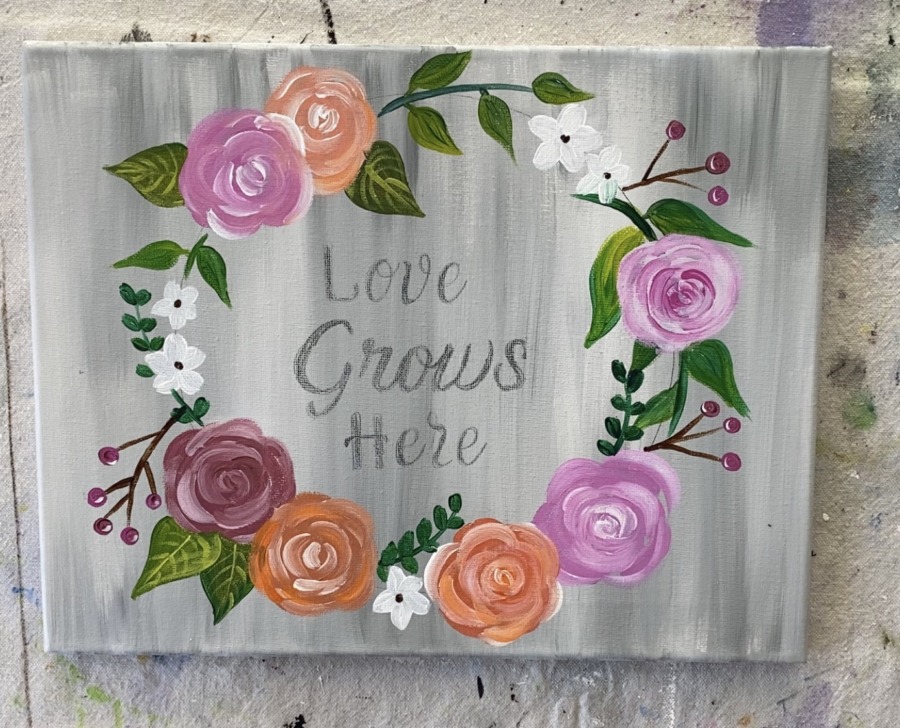
Such a lovely wreath painting that you can hang year round! This full tutorial will guide you through how to set up a wreath floral painting on an 11 x 14 canvas, or larger if you want!
It’s been awhile since I’ve done a wreath painting. I decided to incorporate this rose painting technique into a wreath that has a gray faux wood background.
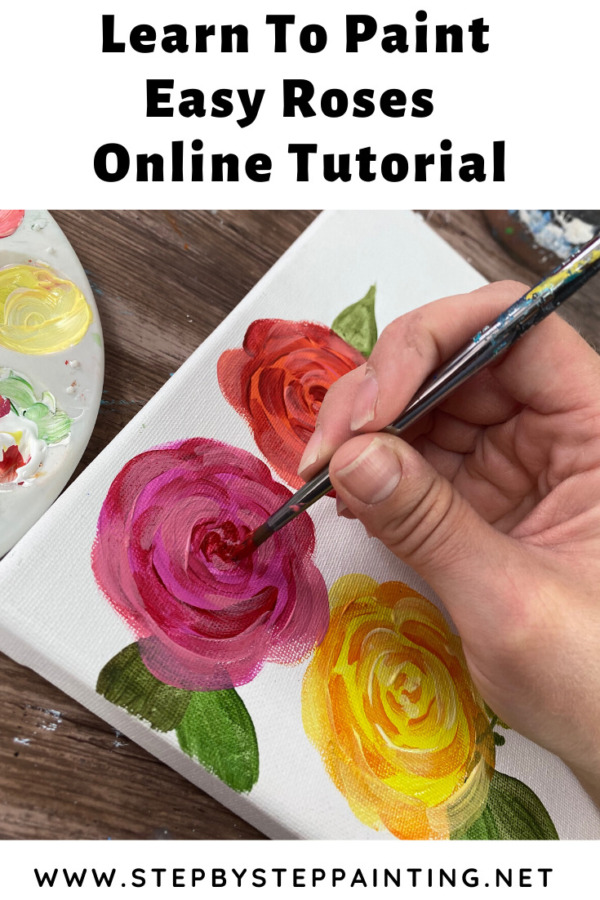
If you haven’t already, I recommend practicing your roses first before doing this tutorial. They are really easy and fun once you get the hang of it! True me…I used to not enjoy painting flowers until I learned how to paint loose decorative ones! You do not have to worry about realism with this technique.
I love the color palette in the flowers with the pinks, oranges and mauve!
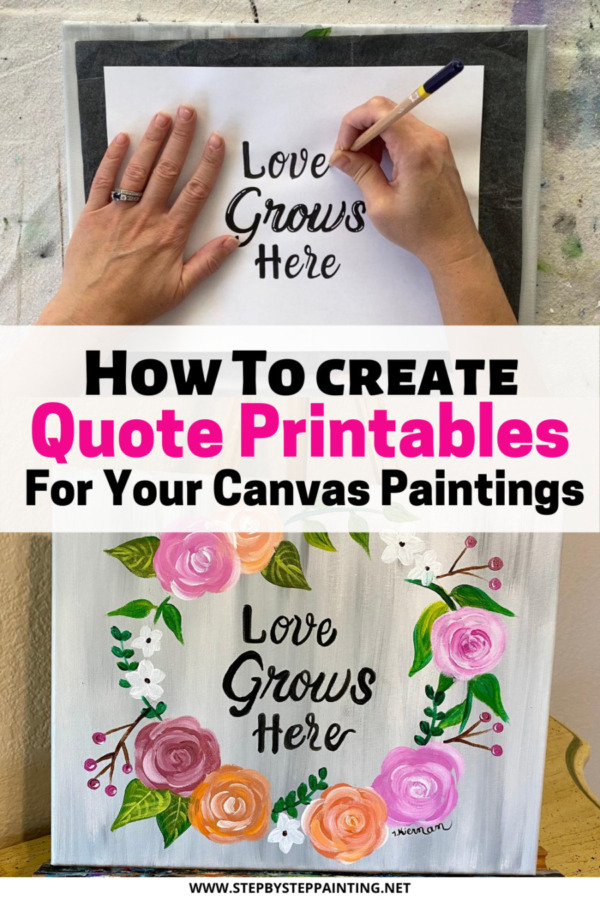
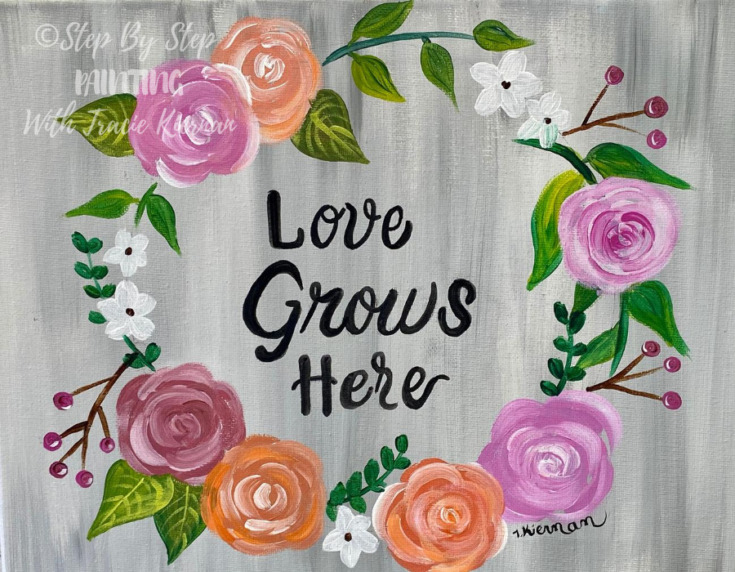
The quote “Love Grows Here” was created using an online software and printed out to the right size. You can customize your text or even add a monogram! Head over to my post “How To Create Quote Printables” to learn how!
In the meantime, you can grab the free text printable download here and use it for this tutorial!
Enjoy and happy painting!
Materials
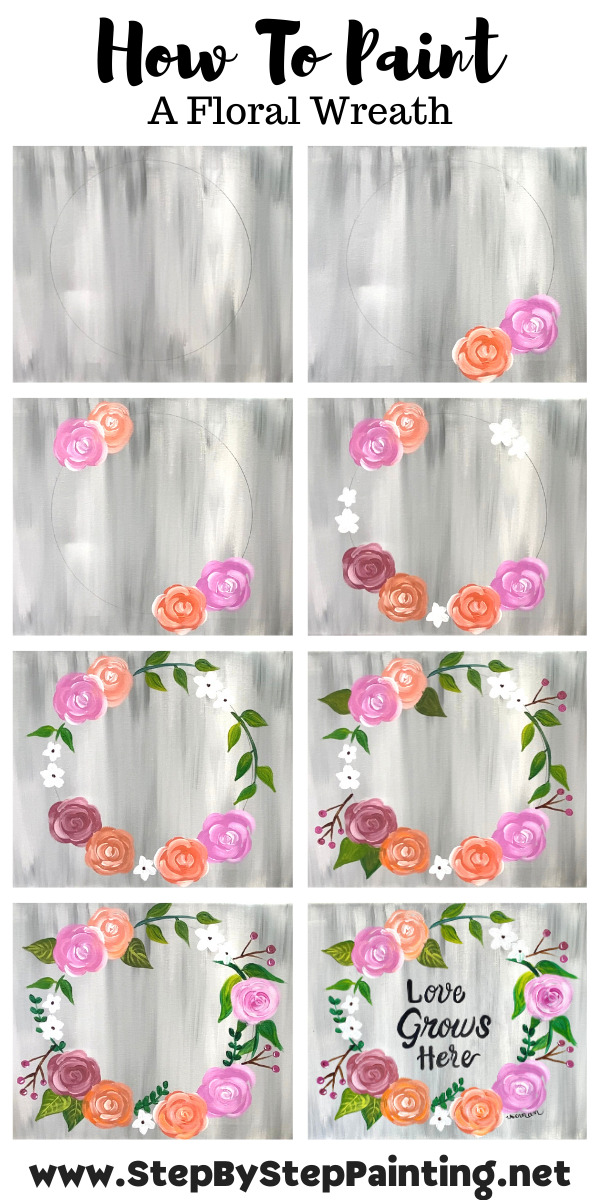
How To Paint A Floral Wreath
Beginners can learn how to paint a floral wreath step by sep with acrylics on canvas.
Materials
- 11 x 14 Canvas
- Acrylic Paint
- 9” Paper Plate To Trace Circle
- Graphite Paper (if tracing the lettering)
- Pencil
- Black Paint Pen (if doing lettering)
Brushes
- #4 Round Brush
- 3/4” Flat Wash Brush
- #0 Round Brush
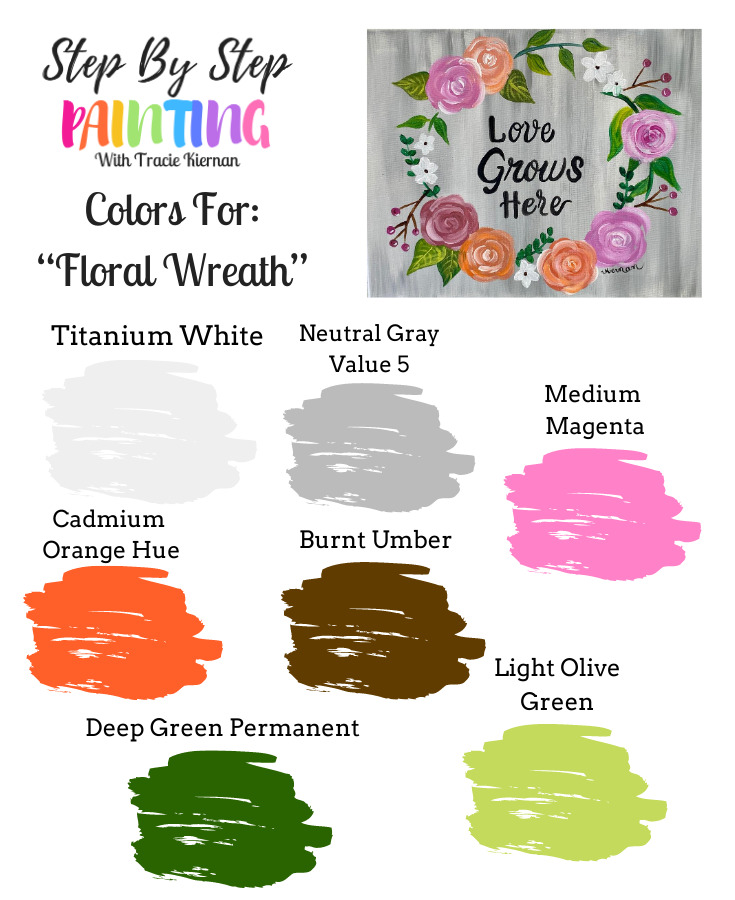
Colors
- Titanium White
- Neutral Gray Value 5
- Medium Magenta
- Burnt Umber
- Deep Green Permanent
- Light Olive Green
- Cadmium Orange Hue
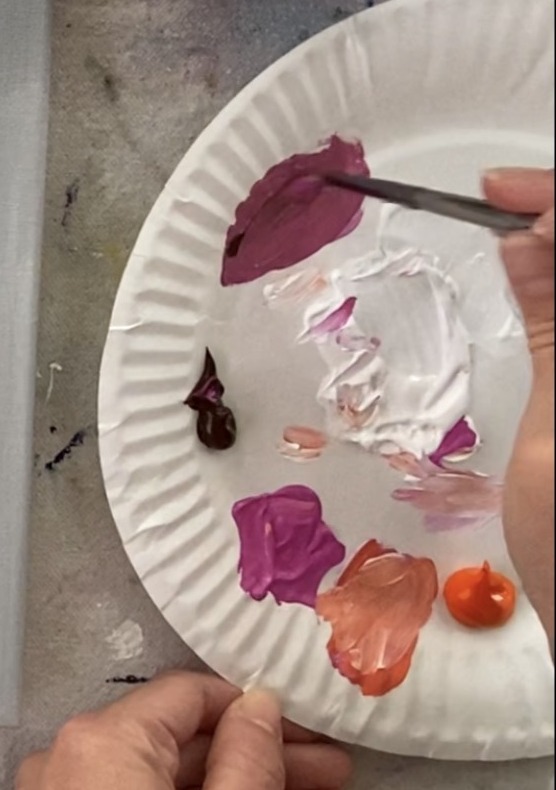
Color Palette
Directions At A Glance
Printable For Text
You can download the printable in my Free PDF Library to get the size that will fit 11 x 14. 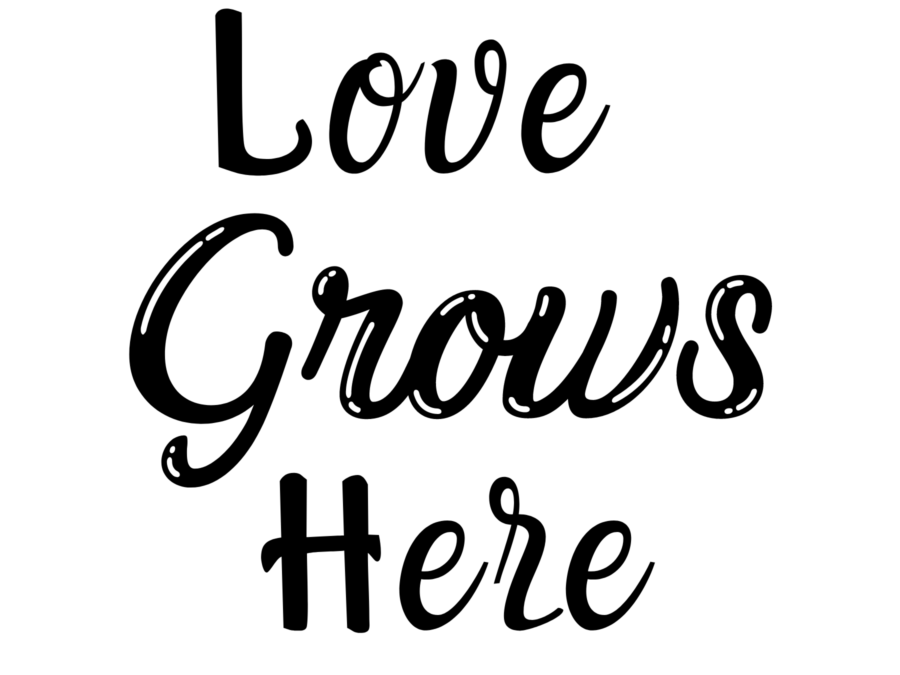
Long Version YouTube Video
Step By Step Instructions
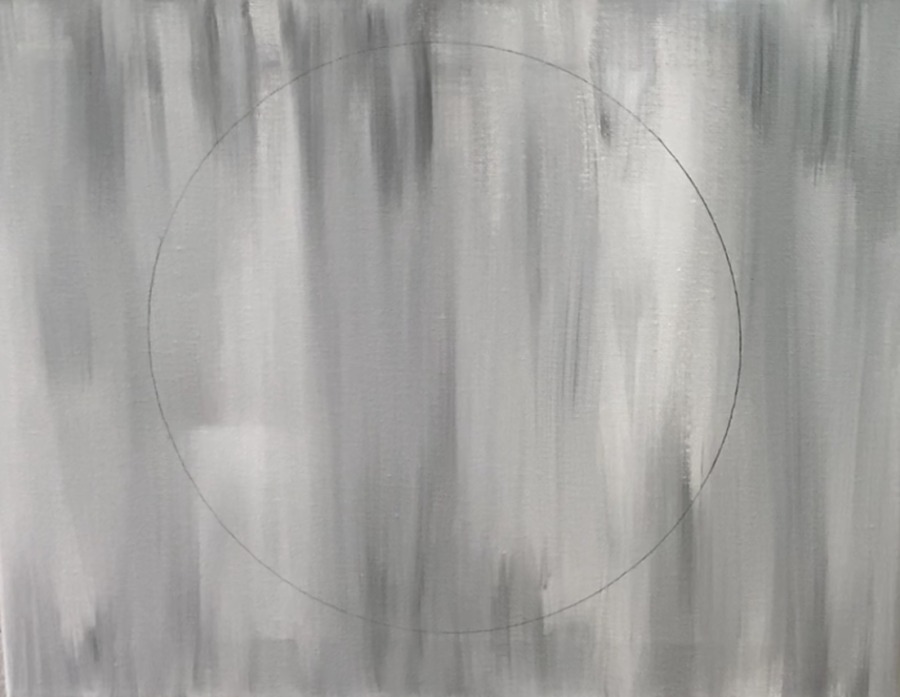
1. Paint A Gray Faux Wood Background
This type of background is so easy to do! You will need your 3/4” Flat Wash Brush, Titanium White and the color “Neutral Gray Value 5“ which is a really fancy name for a “medium gray”. Load your 3/4” wash brush in a little water and then pat it dry.
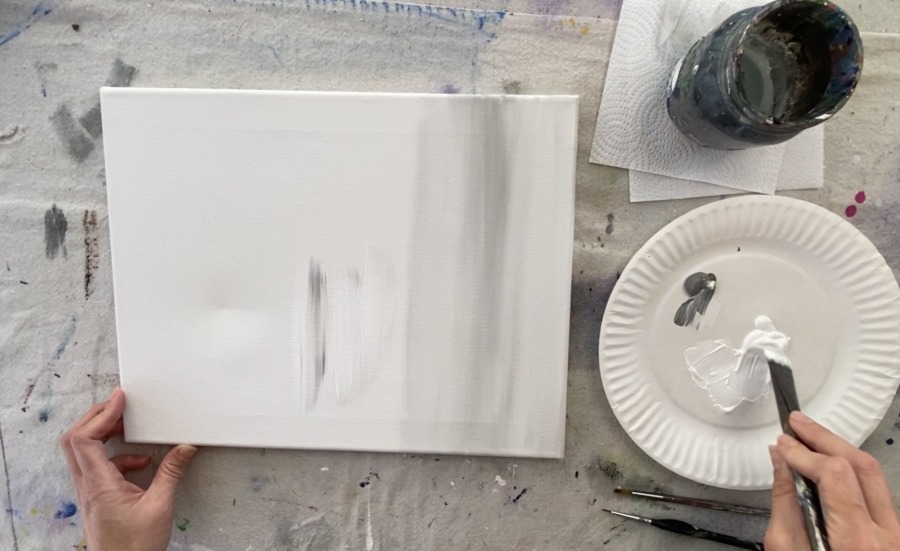
Load about equal amounts of those two colors on your paint brush and paint up and down. The gray and white will blend together to make a pretty abstract gray faux wood looking background! You can adjust this look by adding more streaks of gray or more white.
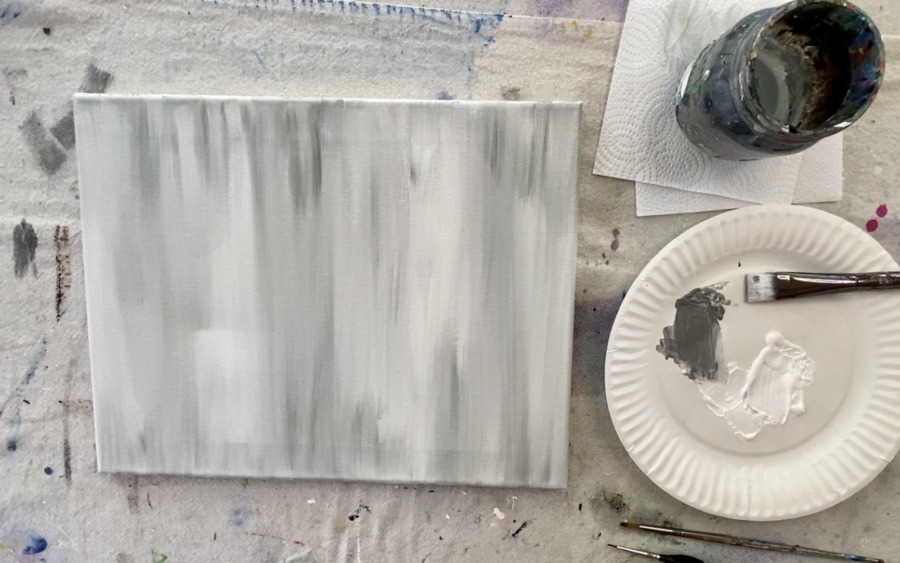
I do this very basic background filling technique in a lot of my painting tutorials including my Spring Bicycle Painting!
Let this dry before going on to the next step.
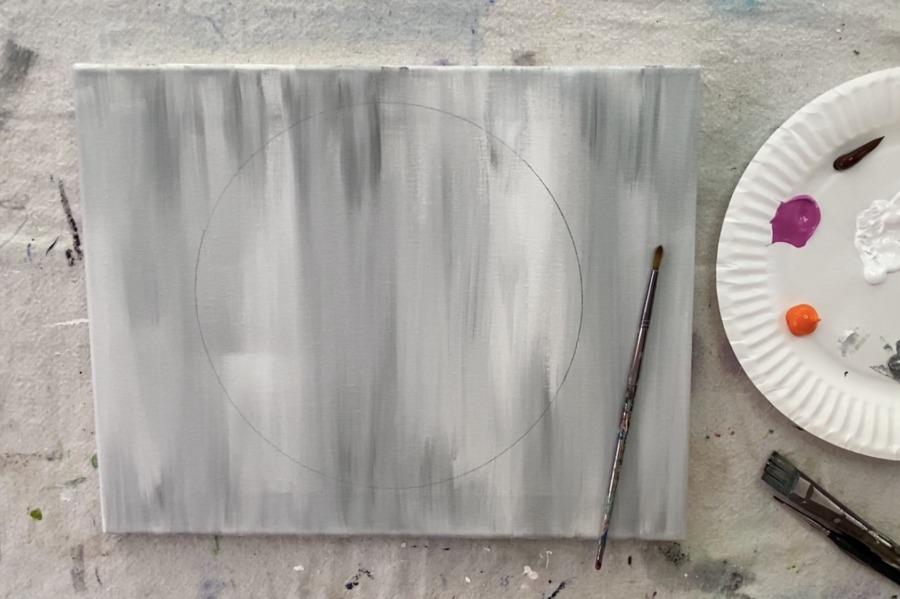
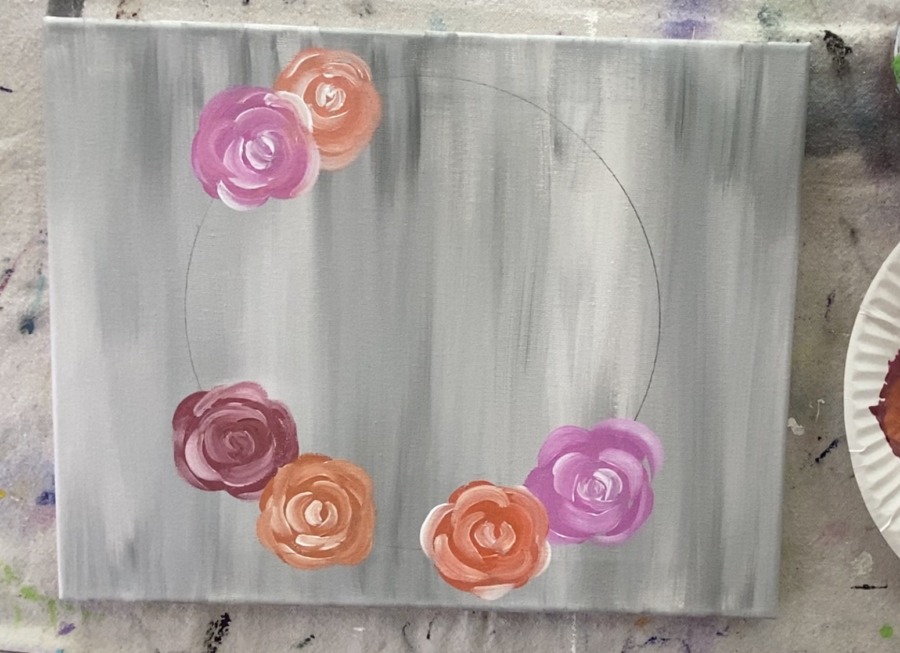
2. Trace a 9” Paper Plate On Your Canvas
To get the circular wreath shape, I recommend tracing a circle! I used a basic 9” paper plate and pencil.
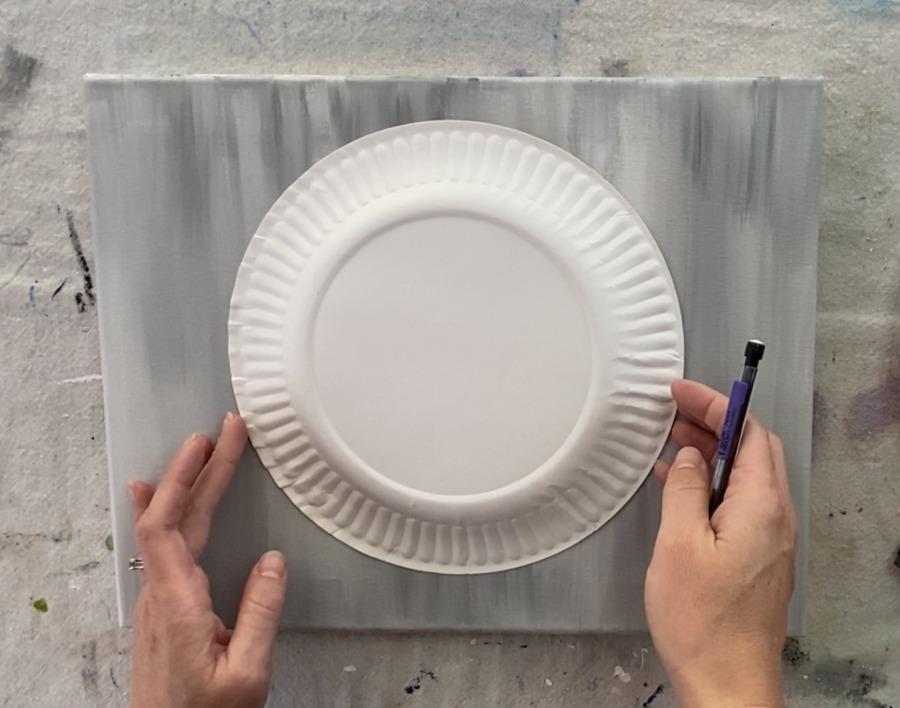
I traced my circle relatively dark so you can see it, however, you can trace it just light enough so you can see.
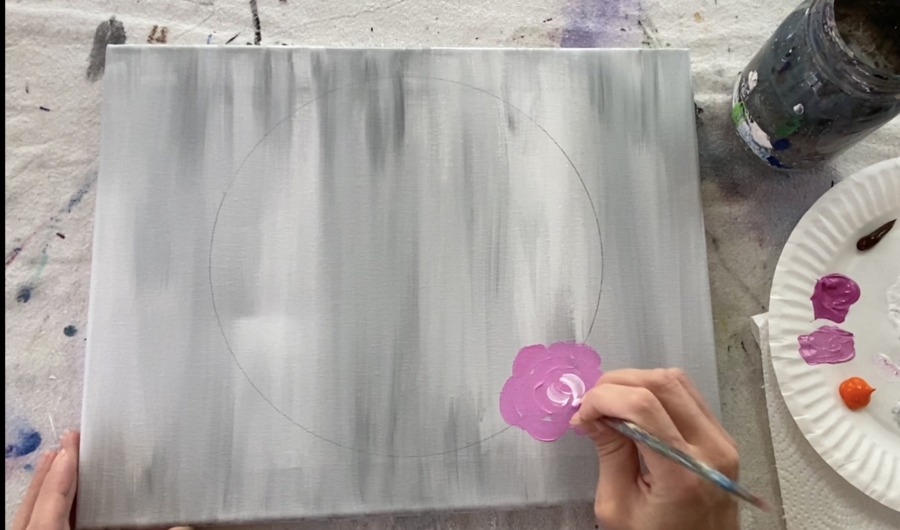
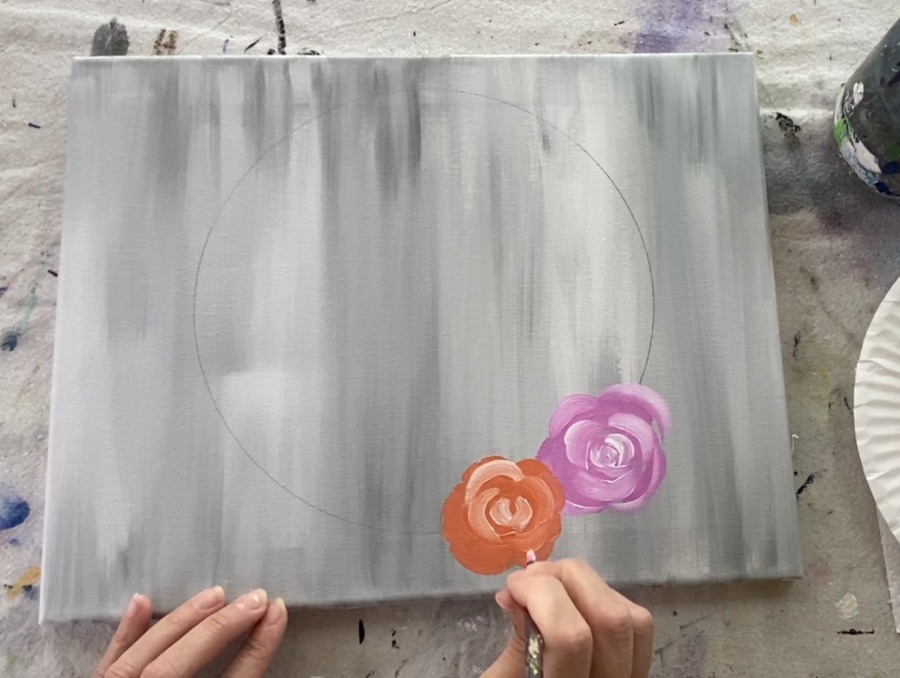
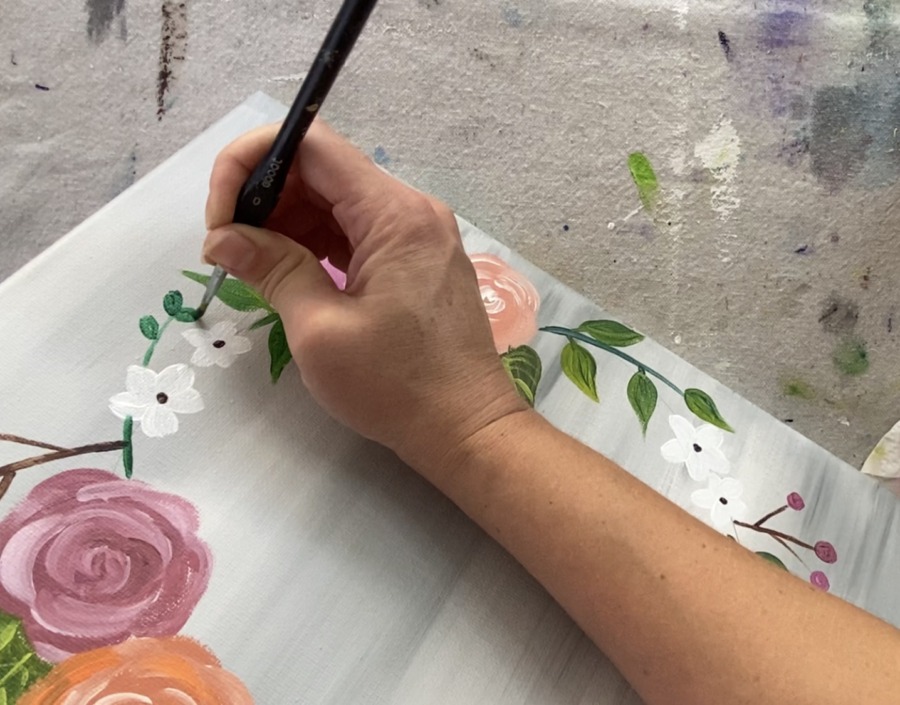
3. Paint the roses
Brush up on your rose technique real quick and check out my popular Simple Rose Painting blog post! I use the same technique for doing those roses on this wreath.
Load your palette in cadmium orange hue, medium magenta, burnt umber and titanium white. Also, get your #4 round brush ready!
I started by painting a medium magenta rose in the 5:00 position. Start in the middle of the rose and work your way outwards painting small petal curved lines. You can also do this by painting a circle first and then doing the petals like what I demonstrate in my rose blog post.
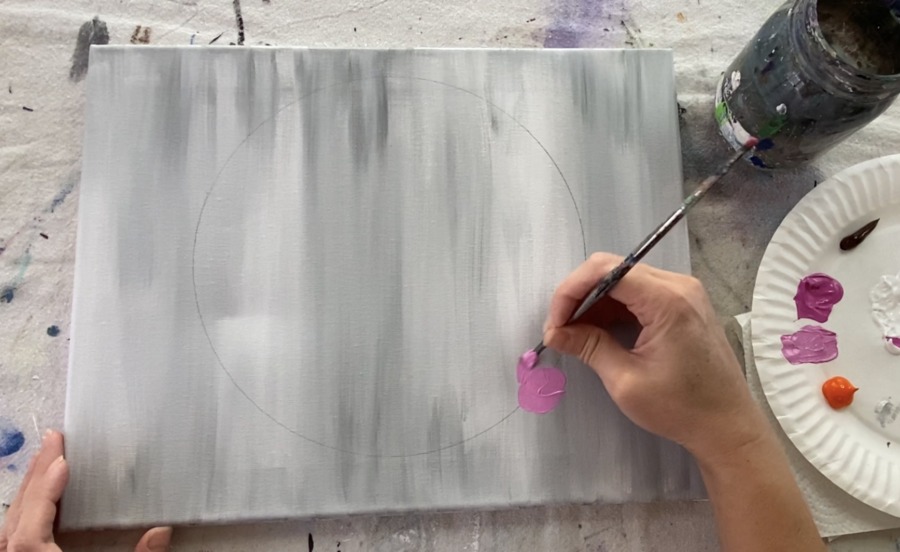
I used the #4 round to paint the base of the flower with just medium magenta.
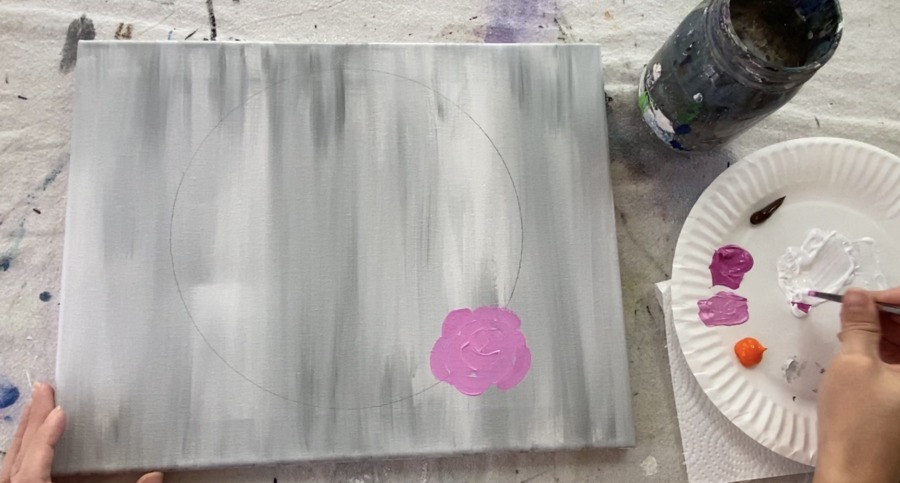
Then load your brush (without rinsing) in titanium white. Start in the middle of the flower and paint small curved strokes.
Keep painting small curved strokes, working your way to the outer edges of the rose. That white will mix with the pink as you are painting! Work in a staggering formation.
Tip: if the white seems too strong, try mixing more pink into it so it is more of a light pink.
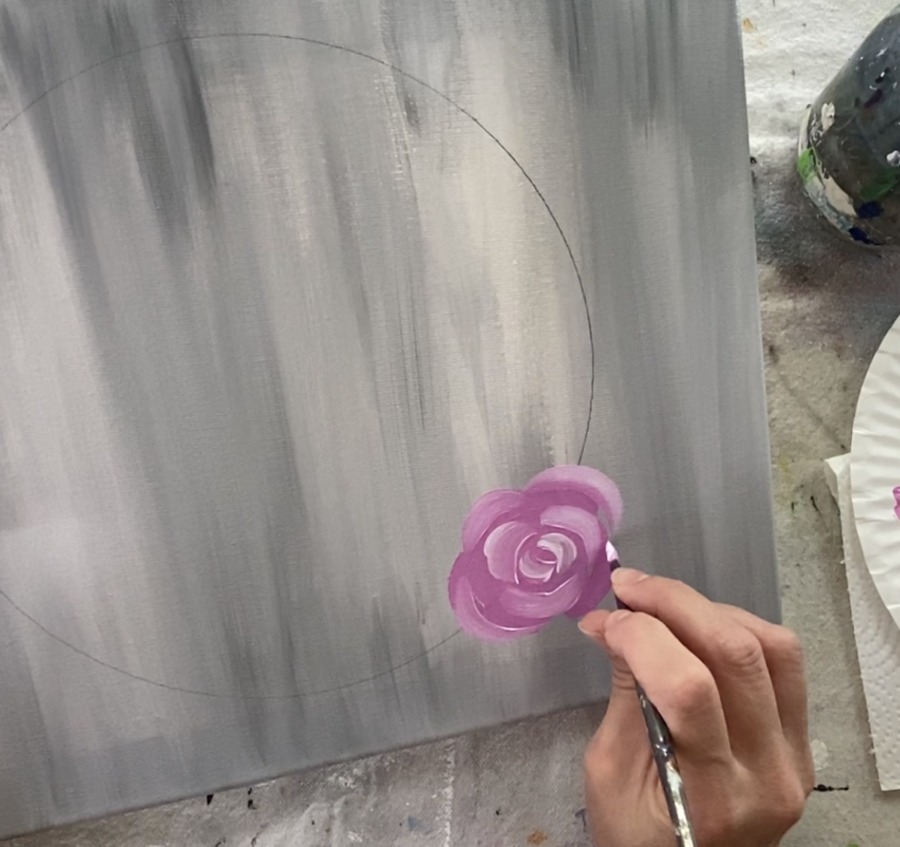
Form your rose with the white and paint all the way to the edges. The petals are sort of staggered like bricks.
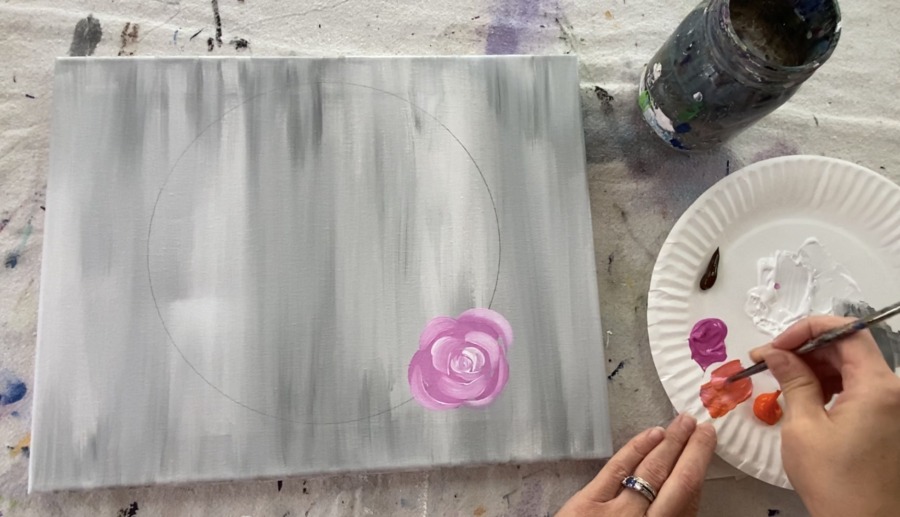
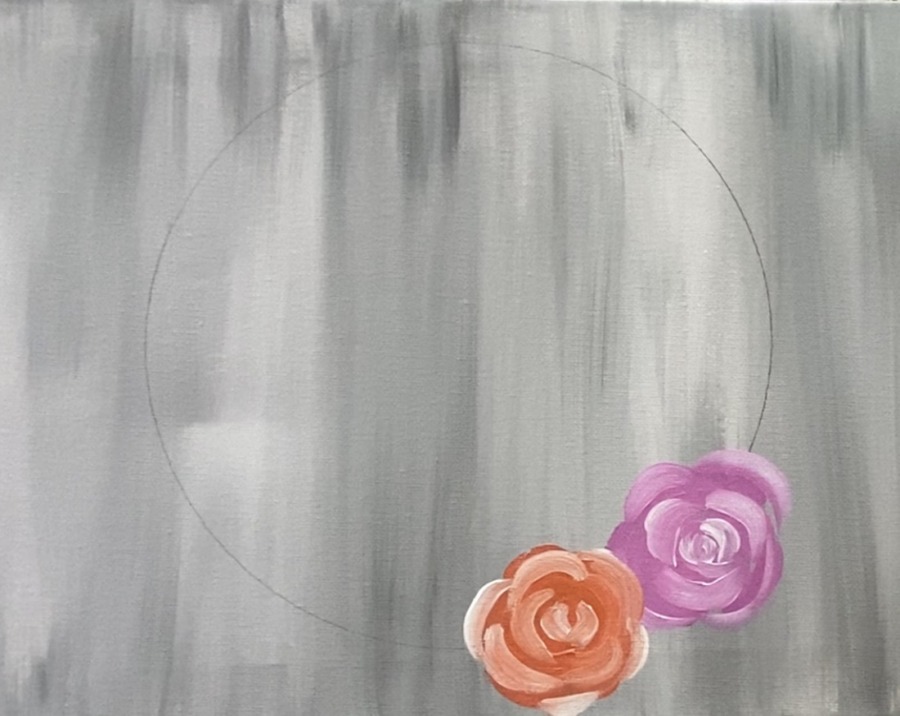
Then I painted an orange rose! I did not rinse my brush. I mixed that pink and white that was already on my brush into the orange to make sort of a lighter and pinker orange.
Then I painted this orange flower using the same technique! This one is lightly overlapping the pink one.
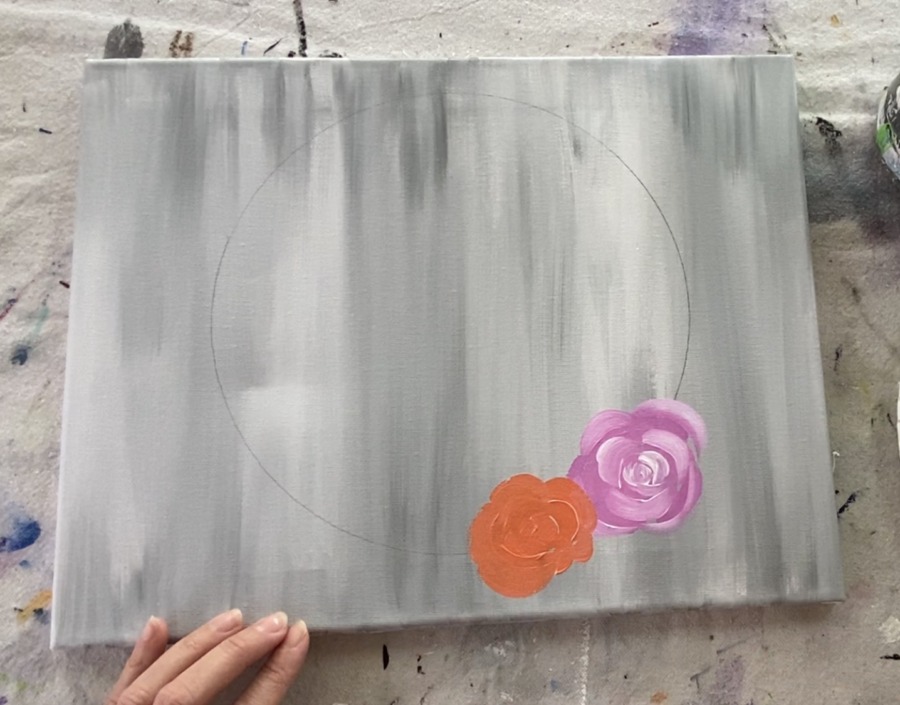
Start in the middle and paint petals forming the shape of the rose and working your way outwards.
Then load the tip of your round brush in some white and paint the petals starting in the middle and working your way outwards.
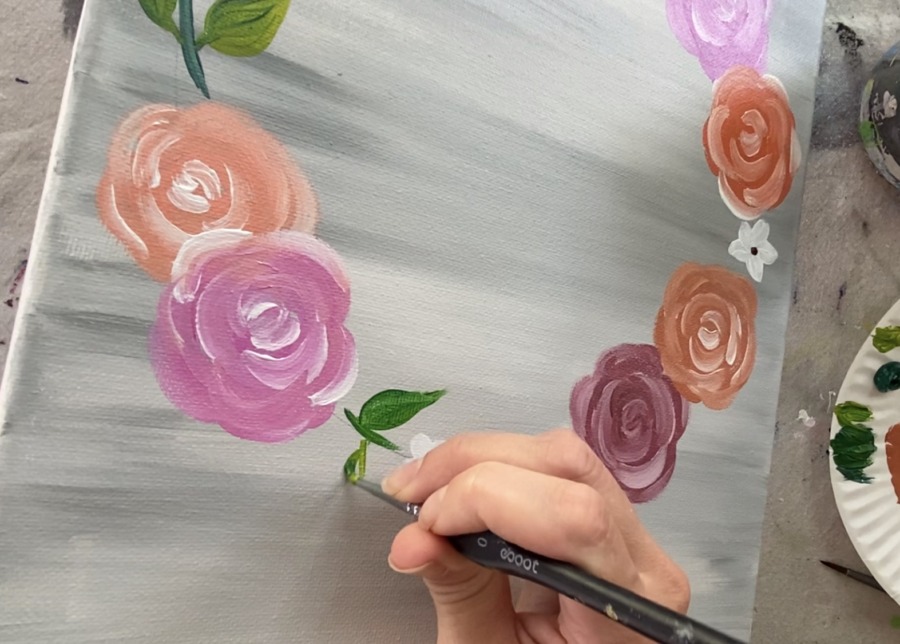
Then I painted two more roses in the upper left of the circle! Sometimes it is fun to mix colors on the palette to get different tints and tones of the orange and pink! The technique of painting these roses is the same, you just simply change the color.
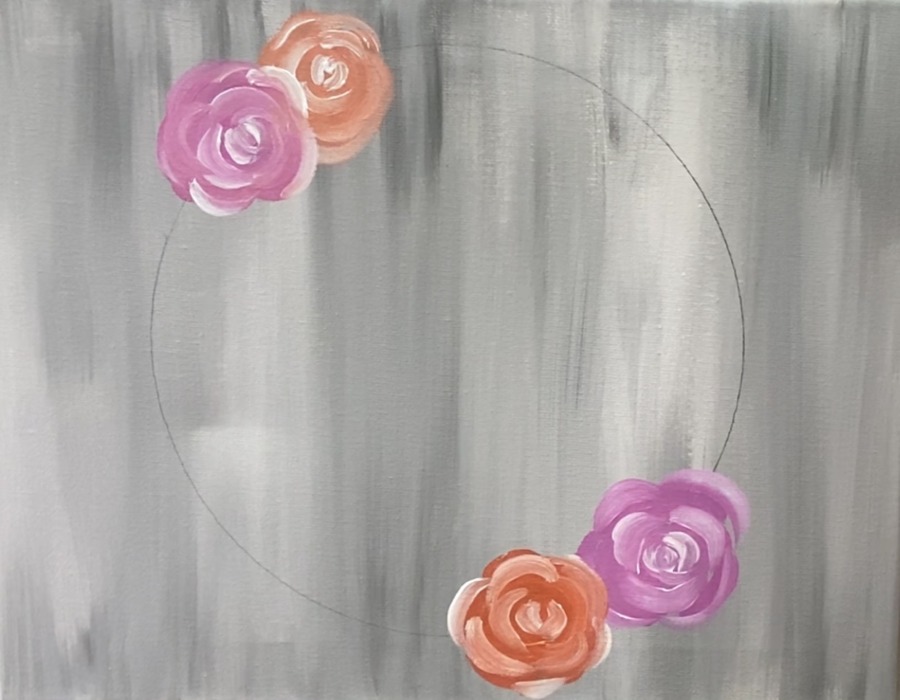
To get that “mauve” color rose, I mixed burnt umber in with medium magenta. This was about 1 part brown to 2 parts pink, however, you can experiment with it!
I also mixed a little brown with the orange to get a more brownish tone to that orange! I want to emphasize that it is okay to experiment with color mixing on your palette using the given colors! It’s okay to mix brown and pink together, brown and orange, white with pink and brown, etc.
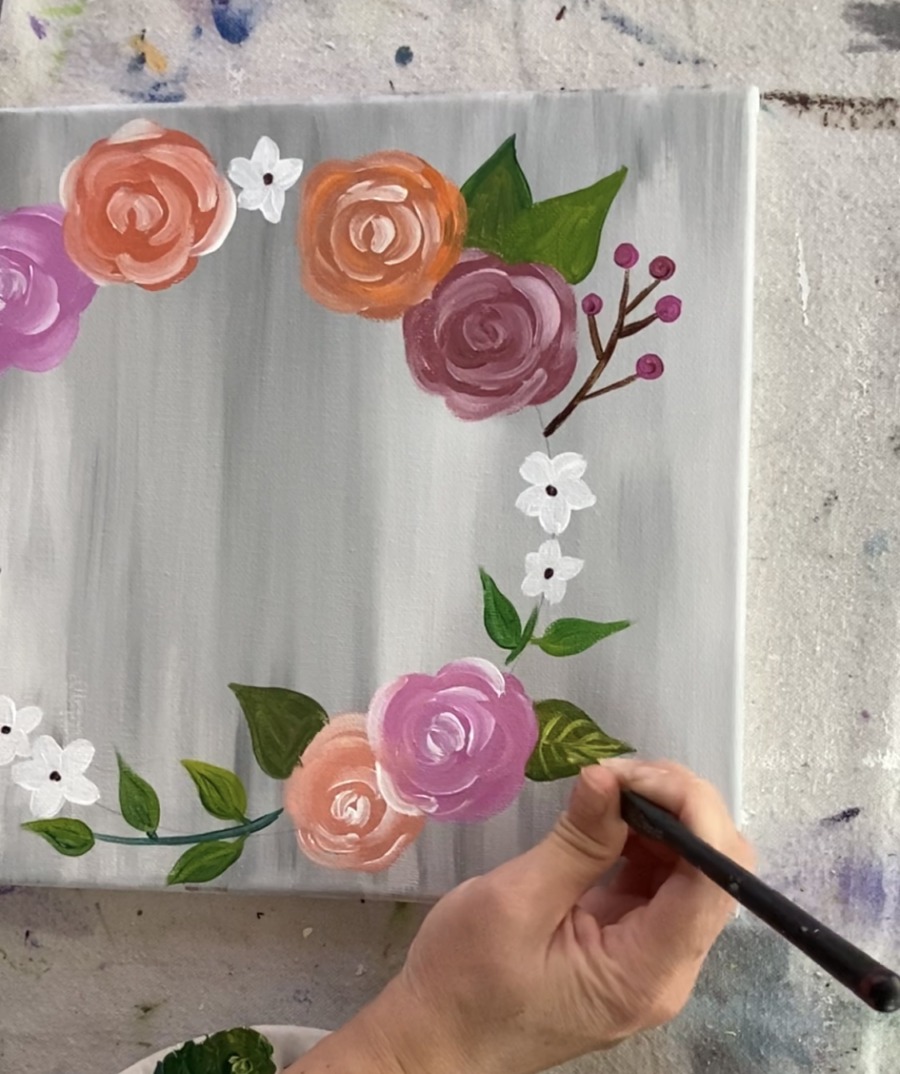
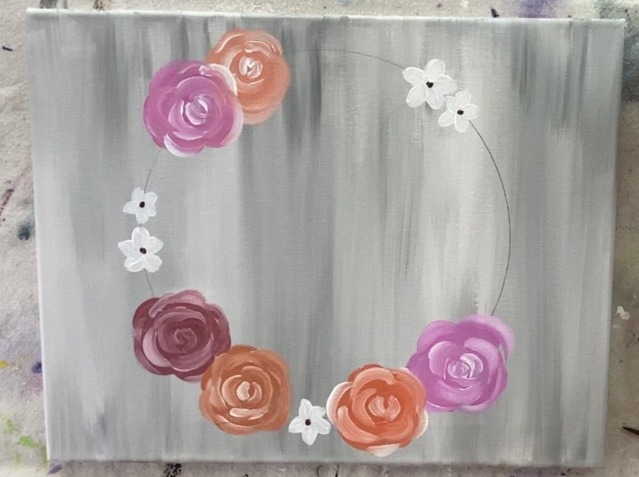
4. Paint white flowers
I used pure titanium white and the #4 round brush to paint small 5 petal flowers. Super simple! You can cluster two together (or more). You can change the size slightly (some small some a bit larger). Just make sure you are painting them along the circle you traced!
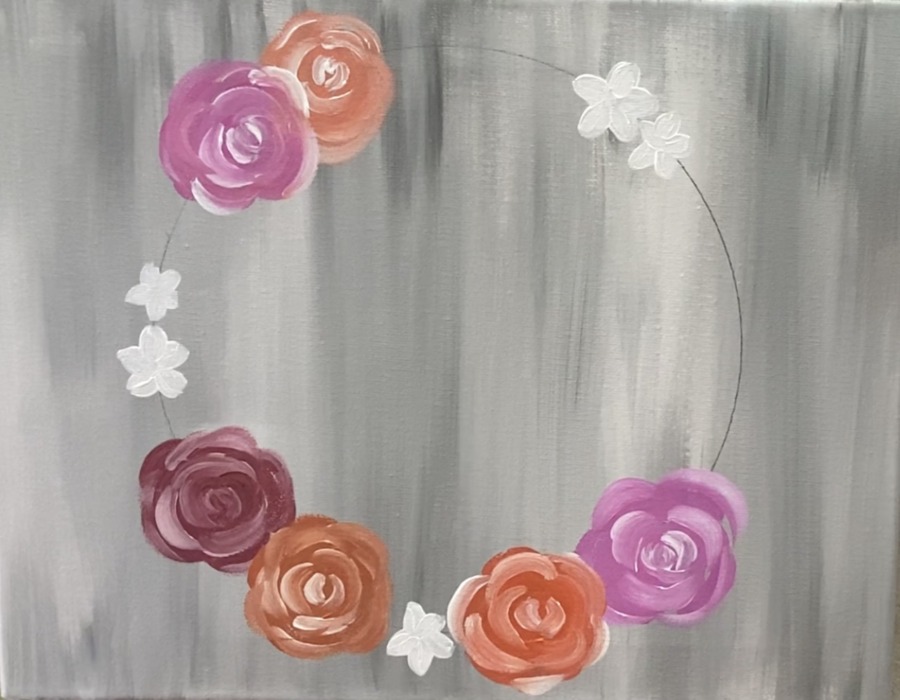
Then paint a burnt umber dot in the center of those flowers.
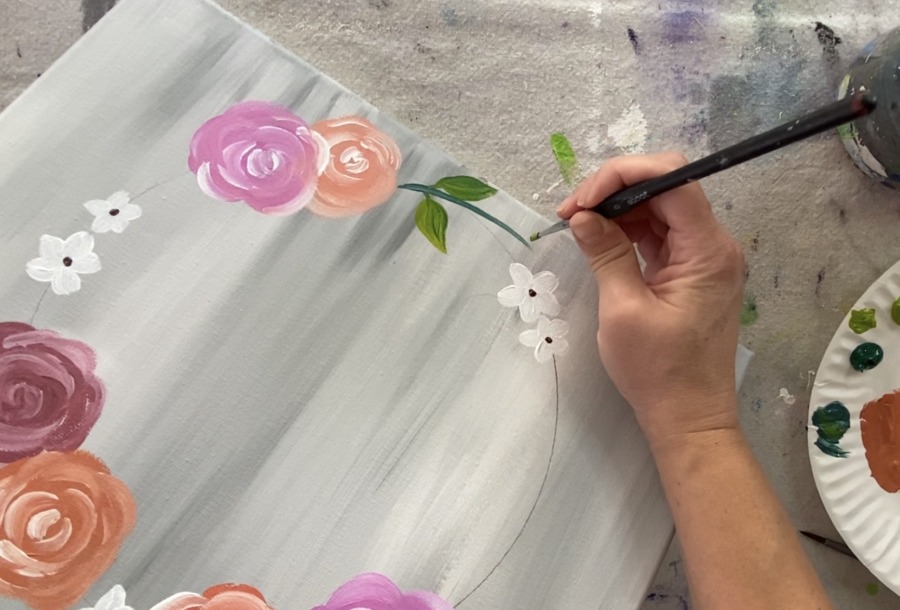
5. Paint the greenery!
I used deep green permanent and light olive green to do the greenery! Again, you can have fun mixing these two greens together, mixing a little pink or brown into the green as well as white! You are not restricted to using just the pure form of the color.
I started by painting a stem at the top with deep green permanent mixed with some medium magenta. I also used a #0 round brush for this! The smaller round brush helps get your line to be nice and thin.
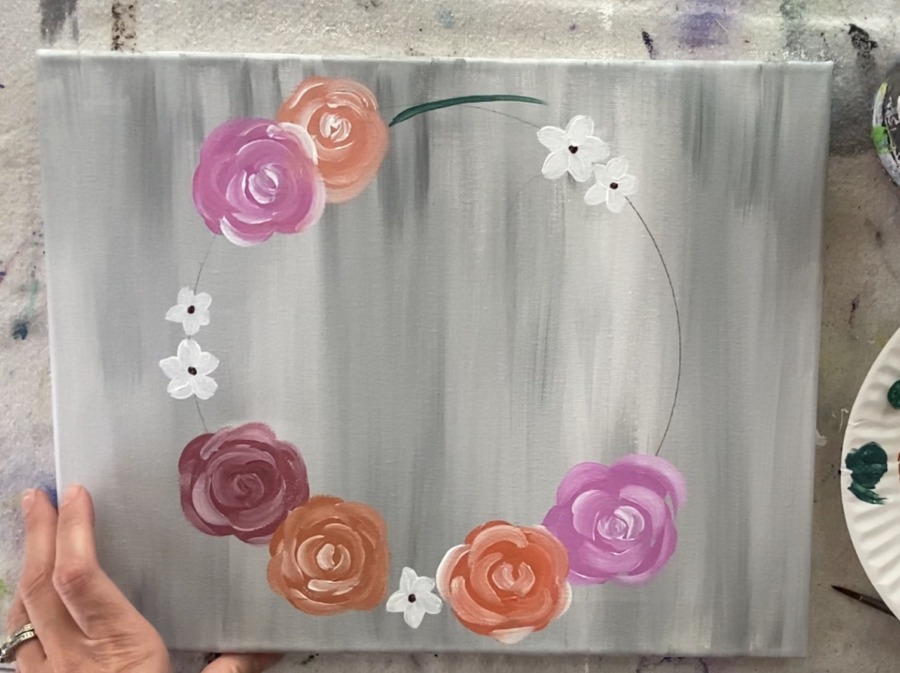
Then I added a little olive green into it to make the leaf shapes. These are your basic leaf shapes that go to a point!
Again, it’s okay to mix different greens into your leaves and stems! The color variation and mixing on the canvas gives it that nice effect!

I did stems and leaves all along the circle.
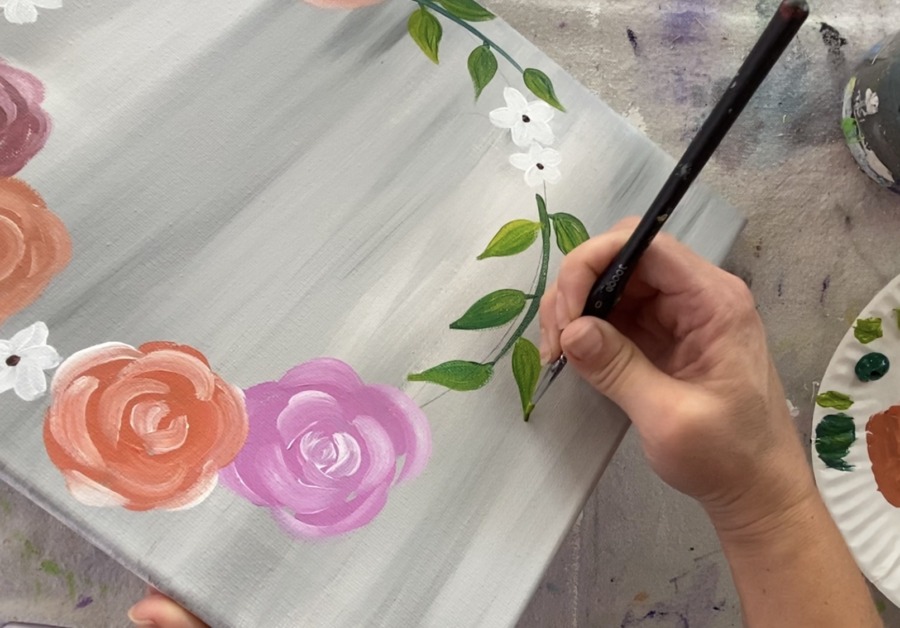
6. Paint the rose leaves
The rose leaves are larger and on the sides of the roses. A few of the leaves I painted so they overlap each other. I basically used the same greens but more of the deep green permanent.
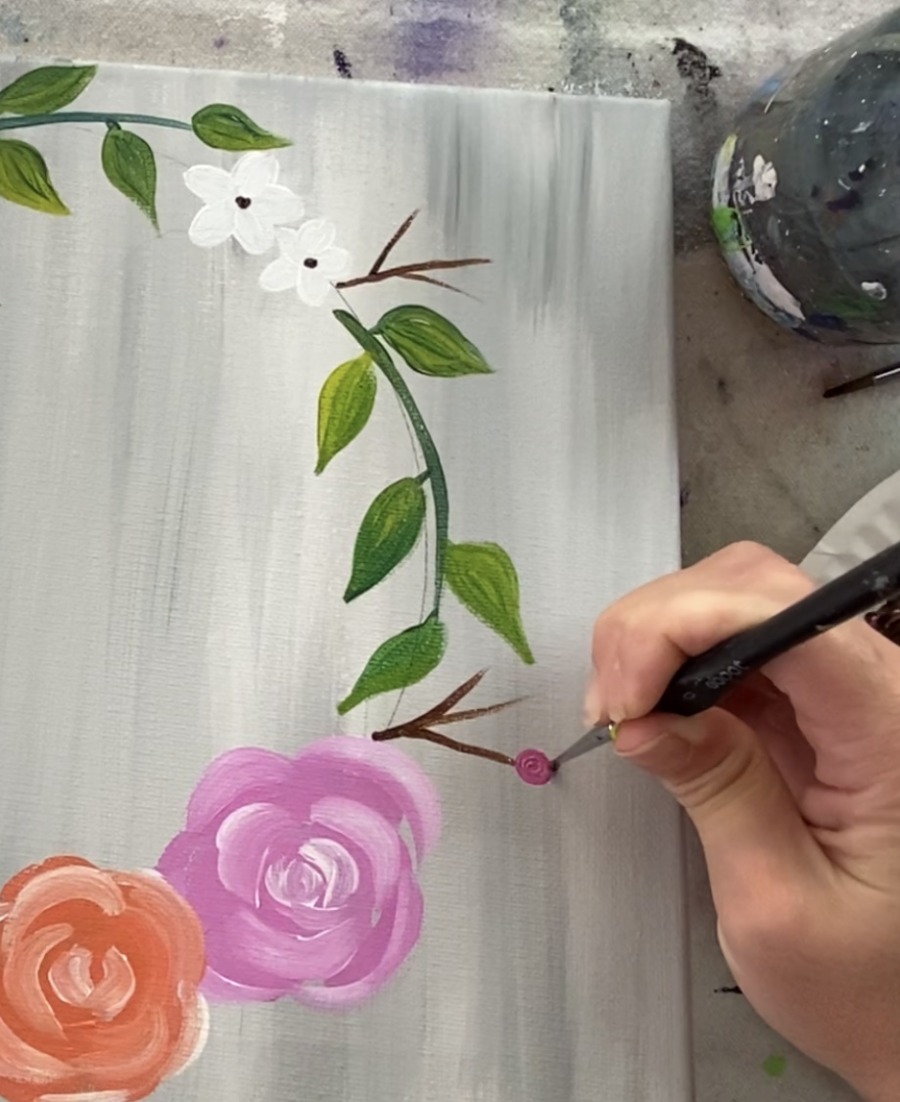
7. Paint the twigs & berries
For the brown branches, I used the burnt umber color as well as the #0 round brush.
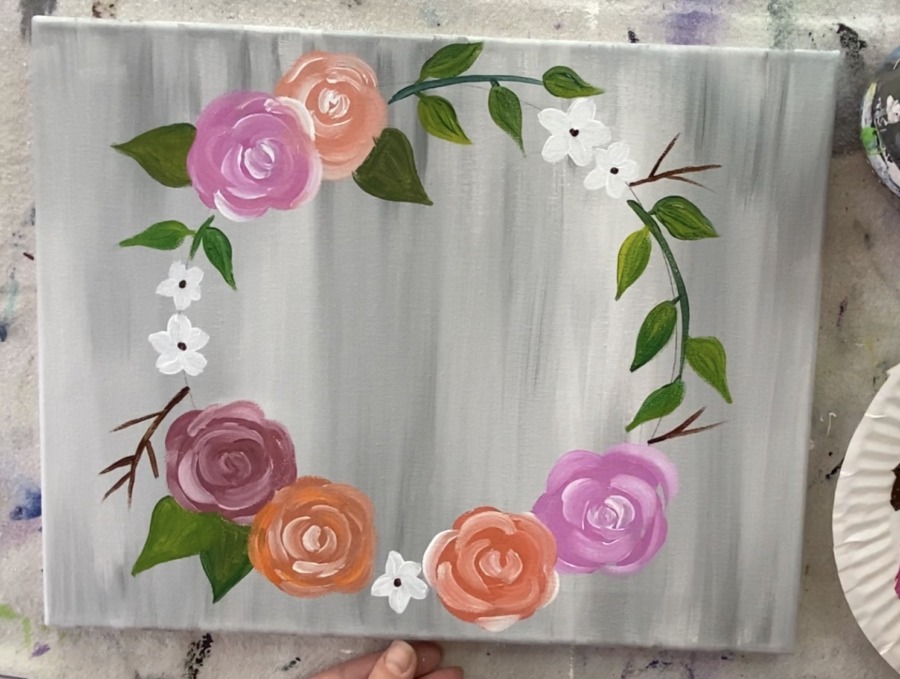
To make the berries, I mixed brown with the medium magenta (about 1:3) to create that deeper mauve color. I used the #0 round brush to paint small circles on the tips of the branches.
8. Paint lines on the larger leaves
Mix light olive green in with a little titanium white. Use your 0 round brush to paint lines on the larger rose leaves.
Paint a line in the center of your leaf and then lines branching out to the edges of the leaf.
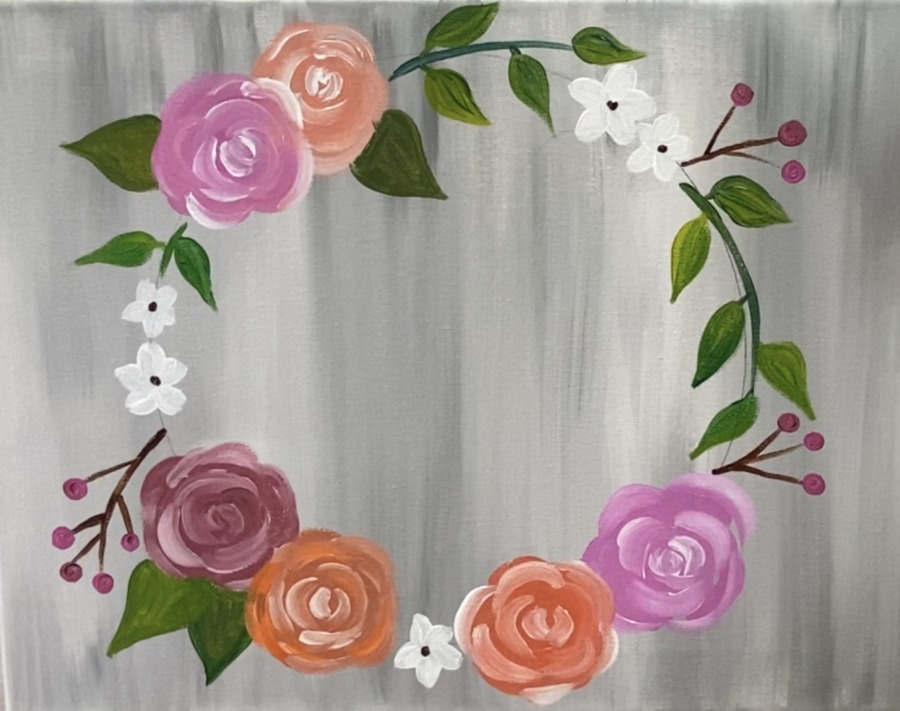
9. Keep going! Paint some more leaves
The fun thing about painting wreaths is that you can just sort of zen out and keep adding to it! I decided to paint a different kind of leaf, one with more of a rounded shape to the leaves.
I did this with the #0 round brush and pure deep green permanent.
Note that I also put a small white highlight on all the berries.
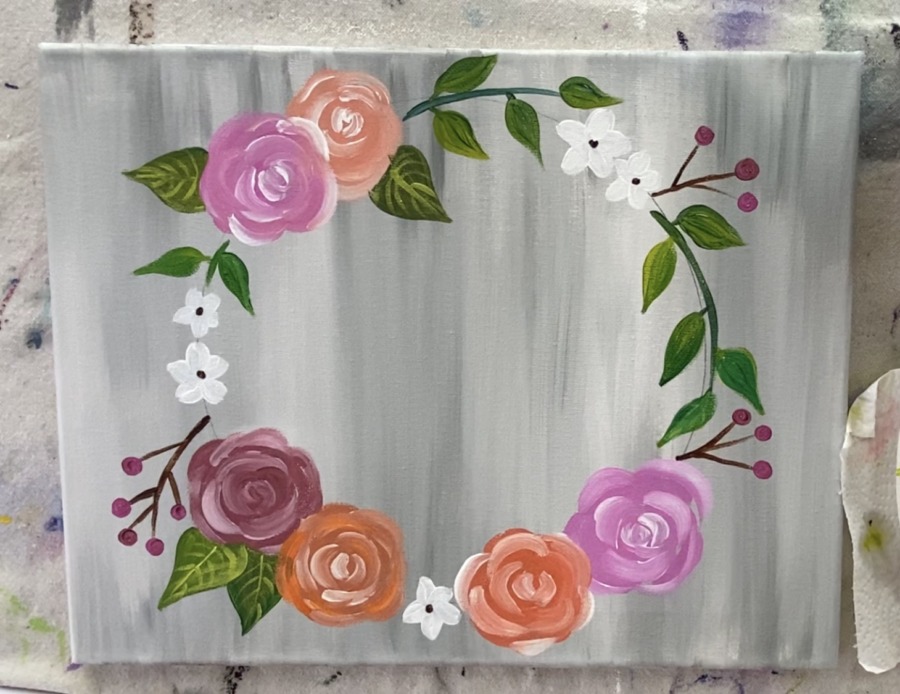
10. One more rose!
I decided to add one more rose in that gap! This one was done by mixing a very light pink color! Mix about 4 parts white to 1 part medium magenta.
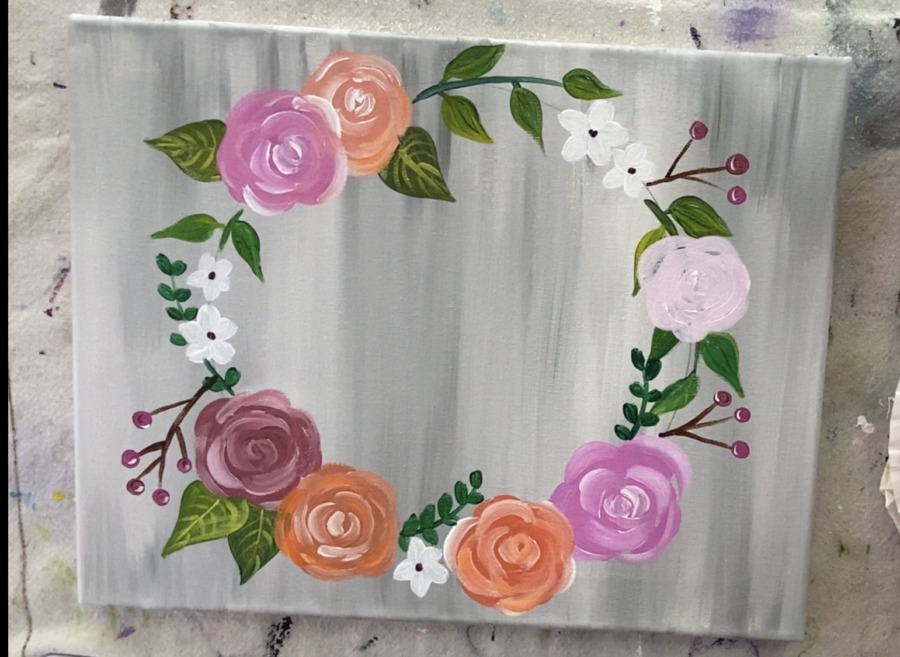
Then for the “center petals” part, I used more magenta (since the color of the rose is already light). Simply load more magenta onto your round brush, start in the middle and paint curved strokes that stagger outwards. It’s even better when it blends with your base color!

And I adjusted the leaves around that rose!
11. Paint your quote!
I will be doing a future blog post about how to create & print out lettering for your paintings! It is so simple and I use a free online software to do it! For now I will just show you how I got the letters on the canvas.
Basically, I printed out my quote and used graphite paper to transfer it over.
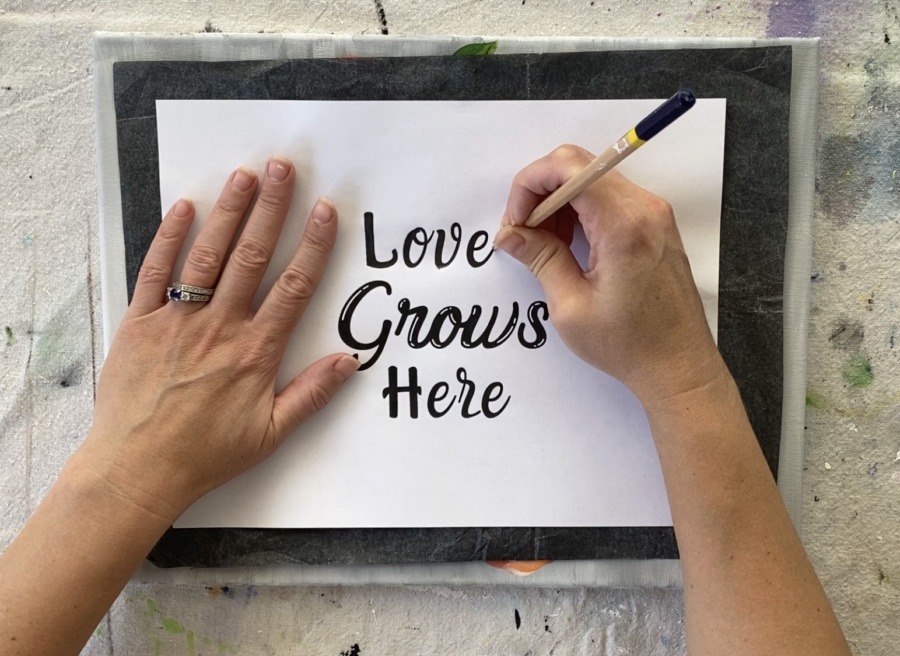
When tracing the letters, I found it helpful to just color the letters in with your pencil and the graphite paper does the rest!
Then I used a POSCA black paint pen to paint the letters in. You can also do this with your #0 round brush and black paint.
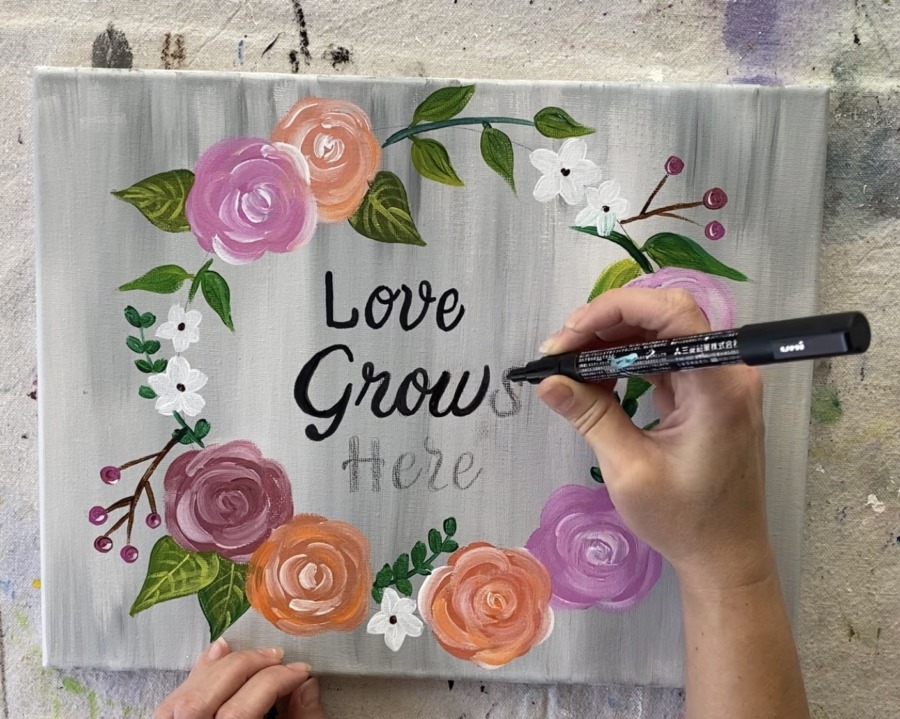
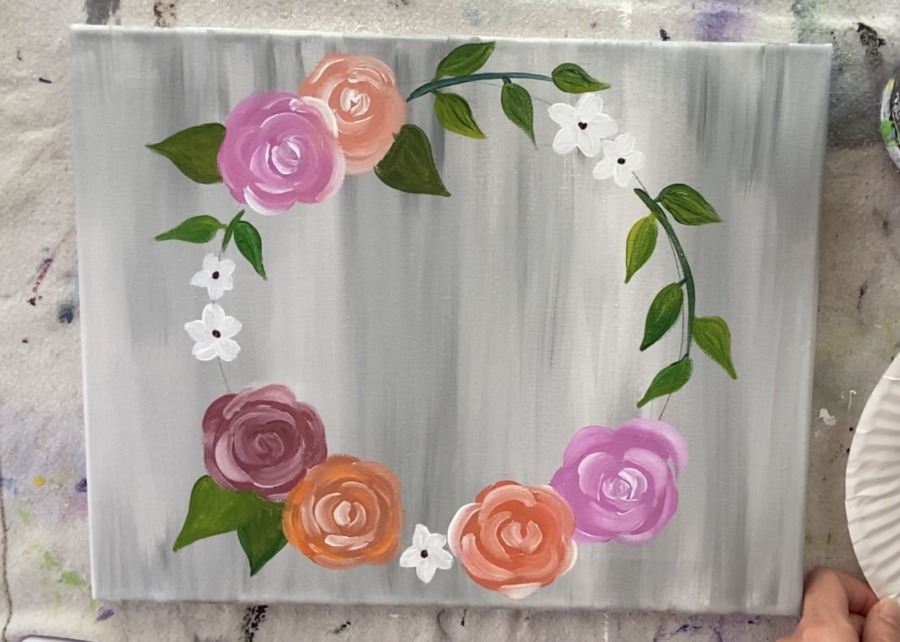
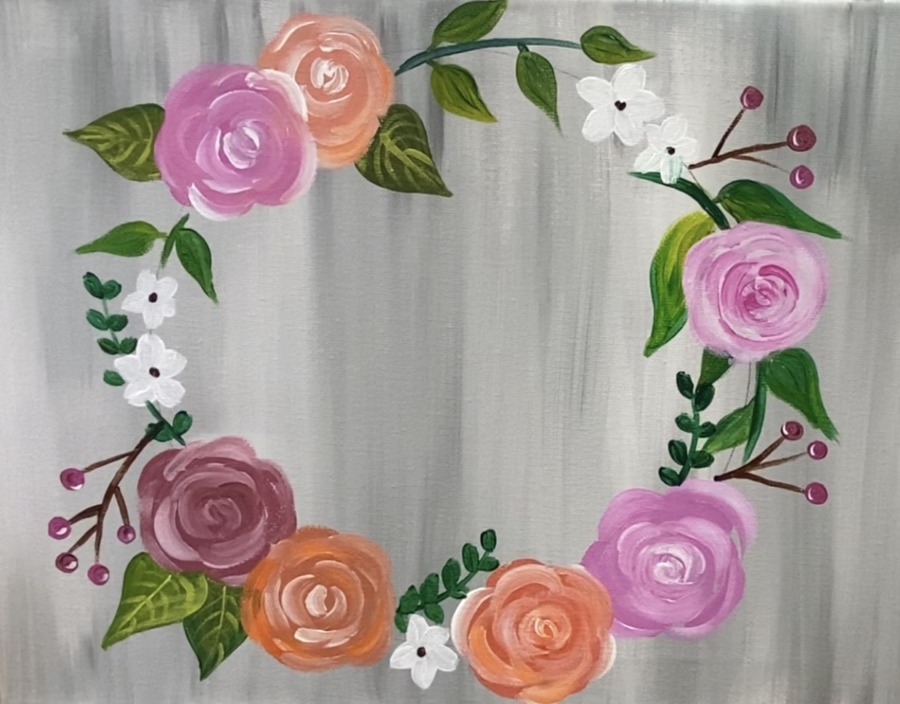
Finished!
That’s it! Such a pretty year round painting! We have this currently hanging in our entryway! Sign your name and show it off!
