
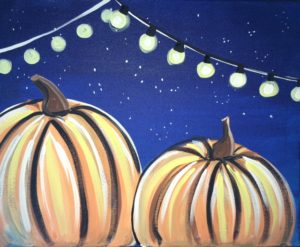
Pumpkin Painting On Canvas
Do you love outdoor string lights as much as I do? This painting immediately brings back memories of the local pumpkin patch my family visits every October! The crisp air, the music, the excitement of picking out the perfect pumpkin! And those outdoor string lights – they just set the ambiance! This pumpkin painting on canvas was created for beginners! Follow this easy canvas painting for beginners step by step and you will have yourself a beautiful fall decoration to hang on your wall! When you’re finished, please share yours on Pinterest by clicking on the “I Tried It Pin” on the bottom of this page!

Pumpkin Painting on Canvas
This post contains Affiliate Links.
Materials:
- Acrylic Paint (I recommend the Liquitex Basics brand or Apple Barrel Brand)
- Paint Colors: Orange, Yellow, Blue, Brown, White, Black
- 16″ x 20″ Canvas or 8″ x 10″ canvas
- Various Brush Sizes: This is a great brush set!
- 1″ Flat Brush
- 1/4″ Flat Brush
- Small Round Brush
- Water
- Palette or paper plate for palette
- Covered work space
- Table top easel (I recommend using an easel for best perspective!)
Video (follow instructions and omit the face if you don’t want to paint a jack o lantern)
Directions:

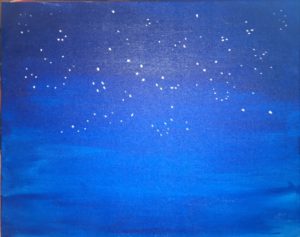
Start with a blank canvas in “landscape” position.
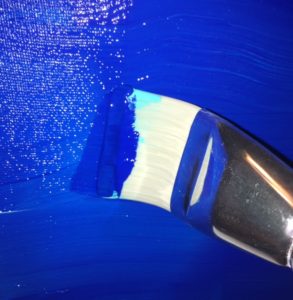
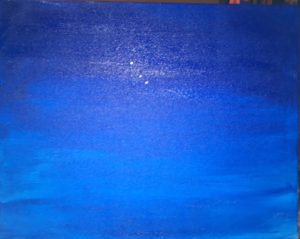
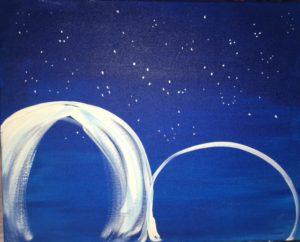
Next, grab your wide flat brush. Paint the entire canvas blue. Add water to your paint brush and the blue paint to make the paint flow faster and cover easier. I painted in left and right strokes.
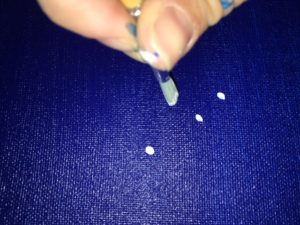
Then grab your small round brush. Paint small white dots everywhere on the canvas to represent stars. Paint the dots unevenly for a more realistic effect. Some dots are clustered together like constellations, some are larger, some smaller.

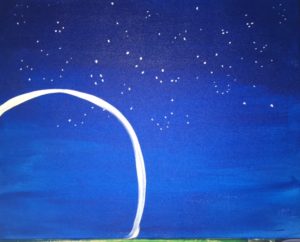
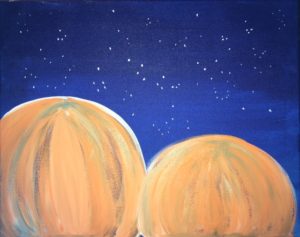
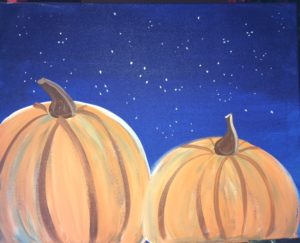
Next with your same small round brush, paint an arc, or part of a circle in the lower left corner.
Paint a smaller round shape next to that. These are the outlines of our pumpkins.
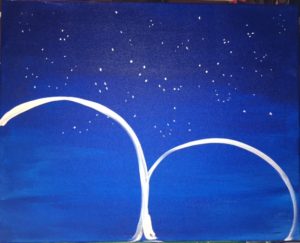
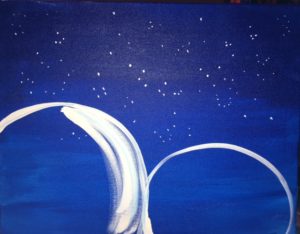
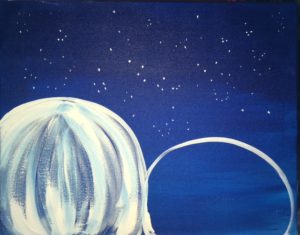
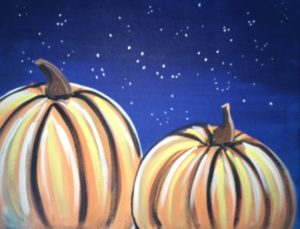
Next, with a medium flat brush, paint curved strokes of white. These curves will represent the curves of a pumpkin. Notice the direction of the paint. Your strokes MUST curve in this direction to create the effect.
Then continue to paint in the pumpkin white using curved strokes. Notice the direction of the paint is switched on the left.
The curves will meet in the center to form a “cat eye” shape. Also, the white is not solid, 100% white. Notice that blue still shows through. That is on purpose!
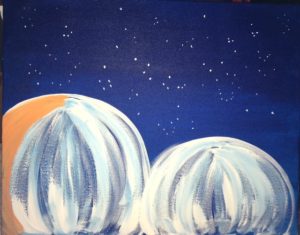
In like manner, repeat the technique on the second pumpkin.
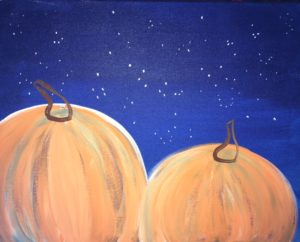
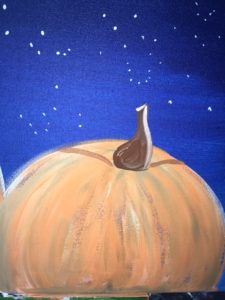
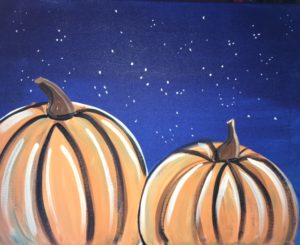
Now, clean off your brush completely. Then add orange. In the same manner that the white was painted, paint over the pumpkin with orange.
Continue to paint the pumpkin orange. Make sure your strokes are going in a curved manner in the same direction as the white paint.
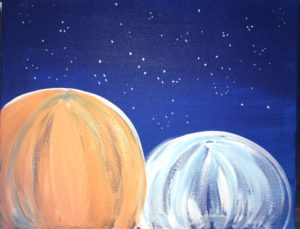
Next, repeat the orange on the second pumpkin. Do you see how some of the white and blue still shows through? It’s not solid 100% orange.
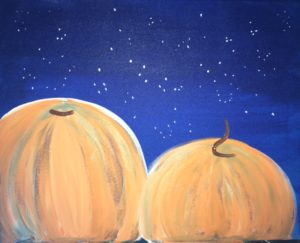
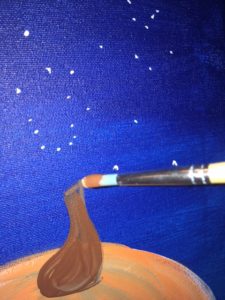
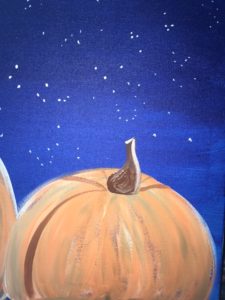
Now rinse off your brush completely. With brown paint, add a small curved line in the area shown on the two pumpkins. Those lines are the base of the stem. Notice that the stem base is not right on top of the circle, rather a little bit down.
Next start to paint the stem. Paint a squiggled line upwards and then complete the shape.
Then repeat with the second pumpkin.
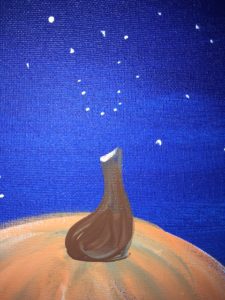
Paint in the stems solid brown.
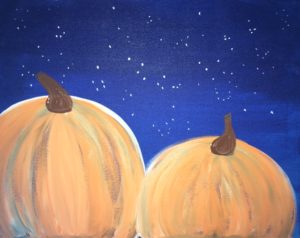
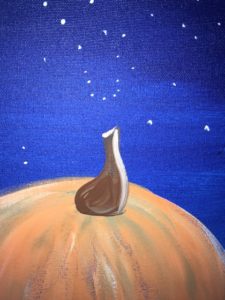
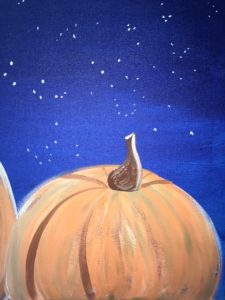
Then, without rinsing the brush, add white to the tip. Paint a line on the top of the stem.
Add another line on the side to represent light hitting the stem. Repeat with both pumpkins.
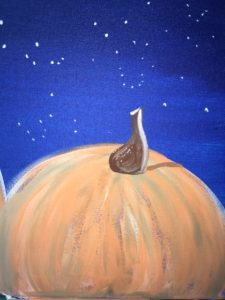
Then, with the brown paint and your small round brush, paint this line by the stem as shown.
Now paint another line on the other side of the stem as shown.
Next paint a curved line from the stem to the bottom.
Next add another curved line like shown – stem to bottom in one stroke.
Continue to paint more lines on the right side of the pumpkin. Again, stem to bottom in one stroke.
Then repeat the same thing on the second pumpkin.
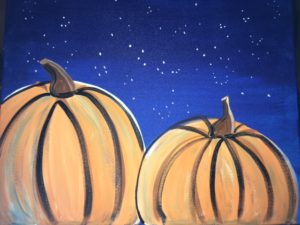
Next, rinse off the brown paint. With black paint, trace over the brown lines. Notice that some of the brown still shows through.
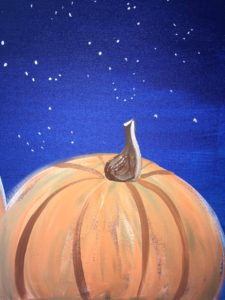
Then rinse off the black. With white paint add some curved lines to the pumpkins as shown. You are not tracing over the black/brown, you are adding lines very close to (next to) the black/brown.
Continue to add more curved white lines on both pumpkins. Notice the curve is in the same direction as the black/brown curves.
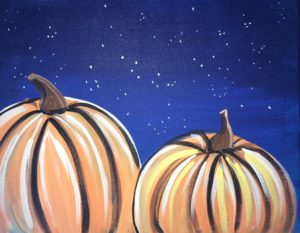
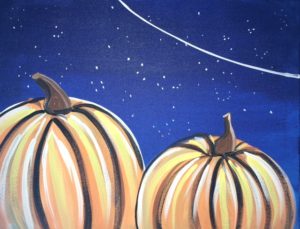
Next clean off the white from the brush. Add yellow paint. In the same manner, add more curves on your pumpkins between the white lines.
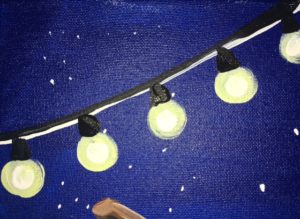
Now it’s party time. Let’s paint outdoor string lights! With a small round brush, paint a curved line in the sky.
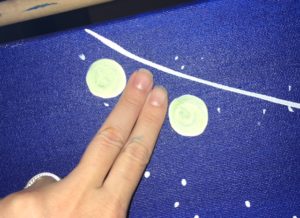
Then mix white and yellow together on your palette. Paint yellow-white circles that are about two fingers apart and positioned off the line as shown.
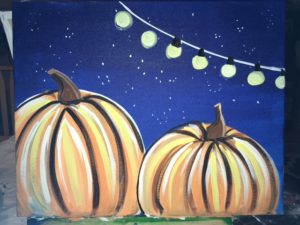
With black, paint a trapezoid or rectangle shape light socket that connects the lights to the string.
Then paint another set of outdoor string lights on the left side.
With black, paint a line over the white line but leave some area of white still visible.
Next add some “interest” to the bulbs by painting solid white in the center and adding some white lines on the outside of the bulbs as pictured.
Finally, you are finished! Congratulations! Let your canvas dry. Hang it up with your Fall decor, gift it, showcase it on social media!


See how to add facial features on your pumpkins! Click Here.
Video is for the same pumpkin painting but with faces! You can omit the faces if you like the painting with just the pumpkins!
I love these tutorials! About how much of each paint did you use? I’m trying to get a group together to paint these and want to try and get an estimate of how much of each color I would need. Thank you
Hi Ashley! For paint parties that I do, I use the estimate of .25oz per color per painter. Less for the colors that don’t show up often and an extra tube for the colors that show up the most. Most tubes of paint are 4oz or 2oz if you’re using craft paint. In this painting, black, white and orange show up the most while the other colors you can get away with getting just one tube.
Wow, Wow, Wow! Your tutorials are fabulous…I think I can actually do this, with your help of course! Thank you!
Thanks! ?
Did this with my 3 daughters and loved it. 5 year old stopped at the lights , 10 year old did the lights and my 13 year old did the whole thing.
Amazing! So glad you enjoyed doing this with your daughters ?