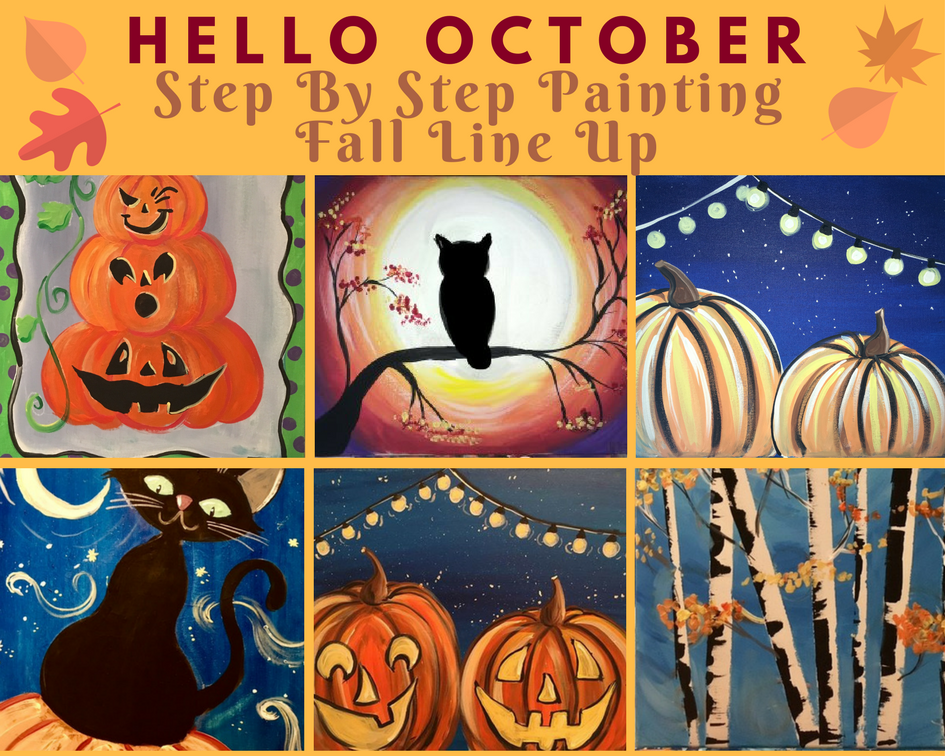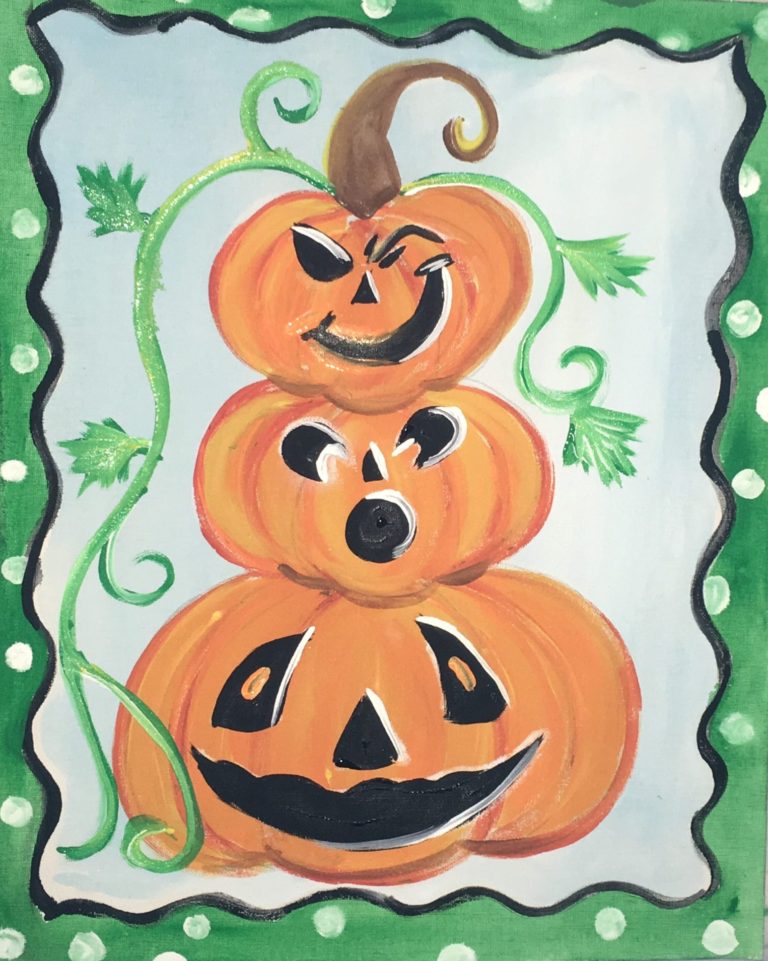
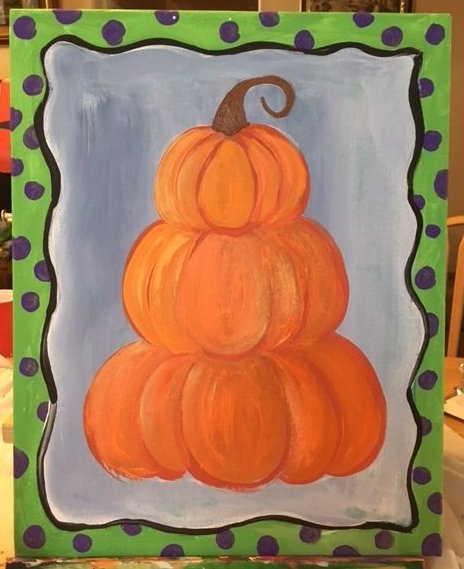
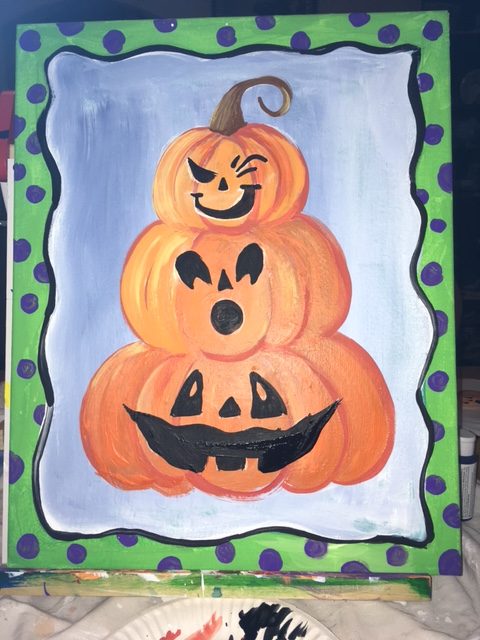
Pumpkin Topiary Painting On Canvas
 Learn how to paint this easy Halloween fall canvas painting step by step! You will learn how to paint a pumpkin topiary painting on canvas with acrylic paint. No experience is required, I will take you through the steps with a video and detailed picture instructions! You may leave the faces off for a cute fall painting or add the faces for an adorable painting with personality! When my 2 year old first saw this, he named each of the faces after himself and his two brothers. Wouldn’t it be an adorable idea to put the names of your kids on each of the faces? Any how, there are a lot of creative things you can do with this so have fun!
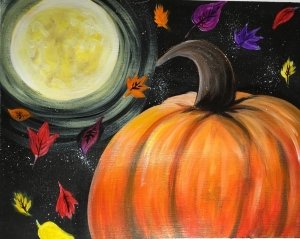
See Also:
This post contains affiliate links.
Level/ Duration
Level: Easy/ First Painting; Duration: 1-2 Hours

Materials
- Acrylic Paint (I recommend the Liquitex Basics brand or Apple Barrel Craft Paint)
- Paint Colors: Red, Orange, Yellow, Green, Light Blue, White, Brown, Black
- 16″ x 20″ Canvas or 8″ x 10″ canvas
- Various Brush Sizes
- Water
- Palette or paper plate for palette
- Covered work space
- Chalk for drawing the pumpkins
Directions:
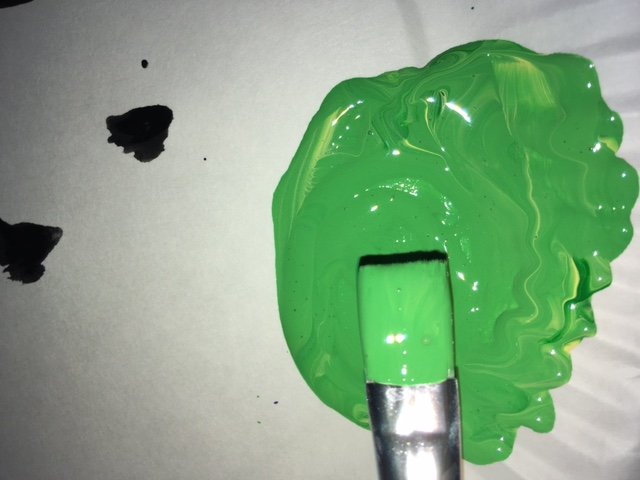
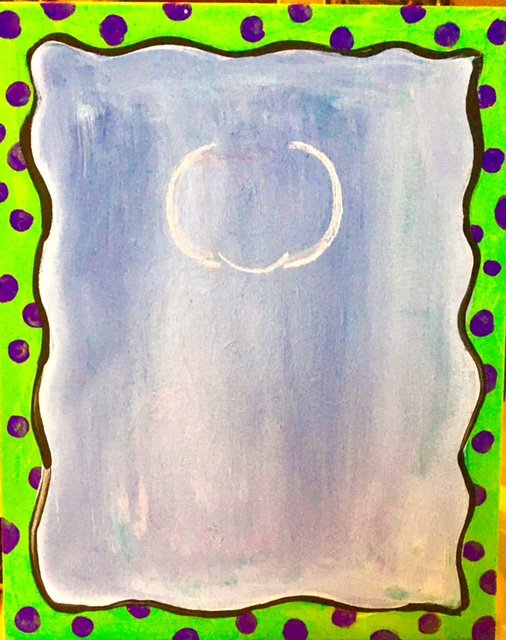
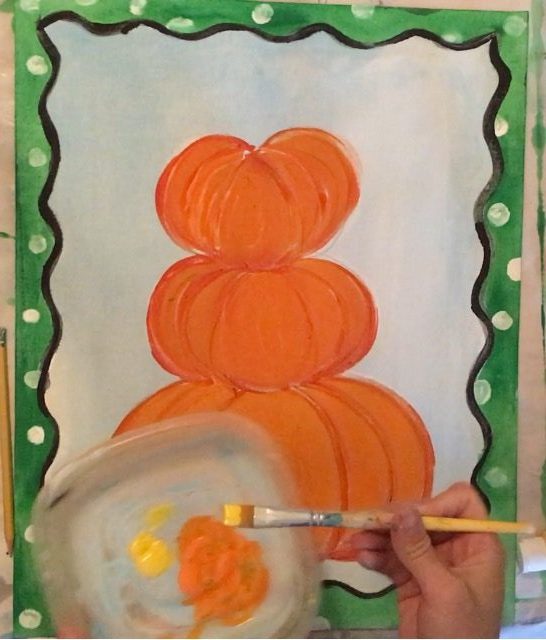
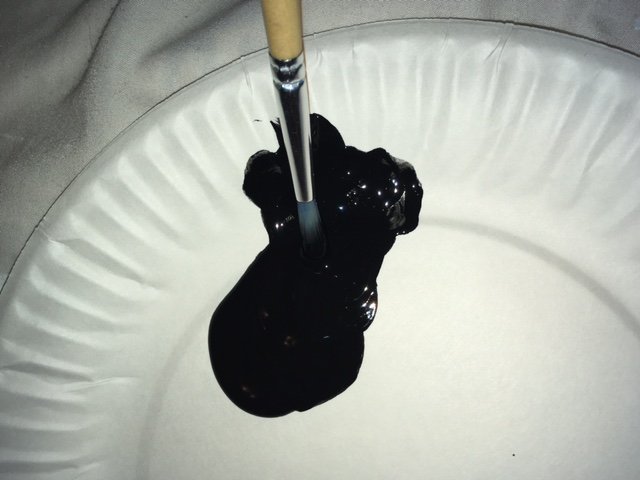 Start with your canvas in “Portrait” position. We are going to paint a frame on the canvas. Wet some black paint so that it is “ink” consistency.
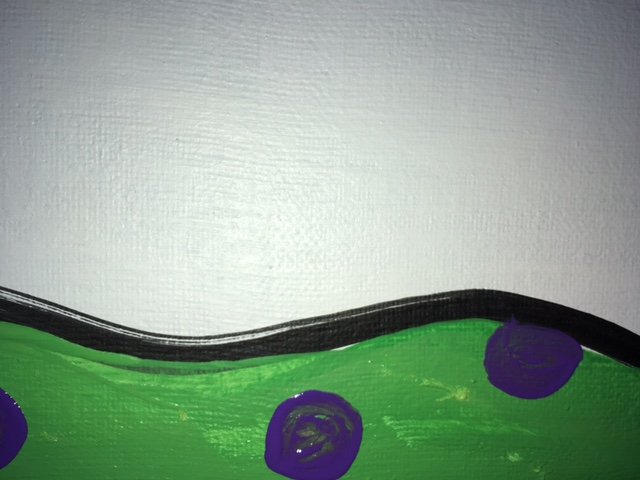
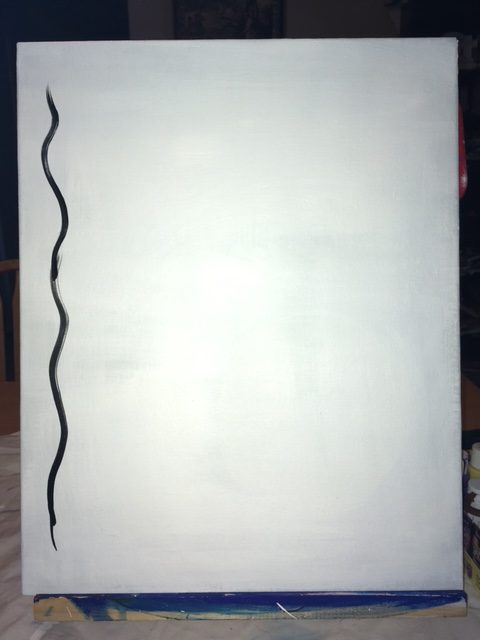 Paint a squiggle line.
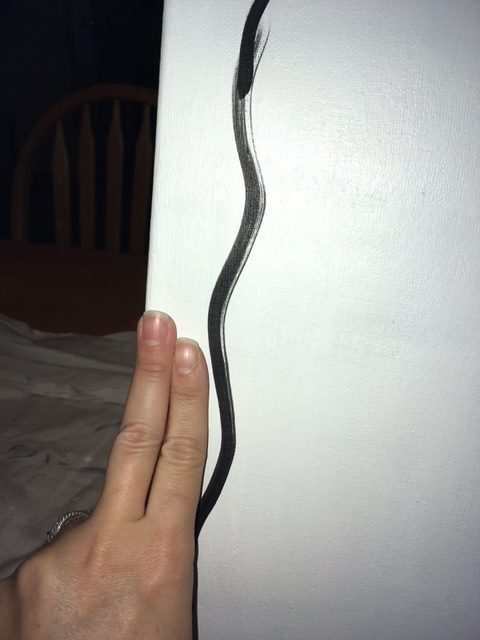 The squiggle line should be about two fingers from the edge of the canvas.
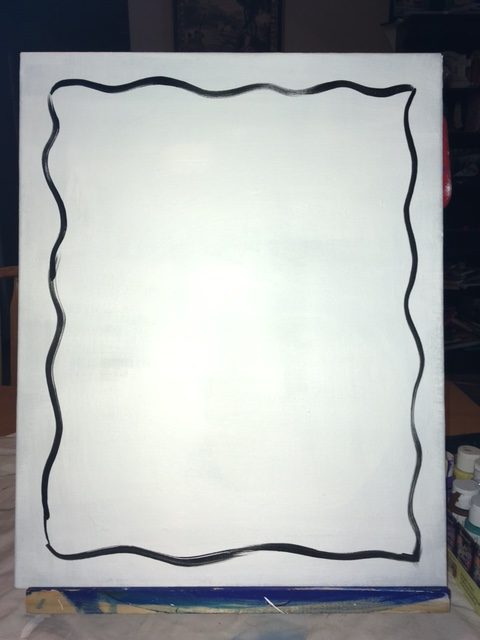 The frame will look like this.
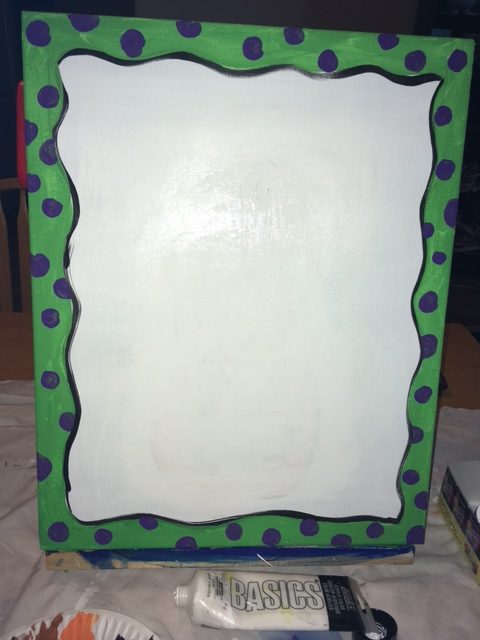
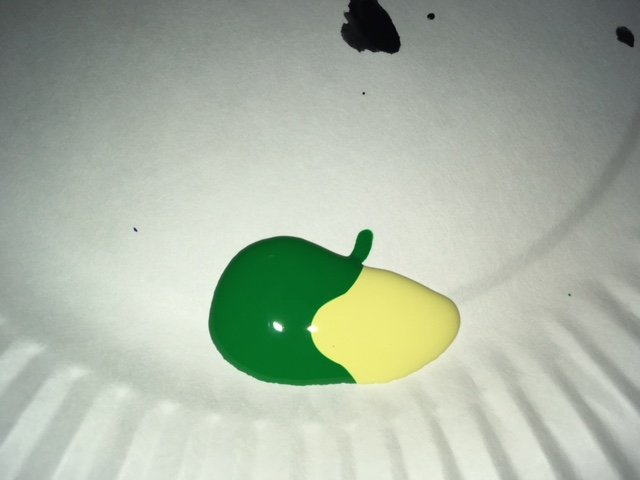 Next mix equal amounts of yellow and green together. Or, if you wish, make the frame your color of choice!
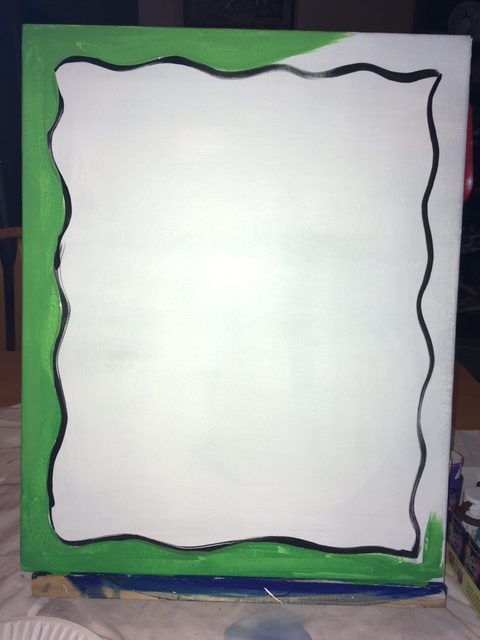
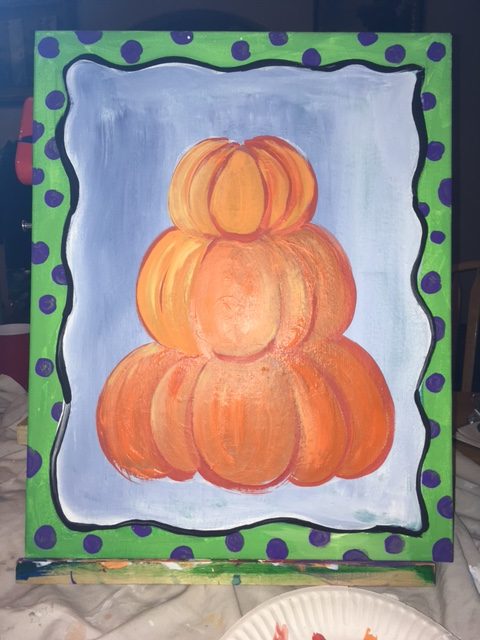
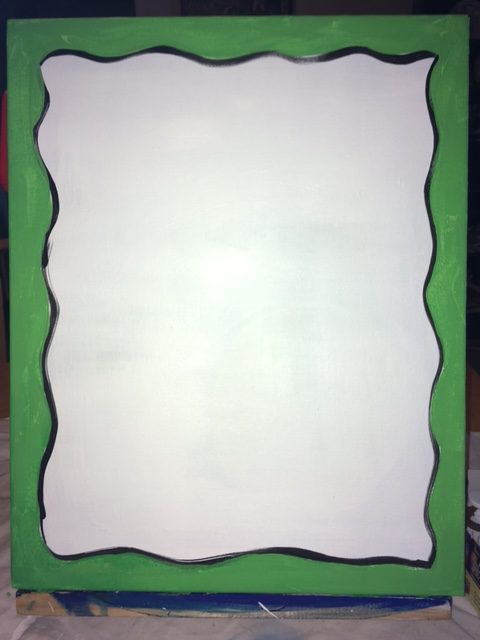 Paint the frame all the way around the canvas.
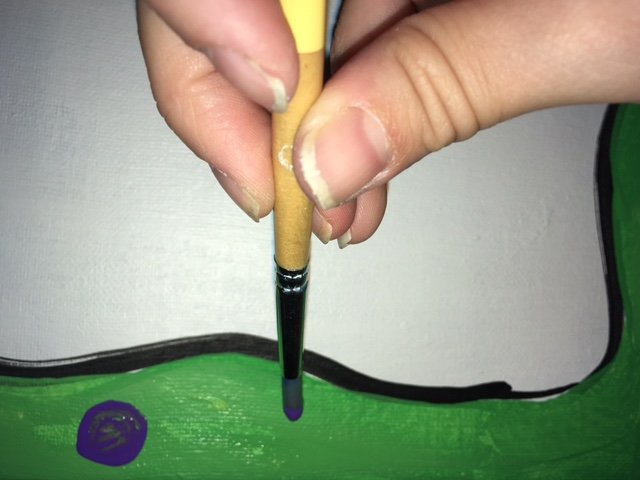 Next paint some polka dots with purple paint. This is where you can customize and do your own color/pattern. Stripes or checkers would look neat!
 After the frame pattern is all painted, you may have to re-paint some of that squiggle line again. I’m not a “paint inside the lines” kind of girl so I definitely had to go back and re-paint.

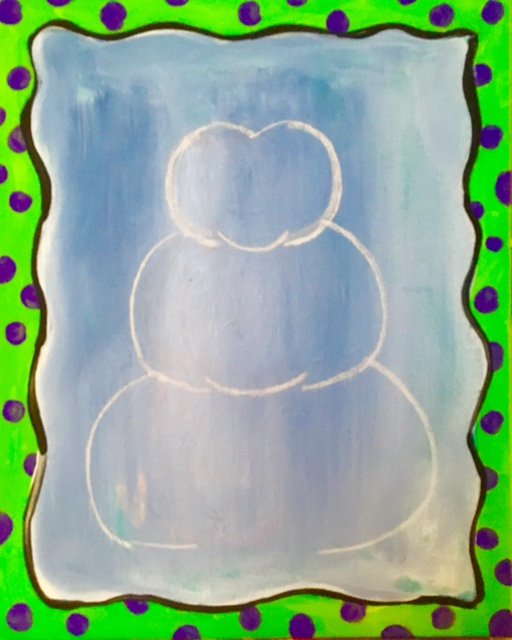
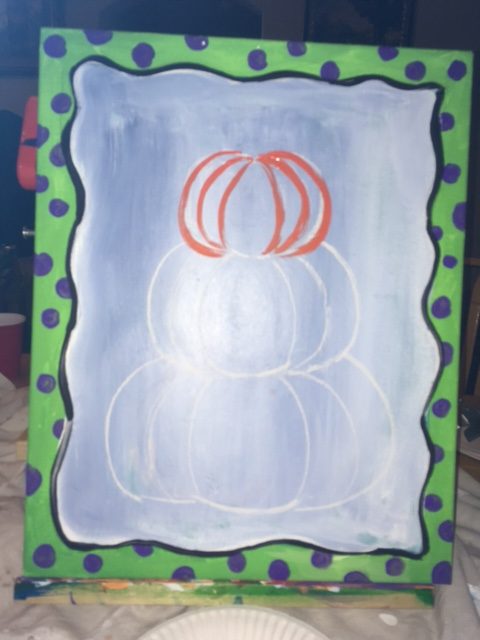
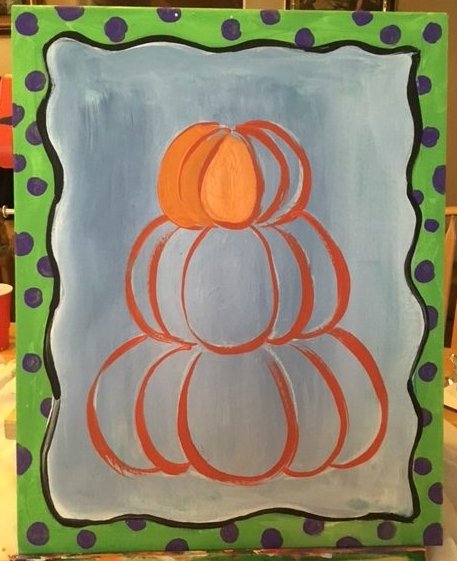
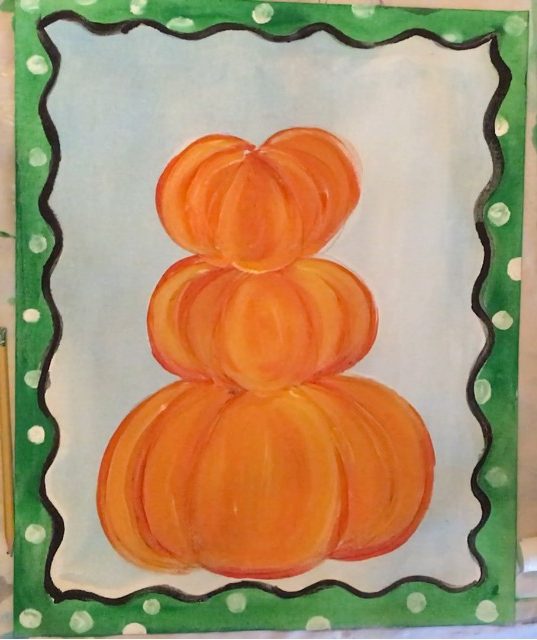
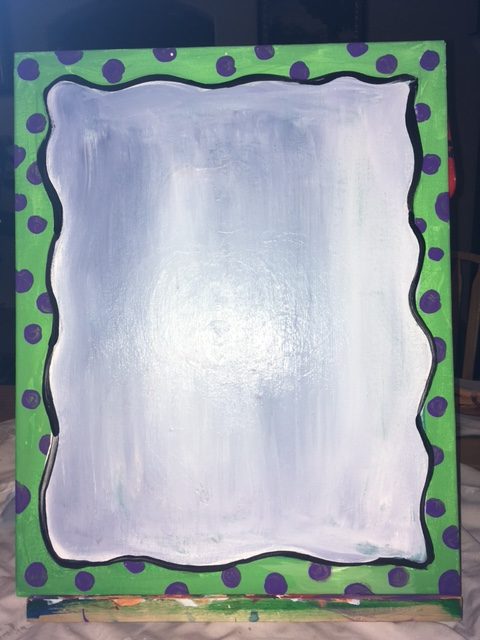 You can leave the background white or fill it in. The background inside my frame is a mixed color. I mixed a lot of white with a TINY bit of black and some blue. I brushed the color onto the canvas without fully mixing it and it made a blue-gray shade. The background should be a LIGHT color so that the pumpkins will “pop”. I recommend mixing any color with a lot of white.
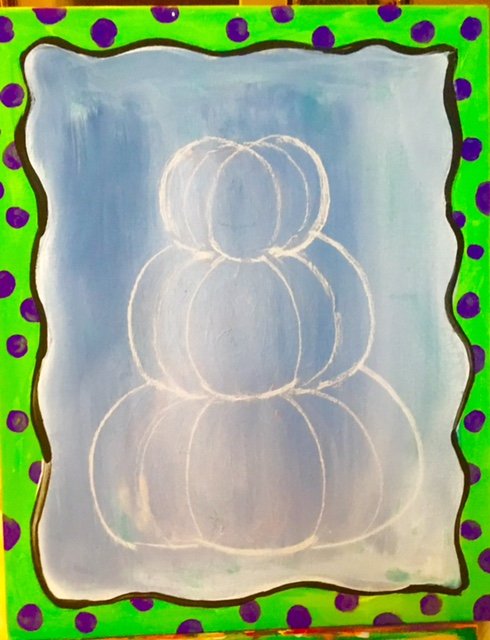
The following images were adjusted so you can see the chalk drawing.
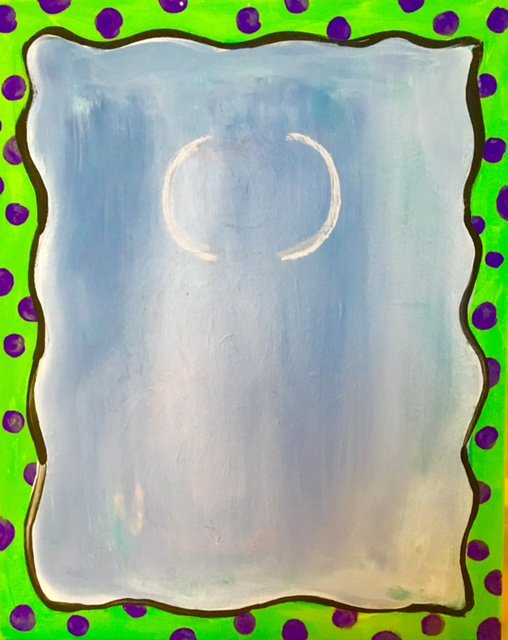 Now you will sketch out your topiary with chalk. White chalk is great for drawing on acrylic paintings because if you mess up it will erase very easily. Start off by drawing two “C” lines at the top of your canvas. It is about the size of a fist.
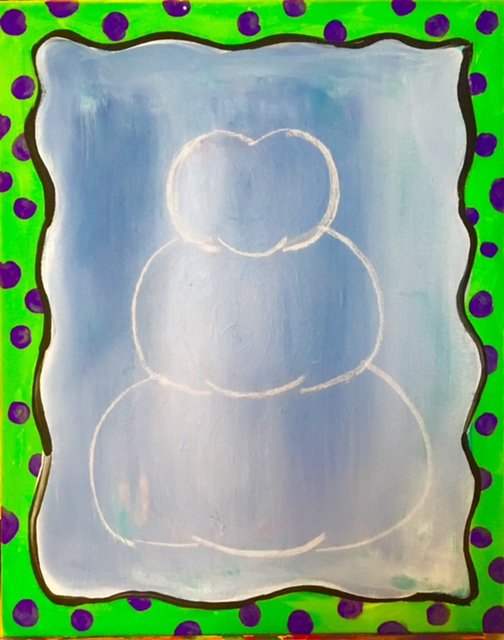
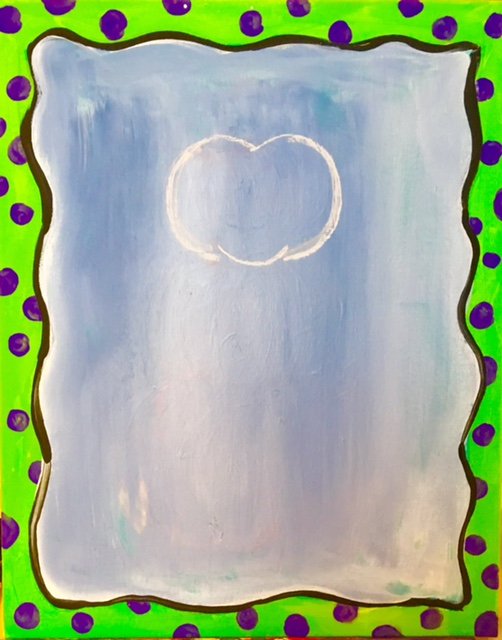 Next draw a bump on the bottom and connect the top to make it look kind of like a heart shape. Erase and redo the chalk lines as much as you need to! I had to erase several times to get it right.
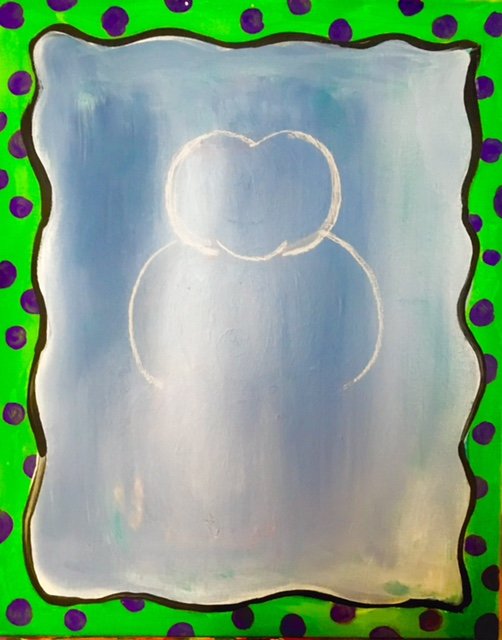 Repeat the next pumpkin only with bigger “c” lines.
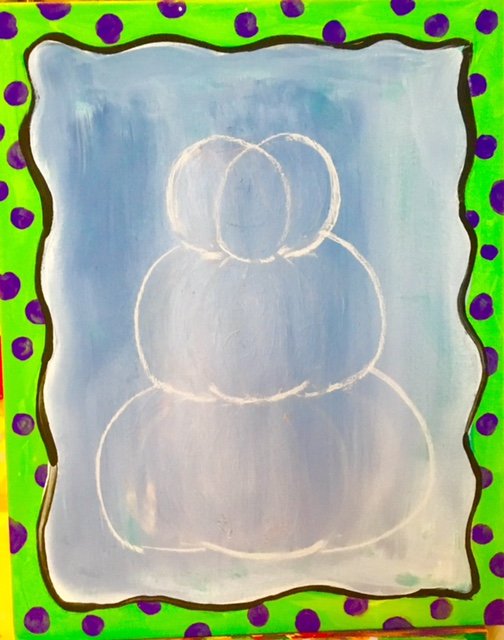
 Add the bump on the bottom. Think “happy face” line.
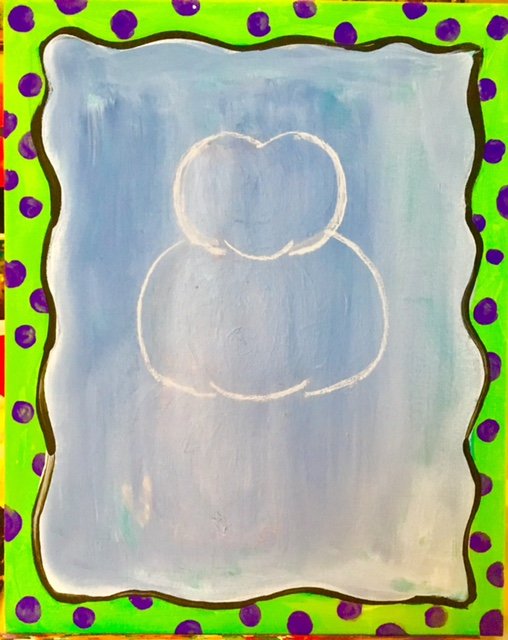
 Draw the largest pumpkin. I made this one look flatter by making the bottom of my “C” line flat.
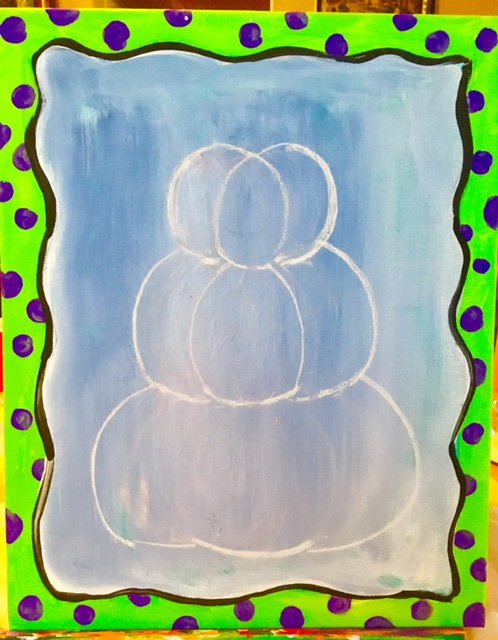
 Add in that bottom bump “happy face” line.
 On the top pumpkin, draw in an oval/tear drop looking shape by using that “happy face” bump as the bottom of the oval. In other words, all those “bump” lines are going to be the bottom of an oval.
 Draw two more curved lines from the “happy face” line to the top of the middle pumpkin.
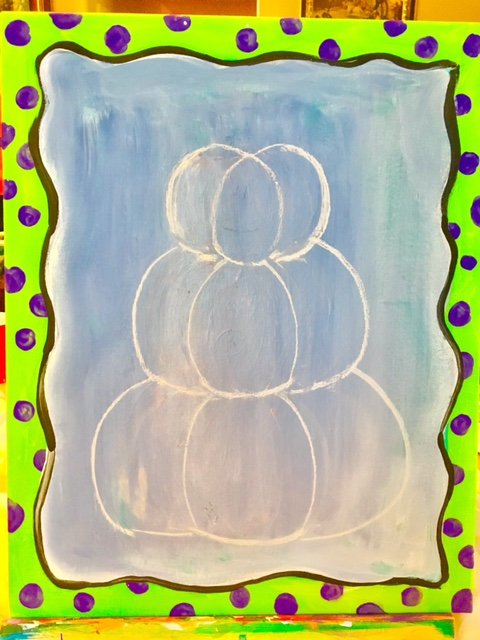 Draw in the bottom curved lines.
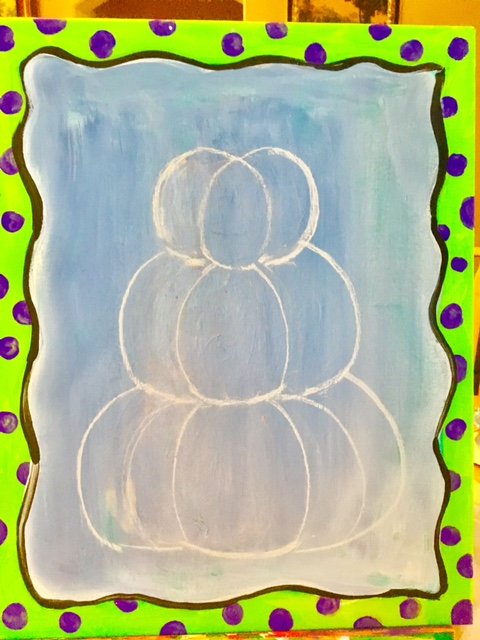 Next add more “C” lines on your pumpkin. Start at the bottom.
 Then add “C” lines to the middle pumpkin.
 Then add “C” lines to the top of the pumpkin.
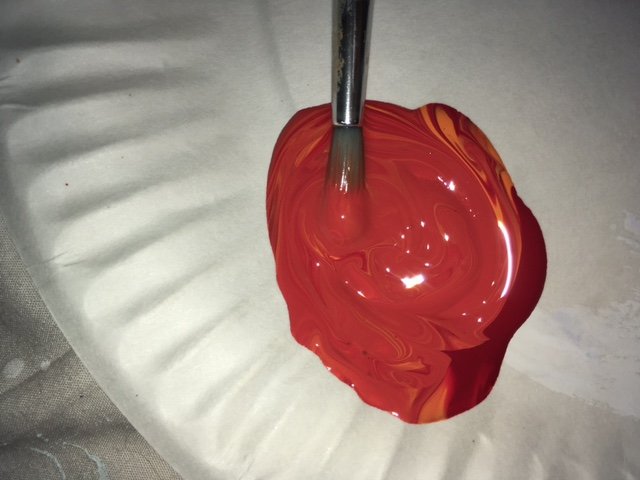
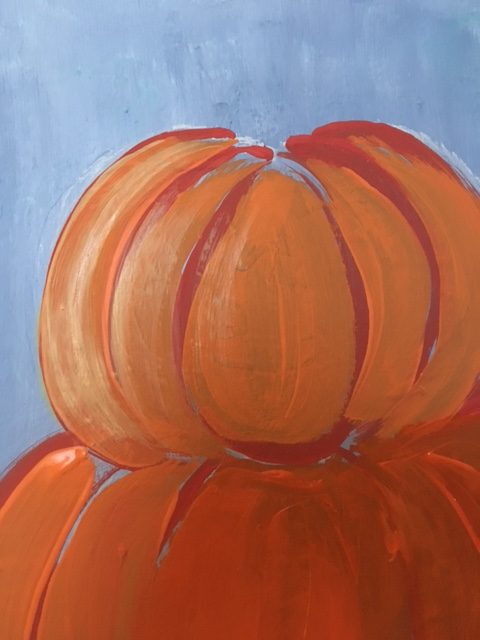
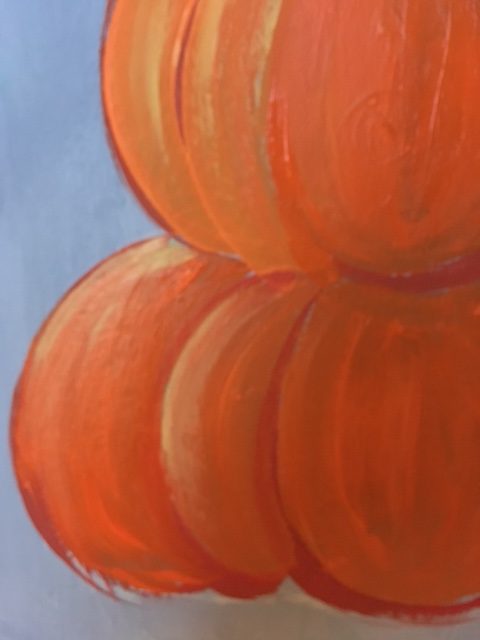
 Next you are going to mix ORANGE and RED together on your palette. With a SMALL ROUND brush, paint over all your white chalk lines.
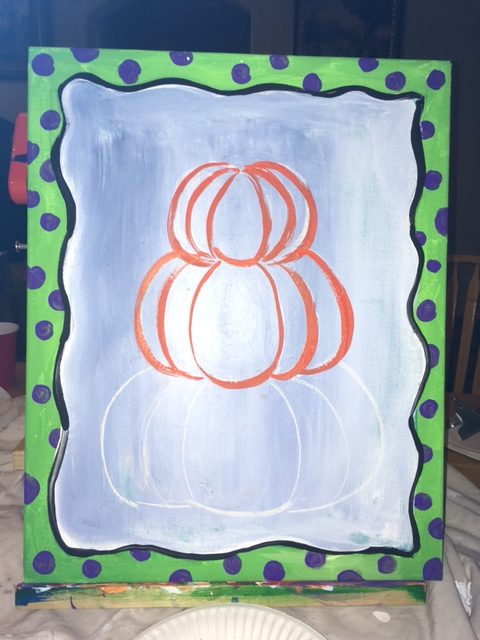
 I painted over all my chalk lines.
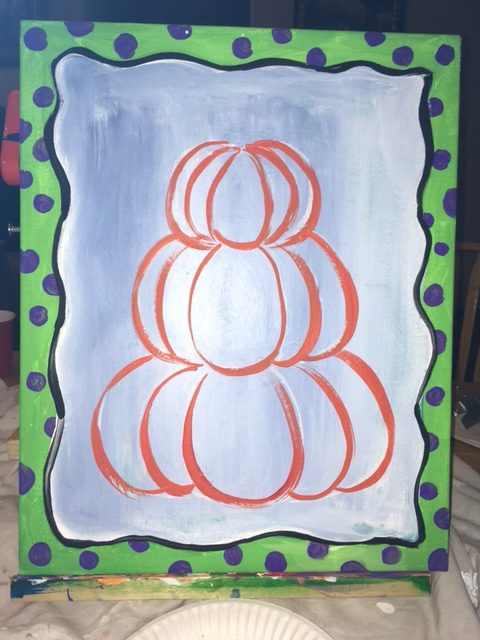
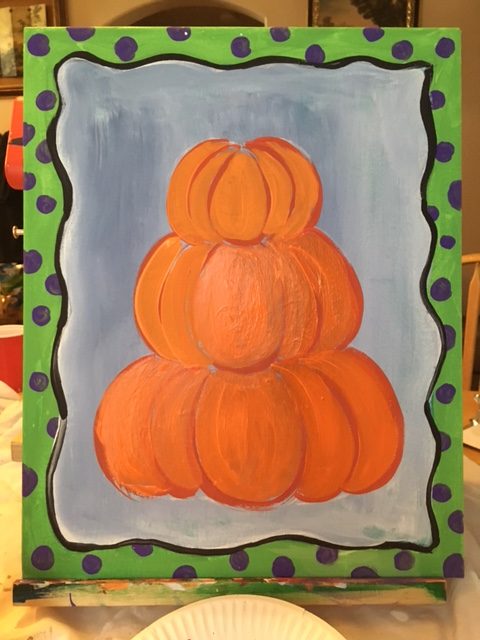
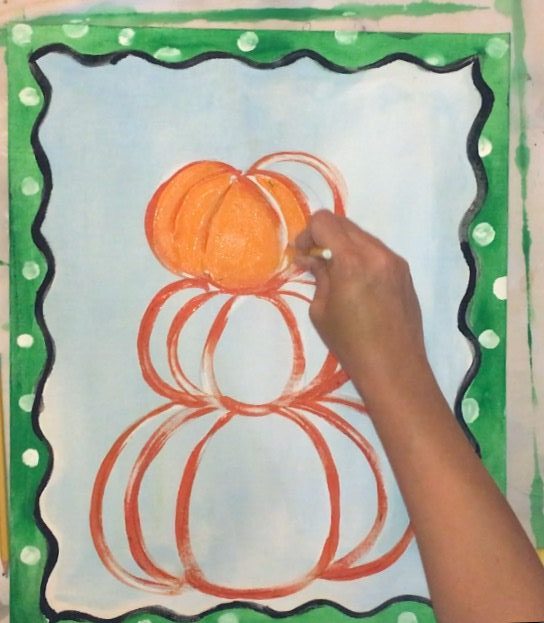 Now get orange paint and 1/4″ FLAT BRUSH. You are going to paint in thick orange lines making sure your stroke is in a “C” shape that goes in the same direction of all the red lines.
 When you paint the oval, your stroke will go in an oval shape.
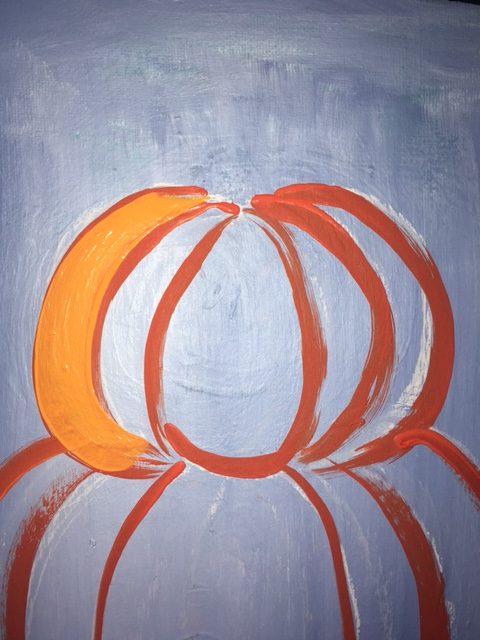
 When you paint your strokes, you will pick up some red from the lines. THAT IS OKAY! It will make your orange have a little variety in color.
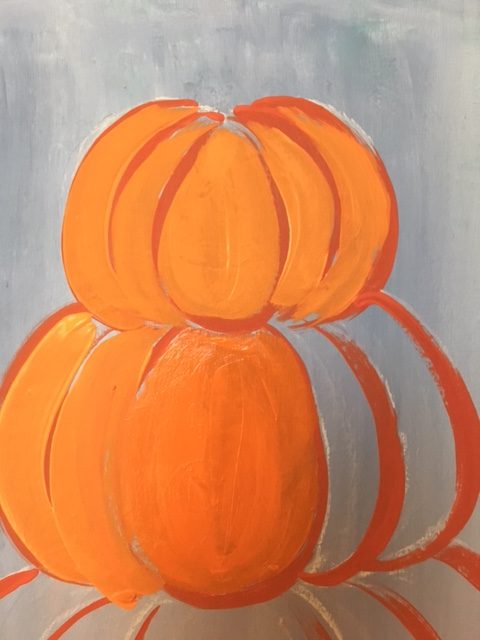 Keep painting in the same direction as all your red lines.
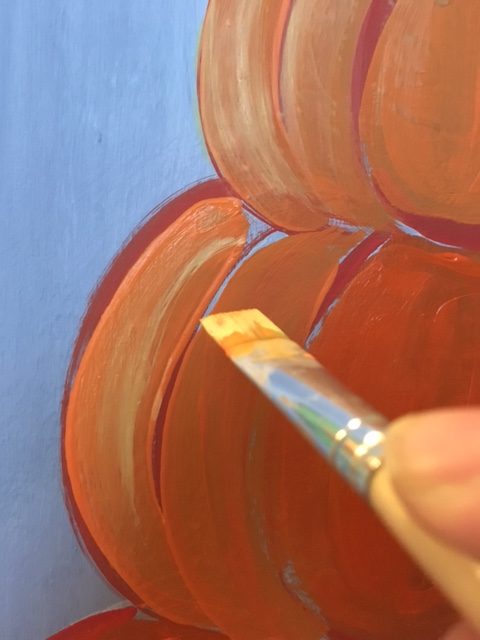 Next you are going to pick up some yellow paint on your brush. Lightly brush on yellow for some highlights. Go in the same direction as your orange strokes.
 .
.
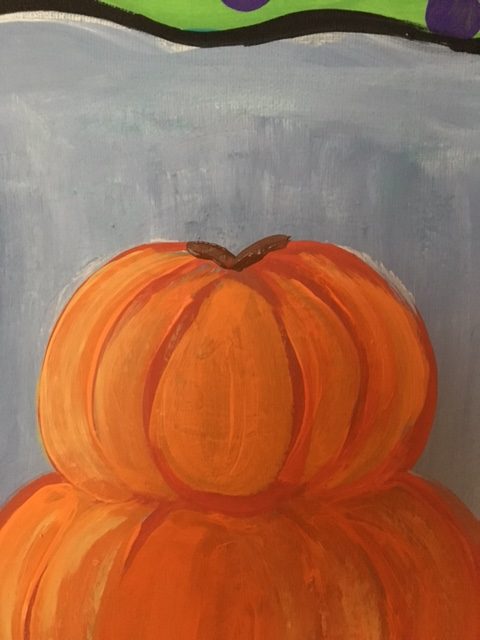 With brown paint and your small round brush, paint a little letter V line.
 With your chalk, trace out the stem until you are satisfied with how it is going to look.
 Paint in the stem solid brown.
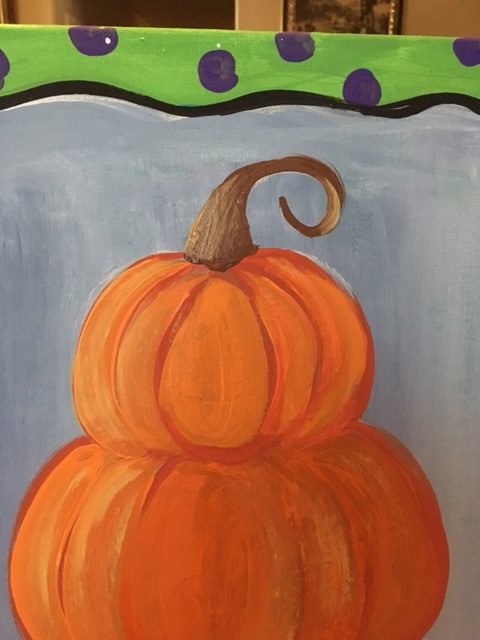 Load your brush with yellow. Add some highlight to the stem.
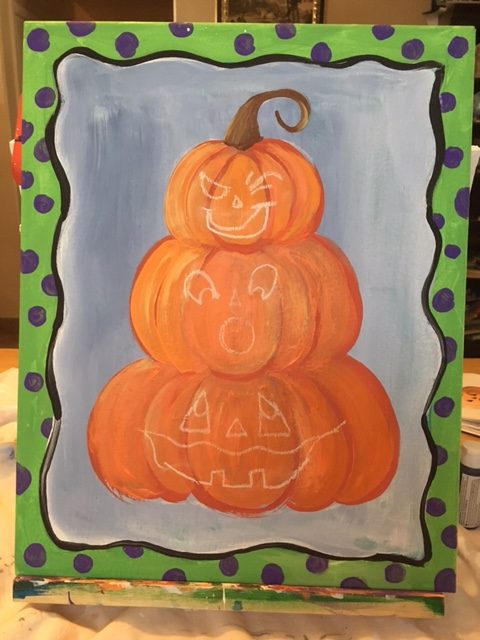
Now, with your chalk, draw in the Jack O’ Lantern faces. You can copy my faces, come up with your own or look up some Jack O’ Lantern images online to get ideas.
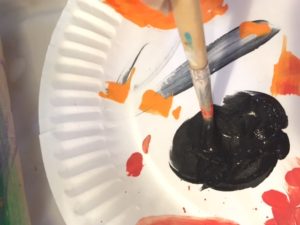 Make your “ink” consistence black again.
 With your small round brush, paint in your face expressions.
 Wait for the black to dry completely. Then load your clean round brush with yellow. On the right side of all the lines of your facial expressions, paint in a thin yellow line. This will make the faces look a little 3D.
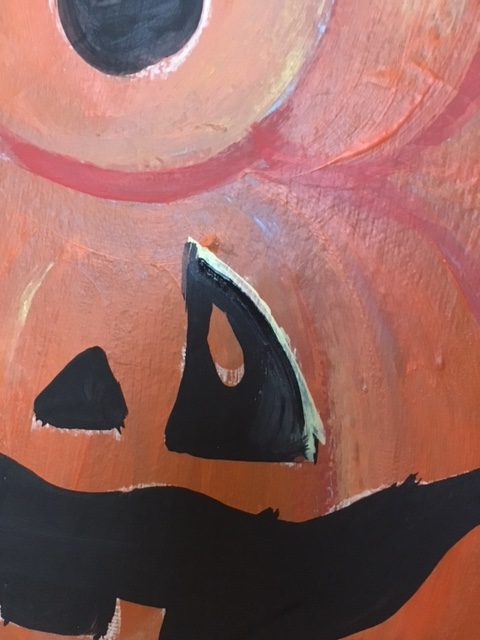 Here is a closeup. I painted yellow only on the right side of all the shapes and lines. This line of the eye only has yellow on the right and not on the left. Do this for all of your face shapes.


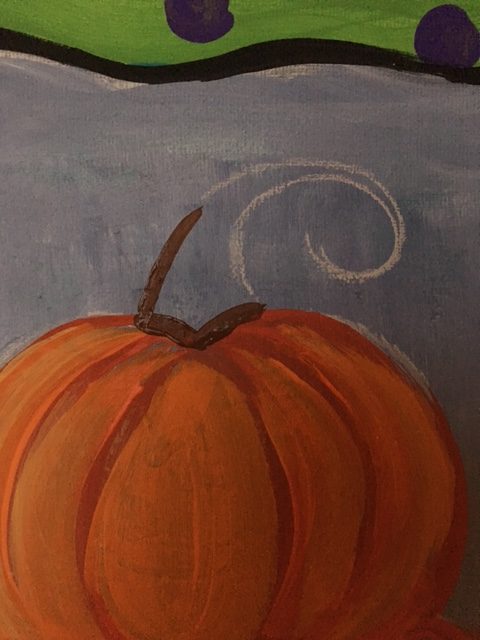
I felt it needed something else so I painted pumpkin vines. To do this, I drew it out with chalk first. Then I painted the vine & leaves with solid green paint and a small round brush. Then I added some highlights with yellow & white paint.