
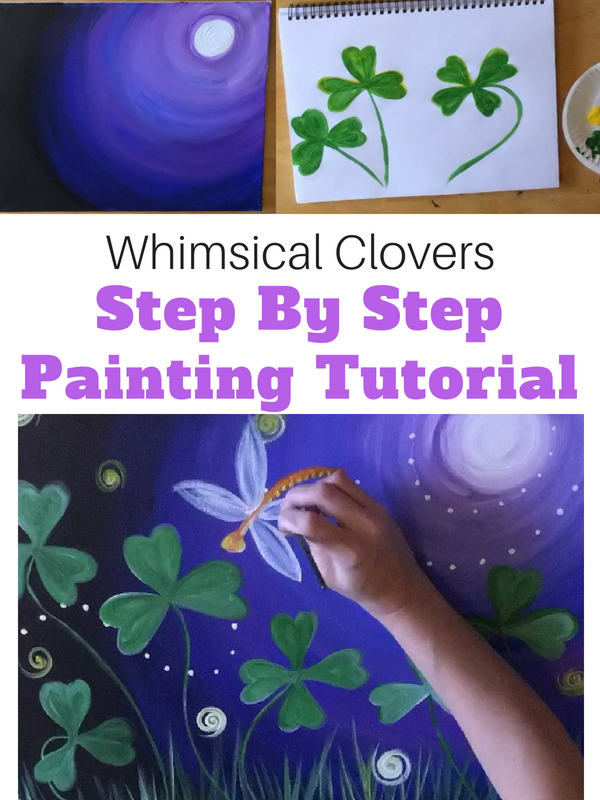
How To Paint Whimsical Clovers

Would you like to save this?
Description:
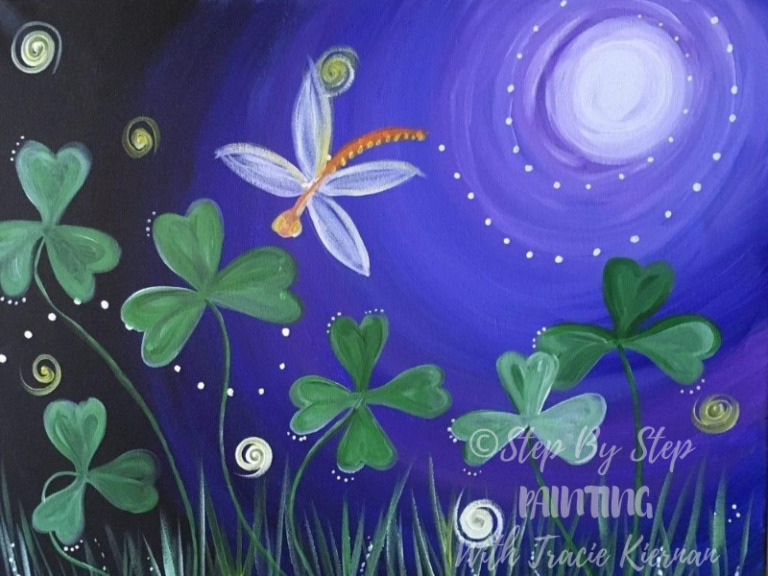
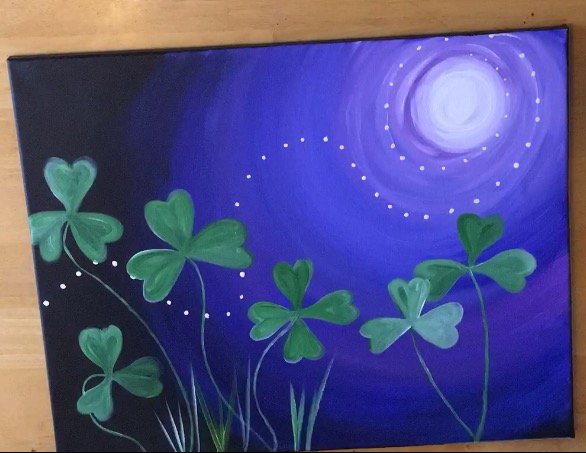
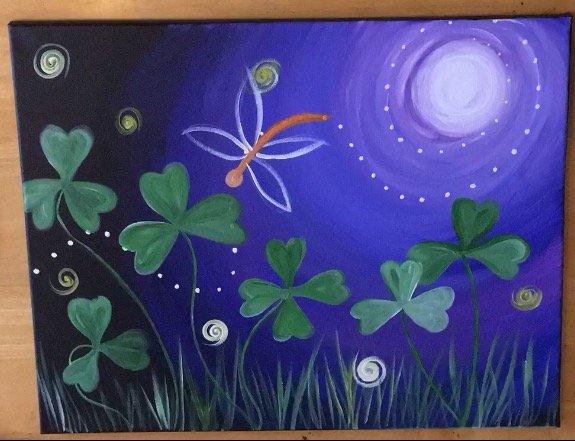
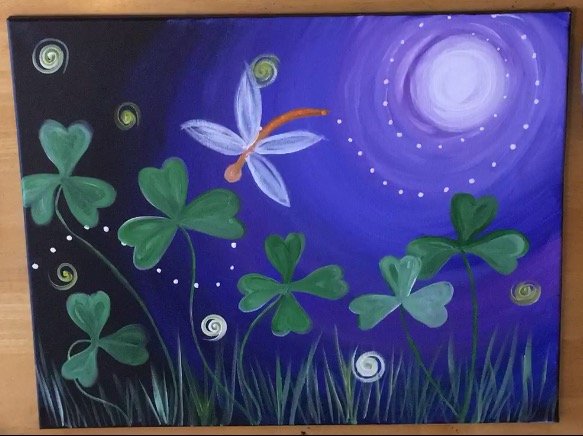
You will learn how to paint a whimsical night scene with dancing clovers, a swirly and sparkly moonlit sky, some fireflies (or fairy lights) and a dragonfly!
I love paintings that are from a different point of view! This one in particular was fun to paint because of all the little “sparkle” white dot details that make it look so whimsical.
And there’s Clovers (Or Shamrocks) for the season! Actually I did a little google search and realized that, yes, there is a difference between shamrocks and four leaf clovers. I guess technically there are no four leaf shamrocks so these would be clovers. But it’s your painting, your rules!
The sky in this painting is almost identical to the sky in my Cherry Blossom Moon painting. I decided to go from dark to light this time instead of light to dark. You can most certainly try the painting from light to dark if that’s where your comfort zone is!
Enjoy and Happy Painting Artists!
Materials:
- 16″ x 20″ Canvas or whatever size you prefer!
- Acrylic Paint (This time I used Liquitex Basics! I say this in all my materials, but use whatever paint you have! Craft paint is fine!)
- Cadmium Orange (Bright Orange “Jack O Lantern”)
- Cadmium Yellow (Bright Yellow)
- Light Green Permanent (Shamrock Green)
- Brilliant Purple (Lavender or Purple Iris, I actually used the Apple Barrel Purple Iris because I did not have “Brilliant Purple”)
- Ultramarine Blue (“Too Blue” in Apple Barrel Brand would work)
- Mars Black
- Titanium White
- Brushes
- 1″ Flat
- 1/4″ Flat
- Tiny Round
- Small Round
- Chalk (For Drawing Dragonfly)
Directions At A Glance:
Video:
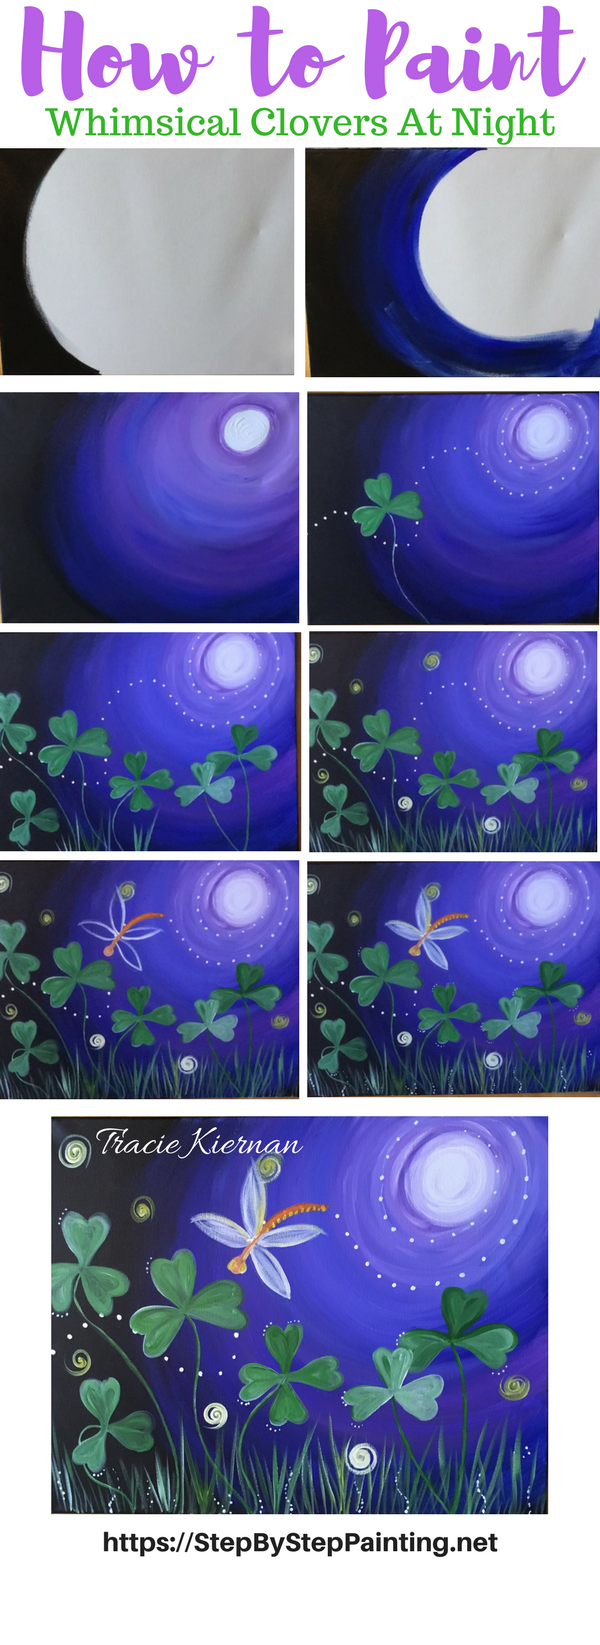
Step By Step Picture Directions:
1. Start With Mars Black For The Sky
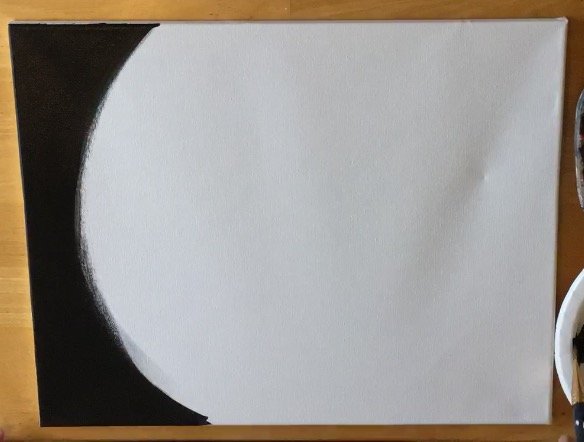 The color and sky set up for this painting is very similar to my Cherry Blossom Painting. Except that instead of light to dark, I decided to go from dark to light. The first thing I did was use a 1″ flat brush to paint the left side of the canvas mars black. Note how the color starts to curve into a circle.
2. Add Ultramarine Blue
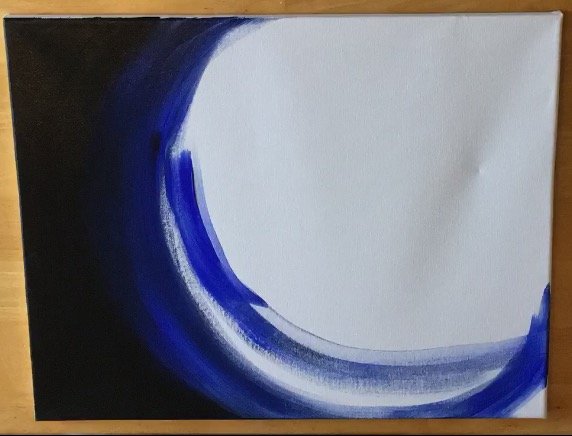 The width of that black is about 3 fingers thick on the far left. Then, without rinsing my brush, I added Ultramarine Blue. I just love this shade of blue and it blends so nicely with the black! Keep adding Ultramarine blue to your painting and start forming that circle!
 Notice the transition from black to blue! Try to work fast! Acrylic paint dries fast so if you really want the colors to blend, you have to get them to blend while they’re still wet! Another tip is to move in BIG strokes. My whole arm is moving to make these strokes (not just my wrist).
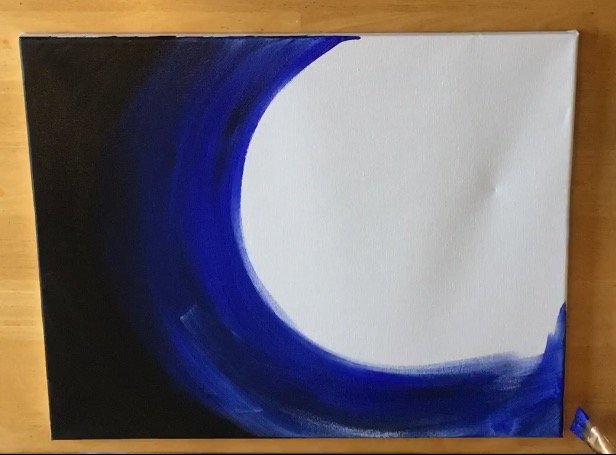
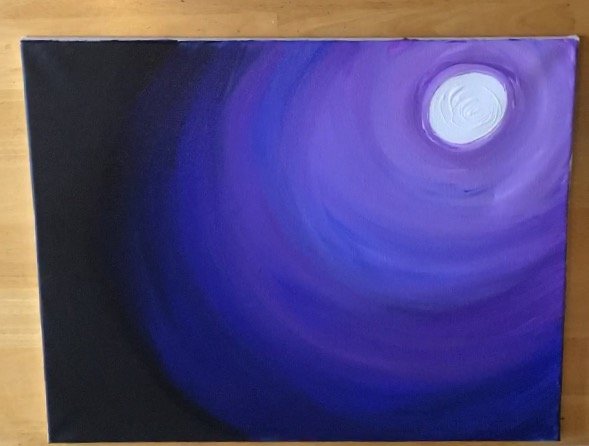
3. Add “Purple Iris”
 Now here is where I switched brands. I’m using Apple Barrel Craft paint in “Purple Iris” to transition from blue to purple (shhh don’t tell anyone I’m breaking rules here but sometimes you have to use what you have on hand!). It’s kind of a lavender shade. If you don’t have it, try pre-mixing your violet with white first. Any how, I did not rinse my brush again. I added the purple and continued to blend the next circle.
 Now I have a fairly large circle left! If yours isn’t this exact size or isn’t even a circle, no worries! This moon is going to be a lot smaller and we will define it in the next step.
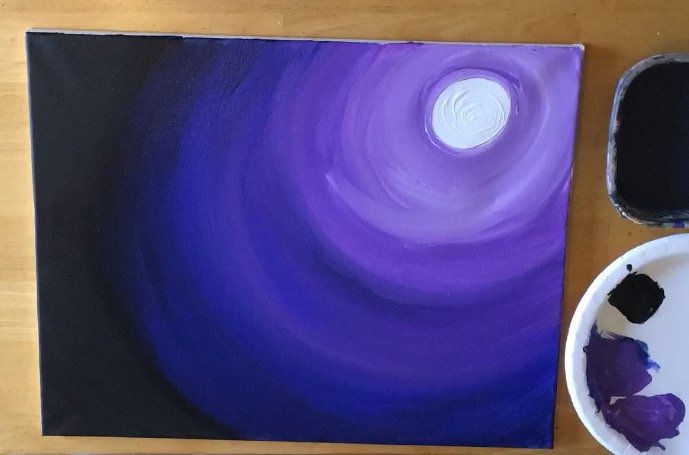
4. Paint The Moon Titanium White
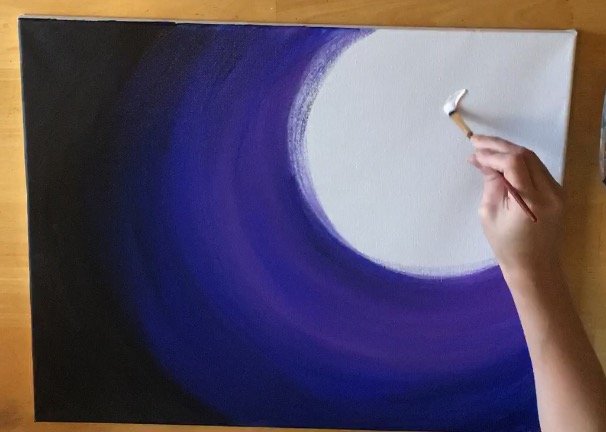 I then switched to a 1/4″ flat brush and painted a small circle with pure titanium white.
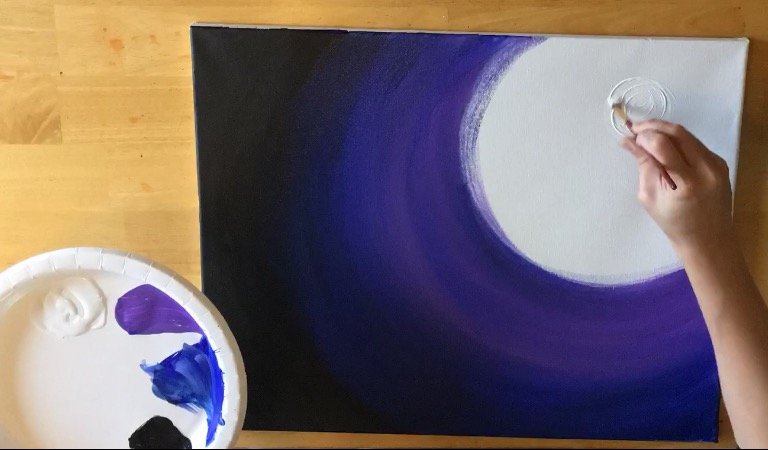 This size of this circle is about 2″ in diameter. Definitely does not have to be exact! Defining this circle will help shape the rest of the sky!
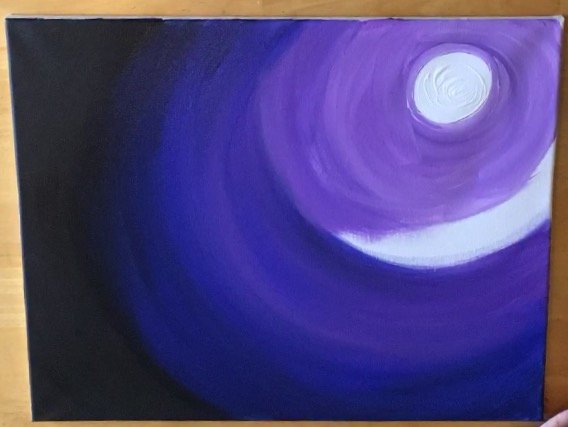
5. Paint A Purple Ring Around The Moon
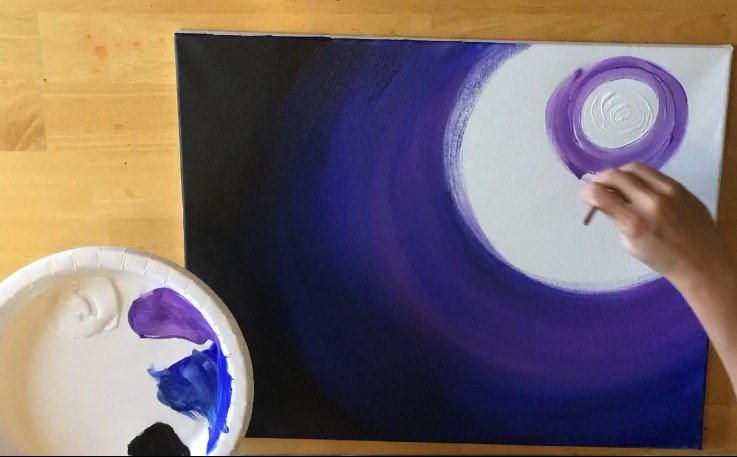 Then I got my lovely “Purple Iris” and painted a ring around the moon. I did not rinse the brush, I wanted that white to mix with it any way!
 The moon has a nice purple ring around it. Now we just need to fill in the rest of the space and somehow blend those colors together!
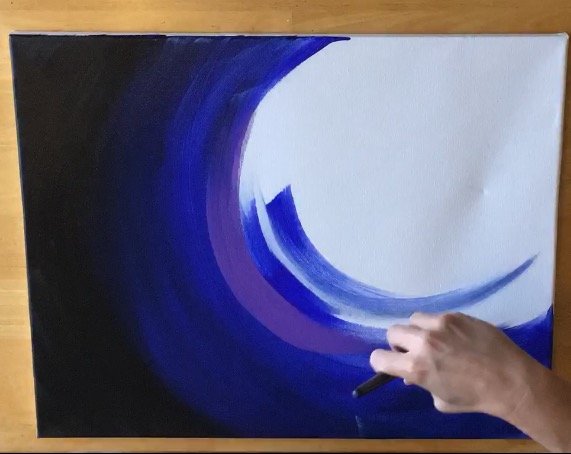
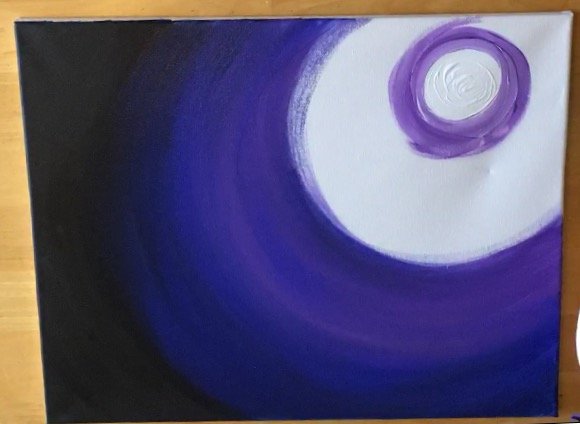
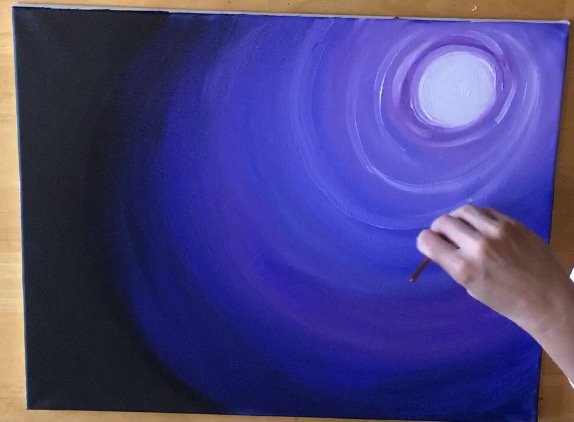
6. Paint The Rest Purple & Blend Into The Blue
 To do that, I got my 1″ flat brush back and painted the rest with purple. I double dipped my brush in purple AND white.
 Keep painting that purple-white until you hit the blue-purple area. When you hit that area, add more blue to your brush to help mesh the colors together.
 Here is the order of colors from the moon out:
- Solid White (the moon, the brightest part)
- Purple &White
- Purple & Blue
- Blue with a little Purple
- Solid Blue
- Blue & black
- Solid Black
It’s important to note that this order is not restrictive! I did this painting four times and each time I got different results! If yours ends up looking different, don’t fret! You may have a different blending style or your paint is a different shade of blue. Or the temperature in your room was different at the time so the paint didn’t mix as well on the canvas (yes that happens in my experience)!
 Smooth out any visible strokes while they are still wet! To do that, just lightly go over the paint with your flat rush.
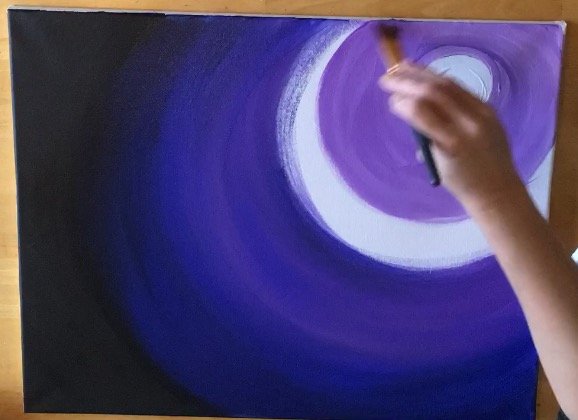
7. Paint Some White Moon Beams
 Next I painted some titanium white “moon rings”. This was done lightly in a dry brush style. It’s best to do this while the paint is still wet so the white will blend in with the color some more. If your painting is dry when you do this step, don’t worry! Just apply that white lightly.
8. Paint Tiny White Dots Swirling Out
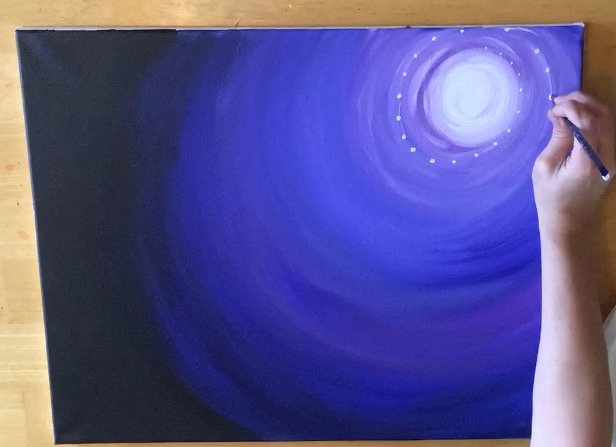 This is a “magical” step! Use a very tiny brush. The tiniest brush you have! This was a size 3/0. Paint little white dots going in a circle around the moon and then spiraling out!
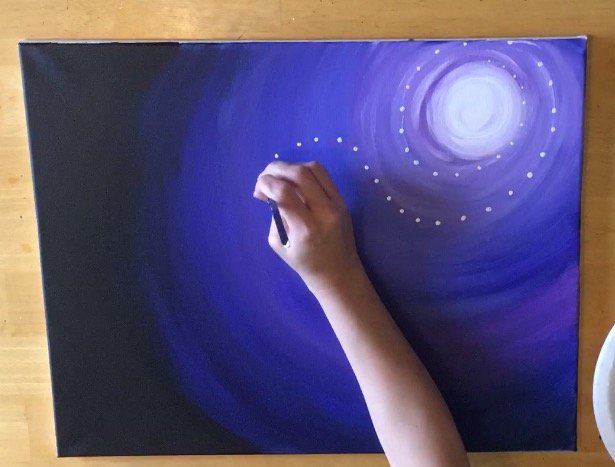 If you aren’t confident about what direction your dots are going, you can always draw with chalk first, paint dots on the chalk line and erase the chalk later.
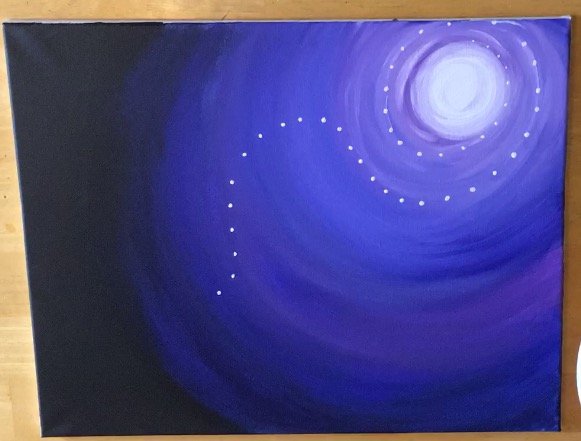 Keep painting those dots…
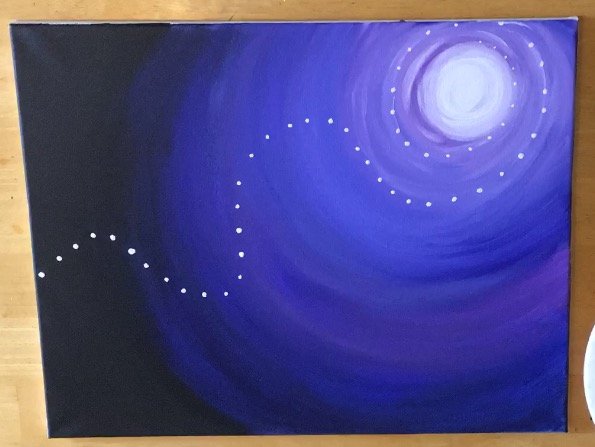 The goal was to get them in the bottom left and exit out. I probably could have made them go down a bit further…
8. Paint Clovers
Admittingly, I had trouble painting the clovers! I don’t know why. I mean, I painted them all the time and cut out a million paper ones when I was an elementary school art teacher. Any how, I practiced painting these on several pieces of plain white paper before putting them on my canvas. Doing so, I discovered an easier way to break up the steps! I HIGHLY recommend you practice on paper first too!
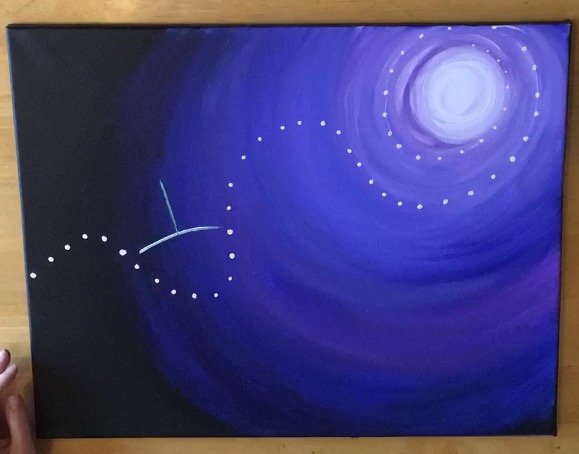 Use a 1/4″ flat brush (or round brush if you prefer). Double dip in green and white. Paint a perpendicular line set up like you see above. The exact shade I’m using is “Light Green Permanent”. Any green will work. In fact, the Apple Barrel “Shamrock Green” might be a perfect color for this.
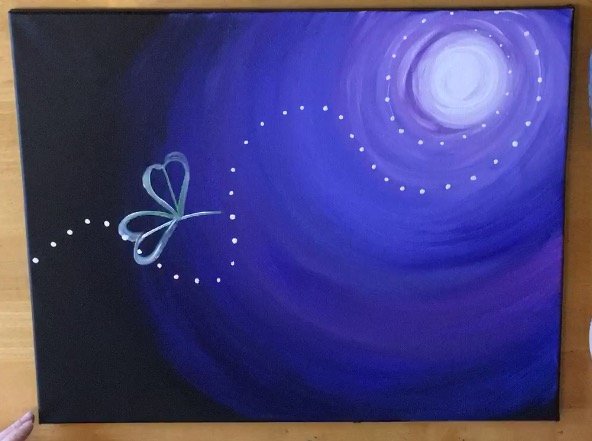 Use the center lines to form three hearts.
 That variation in color is due to the fact that I am “double dipping” my brush in green and white. If you used just green, it might be too dark to appear on the canvas. That white will help!
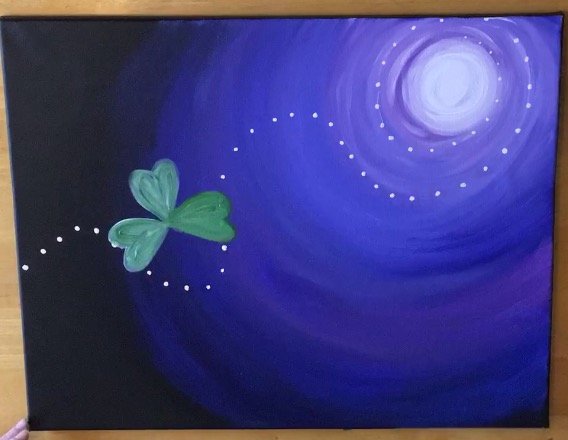 Paint in all your “hearts”. If your color is too white or too green, you can always adjust and paint over!
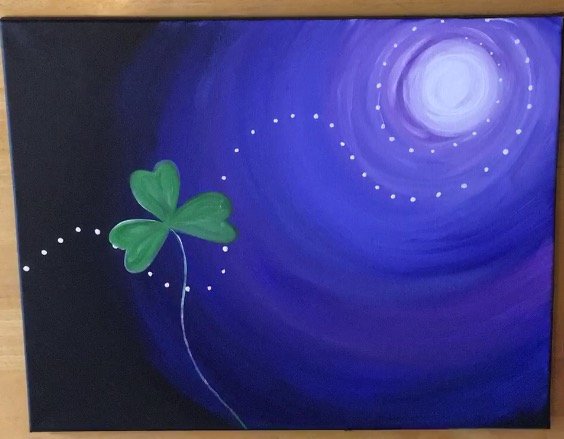 For the stem, I used my tiny brush double dipped in white and green.
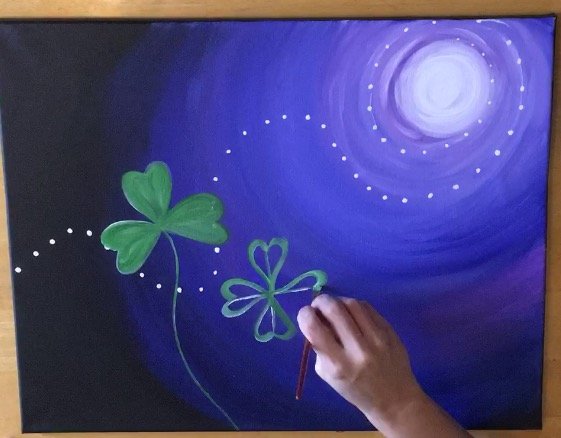 To paint a four leaf clover, paint a plus (+). Then paint your four hearts.
 Continue painting as many clovers as you’d like! A tip for overlapping the clovers is to vary the amount of white or green in the color. The second clover from the white has more white and appears to “pop” against the far right clover that has more green than white.
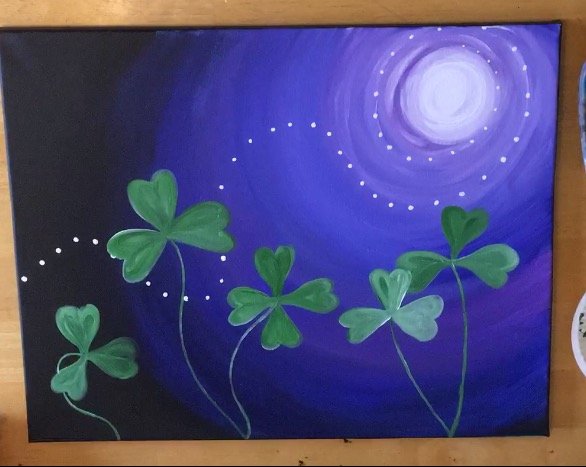 I probably could have done more with the angle of each clover and make some going different directions. The far left one is an example of what I mean.
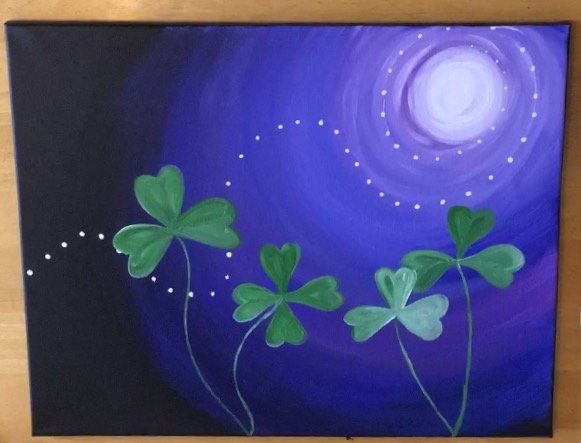
 Try to vary the heights of each clover to add to the interest in this painting!
9. Paint The Grass
 I like to use a nice small angle brush to paint grass. If you don’t have an angle brush, a small flat or even a small round will work too.
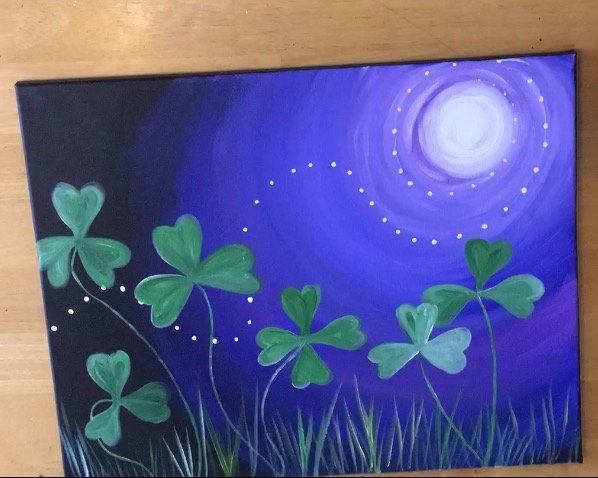 Double load the brush in green and white (like we did with the clovers). Paint each line from the bottom up. The top of the grass will come to a point because you are easing up on the pressure of the brush as you go up. Again, not much detail hear, I’ll add some more graphics about this soon!
10. Paint Some Yellow “Lights” (fireflies or are they fairy lights?)
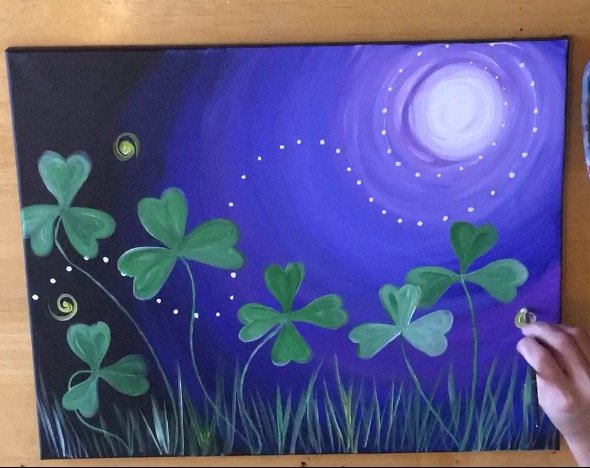 Use a small round brush dipped in yellow and white. Paint a circle and then slightly spiral it out!
 Paint a bunch of circles.
11. Draw A Firefly With Chalk
 I’m going to add a better close up to this section so bare with me here. My chalk lines are a little light. But I recommend drawing the firefly with chalk first!
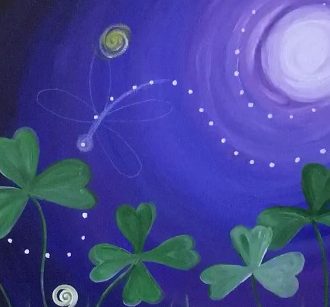
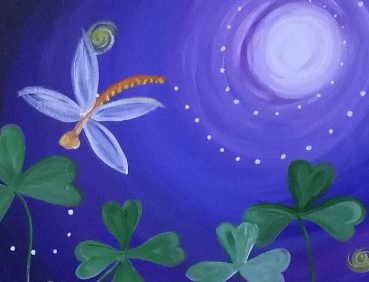
13. Paint The Dragonfly In
 I used a tiny brush for this. Double dip in cadmium orange and titanium white. Paint the head and abdomen/body.
 Once you have that initial white layer, you can add more orange to give it more color.
 Then I outlined the wings with white.
 I probably could have made them more translucent. Paint the wings in “loosely” almost like a dry brush stroke.
 Paint little yellow dots on the left side of the dragonfly tail. Then paint the bug eyes. I could have probably gone into more detail with the dragonfly but I wanted to keep it simple!
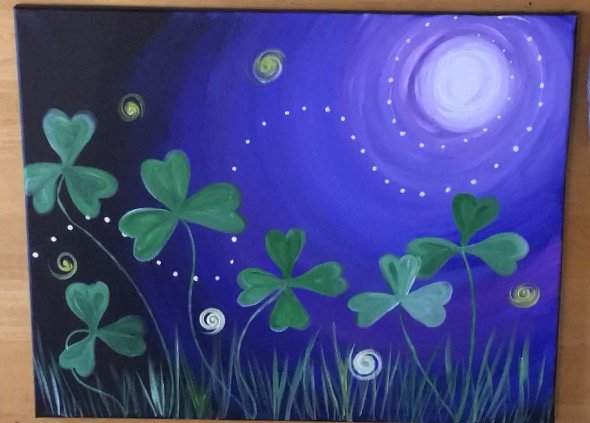
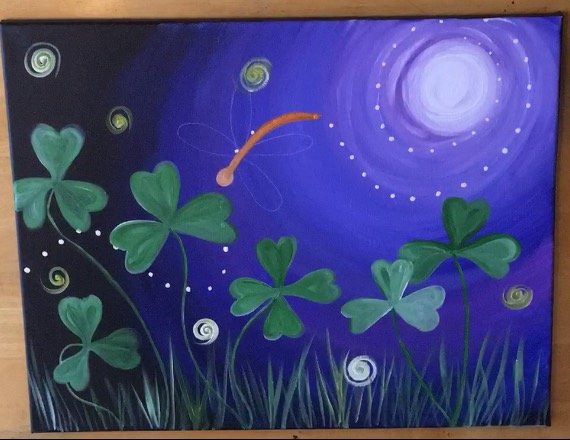
14. Some More Tiny Dots
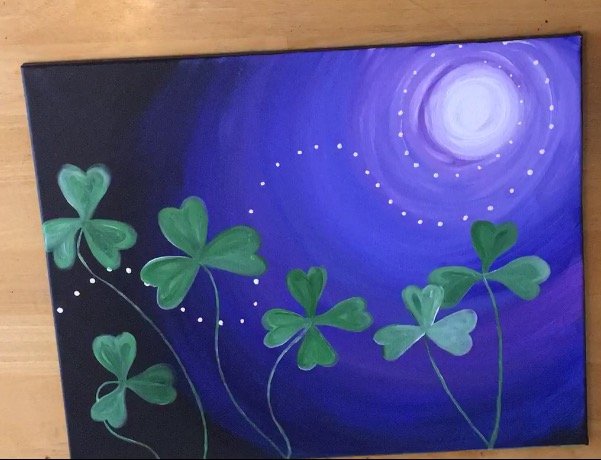
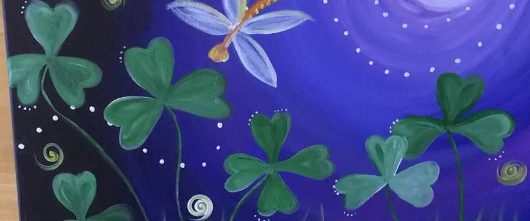 I’ll let your squint a little more or click on the above picture to zoom! But I painted tiny white dots around some of the leaves of the clovers.
 Also look on the bottom. I painted some more tiny dot lines swirling up! So much whimsical sparkle in this painting!
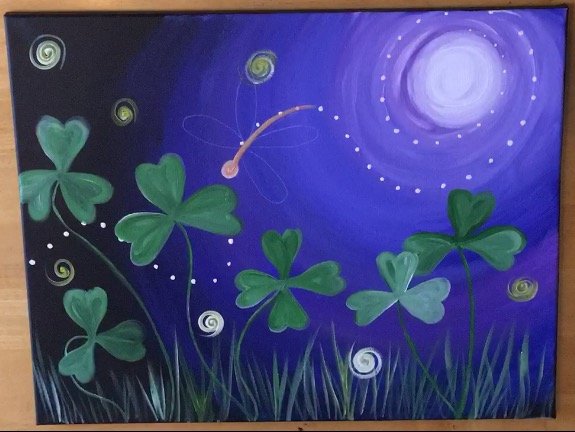
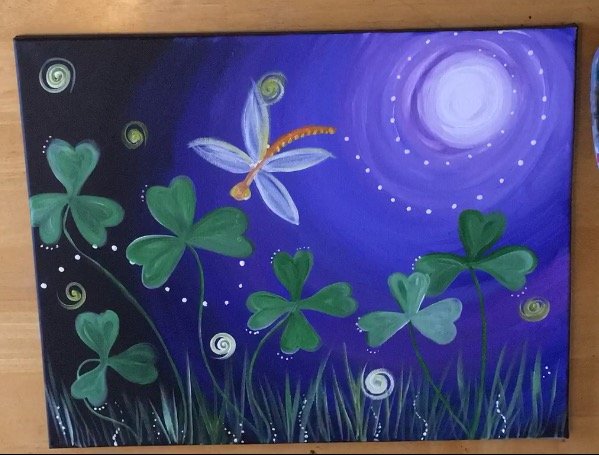
Finished!
Sign your painting and show it off!
Would you like to save this?