
How To Paint An Easter Bunny Silhouette
Would you like to save this?
Description
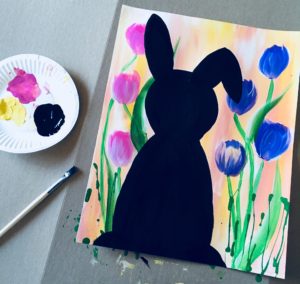
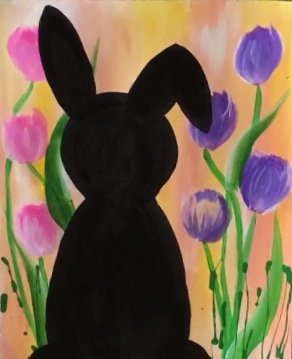
Learn how to paint a pink and yellow wash background, some tulips and a very easy rabbit silhouette!
This design was done on an 11″ x 14″ sheet of canvas paper with Plaid Apple Barrel Craft Paint.
This is an idea that I originally made on an 11″ x 14″ sheet of canvas paper and then re-did on the 16″ x 20″ canvas.
I wasn’t pleased with how it looked on the larger canvas. I think the proportions were different and it just didn’t turn out how I anticipated. So…I scratched that idea and kept the original proportions on the 11″ x 14″ canvas.
I also used a unique utensil to make the splatter paint grass. It’s a squeeze bottle that I picked up at Hobby Lobby. I’ll link it in the materials section for you!
These squeeze bottles are fun to write with and add fun drip paint effects. I watered down some green paint and put in in the empty bottle.
If you’re not feeling adventurous, you can totally skip that step!

You also have the option to do some lettering on the silhouette. I used a white paint pen for this step! My first version of the painting has no lettering on it and I think it looks fine that way as well.
Thanks for viewing and Happy Painting Artists!
Materials:
- 11″ x 14″ Canvas or Canvas Paper
- Acrylic Paint (I used Plaid Apple Barrel Craft Paint.
- Paint colors:
- Bright Yellow
- Shamrock Green
- Purple Iris
- Titanium White
- Mars Black
- Fuchsia
- Squeeze Bottle (Optional) I used these from Hobby Lobby
- White Paint Pen (Optional)
- Paint Brushes
- 1″ Flat
- 3/4″ Flat
- 1/4″ Flat
- White graphite, charcoal or chalk (for transferring rabbit. You can also use graphite paper!)
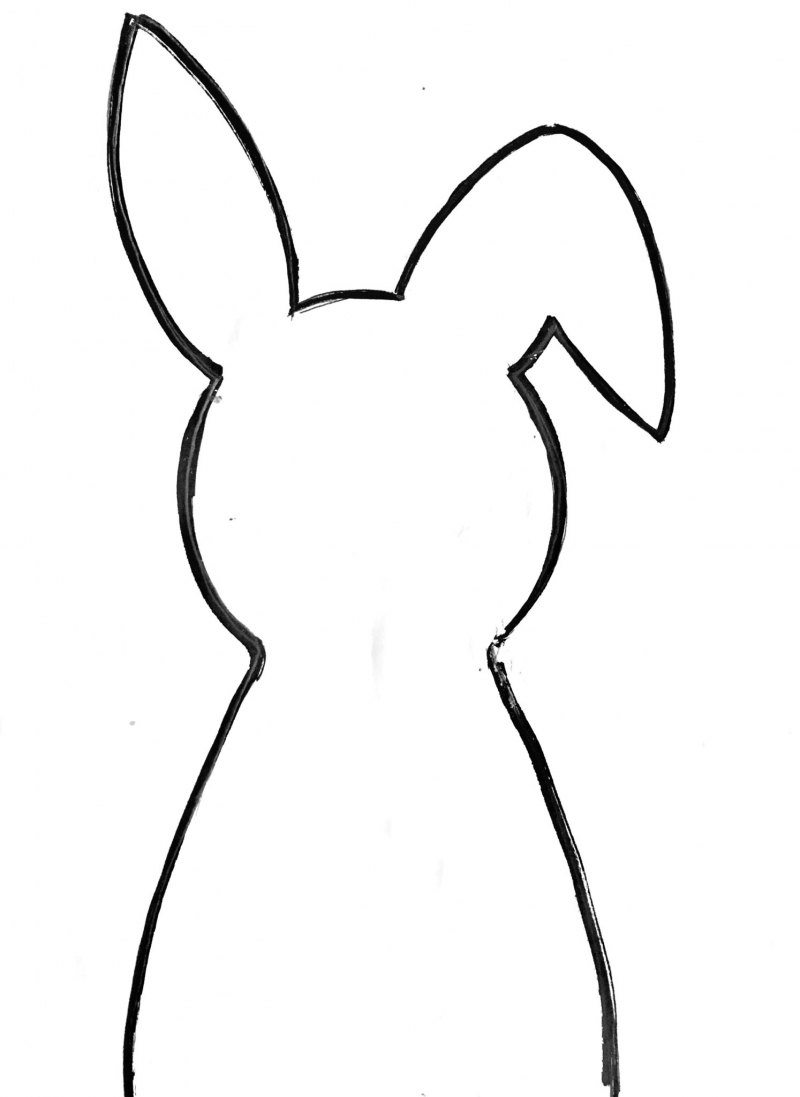
- Traceable (See below. Also optional because the bunny is easy to draw too!)
Directions At A Glance: 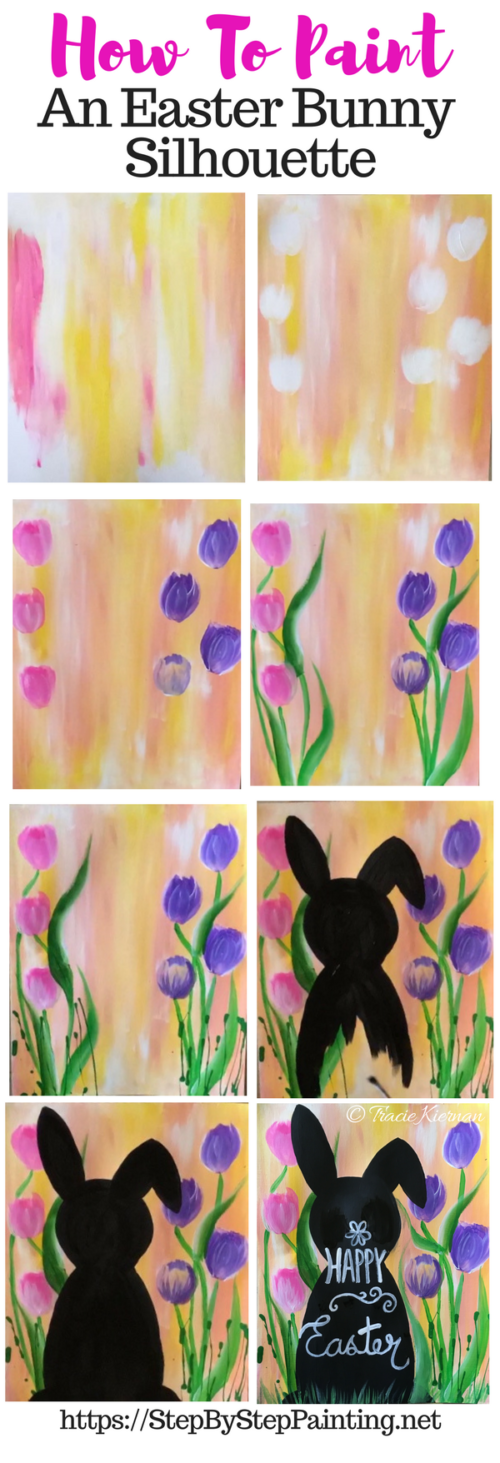

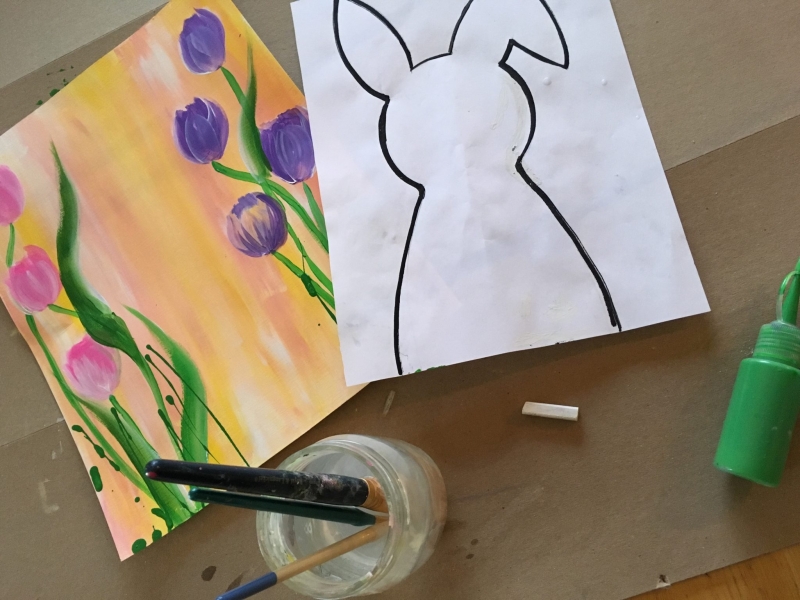
Traceable:
Video:
Step By Step Pictures:
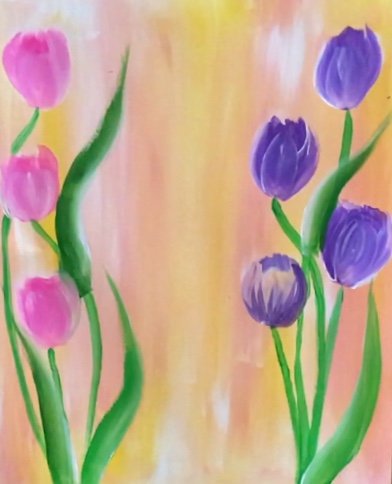
1. Paint the background
Paint a “wash” background with Titanium White, Bright Yellow and Fuchsia.
This background technique is just like the background in the Dandelion Hearts tutorial!
Basically, I used a 1″ flat brush to paint up and down strokes of all three of those colors.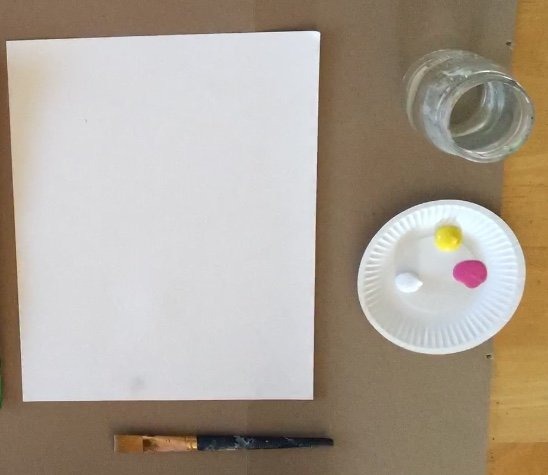
Use more white than any of the colors so that the pink and yellow turn into a pastel tint. Allow the colors to blend on the canvas.
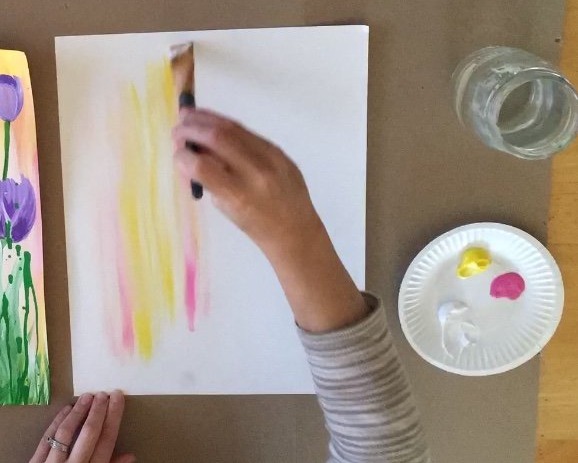
Triple Load the brush to get the colors to blend on the canvas. Apply more white than the other colors. This will make it look pastel and like “Easter colors”.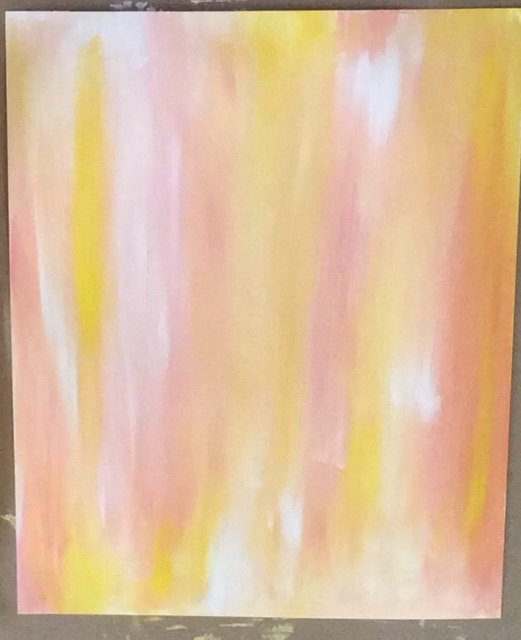
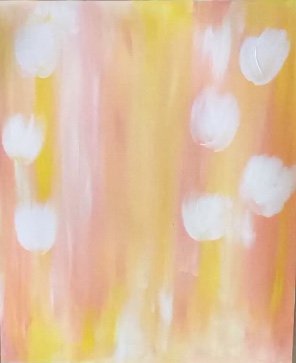
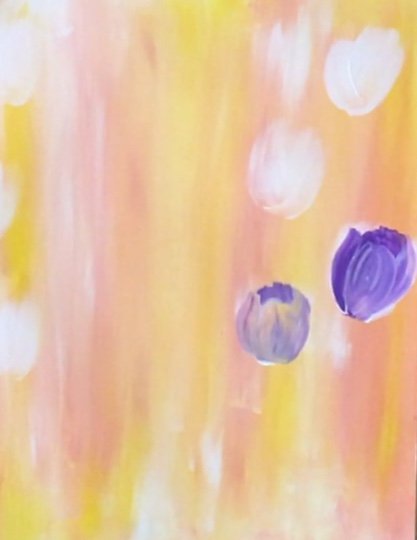
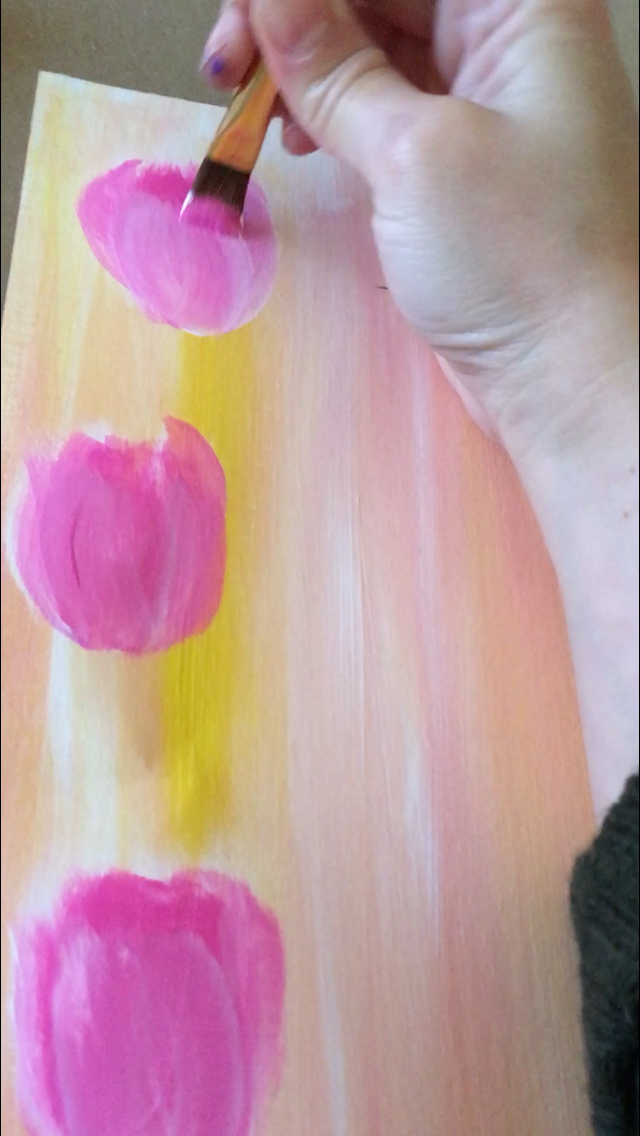
2. Paint White Areas For the Tulips
For this next step, it’s best to wait for the background to dry. You will need to use solid white paint to “block out” white areas for the tulips.
The shapes of these white areas are kind of an organic oval shape. Don’t stress about the shape too much yet!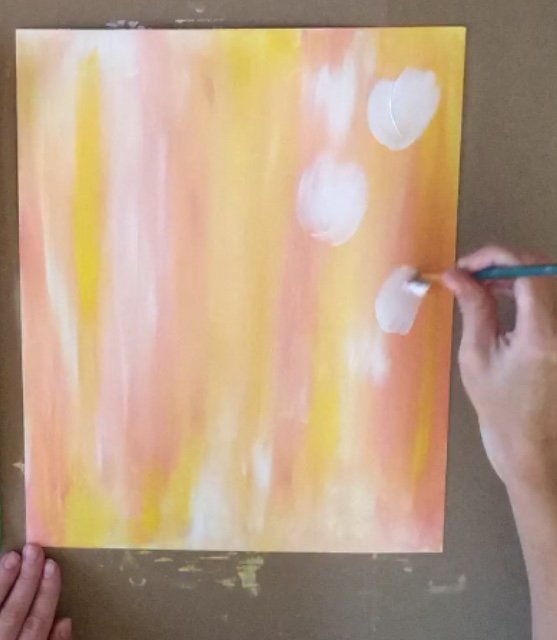
Use a 1/4″ flat brush to white out some areas for the tulip flowers.
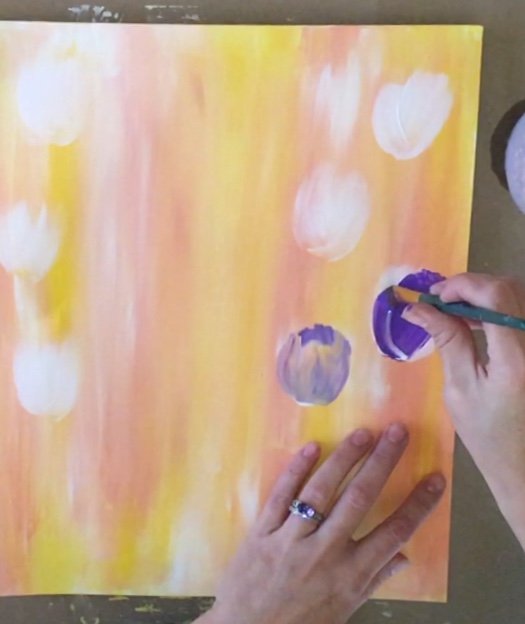
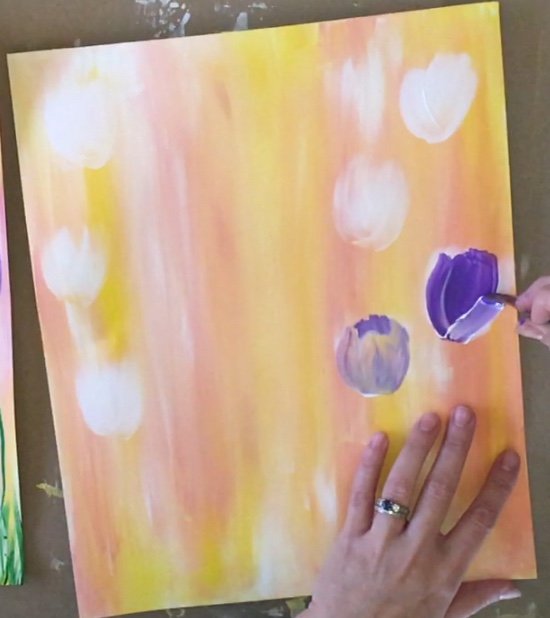
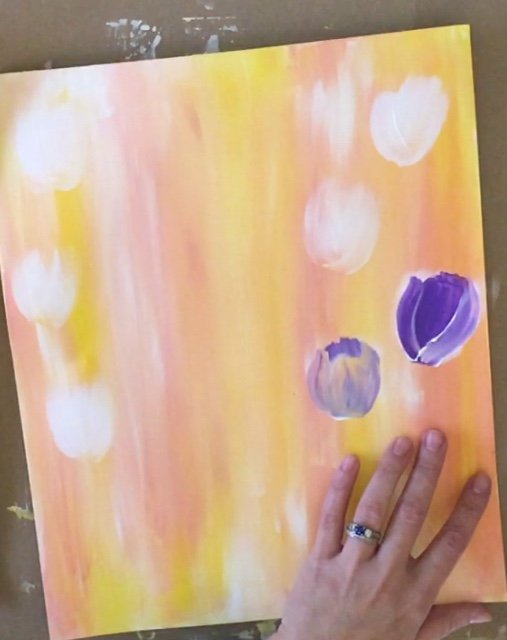
3. Paint The Purple Tulips
**Note: that tulip that looks like it has some yellow in it wasn’t completely dry when I painted it. So the underlying paint mixed with the purple. If you like that effect, you can paint your tulips without waiting for all the background to dry.
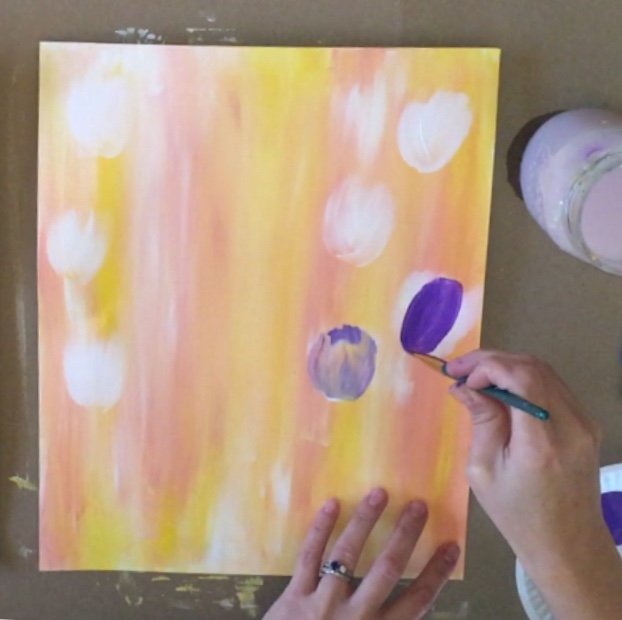
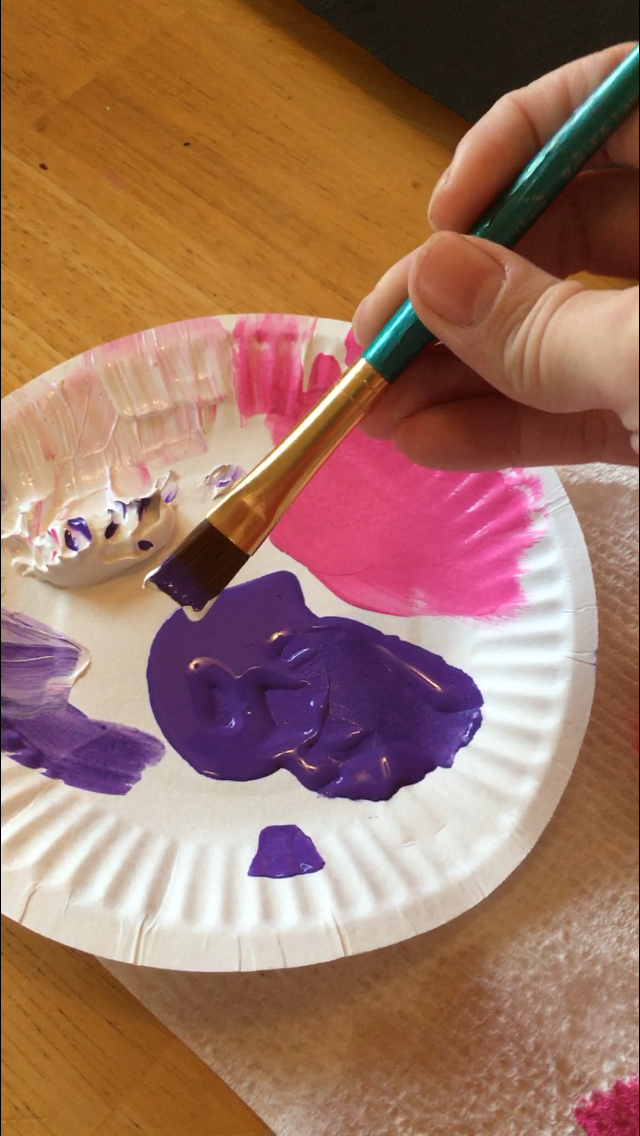
I used a 3/4″ flat brush dipped in purple. Paint in a center oval first.
4. Paint The Pink Tulips
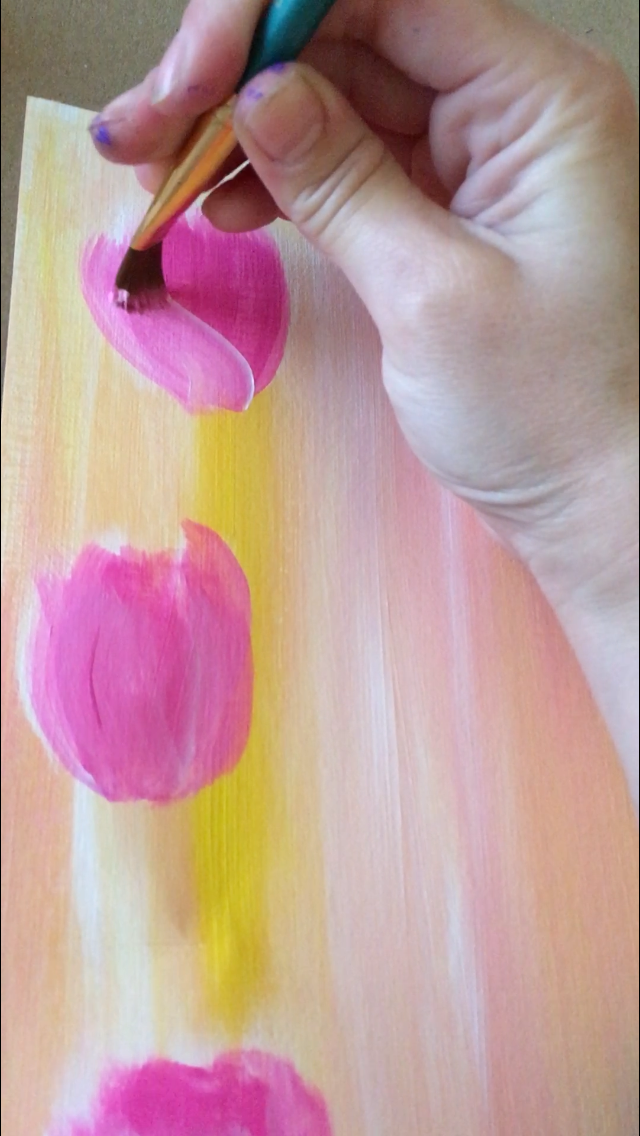
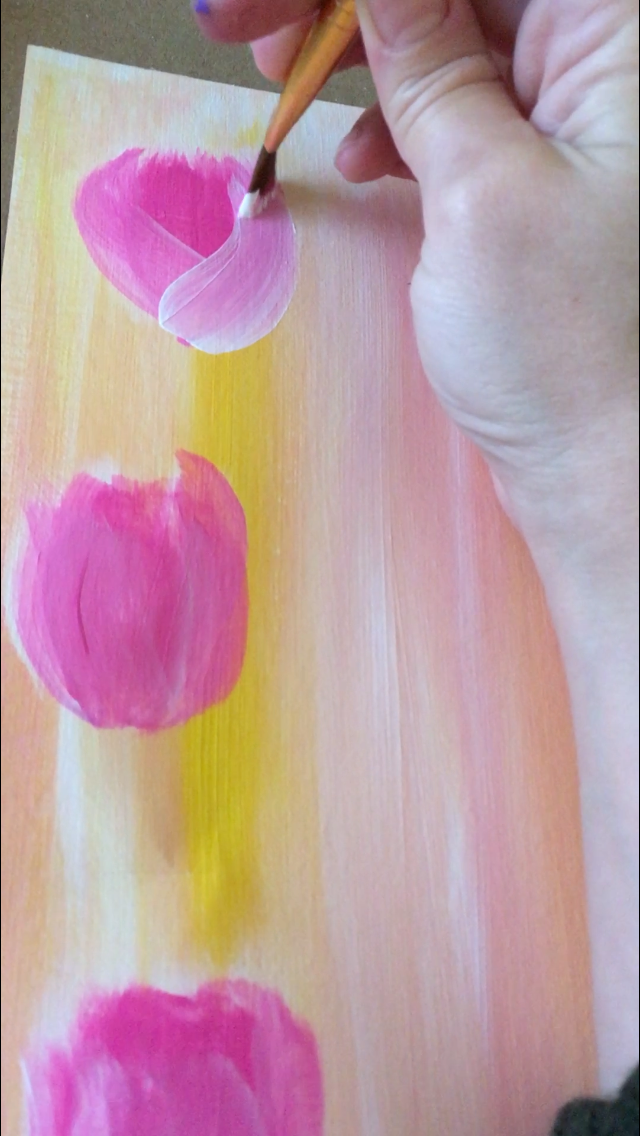

Don’t get frustrated with the flowers! After all…the “star” of this painting is the Easter bunny not the tulips!
Also, it helps to practice your tulips a bit on a separate sheet of paper before putting it on the canvas. TRUST me, I had to practice A LOT.
5. Paint The Stems
I “think” I should have used a smaller brush for the stems. They turned out a bit too thicker than I imagined. But…no need to fuss! The leaves help blend the stumpy stems in.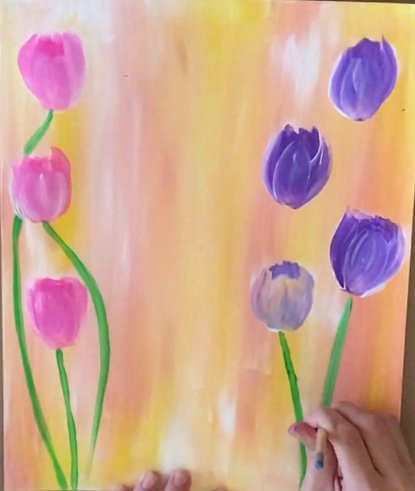 With a 1/4″ flat brush, use the tip to paint stems. I used Shamrock Green for this step, which is just like a Light Green color.
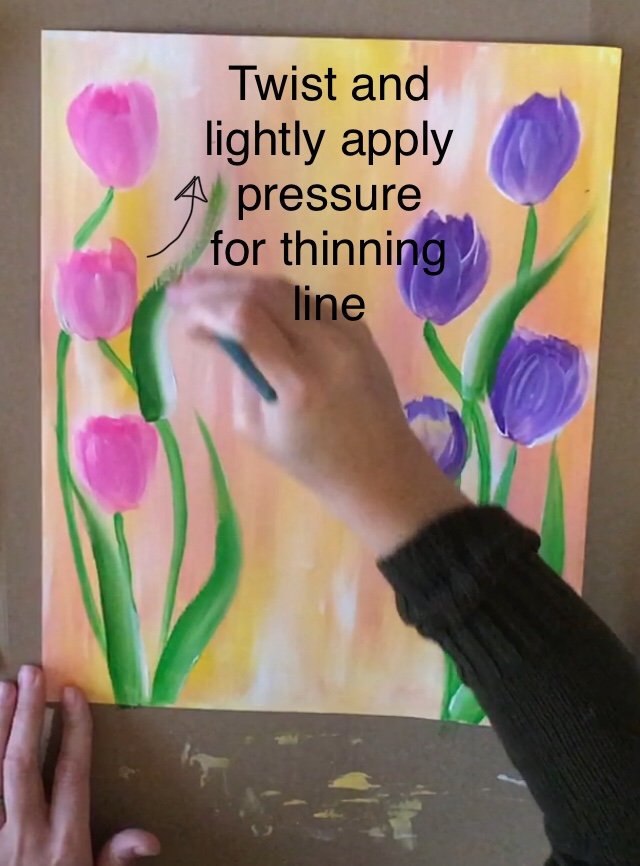
6. Paint The Leaves
I double loaded a 3/4″ flat brush with green and white. One corner was dipped in green and the other white.
When you paint a leaf, press hard on the brush to start the formation of the leaf and stroke up.
The stroke gets thinner. Then twist your wrist to form a point.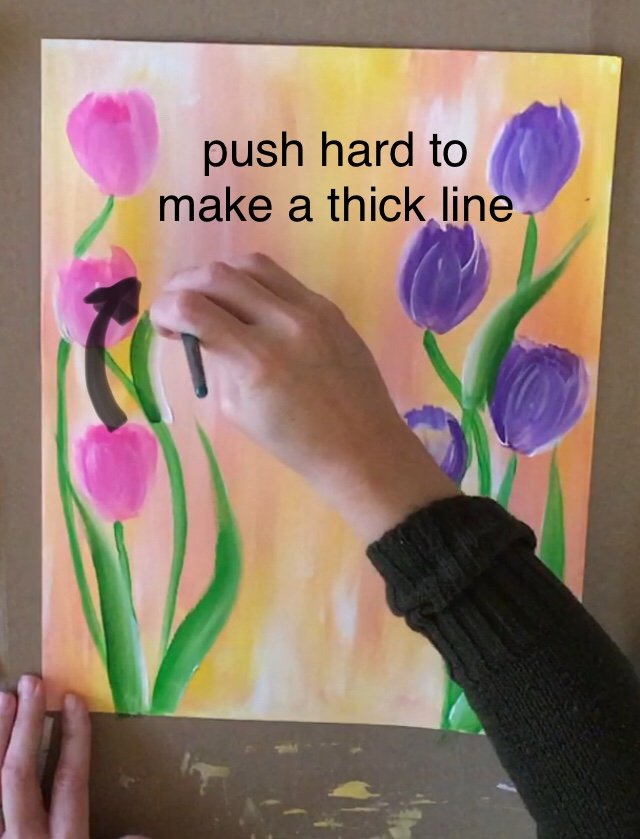
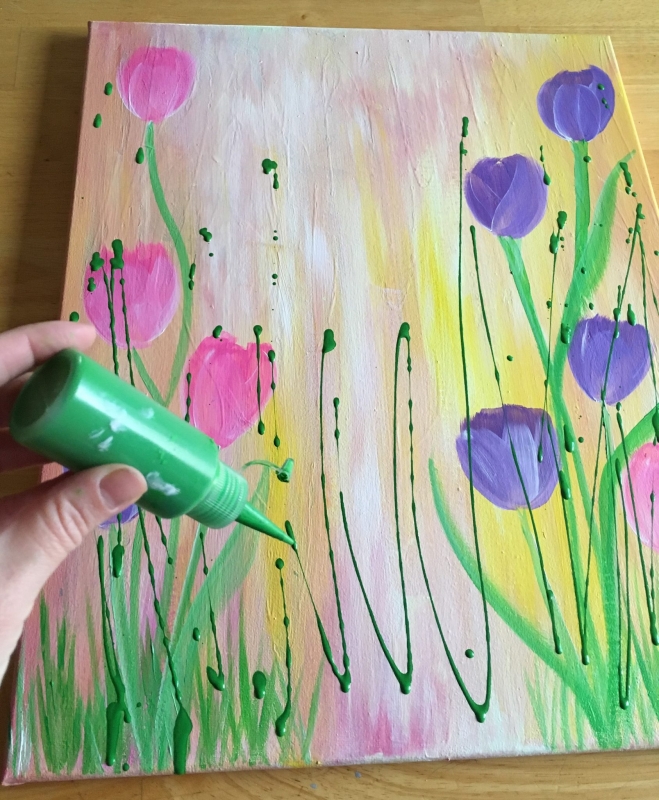
7. Drizzle on some more green paint using a squeeze bottle. (Optional)
For this step I used this squeeze bottle from Hobby Lobby.
I put green paint inside of the squeeze bottle along with some water. I really can’t give you the EXACT proportion of water to paint. It’s probably about 50-50.
Make it enough for it to be drippy but not so much water where it puddles everywhere. And test it out on a different surface first!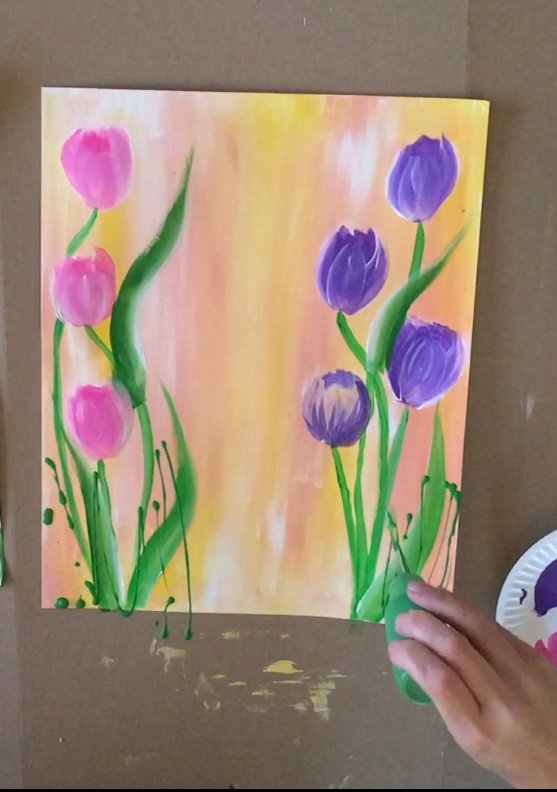
8. Let the whole painting dry!
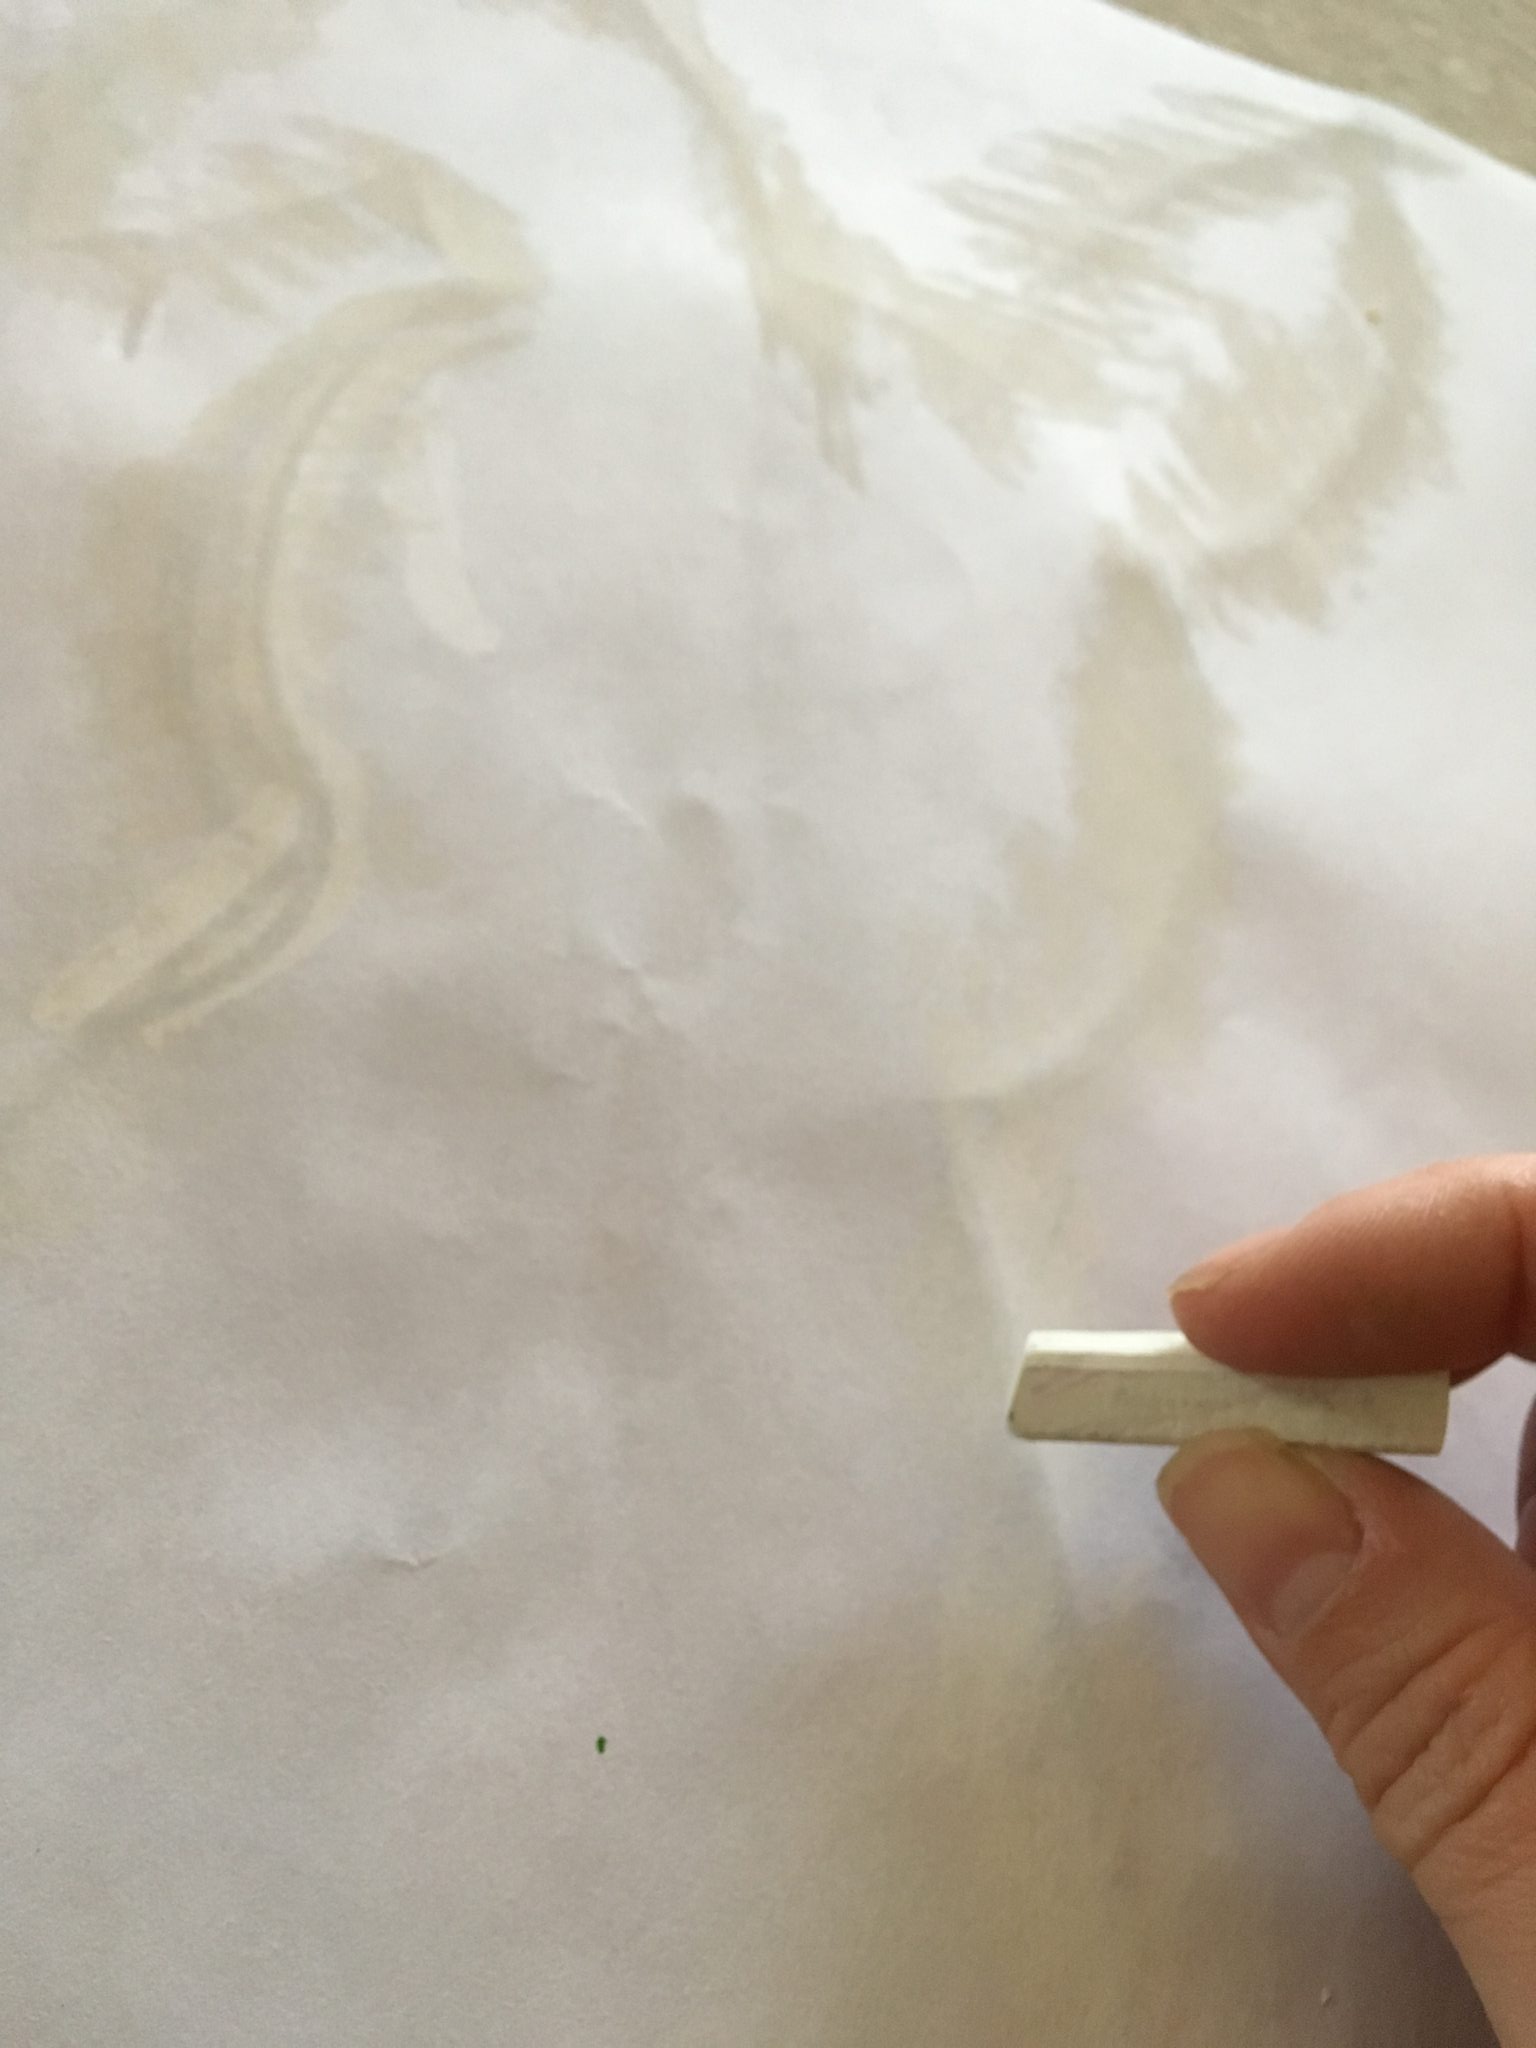
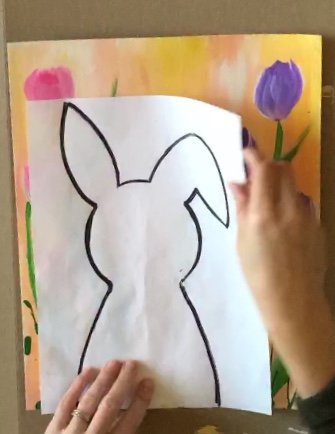
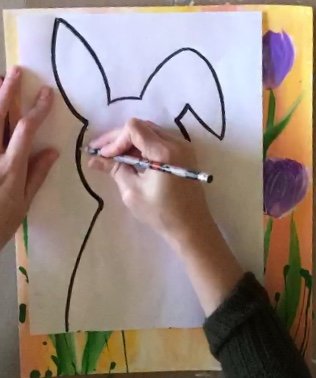
9. Transfer the Bunny Silhouette By Rubbing Graphite or Chalk on the Back
If you have graphite paper this will work! White chalk, white charcoal or white graphite works too. If you don’t have any of those, you can also use a regular pencil and color on the back of the bunny.
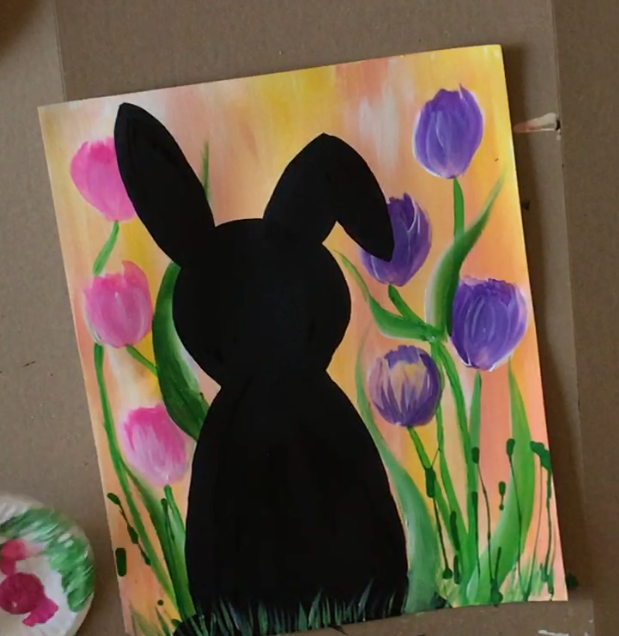
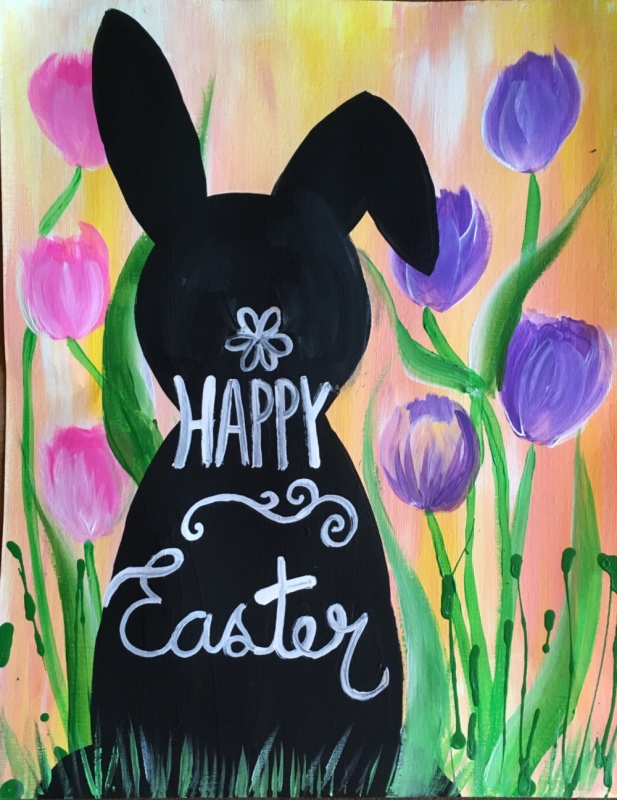
10. Paint In The Rabbit
This part is easy! Just paint in the rabbit black! I used a 3/4″ flat brush so my lines would turn out sharp.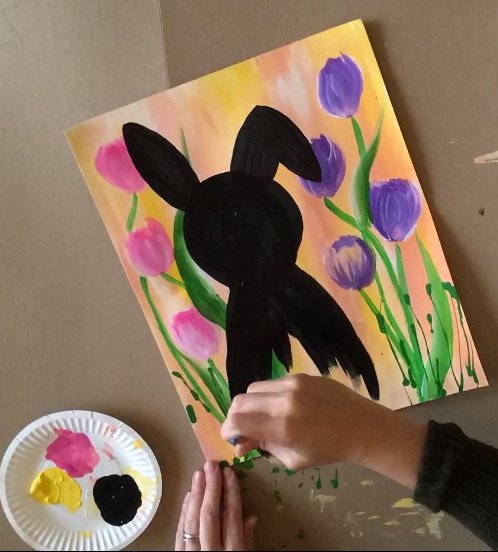
11. Paint Some Grass
Use a small 1/4″ flat brush dipped in green and white to paint some grass on the bottom. (It helps to wait for the black to dry a bit!)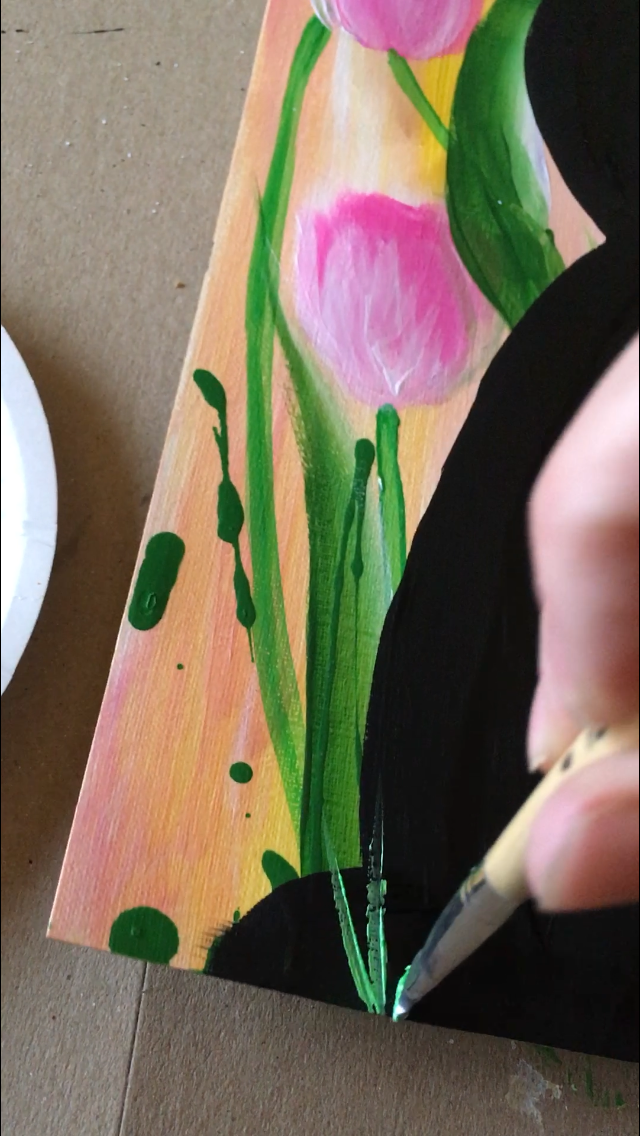
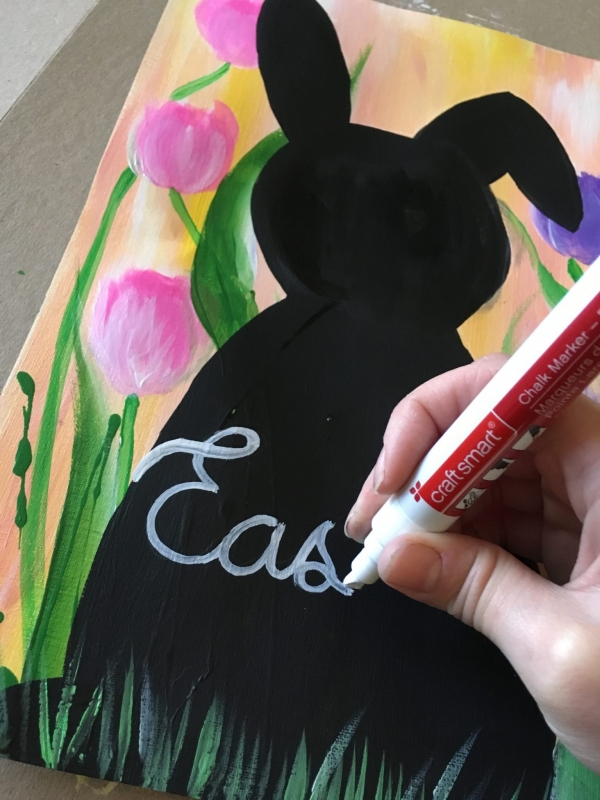
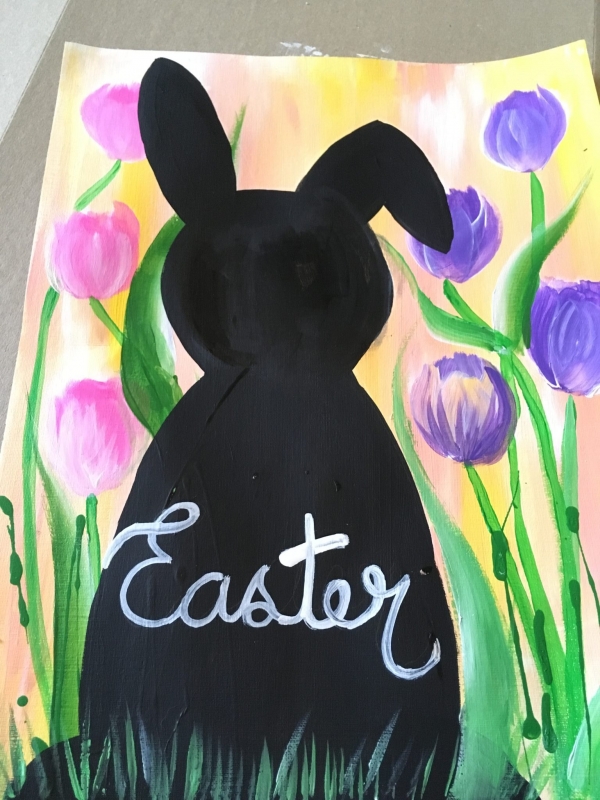
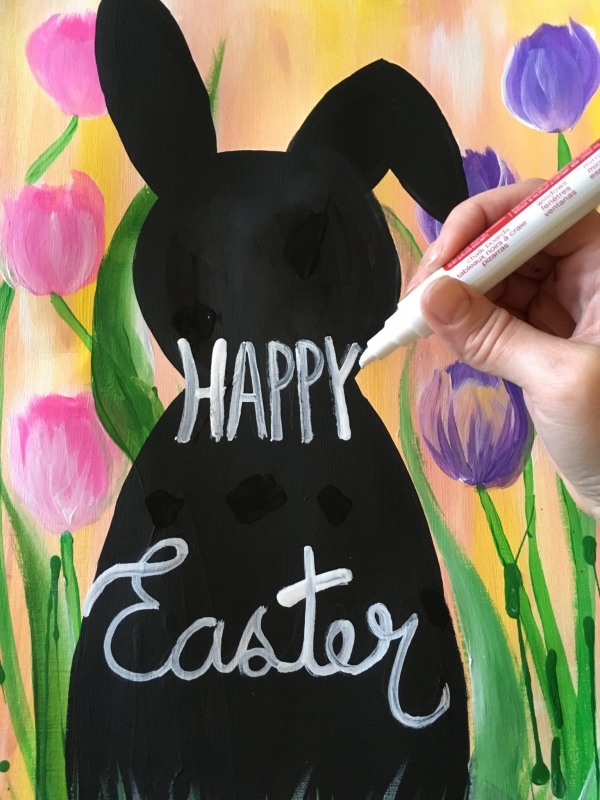
12. Optional, add “Happy Easter” with a White Pen
I used a white chalk paint pen to write in “Happy Easter”.
A fun advanced version! What would it look like as a real bunny and not silhouette?
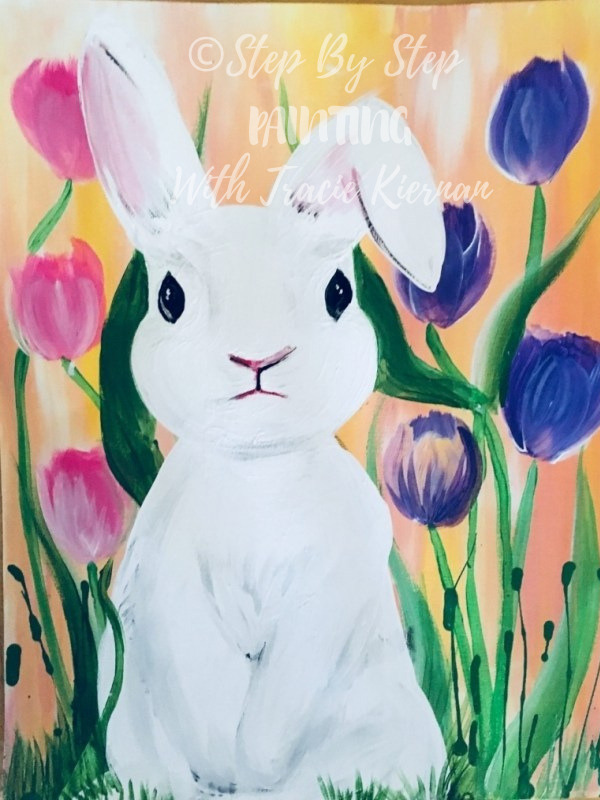
For this version, I used the same silhouette. If you look closely at the eyes, the shape of the head goes inward a bit compared to the original silhouette.
I sketched out the facial features and the legs lightly with pencil.
Then I used light gray paint to paint in the paws and some shadowing around the paws.
The eyes were done with black paint. Two little dots were added on the eyes to represent light.
The inner parts of the ears were painted with light pink. The nose was the same pink.
Finally, I outlined the nose and mouth with black!

In the realistic version, did you paint the rabbit in all white and then draw the features and proceed from there? Thanks in advance ☺️
Hi Dawn! Yes I did! It was painted white first, instead of all black for the silhouette. Then I lightly sketched all the features out and did the shading/ detail work.