
Would you like to save this?
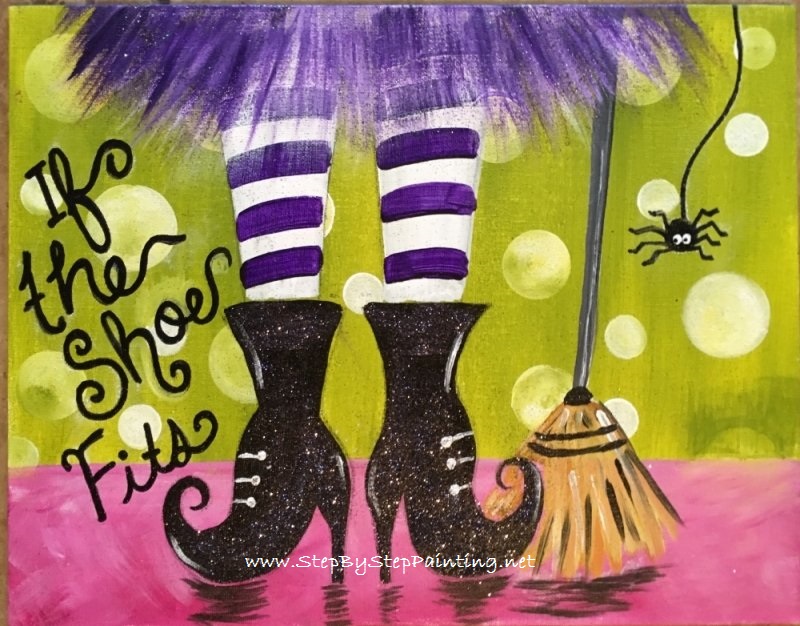
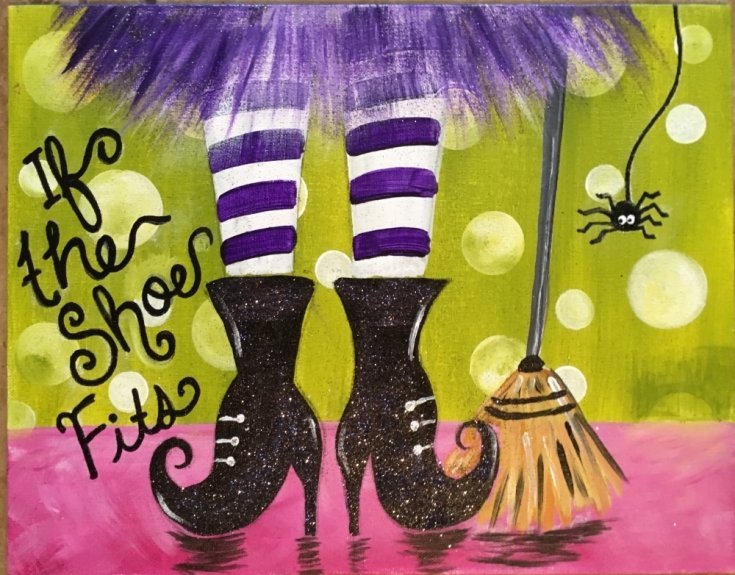
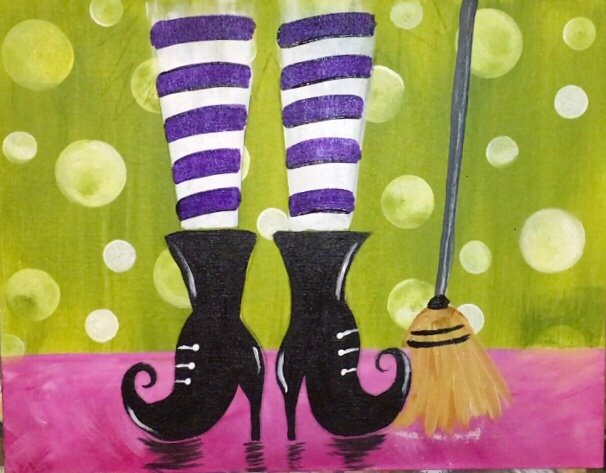
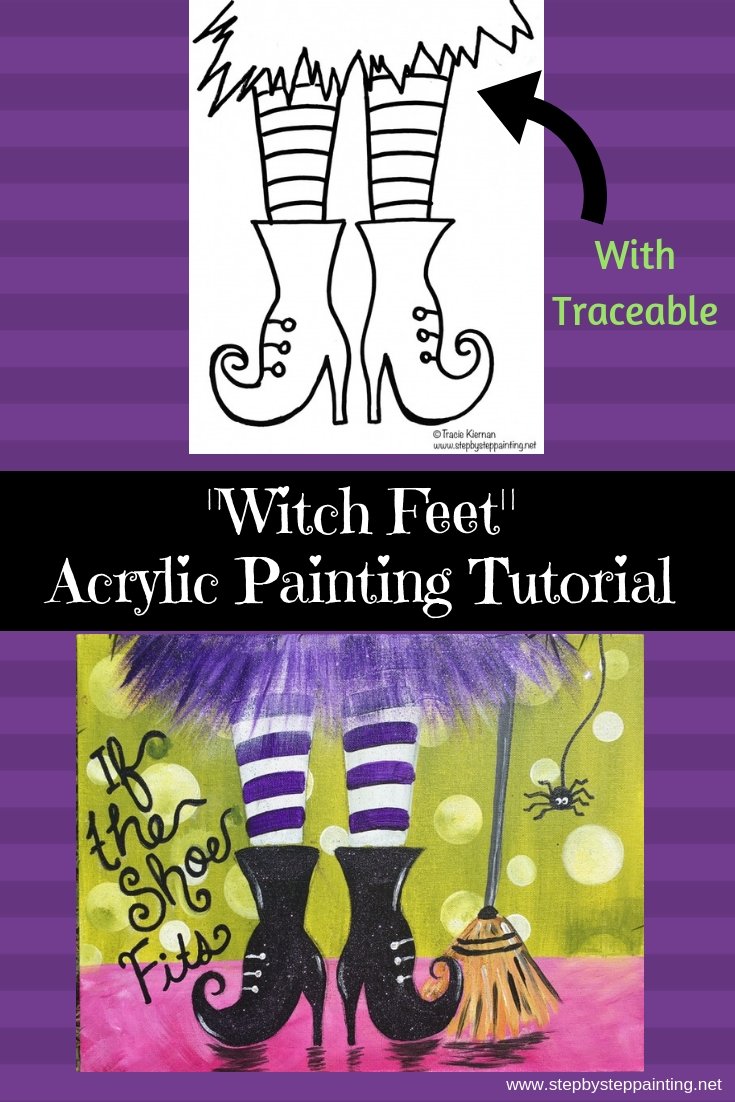
It’s time to get crafty with this Halloween canvas painting! In this tutorial you will learn how to paint Witch Shoes, Witch Boots, Witch Feet or whatever you’d like to call them!
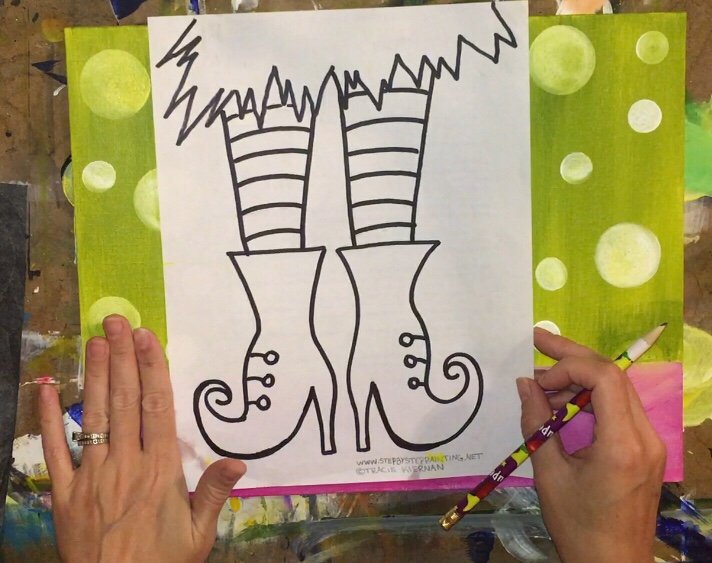
You will also find in this tutorial a free printable that you can trace onto your canvas. No drawing required!
I used some “extra painting accessories” with this one including: Martha Stewart Foam Pouncers for the circles (Which I LOVE), black fine glitter, gel medium to hold the glitter (don’t let that scare you, it works like glue to hold the glitter) and a paint pen for the words and the spider.


Feel free to customize the colors if you’d like or stick with the ones you see. Don’t forget to share your painting, I love to see all your work. Add it to a Pinterest Pin or the SBSP Facebook Page. Enjoy and Happy Halloween!
This Post Contains Affiliate Links To Products That I Use And Recommend
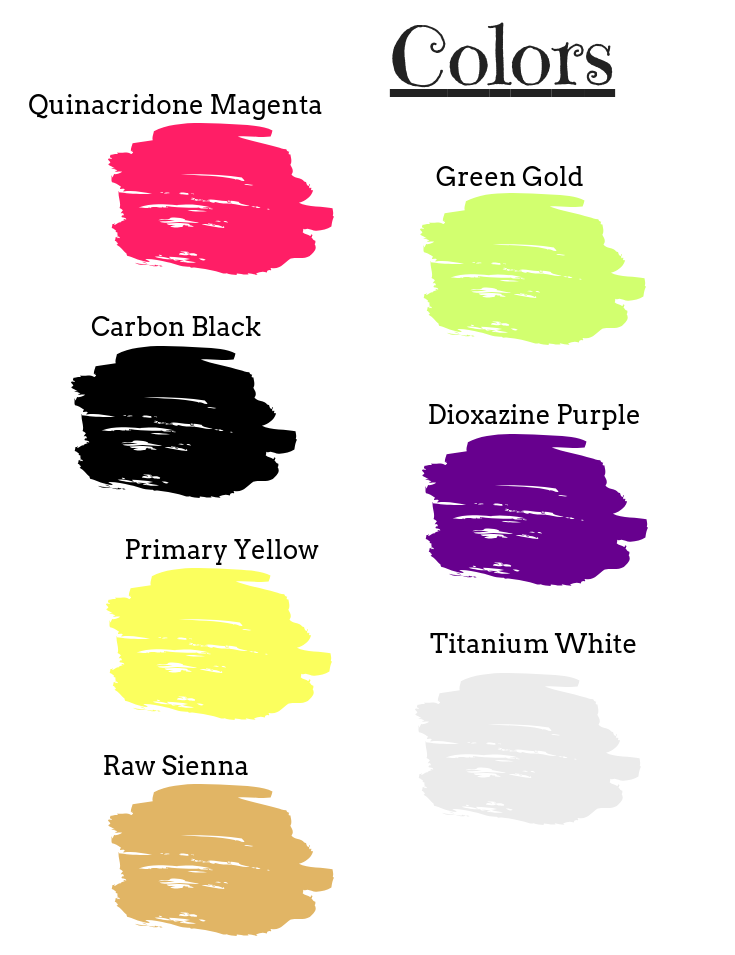
Color Palette:
Materials:
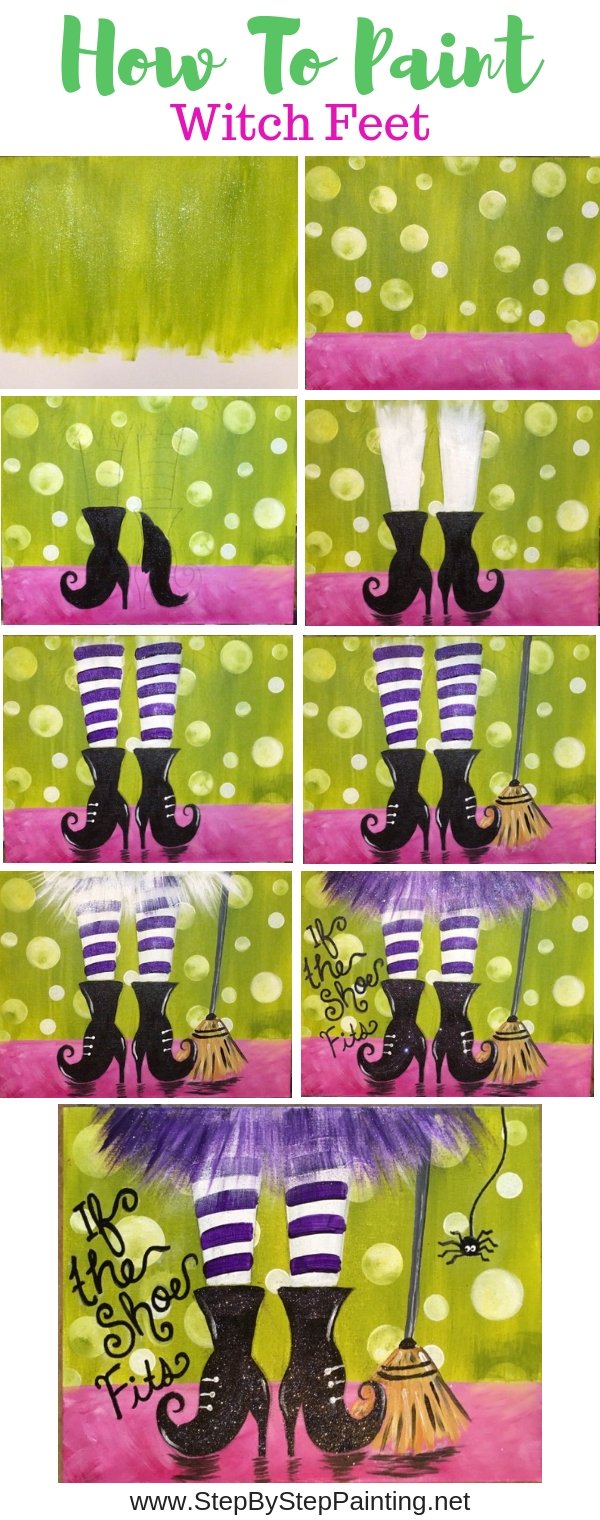
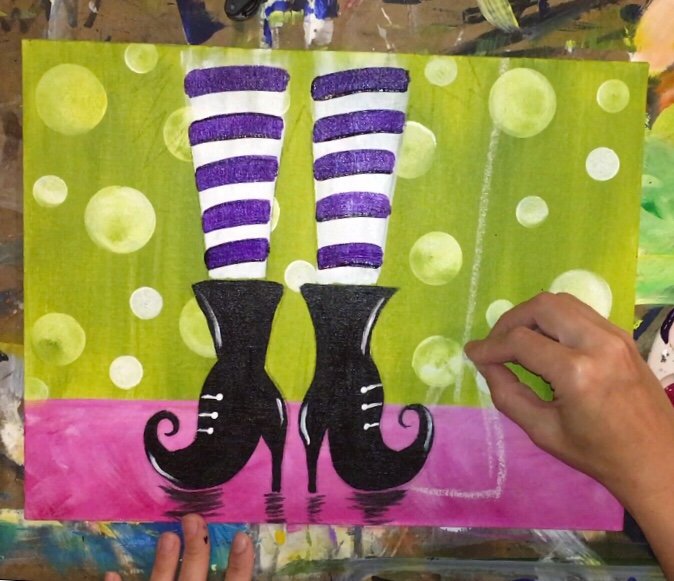
How To Paint Witch Shoes
Materials
- 3/4" Flat
- 1/4" Flat (Bright)
- #8 Round
- Fan Brush In Any Size
- #0 Round
Colors
- Titanium White
- Carbon Black (Or Mars Black)
- Quinacridone Magenta
- Green Gold
- Primary Yellow
- Dioxazine Purple
- Raw Sienna (This only shows up in the broom)
Crafty Accessories
- Martha Stewart Foam Pouncers
- Extra Fine Glitter Onyx
- Gel Medium Gloss (For getting glitter to stick, you can also just sprinkle glitter on wet paint but it may not stick very well)
- Black Paint Pen (A sharpie can work too)
Traceables
Canvas
Other Items That May Help
Instructions
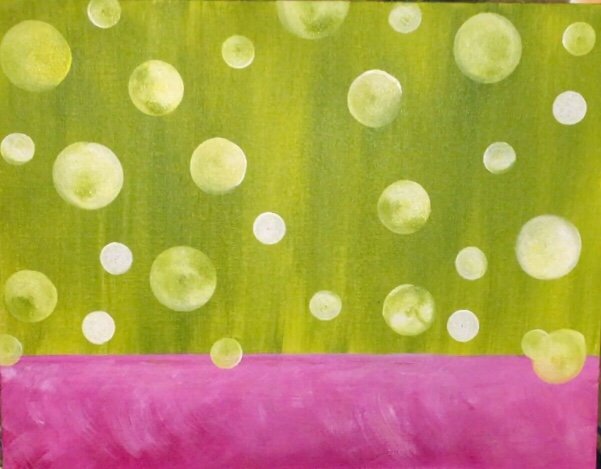
- Paint background gold green.
- Paint bottom quinacridone magenta and titanium white. Use foam ponucers to dab on the circles with titanium white, primary yellow and gold green.
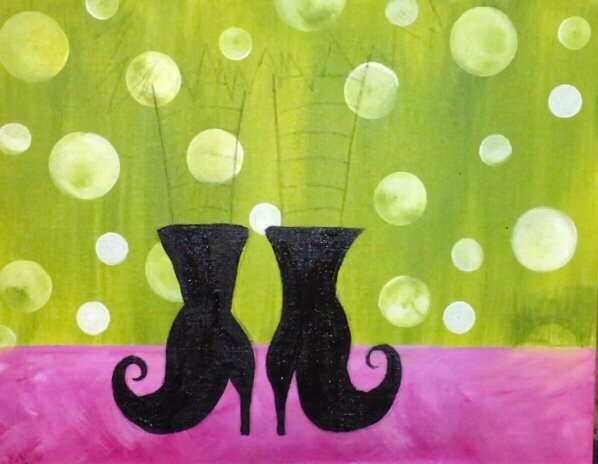
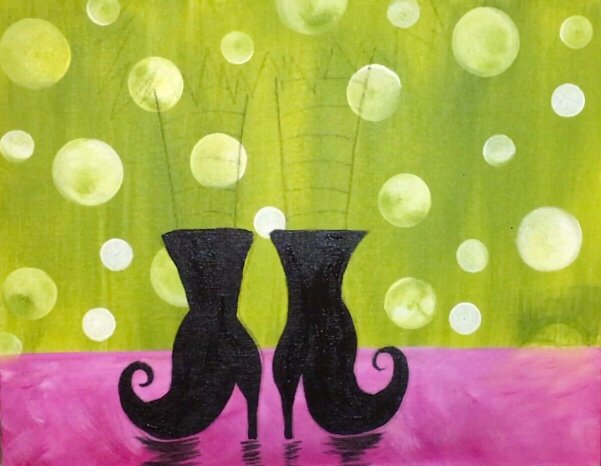
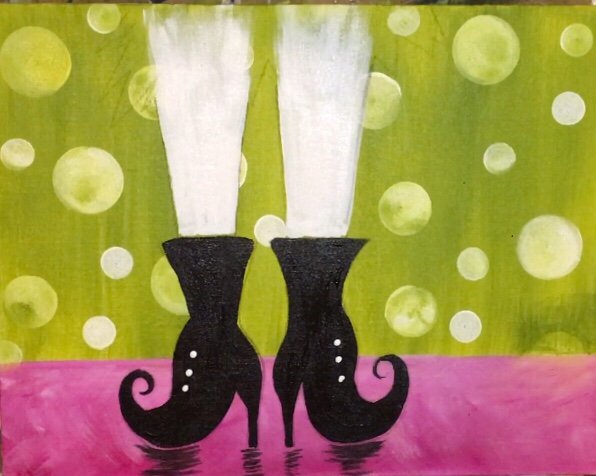
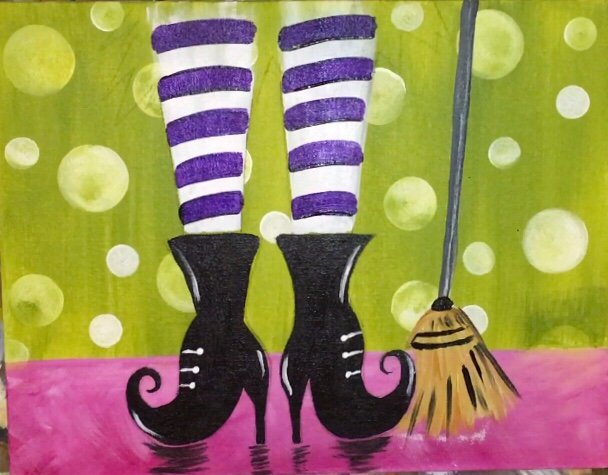
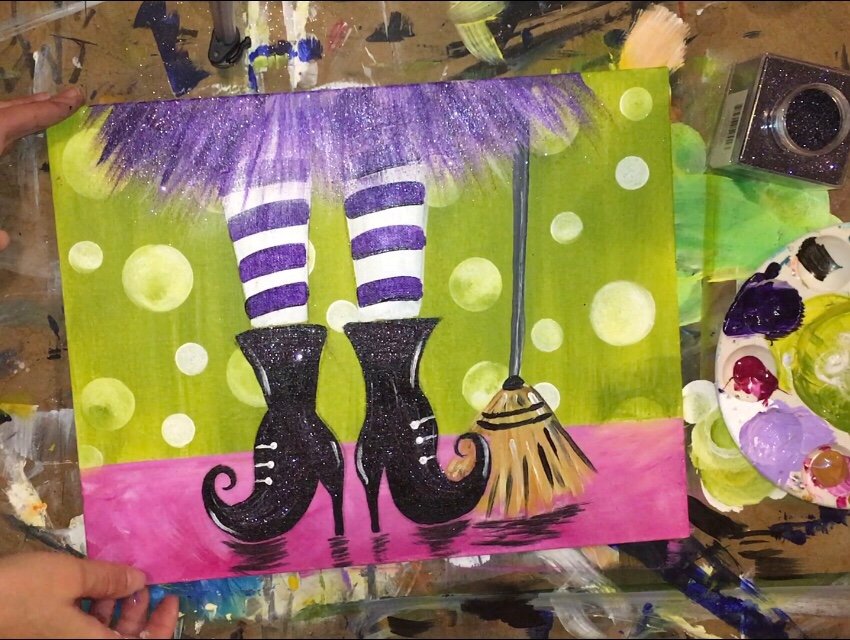
- Trace the witch onto the canvas. Paint the boots in carbon black.
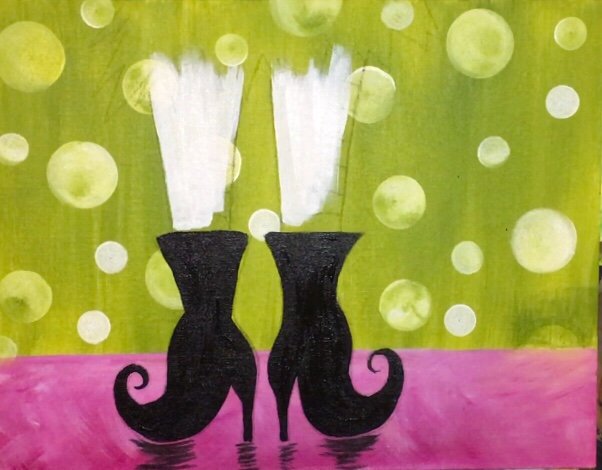
- Paint reflection under the boots. Paint the stockings white.
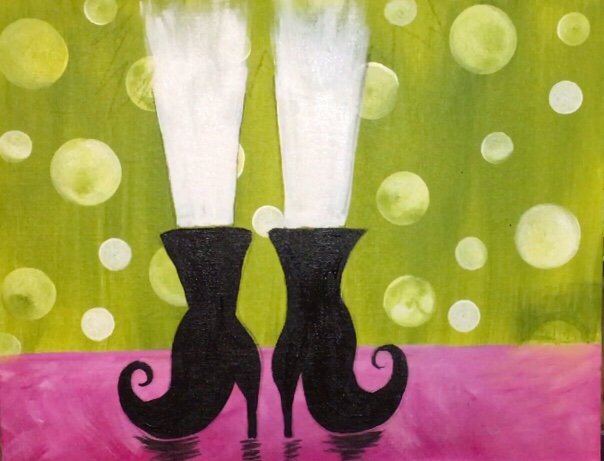
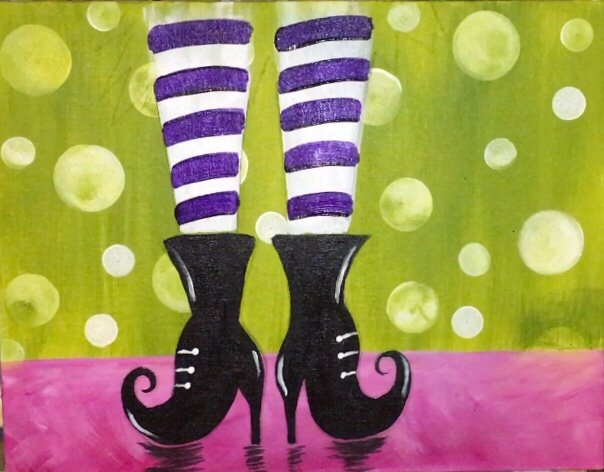
- Paint the stripes dioxazine purple, paint the details on the boots with a tiny brush and titanium white.
- Draw a broom with chalk, then paint with carbon black, titanium white, raw sienna and primary yellow.
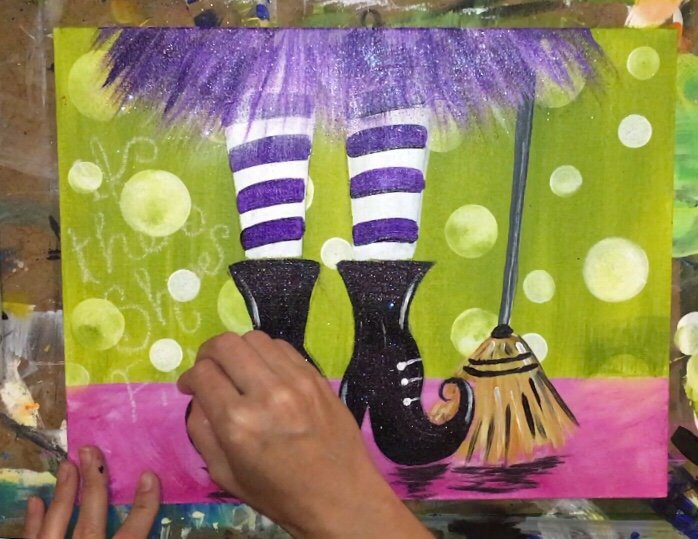
- Use a fan brush to paint the tutu with titanium white and dioxazine purple.
- Use a paint pen to write "If the shoe fits". Use gel gloss medium to apply the fine black glitter to the canvas on the tutu and onto the shoes.
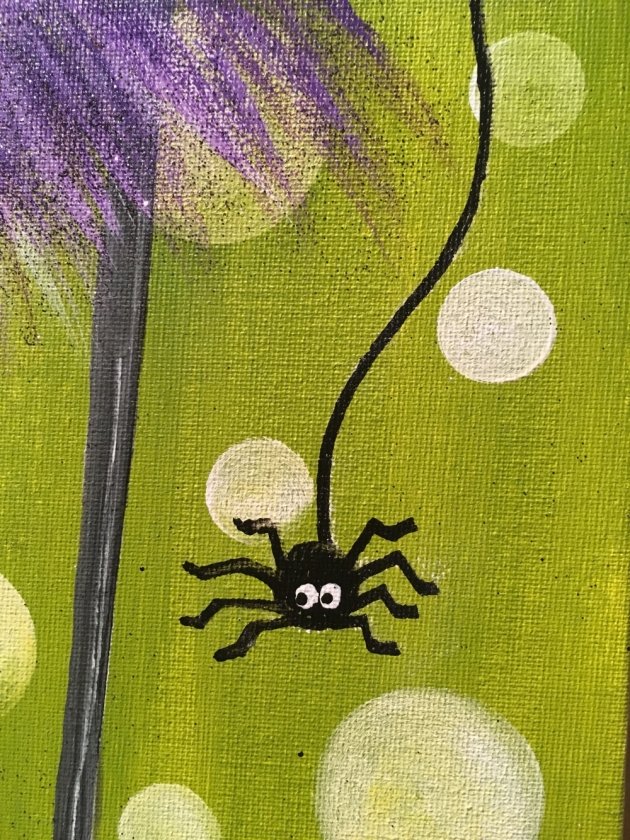
- Use a paint pen to draw the spider.
Recommended Products
As an Amazon Associate, Michaels Affiliate and a member of other affiliate programs, I earn from qualifying purchases.
-
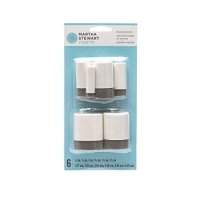
 Martha Stewart Crafts Darice 32243 Martha Stewart Foam Pouncers, White
 -
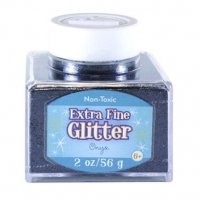 Sulyn Extra Fine Onyx Black Glitter Stacker Jar, 2 ounces, Non-Toxic, Stackable and Reusable Jar, Multiple Slot Openings for Easy Dispensing and Mess Reduction, Black Glitter, SUL50871
 -
 DecoArt Gel Americana Premium Acrylic Medium Paint Tube 2.5oz
 -
 Royal & Langnickel, Zen Series 73 Set of 5 Brushes, Standard Handle, Synthetic Filament, Oval Wash 1, Angular 1/4, Shader 12, Fan 4, Round 4, RZEN-SET732
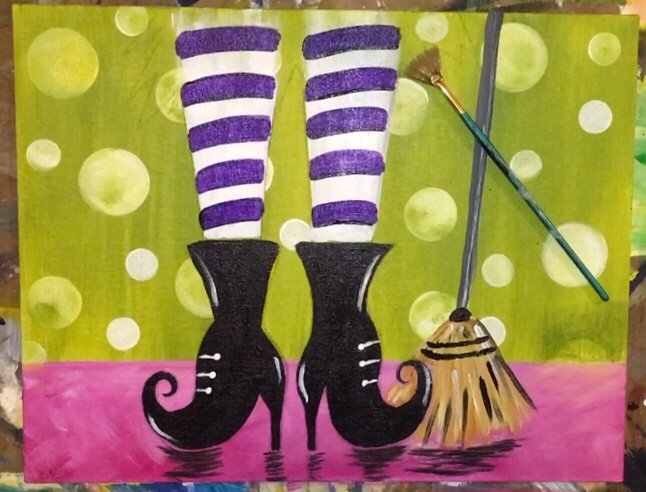
Directions At A Glance:
Traceable:
This should be printed on standard size computer paper. 

Video:
Step By Step Directions:
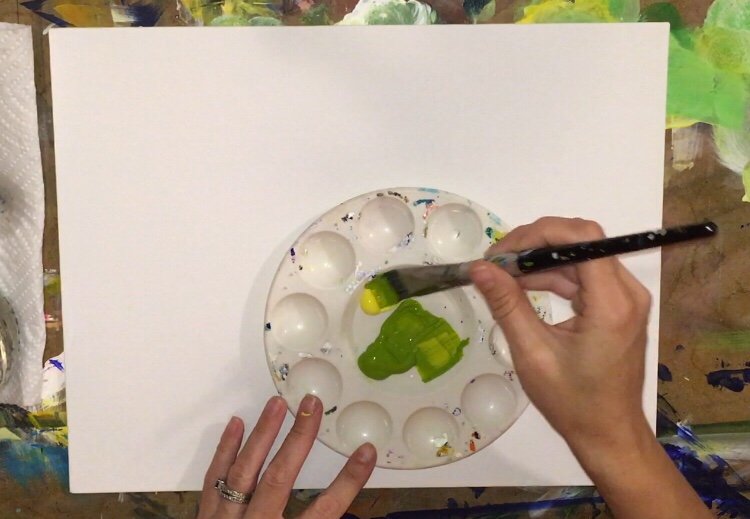
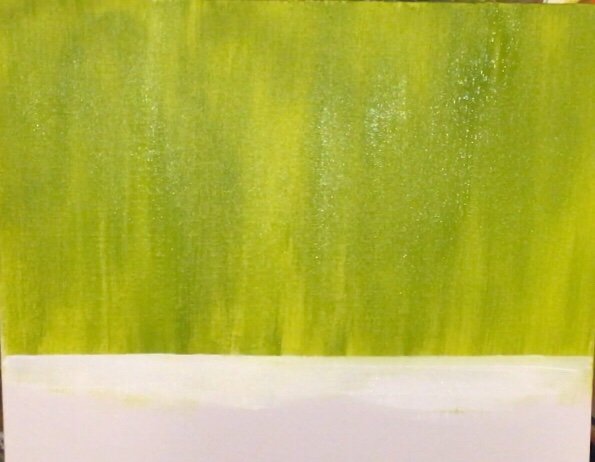
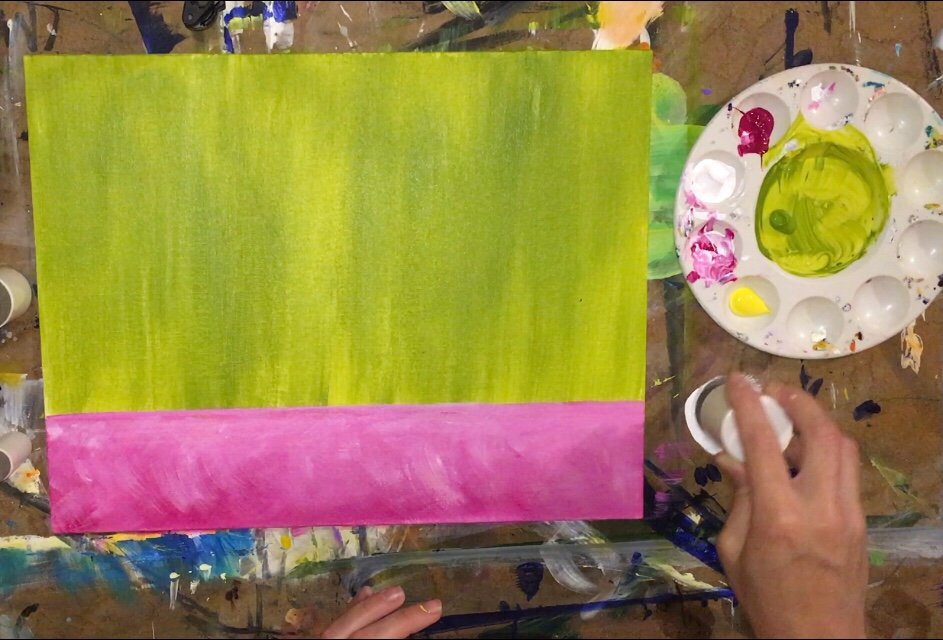
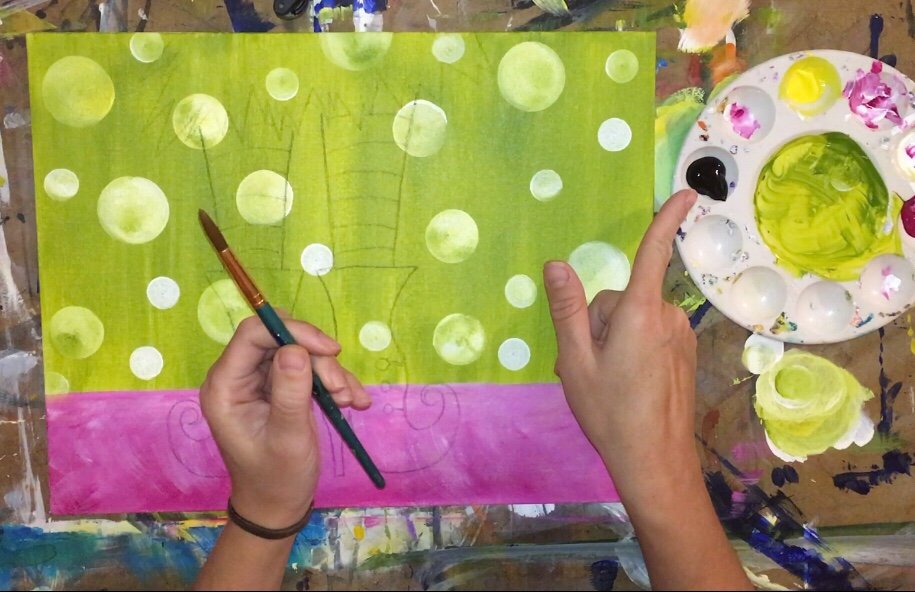
1. Paint The Background
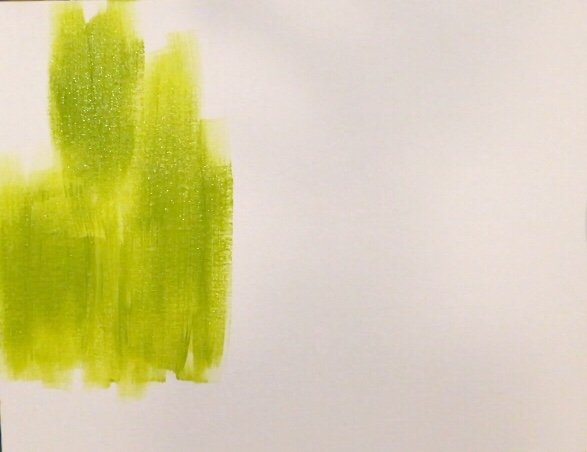
Use a 3/4″ flat brush. Paint the background gold green and a touch of yellow.
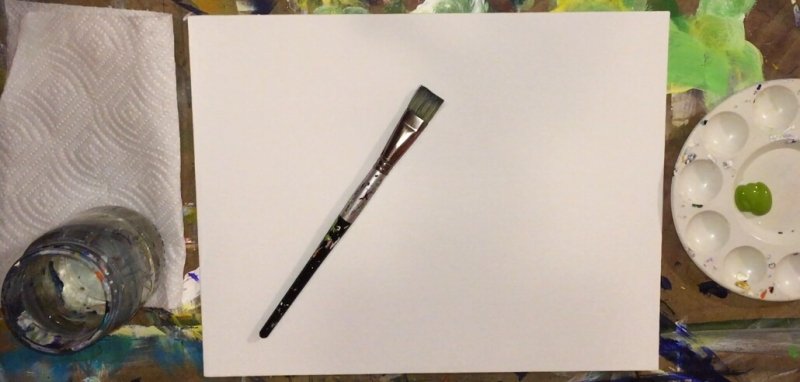
Double load the brush with both colors and paint up and down. Leave about 2-3 inches of space on the bottom blank. That gold green is a bit transluscent so the background will look kind of “thin” at this point. That is okay!
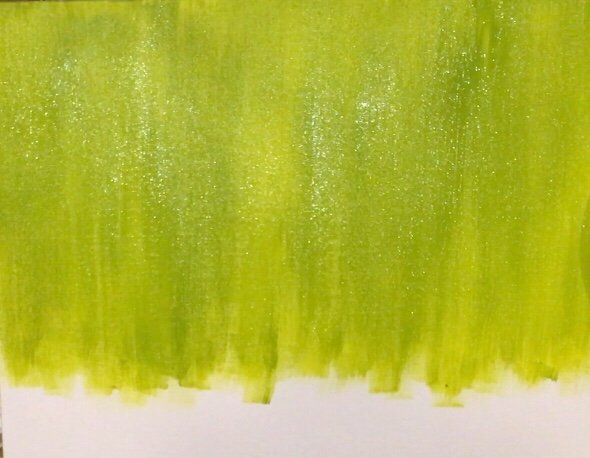
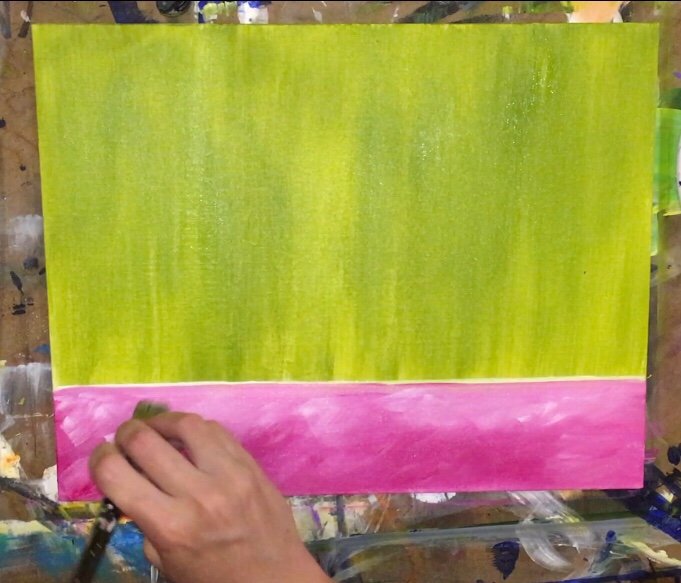
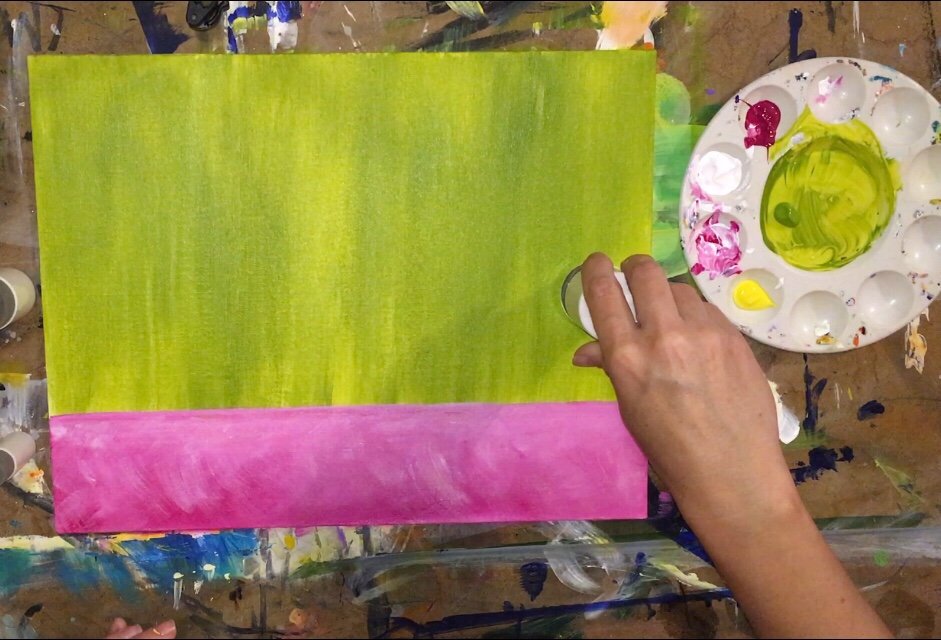
2. Use a ruler to get a straight edge horizon line.
I used the ruler to “cut in” and get a straight edge. Just use your 3/4″ flat to paint titanium white to cover up the excess green. My spacing in this area was exactly 2.75″.
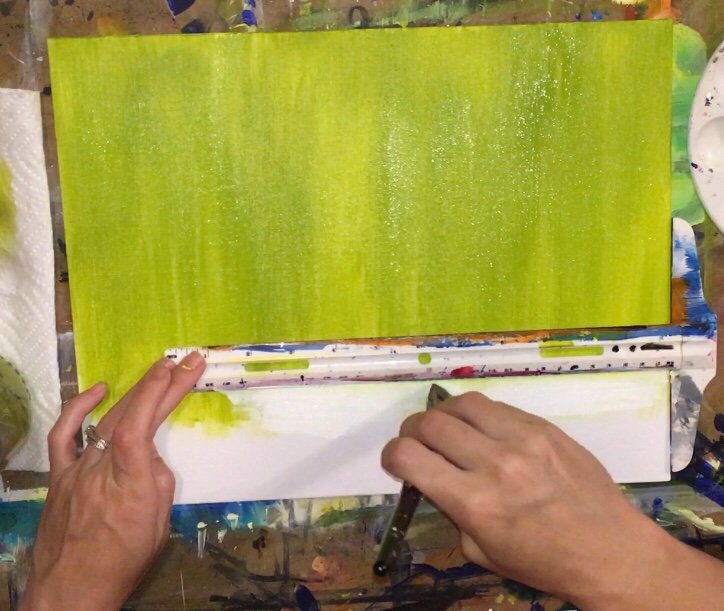
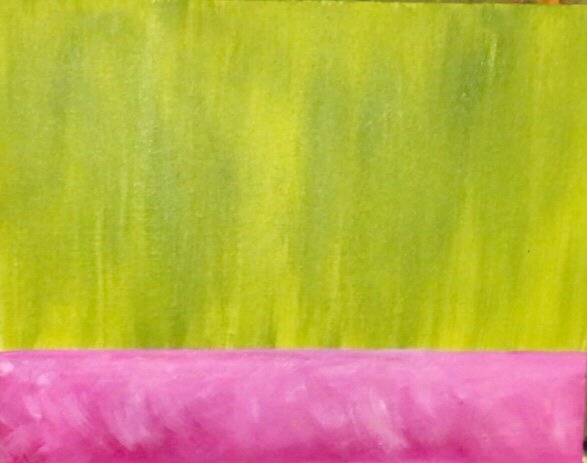
Next paint the rest of the bottom with a bit of titanium white and quinacridone magenta. I painted in short sort of expressive “x” strokes. The magenta and the white are not blended all the way and the bottom is a little bit darker than the top.
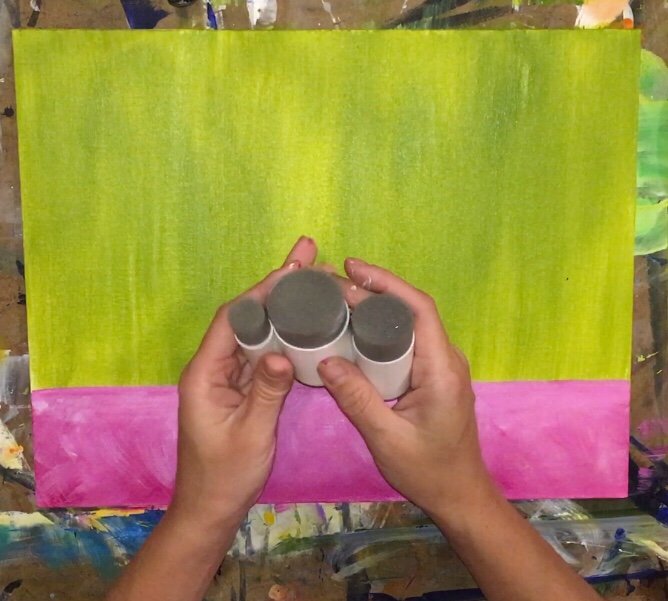
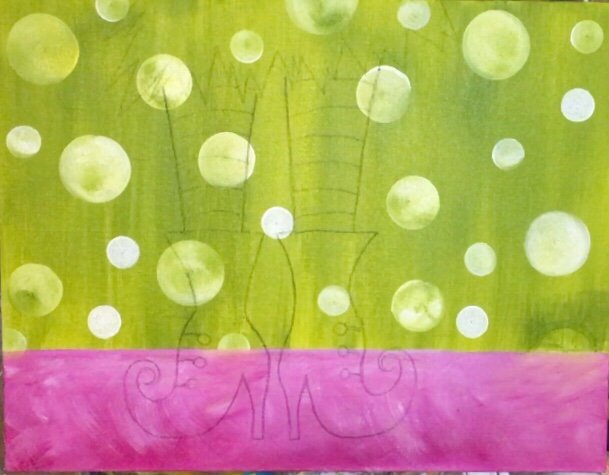
3. Use Foam Pouncers To Paint The Circles
I am in LOVE with these foam pouncers! All they are is a cylinder piece of foam in a plastic handle but the foam itself is very firm and “spongy”. I chose three different sizes for my circles.
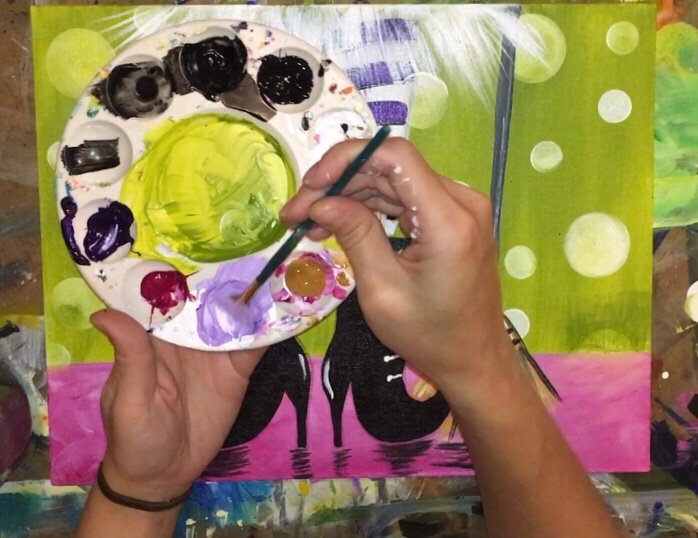
On your palette, have primary yellow, titanium white and gold green ready.

Dip your pouncer in mostly titanium white. Then apply a little primary yellow and a little gold green to the sponge. Practice off to the side to create some circles before applying it to the canvas. This also helps the colors on the sponge mesh together.
When you sponge on the circles, press firmly and twist.
Apply multiple circles of that size. Then switch to two other sizes. You’ll notice some nice color variation when you lightly dip the sponge in some green and yellow. Just make sure you’re using mostly white so the white circles will stand out against the background.

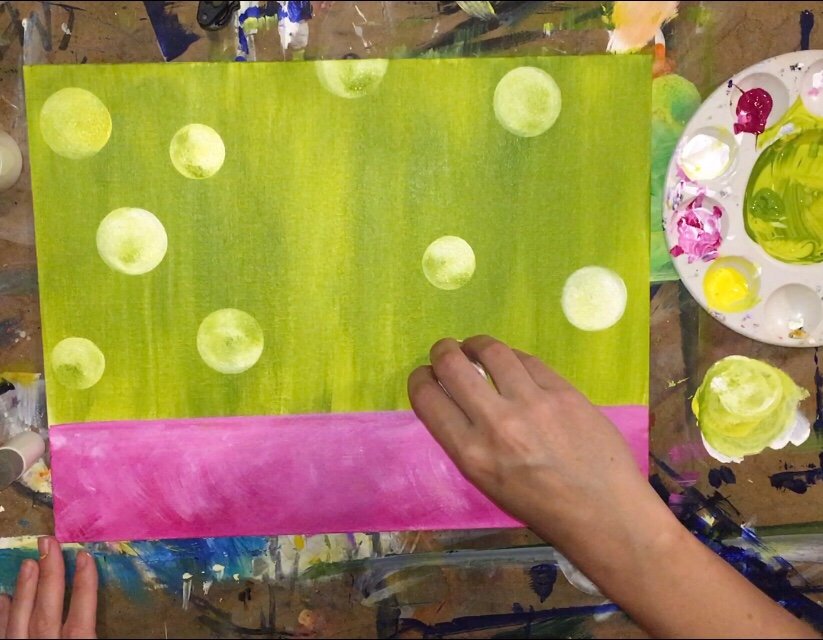
I painted some circles overlapping the pink area but didn’t like it and ended up painting over them.
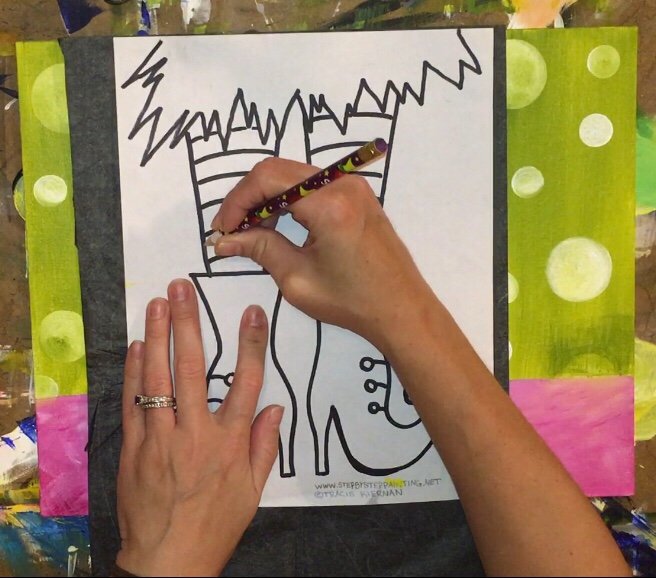
4. Wait for the painting to dry then trace the witch shoes onto the canvas.
Print the traceable on standard size computer paper. The position of the traceable is center but slightly to the left. The bottom of the paper lines up to the bottom of the canvas.
Use graphite paper to transfer the drawing to the canvas. Press firmly with a regular pencil so the drawing will transfer dark enough for you to see.
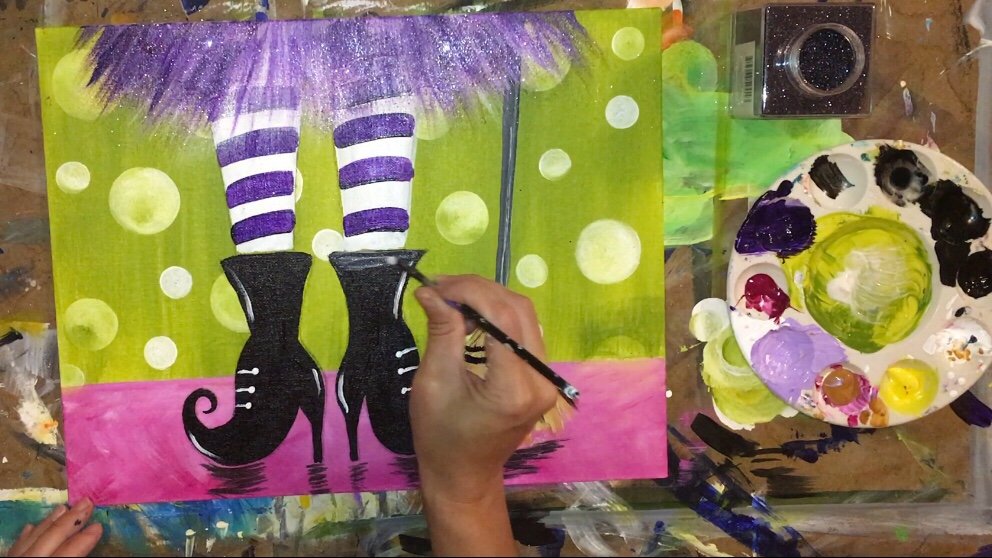
5. Use a #8 Round Brush and Carbon Black To Paint The Boots
Basically just paint in the shape of the boots solid black! For the smaller areas, I recommend using a tiny round brush, I used a #0.

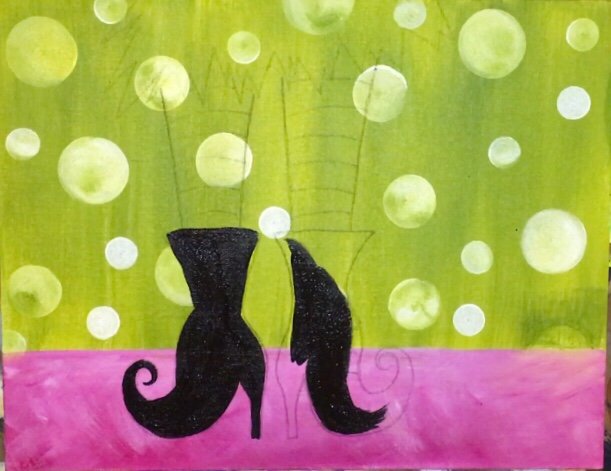
For the reflection, I used a 1/4″ flat brush (bright) and painted left and right zig-zag strokes just under the boots. WATER down that black slightly so it’s not as bright as the boots. Apply the paint very slightly.
6. Paint the stockings white.
I used a 1/4″ flat brush and titanium white to paint the stockings. I did up and down strokes to make it easy. Don’t worry about the stripes yet.
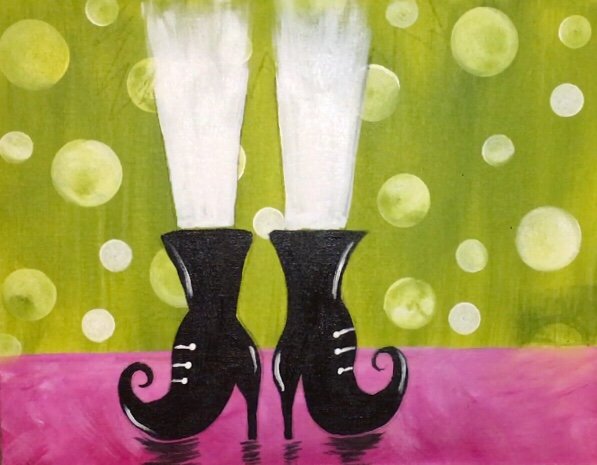
7. Add some detail in the boots.
I used the back of my paint brush handle to stamp on three dots of titanium white. Then I used a #0 brush to paint three lines.
I also added some highlight with the titanium white. Make sure you are using a very small brush for this step!
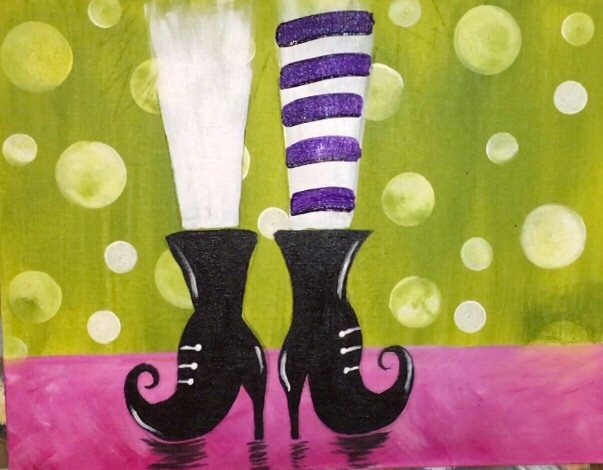
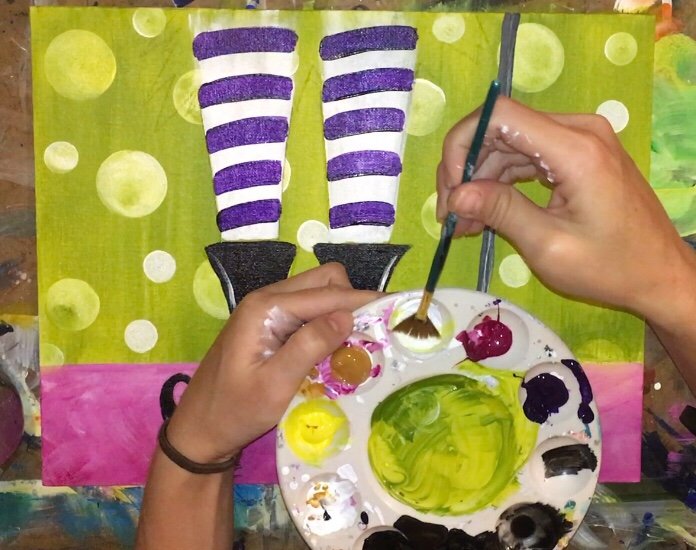
8. Paint the stripes with dioxazine purple and 1/4″ flat brush.
Use a 1 /4″ flat brush and dioxazine purple to paint the stripes over the white. Just create one stroke with the width of the full brush.
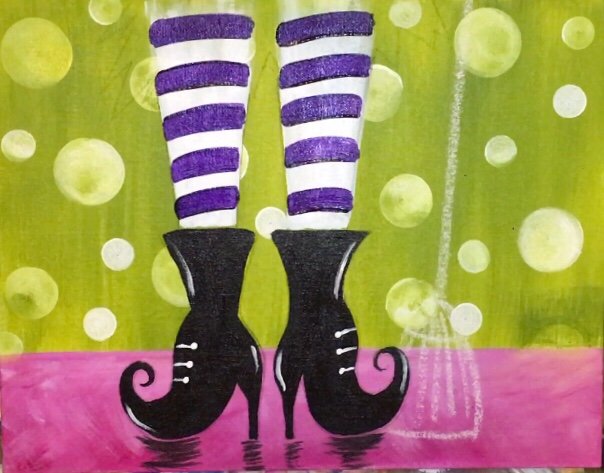
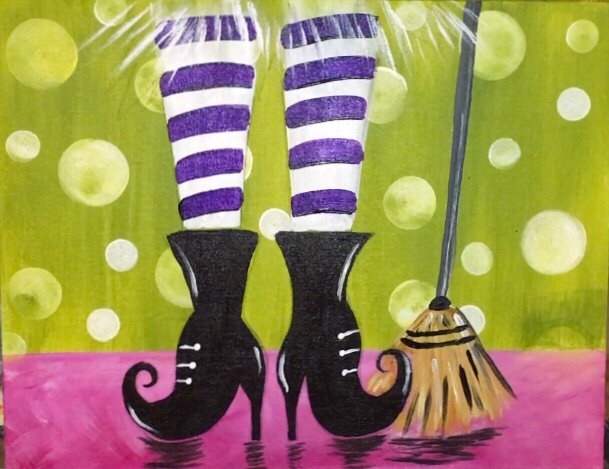
9. Draw a broom with chalk.
Then I used a piece of chalk to draw out the broom. You can erase chalk with just water if you mess up! Start by drawing a line for the handle. Then sketch out the bottom part of the bristles.
10. Paint the handle with carbon black and white.
I used a #8 round brush to paint the handle. I double loaded the brush in both black and white and let the colors blend to make gray.
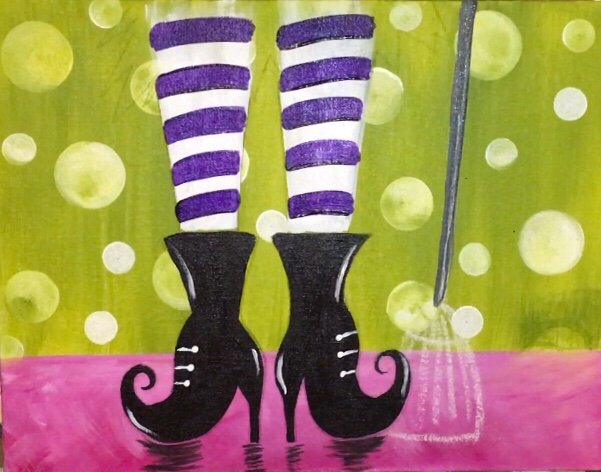
Then I painted the bristles with a 1/4″ flat brush. Start with raw sienna and paint the first layer of the bristles. Use the side of the brush to create sort of sharp jagged strokes.
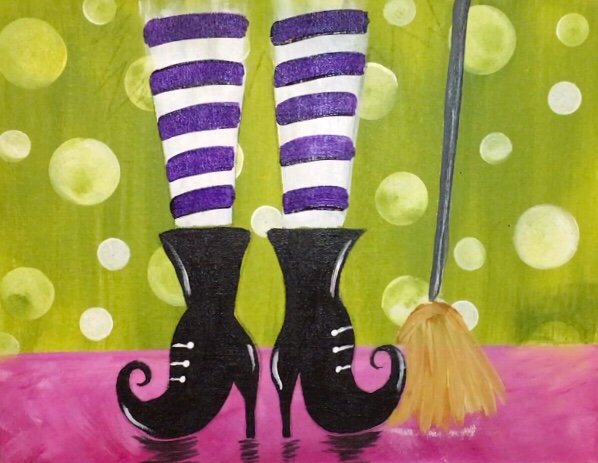
Then go back to your round brush and black. Add some details at the end of the handle and on the bristles. See the picture below where I applied black.
Then I used that black to add some dark bristle lines.
Then I added some white in the bristles. I also painted some more broom bristles to make it look like it was slightly behind the boots.
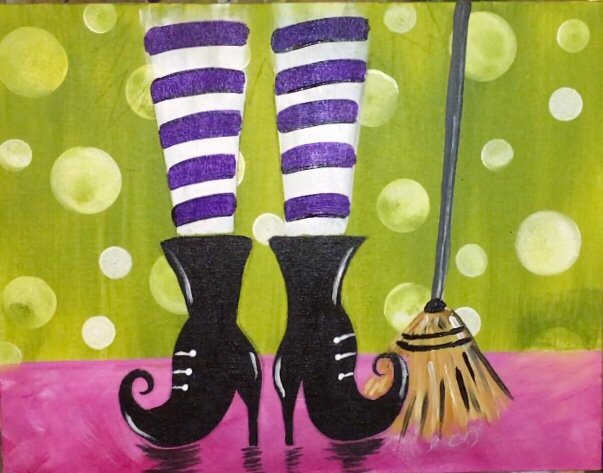
Paint the reflection the same way you did the reflection under the boots.

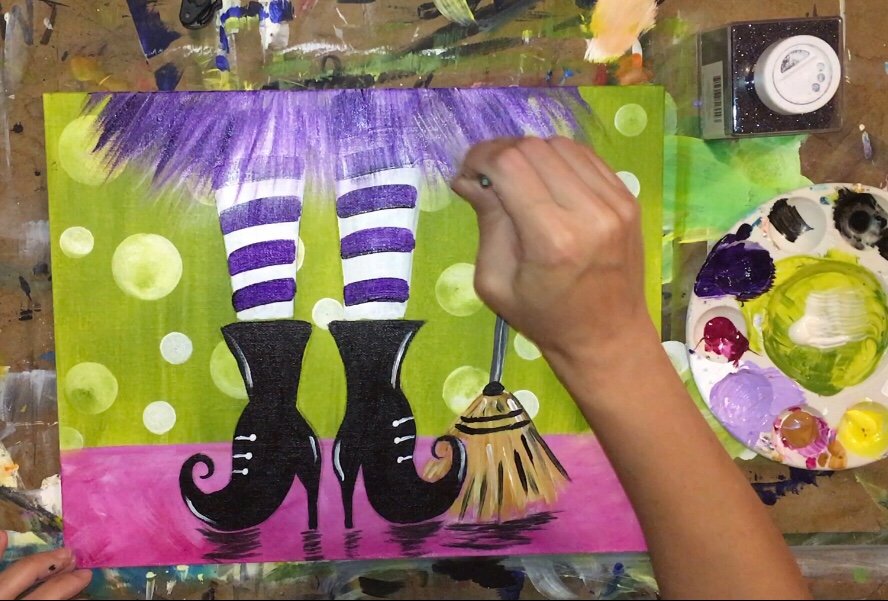
11. Use a fan brush to paint the tutu.
Start with titanium white. Use a dry fan brush on its side to paint the first layer of the tutu. Very important, keep the brush dry! Don’t add water to the white at all. These strokes should be “whispy”, “light” and “see through”.
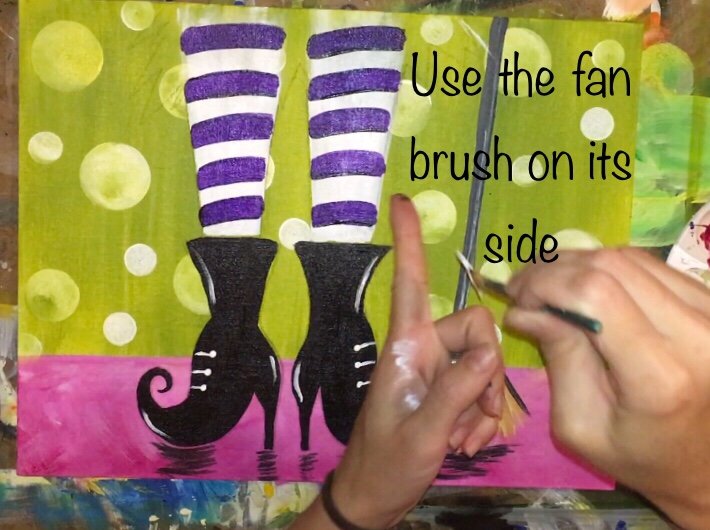
The first layer of the tutu is titanium white. This was all done with the fan brush. Use the brush on its side to create those sharp pointed lines on the bottom of the tutu. You can also use the full width of the fan brush.
On your palette mix dioxazine purple and white (about equal amounts) to create a light purple.
Paint the next layer on the tutu with this light purple. The goal is to not cover all the white but simply apply another “see through” layer with the fan brush.

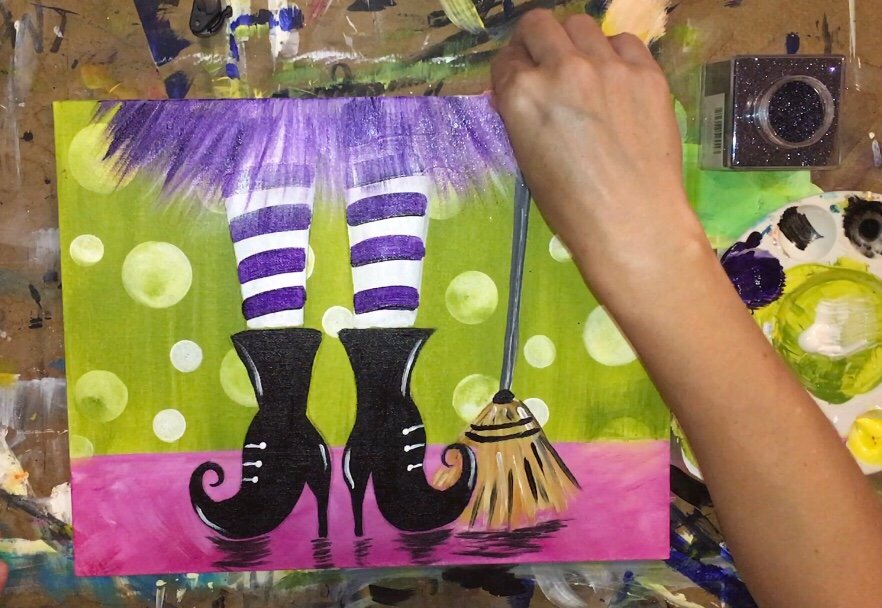
Rinse the brush and pat DRY. Next add a final layer of dioxazine purple unmixed. Again, this will be see through. At this point you should see the white, the light purple and the dark purple.
12. Apply Glitter to the Tutu
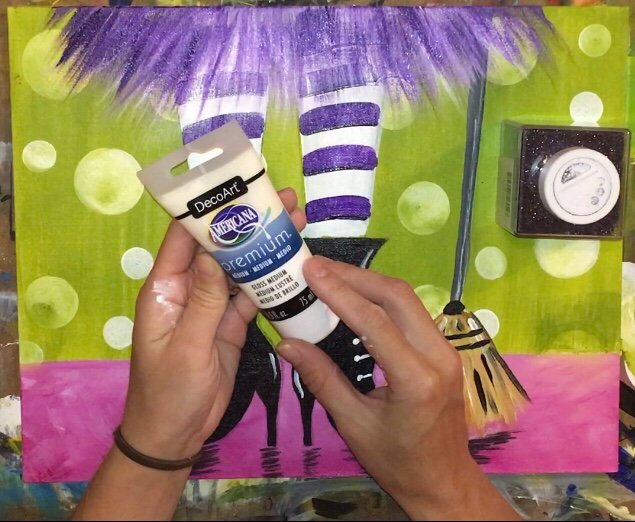
You could try to sprinkle glitter on wet paint but it may not last very long. I used a gloss gel medium to affix the glitter to the canvas and it worked WELL! That glitter is stuck and it’s not coming off anytime soon. Also, this gloss medium dries clear.
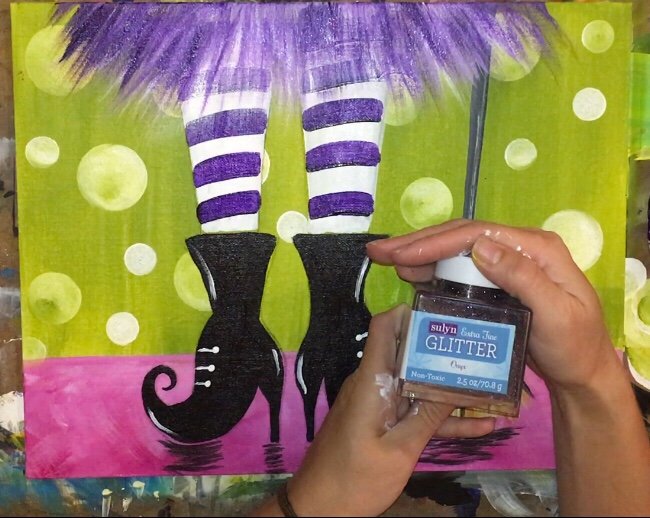
I also used onyx ultra fine glitter. I found the best way to apply ultra fine glitter is to simply use your fingers and sprinkle it on.
To apply the gel, I used a fan brush to paint a layer over the tutu. Work fast so the gel doesn’t dry.
Then sprinkle the glitter onto the tutu over the gloss gel.
Repeat this process for the boots. I applied gloss gel and glitter to the entire boot! I did carefully go around the white details on the boot.

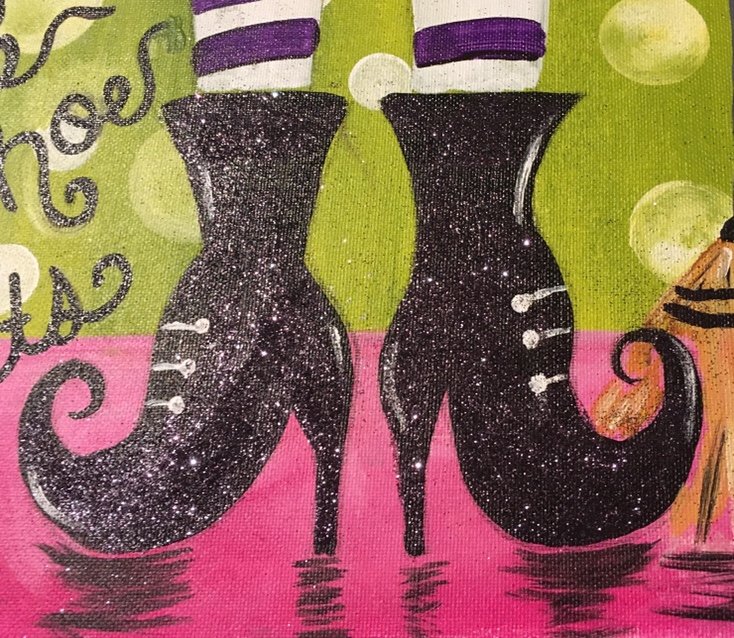
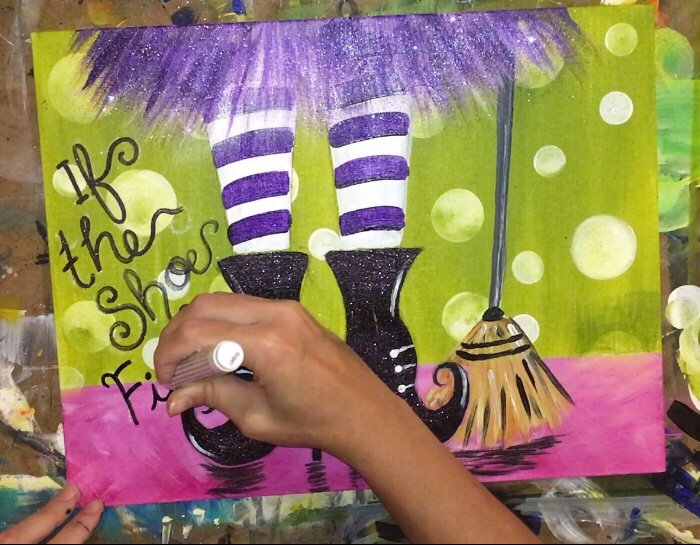
13. Use chalk to write out your words!
I never feel confident when doing letters! I practiced first even before the chalk. Then I used the chalk to write the letters until I was happy with the placement.
Use a black paint pen to trace the letters.
Last but not least, paint a cute spider with the paint pen! I used white acrylic paint for the eyes and dotted on the back eyes with the paint pen.

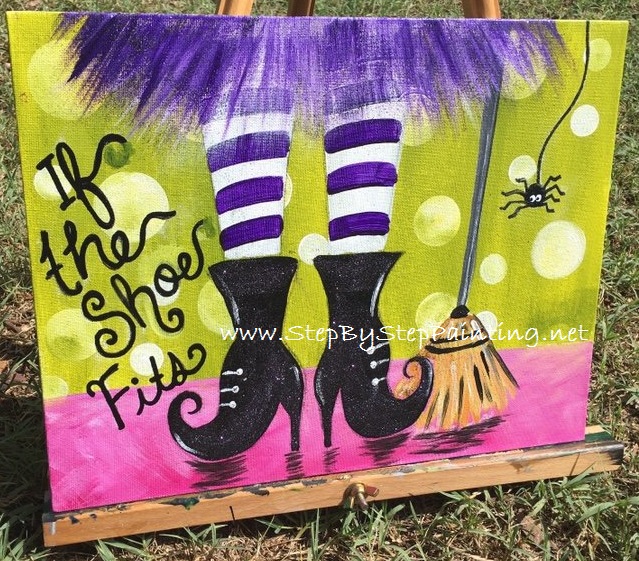
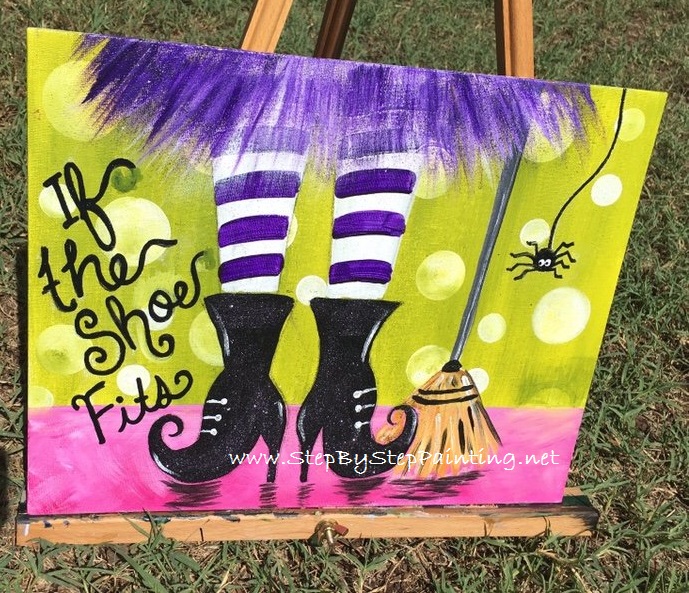
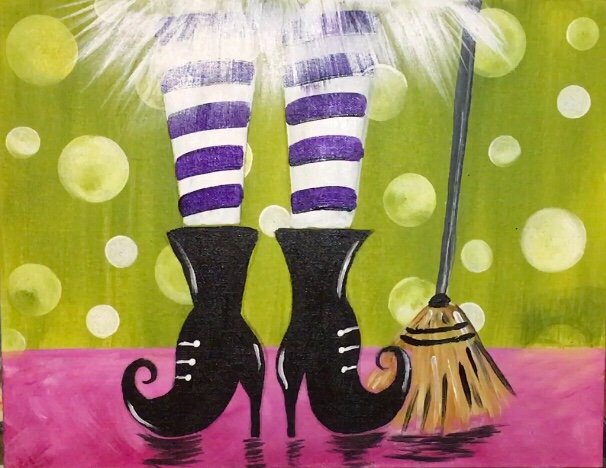
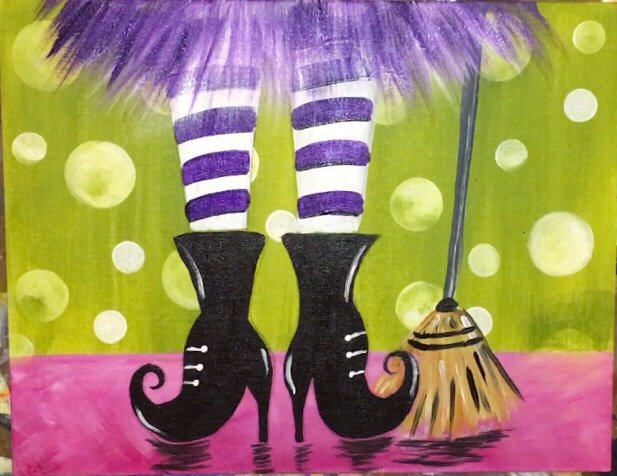
Finished!!
I don’t know about you, but I love cutesy Halloween stuff! I don’t really care for the dark and “scary” stuff. These witch feet look adorable in our living room and compliment our Halloween decor well!
Did you enjoy this tutorial? Please share on Pinterest!


Thanks for letting me subscribe. Love your painting tutorials.
Thanks Wendy!