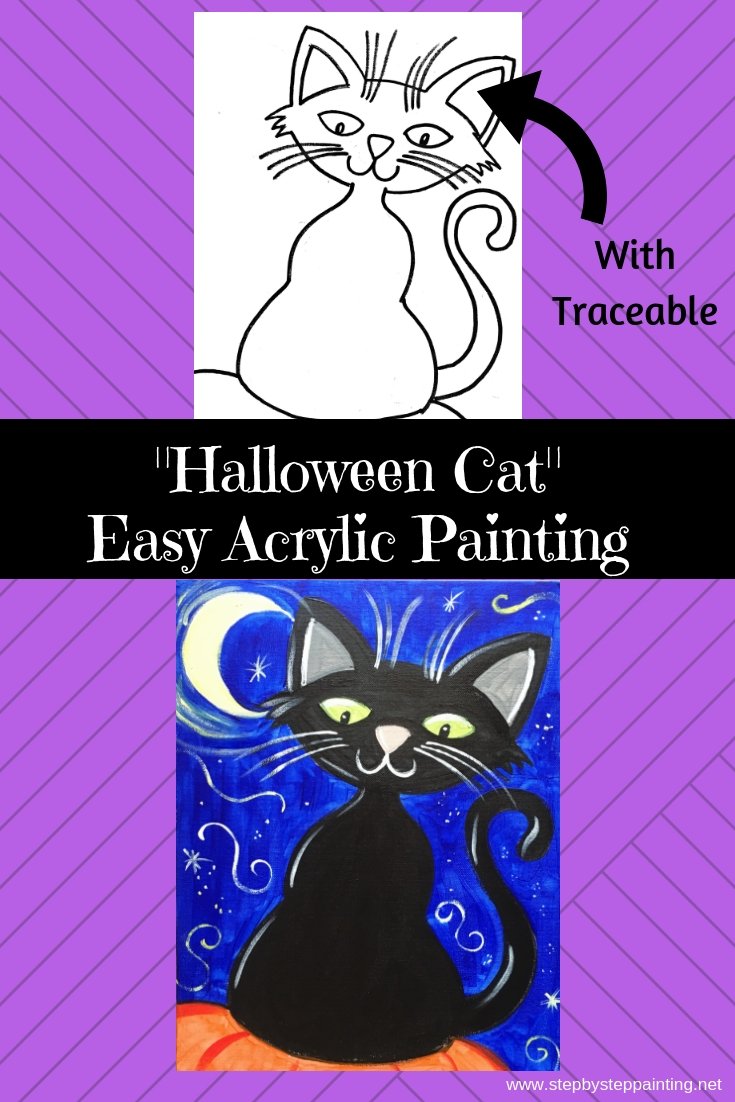
 This cute Halloween Cat is perfect for a Halloween Painting Activity with the kids! You will be guided through the steps of how to paint this SUPER EASY Halloween Cat design.
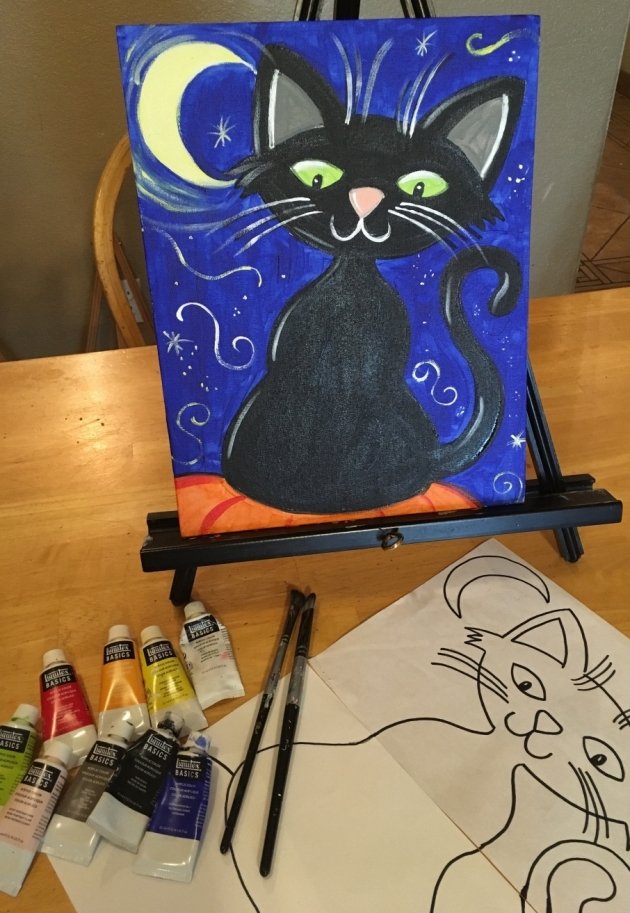
 The style of this painting is like a coloring book and the steps are so easy that a video is not necessary! Also, no drawing skills are required because this one comes with a traceable.

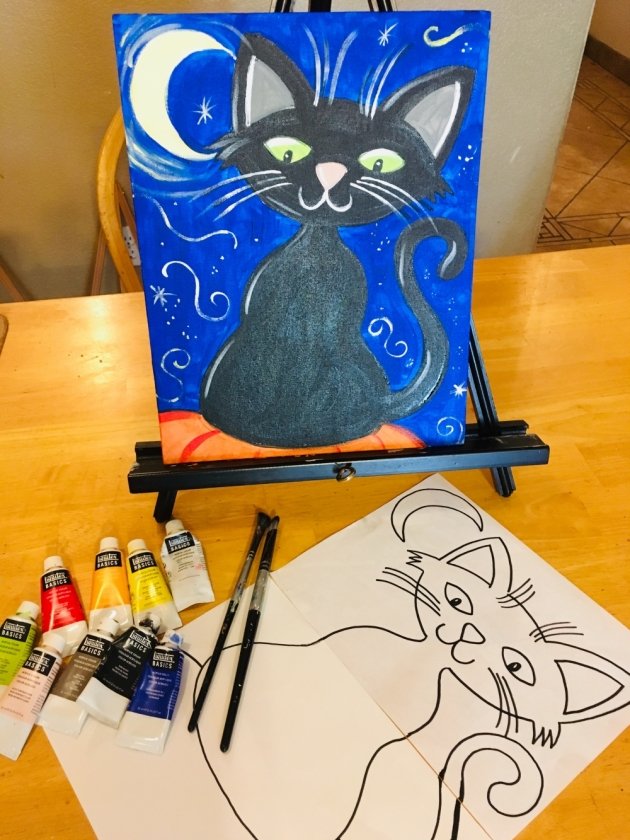
You may recognize this Halloween Cat. This design was originally done in 2017. You can check that out here if you’d like!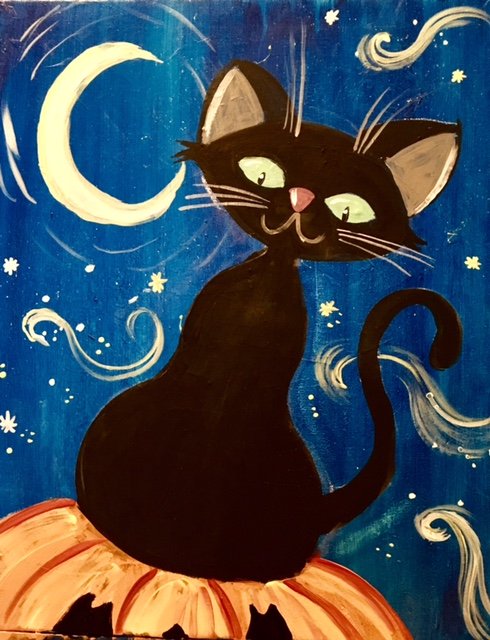 I redid this painting to fit an 11″ x 14″ canvas as well as provide a traceable so you won’t have to draw the cat! I also think it makes a super easy kid friendly painting! My three year old son, who LOVES Pete The Cat, enjoyed watching me paint this. Enjoy!
This post contains affiliate links.
Level/ Duration:
Level: Very Easy, Kid Friendly; Duration: 1-2 Hours
Materials:
- 11″ x 14″ Canvas (stretched or panel, your choice!)
- Acrylic Paint (I used Liquitex BASICS for this design but you can use what you like!)
- Cadmium Red Medium
- Cadmium Orange Hue
- Cadmium Yellow Light
- Brilliant Yellow Green
- Ultramarine Blue
- Mars Black
- Titanium White
- Portrait Pink
- Neutral Gray Value 5
- Brushes (I used Royal & Langnickel Brushes)
- 1/4″ Flat (#4 Bright)
- #0 Round
- #10/0 Round (or the tiniest round brush you have)
- Acrylic Black Paint Pen (optional if you’d like to outline the cat in the beginning)
- Traceable
Color Palette:
These colors are VERY flexible! You can customize your colors too. The style of this painting is “coloring book style” so not having the exact color mentioned will not affect the results. 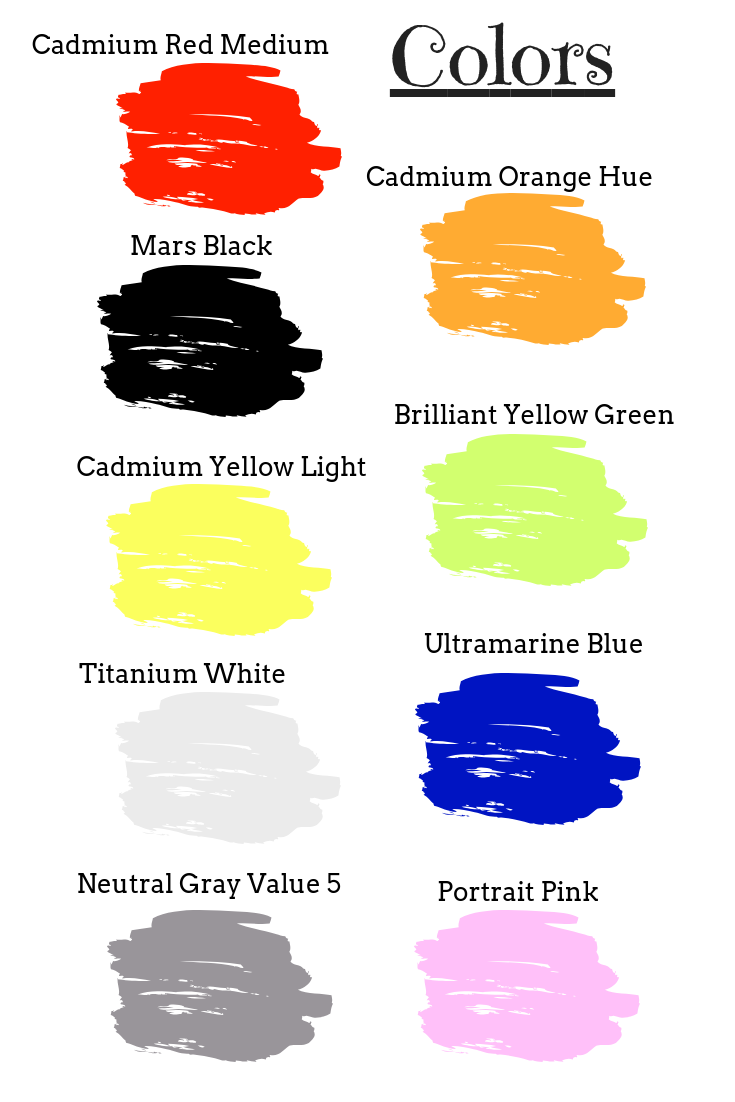
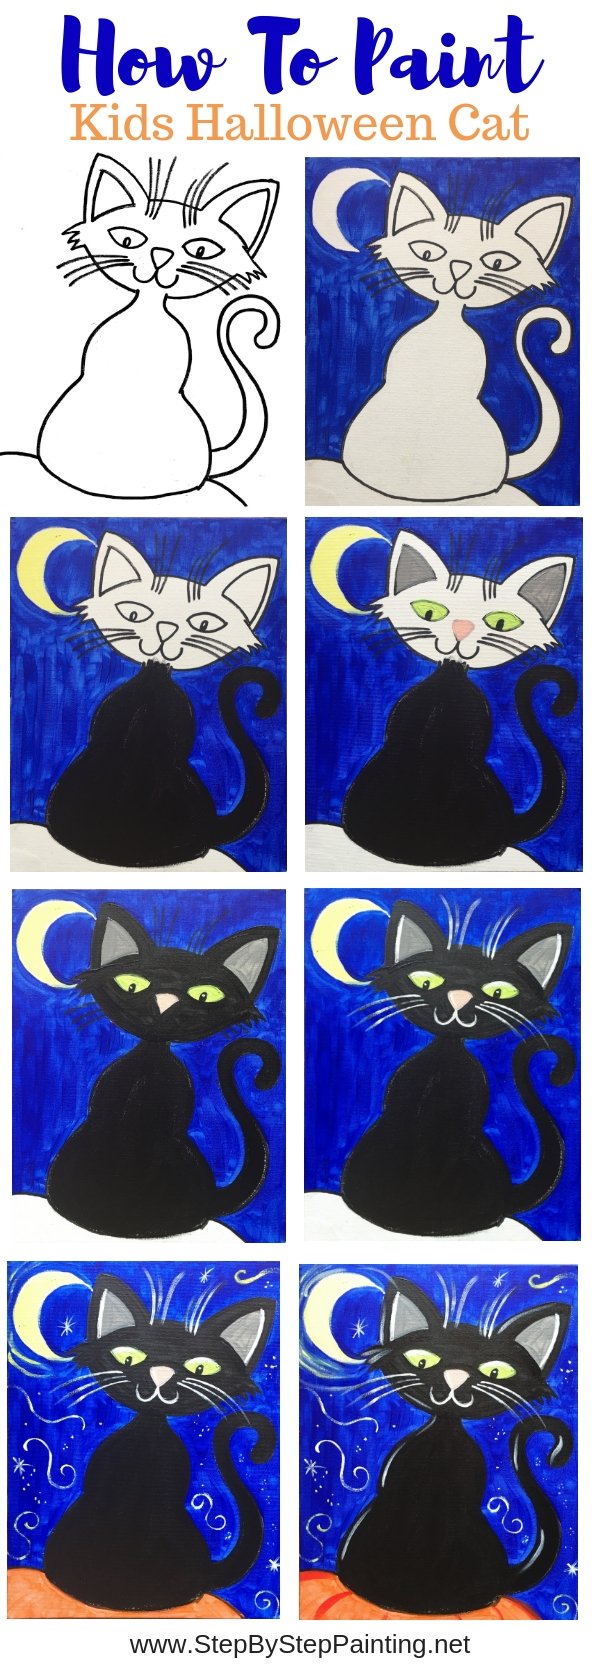
Directions At A Glance:


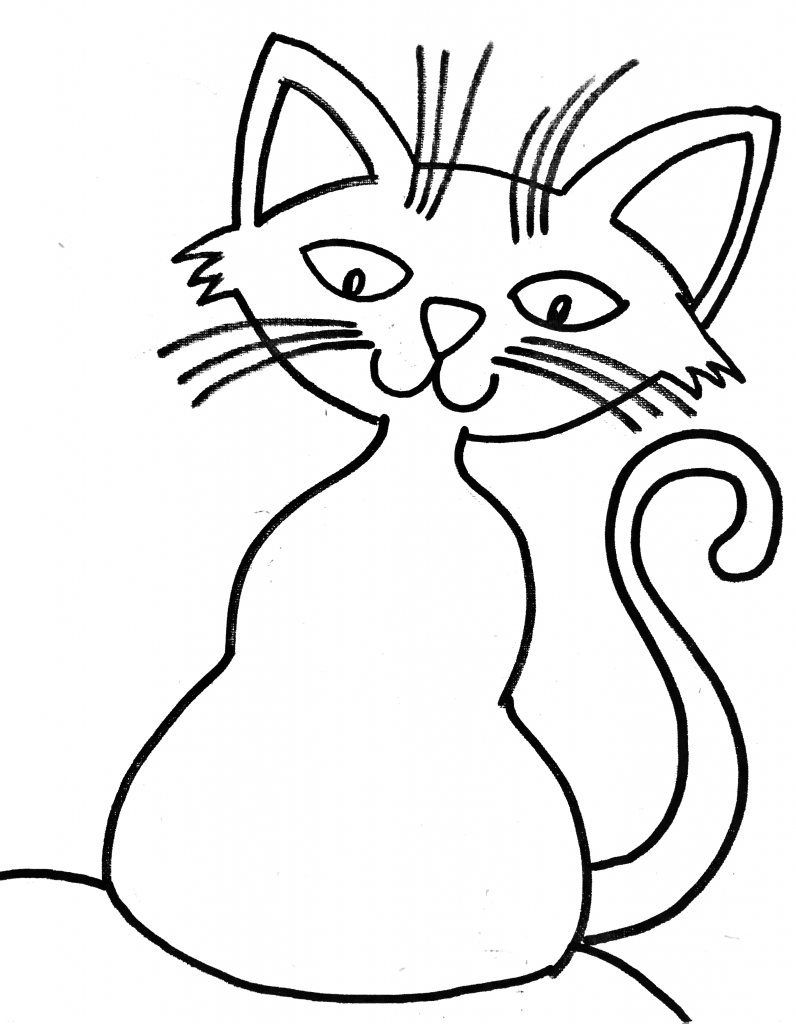
Traceables:
These can be downloaded for free in my PDF printable library or click the cat images below.

Directions:
1. Transfer the Halloween cat to the canvas using graphite paper.
- Trace the cat onto the canvas by placing a sheet of graphite paper in between the printout and the canvas.
- Then outline the drawing with a black paint pen. This is especially helpful if you are painting with kids! The nice bold lines are easy to see and super friendly!

2. Paint the background area all around the cat and moon.
- Use the color ultramarine blue (or a similar blue). Use a 1/4″ flat brush to paint. It helps to “cut in” on the edges first and then fill in the bigger areas. Try to make sure all your strokes are going in the same direction.
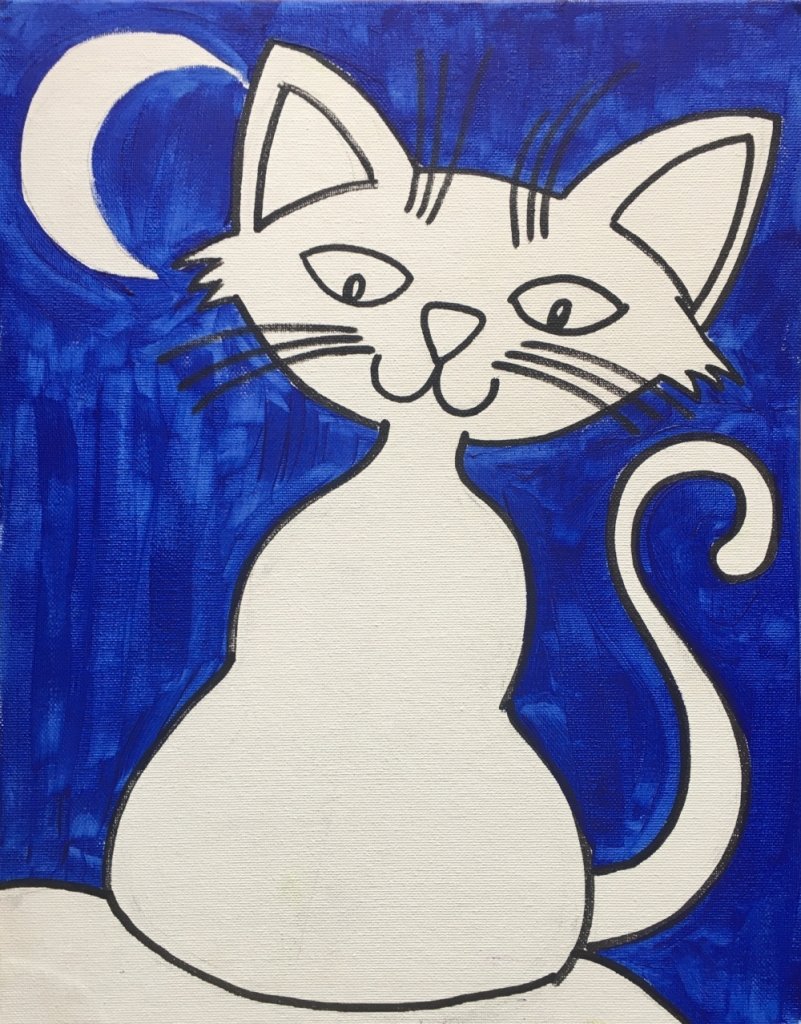

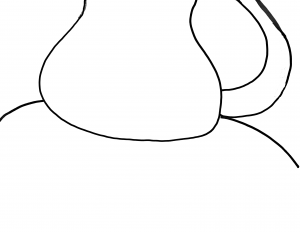
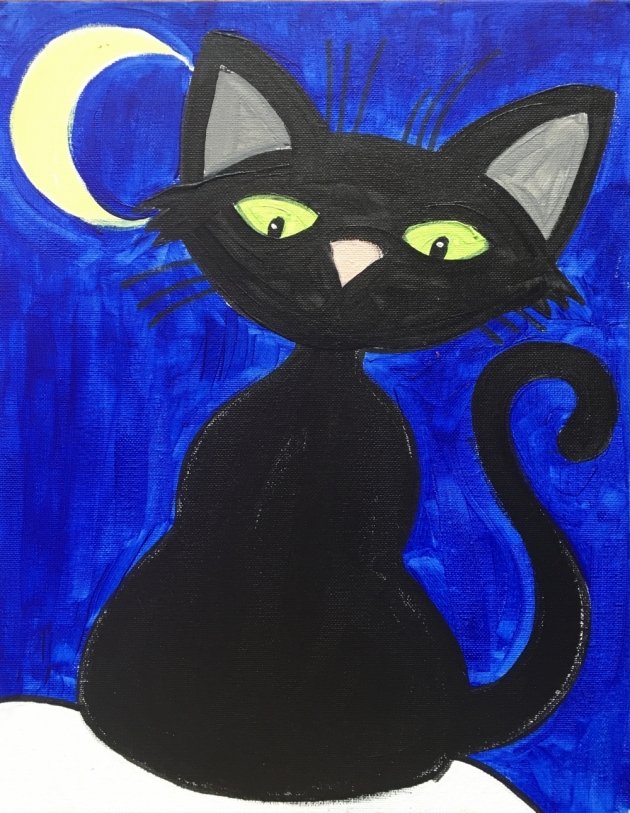
3. Paint the bottom of the cat, the cat’s tail and the moon.
- Use that 1/4″ flat brush to paint the body of the cat in as well as his tail. I used the color Mars Black.
- Leave the head blank for now.
- Mix equal amounts of cadmium yellow light and titanium white.
- Paint the moon this light yellow color. Use any brush to paint the moon in. To get the tiny corner, you may need a #5/0 brush.

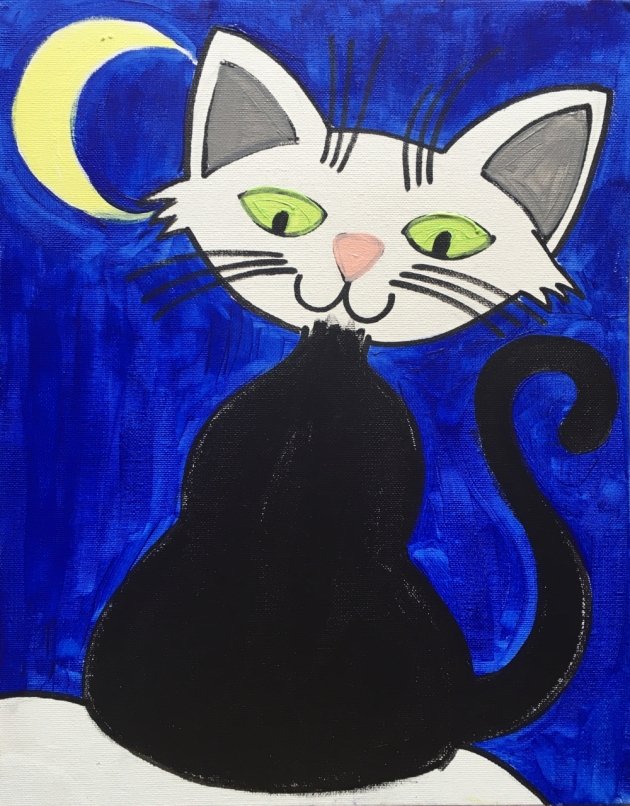
4. Paint details on the cat’s face: the eyes, nose and inside of the ears.
- For the ears I used a 1/4″ flat brush. Paint them the color “neutral gray value 5”.
- The eyes were painted with a #0 round brush. Paint those “brilliant yellow green”.
- The nose was also painted with a #0 round brush. Use the color portrait pink.
- Also paint the black area of the pupils in with mars black (unless it’s already painted in with a paint pen).

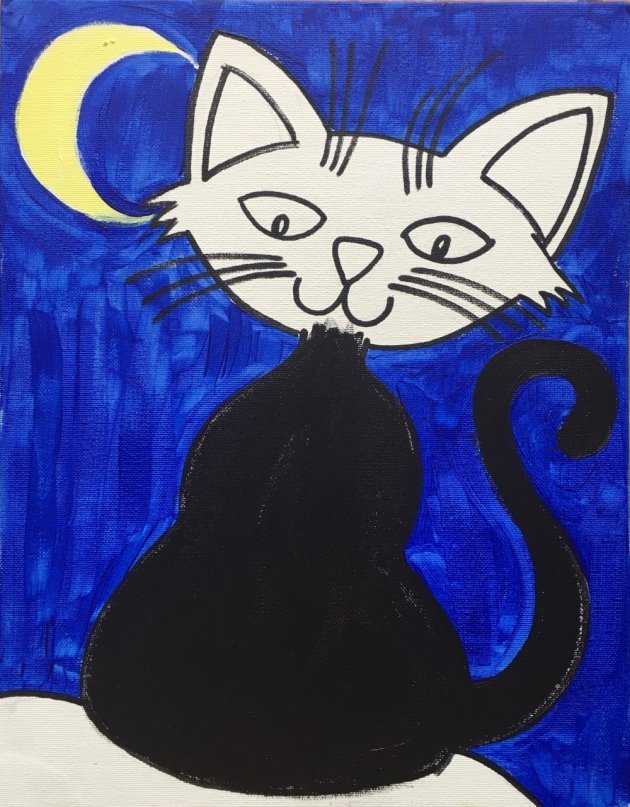
5. Paint the top part of the cat’s head.
- Use a 1/4″ flat brush and the color “mars black” to carefully paint the head in. Paint around the eyes, nose and outside border of the ears.

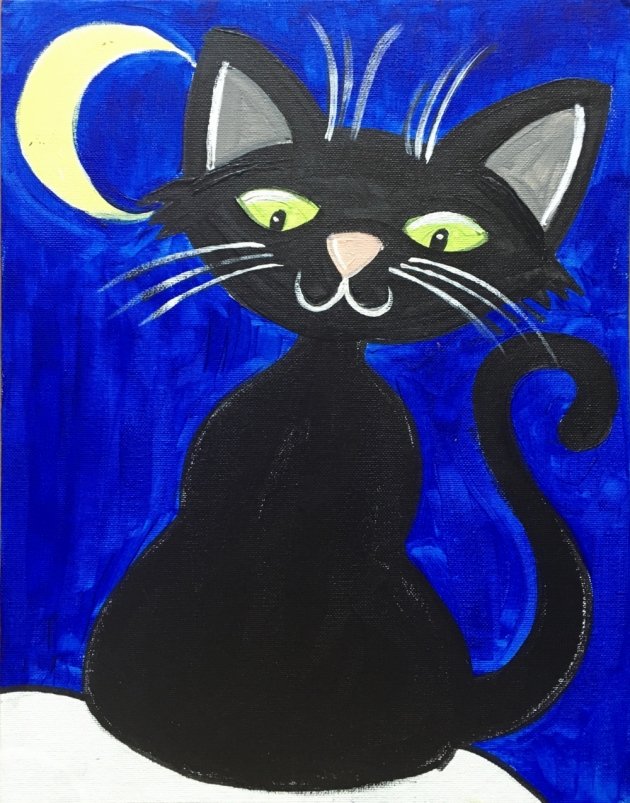
6. Use the color “titanium white” to paint whiskers and small highlight details.
- You’ll need a #5/0 brush or the smallest round brush you have for this step! Read the directions closely and look at the image below.
- Paint the whiskers titanium white.
- Then Paint the inside line of the ear (far left on one ear and far right on the other ear).
- Paint a little white dot inside the black pupil of the cat’s eyes.
- Paint a white highlight on the very top of the eye.
- Paint a white highlight on the left of the pink nose.
- Paint the cat’s mouth.

7. Paint the pumpkin cadmium orange hue then paint some stars in the sky.
- Use the color cadmium orange hue and a 1/4″ flat brush to paint the pumpkin.
- Then switch to your tiny #5/0 round brush to paint white spirals in the sky.
- Use the color yellow as well. Paint little dots and asterisks for stars.
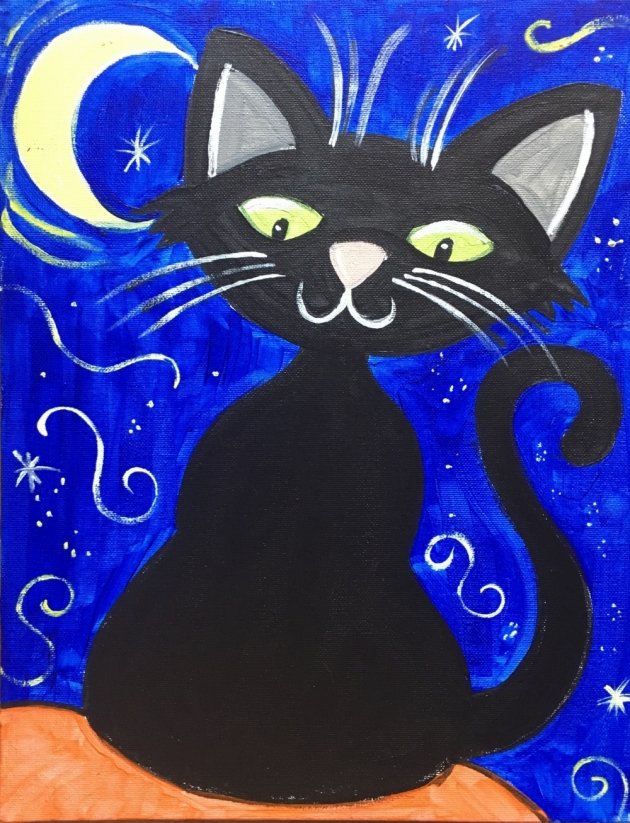

8. Finish the painting with some details.
- To finish this painting with some details, I used the color cadmium red medium to paint some lines on the pumpkin.
- Then I used the color titanium white to add more highlights in all the left areas of the cat. The left area of the body, the left area of the ears and the left area of the tail all have a white highlight line.
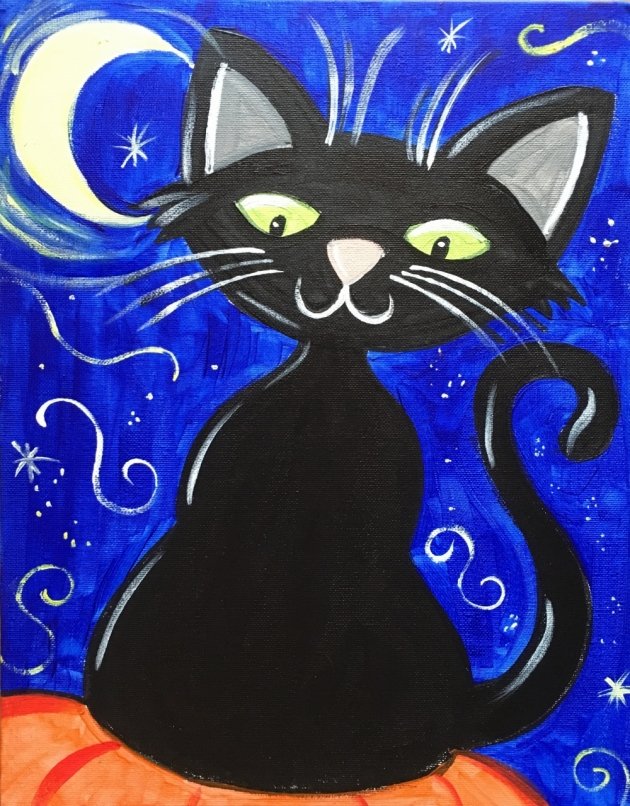
Finished!
Super easy! I know this one isn’t like my other tutorials but I was updating traceables and just HAD to make this one into a SUPER EASY kid’s lesson. If you enjoyed this, let me know! Share you results on the SBSP Facebook Page or on a Pinterest Pin!