

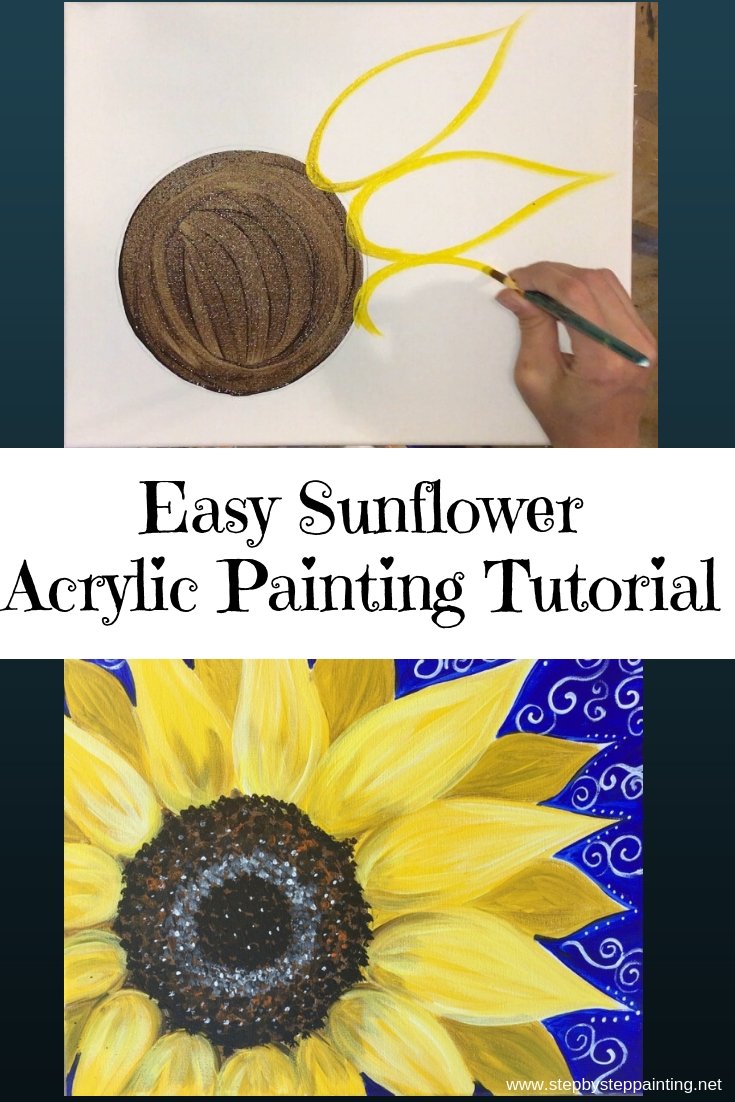
How To Paint A Sunflower
Would you like to save this?
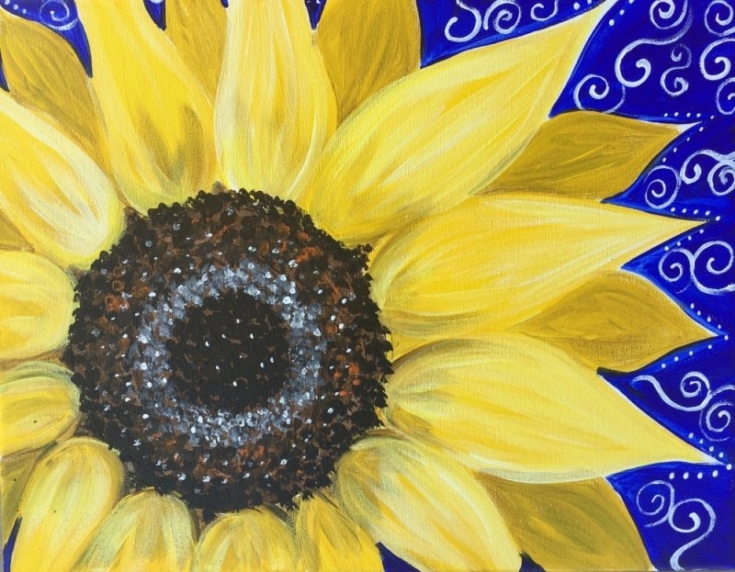
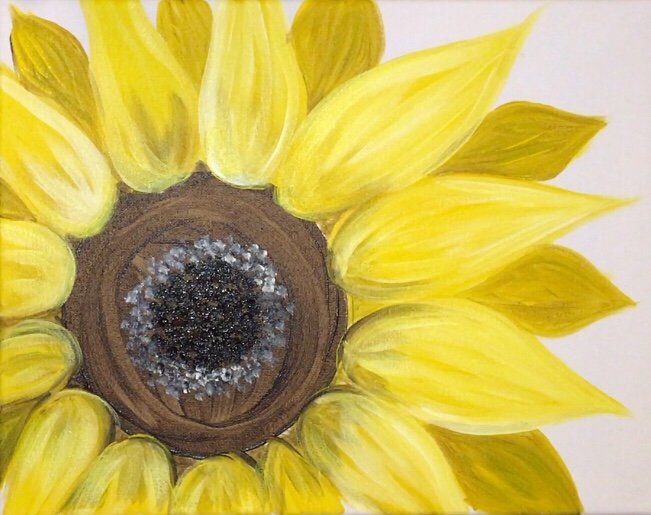
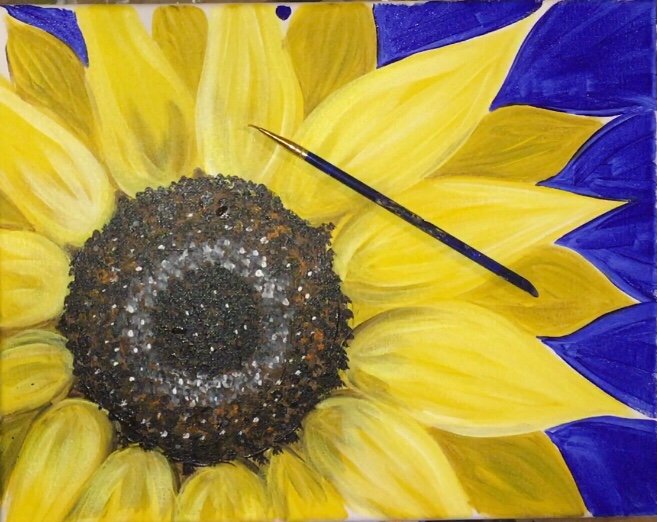
Learn how to paint a bright, cheerful yellow sunflower! This acrylic painting tutorial of a sunflower is for the beginner and I will direct you through each step.
Painting sunflowers can seem kind of hard. I think it’s all about layering colors and using some different stroke techniques.
The center, for example, was done using “stippling”. The petals were done with “double loading” two colors on the brush. I used two different shades of yellow as well as brown and white.
I will teach you these techniques in this tutorial!
This painting demonstration was done on an 11″ x 14″ canvas. I also did it on an 8″ x 10″ canvas.
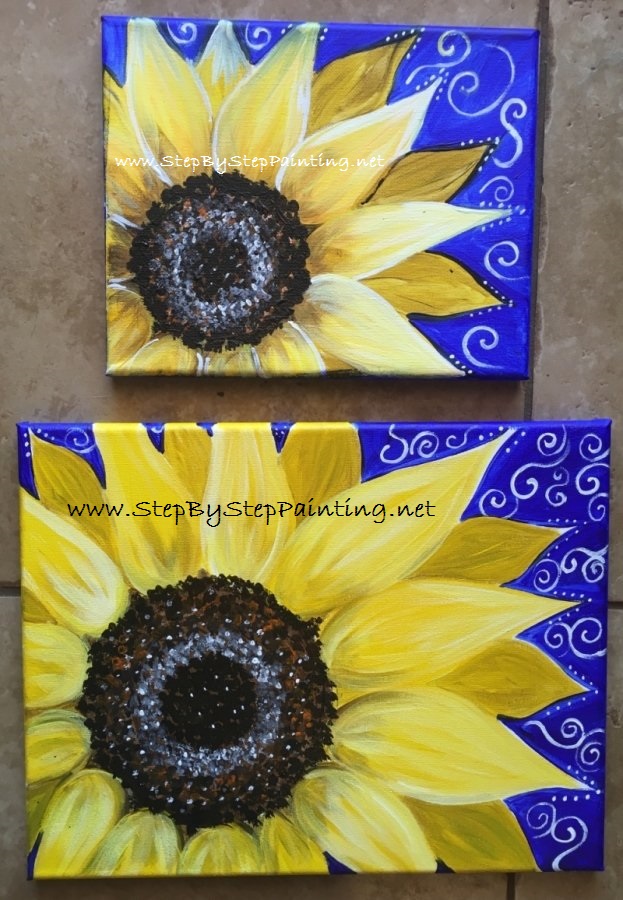
The design itself is very versatile and can easily be done on a larger scale. If you are inching to paint on a large canvas then this is a great tutorial to do that on!
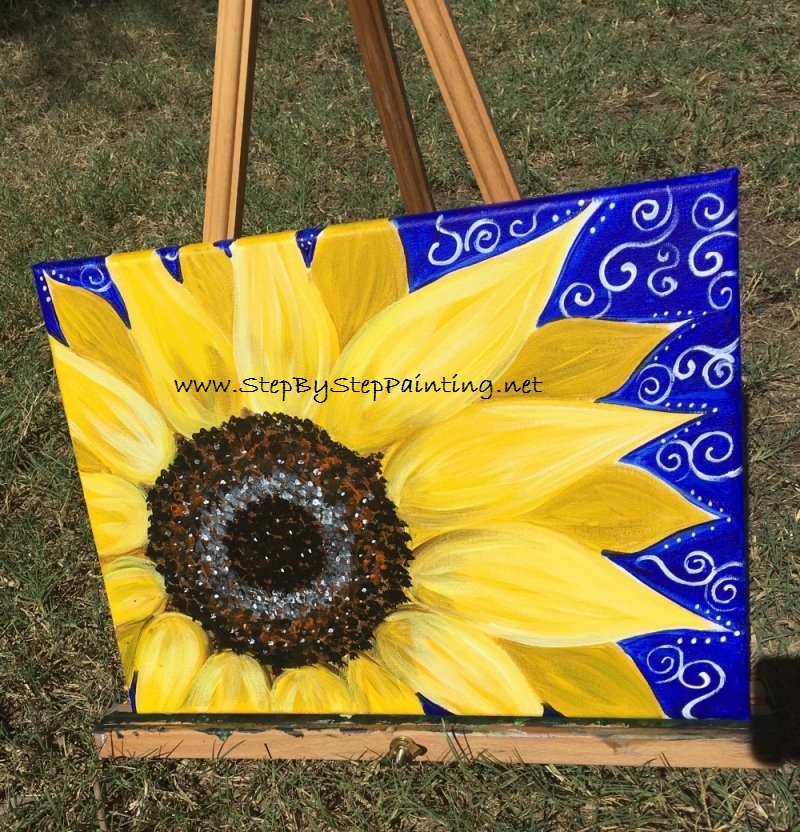
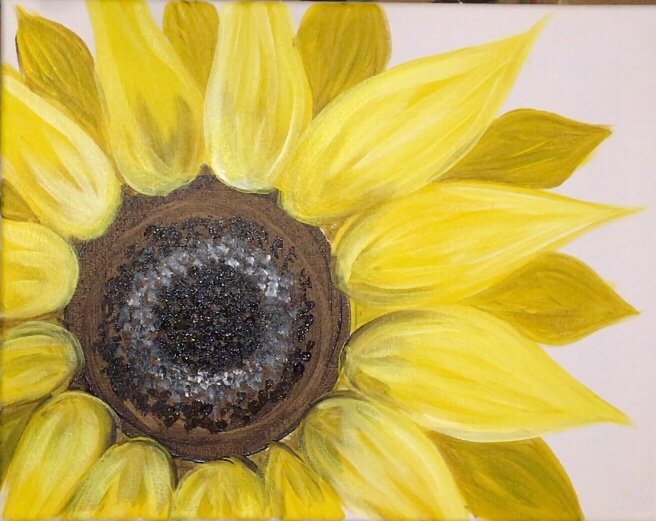
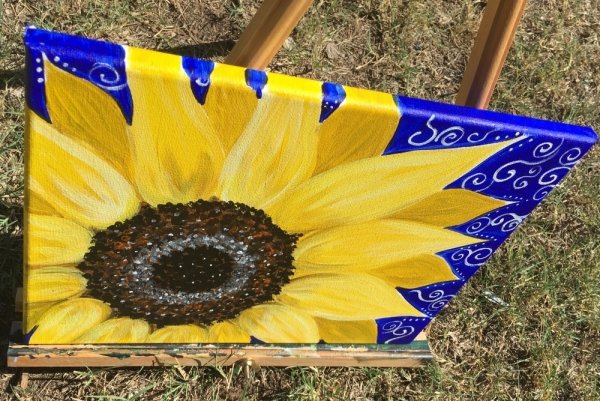
I chose ultramarine blue for the background because I love how the yellow pops with it! You can choose a different background color if you’d like and even omit the spirals.
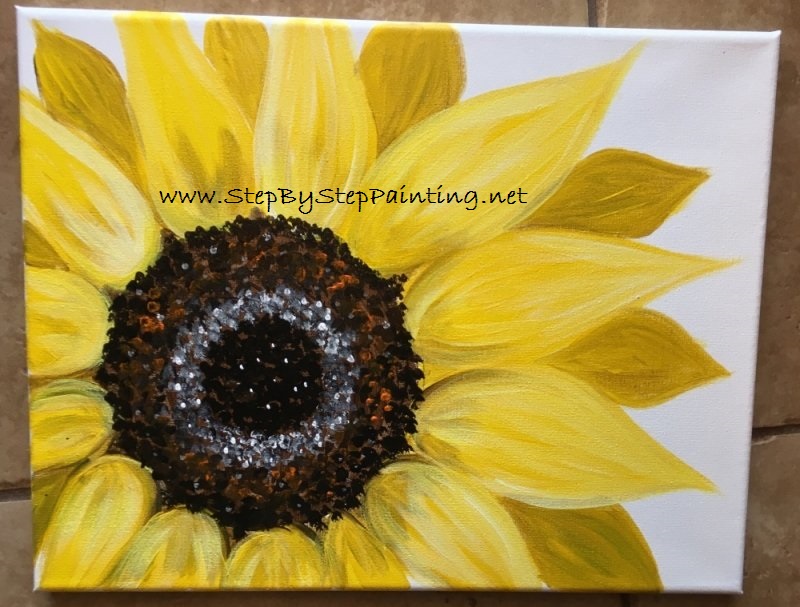
I actually think a white background looks fabulous too!
Also, painting the sides of this canvas will give the sunflower painting a beautiful 3D effect of the petals extending around the canvas.
Happy Painting!!!
This post contains affiliate links.
See Also:
Materials
How To Paint A Sunflower
Learn how to paint a sunflower for beginners. This step by step guide will teach you how!
Materials
- 11 x 14 Canvas (This design can work on any size)
- Acrylic Paint
- Brushes
- Easel
- Jar Of Water
- Paper Towel
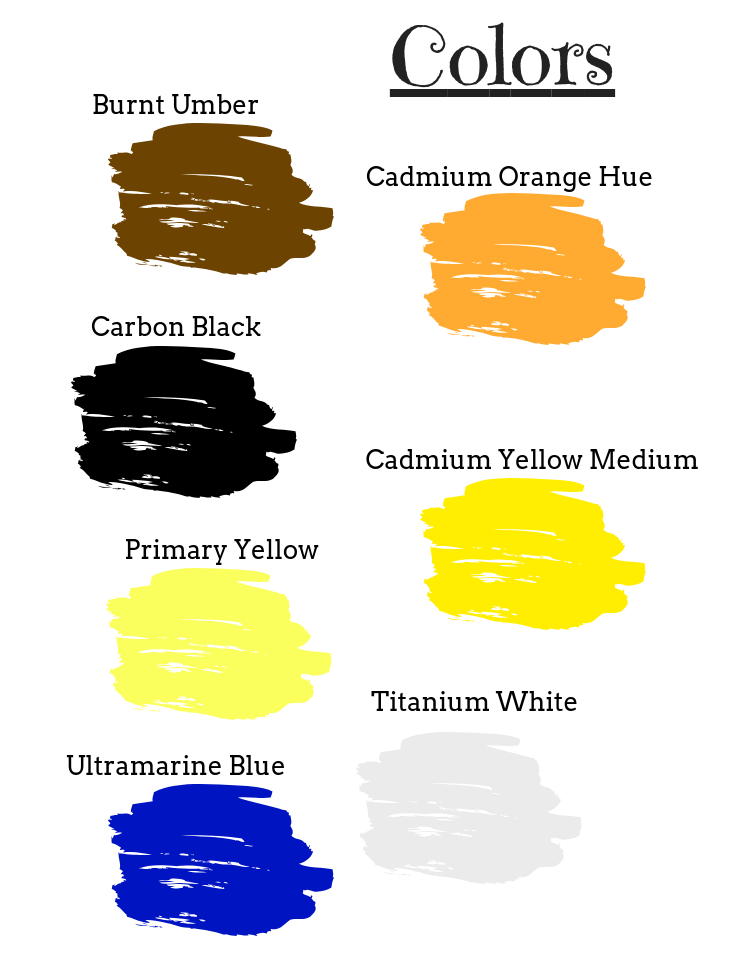
Colors
- Burnt Umber
- Cad Orange Hue
- Carbon Black (Or mars black)
- Cad Yellow Medium
- Primary Yellow
- Titanium White
- Ultramarine Blue
Brushes
Instructions
- Trace a 6” circle in the lower left area of your canvas for the center of the sunflower.
- Paint the circle burnt umber.
- Use a #8 Round Bush to draw the petals out with cadmium yellow hue.
- Paint the bottom of the petals with cadmium yellow hue double loaded with a tiny bit of burnt umber.
- Paint the rest of the petals with cadmium yellow hue double loaded in primary yellow.
- Paint the back petals with burnt umber mixed with cadmium yellow hue.
- Double load the filbertbrush with primary yellow and white to paint the top layer of the front petals.
- Use a #8 round brush to stipple black in the center of the circle.
- Add white to the brush and stipple a white ring around the black circle.
- Rinse brush and then add burnt umber and black.
- Load the brush with cadmium orange and stipple some orange dots on the outer parts of the circle.
- Rinse brush and paint pure titanium whites in the center of the circle.
- Paint the background ultramarine blue.
- Paint the sides of the canvas..
- When the background is dry use a tiny round brush to paint white spiral designs over the blue .
Notes
Using Apple Barrel craft paints? Scroll down a little further for color suggestions.
Color Palette:
Doing this with Apple Barrel?
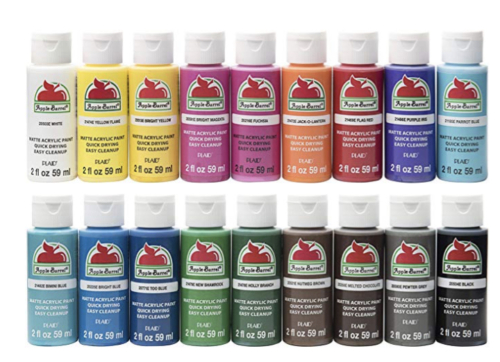
Use these colors:
- Nutmeg Brown (Burnt Umber)
- Jack O Lantern (Cad Orange Medium)
- Black (Carbon Black)
- Yellow Flame (Primary Yellow)
- Bright Yellow (Cad Yellow Medium)
- White (White)
- Bright Blue (Ultramarine Blue)
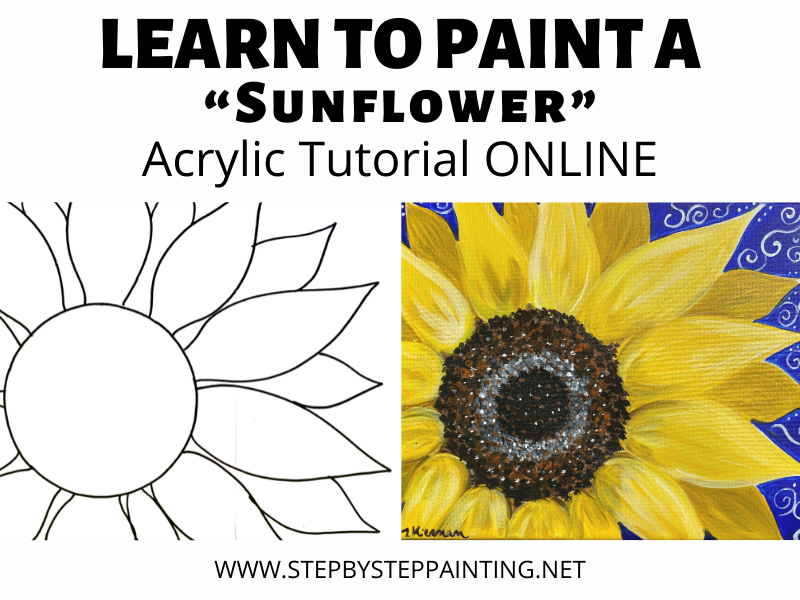
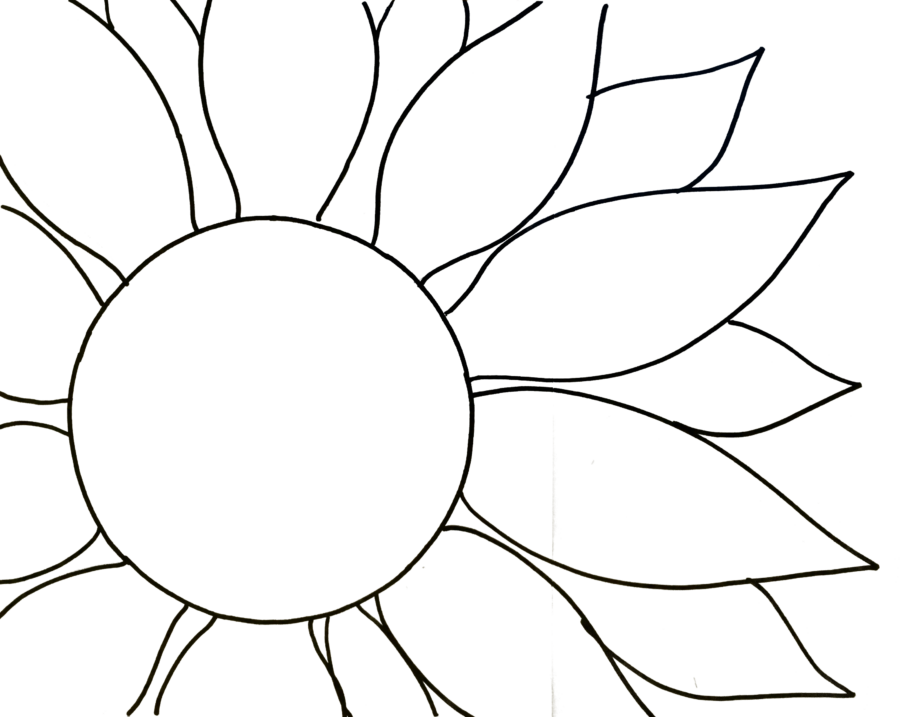
Traceable (optional)
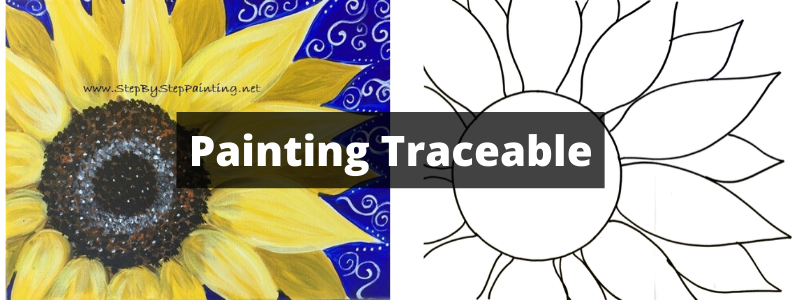
The traceable is optional in this painting because I guide you through with painting the petals. However, I am providing this for you if you feel more comfortable having the flower predawn for you! Click the image to download the PNG.
Directions At A Glance:

Video:
Step By Step Pictures
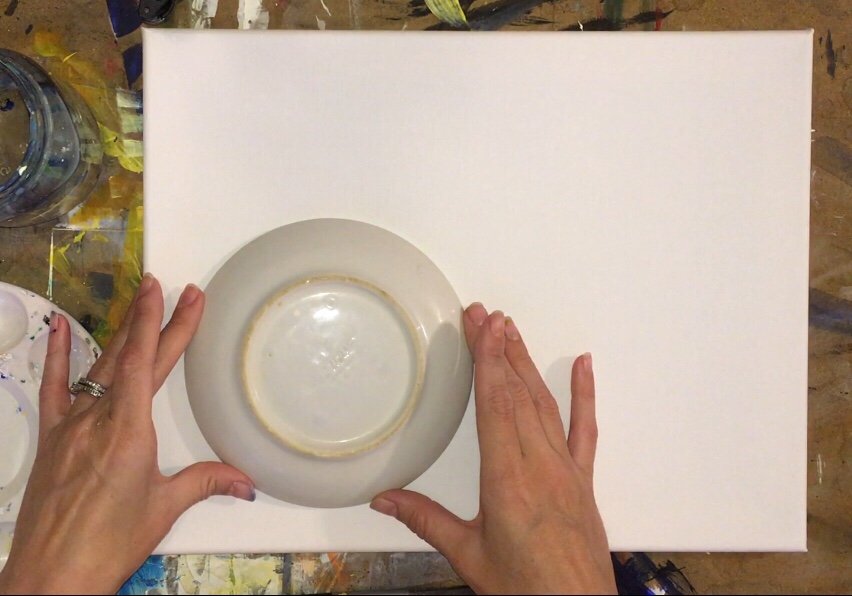
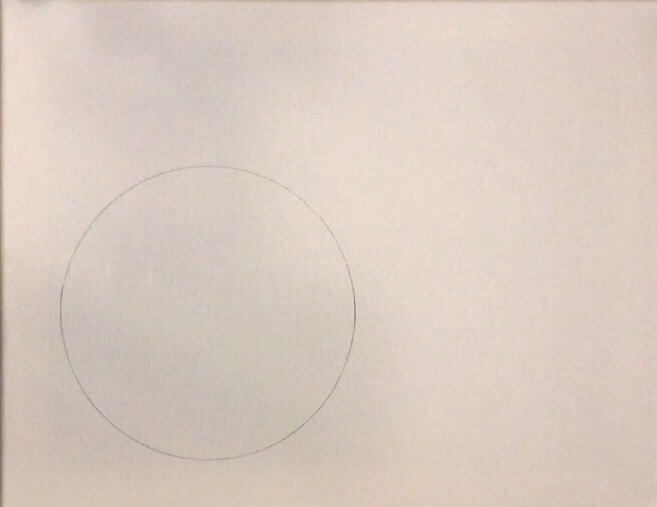
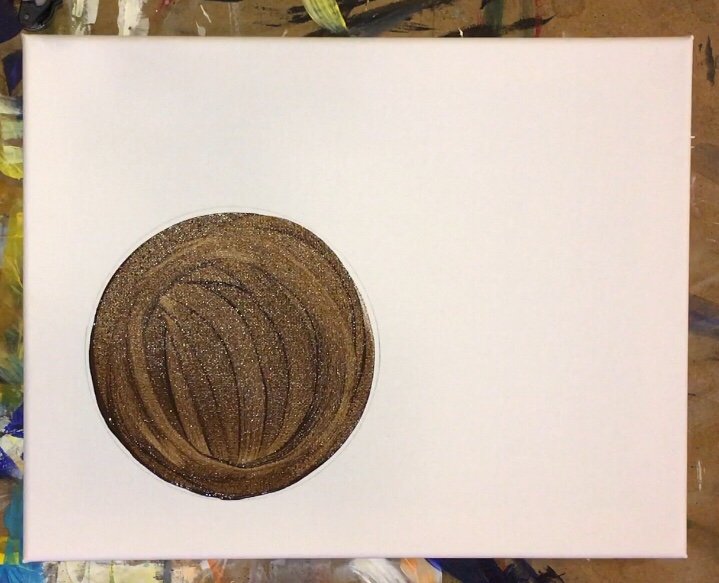
1. Trace a 6″ circle on the lower left area of your canvas.
I found a plate that was 6″ in diameter. You can do the same and find a circle that is relatively the same size.
If you are working on a larger or smaller canvas, you will need to adjust the size of your circle. I used a pencil to trace.
2. Paint the circle burnt umber.
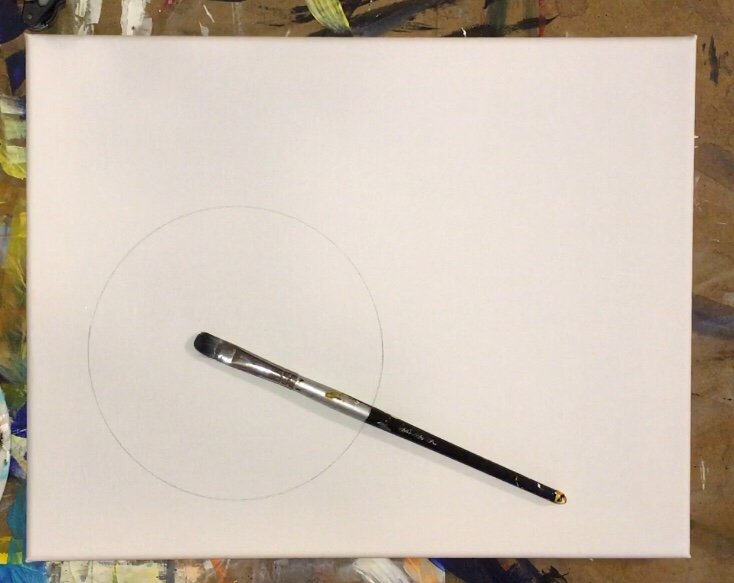
Using any brush (I used a filbert brush), paint the entire circle a solid coat of burnt umber. You don’t need to worry about stroke direction here, it is only an under layer color.
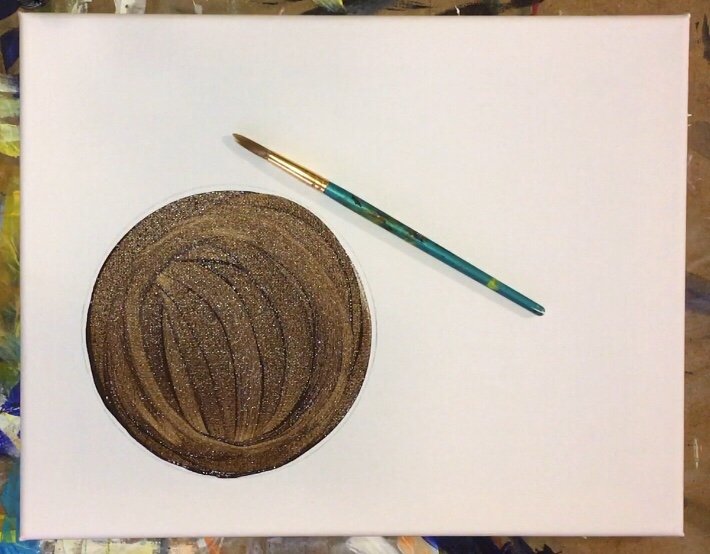
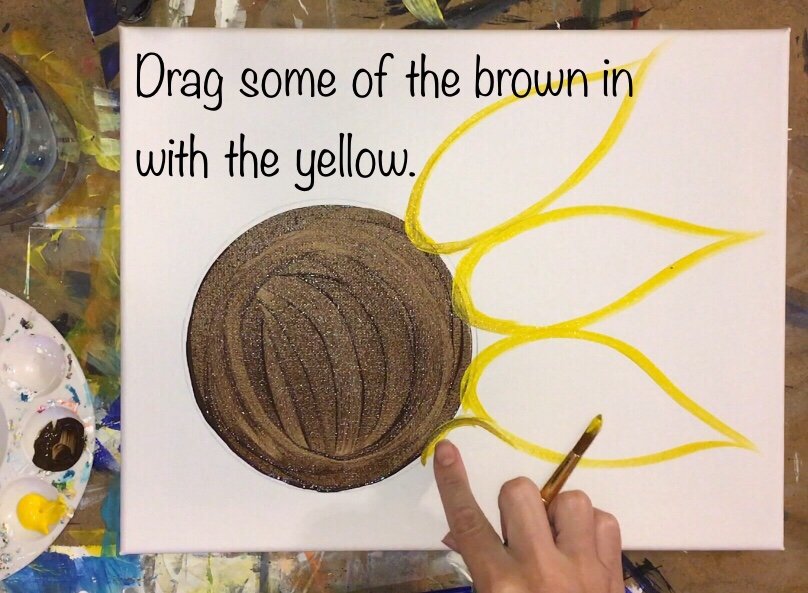
3. Use a #8 round brush to draw the petals all out with cadmium yellow hue.
For the petals I used a #8 round brush and the color cadmium yellow hue.
I started each petal at the base where the circle is and overlapped it slightly over the circle.
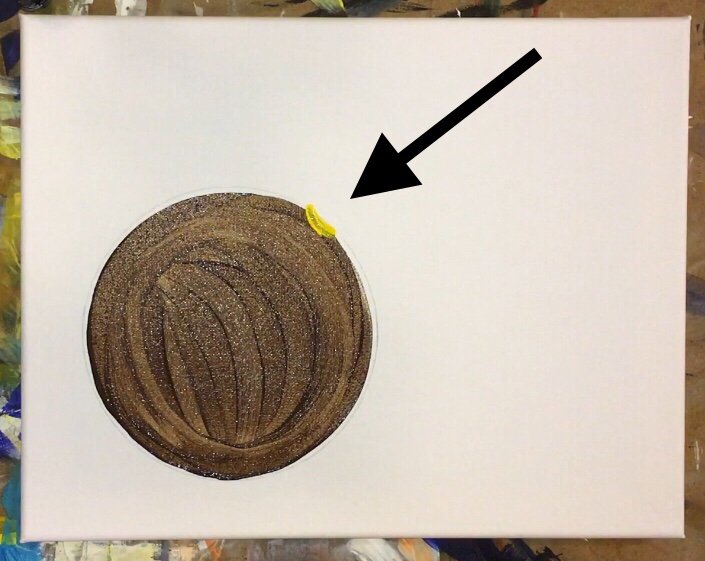
Then I drew each petal out. The tip of all the petals went almost all the way to the edge of the canvas.
The petals themselves are wider in the middle and come to a point.
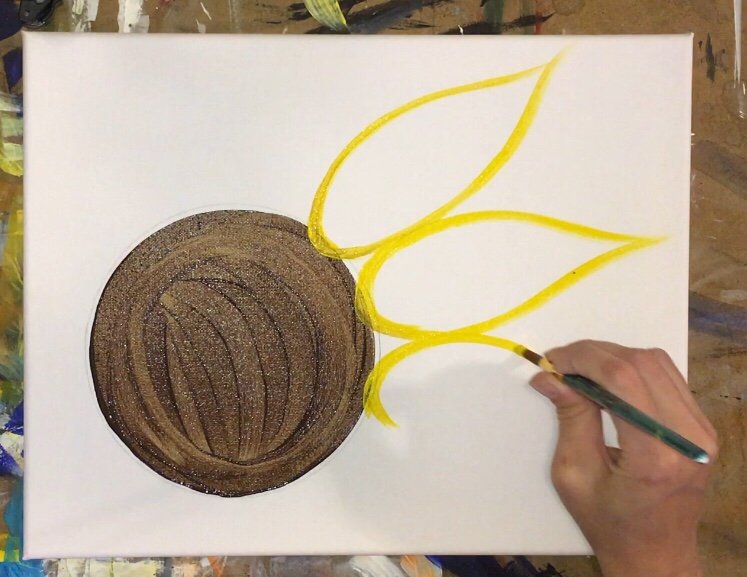
Because that burnt umber (brown) is not dry yet, you may end up dragging it with the yellow.
That is okay and actually I purposely let it do that so my yellow would look more like a sunflower yellow.
Each petal is slightly different, none of them are exactly uniform.
Also, I didn’t really worry about overlapping at this point. I just painted them as if they were all side by side.
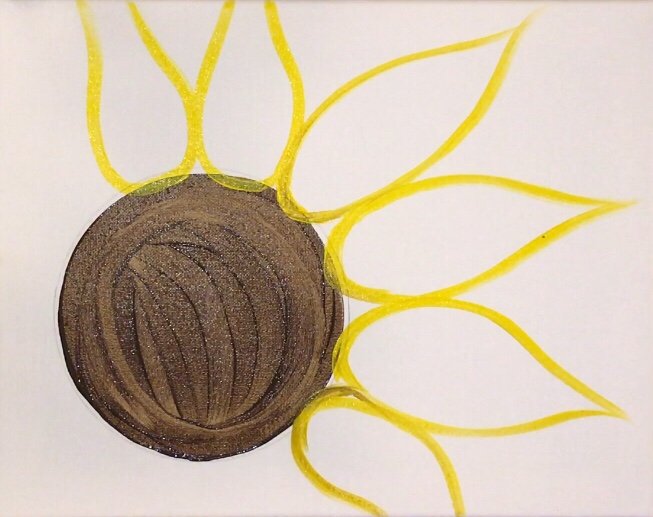
Also remember that the petals on the left will go off the canvas so we don’t see the tips. You’ll need to just estimate how they would look.
4. Paint the bottom parts of the petals with cadmium yellow hue double loaded with a tiny bit of burnt umber.
Using that #8 round brush, I double loaded it with a tiny bit of burnt umber and more cadmium yellow hue.
Double loading means to load your brush with more than one color.
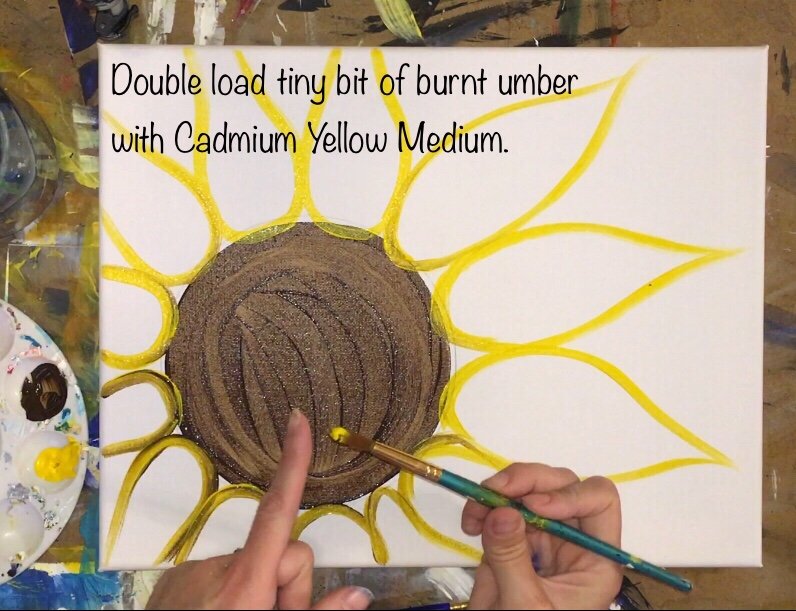
Then I painted the bottom part of each of the petals. My strokes went in the direction of the petal.
When you reload the brush, make sure you add more cadmium yellow hue and not so much burnt umber.
This area should look like a dark, unmixed yellow and not brown. Paint just the bottom of all the petals.
5. Paint the rest of the petals with cadmium yellow hue double loaded with primary yellow.
Use a filbert brush. 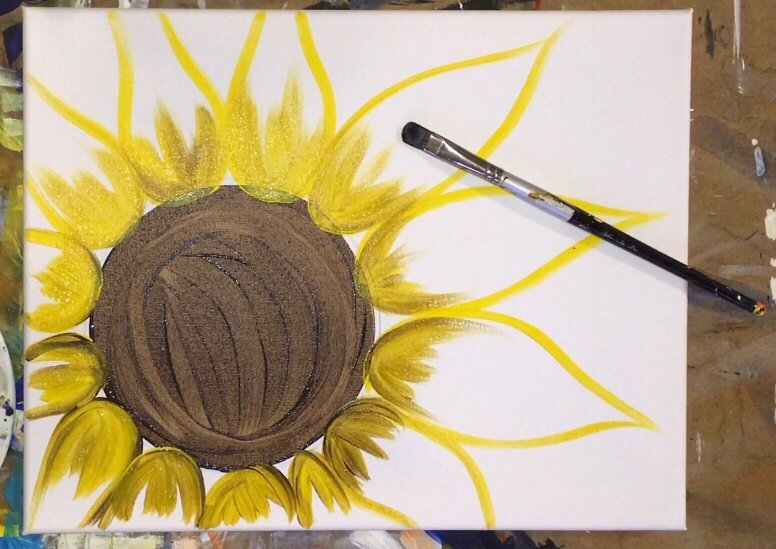
Double load the filbert in both cadmium yellow hue and primary yellow (about equal amounts).
Paint the petals in with your strokes going in the direction of the petals. Those two yellows will blend to create an uneven yellow on the petals.
Try to get that darker part to blend with the yellows as well so it has a nice sooth transition from dark to light.
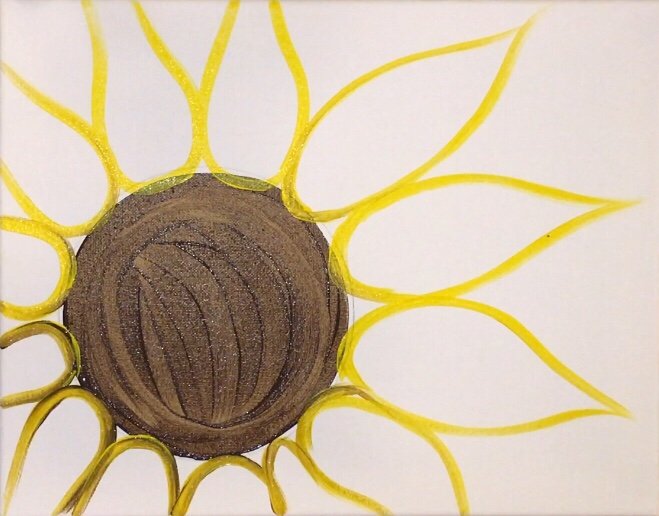
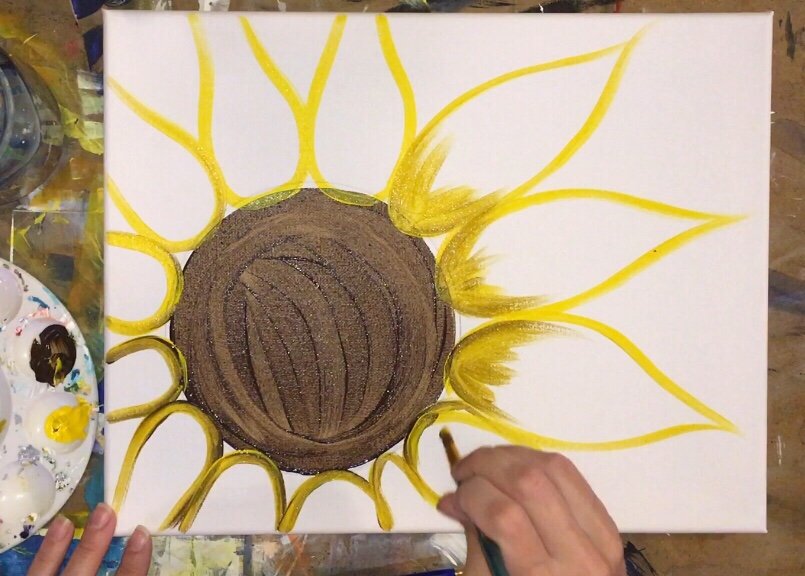
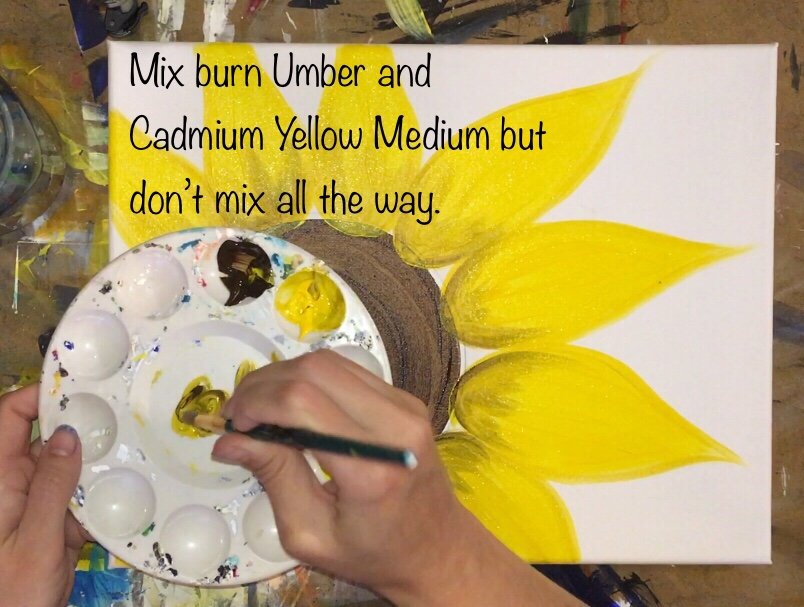
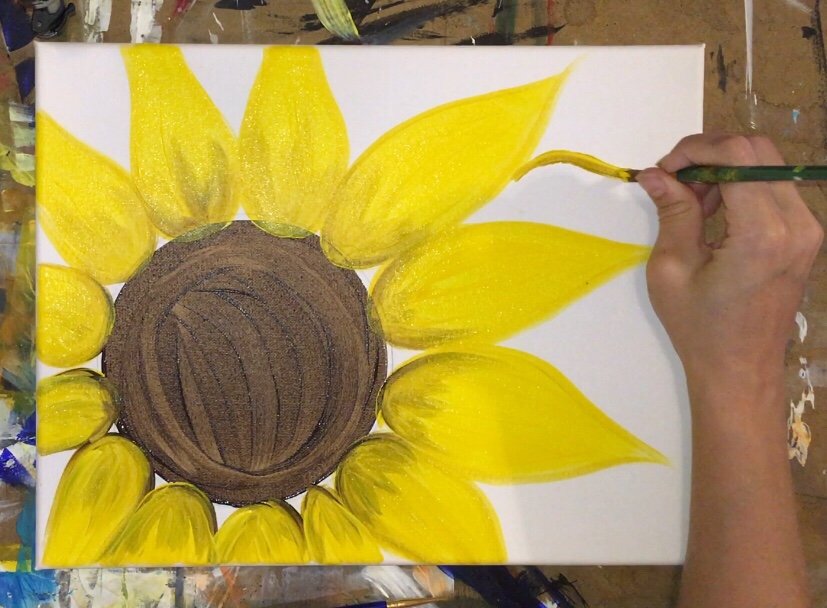
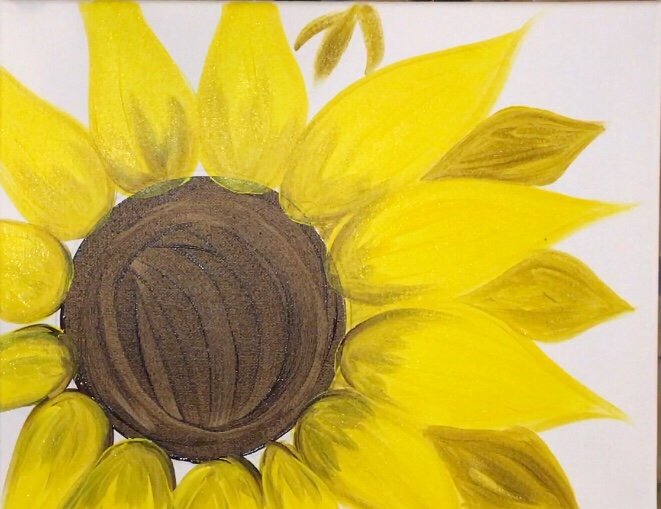
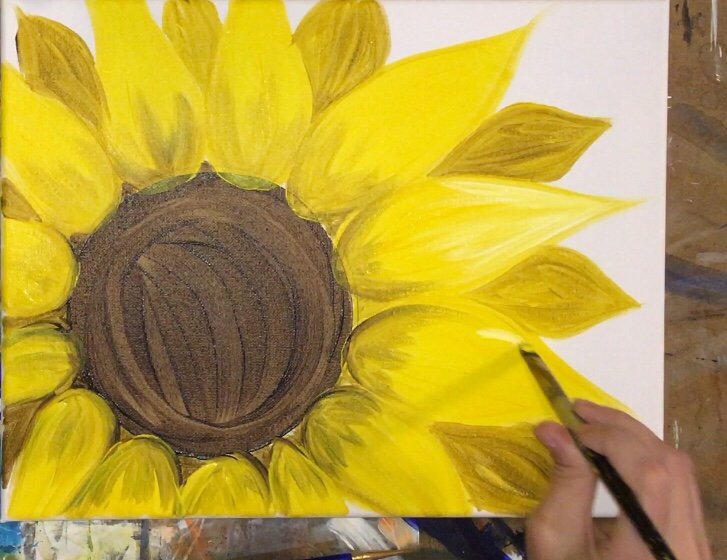
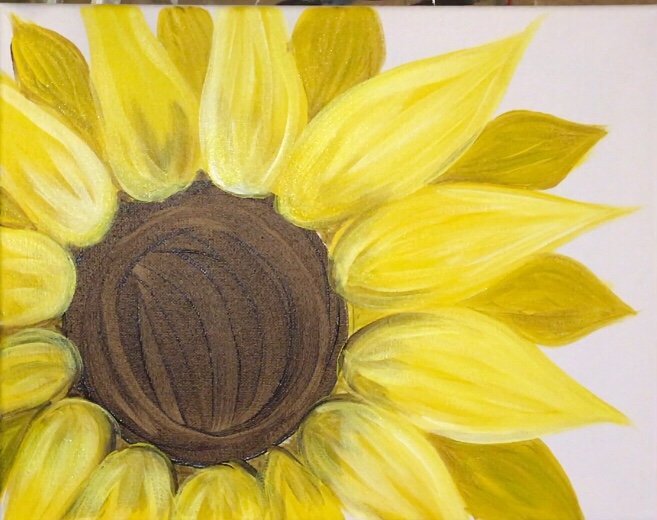
6. Paint the back petals with burnt umber mixed with cadmium yellow hue.
For the back petals, I mixed on my palette burnt umber and cadmium yellow hue. I did not mix it all the way. Use about 2 parts burnt umber and 4 parts cadmium yellow hue.
Use the #8 round brush to draw out all the back petals and then fill them in. This should look like a golden yellow, not too dark but darker than the front petals.
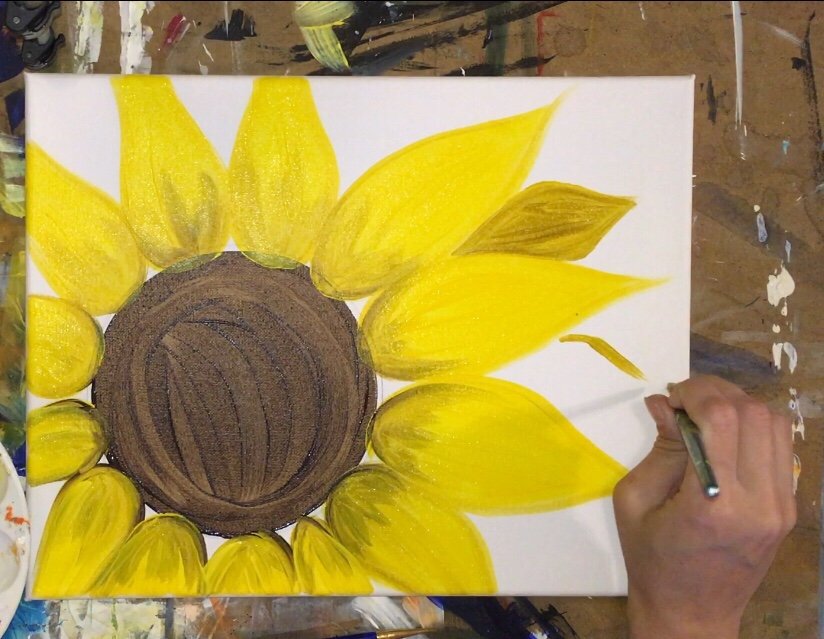
Also, paint the little white spaces around the circle in between all the petals where the back petals are attached.
Paint the back petals in between all the front petals and all around the sunflower.
On the left you don’t see the back petals as much but perhaps see them in between where some of the white space is still showing.
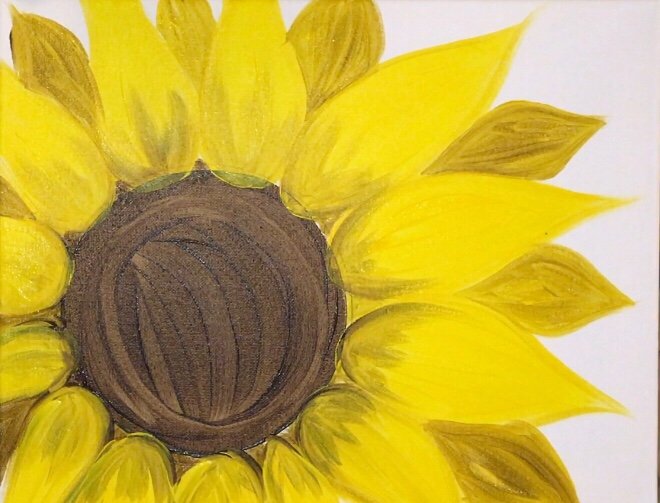
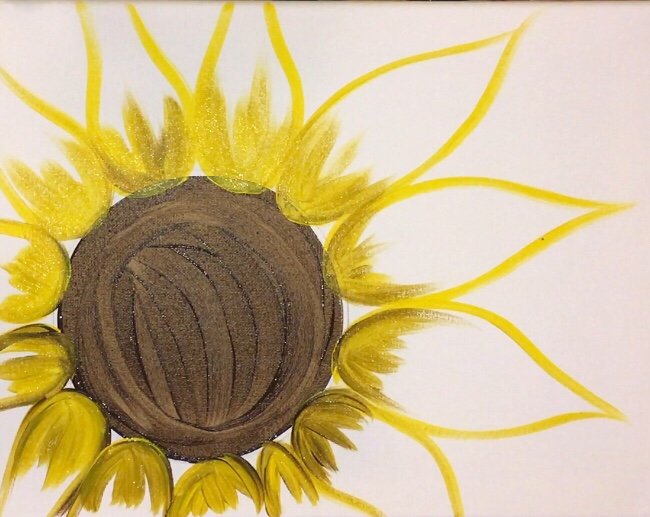
7. Double load the filbert brush with primary yellow and white to paint a top layer on all the front petals.
Go back to your filbert brush (clean). Load it with both primary yellow and titanium white (about equal amounts).
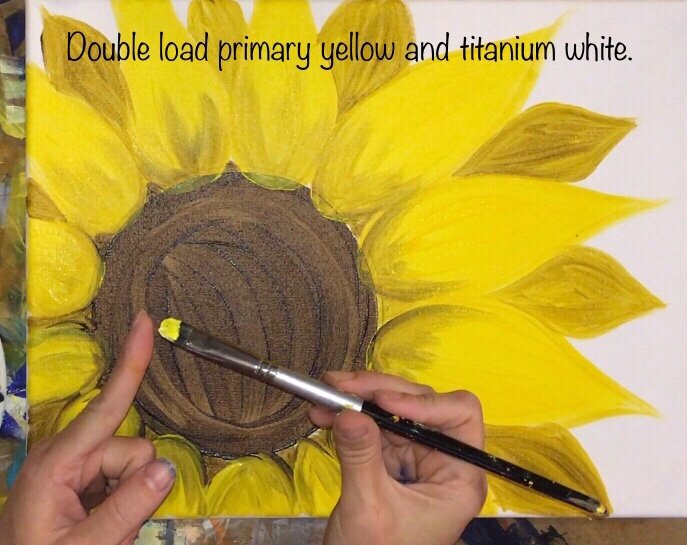
Paint a layer on just the front petals. When you do the strokes, allow that white to blend with the yellow creating soft texture on the petal.
Use the tip of the brush on its side to paint a lot of thin strokes to get soft white lines blended with yellow.
Let the paint mix on the canvas and do its thing. Let the strokes blend and contour with the shape of each of the petals.
Pay attention to any overlapping petals at this point.
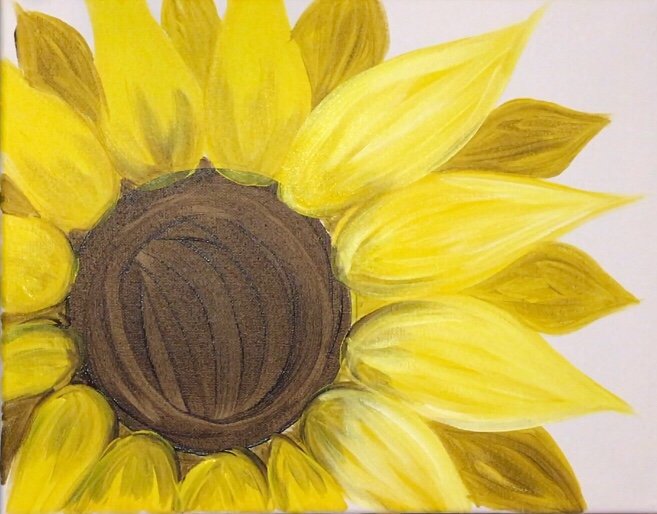
The white and primary yellow will really brighten those front petals up!
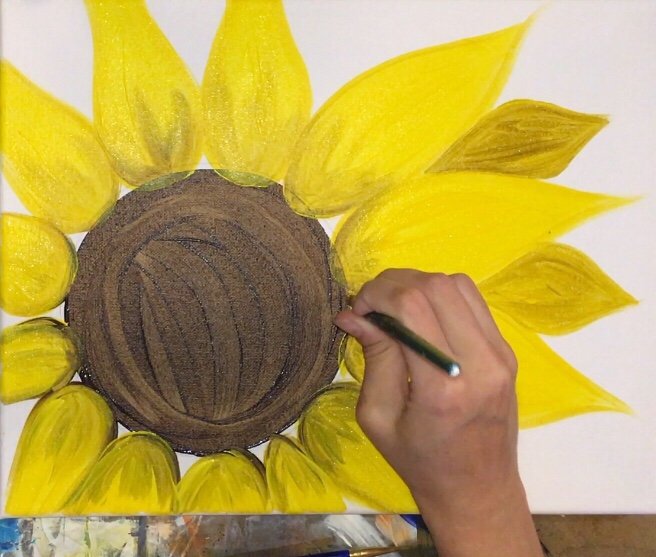
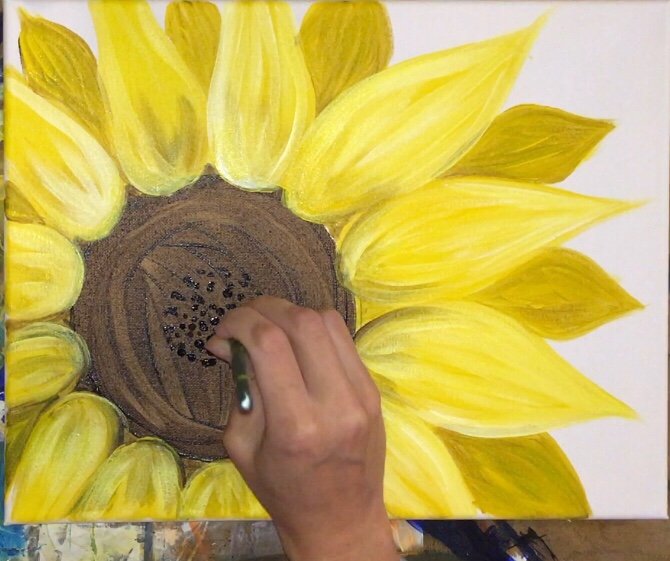
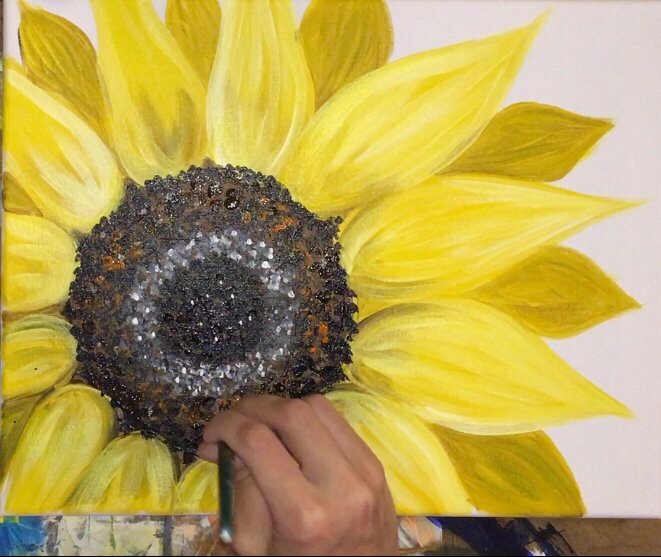
8. Use a #8 round brush to “stipple” black in the center of the circle.
Switch back to a clean #8 round brush and add carbon black to your palette.

Use the tip of that round brush to dot a circle of dense black dots in the center. Form a circle with those dots.
The circle was about 3″ diameter.
9. Add white to the not rinsed brush and stipple a white ring around the black circle.
After your circle is dense and for the most part filled in with dots, load the not rinsed brush with titanium white.
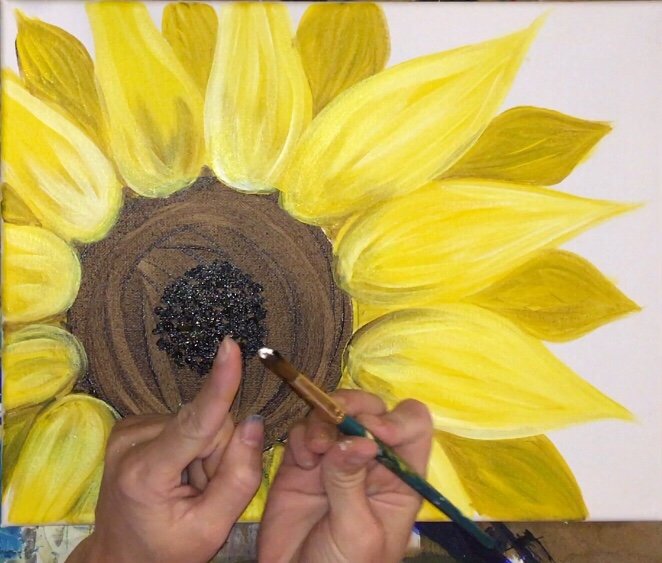
Dot a dense ring around that black circle. The white will naturally turn gray. Let it do this.
When you reload, just add white to your brush. Let that color be inconsistent throughout that ring.
10. Rinse brush and then add burnt umber and black.
Continue stippling the outer part of that gray ring you created. Work your way to the outer edge of the circle but don’t fill it in solid.
In the next step, I added some orange to my brush so leave some room for the orange.
11. Load the “not rinsed” brush with cadmium orange and stipple on some orange dots on the outer parts of the circle.
As you work your way to the edge of that circle, add cadmium orange medium to your not rinsed brush. Paint little dots of orange.
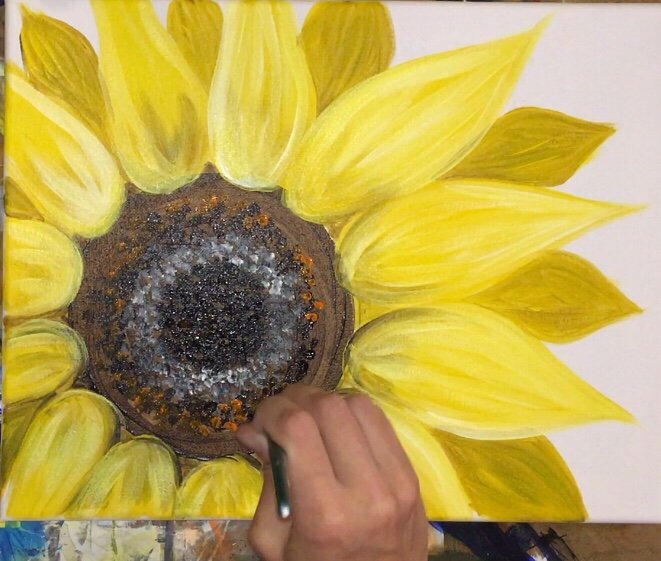
Continue loading the brush with a little orange, a little black and a little burnt umber.
Work your way all the way to the edge of that circle. I overlapped some of the dots over the bottom of some petals as well.
Some of the dots overlapped the bottom of the petals. If you think about it, the entire middle circle has dimension and is not completely flat. Therefore some of it might be overlapping the bottom petals slightly.
Basically the middle is darkest with all black dots. The ring is white and black. The outer part of the circle is brown, orange and black (with some dots slightly overlapping the bottom of the petals).
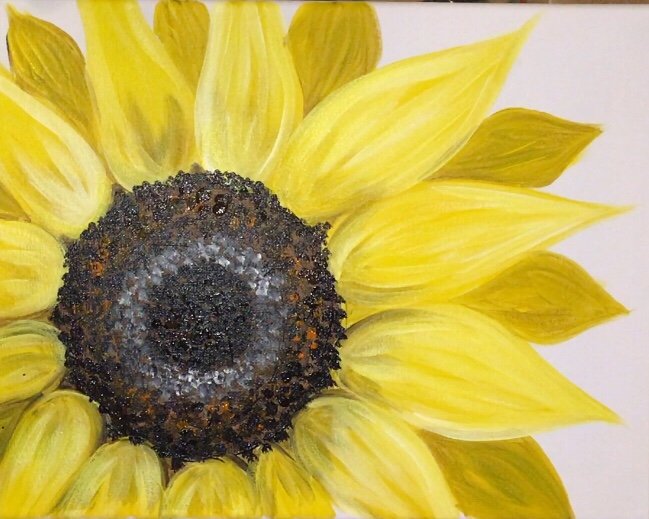
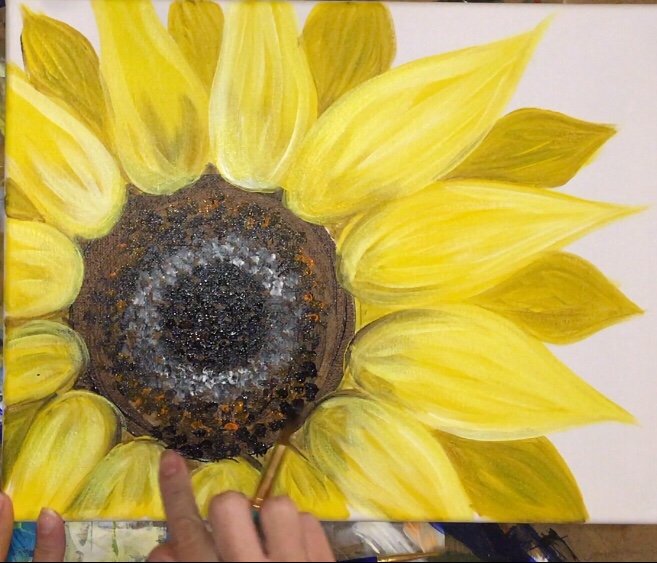
12. Rinse brush completely and add pure titanium white. Stipple on some white dots sparingly in the very center and around the rest of the circle.
Add just pure white to your round brush. Make little bright white dots in the center (just a few), the ring and sparingly on the outer parts of the circle.
This give some highlight and nice color dimension.
Now we are done with the sunflower! The hard part is over and next you get to decide how you would like to do the background.
White does look lovely, but I decided to paint the background ultramarine blue!

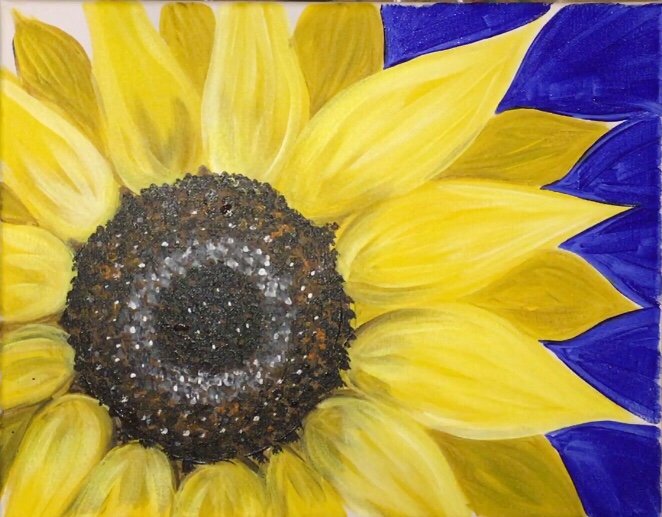
13. Paint the background ultramarine blue using a 1/4″ flat brush.
The flat brush really helps to cut in on those petals especially when you turn it on its side to use the straight edge of the tip.
The background was painted in a solid two coats of ultramarine blue. I ended up having to do two coats because the paint I was using was a bit translucent.
To get into some of the tight corners, use that 5/0 round brush or the smallest brush you have.
Wait for the blue to dry if you are going to do the white spiral designs in the background.
14. Paint the sides of the canvas.
I don’t give much detail when I paint the sides. I just use a solid coat or two of the color that is directly next to it as if the design is stretching on the sides.
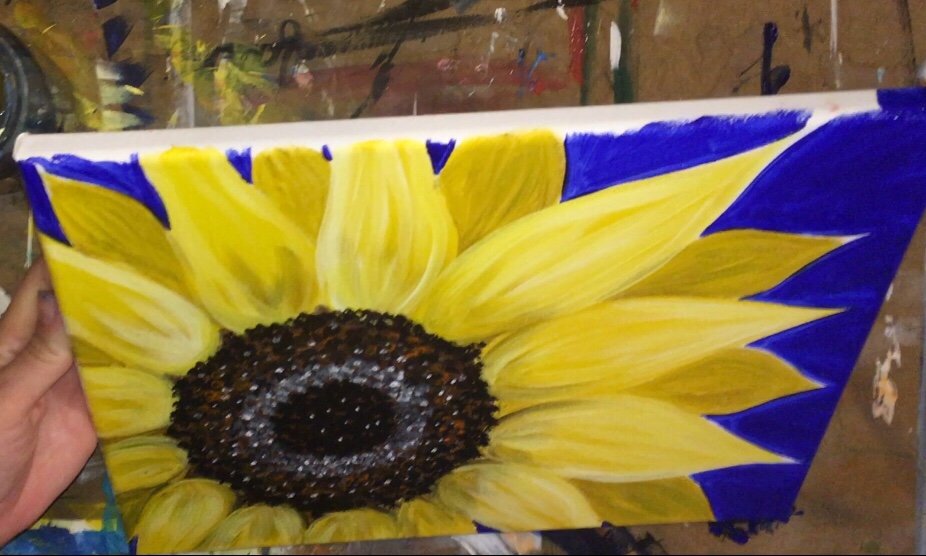
To paint the petals on the sides, I only used cadmium yellow hue and did not worry about the shading or anything.
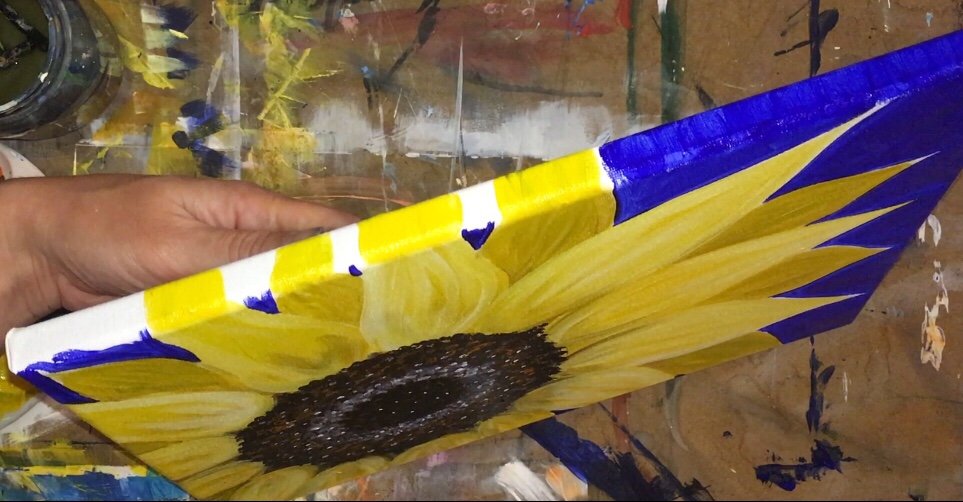
The left side of the canvas was pretty much all cadmium yellow hue.

A view of the top after it was complete. The right side of the canvas (not pictured) is solid blue and the bottom is similar to the top.
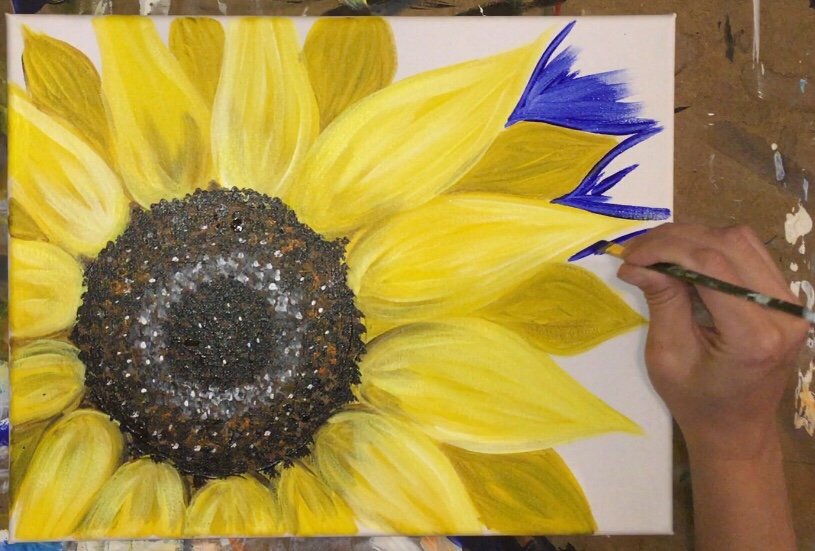
15. Let the ultramarine blue dry then paint some spiral designs with titanium white.
I started with the petal tips and painted little dots.

Then I painted little spirals.
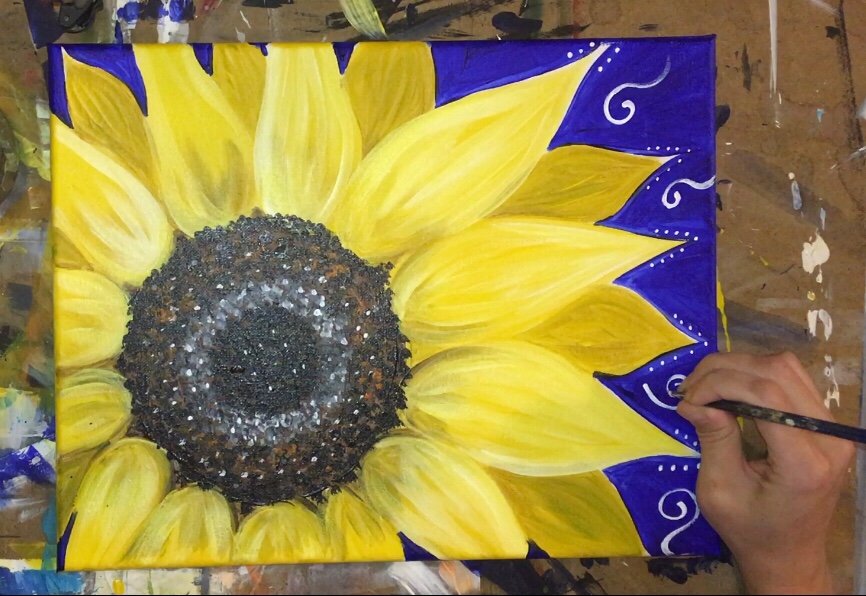
The background was pretty much filled with spirals! I may have went a bit overboard but they were just too addicting to paint!
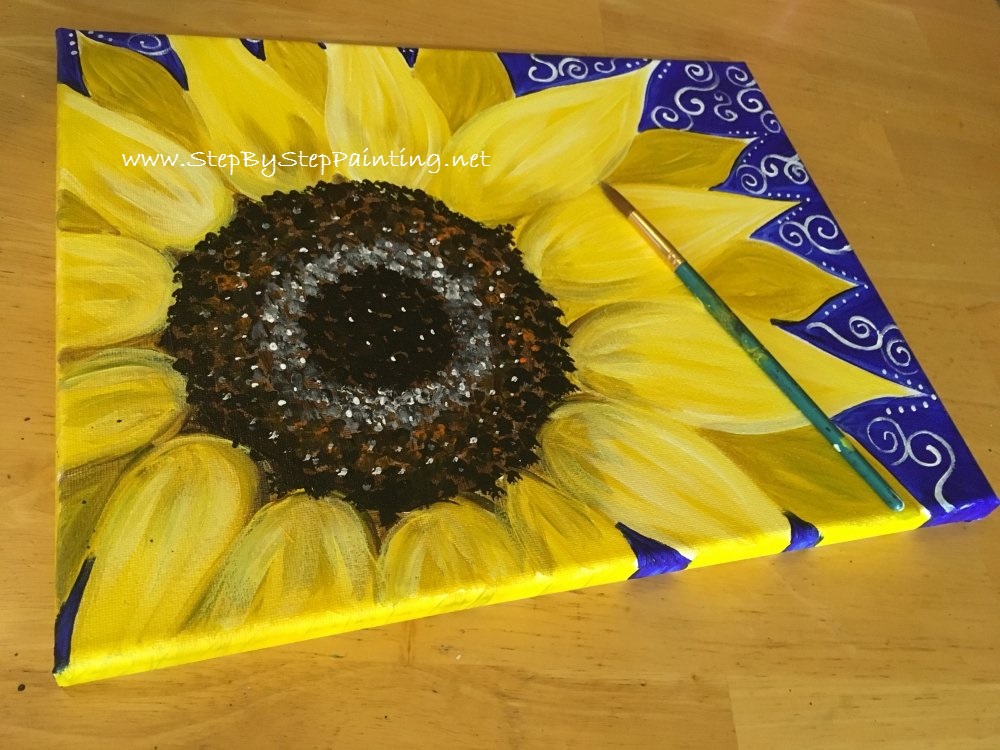
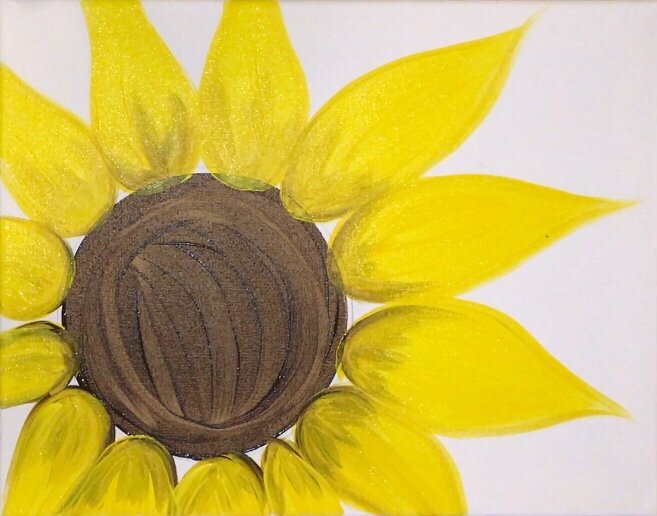
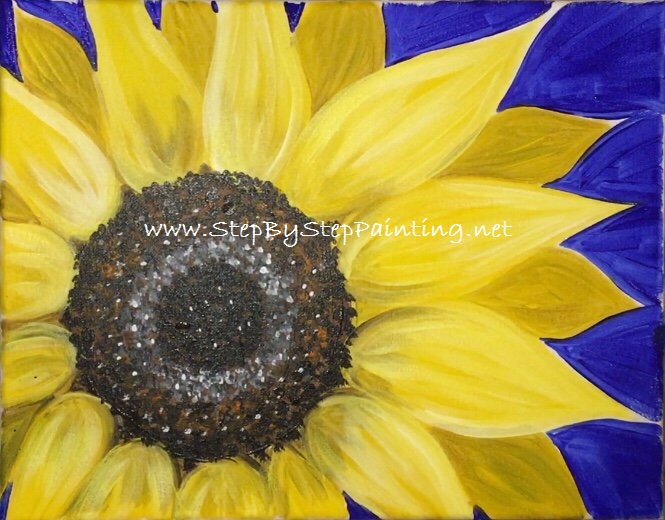
Finished!
So pretty and cheerful!

Share Your Art


I am doing this flower for 7 people and am not sure how much of each paint I need.
I like to use the formula: .25oz per color per painter plus an extra 2oz or 4oz bottle of a color that shows up a lot in the painting.
great, thank you so much!
Good day,
Love your post as you take plenty of care to articulate how to reproduce the steps you take to paint the sunflower.
I am looking to paint a sunflower rosette, made from PVC, as I am looking to add to a framed wall mounted mirror.
Here is the link to the item itself:
https://www.ekenamillwork.com/default/ekena-millwork-ros06sn-5-7-8-od-x-1-1-2-p-sunflower-round-rosette.html
How would you recommend I paint this and with what type of paint?
Any info you can provide would be greatly appreciated!
Thanks in advance,
Mike
what sort gloss do i put on finished painting?
You can use an acrylic sealer. They have different sheens including gloss. I like the brush on Liquitex brand acrylic sealer.
LOVE this post!! Thank you so much. Have painted this flower numerous times and will do it again
You’re welcome!!! Glad you like it!
Can you paint the background color on first? Go lighter near the flower and darker blue on the left?
Yep you can definitely do that!
I am trying to purchase a couple of the PDF tutorials. I can not get pay pal to load for payment.
Very beautiful thank you for sharing your talents!
Thanks!!