
Would you like to save this?
Have a “Mommy & Me” or “Daddy & Me” or “Auntie & Me”, etc. paint night at home! You can even make this to a “Couple’s Theme” painting by modifying the penguins a bit and tracing two large penguins.
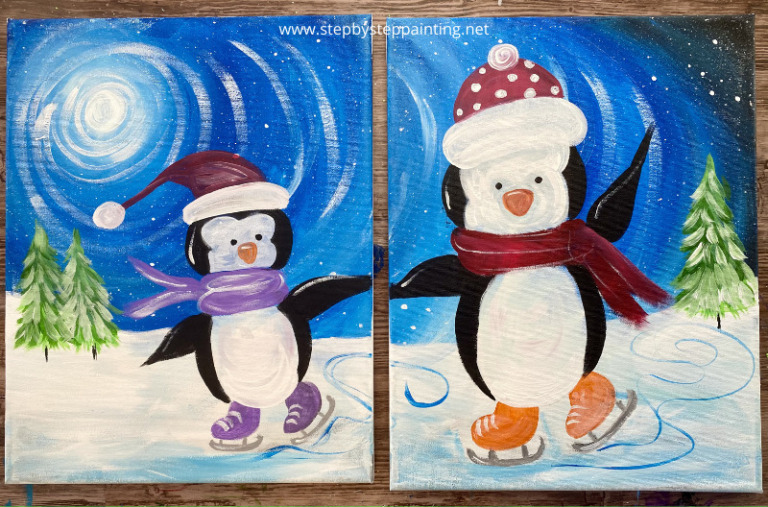
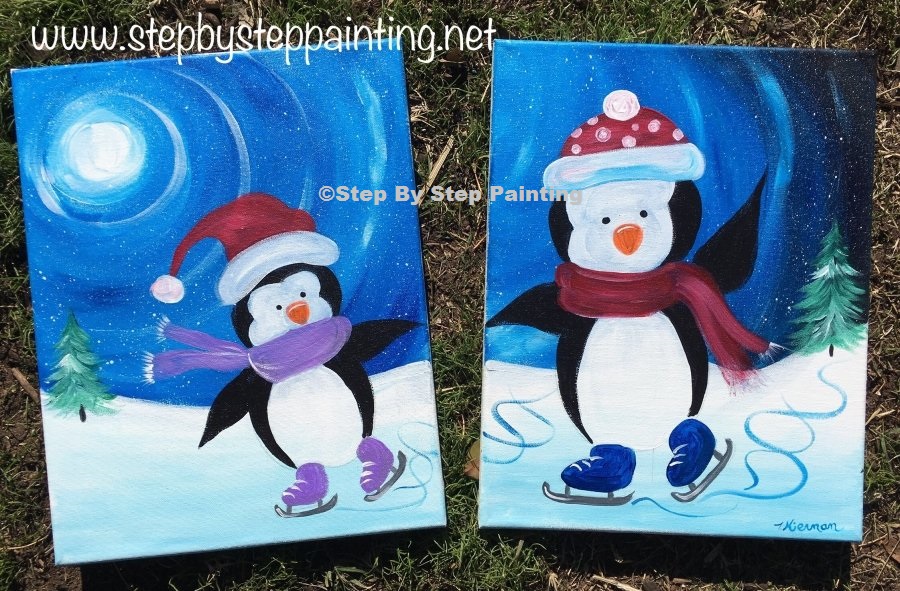
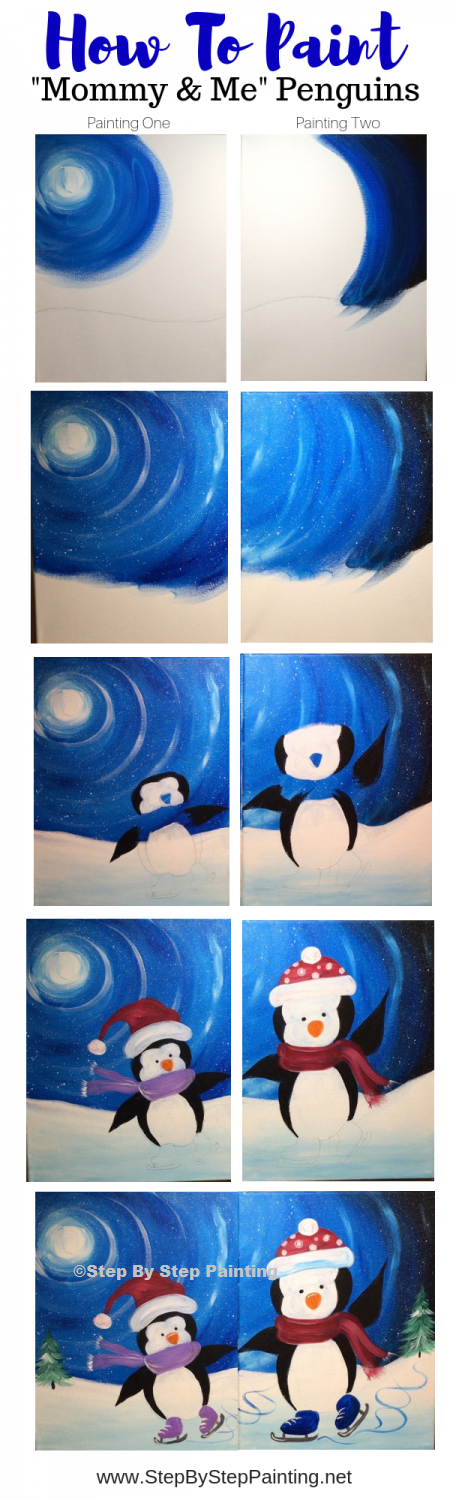
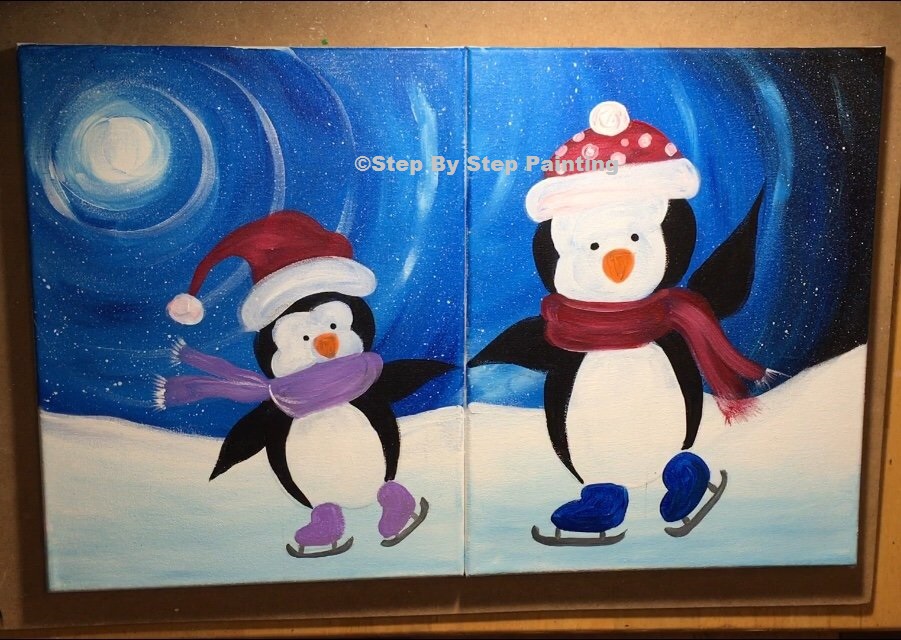
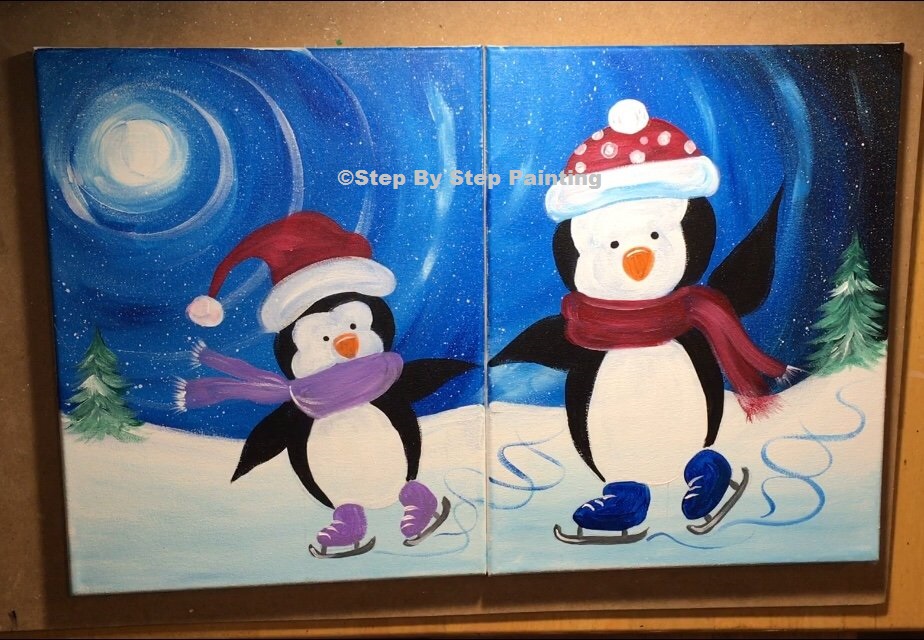
You will learn how to paint this connectable acrylic canvas painting of two adorable penguins ice skating together. The paintings match up together with the swirls in the sky as well as the penguins holding each other’s hands.
This is a delightful painting that you can add your own personalized touches to – customize the colors, add cute Christmas themed elements like a snowman or lights on the trees, etc.!
And if you’re painting with a younger child, I’ll try my best to provide you with some modifying tips to make the painting easy for your little one.
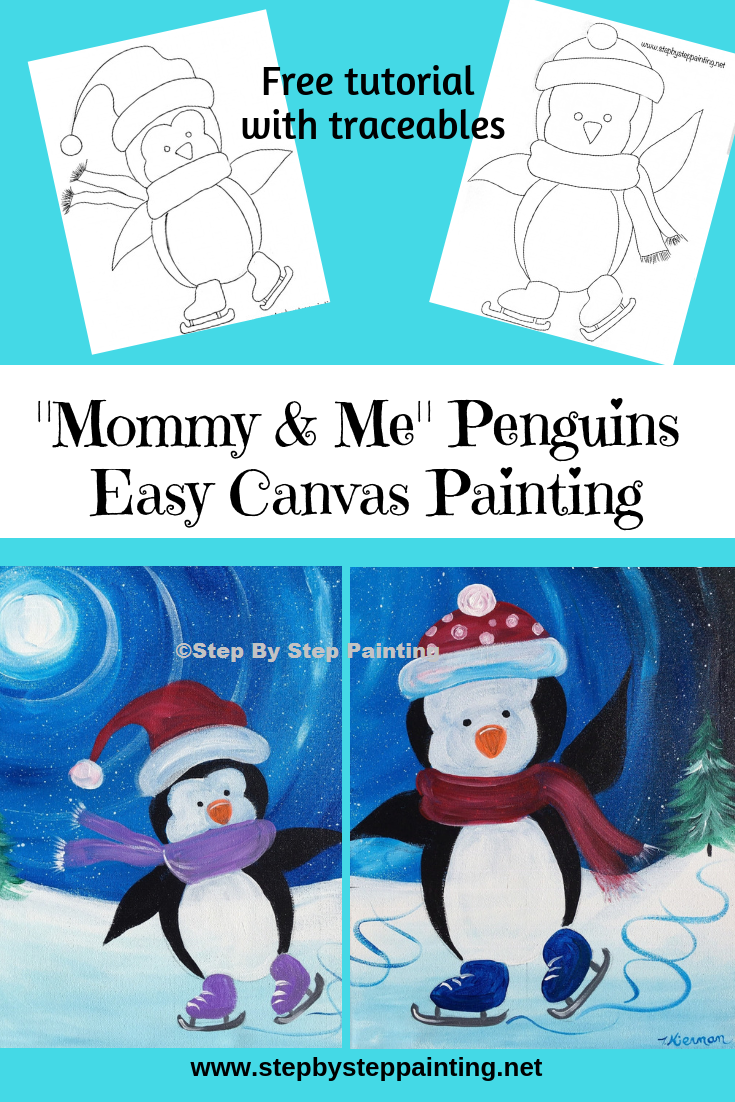
This painting was done on two 11″ x 14″ canvases painted side by side in their portrait orientations. I provide a traceable that you can print out of each penguin and transfer onto the canvas. Enjoy the memories you create while painting with your special little one and happy painting!
Materials:
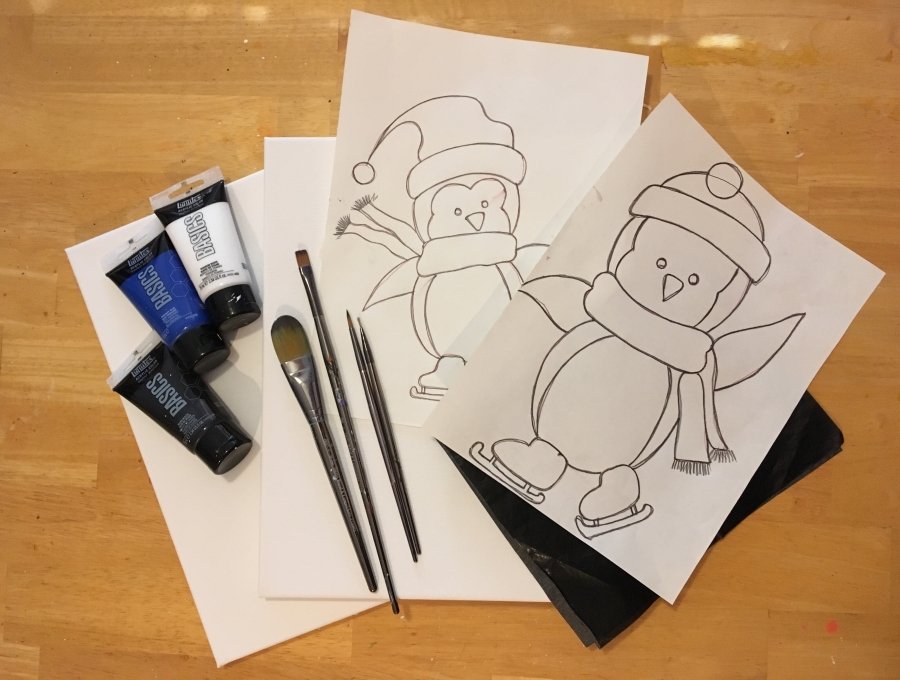
- Two 11″ x 14″ canvases (preferred size, although you can try it on different sizes or do one whole 16″ x 20″ canvas)
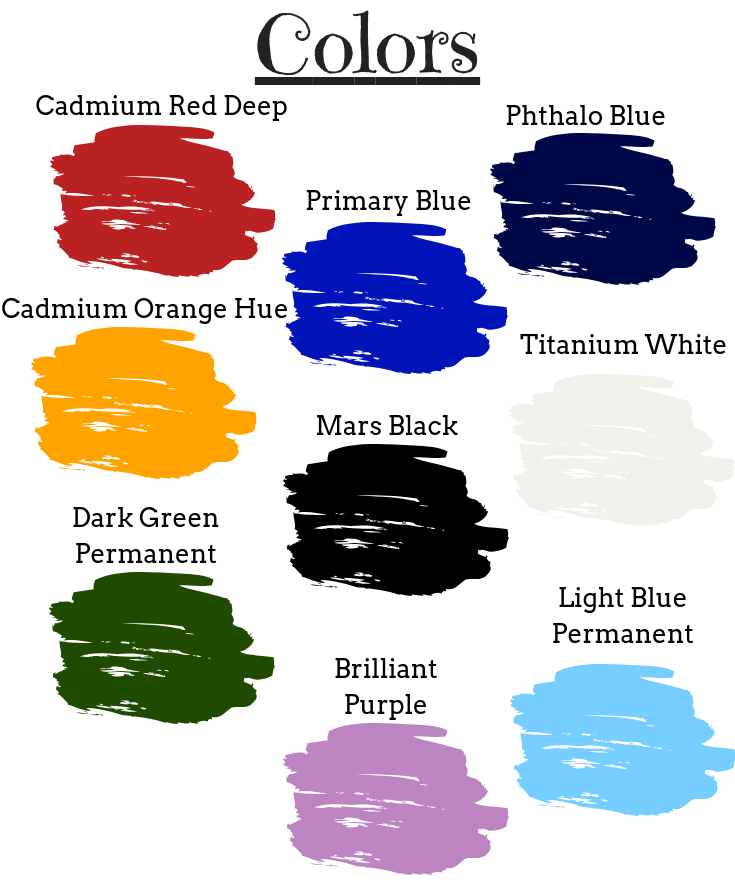
- Acrylic Paint (You’ll need a lot of titanium white and primary blue so you may need extra of that color. See my color conversion chart here if you’re using a different paint brand)
- Mars Black
- Titanium White
- Primary Blue
- Cadmium Orange Hue
- Deep Green Permanent
- Light Blue Permanent
- Cadmium Red Deep Hue
- Phthalo Bue
- Brilliant Purple
- Paint Brushes (I Use Royal & Langnickel Zen Synthetic Brushes)
- 1″ Oval Wash (or any large wash brush if you don’t have an oval wash)
- #4 Bright
- #4 Round
- #10/0 Liner (this one was rarely used, you can skip it if you don’t have one)
- Old Toothbrush for splattering stars/snow
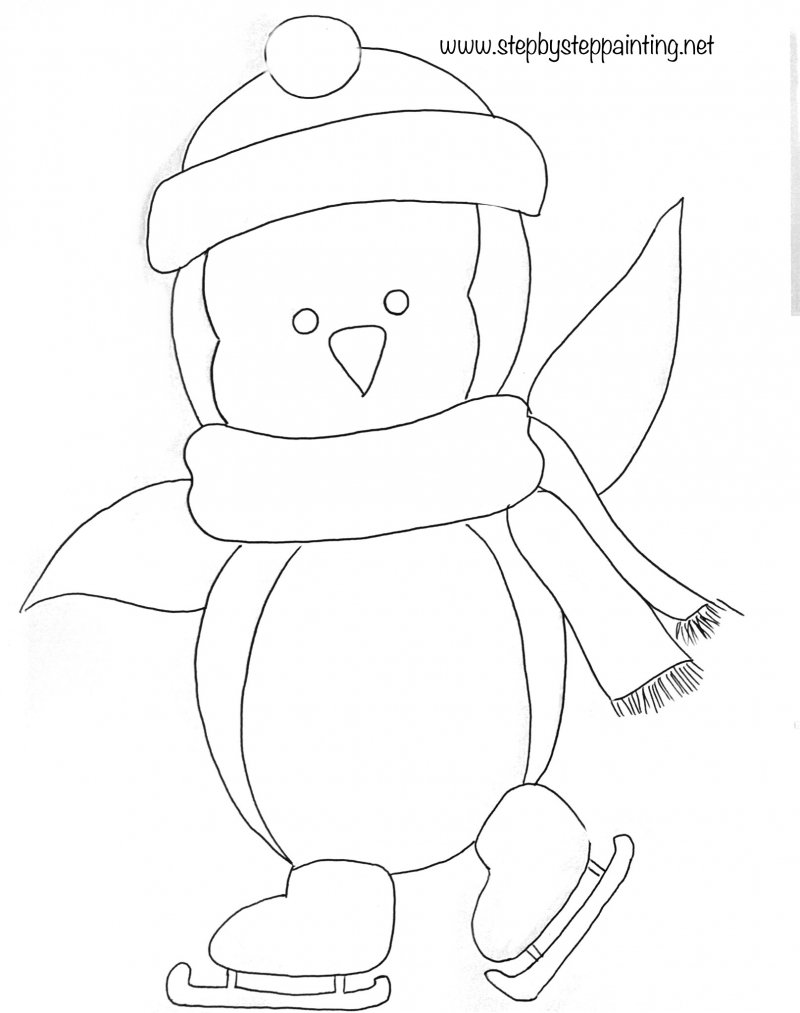
- Penguin Traceables

Traceables

Directions At A Glance:

Video:
Step By Step Directions:
1. Draw a wavy snowy line on both canvases so they connect.
Make sure both your canvases are in portrait mode and side-by-side. Use a pencil to draw a wavy line all the way across both canvases. My line started at about 5″ from the bottom. 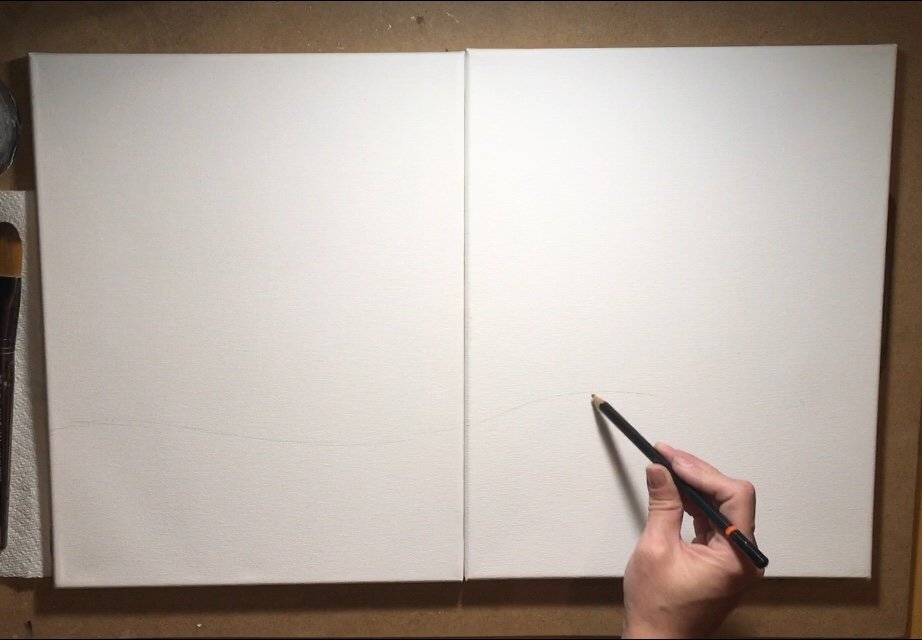
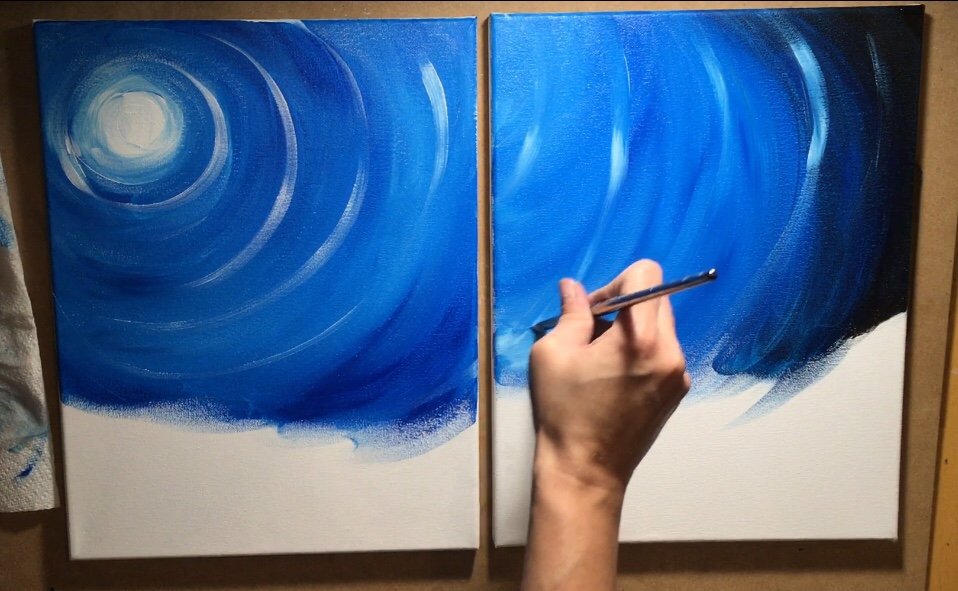
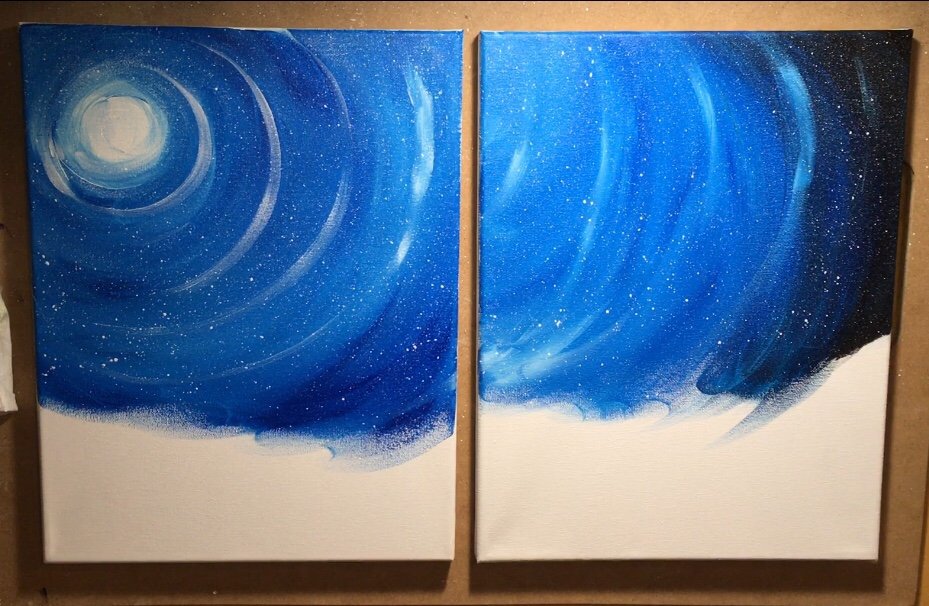
2. Paint The Sky with: Primary Blue, Titanium White and Mars Black (only mommy uses the mars black).
Gather your three colors: titanium white, mars black and primary blue. You will both need a large brush for the sky. I used a 1″ Oval Wash Brush in this kit. Some other suggestions are this, this or this. You can also just use the largest and softest brush you have on hand! 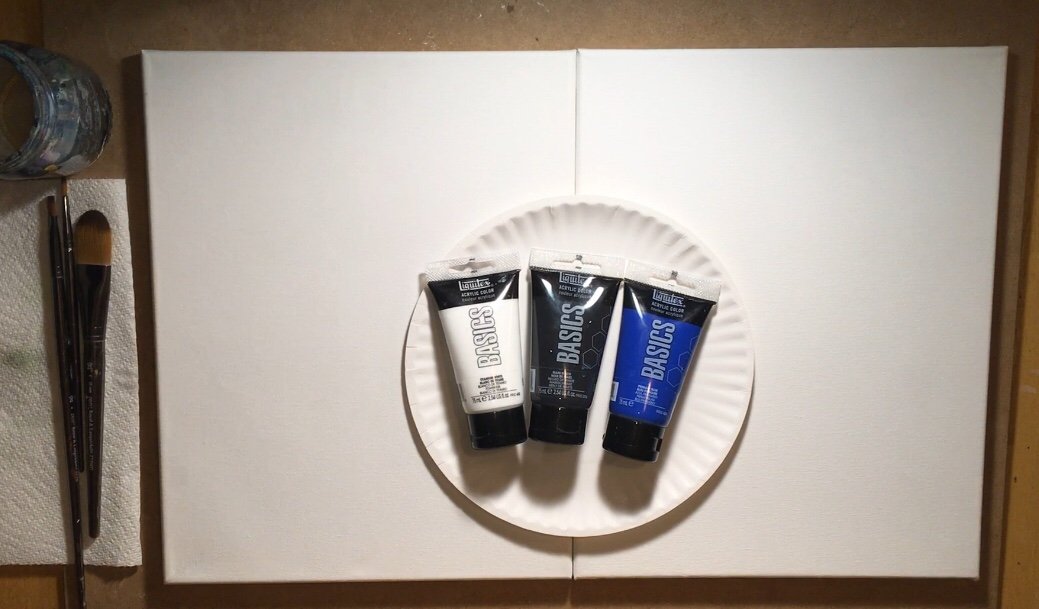
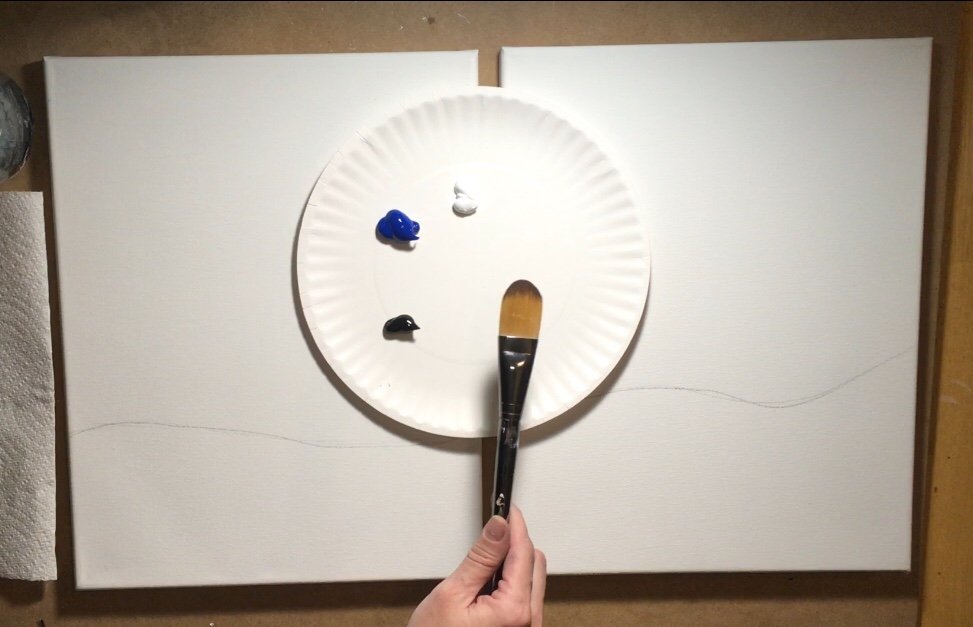
Have your child paint a white circle in the upper left corner. Just a small circle, about the size of a silver dollar.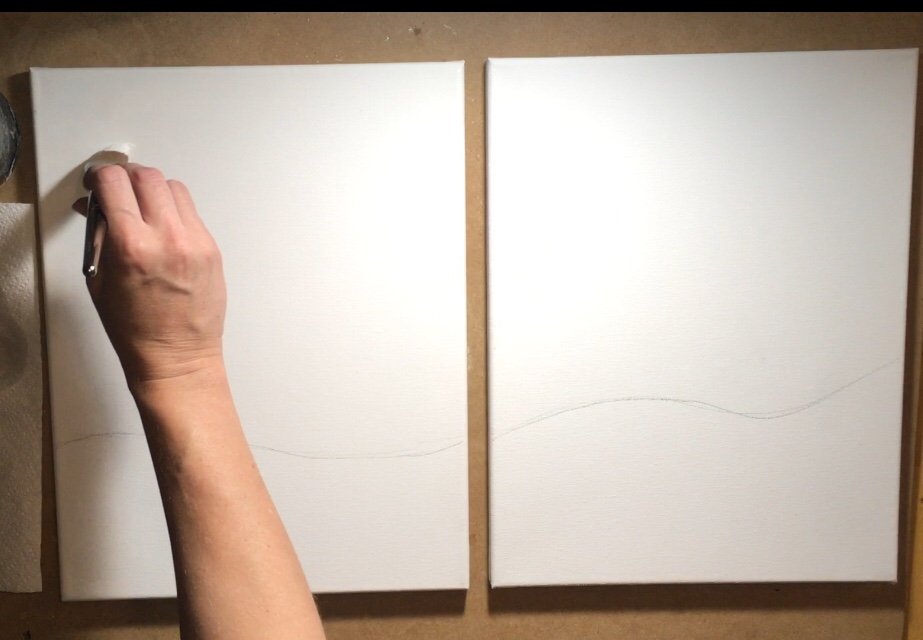
Then don’t rinse the brush but instead dip it in primary blue. Paint around that white circle. The blue should turn into a lighter blue. 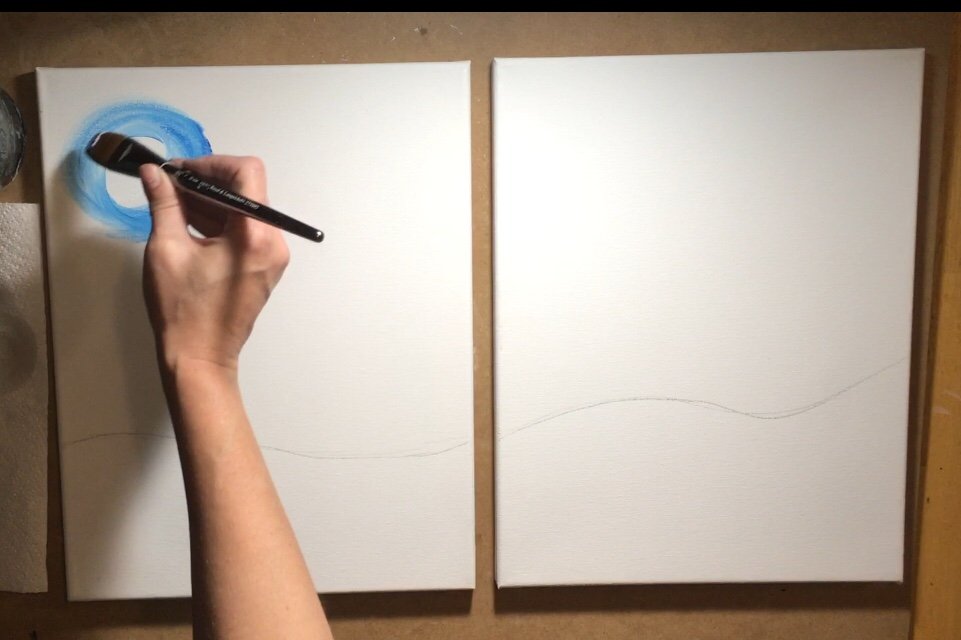
See how the colors blended as I painted around the white circle? Don’t paint over the white circle, leave it white!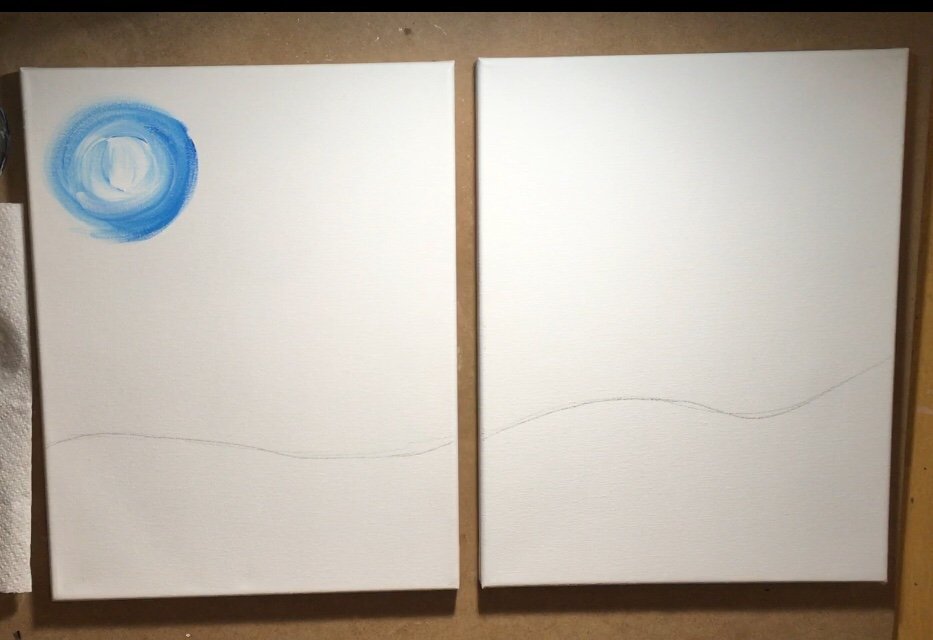
Continue painting in circles around that moon. Keep adding primary blue to your brush. If there is still white on the brush, that is okay.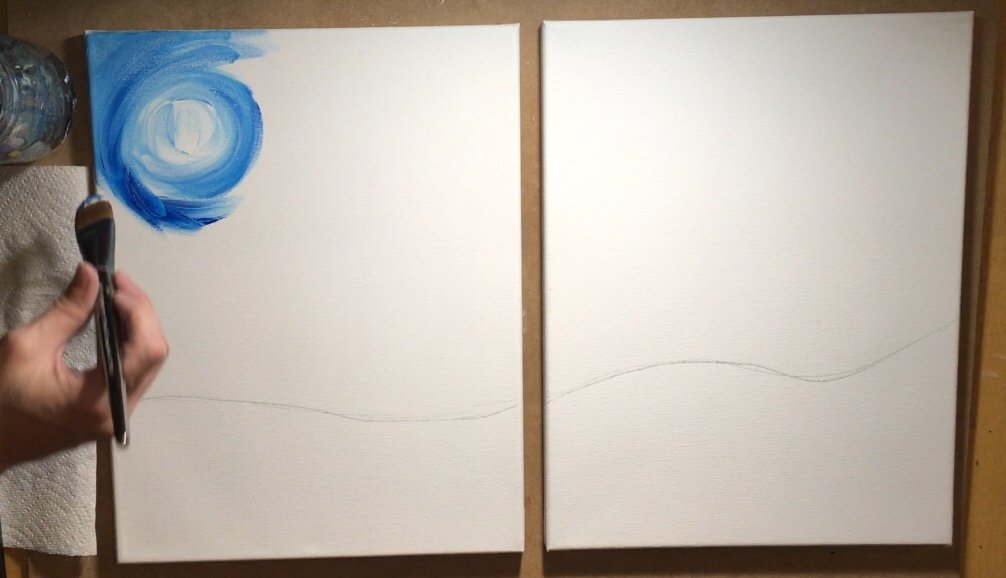
As you paint in circles, your blue may be getting darker and that is okay, that is what we want! Continue loading primary blue to your brush. Paint in smooth circles as you go the the edge of the canvas. 
3. Now it’s mommy’s turn! Start with mars black on the far right.
This part of the sky is furthest from the moon so it’s darker. Start on the far right and paint a curve. 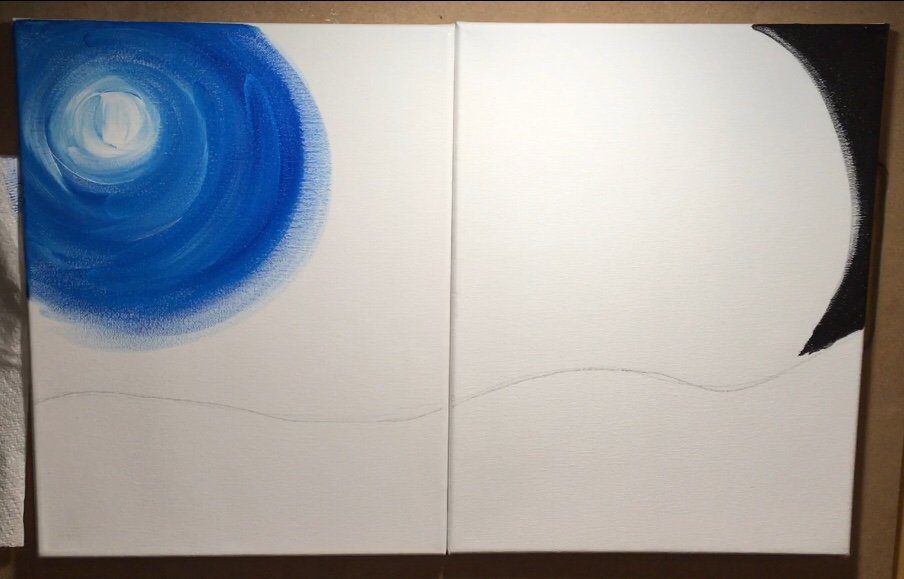
Don’t rinse the brush. Add primary blue to your brush and continue painting to the left. Let that blue blend with the black. Tip: If the black is too over powering, you may need to wipe some of that black off of your brush. 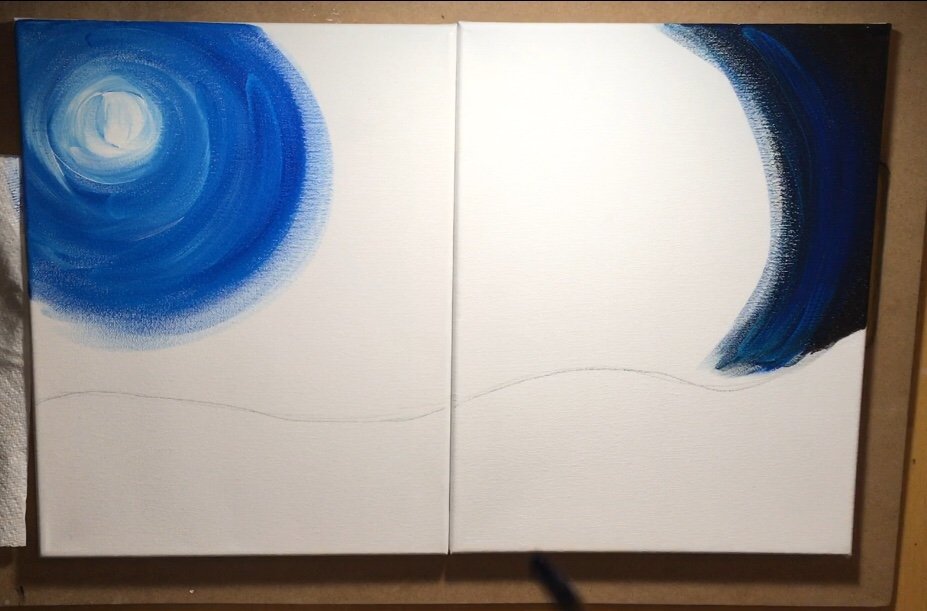
Rinse your brush then add just primary blue. This will allow the blue to get lighter without black being on the brush. Continue adding primary blue and curving the colors in the same direction as you work towards the left of the canvas. 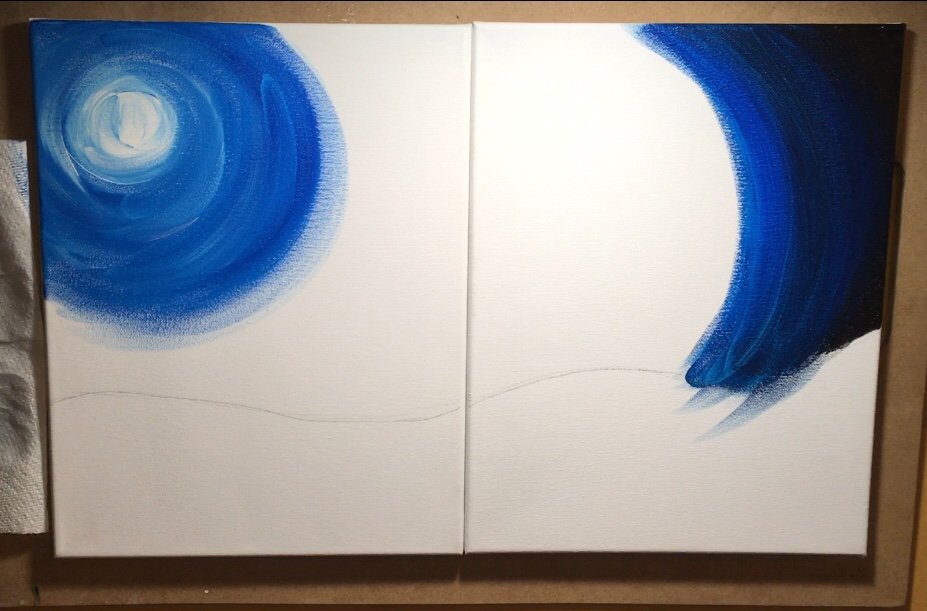
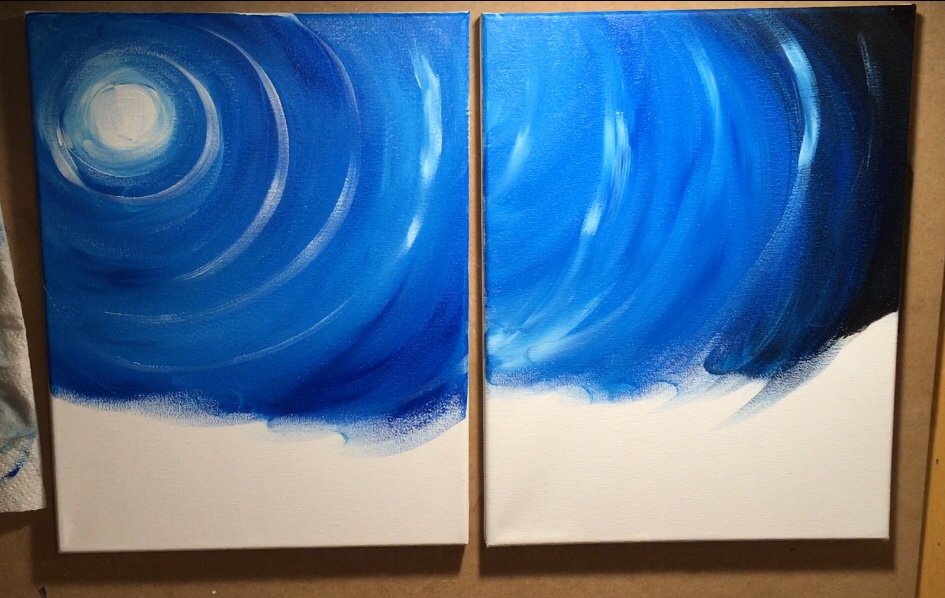
4. Keep painting the sky and meet in the middle!
Both you and your child will continue to add primary blue to your brushes as you work your way to the edges of your canvases and meet together in the middle. 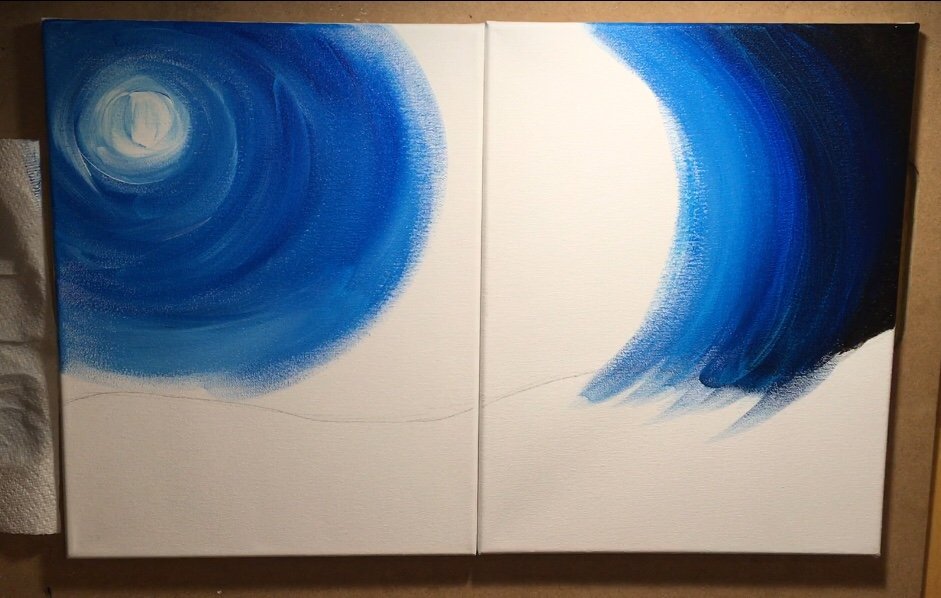
For added color variation, you can add a bit of titanium white to your brush and also thin it out a bit with water to get it to flow better. If you notice your brush is getting very dry at this point, you may wish to dip it in the water (but no dripping paint). 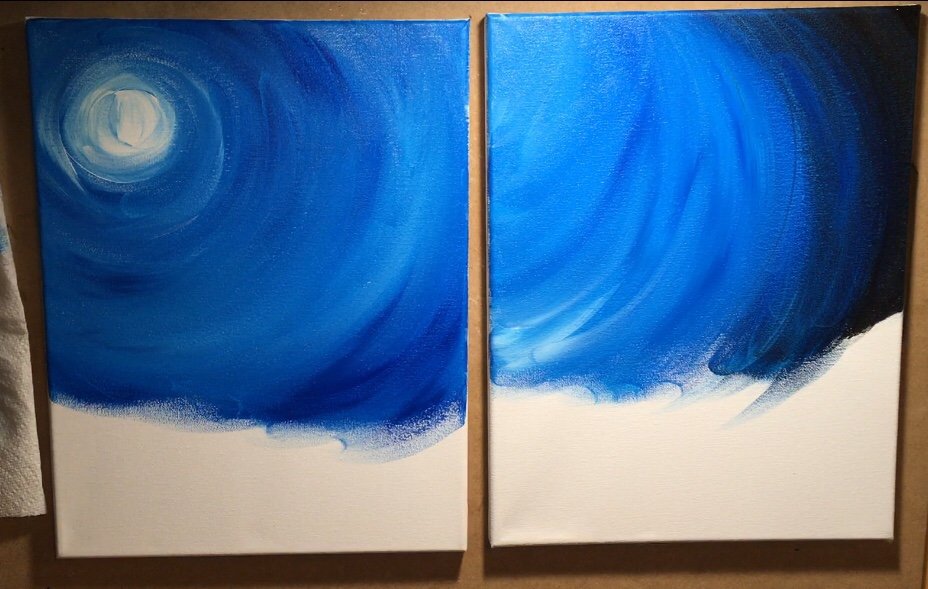
5. Optional: add some moon rings going in a spiral.
I used a #4 bright brush for this step. Start with titanium white and paint a spiral line starting from the moon and working your way in a spiral as you reach the canvas on the right. Tip: there was not a lot of white on my brush when I did this. It dried out as I went in this spiral adding to the effect of it looking translucent. Also it blended in with the blue that was already on the canvas. 
6. Splatter Paint Snow & Stars with an old toothbrush
Both you and your child will love this step! Use an old toothbrush. First dip it in water then pat it dry. The toothbrush should be wet but not dripping. Then dip it in the titanium white. Depending on how thick your paint is, you may need to water the white down a bit. Mine was an ink consistency when I did this. Flick the brush so little white splatters get all over the sky! 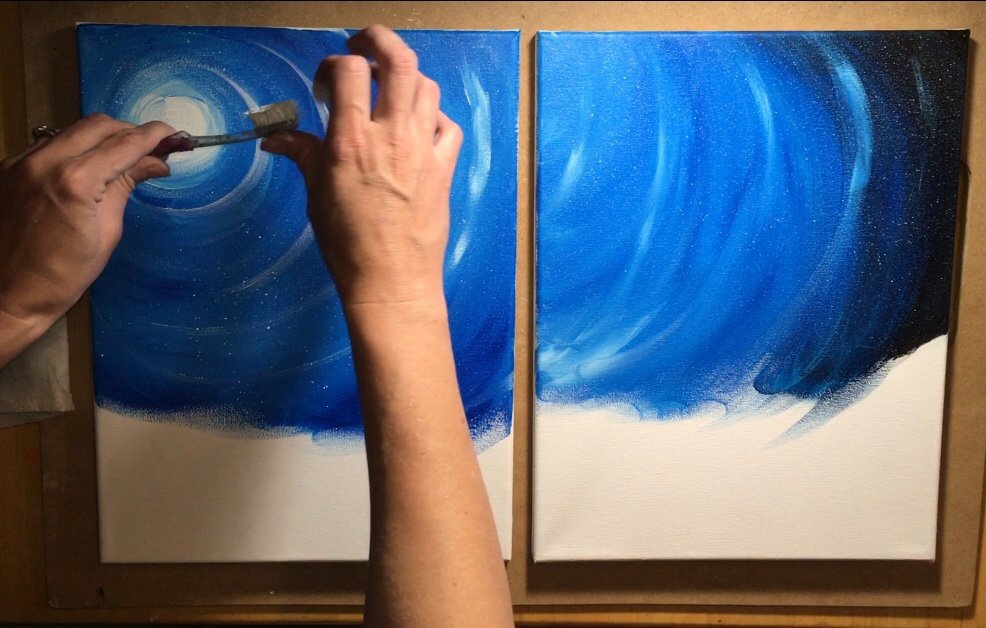
Try experimenting with splattering close to the canvas and far away. 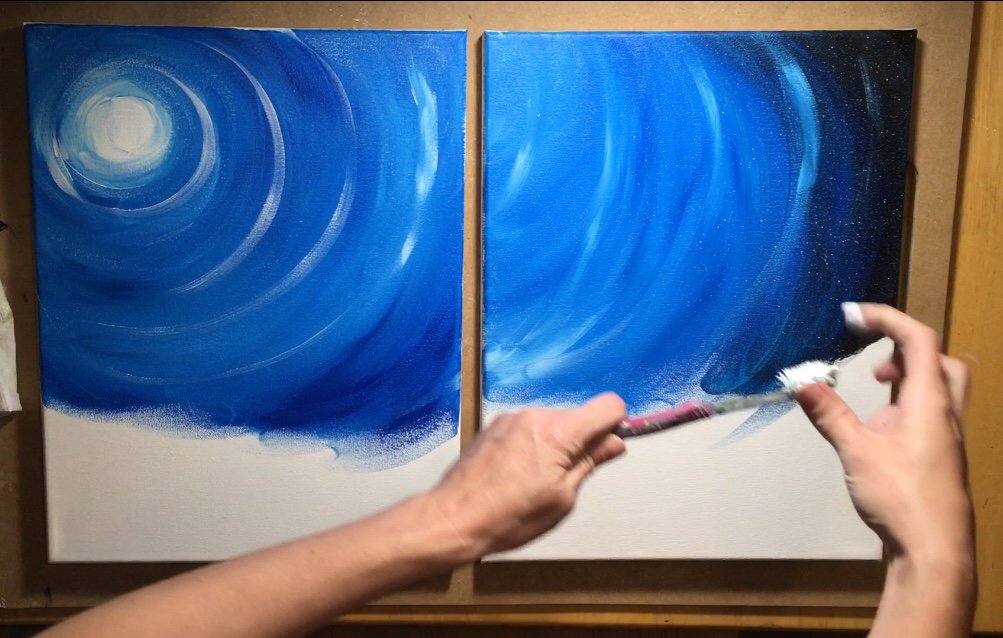
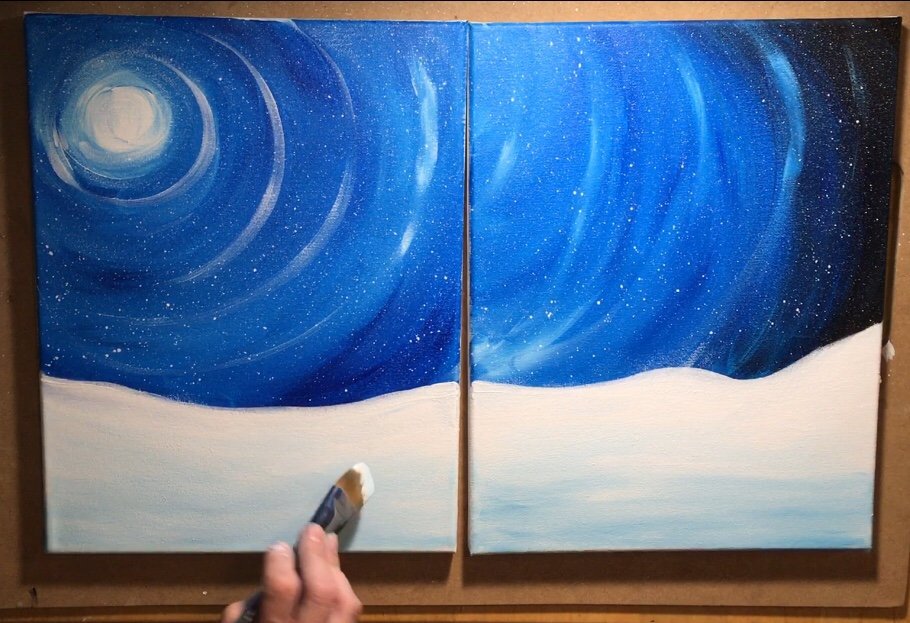
7. Paint the snow horizon line and light blue snow on the bottom.
Use your large wash brush that you used to paint the sky. Paint titanium white to define that snow line again. Tip: If your blue isn’t dry yet you may need to wait.
Then paint light blue permanent on the bottom of the canvas and blend up into the snow. Do this by dipping your not rinsed brush of titanium white into light blue permanent. Lightly paint on the bottom. Then gradually add more titanium white by painting from the bottom to the top. The horizon line should be the lightest white and the bottom should be light blue.
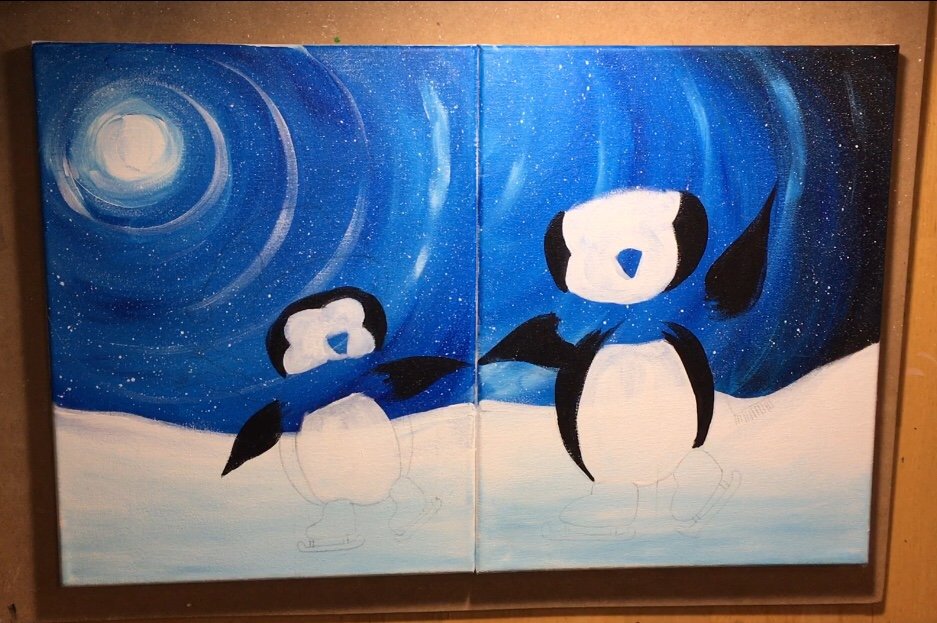
8. Wait for painting to dry then transfer your penguins.
Position your penguins how you like them on the canvas. You may want them to be holding hands so arrange them to the far edges of your canvas. 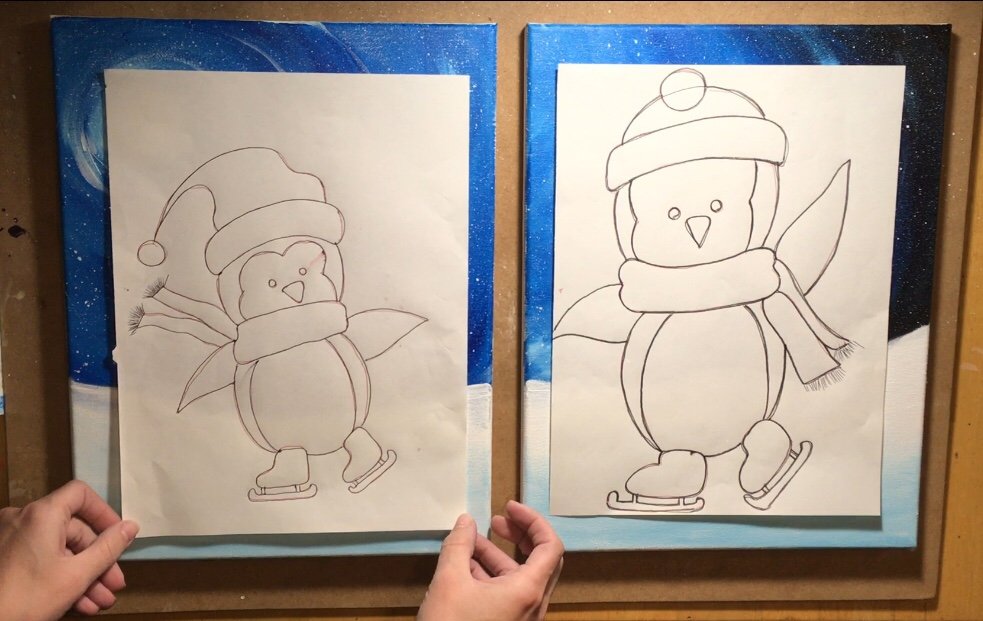
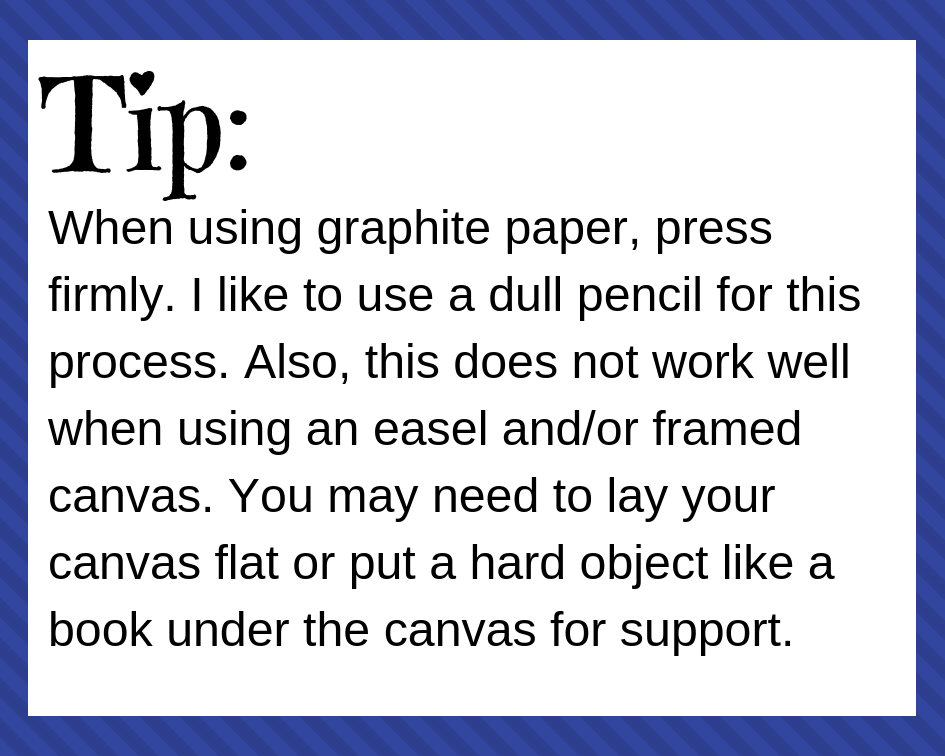
Then place your sheet of graphite paper under the traceable and trace your penguins onto the canvas.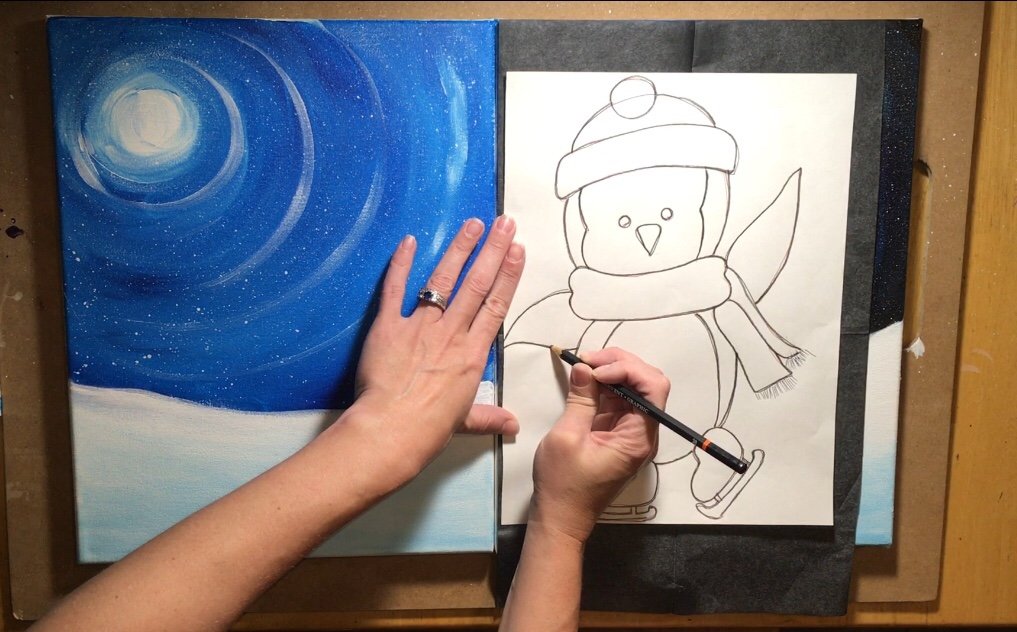
Tip: the baby penguin has some space between the edge of the paper on the hand so you may need the paper sticking off of the canvas a bit as pictured below. 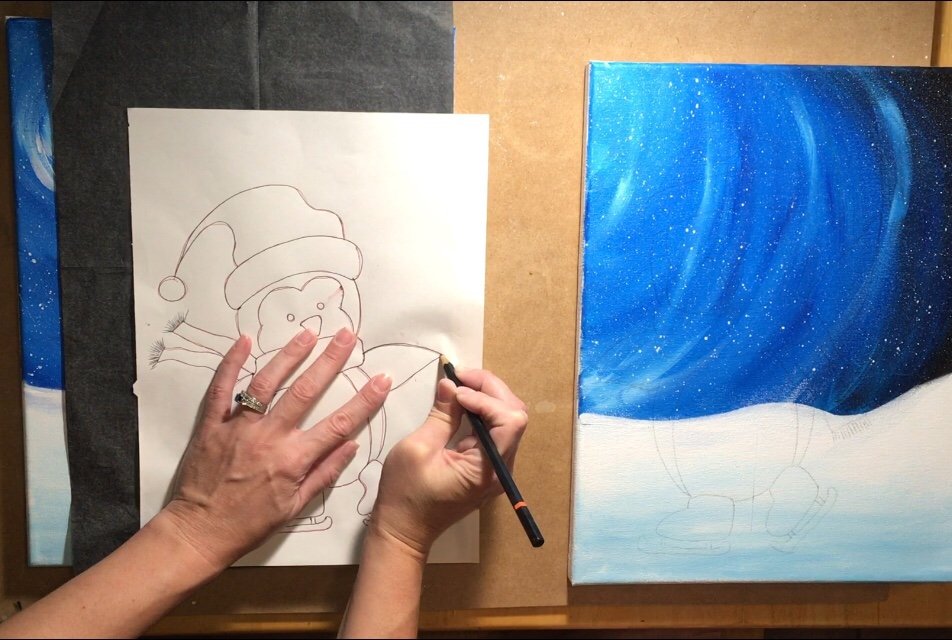
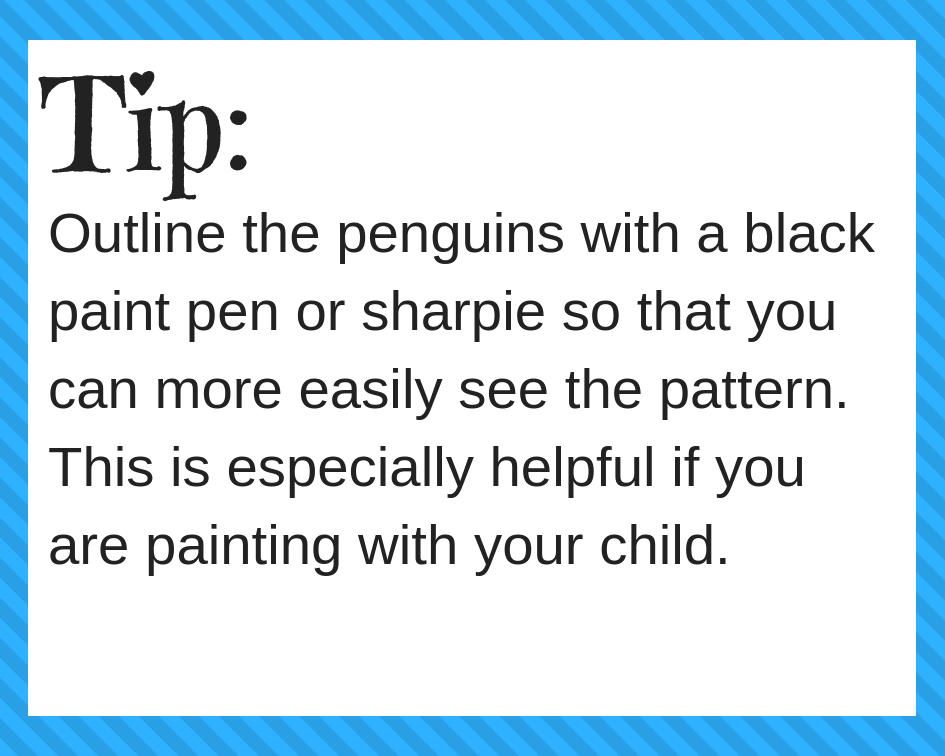
The penguins may or may not be as visible in the dark areas of the sky. If this is the case, you can use a black paint pen or even a sharpie pen to outline the penguins. This is especially helpful if you’re painting with your child so he or she can easily see the drawing. 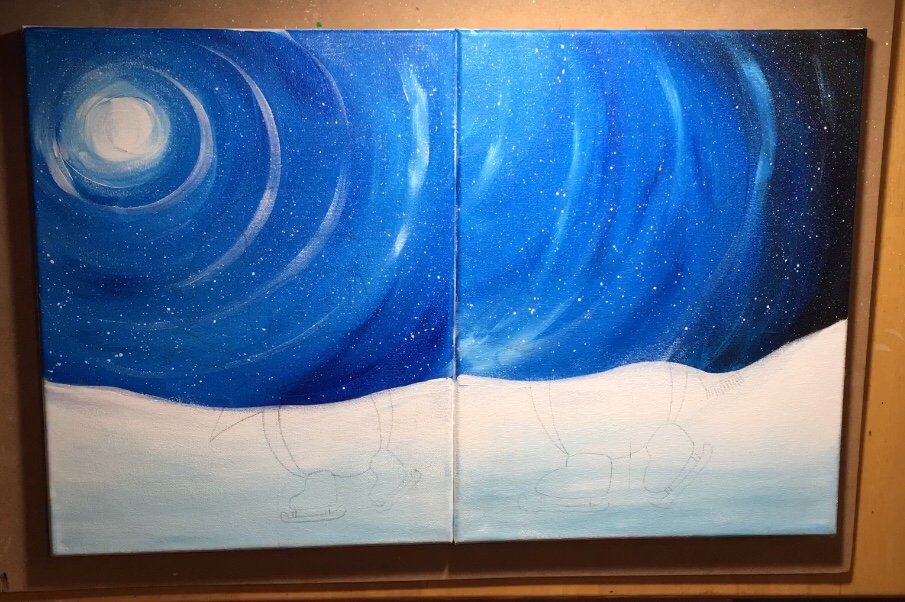
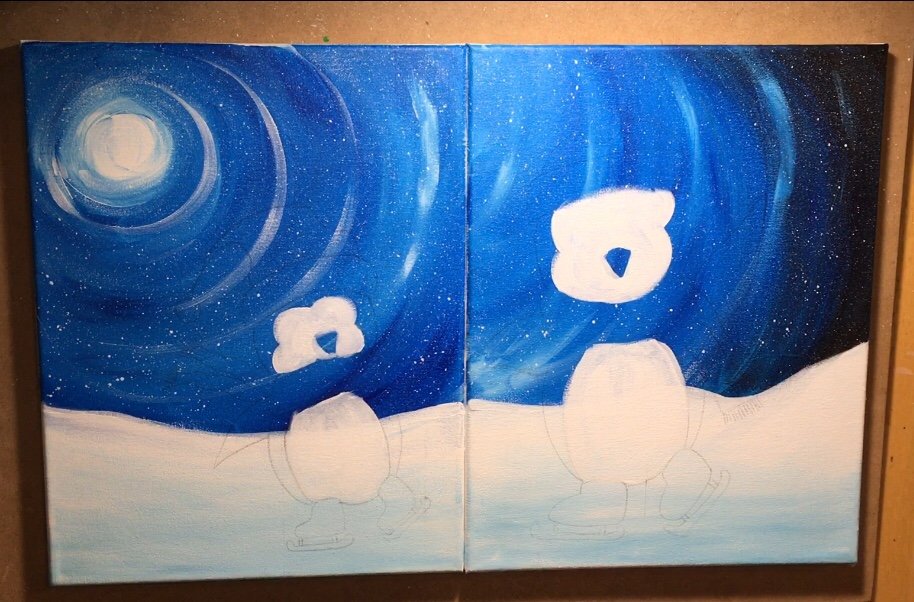
9. Paint the penguins in.
You don’t have to go in this order but I found it easier doing the white first and then the black. I used a #4 bright brush to paint in the bellies and the face. I painted over the eyes but around the beak. If you outlined your penguin with a black paint pen you won’t have to worry about painting over lines. 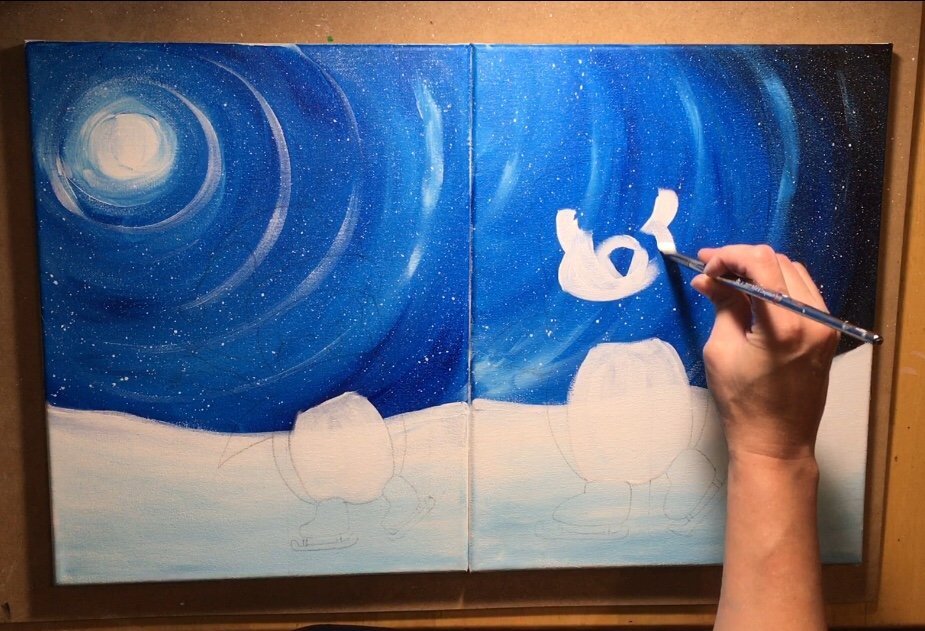
I used a #4 round brush and mars black for the black areas of the penguin. The round brush helps get into those curvy and pointy areas of the penguin. I left the area of the scarfs open. Remember, you don’t need to go in this order of painting the penguin in. Your child may want to do the entire face and hat and work his or way down. That is okay!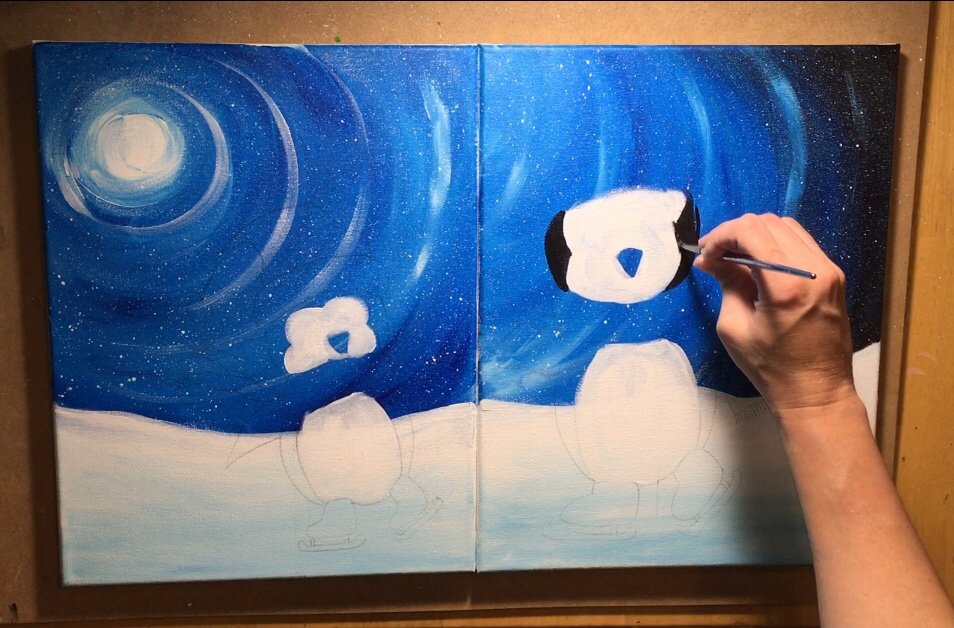
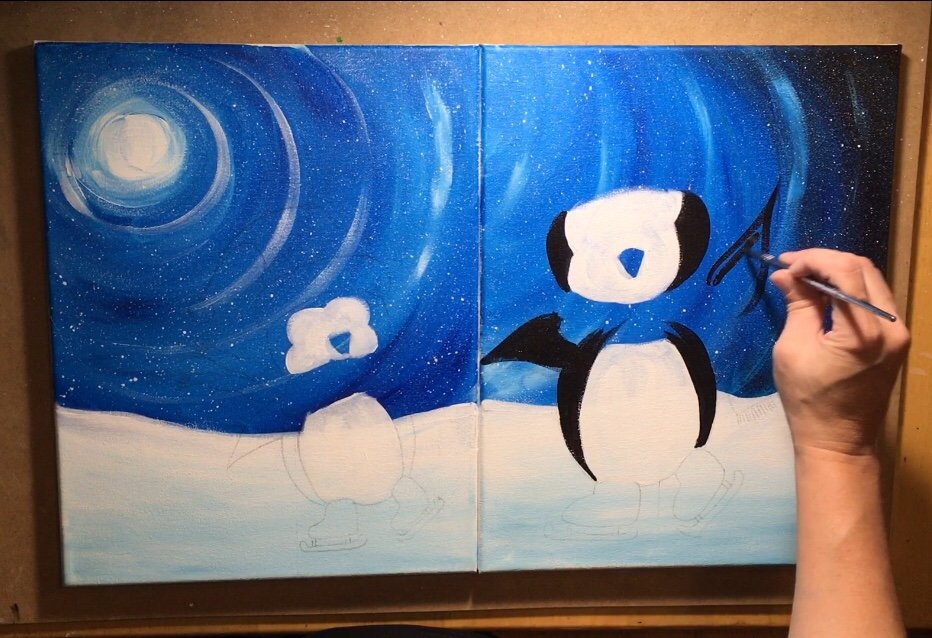
For the beaks I used cadmium orange hue and for the eyes, I dotted mars black. I still used that #4 round brush for this step. 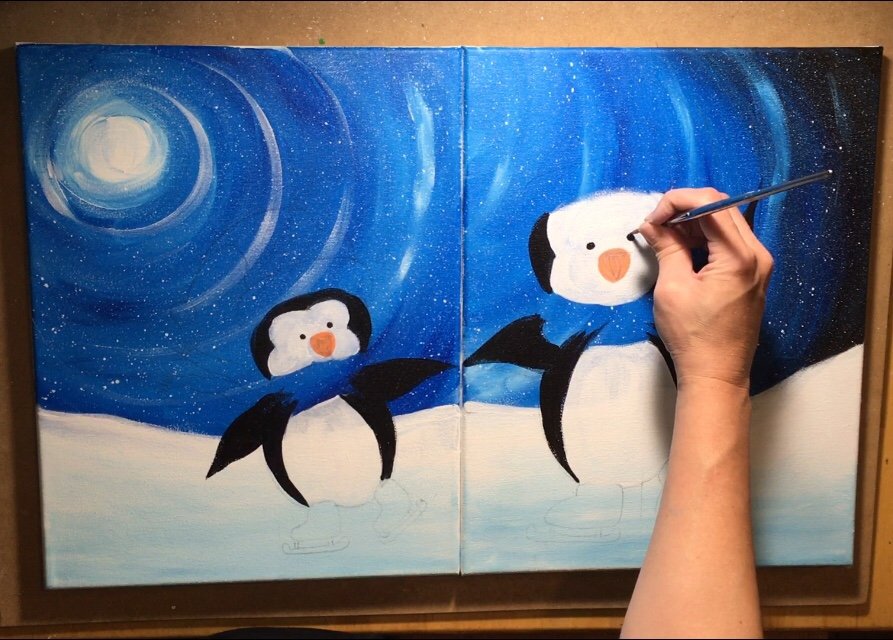
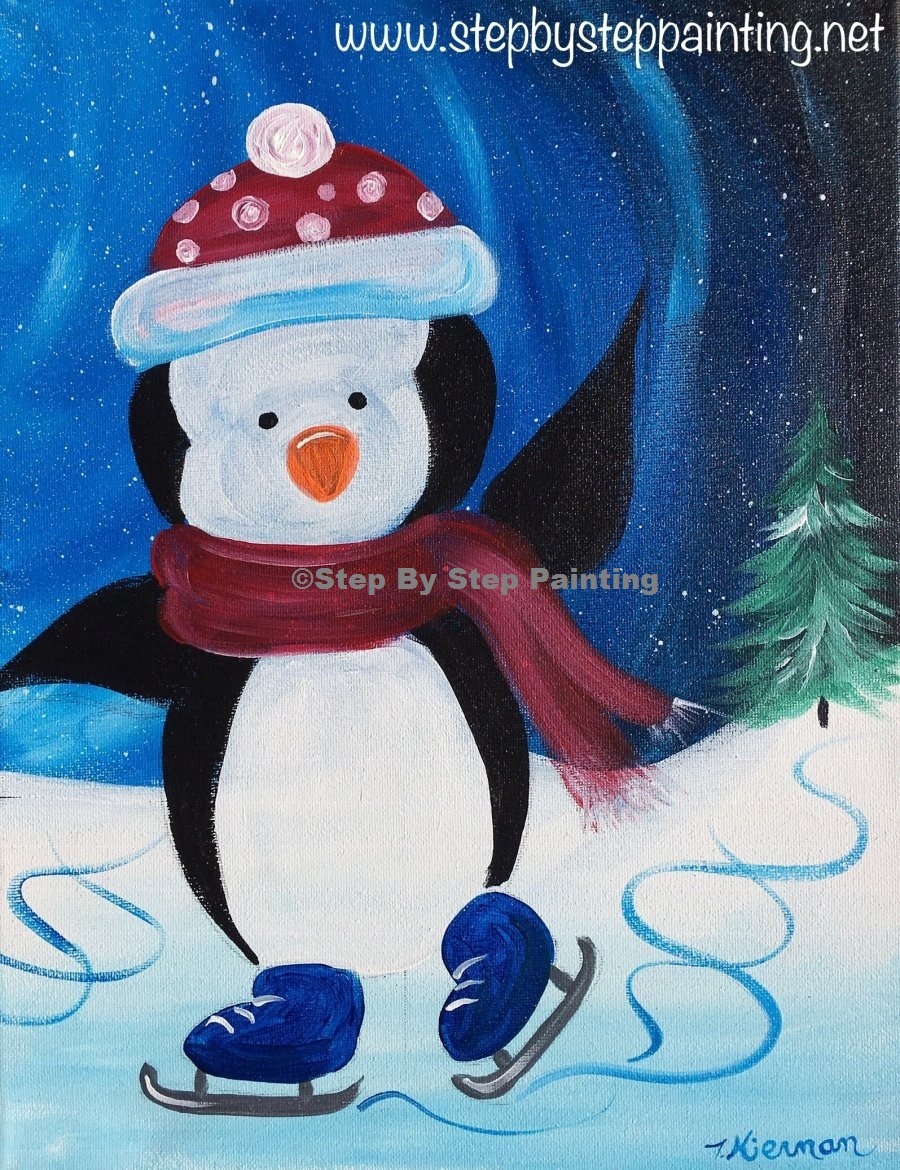
The mommy penguin’s scarf was cadmium red deep hue. I used the bright brush for painting this! 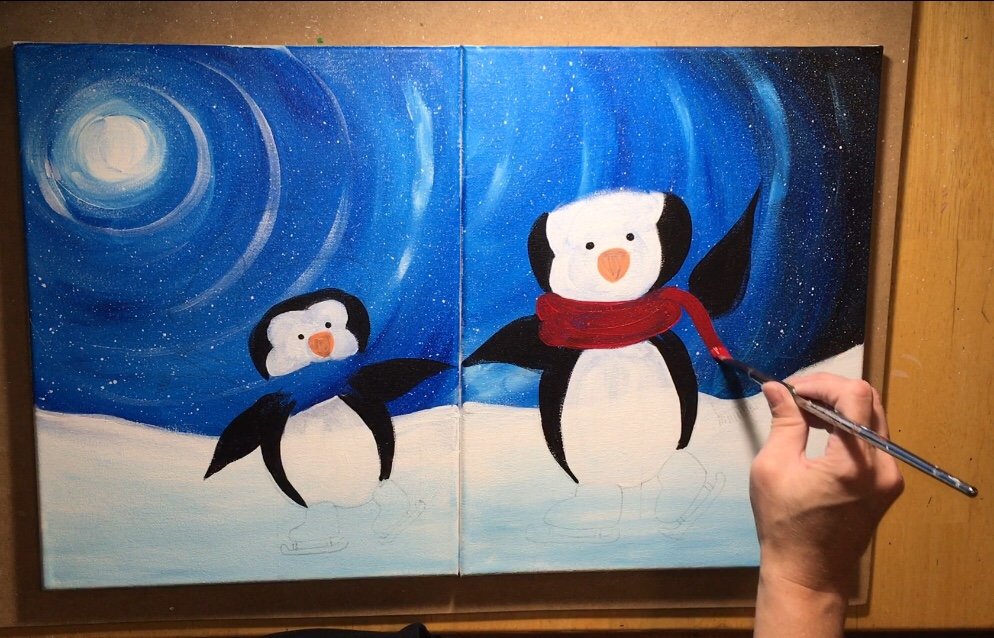
Adding a little bit of titanium white to the brush when painting the scarf will give that dark red a bit of color variation. I also let the paint brush stroke dry out as it reached the tips of the scarf.
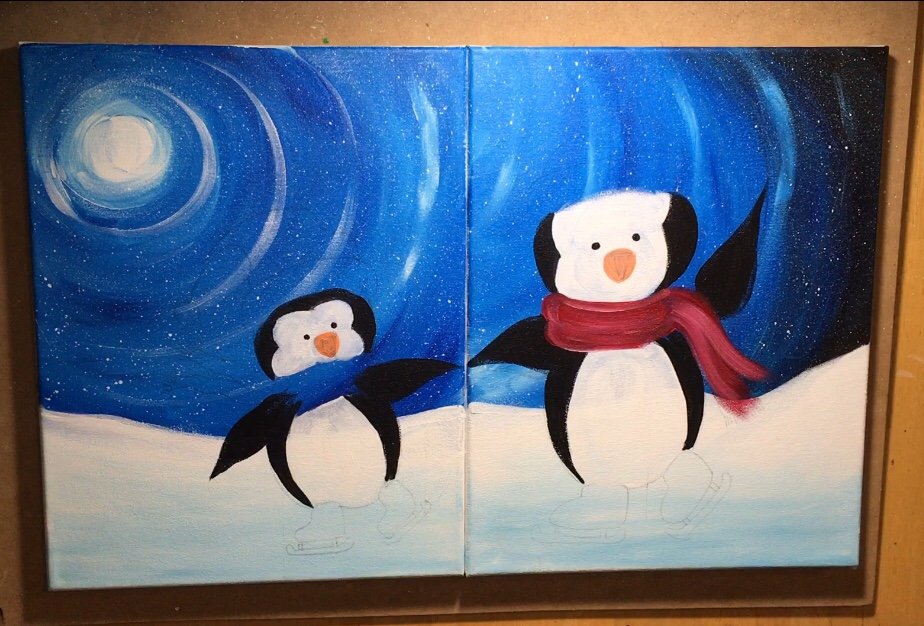
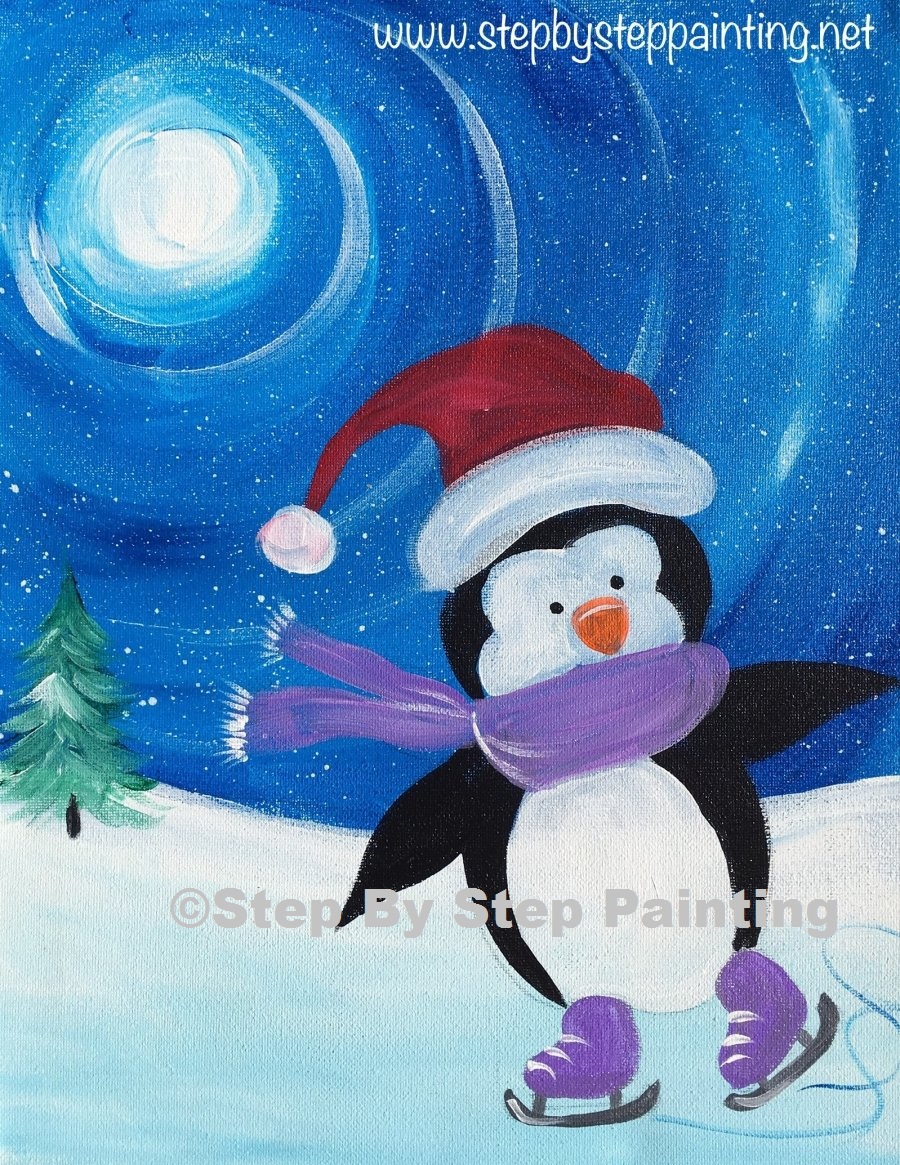
The hats were also painted with cadmium red deep hue. Then I used titanium white for the white base of the hat. The child penguin’s scarf was done with brilliant purple. Then I used a 10/0 liner brush and titanium white to paint the “frill” on the tips of the scarf.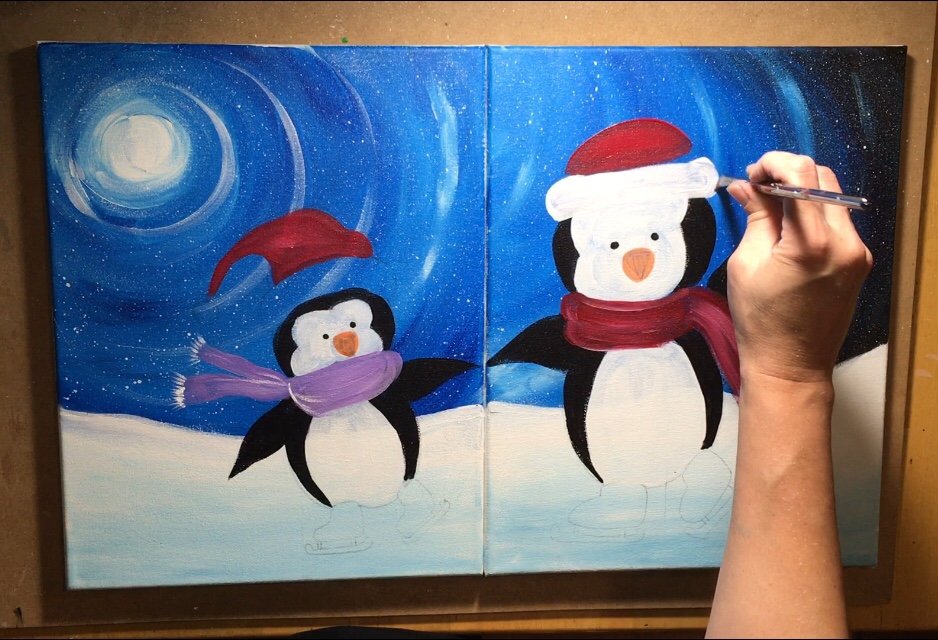
I also added some polka dots on the mommy penguin’s hat. The white circles on the tops of the hats were painted with titanium white. As far as what brush to use, decided on whether the round brush or the bright brush is more comfortable for painting the hats in. I used the bright brush for the larger areas and the round brush for the smaller areas. 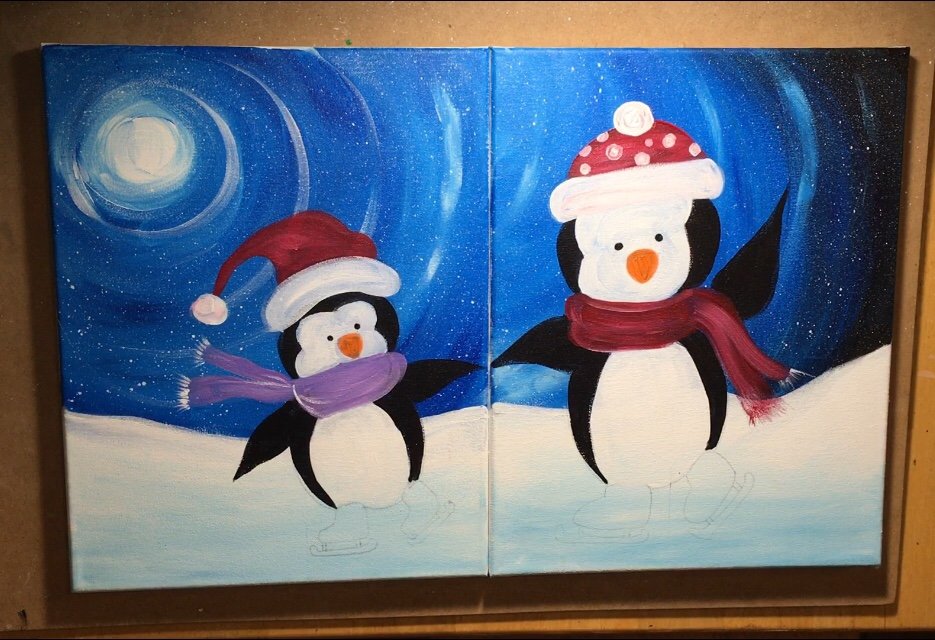
10. Paint the ice skates
I chose phthalo blue for the mommy ice skates and brilliant purple for the kid penguin iceskates. I also used a #4 round brush. Start by painting the shoe of the skate.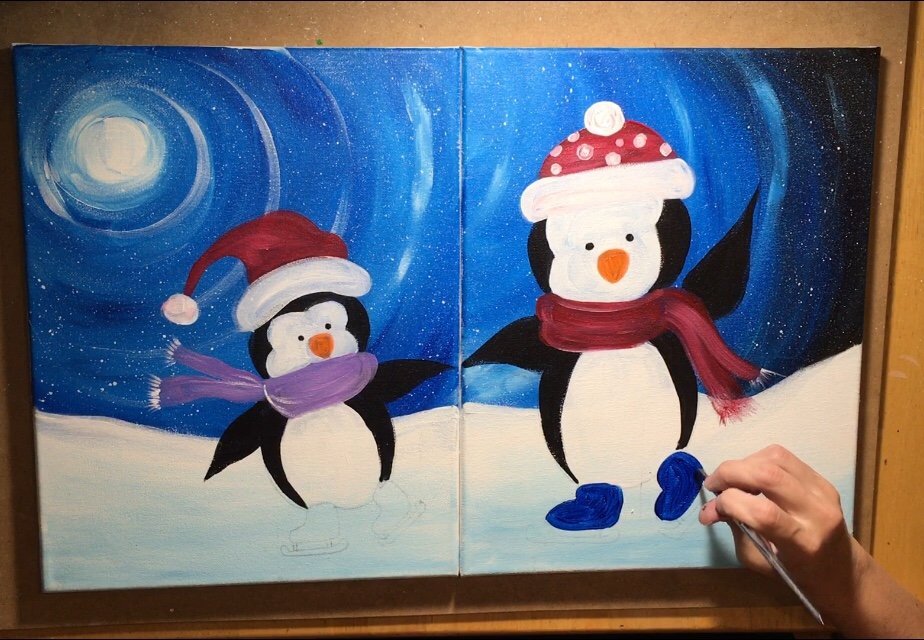
Then mix black and white together on your palette to make gray. Paint the blade of the skate in. 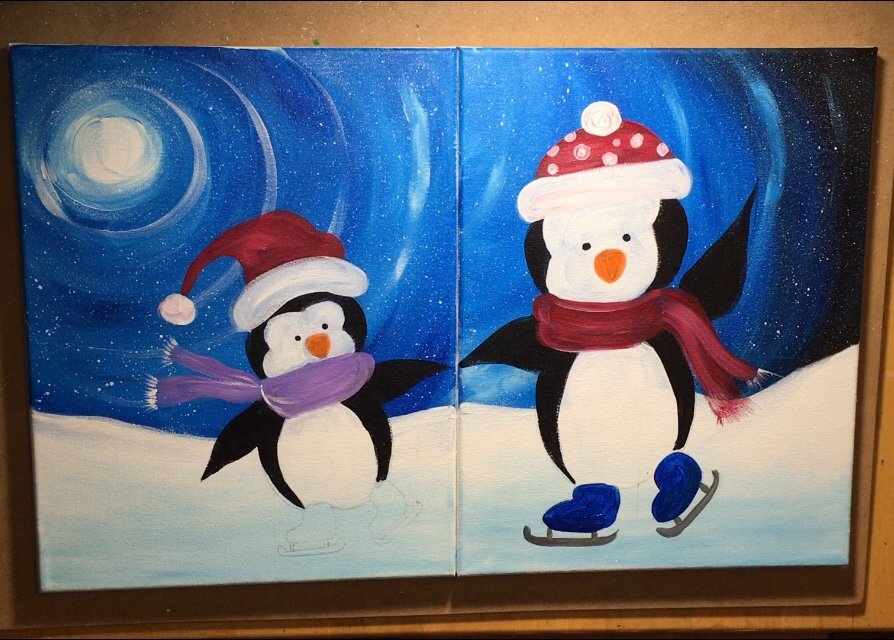
Optional: To add more details to the skates, use titanium white to paint three curved lines for the laces. Also paint a white highlight line on the blade of the skate. 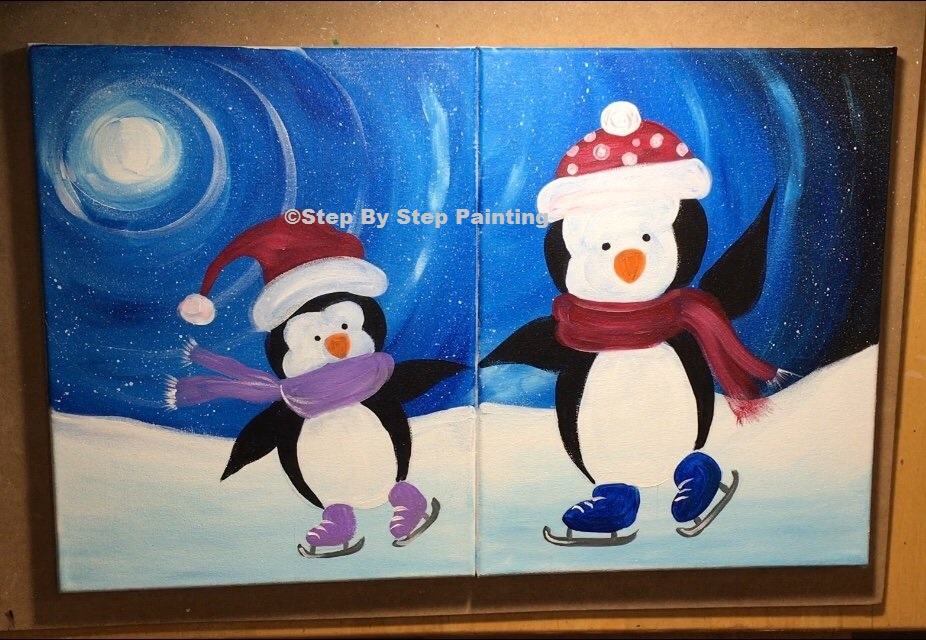
11. Use a #4 round brush to paint skate lines on the ice.
Mix primary blue and titanium white (about equal parts) to make a light blue. Use your #4 round brush to paint wavy skate lines. It may also help to water this down slightly to get it to flow better for these lines. 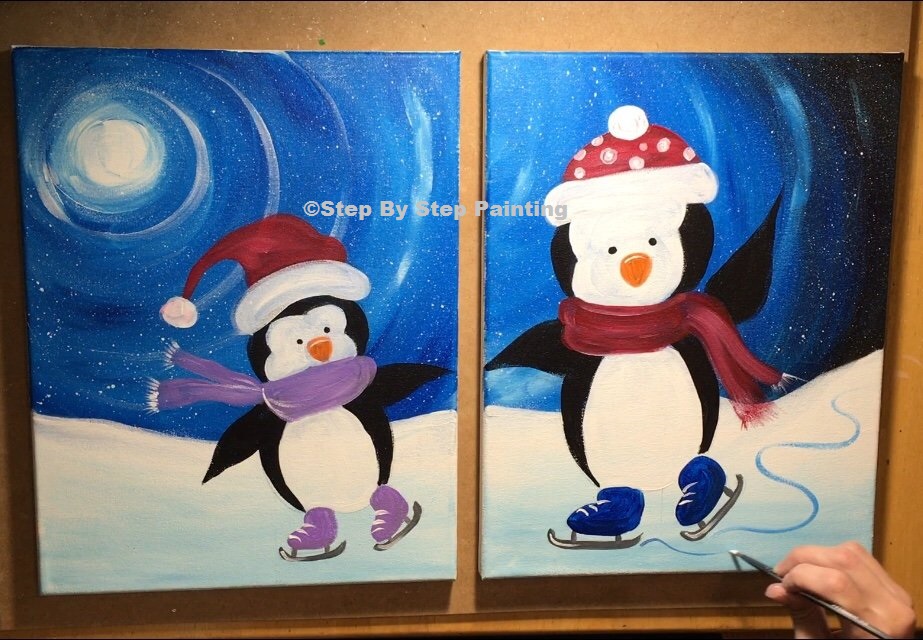
Connect the two canvases together to make the skate lines match! 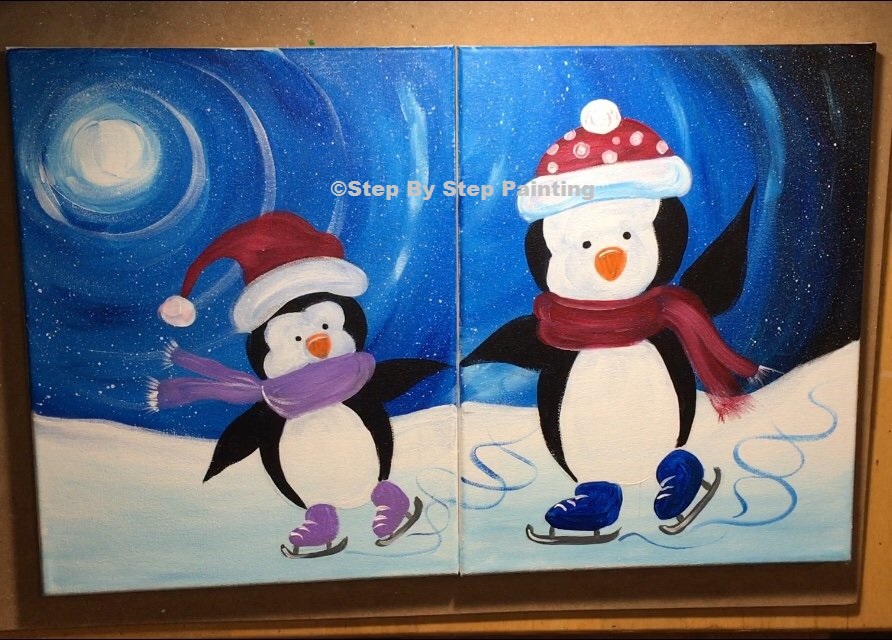
12. Paint Trees
To paint the trees, I used a #4 round brush and the colors dark green permanent and titanium white. Start with dark green permanent and paint an outline of a tree.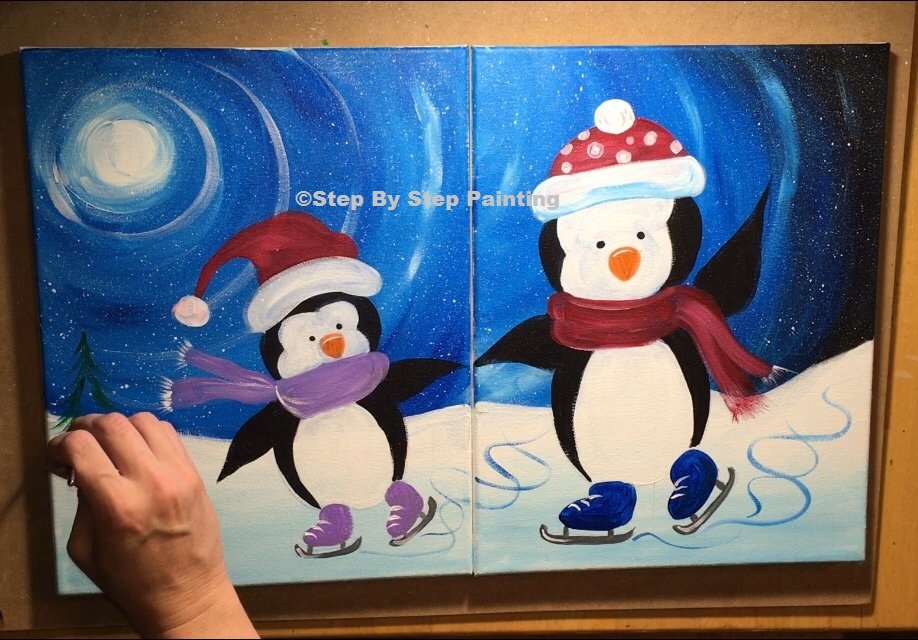
Paint the tree in solid with the dark green permanent by painting downward strokes with your round brush. 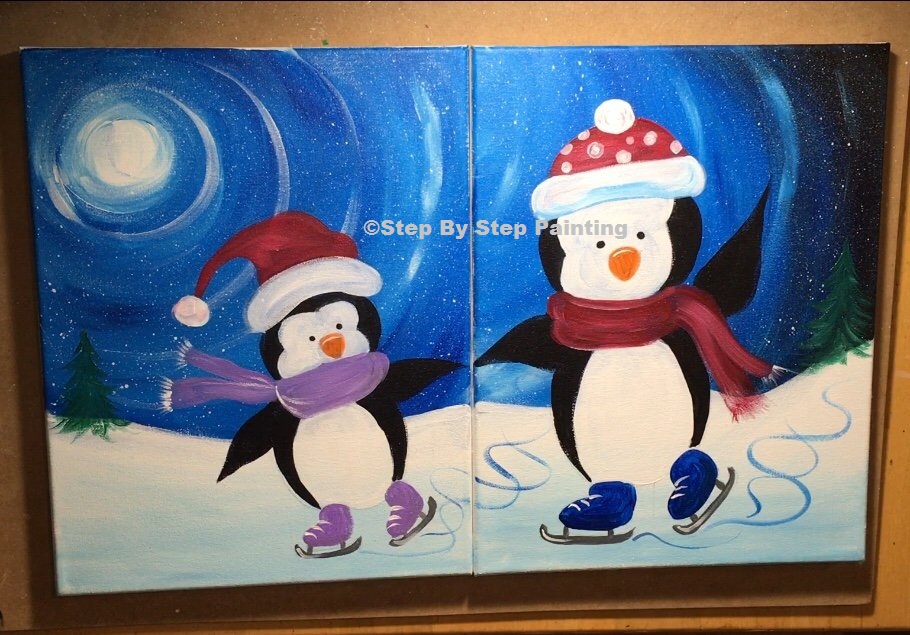
Then dip your brush in titanium white without rinsing the brush. Start at the bottom of your tree and paint downward strokes. Work your way to the top of the tree. 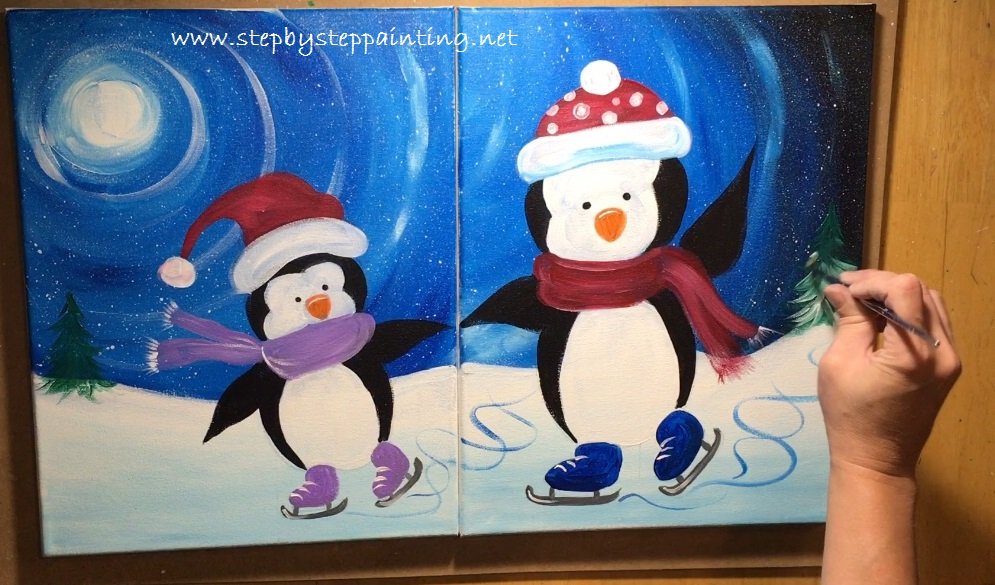
That white will mix with the dark green permanent and make the tree lighter so you can see it better and so it looks like it has snow. 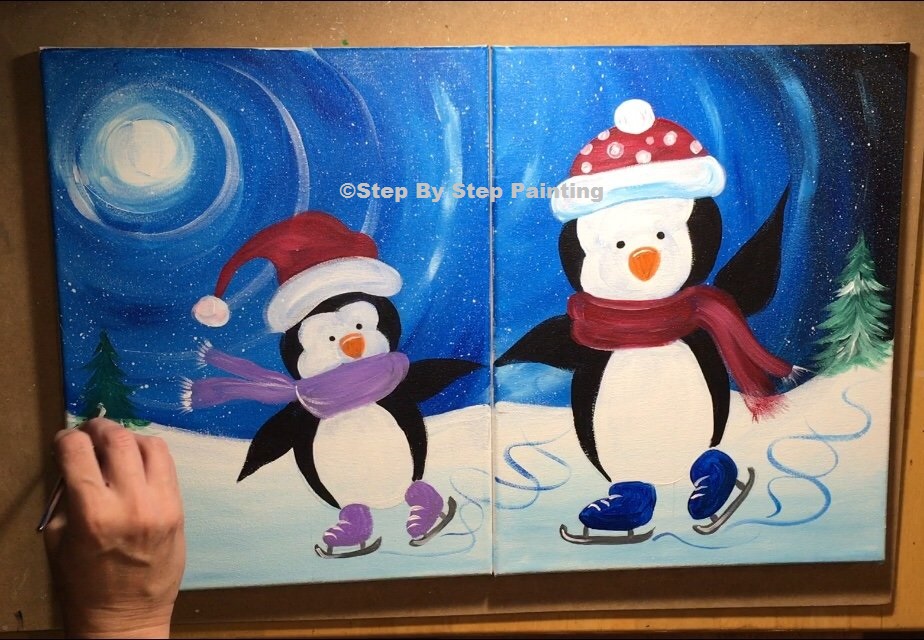
For the trunks of the trees, I used mars black. 
Finished!!
Sign your name and show it off! Find a special place to hang and display your paintings!
viewed your penguin pic. our three adult daughters and husbands coming home for Christmas and we are going to do an at home wine and canvas. this looks fun! we will let you know how it turns out. thank you!
MD and JD
Awesome Mark! Do let me know how it goes, I hope you enjoy your Christmas!!!