

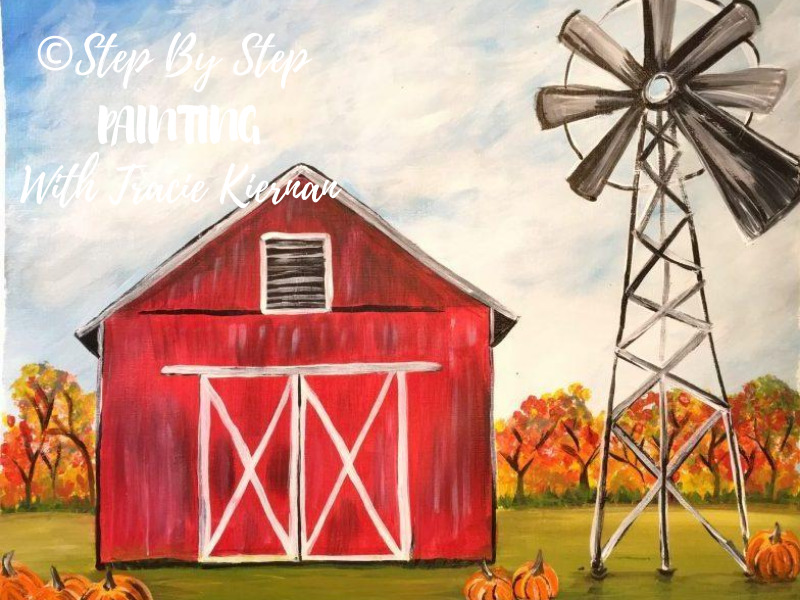
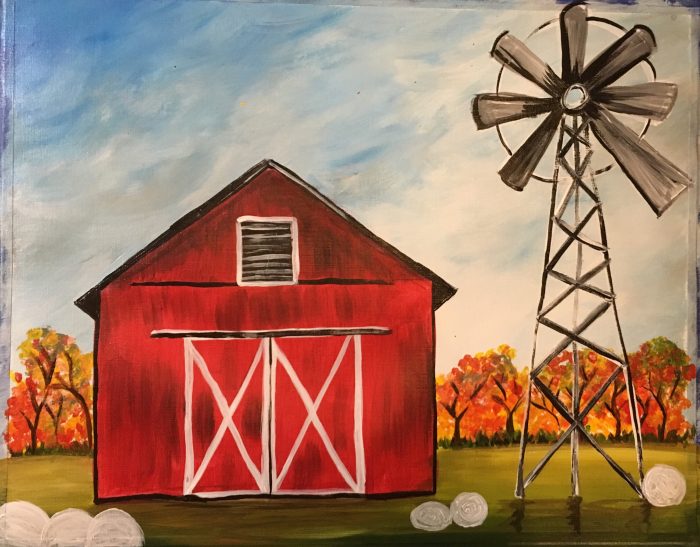
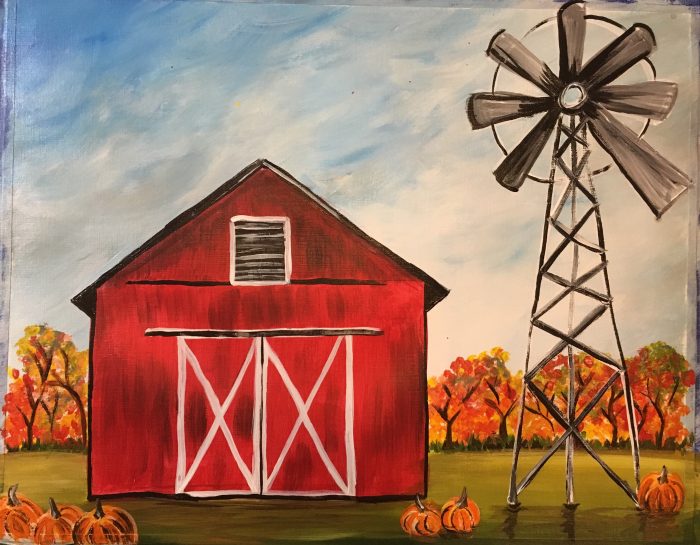
How To Paint A Fall Barn
Beginners can learn how to paint this colorful, bright and cheerful Fall Barn! This painting is an 11″ x 14″ canvas with acrylic paints. The following post is a full and detailed step by step painting tutorial.
Would you like to save this?
This is definitely a “more traditional” and “less whimsical” painting. I’d say it’s slightly harder than some of the other paintings on this website but only because there are a lot of fine lines to paint. Make sure you get yourself a very good detailer round brush!

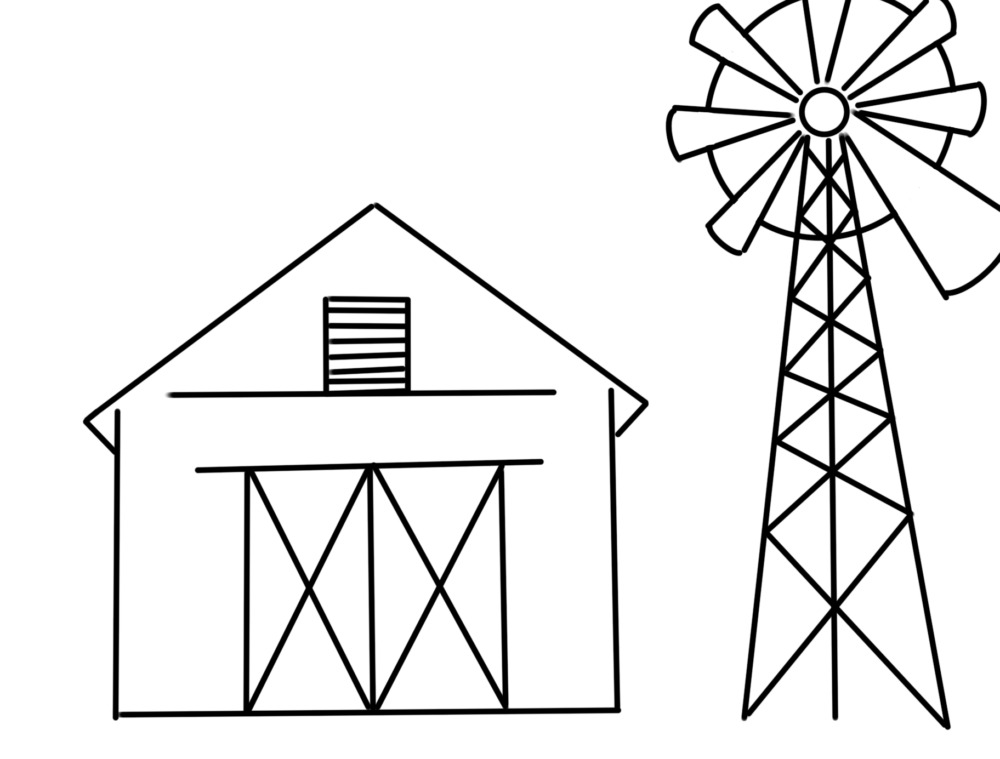
I have provided a traceable of both the barn and the windmill. Print the templates on a standard size computer paper and then transfer to the canvas using a light table, graphite paper or penciling on the back method.
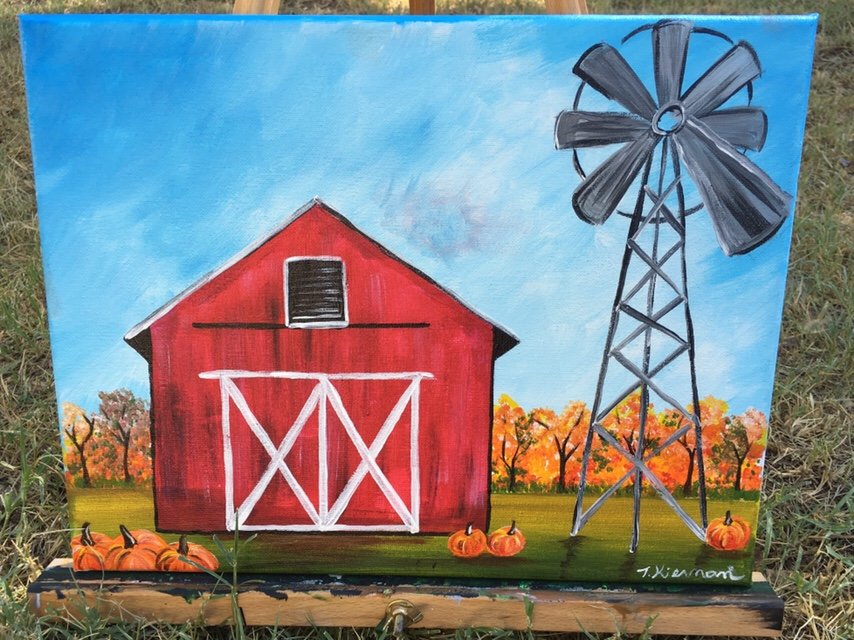
As for the size canvas, I used an 8 x 10 for the original and a 11 x 14 for the second version you will see in this tutorial. The 8 x 10 was done with Liquitex BASICS paint and the 11 x 14 was done with *DecoArt Americana Premium Paint.
*Note: this painting was done with “Americana DecoArt Premium Tube” paints. DecoArt has discontinued these paints since this painting was done. I would recommend using either the DecoArt Americana bottle paints or Liquitex BASICS and match similar colors.
Enjoy and happy painting!
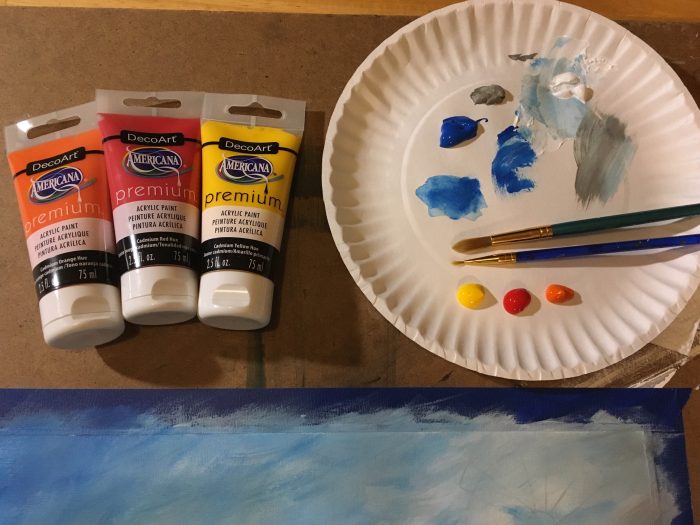
Materials:
- Canvas
- 8 x 10 -or-
- 11 x 14
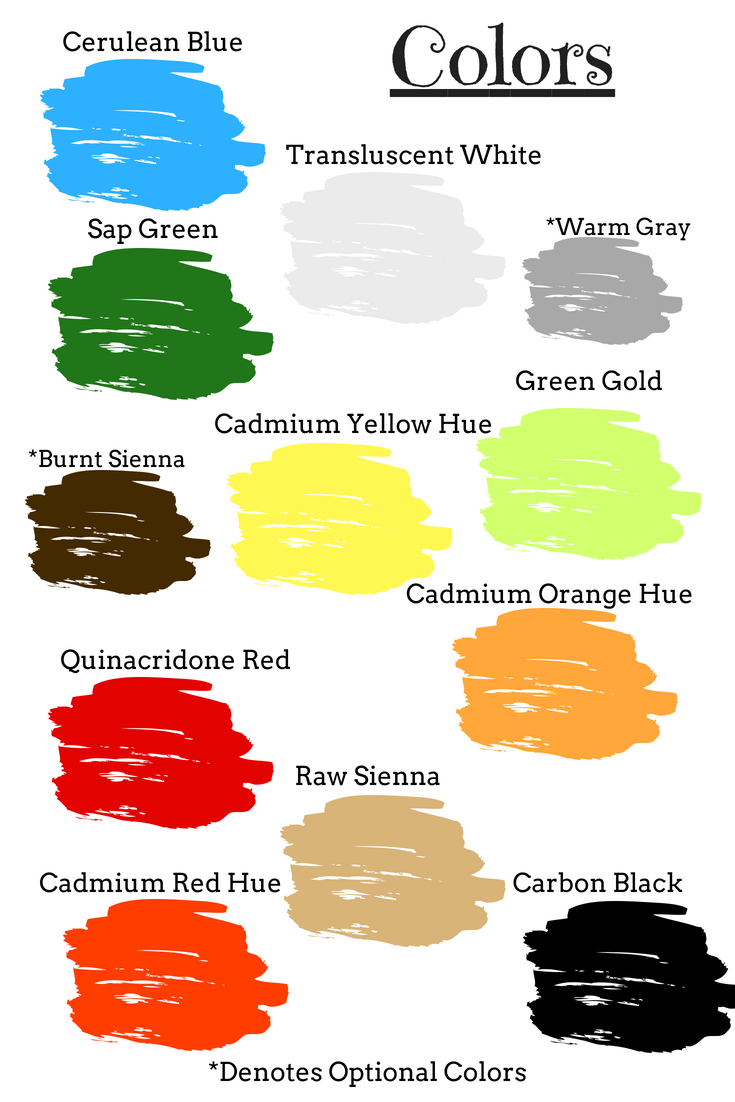
- *Acrylic Paint Colors (I used DecoArt Americana but these are discontinued. I am providing Liquitex BASICS conversions)
- Translucent White (titanium white works too)
- Warm Gray (optional) (neutral gray value 5)
- Cerulean Blue
- Sap Green (hooker’s green hue)
- Green Gold (light olive green)
- Cadmium Yellow Hue
- Cadmium Orange Hue
- Quinacridone Red (similar to a dark, cool red) (naphthol crimson)
- Cadmium Red Hue
- Raw Sienna
- Burnt Sienna (optional)
- Carbon Black (mars black)
- Brushes (I use Royal & Langnickel Brushes)
- 3/4″ Flat
- Small Flat
- Tiny Round Brush 2/0
- #3 Round

- Traceable of Barn and Windmill
- Graphite transfer paper
Traceable
Download This 11 x 14 Barn and Windmill
Directions At A Glance: 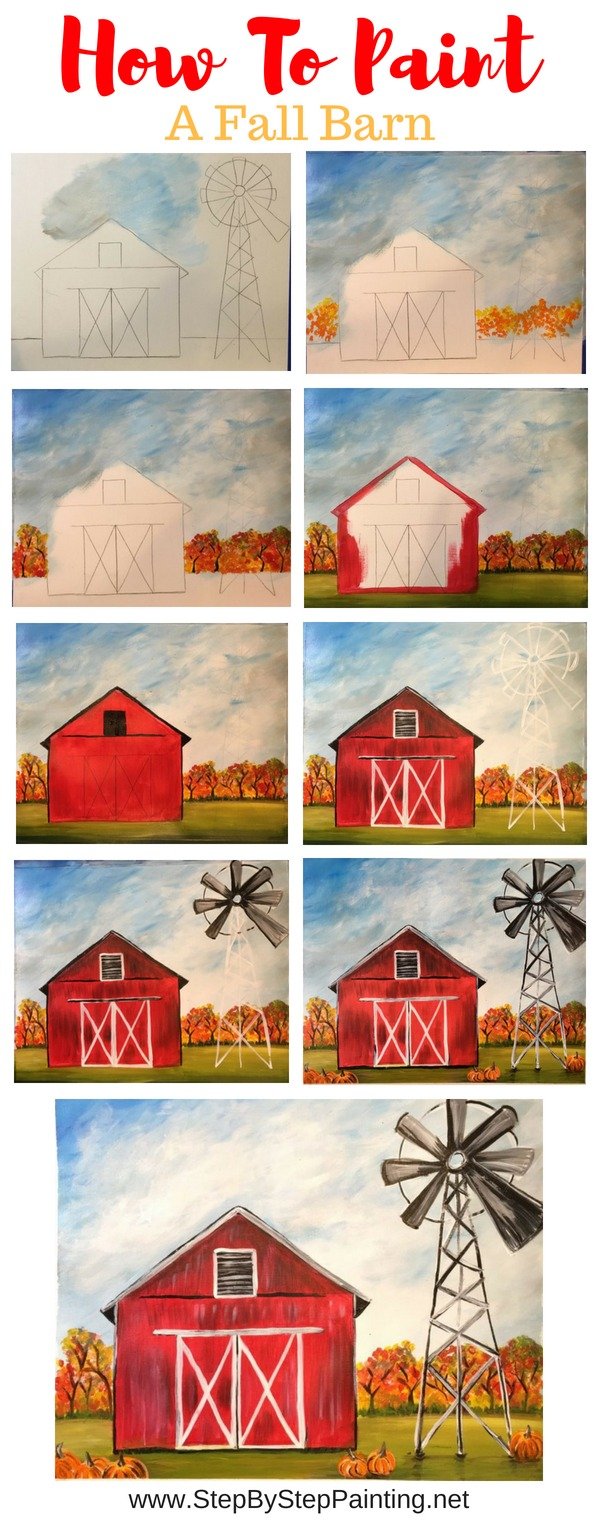

Video:
Step By Step Pictures:
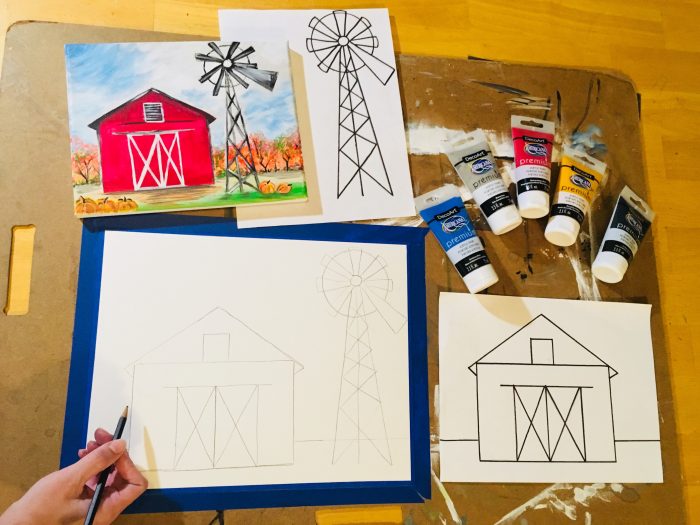
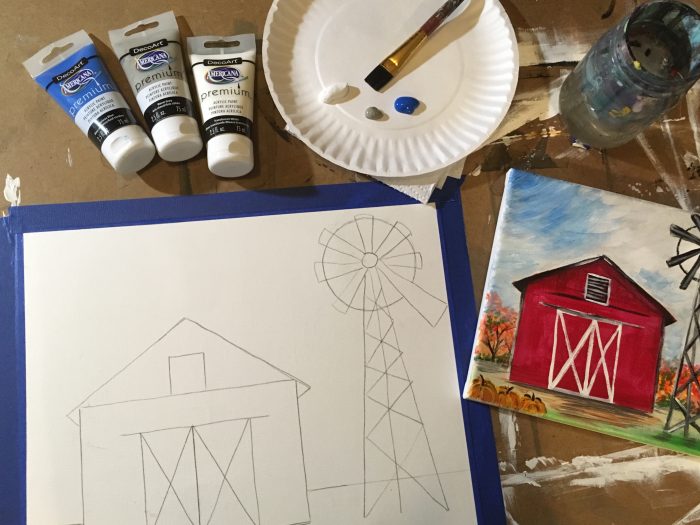
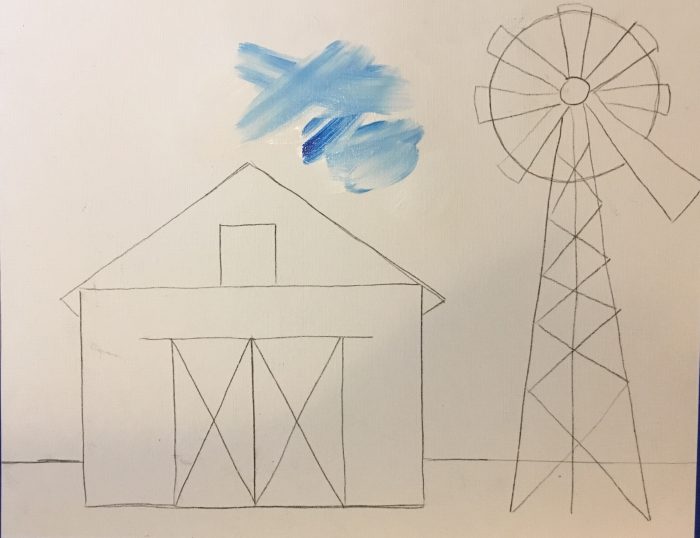
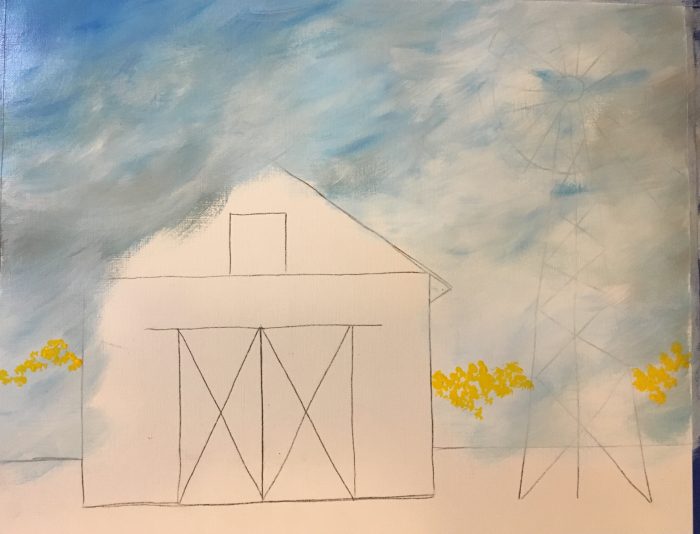
1. Use the traceable to transfer the barn and windmill to the canvas.
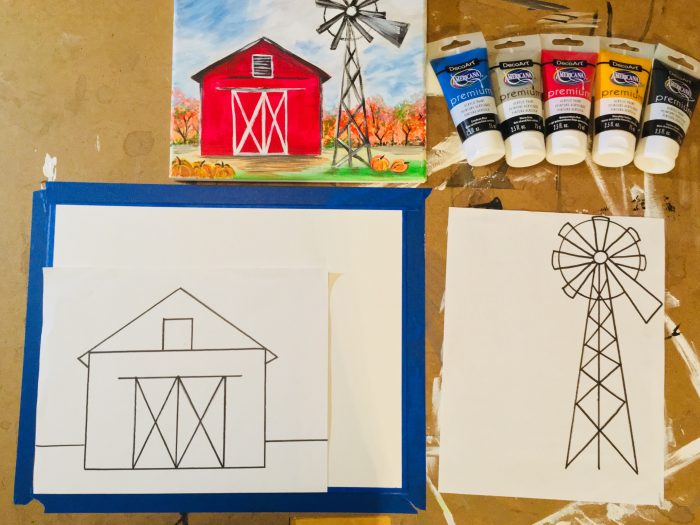
I used a regular piece of graphite paper. You can also apply pencil on the back of the printout and trace. For the purposes of this demonstration, I traced fairly hard so you can see the barn. I recommend that you transfer the barn kind of light/medium.
2. Paint the sky cerulean blue, translucent white and a tiny bit of *warm gray (optional).
*I ended up not liking the gray so much in the sky. It dulled the painting a bit. When I do this painting again for the video, I’ll most likely not use gray. Experiment with it to see what you think!
I used a 3/4″ flat brush for this technique. I call these “X strokes” because you basically blend the colors together by making nothing but X’s that criss cross each other to get the paint to blend. Use mostly white and a little bit of blue on the same brush and allow them to blend together.
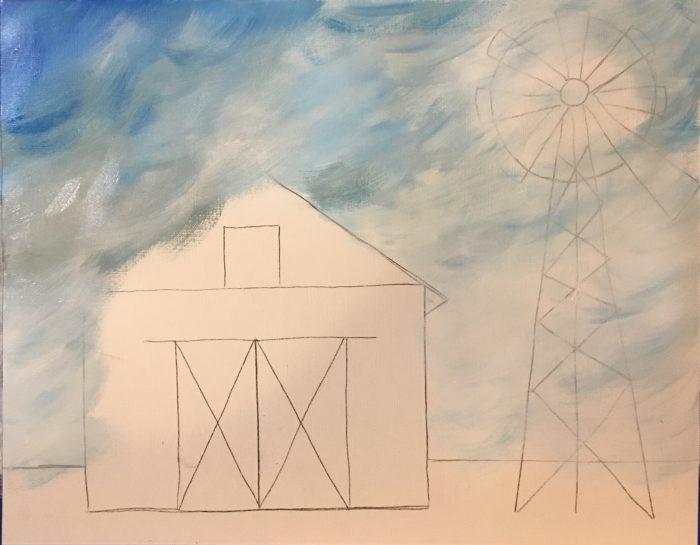
Then paint a tiny bit of gray and blend that into the sky as well. I emphasized more blue in the upper left corner and lighter colors around the windmill and along the horizon line. Try not to blend everything into a solid color. The X strokes will look almost like wispy clouds in the sky.
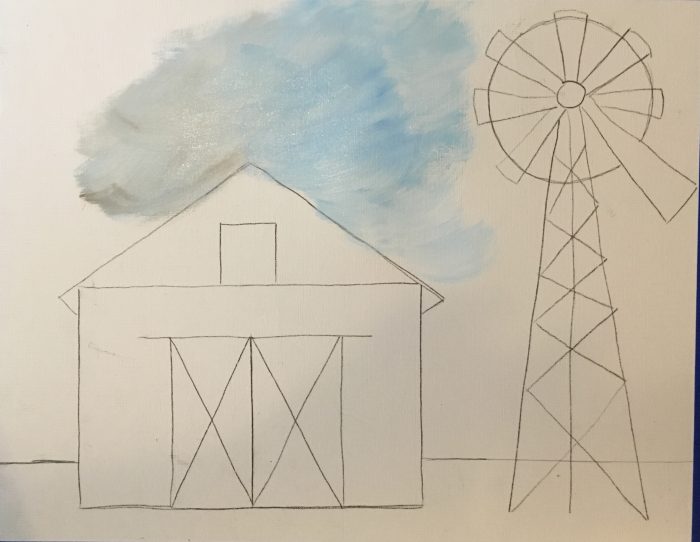
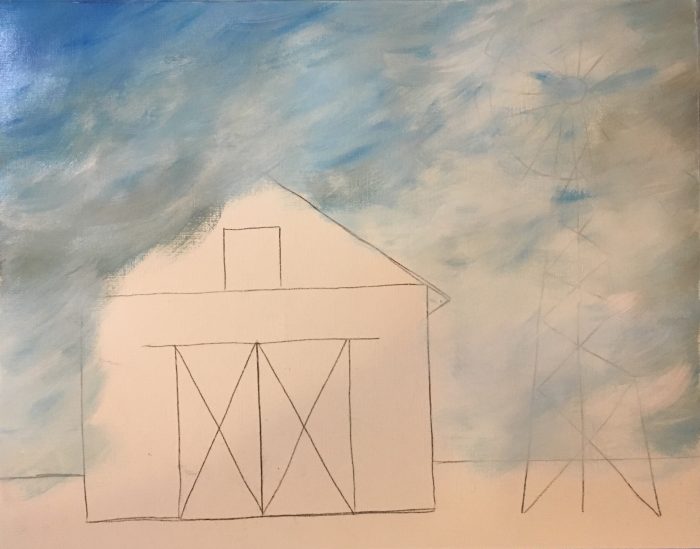
Continue filling the entire sky with different areas of white, blue and gray. You may paint over the windmill and part of the barn if necessary.
*If you loose the windmill, don’t fret! We can always trace it back onto the canvas again.
*Note: The barn looks kind of crooked in some of the photos. It’s just how the camera took! It’s not crooked in real life 😉 But…it’s good to use a T-Square ruler to make sure your horizon line is nice and straight!
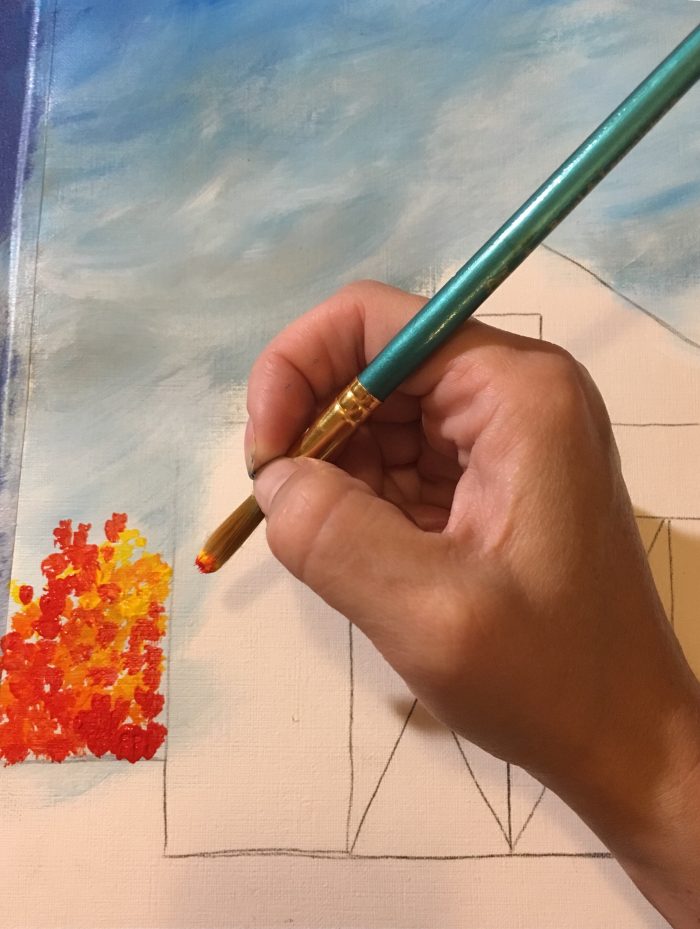
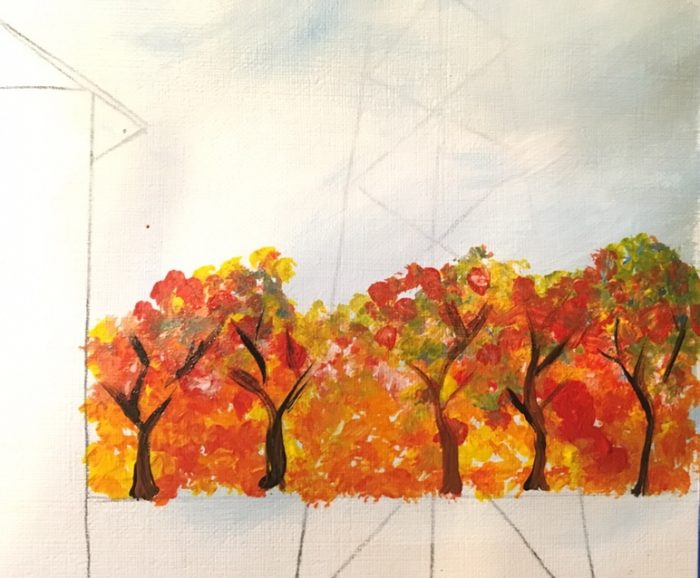
3. “Stipple” fall trees above the horizon line using a #3 round brush.
The stippling technique is done by painting dots with a round brush. Start with cadmium yellow hue and your round brush. Paint dots all along the top of the tree line. This line is anything but straight! The trees have different heights and so should these dots.
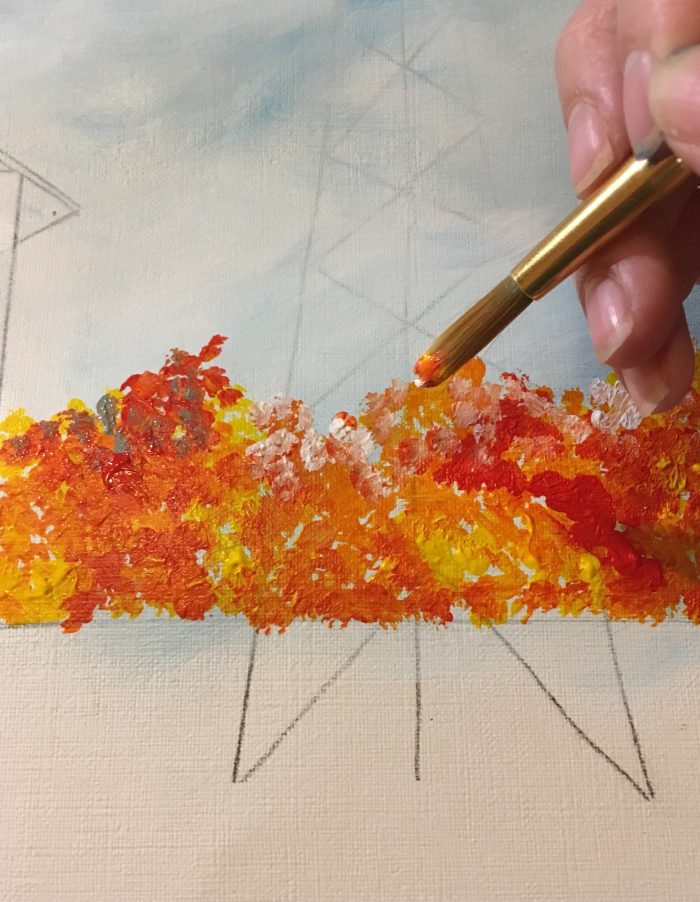
Without rinsing your brush, apply orange dots. You will want those dots to blend with some of the yellow dots. Also, very important, there is inconsistency with the dots. We aren’t painting a pattern, we are painting nature! So group some dots with denser orange and other areas with just yellow.
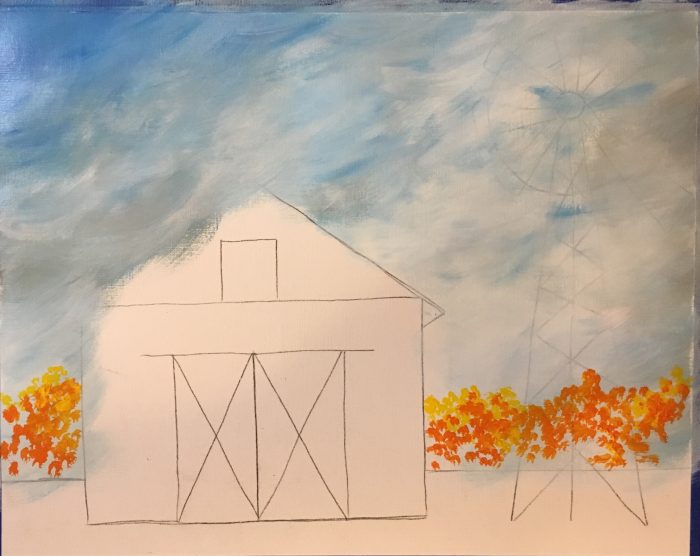
Don’t rinse the brush. Add cadmium red hue. Again, make some areas more dense with red and some areas with no red at all.
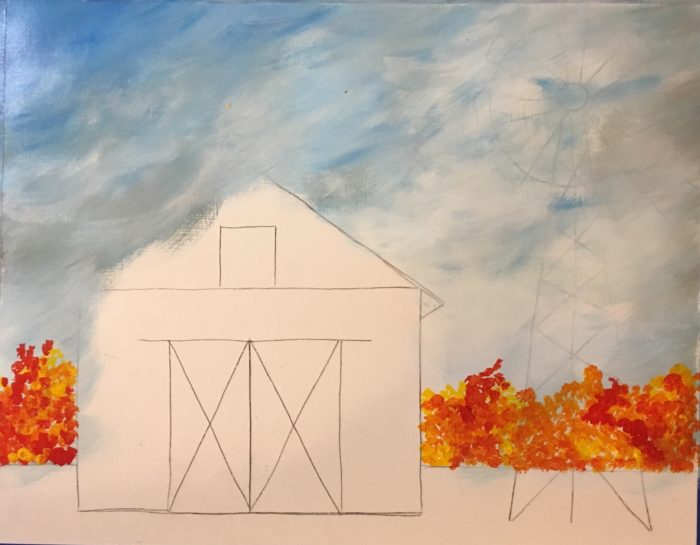
Optional: add white dots and green dots. I emphasized white dots on the top area of the trees were the sun would be hitting them. Then I mixed blue and yellow on my palette using the colors that were already there to make green. I added a few green dots here and there. This just gave some fun color variation!
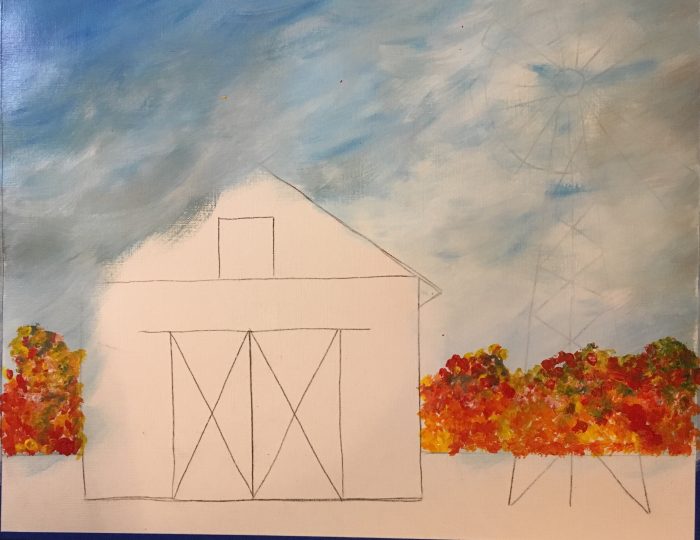
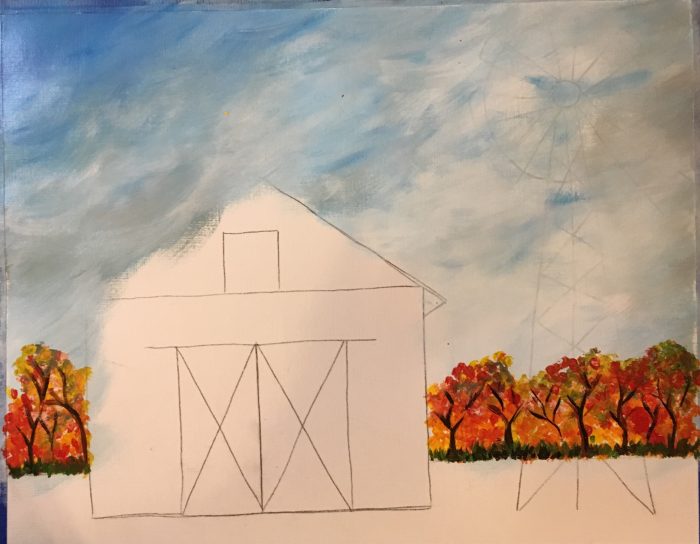
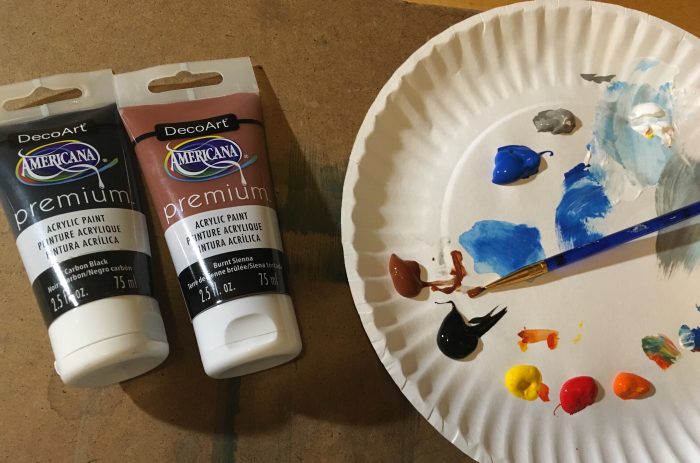
4. Paint tiny tree trunks using a 2/0 round liner brush, carbon black and (optional burnt sienna). Then paint some “bushes” along the horizon line with green.
Using that tiny brush, mix both the black and brown together. Paint very tiny tree trunks starting from the horizon line and working your way up. These are far in the distance, so don’t worry about perfection!
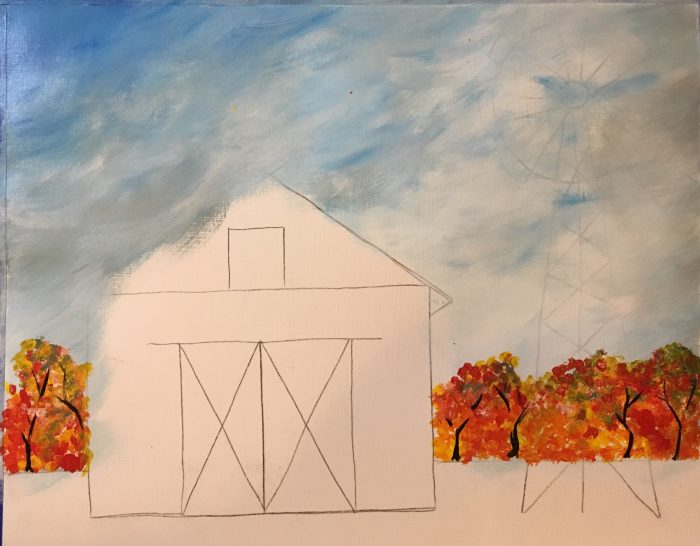
Optional: Use that cerulean blue and yellow on your palette to mix the two together (equal parts). Then paint a green area overlapping the trunks. This represents some bushy foliage way in the distance. I painted it by making little up and down strokes.

5. Paint the land gold green. Then blend “sap green” closest to the bottom and “raw sienna” closest to the horizon line.
I used a 3/4″ flat brush for this. Start out by painting all of the land a solid coat of “gold green”. This is a very pretty, warm green that compliments the fall foliage well.
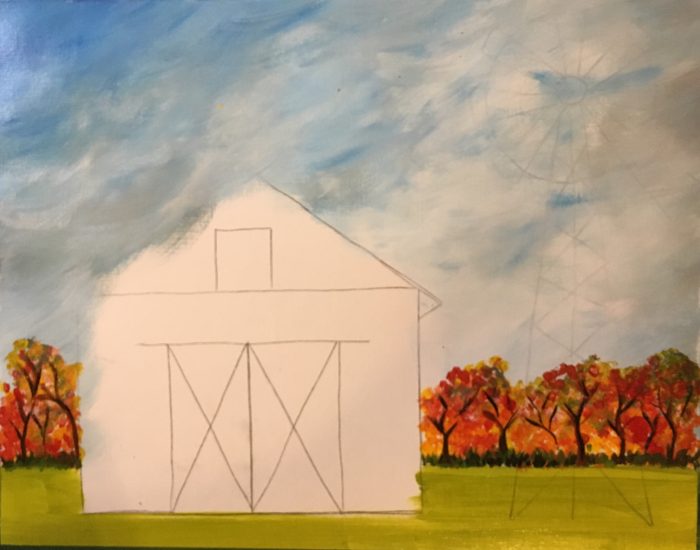
Then blend “sap green” at the bottom and “raw sienna” at the top. This will give your land a little bit of perspective with the lighter color of the green being in the distance. Make sure you are painting left and right long horizontal strokes.

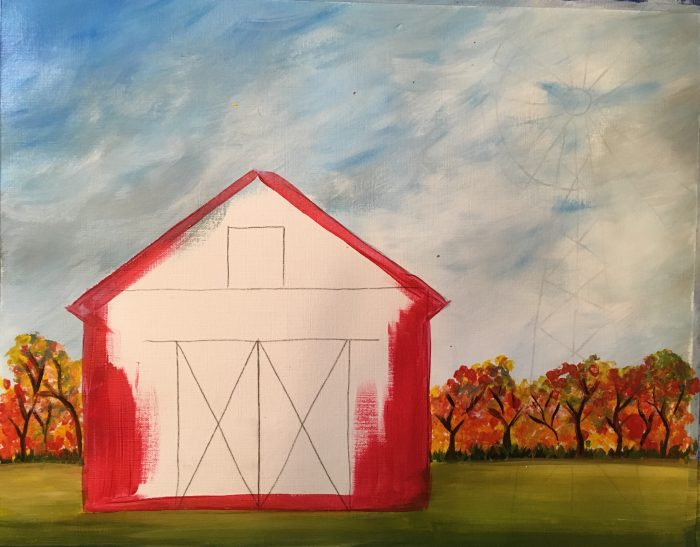
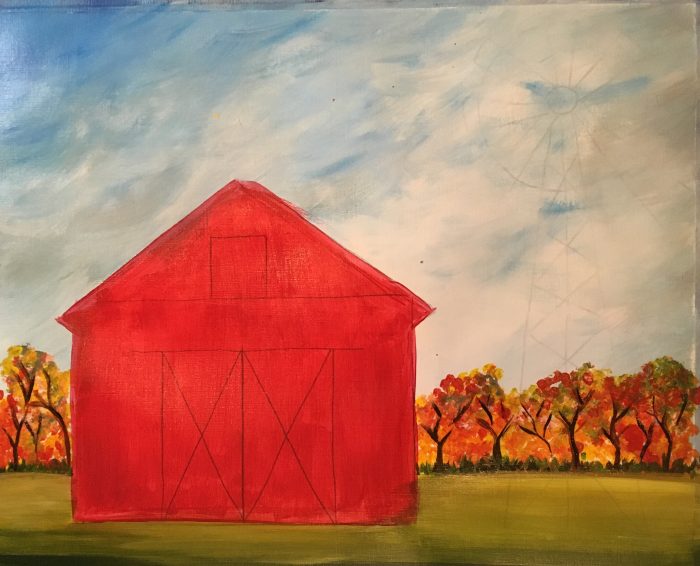
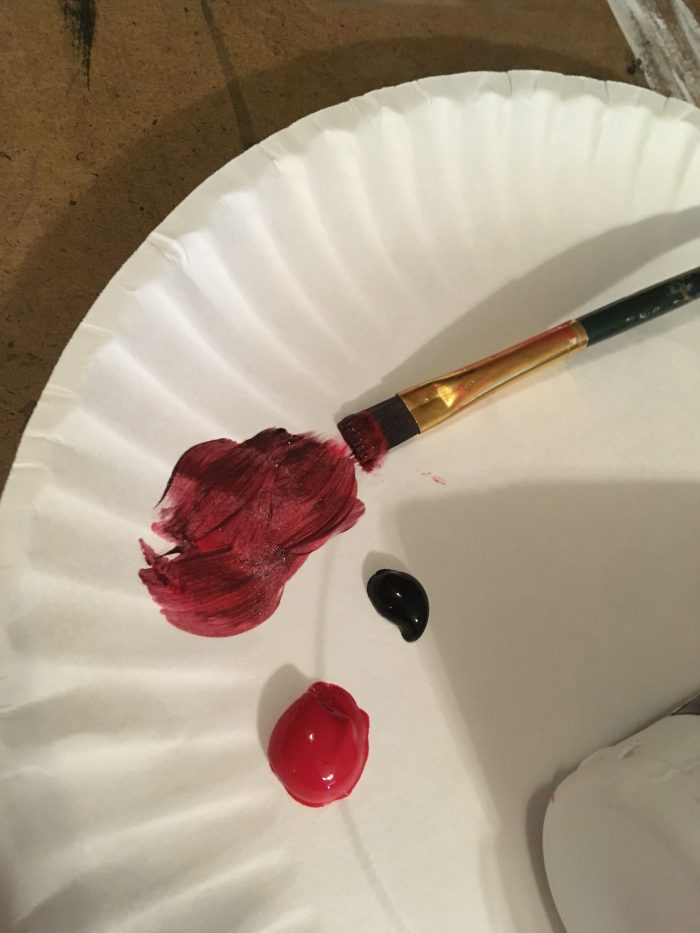
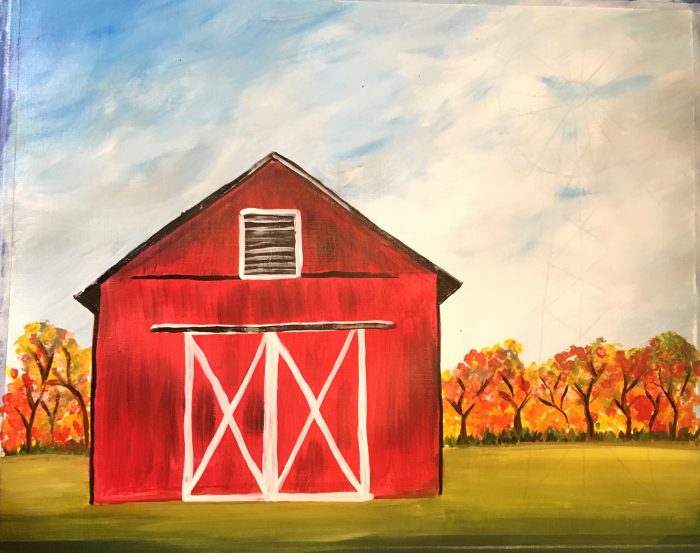
6. Paint the barn Quinacridone Red, Carbon Black and Translucent White.
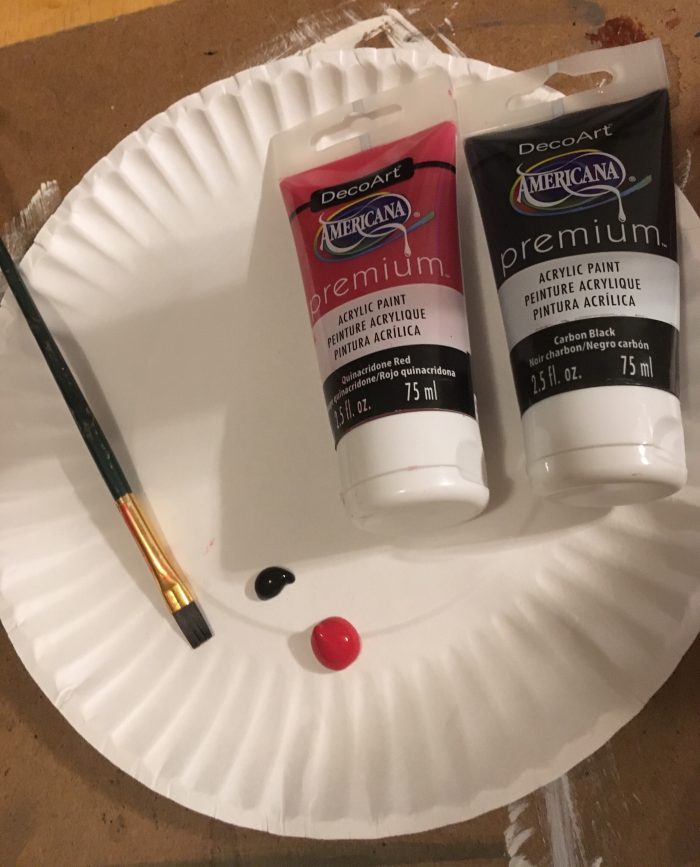
I chose this shade of red because it is a nice, dark cool red. I didn’t want to use cadmium red because it would be too bright and not stand out against the cadmium red in the foliage. Any how, use a smaller flat brush for this to “cut in”. Basically, paint the barn using all up and down strokes of this red!
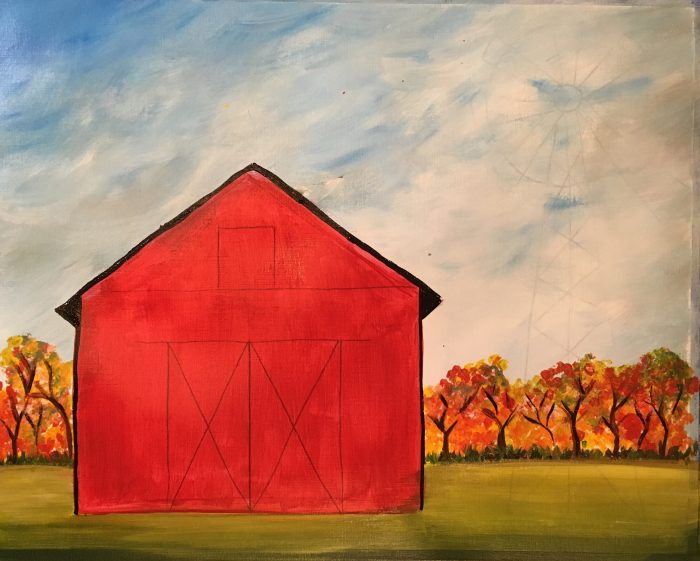
Then use a tiny round brush to outline some of the black areas including the roof. Pay attention to how the roof angles on the left and right sides to give this barn a bit of depth. Also, paint the window solid black.
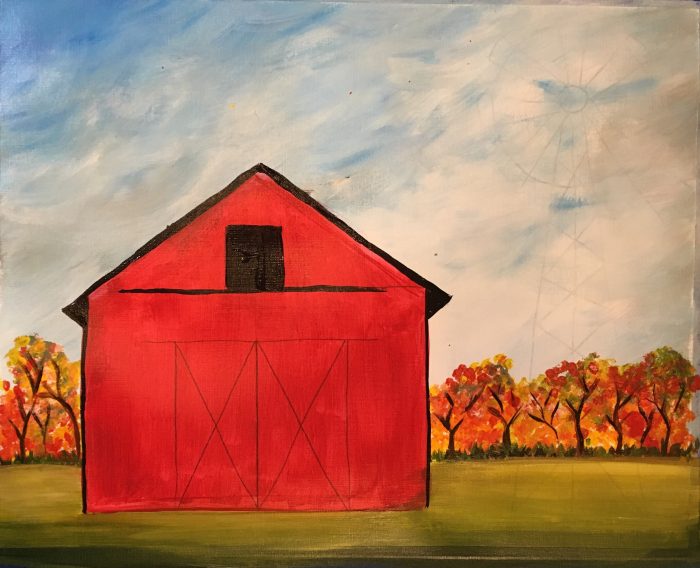
Outline the door with translucent white then outline the window and lightly paint the lines on the window.

7. Do some dry brushing on the barn.
I mixed a tiny bit of carbon black with a lot of quinacridone red on my palette. Then I used that smaller flat brush to “dry brush” some up and down dark areas on the barn. Specifically, make the top area just under the roof lines darker.
Dry brush the upper part of the barn to make it darker. Then dry brush some more strokes around the barn.
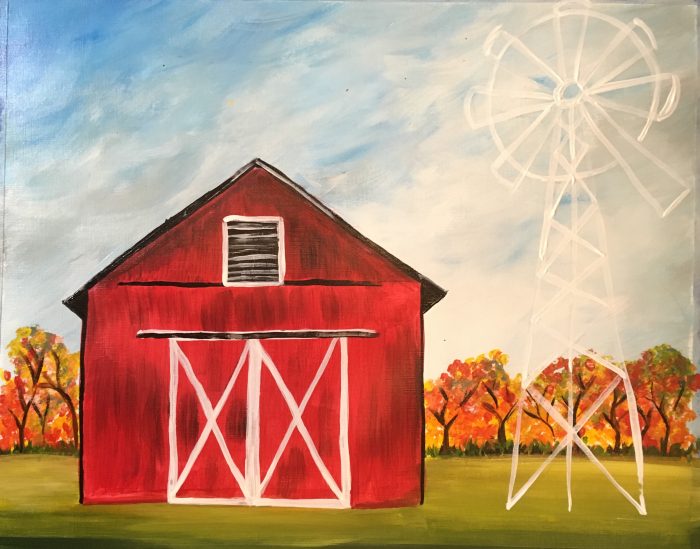
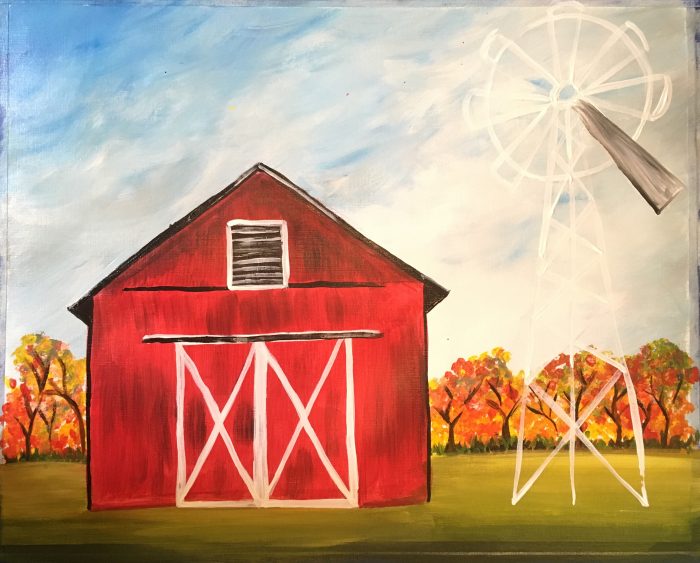
8. Paint the windmill.
Start with just translucent white. Use your tiny round brush to outline the entire windmill including all the X lines in the center.
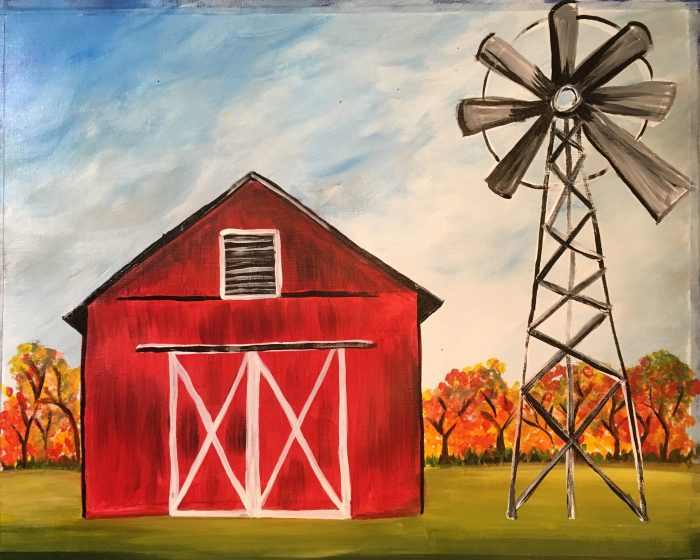
Next add white to your small flat brush (1/4″) and on the corner add a tiny bit of black.
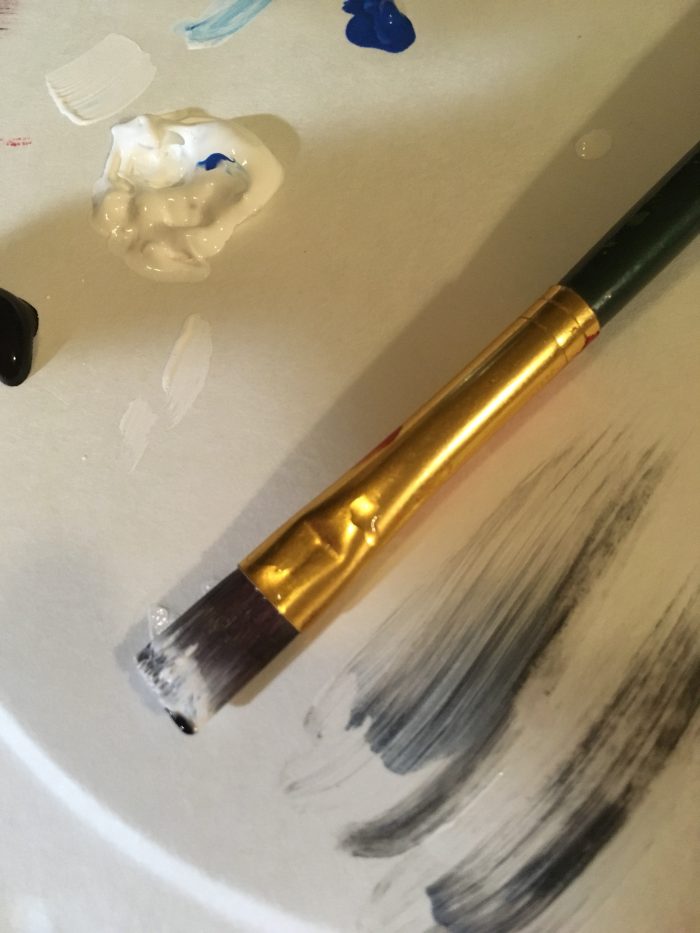
Paint the blades of the windmill this color combo. The white and black will mix to make a gray but we don’t want the colors to blend all the way to a solid gray. Also note that one of the blades is larger.
Use carbon black and a tiny round brush to outline the circle and the edges of the blades. Then add some darker areas in the very center.

Next use carbon black to outline all the lines of the structure. I went over the black several times with more white to give it some dimension and color variation.
Optional: Add a tiny bit of shadowing under the windmill and under the barn. I used that tiny round brush to paint the shadows. Mix a little bit of the carbon black with more burnt sienna.
Optional: Use the tiny round to paint the shadow under the windmill much like you were to paint reflection in water. Then use a flat to paint darker areas under the barn to represent shadow.
9. White out areas for the pumpkins.
You can use any brush for this! I used both the #3 round and that tiny round. Basically, you need to block out where you will be painting these orange pumpkins!
10. Paint the pumpkins cadmium orange hue.
Again, any size brush will be fine. Just paint a few coats of the orange over the white.
11. Paint detail lines on the pumpkins.
Start with translucent white and cadmium yellow hue. Dip your tiny detail round brush in both the colors. Paint the lines on the pumpkins.
Then paint the stems with burnt sienna. Keep in mind that the stem is not exactly at the top of the circle. To give the pumpkins depth, paint the stem slightly below the top, as shown below.
Optional: You can render the pumpkins even further by adding some black lines on the pumpkins and then painting some shadows with burnt sienna just under the pumpkins.
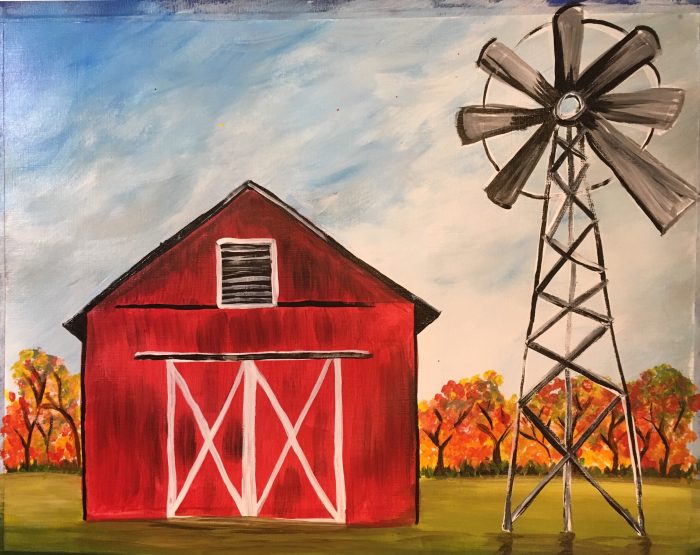
12. Some final touches!
When I take a step back and squint my eyes, sometimes I see something that needs to be adjusted! You may see something too. I decided the roof needed to be a little more white so I outlined the top part of the roof with white.
Then I decided to do some VERY LIGHT dry brushing with white on the barn. To do this, I used a small 1/4″ flat brush and that translucent white. I think this helped pull the barn together and give it more of that rustic look I was going for. I also added more white in the sky to brighten the sky up a bit and give the painting more contrast!
Finished!
Thank you for this lesson. I am just learning how to paint as I cannot afford to take classes. I am 72 and always wanted to learn how to paint. I will begin trying to paint this beautiful barn next week.. Your instructions are very easy to follow.
Love your lessons. You make it look so easy . Thank you.
this was fun to paint and you make it easy with your tutorial!
Thanks Nicole!
I used your instructions to pain the barn in a stepping stone. Turned out really well for someone who knows nothing about painting. Thank you for providing these instructions.
That’s so awesome! I bet it looks fabulous! You’re welcome ?
I’m working on this now. I decided to break slabs to put around my rose bush and started with this painting. I will post on Facebook page once I’m finished.
I’m new at painting and just love the step by step inductions. Appreciate your hard work at what you do.
Thanks ?