
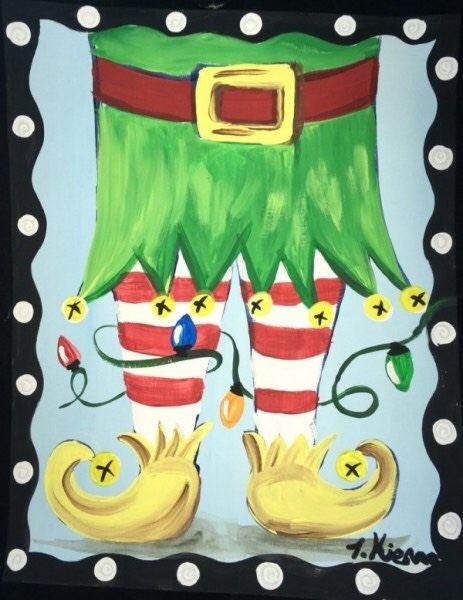
How To Paint Elf Legs

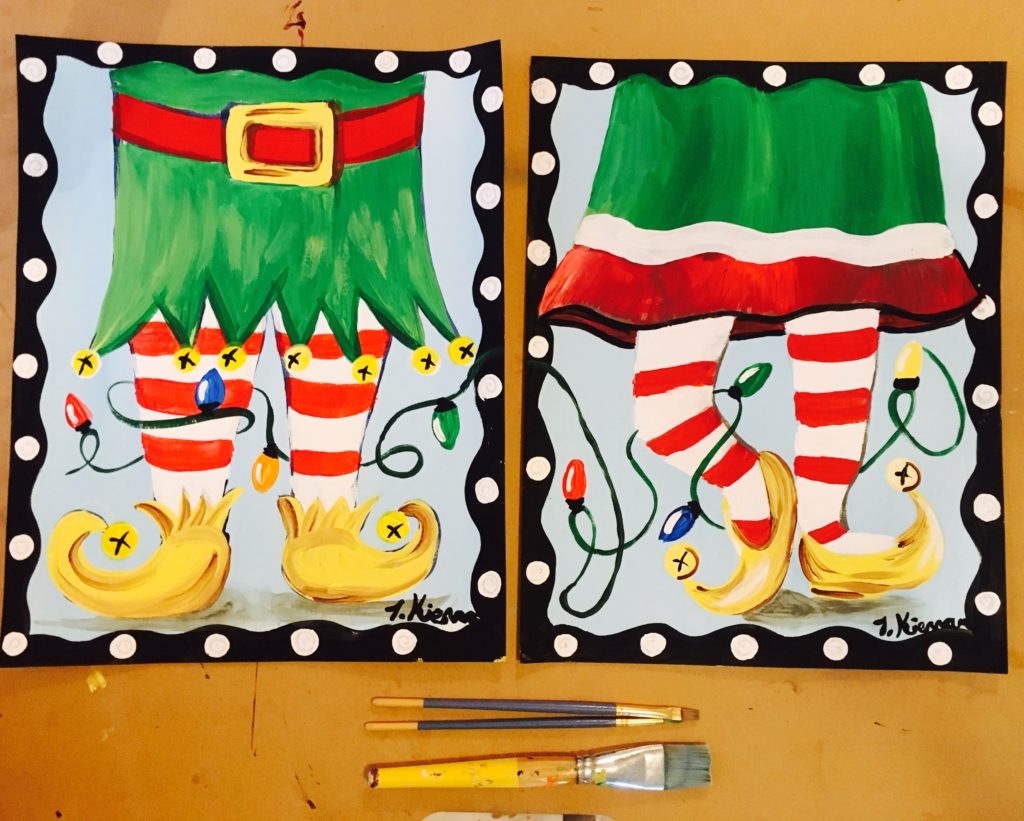
Learn how to paint these very easy and fun set of elves! Two versions of elves are in this tutorial.

This can also be used as a “couple” painting by connecting the Christmas lights together!
Materials:
- Canvas any size (I used two 11″ x 14″ canvases)
- Paint brushes
- 3/4″ Wash
- #4 Bright
- #0 Round
- Acrylic Paint
- Cadmium Red Medium
- Cadmium Orange Hue
- Primary Yellow
- Deep Green Permanent
- Light Blue Permanent
- Titanium White
- Mars Black
- Burnt Sienna
- Neutral Gray Value 5
- Phthalo Blue
- Cobalt Blue
- Chalk for drawing the elf
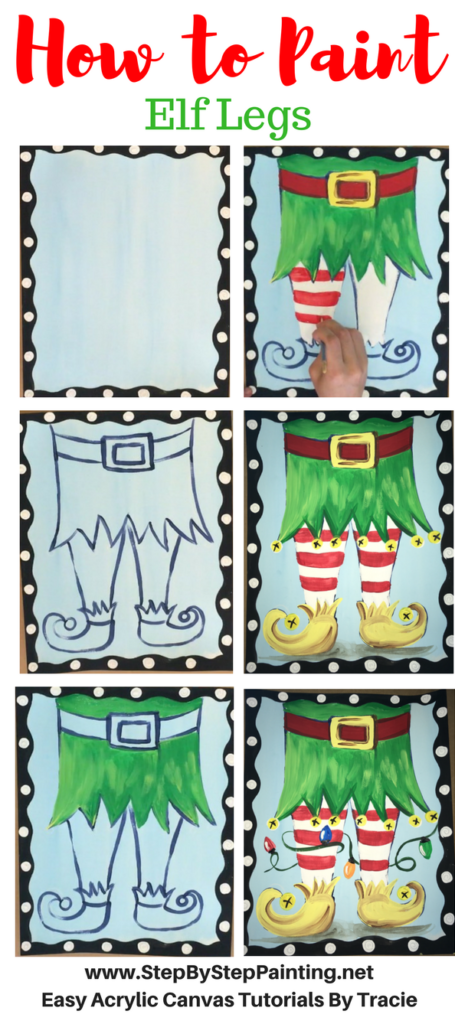
Directions At A Glance:
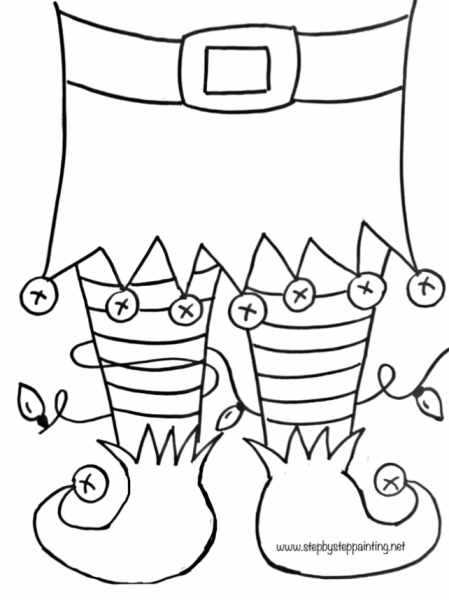
Traceables
Go to my PDF Library to grab the free downloads! 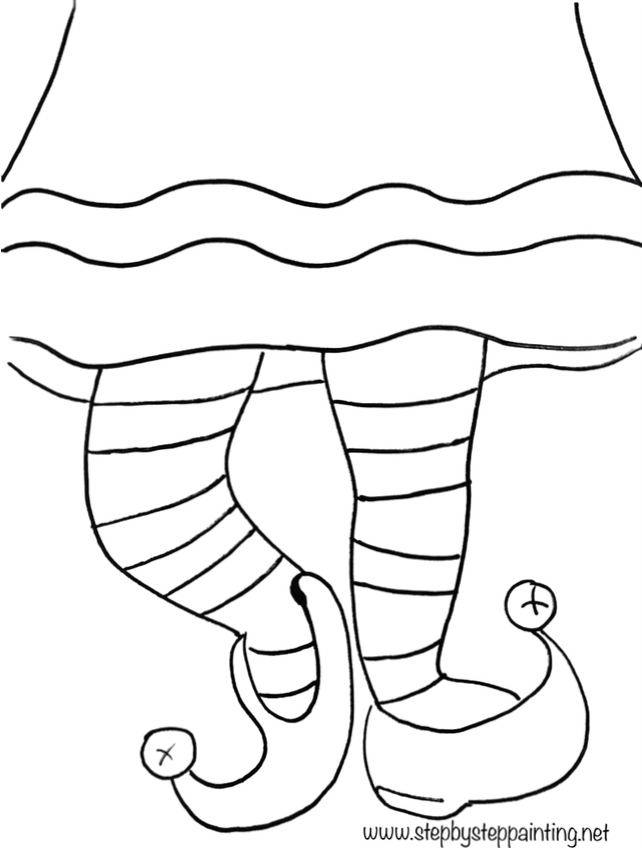
Step By Step Directions:
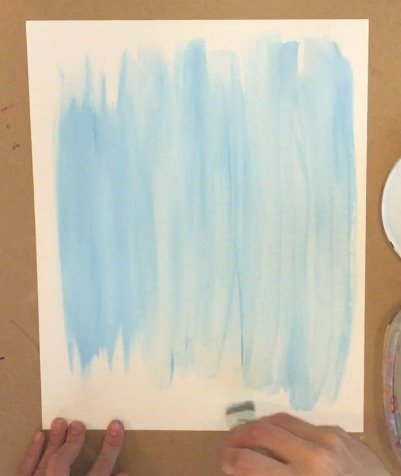
1. Paint the background
First I double loaded my 3/4″ Wash Brush with light blue permanent and titanium white. I painted the entire canvas in up and down strokes.
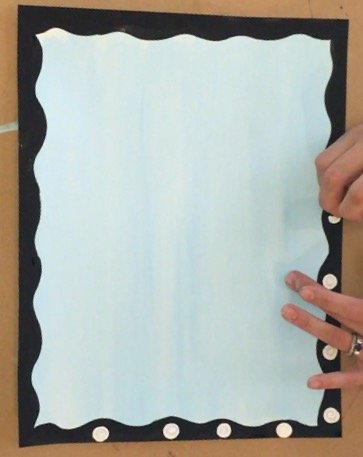
2. Paint A Decorative Border
Then I painted the border black. I let the black dry before I added in the titanium white polka dots. Use a #4 Bright or a #5 Round (medium round) for this step. I waited until the black was dry and then painted white polka dots on the border using a #0 round brush.

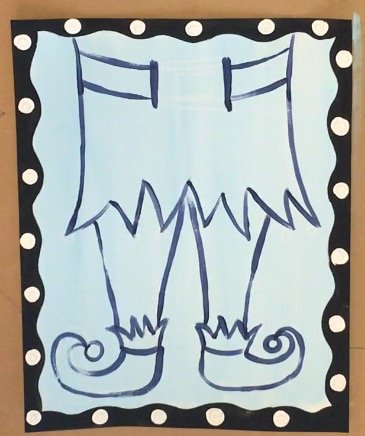
3. Draw the elf with chalk and then outline with phthalo blue.
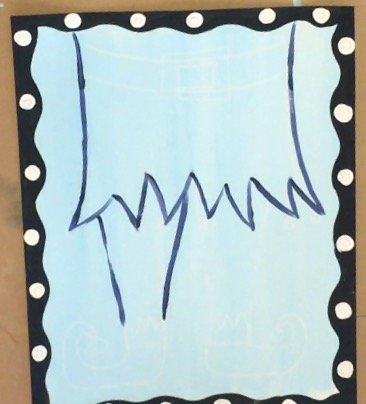
Then I drew the entire elf with chalk first. After that, I used Phthalo Blue paint to outline my elf. Outlining is totally optional! You can paint your elf in without having to outline it. Follow the step below for drawing your elf with chalk. Start out by drawing the tunic.
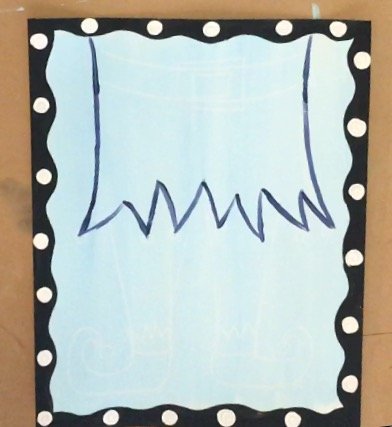
Then draw the elf legs.

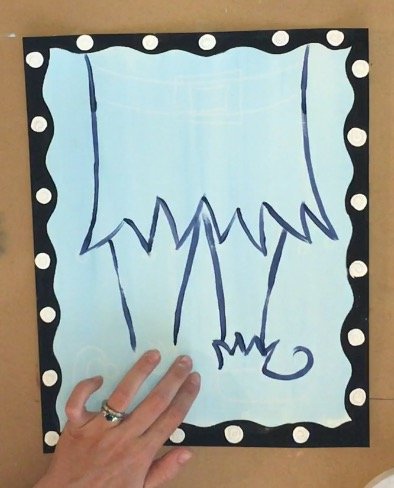
Then zig-zag lines for the top of the elf shoe.
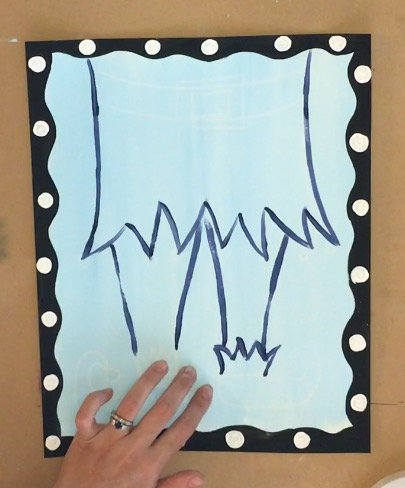
Then curve the shoe up.
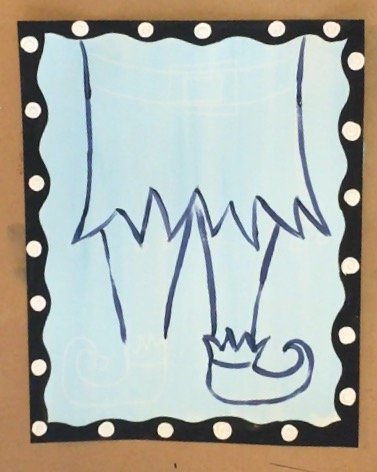
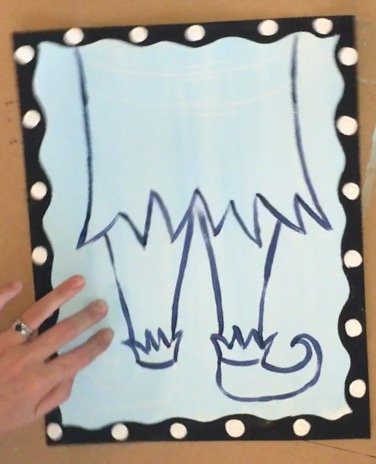
Draw two symmetrical shoes on both side.
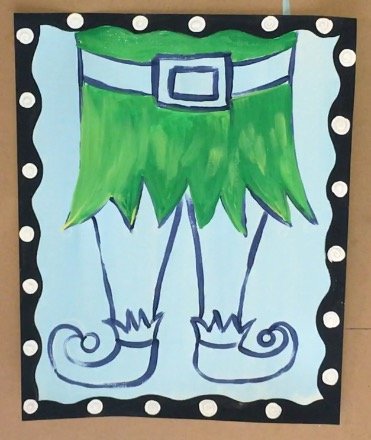
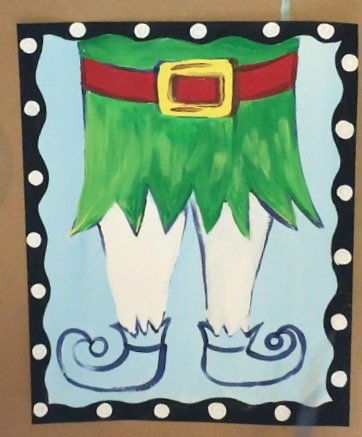
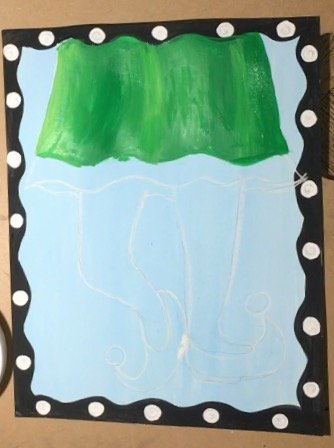
4. Paint the tunic in.
Next I painted the green tunic. I dipped my brush in both primary yellow and deep green permanent. Also, I used a 3/4″ wash brush for this step.
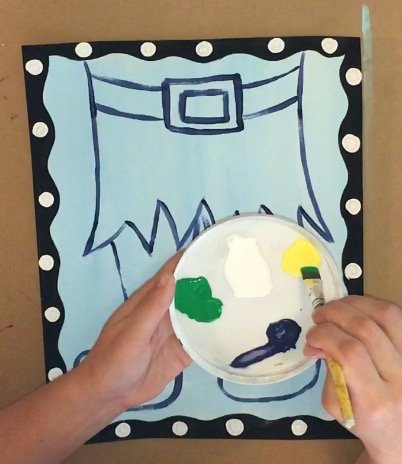
When you double load your brush, the two colors will blend on the canvas to form a green that is not solid but varied yellow-green.
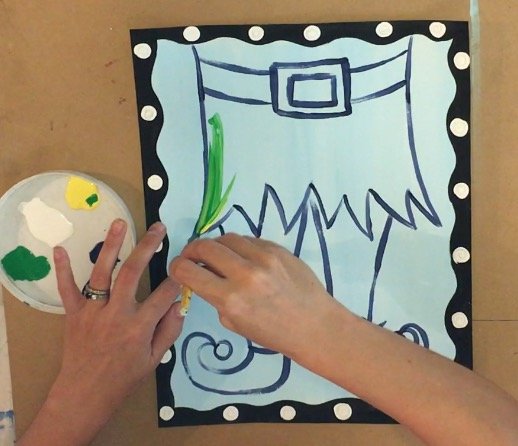
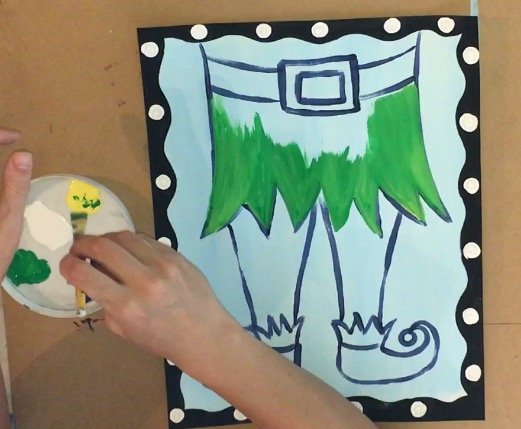
Make sure your strokes go with the shape of the tunic (up and down) and try not to change directions. Your yellow and green will mix together on the canvas and create it’s own “dimension” of color.
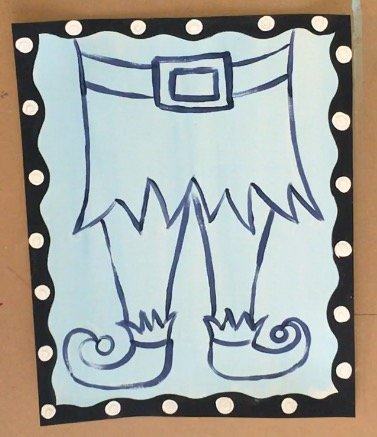
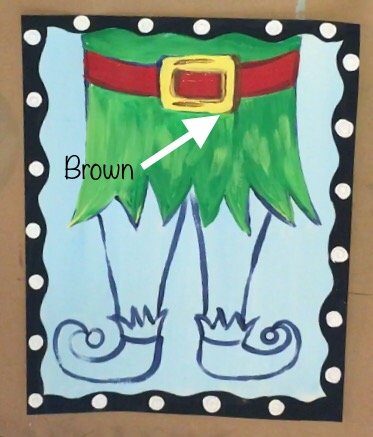
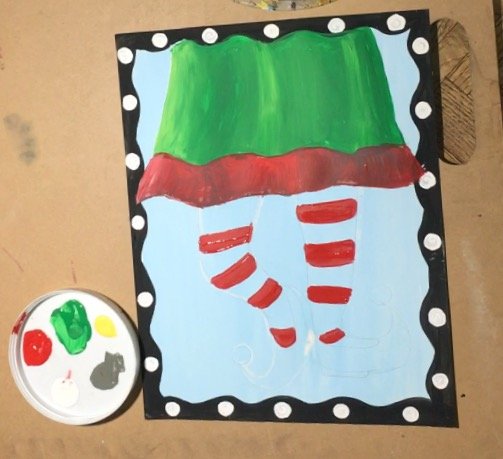
5. Paint the belt.
I painted the belt cadmium red medium and primary yellow. You may need to “white out” the space of the belt where the yellow is by painting it white first and then adding the yellow.
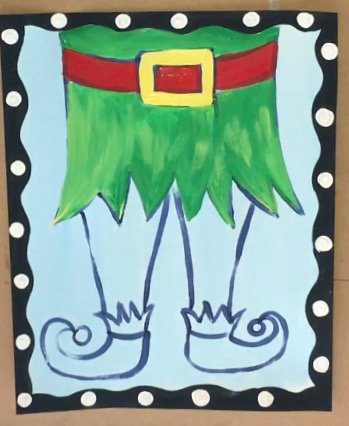
Then to add a little more dimension in the belt buckle, I added some burnt sienna. Do this with a #0 round brush.
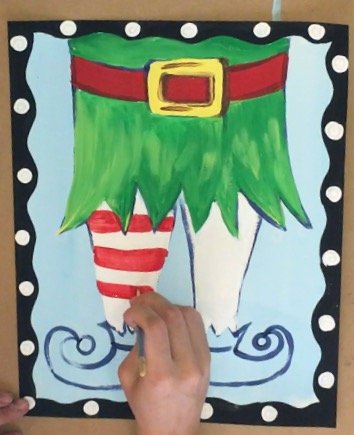
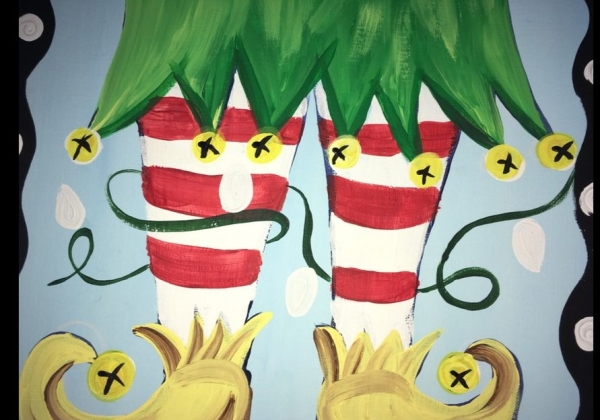
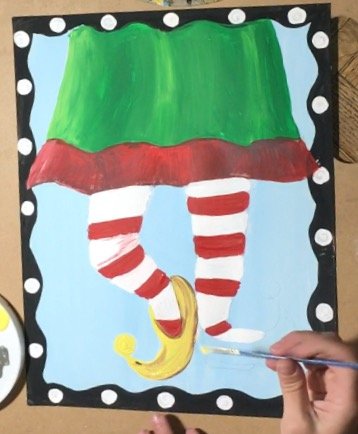
6. Paint the tights
For the tights, I painted the legs white first and then added the red stripes. You can do the opposite or just paint each stripe individually. The stripes kind of curved a bit! Use a #4 bright brush for this step.

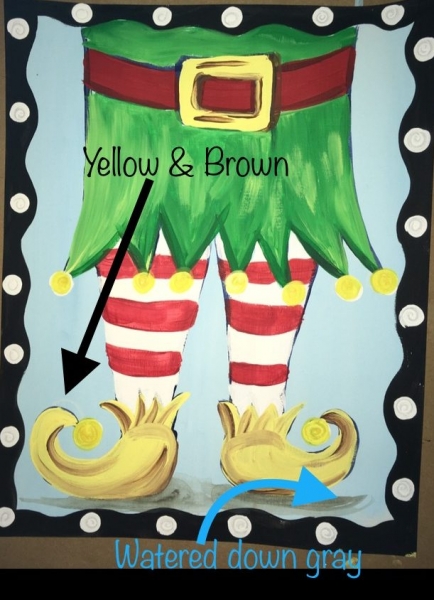
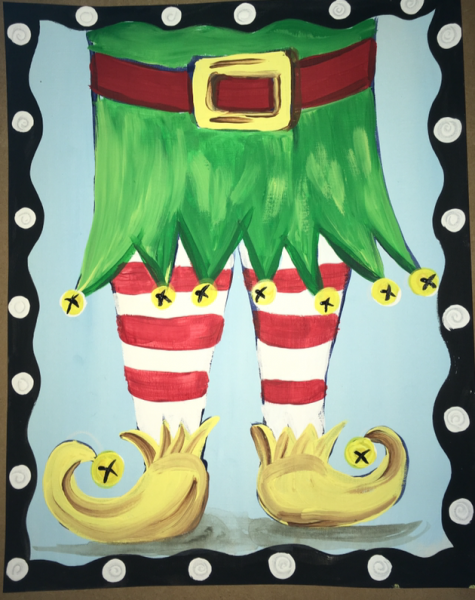
7. Paint the shoes, shadow and yellow circles on the tips of the tunic.
For the shoes, I painted them yellow first and then, before it dried, I dipped my brush in brown and added some “dimension” in the shoes. I also used watered down gray for the shadow and painted some yellow circles on the bottom of his tunic.
Then I painted little “x”s on all the circles. Use a #0 round brush and mars black for this.
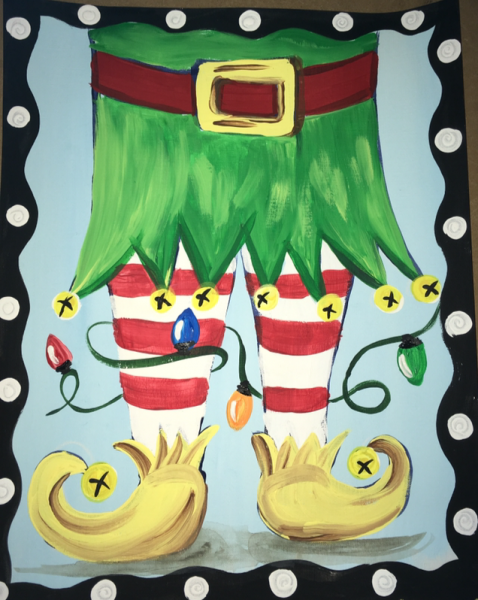
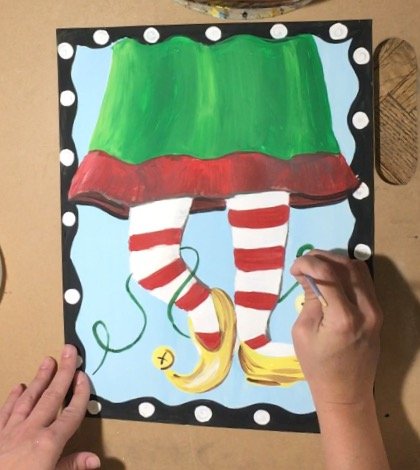
8. Paint the lights
For the string of the lights, I mixed green and black together (equal amounts). I used a small #0 Round brush to draw out the string. Remember you can connect the two strings together if you’re making the girl version of the elf too.
I painted the lights white first. Then I painted over the white (this allows the color of the lights to be more opaque). Also use a #0 round brush for the lights. Use cobalt blue. cadmium red medium, cadmium orange hue and deep green permanent.
Connect the lights to the string with black (light socket). Then add a white highlight on the left side of each light.
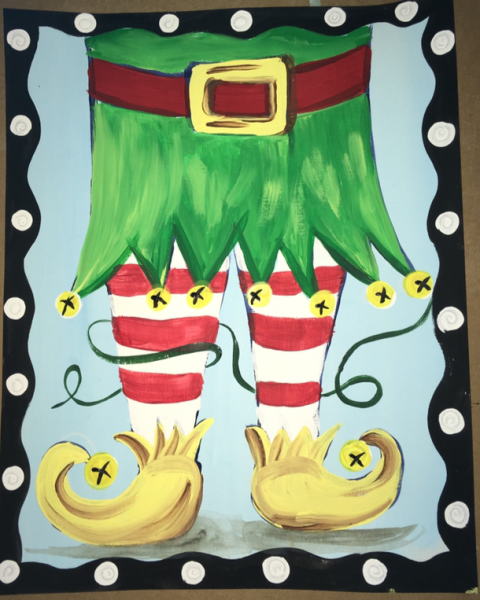
How To Paint the Girl Elf Version:
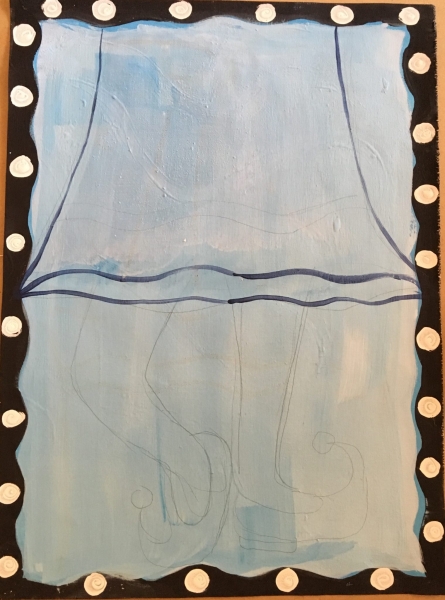
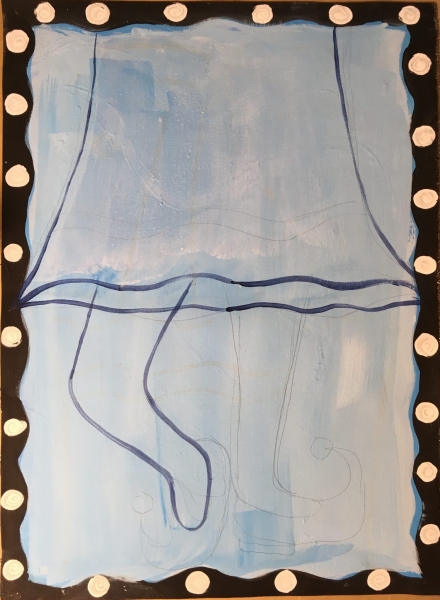
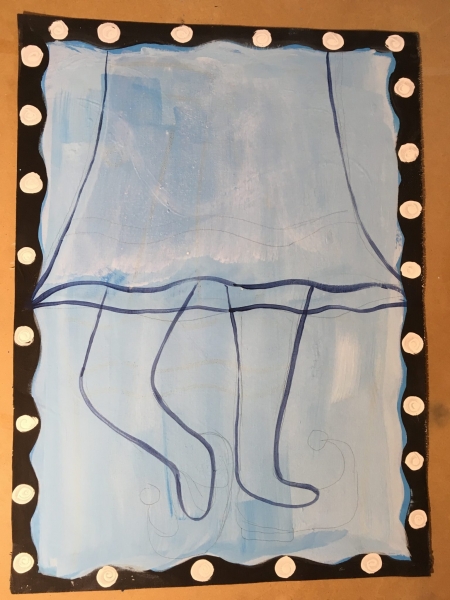
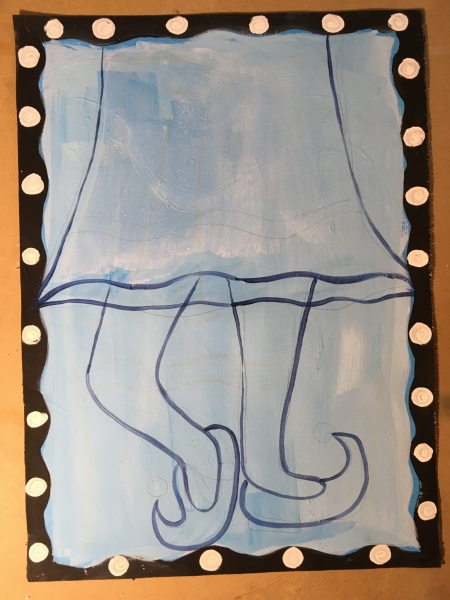
1. Repeat the steps for painting the background and border and then Draw the Girl Elf
I drew the outline of the elf with pencil, however, I HIGHLY recommend you use chalk. Erasing pencil will take off layers of paint. Outlining it with phthalo blue paint is optional. Mine shows up outlined in phthalo blue here fore demo purposes.

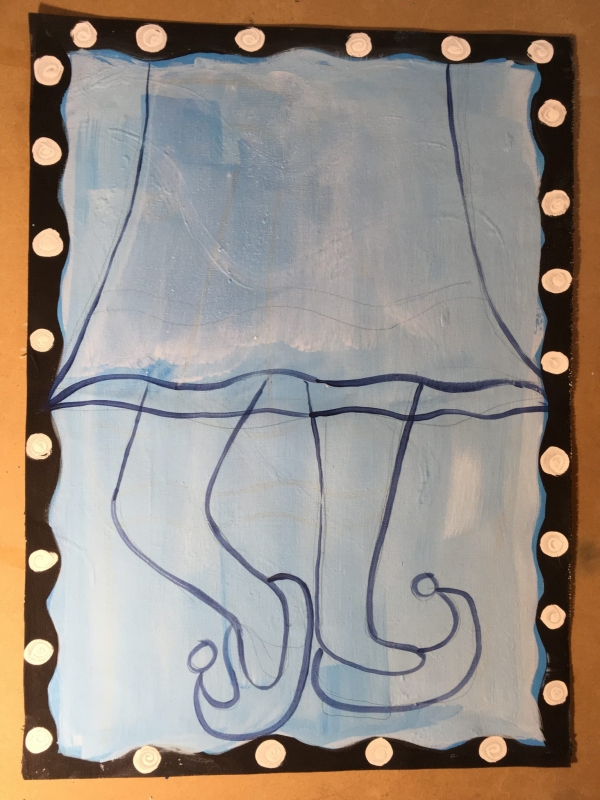
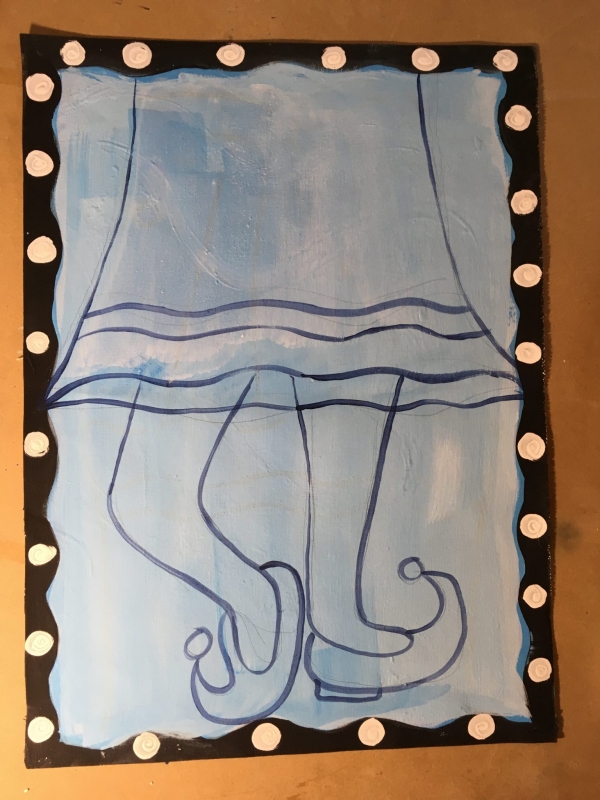
2. Paint the skirt
I used the exact same colors for the girl elf that I did with the boy elf. Dip brush in deep green permanent and primary yellow for the skirt. Paint up and down strokes. Some areas are pure green and some areas have more yellow-green to make the skirt look like it has more dimension.
I painted all the rest of the skirt and then all the cadmium red stripes. Note: the skirt had a bit of “dimension” by adding neutral gray double loaded with cadmium red medium.
3. Paint the Shoes
Then I painted the shoes yellow and added some brown dimension before allowing the yellow to dry. Use a #0 Round brush or a #4 bright brush for this step.
4. Paint the lights
Then I painted the string for the lights. And finished the lights the same way I did for the boy elf. The string was done with deep green permanent mixed with mars black and a #0 round brush. The lights were done with cadmium red medium, cobalt blue, deep green permanent and primary yellow. I also added a back part of the skirt.
5. Paint an applique on the skirt and shadow under the shoes
I added some final touches: the white applique on the skirt and the shadow under the shoes! The white applique was done with pure titanium white. The Shadow was watered down neutral gray.

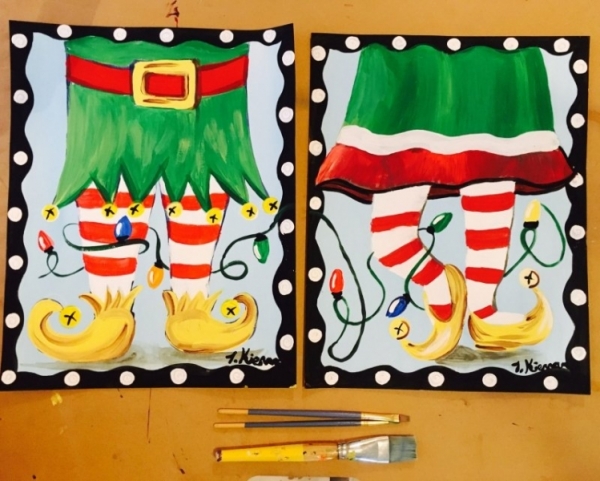
Finished!
Finally I made it so the lights of each painting connect!


Hello is there a traceable for these 2 Santa shoe paintings.
Hi Kathy! No but I can do a traceable for this!
Hi Tracie,
Any idea if and when you will post a traceable for the elf legs? They’re adorable!
Hi Casey! I’ll get it up for you ASAP! Sometime this weekend so you can work on it! I am definitely getting a lot of requests for this one! Thanks!! 🙂
I did this. It was fun, and simple enough for me to do. Came out great. Thanks