
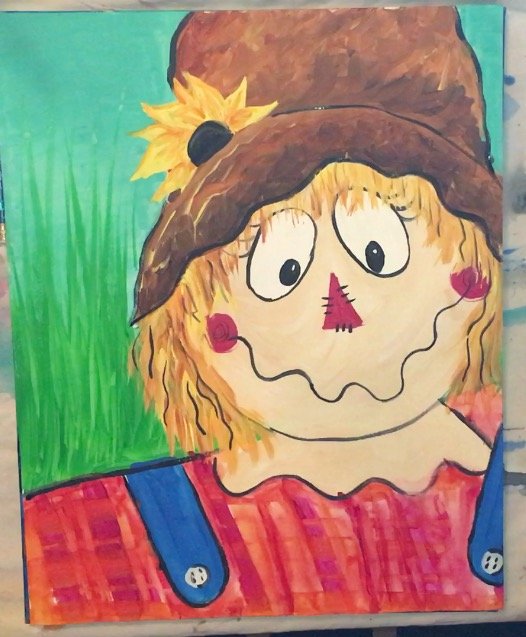
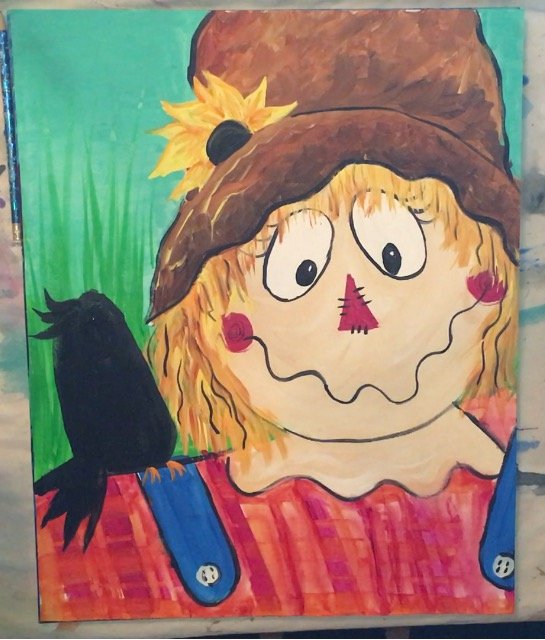
Learn How To Paint A Scarecrow
Easy Canvas Tutorial Step By Step Painting
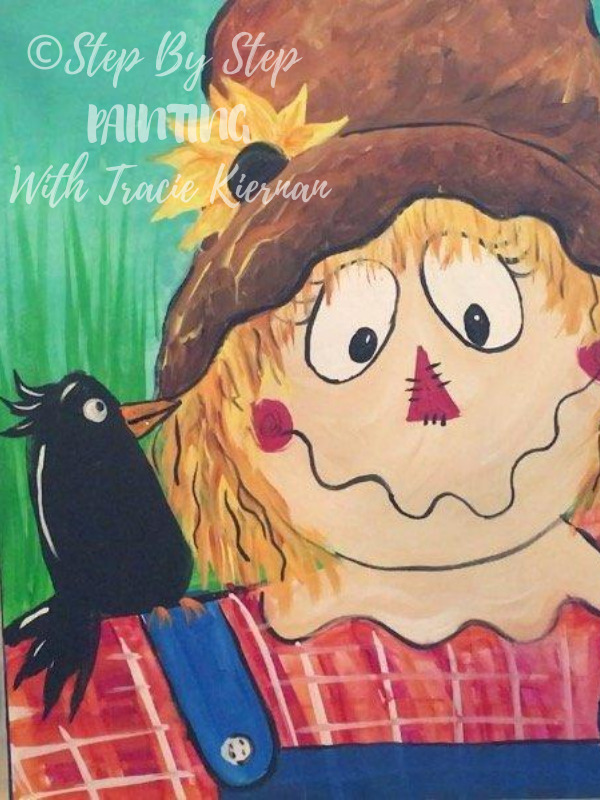
Hello everyone! I’m excited to present to you another Fall canvas painting tutorial! You will learn how to paint a scarecrow portrait!
This scarecrow painting can be a lot of fun because you can customize your colors and facial features! The beauty of these tutorials is that I present to you the steps and tools but you can let your imagination run wild after that!
I drew out the entire scarecrow first then painted it in like a coloring book (well sort of). Enjoy and don’t forget to share your results somewhere in social media land!
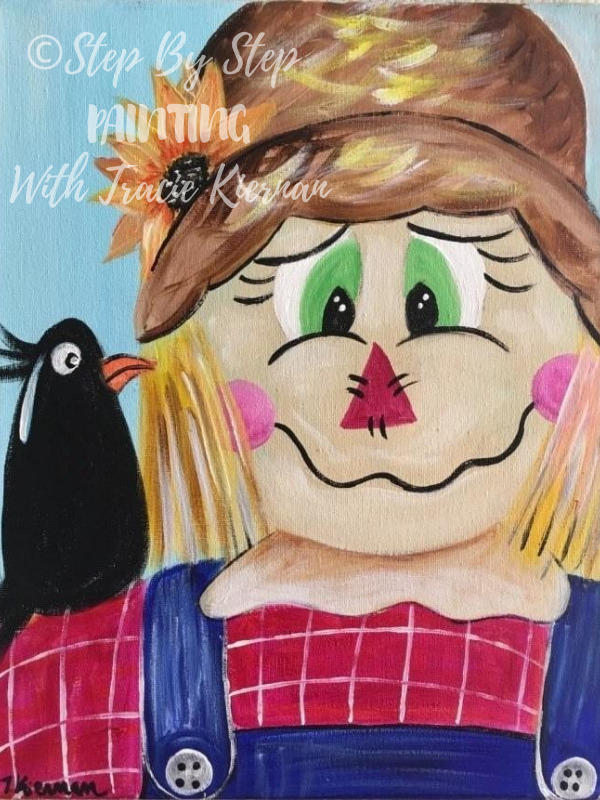
**Update: we’ll call this scarecrow 2.0 😉 You can see a video for how to paint this design on an 11″ x 14″ canvas with traceables! See this specific post here or scroll down in this same post for the video!
Materials
- Acrylic Paint (I recommend the Liquitex Basics brand, Apple Barrel Craft Paint, or DecoArt Americana)
- Paint Colors (in Liquitex BASICS):
- Cad Orange
- Cad Yellow Medium
- Light Green Permanent
- Phthalo Blue
- Bright Aqua Green
- Quin Magenta
- Titanium White
- Mars Black
- Burnt Umber (dark brown)
- Raw Sienna
- Unbleached Titanium
- 16″ x 20″ Canvas or 11″ x 14″ canvas (video was done on 11 x 14)
- Brushes:
- 3/4″ wash
- #4 Bright
- #0 Round
- #10/0 Liner
- Optional: medium and small foam pouncer (as shown in the video)
- Water
- Covered work space
- Pencil
- Optional if you’re drawing the scarecrow: 11″ Circle Plate To Trace the Head (5-6″ if you’re using a 11 x 14 canvas)
- Graphite Paper/ Traceables
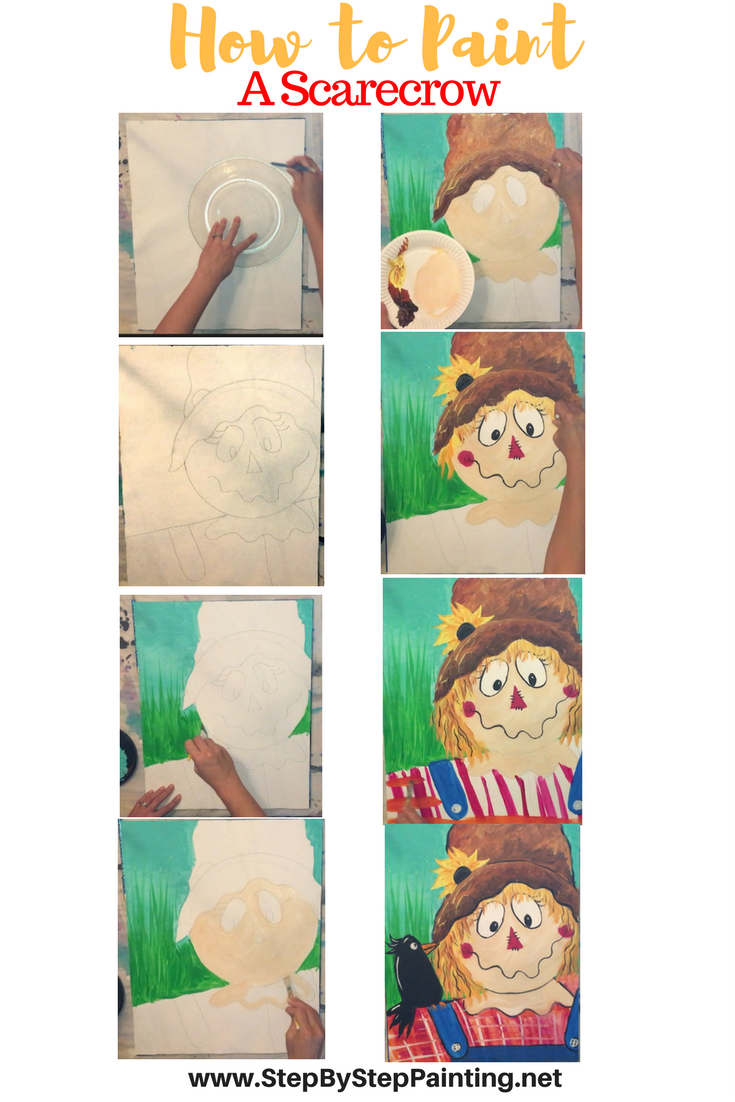
Directions At A Glance:![]()
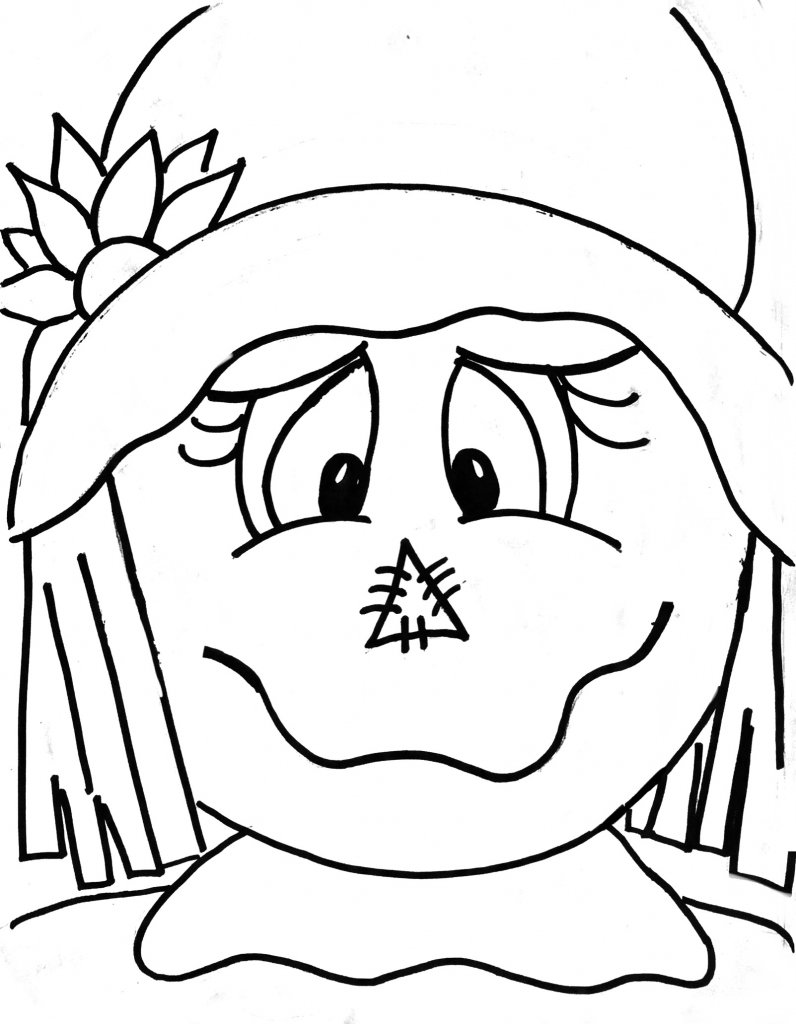
Traceable Template:
These have been optimized for 11″ x 14″ canvas.
![]()
Video (this video is for the 11″ x 14″ version):
Step by step instructions:
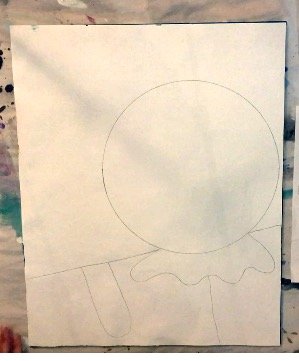
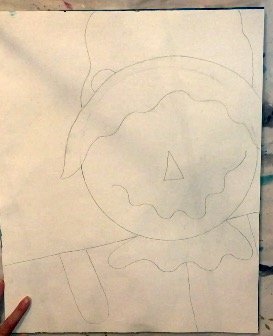
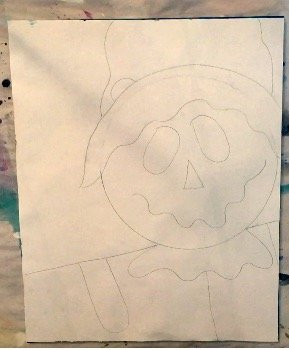
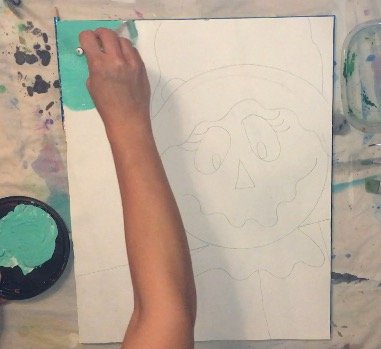
1. Unless you are using the traceable, you will need to draw out the entire scarecrow. First trace a plate on your canvas. The plate was 11″ in diameter. If you are using a smaller canvas, use a smaller plate. Note the position of the plate on the canvas. 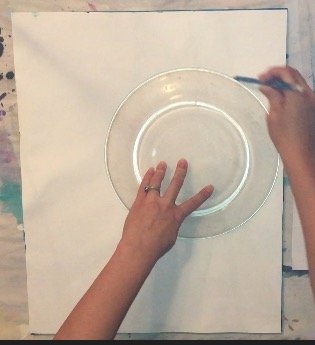
2. Then draw the scarecrow’s “neck” (where the fabric of the head gathers).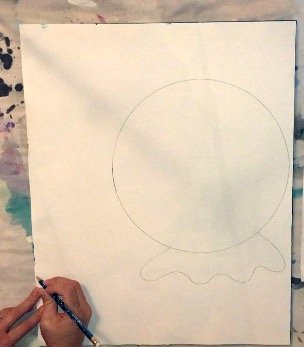
3. Then draw a diagonal line to represent the scarecrow’s shoulders. 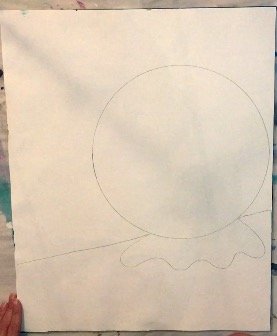
4. Then draw a vertical line in the middle of the shirt and a shape to represent the overall buckle.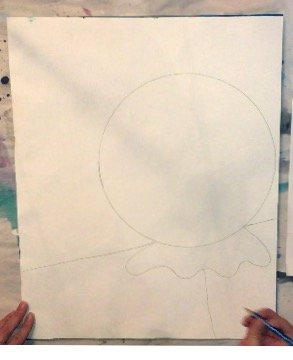
5. Then draw a squiggle line just below the top of the circle. This represents the bottom of the scarecrow hat. 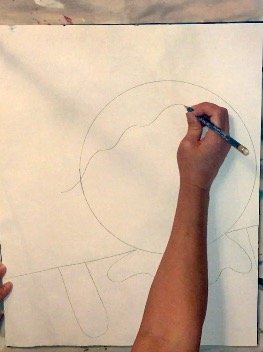
6. Then draw the rest of the hat. And erase part of the circle. 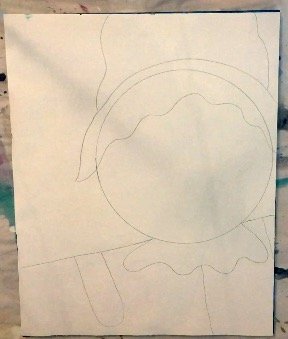
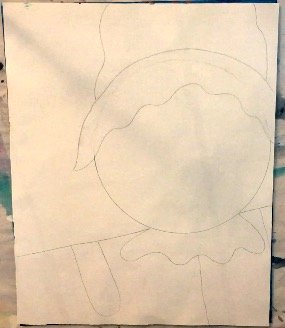
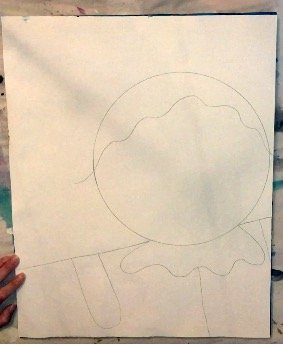
7. Then draw a half circle to represent where the sunflower is going to be painted. Note I did not draw the petals of the flower. 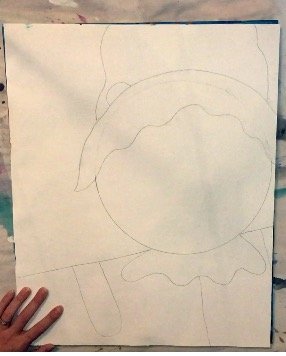
8. Then draw the mouth and other facial features. 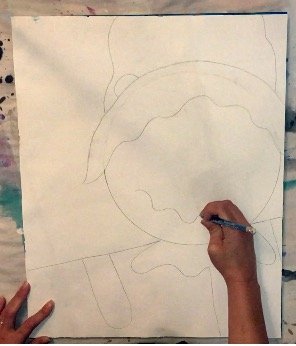
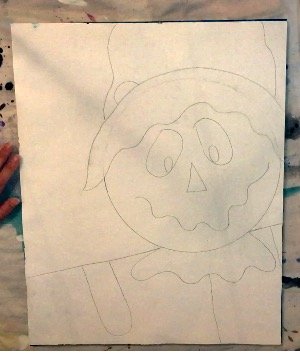
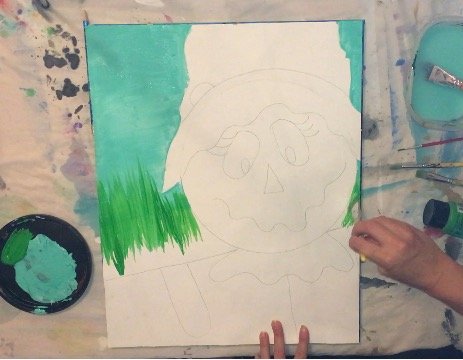
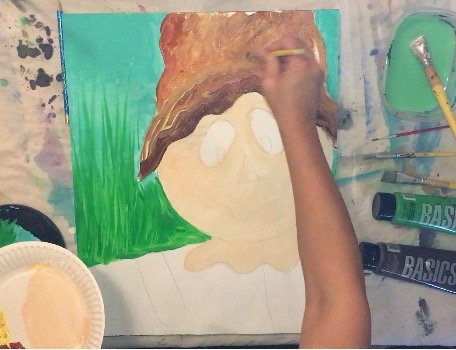
9. Next I painted the background in. I used a turquoise color mixed with white. 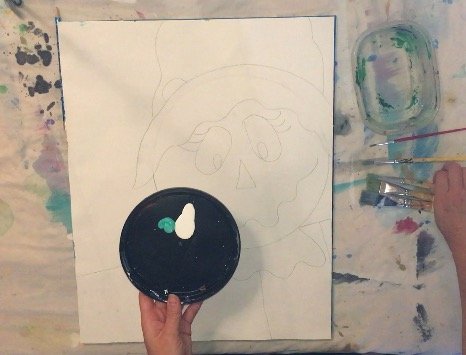
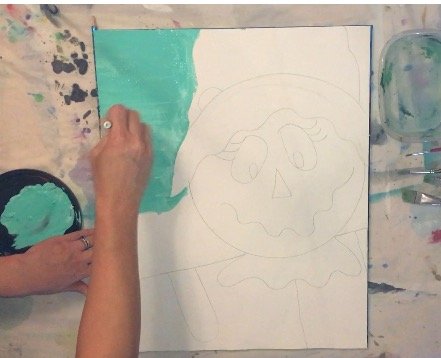
I only went this far down with the blue because the rest was going to be the green cornfield. 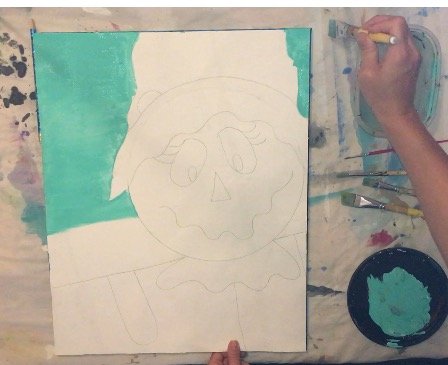
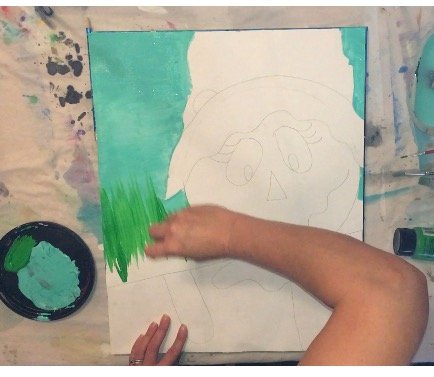
11. Then I used a light green color and an angle brush. I made up and down strokes to represent the cornfield in the background. 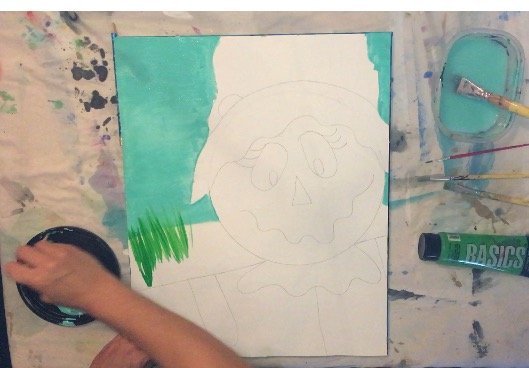

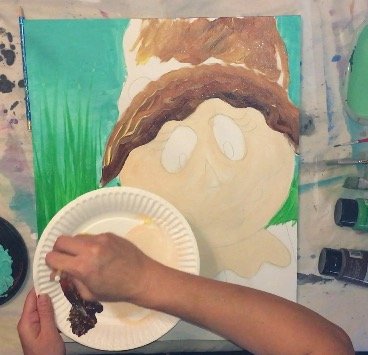
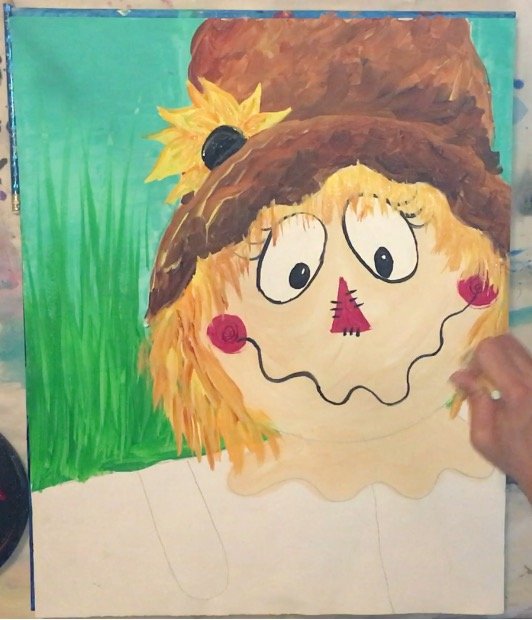
12. Then I used a portrait pink color and mixed some white in it. I did not mix the white all the way because I wanted the color to have some depth and not be solid. You can see that on my palette how the color was mixed. 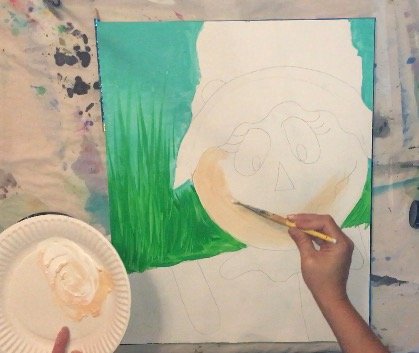

13. Then I painted the hat in. I used dark brown, light brown and yellow (see on my palette). I did not mix any colors together on the palette. I just loaded my brush with the colors as I went along without mixing the colors or cleaning off my brush. 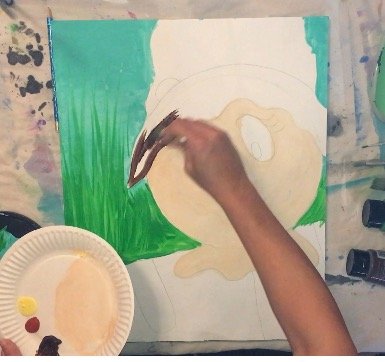
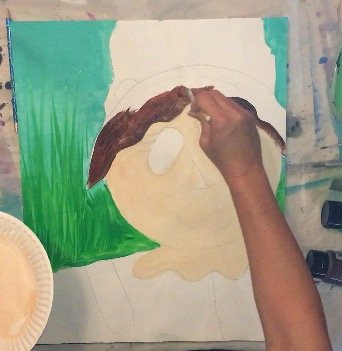
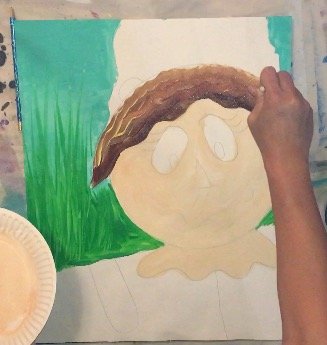
14. For the top part of the hat, I made my strokes go in little “X’s” to make the hat look like it has some texture. 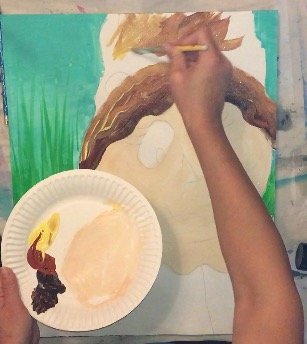
Note where I emphasized some dark areas of the hate (towards the bottom and in the middle). 
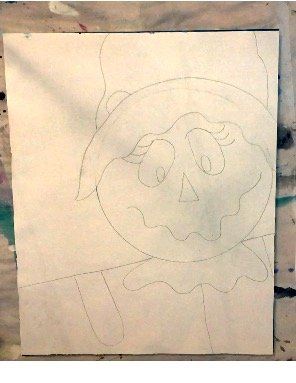
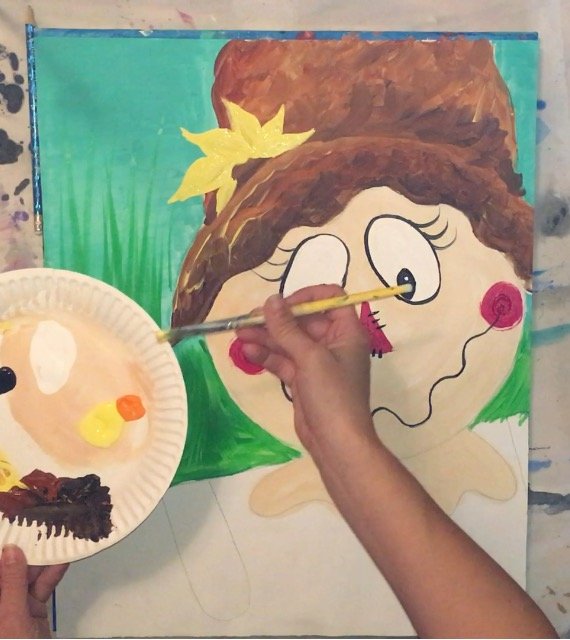
15. Then I painted the eyes in white. I also used a very small brush to paint on the mouth and the inside of the eyes. 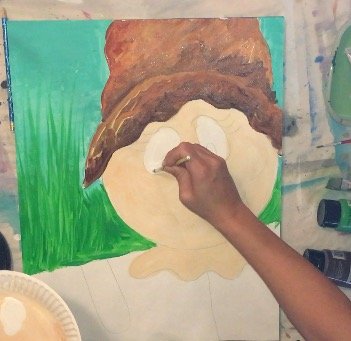


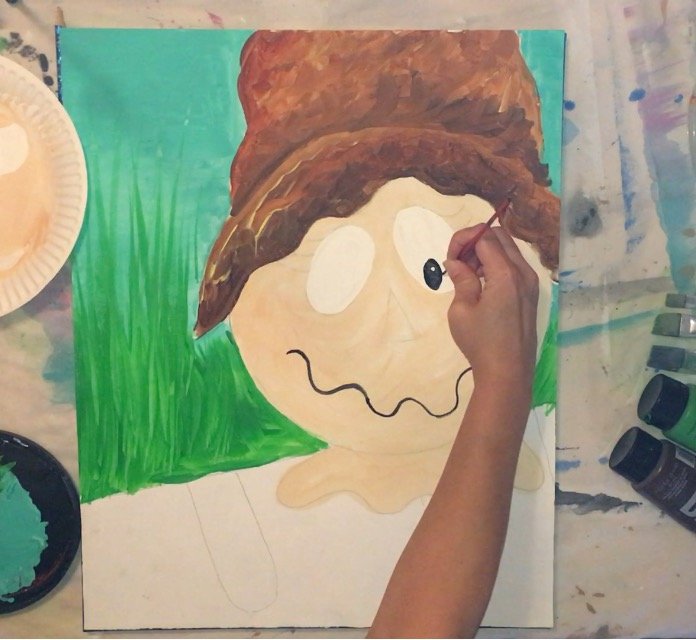
16. I outlined the eyes in black. This is optional. It also looks fine without the eyes outlined!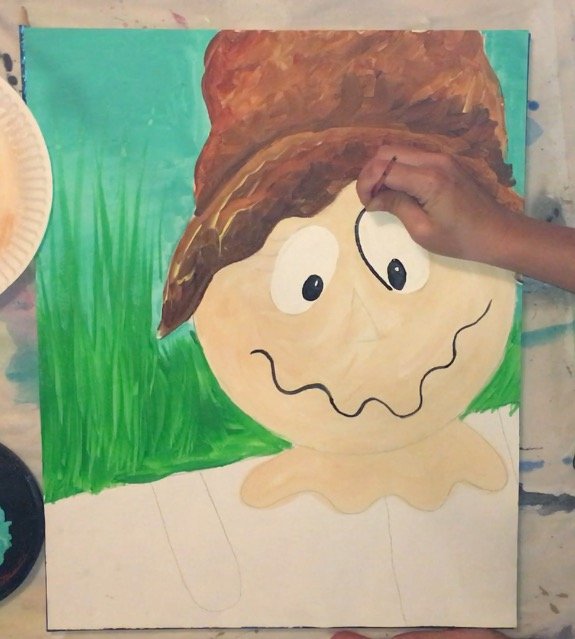
17. I added some eyelashes. Also completely optional! The beauty of these tutorials is that you can customize these paintings as creativity sparks in your own way!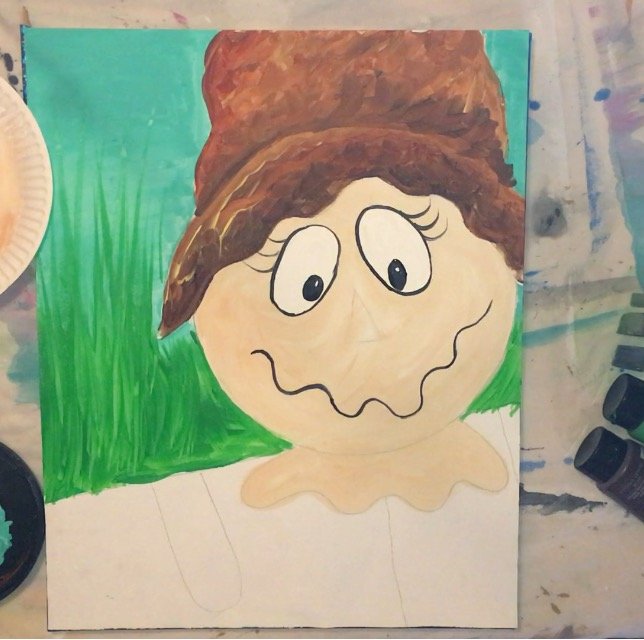
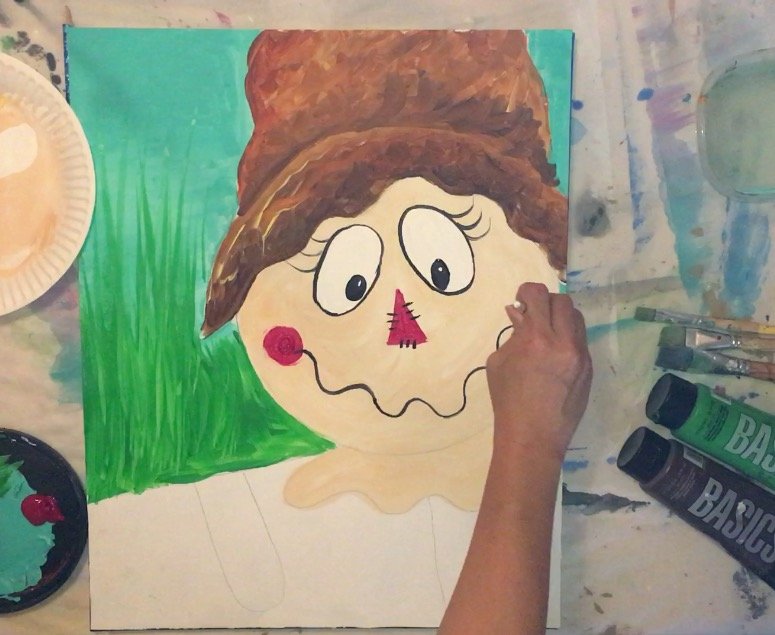
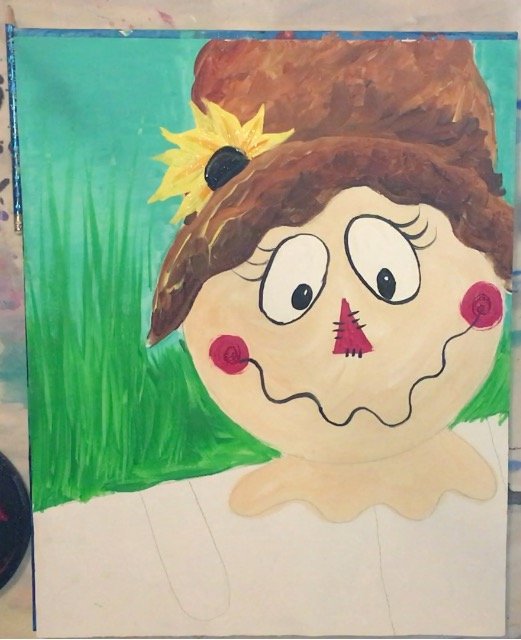
18. I painted the nose in with magenta. Then I added cheeks and painted some stitch marks on the nose. 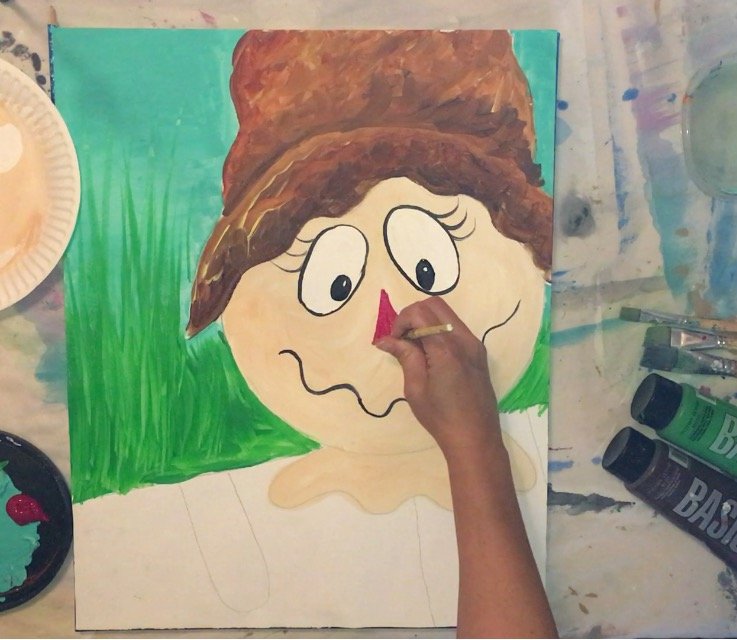

19. Then I painted the flower. I used yellow paint and a small flat brush to do this. I painted one petal at a time and then the center. 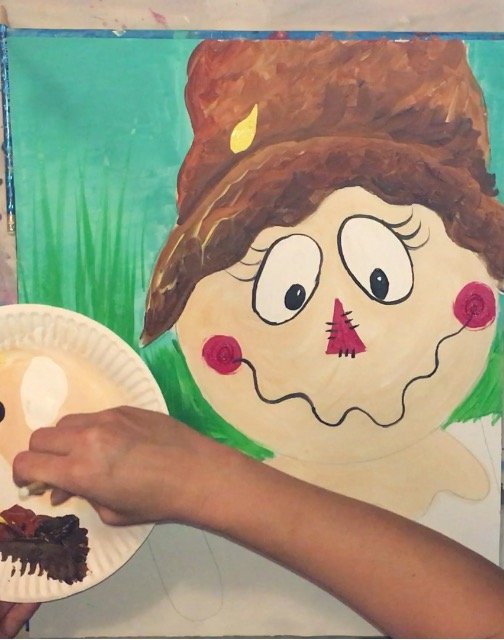
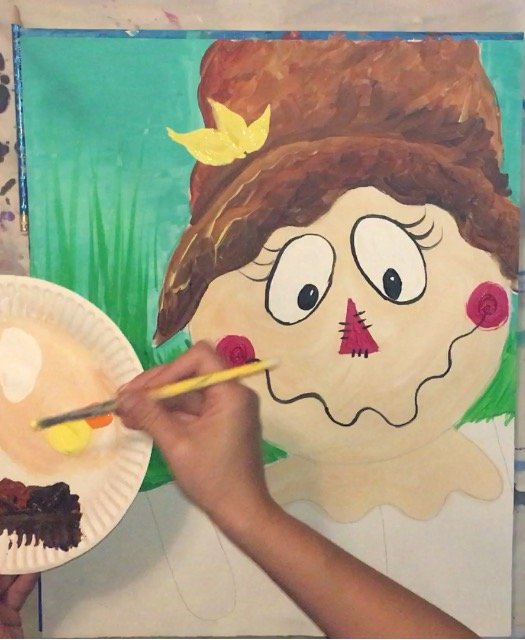
20. I added some orange in the middle of the petals.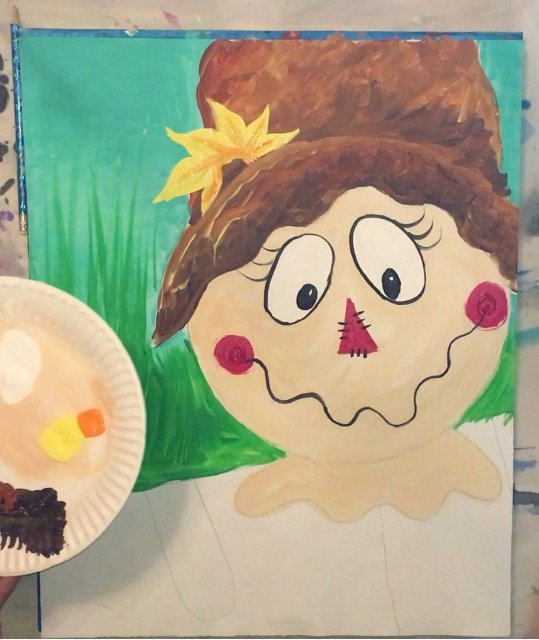
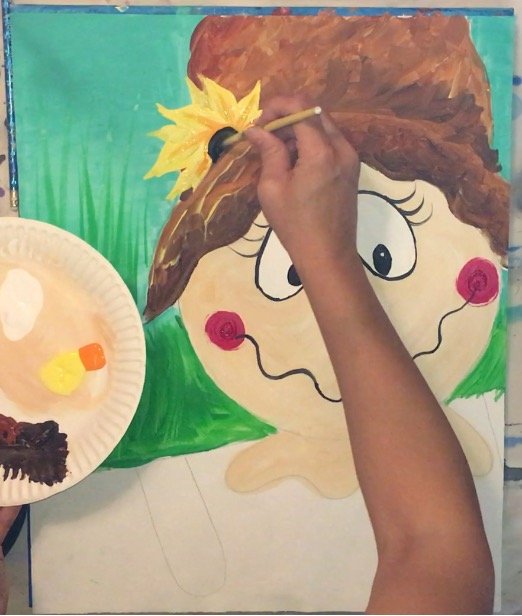
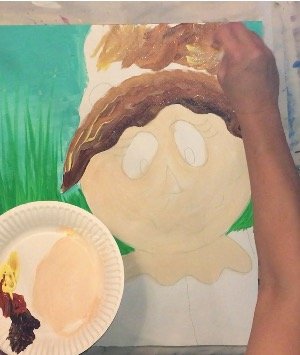
21. Then I painted the hair. I used yellow, light brown and a tiny bit of orange. I did not mix those colors together, I just loaded my brush with the colors. I used a small flat brush to create the texture of the hair. 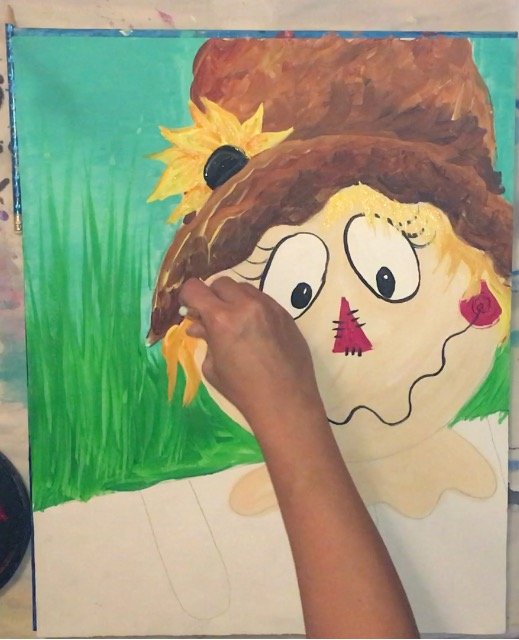
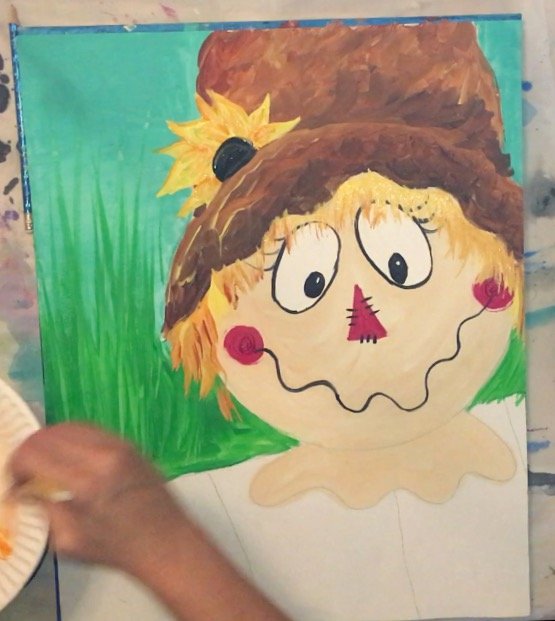
22. Then I painted in the portion of the overalls with blue. I also painted in some black lines in the hair. 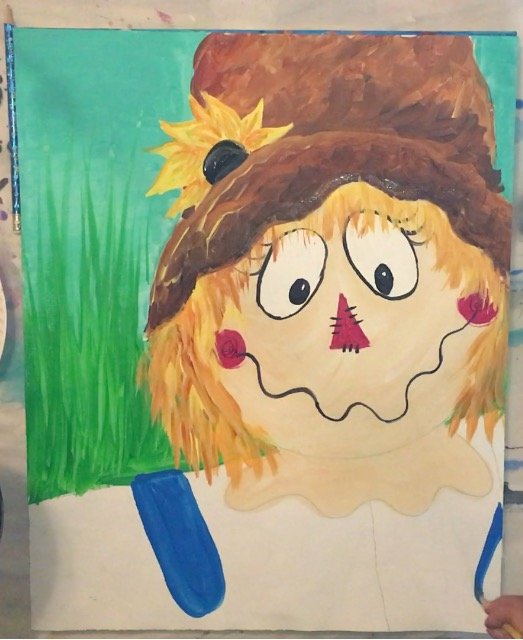
23. I painted in white buttons.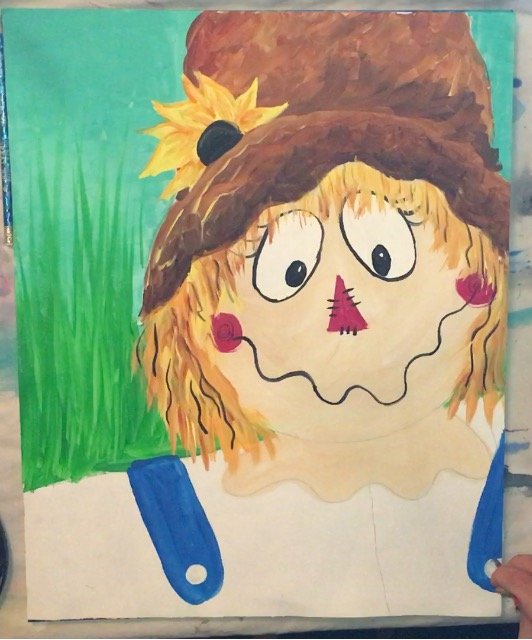
24. Then I painted in the shirt. I used a small flat brush. I painted magenta vertical lines. (Actually they are slightly diagonal because of the angle of the scarecrow but if you make them exactly vertical, it will look fine!) 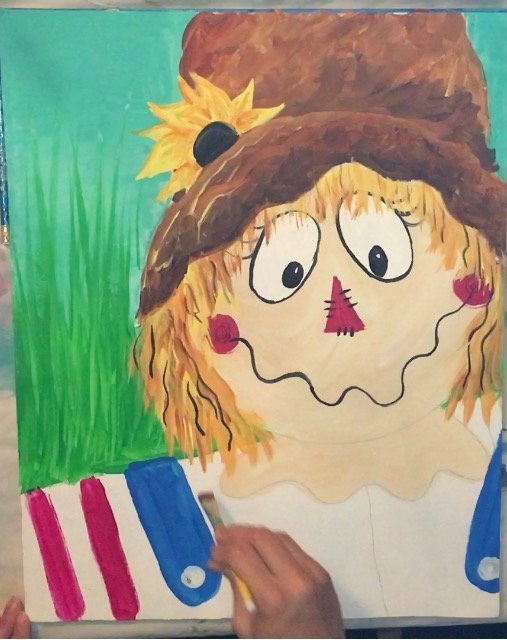
25. Then I painted thinner lines in between the thicker lines. 
26. Then I switched to orange. I painted horizontal lines. 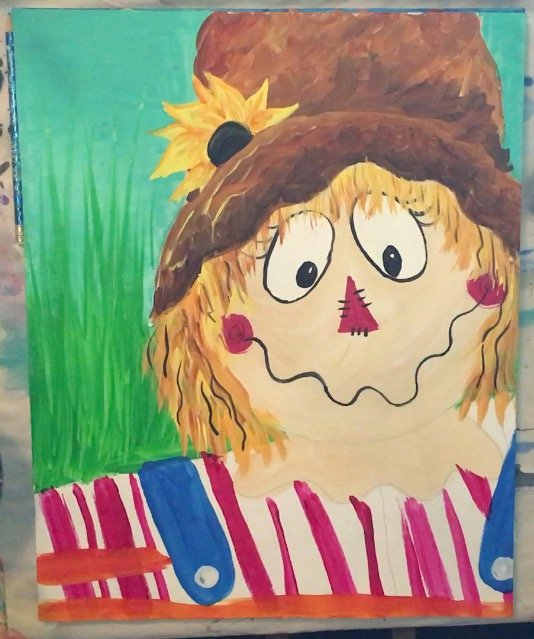
27. Then thinner lines in between the thicker lines. 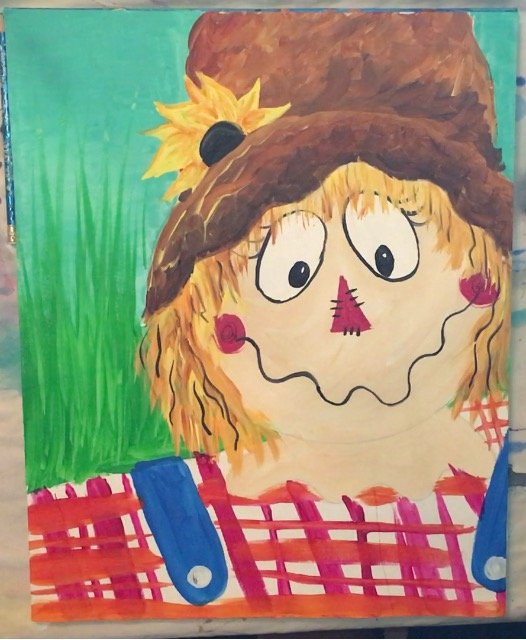
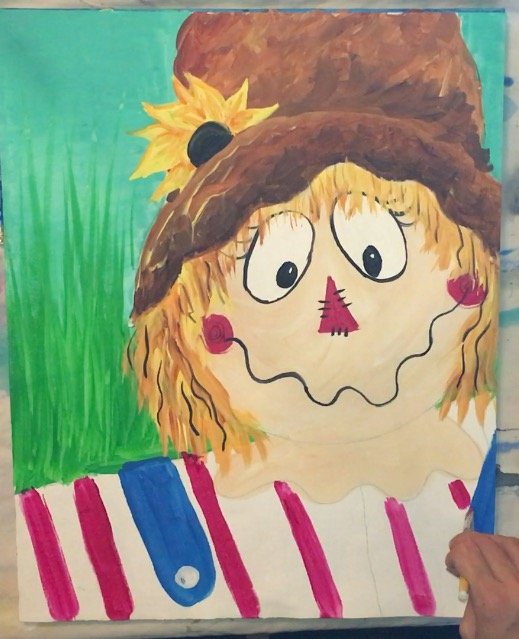
28. Then I cleared off my brush and kept it wet. I painted up and down strokes with the wet brush where all the white space was to fill in all the white space with watered down color. 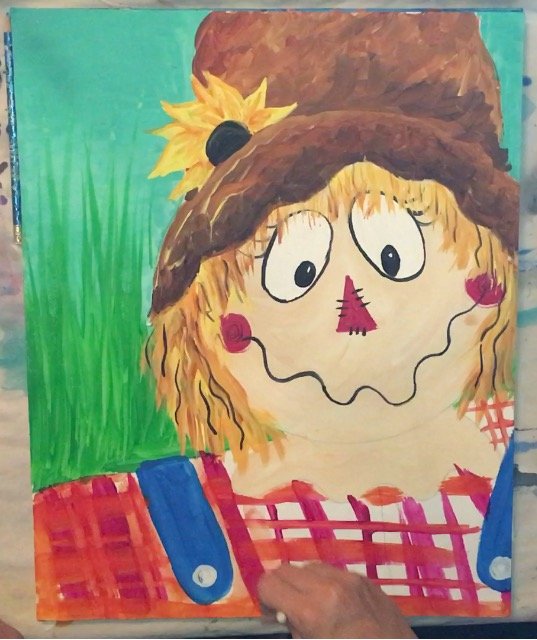
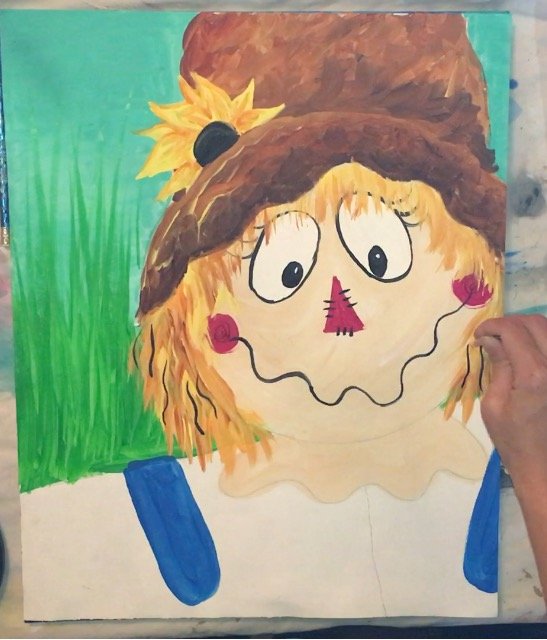
29. Also note that I painted in some dots on the overall buttons with black paint.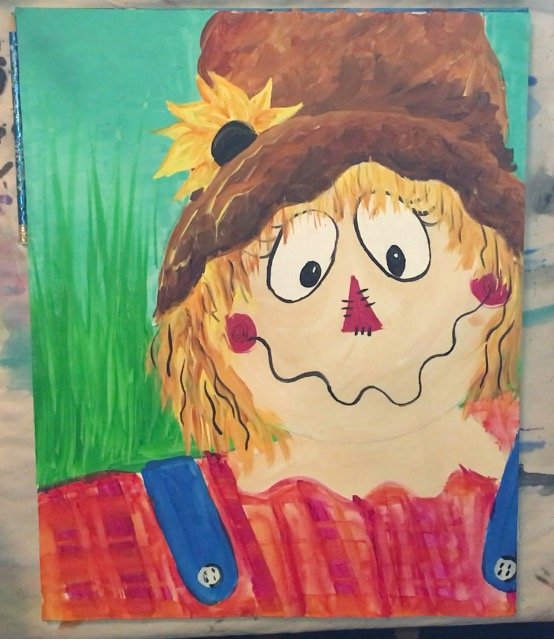
30. Then I used that tiny brush again to outline some of the scarecrow in black. I outlined the bottom of the circle, the bottom of the scarecrow’s neck, the hat and the overalls. 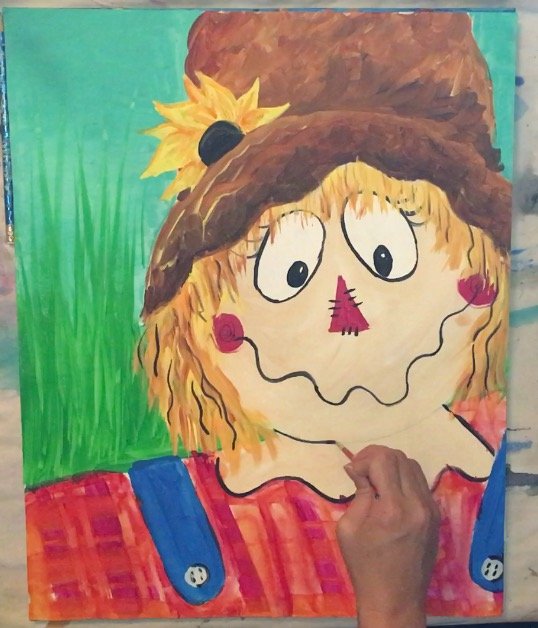
31. Then I painted that crow! I outlined a triangular shape first then painted it in. 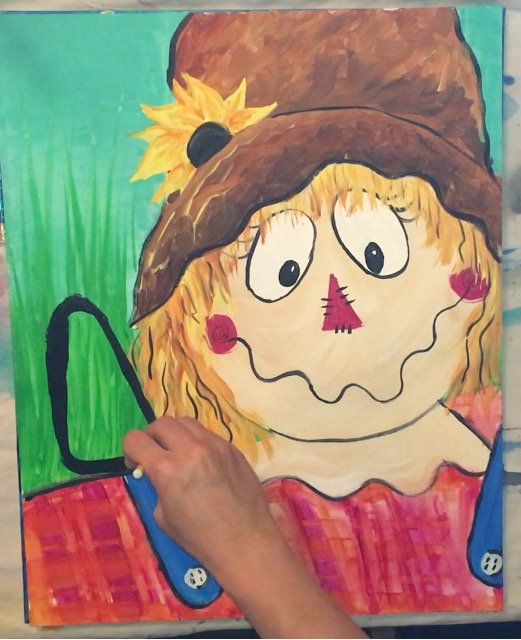
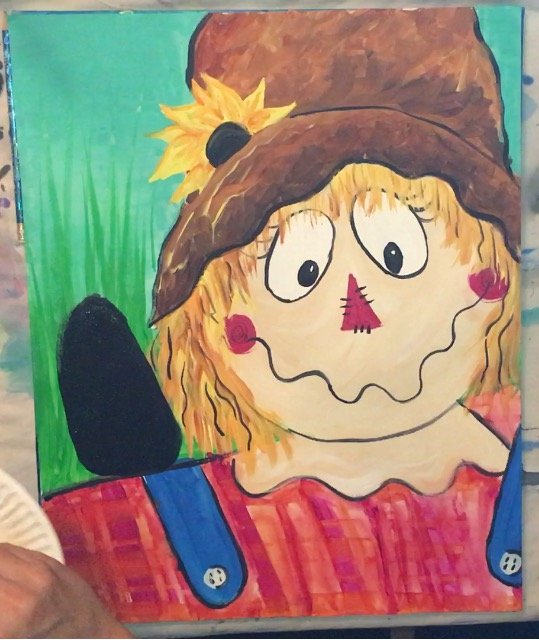
32. I painted the tail and head feathers. Then I painted its beak, eye and feet!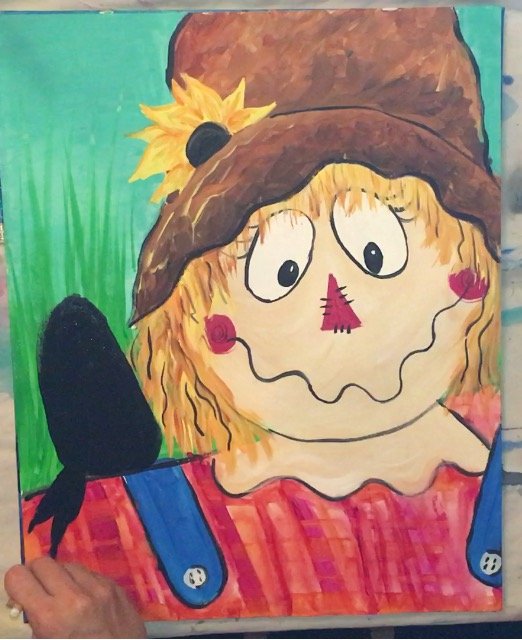

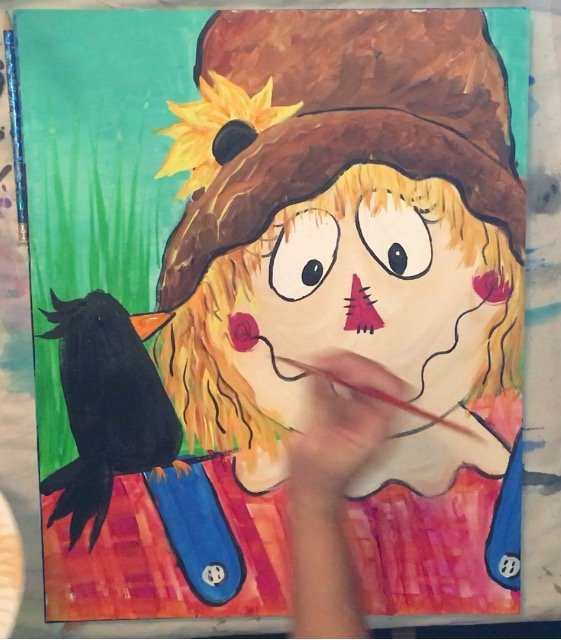
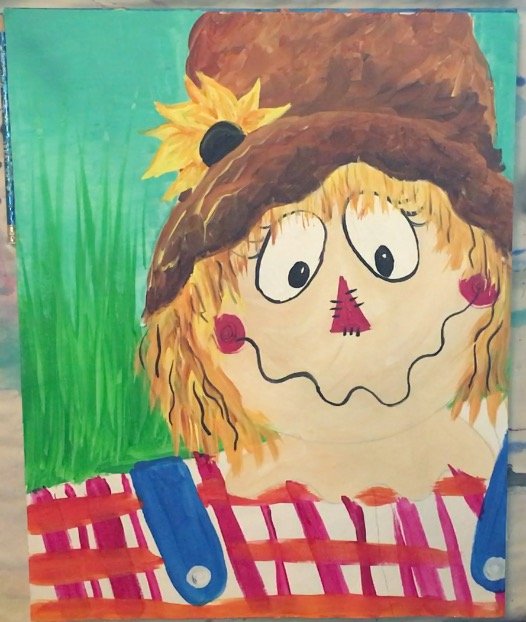
33. Then I painted in the rest of the overalls with blue! I also added some white lines on the bird. Finally, I added some white lines vertical and horizontal on the shirt to make it look more “plaid”. 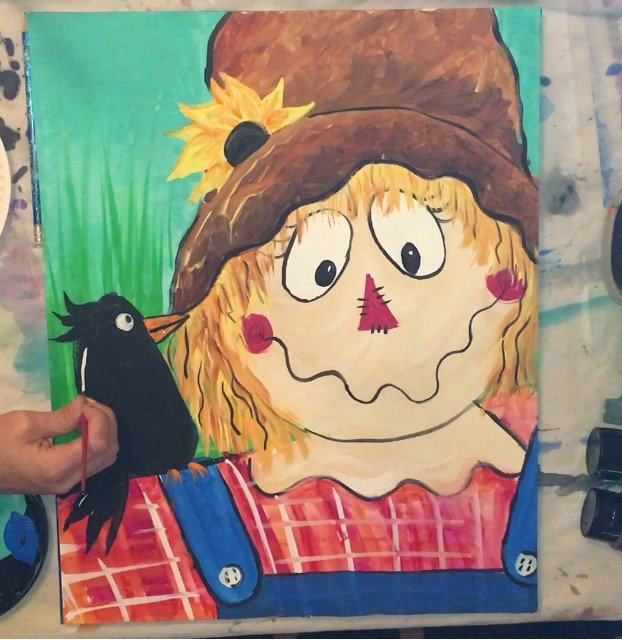
Finished! Like my tutorials? Subscribe to my Facebook Page to be update on when new ones get posted! Also, if you haven’t already, check out my other Fall Tutorials.

Thanks love scare crow will try painting this . Thanks again
Thanks Laura! I love scarecrows too and I’m so happy Fall is just around the corner!
Thanks so much for sharing your painting tutorials with us. I just love your work!
Thanks Susan! I’m so glad you like the painting tutorials!
I am keen to add your ideas to a scarecrow I have already sketched!! Thank you for your tutorial ?