

Camper Painting
Would you like to save this?
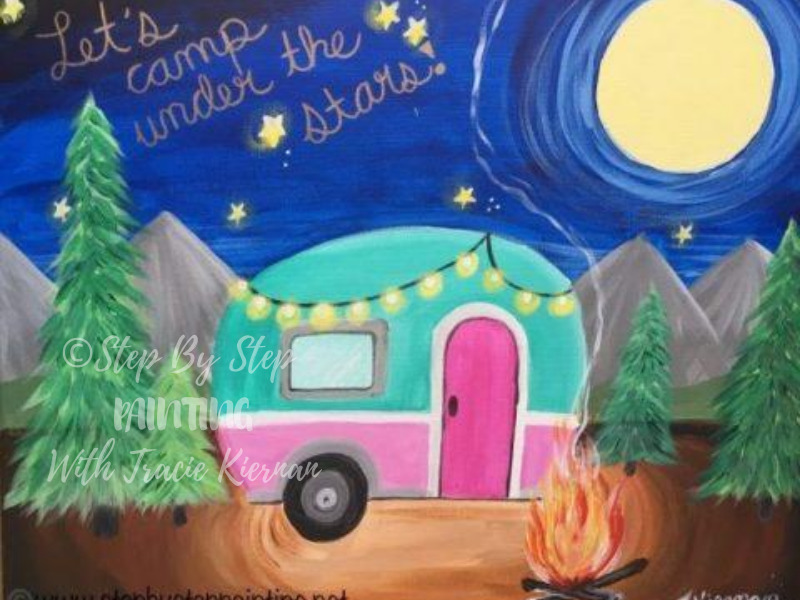
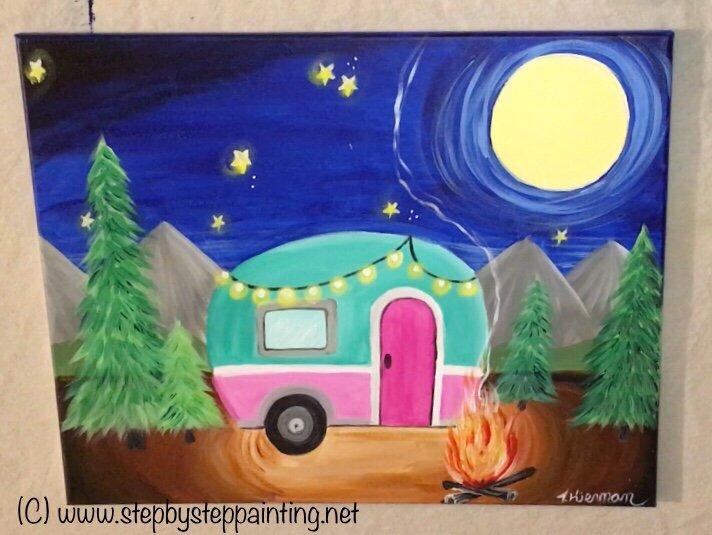
Totally adorable, totally retro and so much fun! Learn how to make your very own camper painting step by step!
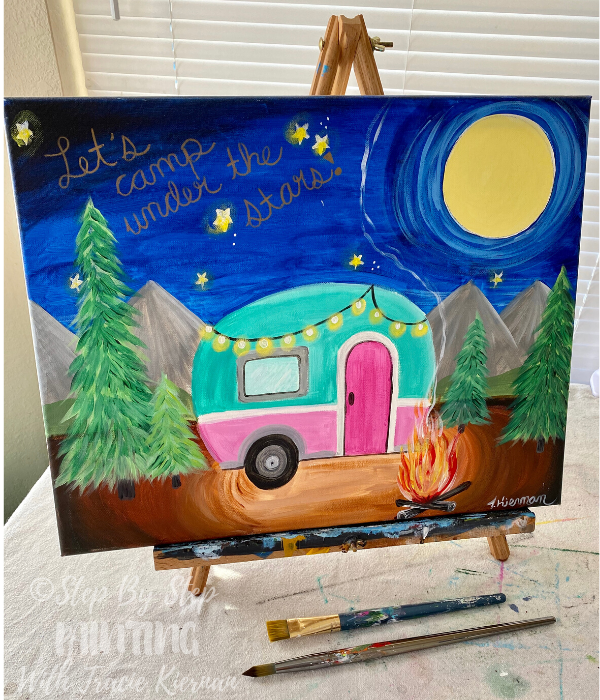
This acrylic painting lesson is done with a 16″ x 20″ canvas with student grade acrylic paints.
I’ll admit that when I did this painting, I yearned to smell the scent of those pine trees and wanted to roast some marshmallows in that fire!
I actually haven’t been camping in years but this certainly came close to taking me away to the high country!
Happy painting Artists!!
Materials:
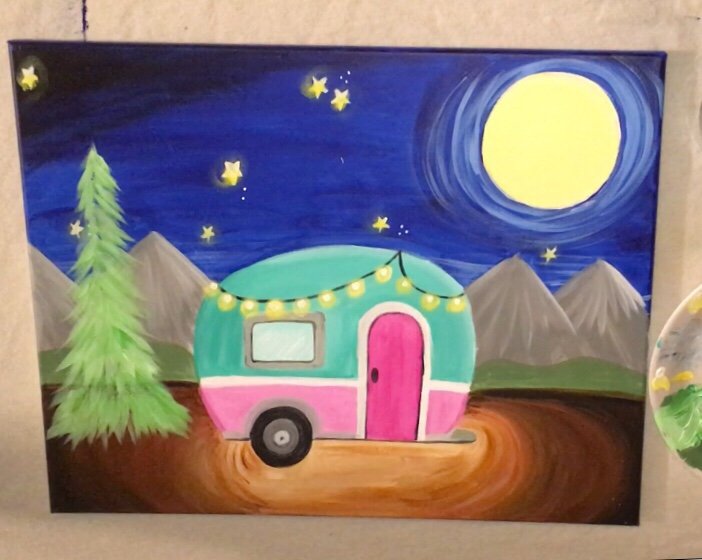
Camper Painting

Escape away to the mountains with this acrylic painting of a camper by a fire. This easy acrylic painting tutorial has a traceable for the camper.
Materials
- 16 x 20 Canvas
- Acrylic Paints
- Traceable
- Paint Brushes
- Graphite Transfer Paper
- Ruler
- Chalk
- Gold Sharpie (If you are writing a quote)
Colors
- Phthalo Blue
- Cadmium Yellow Medium
- Titanium White
- Mars Black
- Burnt Sienna
- Raw Sienna
- Raw Umber
- Neutral Gray
- Bright Aqua Green
- Medium Magenta
- Cadmium Red Light Hue
- Cadmium Red Deep
- Light Green Permanent
- Deep Green Permanent
Paint Brushes
- 1” Flat
- #6 Round
- 1/4 Flat or 12 Bright
- #0 Round
- #2 Round
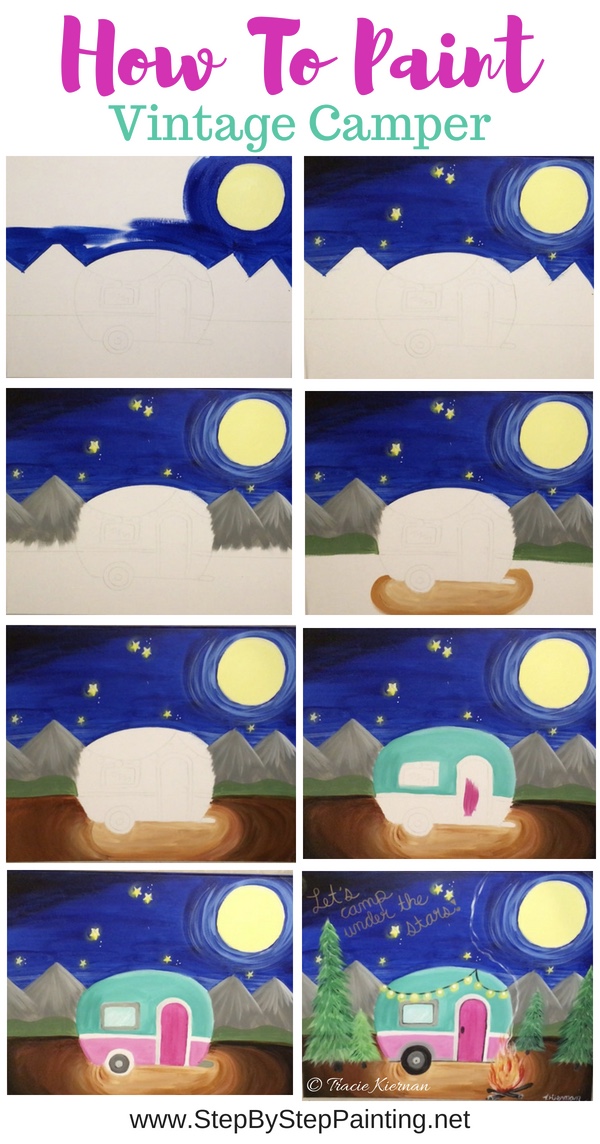
Instructions
- Transfer the camper design onto your canvas.
- Draw the horizon line using a ruler.
- Draw the mountain lines.
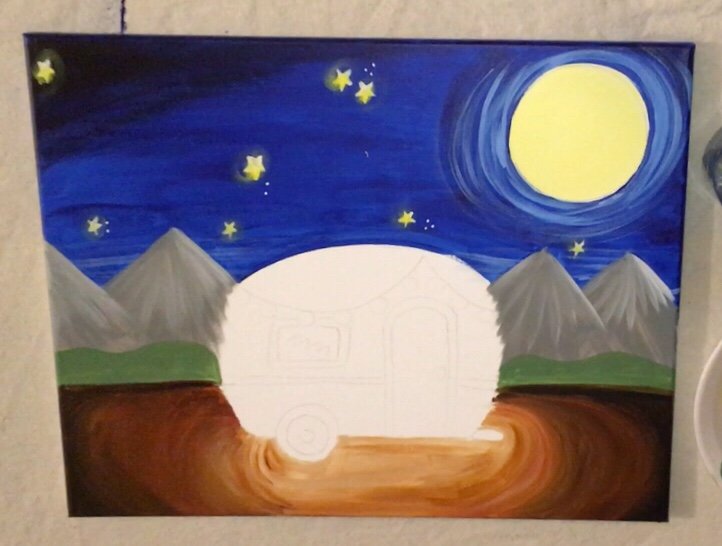
- Draw a circle for the moon.
- Paint the moon with white and yellow.
- Paint the sky phthalo blue.
- Blend some mars black in the upper right and left corners of the sky.
- Paint some moon beam with blue and white.
- Paint stars in the sky with yellow and white.
- Paint the mountains gray with titanium white tips.
- Paint a green hill under the mountains.
- Paint the ground.
- Paint the camper with your choice of colors
- Paint the string lights.
- Paint the trees.
- Paint the campfire.
- Write your quote with a gold sharpie.
Color Palette:
Eeks! I know this one has a lot of colors! You can simplify the palette a bit by omitting a few of the browns that are used in the ground of this painting. 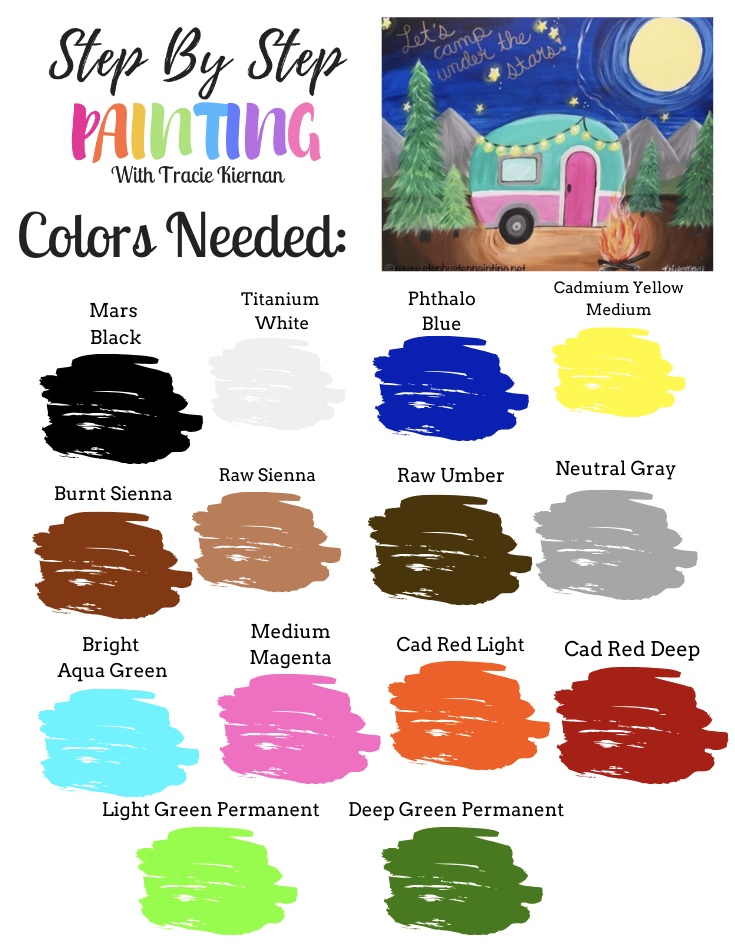
Using Apple Barrel Craft Paints?
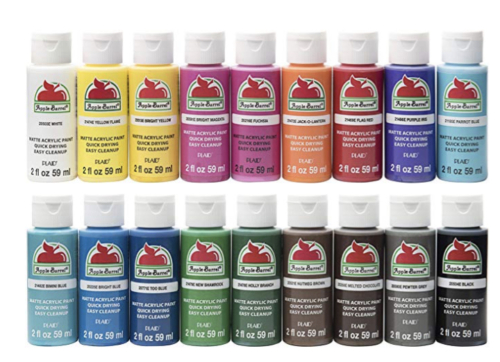
Use these colors:
- Black
- White
- Too Blue
- Yellow Flame
- Nutmeg
- Melted Chocolate
- Pewter Gray
- Bimini Blue
- Bright Magenta
- Jack O Lantern
- Flag Red
- New Shamrock
- Holly Branch
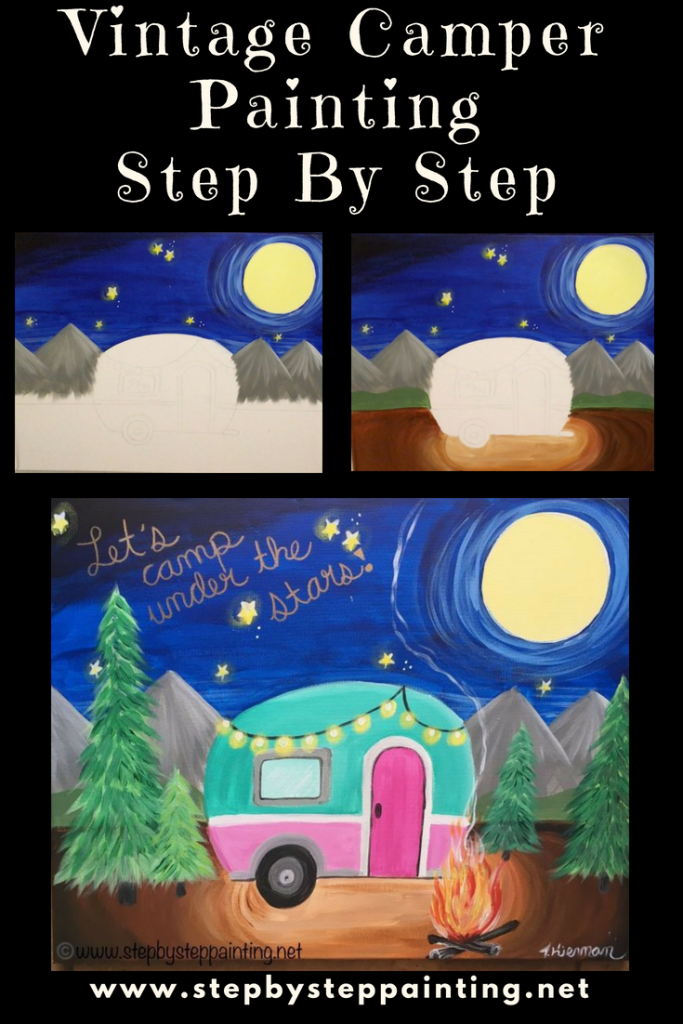
Directions At A Glance:
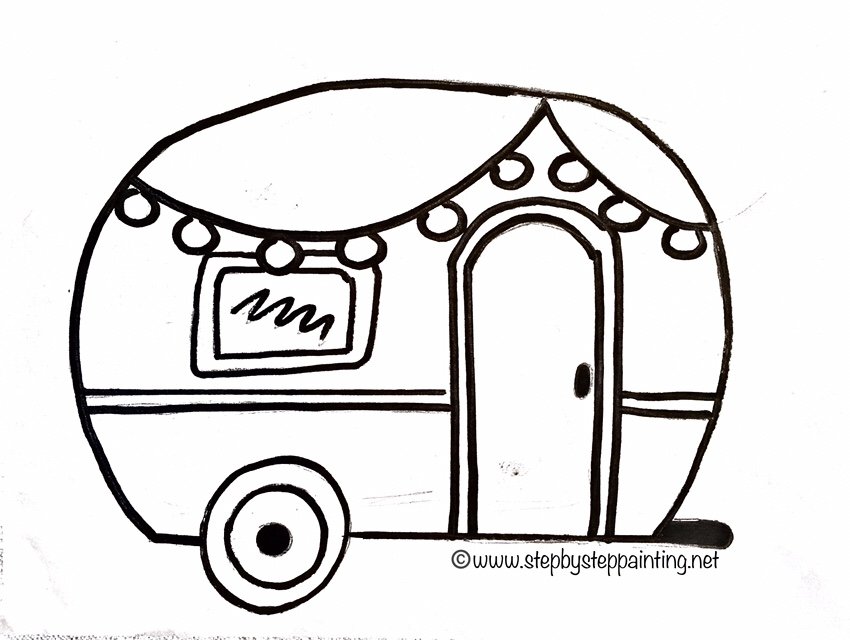
Traceable:
Print this out on standard 8″ x 10″ paper. Go to PDF library for download.
Video:
Step By Step Directions:
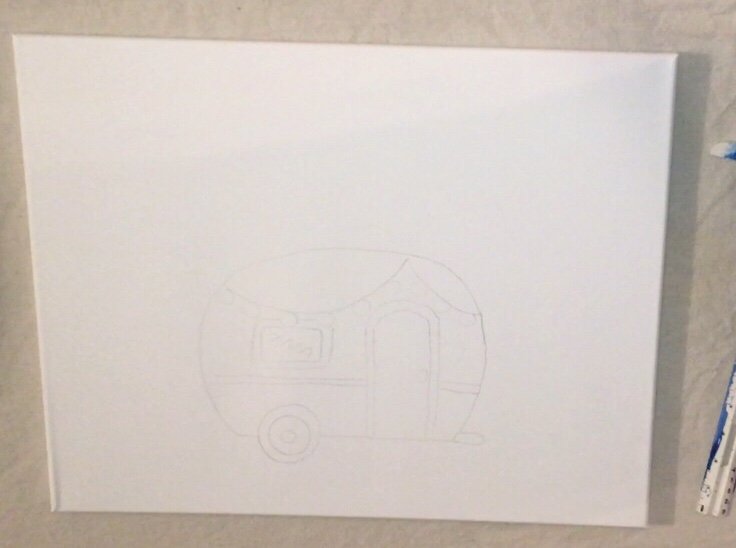
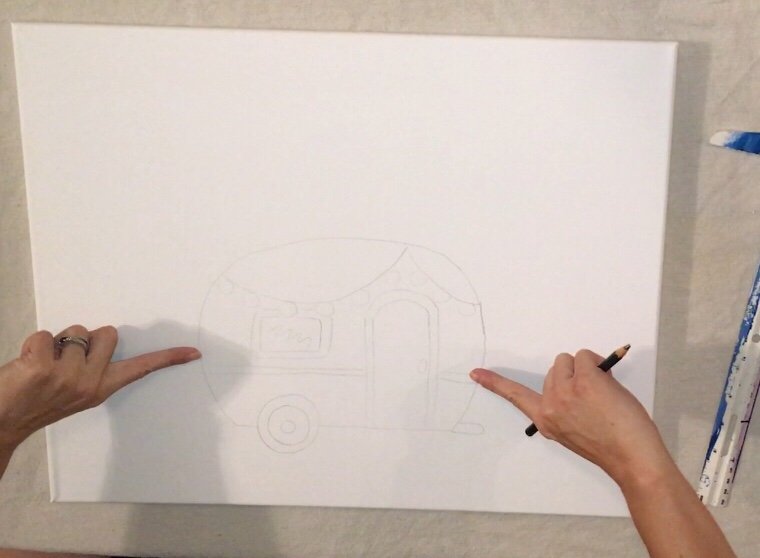
1. Trace the camper onto your canvas.
Place a sheet of graphite transfer paper behind your printable.
My camper was drawn directly in the center. It’s also about three finger widths of spacing from the bottom of the canvas.
Trace firmly with a pencil.
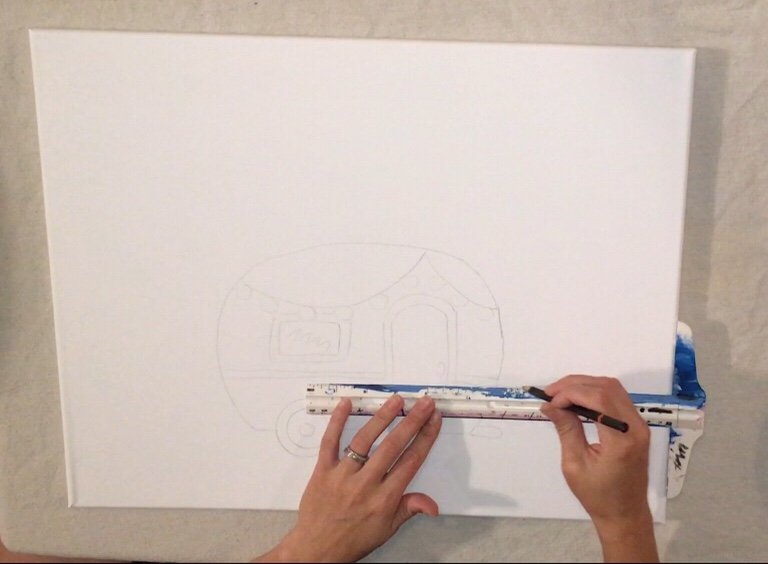
2. Draw the horizon line.
The horizon line in this painting is actually lined up to the lower lines on my camper.
You can see in the image below.
For measuring purposes, if you are following this exactly, it is about 4 1/2″ from the bottom. Use a ruler to draw that straight line behind the camper.
3. Draw the Mountain Lines.
Using the string lights on the camper as a guide, I drew diagonal triangular lines for the mountains.
The tips of these mountains are only slightly higher than the camper.
The lowest part of the mountains are no lower than the string lights. I will guide you through this drawing in the video! 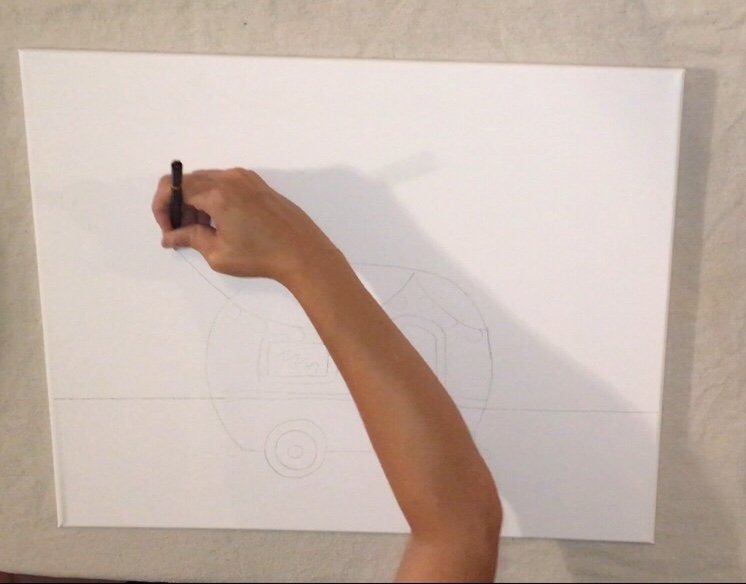
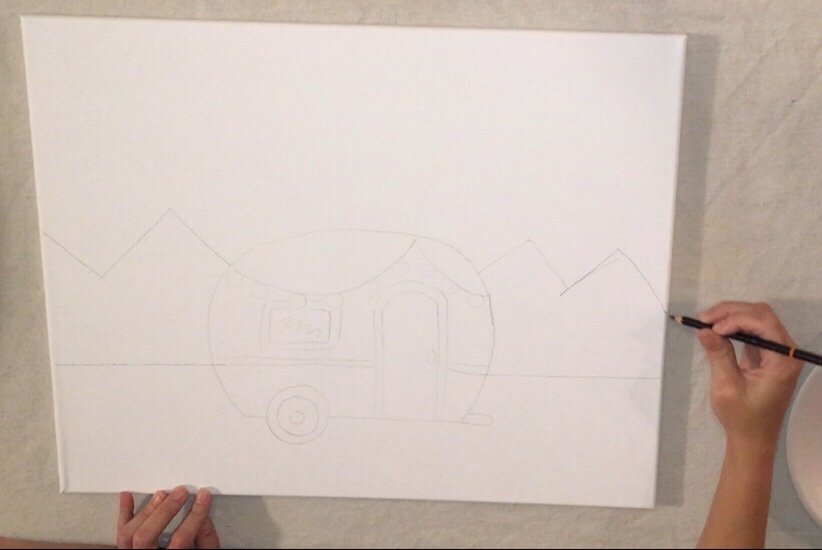
4. Draw a circle for the moon.
I actually traced the top of a 16 oz plastic movie theater cup for this! You can find any circle around the house to trace. 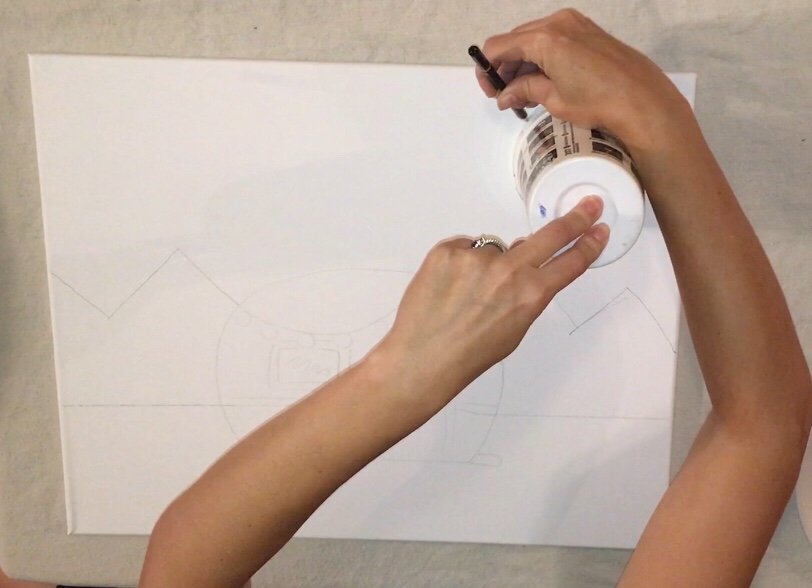

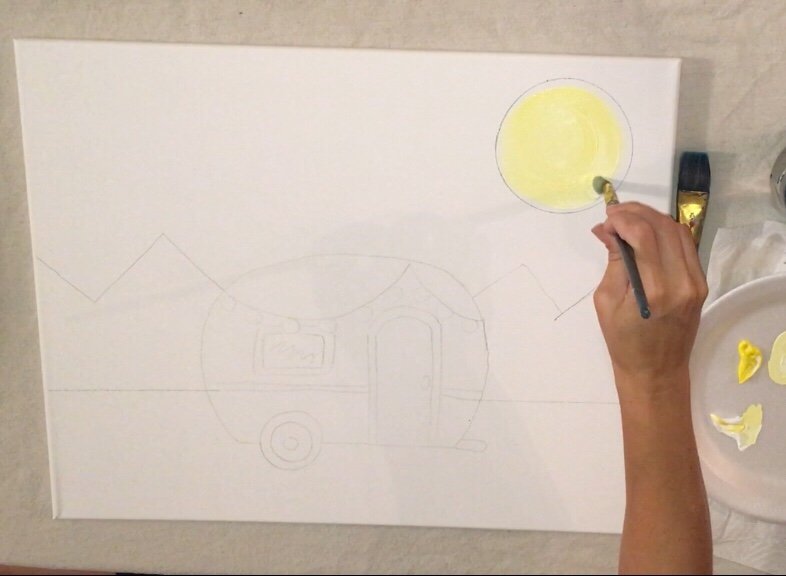
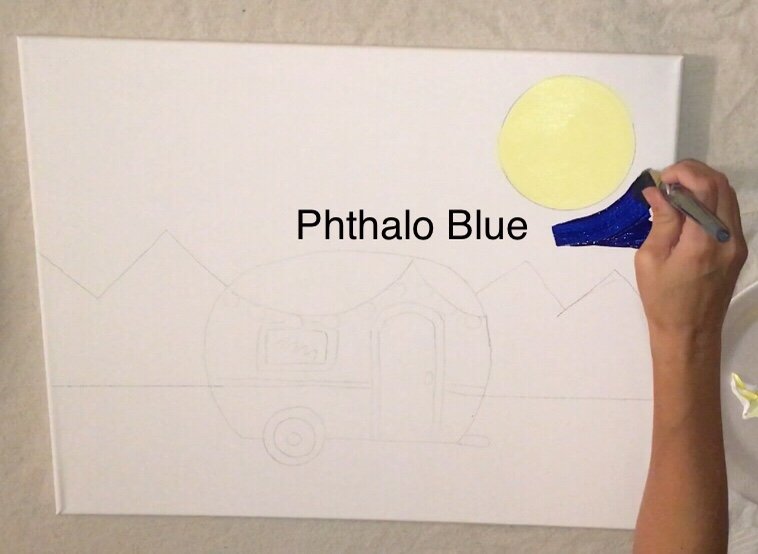
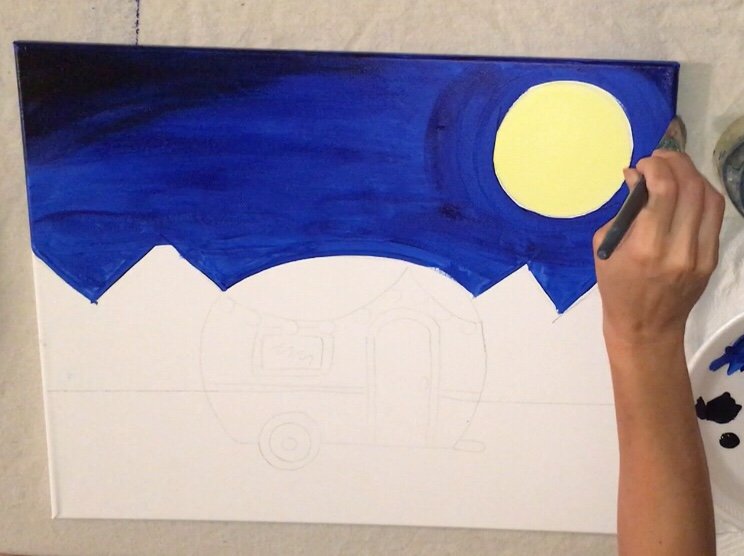
5. Mix Titanium White + Cadmium Yellow Medium & Paint the Moon
Use a large #6 round brush to mix cadmium yellow medium and white.
I used slightly more white than yellow to make my moon color. Then use that large brush to paint the moon!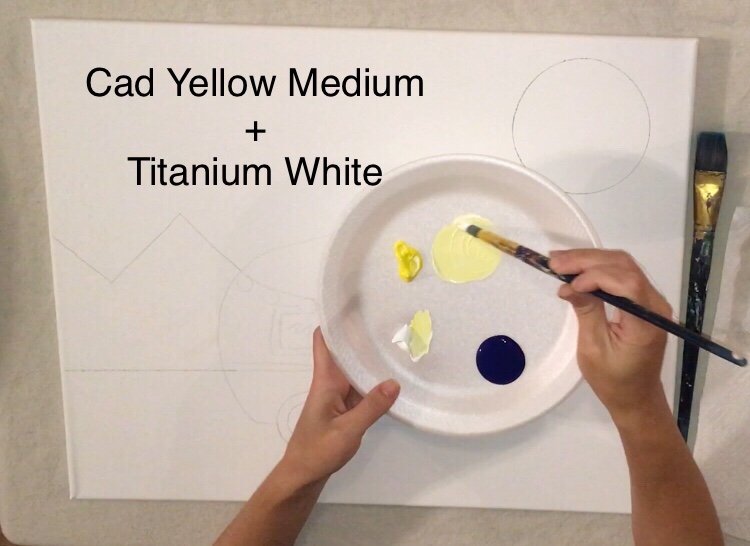
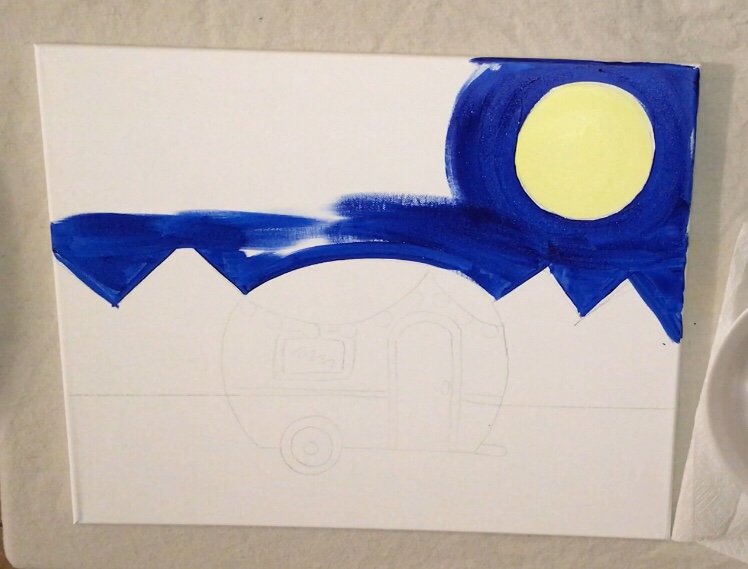
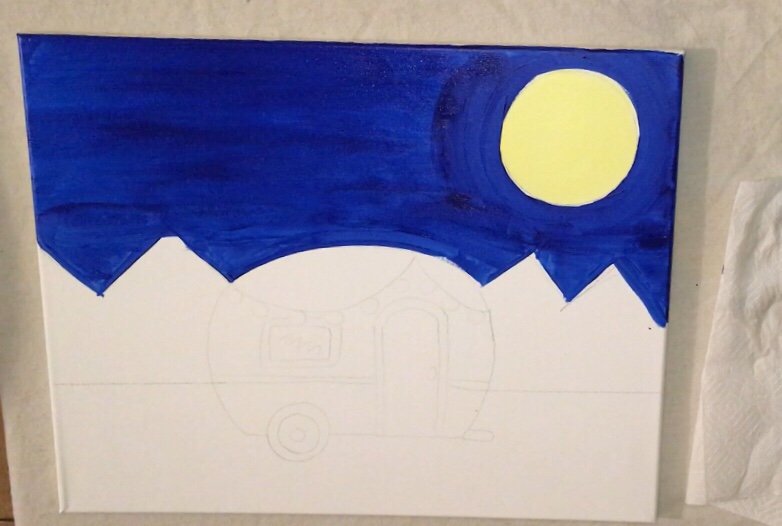
6. Paint the entire sky phthalo blue.
I used a large 1″ flat brush for this!
Start with the moon and go in circle strokes and then eventually get your strokes to flow left and right horizontally across the sky. 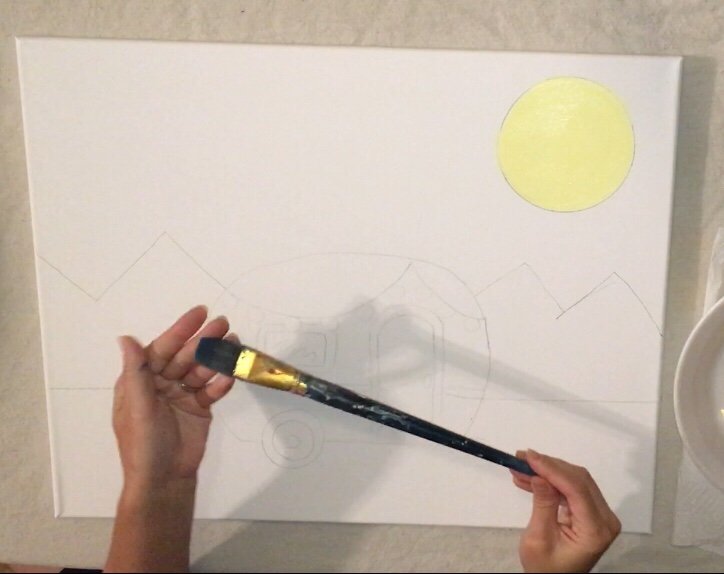
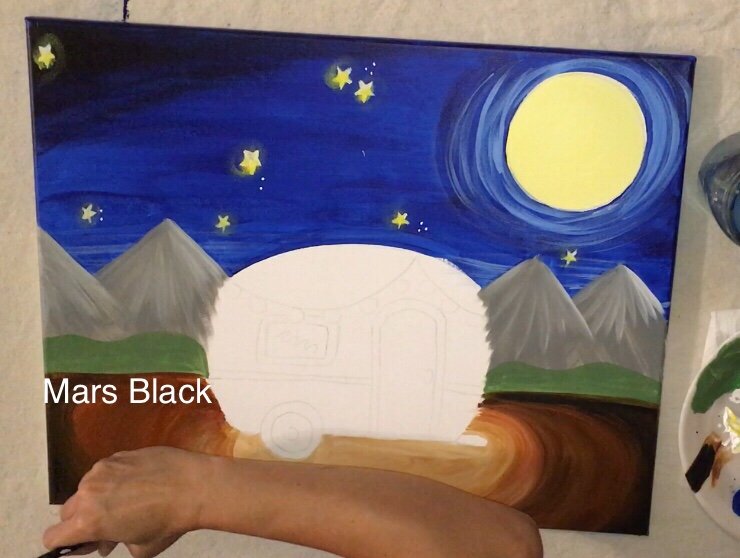
7. Optional: blend some mars black into the corners of the sky.
It’s best to do this while your blue is still wet.
Add A TINY BIT of mars black to your brush (without rinsing the blue off) and paint some black in the left and right corners.
Blend that black in slightly with the blue. 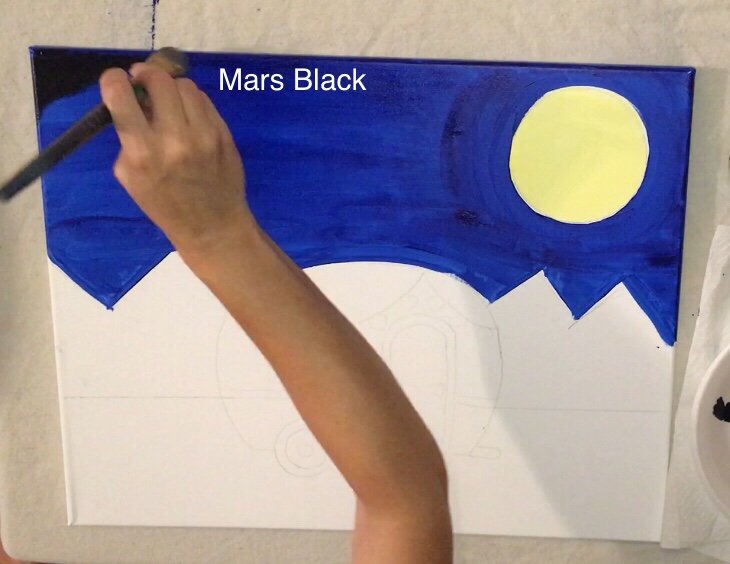
8. Mix equal parts phthalo blue and titanium white to paint some moonbeams.
Using that large round brush again, blend on your palette both titanium white and phthalo blue, equal parts.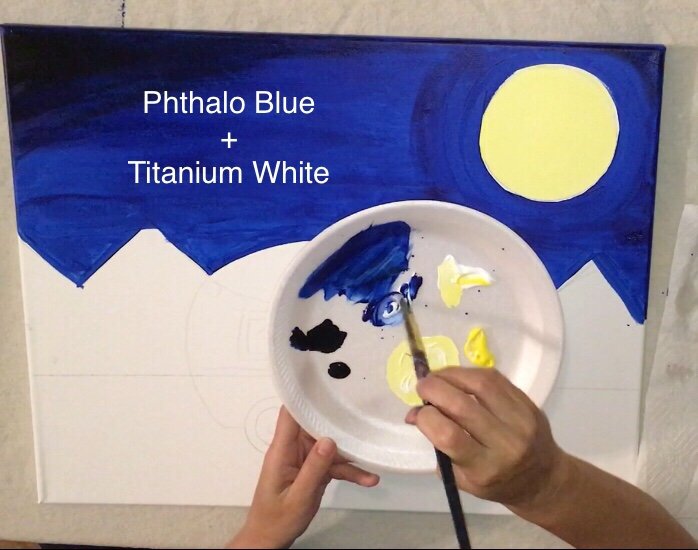
Use that color to LIGHTLY paint some moonbeams around the moon.
The effect was more like a “dry brush” effect with no extra water added to the brush.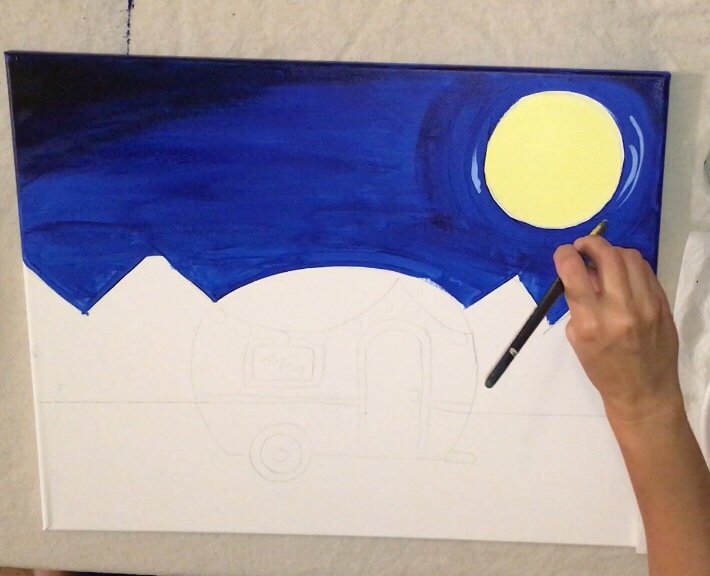
Then paint some left and right strokes just behind the mountains to indicate slight clouds.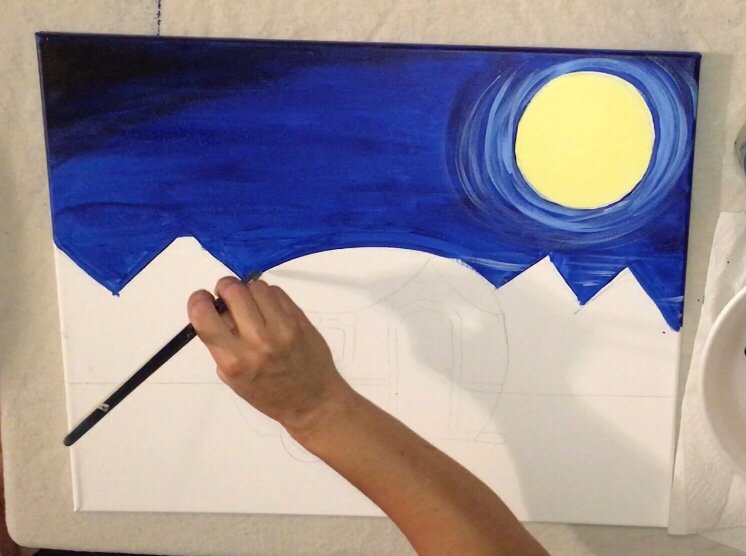
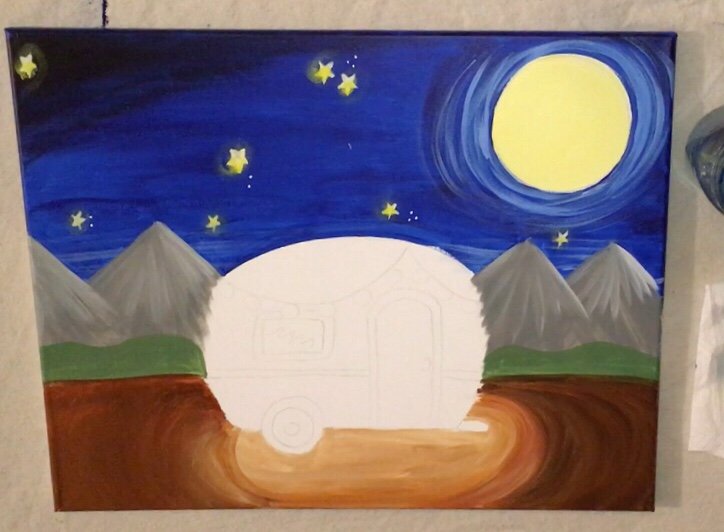
9. Paint stars
Use a small round brush to paint titanium white stars in the sky.
I did the typical star shape and then a few dots here and there.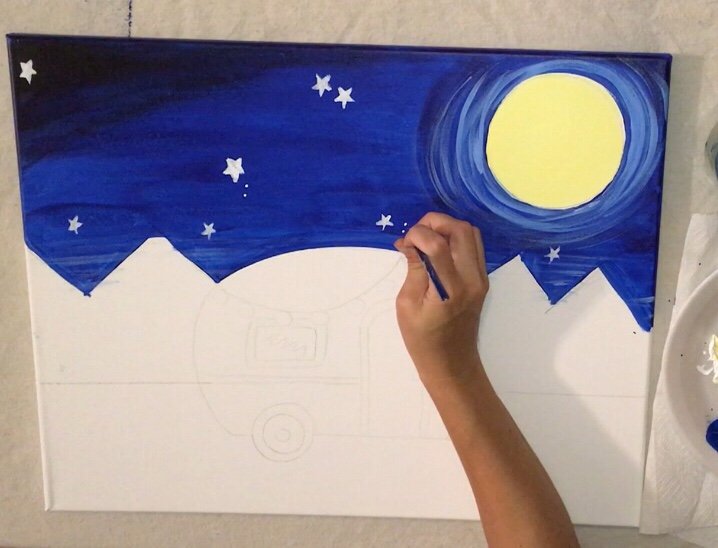
Let the stars dry and then use your finger to create a “glow” in the stars.
Dip your finger in equal parts cadmium yellow medium and titanium white.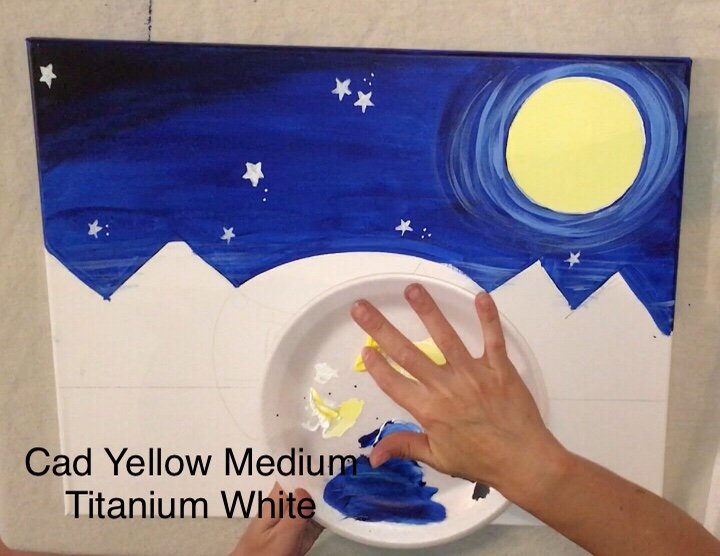
Use your finger to stamp onto the star.
And then spiral the fingerprint out to make a yellow glow. (Beats painting the star in yellow again with the round brush!)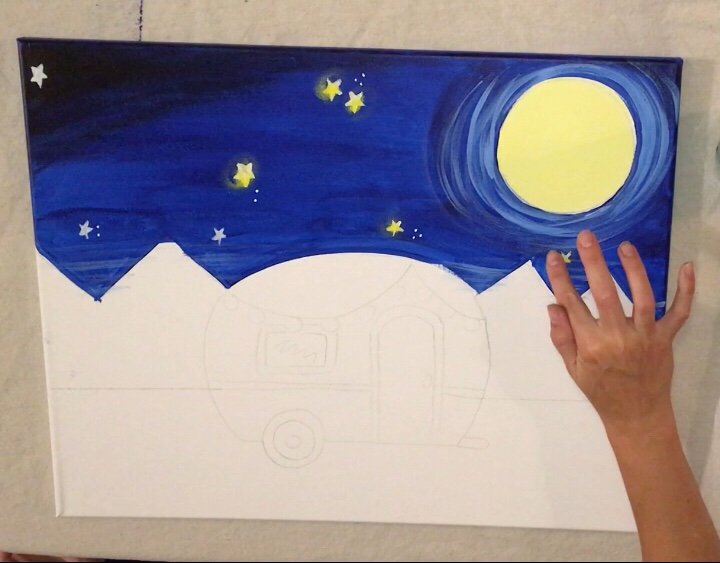
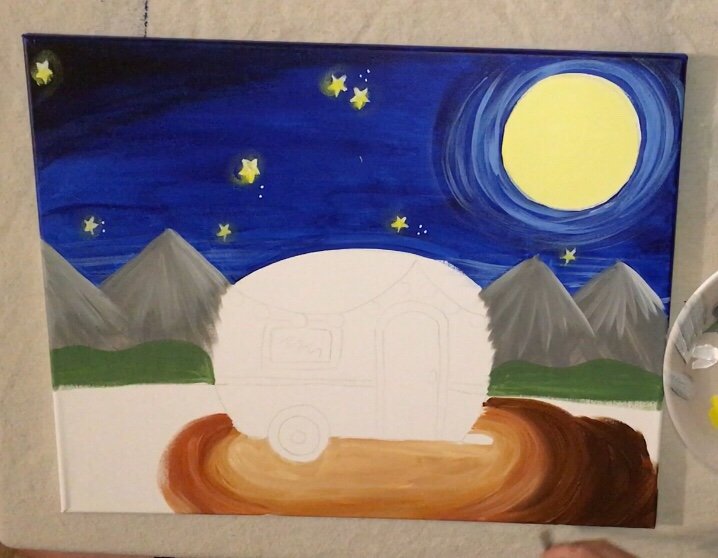
10. Paint the mountains gray with titanium white tips.
I started with neutral gray and a 1/4″ flat brush.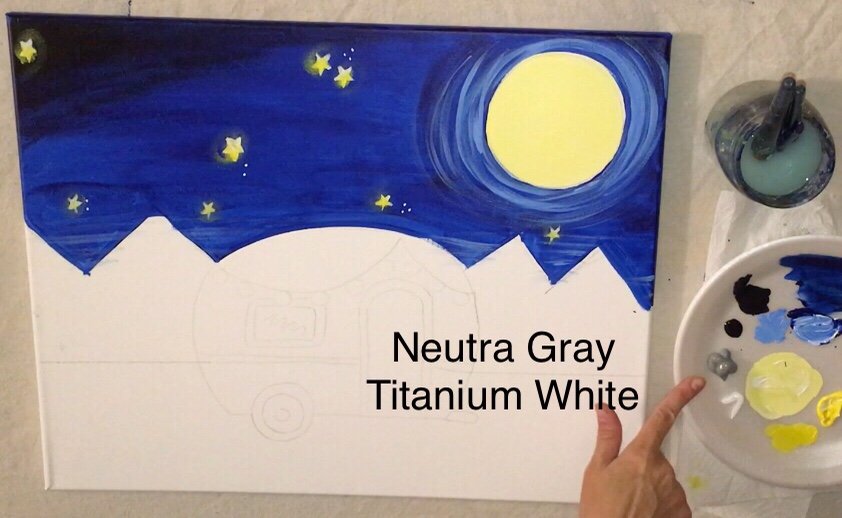
Use the brush to outline the mountains and then drag the paint down in sharp angular strokes.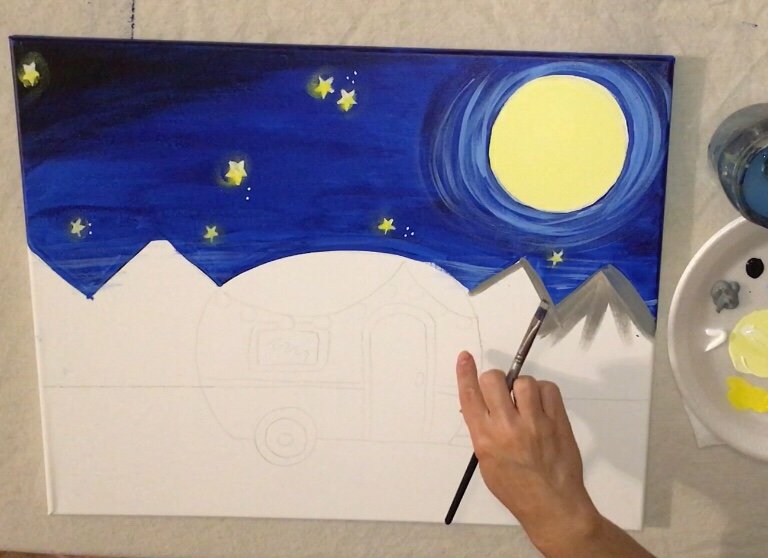
Paint the mountains a fairly solid coat of gray.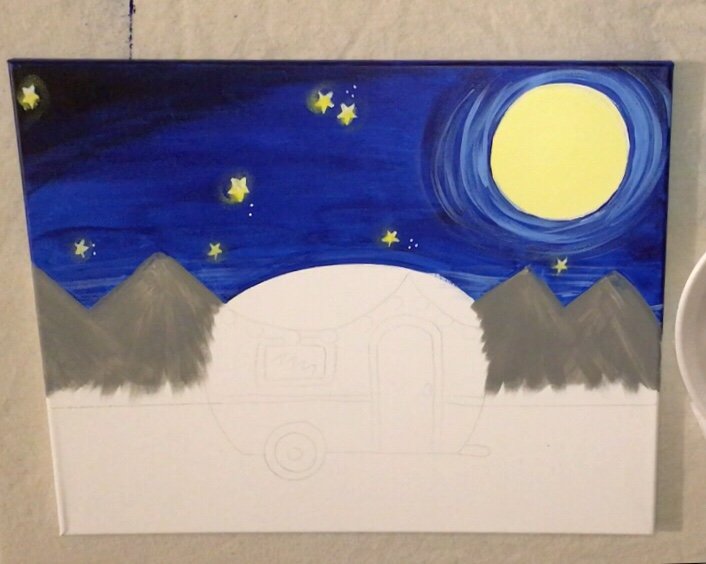
Then load your brush with titanium white without rinsing the brush.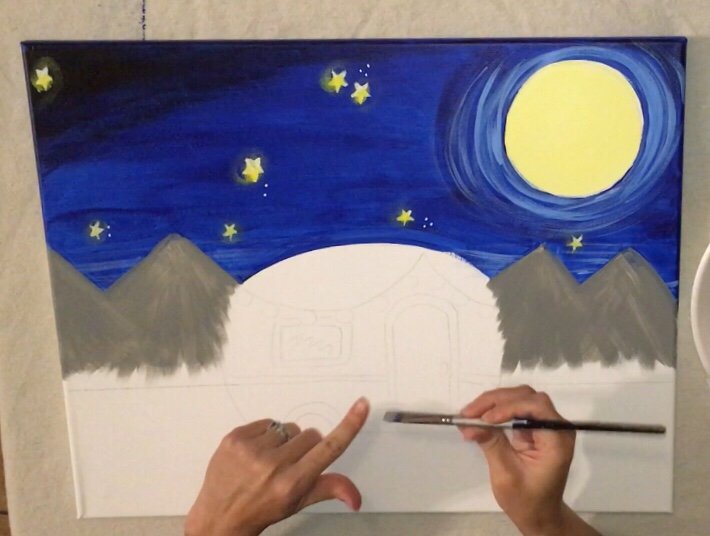
Start on the far right. Drag the white down from the top of the mountain to about half way.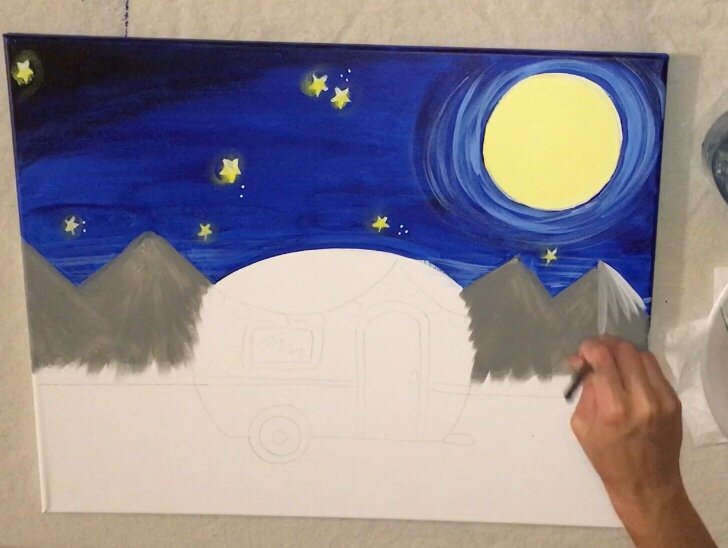
Work from the far right and go left. That white will mix nicely with the gray and create a nice blended mountain look with some dimension!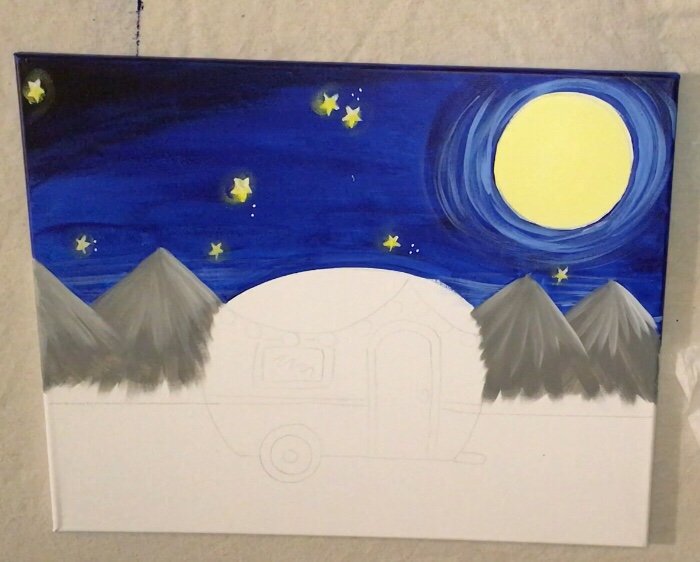
11. Paint a green “hill” just under the mountains with #6 large round brush.
I mixed equal amounts of light green permanent with neutral gray.
Paint a wavy line with that #6 round brush just above the horizon line on the bottom of the mountains.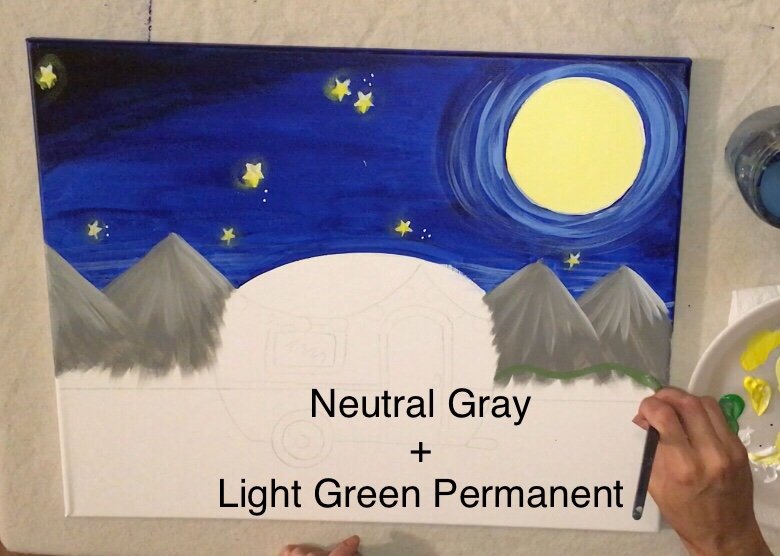
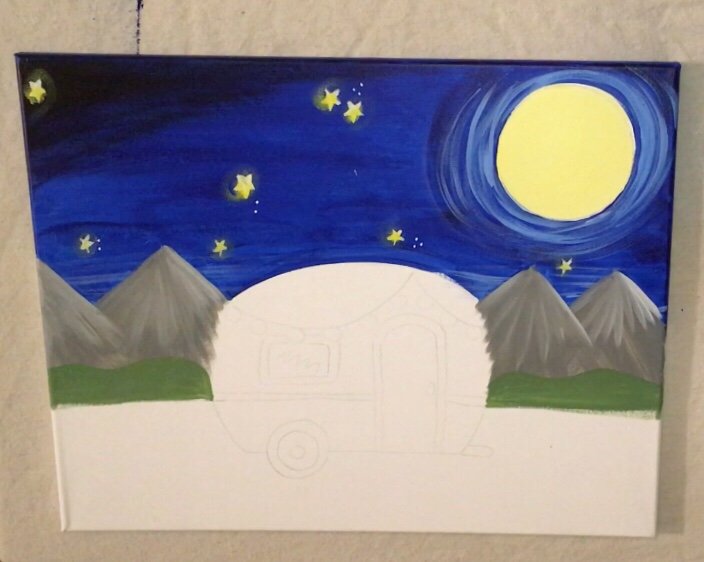 Fill in that entire area down to the horizon line.
Don’t paint below the horizon line.
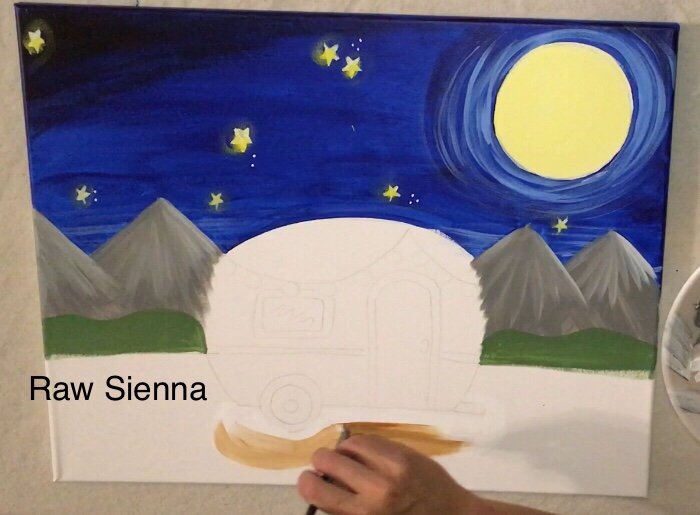
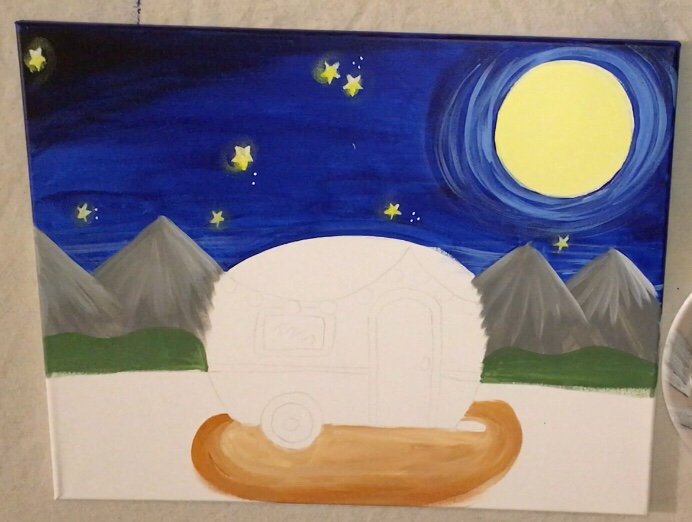
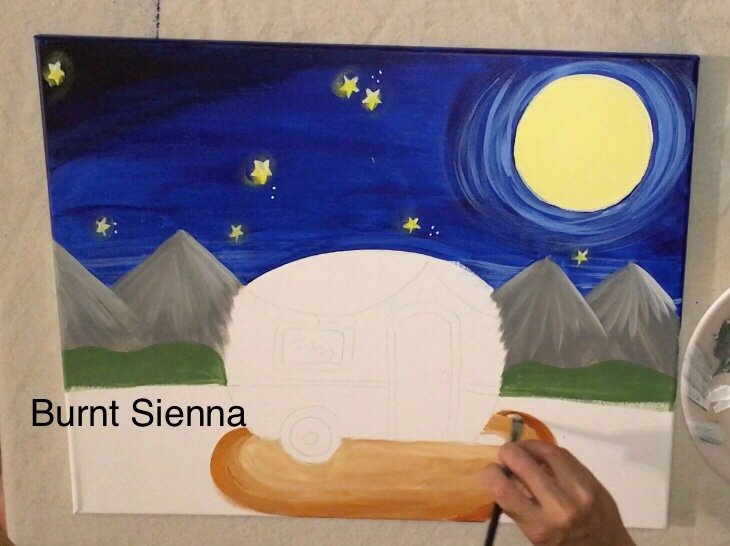
12. Paint the ground
Take a deep breath! You got this!
The goal hear is to make the ground brighter in the middle just under the camper but have it be darker on the outside edges.
I did this by painting in oval forms.
Load your palette with: titanium white, raw sienna (light brown), burnt sienna (medium brown) and burnt umber (dark brown).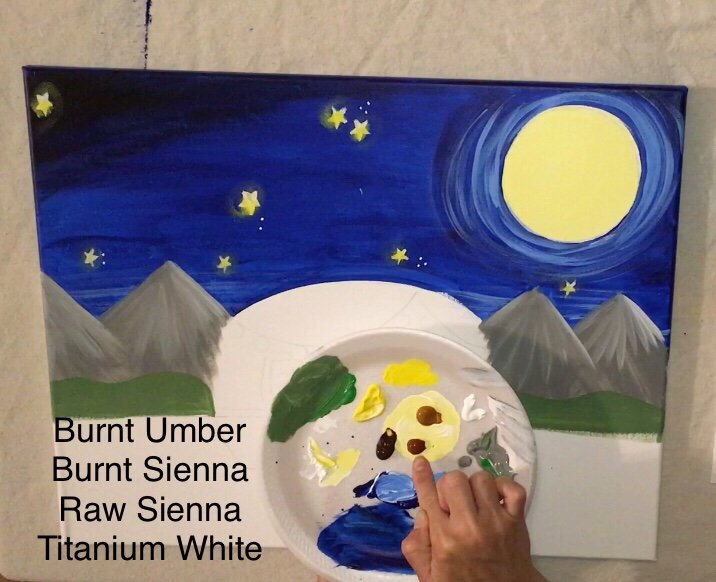
Use a 1/4″ flat brush.
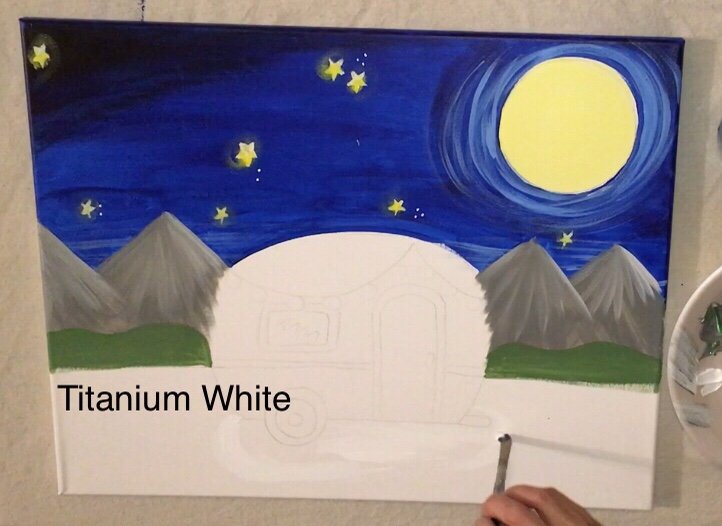
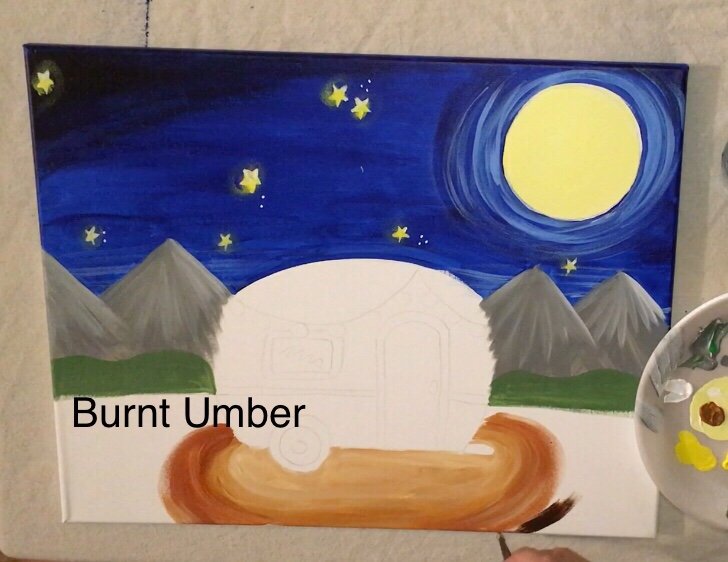
Tip: To simplify this you can just paint the ground one solid color! It will still look awesome!
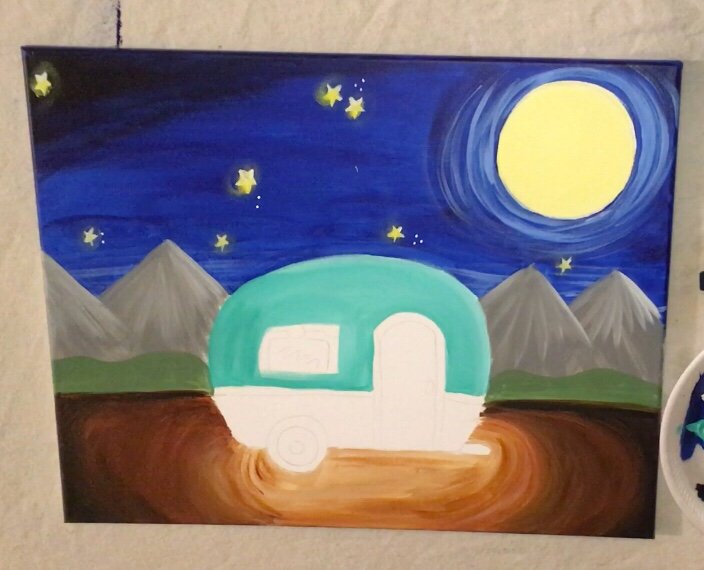
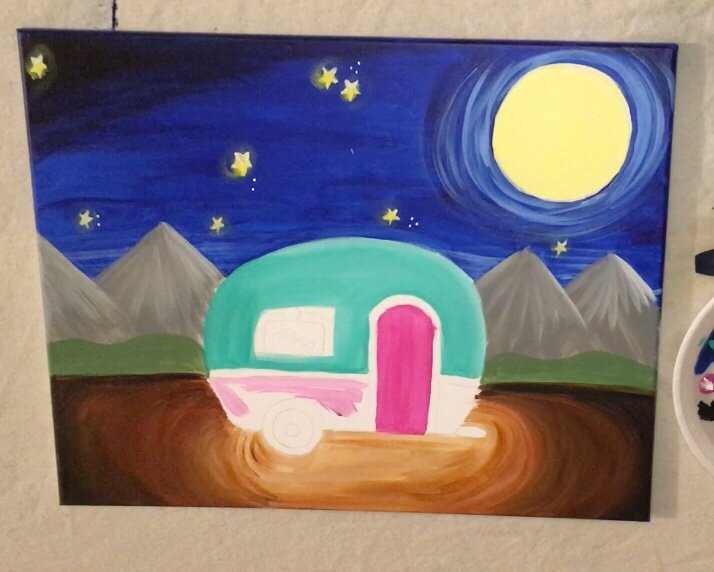
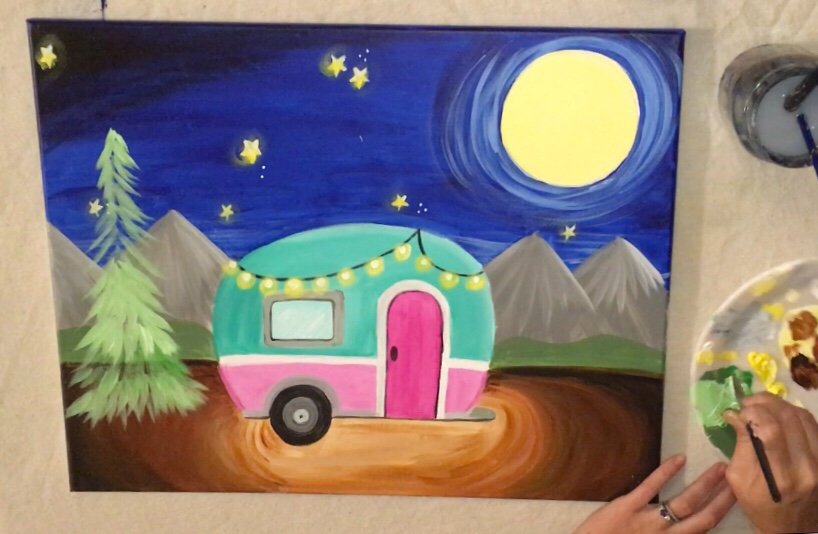
13. Paint the camper your choice of colors!
This is the fun part!
You can be creative and come up with some unique colors and designs for your camper.
I used mostly a 1/4″ flat brush (12 bright) and small round for the details.
Basically, paint your camper in like a coloring book!

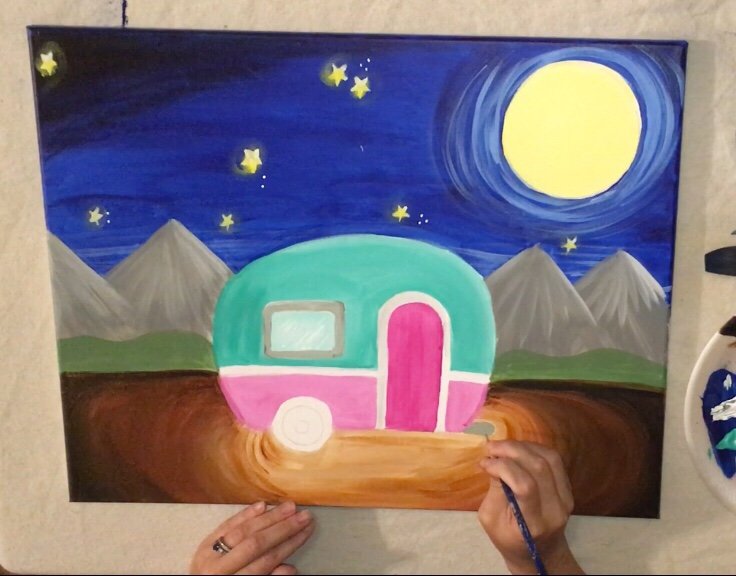

14. Paint the string lights.
Use a very tiny round brush and mars black to paint the string for the lights.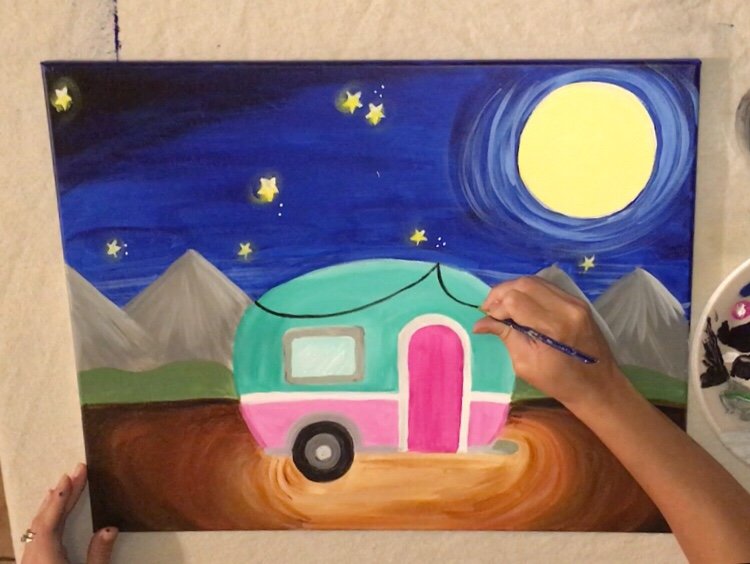
Wait for that black to dry completely!
While waiting for that black to dry, I actually slightly outlined some area on the camper with the black.
You’ll see this in the video but basically, I outlined the inner part of the window, the door and the knob for the door.
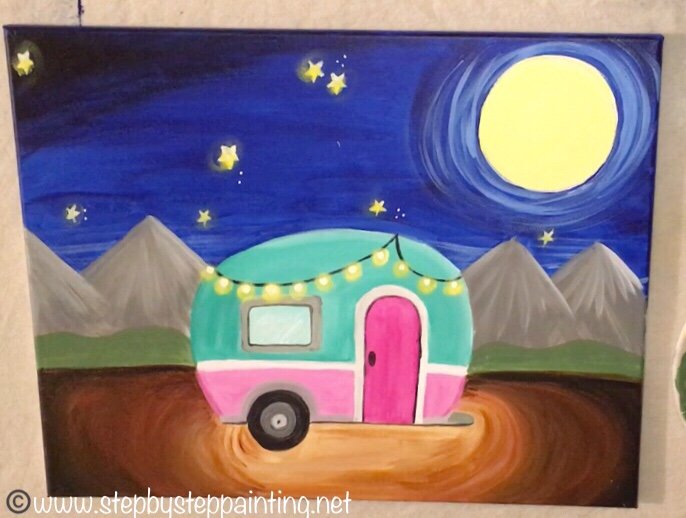
To paint the strung lights, I did the same thing I did with the stars.
I dipped my finger in cadmium yellow medium and titanium white.
I finger painted each light and smeared the paint in a circle to create a glowing effect.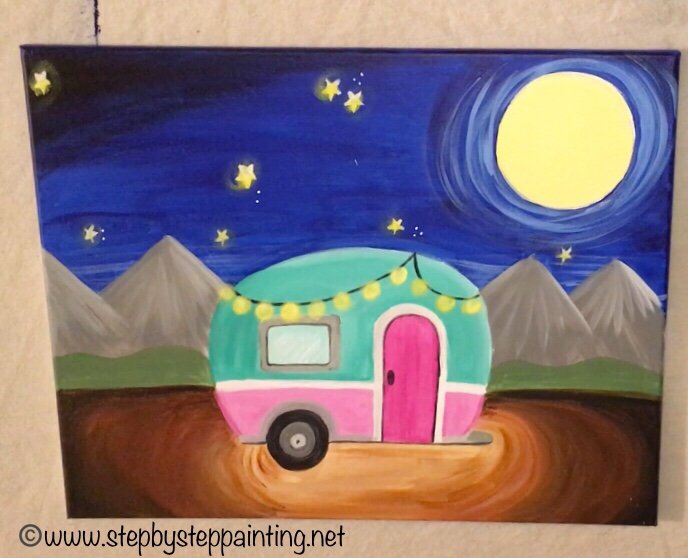
Then with a small tiny round brush and titanium white, I painted a white dot on each yellow circle to represent the light bulb.

15. Paint the trees.
I used light green permanent mixed with titanium white.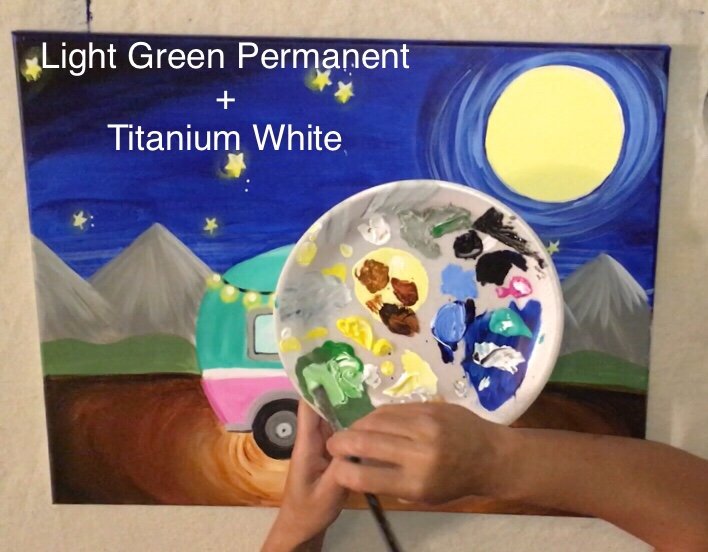
I also used a 1/4″ flat brush.
Figure out where the top of your tree will be.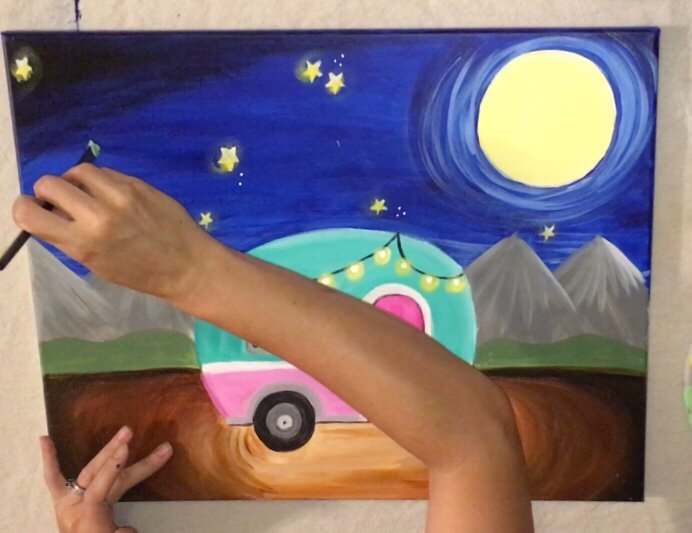
My largest tree went way above the mountains.
Start at the top and paint strokes, dragging each stroke diagonally to form the pine tree. 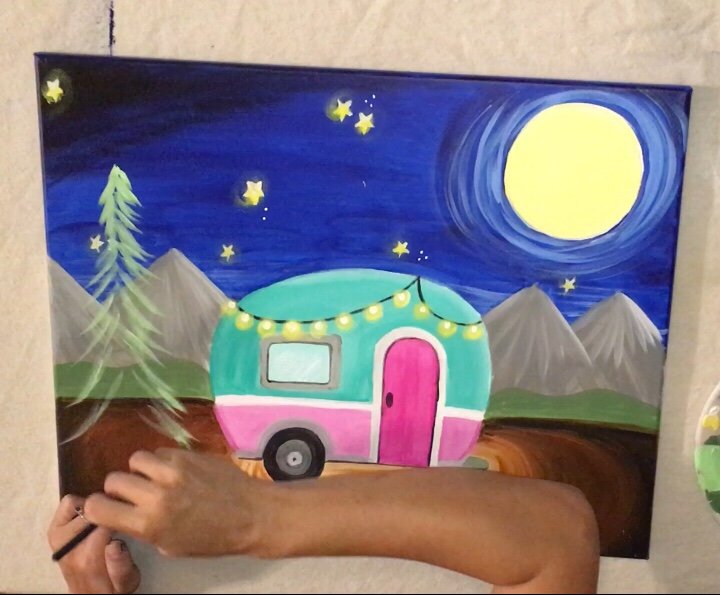
Paint additional layers of that same color by painting from the bottom of the pine tree and working your way up.
Next add in the color dark green permanent to your brush.
Start from the bottom of the tree and paint diagonal strokes as you work your way up.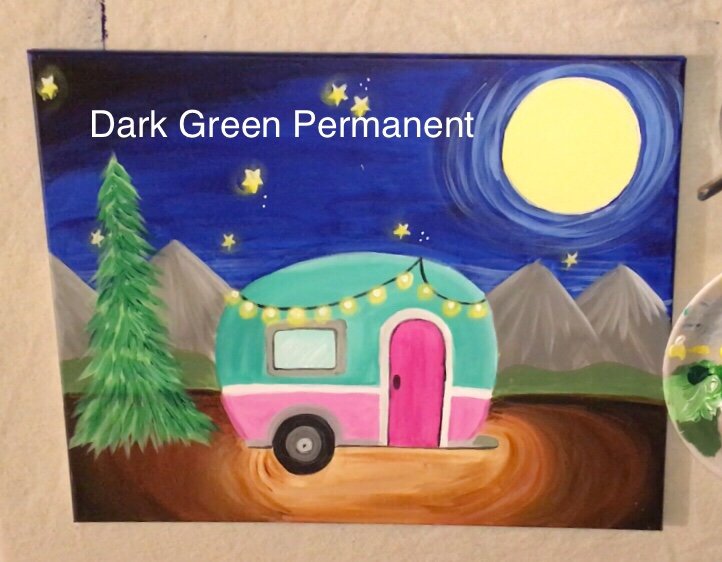
Each layer overlaps the next as you go up.
Paint a tree trunk with the 1/4″ flat. I used neutral gray mixed with black. 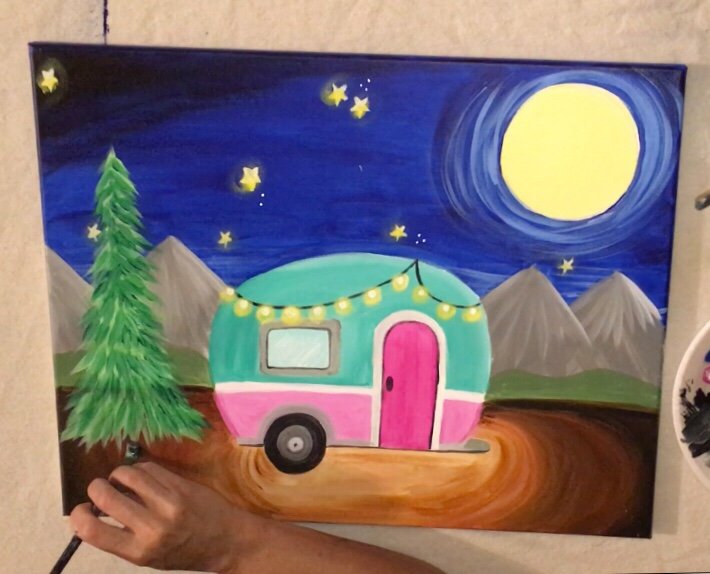
Then I painted various trees of various heights by using the same technique!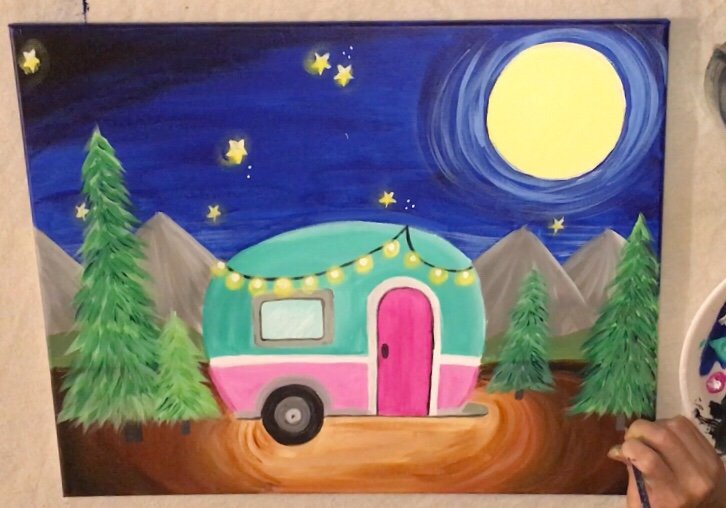
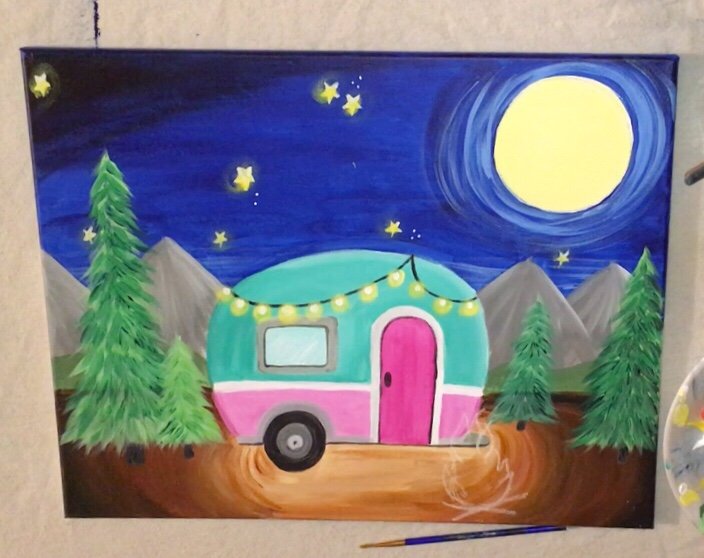
16. Paint the campfire.
You’ll need chalk, a small round #2 brush and to load your palette with white, yellow, orange and red paint.
Painting fire is kind of daunting at first!
But actually it’s pretty easy.
It’s a combination of the warm colors: red, yellow and orange and loose strokes going upwards.
The colors I used for the campfire are:
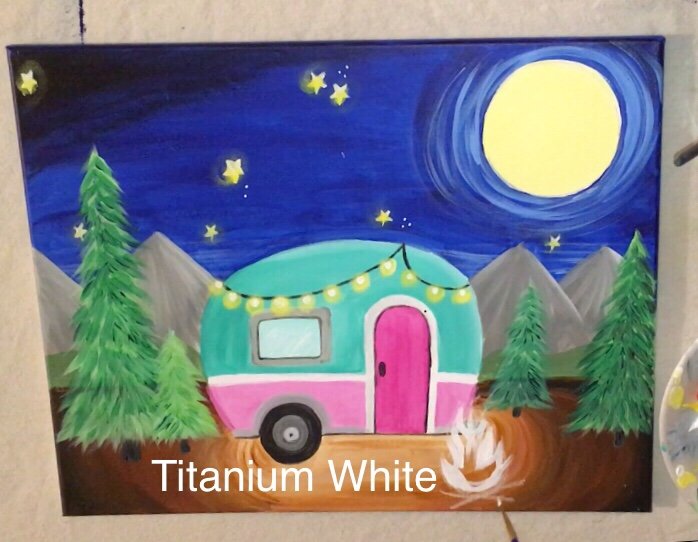
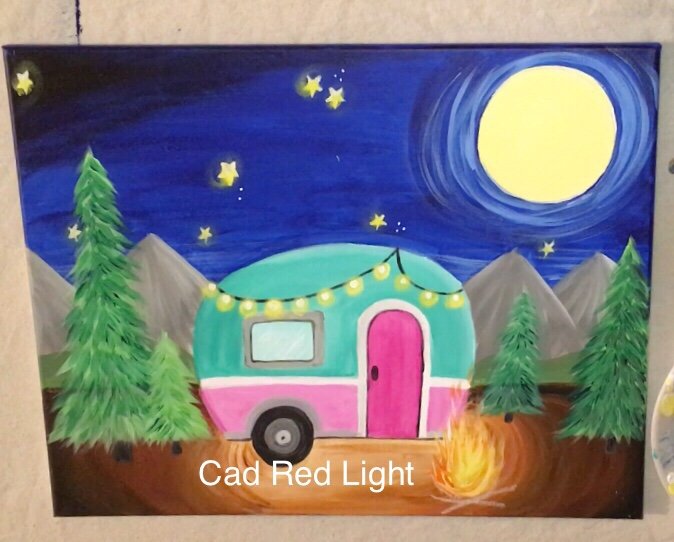
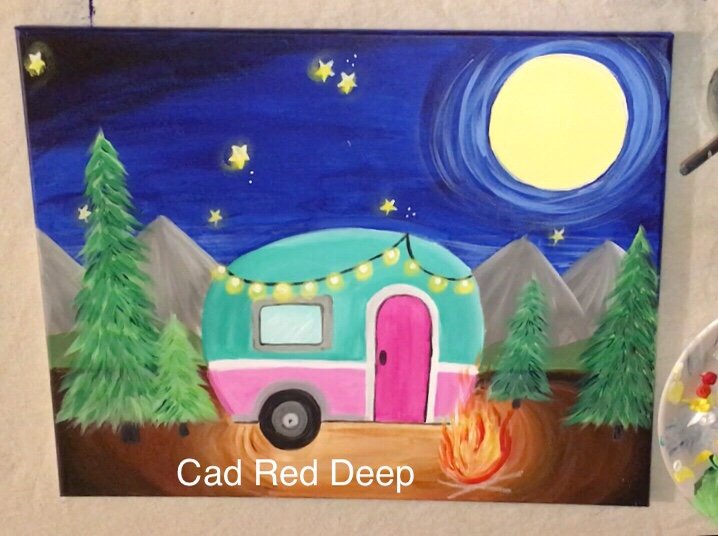
- Titanium White
- Cadmium Yellow Medium
- Cad Red Light (this actually looks orange!)
- Cad Red Deep

17. Write your optional quote!
I used a gold sharpie for this!
If you’re afraid you’re going to mess up on the letters, you can always draw them in chalk first and then erase. 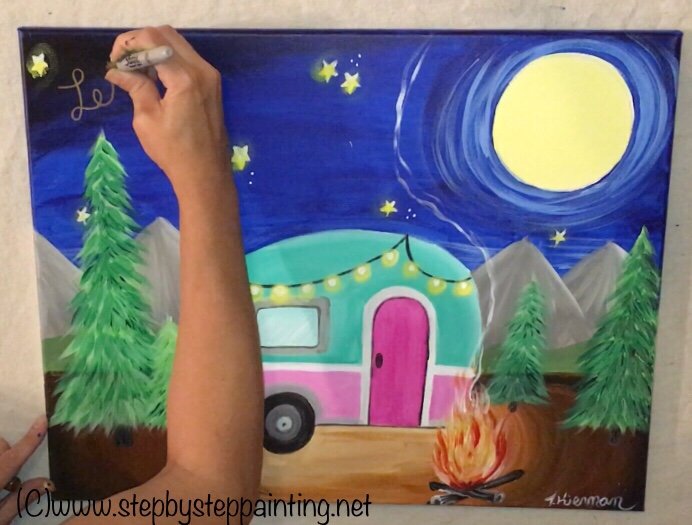
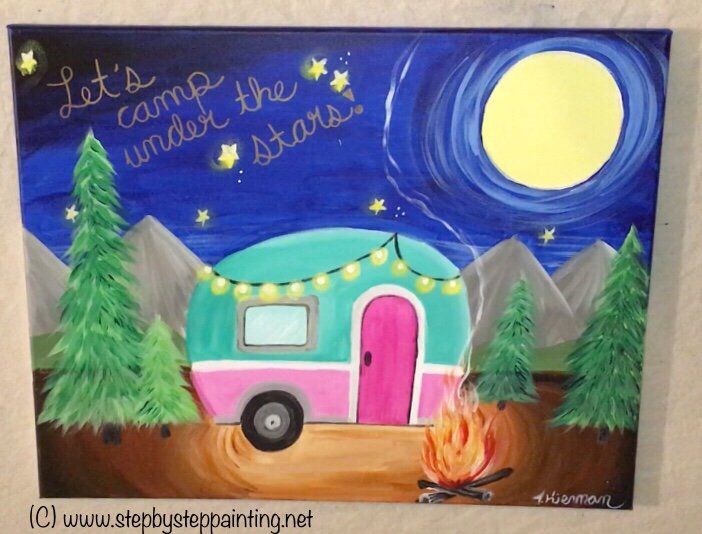
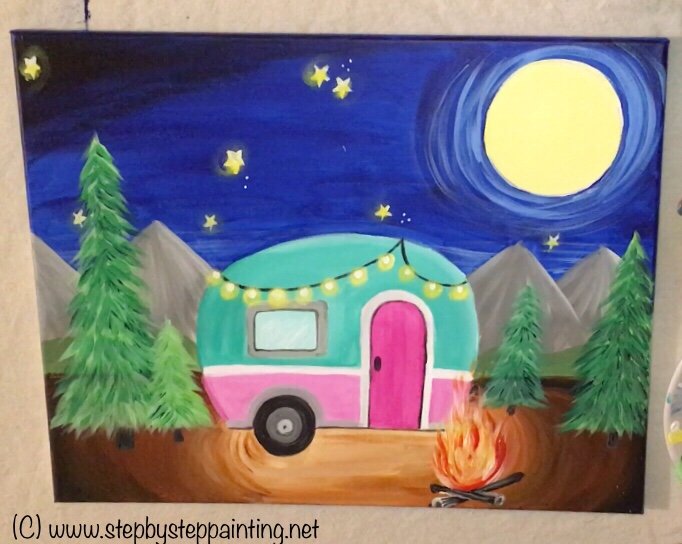
Finished!
Thanks for viewing this tutorial!

