
Would you like to save this?
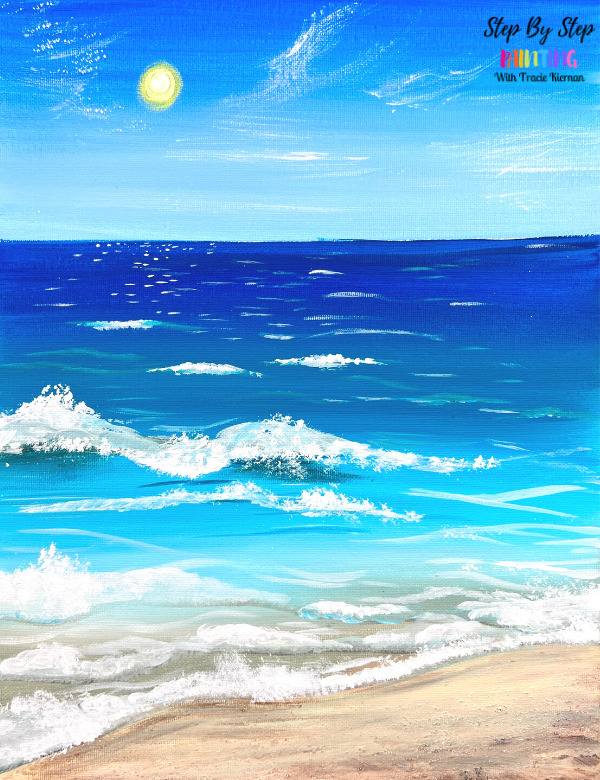
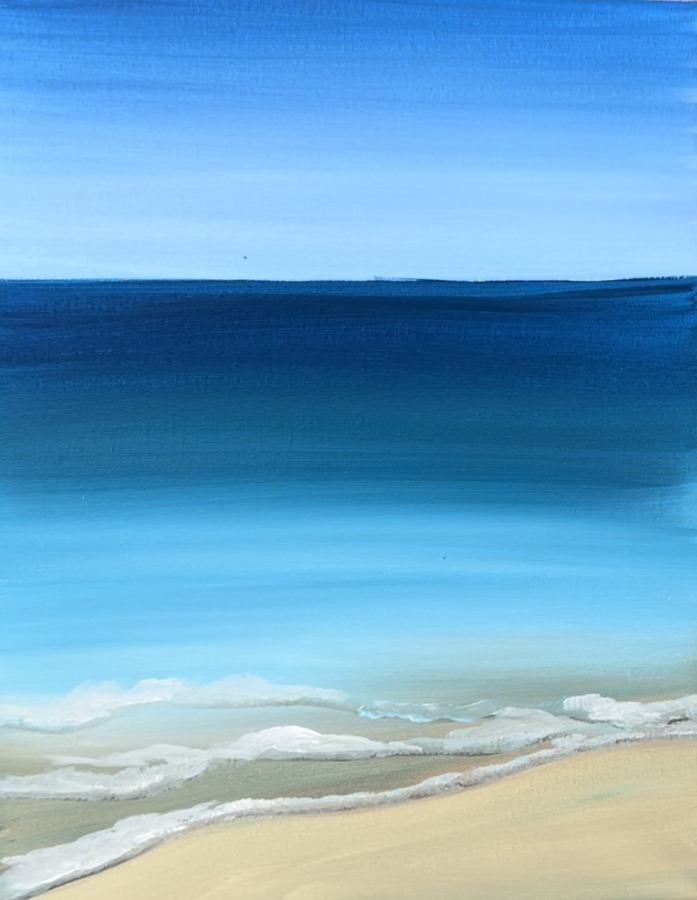
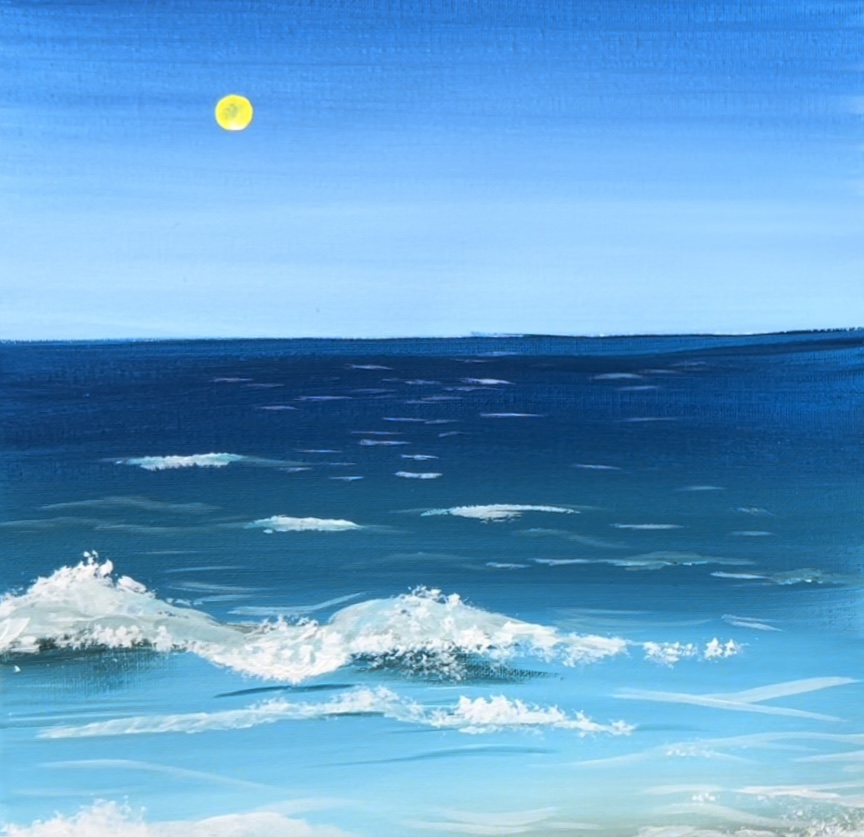
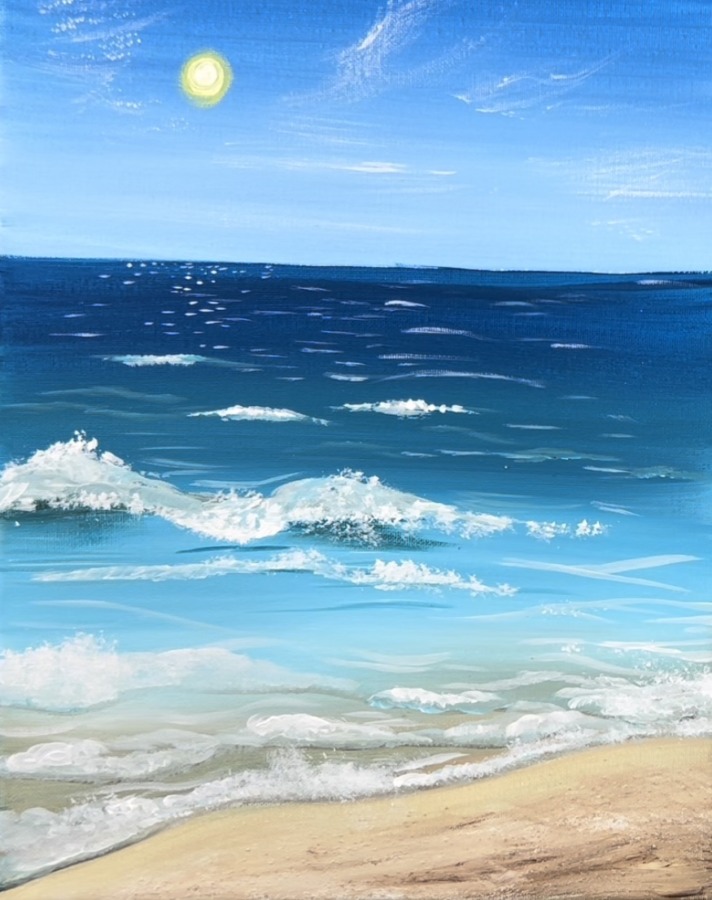
It’s beach day! This acrylic painting tutorial will demonstrate how to paint a beach with acrylics on canvas.
I love painting ocean and beach scenes! The pretty blues and turquoise colors against the white waves and sand are so relaxing.
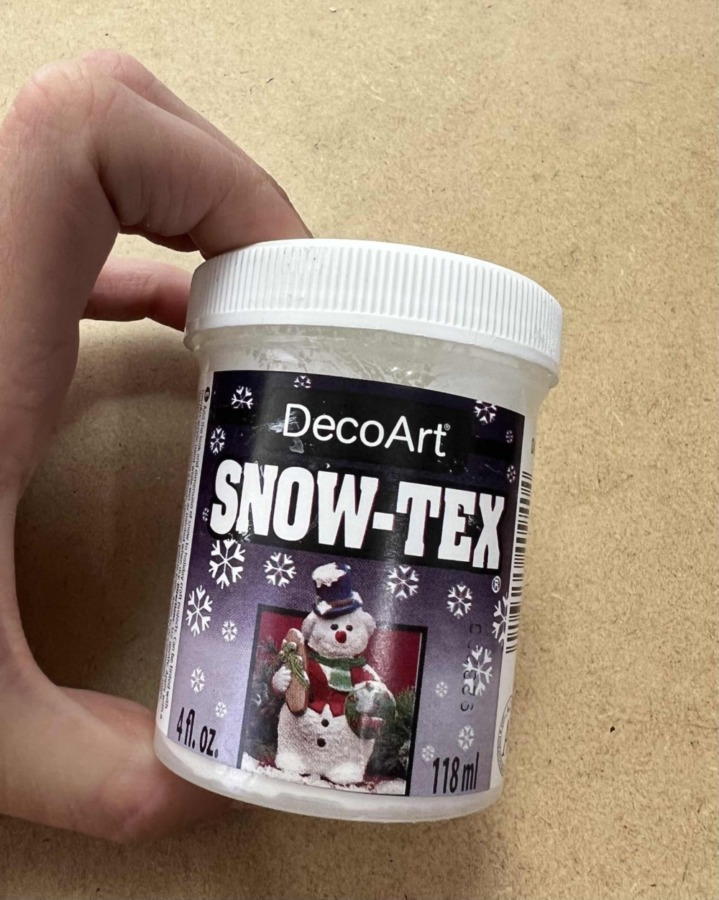
In this particular painting, I played around with some textures. I used “Snow-Tex” to create the sand texture. This is a white textured paint that I use often with Christmas/Holiday paintings. You can find it at Amazon and, most likely, other craft stores such as Michaels!
This time around, I added it to the sand area and painted over the white texture with the sand color.
You can probably use the Snow-Tex for some of the waves too if you are feeling extra adventurous!
If you have real sand, you can play around with it by adding some to your paint when you do the sand or apply the sand on the paint before it dries.
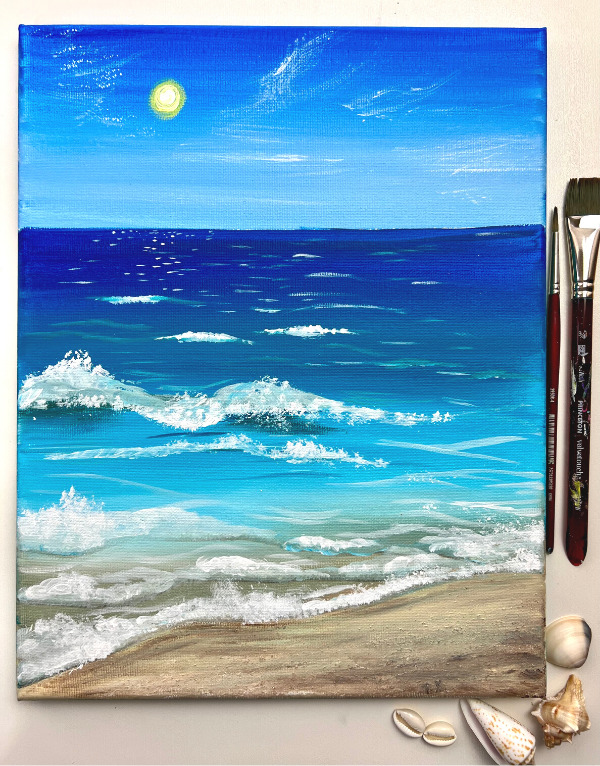
If you want to make this piece even more of a mixed media piece, you can even add some real sea shells to the sand area by gluing them on.
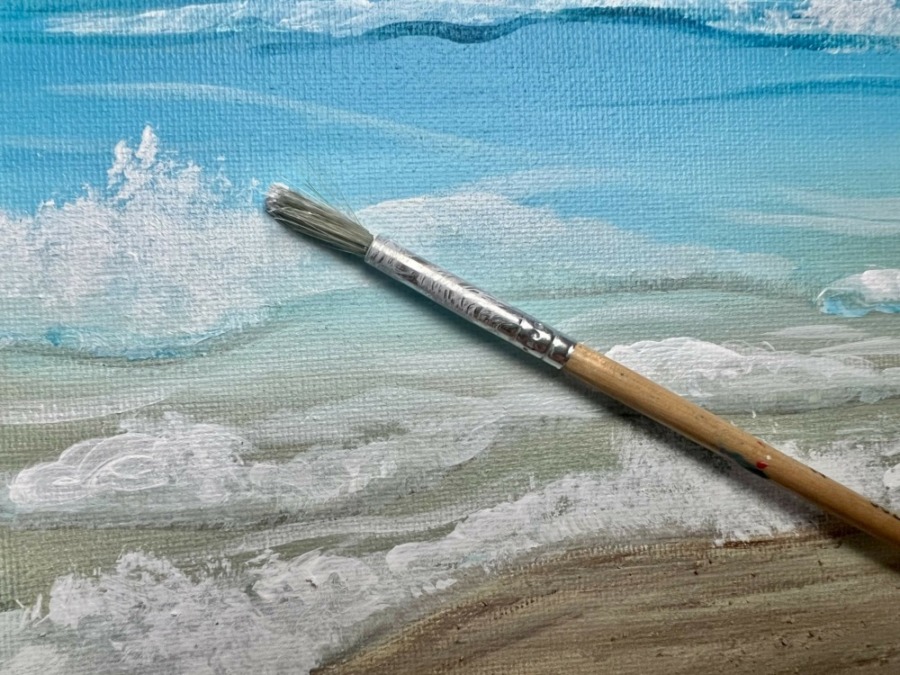
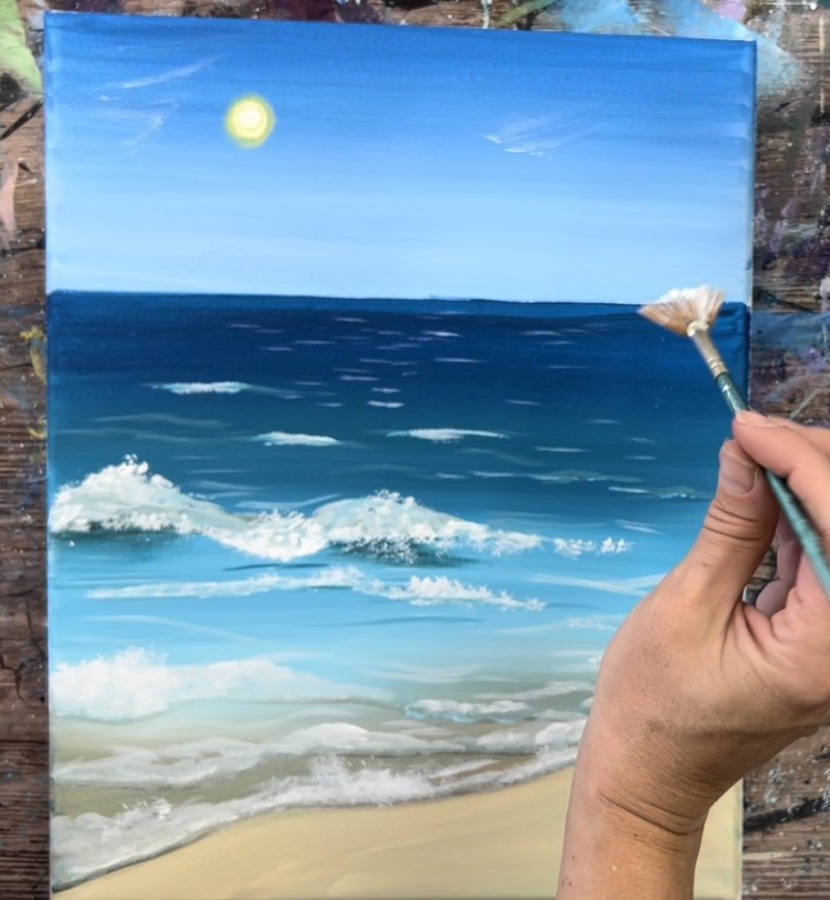
For some of the wave splash texture, I used a round bristle brush to “dab” some of the white dots on the waves.
This beach scene was kept simple so we can focus on practicing our waves and sea foam. If you want to add other things like a palm tree or a sailboat, you are welcome to customize it!
Enjoy and happy painting!
See also…
Materials Needed
How To Paint A Beach
Lean how to paint a beach with acrylics on canvas.
Materials
- 11 x 14 Canvas (This design can work on any shape and size!)
- Acrylic Paint (Liquitex BASICS)
- Paint Brushes
- Optional: Q-Tip
- Optional: Snow-Tex or Sand Texture
- Optional: Painters Tape
Colors
- Titanium White
- Cadmium Yellow Light Hue
- Turquoise Blue
- Phthalo Blue
- Unbleached Titanium
- Burnt Umber
Brushes
- 3/4" Wash Brush
- #12 Bright
- #4 Round
- Fan Brush
- Round Bristle Brush
Color Palette
I used Liquitex BASICS acrylics for this painting. Colors might vary slightly by paint brand. If converting paints, you can use the color swatch below to try to get similar colors.

Note: the video says “primary yellow”. You can use any yellow for this! It is only used in this painting for the sun.
Using Craft Paints?
If you are using craft paints such as the Apple Barrel Craft Paints, I would recommend subbing for these colors! Craft paint colors will vary by brand and blend differently than the Liquitex BASICS acrylics. If matching paints, I recommend using the color swatch above to try to get a close color.
- Admiral Blue (Or too blue)
- White
- Laguna (or Bimini blue)
- Sunny Day (or Yellow Flame)
- Khaki
- Chocolate Bar
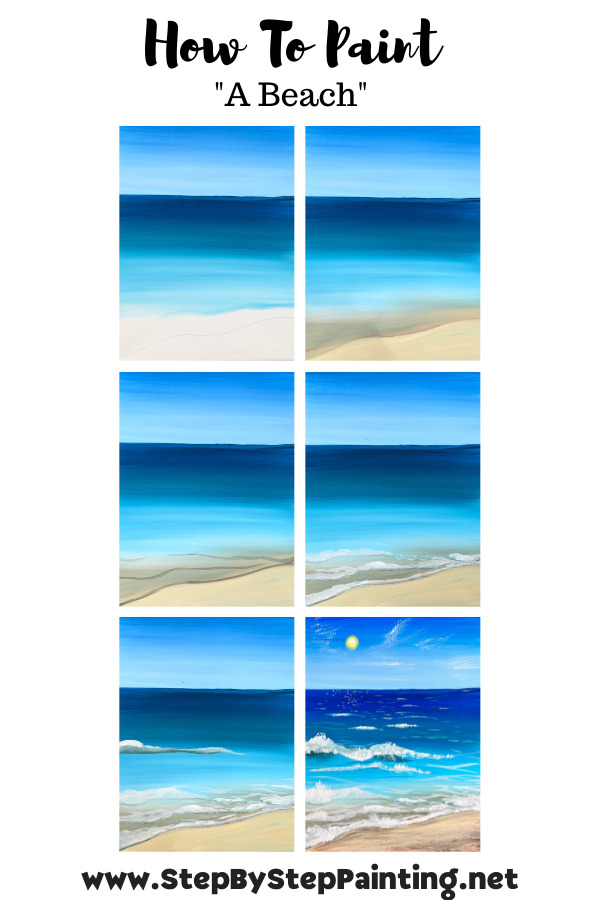
Directions At A Glance
Video
Step By Step Instructions
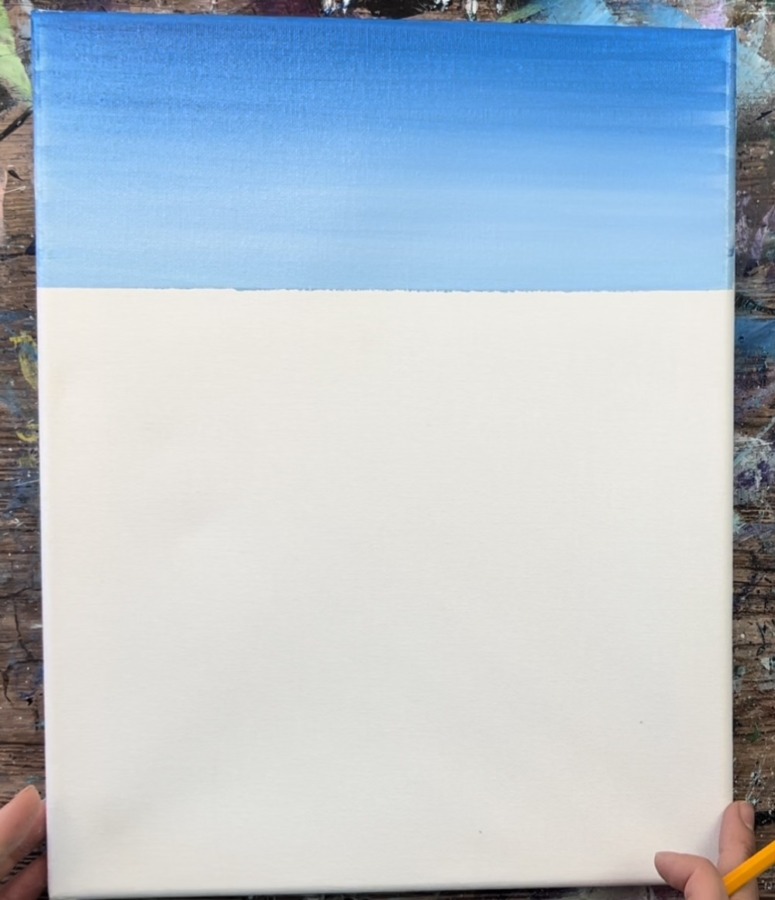
1. Paint The Sky
Position your canvas in a vertical format. Place a tapeline at about 9″ from the bottom of the canvas.
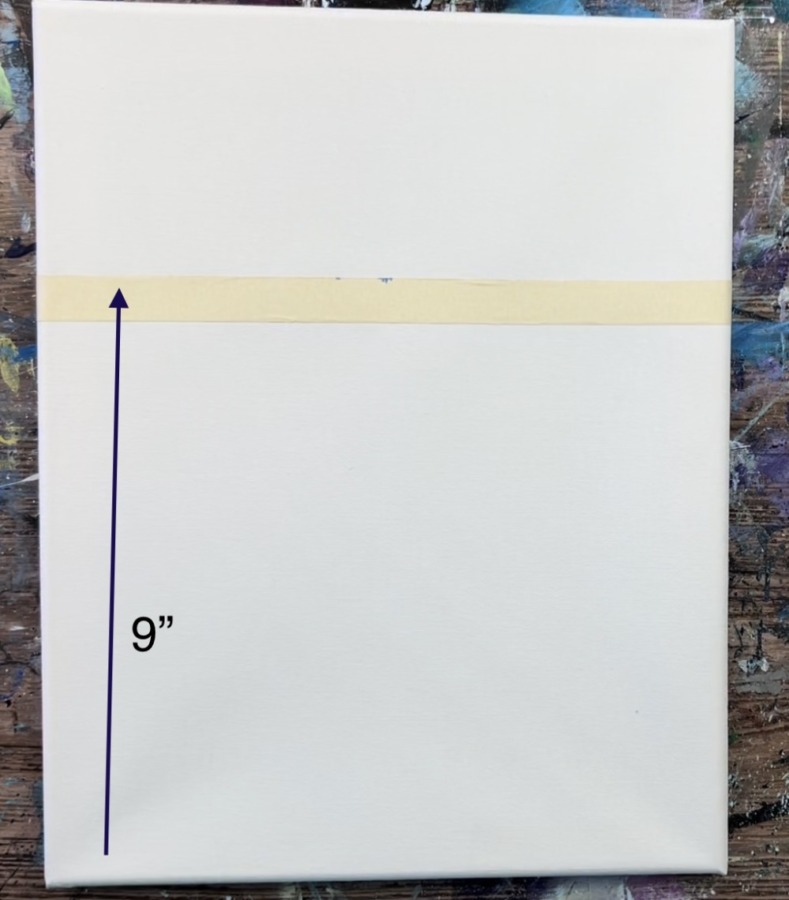
This does not have to be exact, simply select where your horizon line will be! I recommend that it is above the center point of your canvas so you have more ocean than sky in your painting.
Next, load your color palette with cerulean blue and titanium white. Use your 3/4″ flat wash brush. Load your brush in water and tap it dry. Then load it into the cerulean blue. Paint left and right strokes across the canvas starting at the top and working your way to the mid point of the sky.
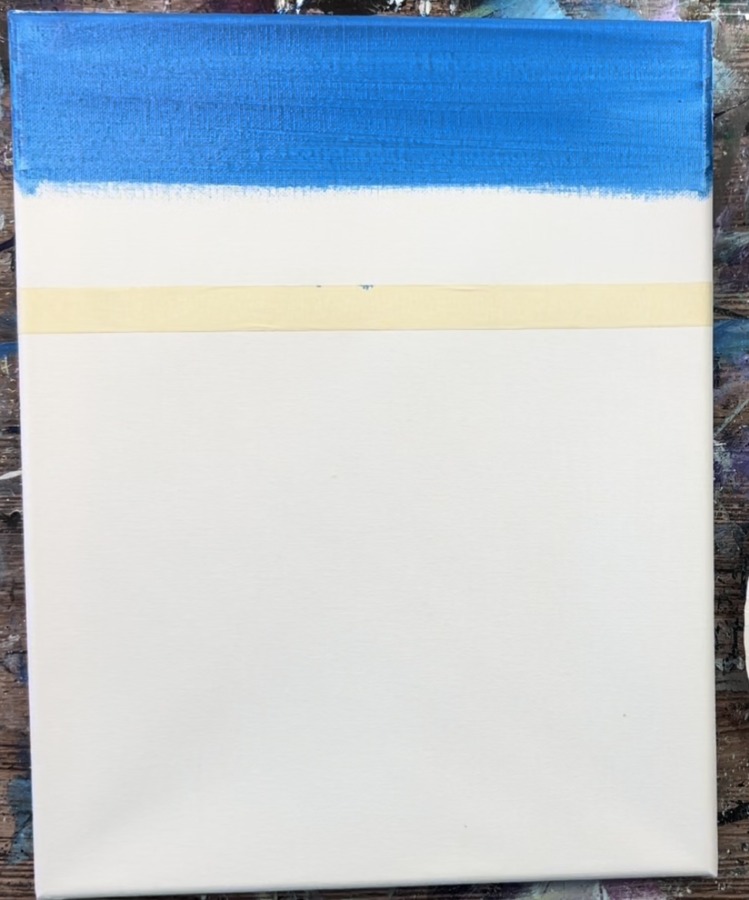
Then wipe off the excess cerulean blue but do not rinse the brush. Load the tip of your brush in titanium white. Start below the bottom part of the blue. Paint left and right strokes that gently blend into the blue. This will create a “gradient” of the blue that blends to a lighter blue at the bottom.

Continue to blend the blue and the white so the blue is lightest along the horizon and darker at the top. Try not to get any white at the top of the sky so that it stays a little darker.

Next, gently remove your tapeline.
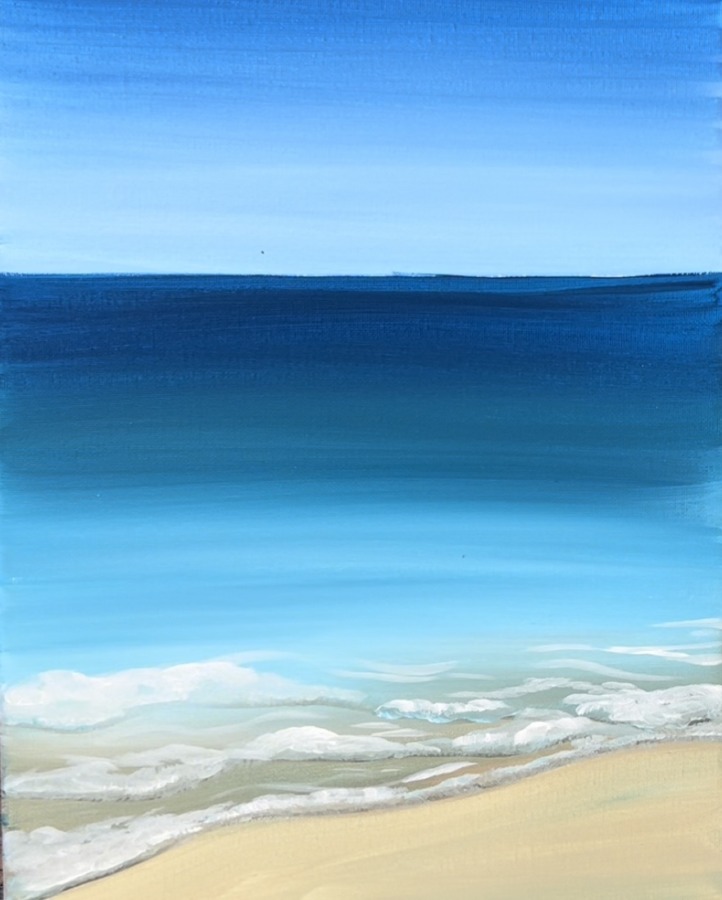
2. Paint The Ocean
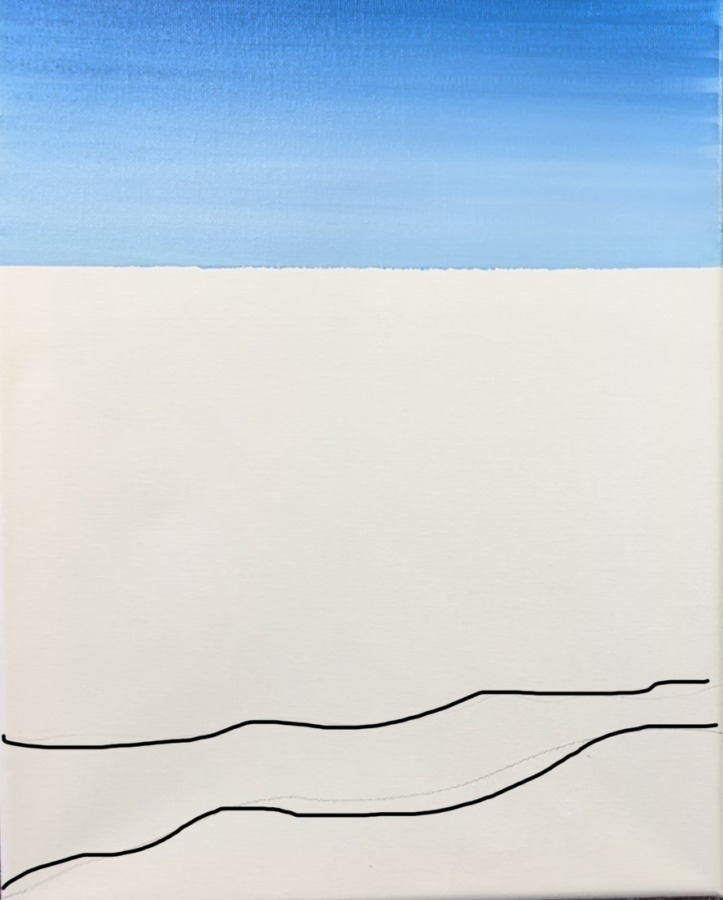
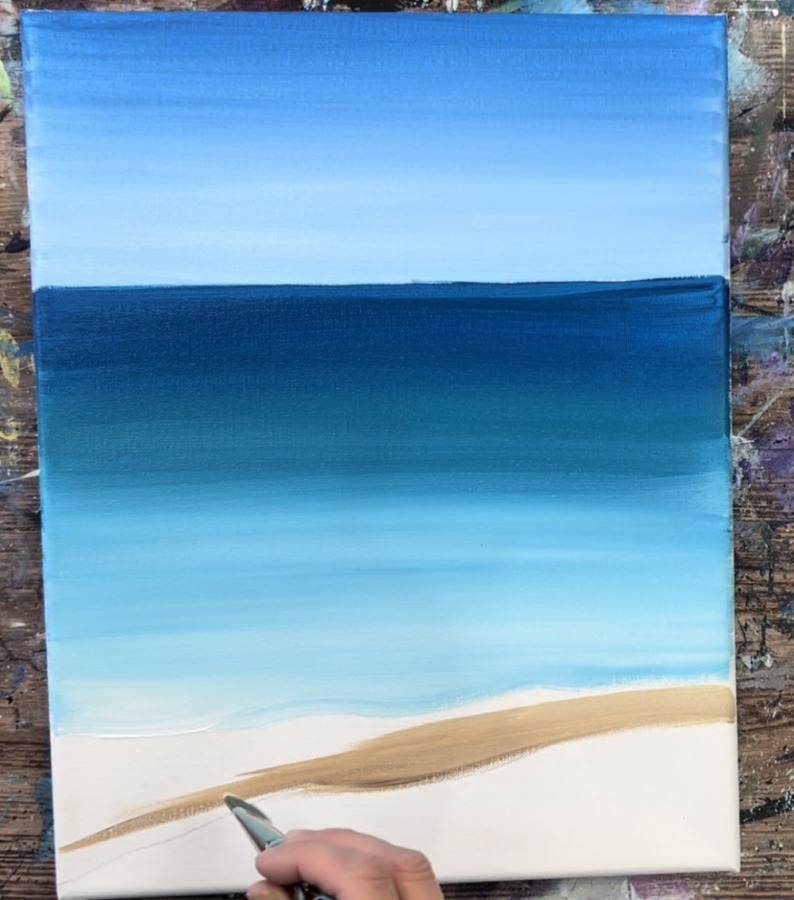
I recommend lightly drawing your shoreline with a pencil so you know where to stop painting your “blues” down to the sand color. There will also be a point where the blue will blend with the sand.
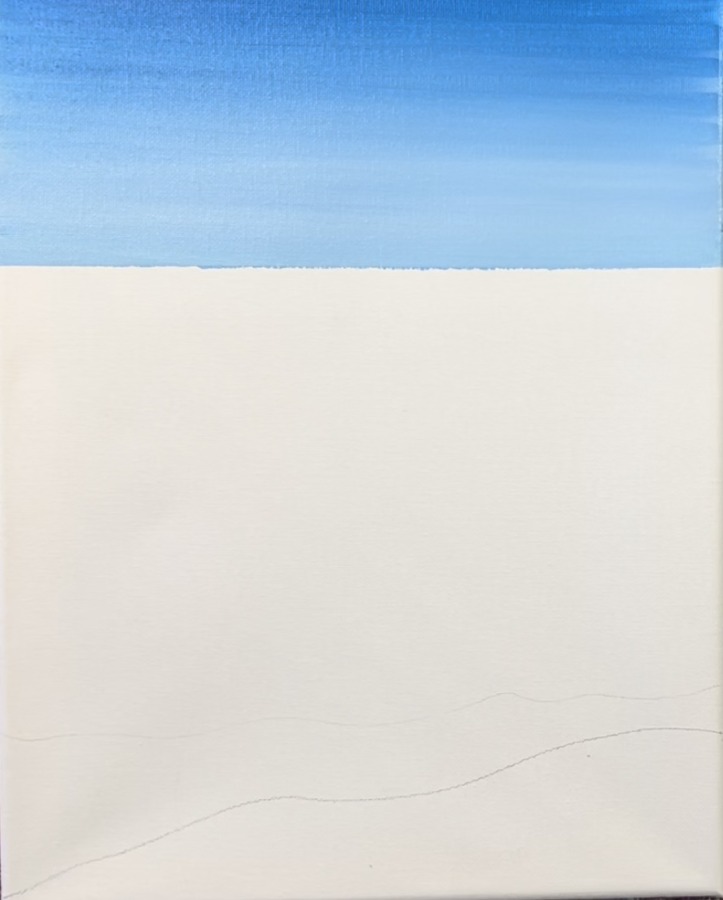
I drew two lines. The top line is where the blue will start blending with the sand. The bottom line is the bottom edge of the seafoam. I made my shoreline go kind of diagonal, however, you can make yours go straight across if you want.
Use a clean, slightly wet, 3/4″ flat wash brush. Load your palette with turquoise blue and phthalo blue.
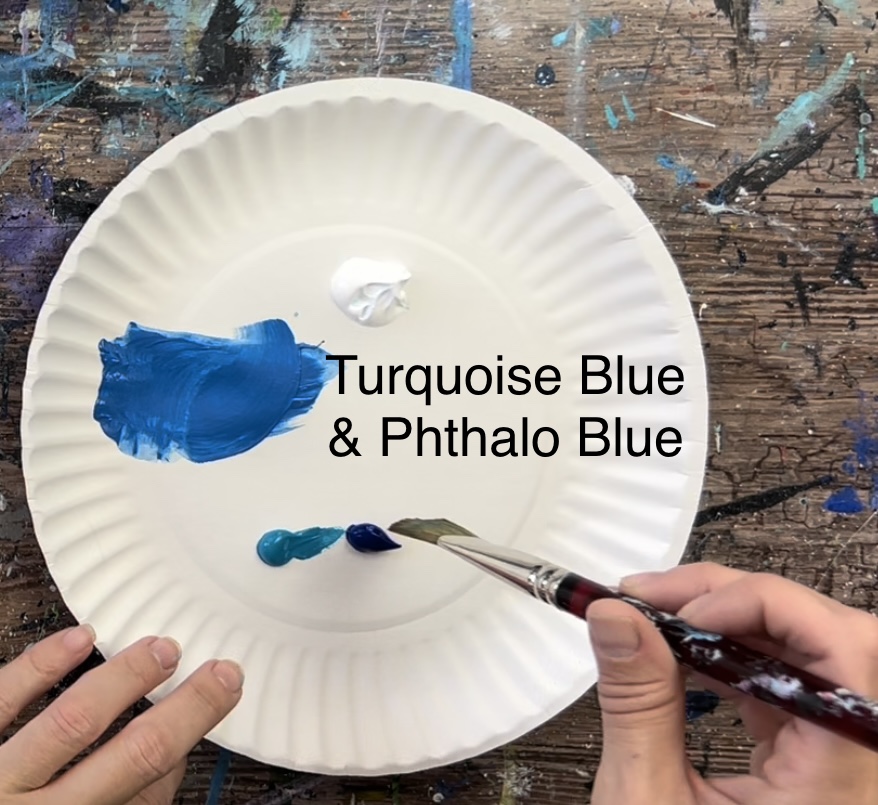
Mix equal amounts of the turquoise and phthalo blue. You will get a really pretty dark teal color.
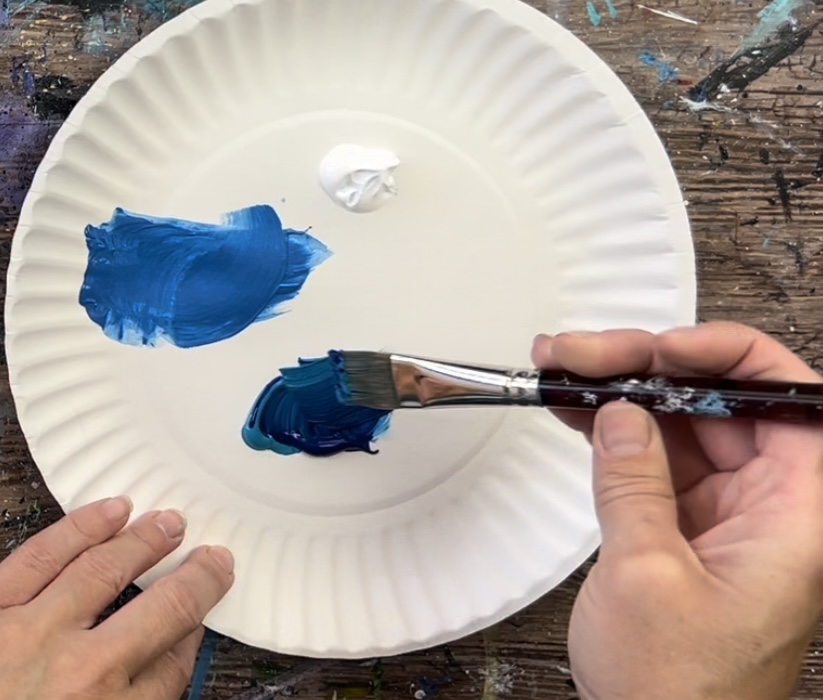
Start below your horizon line and carefully paint a straight line across the canvas. Try using just the tip of your brush for that horizon line.
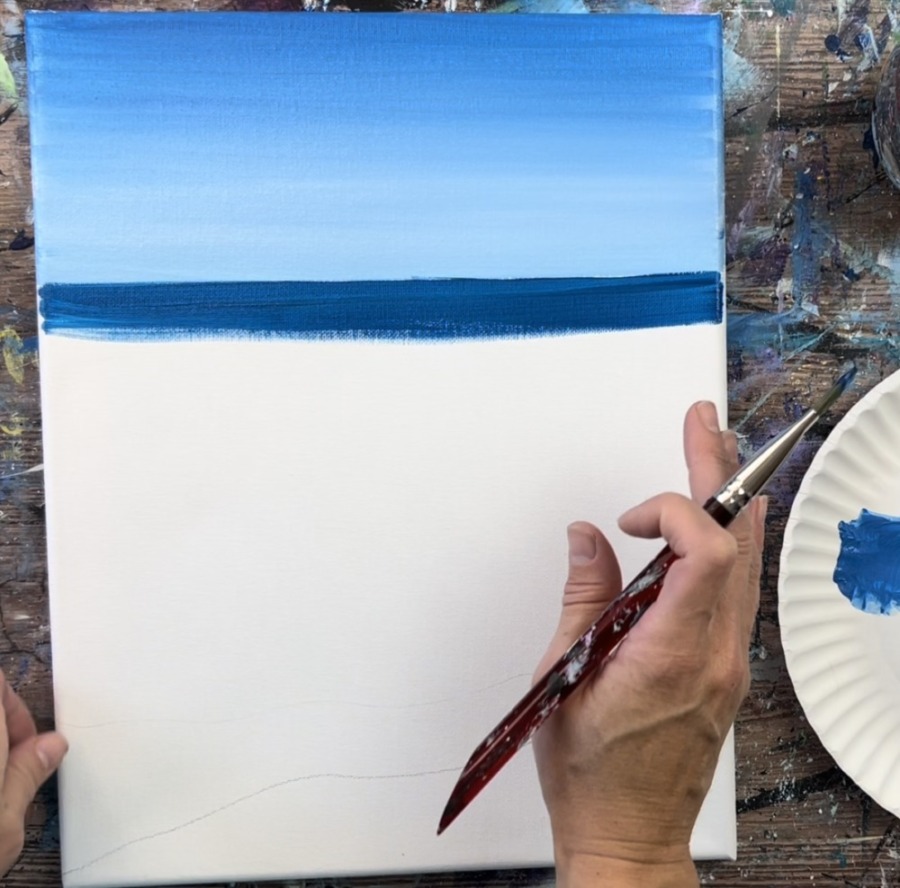
Then go down about an inch and a half to two inches with this “dark teal” color.

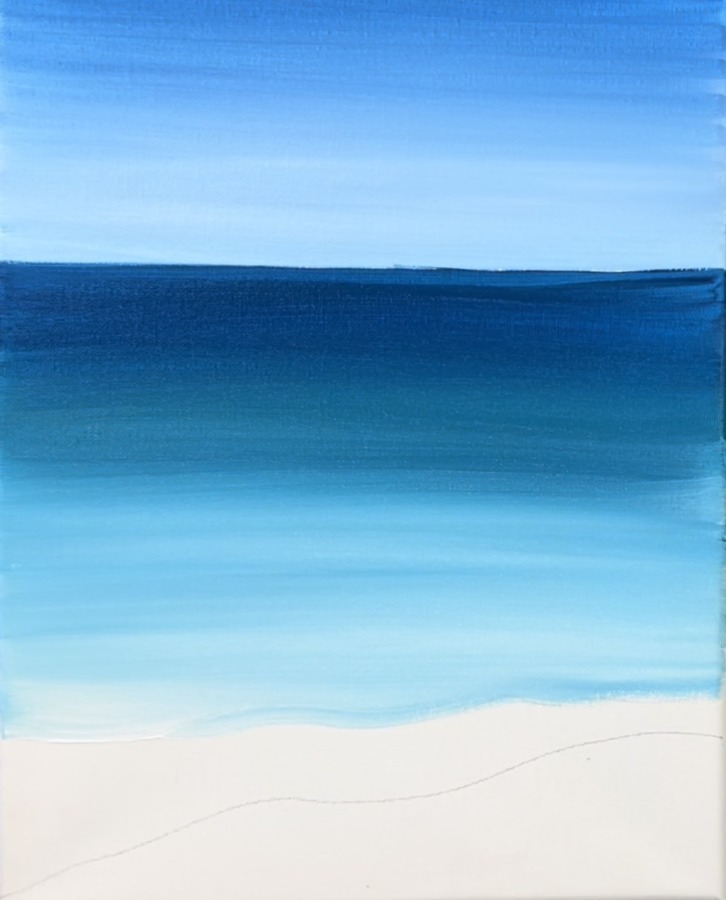
Then wipe your brush off and load it into just the turquoise. Blend the turquoise up into your dark teal color then paint about halfway down the ocean with the turquoise.
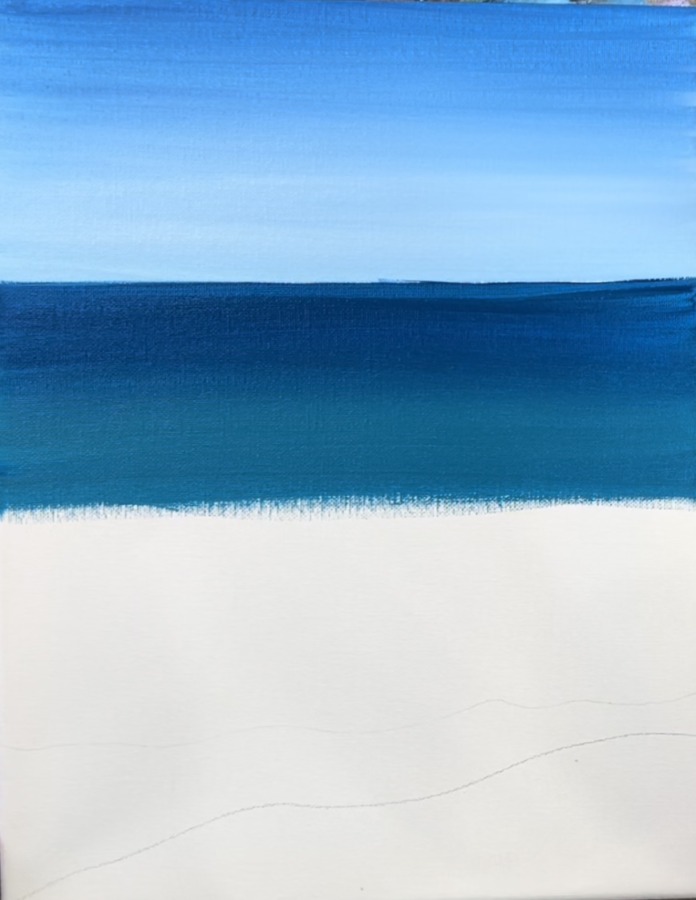
Then wipe your brush off and load it into titanium white. Blend the white with the teal and go down to your top line.
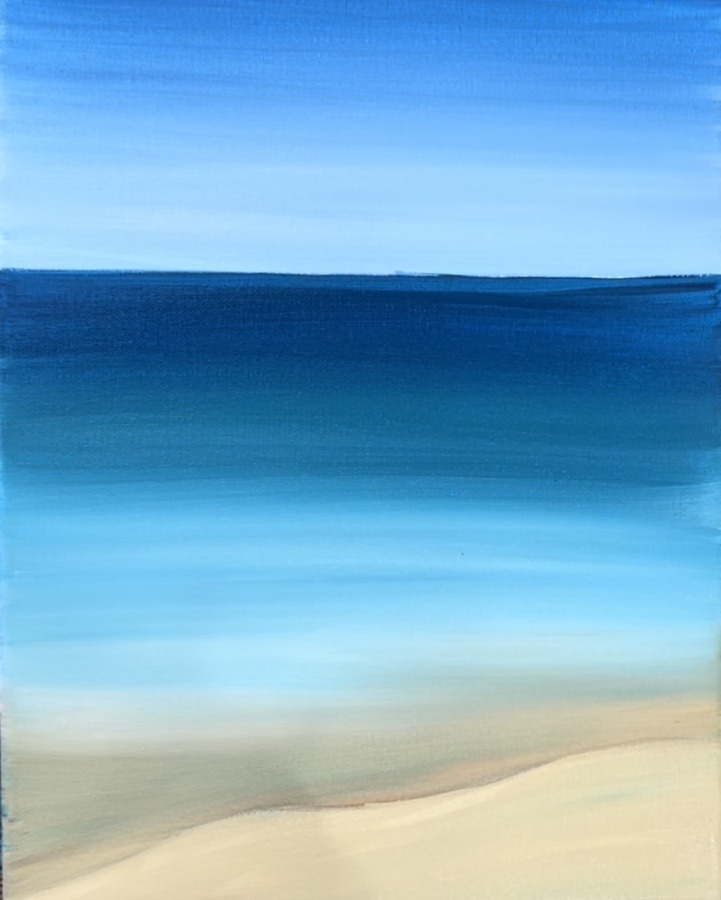
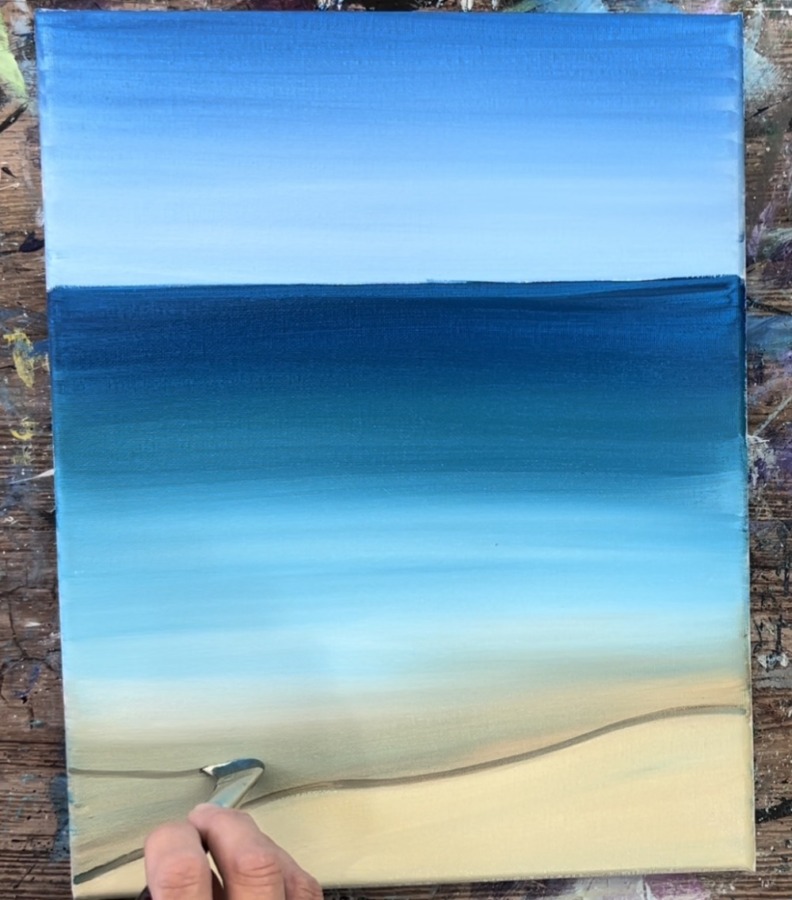
3. Paint The Sand
Load burnt umber and unbleached titanium on your palette. Rinse and dry 3/4″ flat wash brush. Mix about 3 parts unbleached titanium and 1 part burnt umber.

Paint the sand area in between your two pencil lines. Then gently blend some of the sand with the light turquoise bottom area of the shore. It’s okay if some of the turquoise water color gets blended down in this sand area.
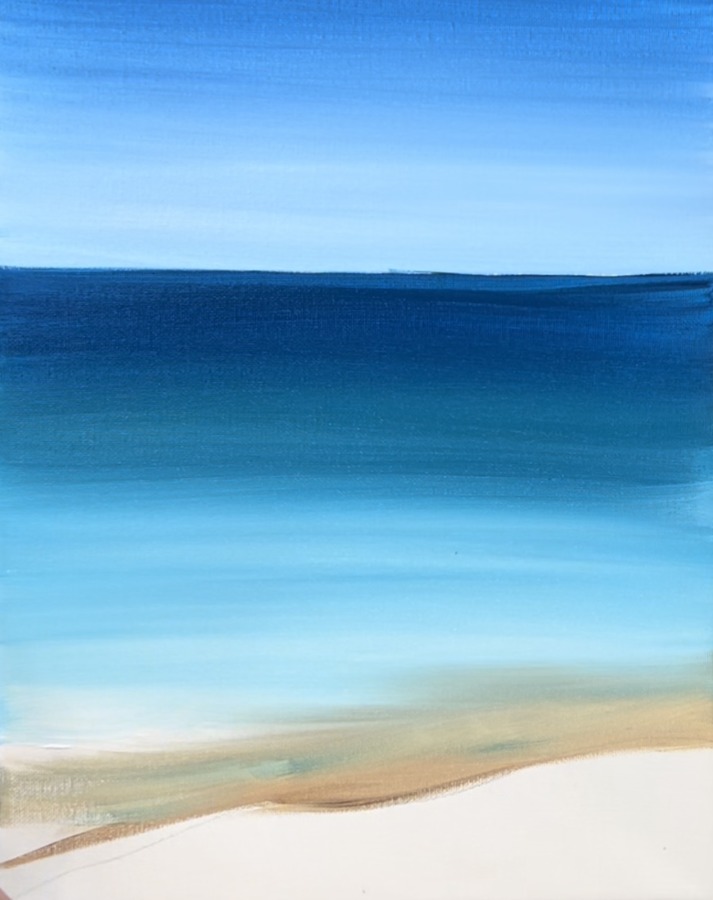
This is the shore area where the water overlaps the sand.

Then load your brush in unbleached titanium (you don’t need to rinse the brown off). Paint the bottom sand area below your bottom line.
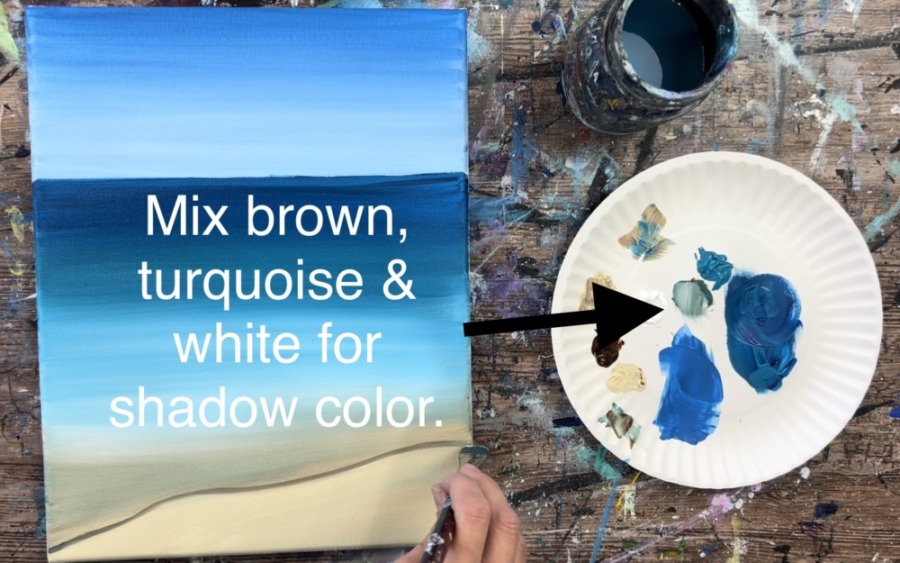
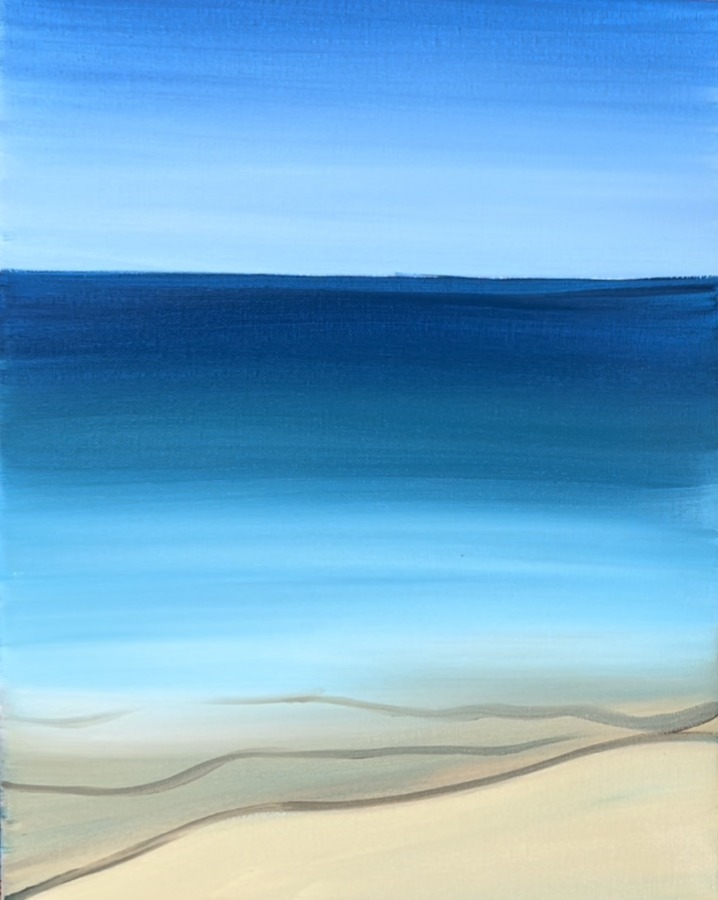
4. Paint Sea Foam Shadows
Next you will paint the shadows of your sea foam.
On your palette, mix about 1 part brown, 1 part titanium white and 1 part turquoise. You can add a bit more white in there if needed. This should make a grayish-brown color.
Load that color on the tip of your brush and paint the far edge of the shoreline. You don’t need to load a lot of paint on your brush as this should be very thin.
Paint your second sea foam edge above the first. Then paint a third or fourth wavy, loose line.
5. Paint Sea Foam/ Shoreline Waves
Switch to a #12 bright brush and add some fresh titanium white to your palette. Mix a small amount of turquoise into your white so that this first layer of sea foam is not as bright white.
Load the small amount of white/turquoise paint on your brush tip. Then paint in a circular, dabbing formation. Paint this just above your shadow line but don’t completely cover the shadow.

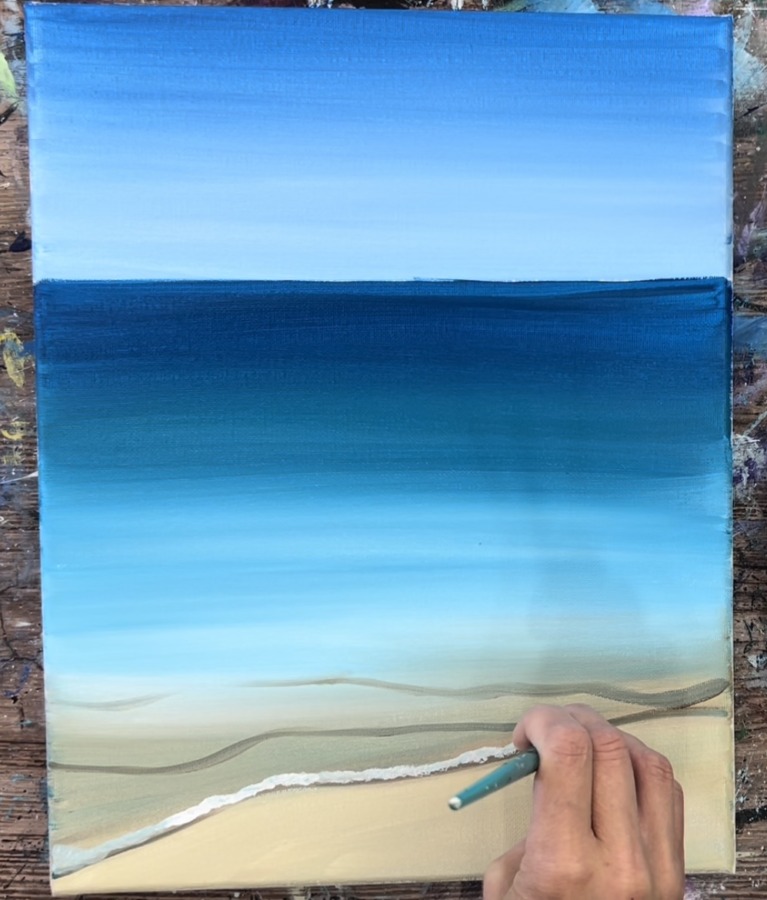
Then repeat this for each of your shadow lines. Your color may vary because you added a small amount of turquoise into the white. You can also add a small amount of the shadow color in your white.
Next, wipe your brush with a towel. Use the dry brush to blend your sea foam down over the shadow area but don’t completely cover the shadow.
Then, loosely paint wavy, thin lines in between your sea foam for water texture/ reflection.
6. Paint Further Out Waves
Use the same shadow color that you mixed in the previous step for the sea foam. Use either your #4 round brush or #12 bright brush to form a long and narrow shadow area for this wave.
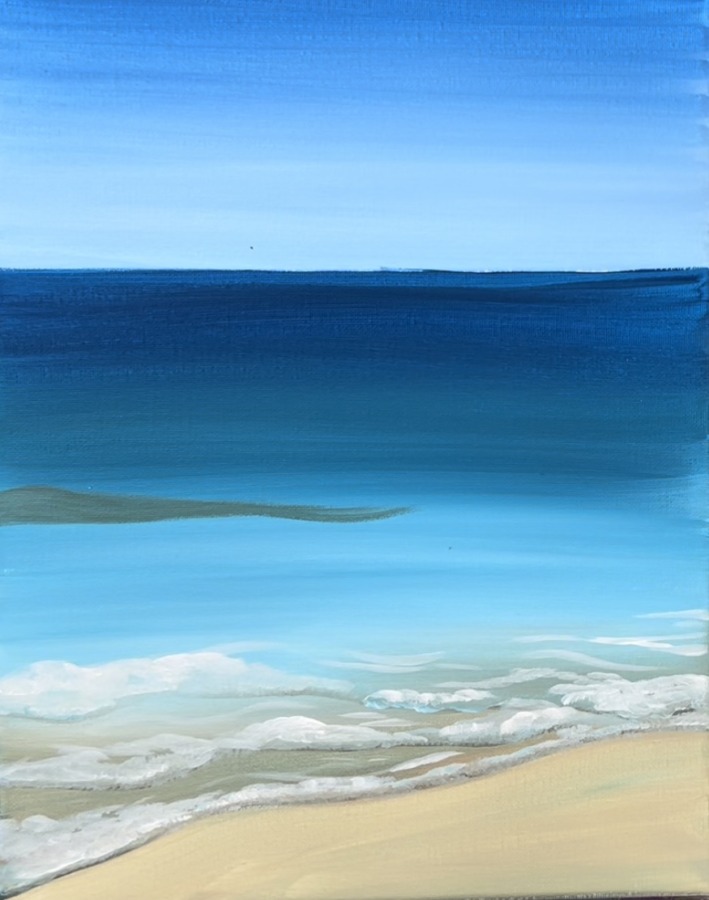
Then use a #12 bright brush and titanium white mixed with a little of the shadow color to start forming the top part of the wave. Paint in a rolling/ dabbing formation on the top of the shadow but don’t completely cover it.

Then use your round bristle brush to paint the splash texture. Load the brush in titanium white and tap it along the wave line.
Then use your #4 round brush or your #12 bright brush to paint horizontal water texture lines below the wave.

Use the #4 round brush to paint another area of sea foam under that wave.
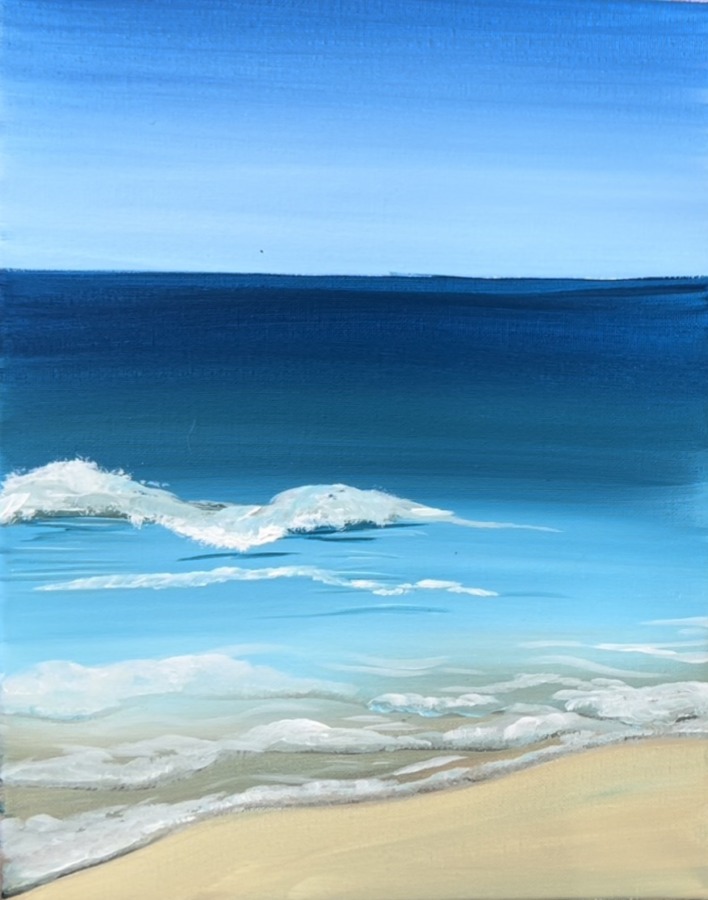
Then use either your #12 bright brush or the #4 round brush to paint some more further out waves. These ones should be shorter and thinner.
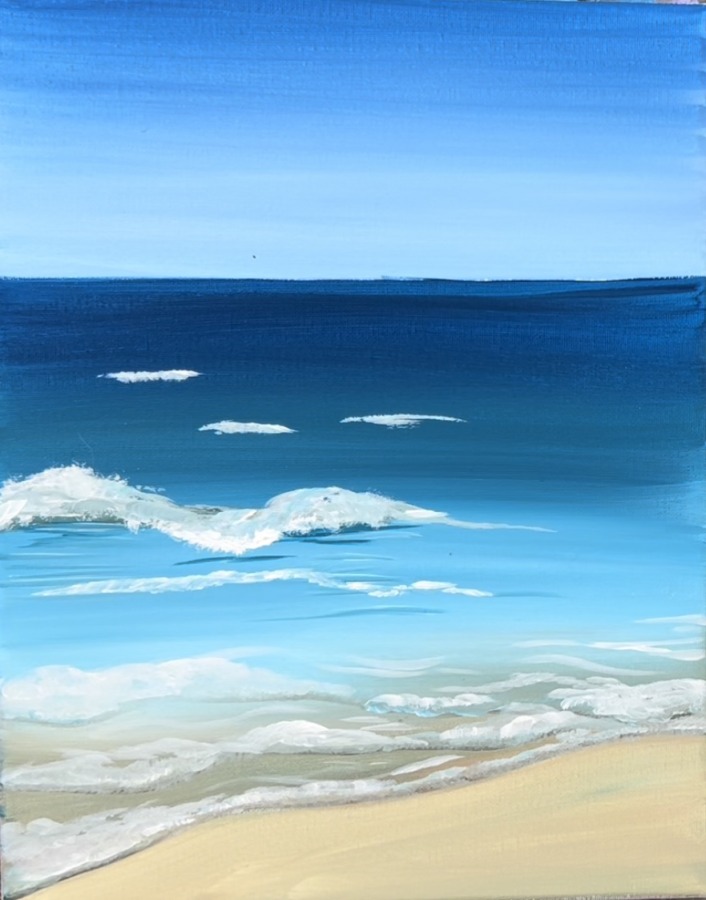
Use the #12 bright brush and titanium white to paint very thin water texture lines further out into the ocean closer to the horizon line.
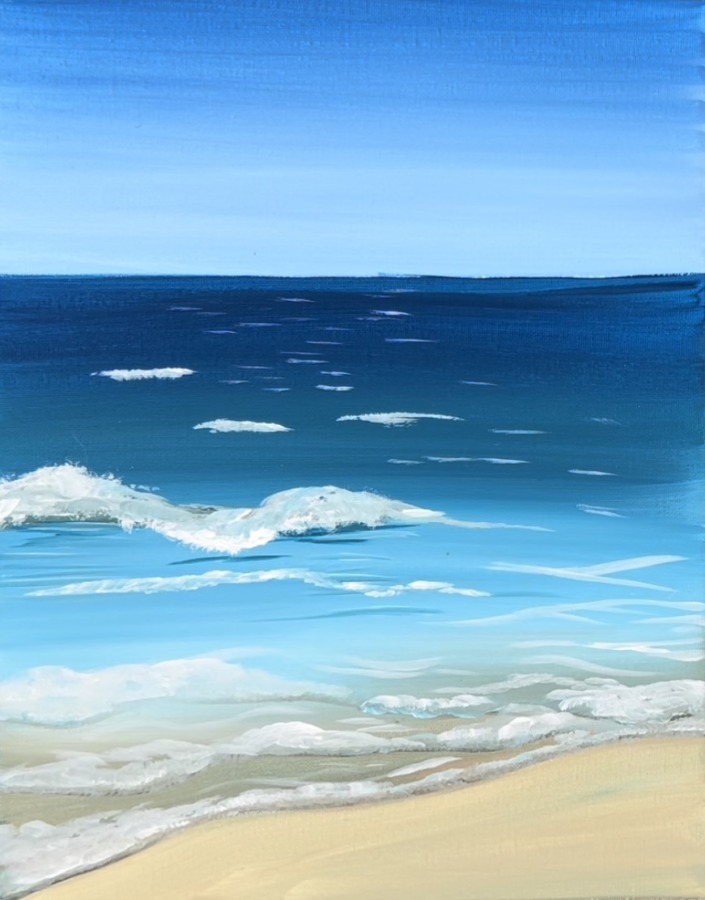
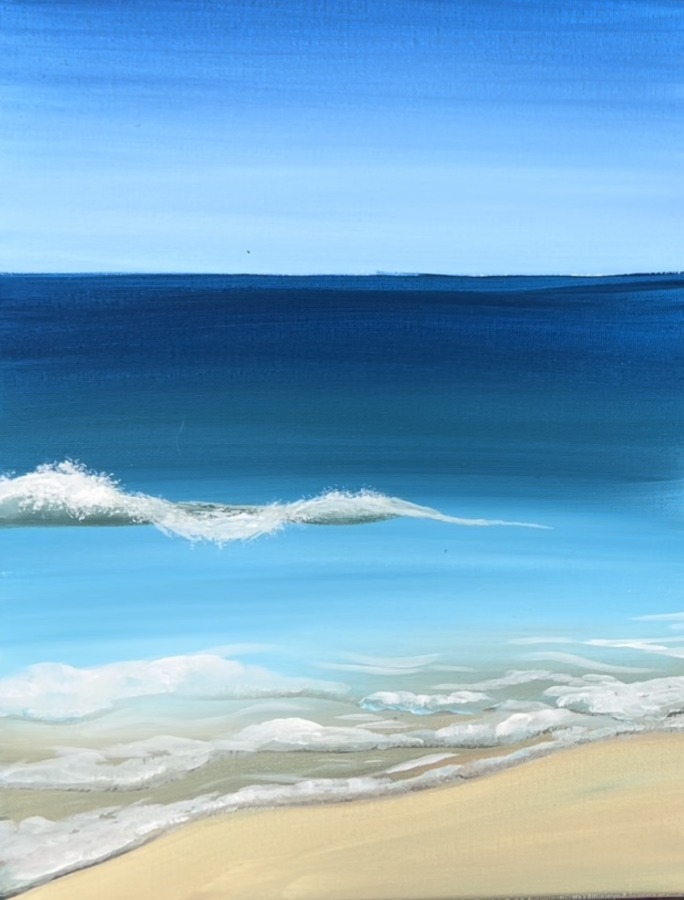
7. More Details In The Ocean
Optional: I added a little bit more shadowing under the bigger wave in the middle. This was done with the shadow color (the turquoise mixed with brown and white). Then I dry brushed that color below the wave (very little paint on the brush).
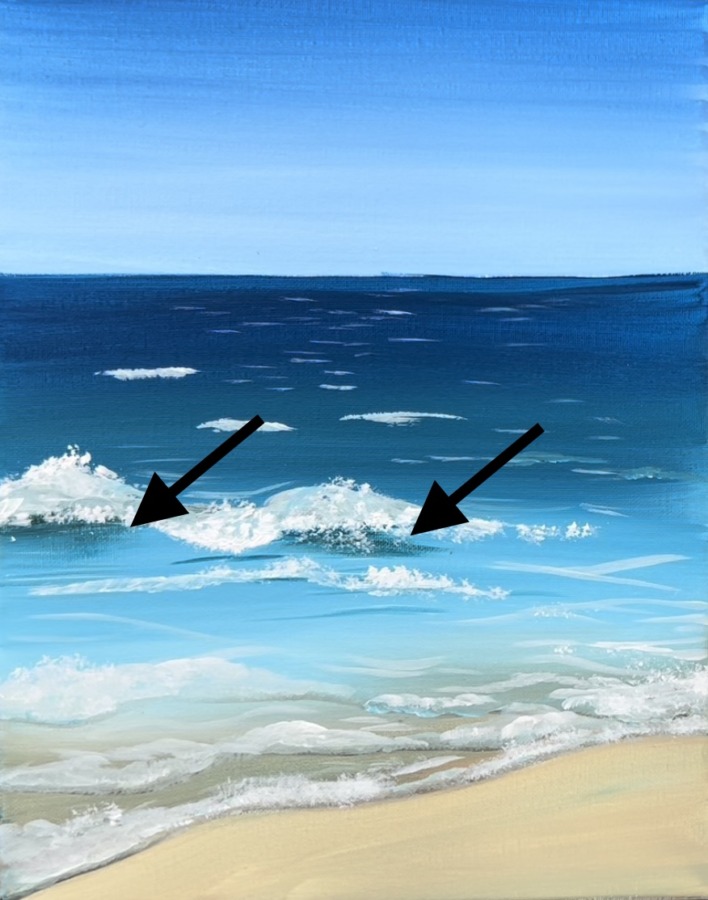
In addition, I used the bristle brush to paint more splash texture on the larger wave and some on the sea foam.
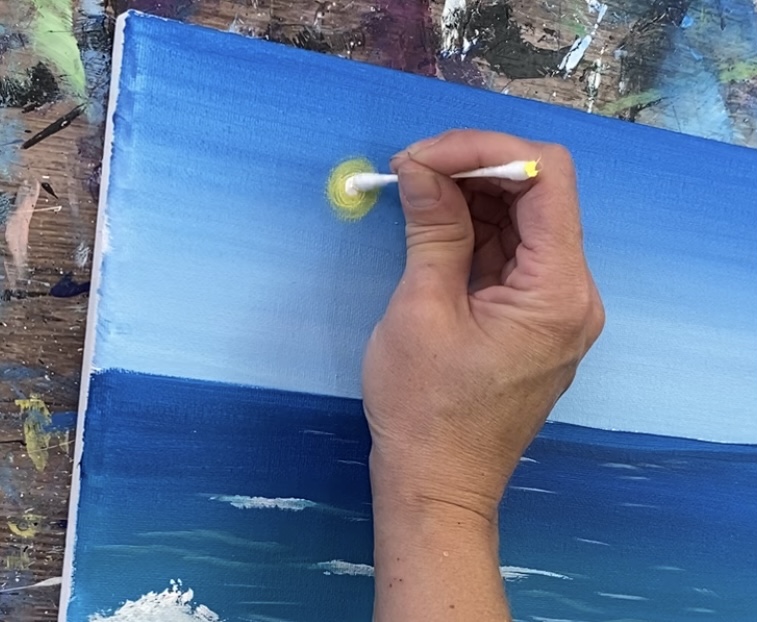
8. Paint The Sun
Use a #4 round brush OR q-tip to paint the sun. Load the tip in titanium white and paint a small circle anywhere in the sky. I placed my sun in the upper left area.

Note: the sun is painted white first to provide coverage for yellow white is a translucent color. You can also leave this white and not add yellow.
Then load the tip of your q-tip (or round brush) in cadmium yellow light hue. Paint over the white circle.
Optional: if you want to blur the edge of your sun circle, use a dry #4 round brush or the q-tip to blend the color outwards in a circular direction so it fades out.
Then make the center of your sun brighter by adding a small amount of white just in the center.
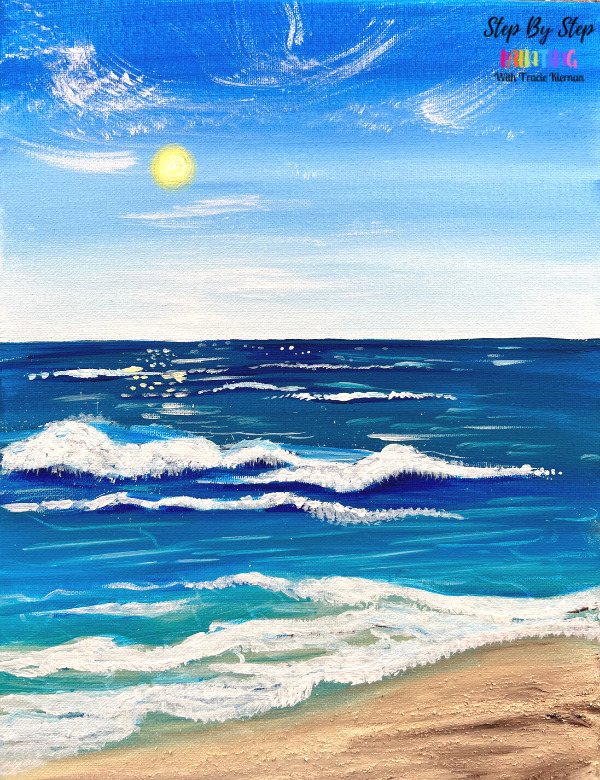
9. Paint High Clouds
These clouds are optional. If you’ve not done clouds like this before, I recommend that you practice first. You can also leave your sky without them if you just want a clear blue sky!
I used a fan brush for these clouds. The trick is to only load a very small amount of white on your brush! Then wipe the paint off so there’s hardly any on it. Then dry brush your clouds. The paint should be very very thin, scratchy and barely skid on the canvas surface.
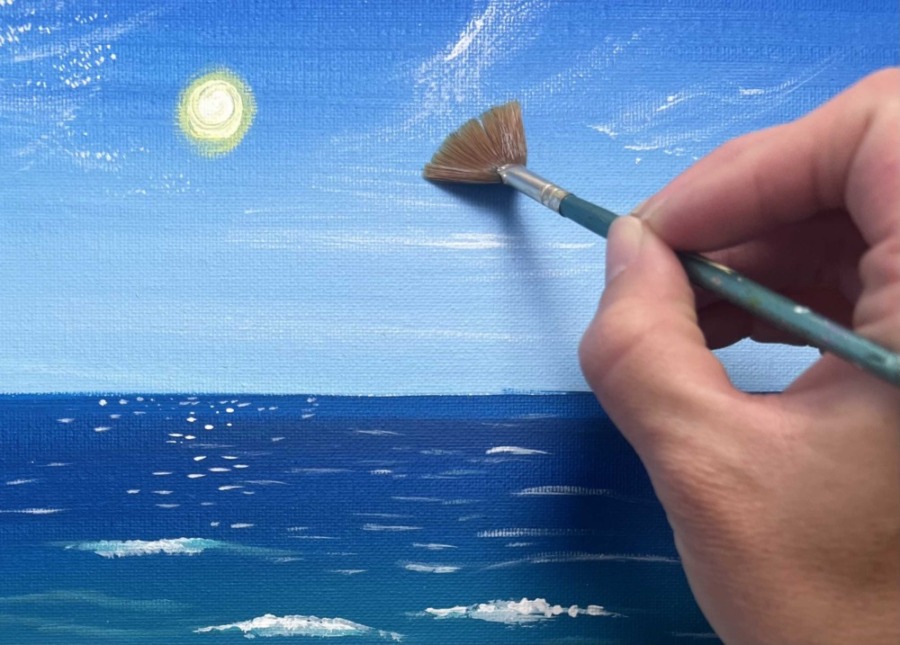
“Skid” the brush on the surface of the canvas going in different angles and directions.
Towards the bottom, I did clouds going in a horizontal direction using the tip of my brush.

You can also gently tap the tip of the brush to create “cirrocumulus” clouds. I did this in the upper left area of the sky.
10. Paint Water Reflection
Also optional! If you want your sun to be reflecting on the water to make it sort of “sparkle”, use your round brush to make very tic-marks just below the horizon line under the sun.

The water reflections lines must be small, almost a dot, way in the distance. You can make them slightly longer further down the canvas.
11. Add Optional Sand Texture
For the sand texture, I decided to experiment with “Snow-Tex”. This is a product by DecoArt that I like to use in some of my winter paintings to add snow “tactile texture”. It applies to the canvas like a paste and dries/sticks onto the canvas. It feels like sand but dries white. The white can, however, be painted over.
You can apply the sand texture using a palette knife, paint brush or even your fingers! I used my fingers to spread the texture just in the sand area.
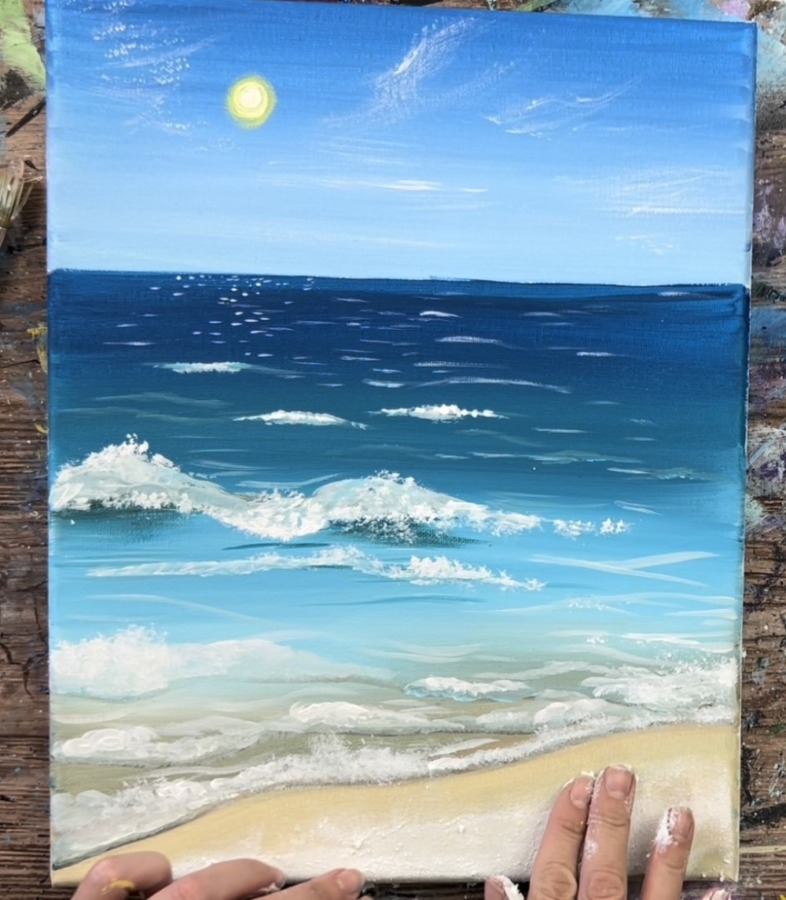
It will show up white but when this dries, it can be painted over.
Then use your 3/4″ flat wash brush, unbleached titanium and a little bit of burnt umber to paint over the sand area using the same technique you used in the earlier step to paint it. I added a little bit more brown to the sand this time around and did some short, textured strokes.
If you want to add real seashells to this, you can use just about any glue to make them stick. A glue gun would probably be the quickest way to add them!
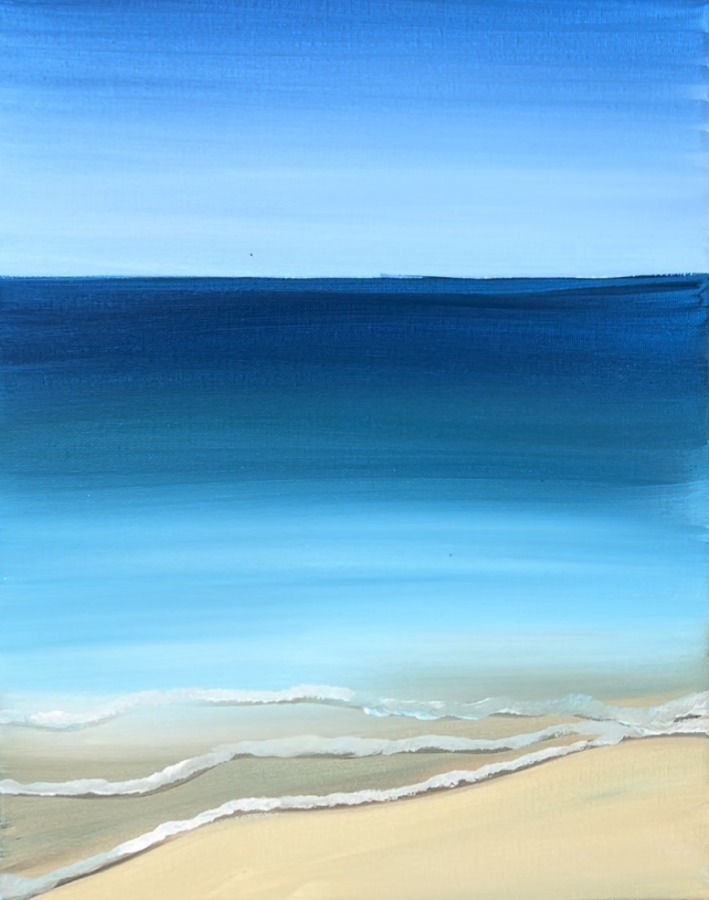
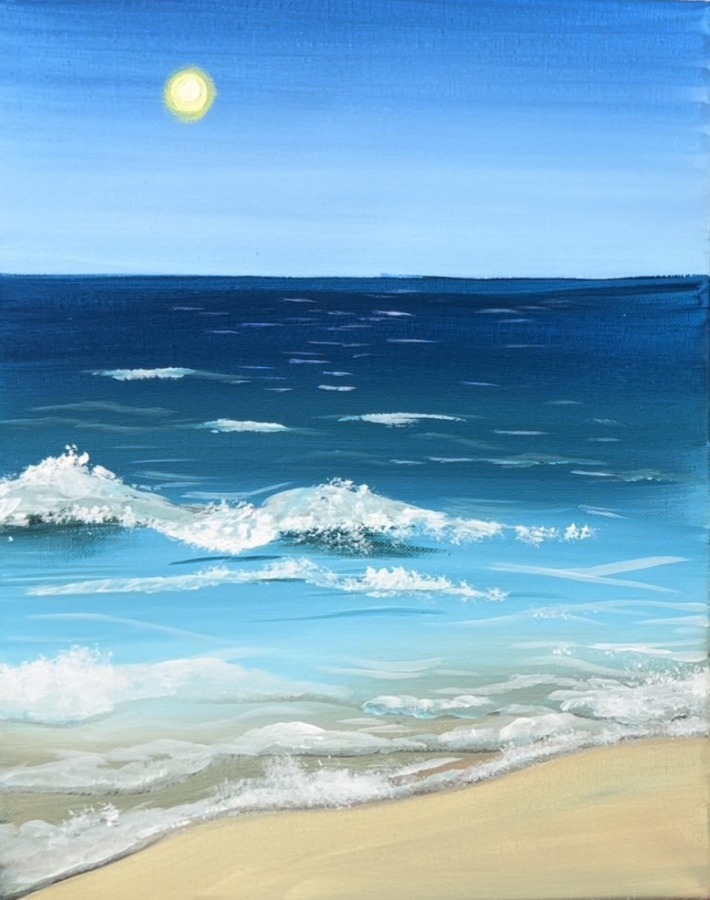
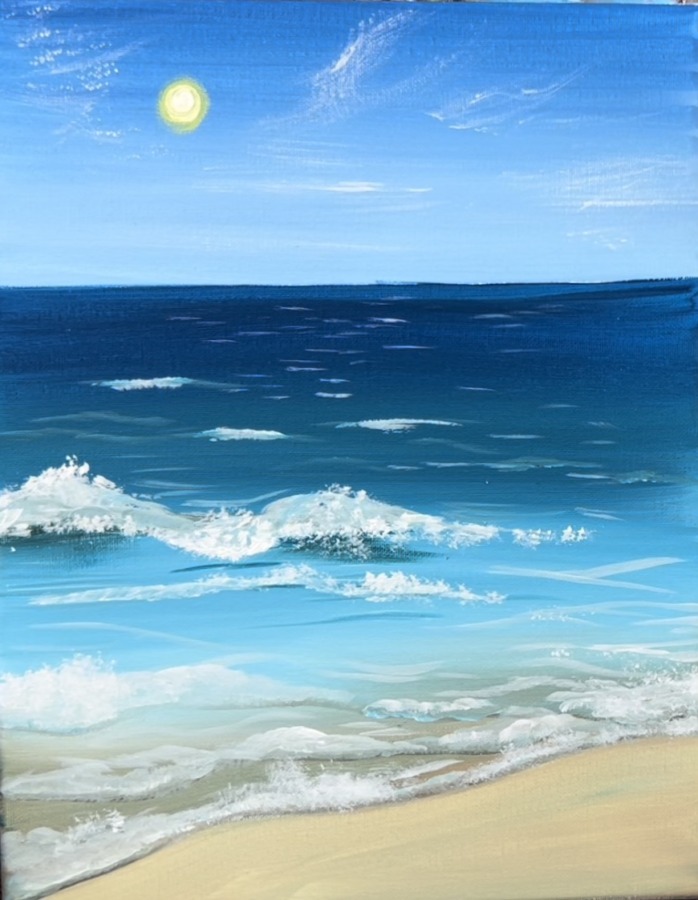
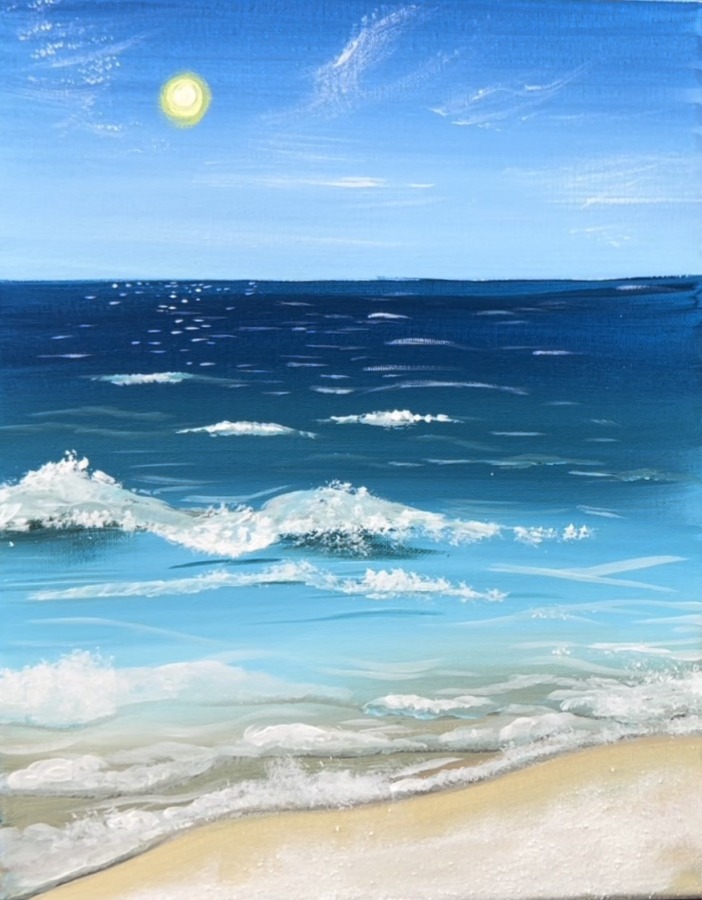
Finished!
Share your art here:


Thank you for the most beautiful and perfect beach and waves. You explain each step so well. You are a great teacher. I am excited to try this!