

How To Paint Flip-Flops On The Shoreline
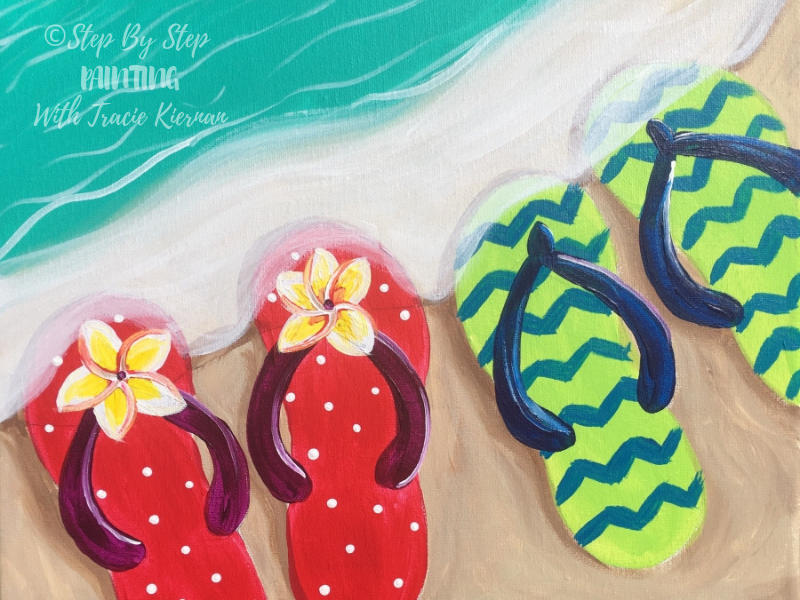
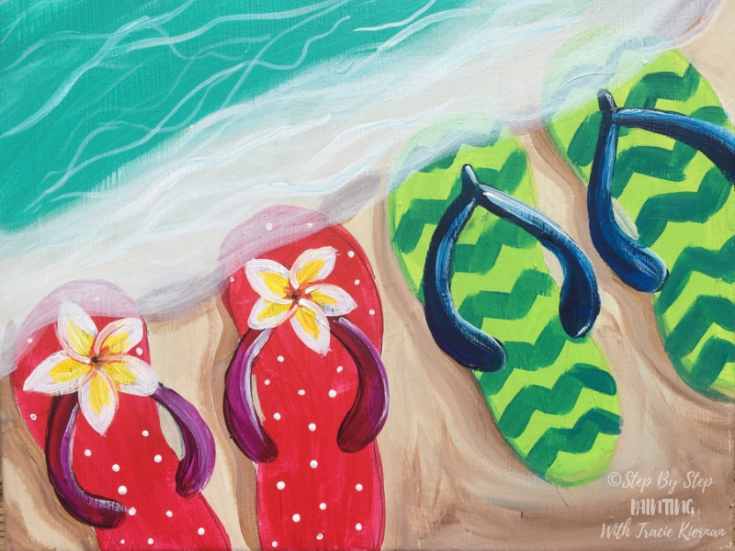
This is a beginner painting tutorial and it’s perfect for the summer! You will learn how to paint two pairs of adorable flip-flops on a shore lightly covered in sea foam.
See Also “Patriotic Version”: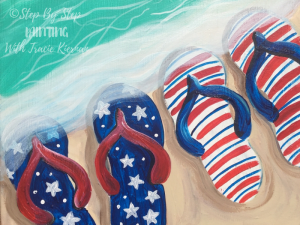

One of the flip-flops has a plumeria on the tops and the other one has a fun chevron design. You can customize you’re own fun summery designs and colors too!
In this tutorial, I provide a free printable of a flip-flop template that you can print and trace. In this case, I recommend that you cut the flip-flop out and use it to trace and ensure optimal placement. I’ll explain further how to do this in that step.
Enjoy and happy painting!
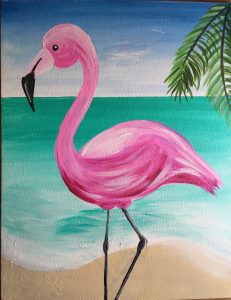
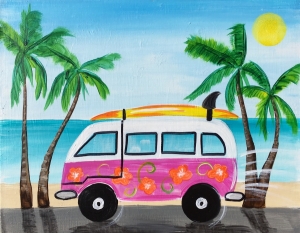
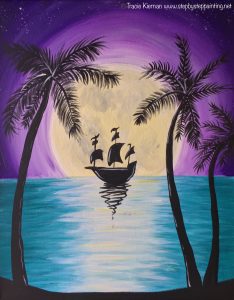
See Other Summer Painting Tutorials
Materials
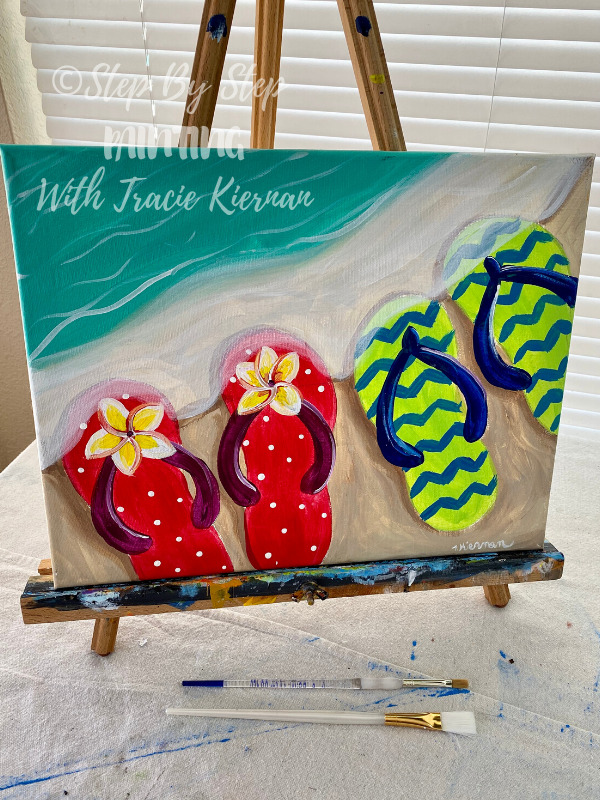
How To Paint Flip Flops On The Shore
Learn to paint this fun summer theme painting of two pairs of flip flops on the shoreline. This tutorial includes a free template of a flip flop.
Materials
Basic Supplies
- Acrylic Paint
- Canvas
- Paint Brushes
- Template Of Flip Flop
- Scissors
- Black Marker Or Sharpie
- Pencil
- Graphite Paper
Colors
- Titanium White
- Bright Aqua Green
- Unbleached Titanium
- Burnt Umber
- Primary Red
- Brilliant Yellow Green
- Phthalo Blue
- Deep Violet
- Primary Yellow
Paint Brush Sizes
Instructions
- Trace the flip flops onto the canvas using a template.
- Paint the ocean with bright aqua green.
- Paint the sand with unbleached titanium and burnt sienna.
- Paint the shadows next to the flop flops and under the sea foam line.
- Paint the flop flops and the designs.
- Paint the plumerias.
- Paint the plastic flip flop tops.
- Paint the sea foam using a thin coat of titanium white.
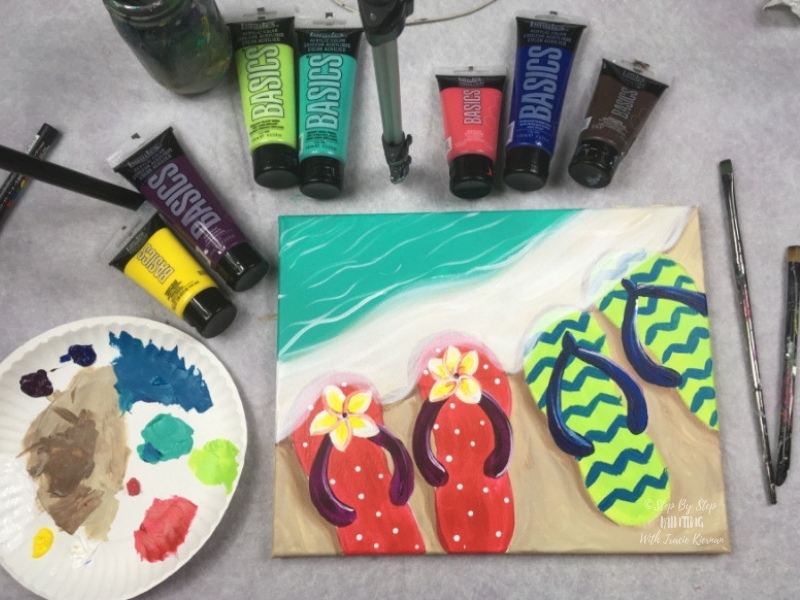
Color Palette

Traceable
Go to the PDF traceable library for the free download. I recommend printing this on standard size computer paper, tracing it on the other side with a black pen and then cut it out to use as a template. 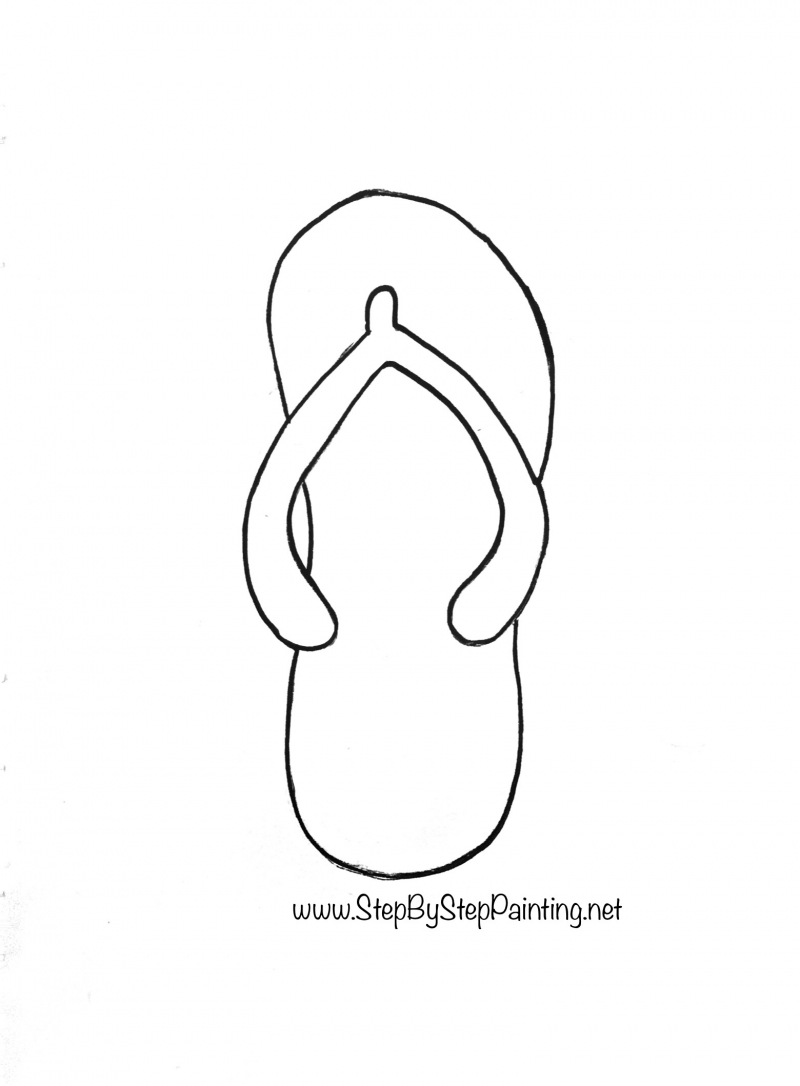
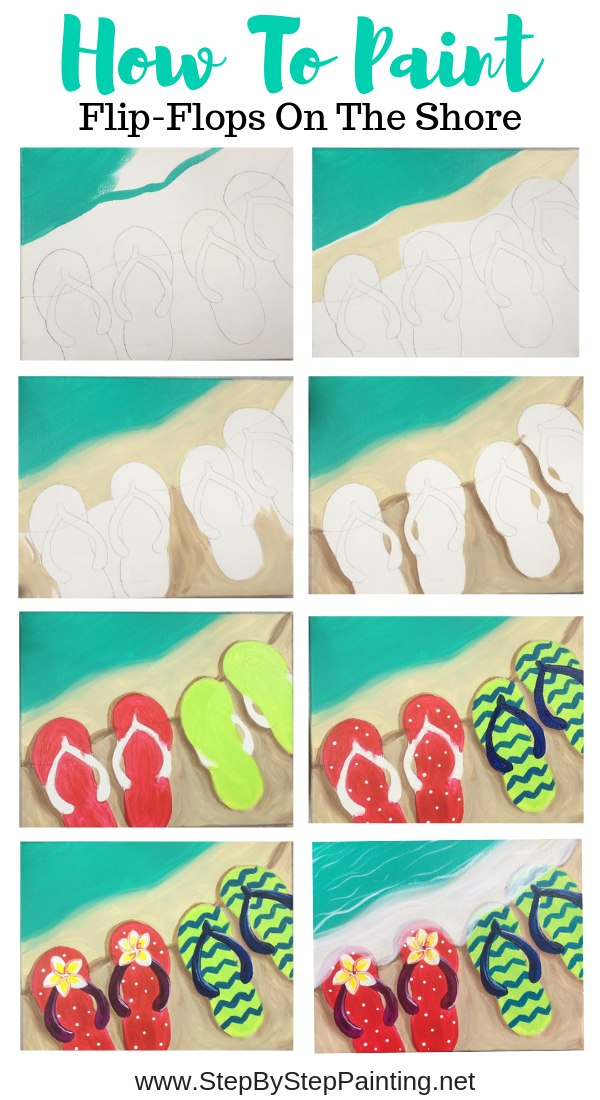
Directions At A Glance


Video:
Step By Step Directions:
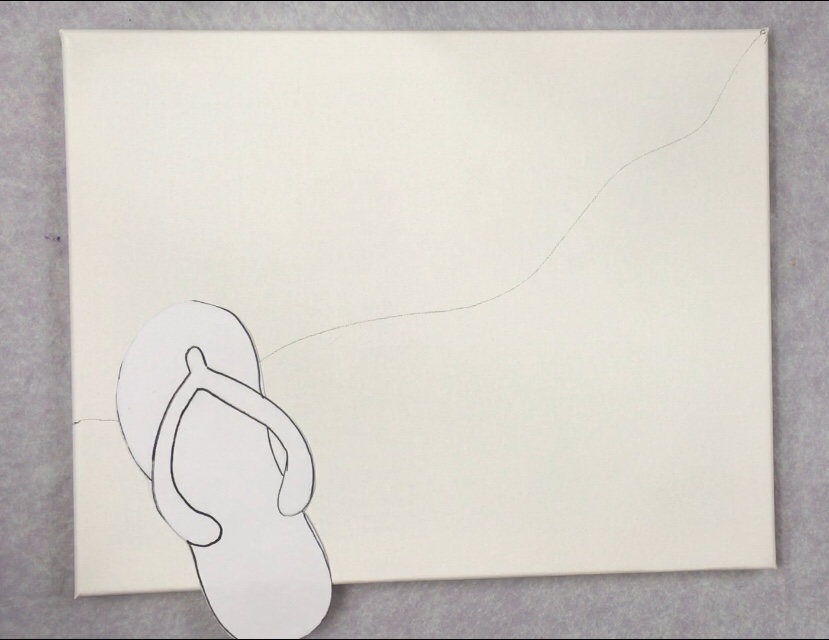
1. Draw the shoreline & trace the flip-flop templates
Use a pencil to draw a long wavy line starting at the upper right corner and going down to the bottom left about 1/3 of the way up (3.5″ up). 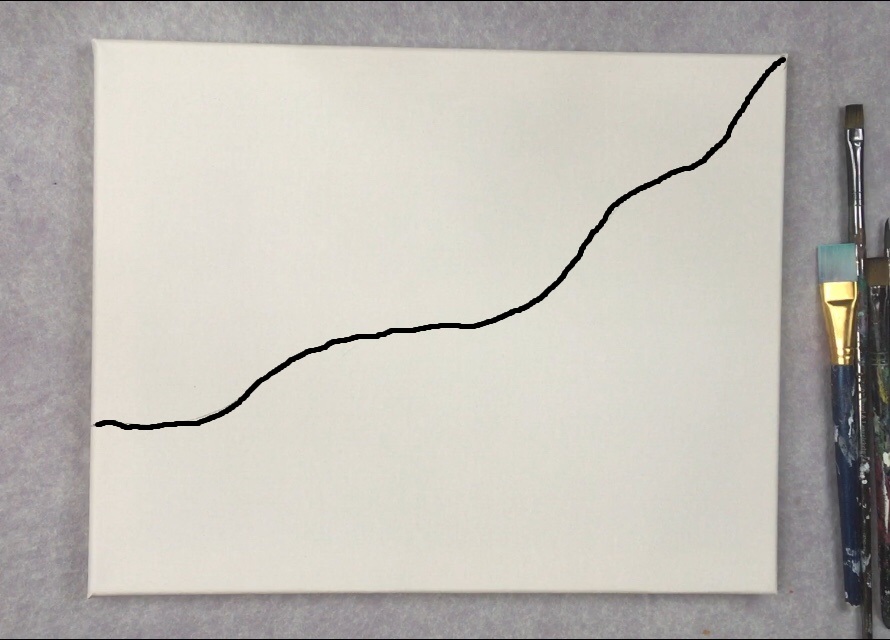
Next print the flip-flop template on a standard size sheet of computer paper. On the opposite side of the paper, use a black pen to trace the flip-flop. You will have a template with a flip-flop drawn on both sides. 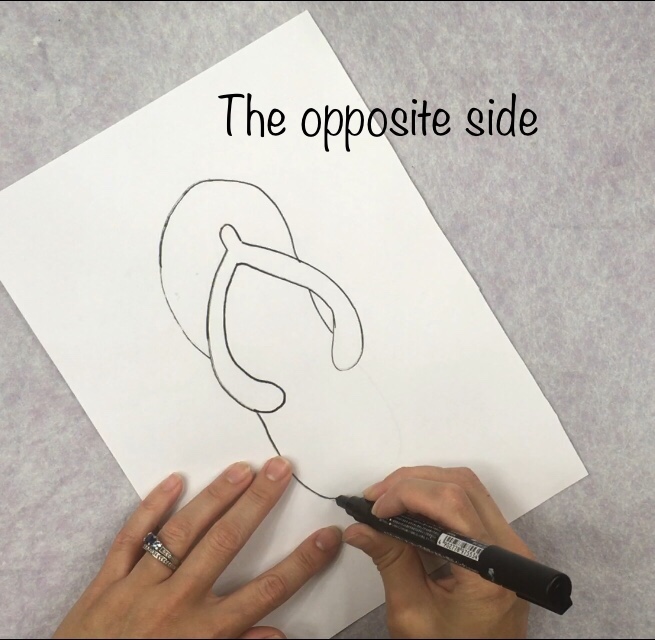
Cut the flip-flop template out. 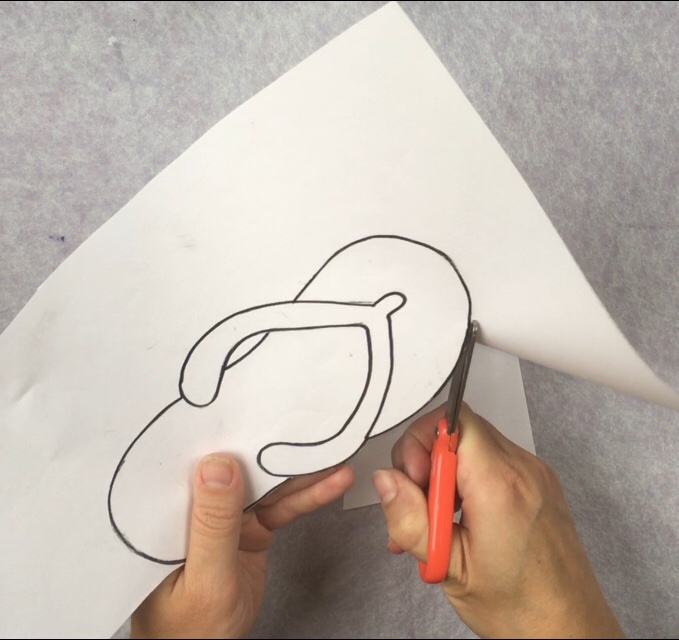
Position the flip-flop so that it is slightly overlapping the shoreline. Use a sheet of graphite paper shiny side down and trace the flip-flop using a pencil. I recommend that you trace these firmly to help the lines show through when we paint them later. 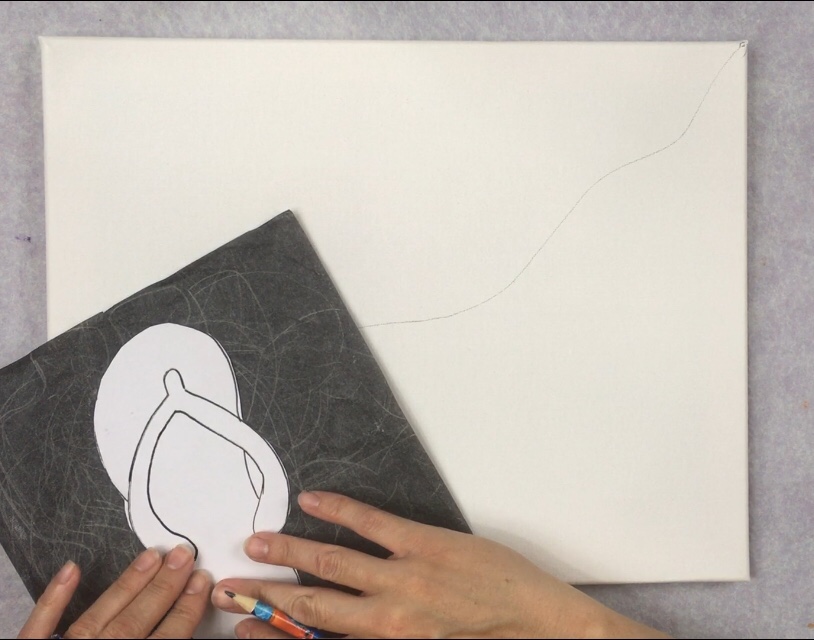
To get opposite foot of the flip-flop, simply turn your template over and trace the other side. You will get a mirror image of the the shoe. Continue to trace the template so that you have two pairs that are slightly overlapping the shoreline, all at different angles.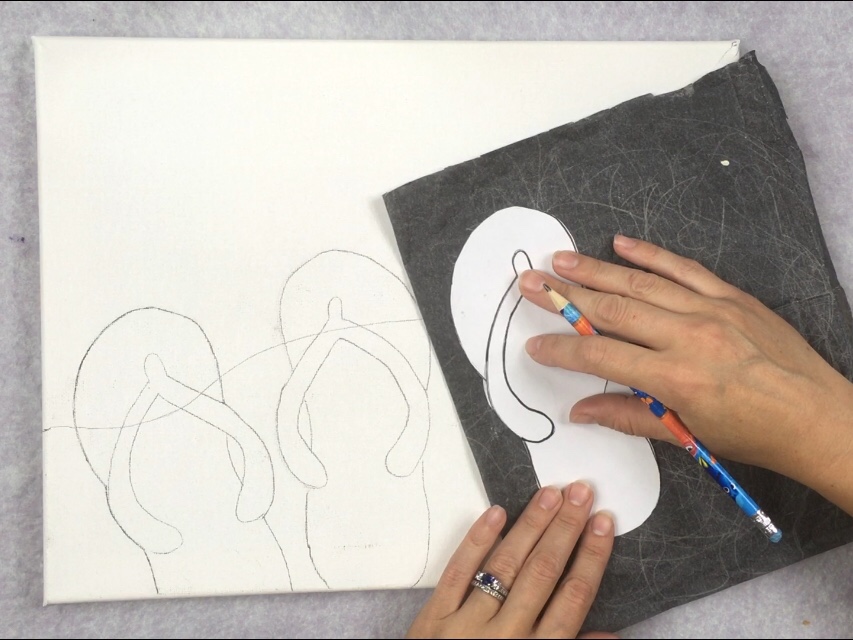

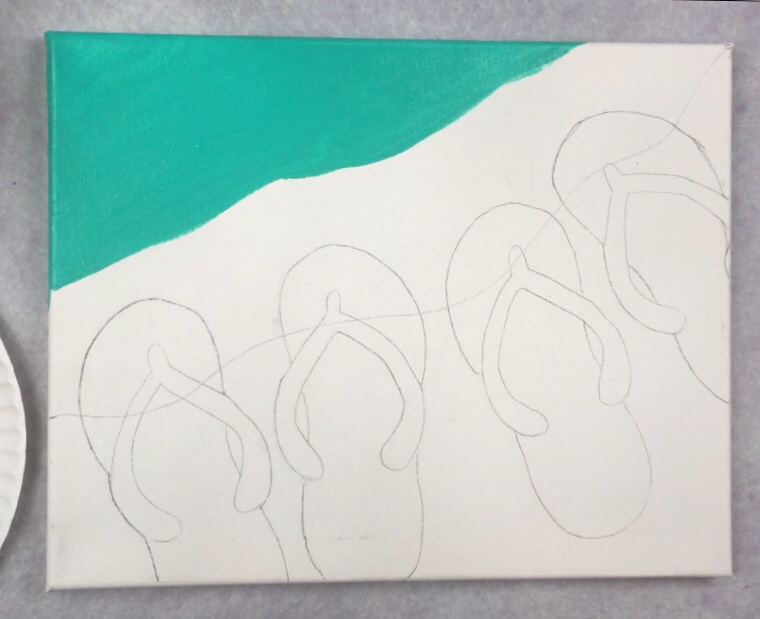
2. Paint the water & sand
Use a 3/4″ flat brush and bright aqua green. Paint a wavy diagonal line above the shoreline you drew with the pencil (about 3″ offset). Paint it solid with the bright aqua green going in full diagonal strokes. 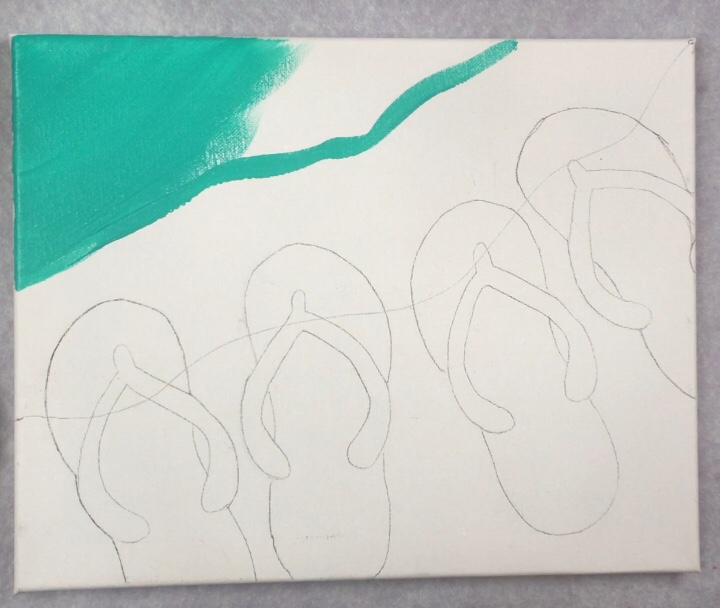
Rinse the brush and load it with unbleached titanium. Paint the rest of the area all the way to the shoreline. 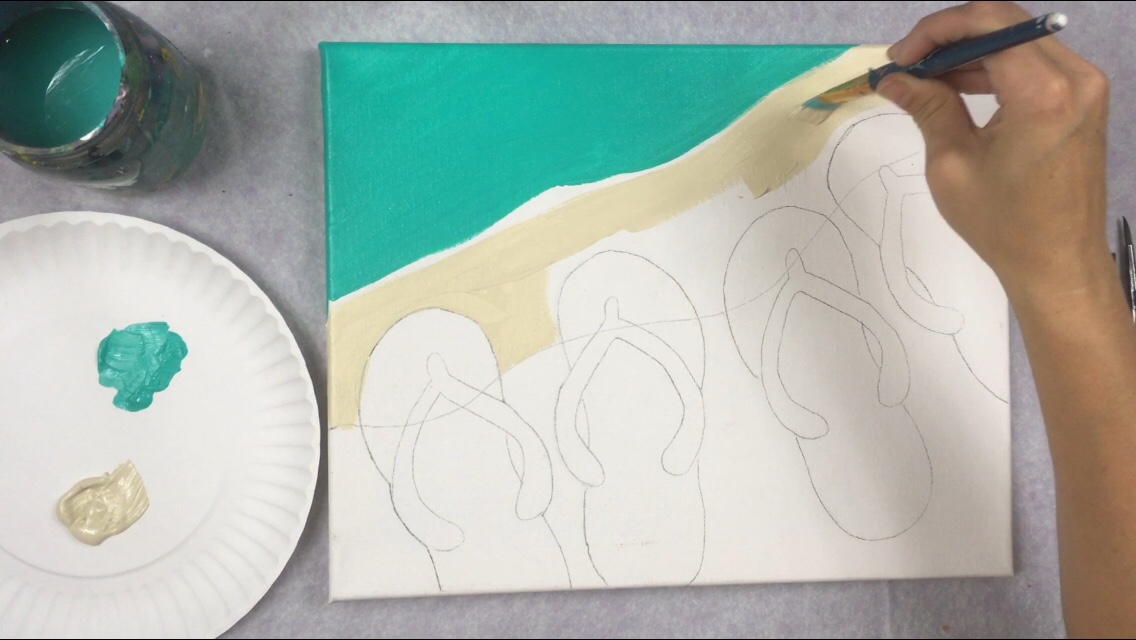
At the line where the bright aqua green and the unbleached titanium meet, you may wish to blend it a bit. 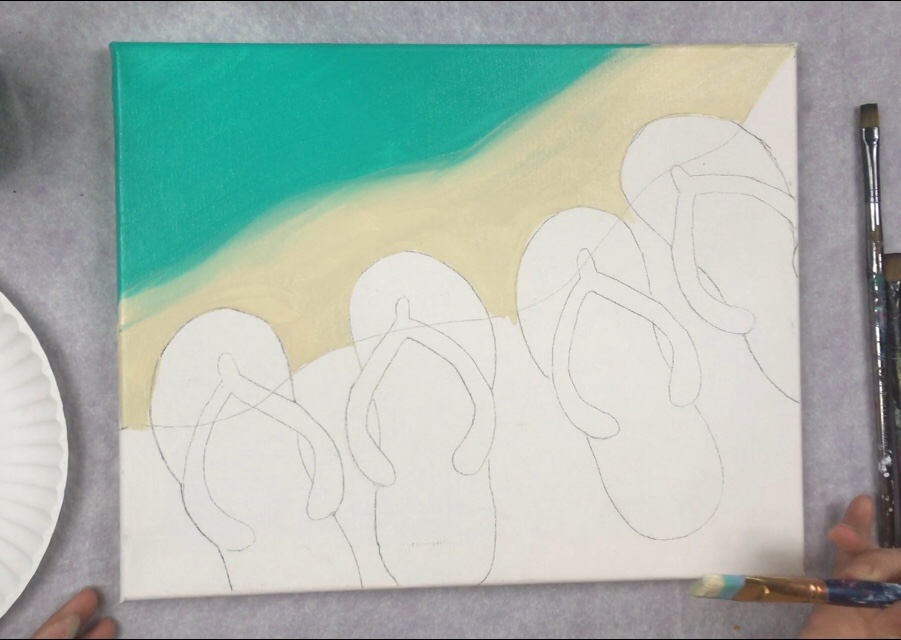
The sand under the shoreline is slightly darker. For this area, I mixed burnt umber and unbleached titanium on my palette but did not mix it all the way. Mix about five parts unbleached titanium and two parts burnt umber (this doesn’t need to be exact, just mix a darker shade of the unbleached titanium). 
Using the 3/4″ flat and that burnt umber/ unbleached titanium combo, paint the bottom part of the sand around the flip-flops. Make your strokes go around the flip flops so your strokes contour the shape. 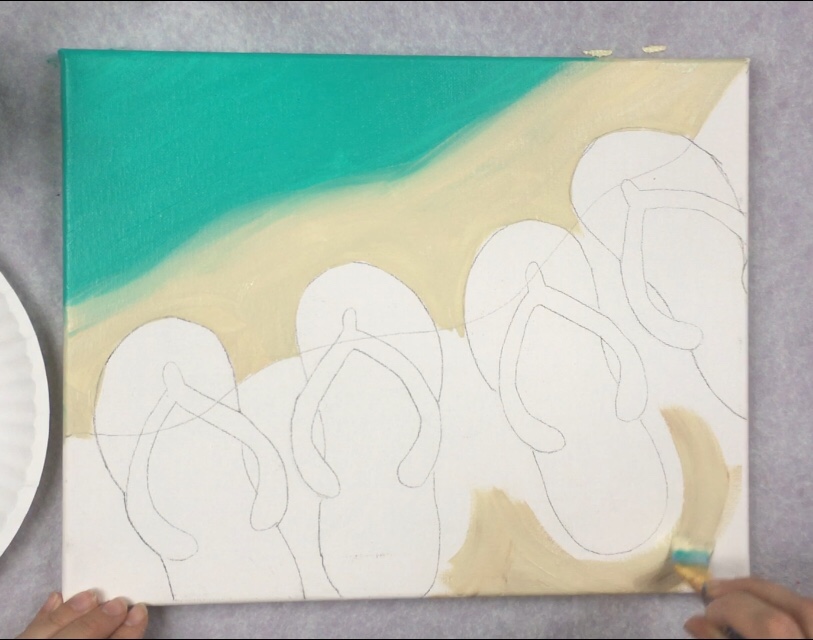
You’ll get different variations of that color because the two colors are not mixed all the way. This helps to create the impression of wet sand on the shore. 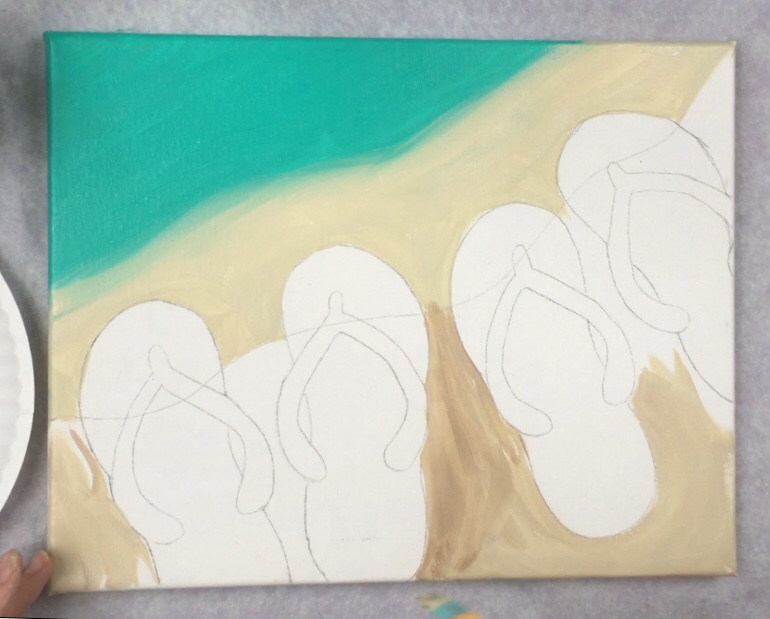
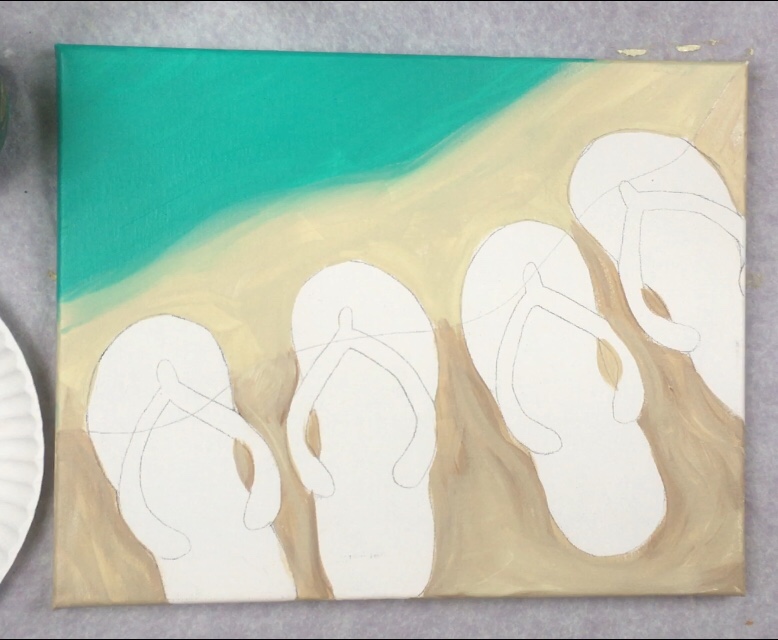
3. Paint Shadows Under The Flip-Flops and Shoreline
Use a #4 round brush and a darker shade of the sand color to paint a line along the shoreline. To get that “darker shade” simply add more burnt umber to the mix so that it is darker than the sand color. Also important, water down that dark brown a bit with water so that it “flows”. 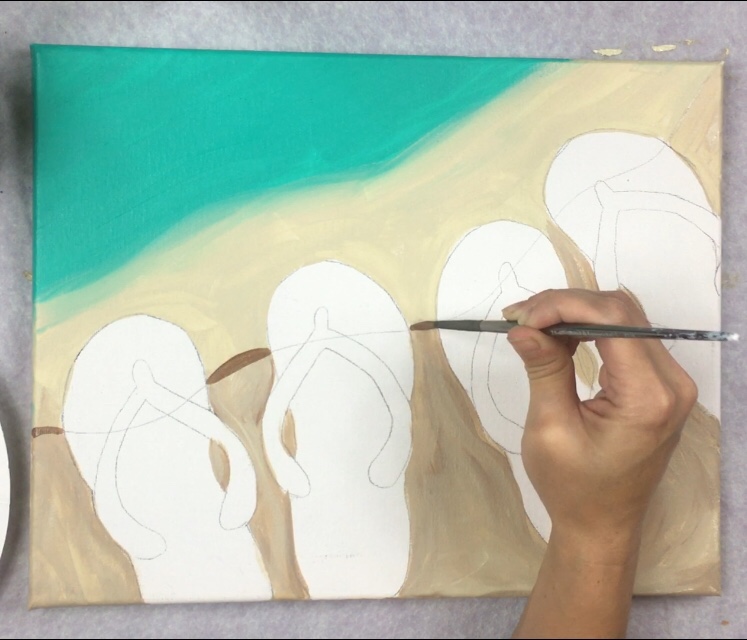
Paint the same brown line on the left sides of the flip flops to represent their shadows. 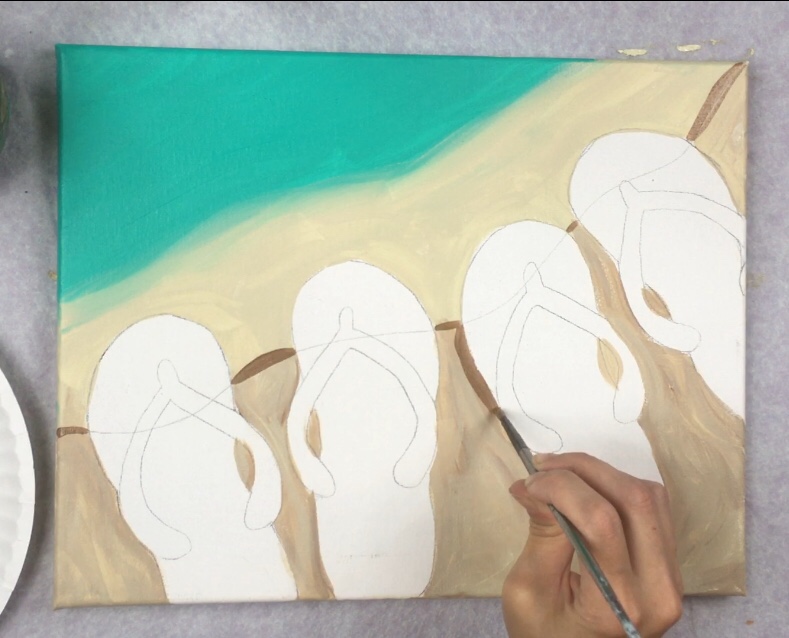
You now have a shadow for the “sea foam” that we’ll paint later as well as shadows for the flip-flops. *Note: I did paint a shadow for the tops of the flip-flops in a later step, I just forgot to do that here. 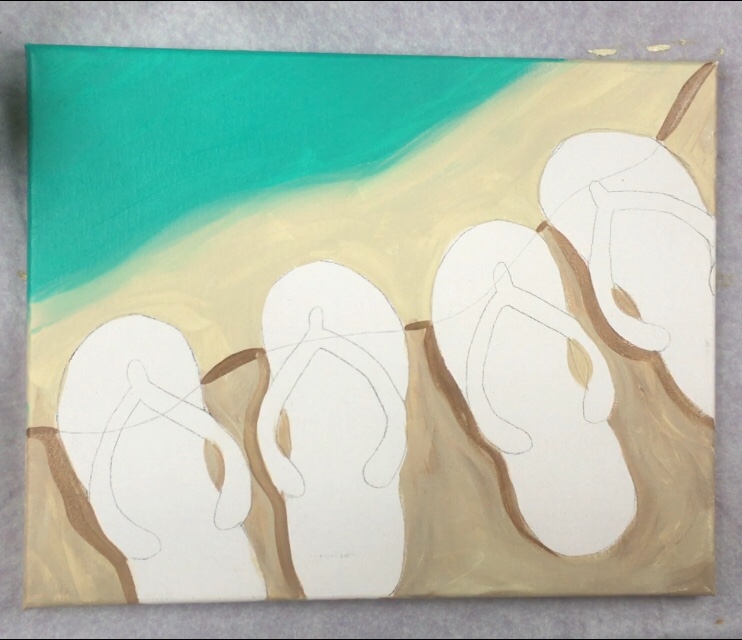
Optional: if you want, you can blend your shadows into the sand a bit by painting the lighter color sand of that brown next to the darker color shadow so the colors sort of fade together. 
4. Paint the flip-flops
I started with the flip-flop on the left and painted that one primary red. I also used a #12 bright for this step. You may also wish to use your #4 round to get into some tighter and smaller areas. Don’t worry about the plastic top part of the shoe yet, just paint around it (or over it if you wish.) 
The pair of shoes on the right were painted with brilliant yellow green. This color is a translucent color so you may need to paint another coat or two on it after it dries. 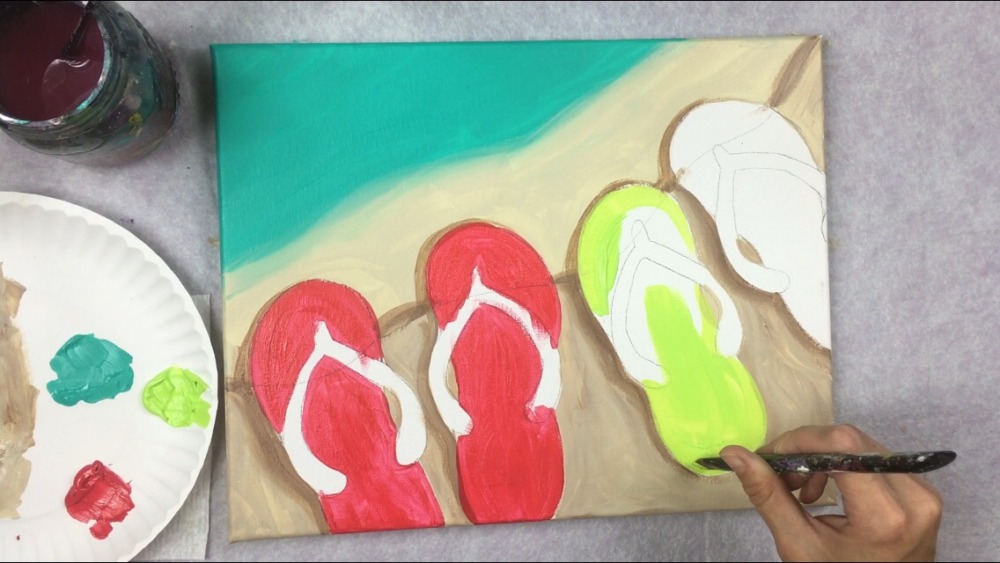
Note that I also painted the shadow part at the tops of the flip-flops too. 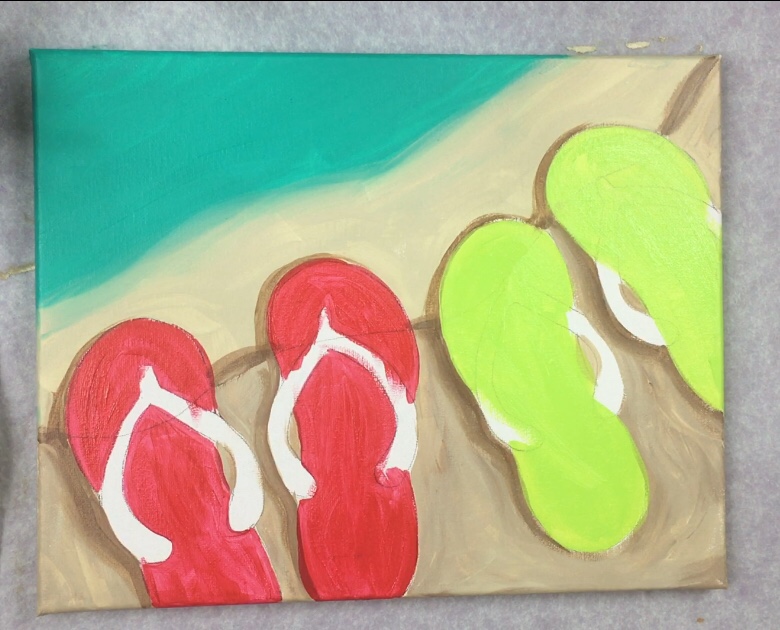
Take a break or use a hair dryer! You’ll need to make sure your painting is dry before going to the next step!
5. Paint the designs
For the chevron pattern, I mixed on my palette a combo of phthalo blue and bright aqua green. I mixed about equal parts, maybe a little more bright aqua green than phthalo blue. Then I used a #4 bright brush to paint the zig-zag chevron pattern. 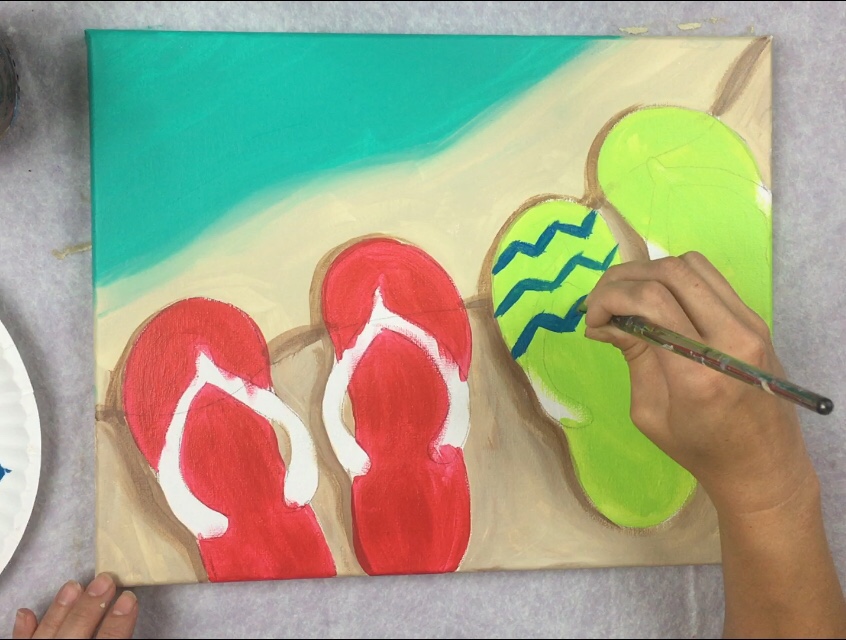
To get the polka dots on the primary red flip-flops, I used the back of my paint brush to stamp titanium white dots. 
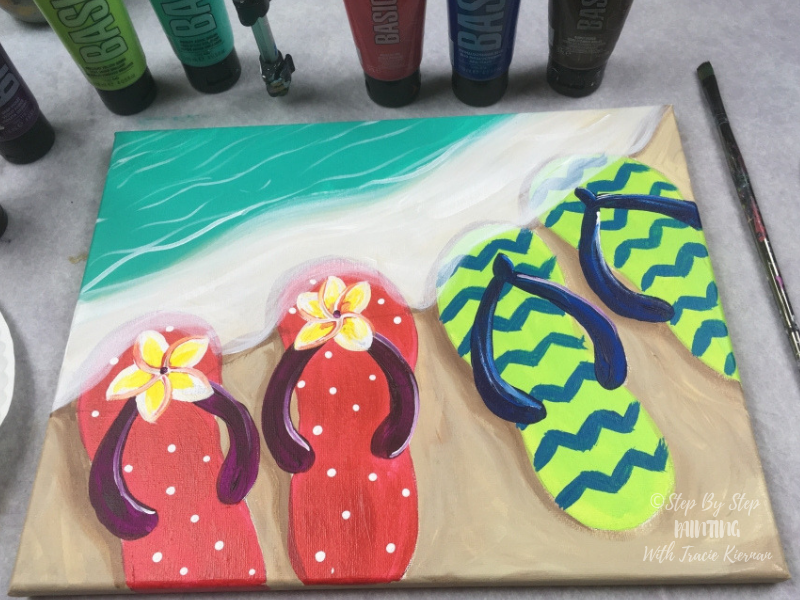
6. Paint the plastic tops of the flip-flops
I used the #4 round brush for this step. For the flip-flop pair on the right, I painted the plastic part phthalo blue and for the flip-flop pair on the left, I painted the part deep violet. 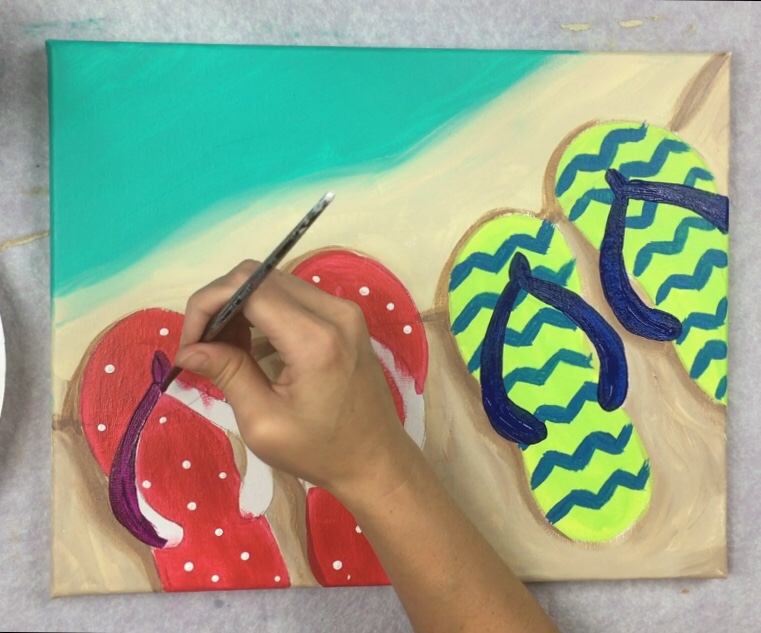
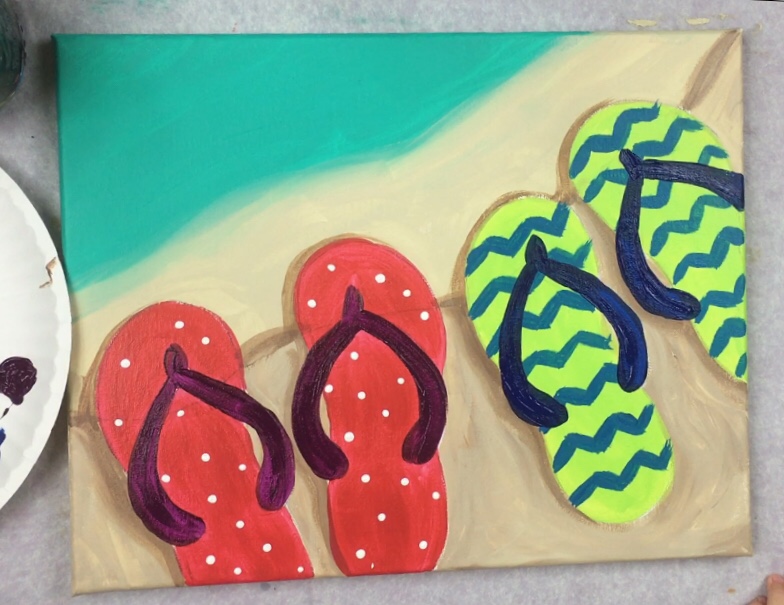
To paint the highlights on the flip-flops, I used my #4 round brush dipped in titanium white. I did not wait for the blue and purple to dry. I painted a white line on the right parts of all the plastic flip-flop parts. So now we have the shadows on the left side and the highlight on the right side of the plastic top part. 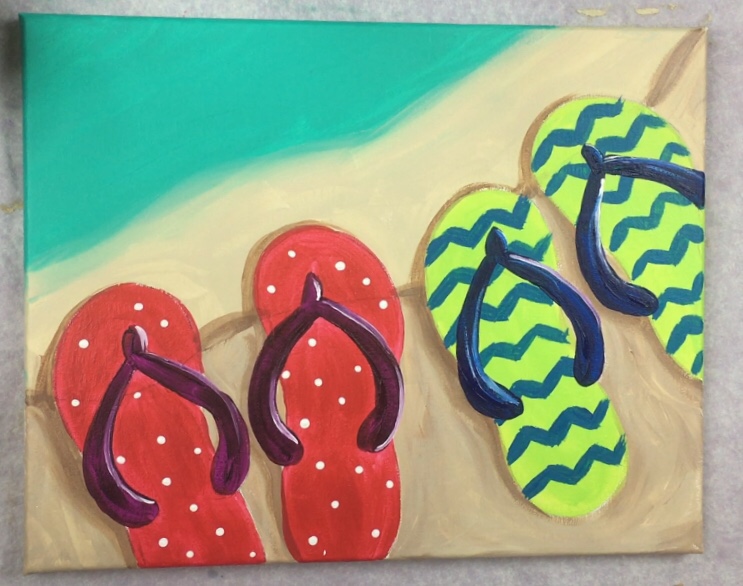
7. Paint the plumeria
The plumeria is relatively simple. I used my #4 round brush and the colors: titanium white, primary yellow and primary red and a tiny dot of deep violet. Refer to the infographic and there are more detailed directions below. 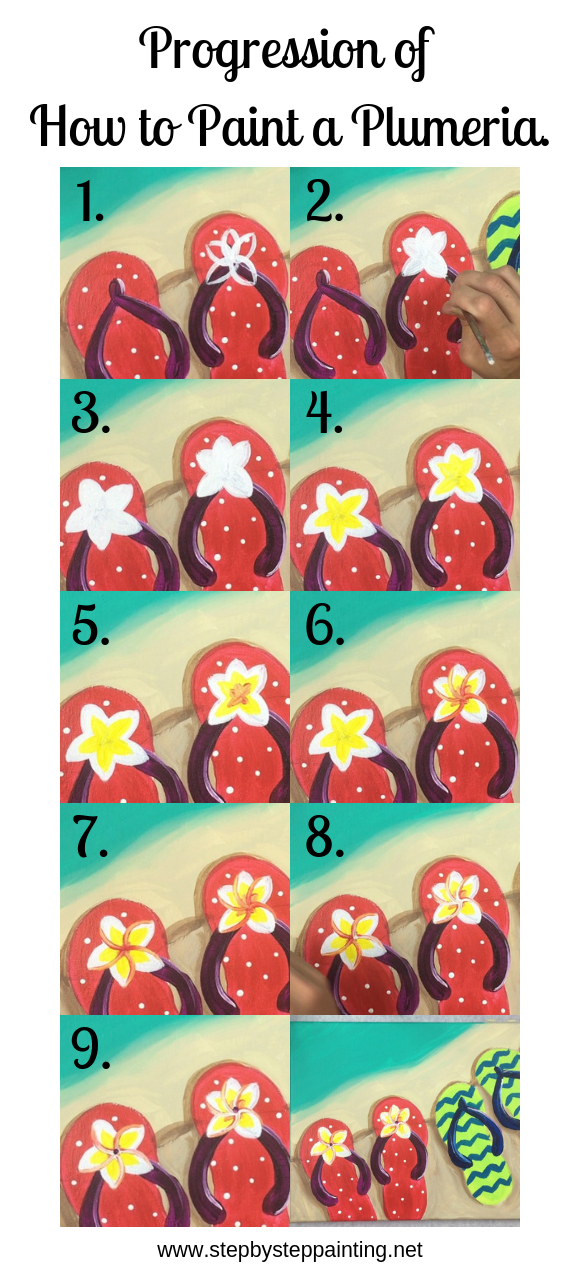
- Start by painting a flower with five petals. The tips of these petals go to a point.
- Paint the petals in solid titanium white.
- Repeat for the second flower on the other flip-flop.
- Paint a smaller petal shape with primary yellow on the inside of each of the petals.
- Paint an even smaller petal shape with primary red on the inside of each of the petals (this will mix with the yellow because the yellow isn’t dry).
- Outline each petal starting from the center point to the tip. Do the outline only on the left side of each of the petals and stop when you get to the tip.
- Repeat with the other flower.
- Outline the same primary red line again with titanium white. The titanium white will blend with the primary red a bit.
- Use the back of your paint brush to paint a tiny little dot in the middle. You can do this with primary red or deep violet (I used deep violet).
8. Paint the sea foam
To paint the sea foam, use a 3/4″ flat brush and titanium white. To get the titanium white to be “see through”, water it down to an ink consistency. The white should be thin but not dripping wet. Test it out first to see if it shows up “see through”. Then simply paint the area of the sea between the aqua and the shore line where you painted the brown shadow. You should be able to see the flip flops and the light colored sand through the white.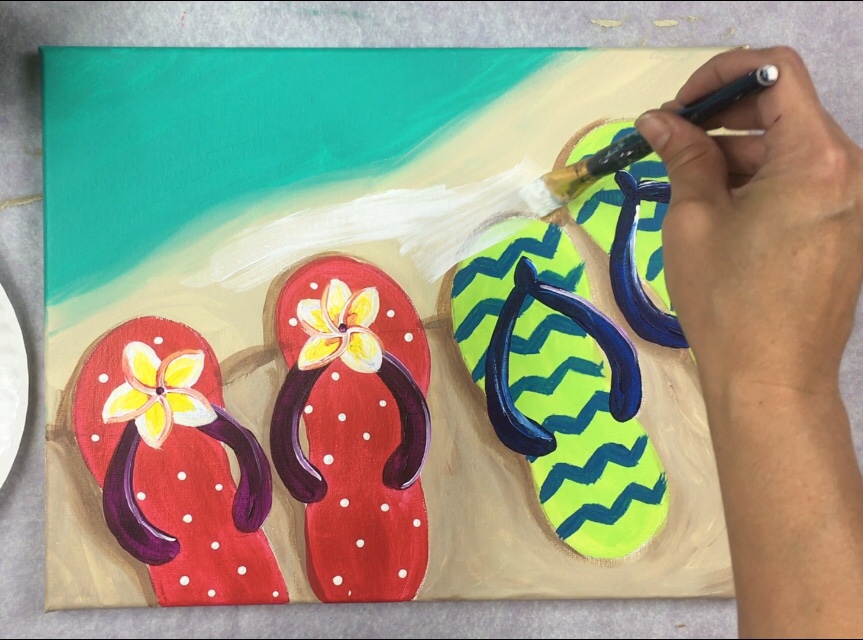
Paint in very loose wavy strokes. (Note: I went around the plumerias because they were too pretty to cover up with the sea foam)
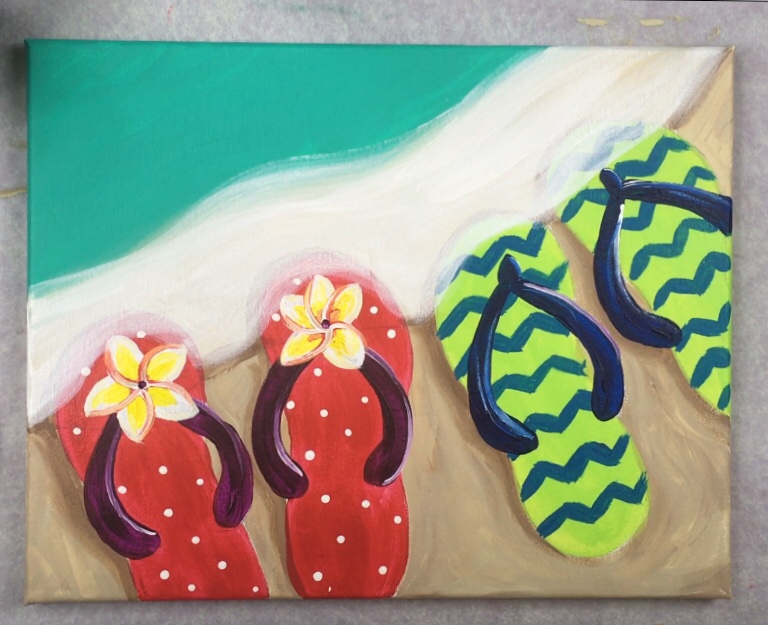
To paint the white wavy lines on the water, use a #4 round brush and the same watered down titanium white. Paint loose wavy lines on the bright aqua green area. 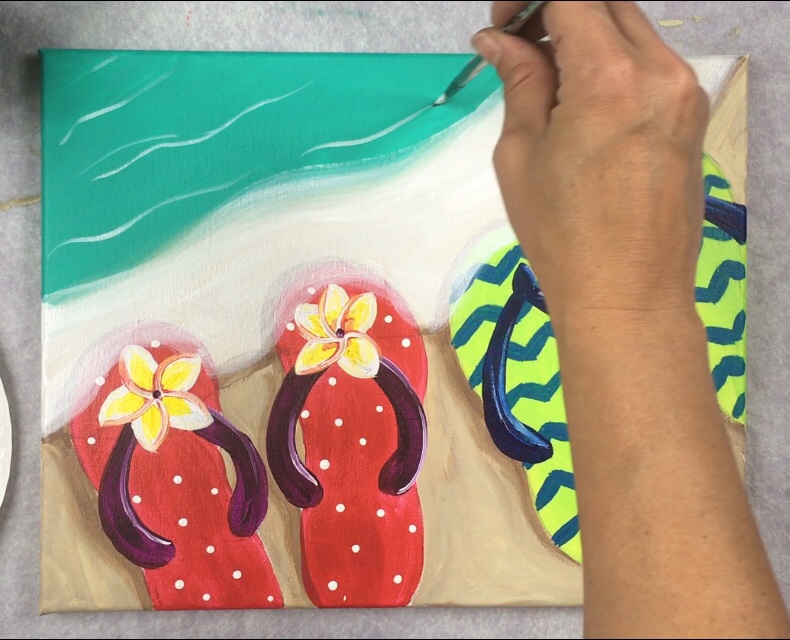
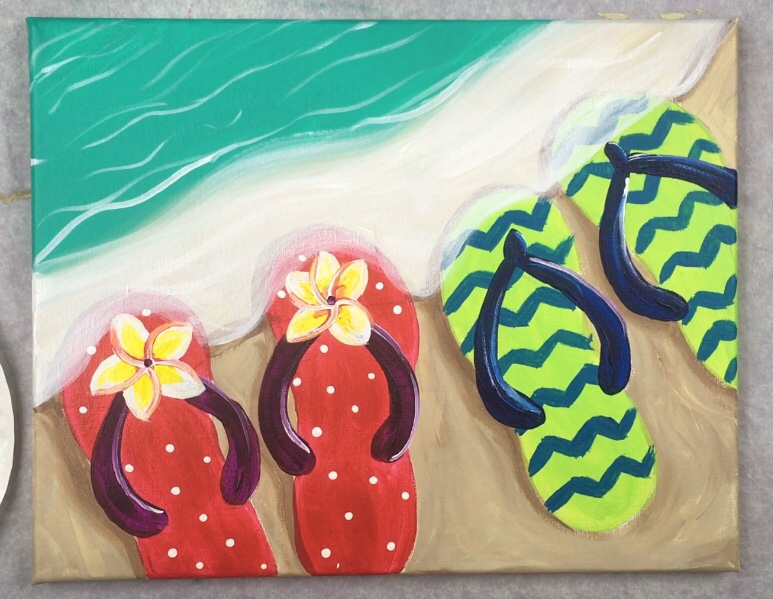
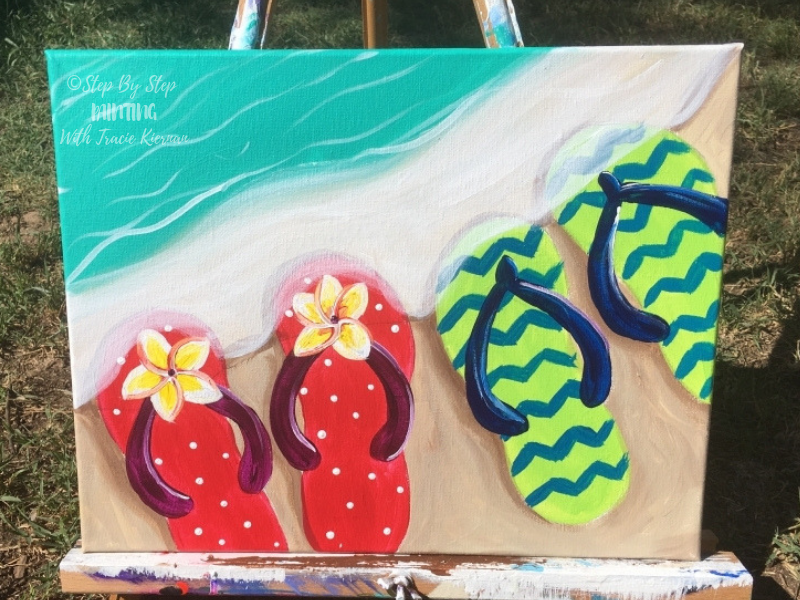
Finished
Share Your Art


See Other Summer Painting Tutorials
I’m new to painting and would like to get a good set of brushes. Can you recommend a set for me to order? The ones you use in your paintings
Hi Ana! I use the Royal and Langnickel Zen brushes which can be found at Michaels. The most common sizes I use are: 12 bright, 3/4” Flat Wash, #4 Round and a 10/0 or 5/0 spotter. Occasionally I use a Fan Brush and a few larger round brushes.
Hi
We’re having a girls getaway and doing this as a project
Some would like to do the patriotic version. Are there any guidelines or hints?