

Would you like to save this?
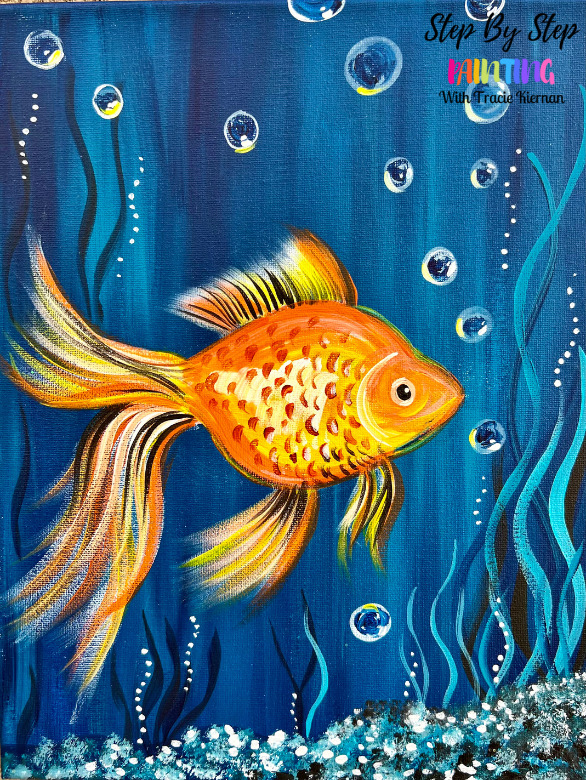
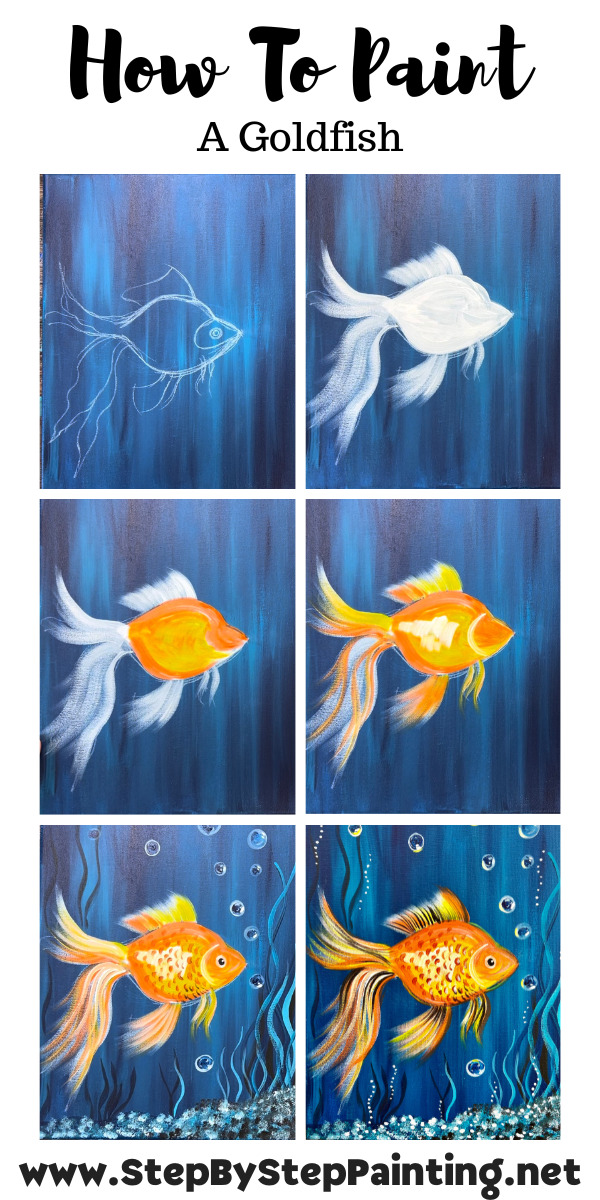
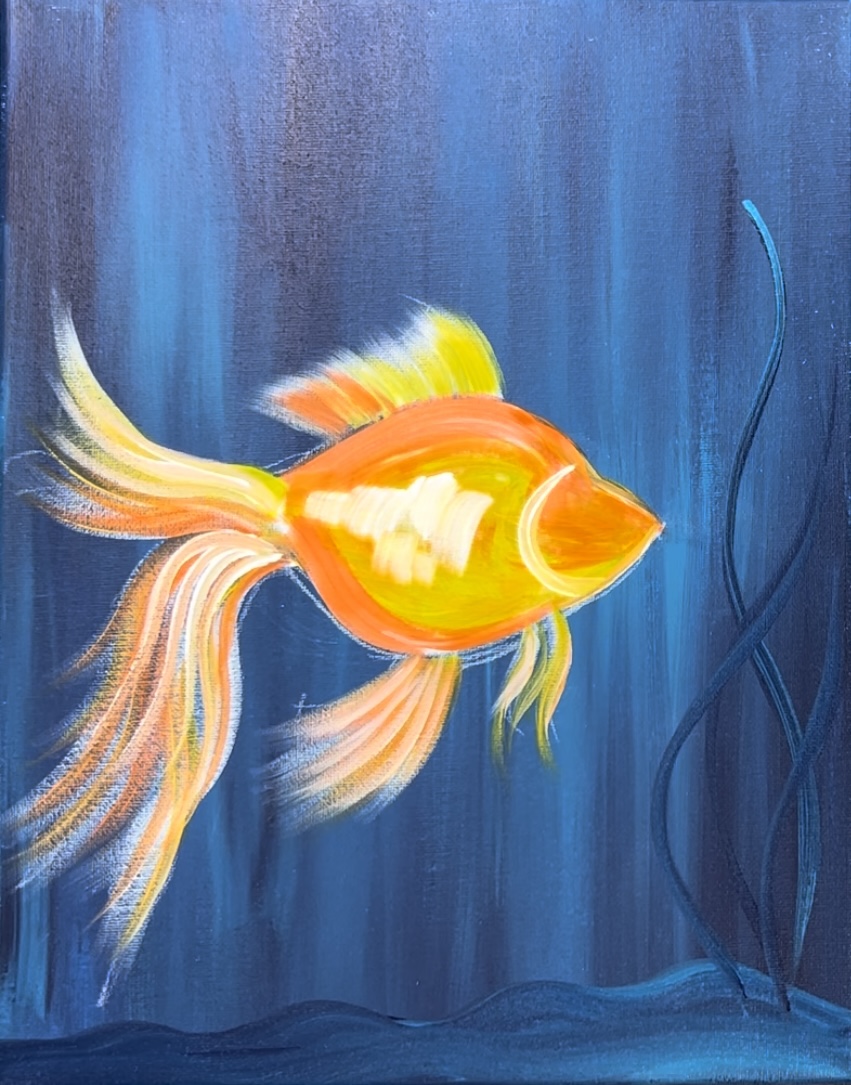
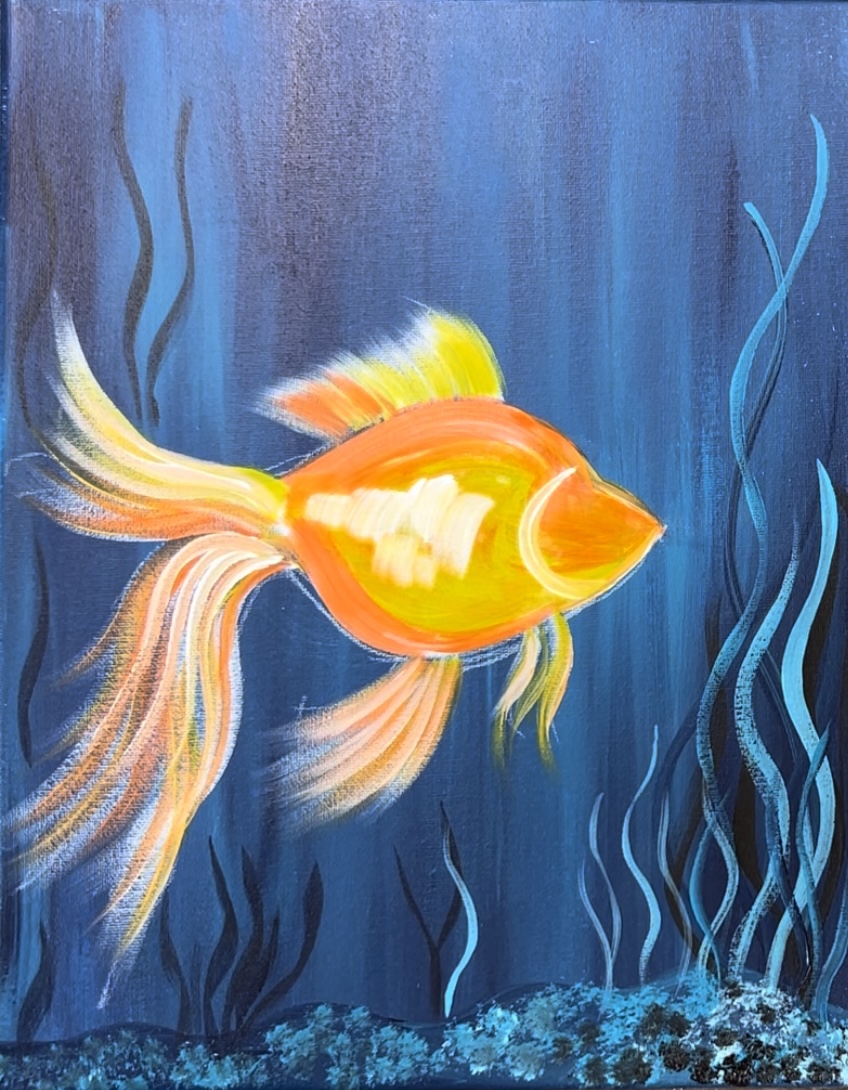
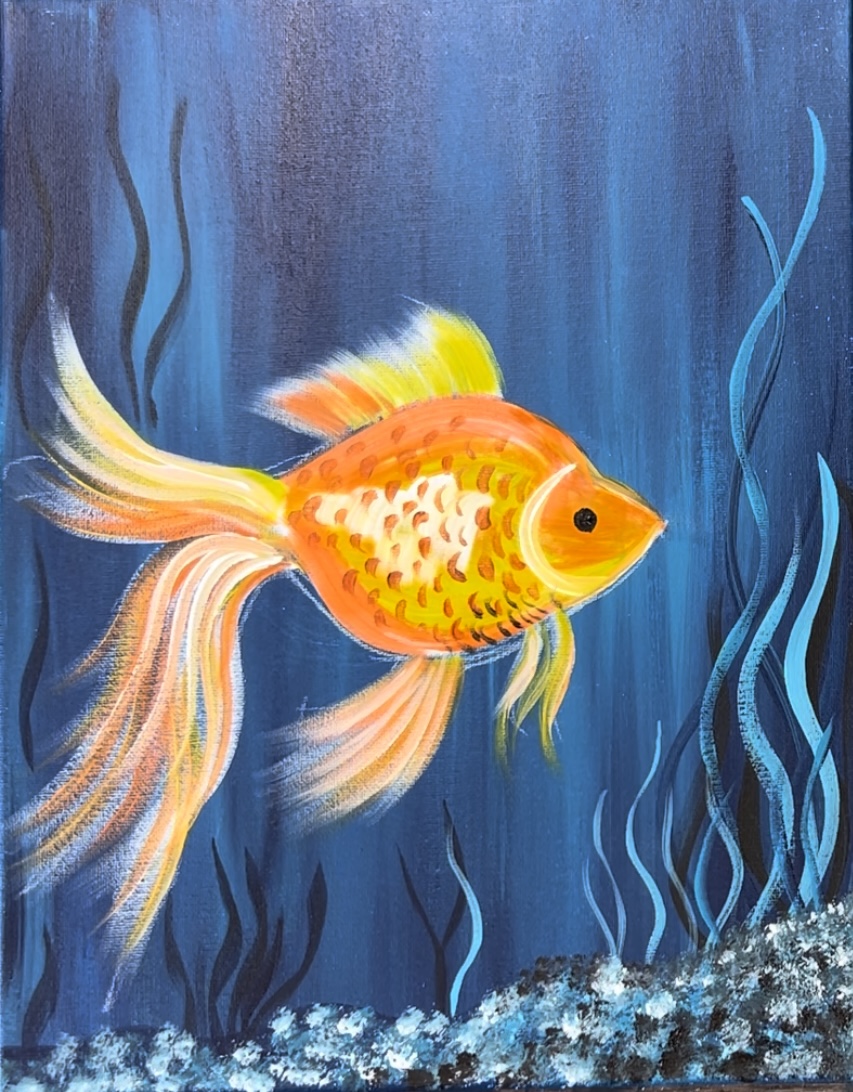
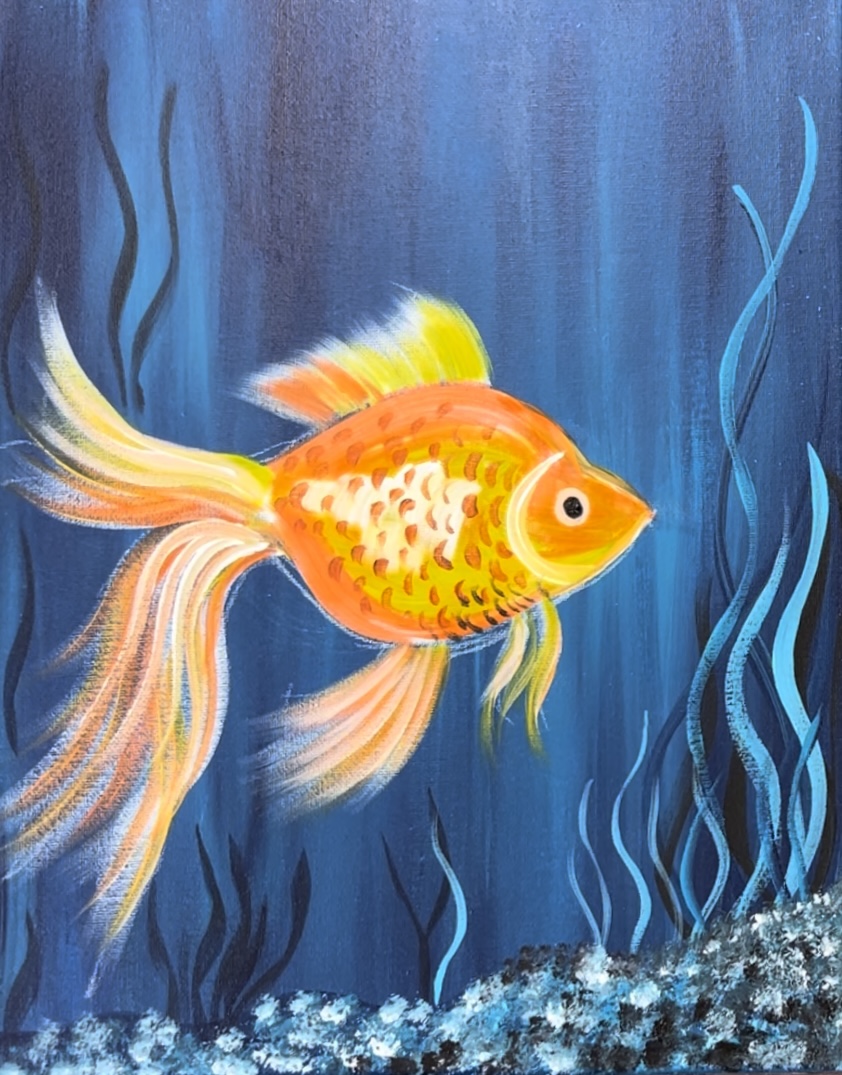
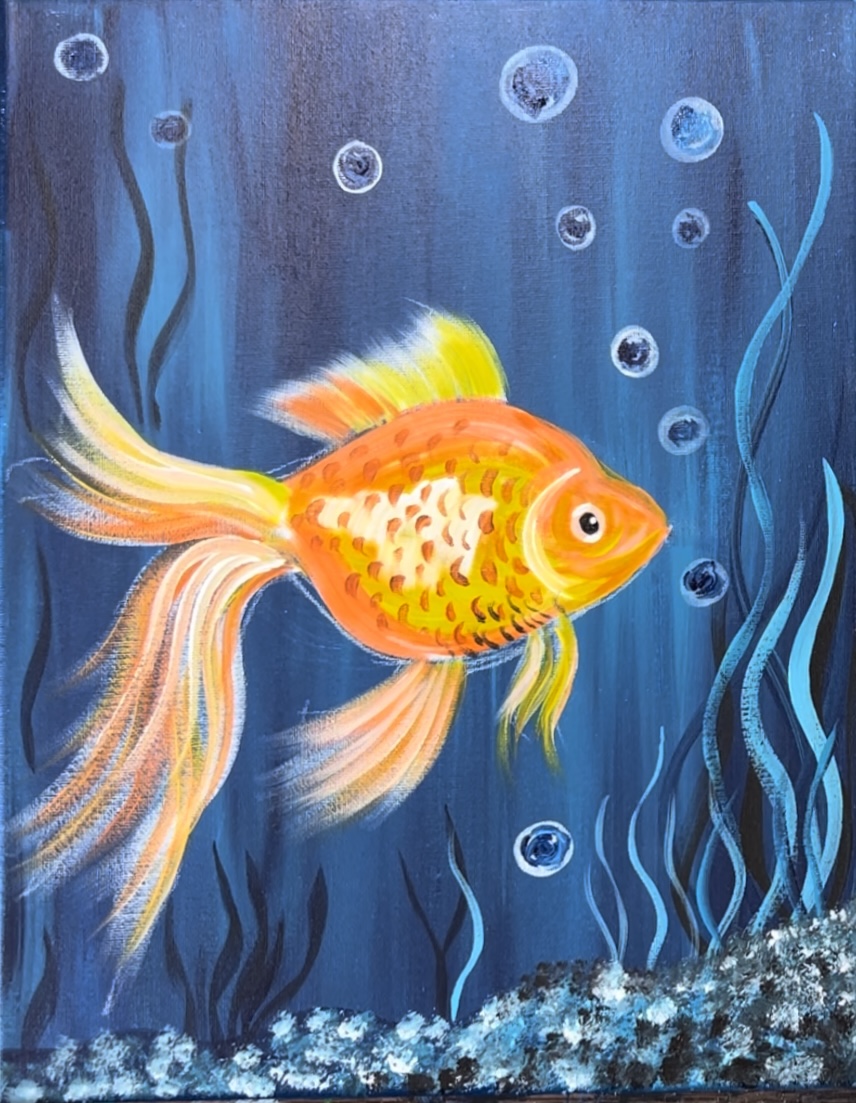
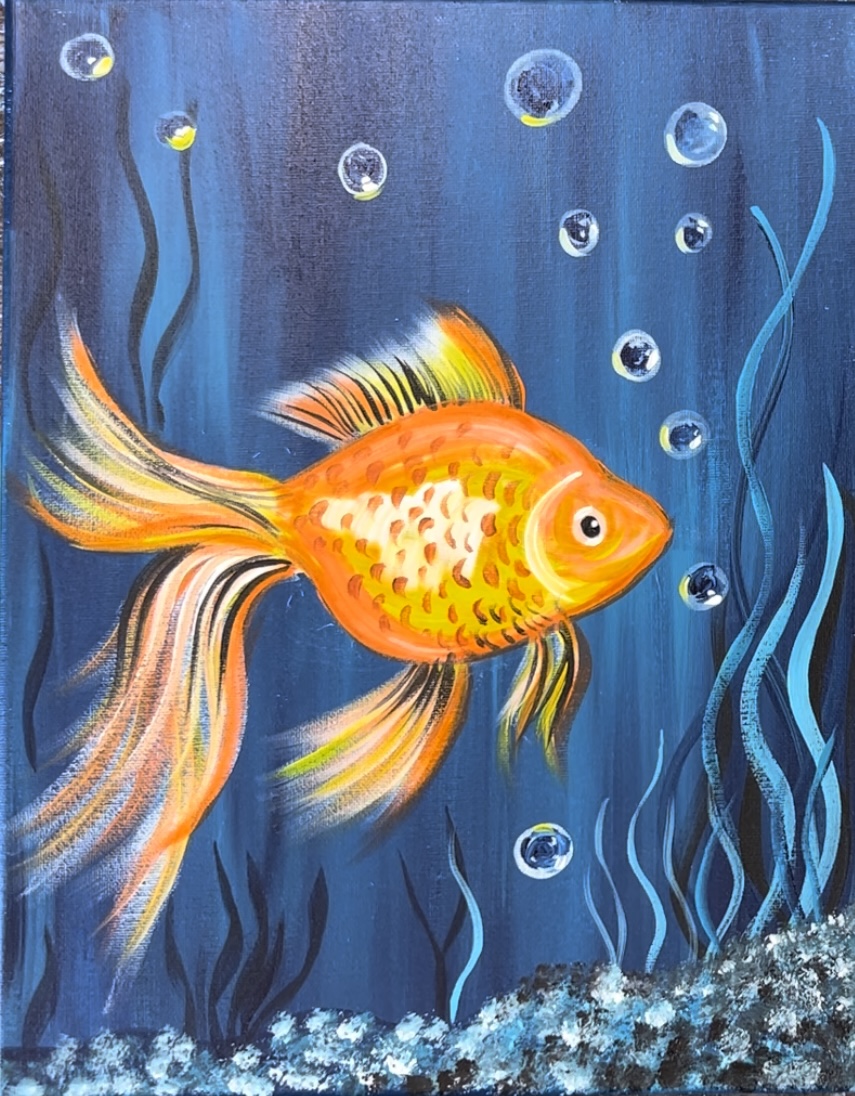
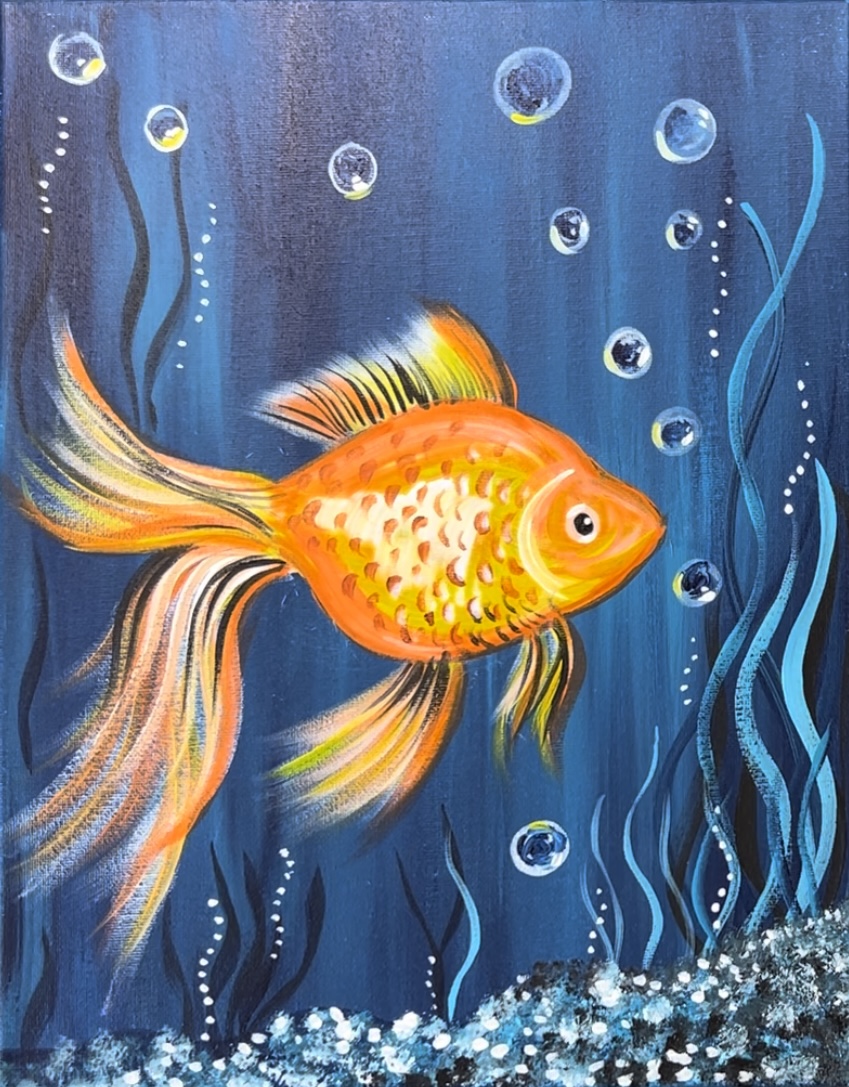
This is an easy tutorial for how to paint a goldfish in an underwater scene! This tutorial demonstrates various techniques including how to “dry brush” the fins and how to paint those bubbles!
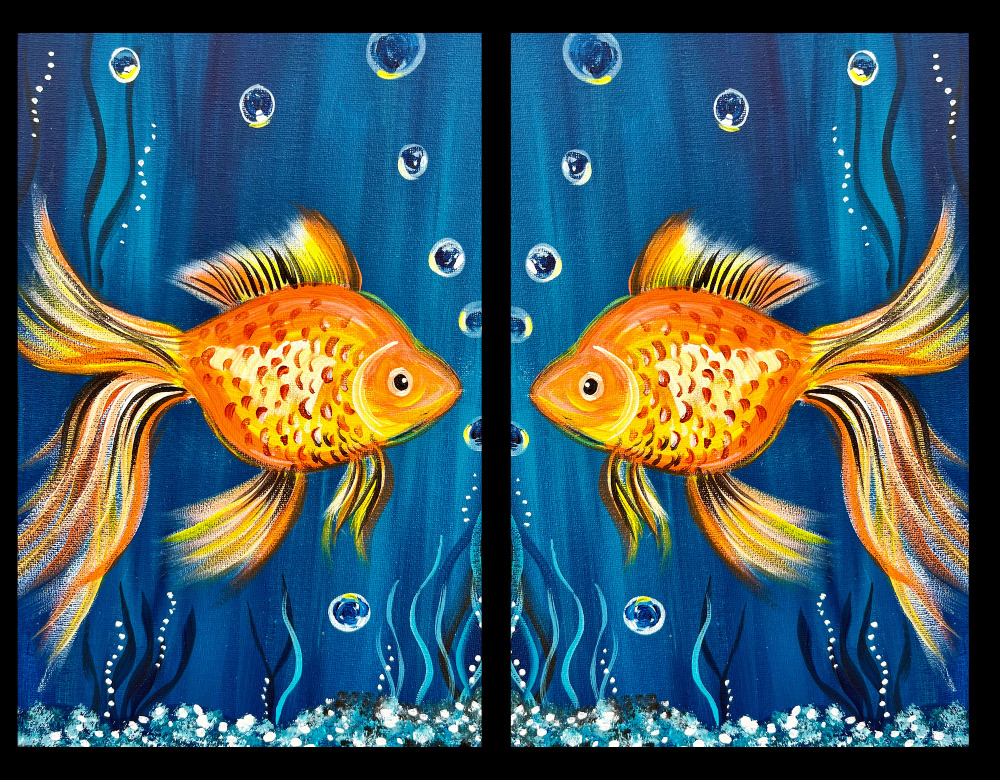
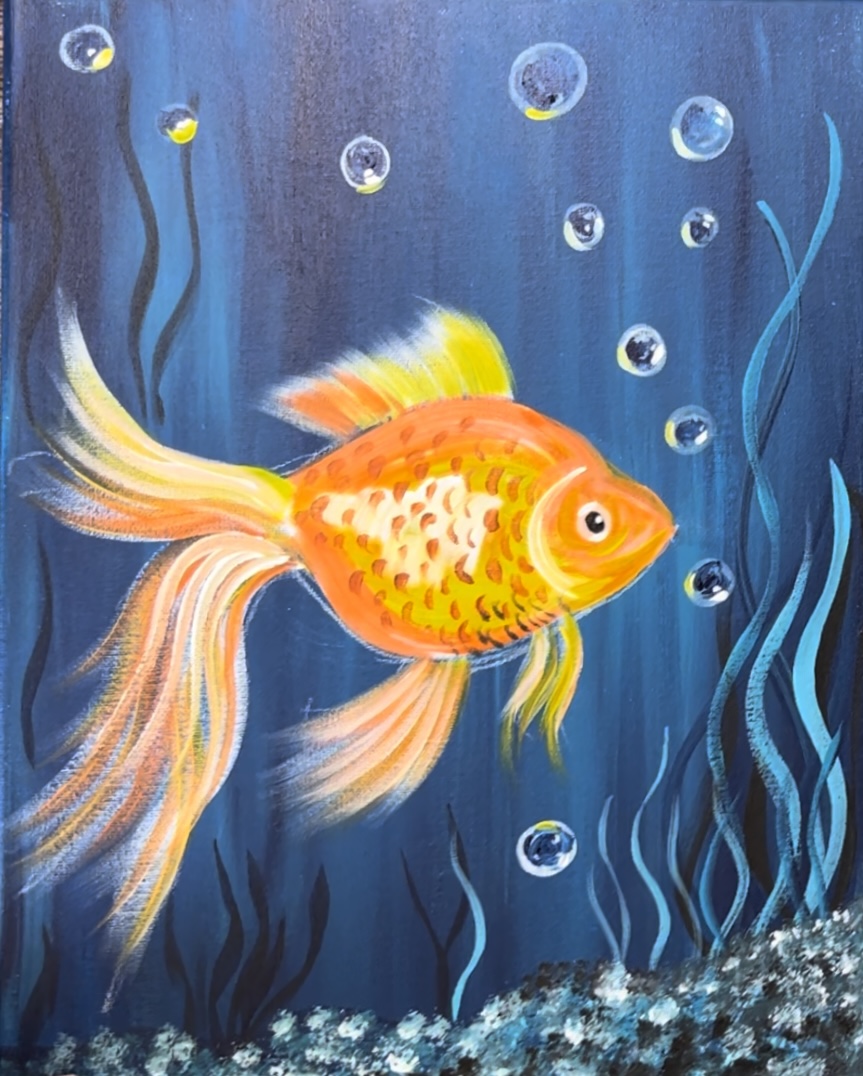
This painting also works as a “couples painting”. Mirror both of your fish to be facing together and place both your canvases side by side.
There is an optional traceable for this and I will also be demonstrating how to draw the goldfish.
Enjoy and happy painting!
Materials Needed
- 11 x 14 Canvas (or any size)
- White Chalk Pencil (or chalk)
- Optional Traceable
- Optional White Graphite Paper
- Acrylic Paint Brushes
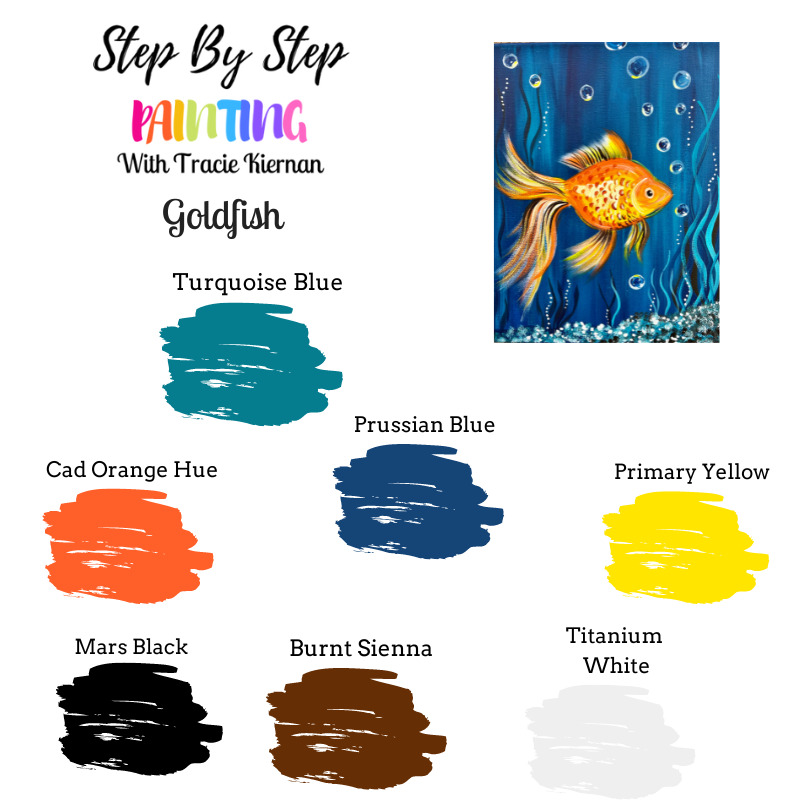
Colors
- Mars Black
- Titanium White
- Prussian Blue (sub Phthalo blue if you don’t have Prussian)
- Turquoise Blue
- Primary Yellow
- Cadmium Orange Hue
- Burnt Sienna
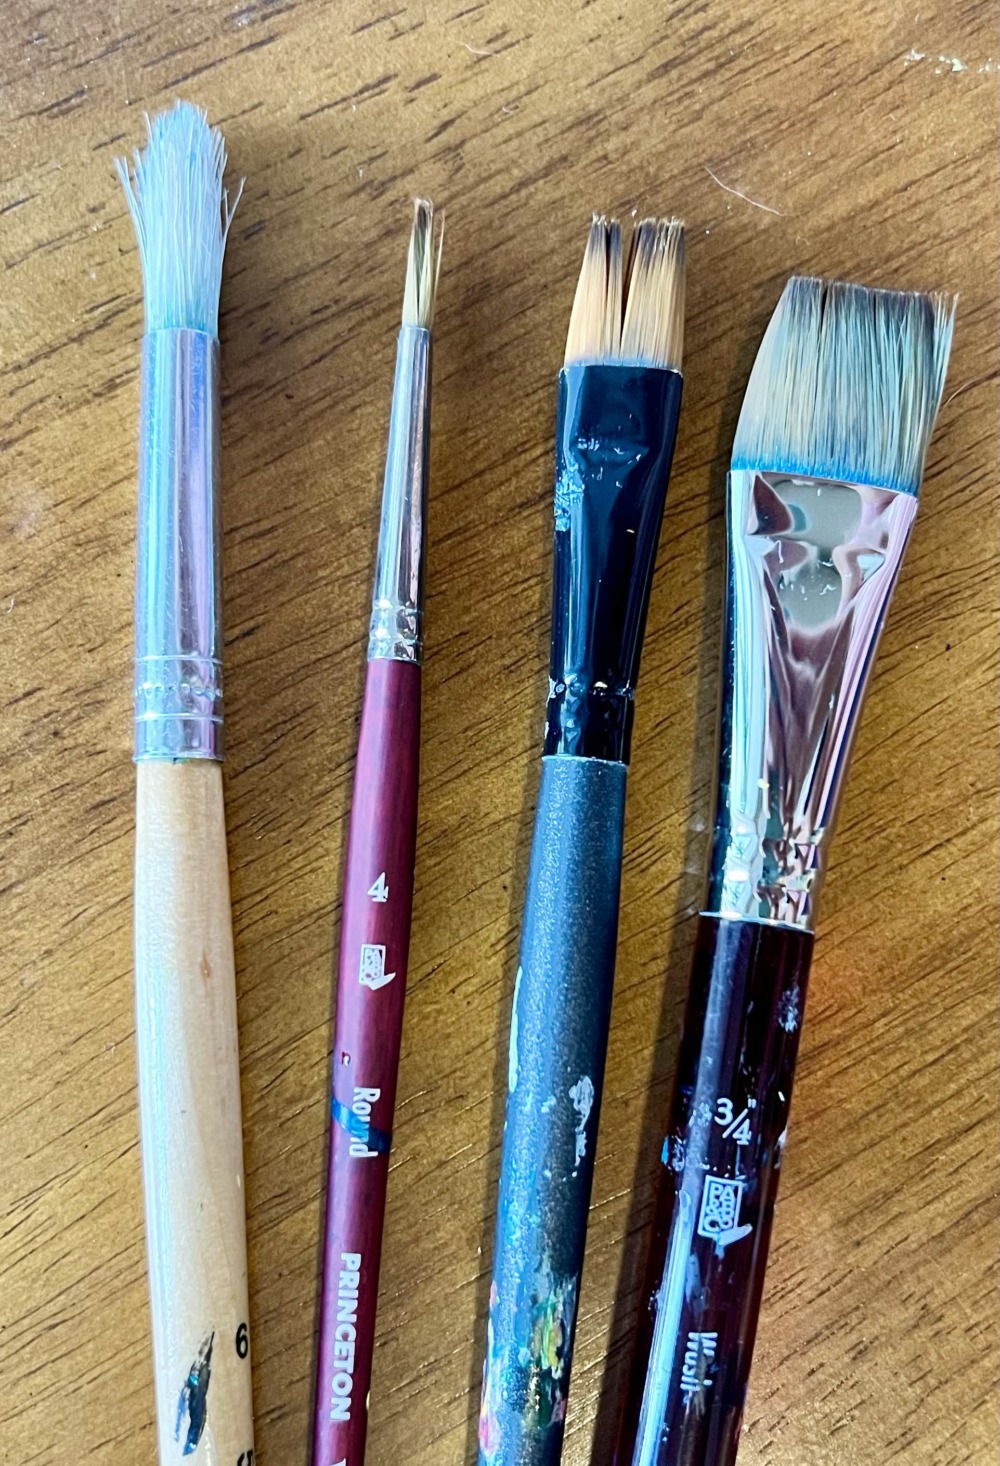
Brushes
- 3/4″ Flat Wash Brush
- 12 Bright Brush
- #4 Round Brush
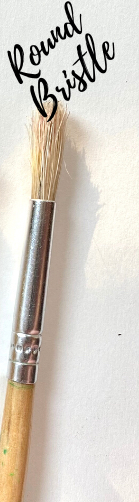
- Round bristle brush (our you can use q-tip bundle)
Color Palette
This painting was done with Liquitex BASICS paints. If you are using a different brand, you can use the color chart below to help you match colors.
Craft Paint Conversion
If you are using craft Paints such as Apple Barrel Paints, I would sub to:
- Bimini Blue
- Navy
- Bright Yellow
- Jack O Lantern
- Black
- Nutmeg Brown
- Titanium White
Optional Tracer
Directions At A Glance
Video
Step By Step Instructions:
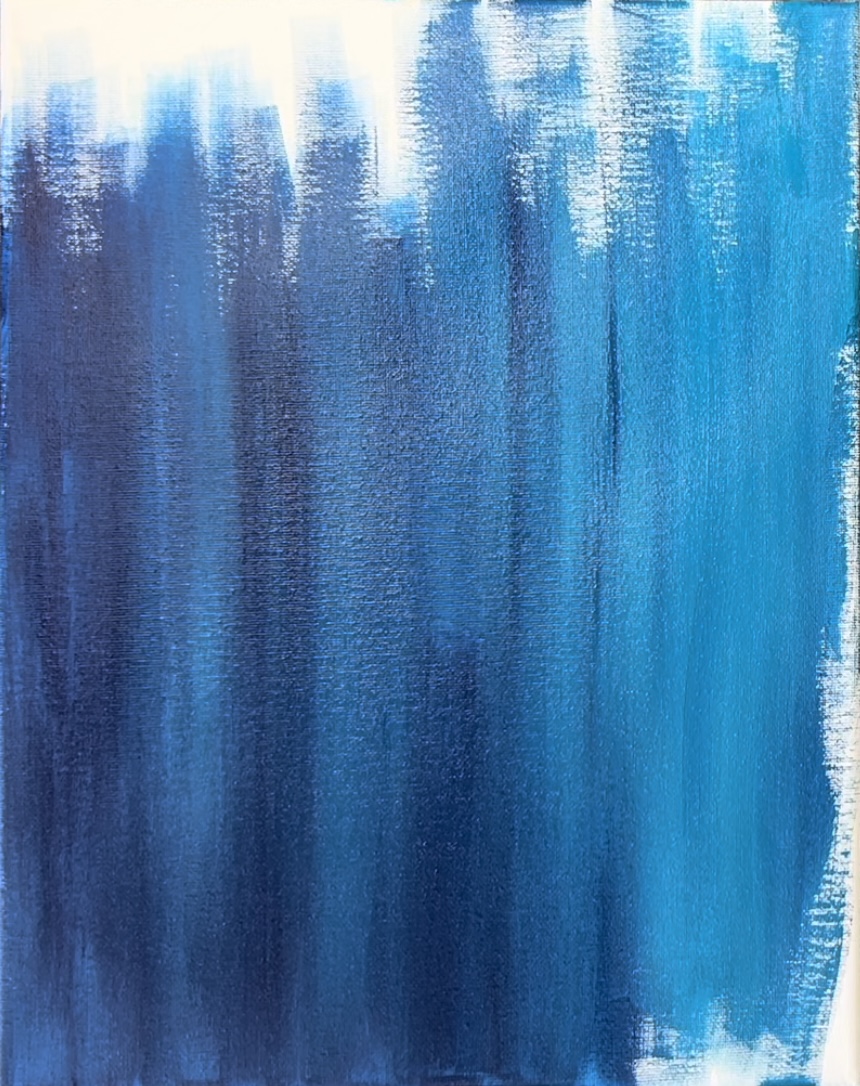
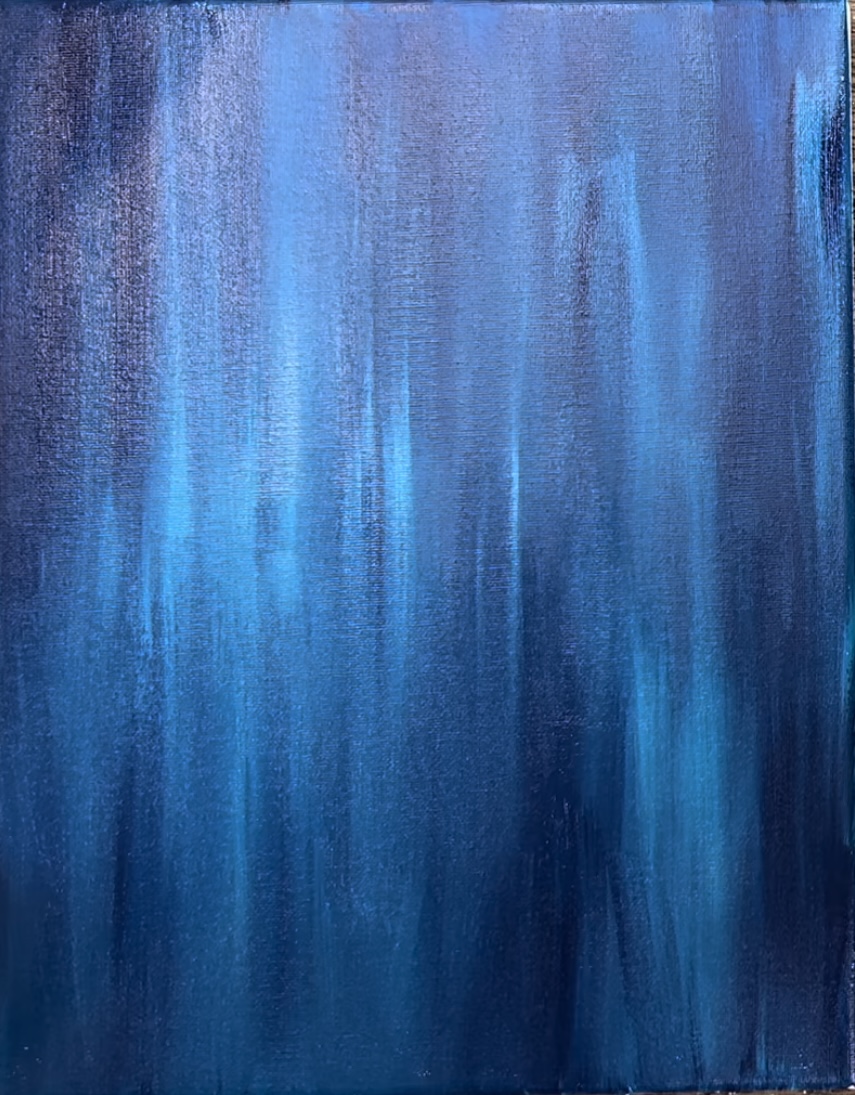
1. Paint the background
Load your palette with the two colors Prussian blue and turquoise blue. Load your 3/4″ flat wash brush into the water and then double load it into both the dark blue and turquoise.

Fill the entire canvas with up and down strokes blending the two colors together but don’t blend the colors all the way. The background is supposed to look abstract and “streaks of uneven color”.
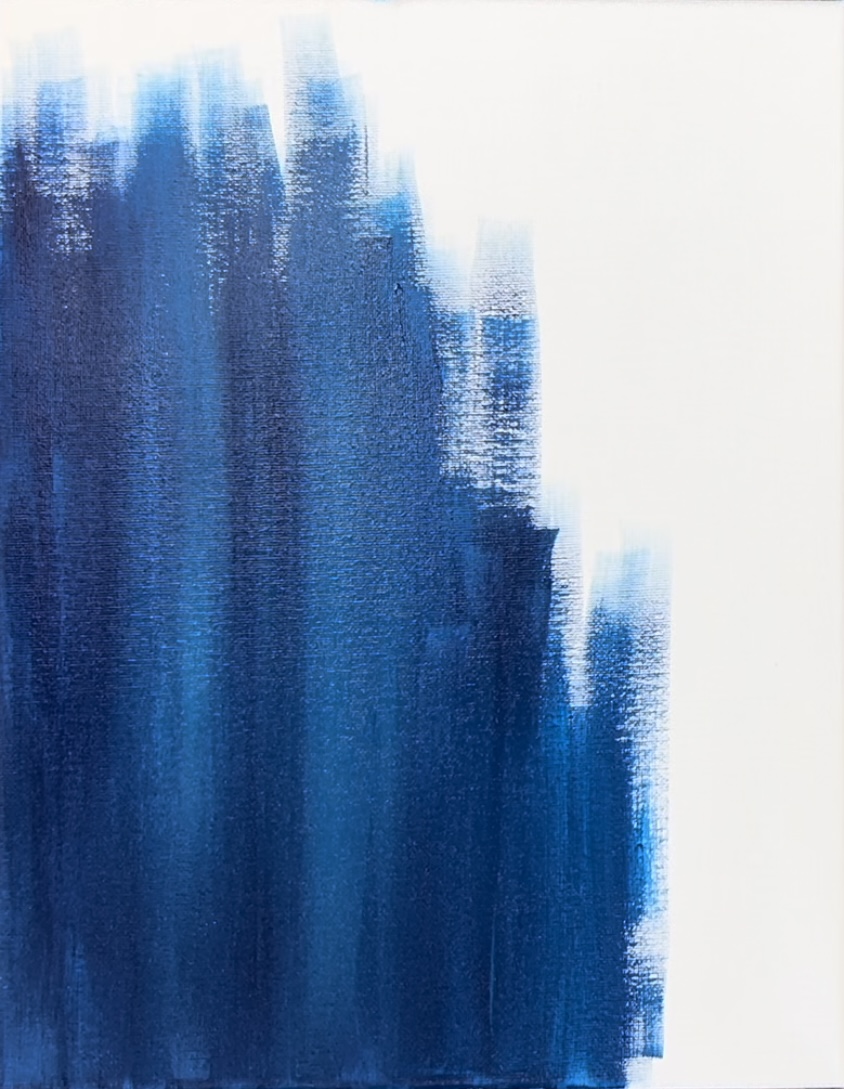
If needed, add a bit of water to the paint to thin it down. This first layer of paint should be relatively thin.
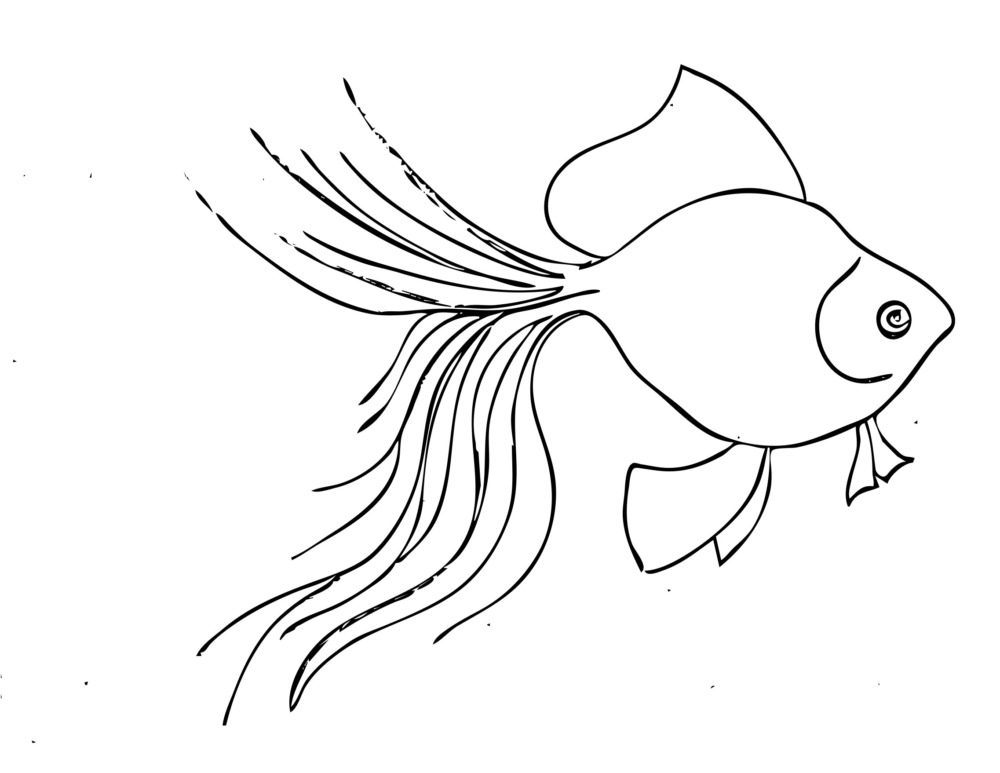
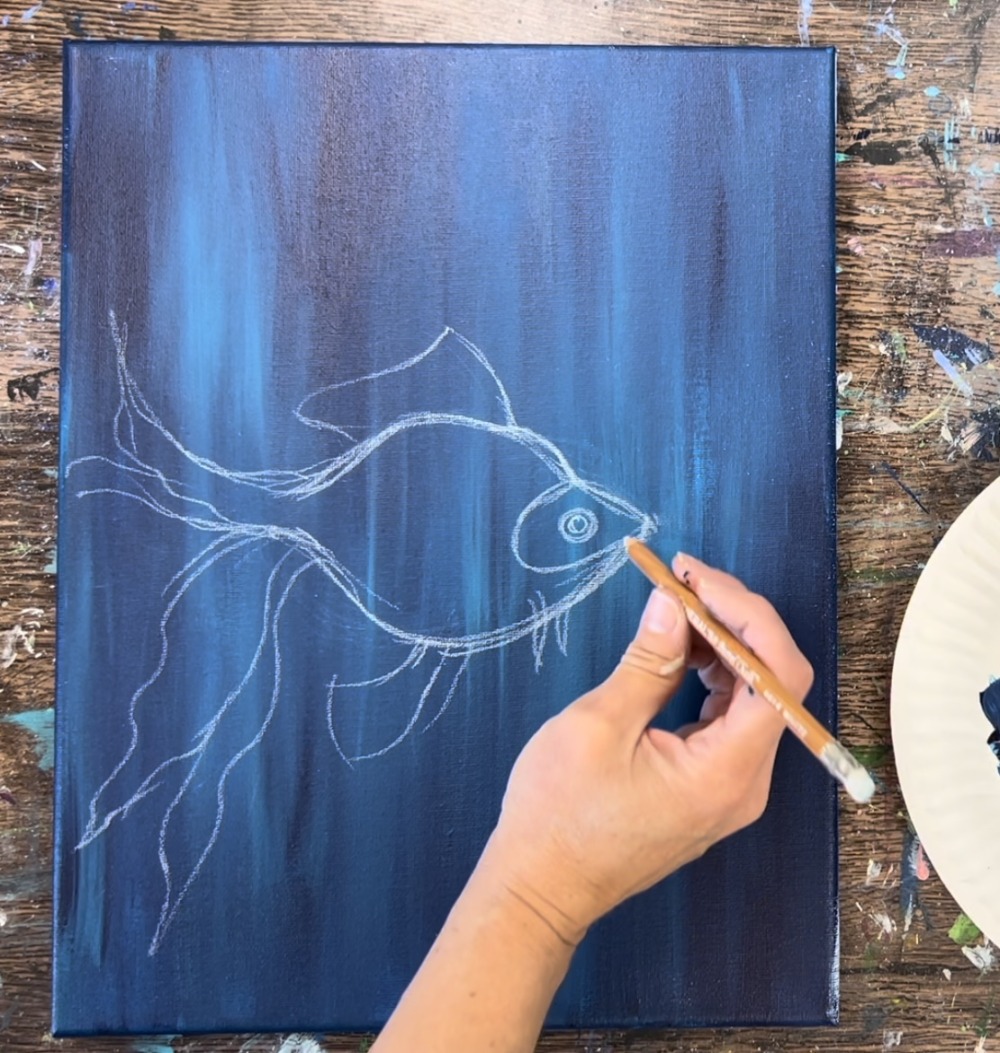
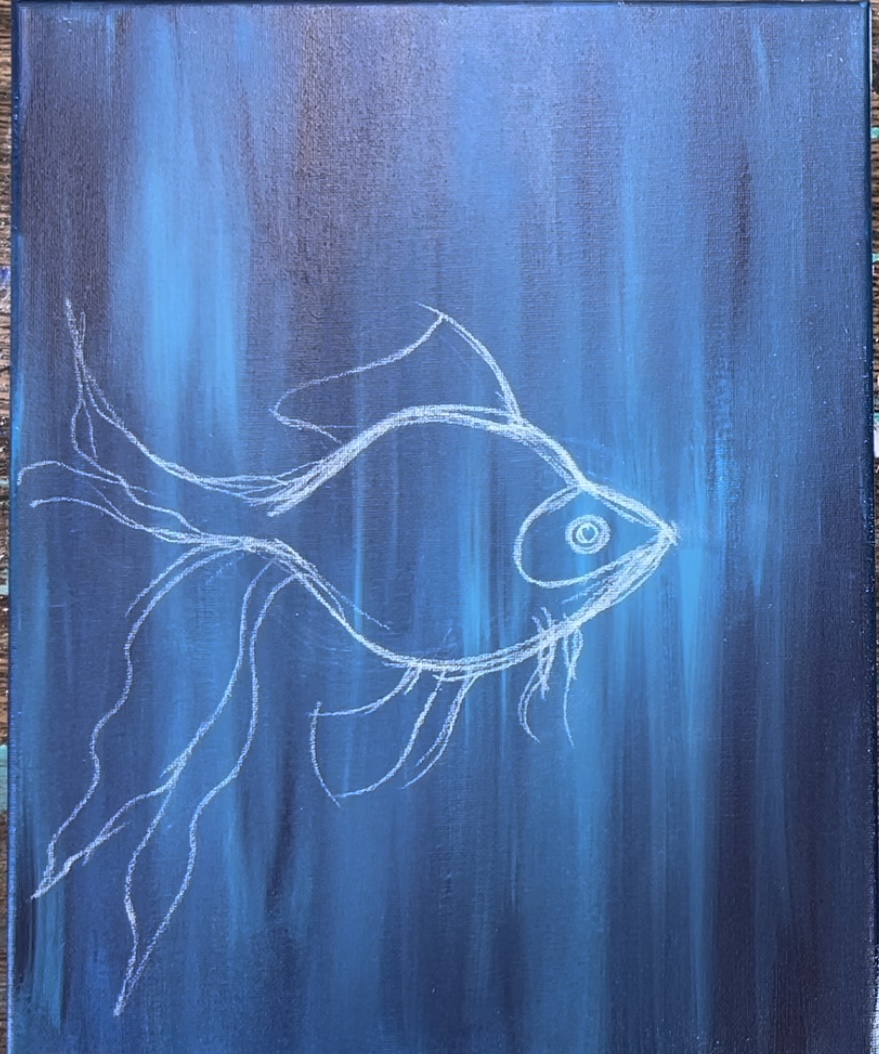
2. Draw or Trace The Goldfish
Wait for the background to be completely dry. Use either a chalk pencil or piece of chalk to draw the fish. If you are using the template, print it out and use graphite paper (preferable white graphite paper) to transfer the fish design to the canvas.
Draw a large eye shape that is about 5″ wide and 3.25″ high from the top curve to bottom curve. Draw the mouth area so that it goes to a slight curve at the tip.
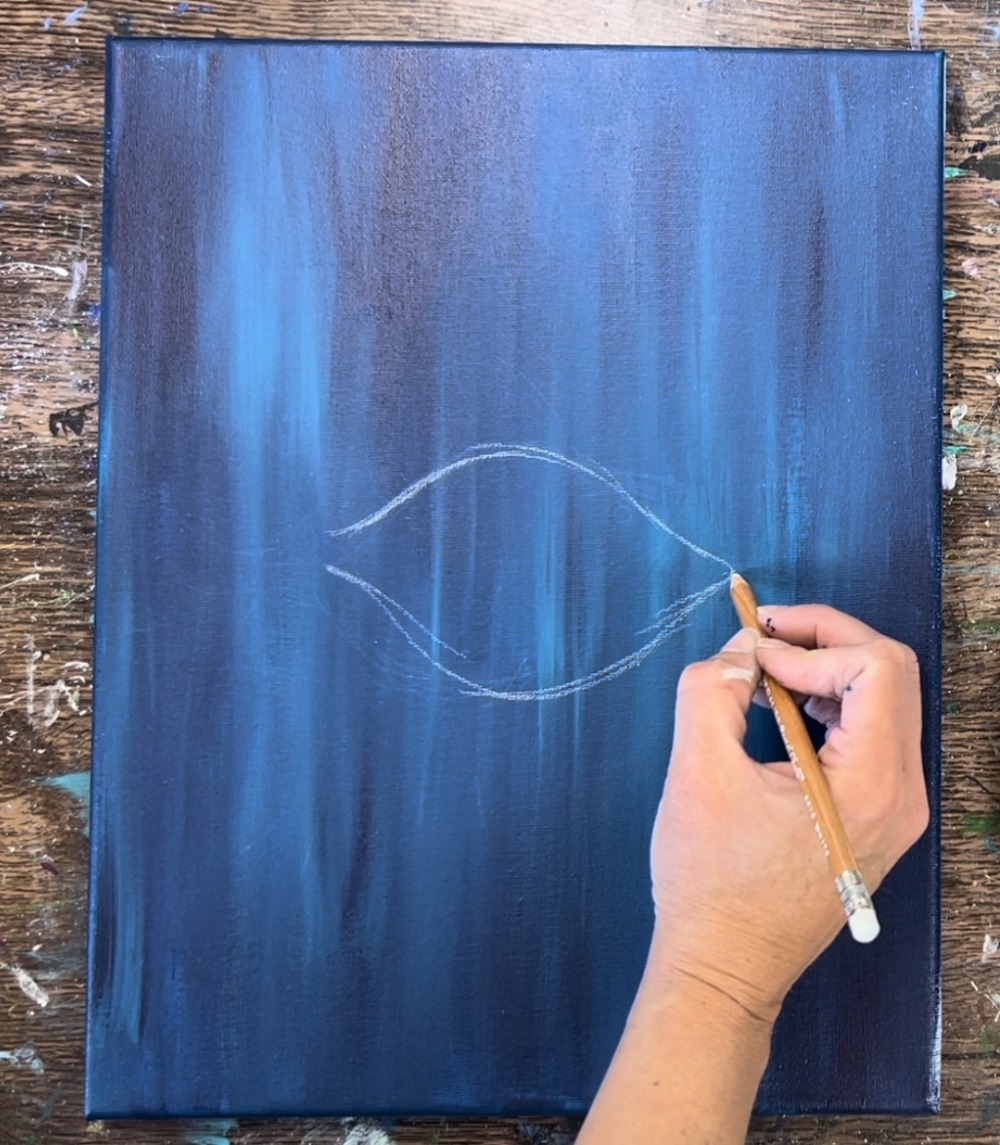
Draw the curve on the side of the fishes face. This curve is about an inch and a half fro the furthest point of the mouth.
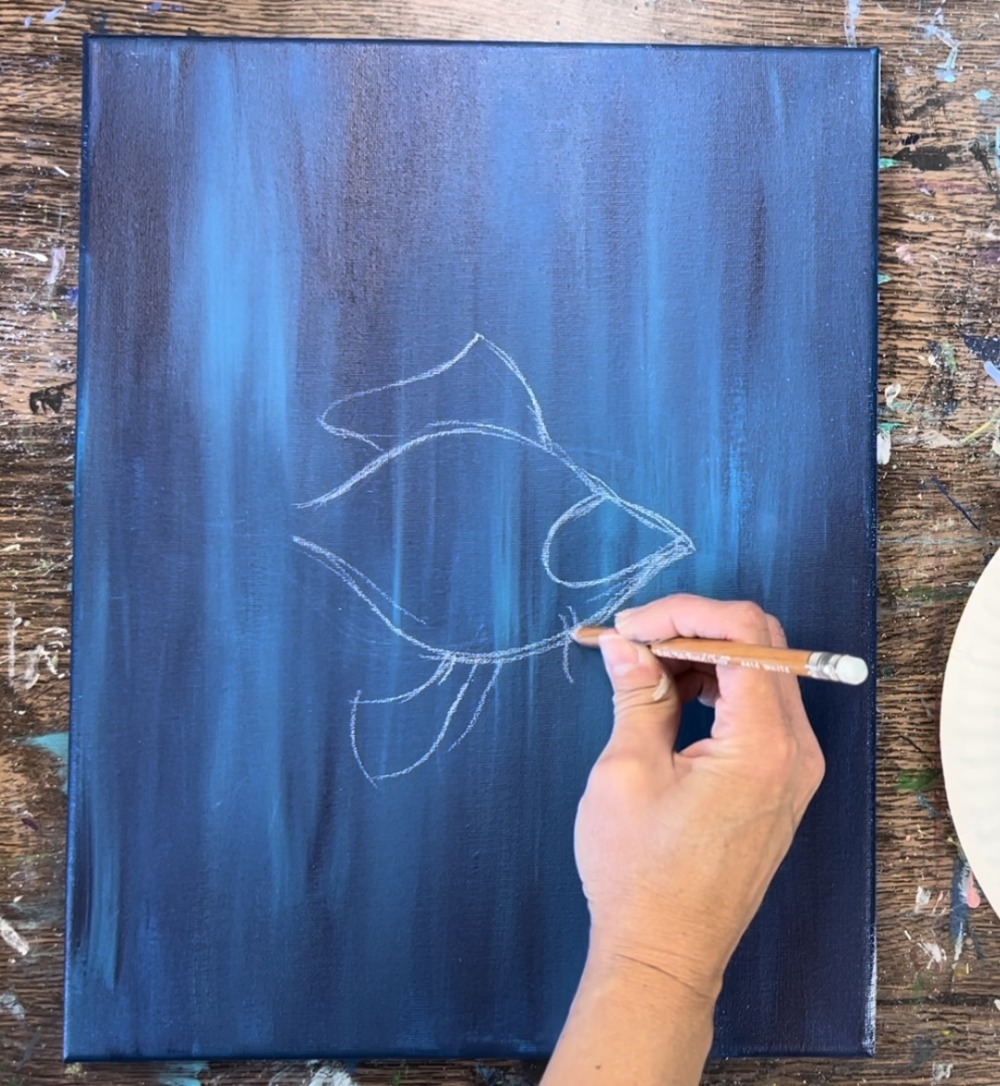
Then draw the top dorsal fin and pelvic fin.

Draw two smaller pectoral fins hanging down below the face area.
Then drat the tail so that it is long and flowing and sort of exaggerated. This tail has a top piece that flows upwards and a bottom piece that flows downwards.
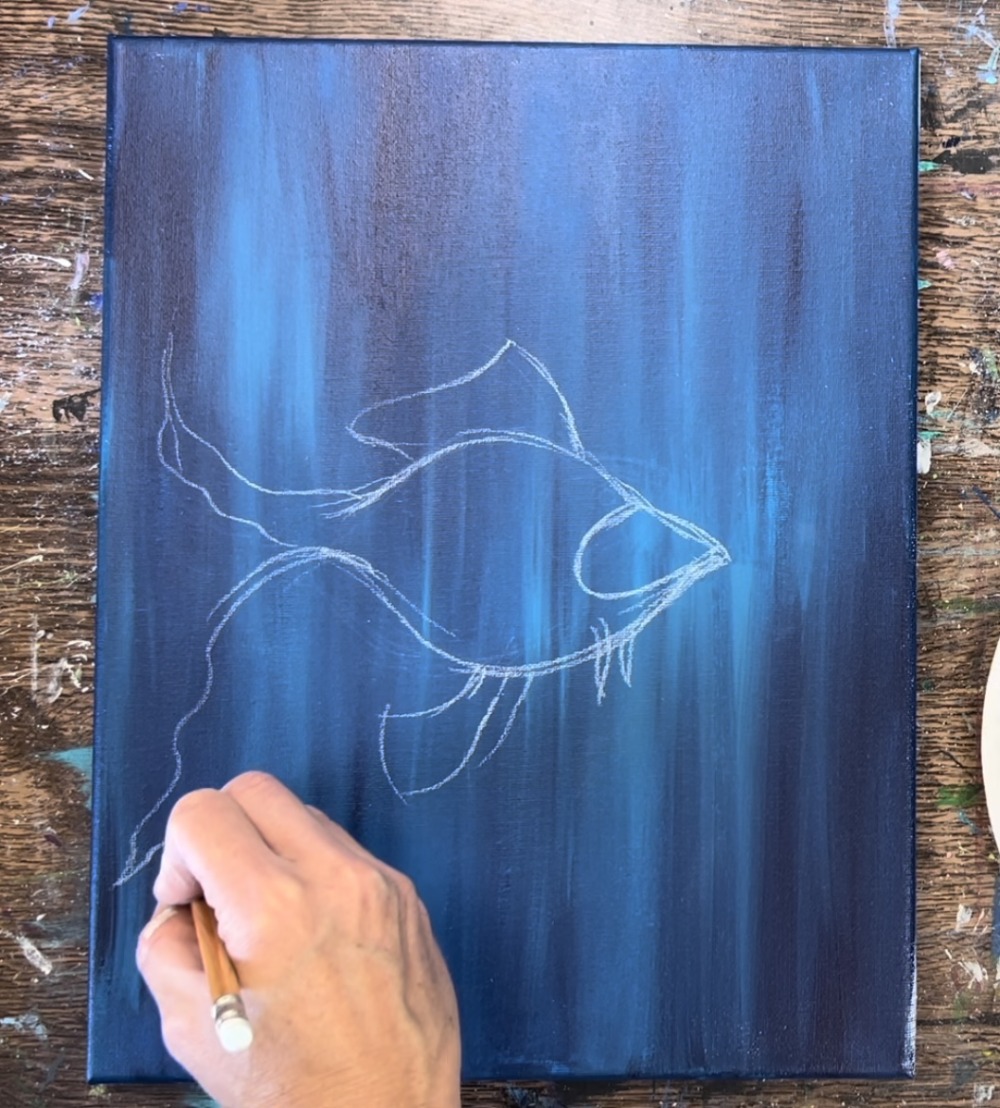
Draw a circle for the eye.
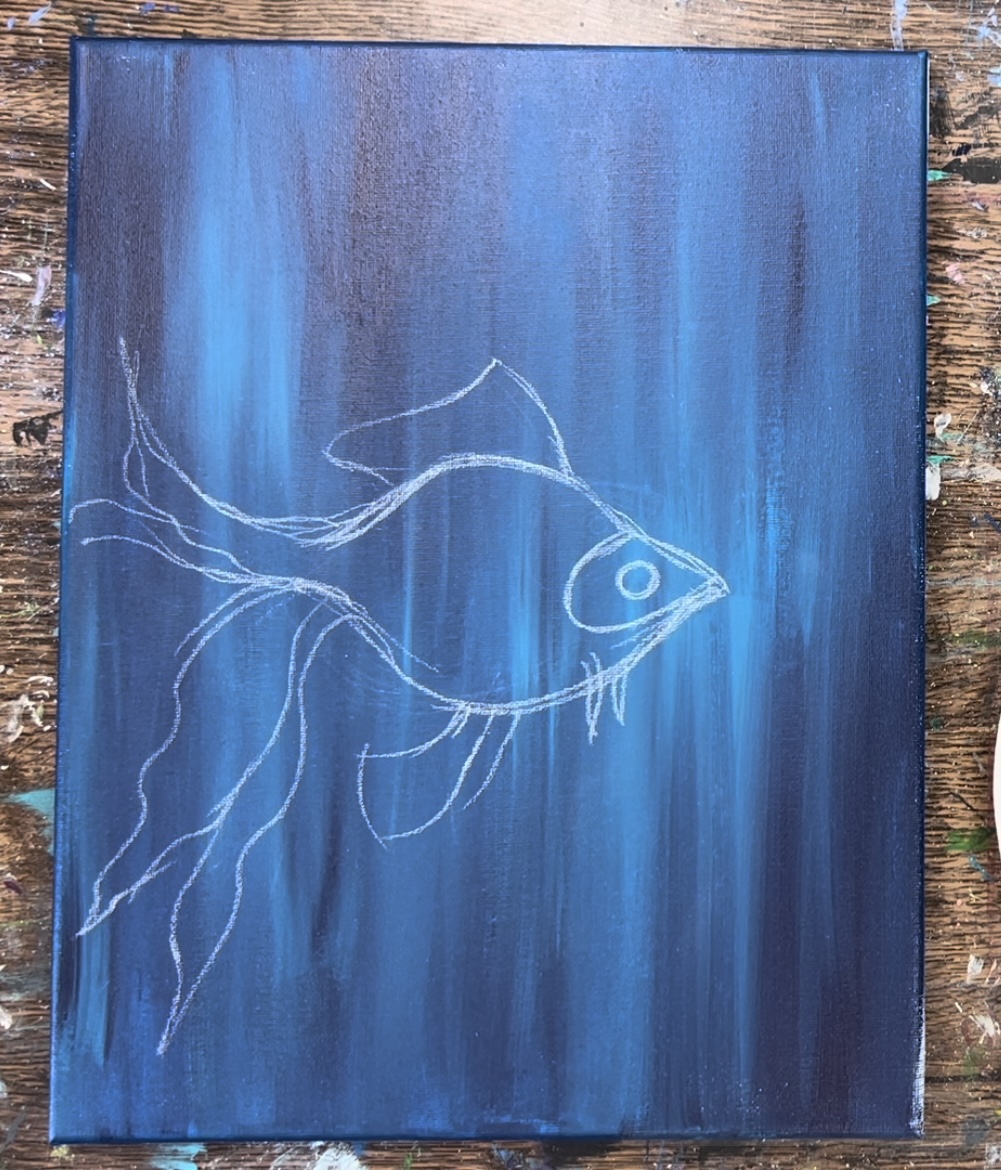
Then draw a circle within the circle.
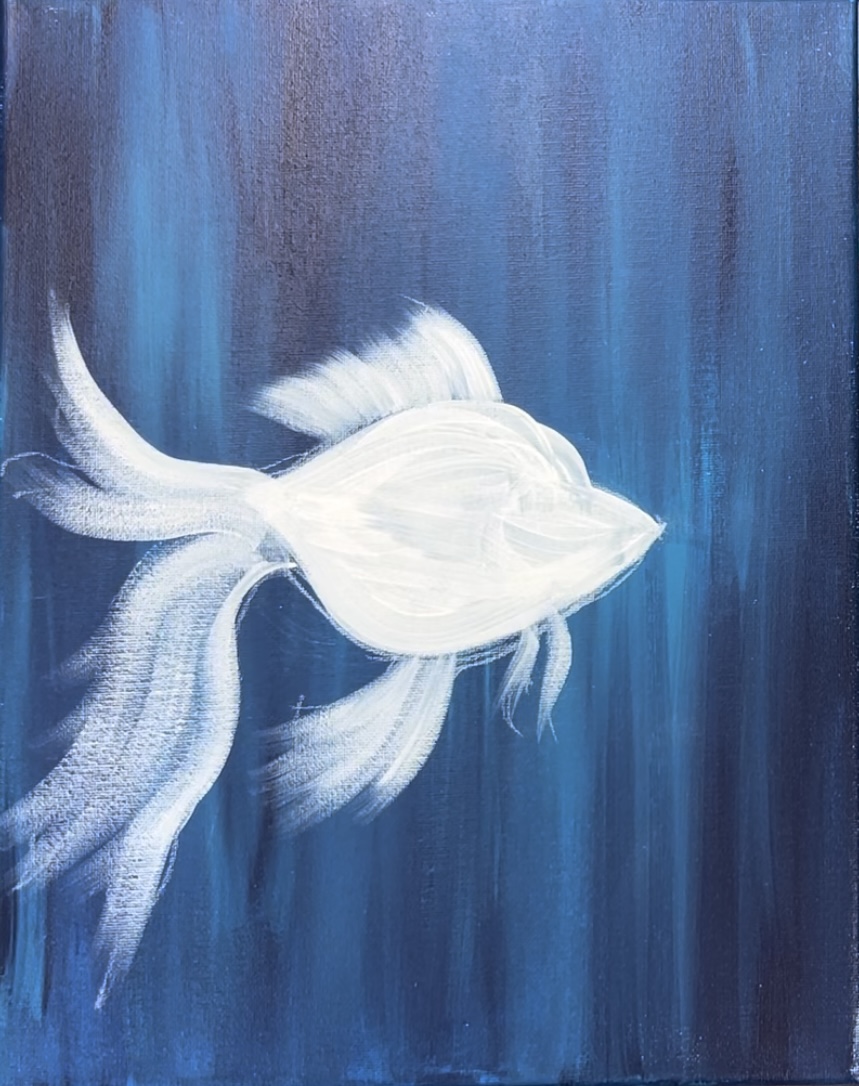
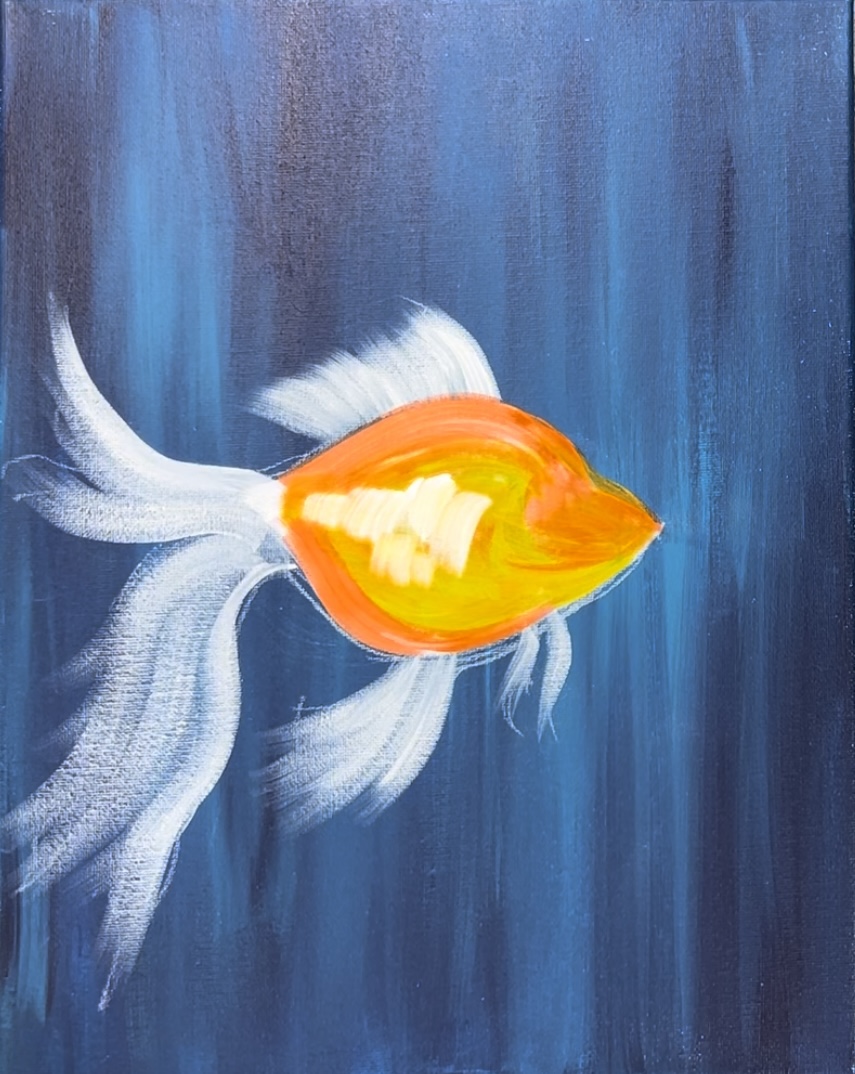
3. Prime Goldfish With White Paint
In order to achieve the bright orange and yellow color in the goldfish, it is recommended to “prime” the shape of the fish white first and then paint the orange and yellow over it.
Use a #12 bright brush and titanium white to paint the body of the fish a solid coat of white paint. Outline the edges of the shape and then fill it in solid with contouring strokes.
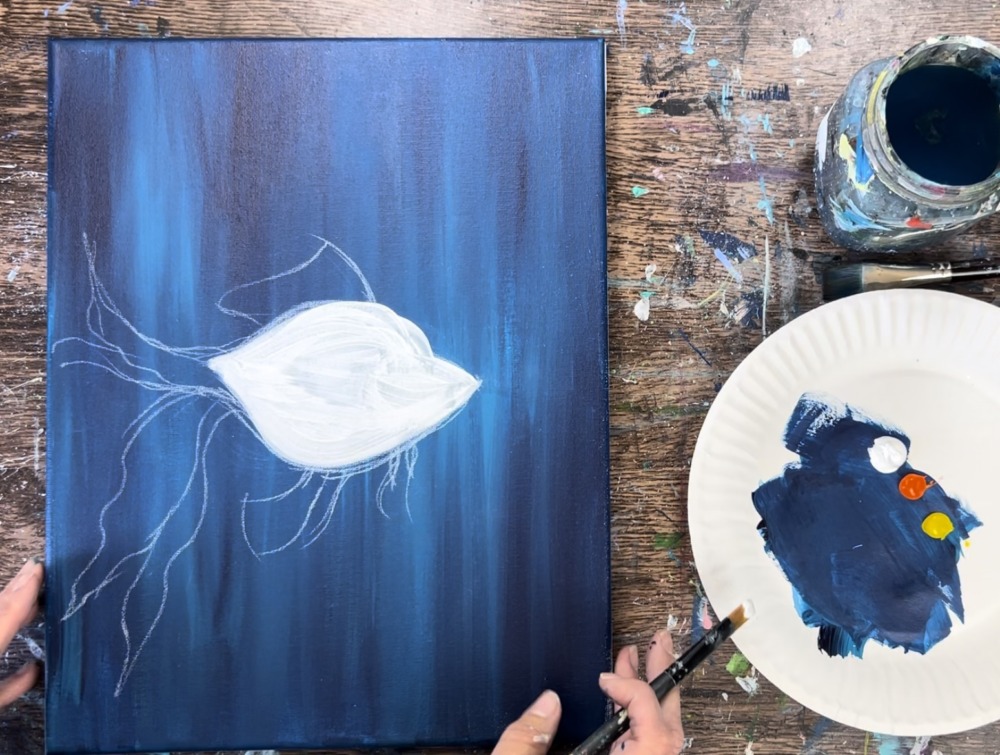
Then “dry brush” the fins. Use the 12 bright brush but only load a very small amount of white paint on the tip of the brush. Paint curved strokes going in the direction of the fin. Release the pressure so the fin becomes sort of see though on the edges.

Tip: hold the brush very lightly and allow the bristles to barely skid the canvas to create this effect.
Paint the tail and the rest of the fins.
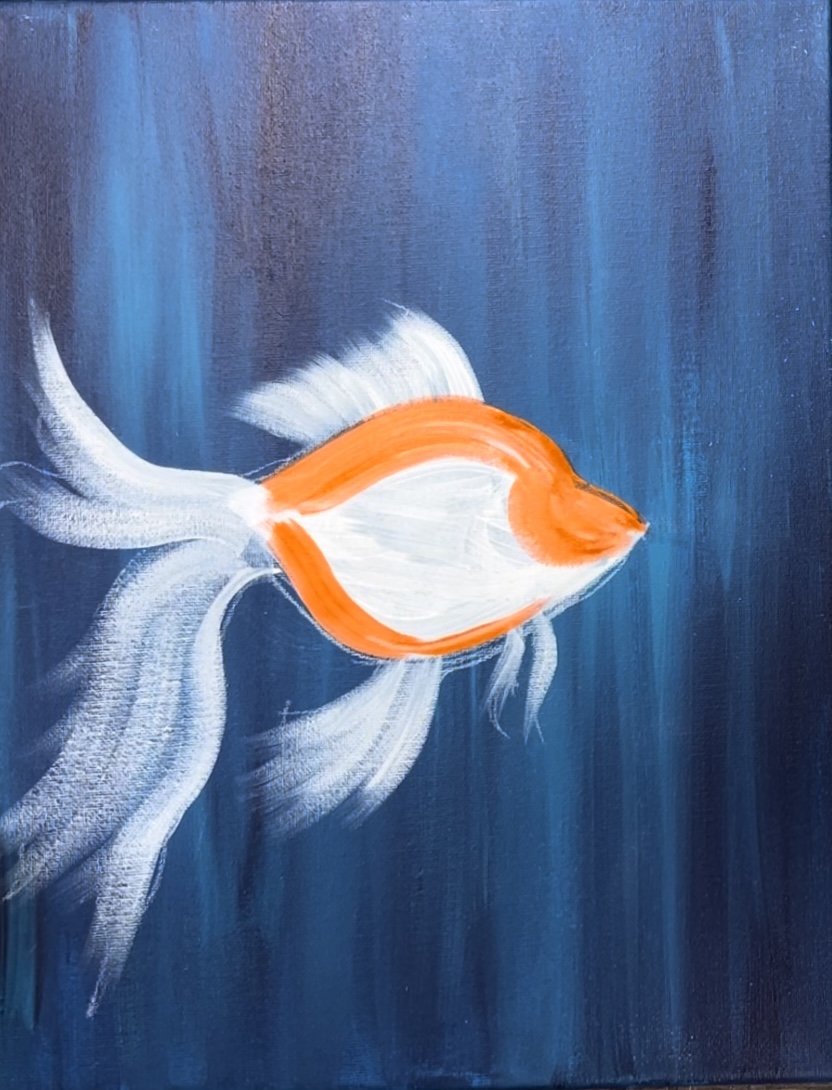
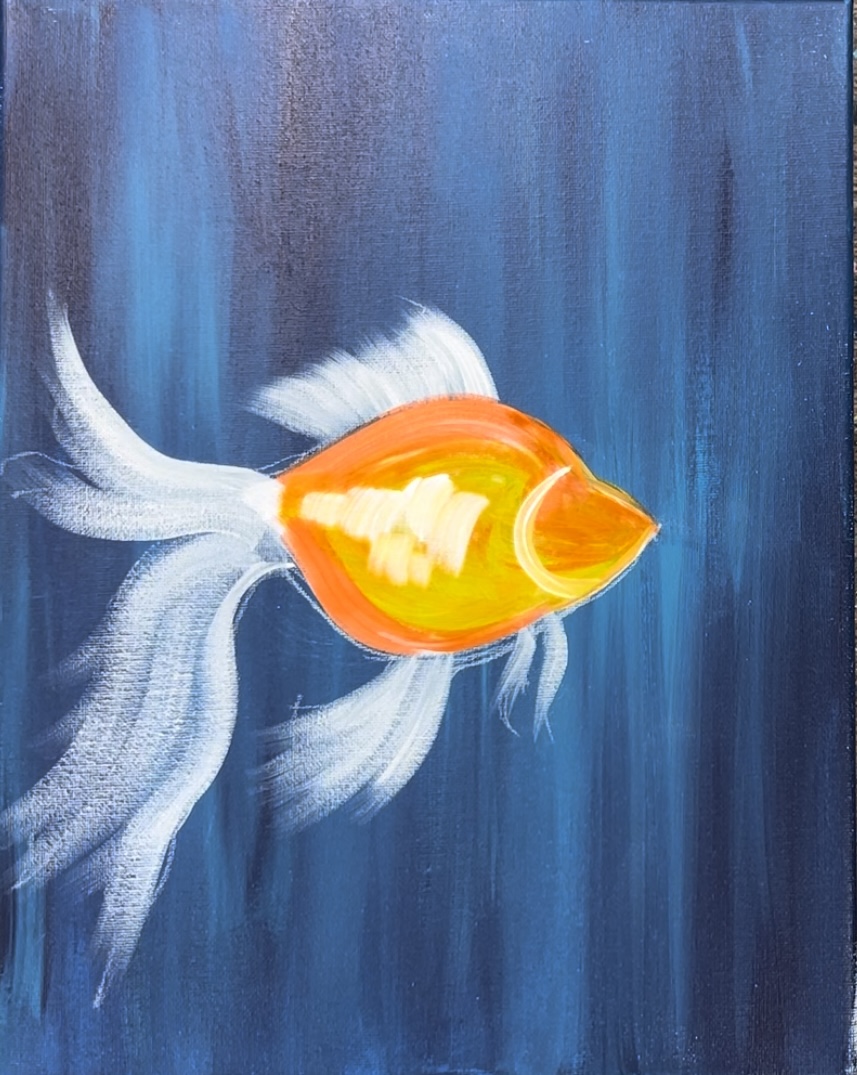
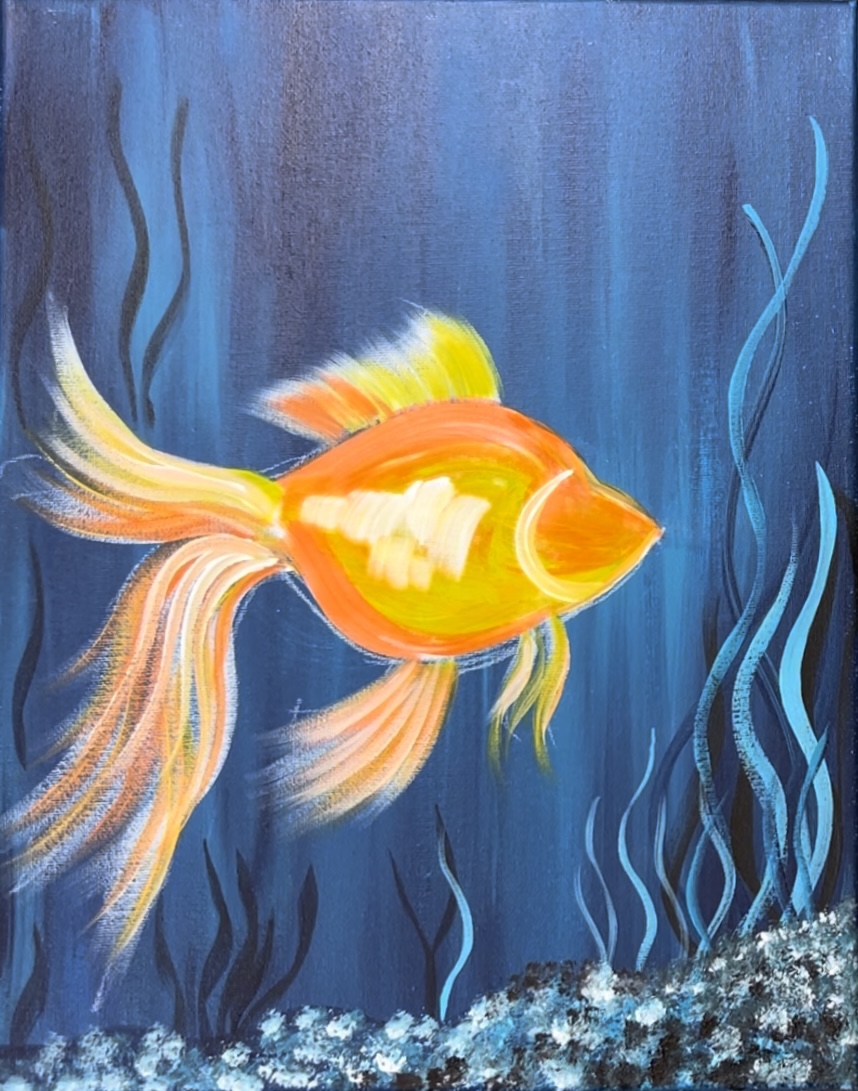
4. Paint Body Of Fish
Rinse the 12 bright brush. Load it into cadmium orange hue. Then paint the body of the fish. Start by using the orange just on the inner edges and paint in a curved/ contoured direction.
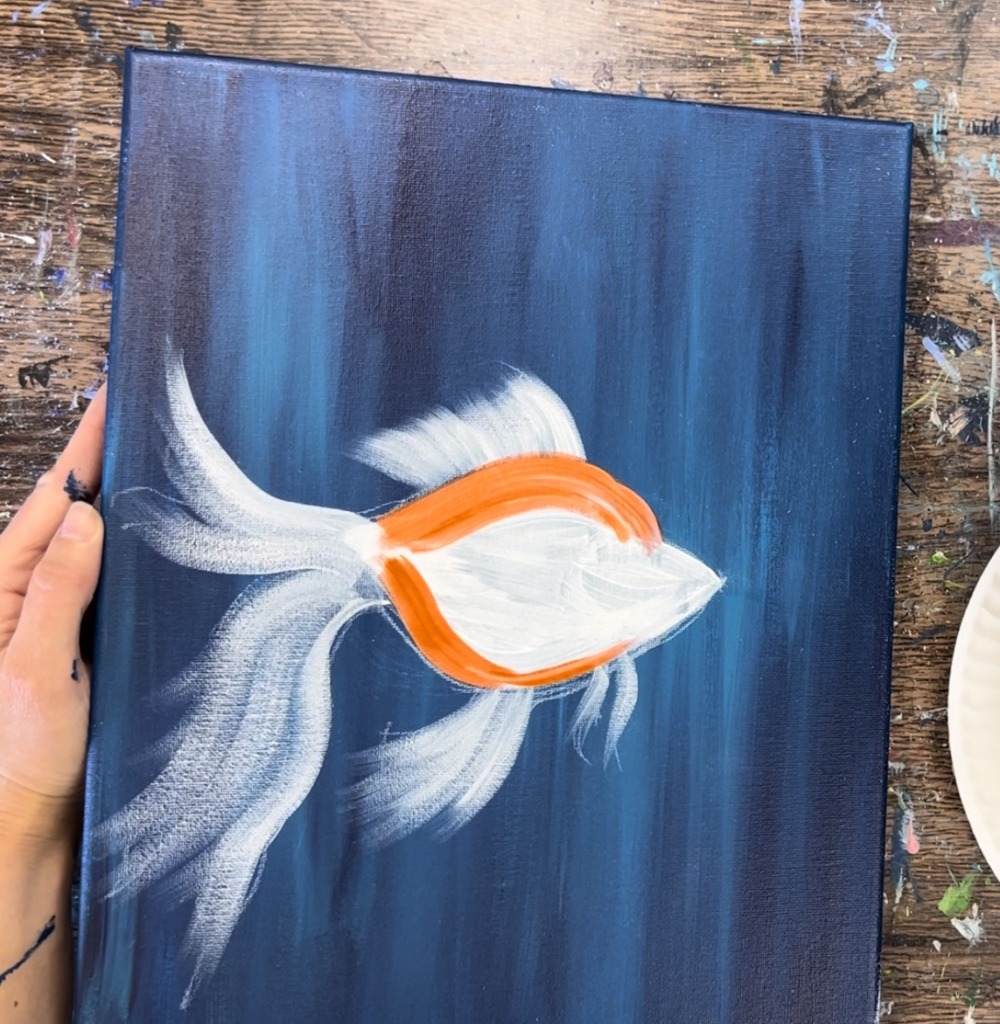
Paint the head area orange as well.
Then, without rinsing the brush, load it into primary yellow. Gently blend the yellow with the orange but don’t blend it all the way. Paint the center part of the fish’s body with the yellow. Your strokes should go in a contoured/ curved direction.
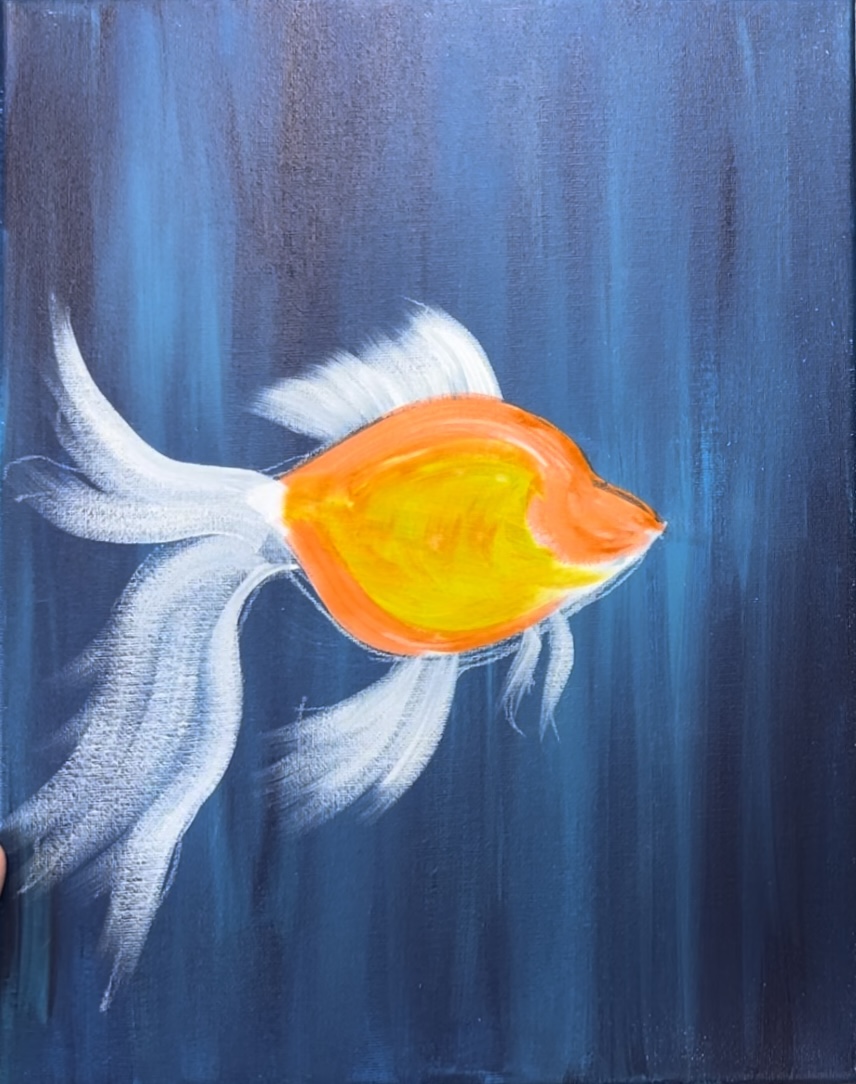
Rinse the brush. Then load it into titanium white (just a little bit). Paint little white curves on the side of the fish in the center part of the body. You’ll want to try not to blend these curves.
Then use the white to paint the curve/ gill that is to the left of the head area.
5. Paint Fins
Rinse and dry your #12 bright brush. Paint over the white fins using the same “dry brush stroke” technique. Use both the yellow and the orange sparingly on each of the fins.

When you paint over the fins, try not to cover all of the white paint. Leave a little showing through. Also, make sure the paint is applied very thinly.
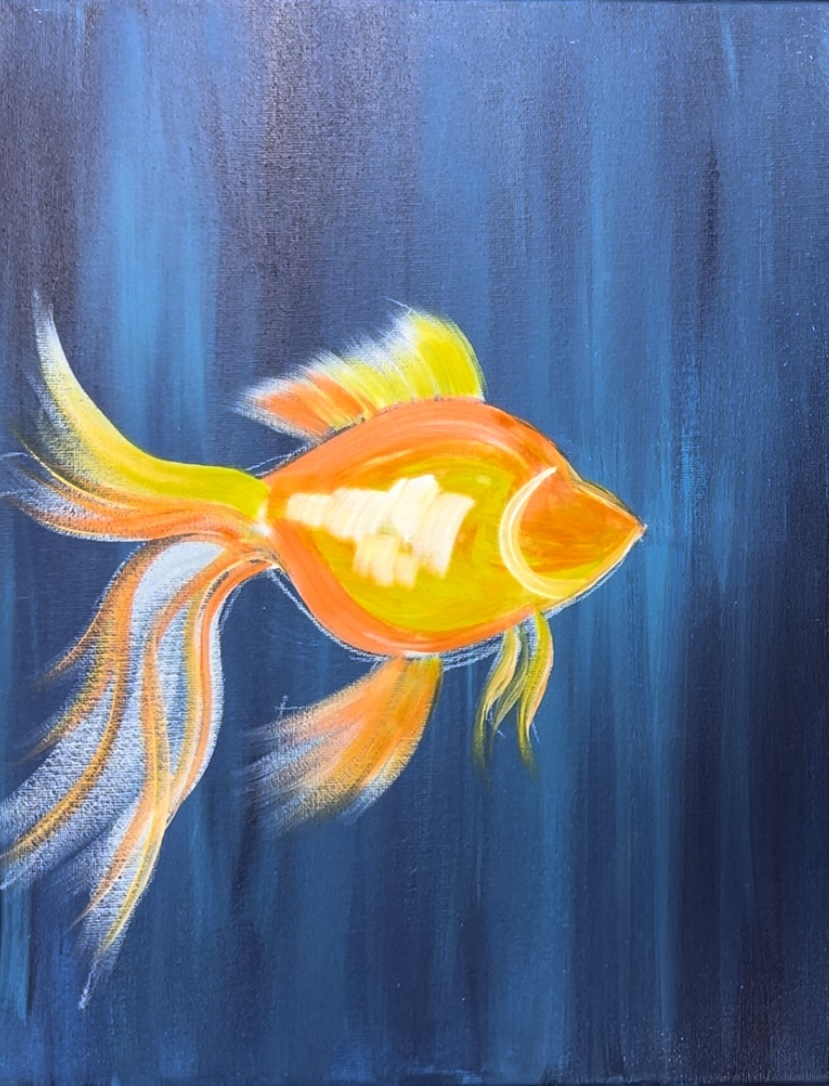
You can use the full width of the brush or turn the brush on its side to use the thin part of the bristles. Make sure to do long and flowing strokes for the tail.
6. Paint Seaweed & Gravel Base
Load your palette with Prussian blue and turquoise blue. Use either the #4 round brush or 3/4″ flat brush to paint a wavy ground area for the base of the gravel. Then Paint long, wavy lines of varying heights.
Next, load your palette with mars black. Mix a small amount of the black into your blue and turquoise on your palette. Paint some darker seaweed lines.
Then rinse your brush off. This time mix a little titanium white into your turquoise and Prussian blue on the palette. Paint lighter color seaweed lines.
7. Paint Gravel
To create the texture in the rocks, use a round bristle brush and “stipple” all the blue, white & black colors on your palette. You can also use a bundle of q-tips for this or any brush you have available (such as the tip of the 3/4 flat brush).
Load the tip of this brush into differing amounts of the turquoise and then layer on white and black in different areas.
You don’t need to rinse the brush in between colors. Try not to over blend the color of the gravel.
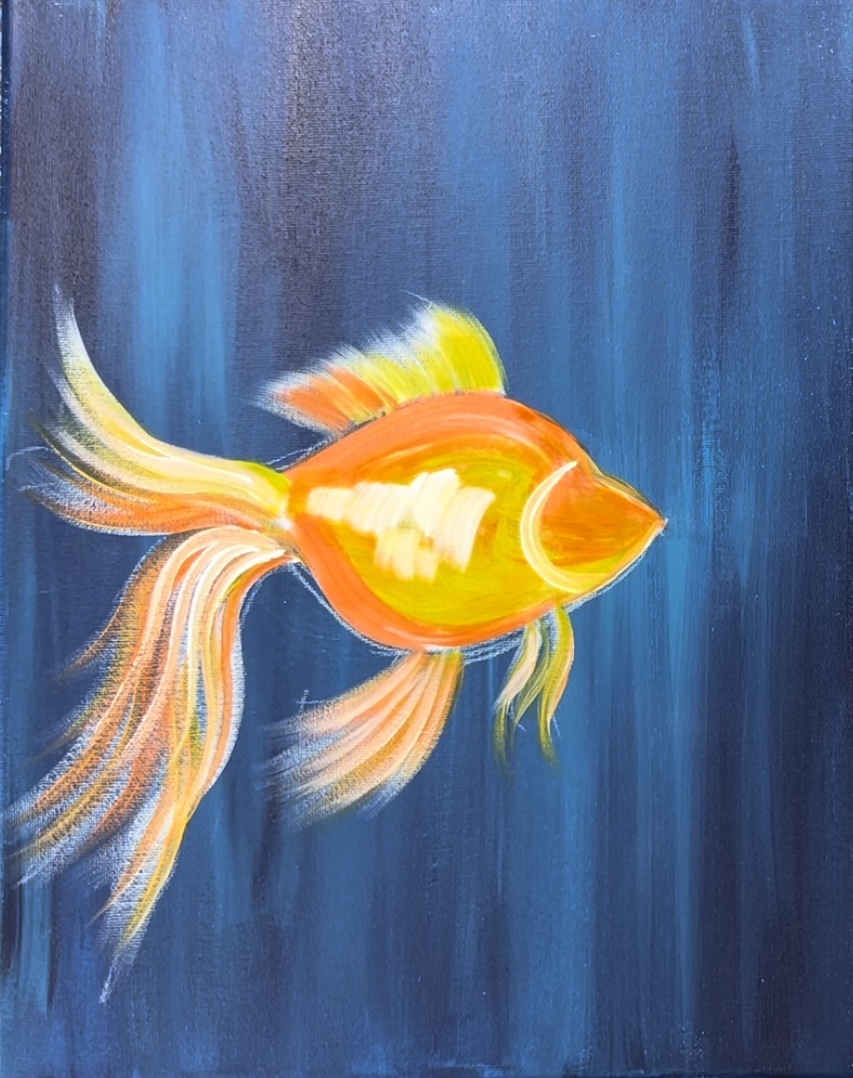
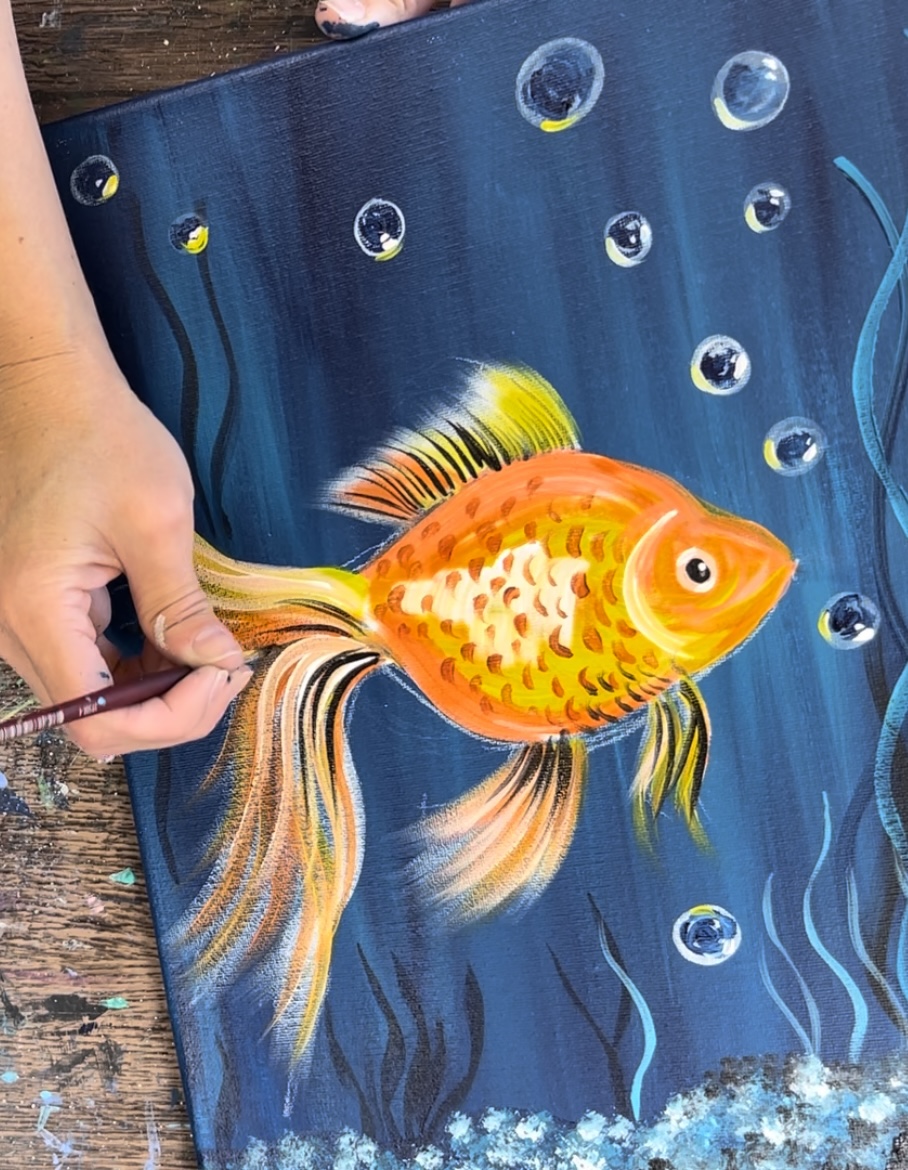
8. Paint Eye & Scales
Use the #4 round brush to paint a small black circle on the fish’s face area.

To paint the scales, load your palette with burnt Sienna and more orange if needed. Mix the brown and orange together. Use the #4 round brush to paint small curve lines starting from the left of the gill. Paint them in columns that stagger kind of like bricks. Work your way from the right to the left.
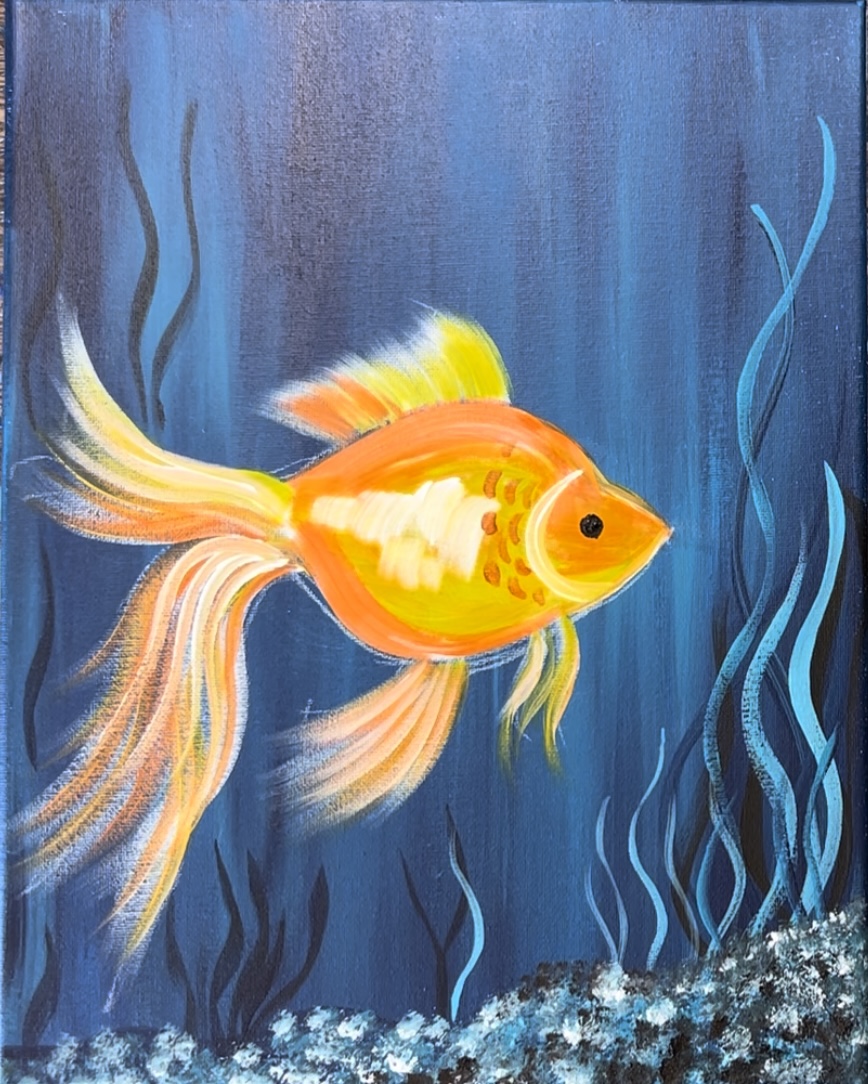
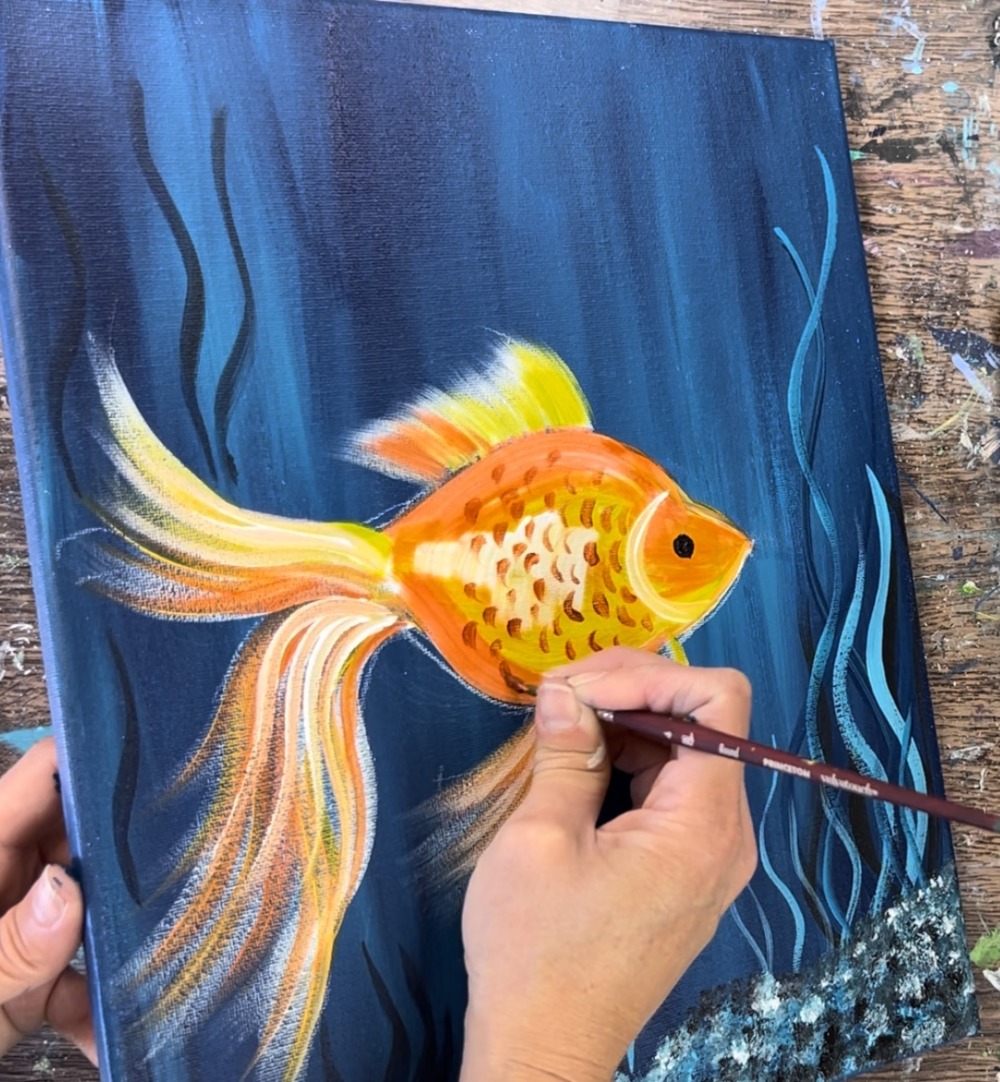
You can add a little black into some of the scales towards the bottom of the fish.
Next, finish the eye. Mix about equal parts white and brown together on your palette. Then paint a ring around the black circle of the eye.
Next, paint a tiny white dot in the upper right area of the eye.
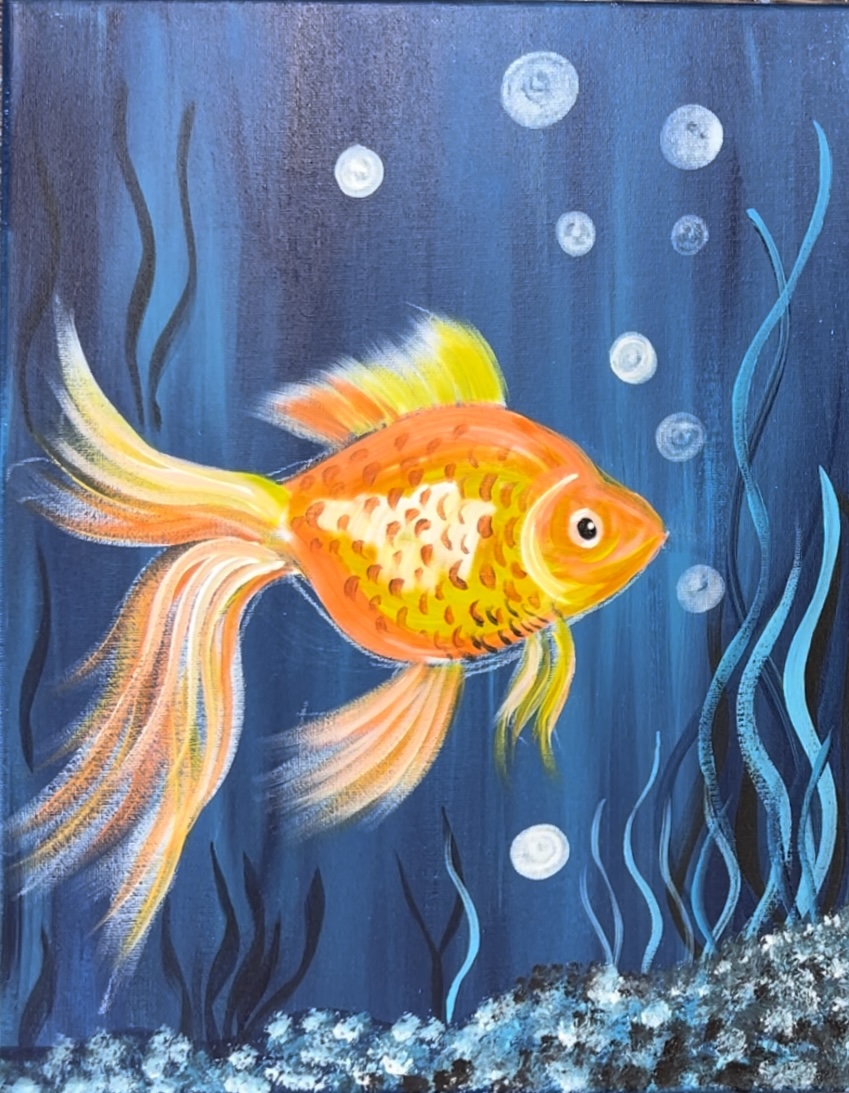
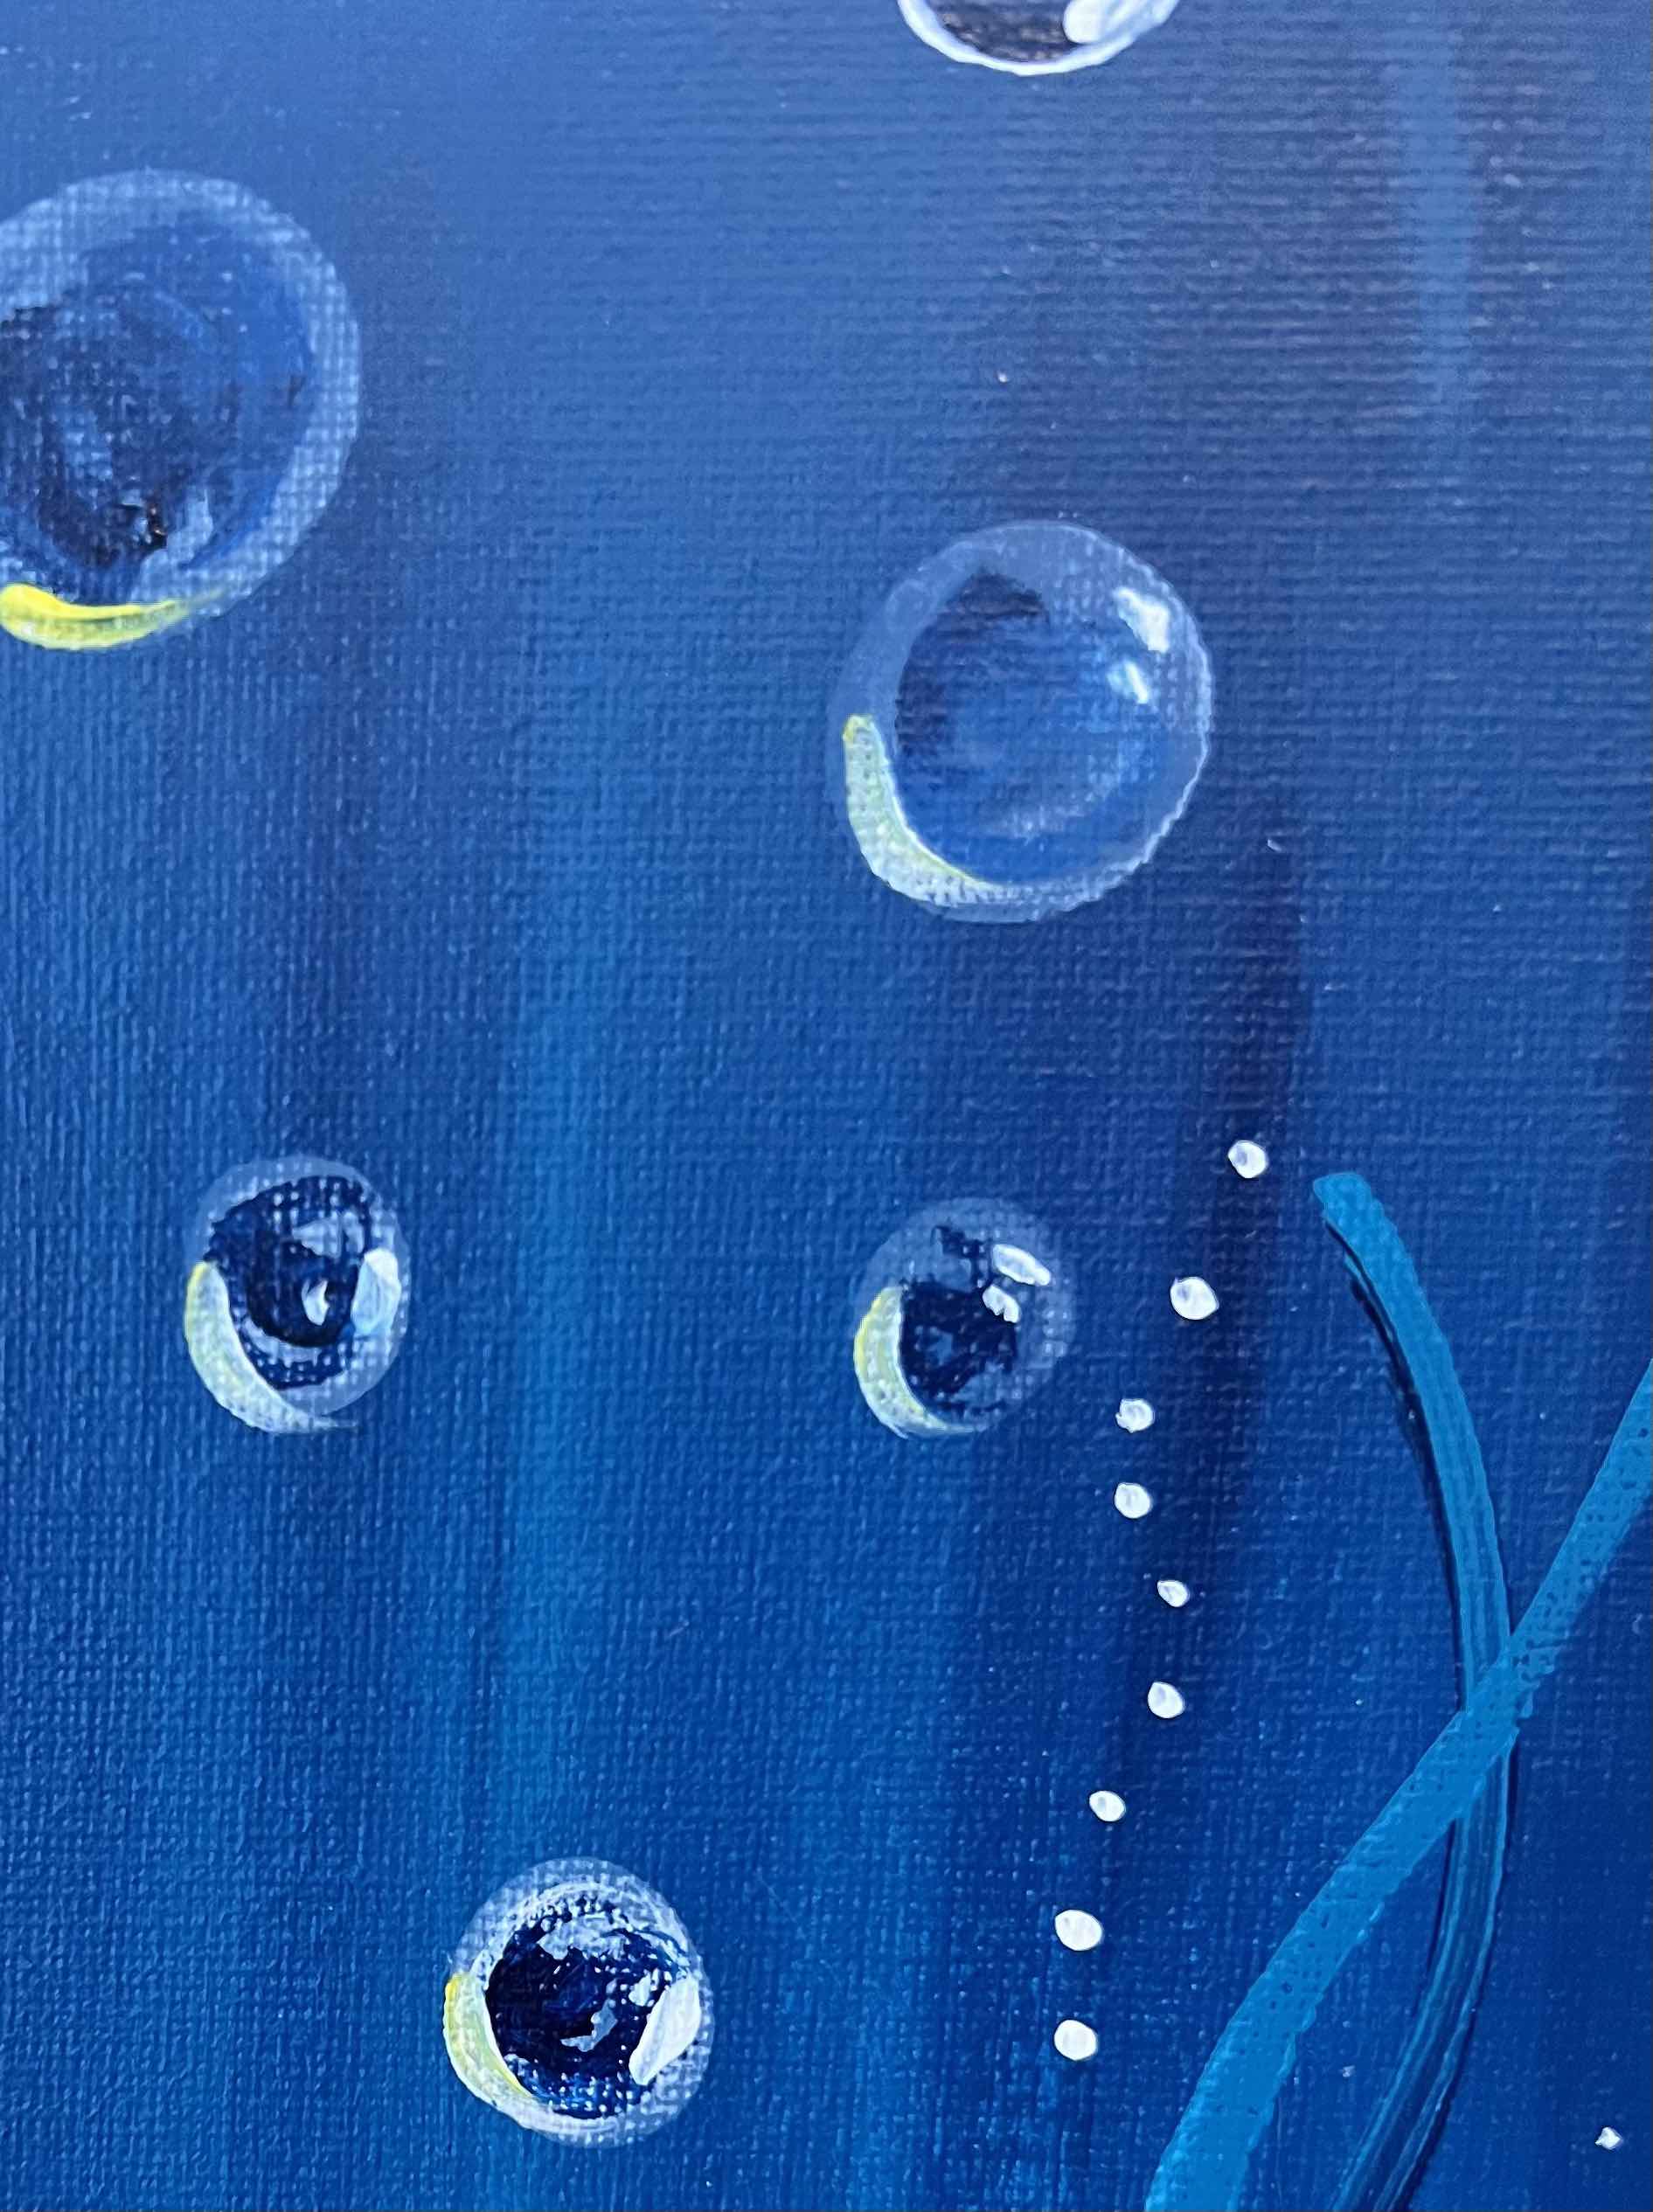
9. Paint Bubbles
For these bubbles, I watered down my titanium white to almost a water color consistency. This will make the white sort of see through on the canvas. Use the #4 round brush to paint varying sized circles. It’s okay if the consistency of the white is varied as well.
Then let this dry.
Next, use the round brush and the color Prussian blue to paint the inside of the circle. Leave the outer circumference of the circle white and paint the rest of the inside of the circle with rounded strokes. Leave some of the white on the inside still showing through.
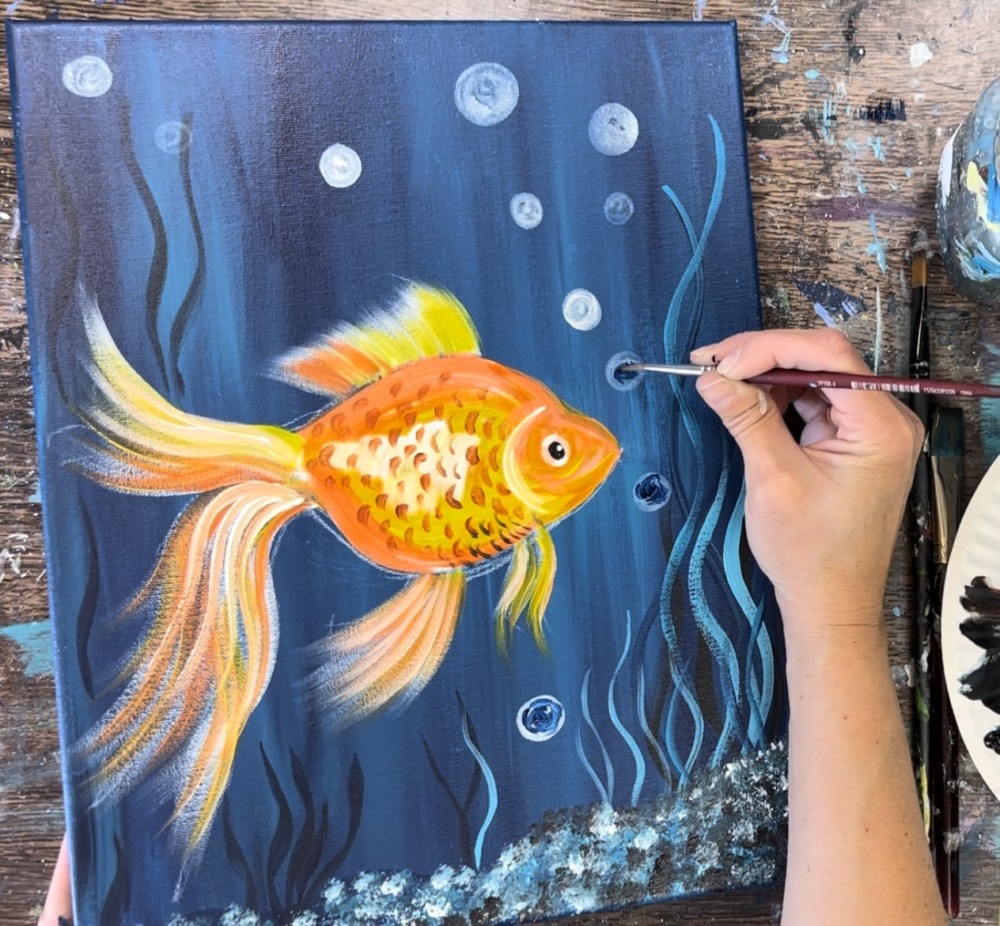
After this dries a bit, use a clean #4 round brush and just the titanium white to paint a highlight on the right side of each of the bubbles. Paint a small curved stroke. Try to make the highlight on the same side of each of the bubbles.
Next, use the color primary yellow to paint another curve on the side of the bubble facing the fish.
10. Paint Black Lines On Fins
Use the #4 round brush and mars black to paint lines on each of the fin areas. For the dorsal fin, paint thin lines that start at the top of the fish and fade away to the tip of the dorsal fin. Leave much of the color still showing.
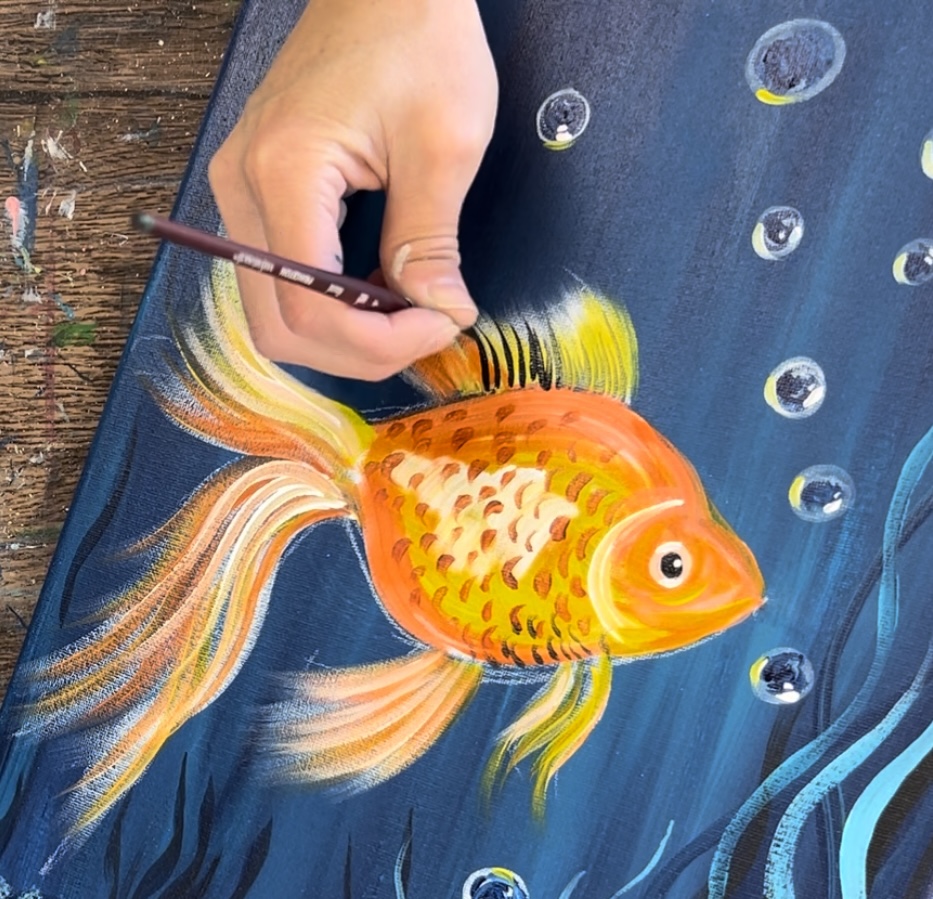
Repeat this for the tail and rest of the fins.
11. Paint Little Bubbles
As a final touch, you can paint tiny white dots going in a curved direction throughout the water.
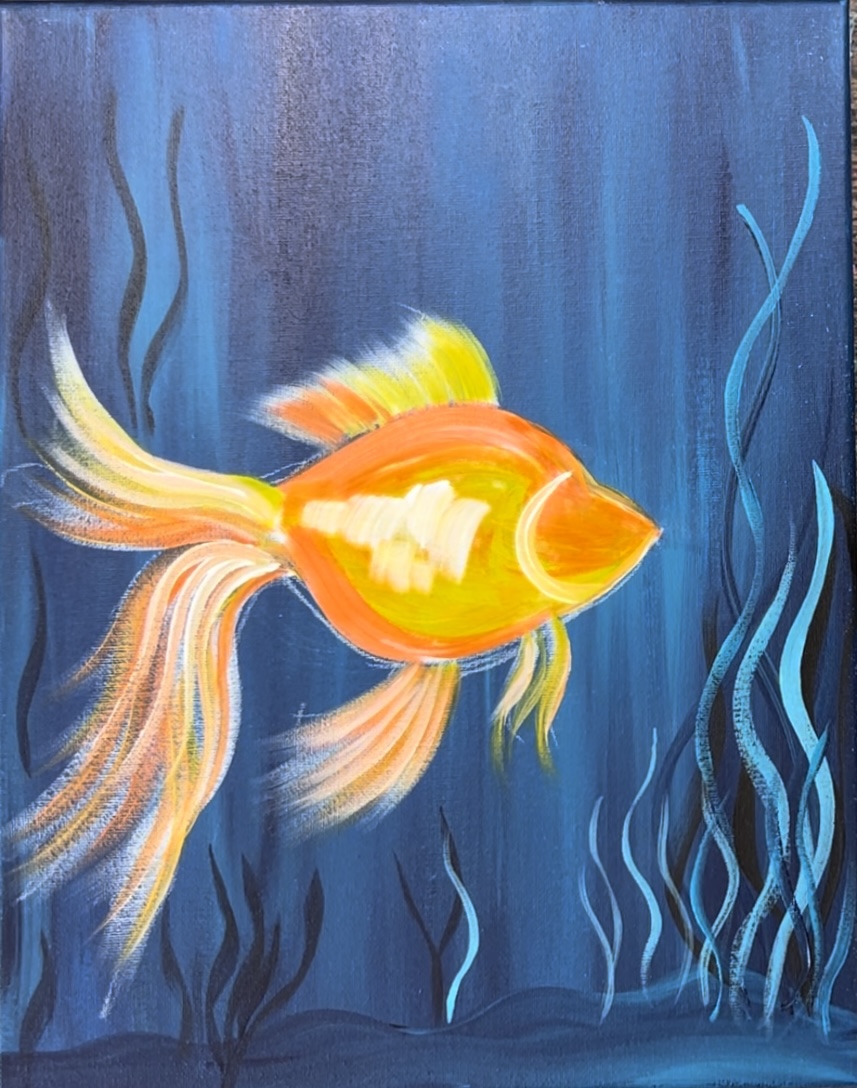
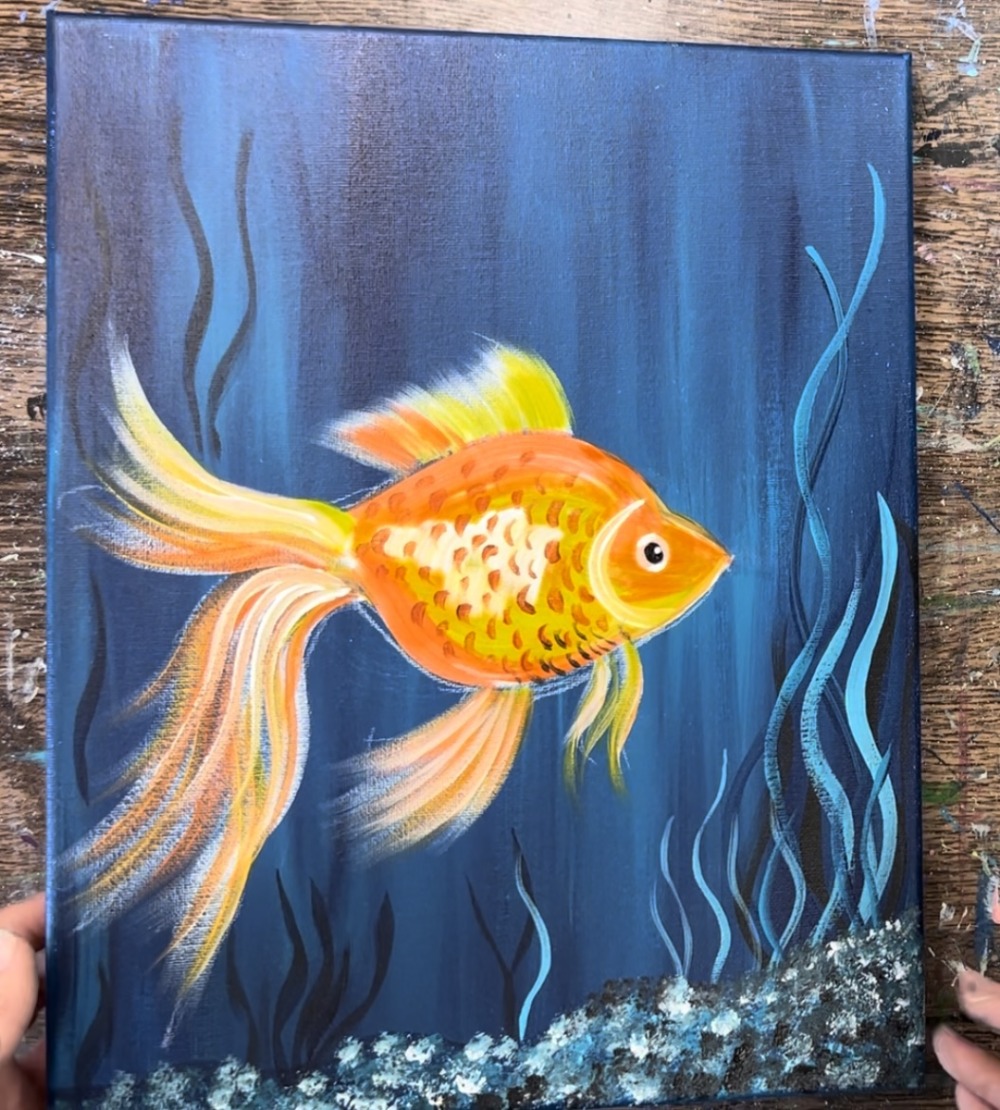
Finished
That’s it! Sign your name and show it off!
