
Would you like to save this?
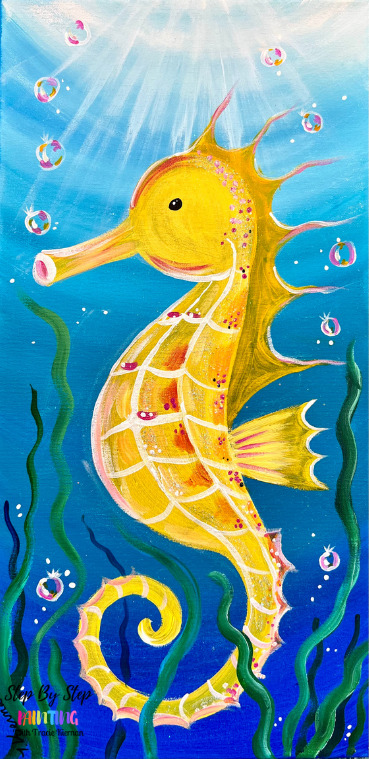
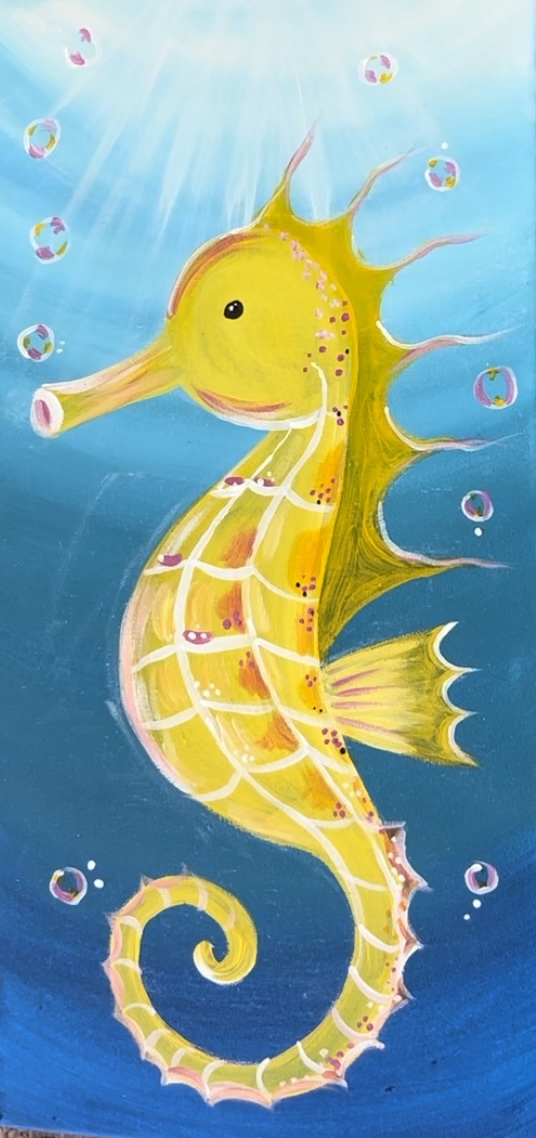
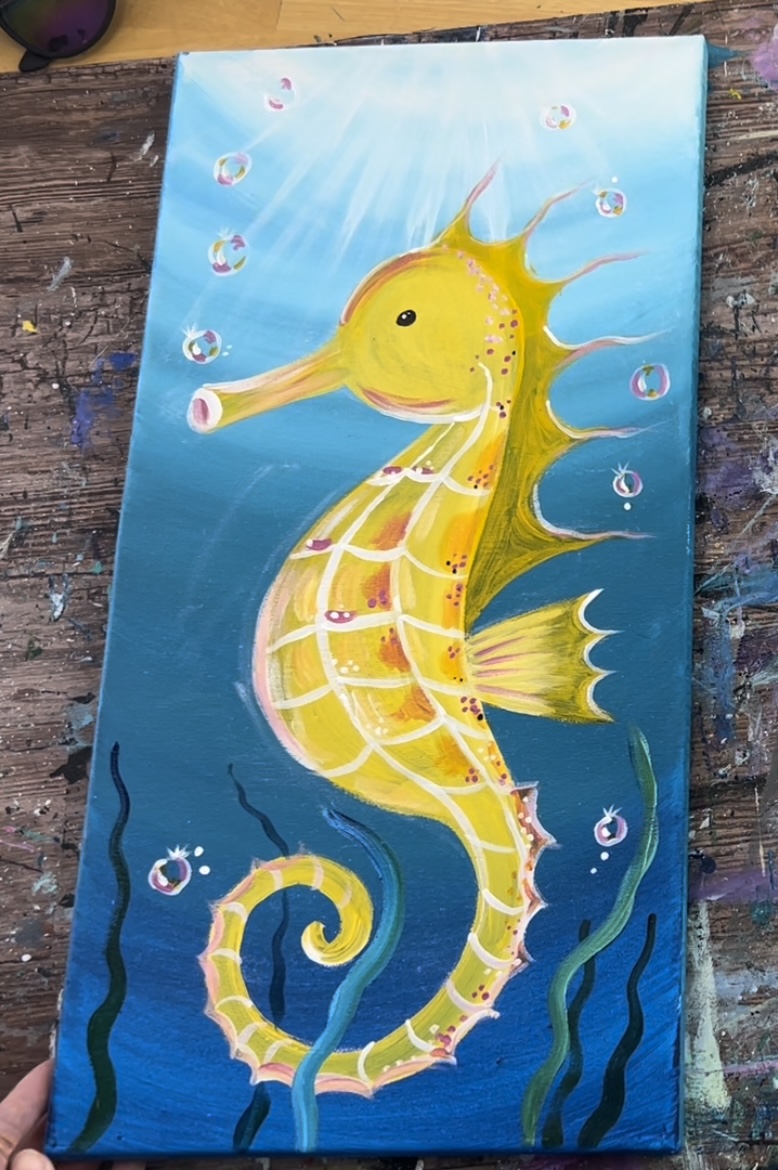
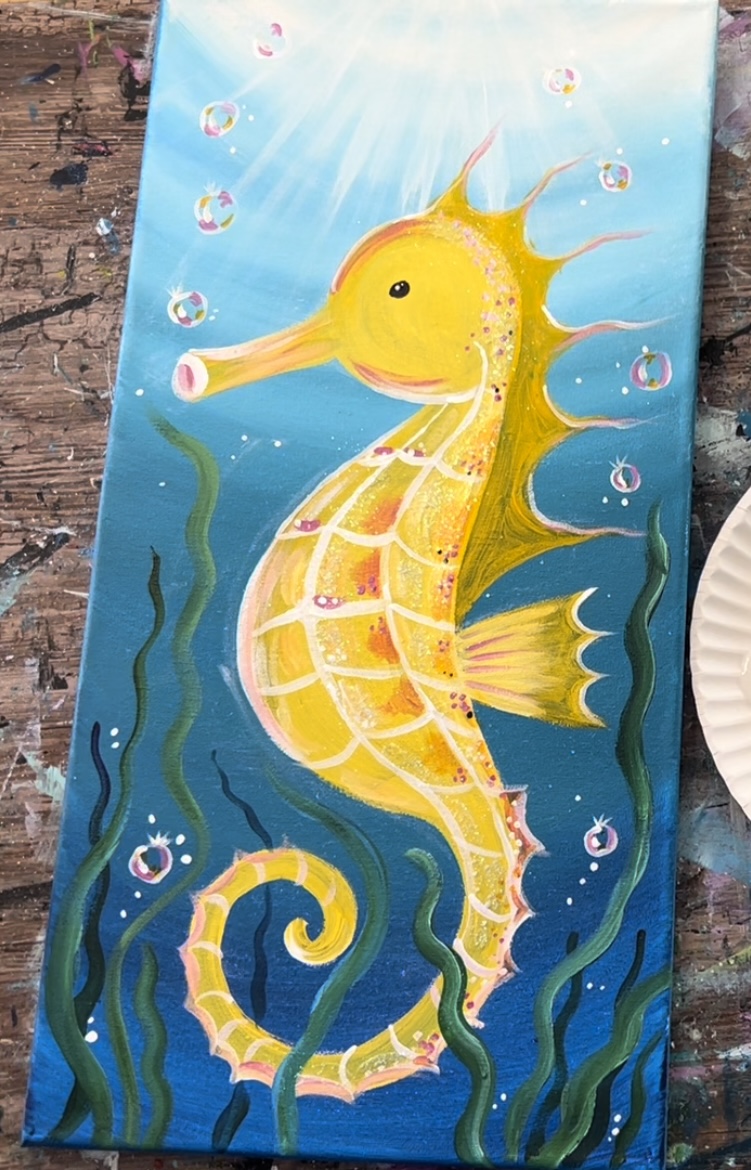
Learn how to paint a colorful seahorse under water with seaweed and bubbles!
I love the colors in this painting! It is such a fun and easy summer design and one that you can do with the kids! This painting also goes well with my other under the sea designs.
This acrylic painting tutorial is demonstrated on a long 10 x 20 canvas! You can also do this design on an 11 x 14 or any similar size if you do not want to do this on the long canvas.
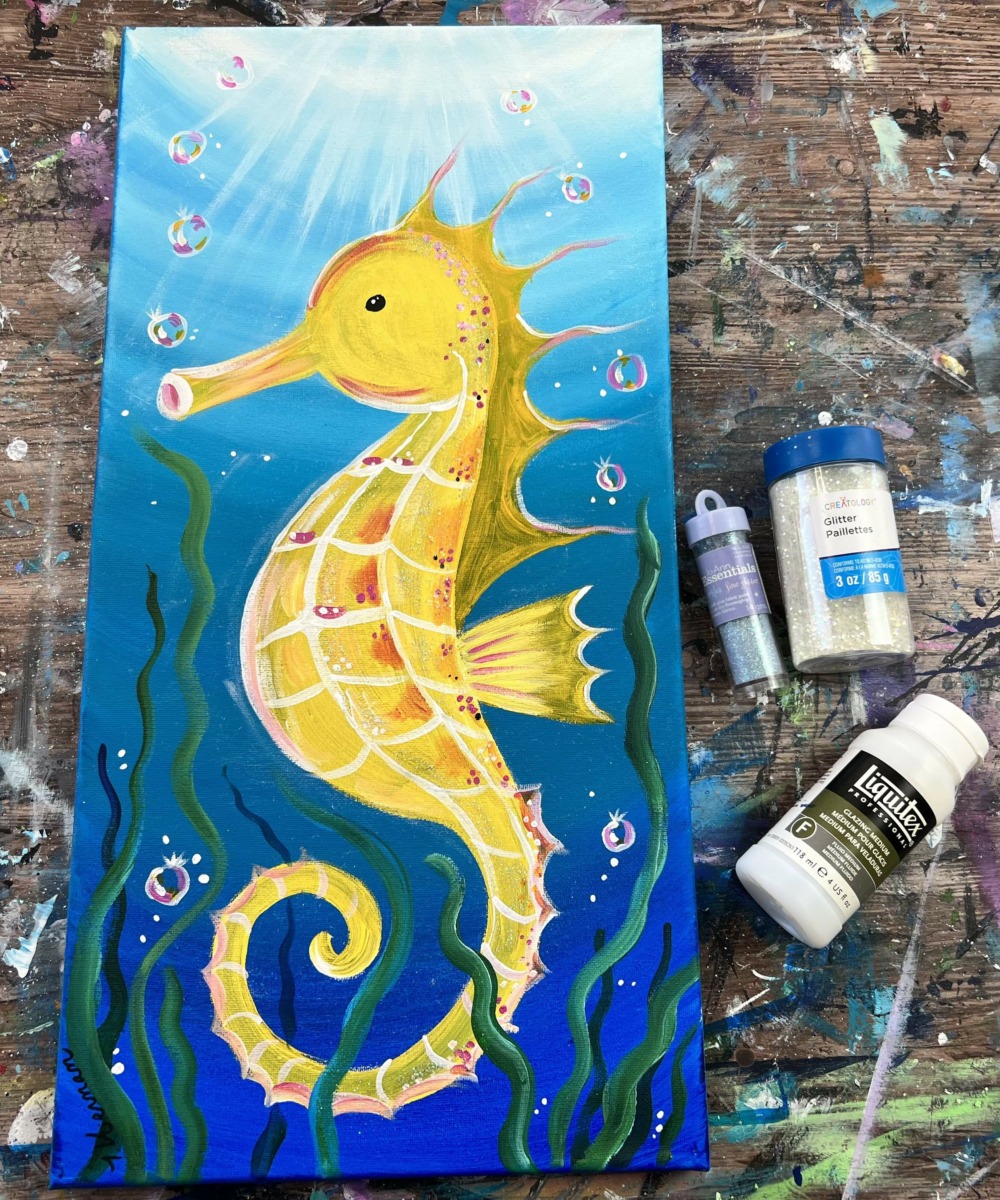
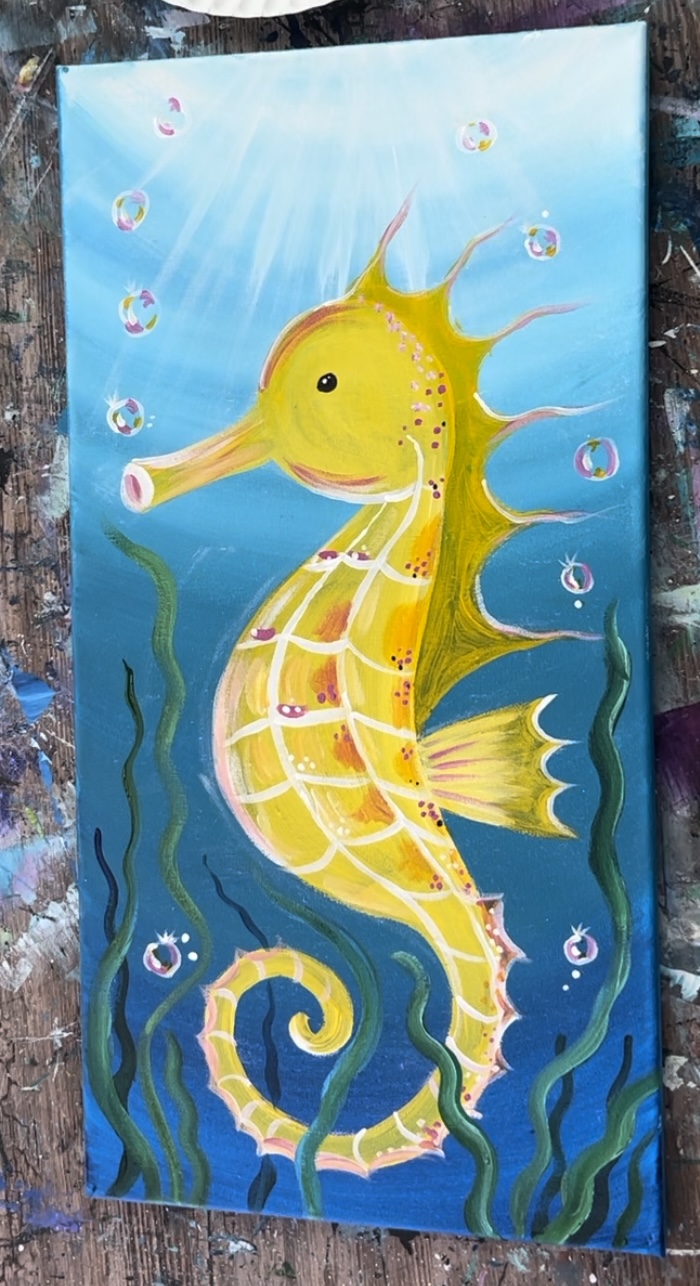
I also used glitter in this painting! The glitter was applied using glazing medium. You can use any medium that is sticky/ adhesive and dries clear. Elmer’s glue should work fine. Glitter is optional but it does allow for the painting to have a very pretty sparkly finish on that sea horse!
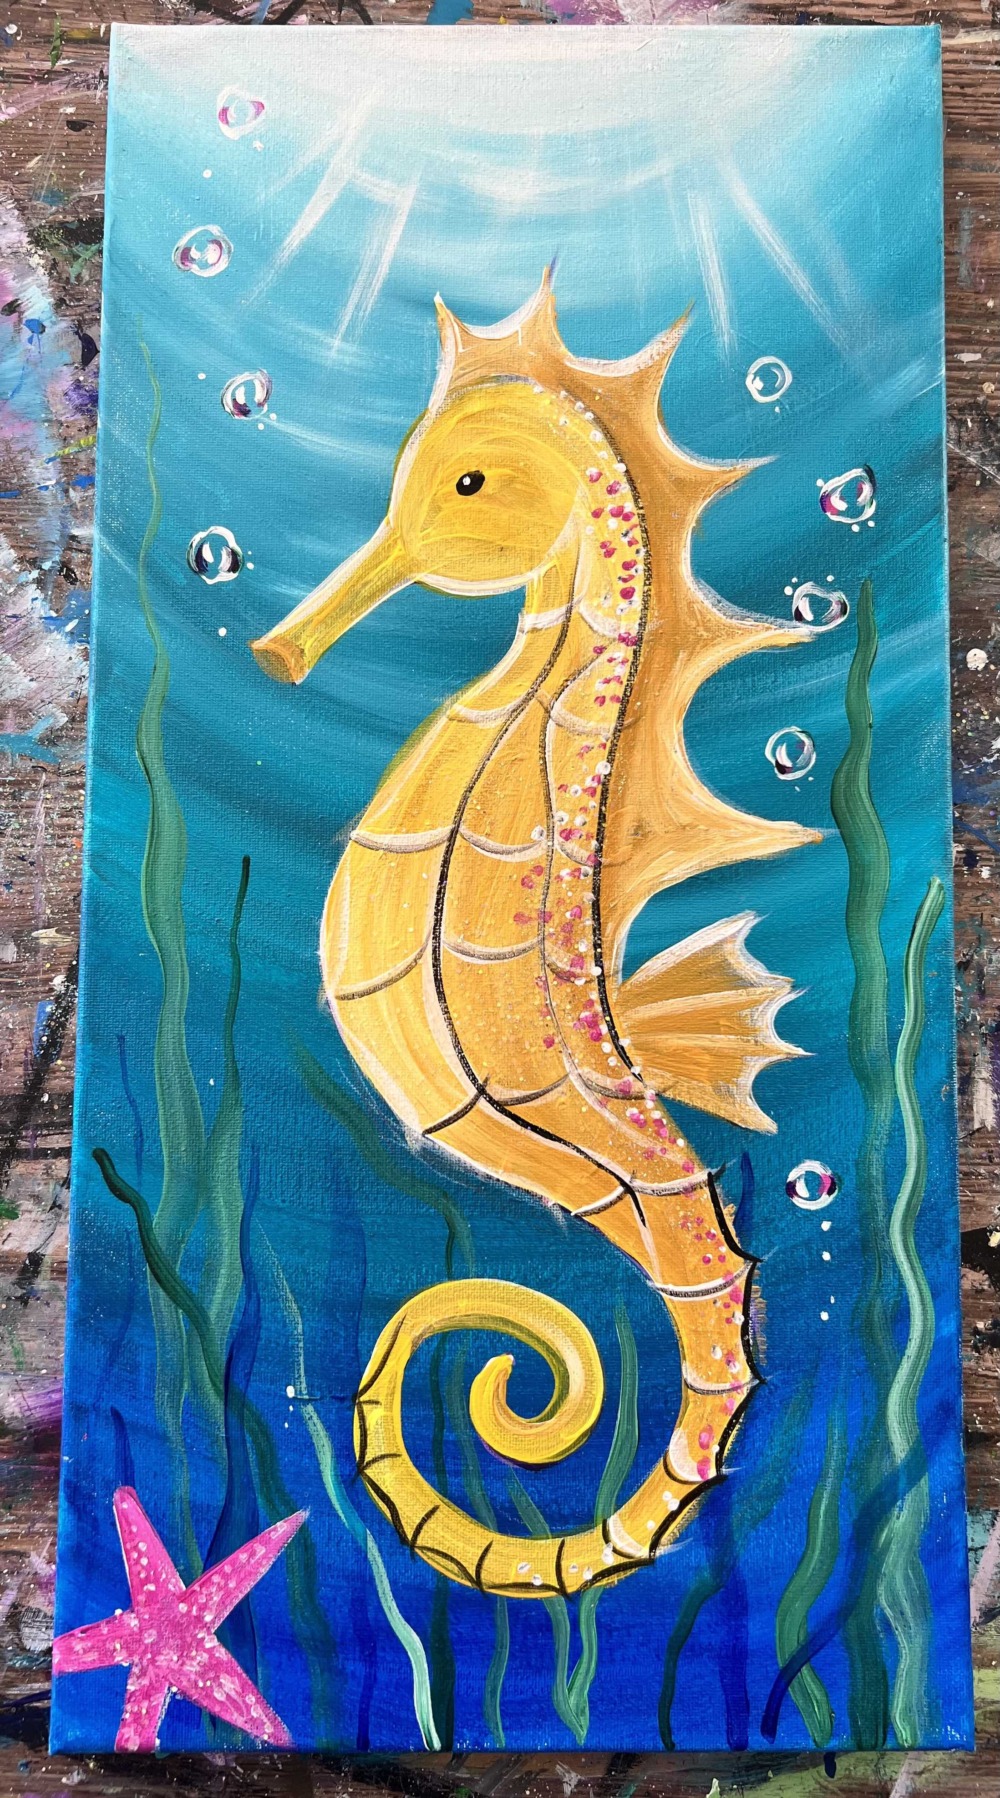
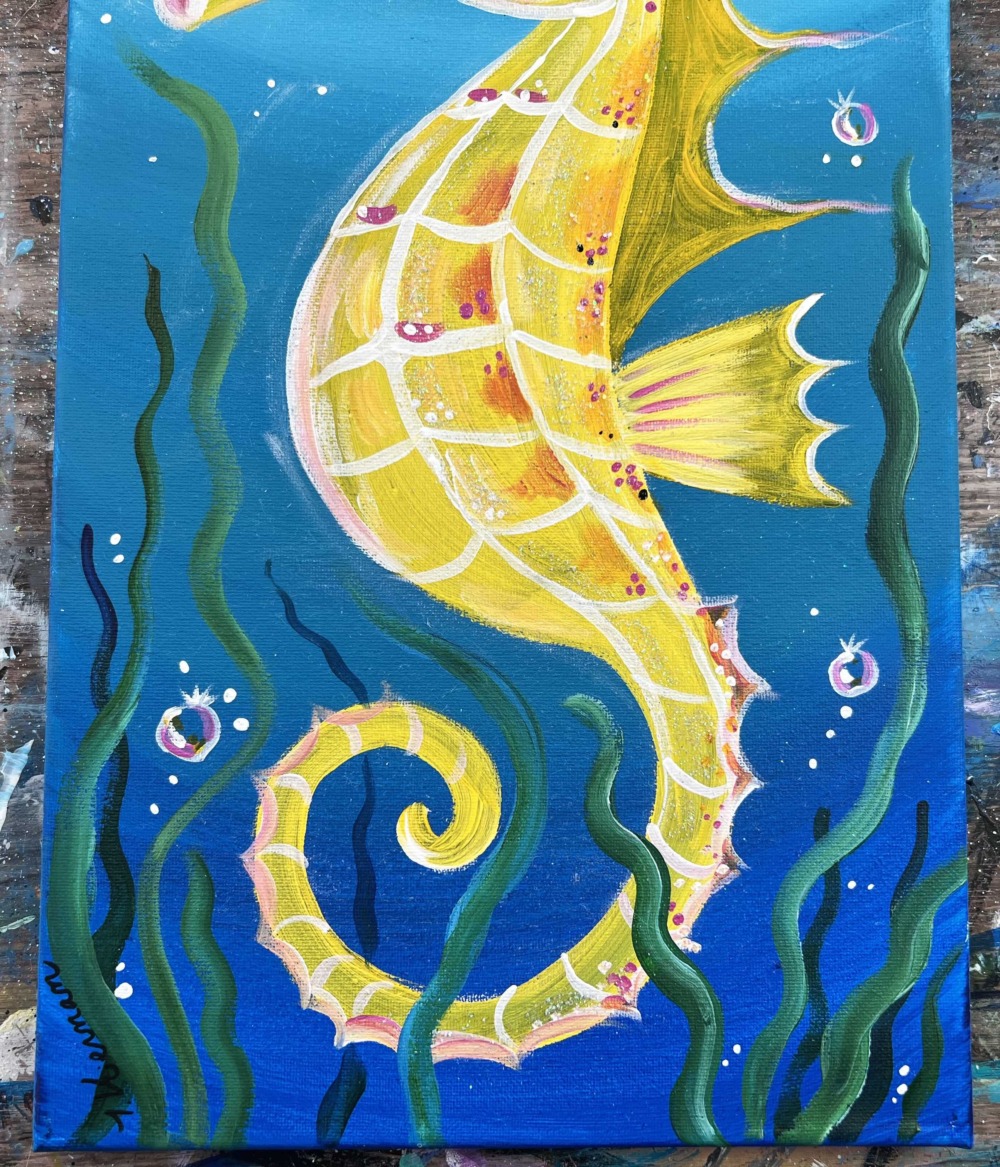
Feel free to add other fun elements to this design such as a starfish! The painting pictured below was done with a starfish in the lower left corner. I used “Medium Magenta” for the color of the starfish and added white glitter on top of it.
Enjoy and happy painting!
Materials Needed
Seahorse
Learn how to paint a seahorse on a 10 x 20 canvas with acrylics. Add optional glitter to your painting for an extra "under the sea" sparkle!
Materials
- 10 x 20 Canvas
- Acrylic Paint
- Paint Brushes
- Optional Glitter
- Adhesive For Glitter (I used a glazing medium but you can also use ModPodge or Elmer's Glue)
- Chalk For Drawing Sea Horse
- Paint Palette
- Water Cup
- Baby Wipe (for erasing chalk lines)
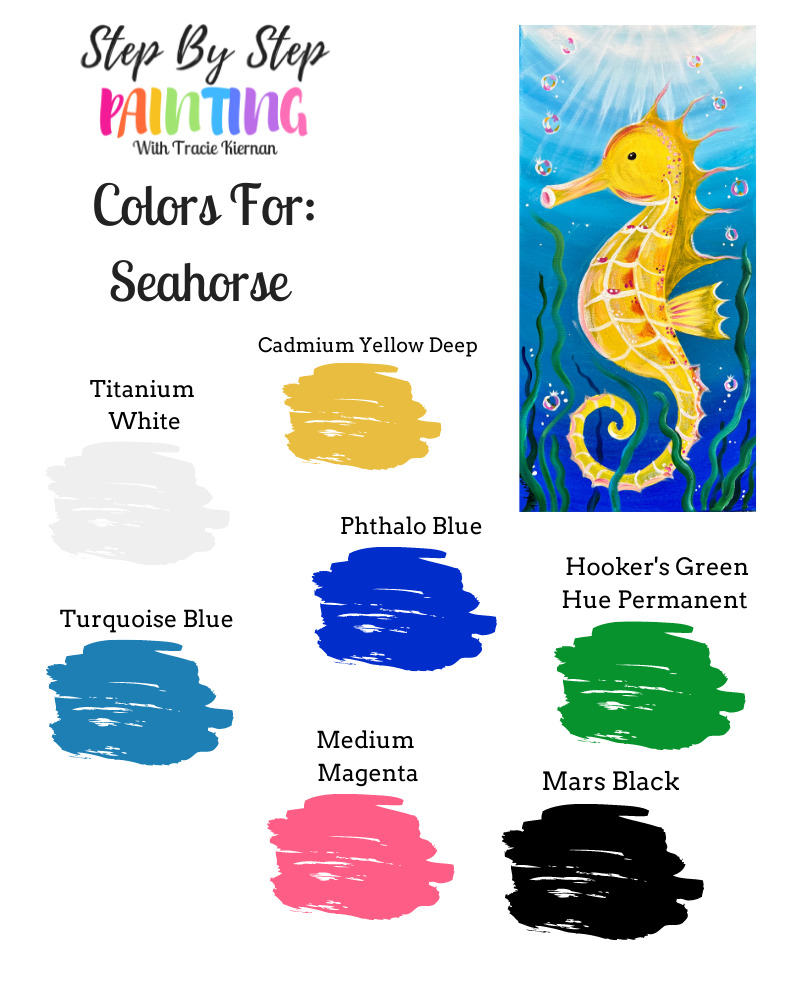
Paint Colors
- Titanium White
- Mars Black
- Turquoise Blue
- Phthalo Blue
- Cadmium Yellow Deep
- Hooker's Green Hue Permanent
- Medium Magenta
Paint Brushes
- 3/4" Flat Wash Brush
- #4 Round Brush
- #8 Round Brush
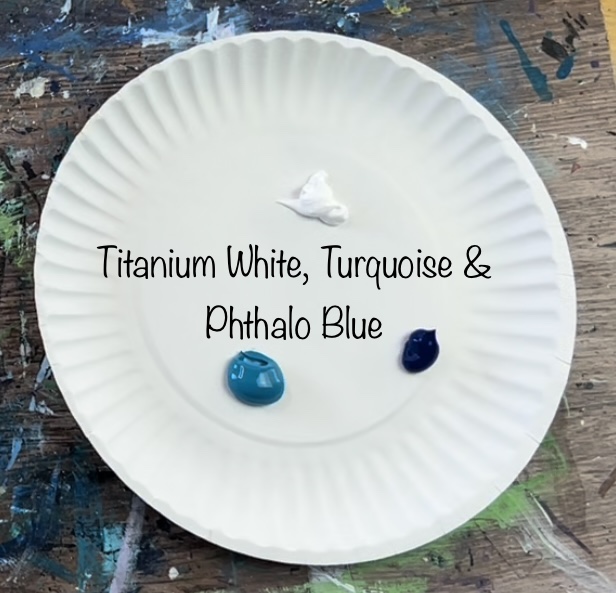
Color Palette
Using craft paints?
If yo are using craft paints such as the Apple Barrel Craft Paints, I would suggest subbing to these colors:
- White
- Fuchsia
- Black
- Bright Yellow
- Too Blue
- Bimini Blue
- Holly Branch
Traceable
Directions At A Glance
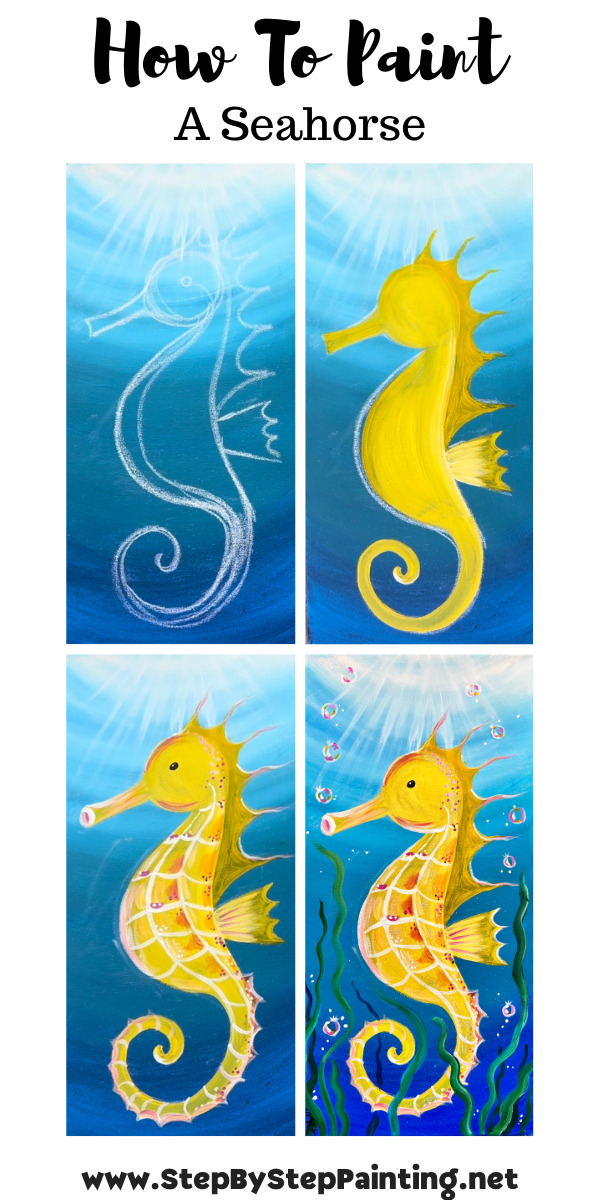
Video
Step By Step Directions
1. Paint Background
Load your palette with the colors: phthalo blue, turquoise blue and titanium white.
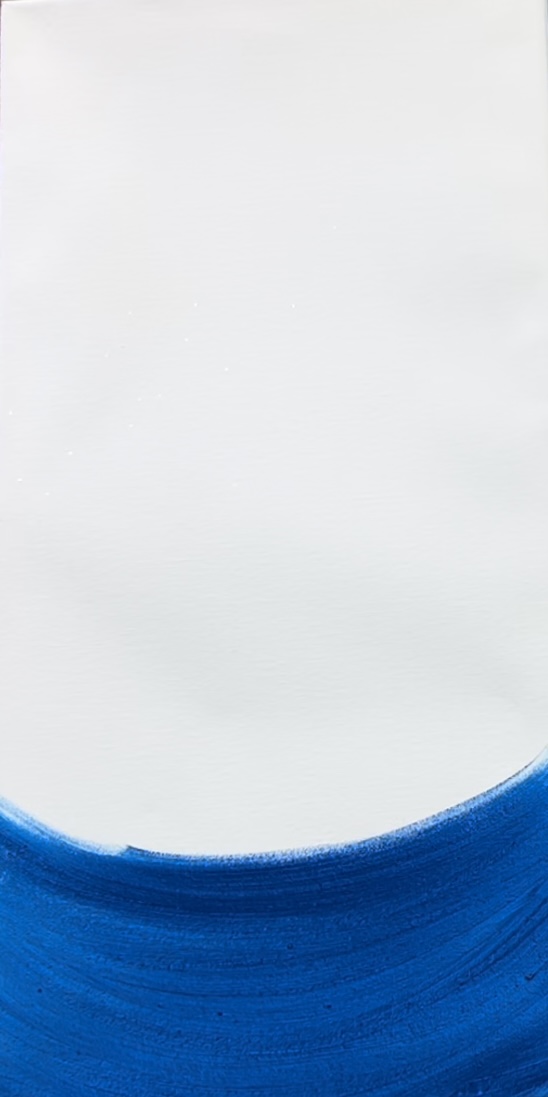
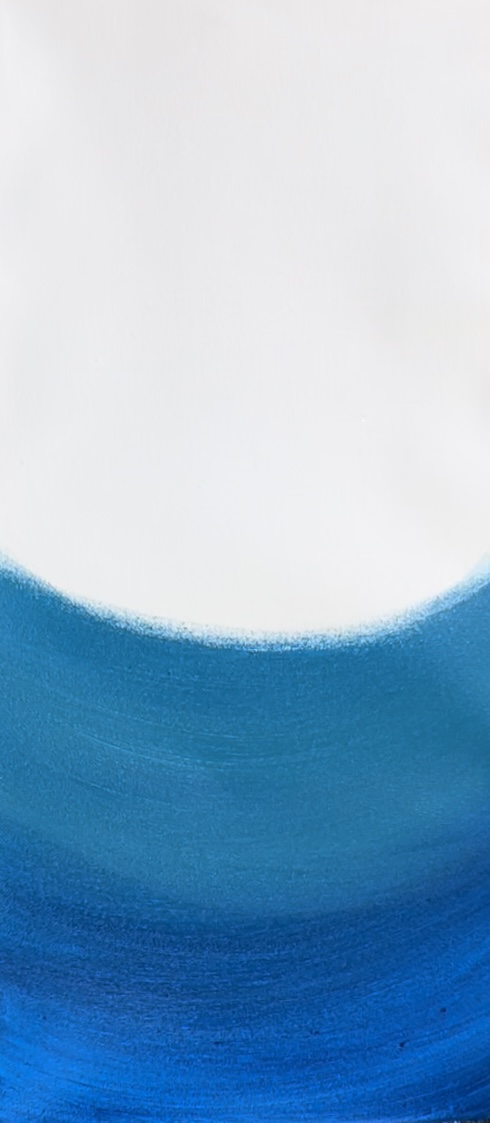
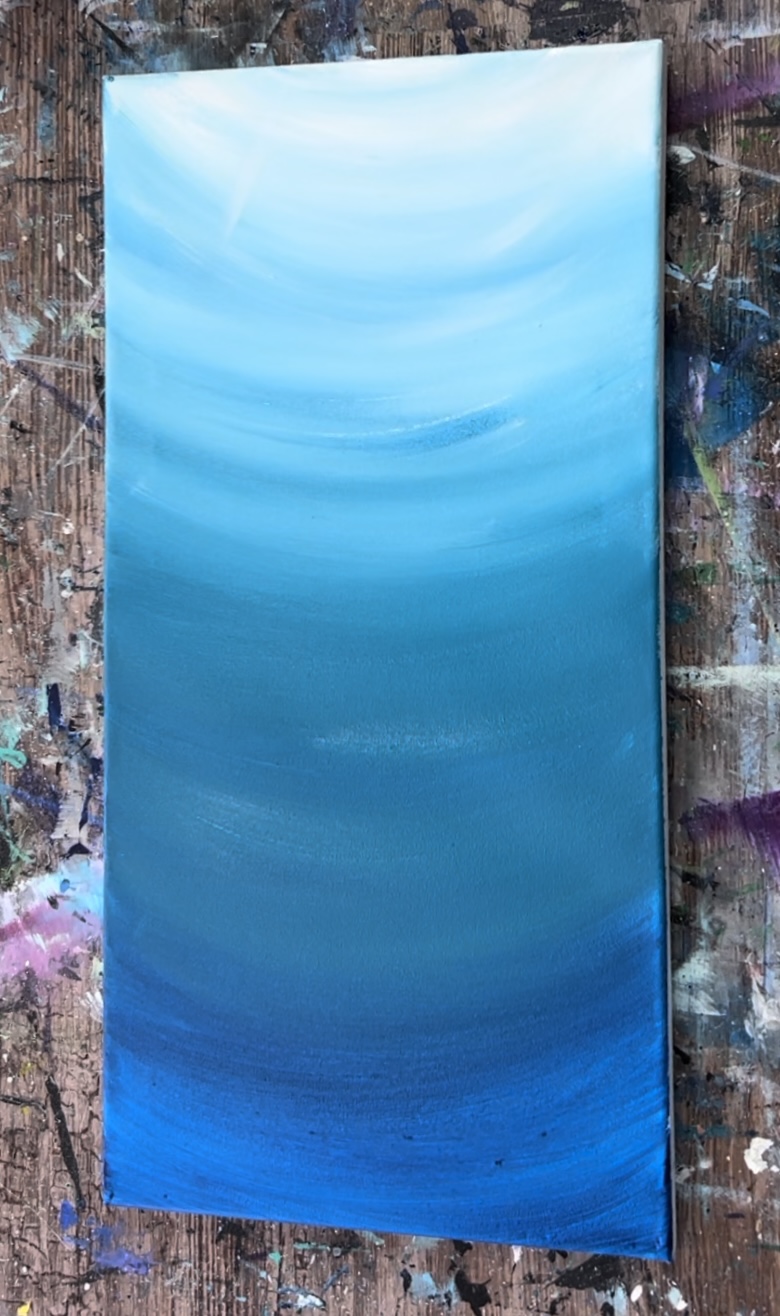
Load your 3/4″ flat wash brush in the water and tap it dry. Load it into the phthalo blue. Start on the bottom of your canvas and paint full width strokes of the dark blue going in an inverted curved direction.
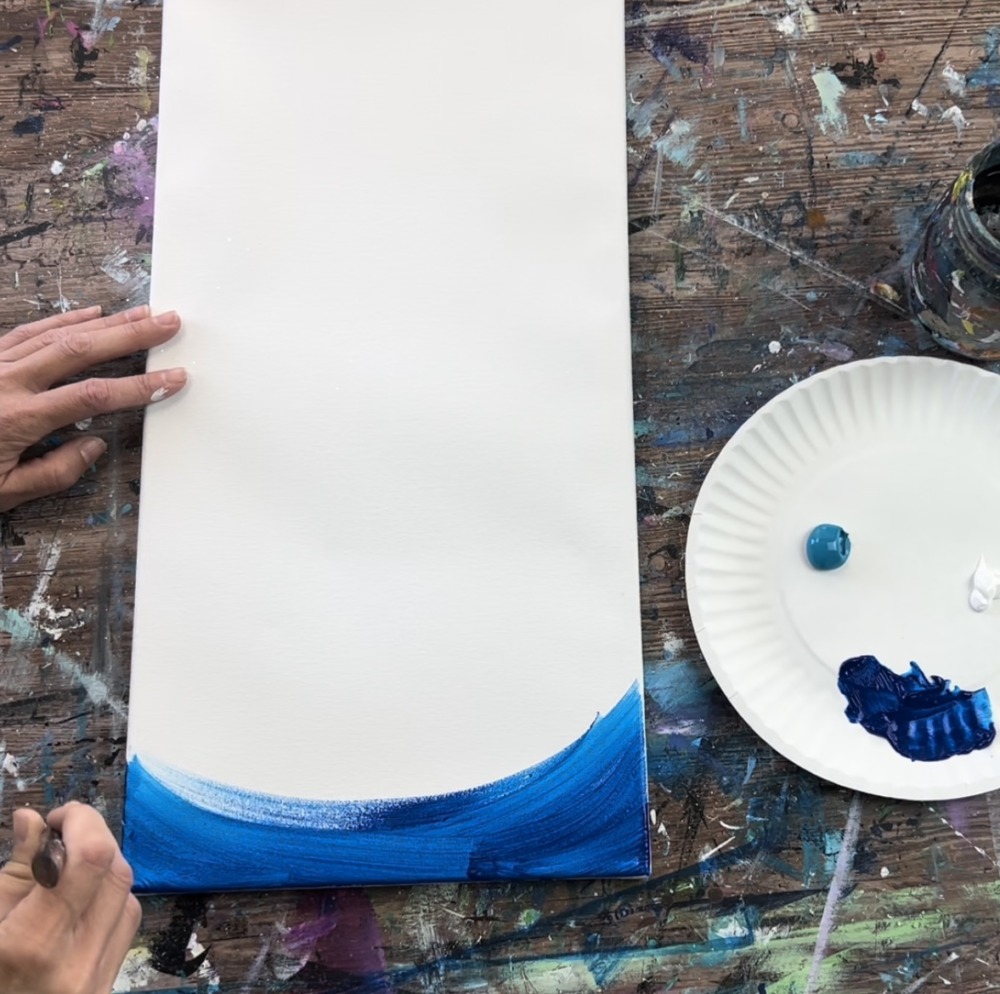
The entire background will be going in this curved direction. Make sure your strokes are going all the way across the canvas and not stopping in the middle.
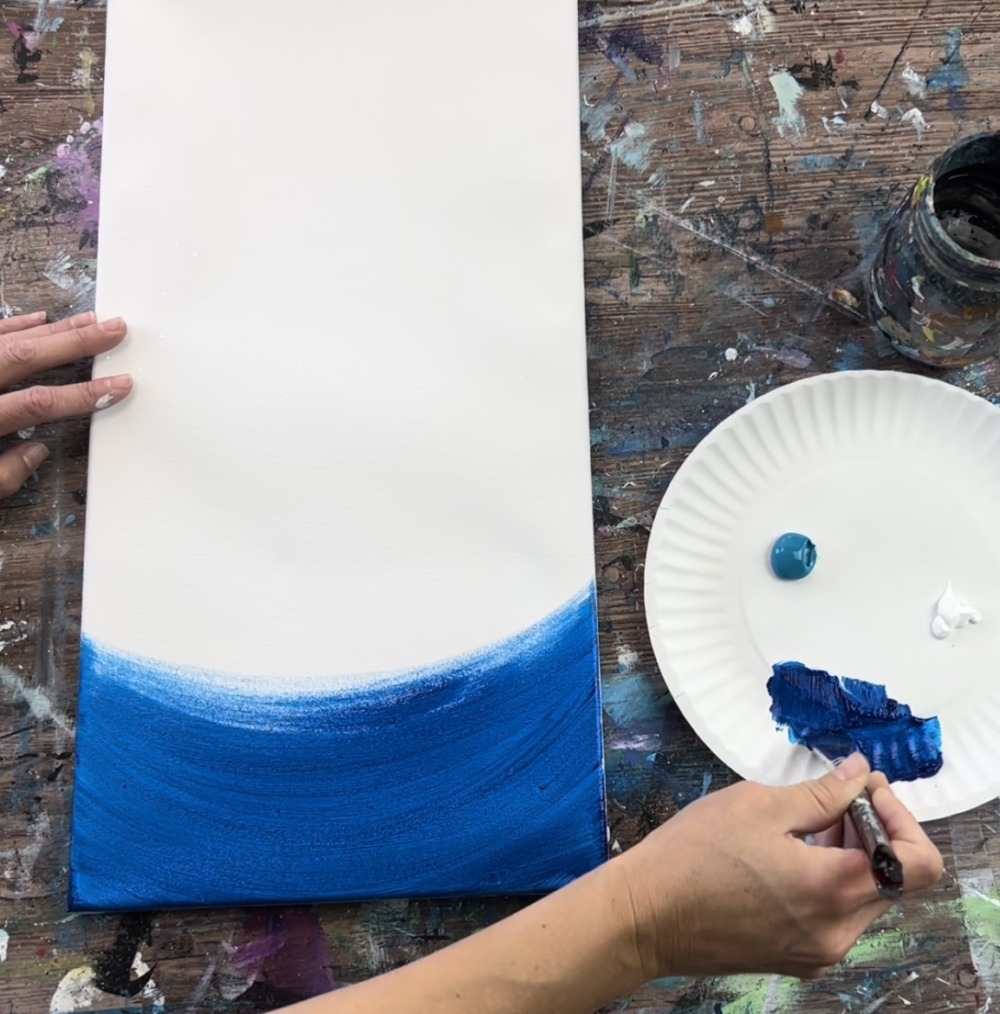
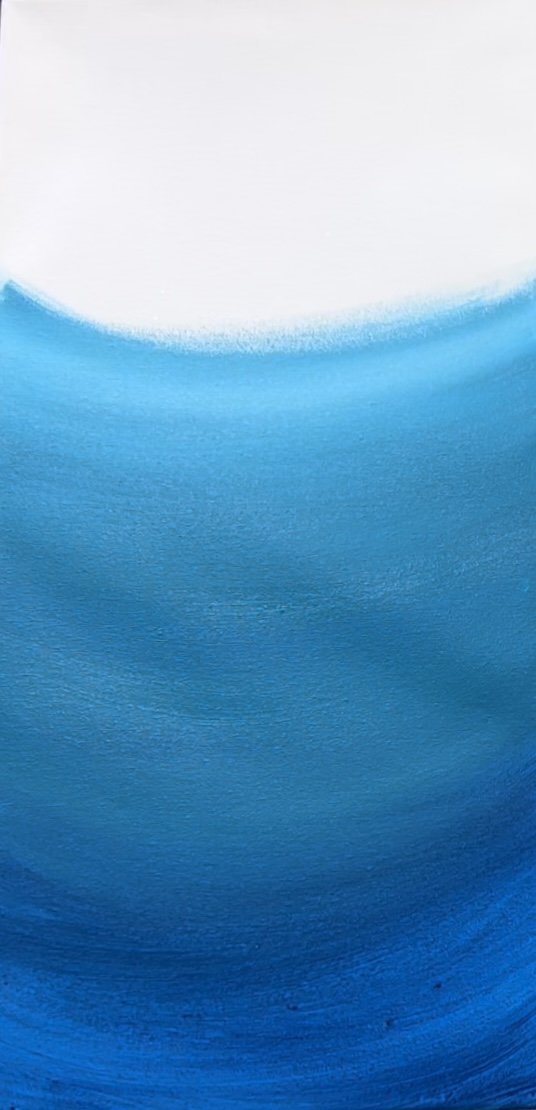
Go up about 5-6 inches with this blue. Then, without rinsing your brush, load the tip of it into turquoise blue.
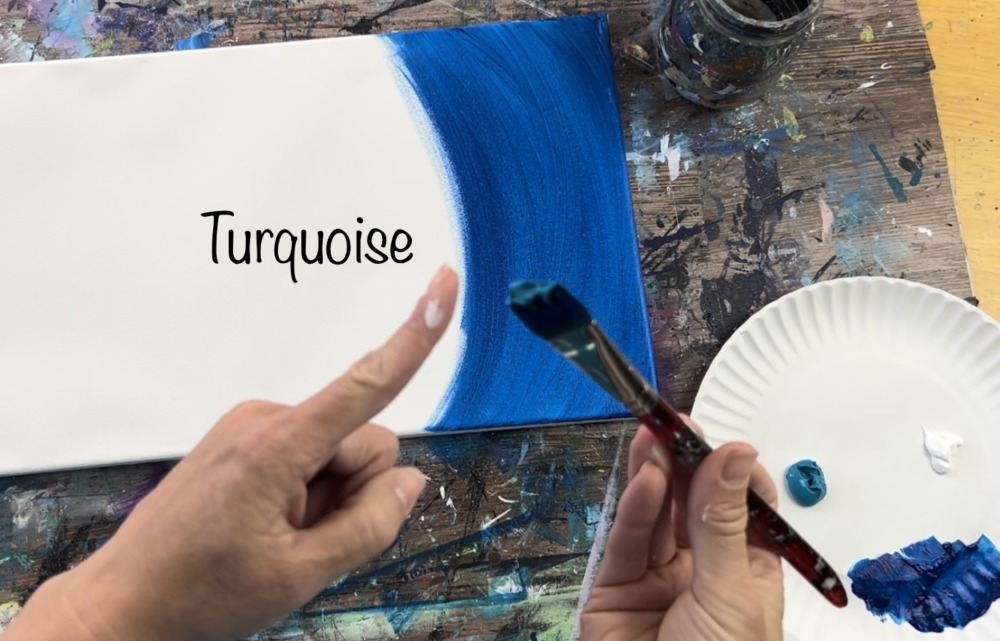
Blend the turquoise with the blue. Then apply turquoise about another 5-6 inches up the canvas.
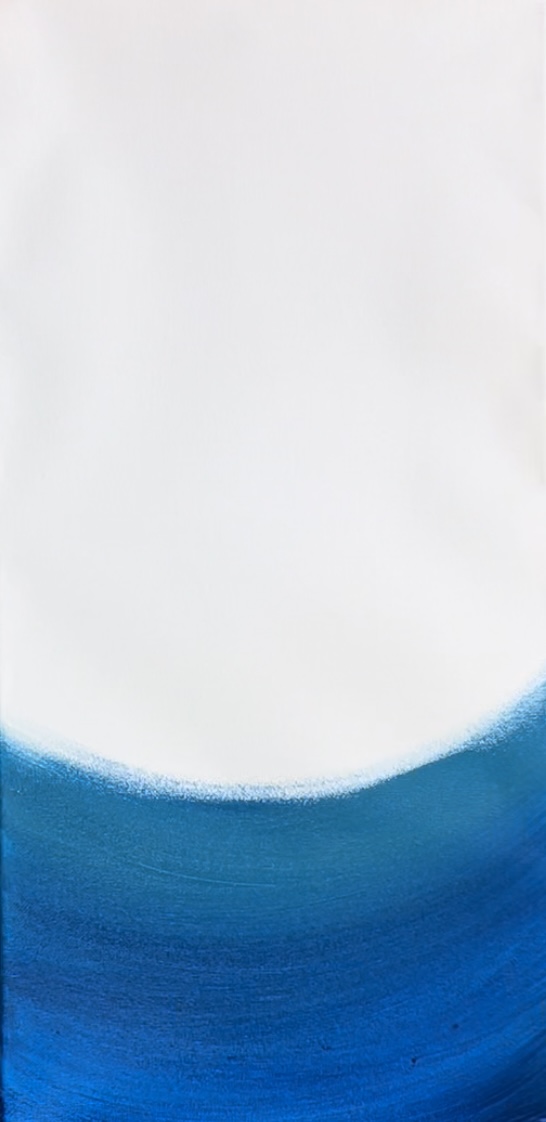
Then wipe the brush off but don’t rinse. Load the tip of the brush in titanium white. Blend white into the turquoise. Continue to paint white up the canvas.
Keep applying more white, going in an inverted curved direction. Go all the way to the top of the canvas. Your background should be getting lighter and lighter as you work your way to the top.
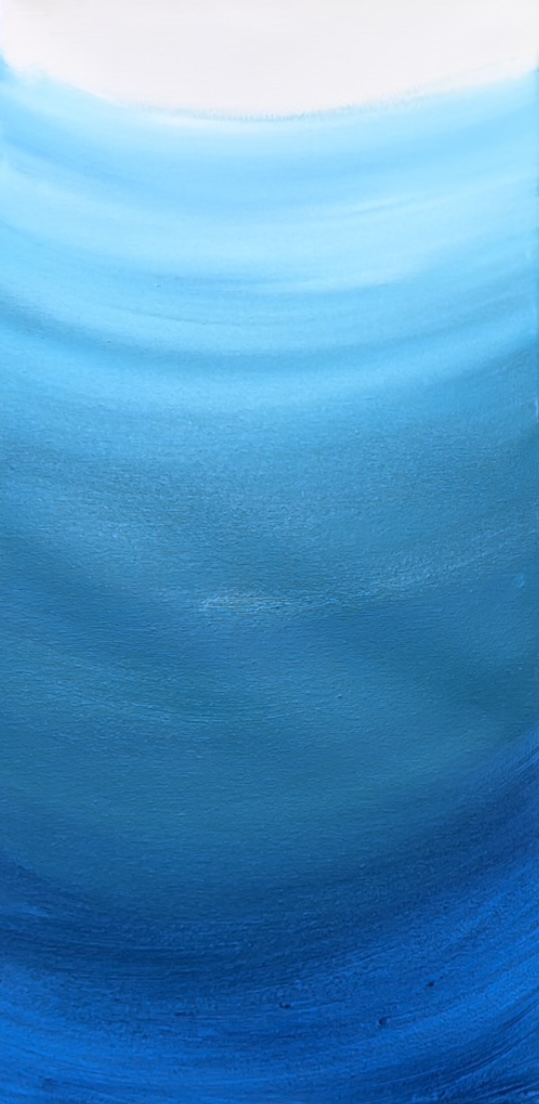
Try not to over blend this area. It is okay if the white looks “streaky” because it adds to the affect.
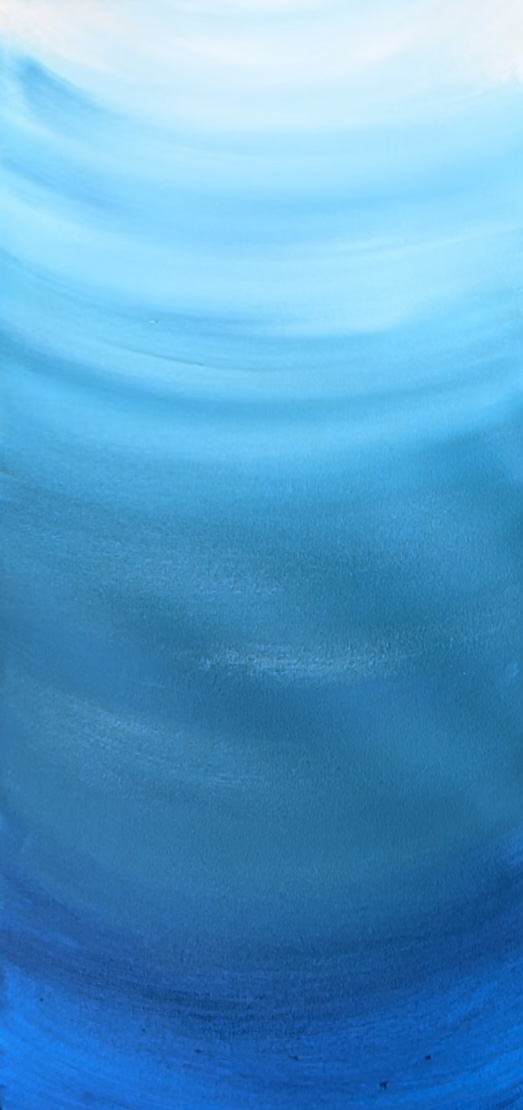
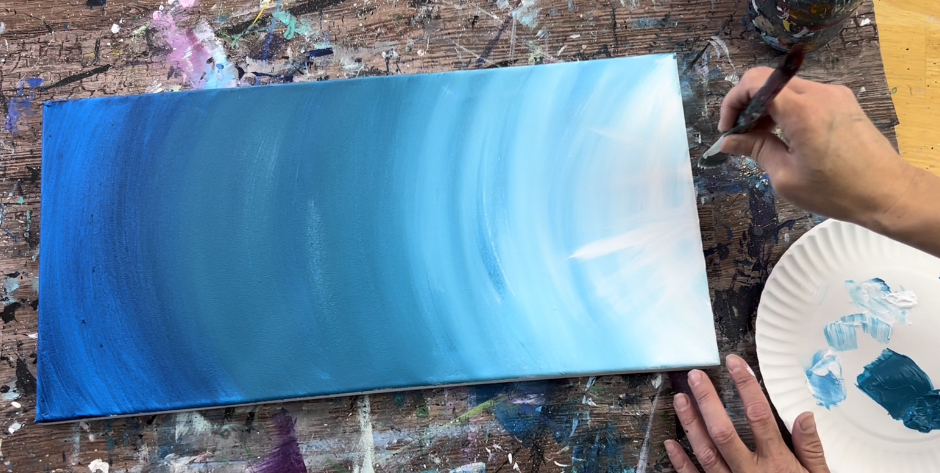
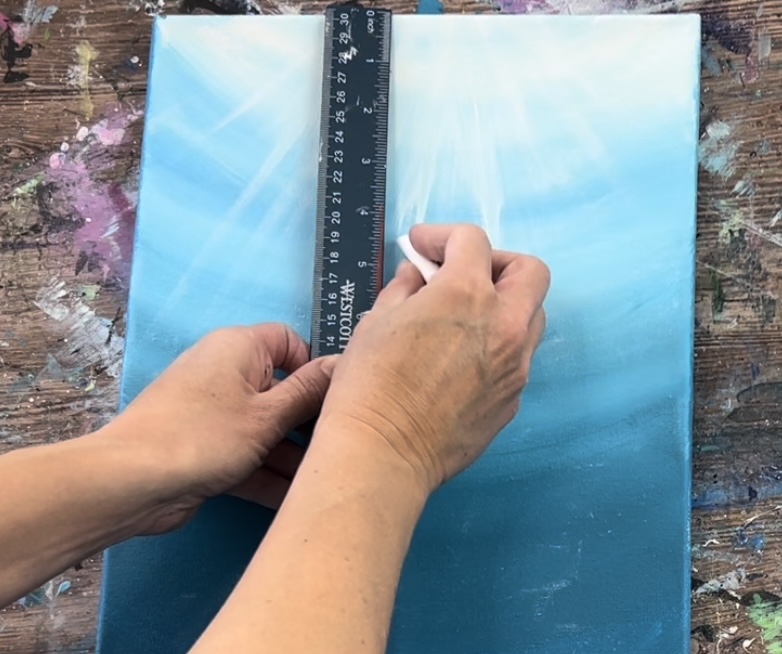
Then completely rinse and dry your flat brush. You will be “dry brushing” the light rays on the top of the water. Load your brush in titanium white and then wipe it off with a towel.
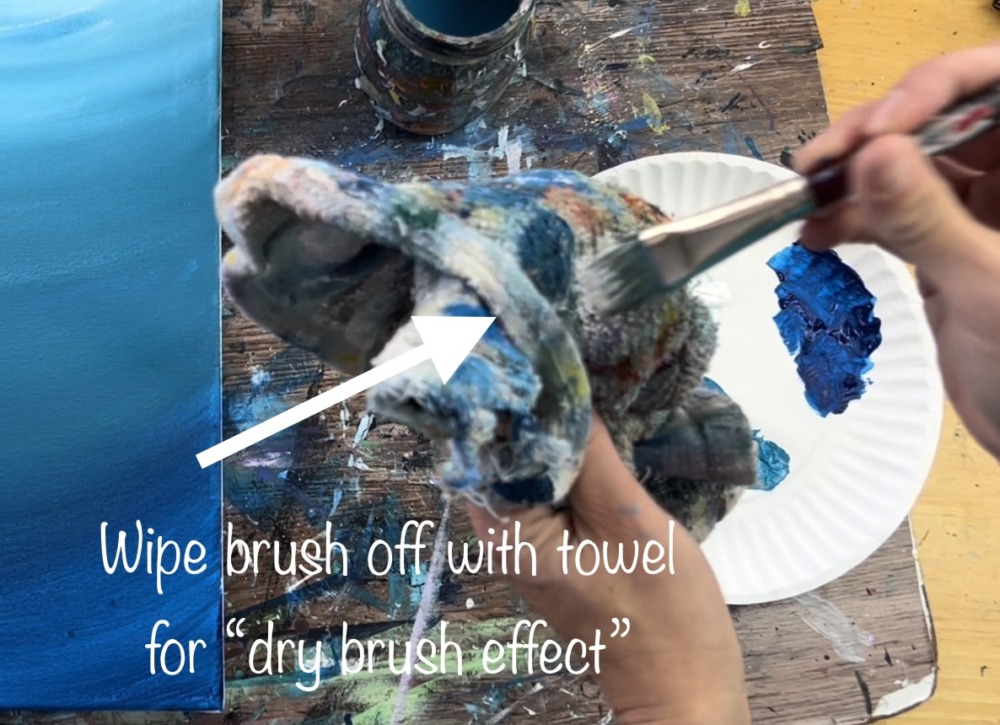
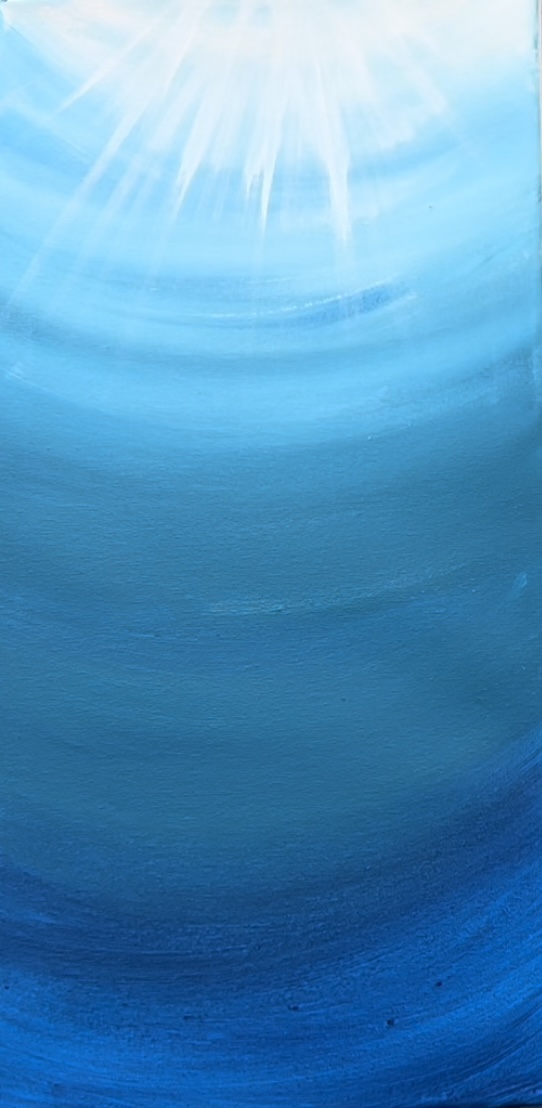
Use the tip of your brush to paint an “array” of light from the top of the canvas down into the water area. Paint diagonal lines. This should look “dry brush style”. It shouldn’t be bold or super opaque. The paint should be light and translucent. Try not to press as hard with the brush but barely let it skid with each stroke.

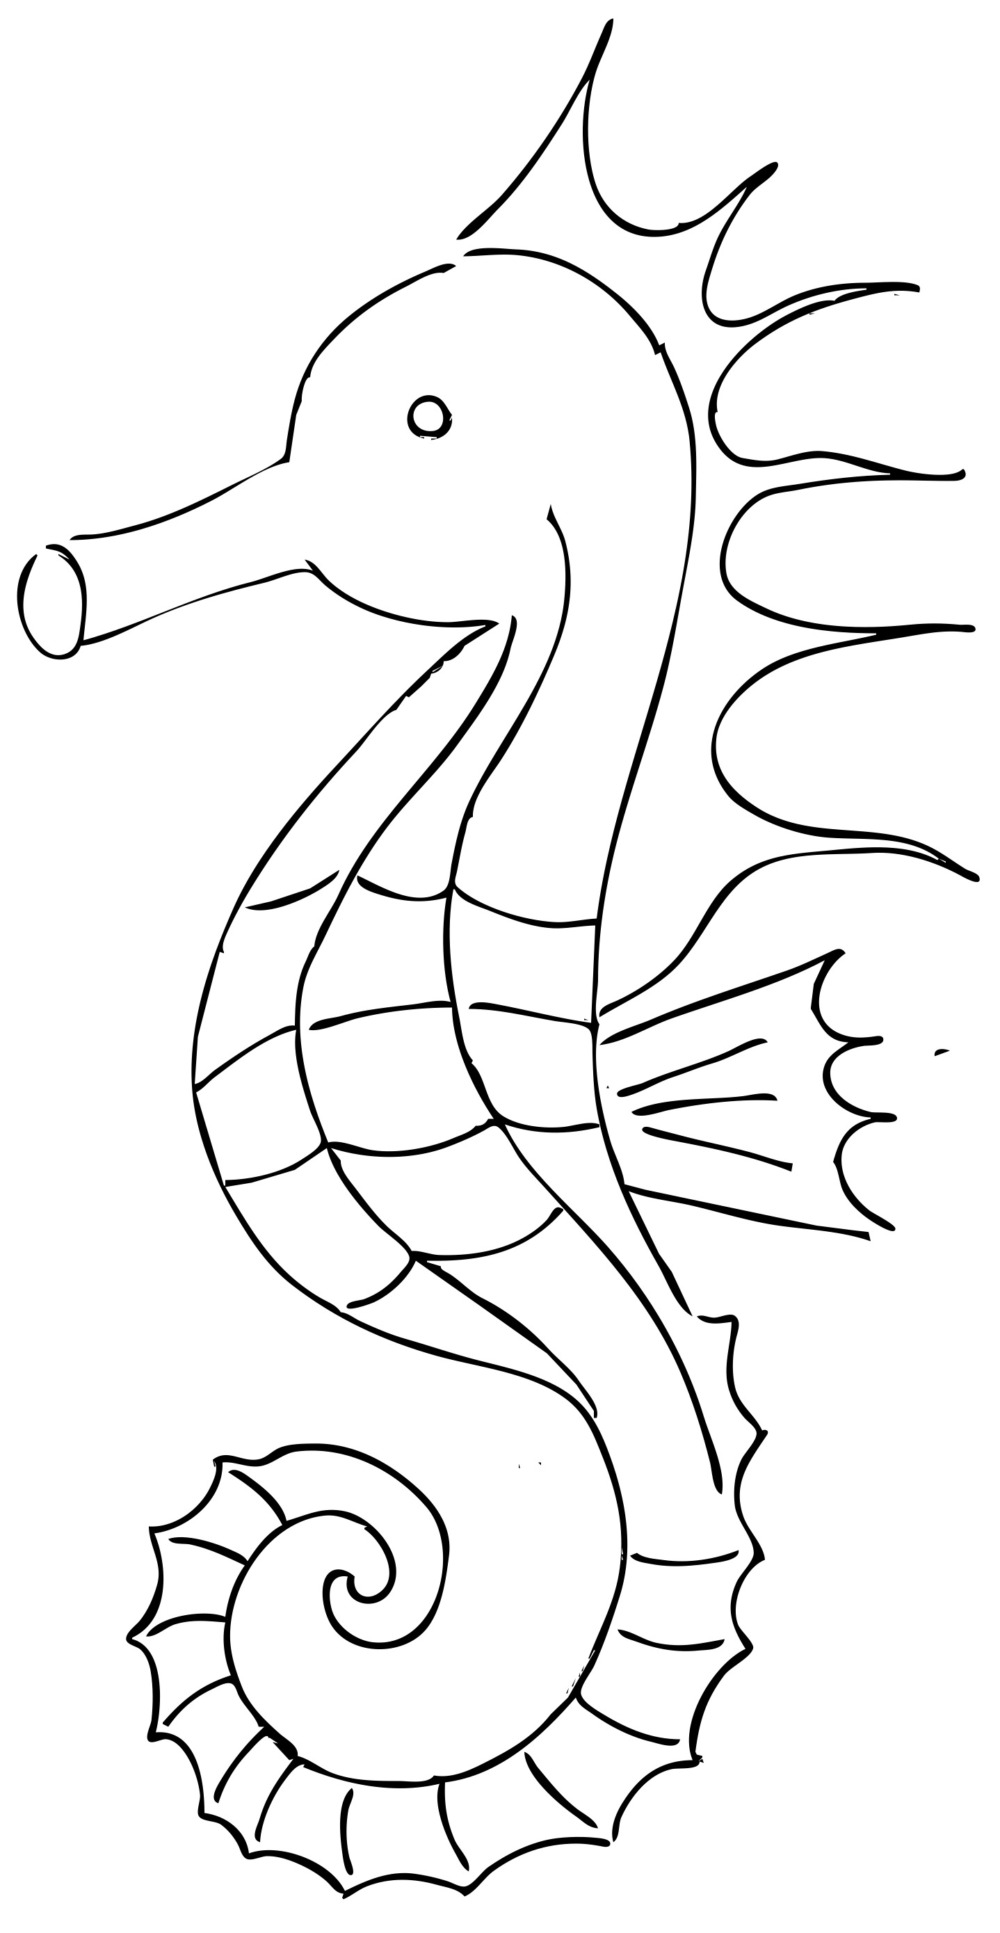
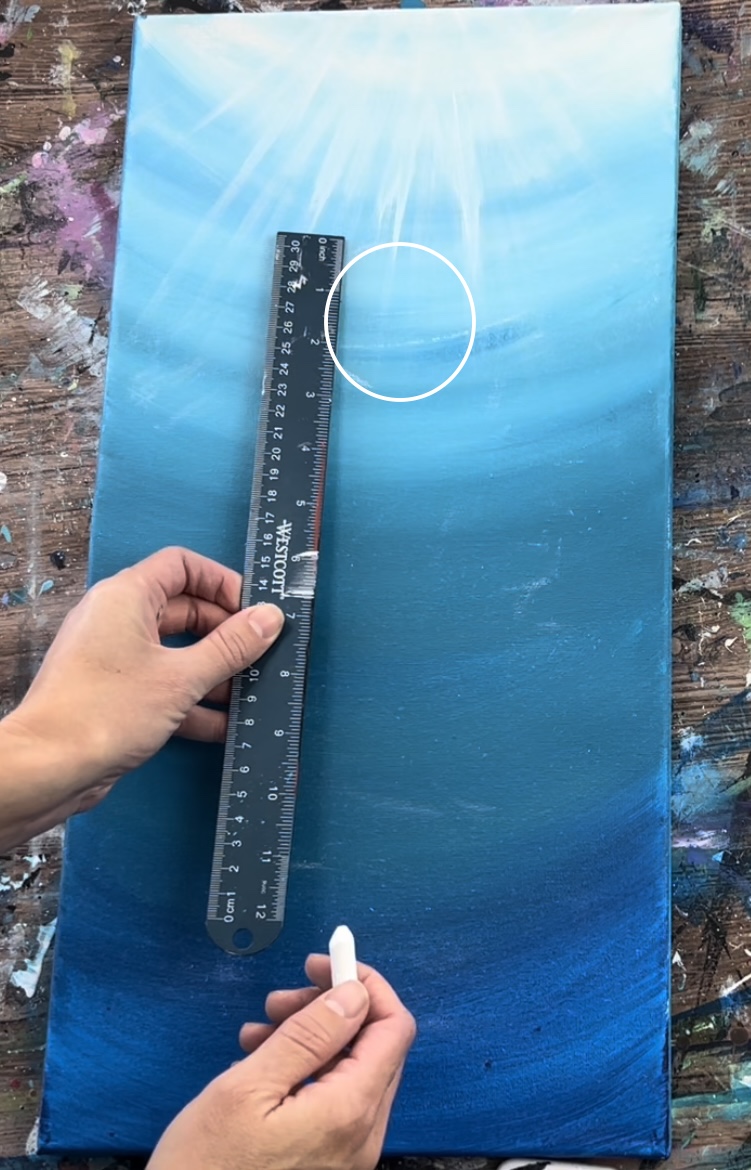
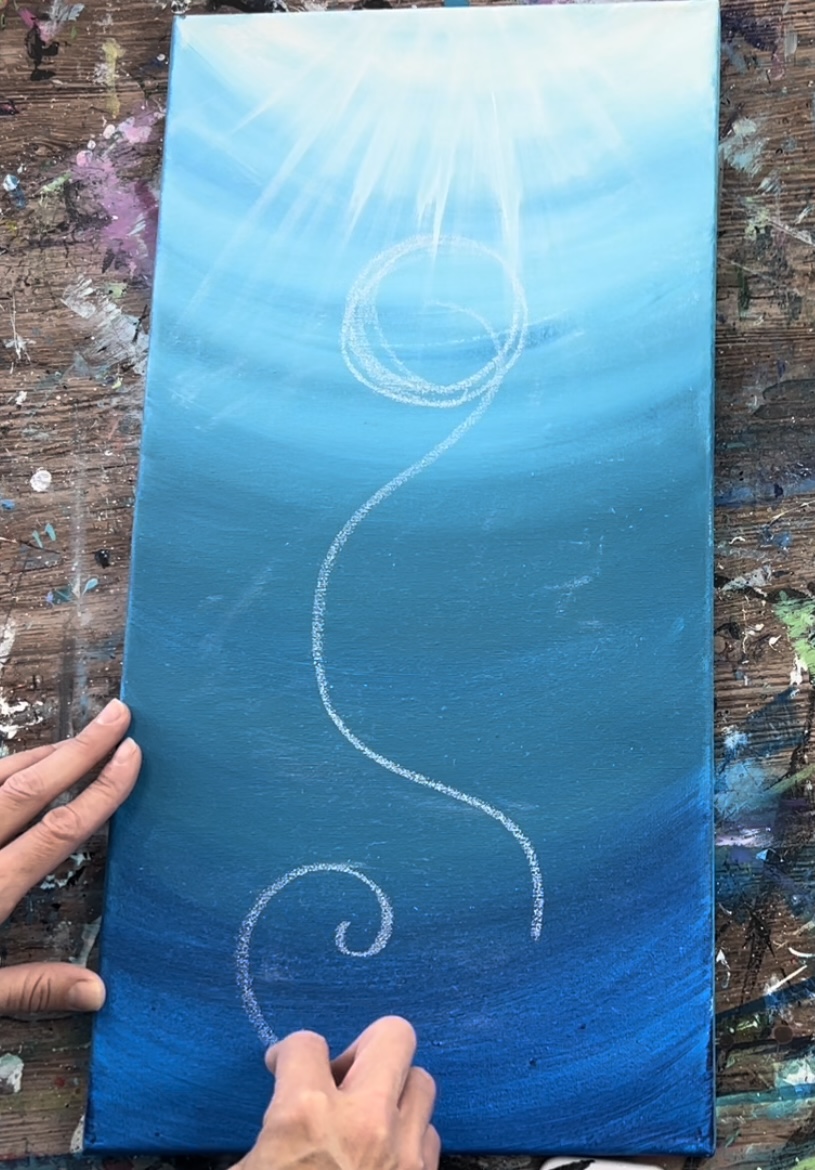
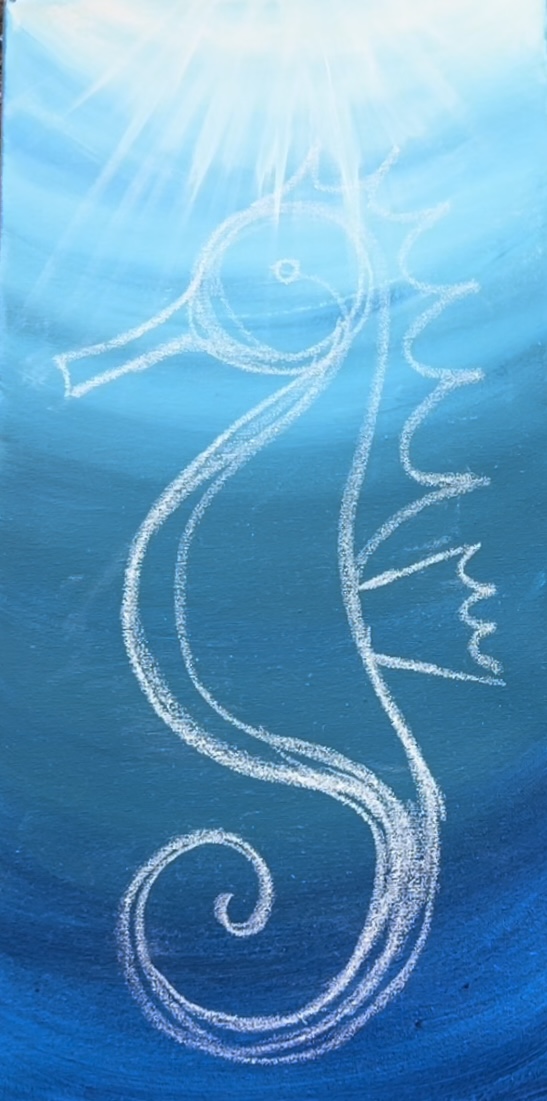
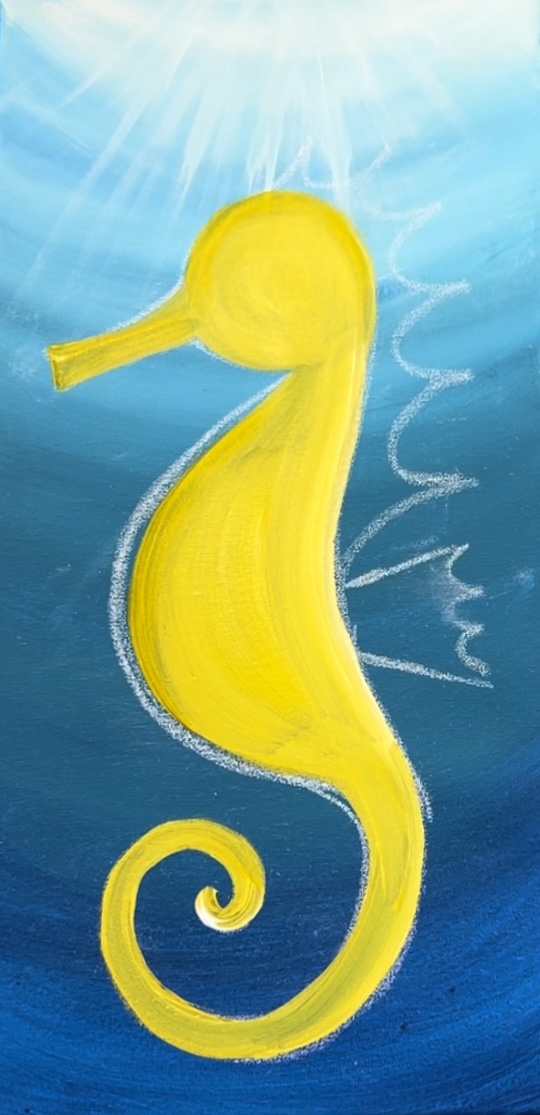
2. Draw Seahorse
Make sure your canvas is completely dry before drawing this! Use a piece of chalk. Start by drawing the head. I started my head at about 4.5″ down from the top edge of the canvas. The circle is about 3″ in diameter.
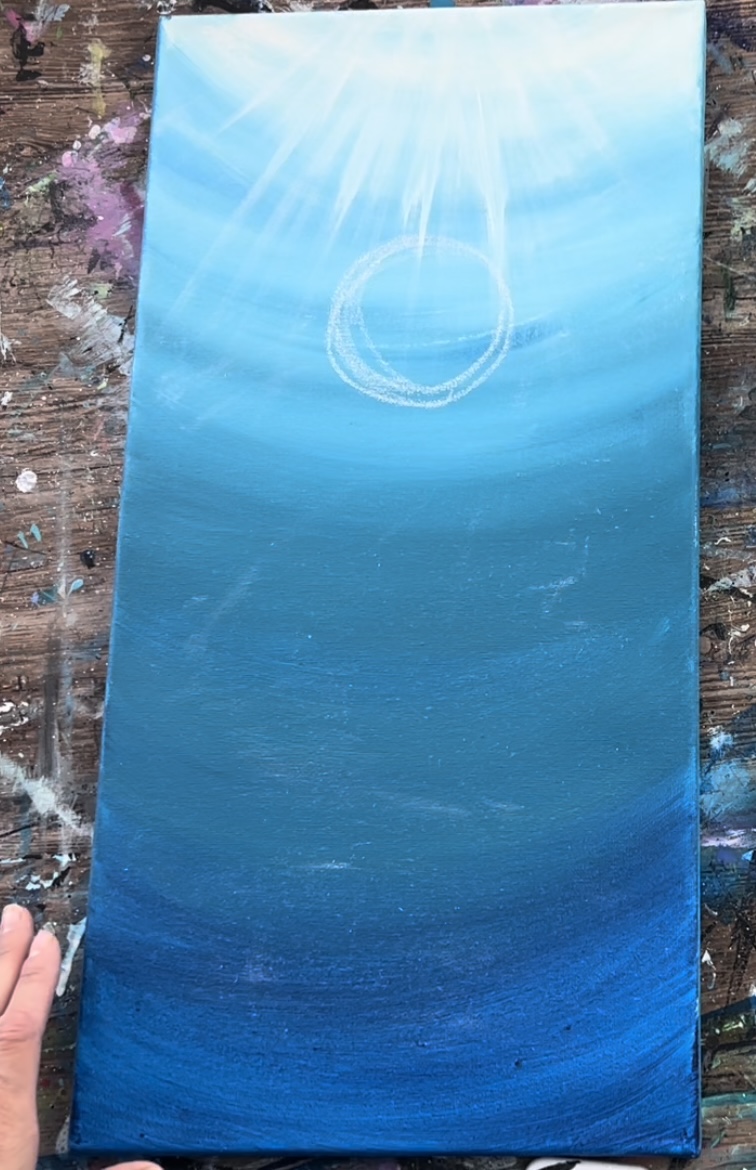
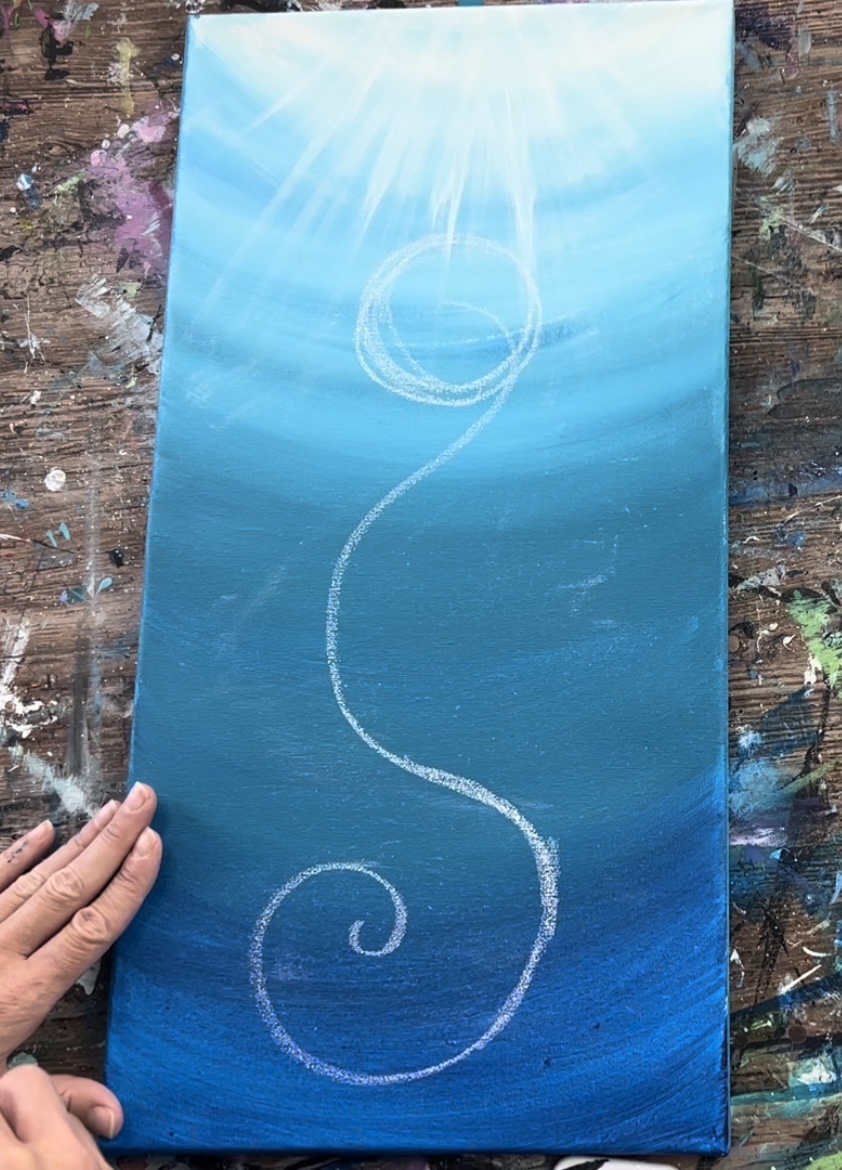
Then draw a large and stretched “S” that starts in the middle of the head and then stretches outwards to form the belly.
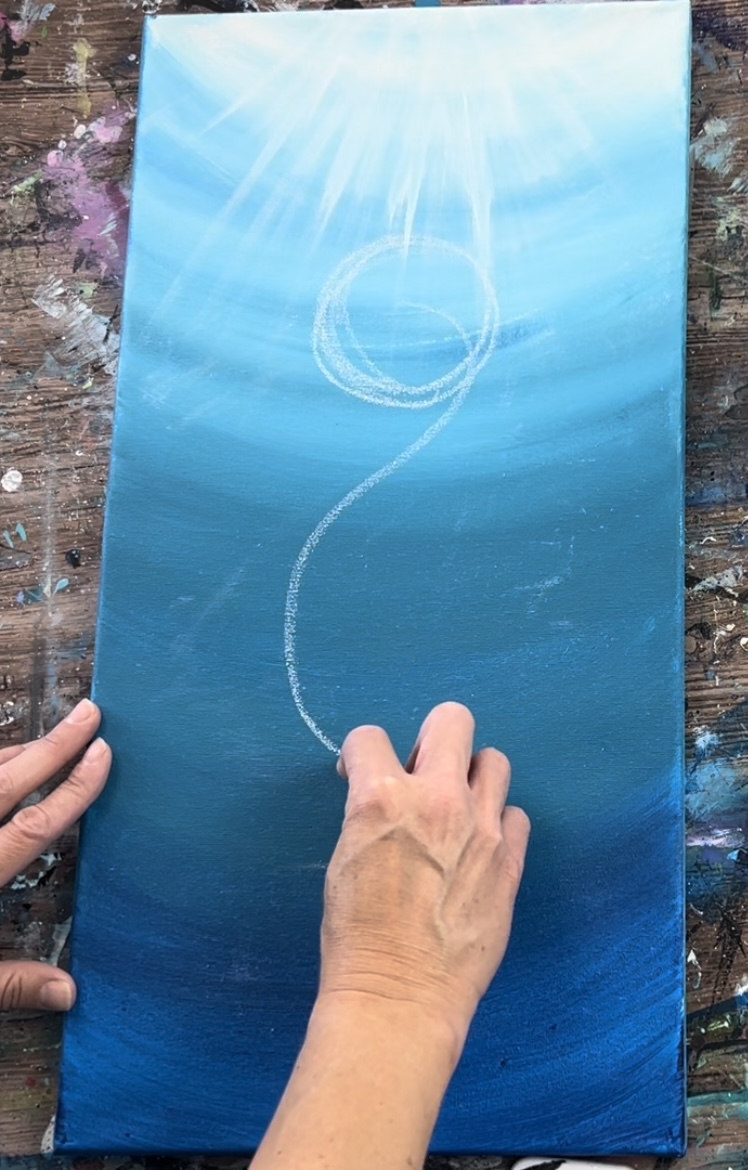
Draw a spiral for the tail.
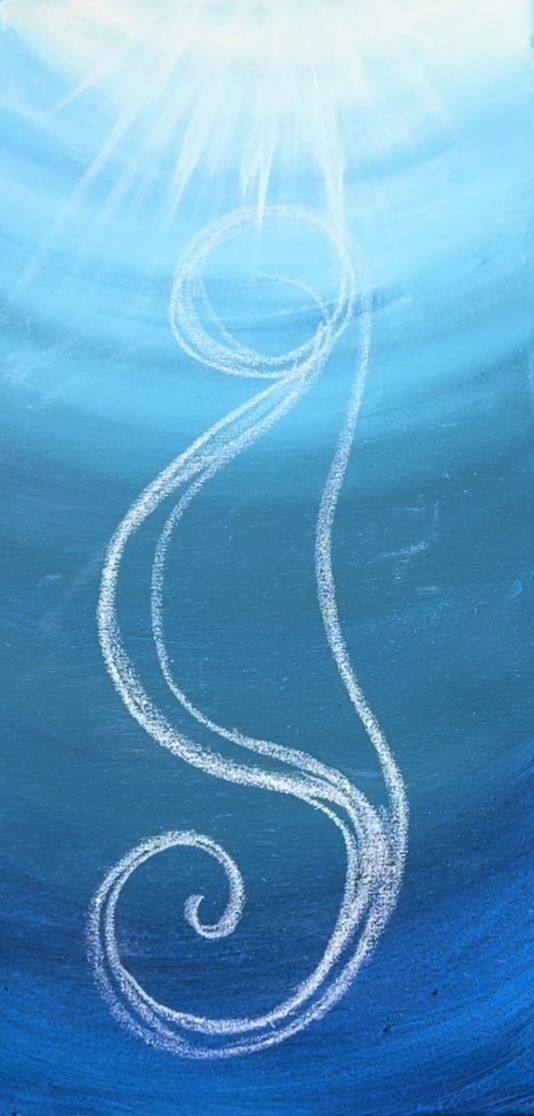
Then draw an inward curve for the back that connects to the back of the tail. Give the tail more shape but make sure the tip of the tail is still thin.
Draw the snout.
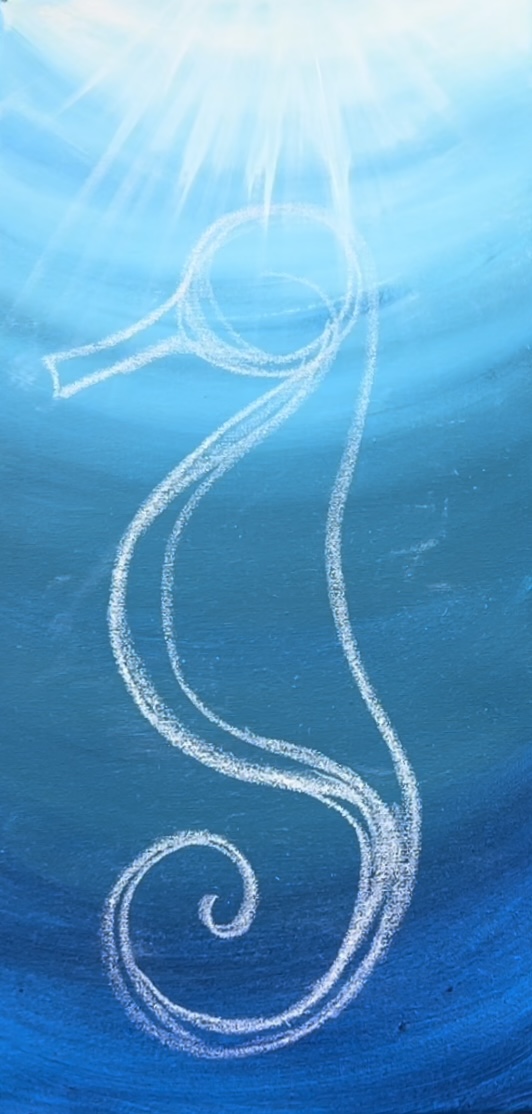
Then draw the back of the seahorse. For this “stylized” design, I did spikes. Draw lines that curve inwards and go to a spike.
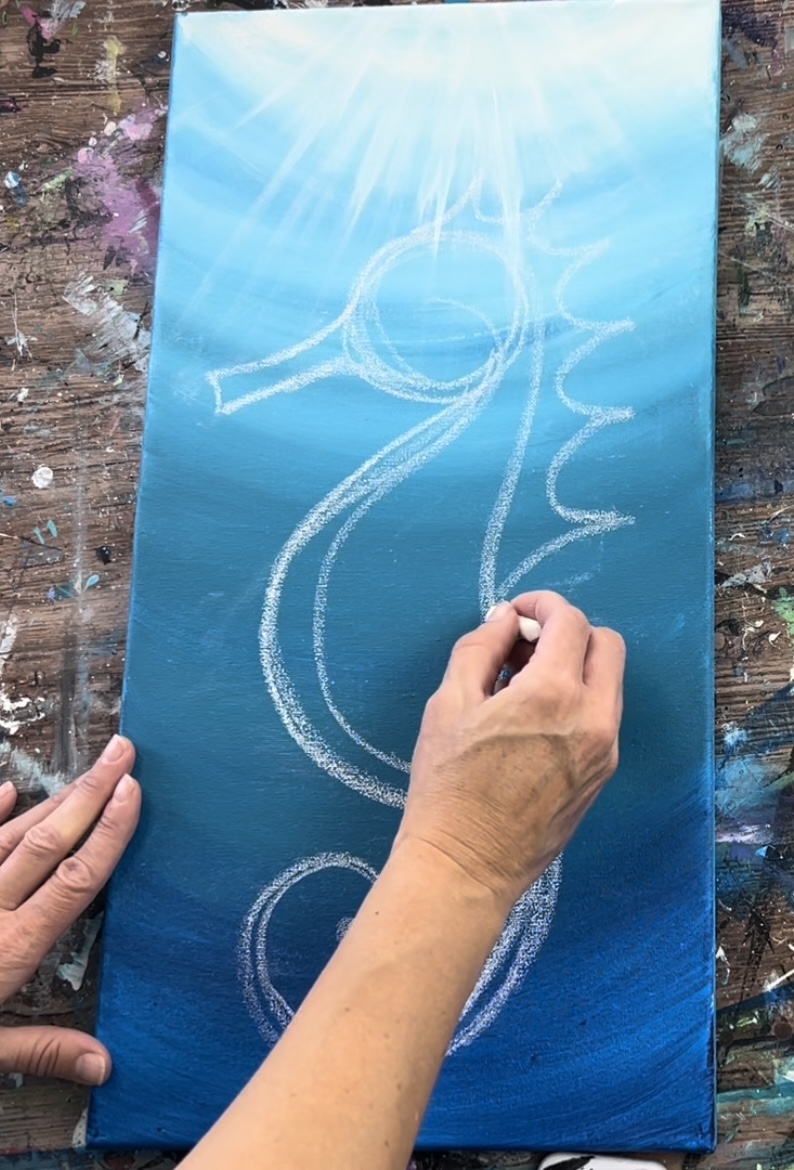
Then draw the dorsal fin.

Draw a small circle for his eye.
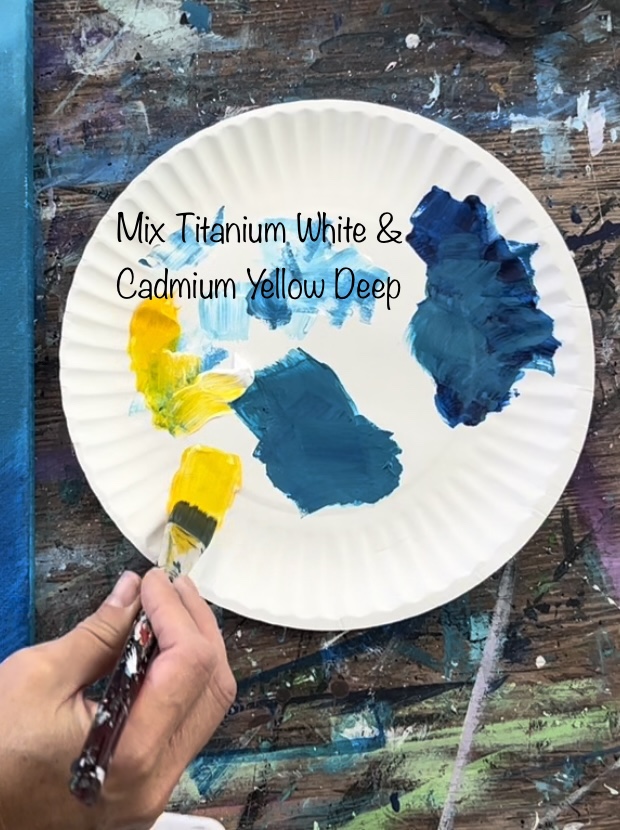
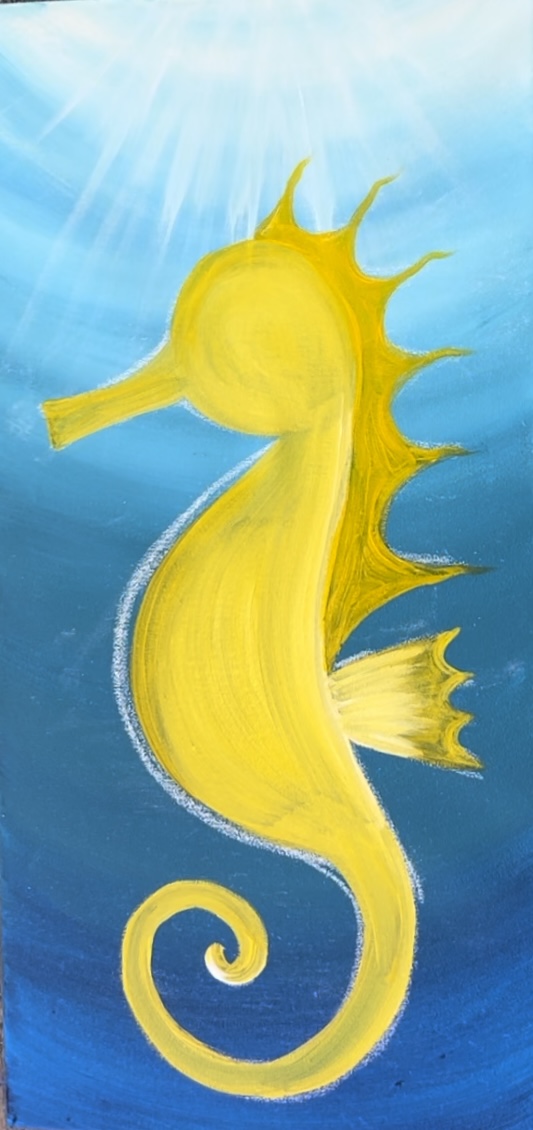
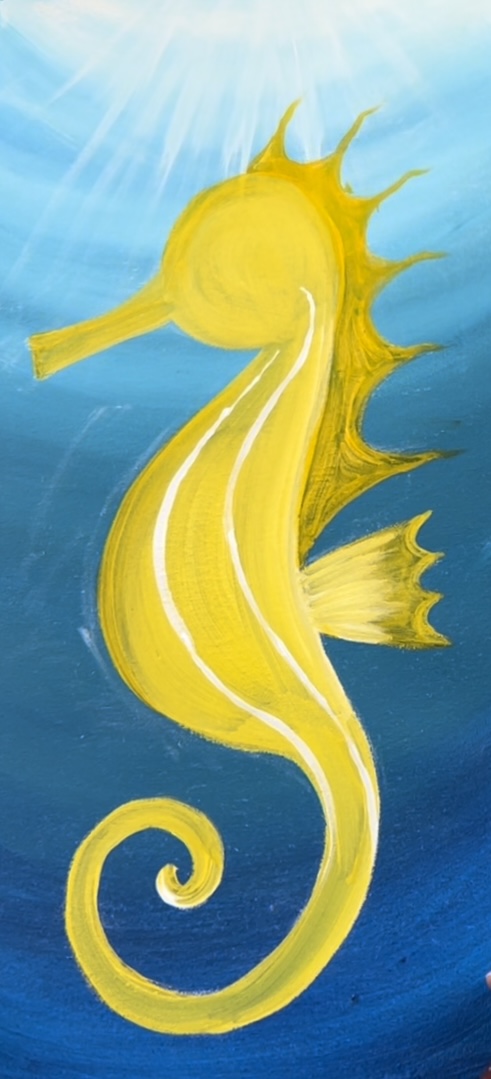
3. Paint First Layer Of Seahorse
Load cadmium yellow deep & titanium white on your palette then mix the two colors together.
Use your 3/4″ flat wash brush to paint the shape of the seahorse. Paint contouring strokes forming the shape of the seahorse.

You can vary the color by adding more white and yellow to the brush and blending the colors on the canvas. If you have dark showing through, you may need to apply more than one coat to the seahorse.
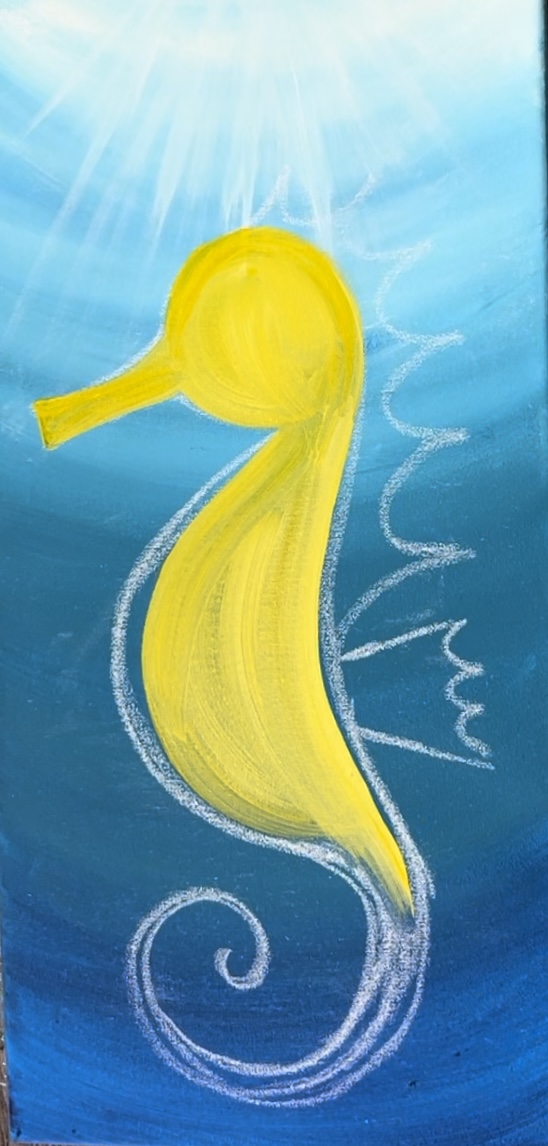
Use your #4 round brush to paint the curves and small areas of the seahorse.
For the back “crown” I used more of the cadmium yellow deep and less of the white to make that area have “contrast” and appear darker. For the dorsal fin, I painted more of the yellow at first. And then added a layer of white on the bottom.
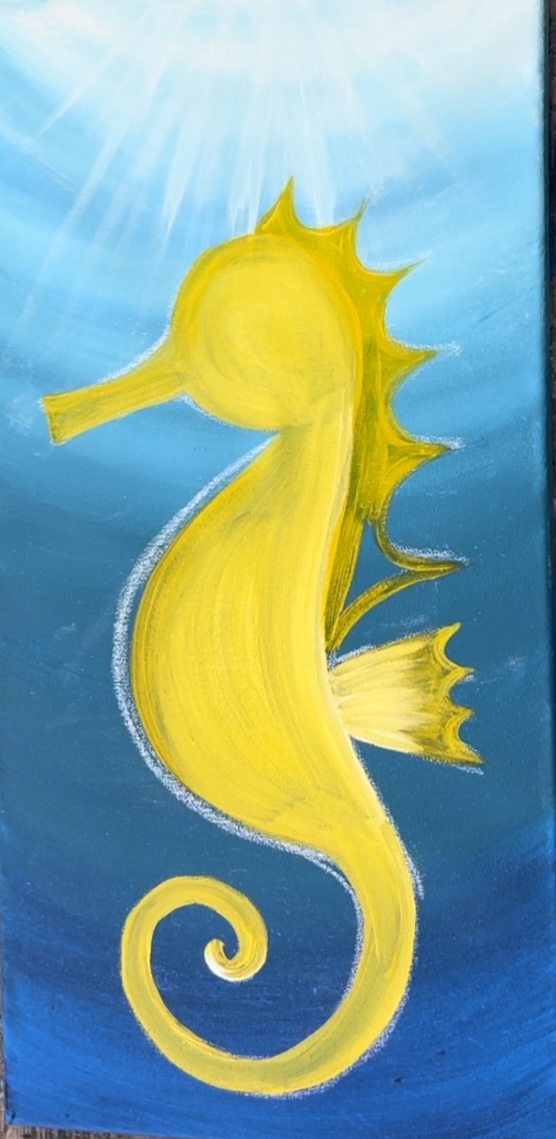
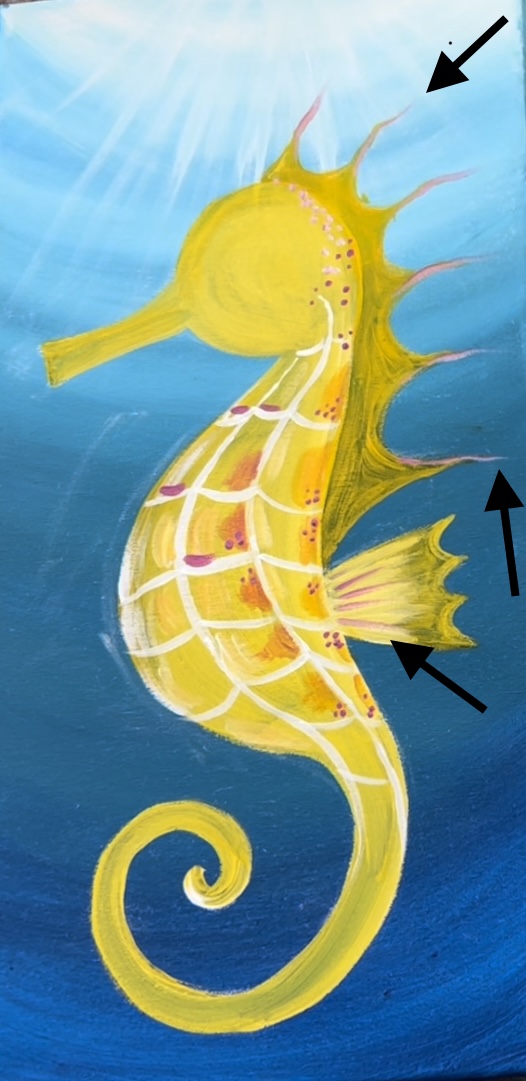
For the “crown/spikes”, I also extended the points so they went kind of “flowy” and “wavy”.
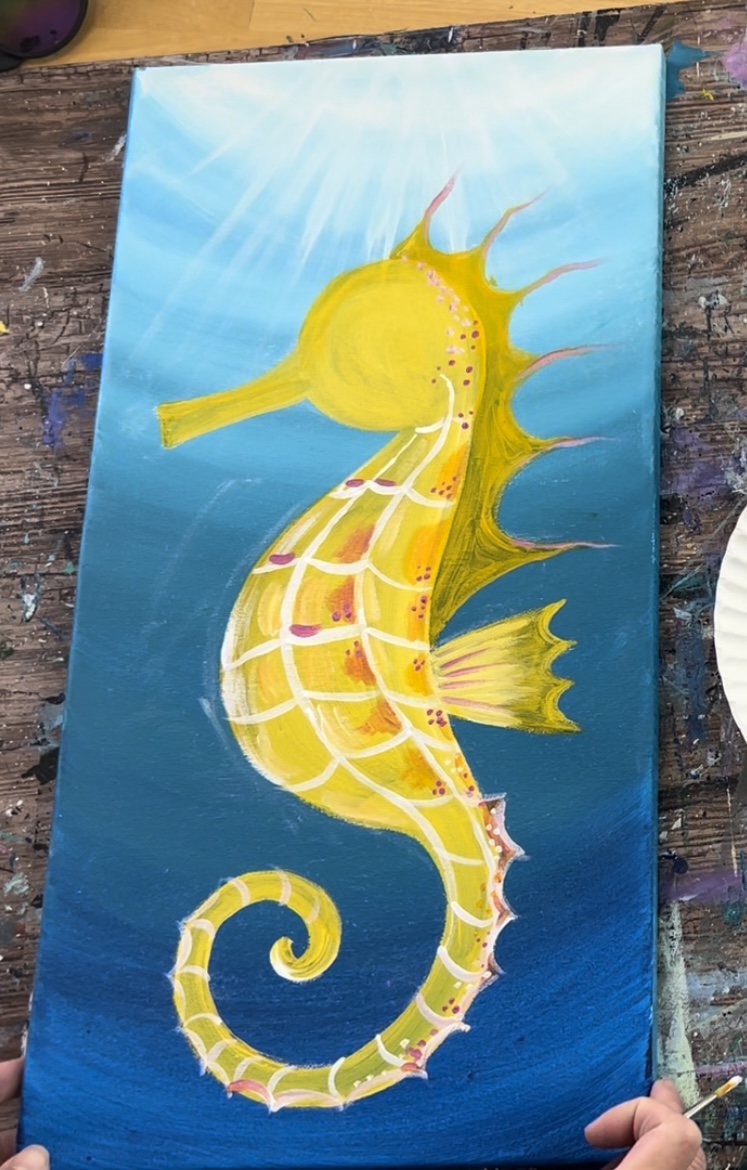
4. Paint Ridges/ Lines On Seahorse
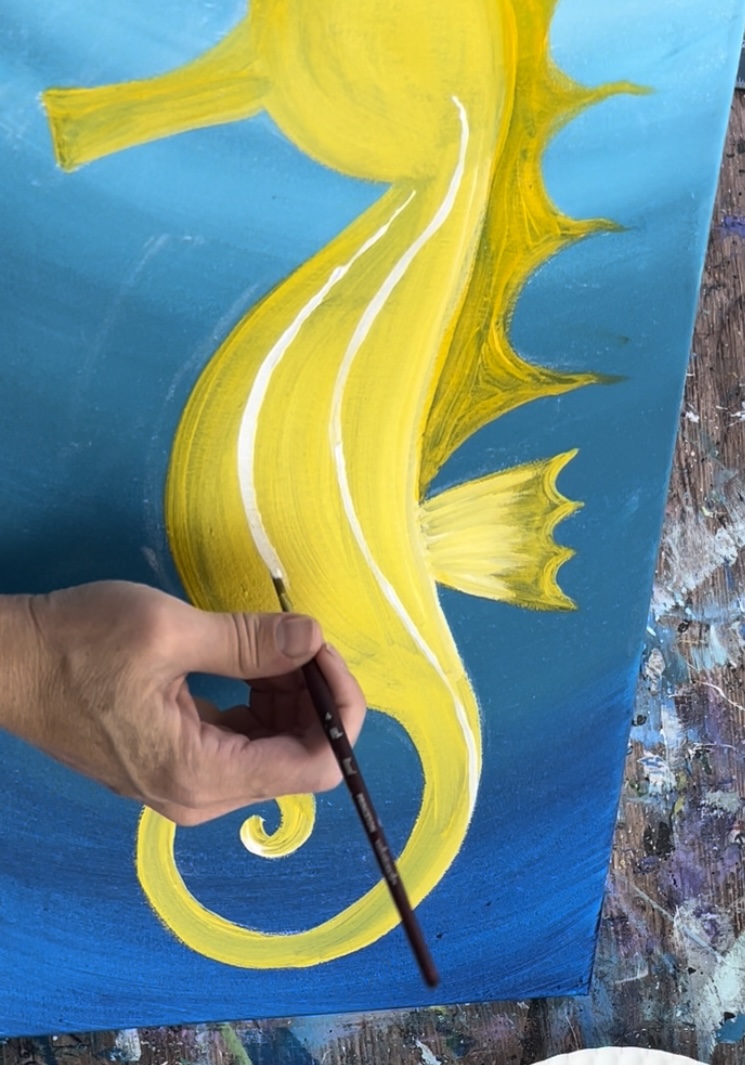
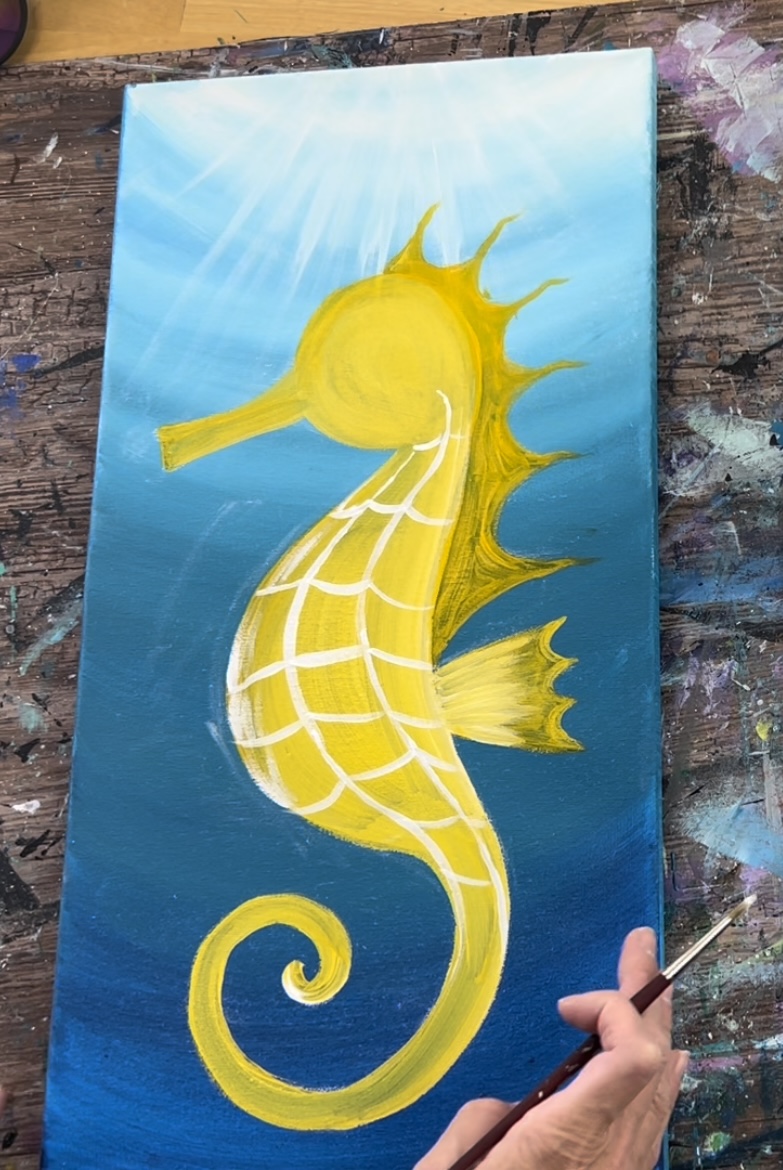
Use your #4 round brush and titanium white to divide the seahorse into two columns. Paint a curvy line that contours with the shape of the seahorse. Start on the bottom of the head and go down and curve to the left.
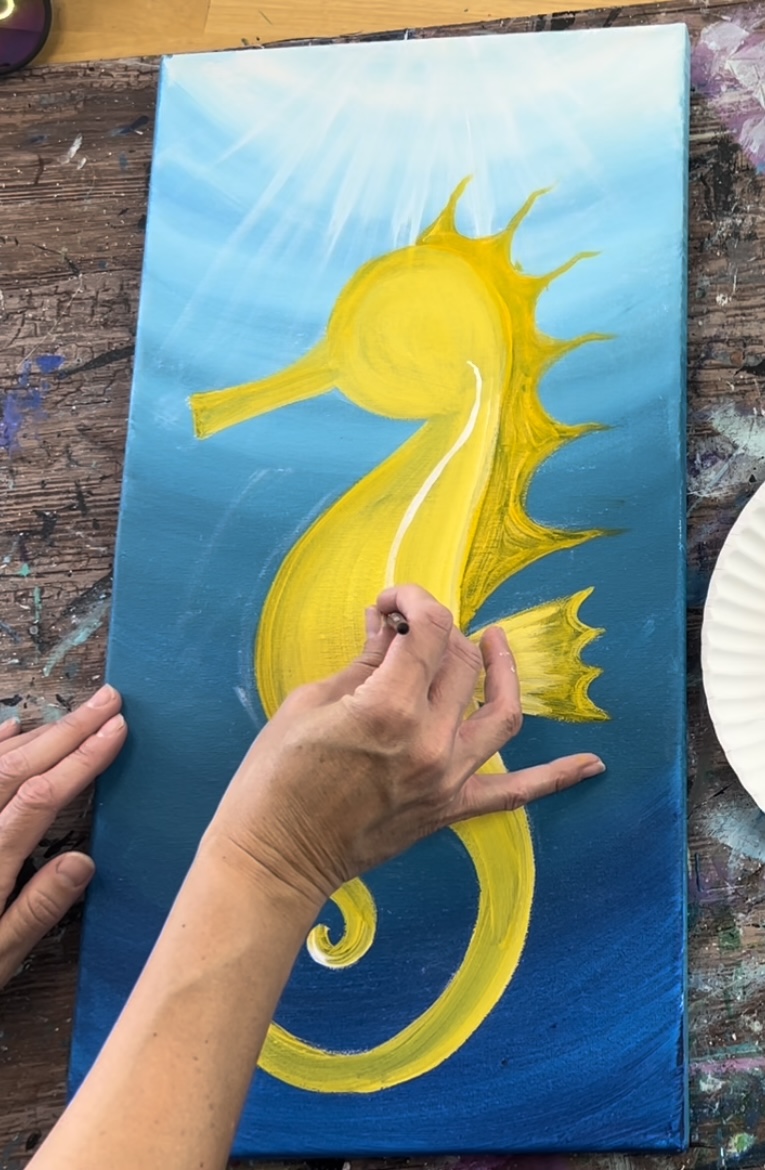
Go down to the right side of the start of the tail.
Then paint a second curvy line next to the first. Start below the head and go down to the start of the tail.
Next, paint curved lines between the vertical wavy lines.
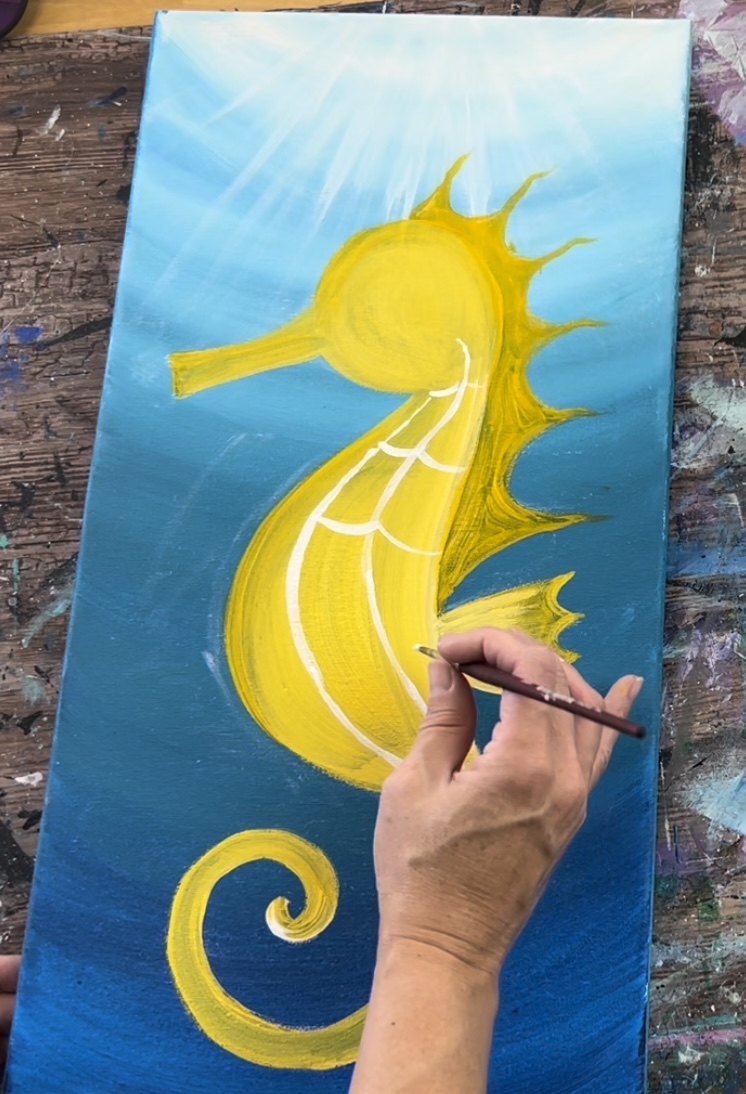
Paint more curved lines that go to the belly and then go down to the start of the tail and stop.
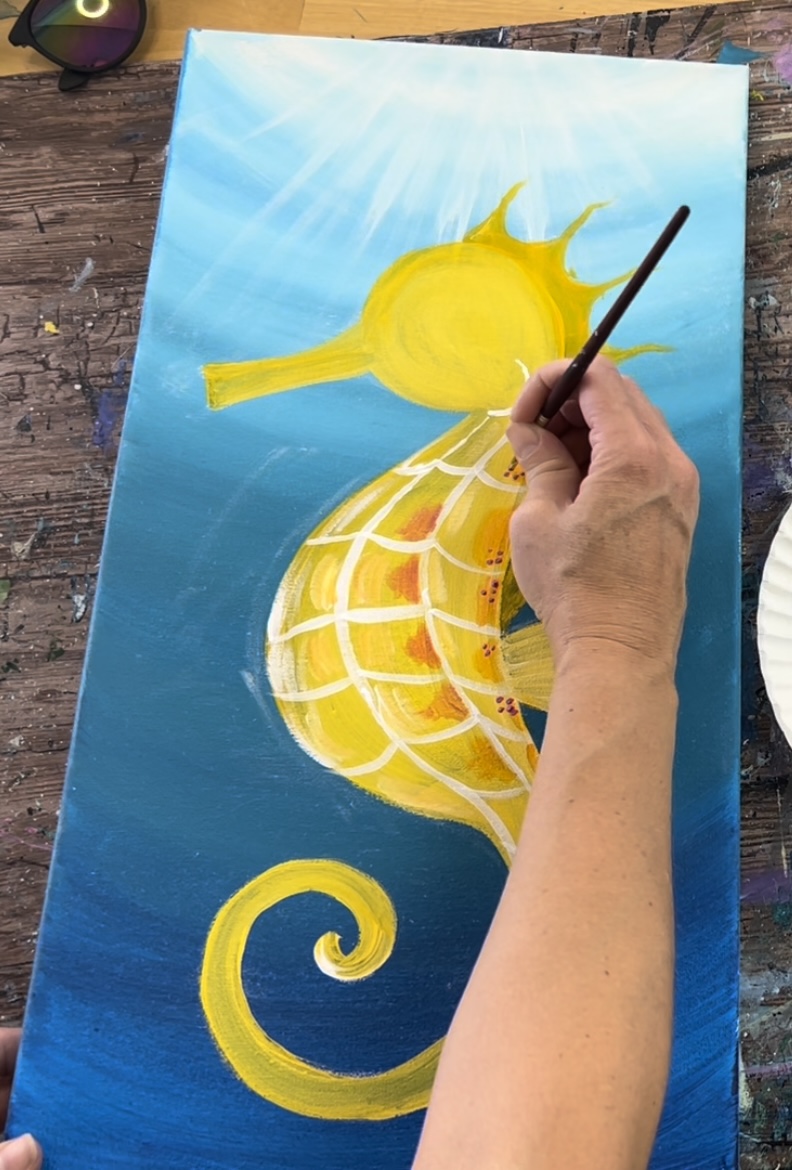
5. Add Color To Seahorse
Load your palette with medium magenta. Mix about 1 part medium magenta and 1 part cadmium yellow deep to create a dark orange color. Use your #4 round brush to paint colored blotches inside the “plated areas”.
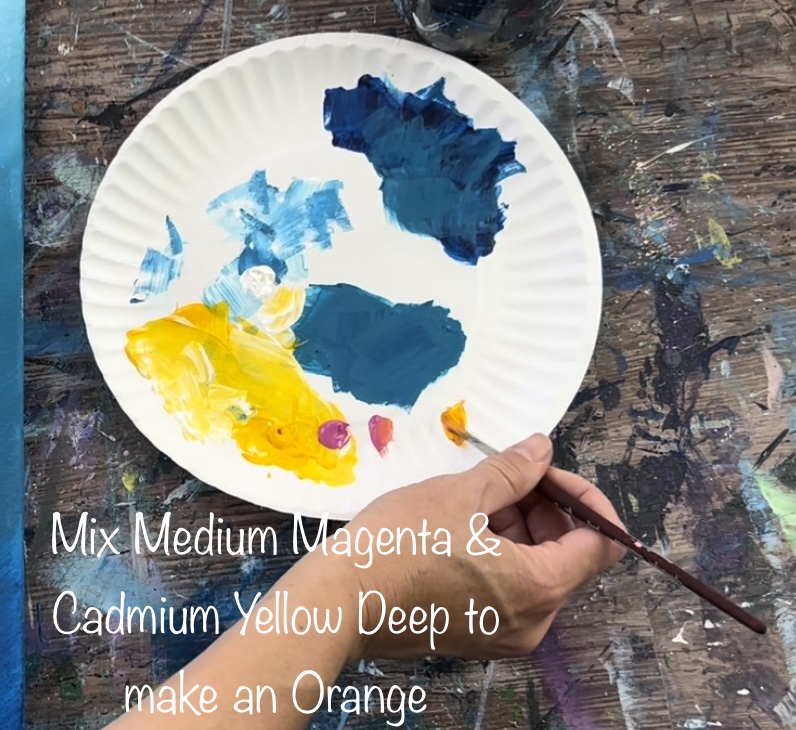
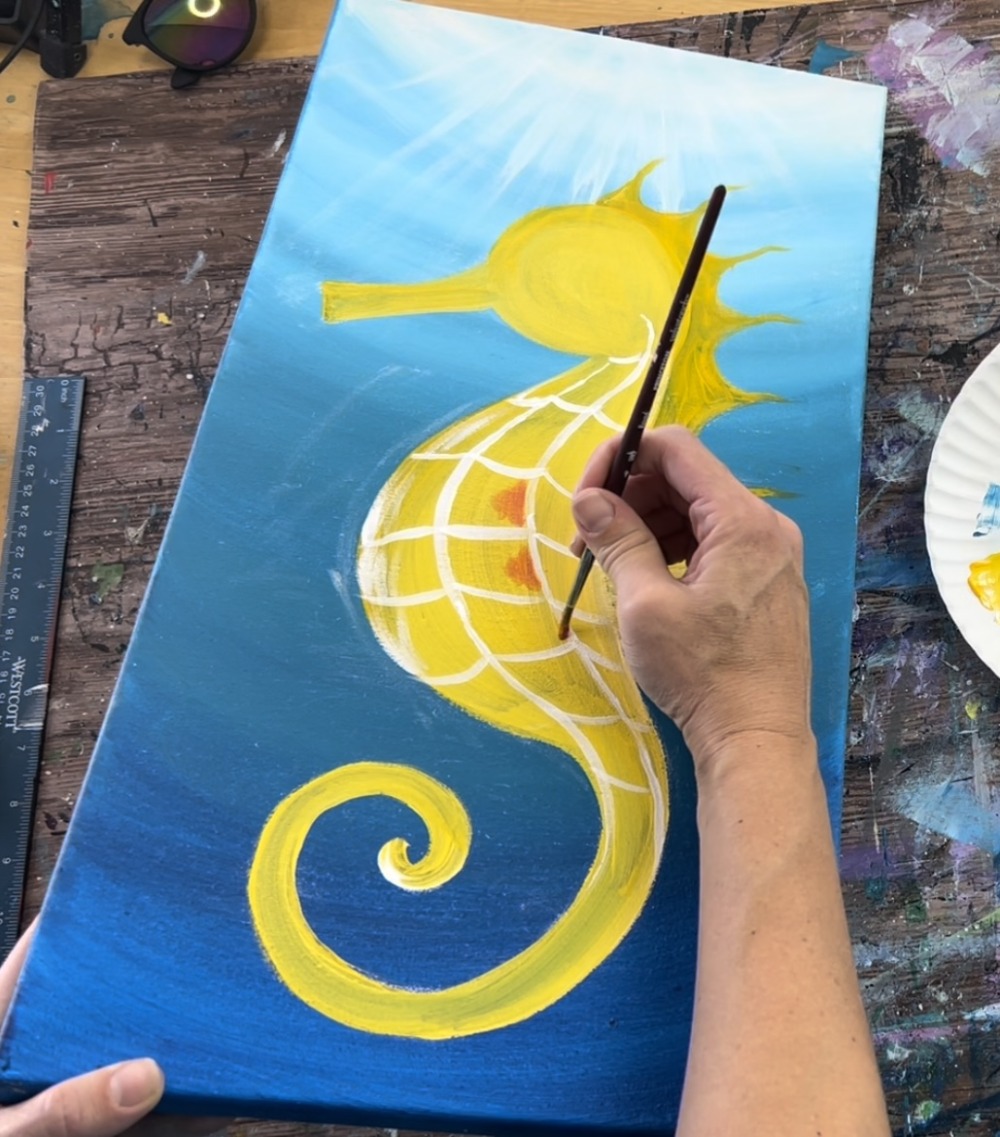
I painted the dark orange blotches in the middle areas of the seahorse. Then add more yellow to your orange and paint more blotches along the back.
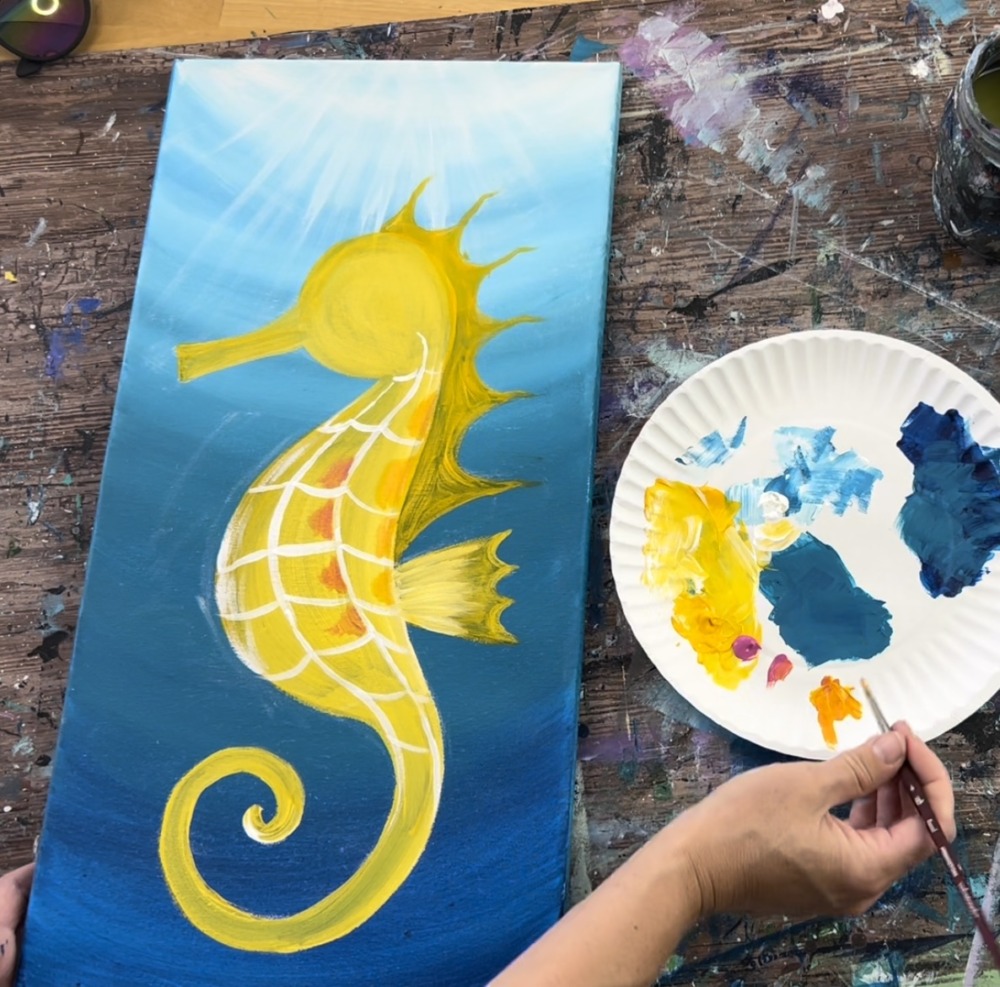
Then paint little dots with various amounts of medium magenta and your oranges. The point of these blotches and dots is to give the seahorse more color and interest.
You can add more blotches and dots wherever you want! You can mix some white into your yellow/ pink to make different tints of oranges and pinks.
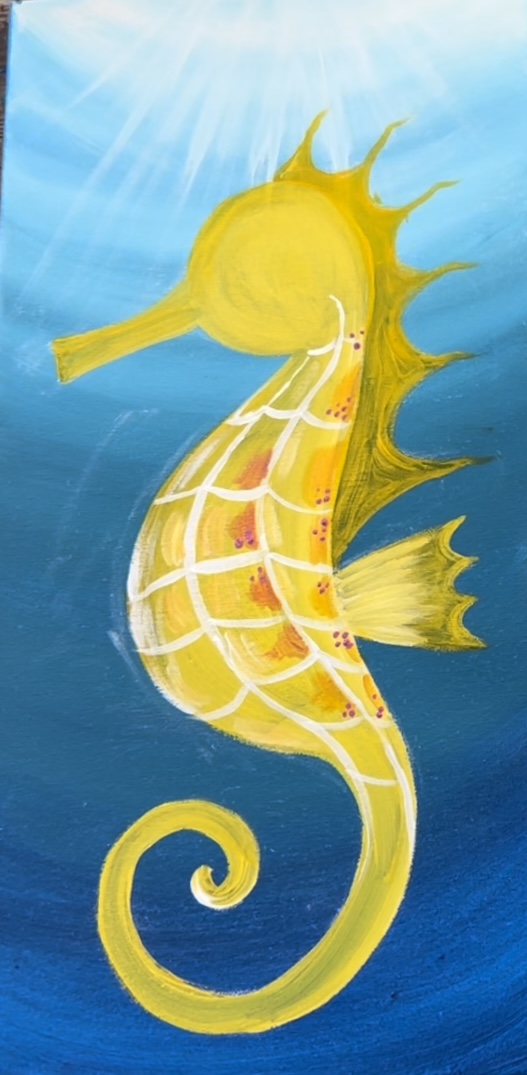
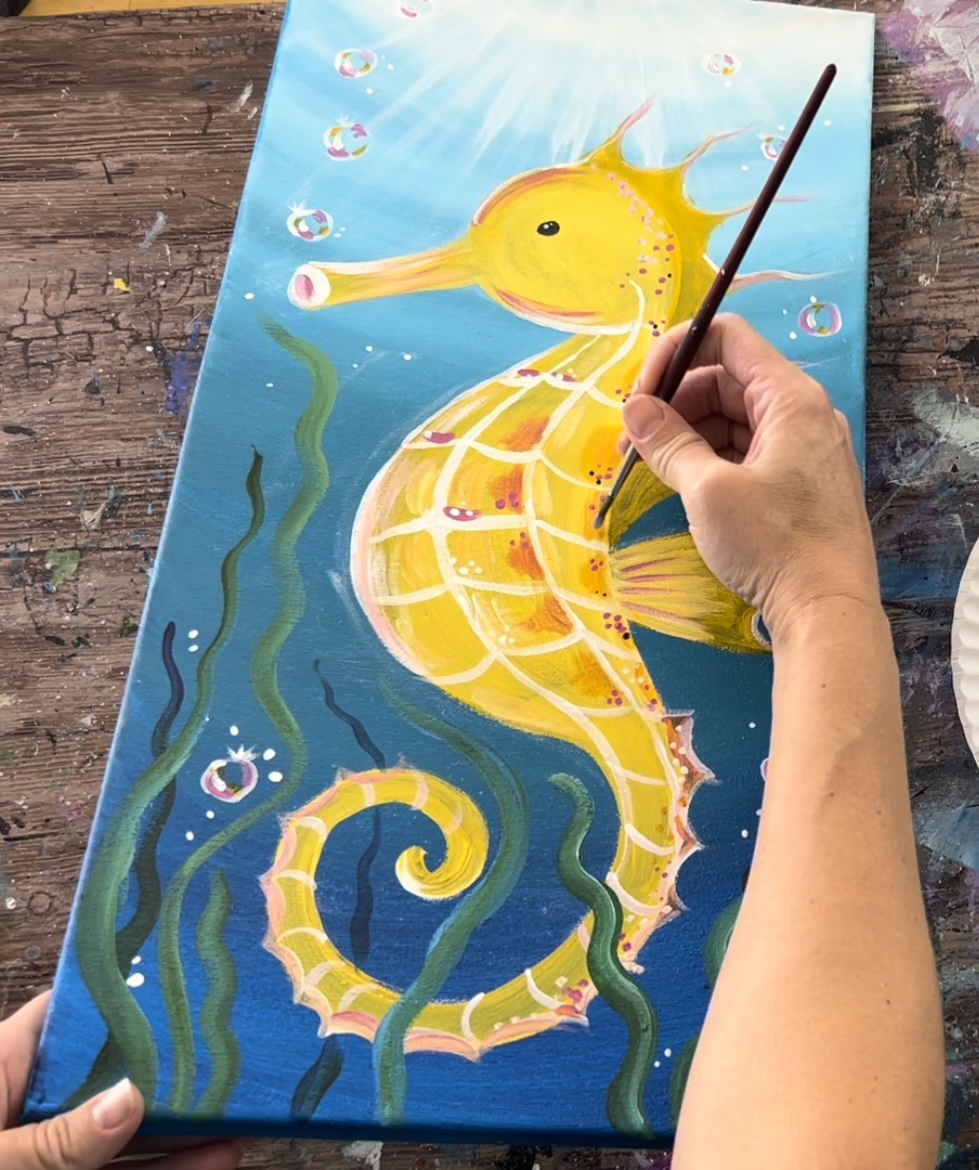
Then use the medium magenta to extend the points along the back and make them more “wavy like”. Add some medium magenta diagonal lines on the bottom of the dorsal fin.
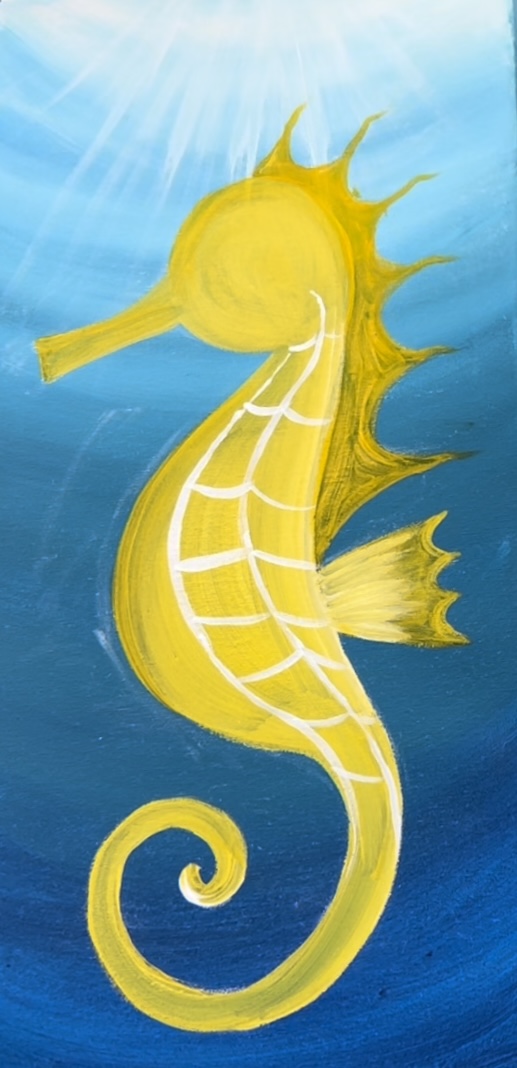
6. Paint ridges/rings on seahorse tail
Then use your #4 round brush and titanium white to paint curves along the tail. On the right side of the curves (along the tail edge) paint inverted curved lines that go to a point. This will form the “pointed texture” along the seahorse’s tail.
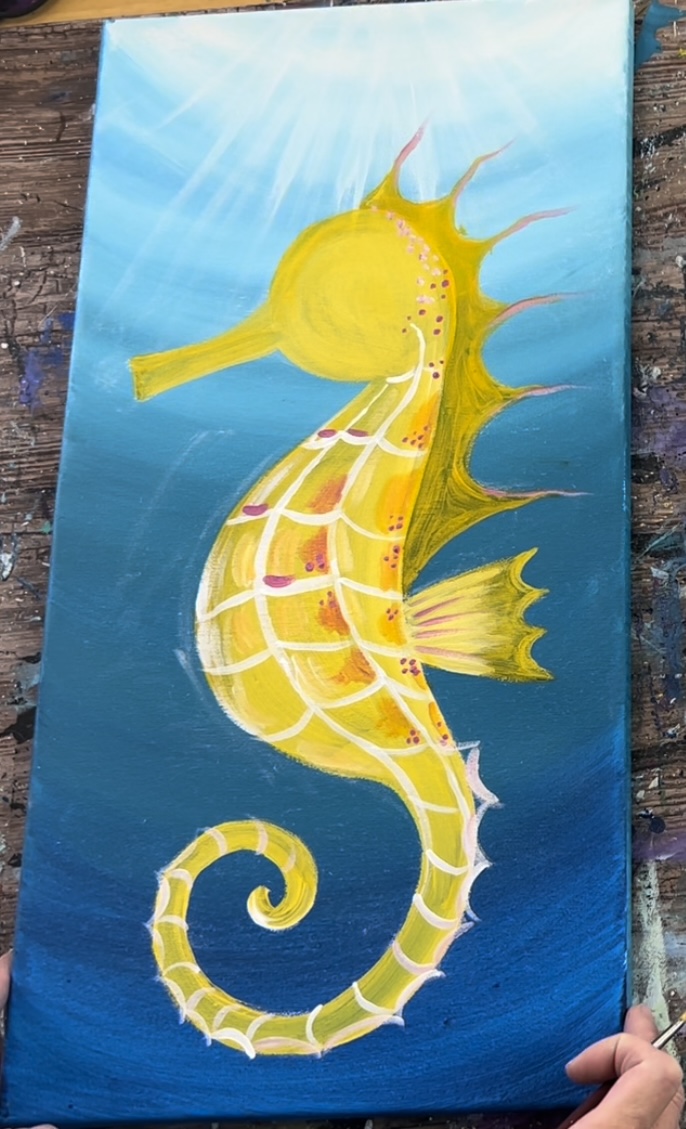
Then fill in the shape that you painted with your white line with more color. You can fill it in with more cadmium yellow deep/ white or use the medium magenta mixed with some of the yellow. I filled it in then painted more little dots along the right edge of the tail.
6. Paint Seahorse Eye & Inner Snout
Use titanium white to outline the outer oval shape on the snout. Paint a little magenta inside of it. Then add a small amount of white on the top edge.
Load your palette with mars black. Paint a small black circle for the eye. Then, when the black dries, paint a small white dot inside the circle.

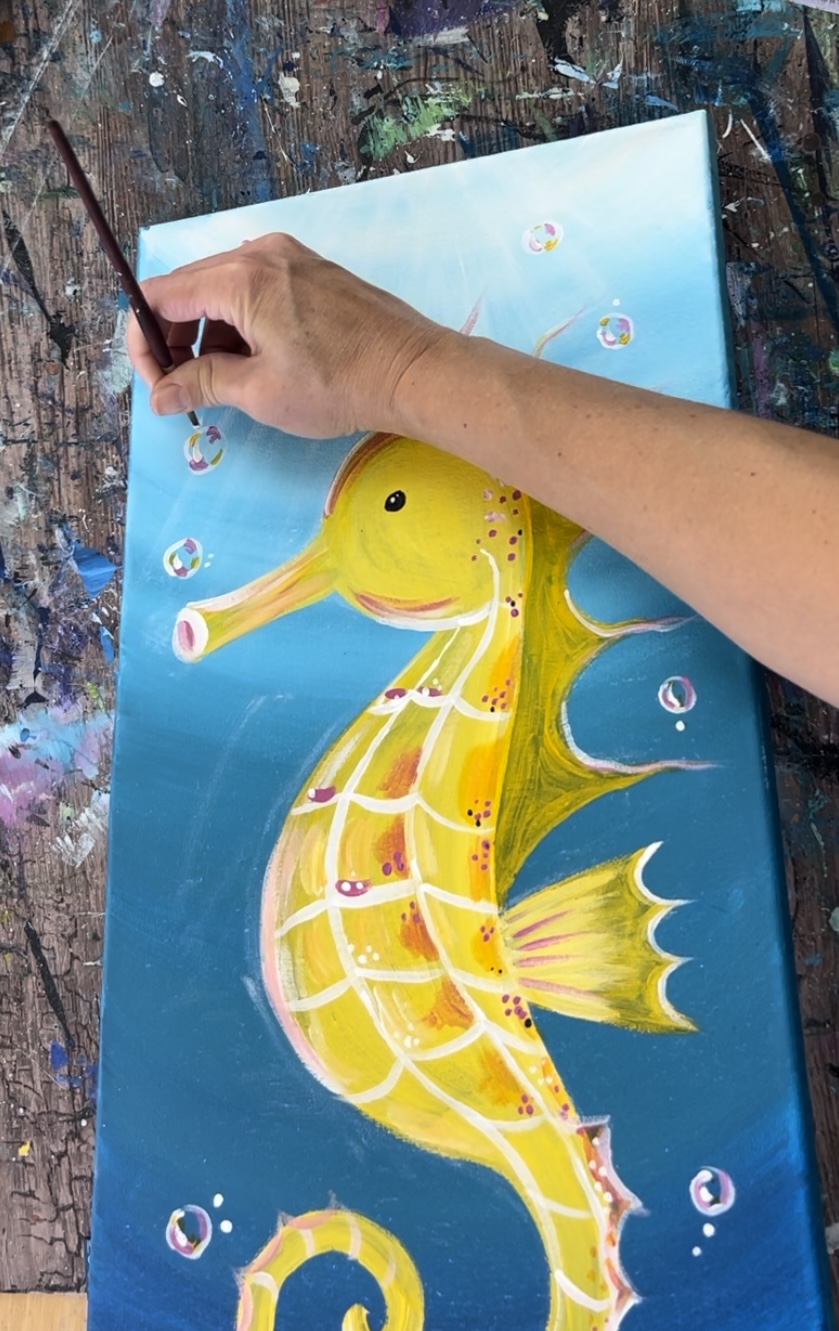
7. Paint Bubbles
This bubble painting technique is very similar to my “how to paint bubbles” tutorial! You can look at that for reference (only it is a very small condensed version of this).
Use your #4 round brush to paint white circles. These circles can be “lumpy” and not exactly round.
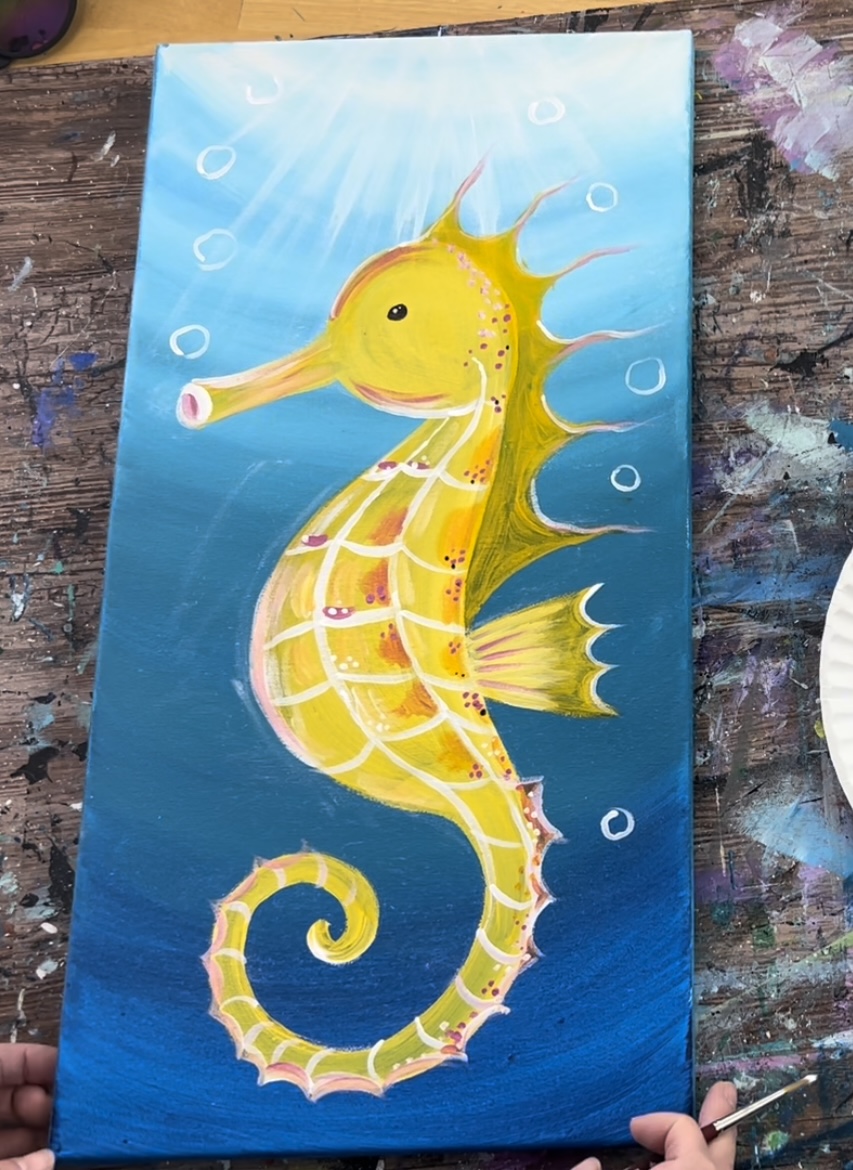
I did a column of bubbles above the seahorse’s snout. Then a few “here and there” all over. You can also paint small dots with the white.
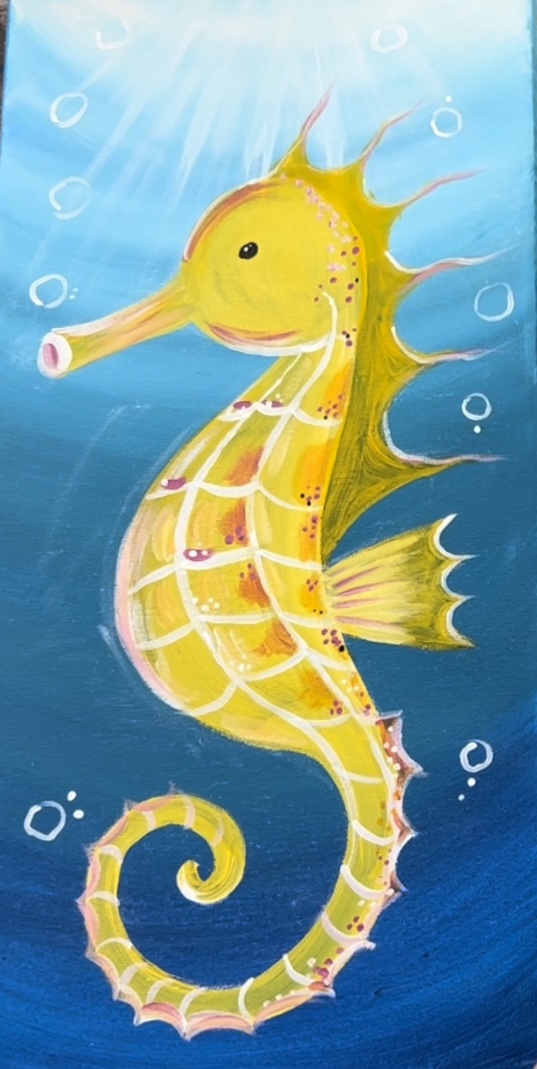
Next rinse your brush and dry. Load it into medium magenta. Paint curves on the inside left and right sides (or top and bottom sides) of each of the bubbles.

Do this in one or two strokes.
Then rinse your brush and dry. Load it into the yellow. Paint yellow strokes on the opposite inside sides. Make sure to leave the outer edge of your bubbles white.
Then let your bubbles dry a bit Use titanium white to paint a “highlight” on each of the bubbles. Do this in one small curved stroke. It’s okay if you paint your highlight over the colors that you painted. Remember that bubbles are supposed to be “translucent” so don’t add too much color on them. Leave a lot of the blue from the ocean background showing through.
Next, paint a small “sparkle” on some of the bubbles. Paint little diagonal lines on the top edge.

8. Paint Seaweed
Load your palette with hooker’s green hue permanent, phthalo blue and titanium white. Use your #4 round brush to paint various heights of wavy lines. Try to make the line a little thicker on the bottom and rounded/ smaller on the tip. Add small amounts of water to the color to allow it to flow nicely.
I painted dark seaweed strands first by mixing a small amount the blue with the green.
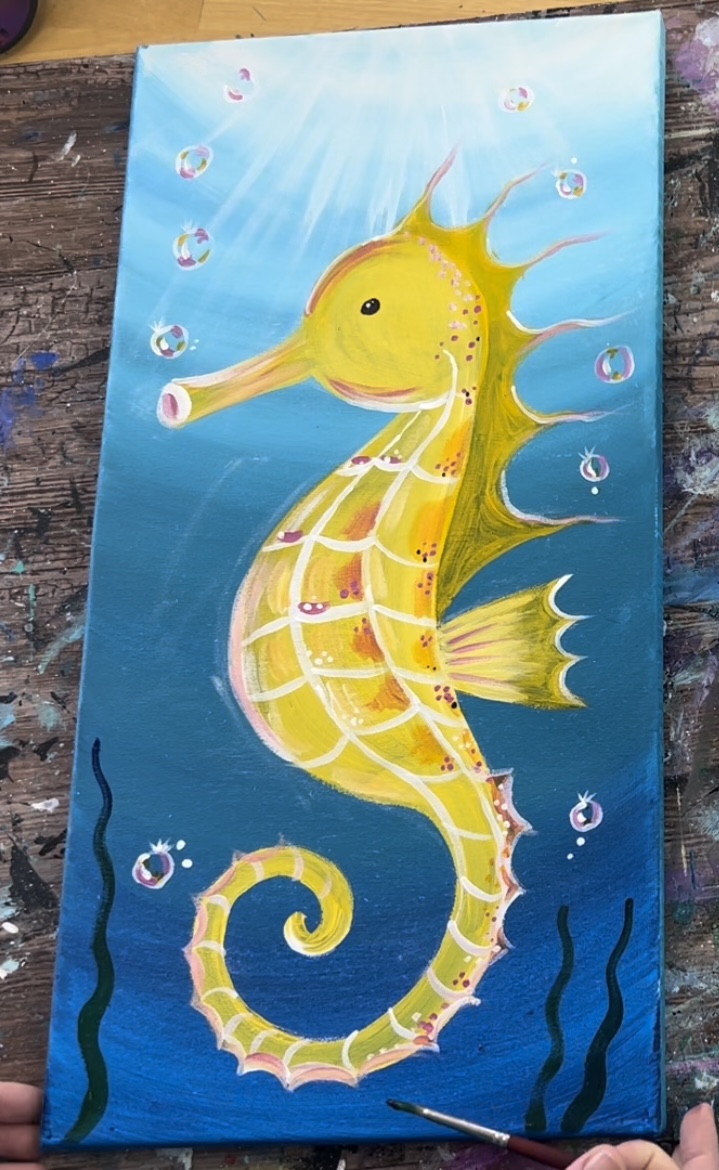
Then mix white into your greens/blues to make lighter seaweed strands. Paint strands that overlap each other and some strands that overlap the seahorse’s tail.
Some strands go up very high! Simply make a variety of heights and colors by varying your greens, blues and whites.
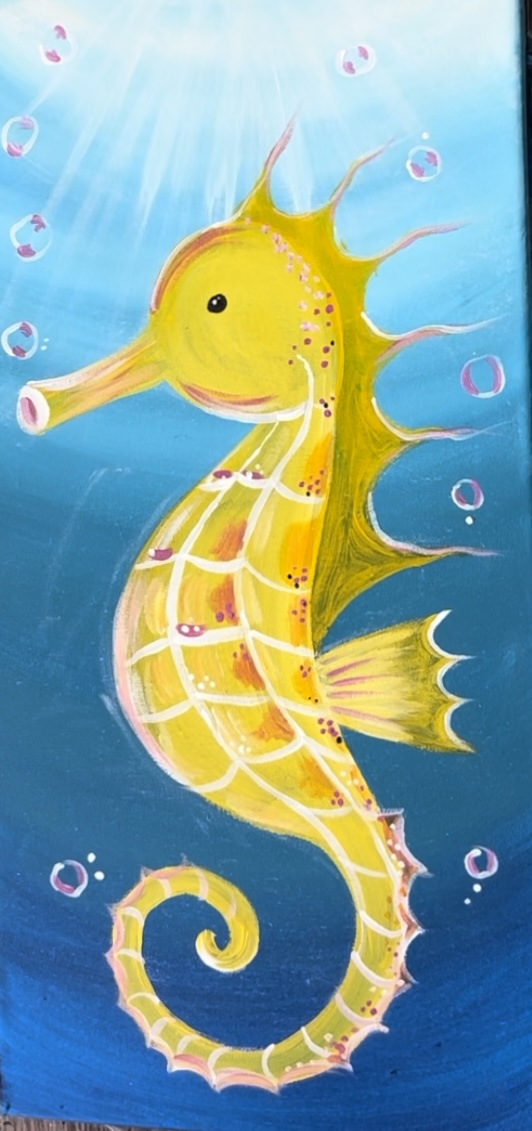
9. Add Glitter (Optional)
This is an optional step that adds extra sparkle to your underwater painting! You can use any adhesive for this as long as it dries clear. Elmer’s glue would work and so would modpodge!
I used liquitex glazing medium.
Use your round brush to apply the medium wherever you want the glitter to stick.
Then sprinkle the glitter on and tap the excess off.
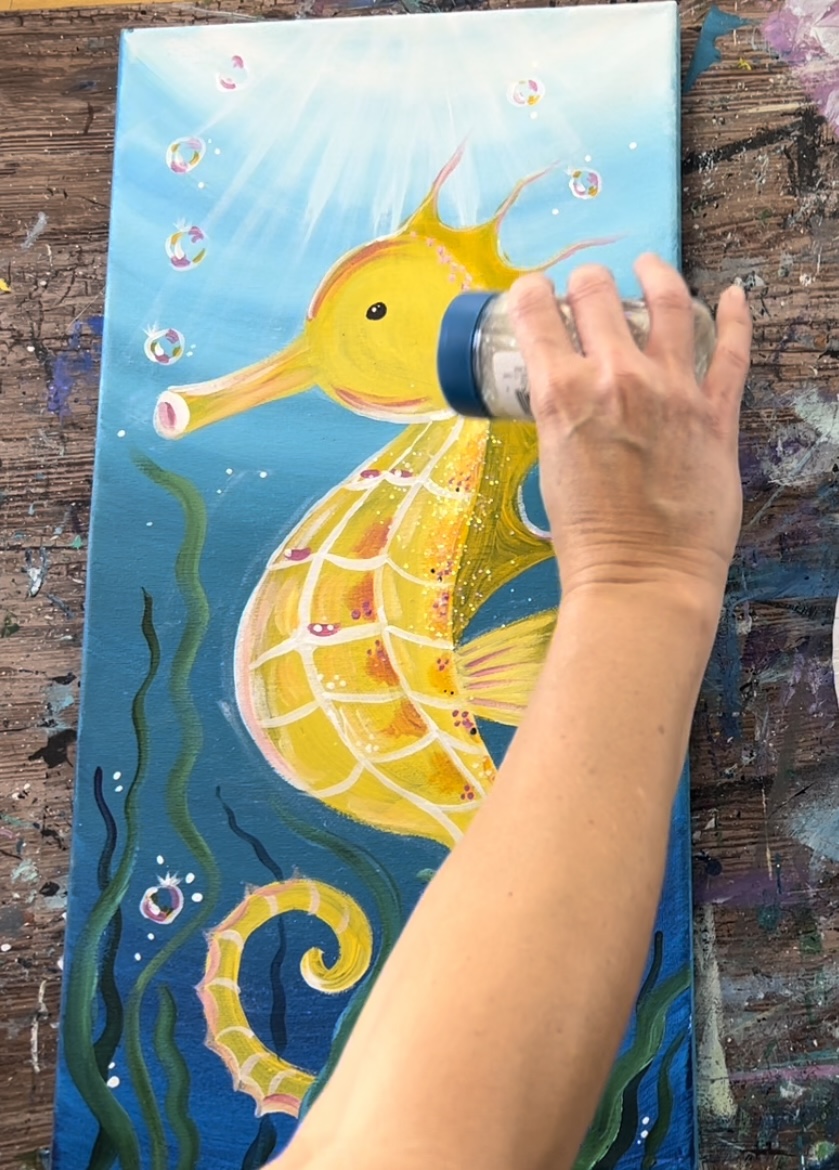
I did glitter mostly on the right side along the back of the seahorse. You can get creative and add in other places!
You can even paint a starfish and add glitter to that too! For the painting below, I used “medium magenta” for the starfish and added white glitter on it. Note: in this painting I also decided to loosely outline some of the ridges on the seahorse with black. That one is a different painting from the one demonstrated the other pictures of this tutorial.

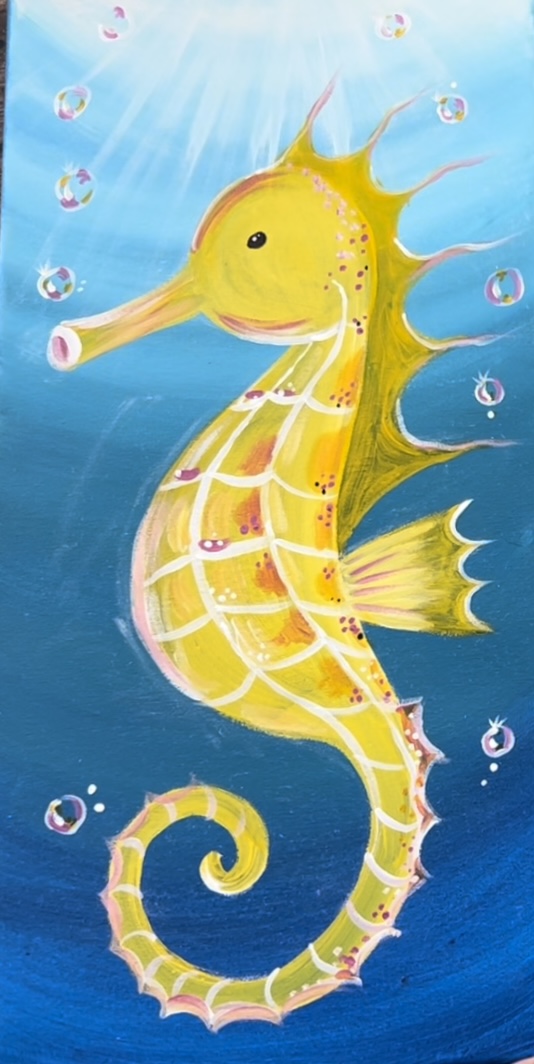
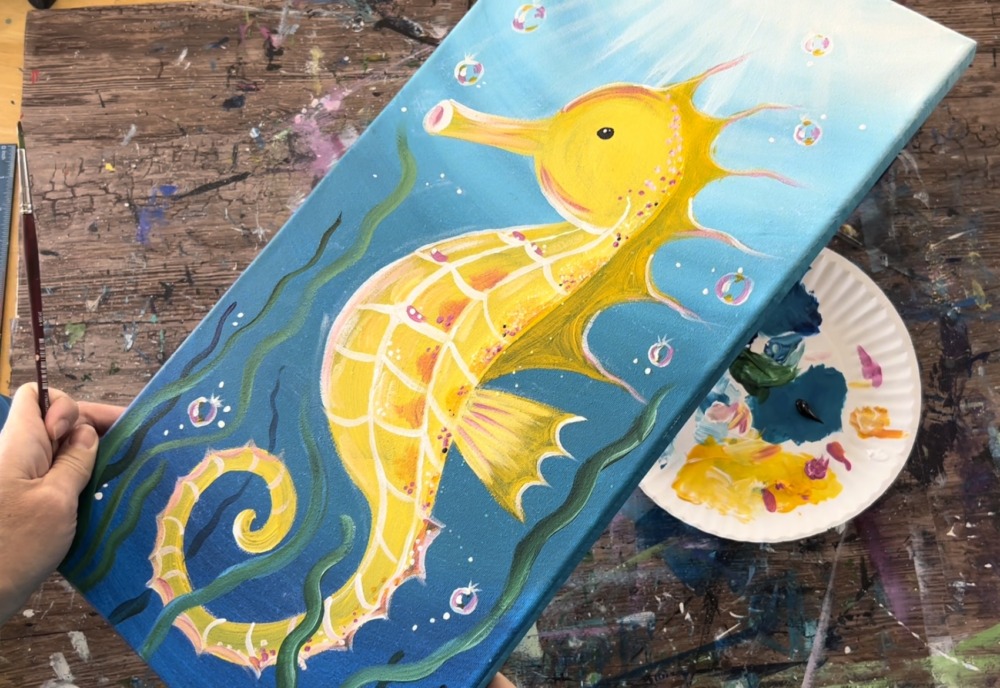
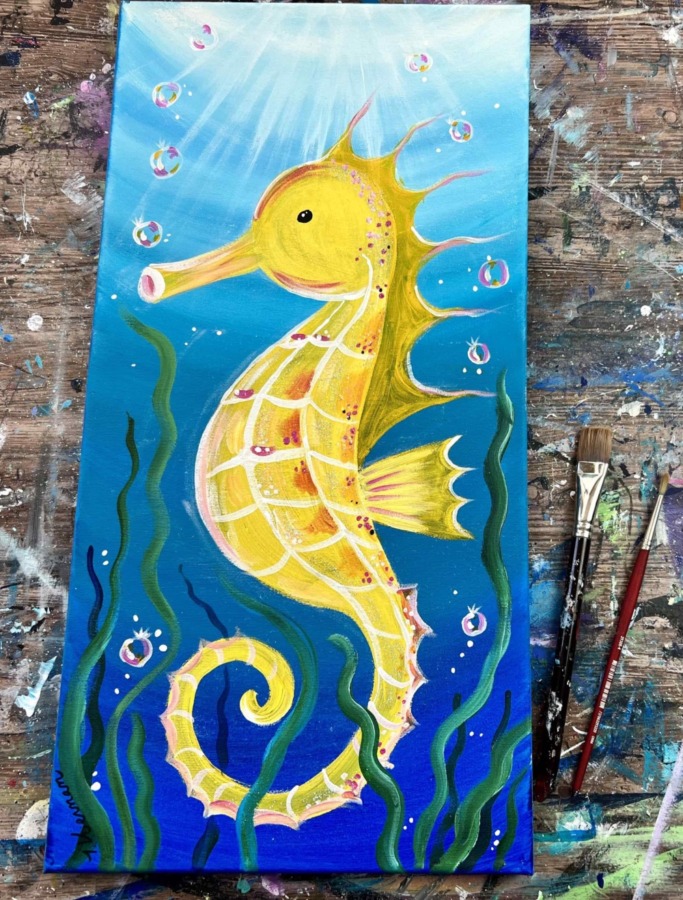
Finished!
Sign your name and show it off!
Share Your Art Here!


