
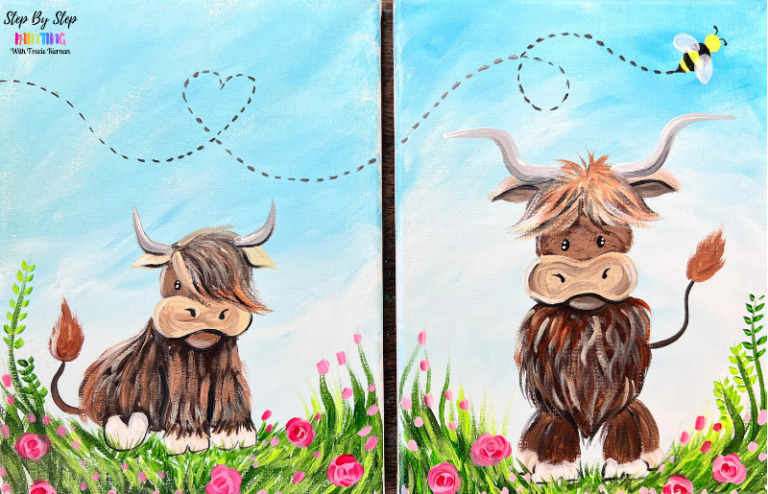
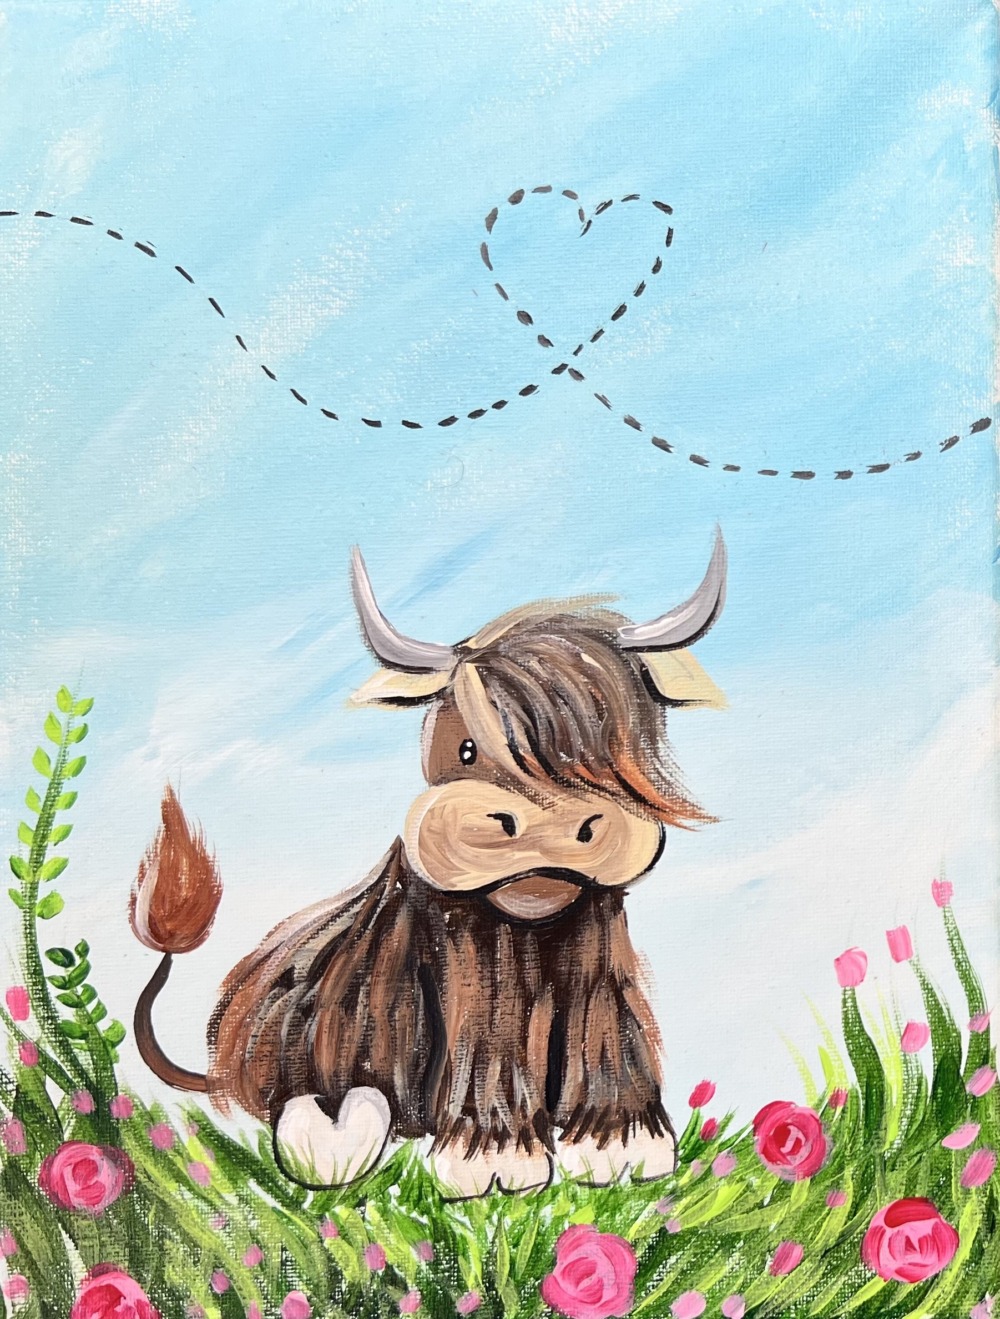
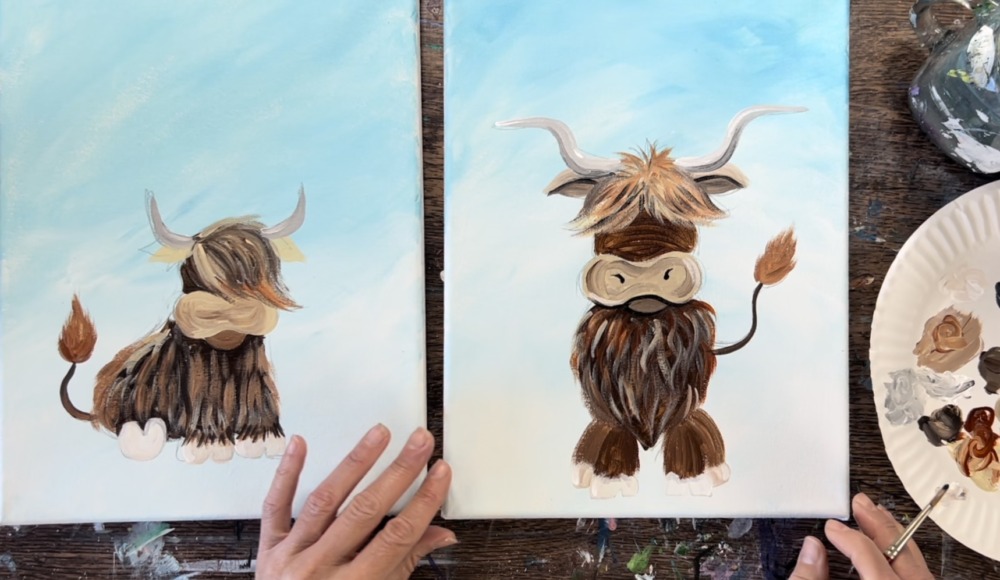
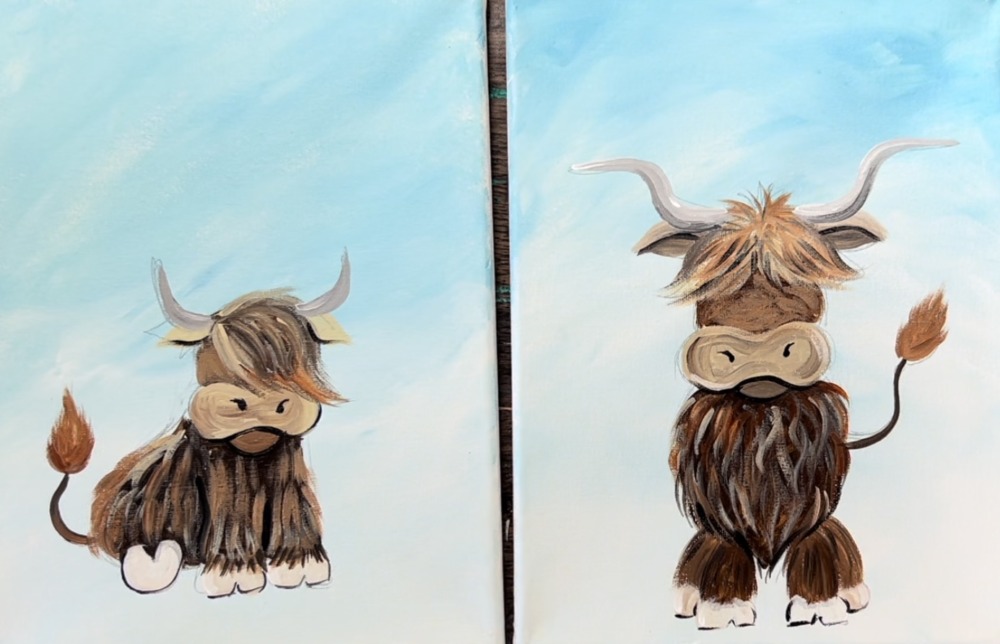
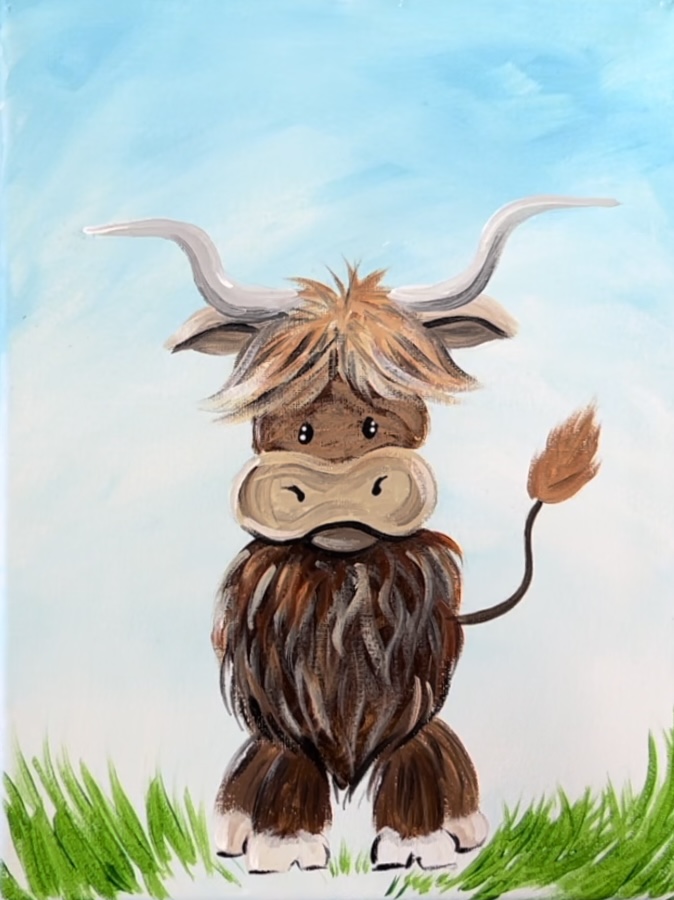
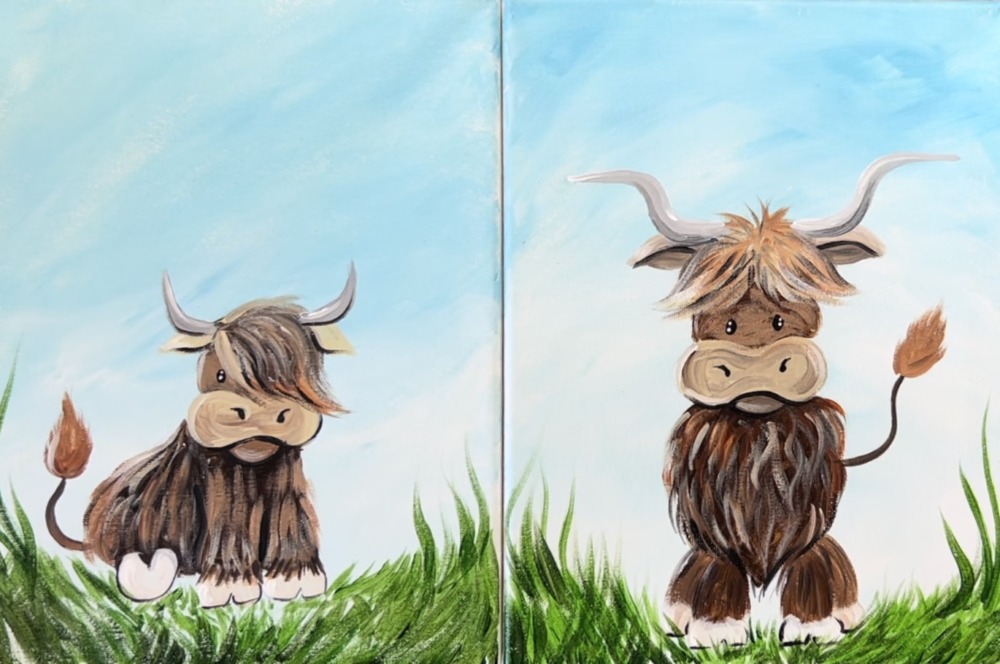
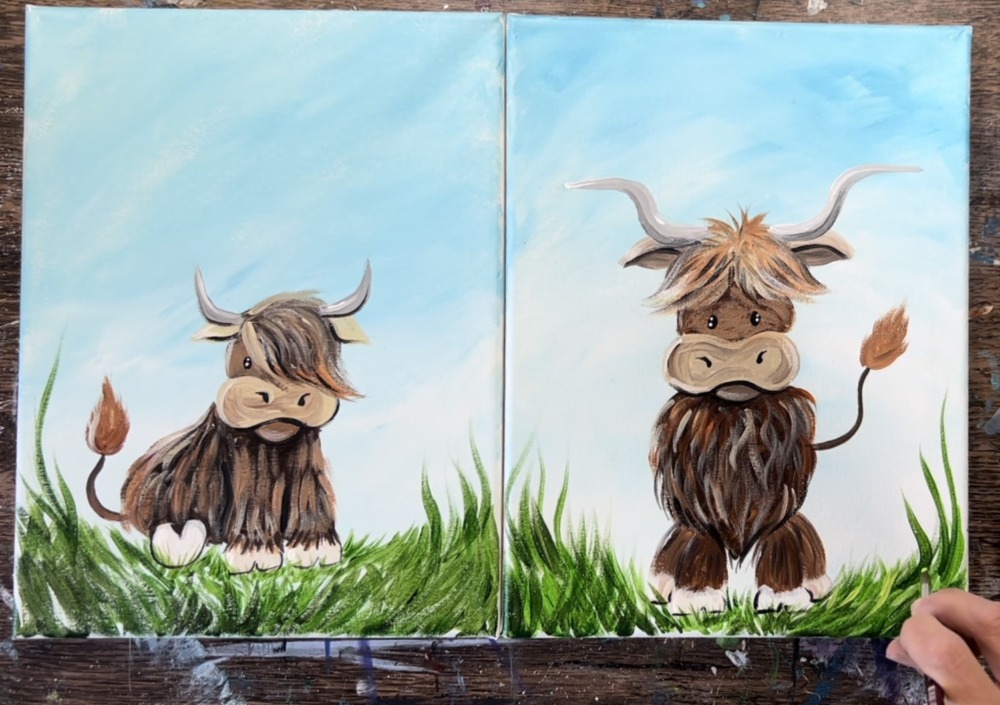
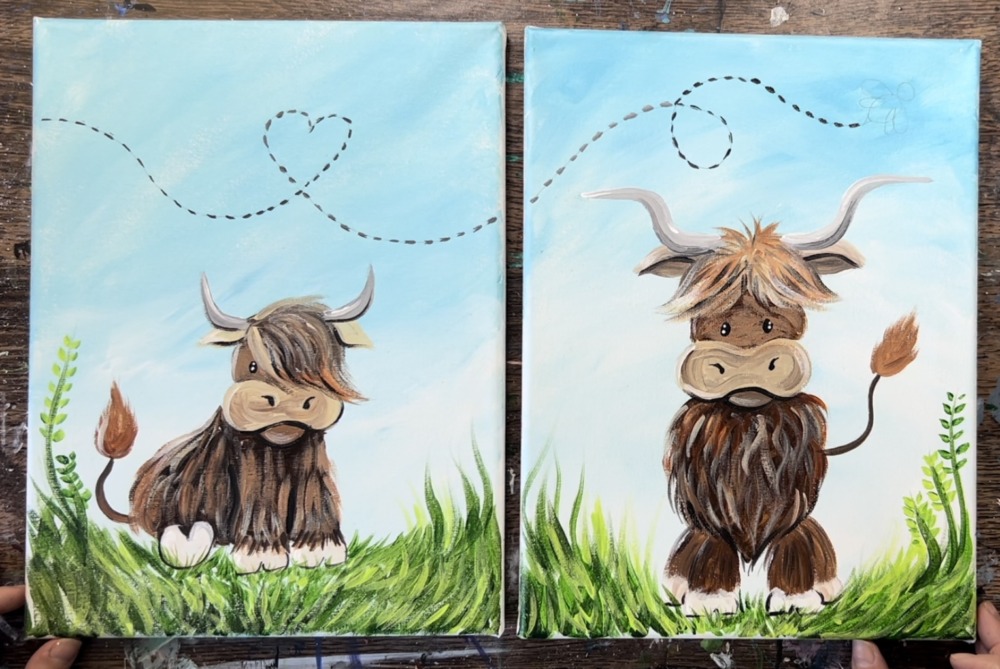
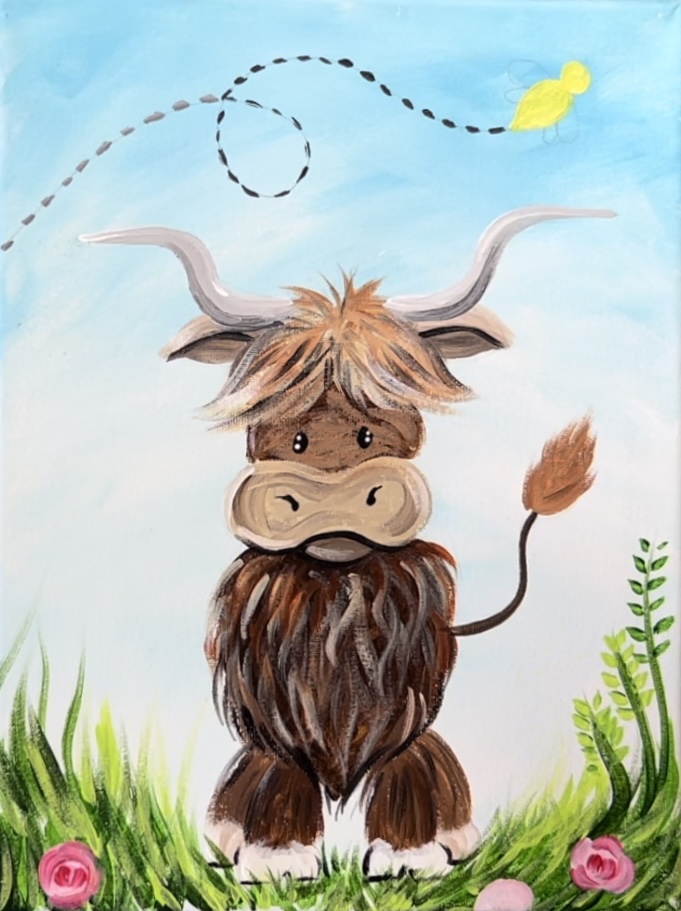
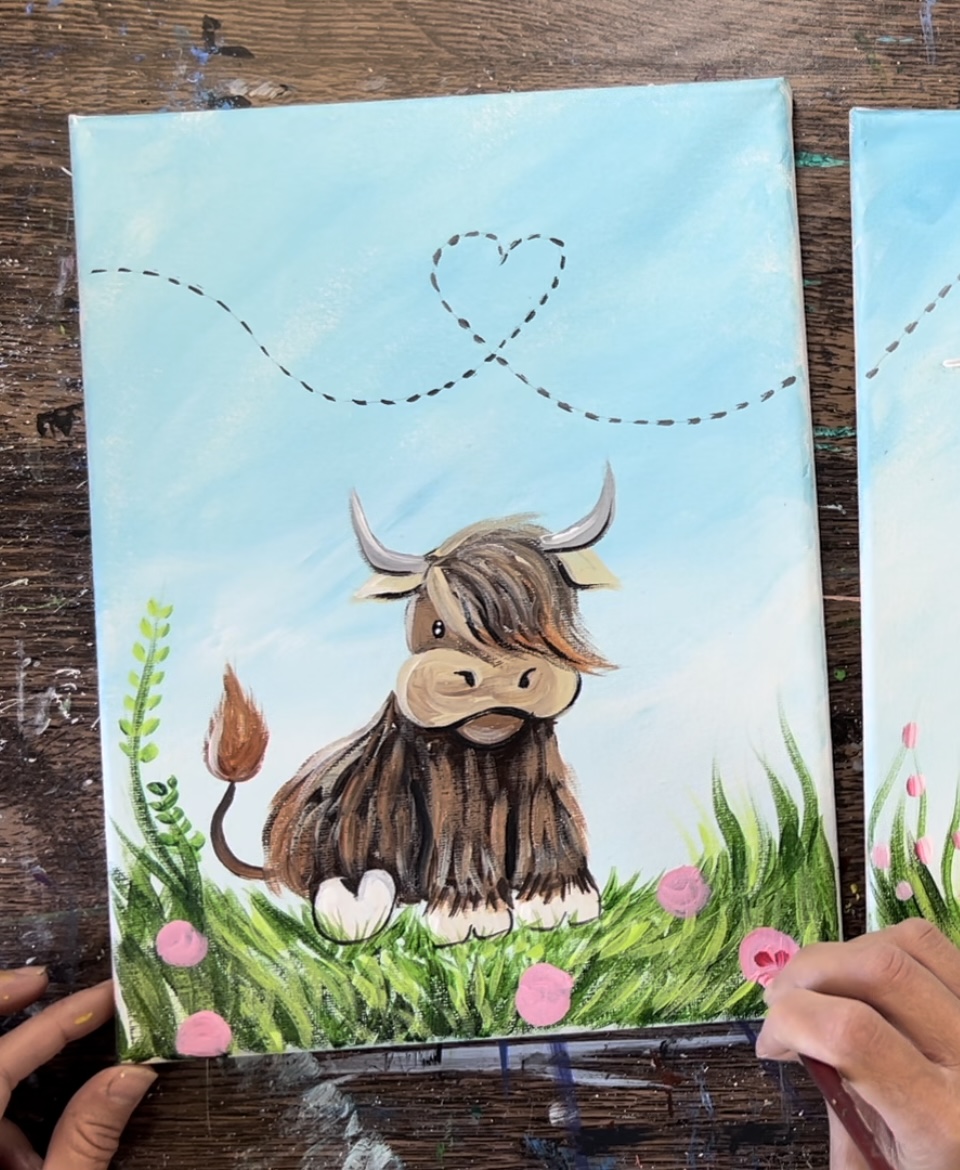
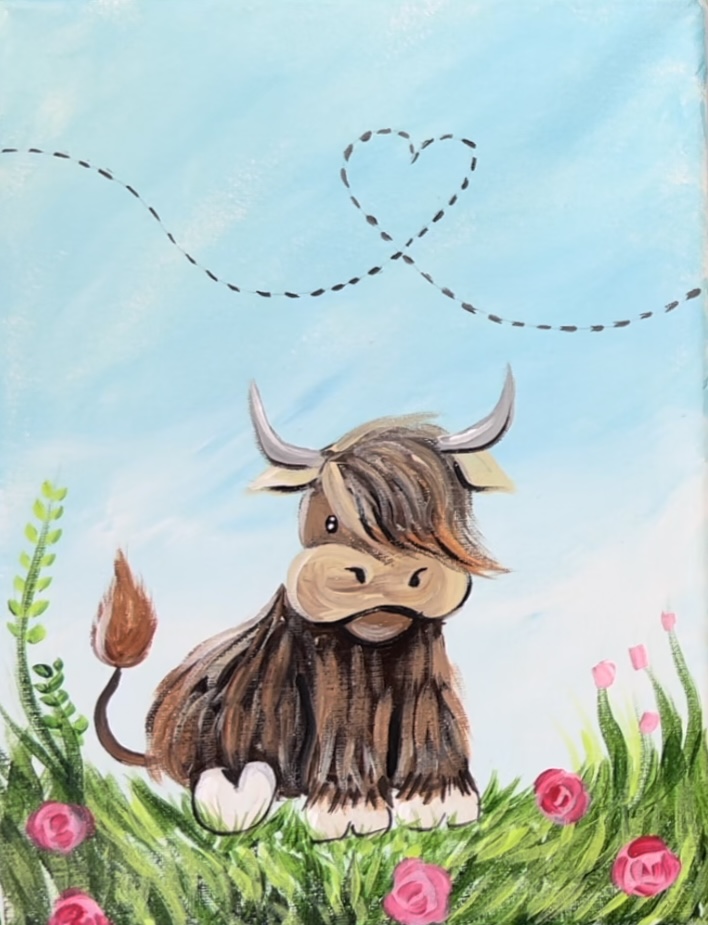
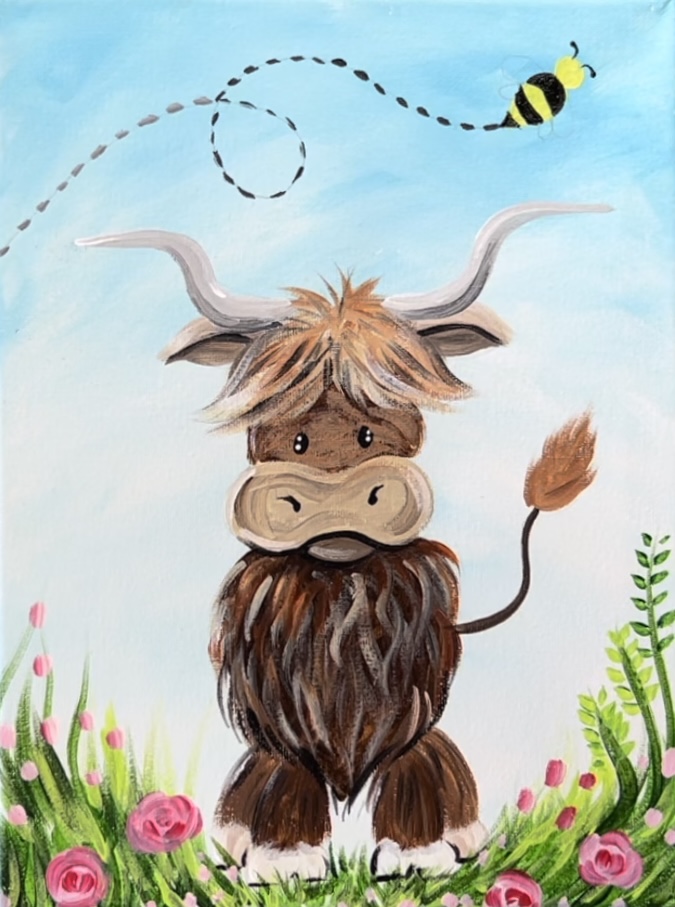
Easy, adorable highland cows! This painting tutorial is a “Mommy & Me” or “Daddy & Me” or “Grandma & Me”, etc. style painting. These are two different paintings that can be put together as one whole painting.
Would you like to save this?
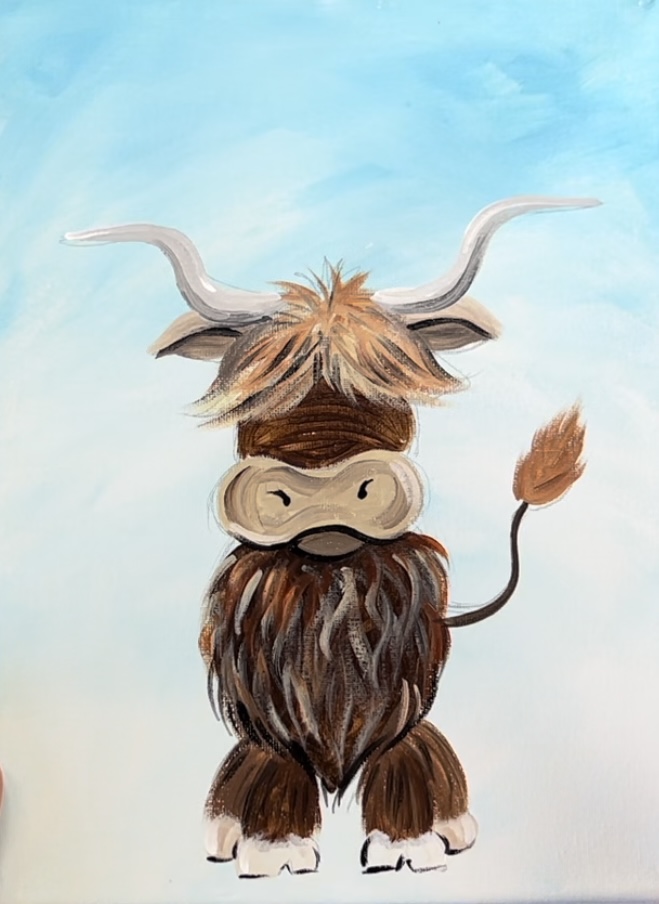
And yes, female highlands do have horns, but differ slightly! 😉 Highlands are beautiful, adorable animals and also a trending animal right now!
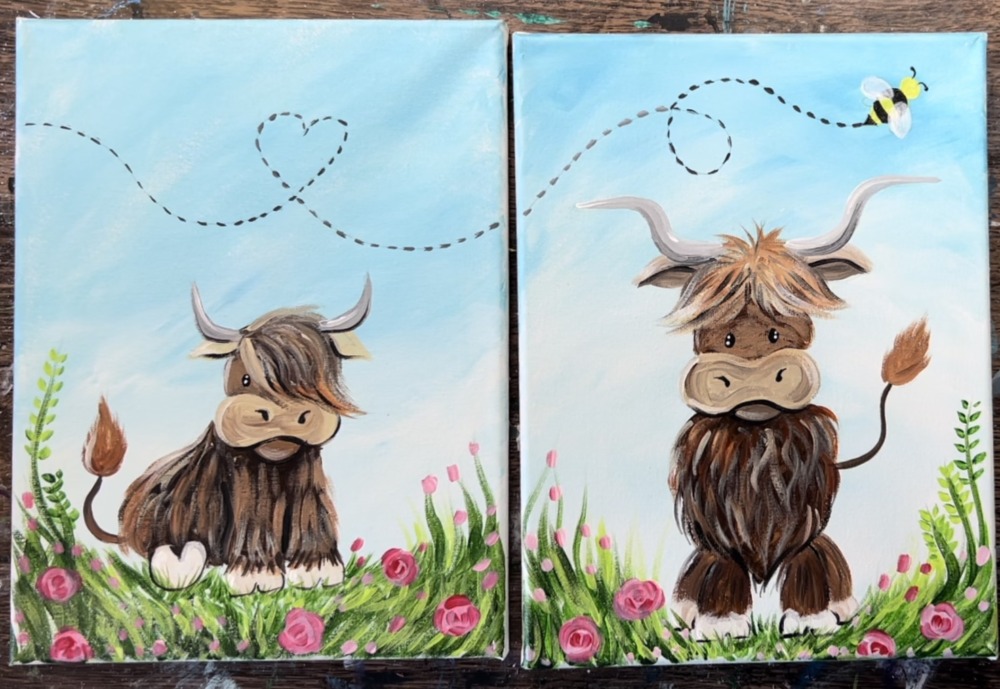
The design works as a single design or you can put both cows onto one canvas.
The tutorial is demonstrated on two 9″ x 12″ canvases. However, you can do this on any size! There are also tracer templates that are optional.
Enjoy and happy painting!
Materials Needed
- Acrylic Paint
- Two 9 x 12 Canvases (or any size you’d like to work on)
- Paint Brushes
- Drawing Pencil
- Eraser
- Graphite Paper (if using the tracers)
- Toothpick
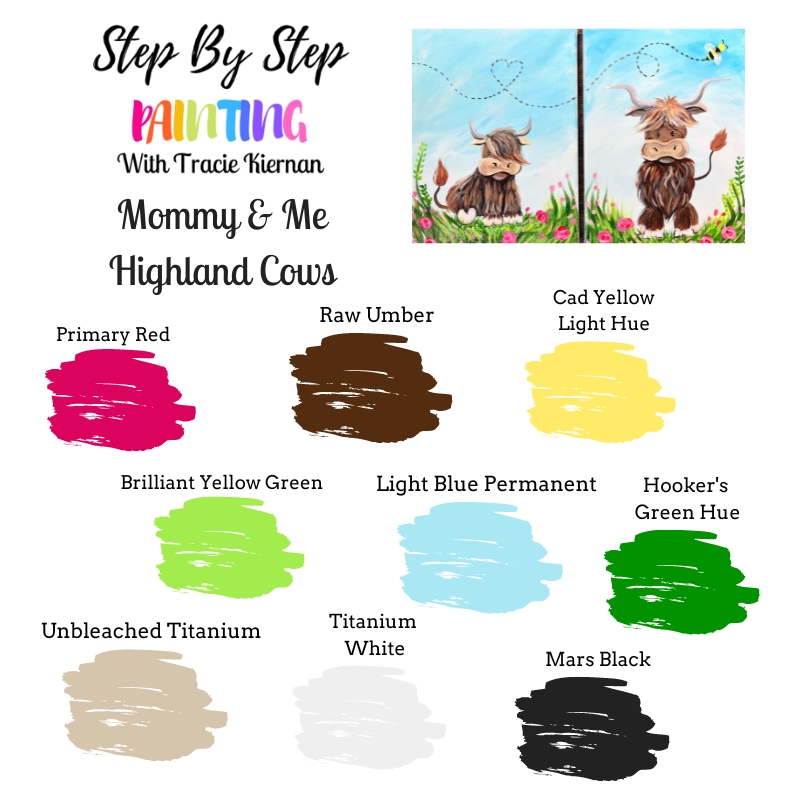
Colors
- Titanium White
- Mars Black
- Primary Red (or a dark magenta color)
- Cadmium Yellow Light Hue (or any yellow)
- Hooker’s Green Hue Permanent (or any green)
- Brilliant Yellow Green
- Light Blue Permanent
- Burnt Sienna
- Unbleached Titanium
Brushes
- 3/4″ Flat Wash Brush
- #4 Round Brush
- #8 Round Brush
- Toothpick (optional)
Color Palette
This painting was done with Liquitex BASICS acrylic paints. If you are using a different brand, you can use the color chart below to help you match colors!
Craft Paint Conversion
If you are using craft paints such as Apple Barrel Craft Paints, I would recommend subbing to these colors:
- Bright Magenta
- Nutmeg Brown
- Yellow Flame
- New Shamrock
- Parrot Blue
- Holly Branch
- White
- Black
- Any Beige Color (or mix white with the nutmeg brown)
Directions At A Glance

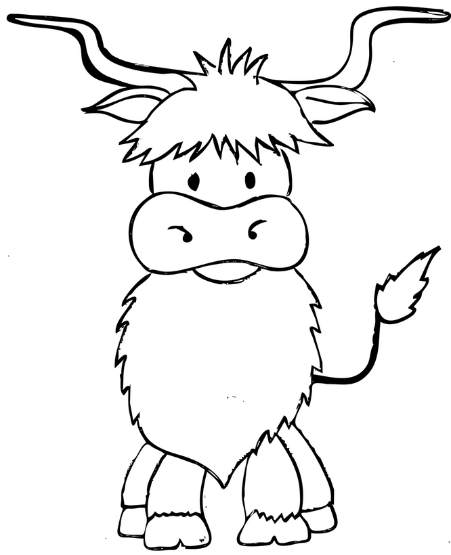
Tracers

Video
Step By Step Directions
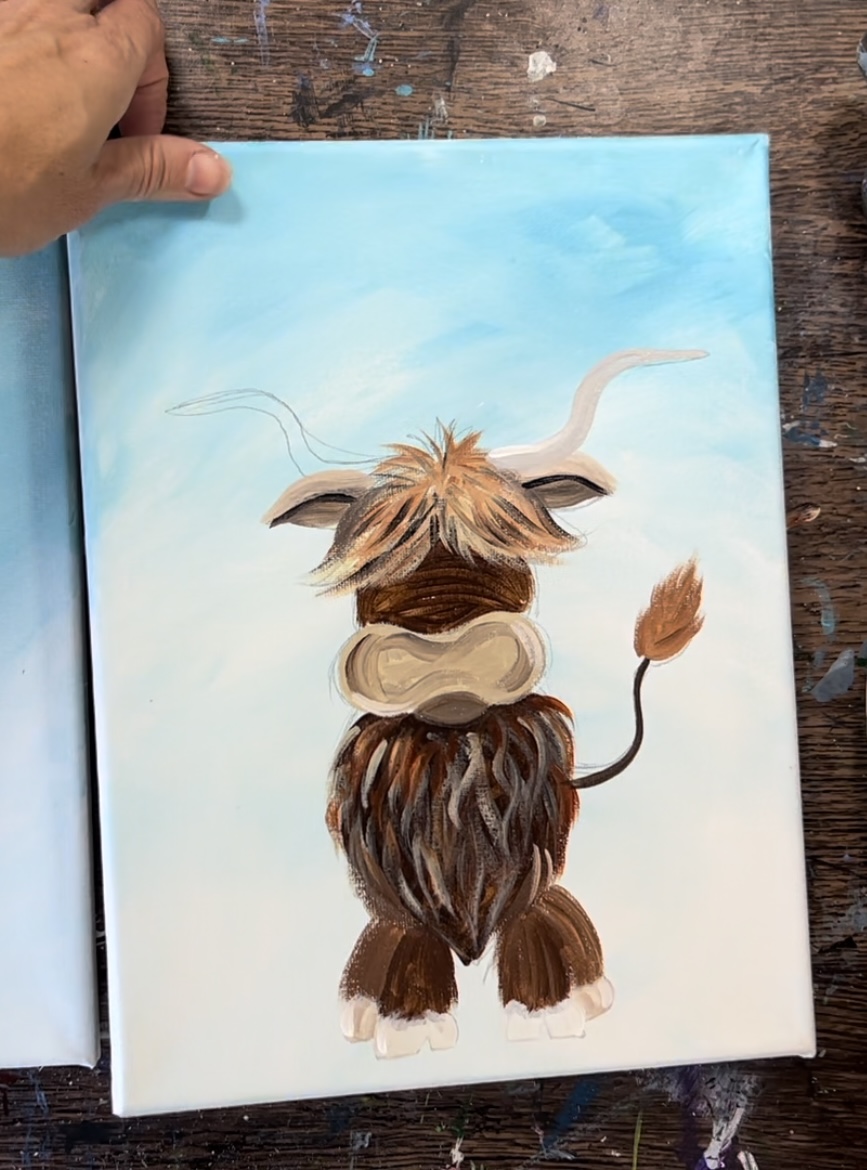
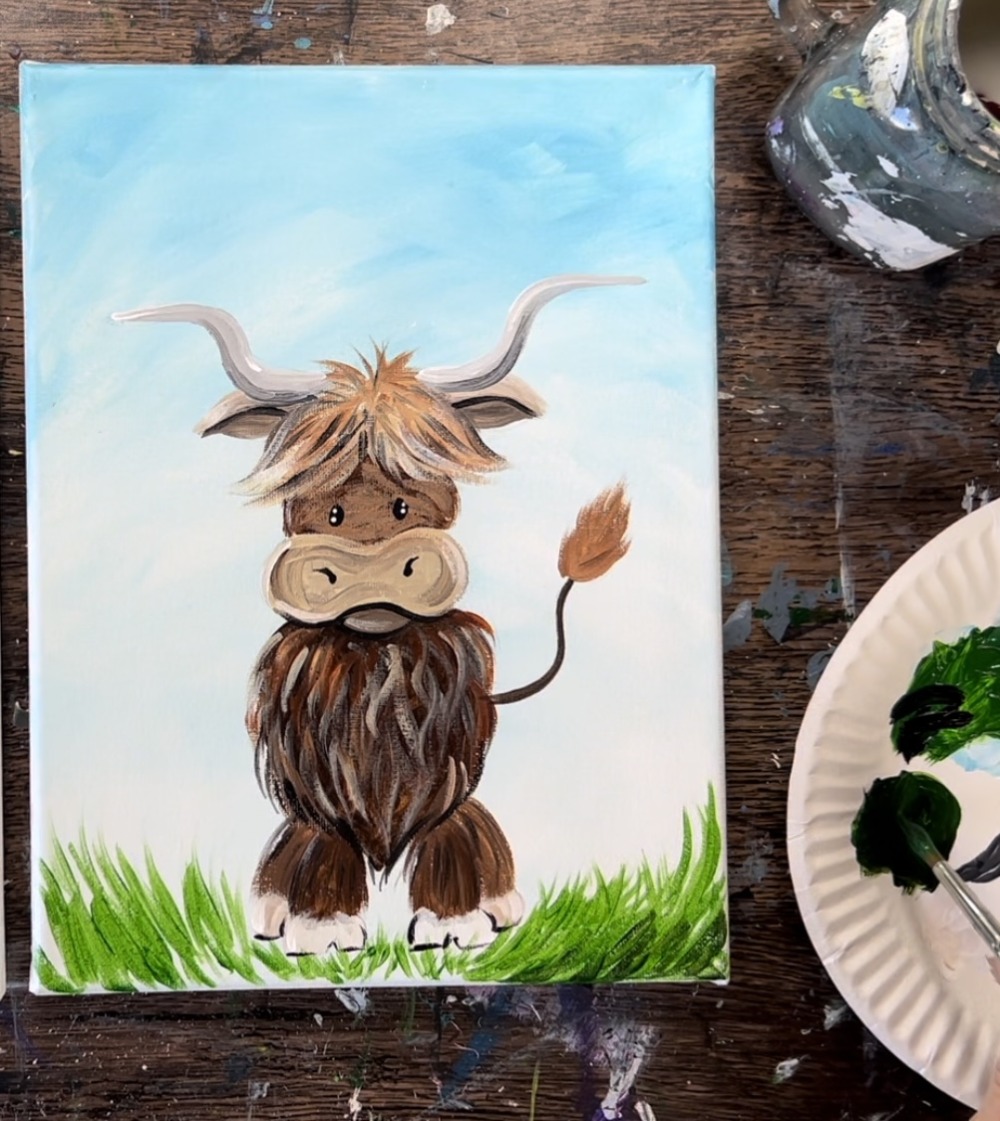
1. Paint The Background
Place your canvases side by side either flat on the table or both on an easel. Load your palette with titanium white and light blue permanent.
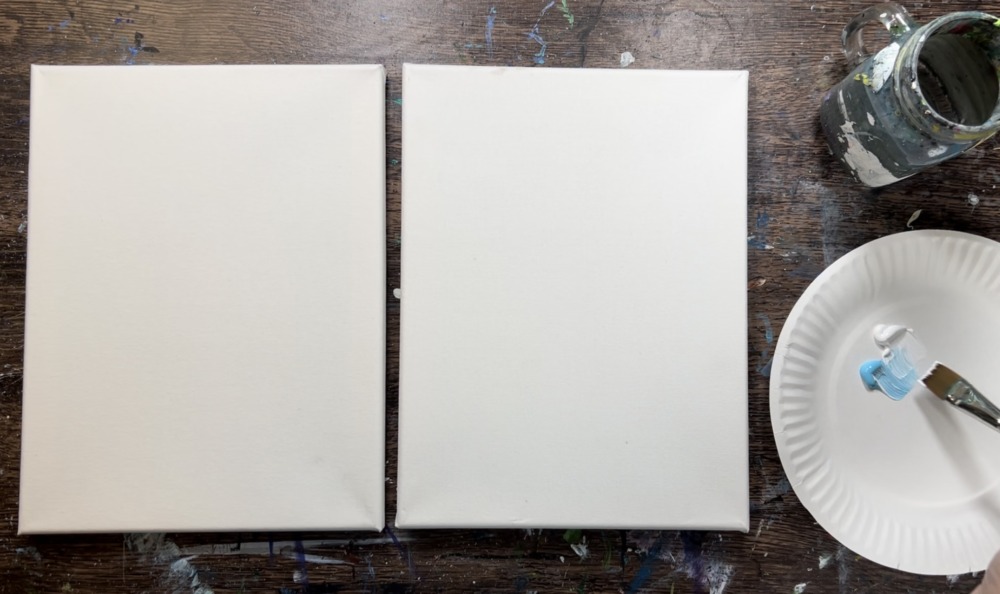
Use a 3/4″ flat wash brush. Load it into the water and tap excess water out of the brush. Then double load the brush in both light blue permanent and titanium white. Start at the top of your canvas. Paint angle strokes that blend both the white and blue on the canvas.
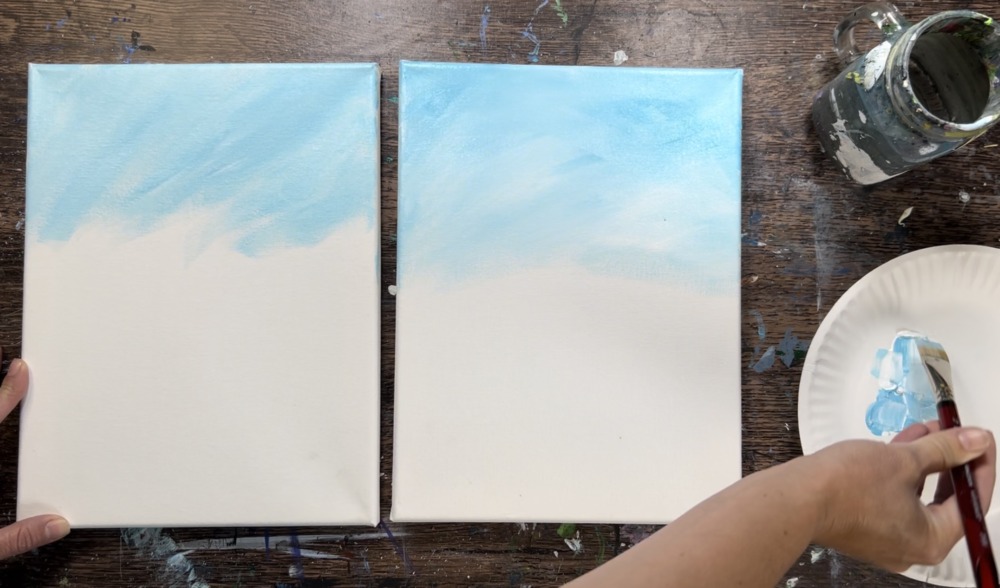
Fill your entire canvas with expressive, angle strokes of the blue and white. As you work your way down, load more titanium white onto your palette so that the canvas gets lighter. The sky is slightly darker at the top and lighter at the bottom.
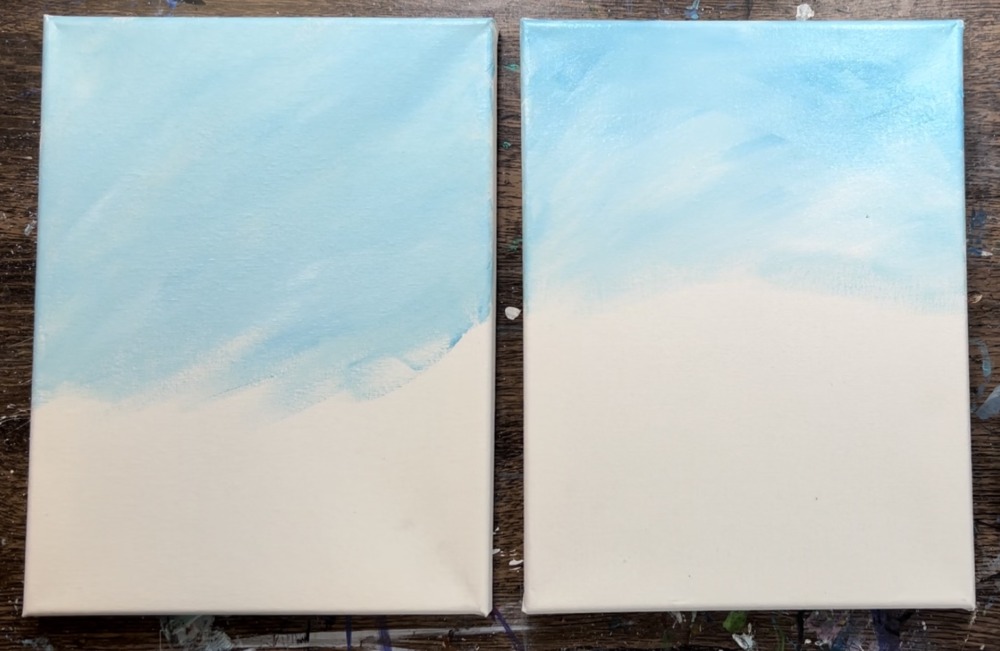
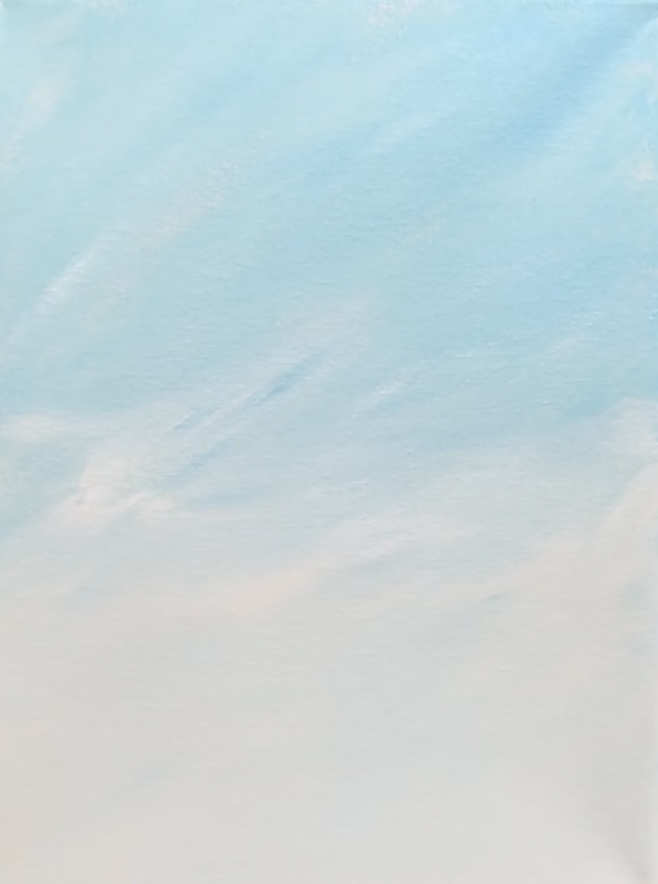
Fill your entire canvas from top to bottom with this light blue and titanium white combination.
2. Draw The Cows OR Use The Tracer Template
If you are using the tracer template, print it out and place a sheet of graphite transfer paper below the template. Position the cows so the hooves are close to the bottom edge of the canvas but make sure to give yourself enough room for painting grass and flowers. Proceed to step three (skip the drawing portion below).
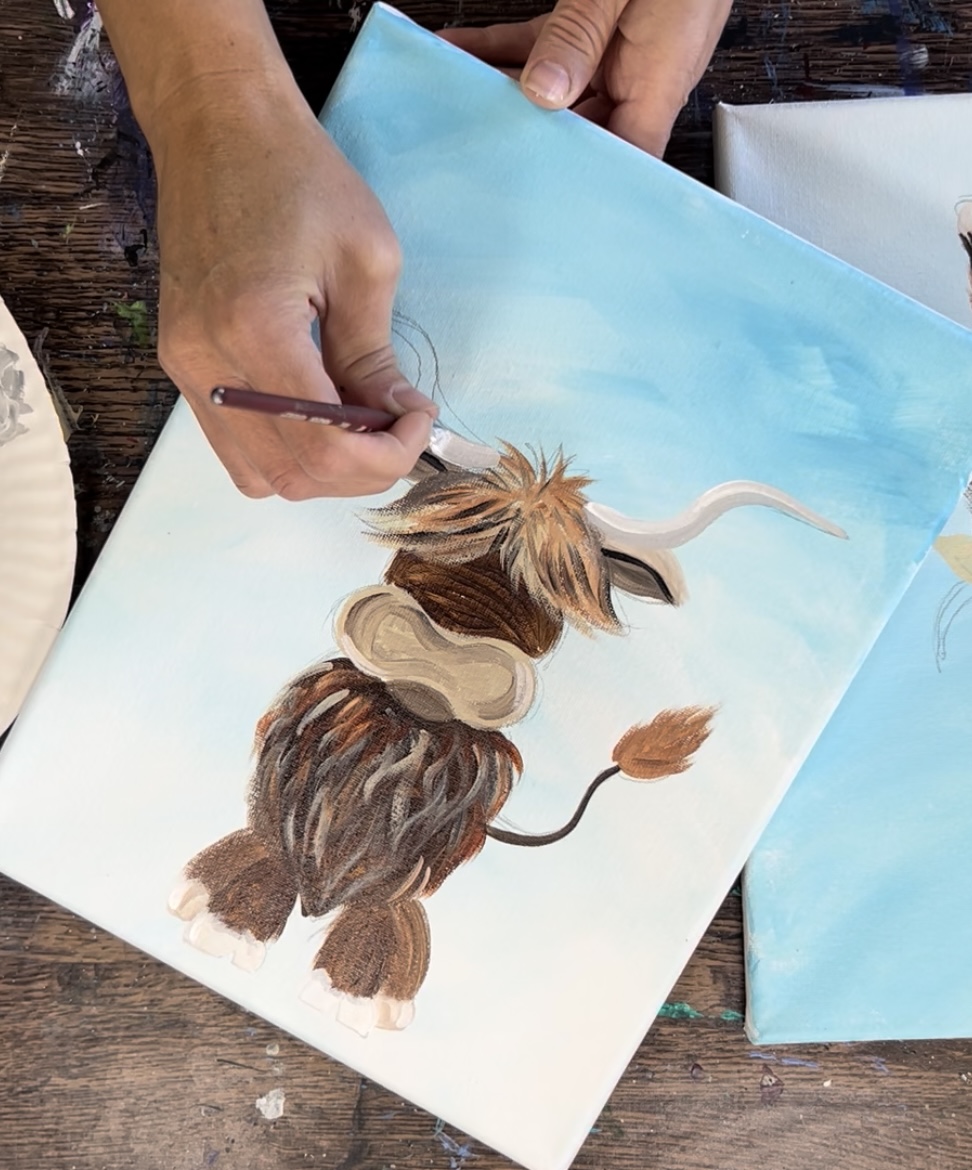
If you are drawing the cows, use a pencil to lightly sketch the cows.
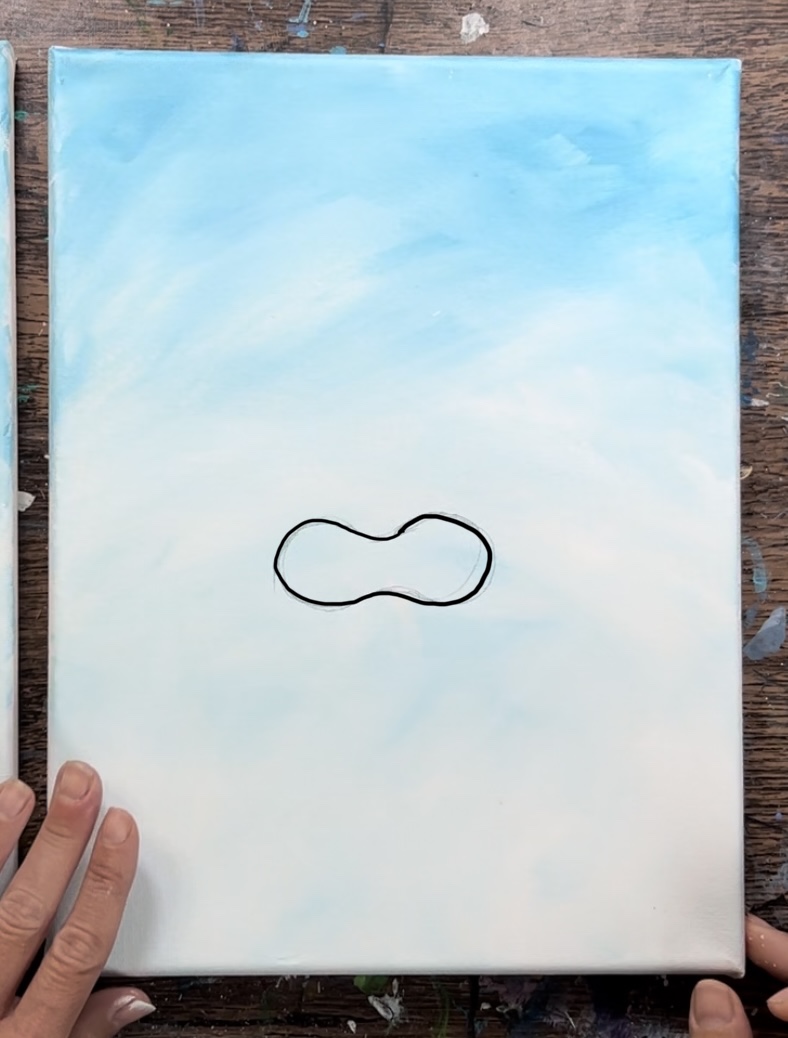
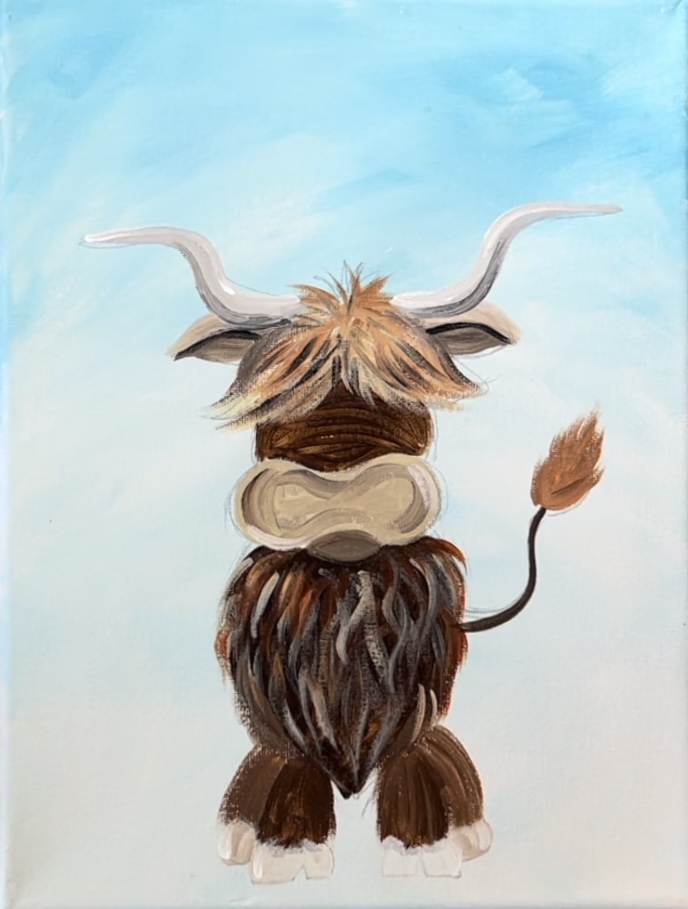
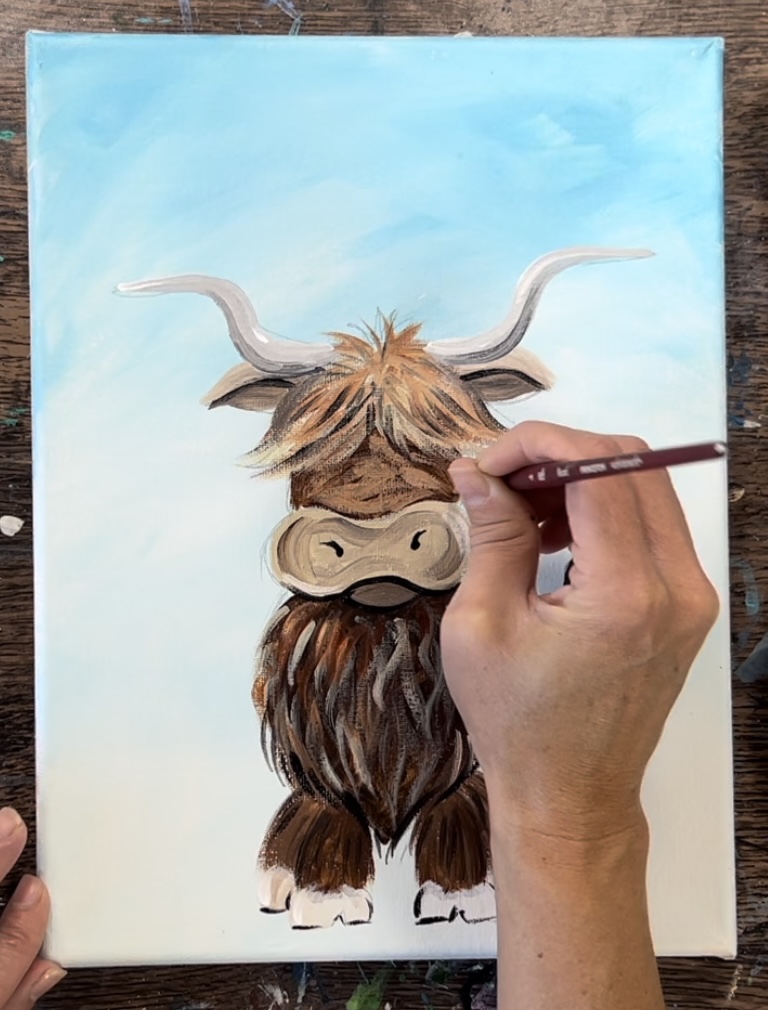
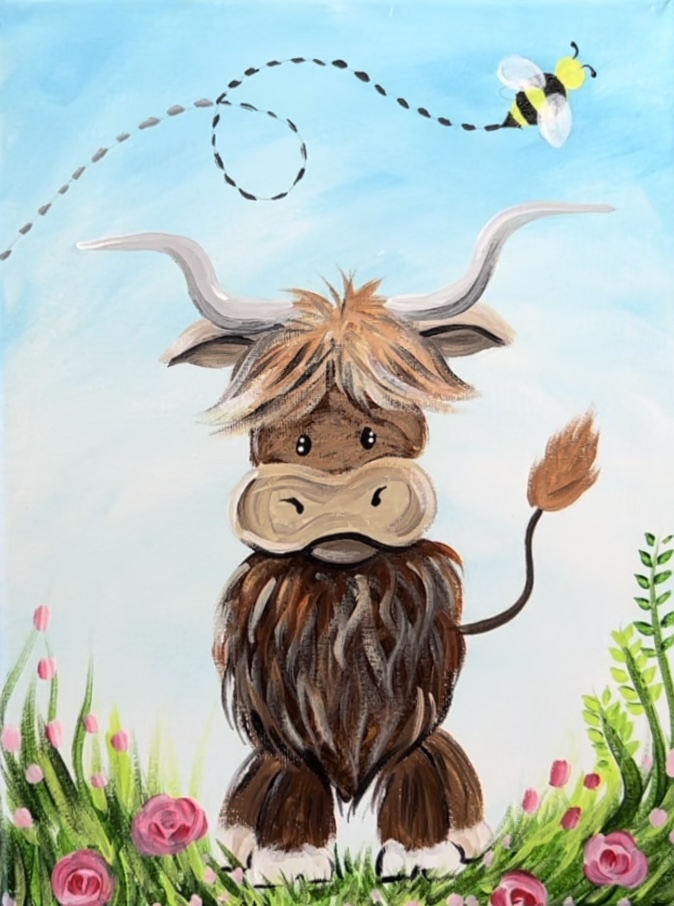
Adult Highland Cow Drawing Step By Step:
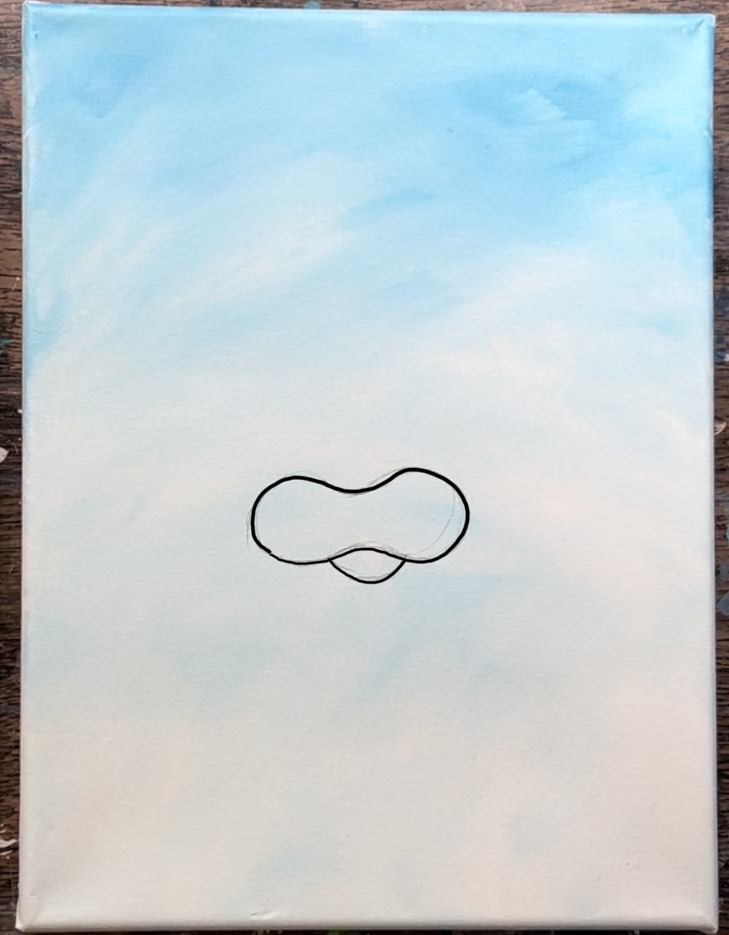
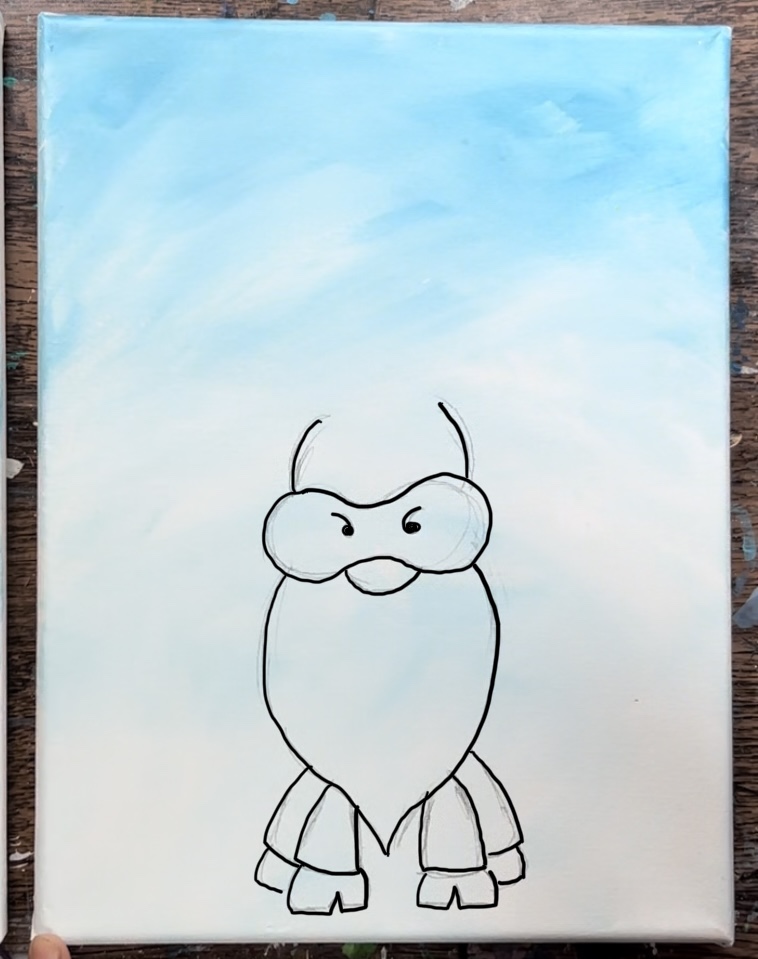
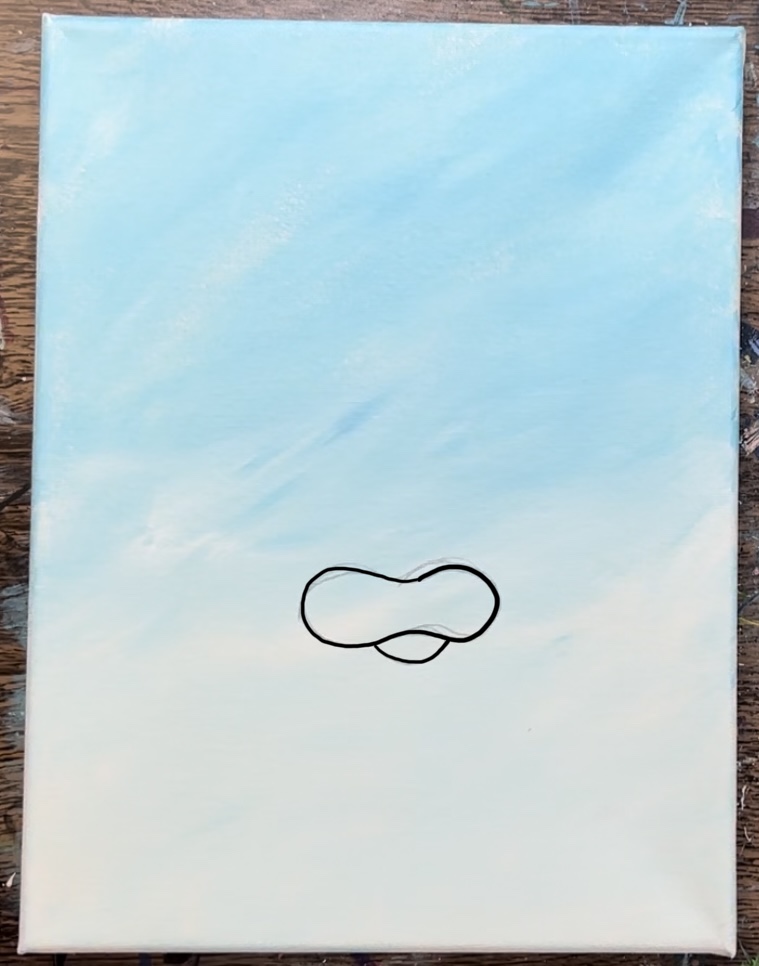
1. Draw a kidney bean shape in the very center of the canvas. This shape is about 2.5″ wide, although it does not have to be exact.
2. Draw a semi-circle shape underneath the muzzle
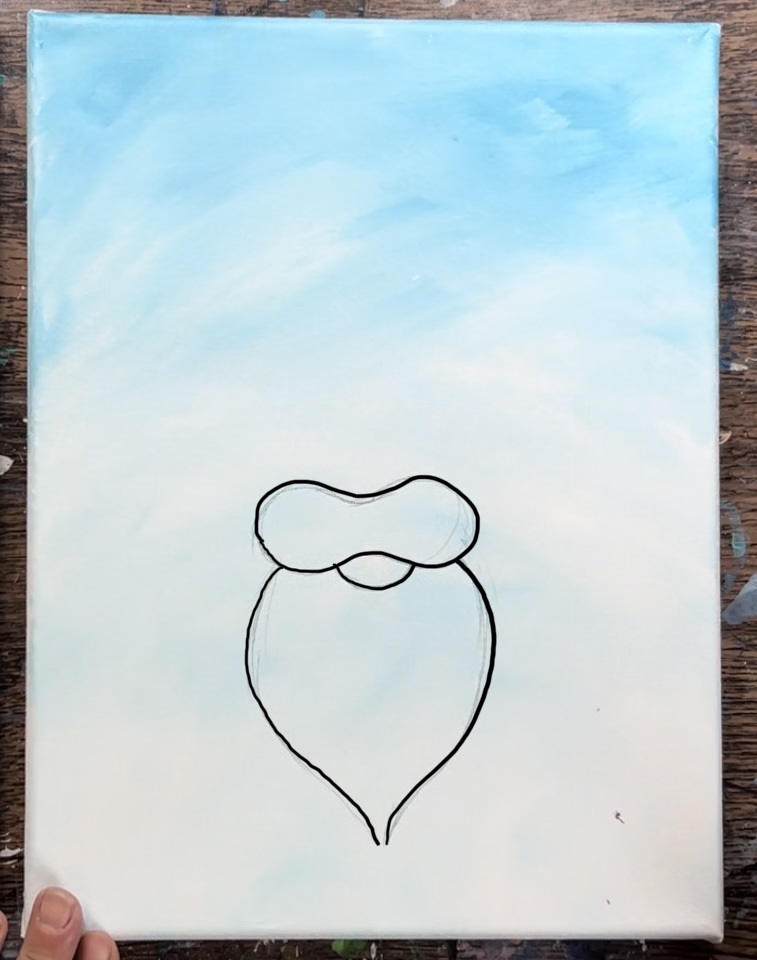
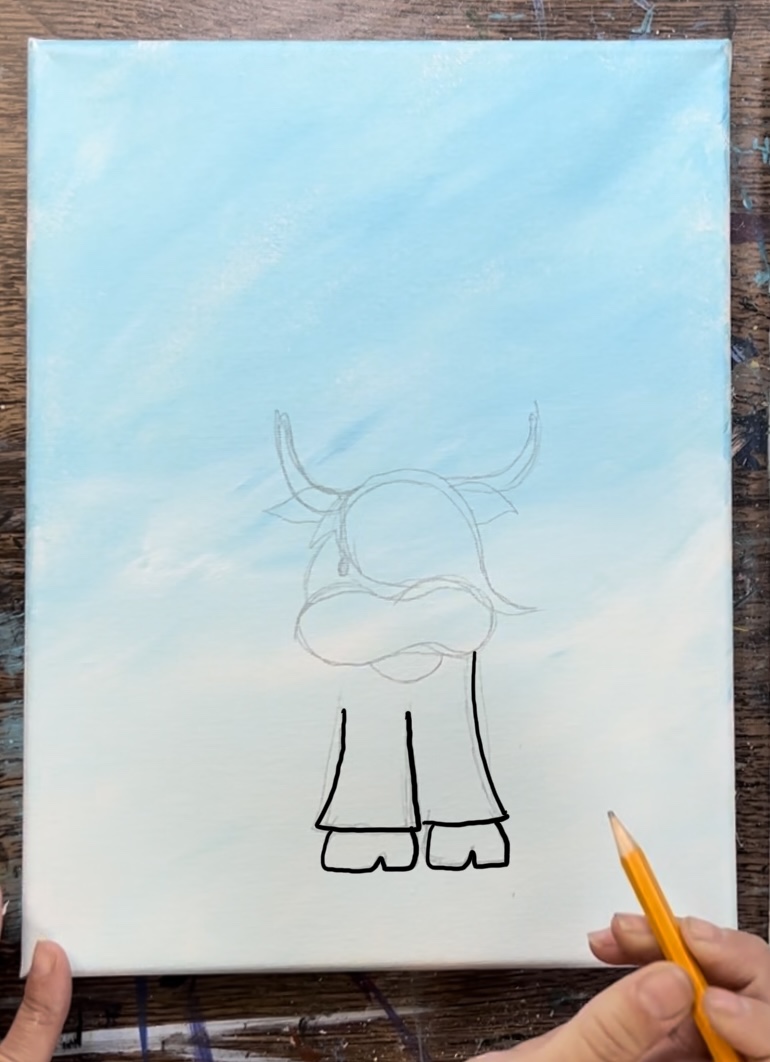
3. Then draw the front chest area. Draw two curved lines that meet at a point in the center. Make sure to give yourself enough space for the legs/hooves as well as the grass below.
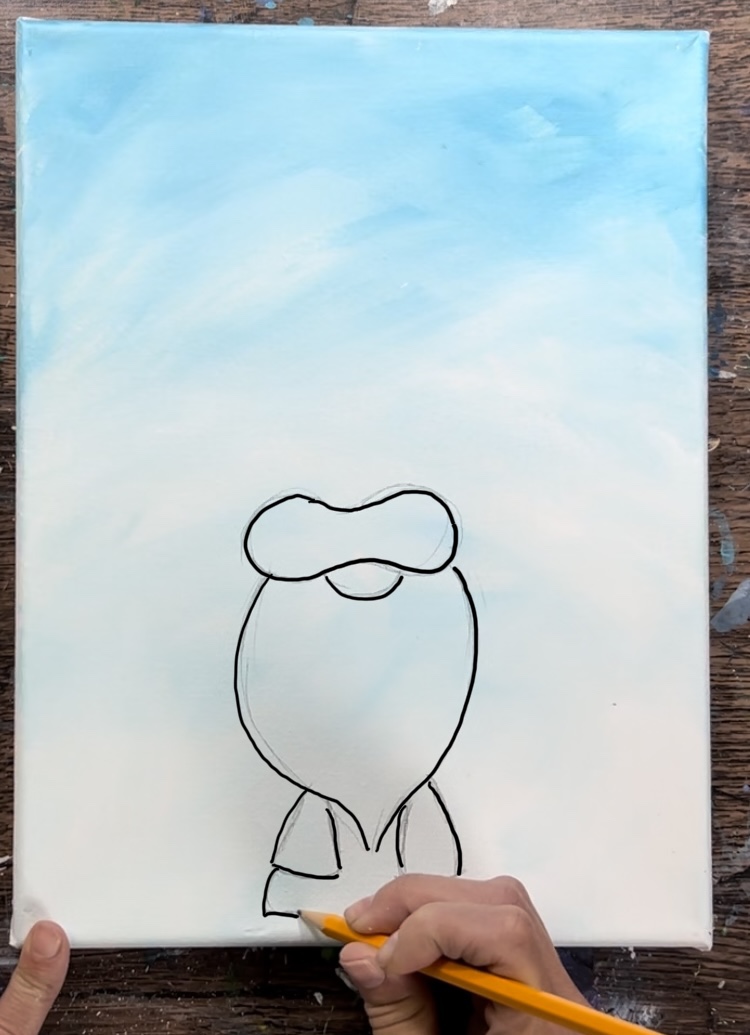
4. Then draw the legs. Draw two curved/ triangular shapes with hooves on the bottom.
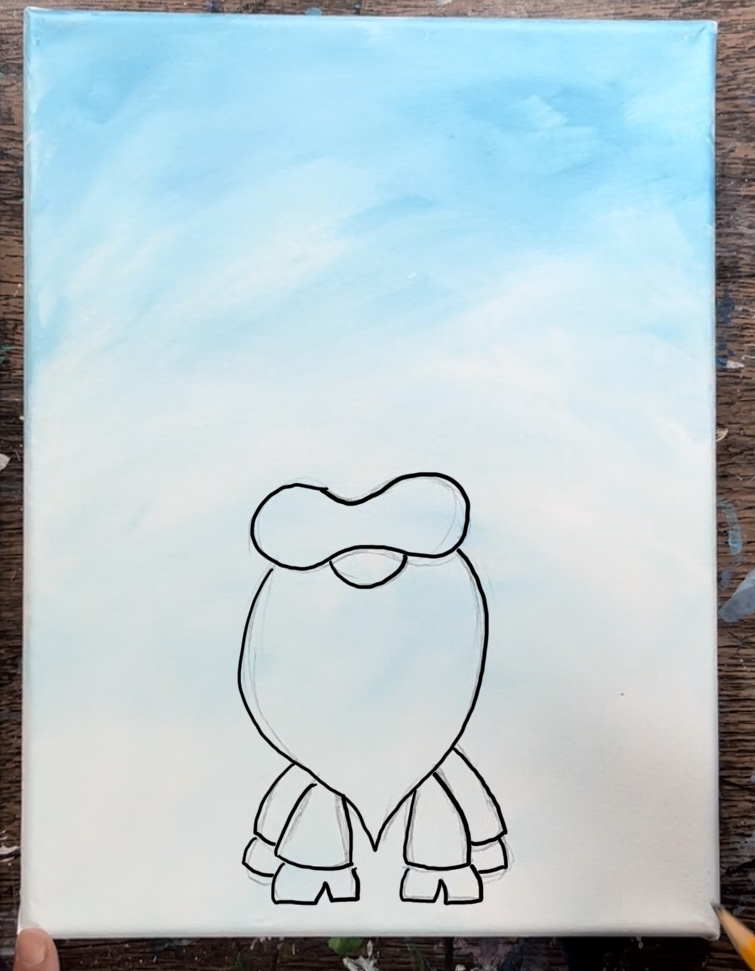
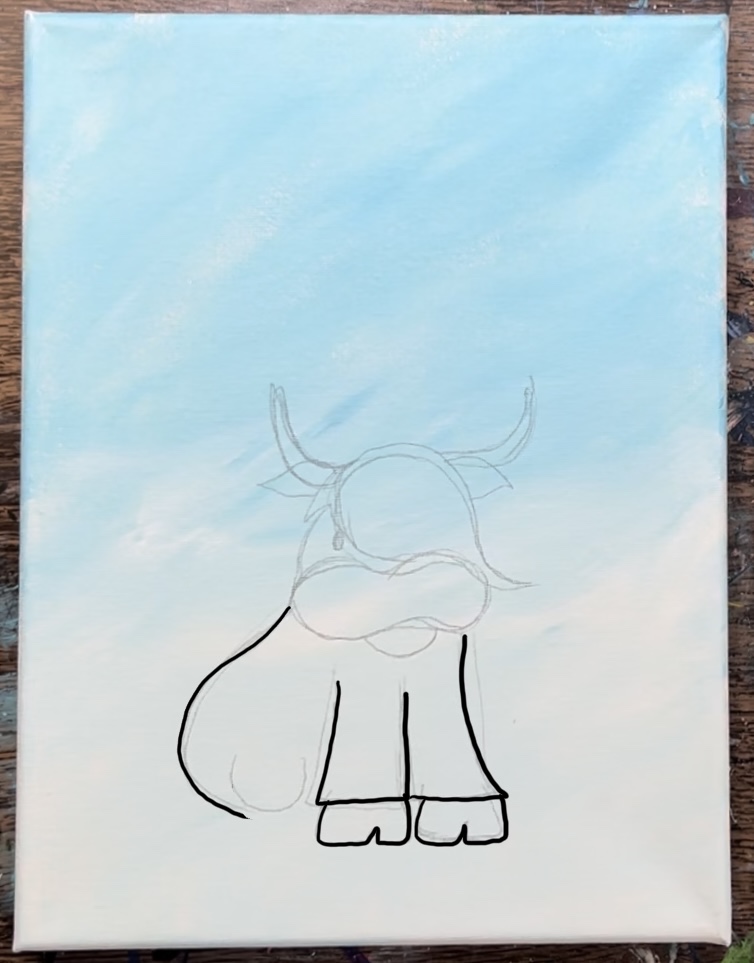
5. Draw a second set of legs and hooves that are slightly behind the first set.
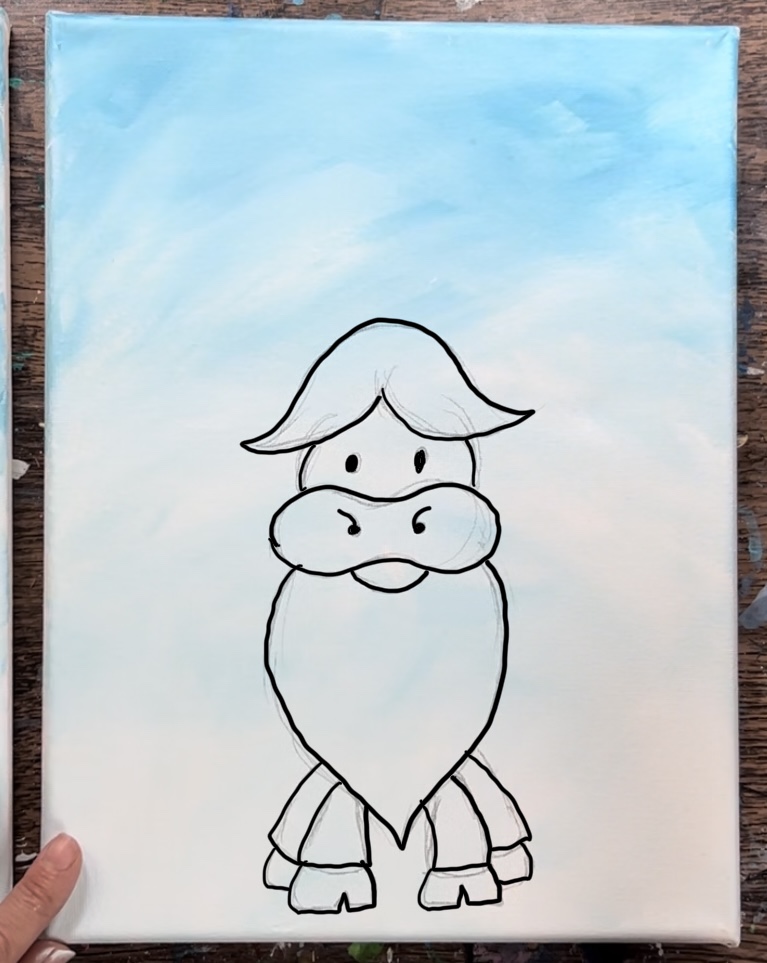
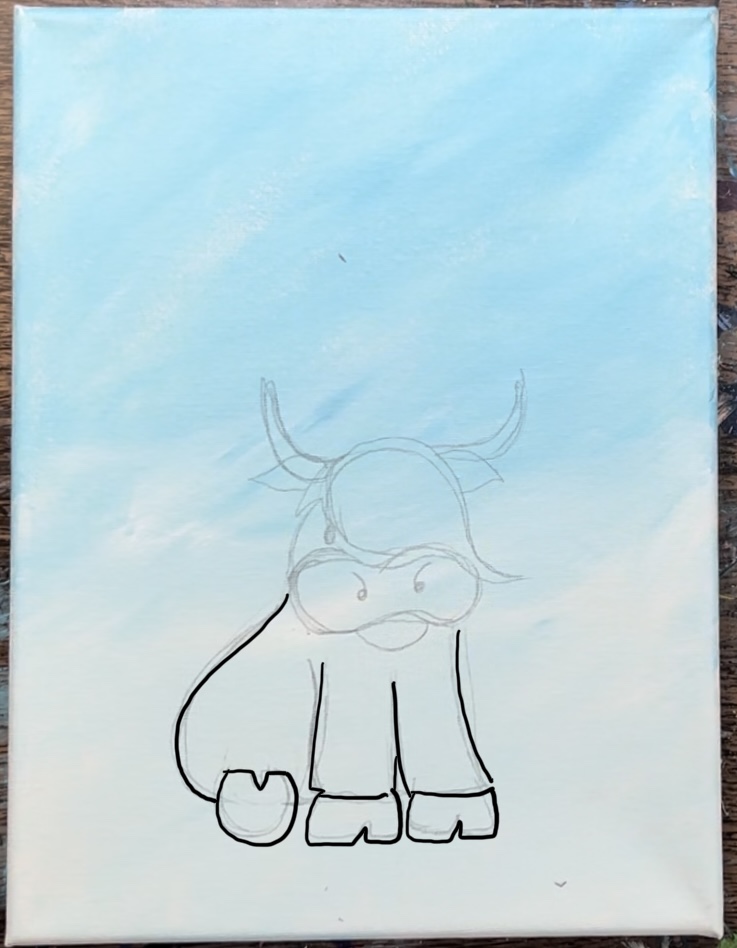
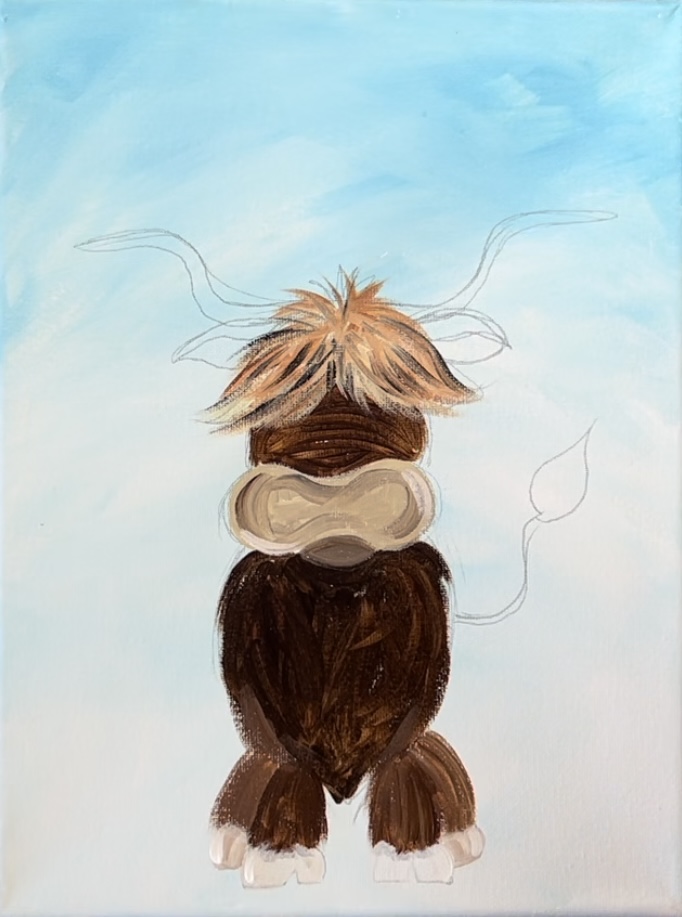
6. Next, draw the nostrils as if they are two “comma” shape/lines. Draw part of the top of the head but leave it open for the hair.
7. Then draw a “mustache” shape for the top of the cow’s hair.
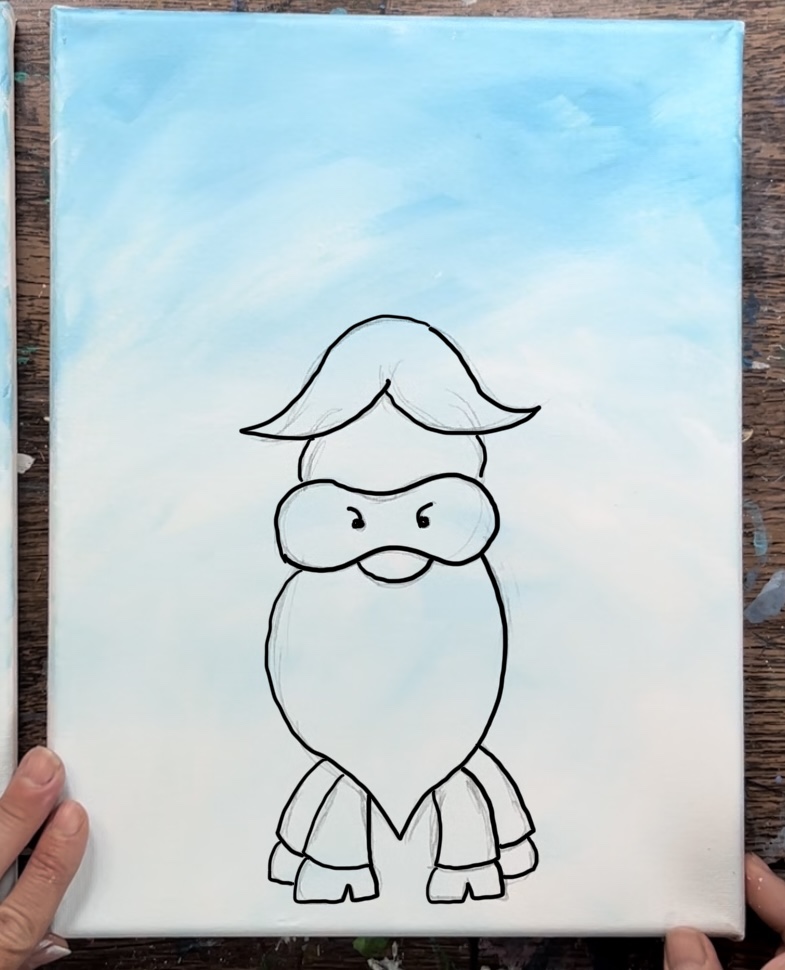
8. Draw two ovals for the eyes and “fringe” on top of the hair.
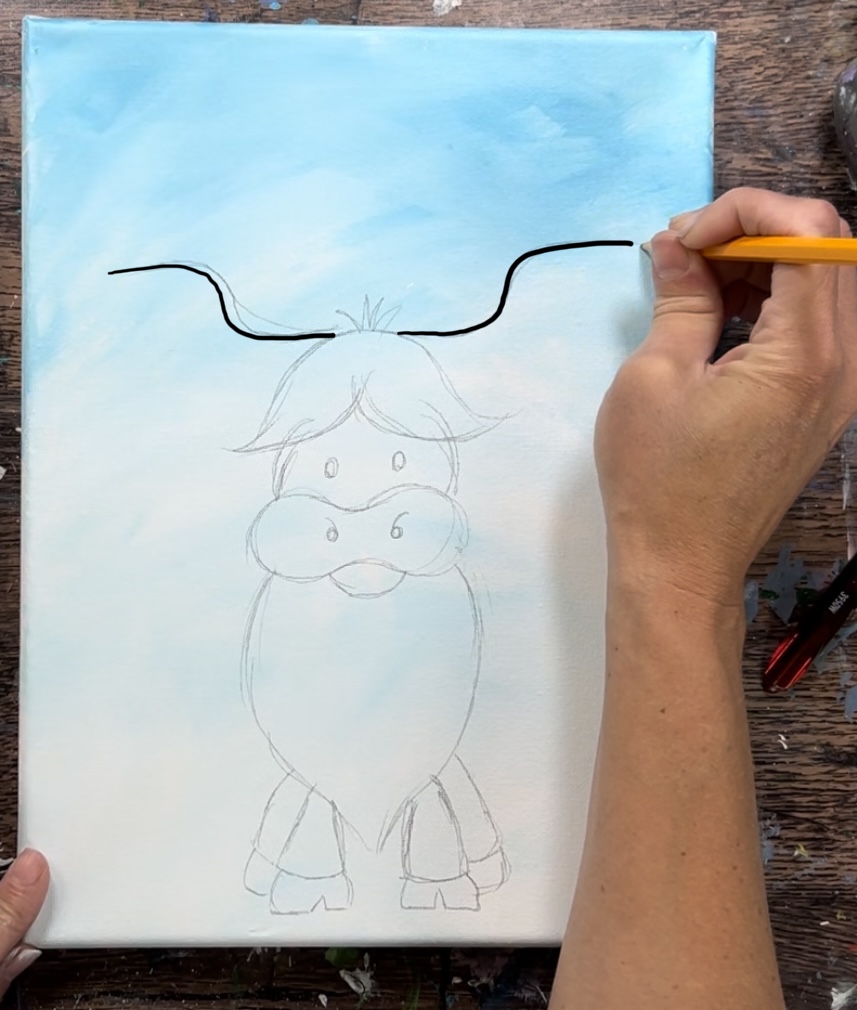
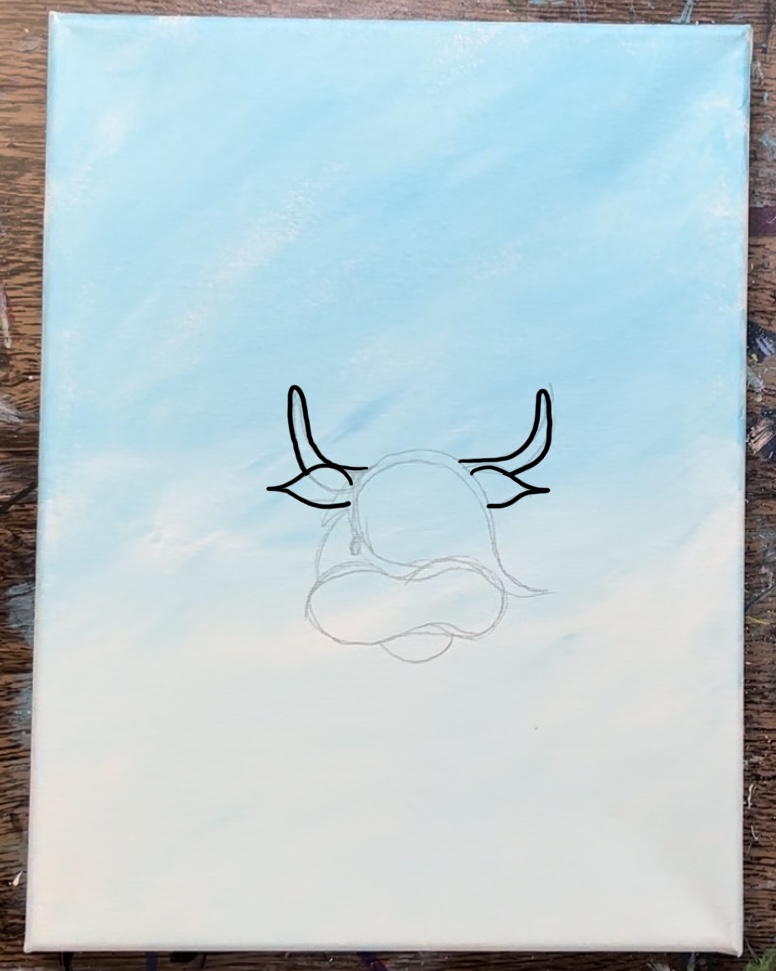
9. Then draw the horns. Draw an extended “s” line that starts out flat and ends flat at the top.
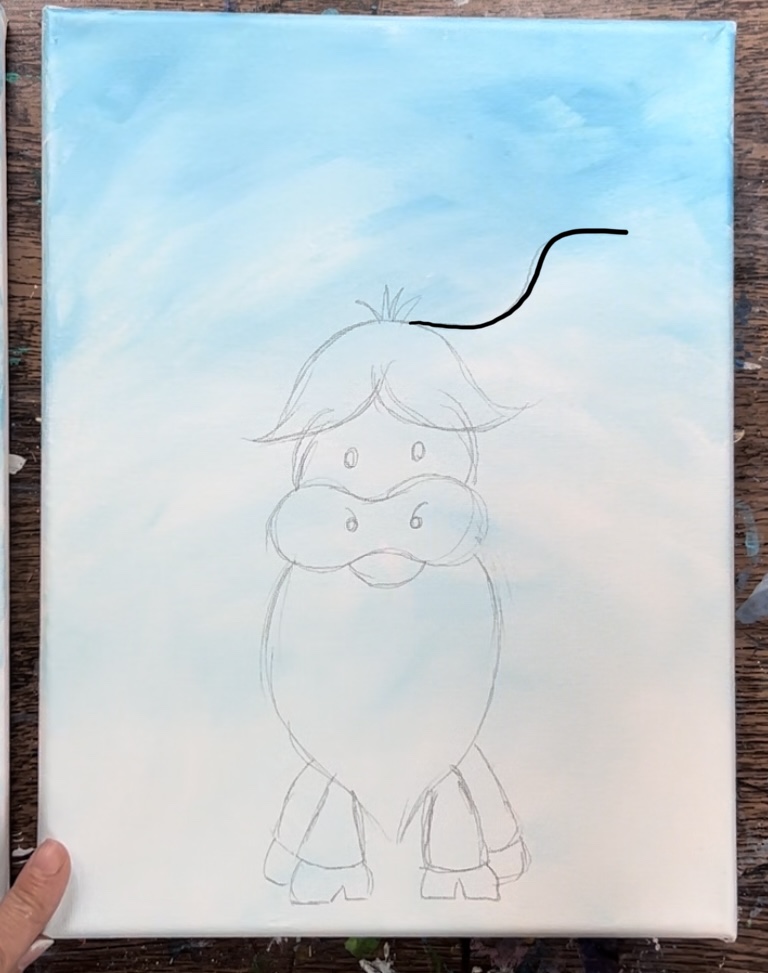
10. Mirror the same line on each side of the head.
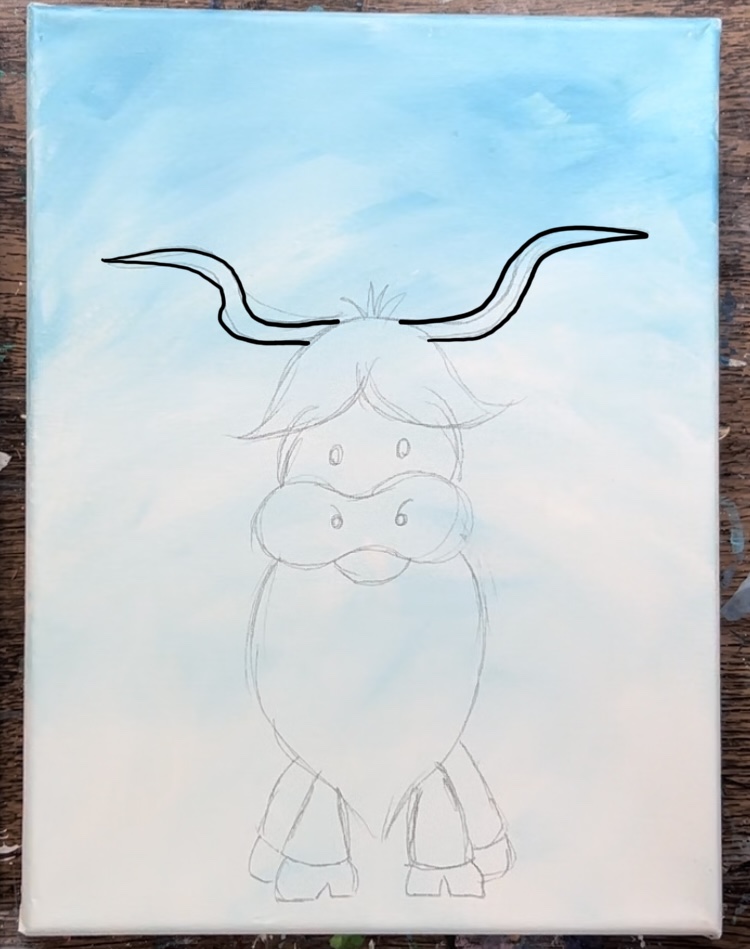
11. Then finish the horn drawing so that it has shape. Allow the very tip of the horn to go to a point and be slightly wider at the base.
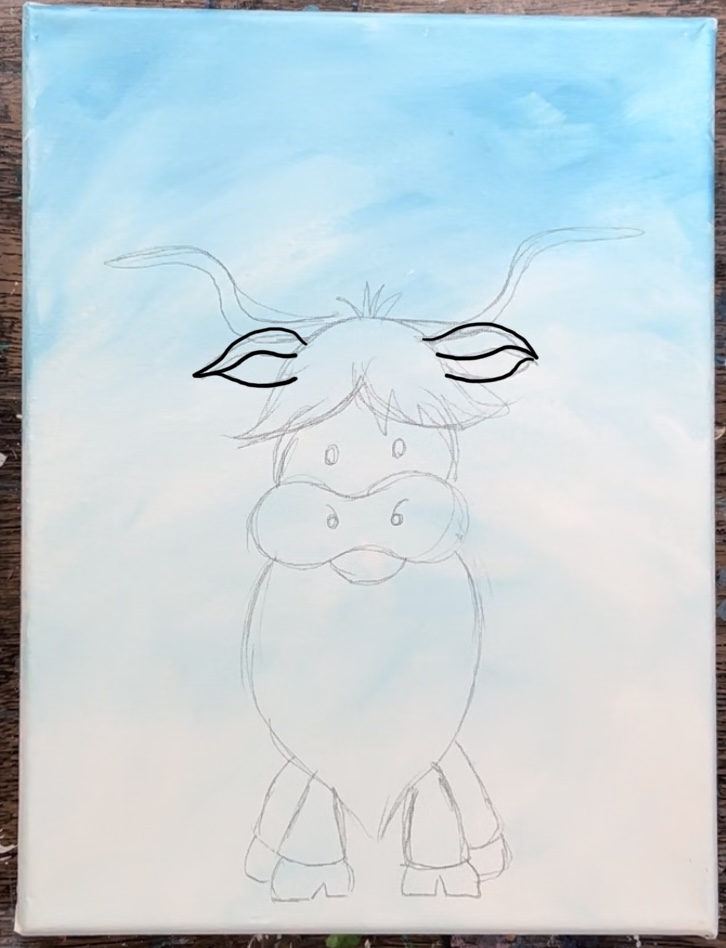
12. Then draw the ears. Draw a curvy shape at the top that has an opening at the bottom. Note: the horns actually overlap the ears but this can be painted that way in a later step.
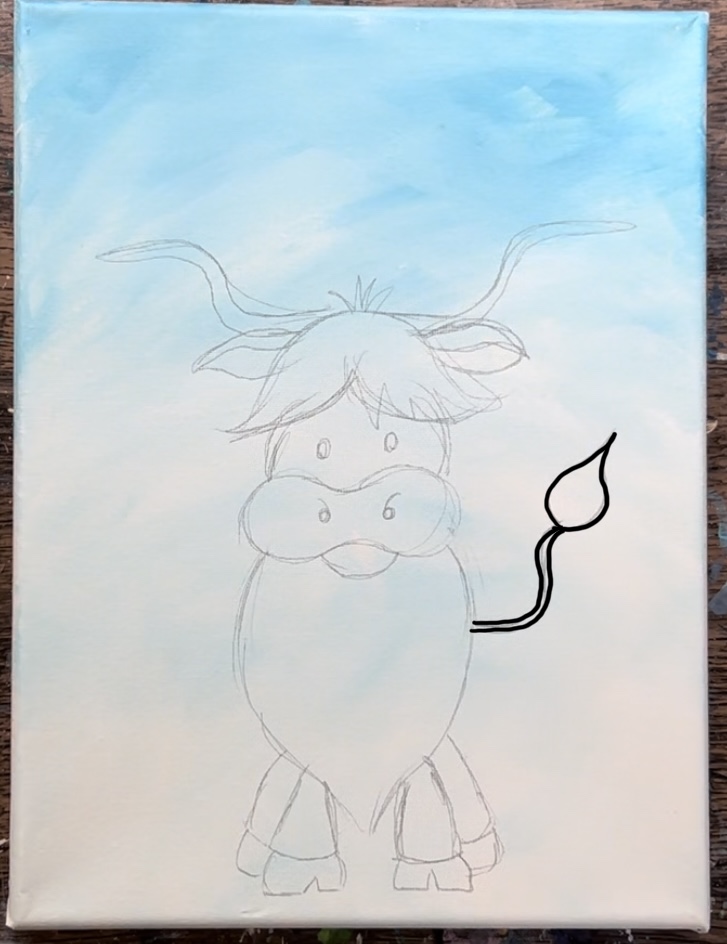
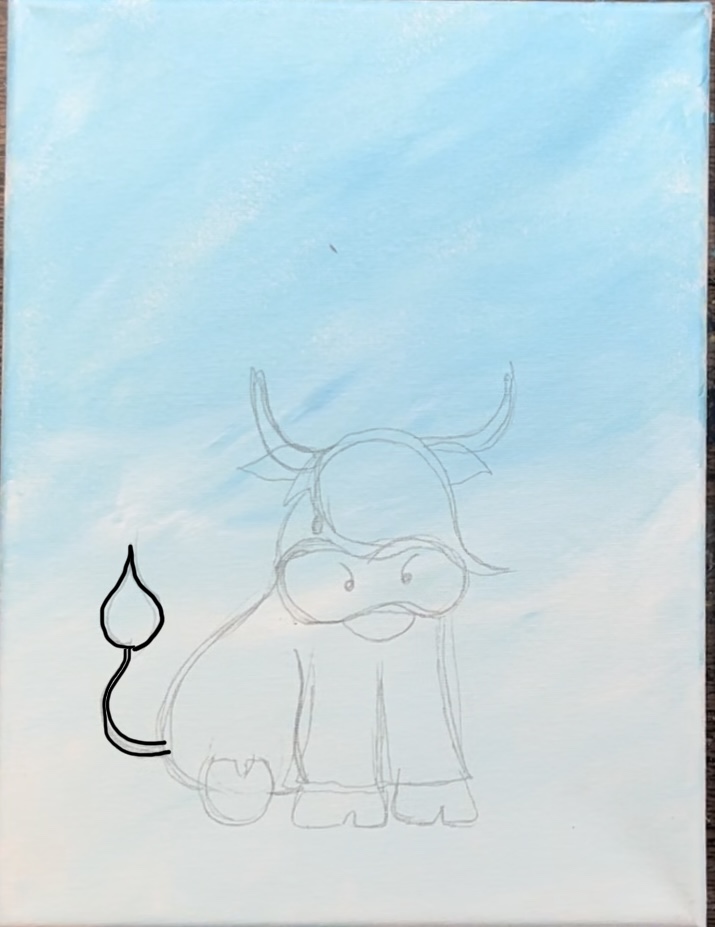
13. Then draw the tail as a curvy line that extends out from the side and has a teardrop shape at the tip.
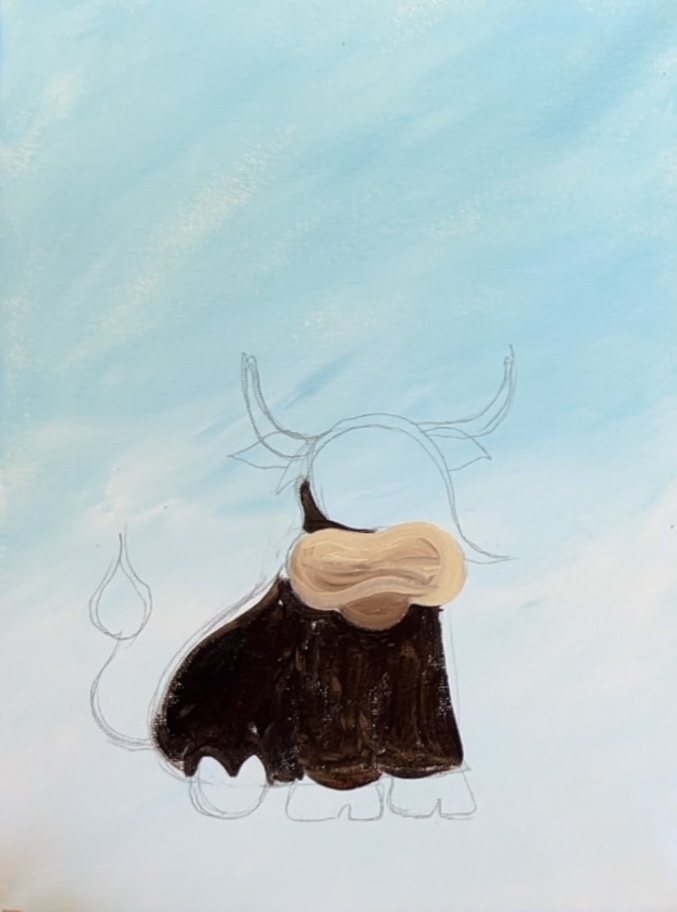
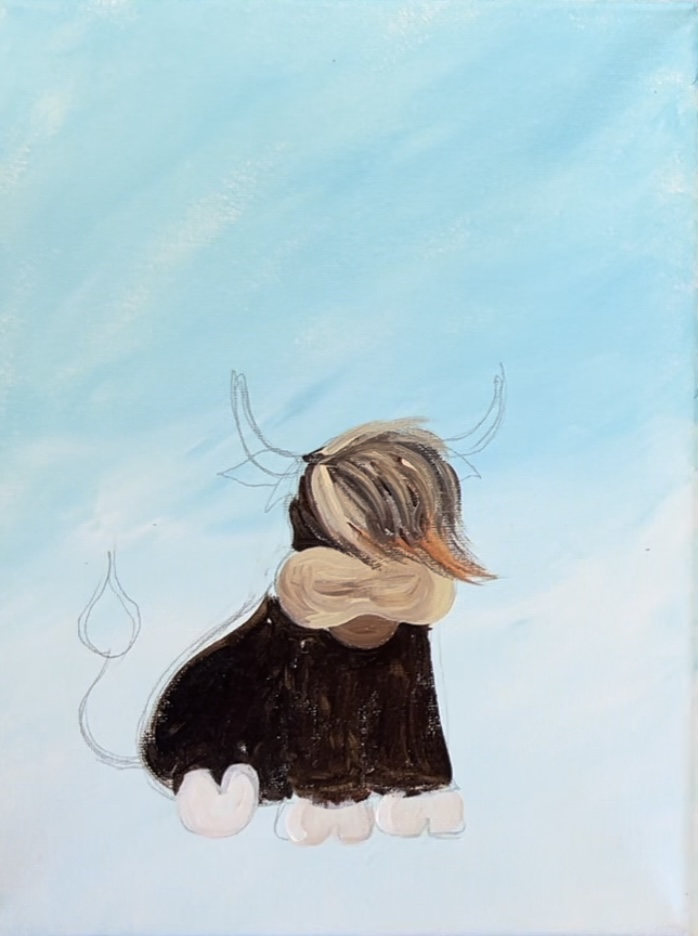
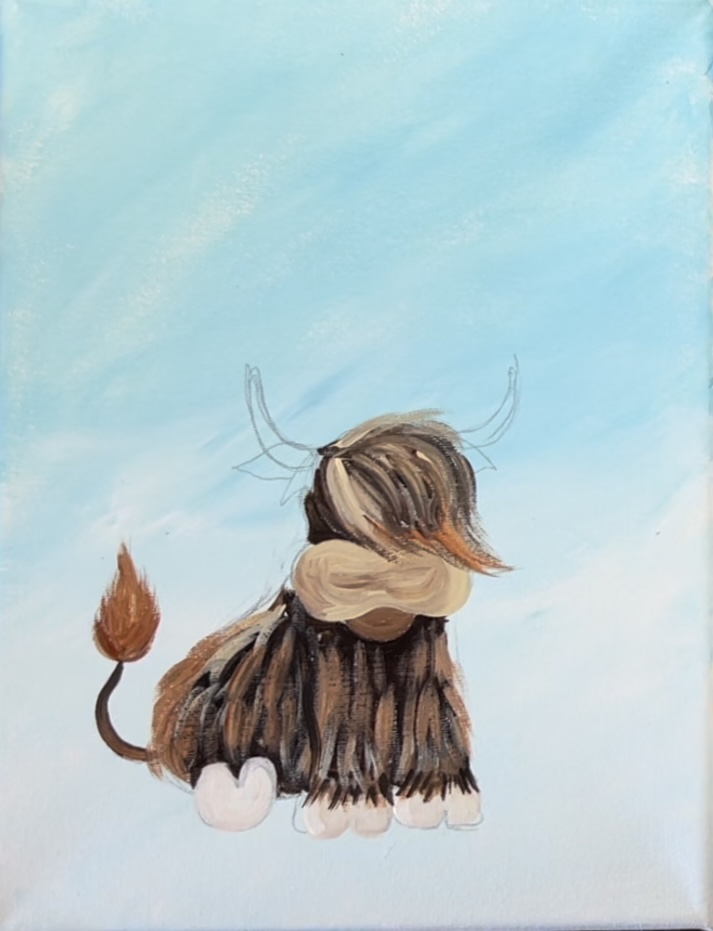
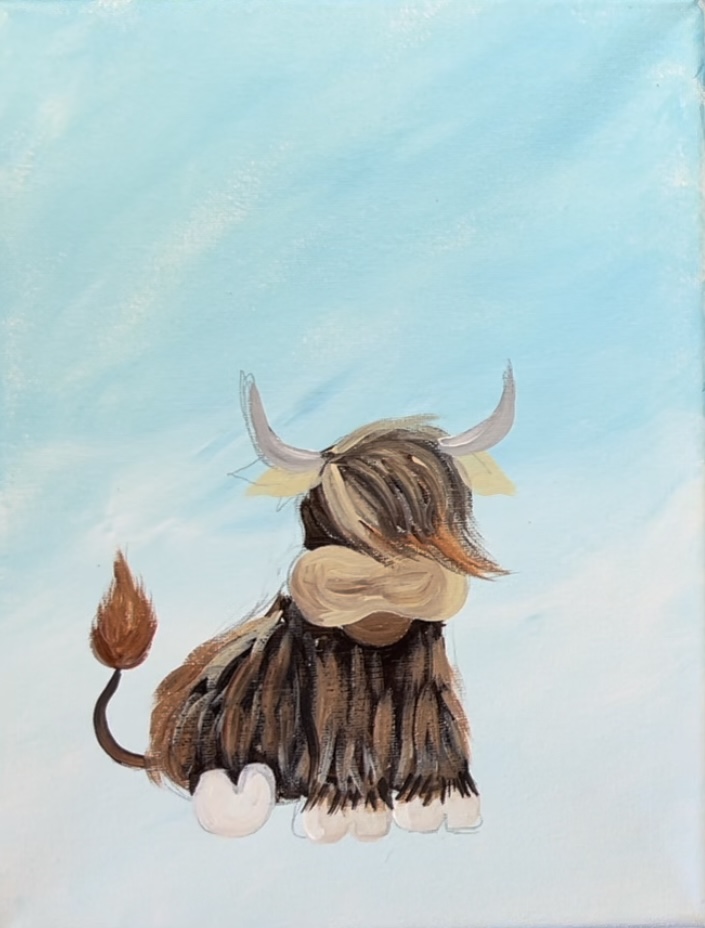
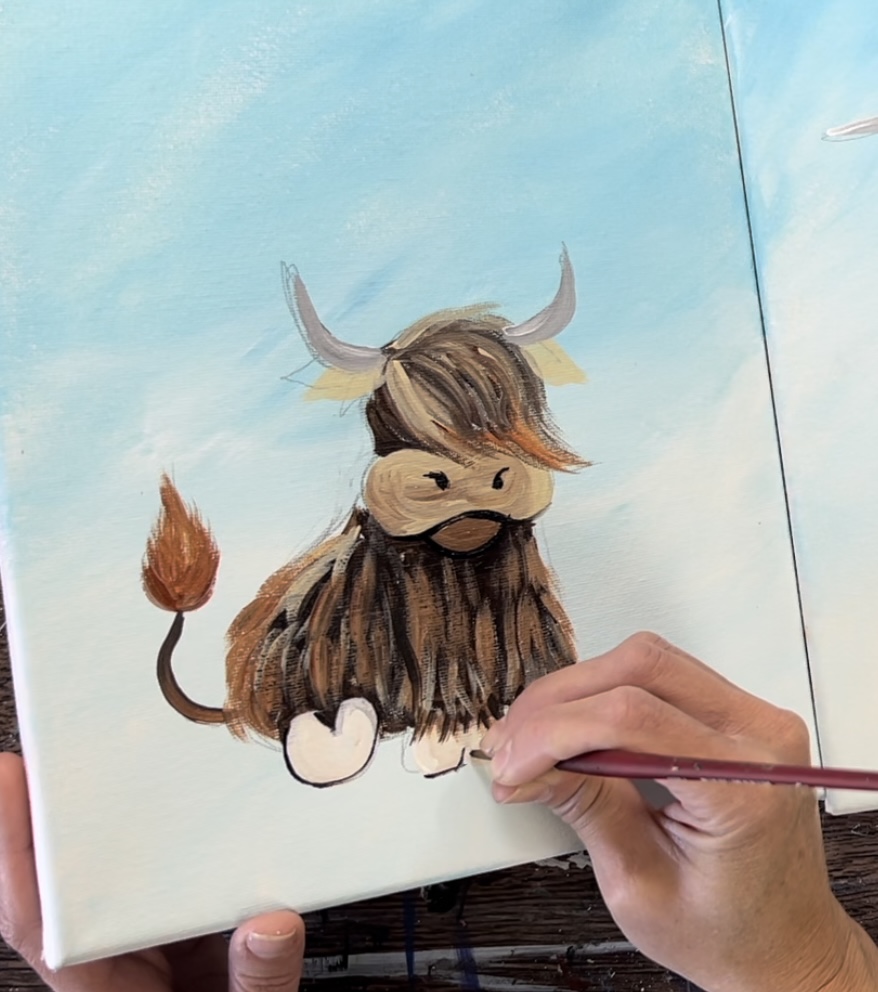
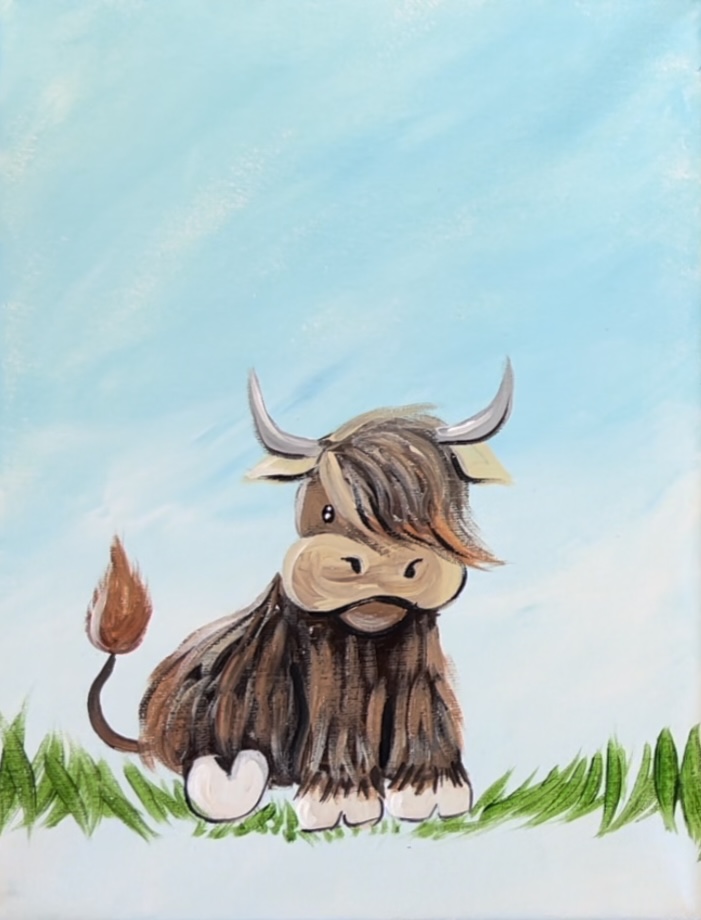
Calf Highland Drawing Step By Step
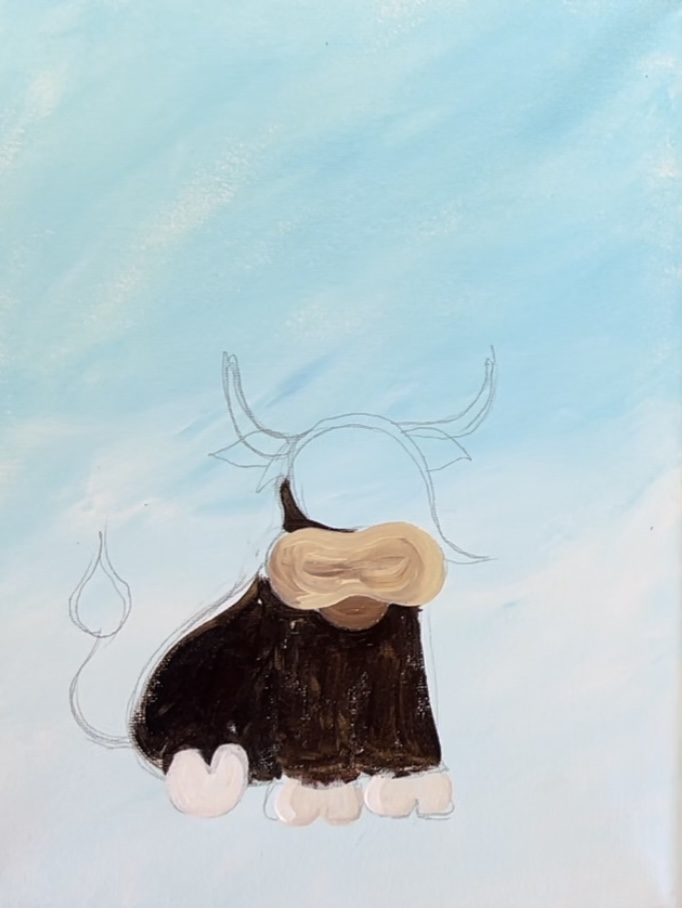
1. Draw a bean shape towards the center of the canvas but slightly lower than center. This is because the calf how is sitting down and not standing up. Then draw a half circle/ chin shape.
2. Then draw a teardrop shape that sweeps to the right and slightly covers the top part of the muzzle. Leave the left side of the head still visible.
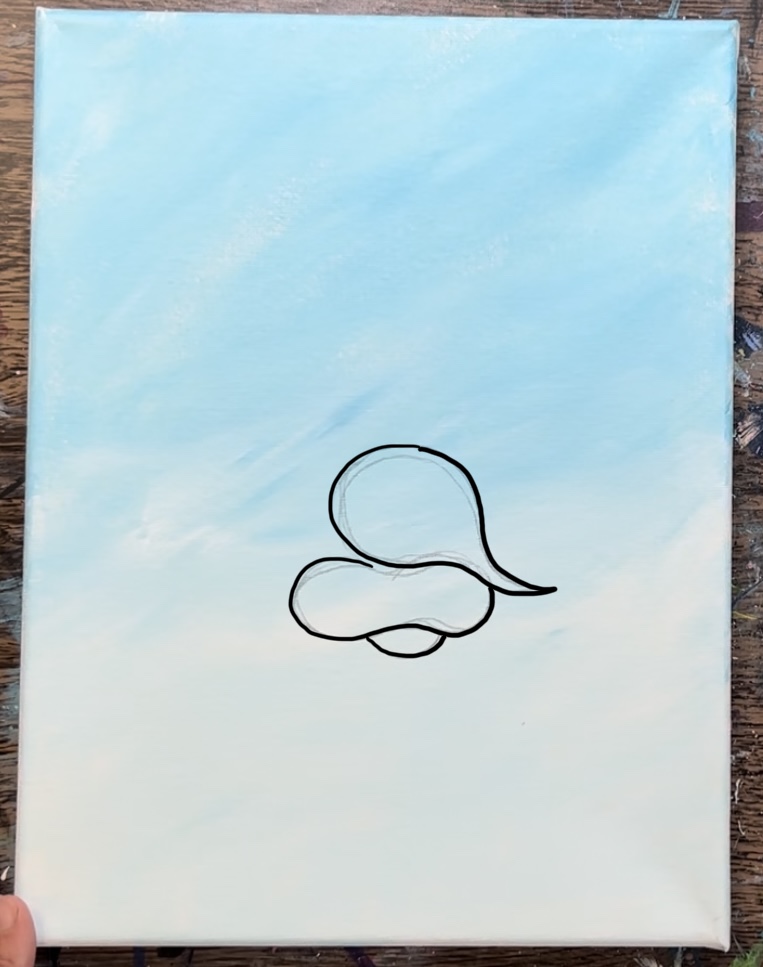
3. Then draw a curve for the left side of the head. Add a small oval shape for the one visible eye.
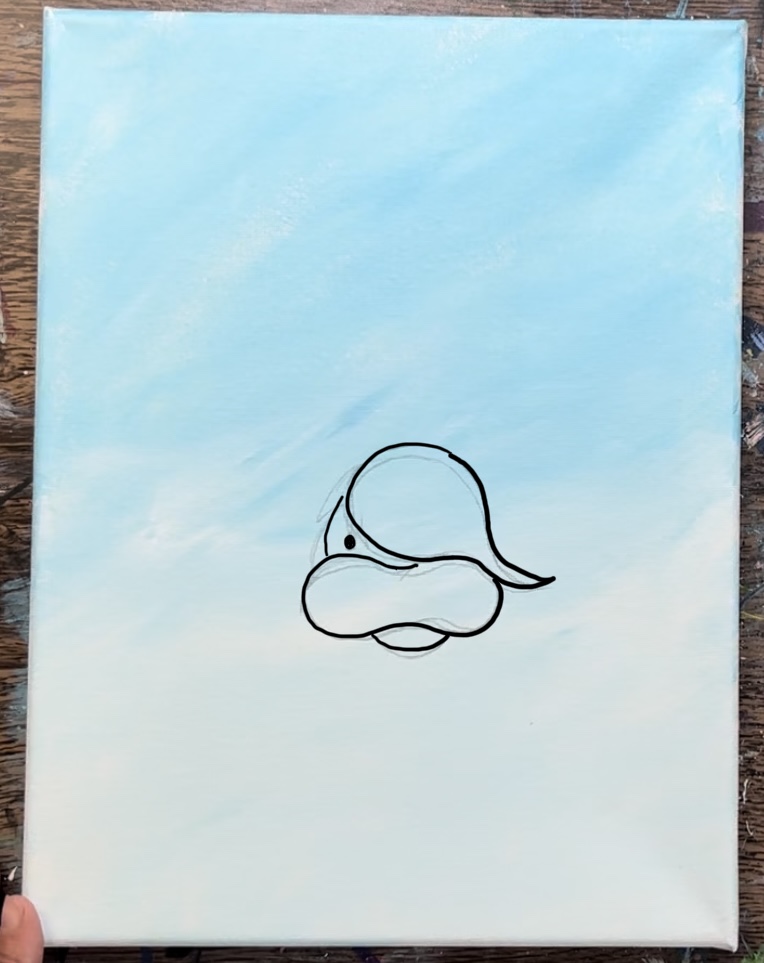
4. Then draw the horns. These are two curved shapes that curve upwards and go to a point. Then draw two teardrop shapes for the ears.
5. Then draw the front legs as two rectangular shapes with a line down the center.

6. Then draw the hooves.
7. Next, draw the back and have it curve to make it look like the cow is sitting down.
8. Draw the back hoof so that it looks more like a “horseshoe” shape.
9. Then draw a line for the tail and a teardrop shape for the tip of the tail.
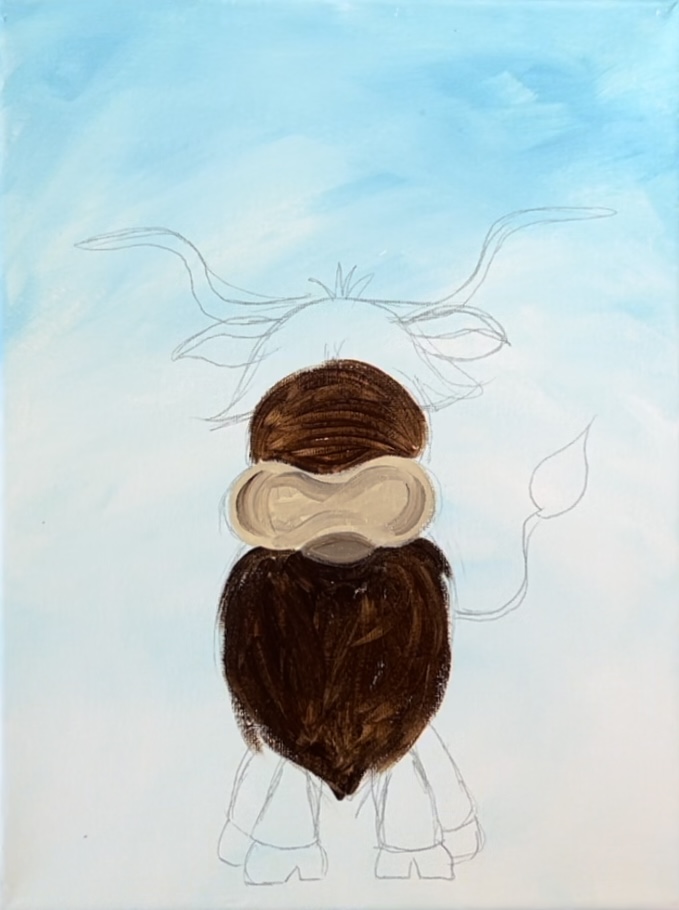
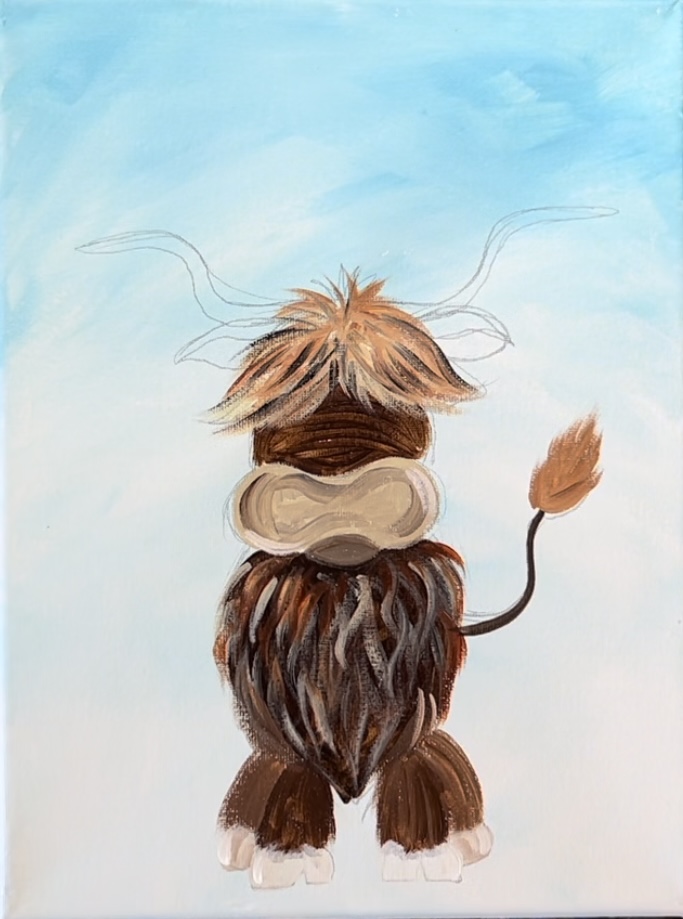
3. Paint First Layer On Cow Head & Body
Load the colors: titanium white, unbleached titanium, mars black and burnt Sienna on your palette. Use your #4 round brush to mix a little bit of mars black into the burnt Sienna.
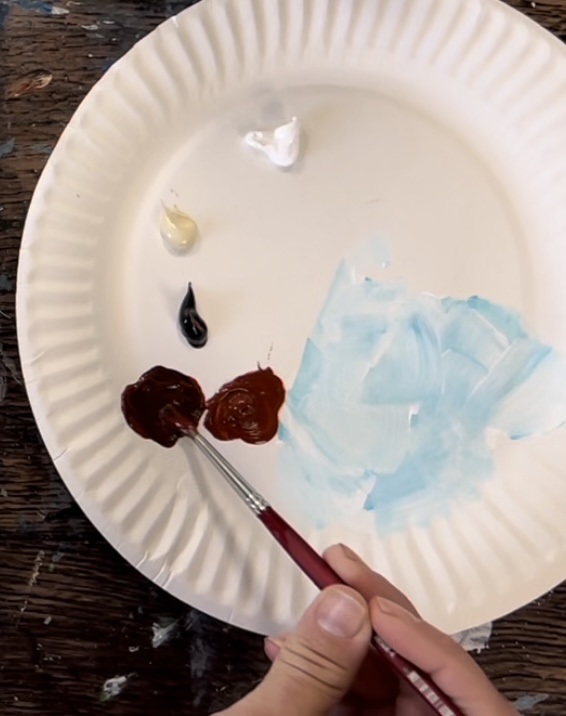
Then use the #4 round brush and this “dark brown” to paint the head and the front chest area. Do this with “contouring strokes”. Outline the shape and then paint your strokes that go in the direction of the shape.
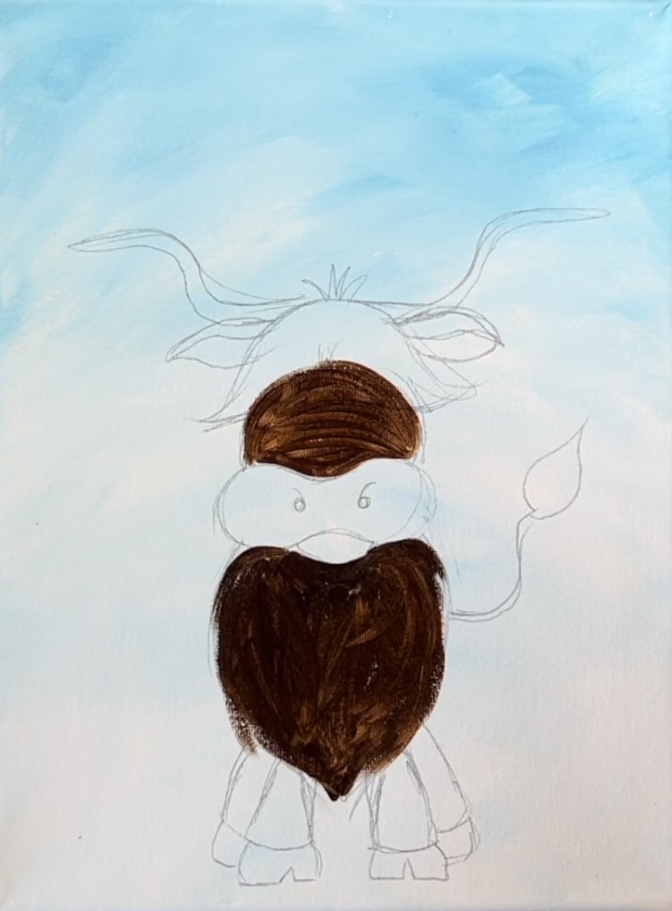
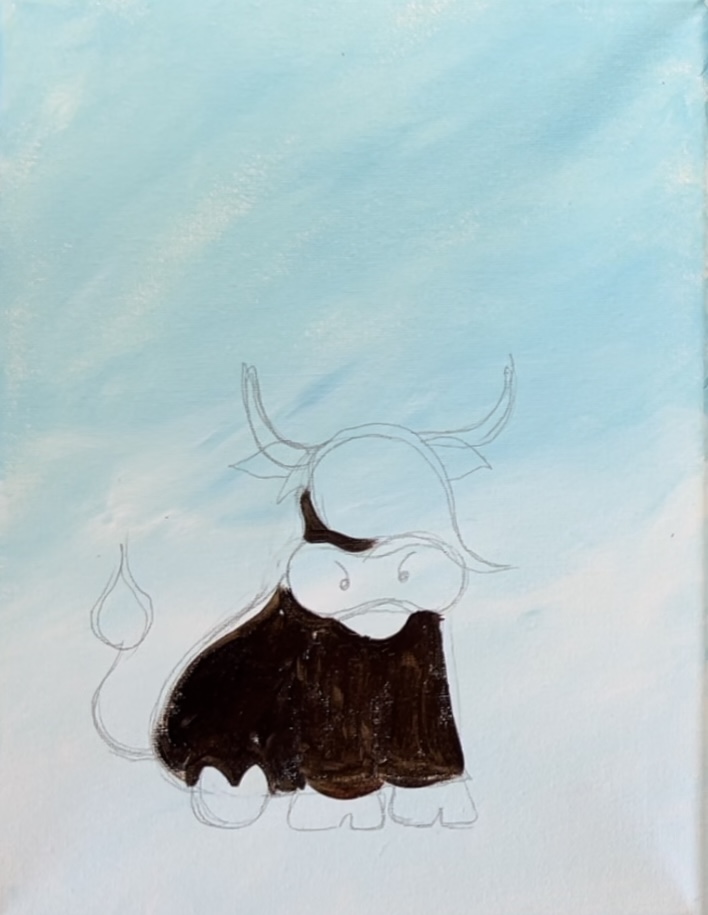
For the calf, repeat this with the same color. Paint the head area (the part that is still showing next to the hair) and the body area including the front legs.
4. Paint the muzzle
Use the #4 round brush to paint the muzzle. Mix a small amount of that dark brown color with the color “unbleached titanium”.
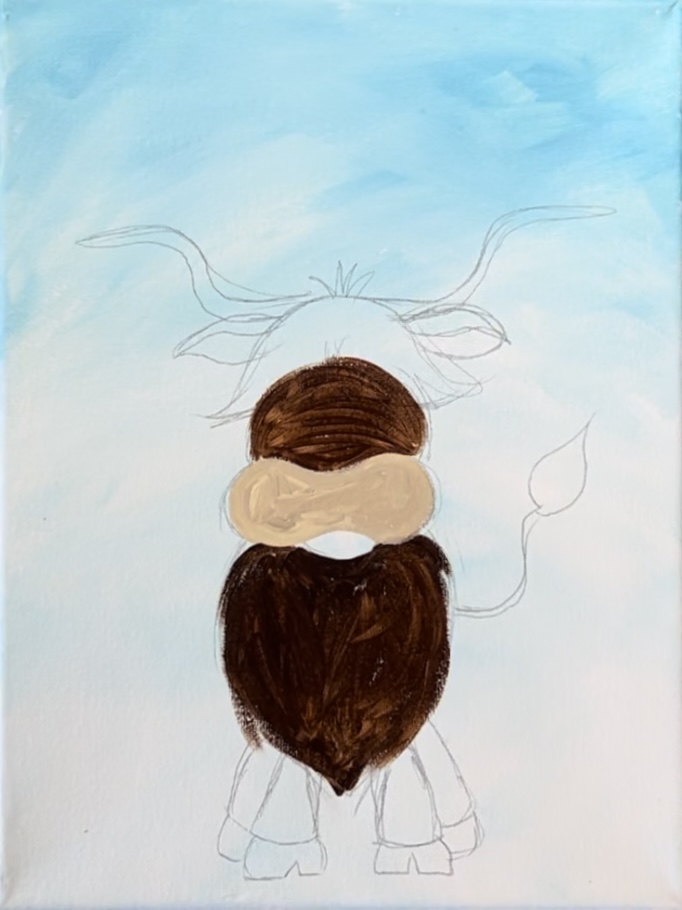
Then mix a small amount of brown into the beige so that it becomes slightly darker. Paint the chin/ bottom of the mouth.
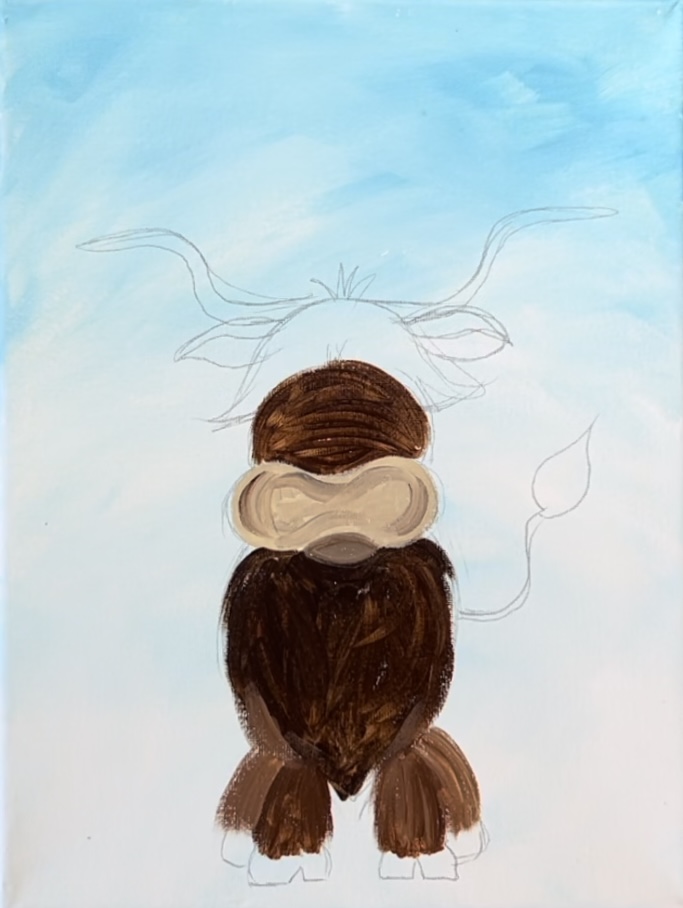
Then paint the legs using the dark brown color you used for the head/chest area. Add some beige into that dark brown so that the outer legs are slightly lighter and stand out against the front legs.
Repeat this for the calf! Paint the muzzle with the beige and mix a small amount of brown into the beige to darken it. Then paint the chin area with the beige and a little more brown mixed into it.
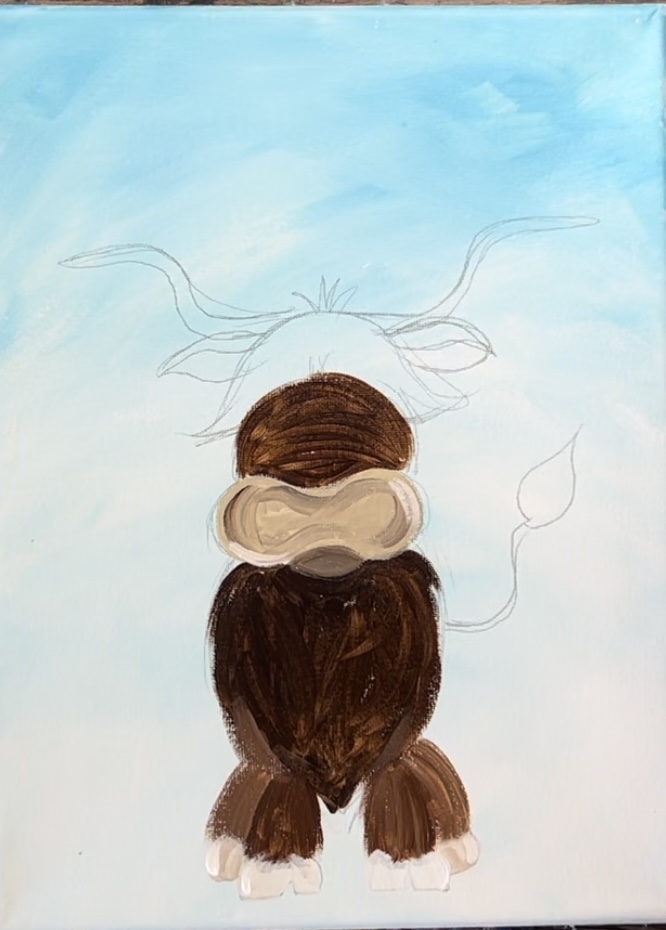
5. Paint The Hooves
Use the titanium white and unbleached titanium color to paint the hooves. Mix white with unbleached titanium.
Do the same thing for the calf’s hooves.
5. Paint the hair
Use your #4 round brush and unbleached titanium. Paint curved strokes using just the tip of the round brush. Some of the strokes overlap the top part of the head (over the dark brown).
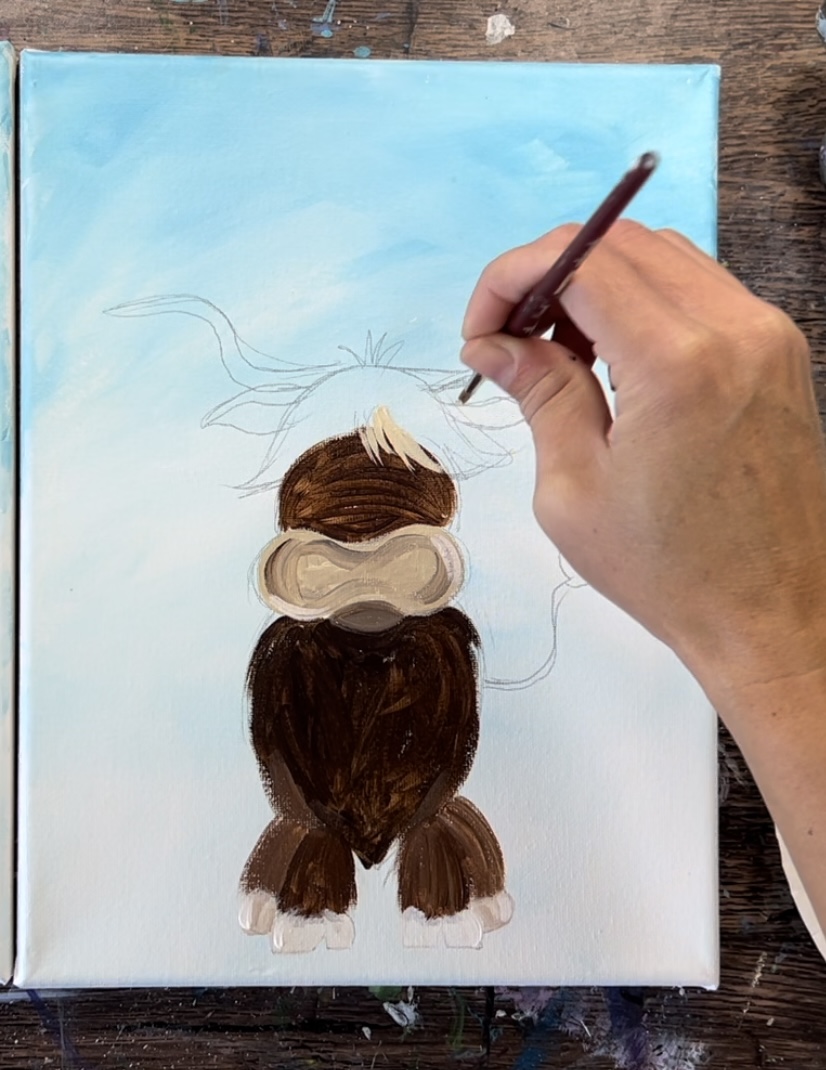
Then load your brush with burnt Sienna. Paint more curved strokes with the burnt Sienna that overlap parts of the beige/ mix on the canvas.
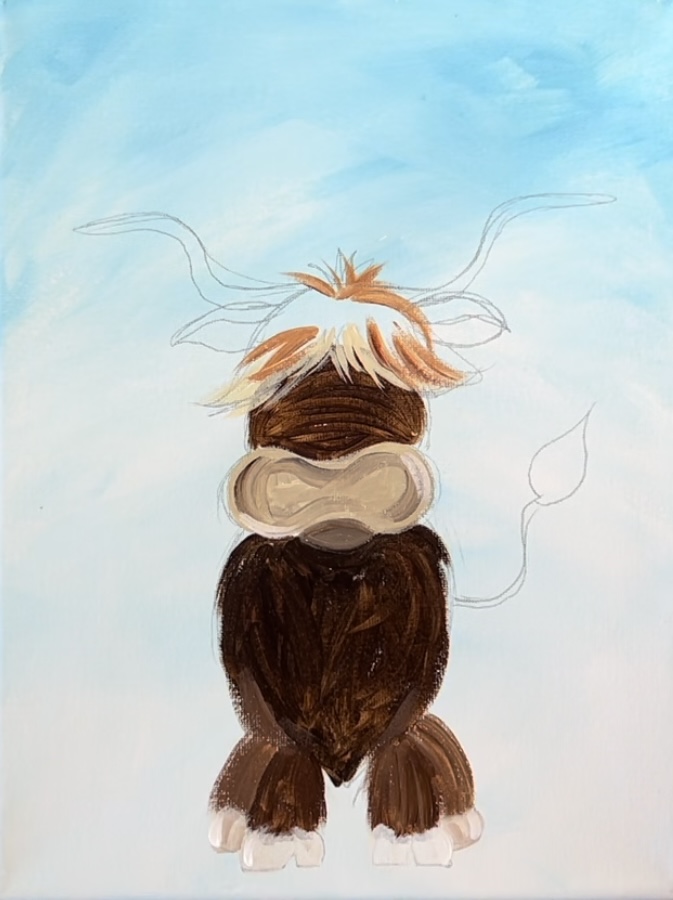
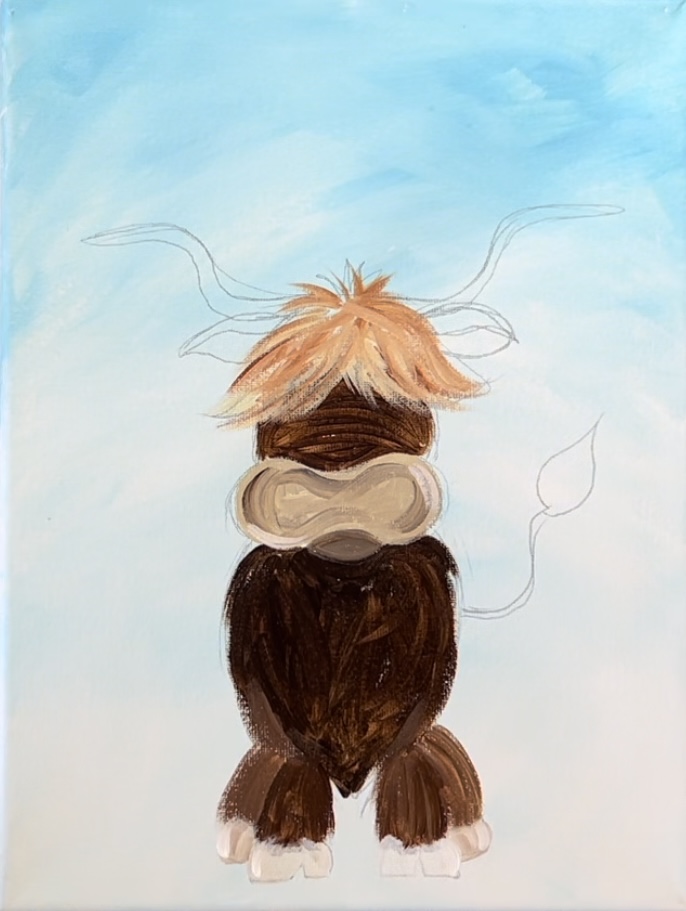
Then paint more curved strokes to fill in the hair area. Try not to “over blend” the colors.
Add a tiny amount of mars black to the brush and paint some black curved fur strokes but try not to over blend the black with the rest of the colors.
Then do the fur strokes on the chest area of the cow. Load your brush in unbleached titanium and paint long wavy strokes that overlap the dark brown area.
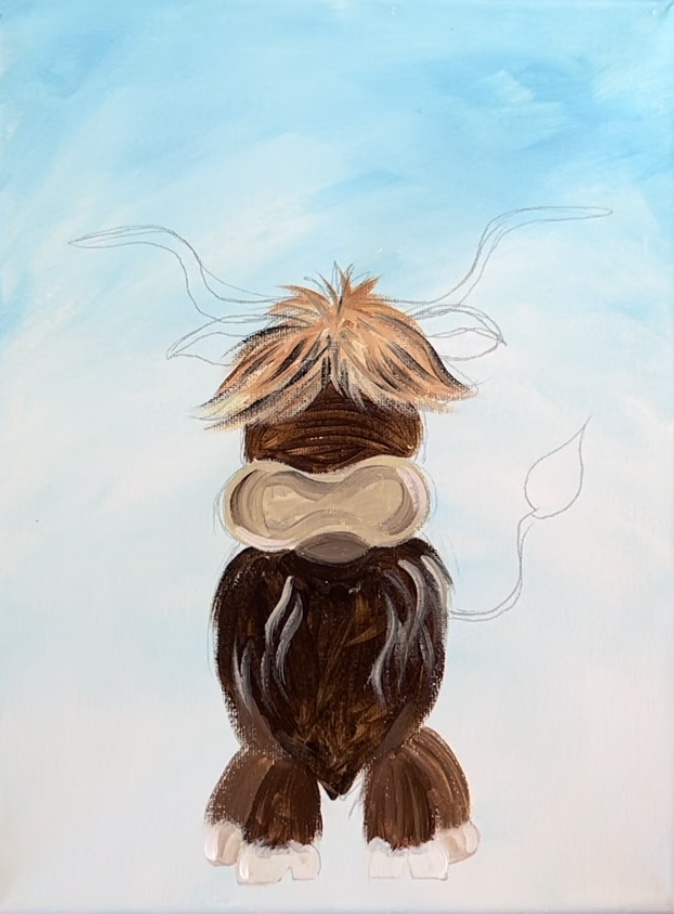
Continue to paint more wavy strokes in this area but try not to cover all of the dark brown area.
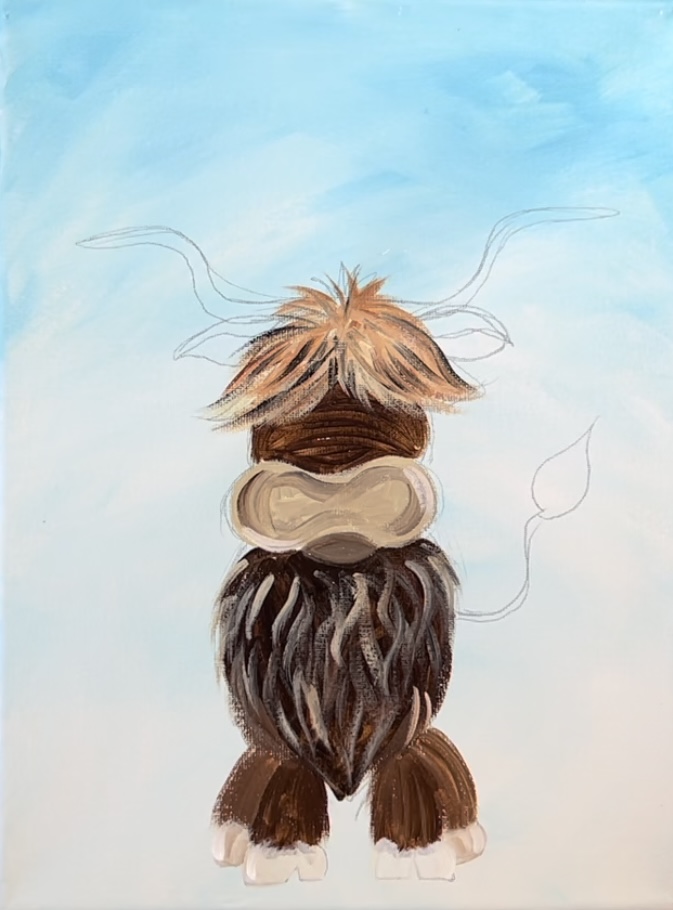
Then add some burnt Sienna into some of the fur texture.
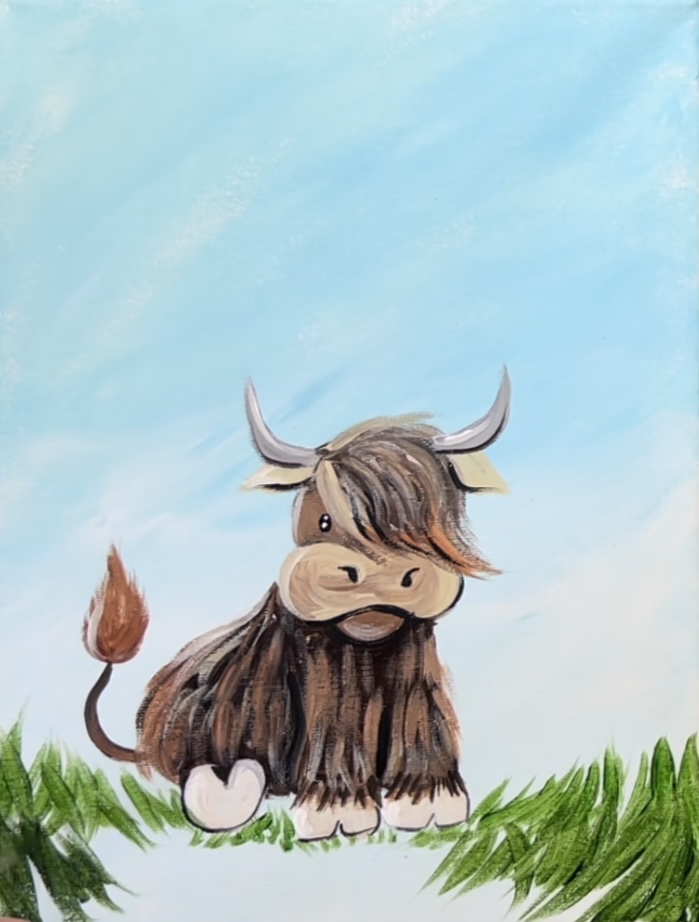
Repeat this technique with the calf. Use a mixture of the unbleached titanium, burnt Sienna and small amounts of mars black. Paint the top hair area so that it sweeps to the right.
Then use unbleached titanium to paint wavy strokes on the back and legs. Make sure that the legs have strokes that go vertical and the back has strokes that go curved in the direction of the back.
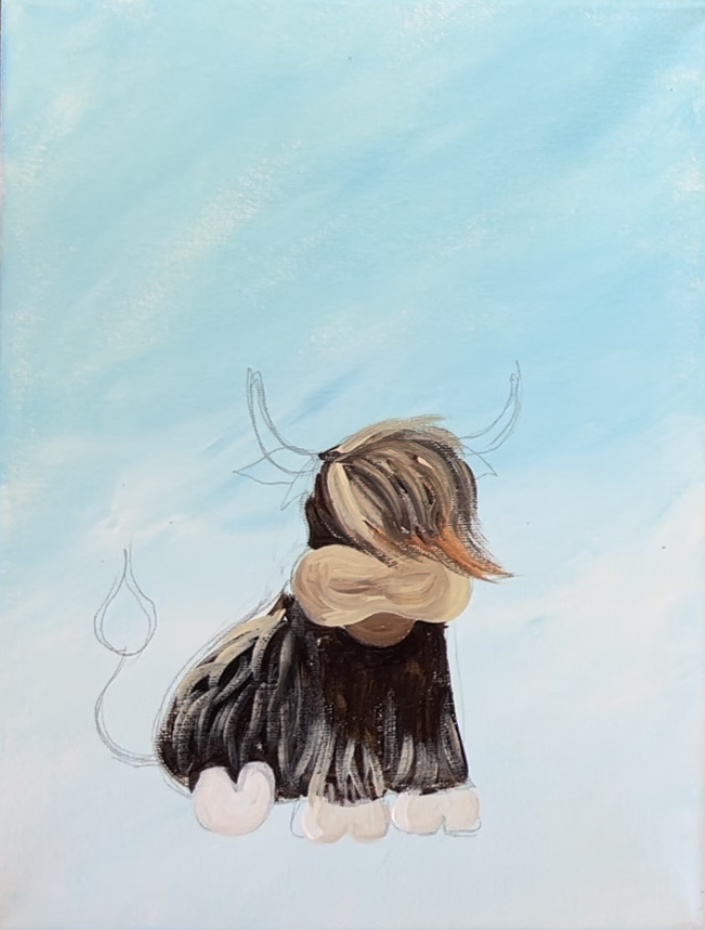
Add little bits of burnt Sienna into the fur texture as well.
6. Paint the tail
Use the dark brown (burnt Sienna mixed with a small amount of mars black) and the #4 round brush to paint the tail.
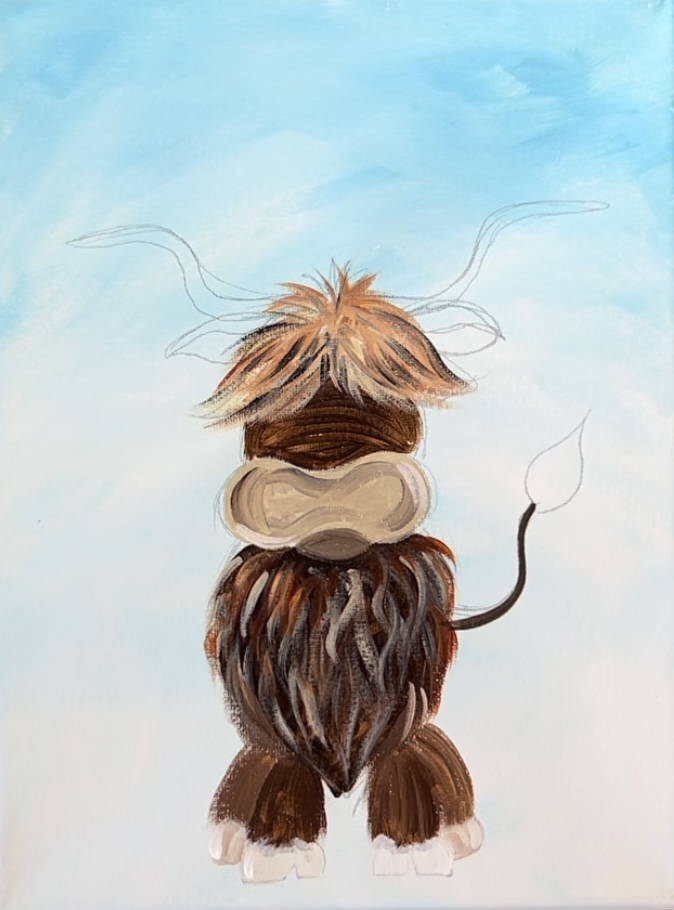
Then use burnt Sienna and a little bit of titanium white (or the beige) to paint the tip of the tail. Do small, curved fur texture strokes.
Paint the tail on the calf using the same colors and same technique.
7. Paint the ears & horns
Use the unbleached titanium (beige) and #4 round brush to paint the top of each of the ears. Then mix a little black (or dark brown) into the unbleached titanium and paint the under parts of each of the ears.
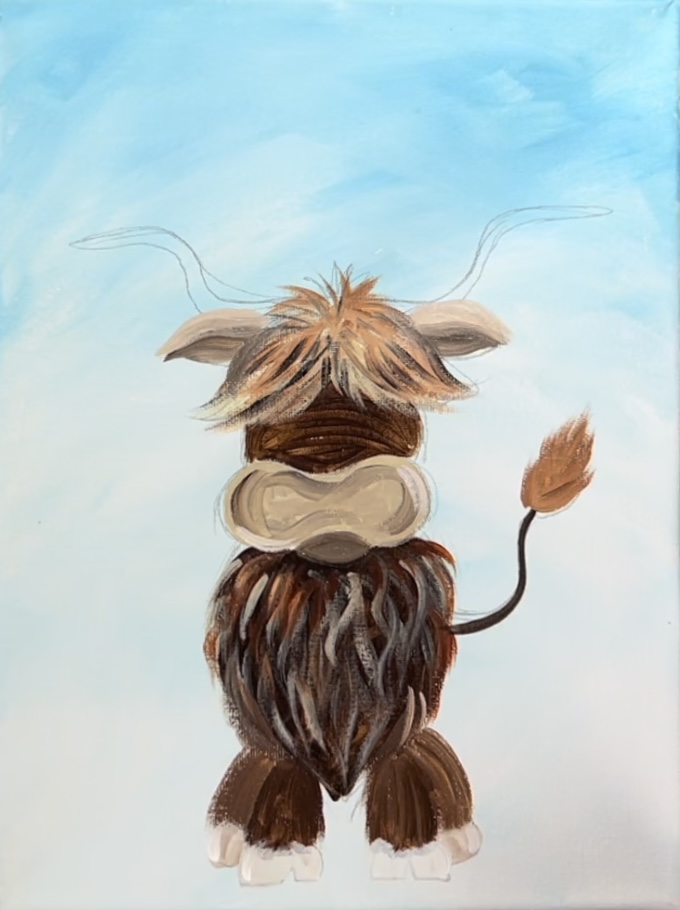
Then paint the horns. These are overlapping the top part of the ears. Mix a light gray on your palette by mixing about one part mars black with about 3-4 parts titanium white. Then use the #4 round brush to paint the horns with this light gray color so that it slightly overlaps the top of the ears.
Add a little bit of titanium white on the top edges of the horns.
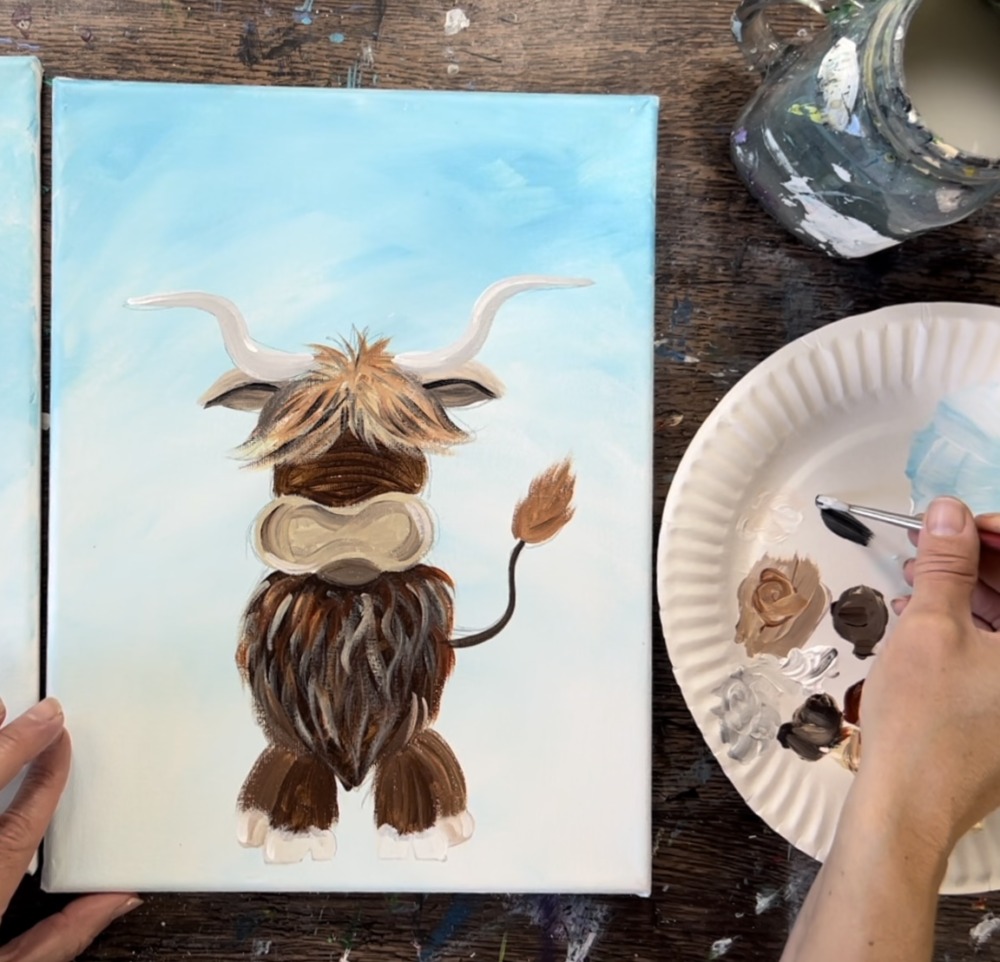
Then add a small amount of darker gray (mix black and white to make a darker gray) on the bottom of the horns.
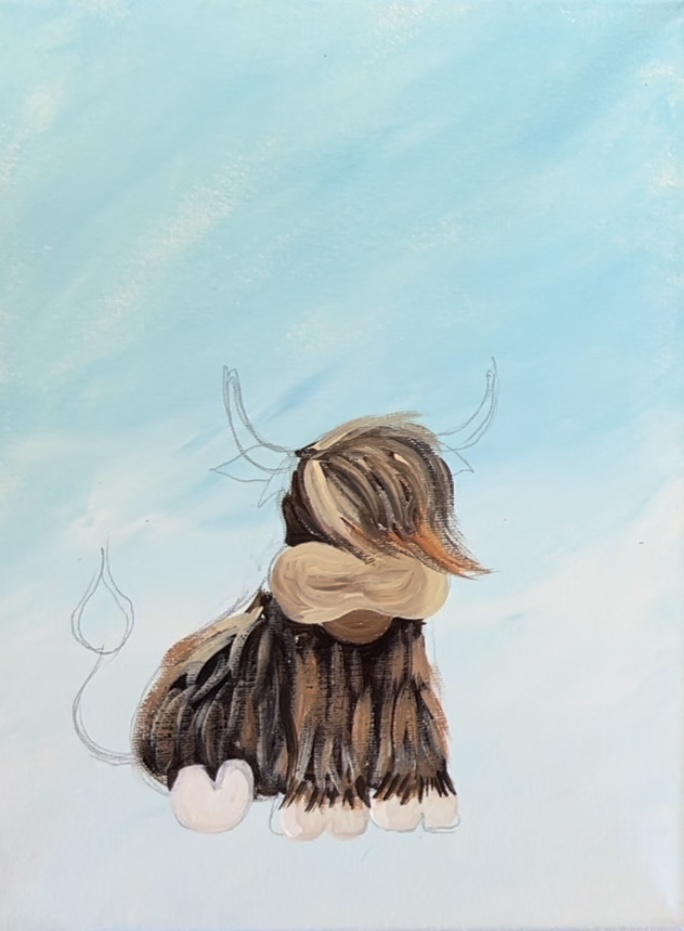
Repeat this for calf! Use the gray to paint the horns and the beige to paint the ears. Note: the under part of the ears is not shown on the baby cow, it is more simplified.
Then paint the nostrils on both of the cows. This is a little dot and a curve, much like a “comma”. Also, slightly outline the bottom of the muzzle and mouth area with the mars black.
Outline the ears (the part in between the top and bottom) & the bottom part of the hooves.
Repeat this for the calf.
Then paint a lighter layer of color in the head area of both of the cows. Mix the beige color with a little bit of the dark brown color (burnt Sienna and a little bit of mars black). This layer does not have to be solid. The point of this is to lighten this area up so the eyes will show up better.
Do this for both of the cows.
Then use the #4 round brush and mars black to paint tiny ovals for the eyes (two for the mom cow and one for the calf).

A toothpick is super helpful for this! Use the toothpick to paint two tiny white dots inside the black ovals. This will give highlights to the eyes.
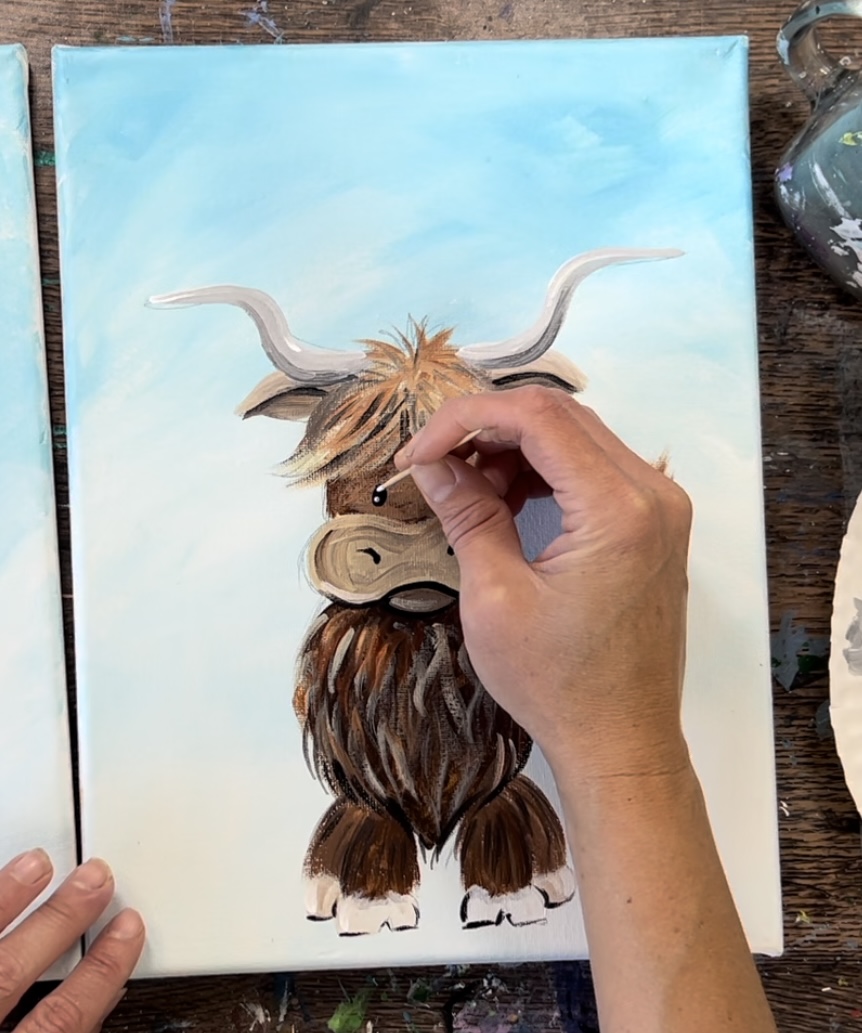
Just two dots in each of the eyes! The dots go vertically and the bottom dot is just slightly larger.
Do the same thing to the calf!

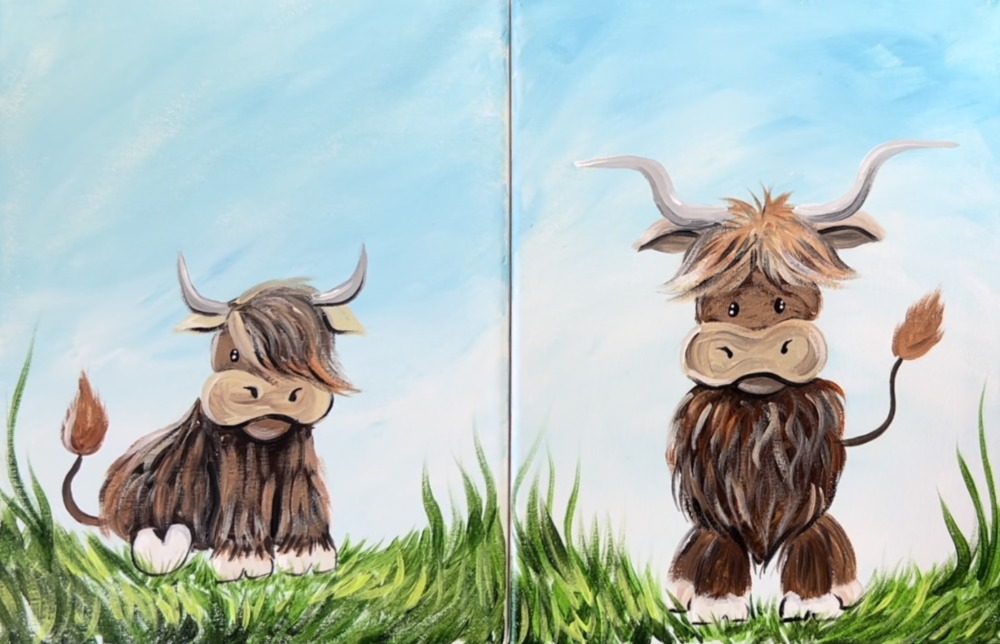
8. Paint the grass
Load your palette with the colors “hooker’s green hue permanent”. Use the #8 round brush to paint grass blade strokes. Paint these strokes so they sway to the right on the right side of the cow and opposite direction on the left side of the cow.
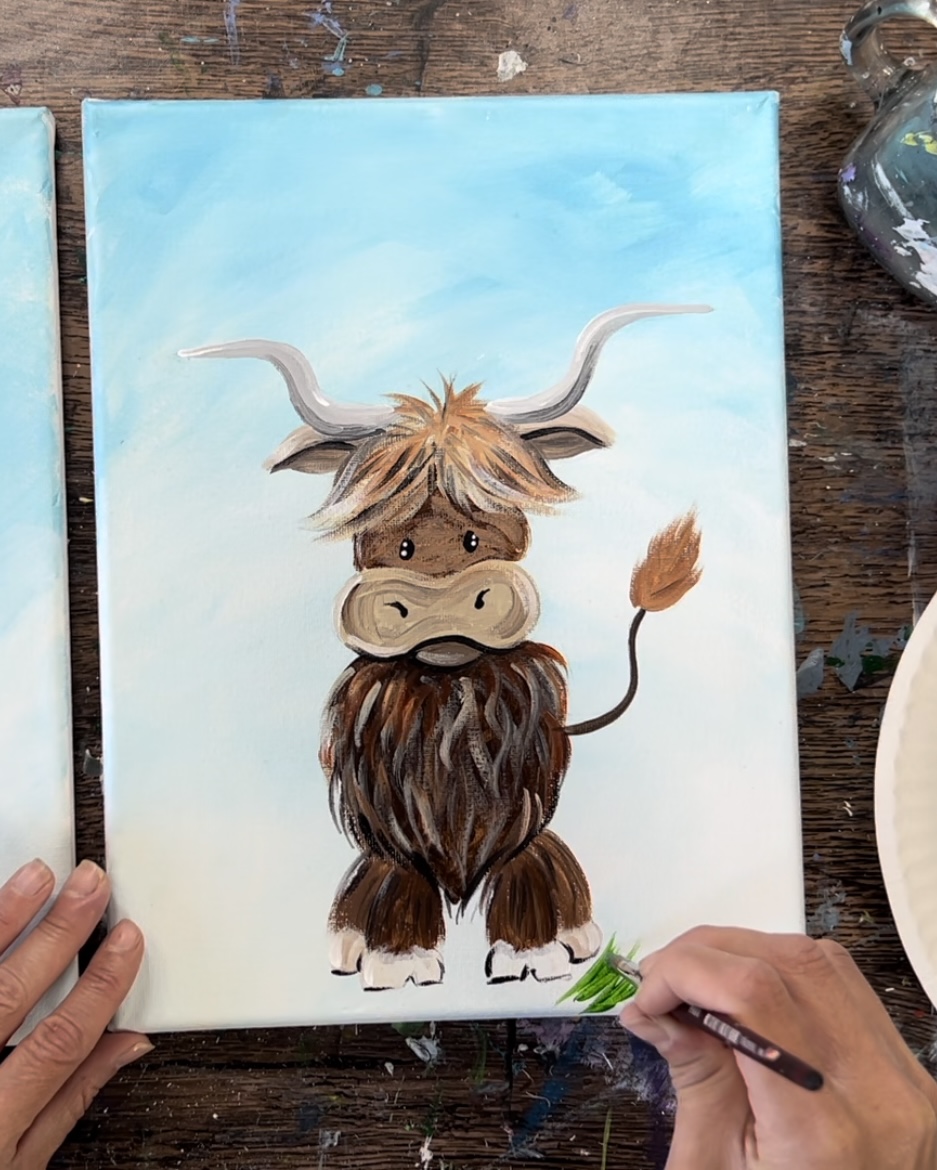
Then paint smaller grass blade strokes under the hooves. You can overlap parts of the grass over the hooves if needed.
Add darker shades of green in the grass. Do this by mixing a very small amount of mars black into the green. Paint the bottom area and allow it to overlap parts of the green that’s already been painted.
Do the same thing for the calf. I recommend starting at the top and then working your way down in layers.
Paint longer, wavy grass blades on the edges of the canvases. You can also put your two canvases together and allow the grass blades to meet at the same heights in the middle.
Next, add a lighter layer of grass. Add brilliant yellow green to your palette. Then paint on layers of this lighter green. It will show up against the dark colors in the grass. Try not to over blend or paint over all of the dark.
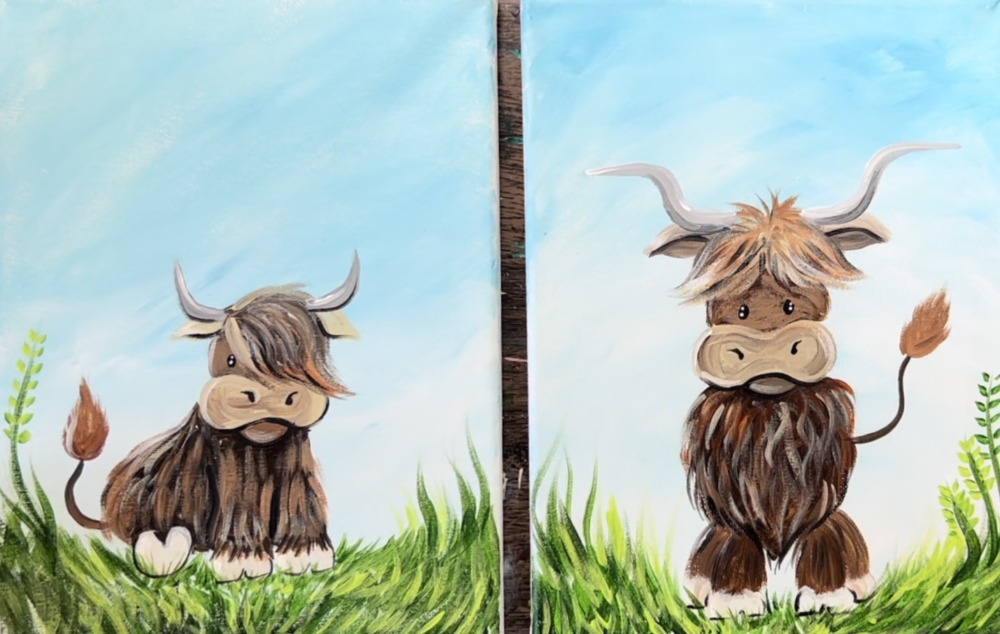
Then use the tip of the brush to “stamp” little leaves on each side of some of the longer branches.
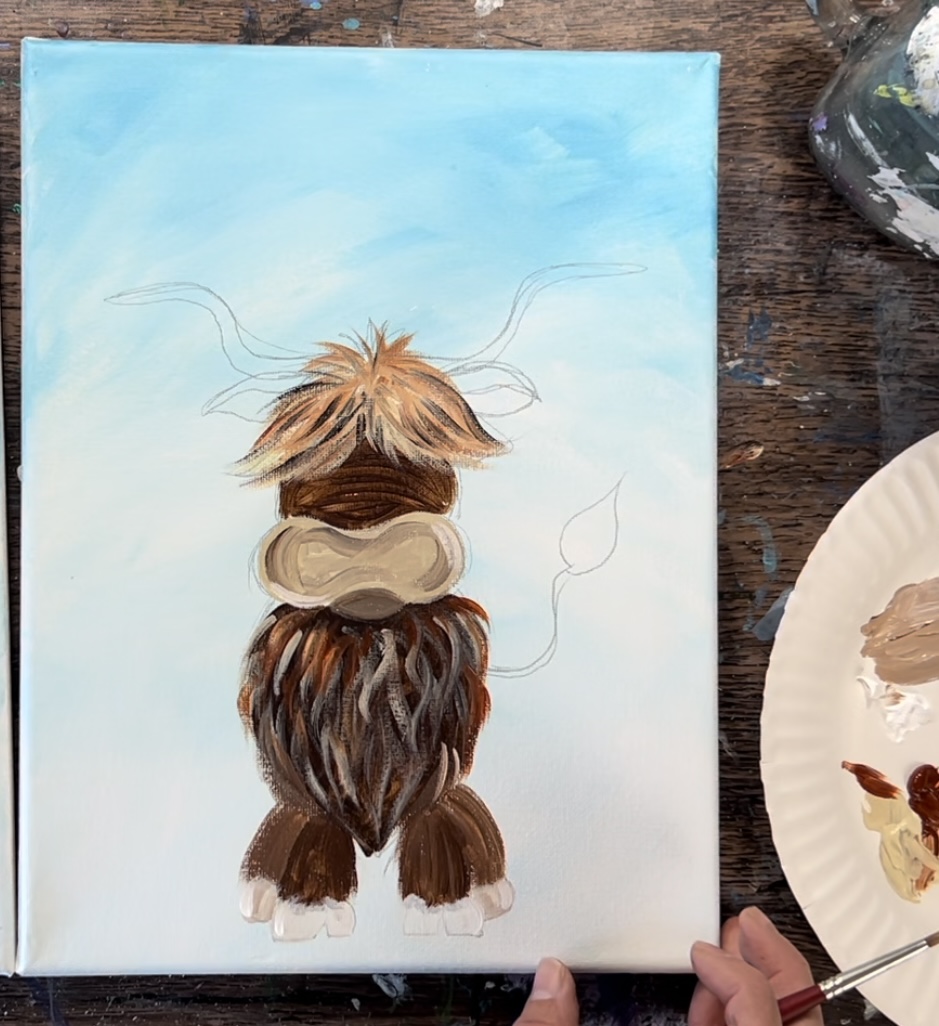
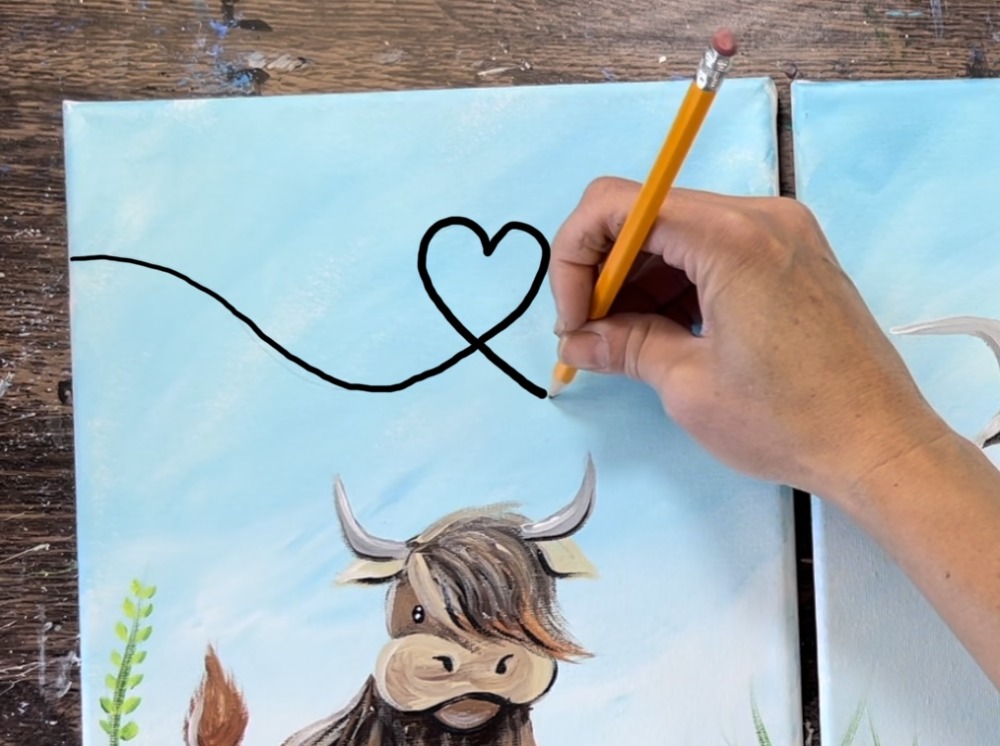
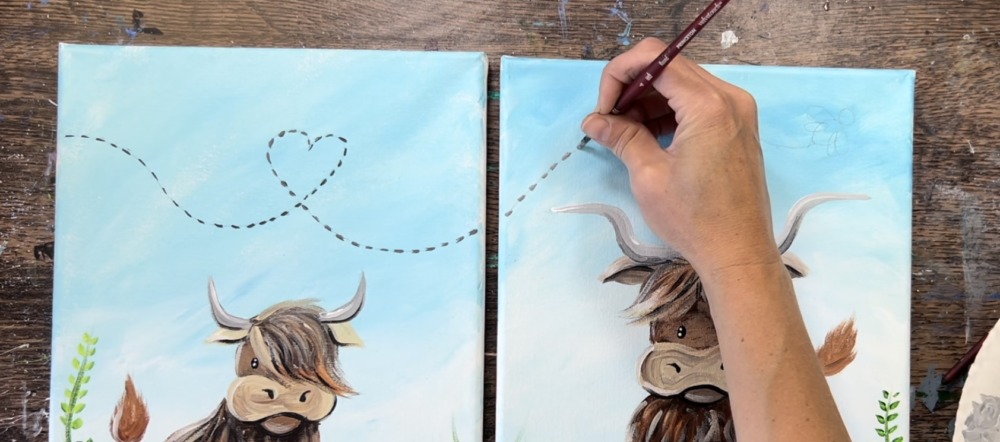
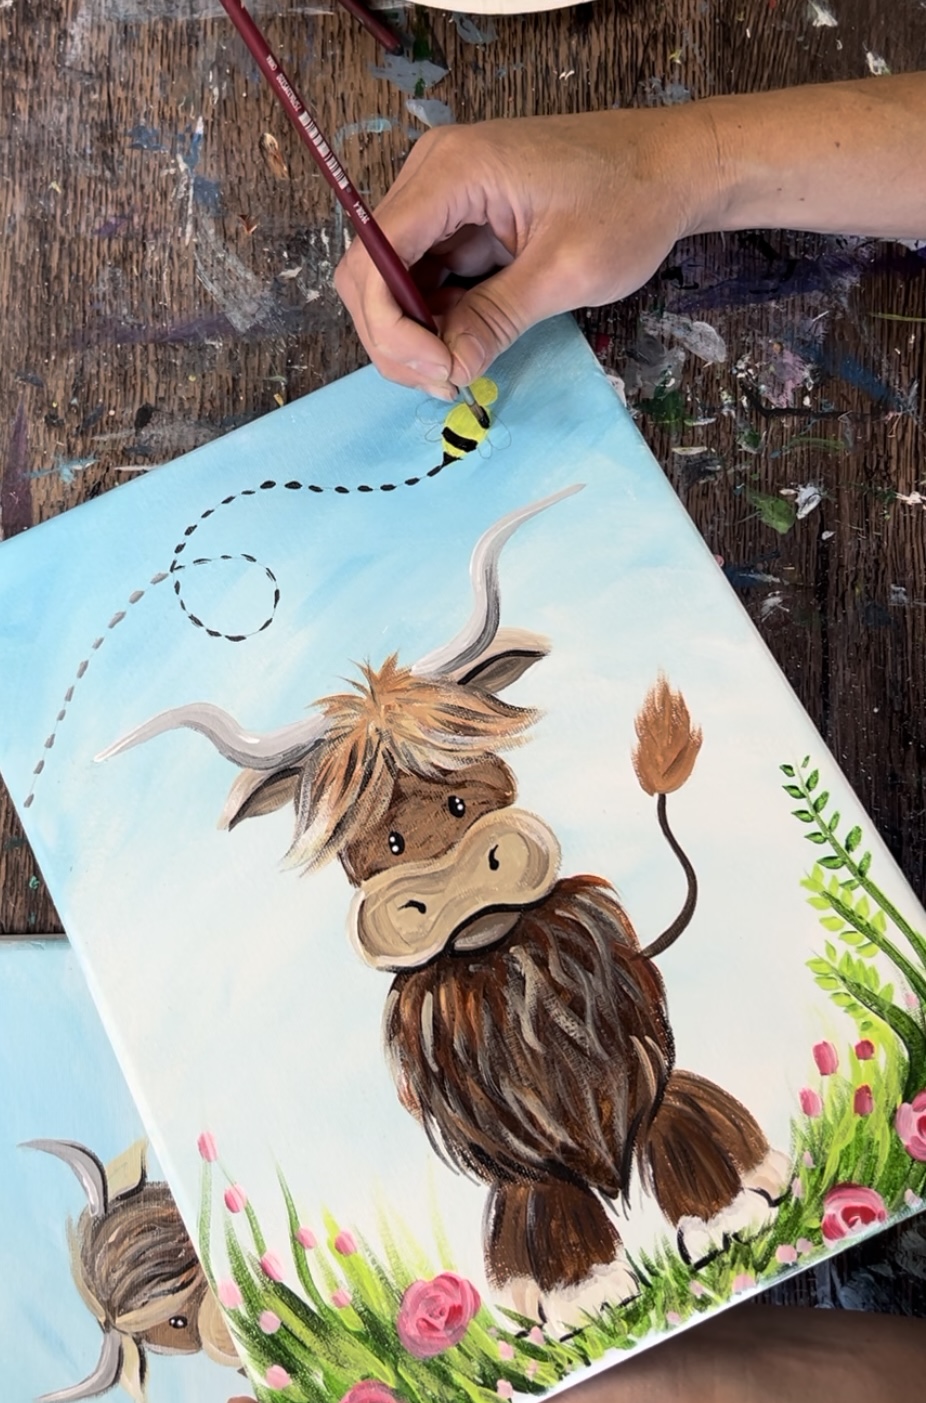
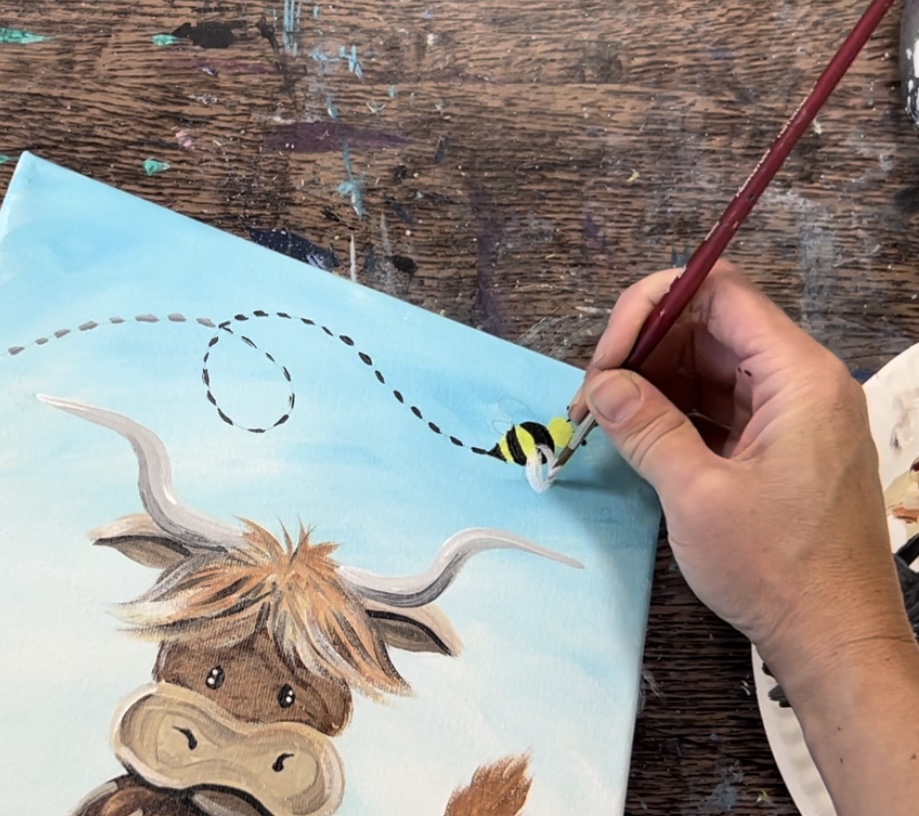
9. Draw & paint bee trail
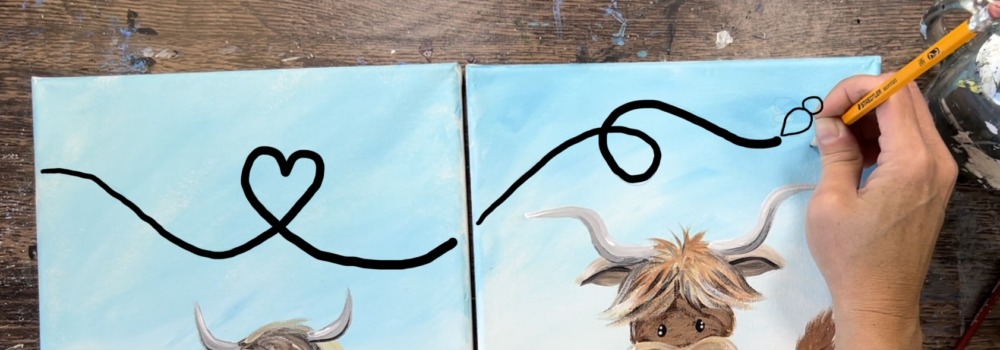
Use a pencil to draw the trail of the bee so that it connects the two canvases together. I recommend starting with drawing the heart and then connecting the lines as a loop.
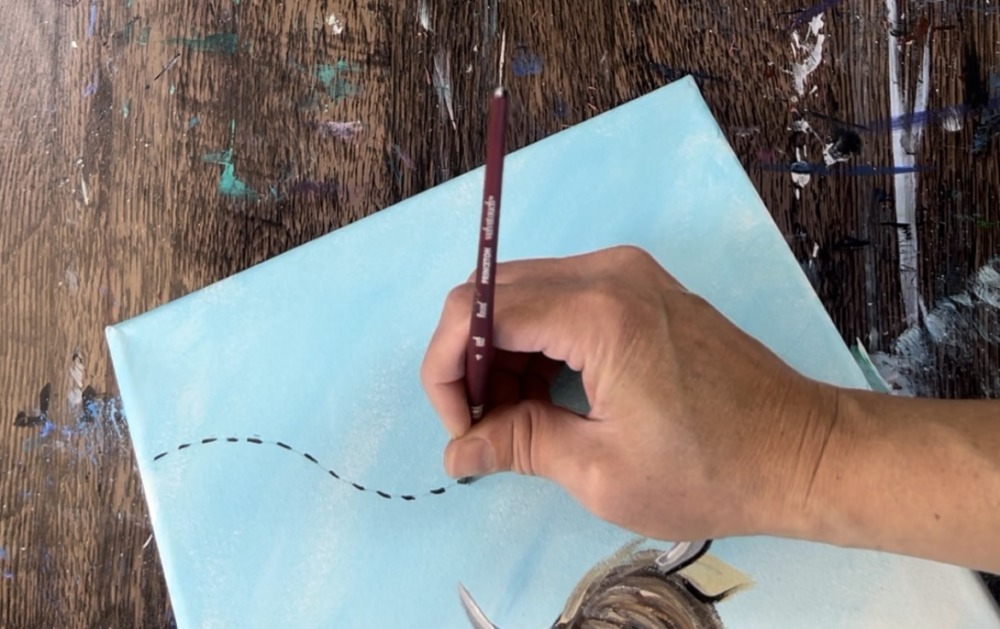
Note: the lines depicted below are darker for demonstration purposes. I recommend drawing this line very lightly.
Then draw a loop on the mom cow side. Draw a simple bee shape on the edge of the loop. Draw a teardrop shape for the body and a small circle for the head.
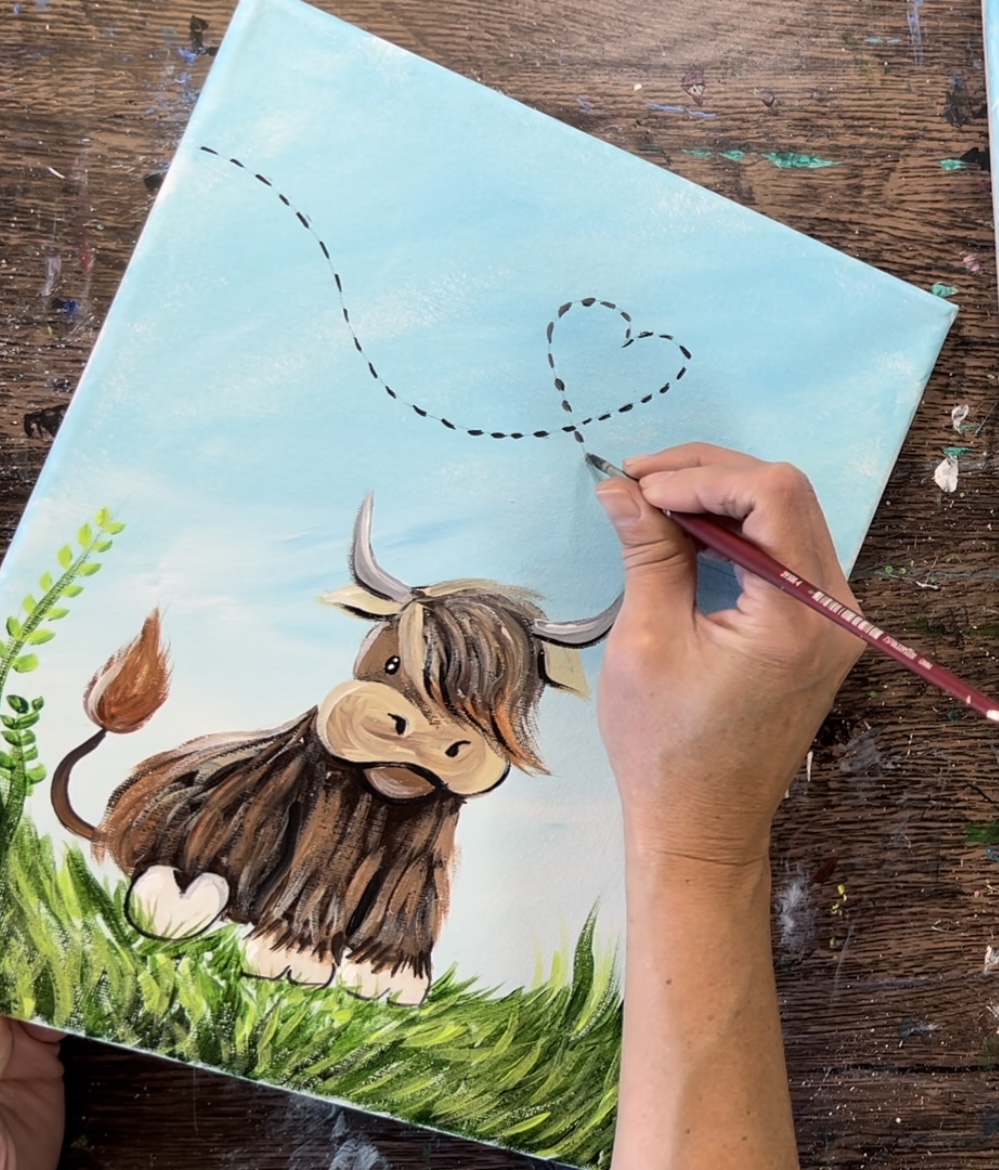
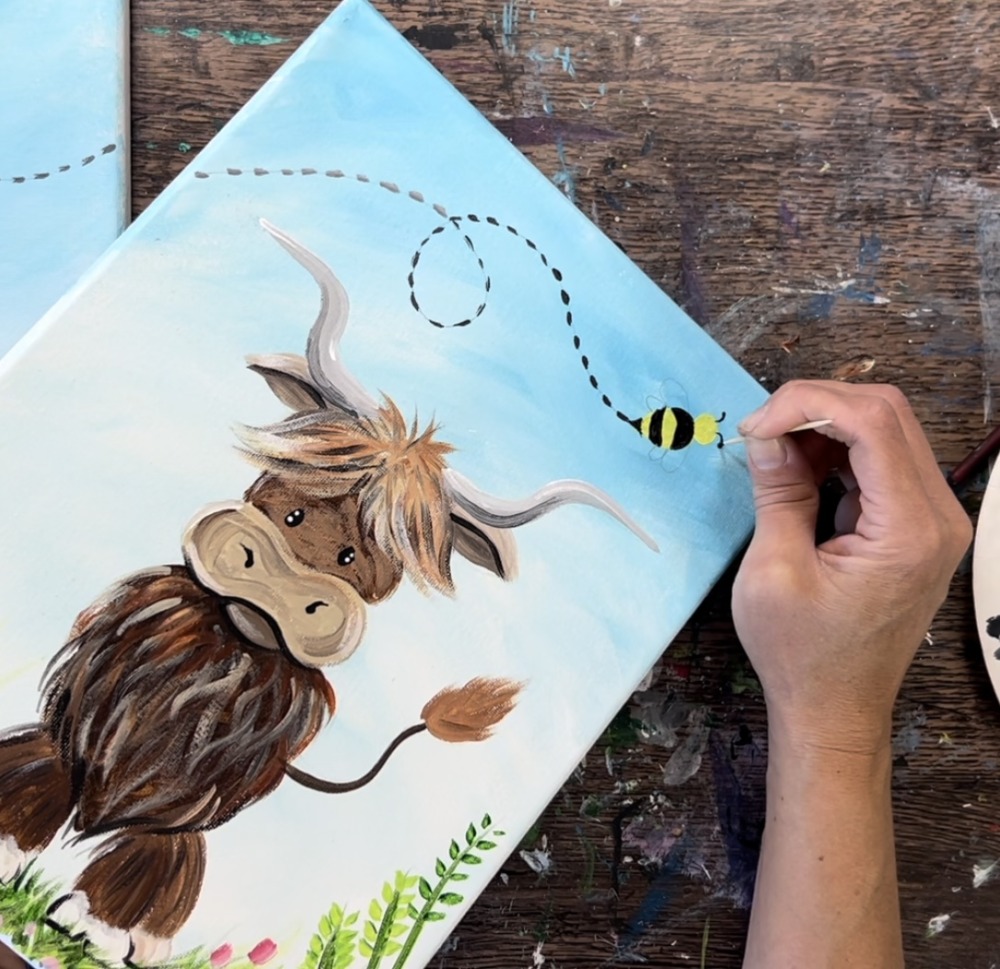
Then use the #4 round brush (or a paint pen) to paint dash marks all along the line. You can do this with solid black or you can mix a gray on your palette and paint the line gray.
Paint the bee’s body with cadmium yellow light hue. Add a little white into the yellow so the yellow will show up opaque and bright.
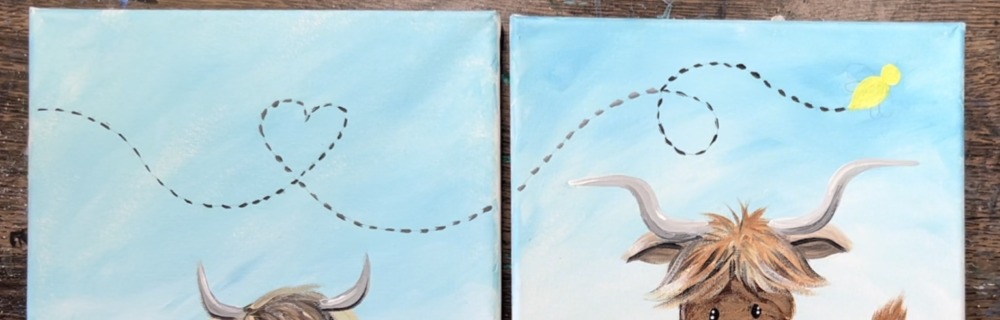
Let the yellow on the bee dry before painting the stripes and wings.
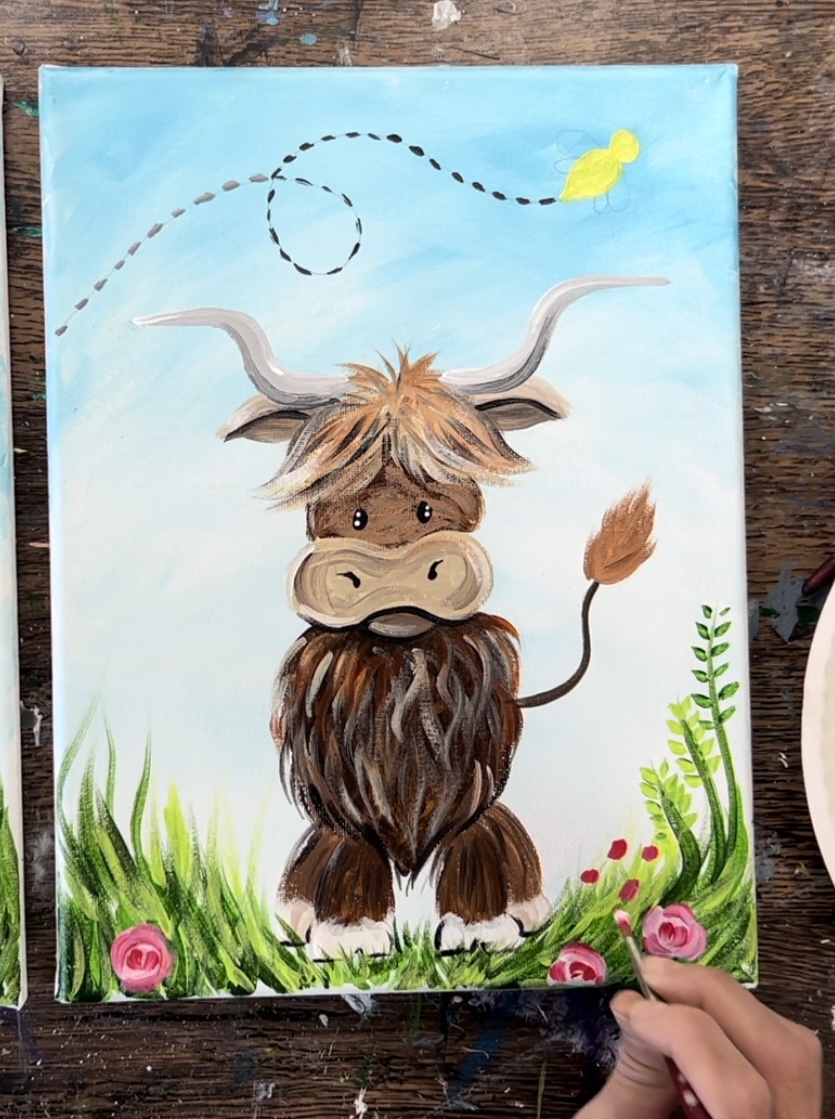
10. Paint flowers
Load your palette with “primary red” and titanium white. Primary red is a cool red color that will turn pink when white is added to it.
Mix about equal parts white and red on your palette. Then use the #4 round brush to paint a small “blob” shape for the base of the flower shape.
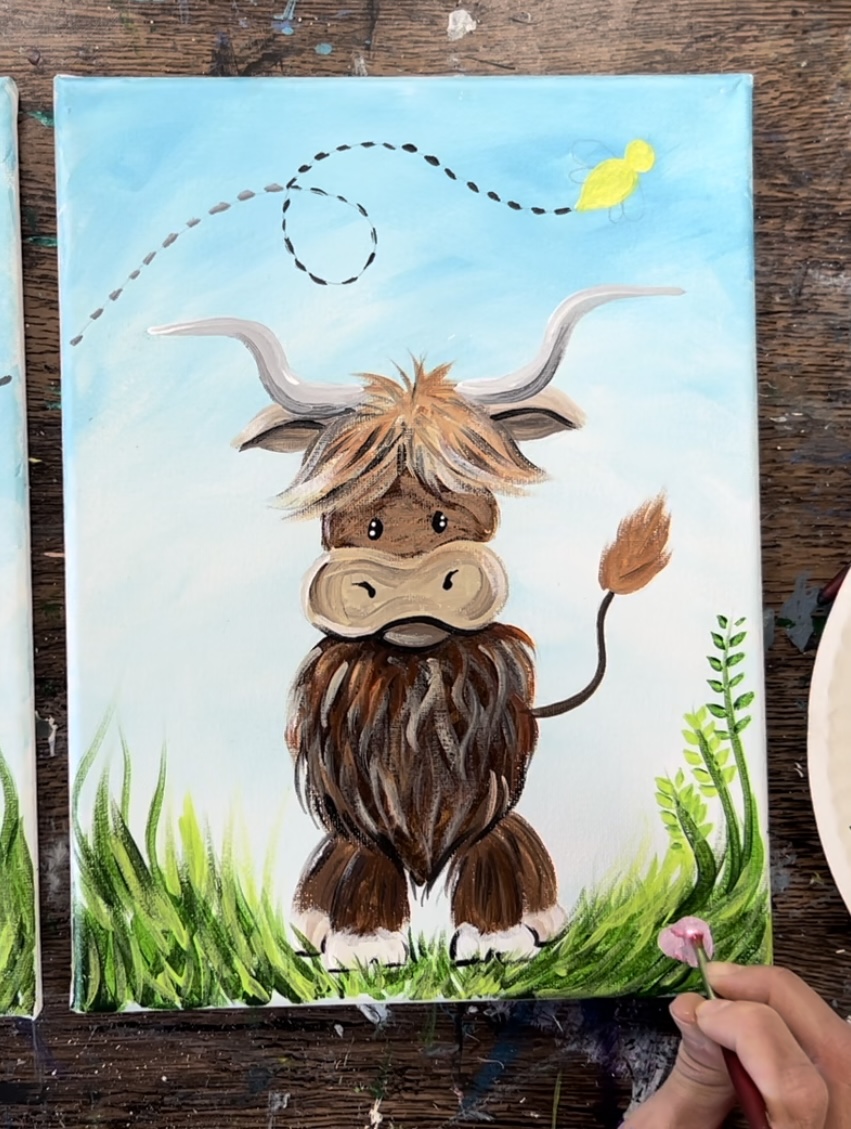
Then wipe the brush off. Load the tip of the brush into just the primary red. Then, in the middle of the “blob shape” paint small curved lines. Then paint a few more curved lines and go outwards to the edge of the circle. This will look like an abstract rose!
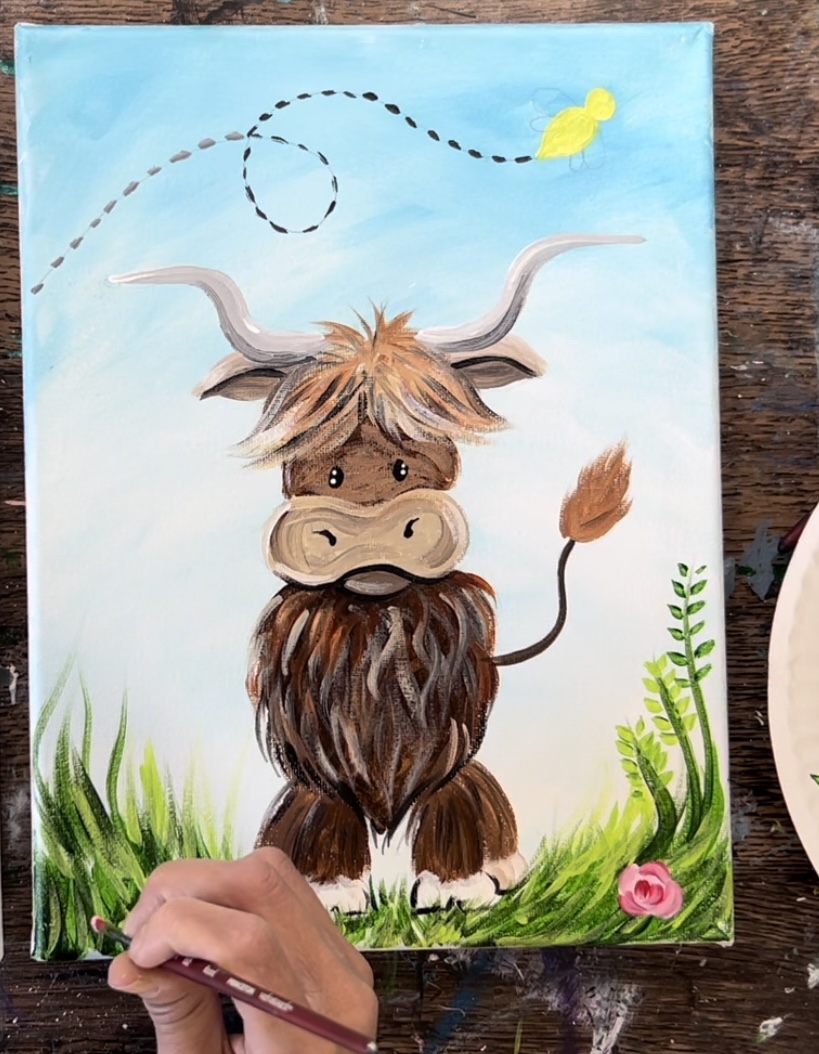
Paint several abstract roses throughout the grassy area.
Paint smaller strokes for small flowers (tulips). To do this, double load your round brush in both the primary red and white and paint one stroke marks in the grass area.
The same technique is repeated on the baby cow side.
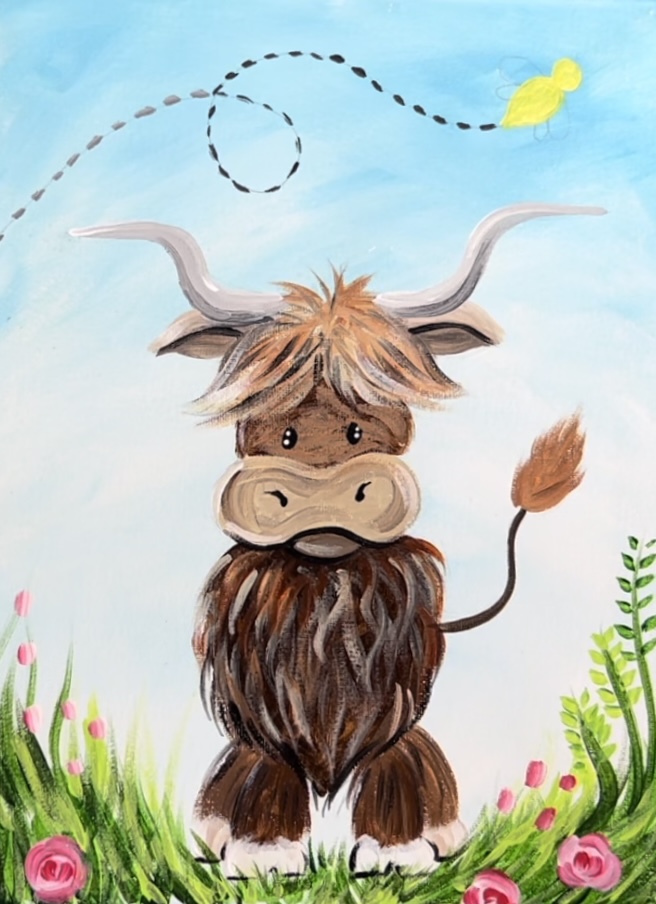
11. Finish bee
Paint the stripes with mars black and use the #4 round brush. Also paint a small triangle on the end for the stinger.
You can use the toothpick to paint the antennae.
Wait for the stripes to dry before painting the wings.
Then paint two ovals for the wings. Apply a very small amount of titanium white to the #4 round brush. You want the paint to look thin and not opaque and to achieve this, only apply a small amount.
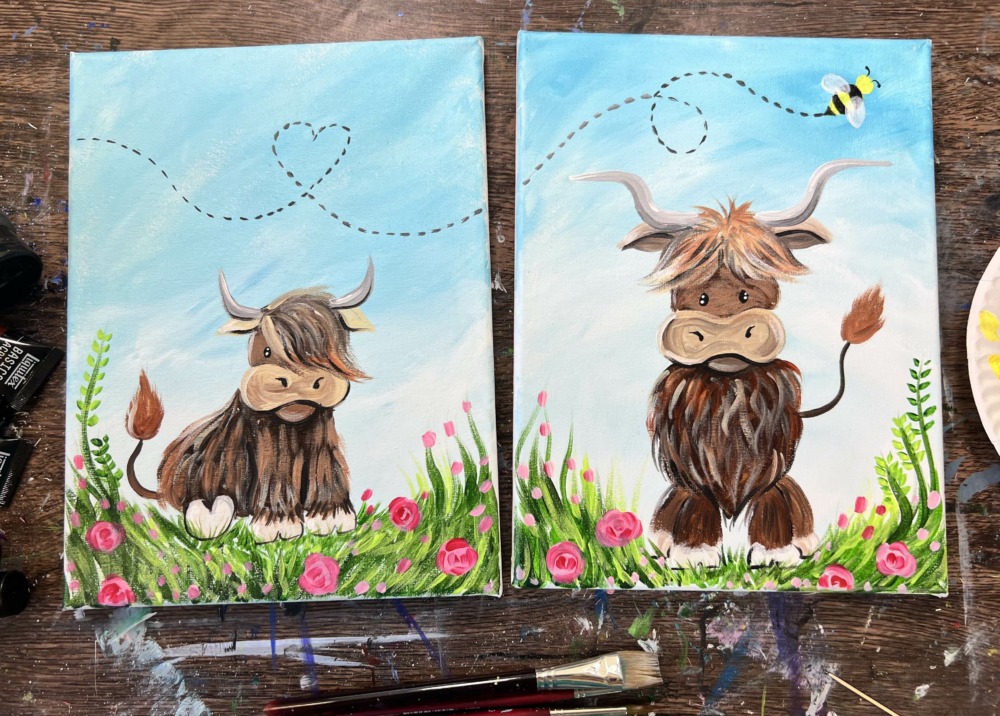
Finished
