

Would you like to save this?
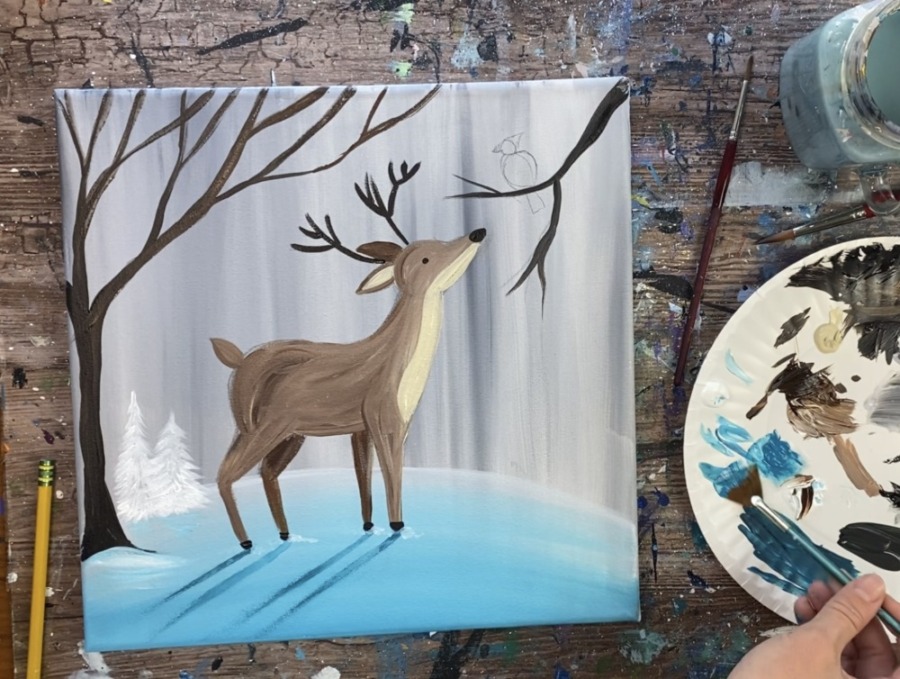
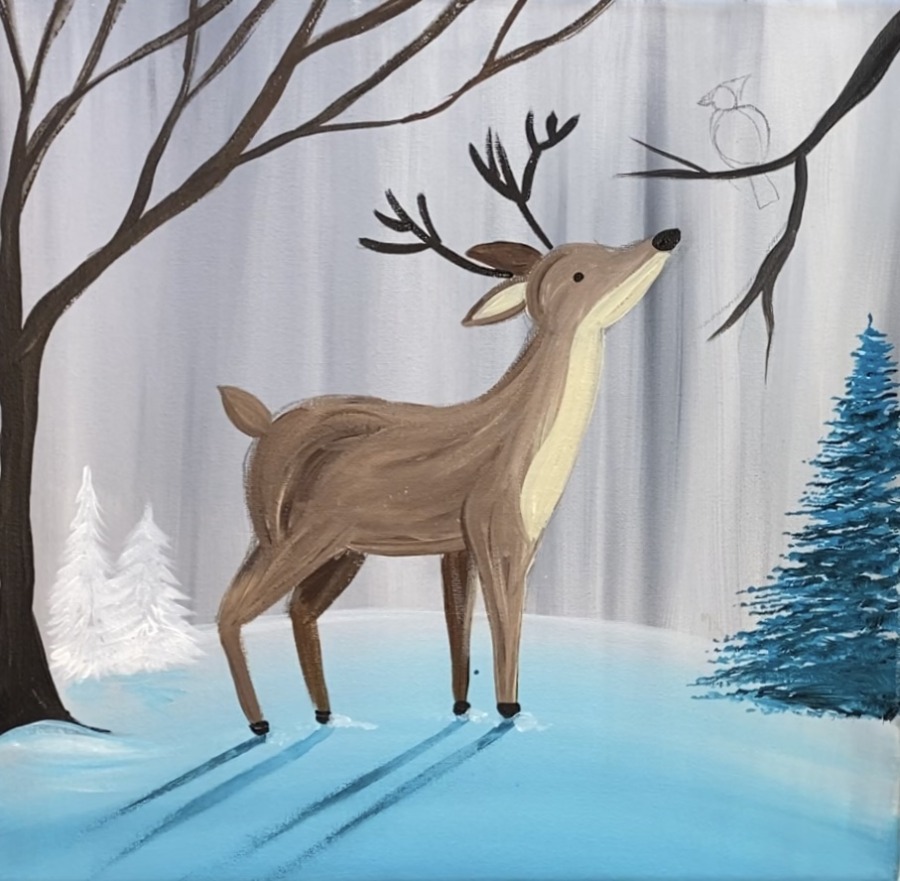
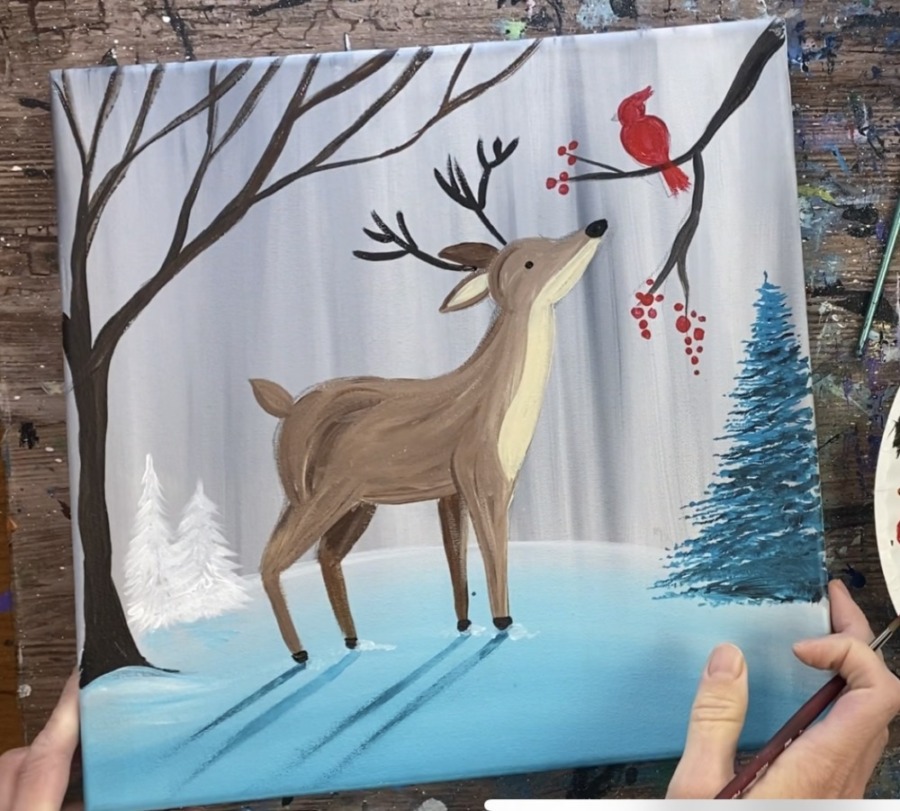
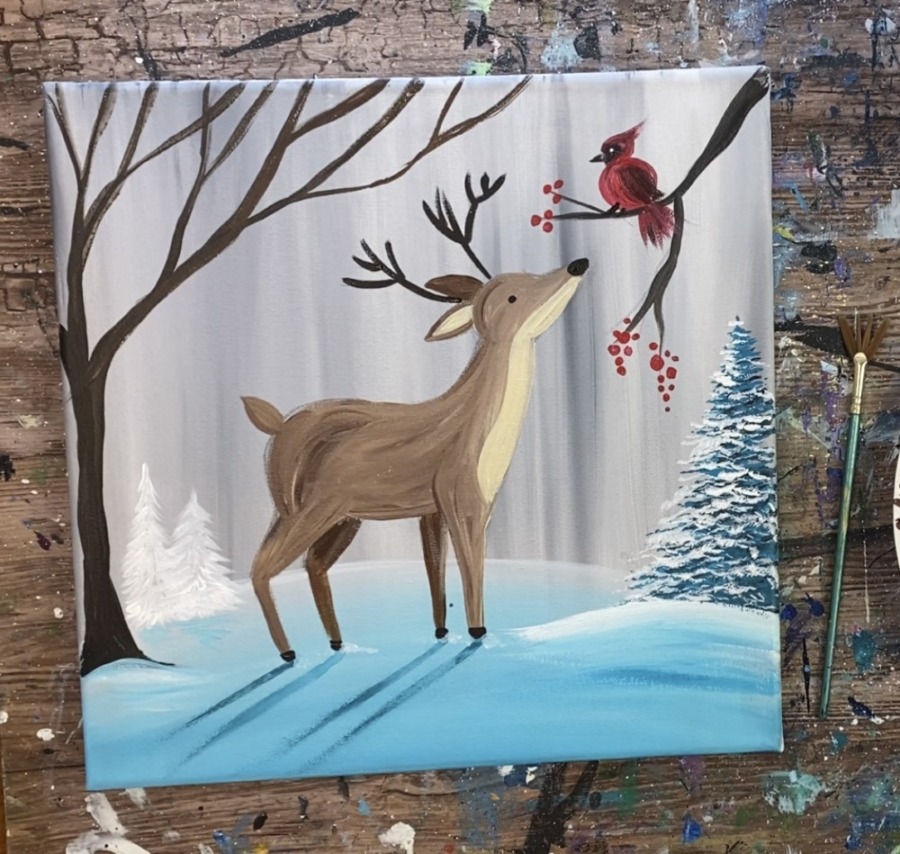
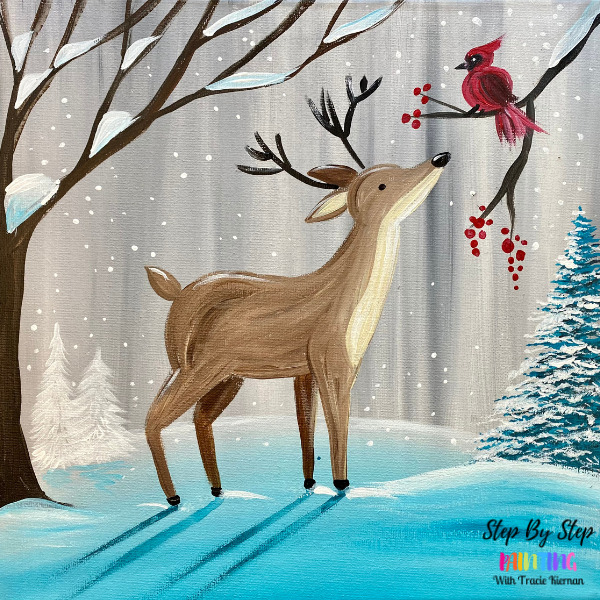
This acrylic painting tutorial will demonstrate how to paint “Winter Friends”. This is a cute “stylized” painting of a deer looking up at a cardinal in a pretty winter scene.
The design was done on a 12″ x 12″ square canvas but it can also be done on a rectangular canvas.
Enjoy and happy painting!
Materials
"Winter Friends" Acrylic Painting Tutorial
Learn how to paint a cute deer in a winter scene in this painting titled "Winter Friends". This tutorial is demonstrated on a 12 x 12 square canvas.
Materials
- 12 x 12 Canvas
- Acrylic Paint
- Paint Brushes
- Traceable (optional)
- Graphite Paper (optional)
- Pencil
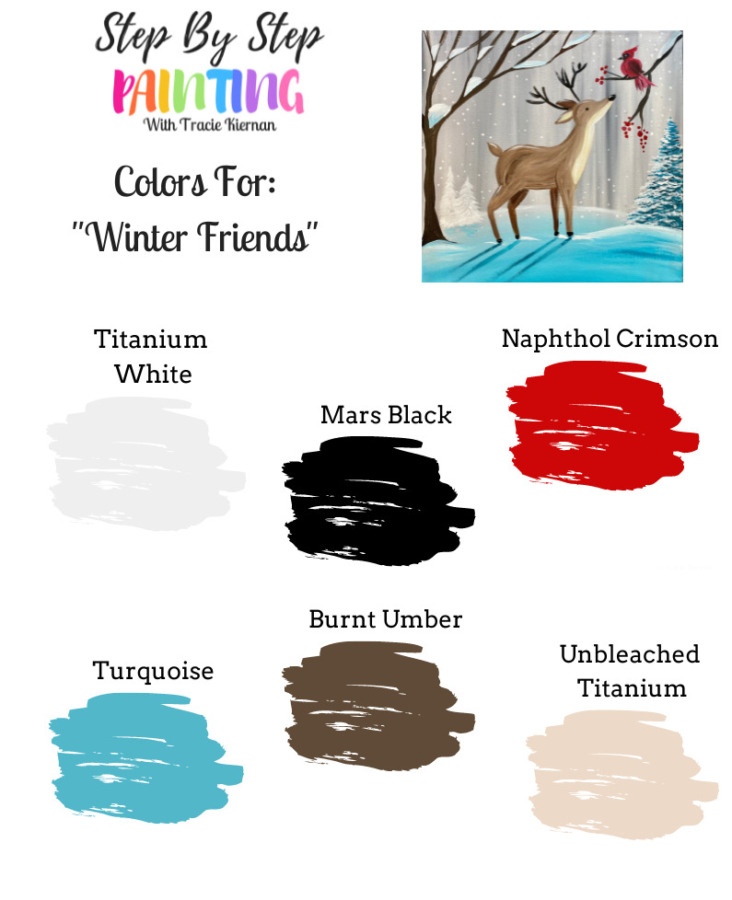
Colors
- Naphthol Crimson
- Turquoise
- Mars Black
- Titanium White
- Burnt Umber
- Unbleached Titanium
Brushes
- 3/4" Flat Wash Brush
- #8 Round Brush
- Fan Brush
Color Palette
Using Craft Paints?
If you are using craft paints such as the Apple Barrel paints, I would recommend subbing for these colors:
- White
- Black
- Laguna
- Khaki
- Red
- Chocolate
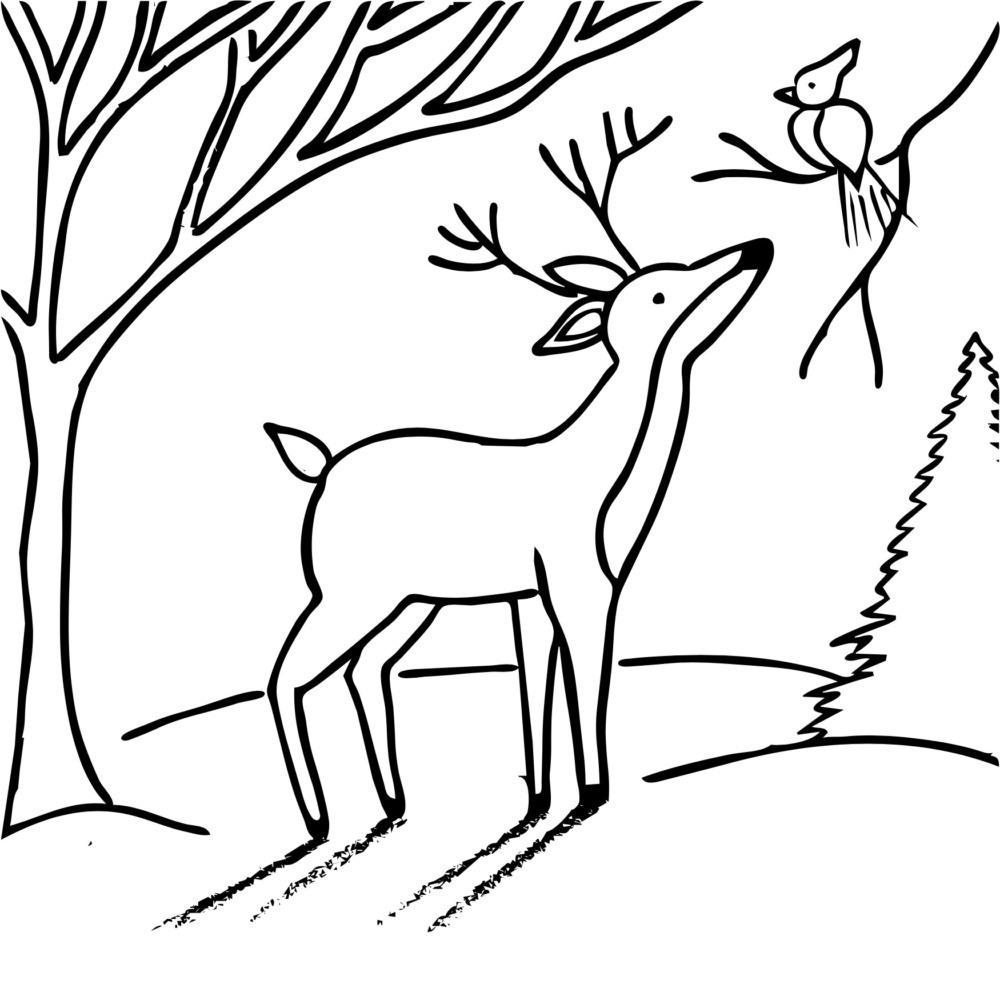
Traceable
In the video I demonstrate how to draw the deer and cardinal. There is a little bit of a challenge involved in drawing the deer.
You are welcome to use this traceable to eliminate the need to draw! Simply print and use graphite paper to transfer the design. I would recommend transferring it after the background is painted onto the canvas.
You can also trace on a blank canvas and trace with darker lines (with a paint pen or sharpie) so that it shows through the first layers of paint.
Directions At A Glance

Video
Step By Step Directions
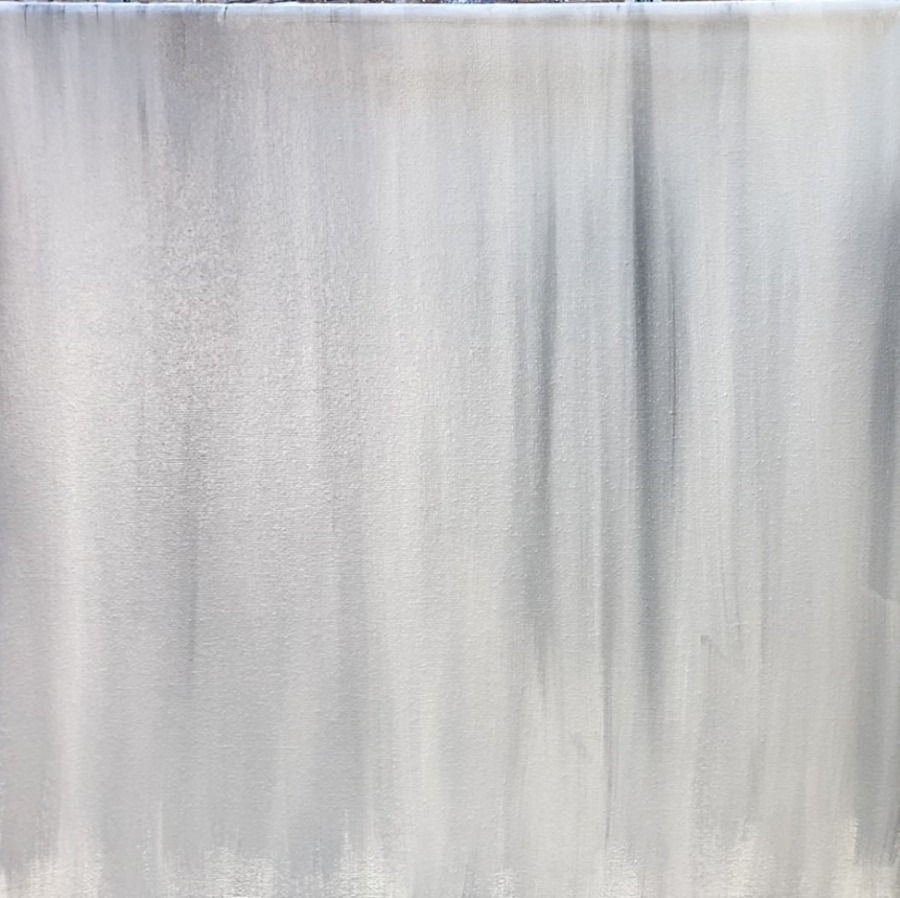
1. Paint Gray Background
This background is a wash of titanium white mixed with a little black. Use a 3/4″ flat wash brush. Double load it into what with a small amount of black on the corner. Paint up and down strokes allowing the black to gently blend with the white. Add a bit of water to the paint to thin it down so your first layer of paint is thin and flows/ blends easily.
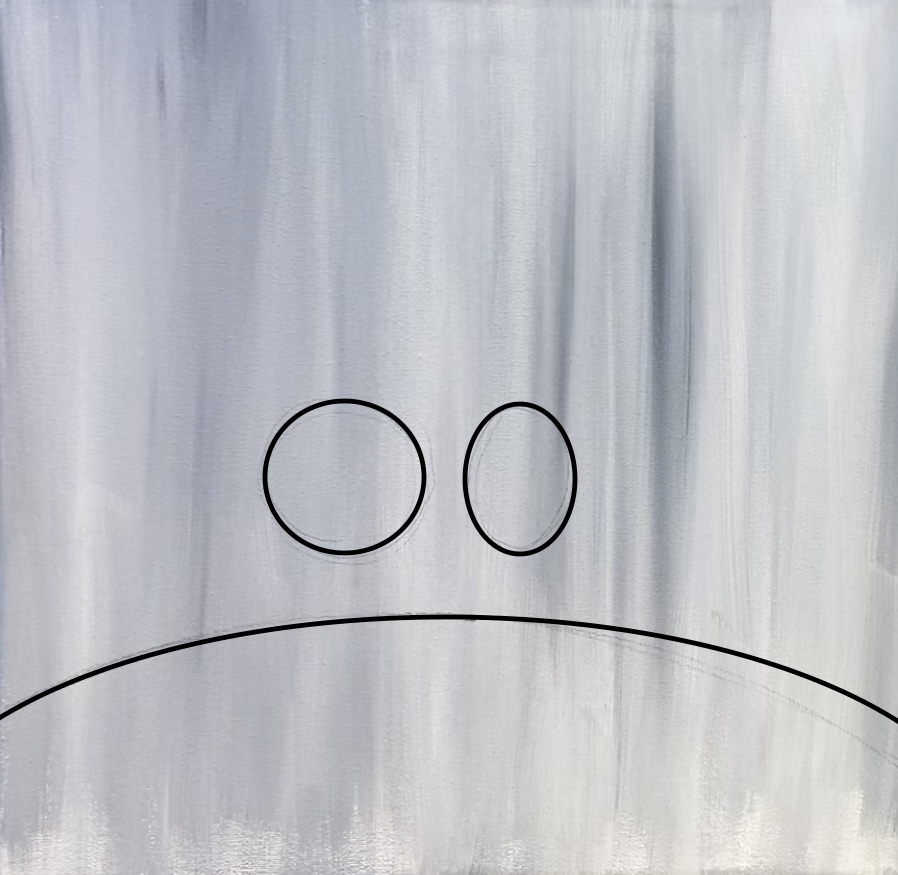
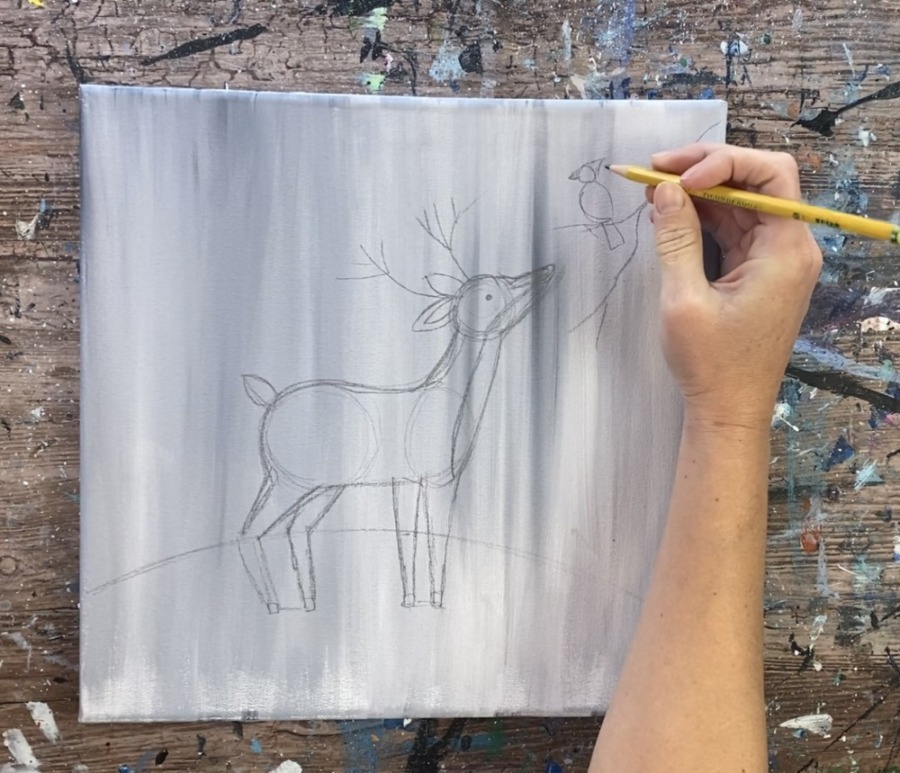
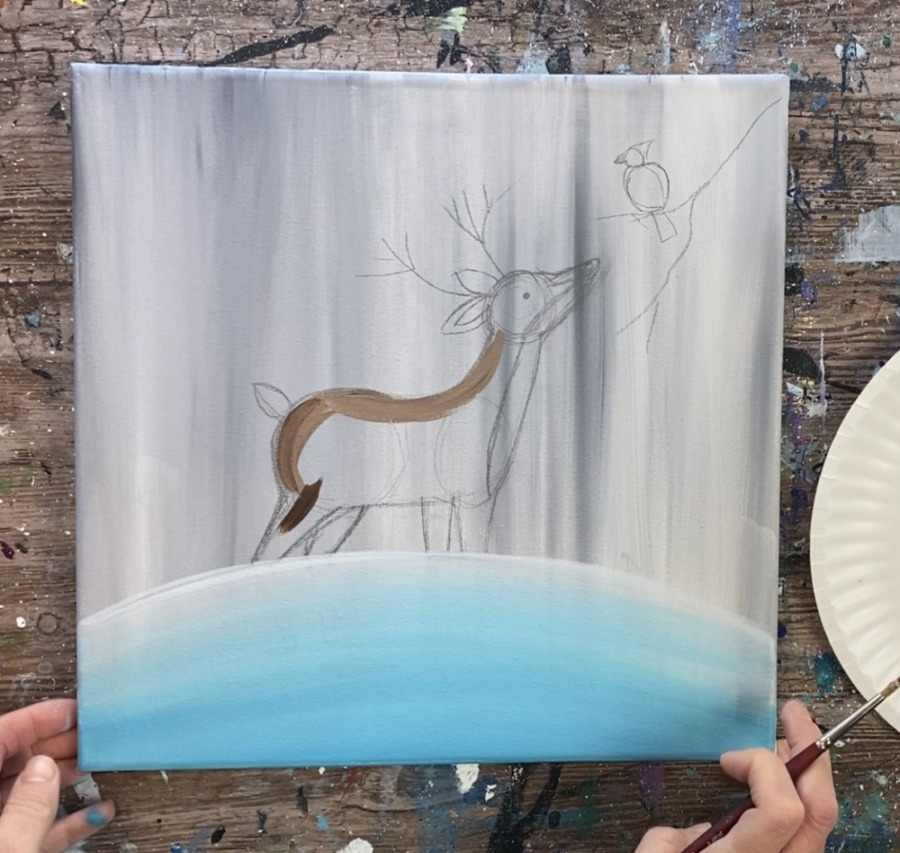
2. Draw Deer, Branch & Cardinal (Or transfer traceable to canvas)
If using the traceable, print it out and tape together. Use a sheet of graphite paper and place below the design. Do this on a flat surface (not on an easel). Press firmly with a pencil and trace the design.
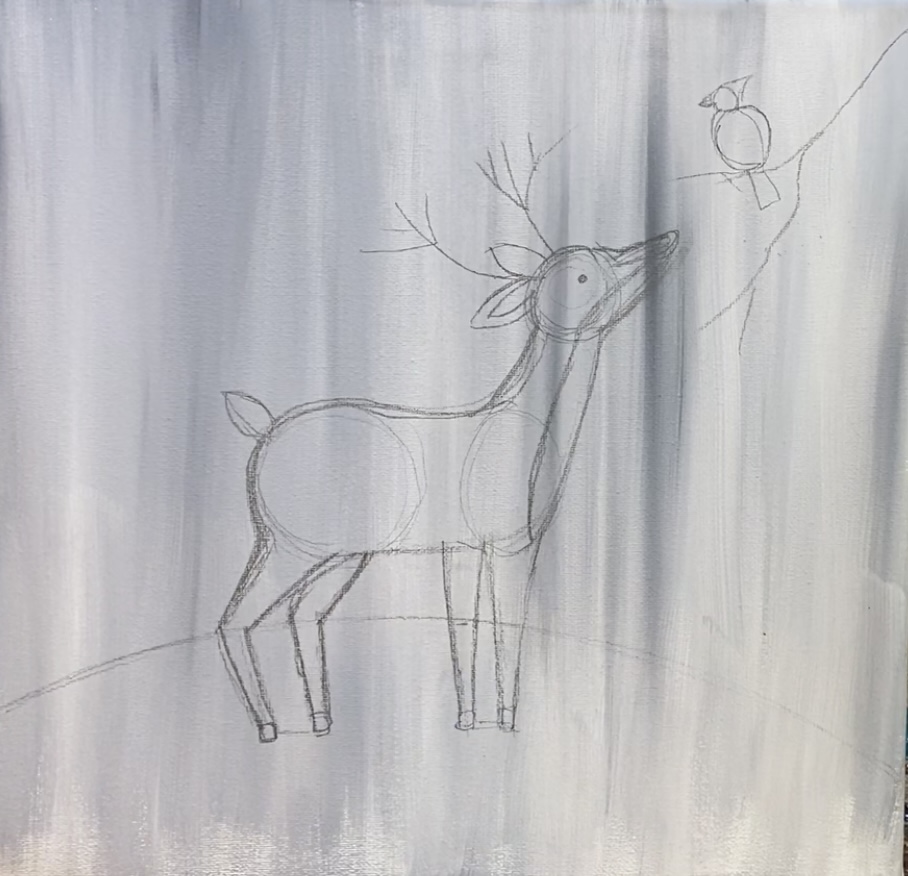
To draw the design…
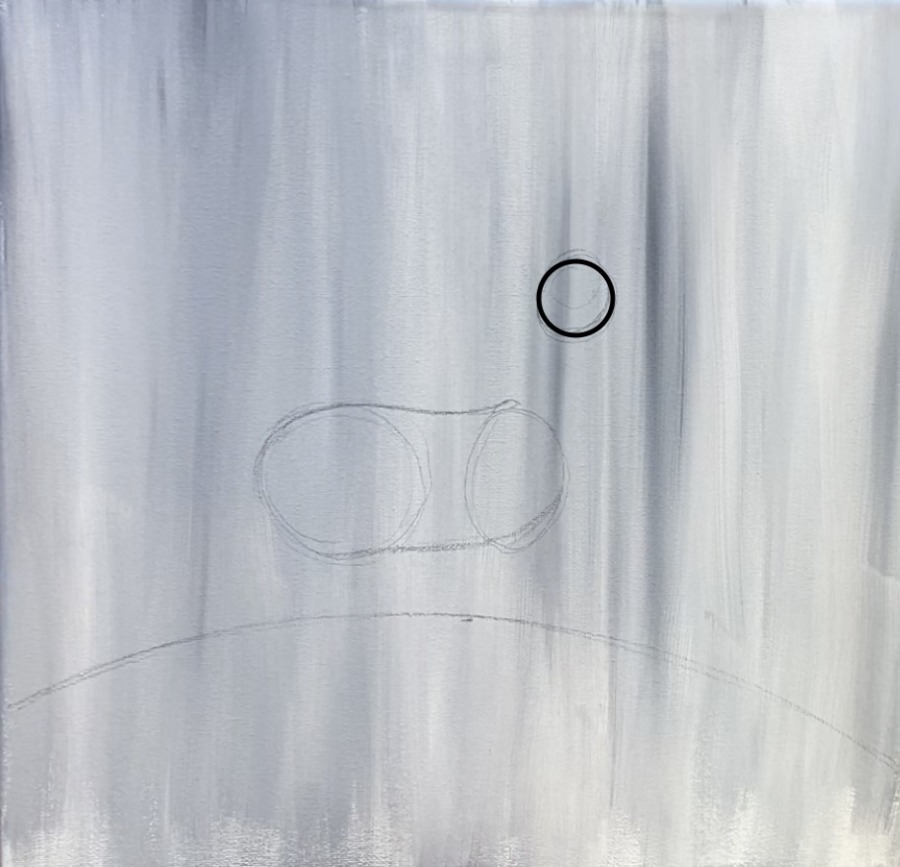
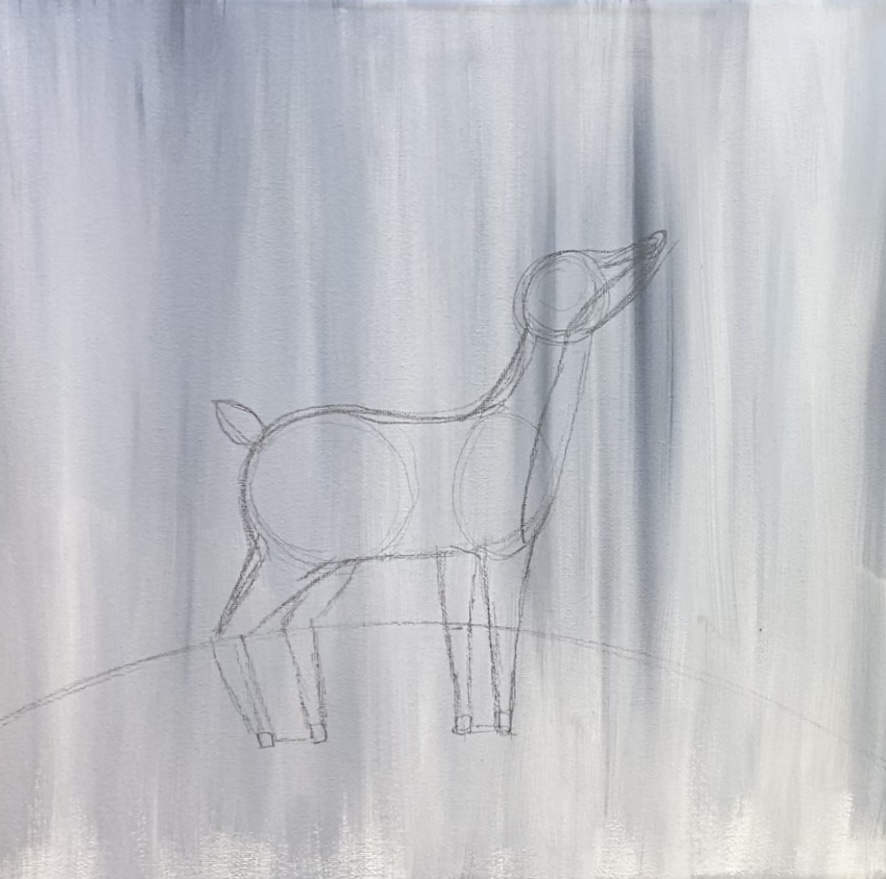
Start by drawing an arc/hill line on the bottom of the canvas. The middle part is about 3.5″ high.
Then draw a circle about an inch higher than the arc line. Draw an oval about a half inch apart from the circle and about the same height. The circle and oval will help shape the body of the deer.
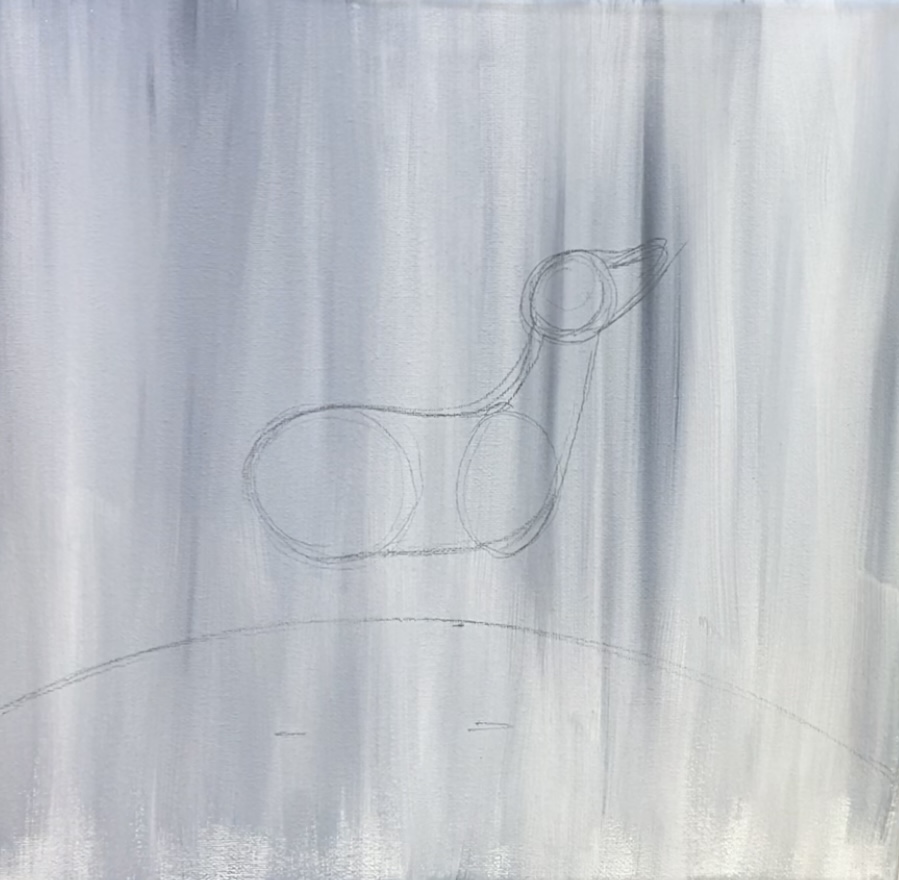
Then draw a small circle slightly diagonal up from the right oval shape. This will be the shape of the head. Connect the circle and oval together with two lines. The top line is slightly curved down. The bottom line is almost straight but still slightly curved down.
Then sketch the snout extending diagonally out from the circle. He will be looking up at the cardinal.
Then sketch the back leg so that it is going diagonally outwards and then diagonally to the right.
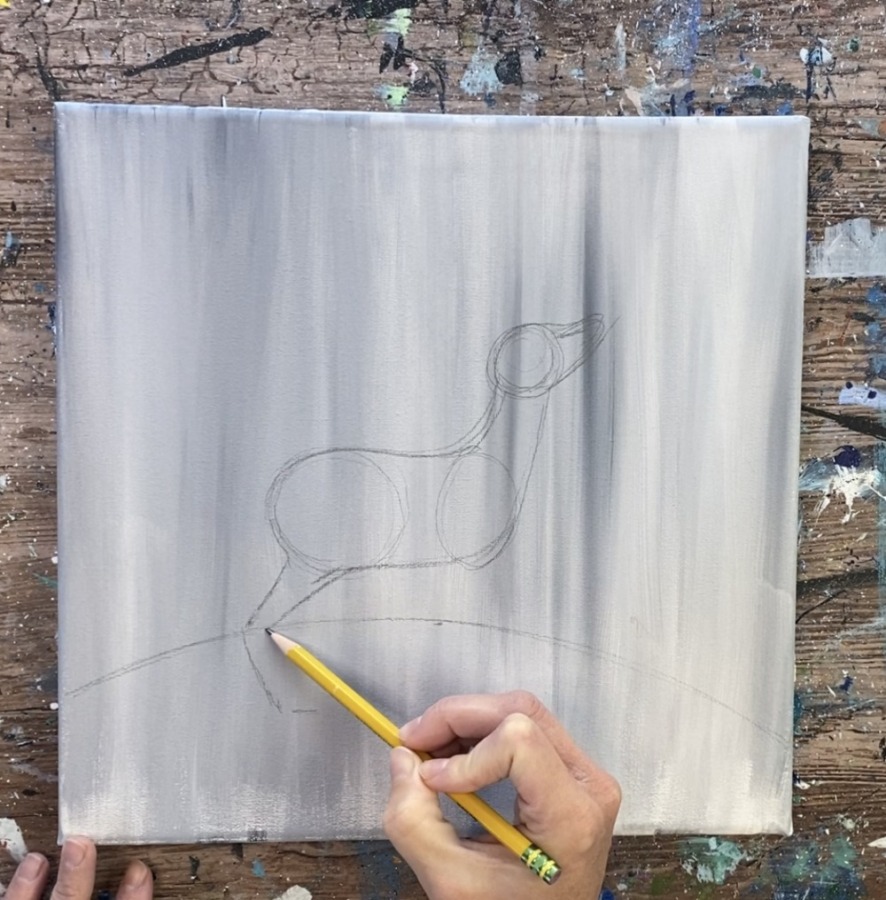
Draw a second hind line next to the first one and make it slightly smaller. Then sketch the two front legs so they are wider at the top and more narrow at the bottom but straight.
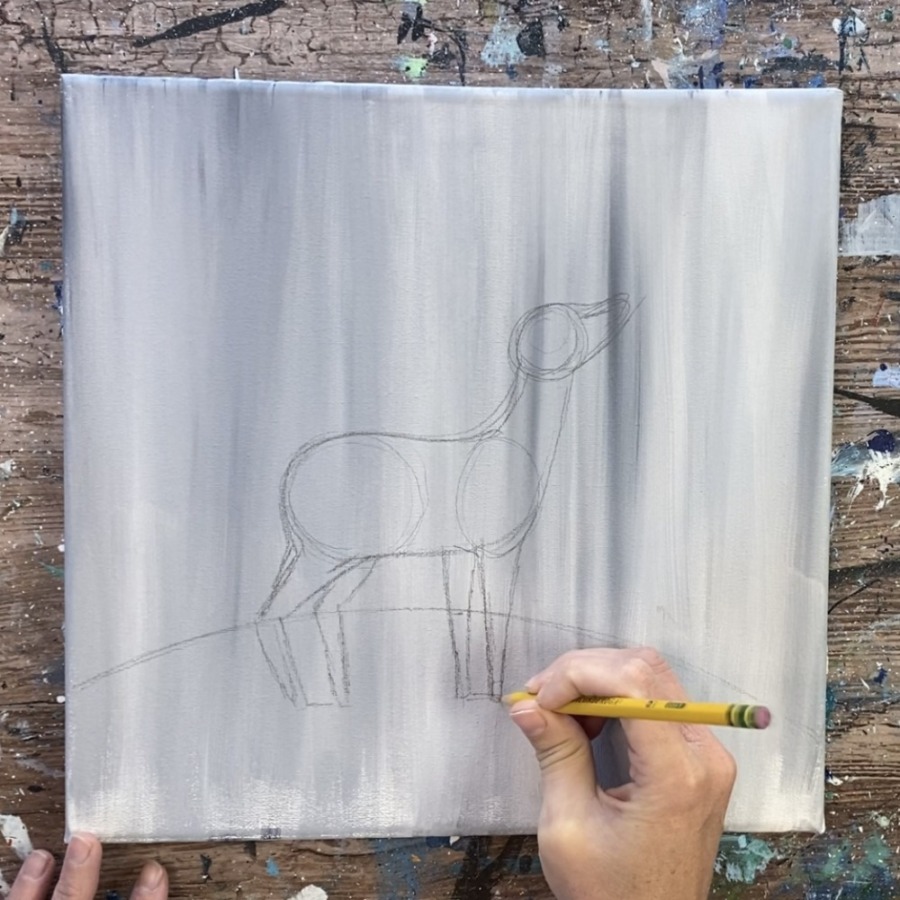
Sketch the tail. Then draw small squares on the bottom of the legs for hives. Draw the neck and under jaw area.
Draw the eye, ears and antlers.
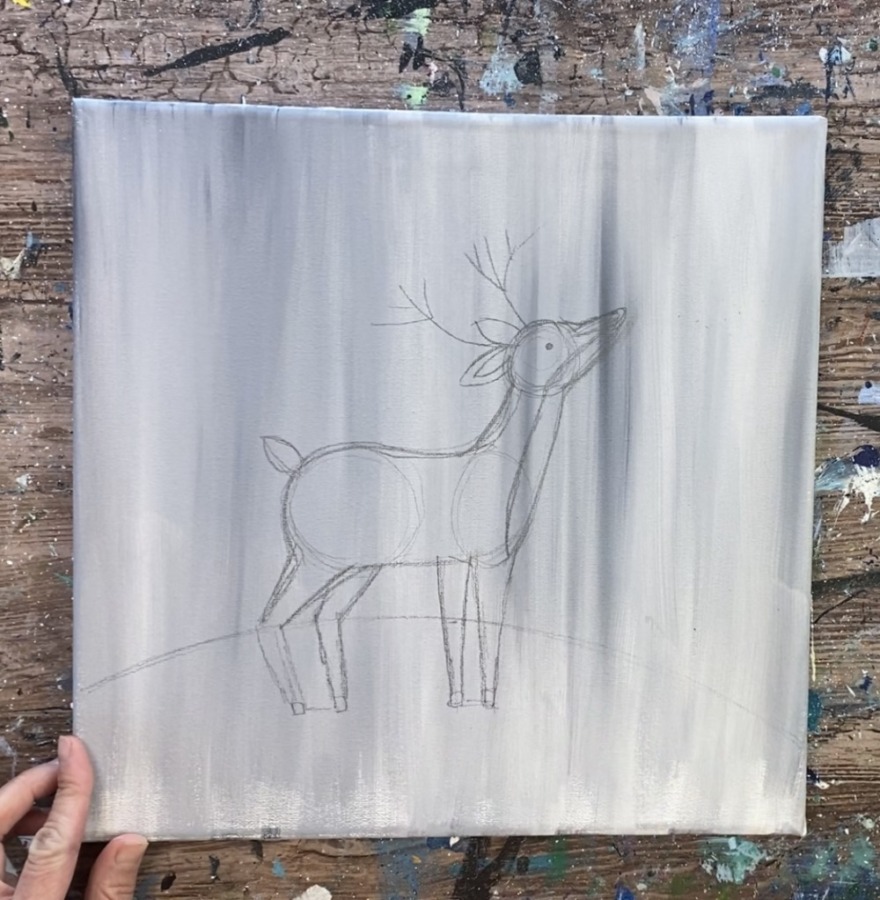
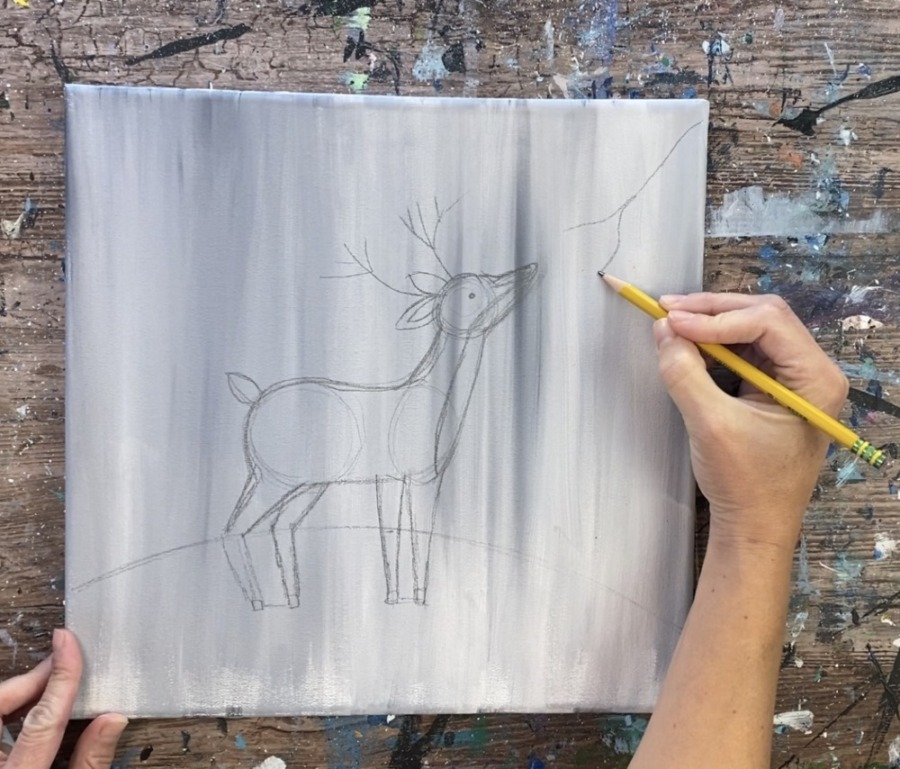
Then draw a branch in the upper right corner where the cardinal will be perched.
Draw an oval shape on the branch for the body of the cardinal. Draw an upside down elongated triangle for the tail.
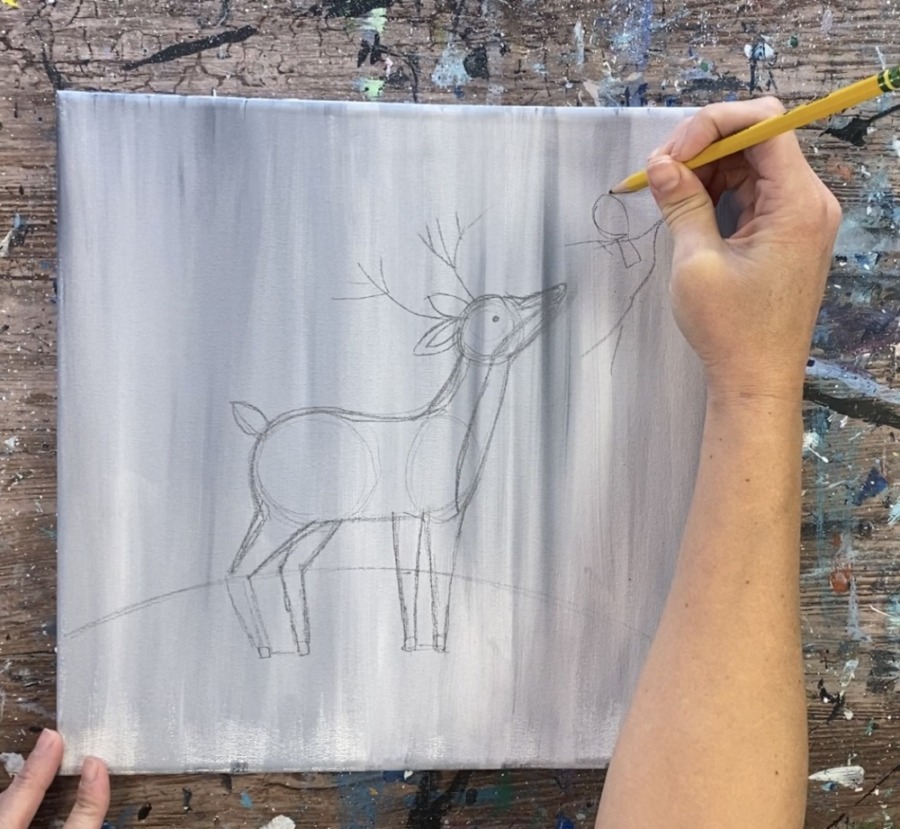
Draw a circle for the head, a black and a triangle for the crest.
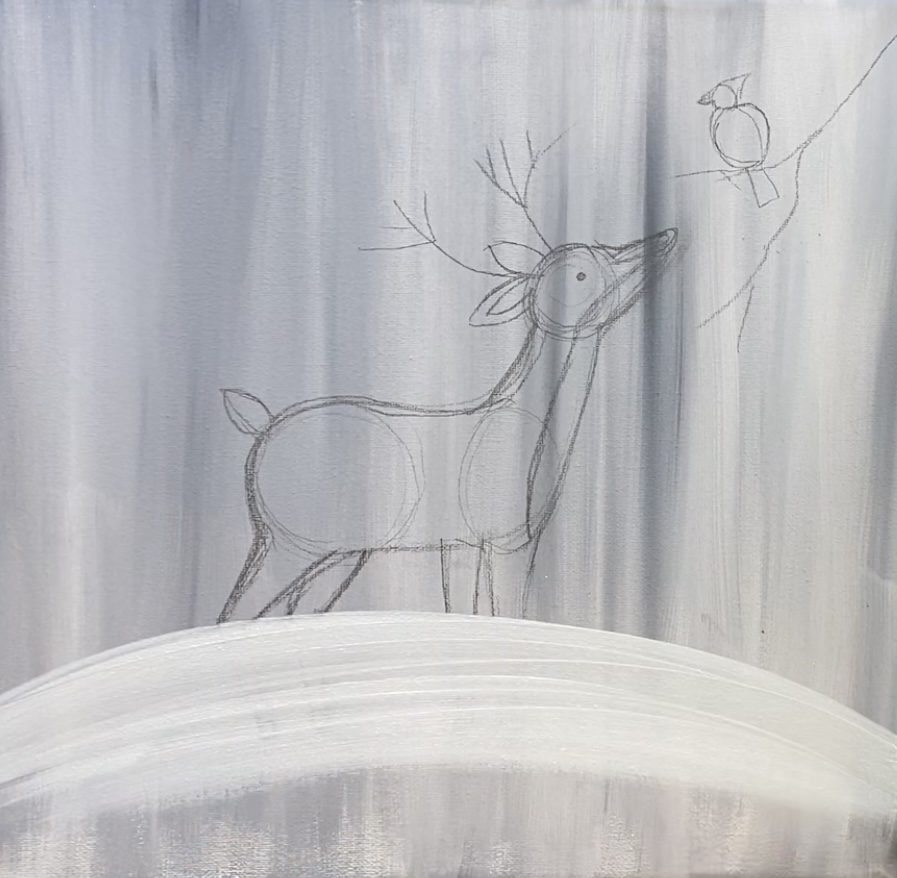
3. Paint Ground
Load your palette with titanium white and a small amount of turquoise. Use a 3/4″ flat wash brush to paint the hill. Paint in curved strokes. Go about half way down.
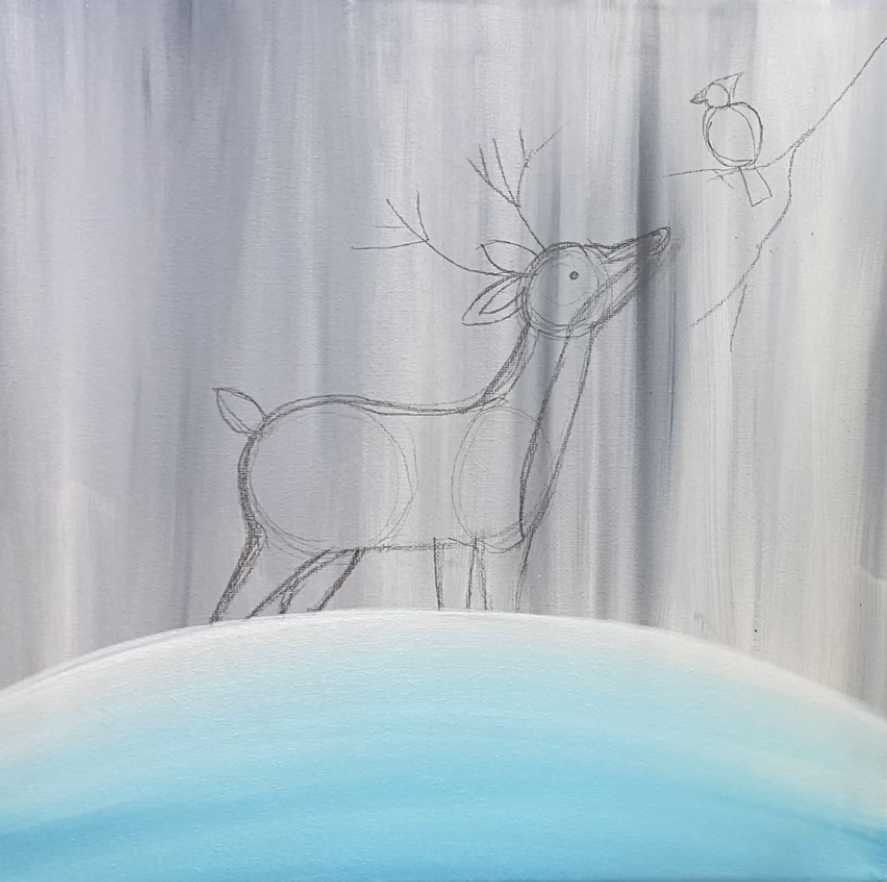
Then add a small amount of turquoise to your brush and blend it from the bottom upwards.

Add more white to your brush to get the turquoise and white to blend together. The snow ground should be slightly darker on the bottom and blend to bright white on the top.
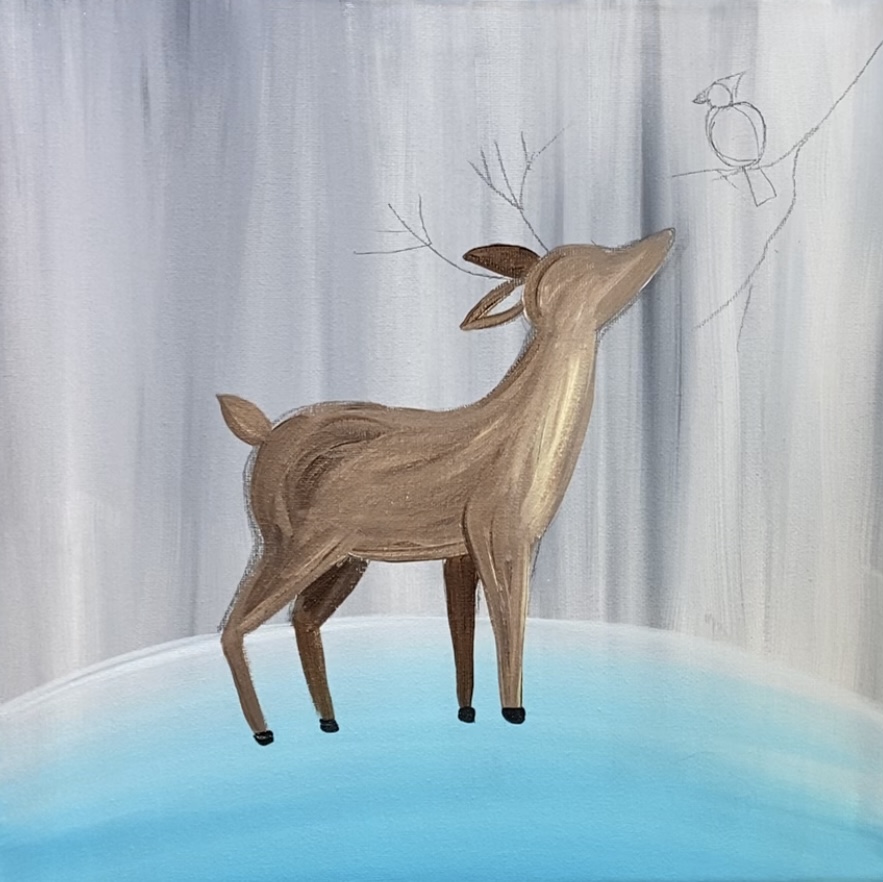
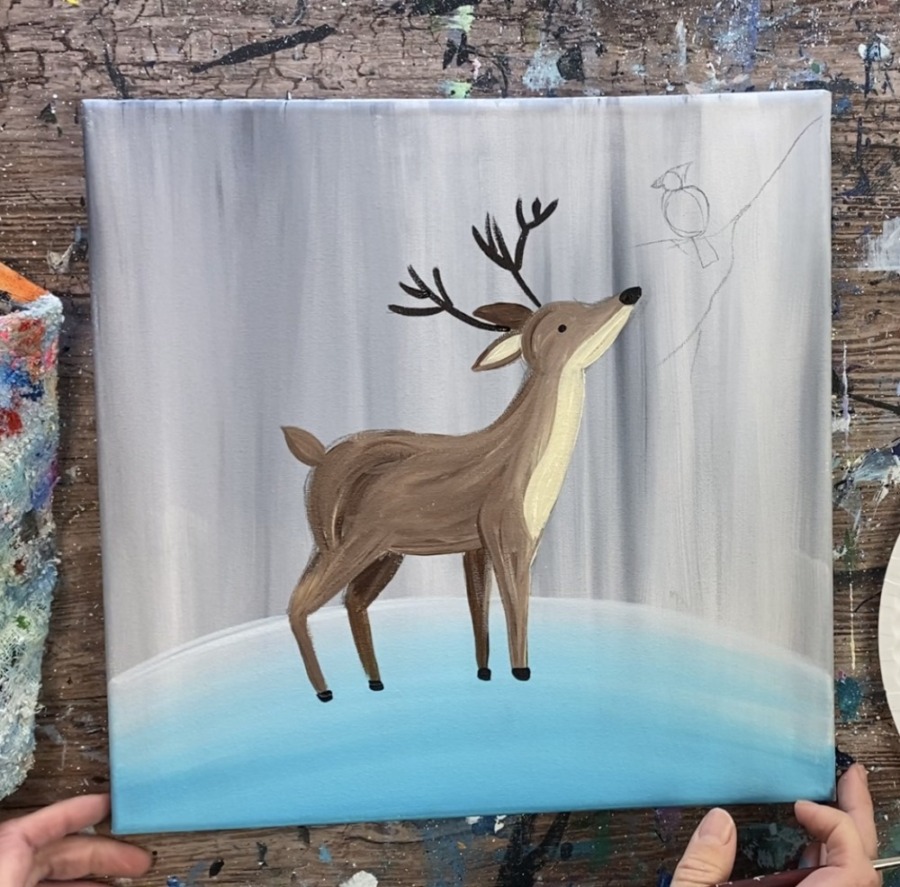
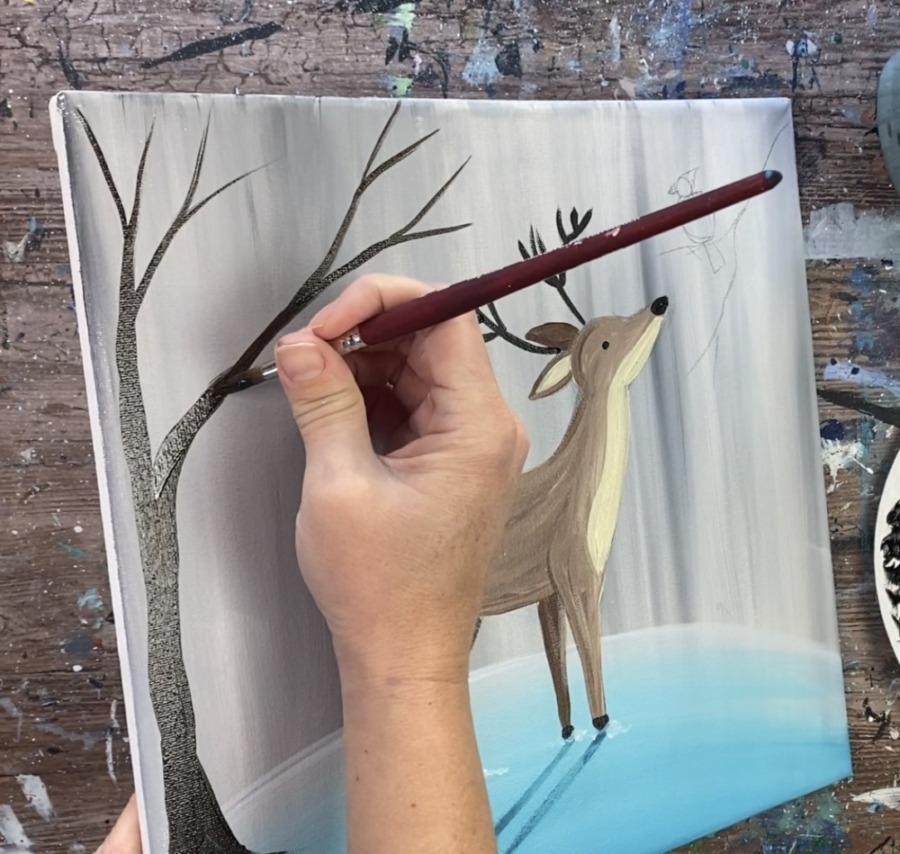
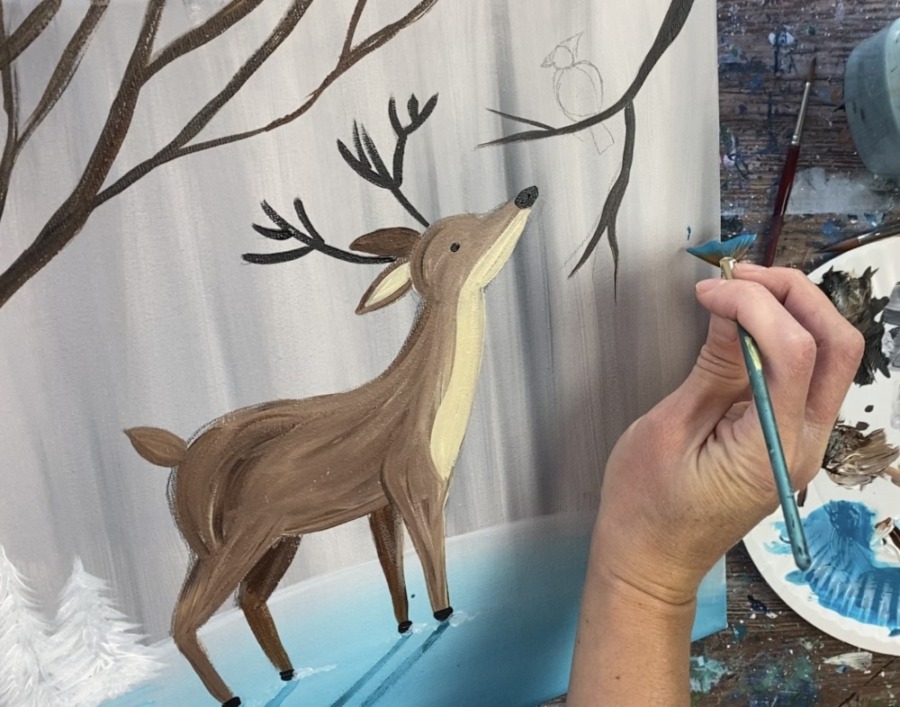
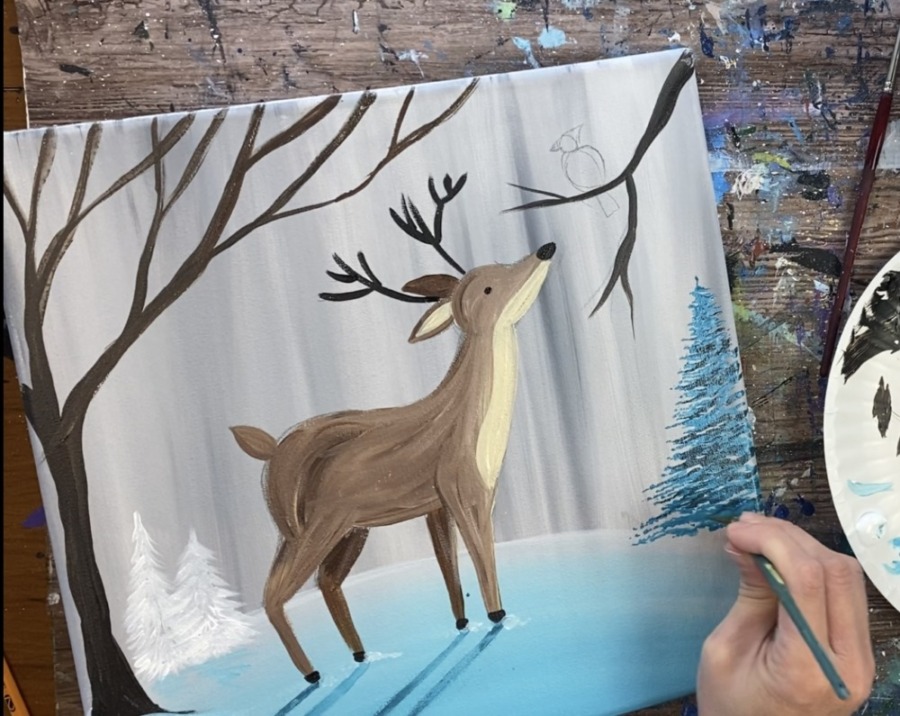
4. Paint Deer
The deer was painted with the colors: burnt umber (brown), titanium white and unbleached titanium. The body of the deer is a blend of the burnt umber and titanium white. The under neck area is unbleached titanium.
Start by mixing about equal amounts of white and brown together. Use the #4 round brush to paint “contouring stokes” on the deer’s body. This means the strokes go in the direction of the shape. Let the brown vary by adding small amounts of white and brown to the brush. Let it blend on the canvas.
Paint the back legs slightly darker (burnt umber and no white).
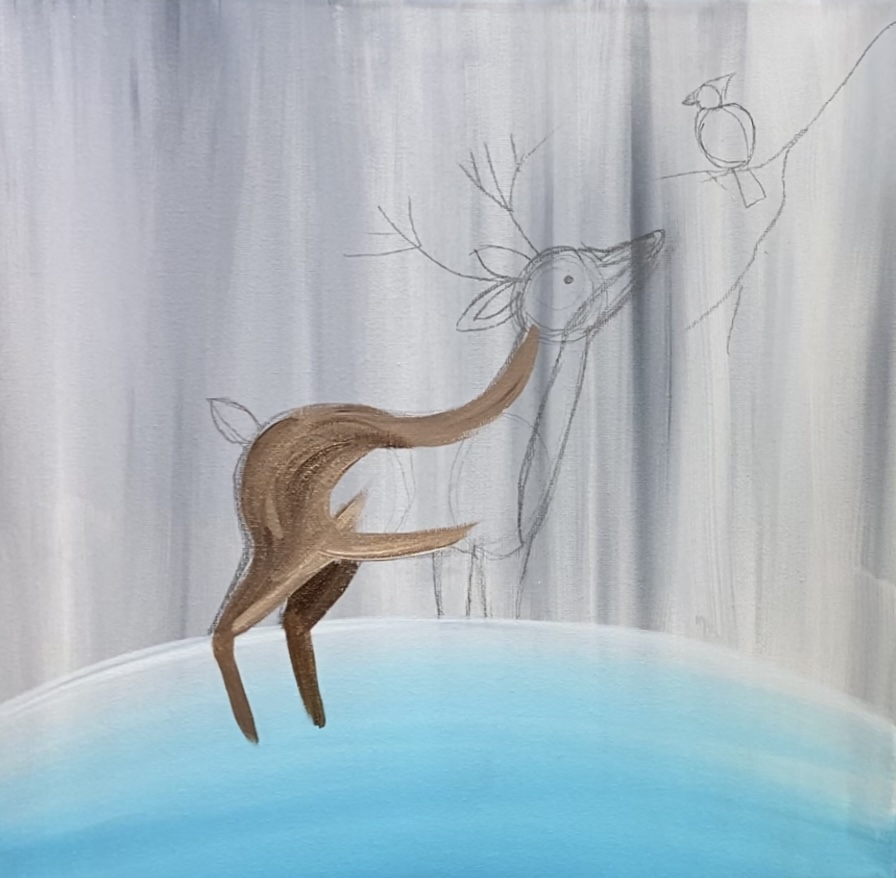
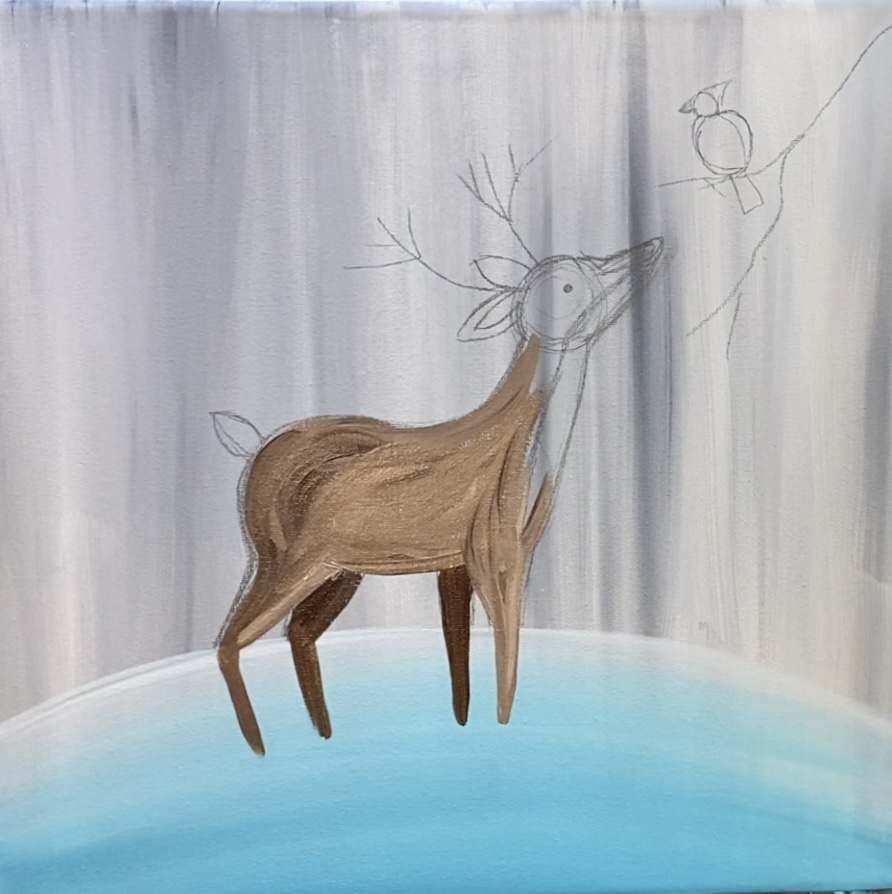
Gently blend brown and white together on the deer to create different variations of the color to fill the entire shape of the deer.
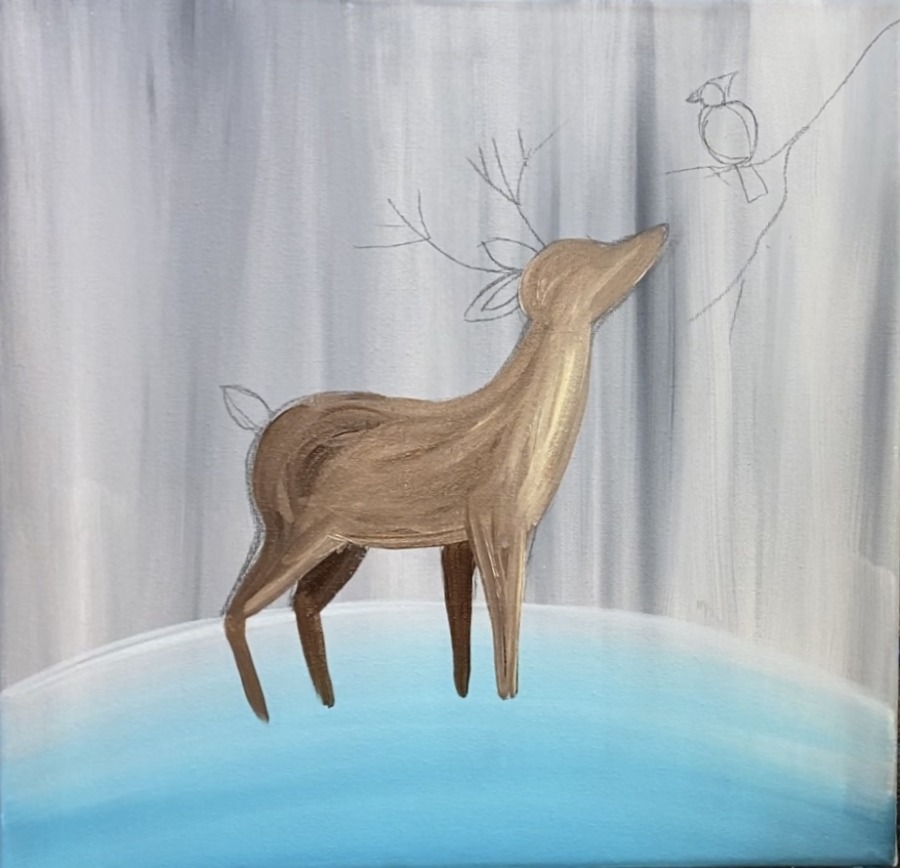
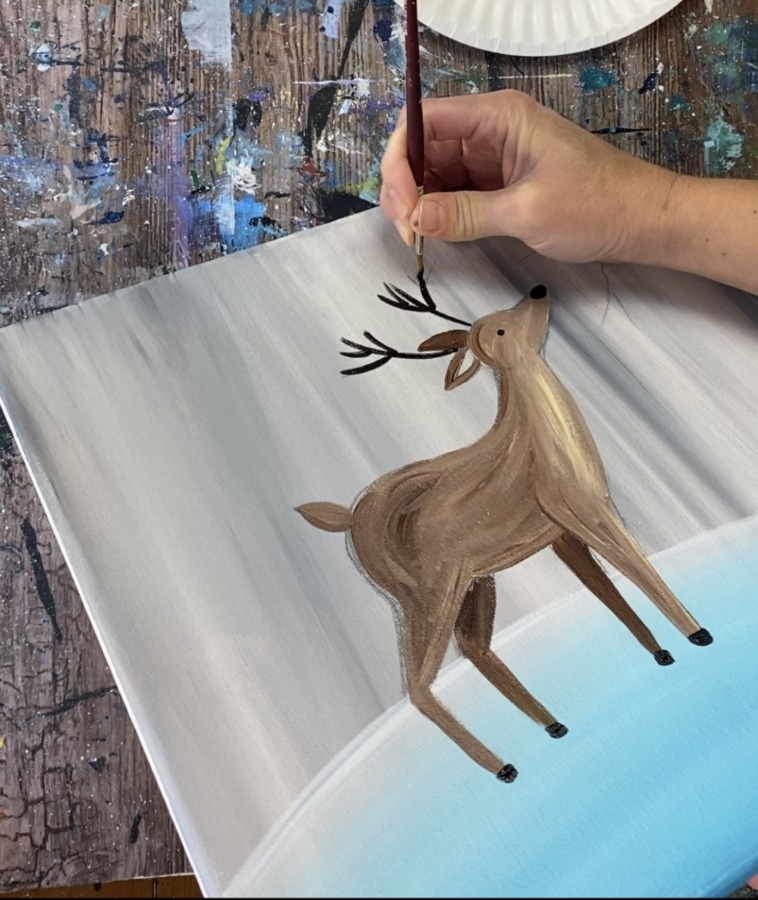
Paint one of the ears darker. Paint the hooves with mars black.
Paint the nose mars black.
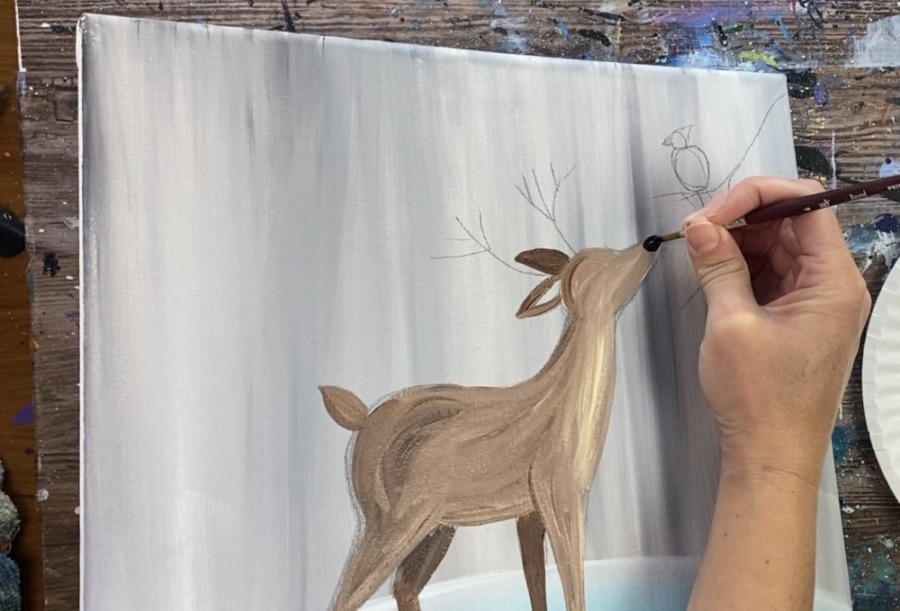
Paint the antlers mars black. Paint a small dot for the eye.
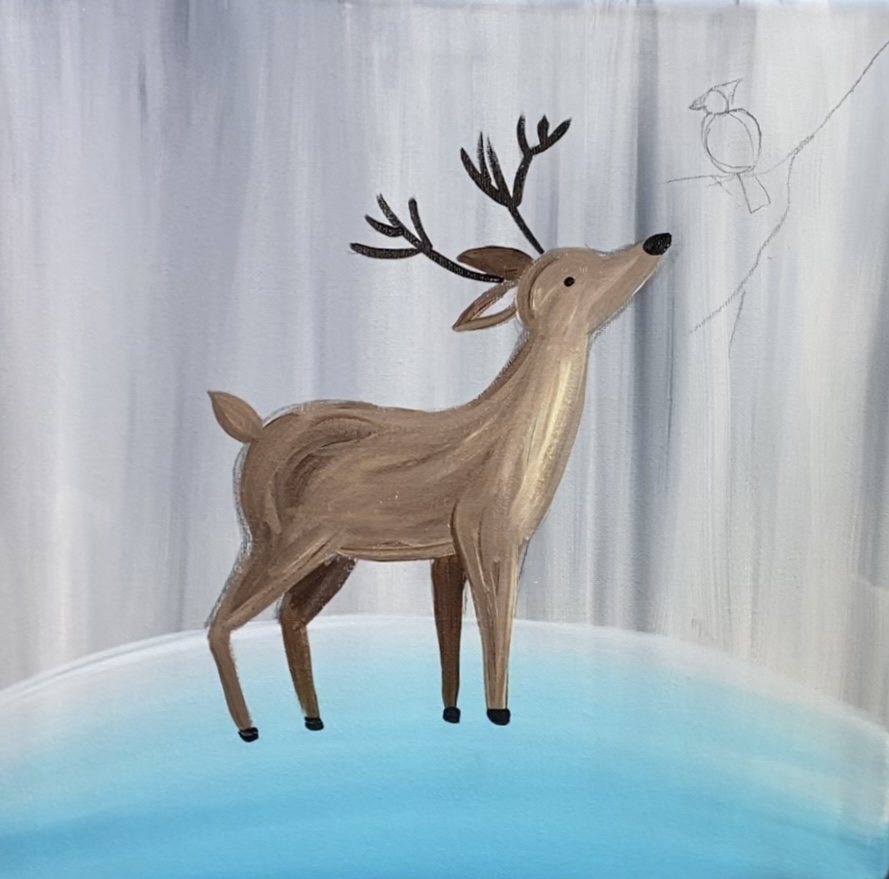
Use unbleached titanium to paint the under neck area for the deer.

Paint the inner part of the ear with unbleached titanium.
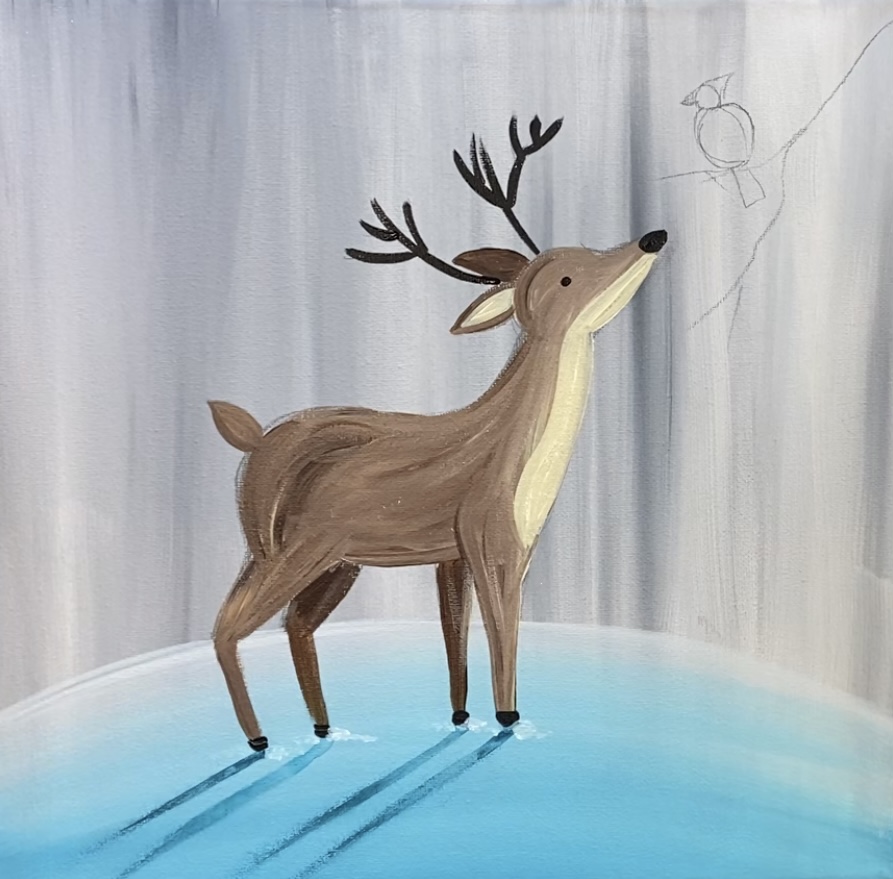
5. Paint Shadow
Water down turquoise mixed with a small amount of mars black. Water it down to a watercolor consistency. Use the #4 round brush to paint very thin diagonal lines going down from the hooves.
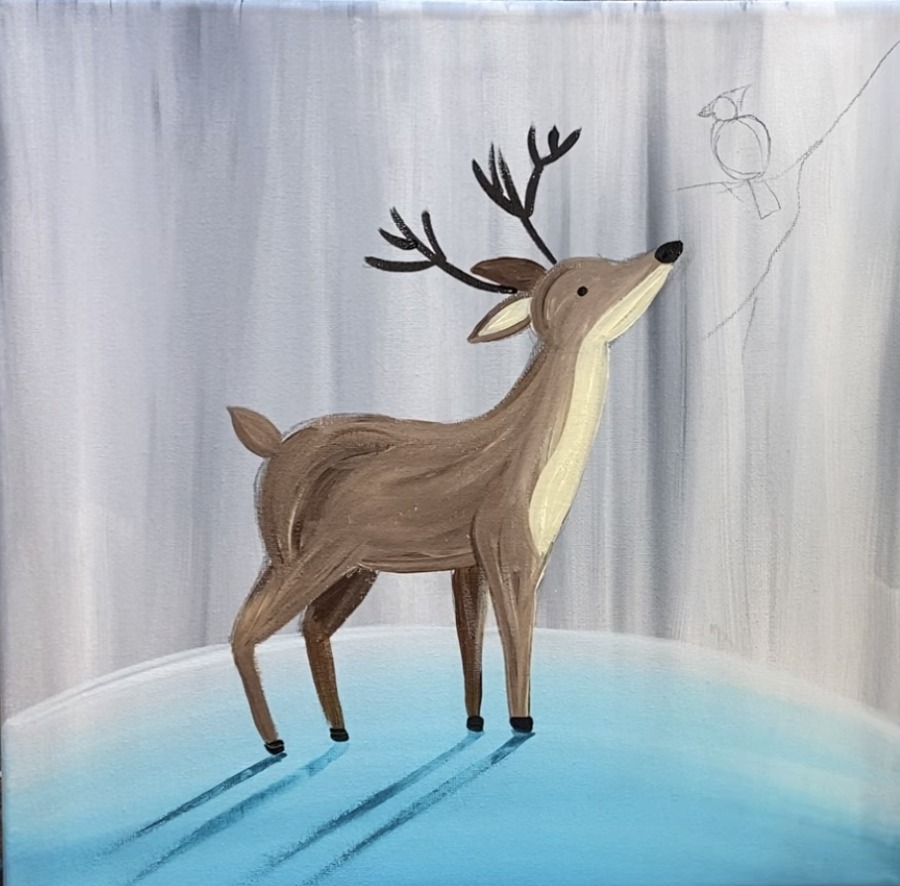
Then “stipple” little white dots next to the hooves to create piling snow.
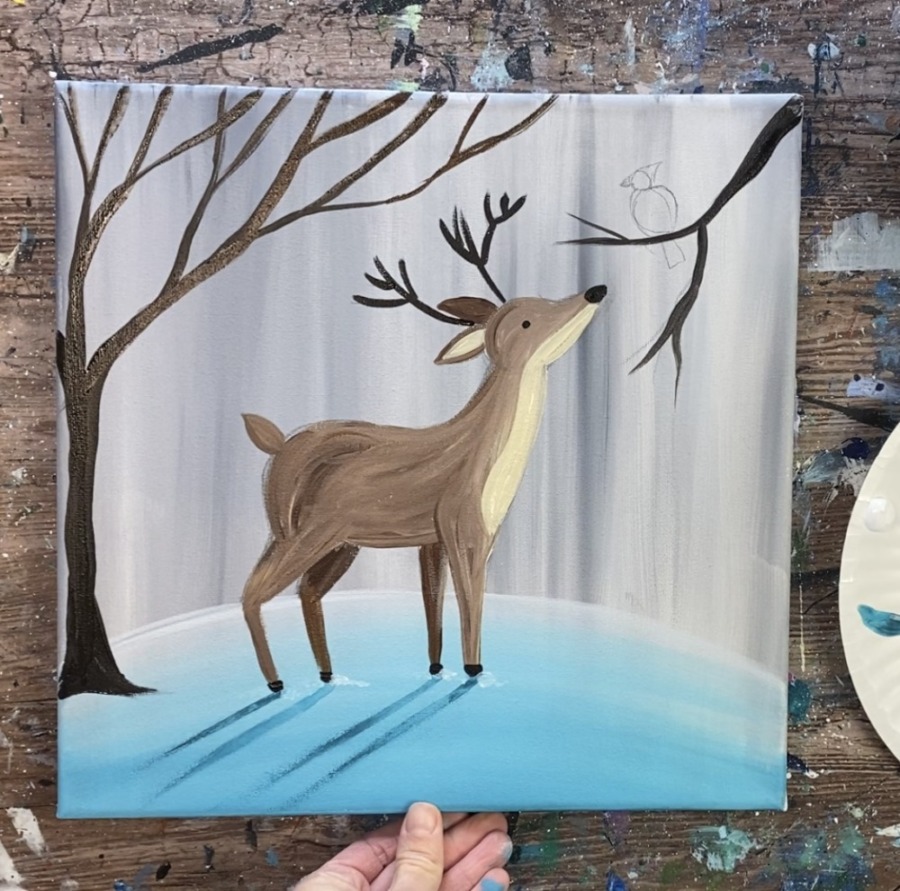
6. Paint Tree On Left & Branch On Right
Use the #8 round brush to paint the tree. Mix about equal amounts of mars black and burnt umber. Use the #8 round brush to paint the tree starting at the bottom of the trunk and working your way up. It helps to add a little water to the paint to get it to flow.
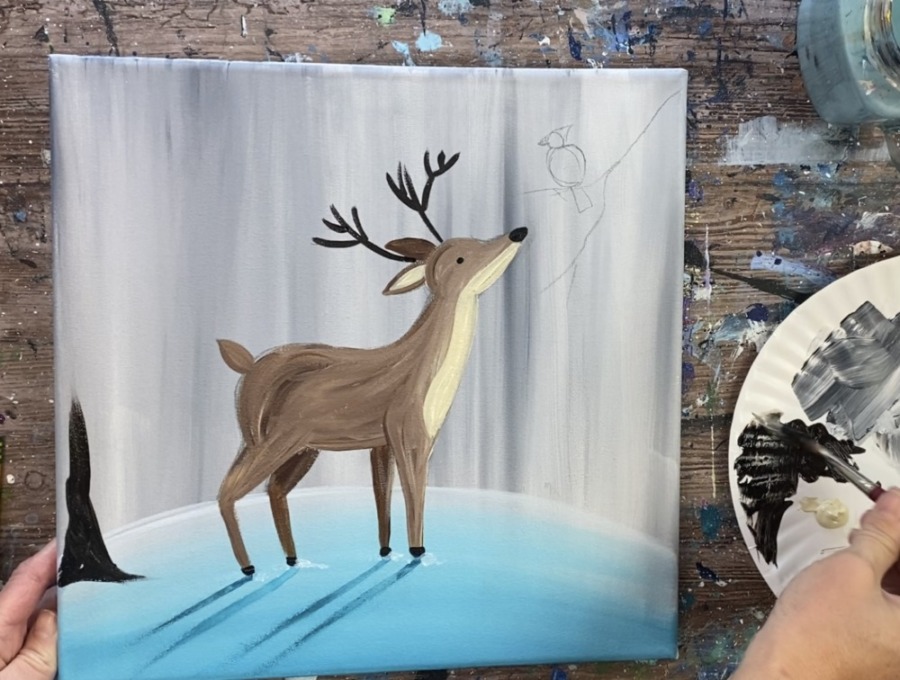
Paint the base of the trunk so that it trumpets out. Then paint the vertical trunk and branches. Allow the branches to be slightly wide and get thinner at the tip.
The tips of these branches go off the canvas at the top. Then paint the branch on the upper right where the cardinal will be perched.
7. Paint White Pine Trees
Using the #4 round brush and titanium white, paint a pine tree or two in the distance along the hill line. Load white on the tip of the brush and stroke down forming the shape of the tree.
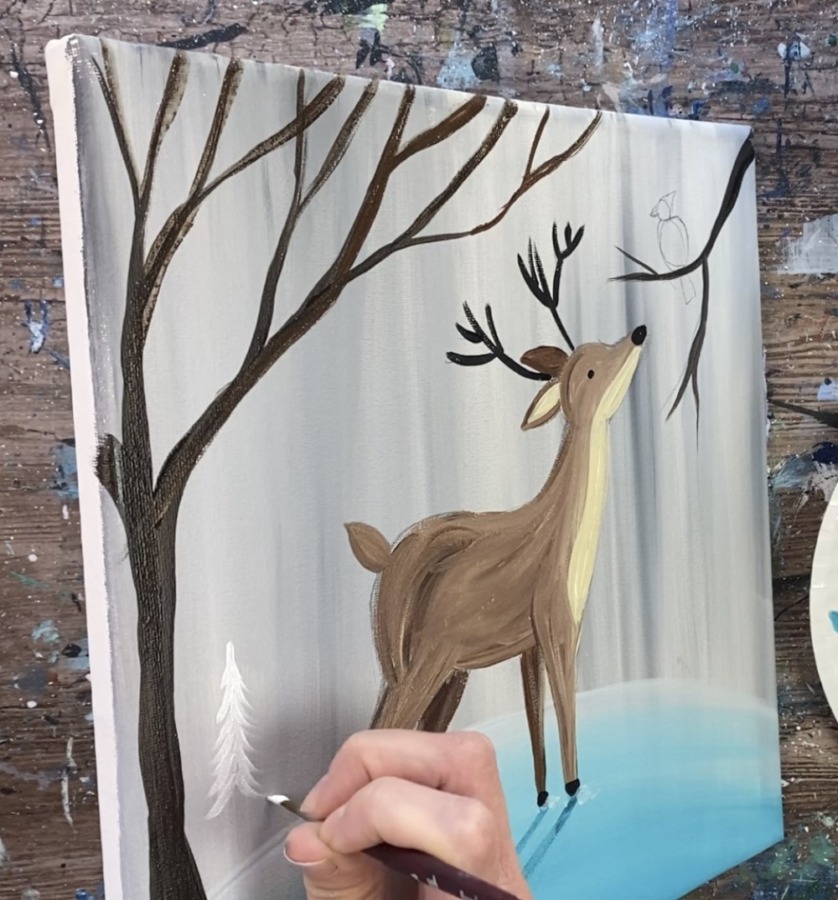
I painted a second wider tree to the right of it.
8. Paint Turquoise Pine Tree
Load turquoise onto your palette and add a small amount of water to it to loosen it. Load your fan brush into the turquoise making sure most of the paint is on the tips of the bristles.
Make a vertical mark to represent to top of the tree. Hold your fan brush at an angle to only use one of the corners of the brush.
Then gently tap the brush in a left and right zig-zag direction forming the shape of the tree.
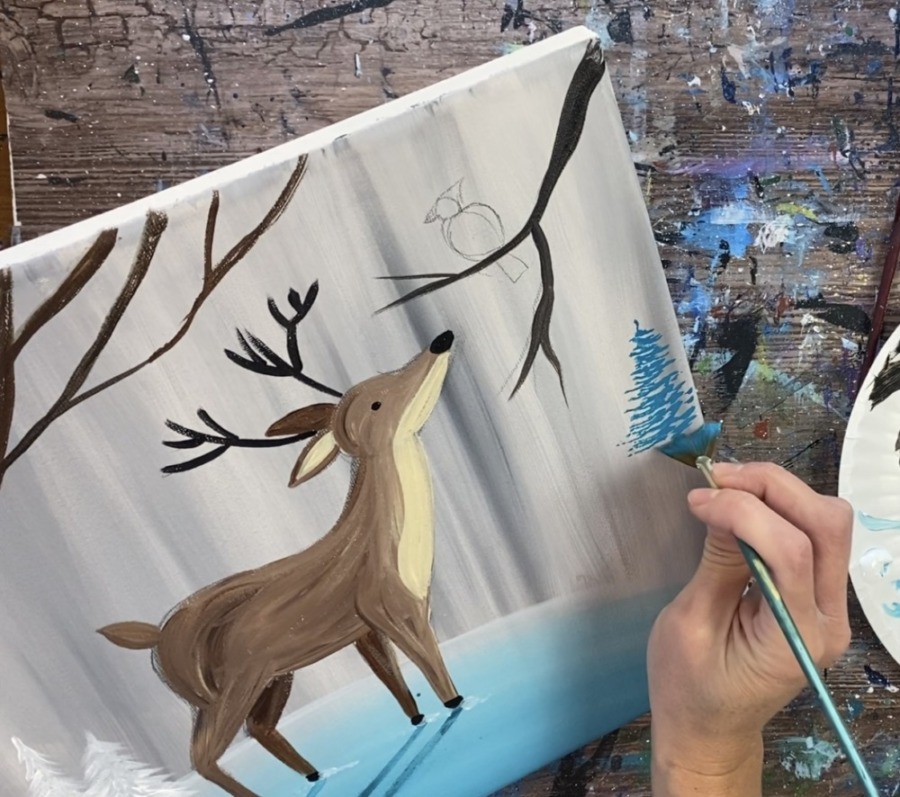
Go all the way to the top of the hill line.
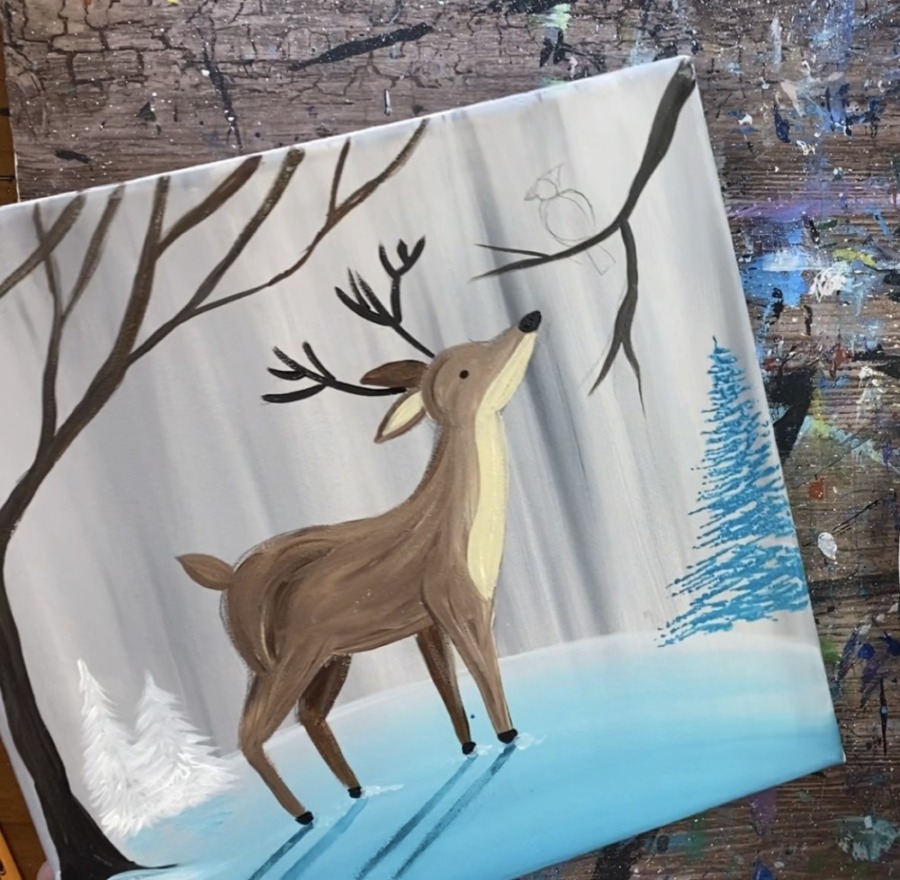
Then go back over the tree with a little bit of mars black mixed with the turquoise (about 1 part mars black 3 parts turquoise). This will create some darker shadow branches in the pine tree.
A third layer will be added after this dries for the snow on the pine tree.
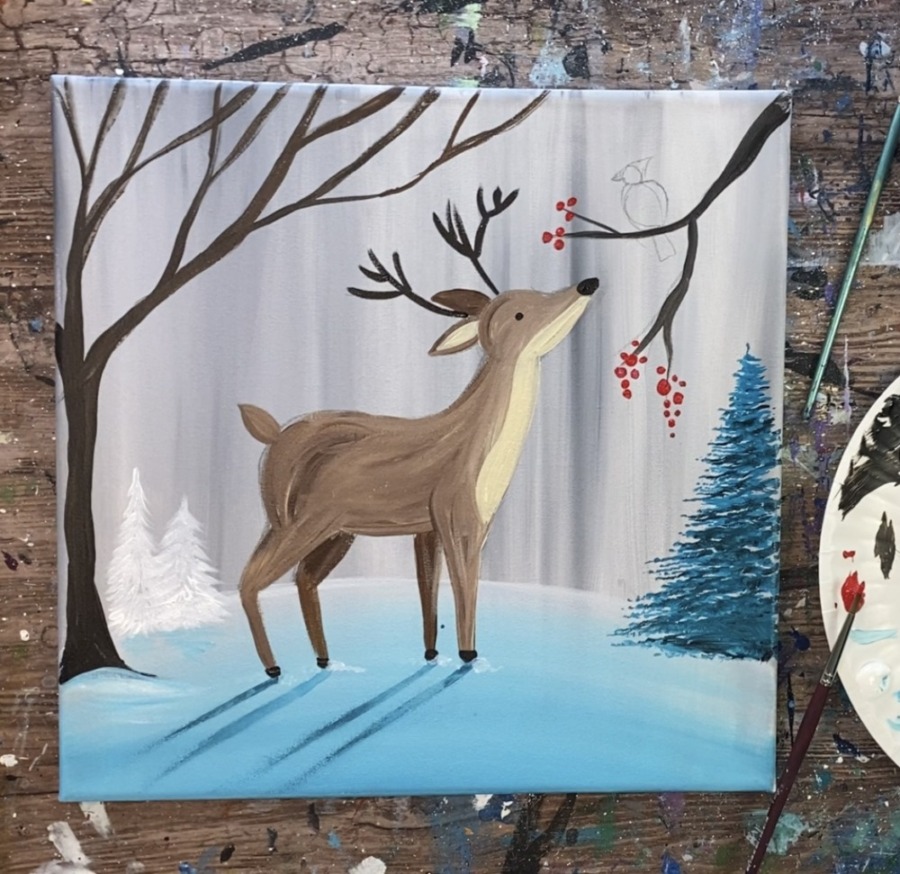
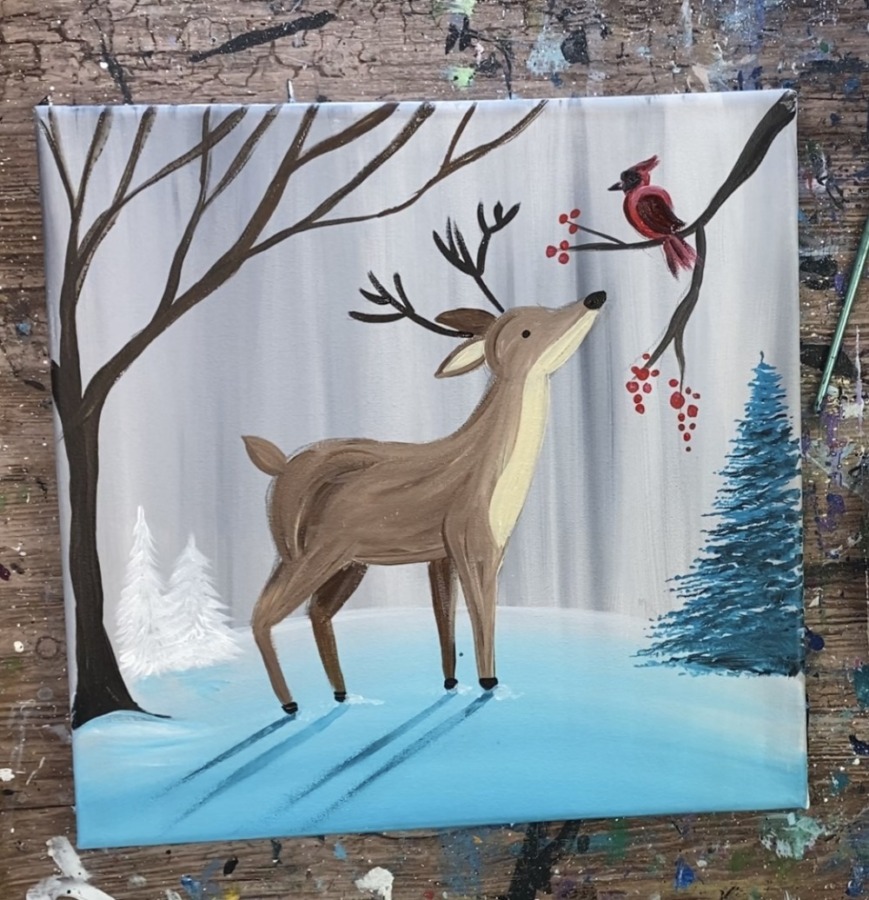
9. Paint Berries
Use naphthol crimson and a #4 round brush to paint little circles and dots on the ends of the branches.
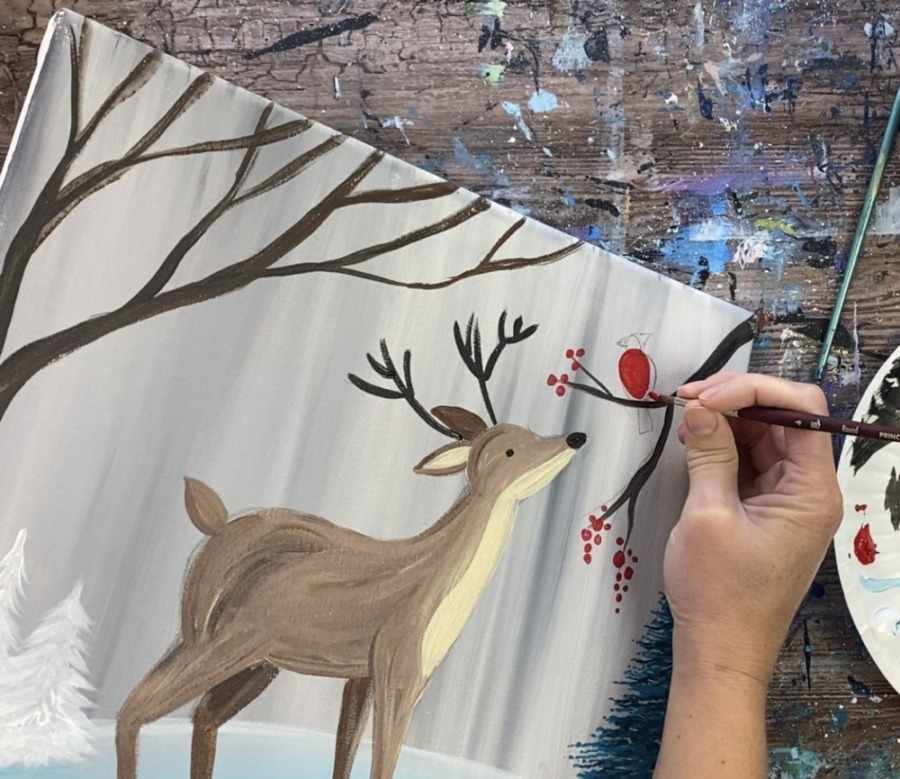
10. Paint Cardinal
Then paint the cardinal using naphthol crimson and a #4 round brush. Start by painting the body.
Paint the tail and the crest.
Paint the side of the face mars black.
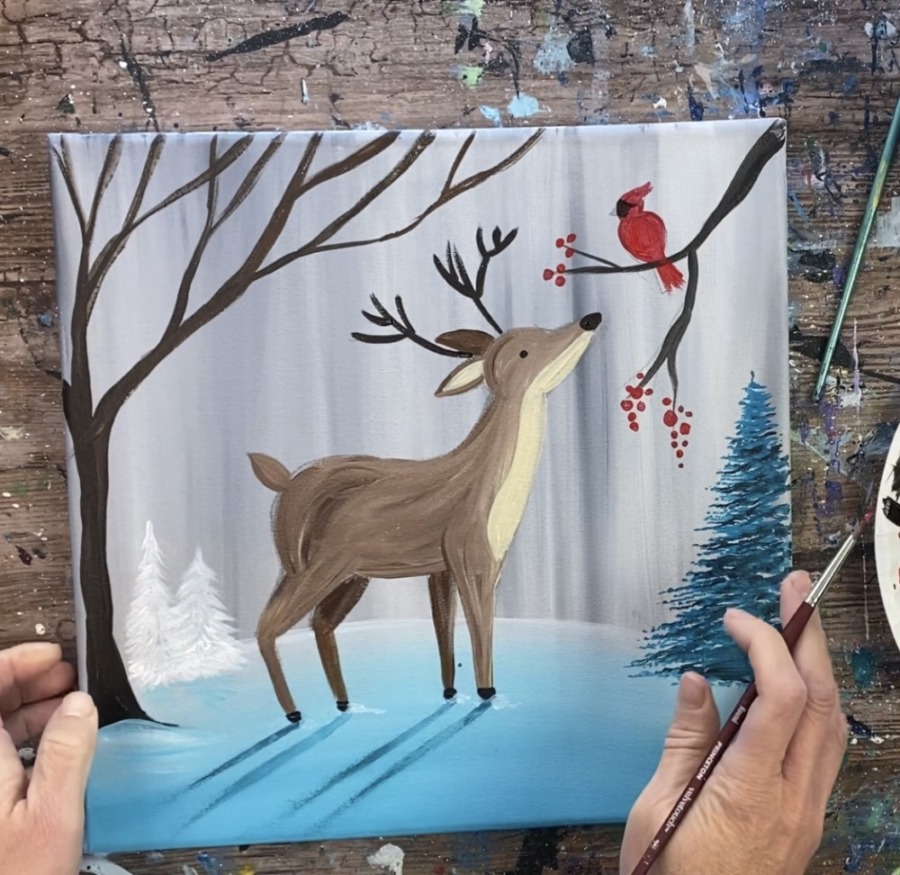
Then mix a small amount of black with the red to make a really dark red. Use that to paint the side wing and add some darker strokes on the tail and the crest. Paint the beak using black or gray (white mixed with black).
Paint a little white dot for the eye. Paint the legs with mars black. Note: I also made the cardinal’s body more rounded by painting more red around the side wing.

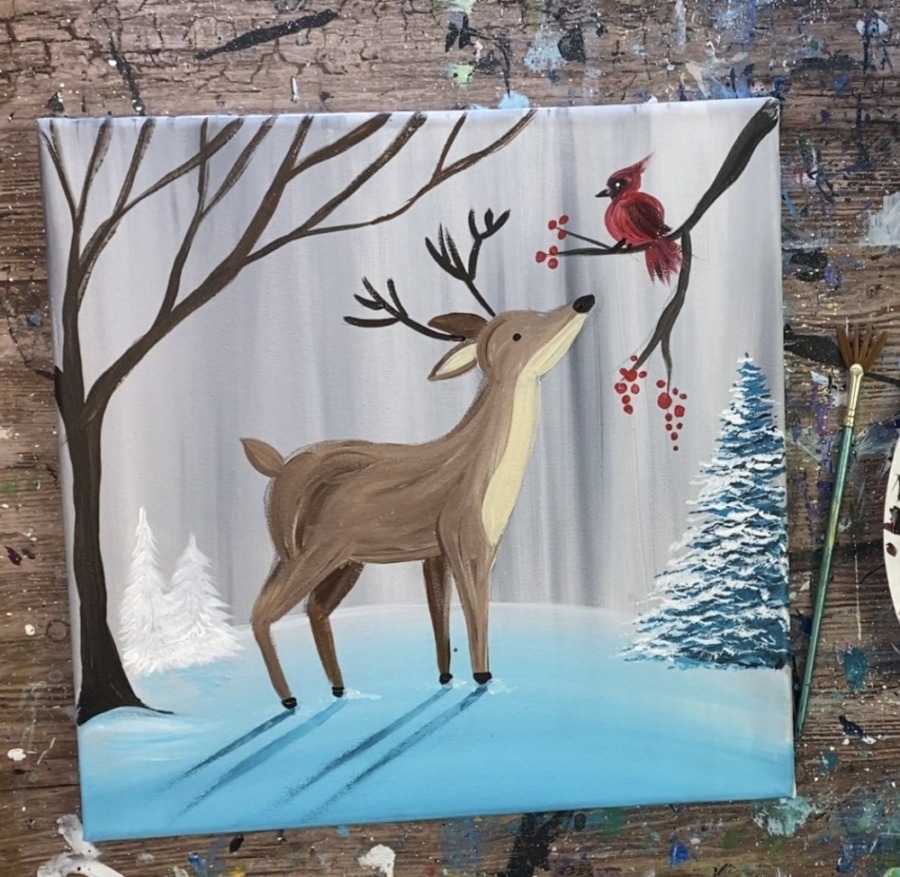
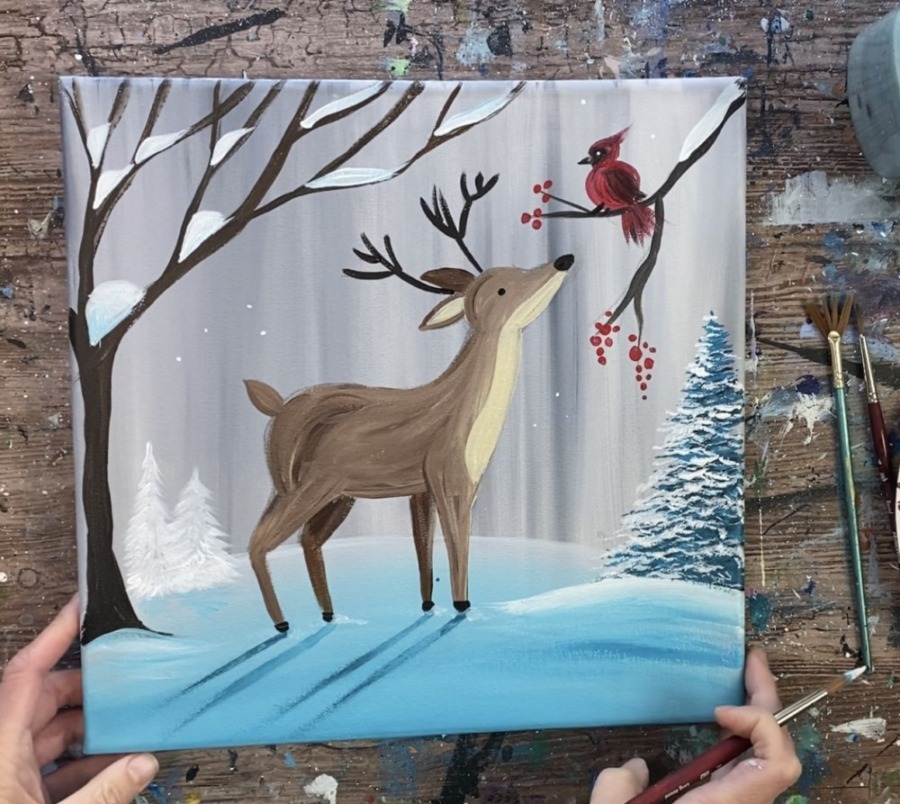
11. Paint Snow On Pine Tree
To do the snow on the pine tree, load titanium white onto your fan brush. Add the white layer using the same technique you used to paint the pine tree. Add extra white to the far left side of the tree.

12. Paint Snow On Ground
Add more snow below the large pine tree and below the tree. Use the #8 round brush and titanium white to paint the top part of the hilly area that slightly overlaps the pine tree on the right. Then blend some turquoise on the bottom. This will make it look like your land has multiple elevations/ the snow is piling up in areas. Do the same for the tree on the left.
13. Paint Snow On Branches
Use your round brush to paint snow piling up in between the branches. Paint a layer of white. Then add a small amount of turquoise to the bottom of the snow and blend it up to create shadowing.
14. Paint Snow Dots & Highlights
Use your round brush to dot little white dots of snow all over the sky.
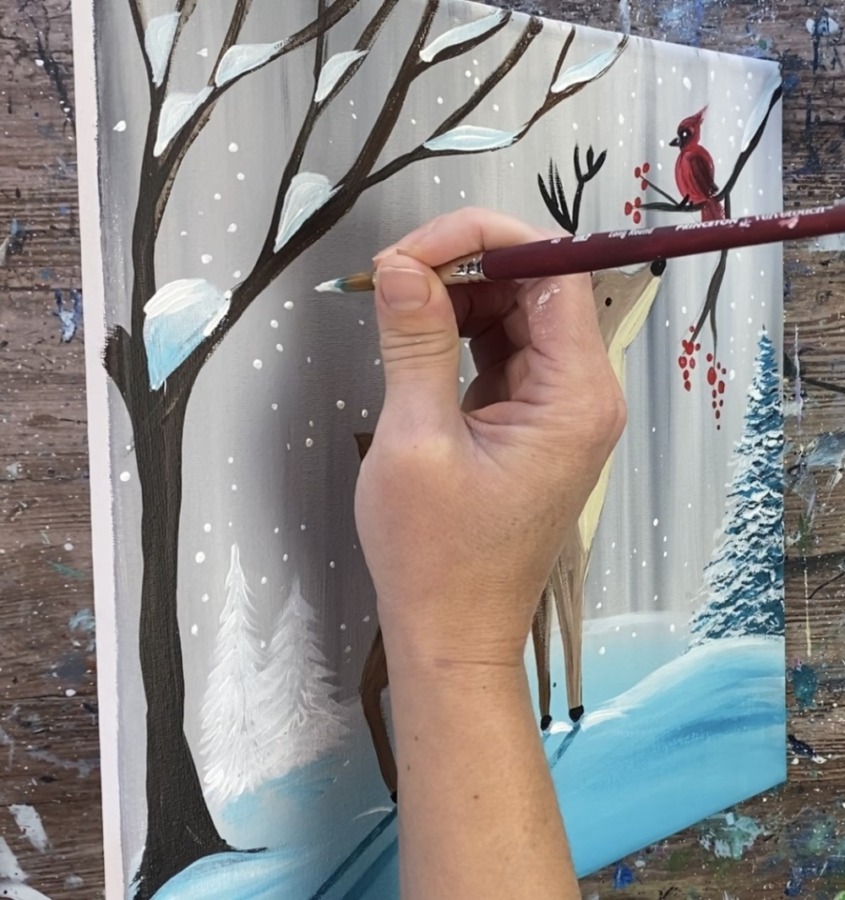
Use the #4 round brush to create a little white highlight mark on the top of the black nose of the deer, a highlight on the tail, the head, his back and a few highlights on the antlers.
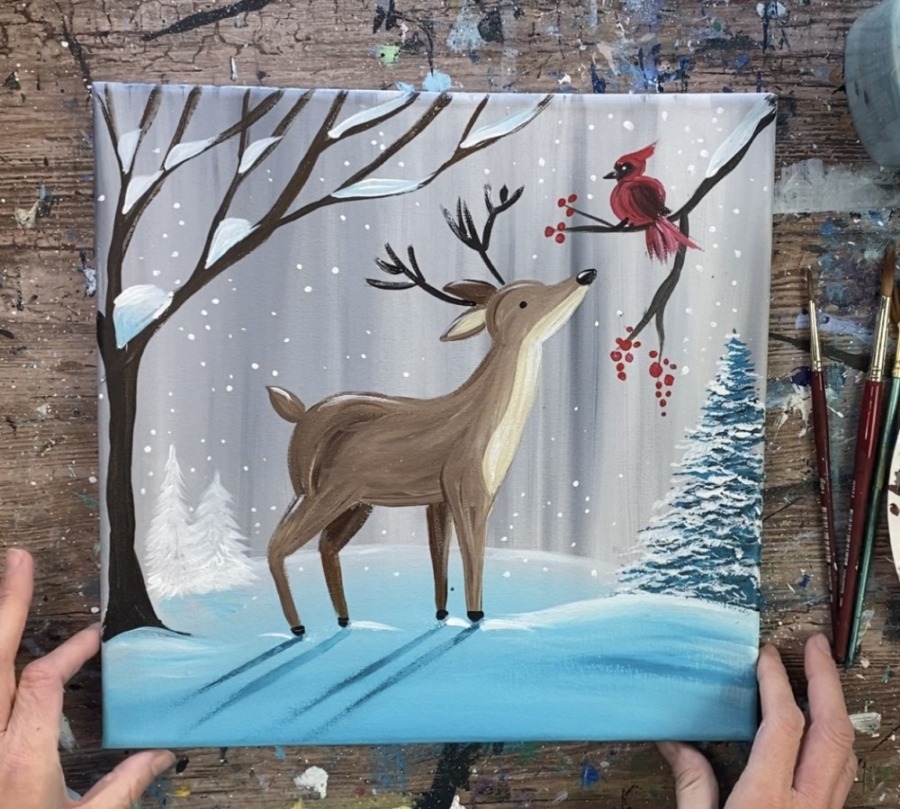
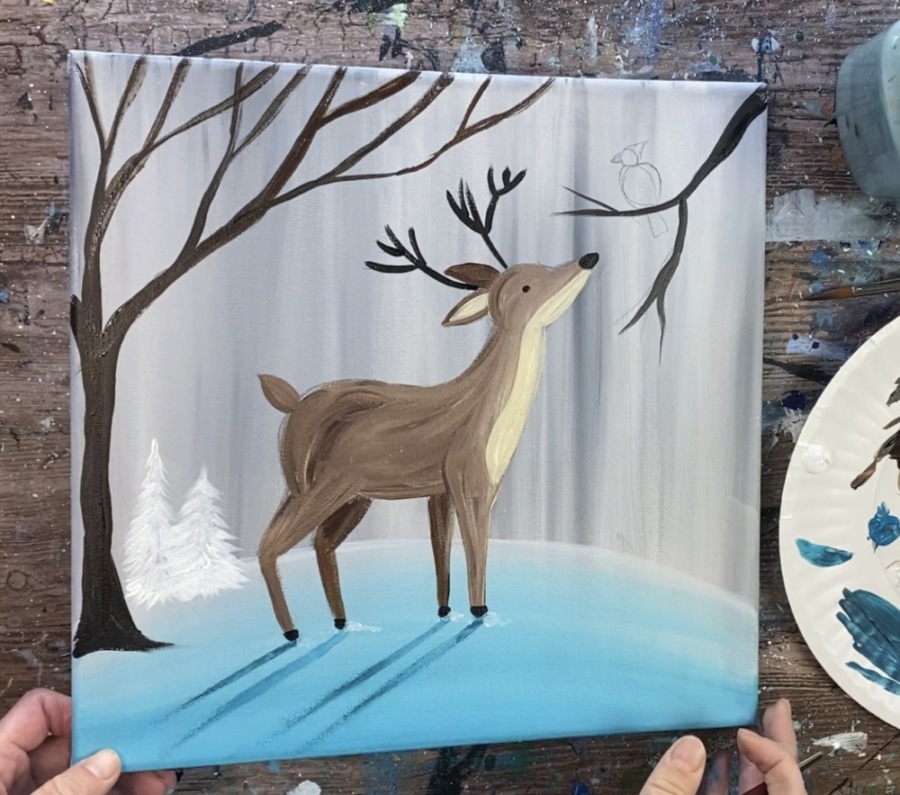
Finished
All finished! Sign your name and show it off!
Share Your Art Here


i love it so much
Thanks! Glad you like it!
Hii
I just started painting, and this site is super cool. Thanks for the videos too. Earlier, I did something similar to your sunflower with the blue background. I have a question. How long did it take for you to get so good at painting?
Thanks
Hello! Thanks, I’m glad you are enjoying the site! I’ve been painting for a long time, pretty much since I was a kid! But I will say the one thing that really improves painting is practicing and doing it often. If I take a long break between painting sessions, I start to get rusty. You will notice a huge improvement the more you paint! Enjoy!