

Would you like to save this?
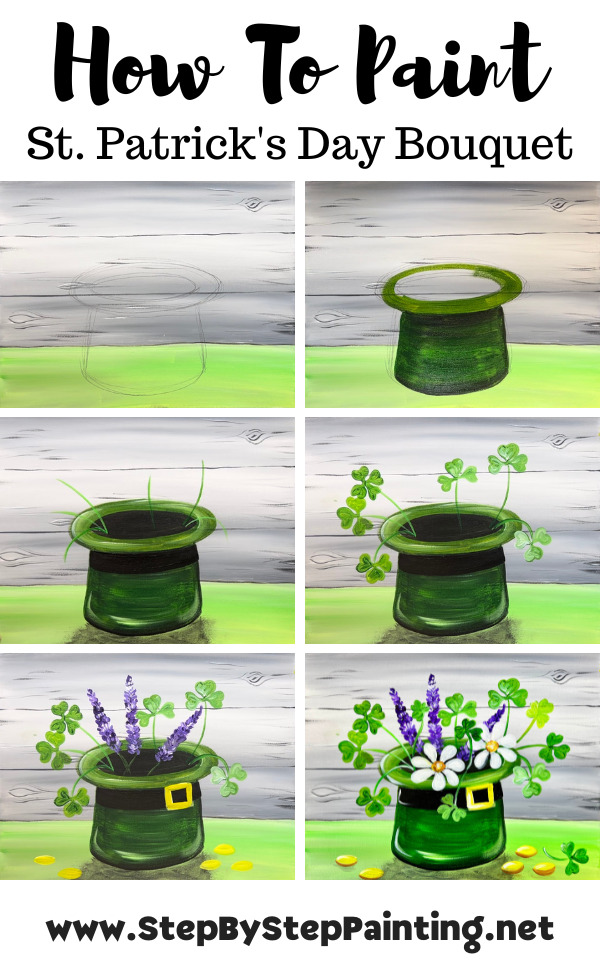
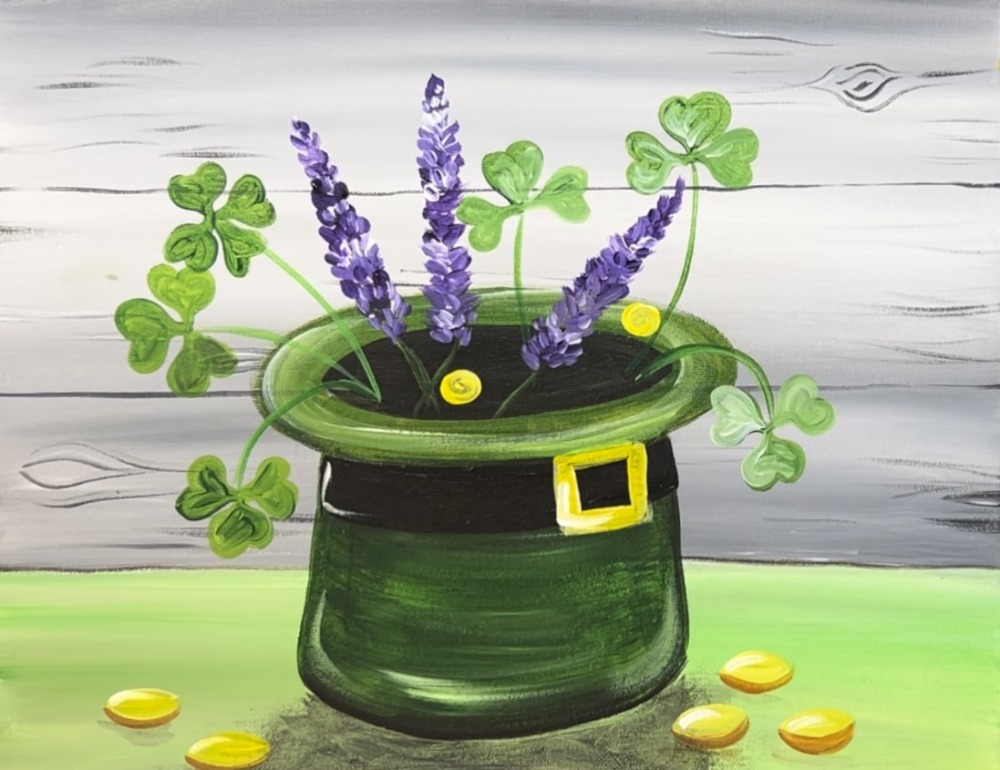
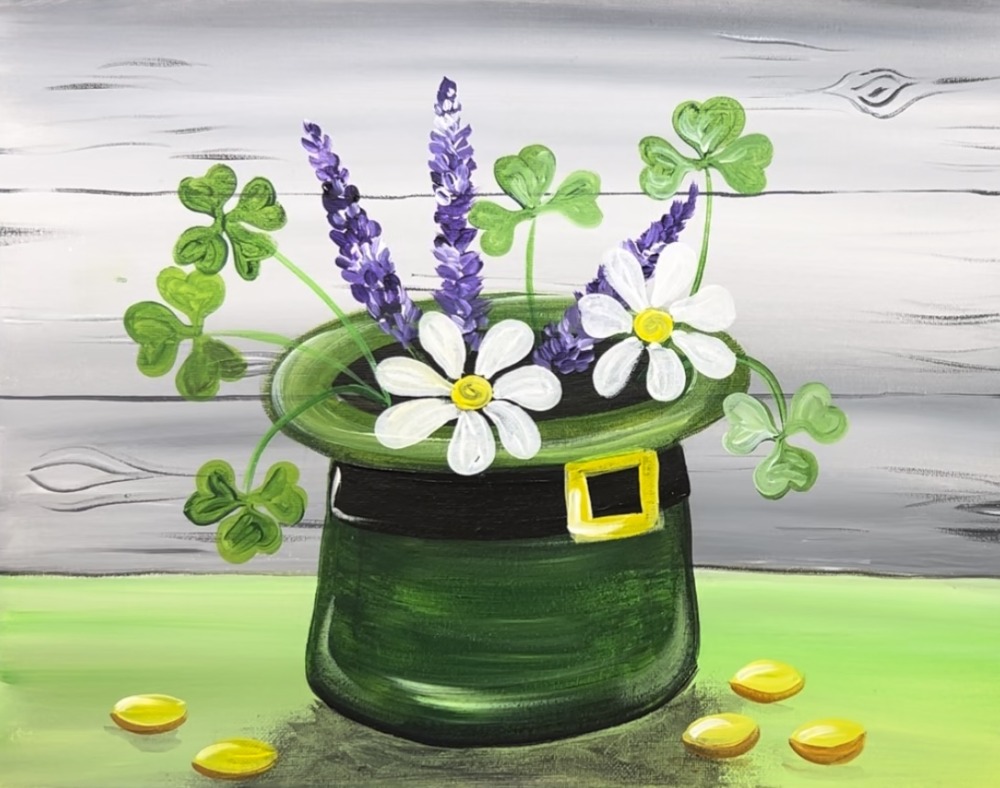
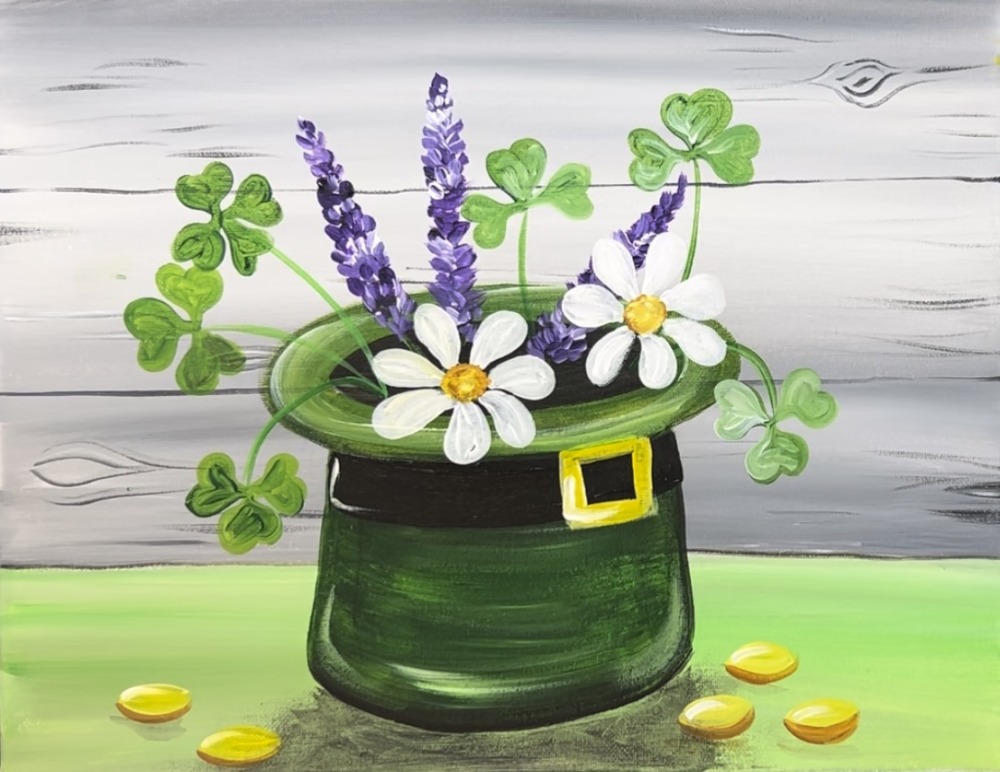
This acrylic painting tutorial demonstrates how to paint a festive St. Patrick’s Day theme bouquet in a green top hat.
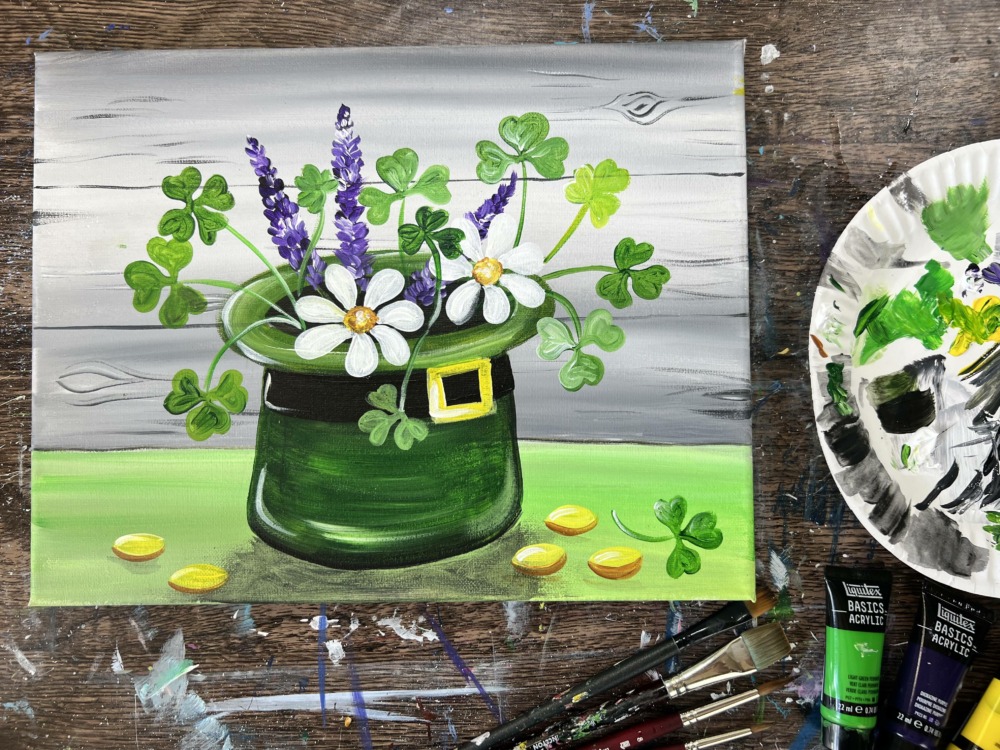
Learn techniques for painting simple clovers, daisies and lavender.
Enjoy and happy painting!
Materials
St. Patrick's Day Bouquet - Acrylic Painting Tutorial

Learn to paint a fun St. Patrick's Day theme bouquet.
Materials
- 11 x 14 Canvas
- Acrylic Paint
- Brushes
- Pencil
- Ruler
- Optional Traceable
- Optional Graphite Paper
Brushes
- 3/4 Flat Brush
- 4 Round Brush
- 8 Round Brush
- 12 Bright Brush
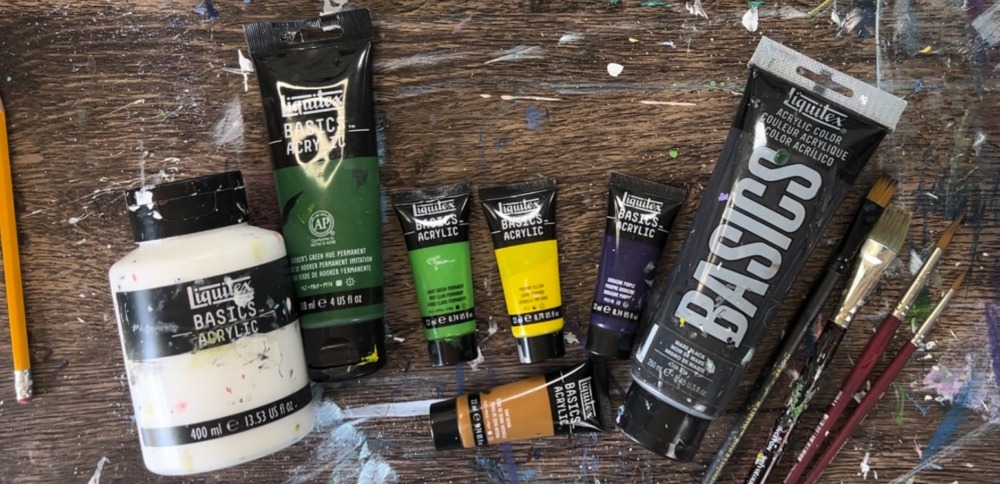
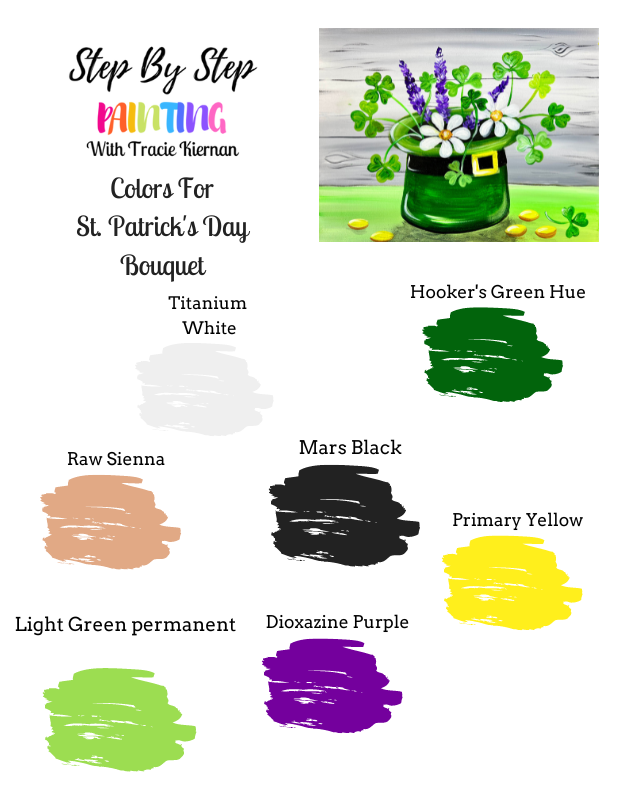
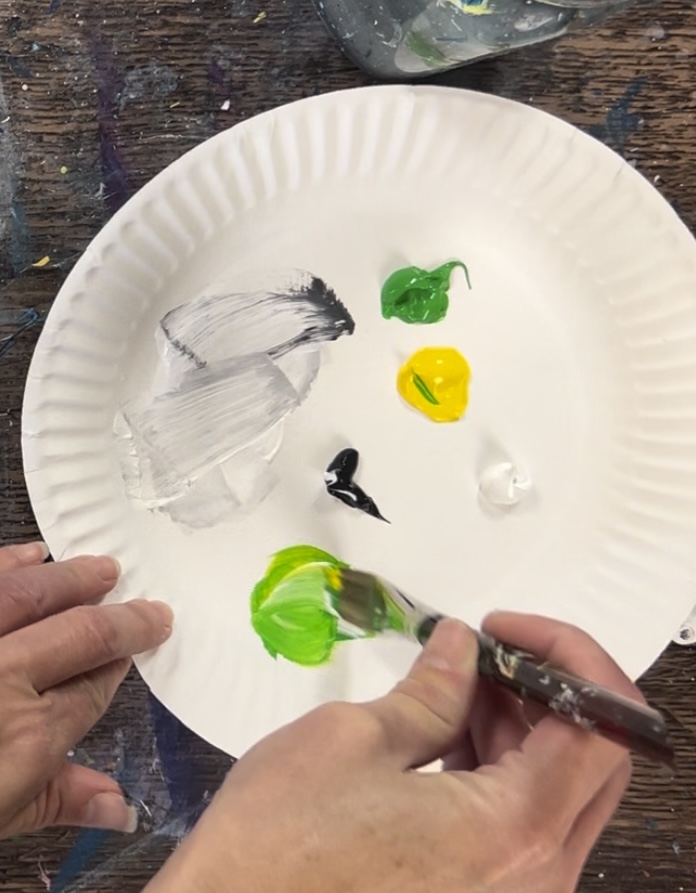
Colors
- Titanium White
- Mars Black
- Hooker's Green Hue Permanent
- Primary Yellow
- Light Green Permanent
- Dioxazine Purple
- Raw Sienna
Color Palette
Craft Paint Conversion
If you are using craft paints, such as the Apple Barrel Craft Paints, you can sub to these colors:
- White
- Black
- Holly Branch
- Nutmeg Brown
- Bright Yellow
- New Shamrock
- Purple Iris
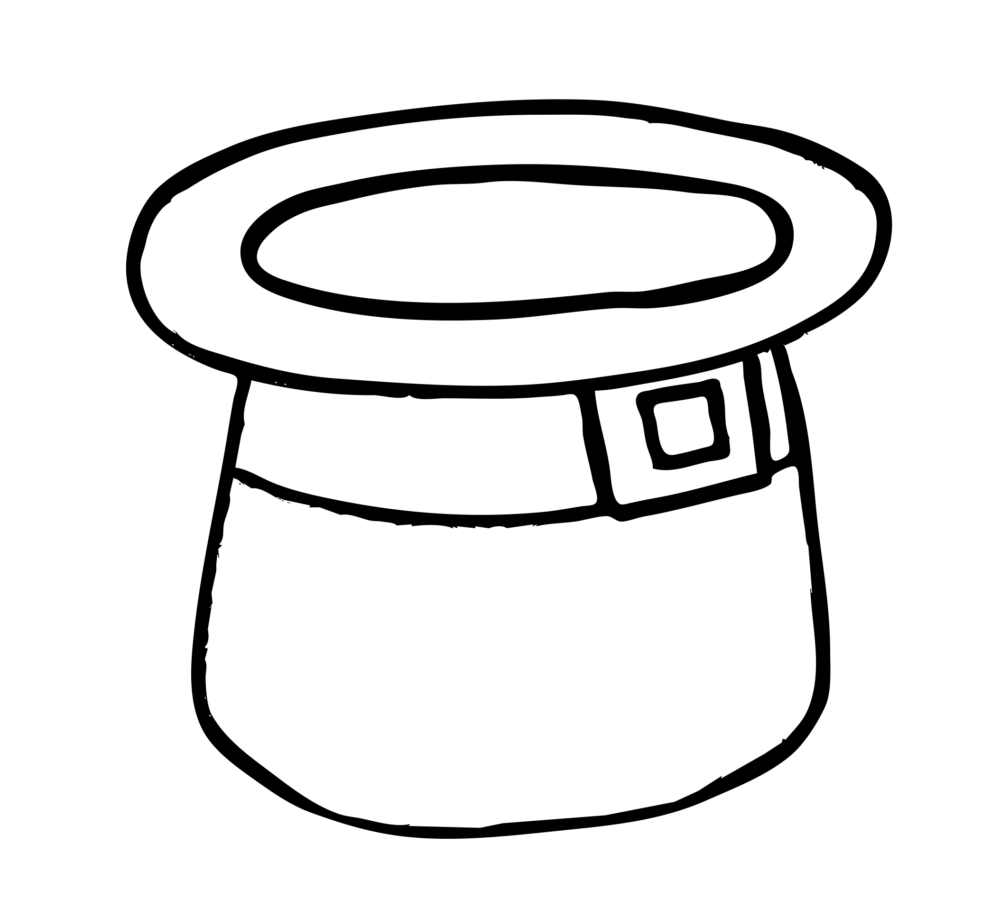
Traceable
This is optional! In the tutorial, I will show you how to draw the simple hat. You are welcome to use this template with the drawing portion.
Directions At A Glance
Video
Step By Step Instructions
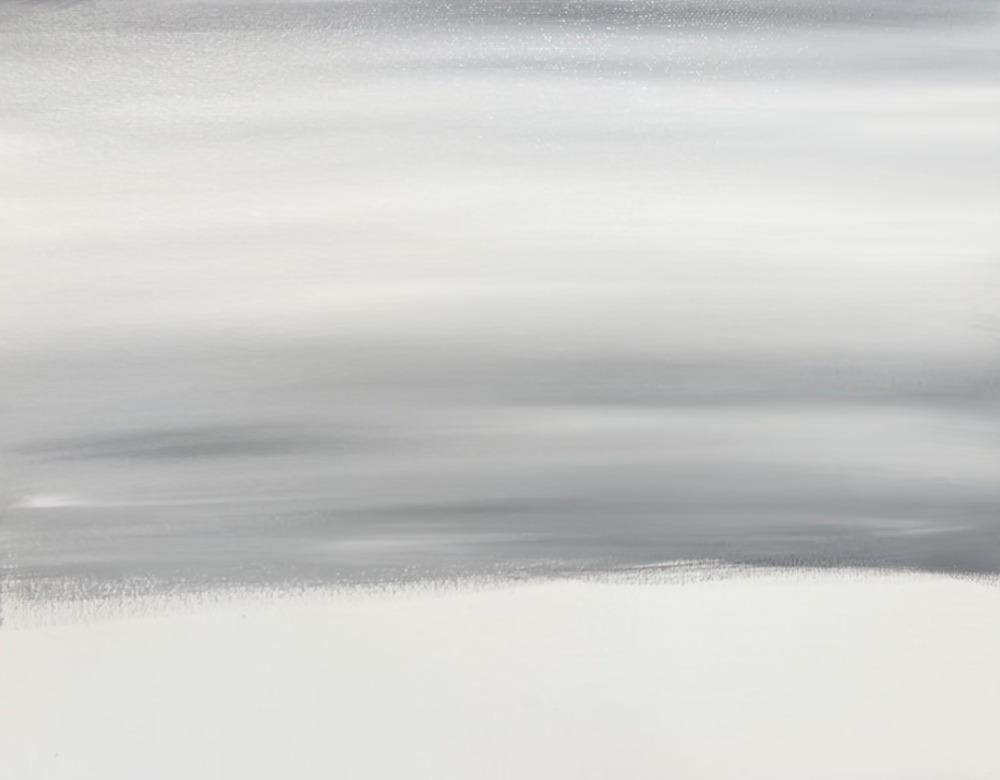
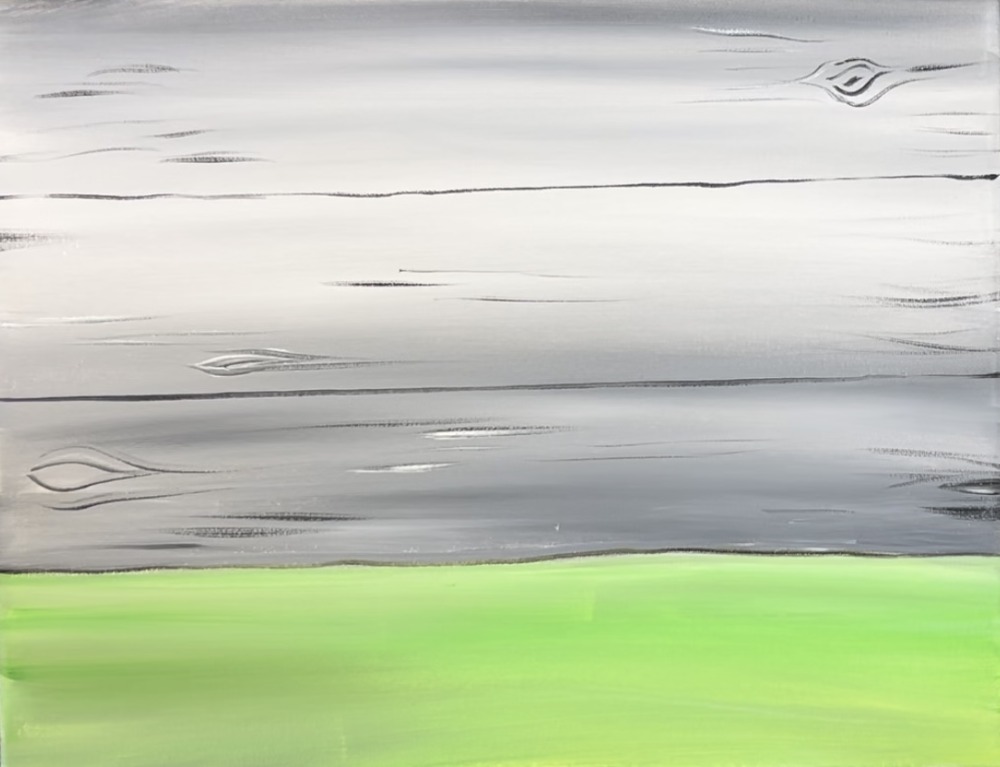
1. Paint Wood Panel Background and Table
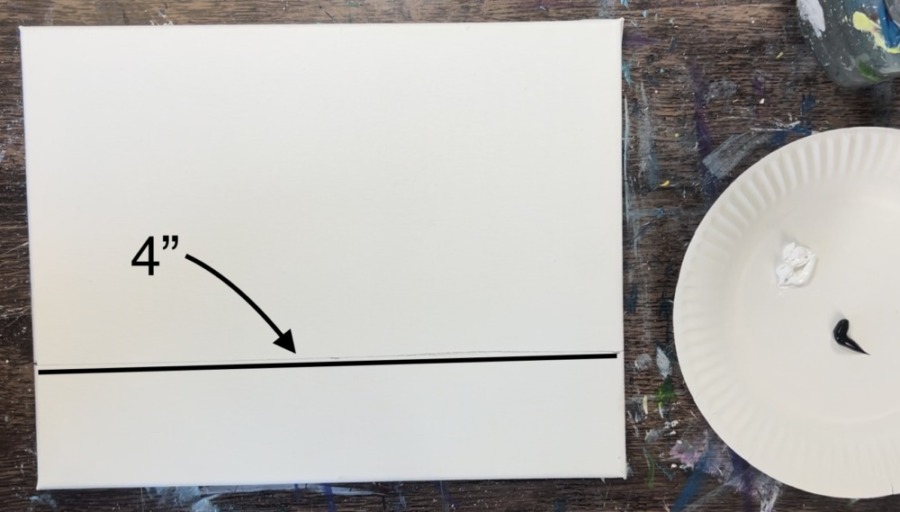
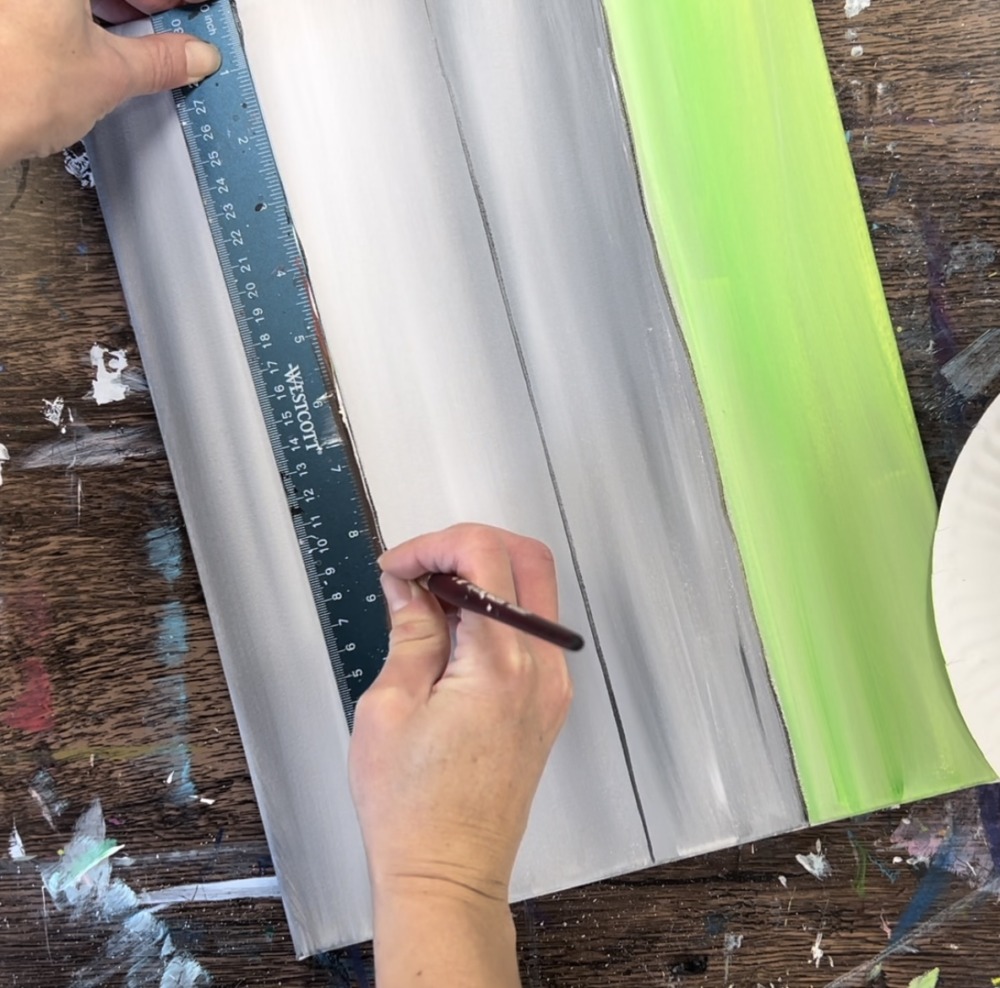
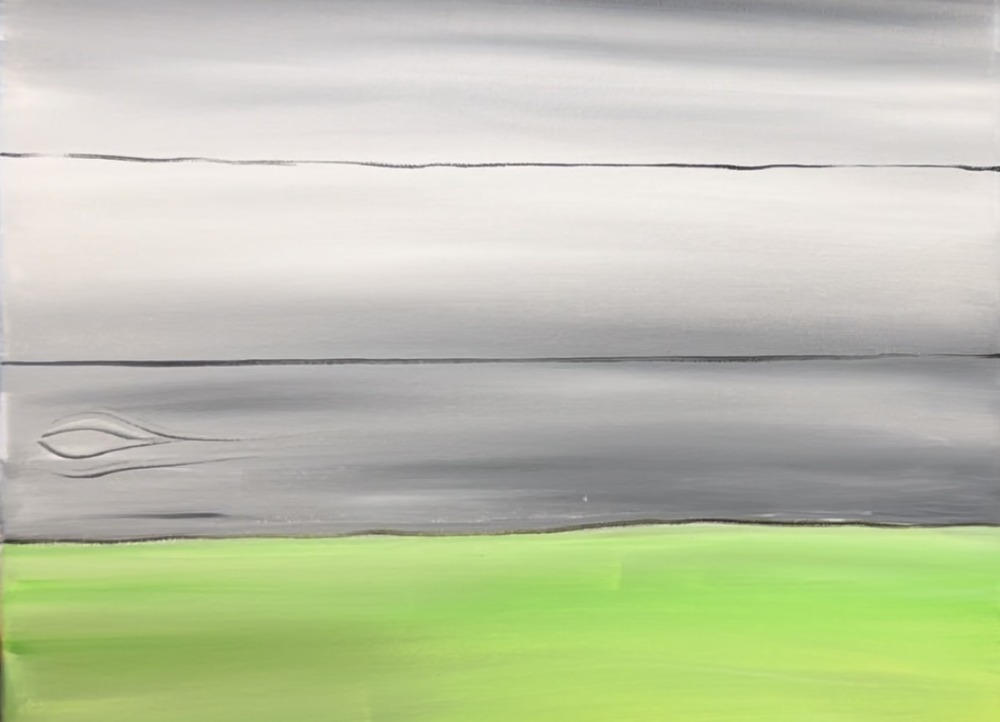
The “wood panel” is the top portion of the painting and that is going to be painted with the two colors: titanium white and mars black. Paint this top portion first. First, draw a horizontal line across your canvas that is about 4″ from the bottom.
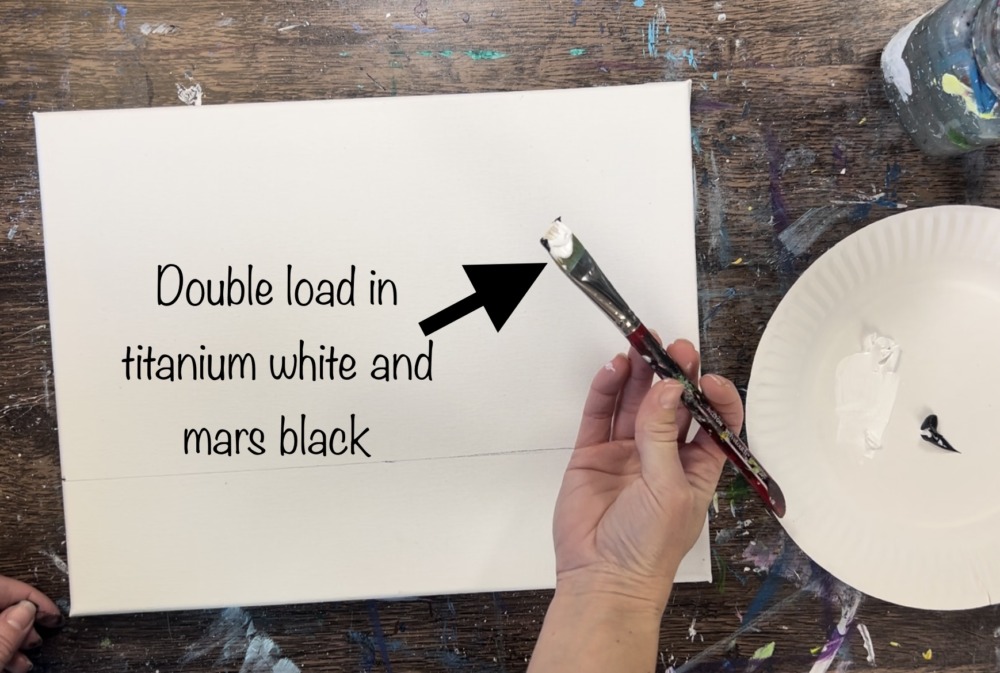
Next, load your palette with black and white. Wet a 3/4″ flat wash brush and pat it dry.
Then “double load” your 3/4 flat brush in white and load the corners of the brush with black. You need a higher proportion of white to black to create this medium gray faux wood look.
Then, paint left and right full width strokes across the canvas. Let the white gently blend together to create a soft medium gray blended look. Try not to over blend the black and white. You want darker streaks still showing to help create the faux wood look.
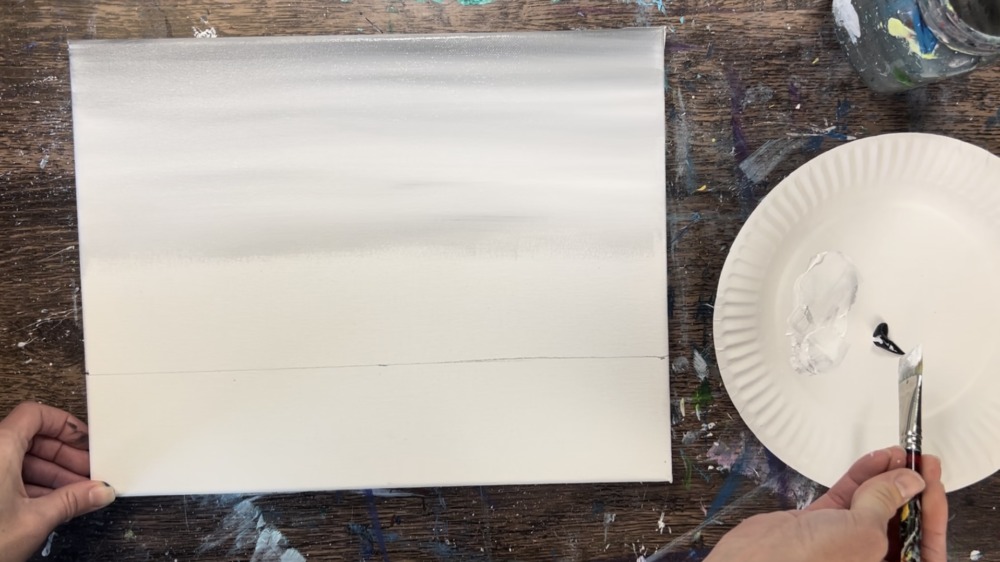
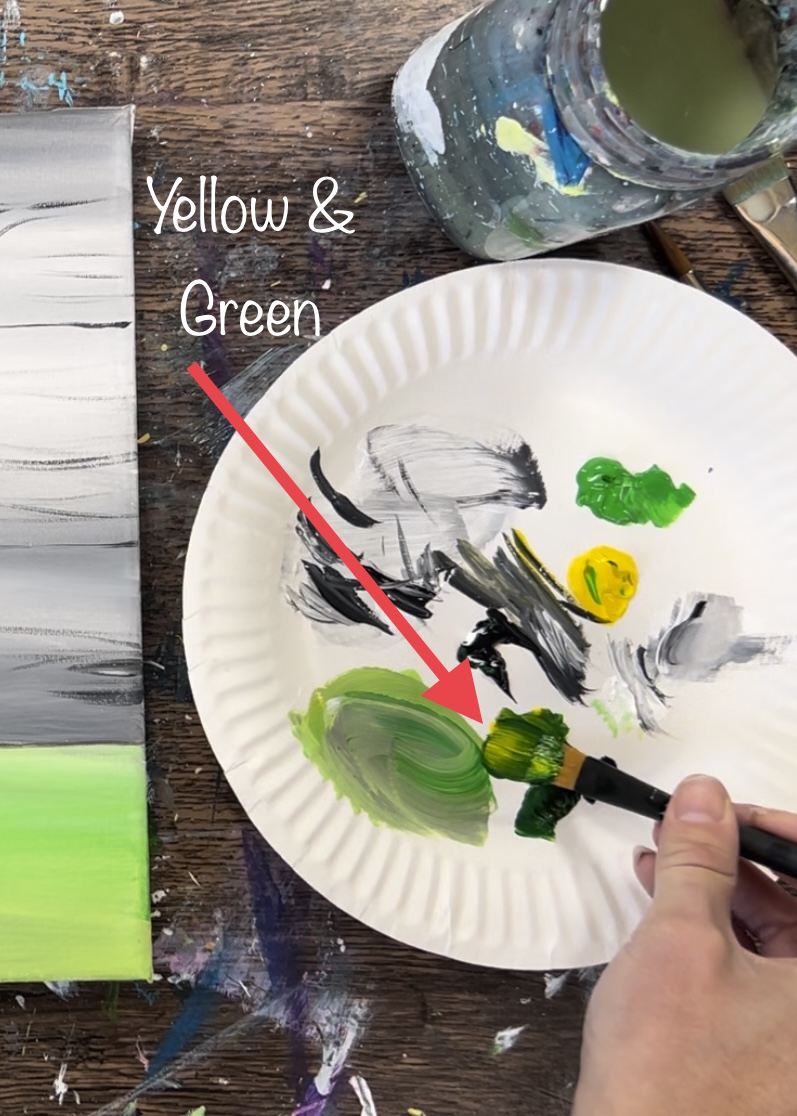
Next, paint the ground area using a combination of the colors: light green permanent, primary yellow and titanium white.
Use the 3/4″ flat wash brush to mix 2 parts titanium white, 1 part light green permanent and 1-2 parts primary yellow. It will make a very light creamy spring green color.
Paint the table area a solid coat of this light green color. Do this with full width left and right strokes that fill the entire table area.
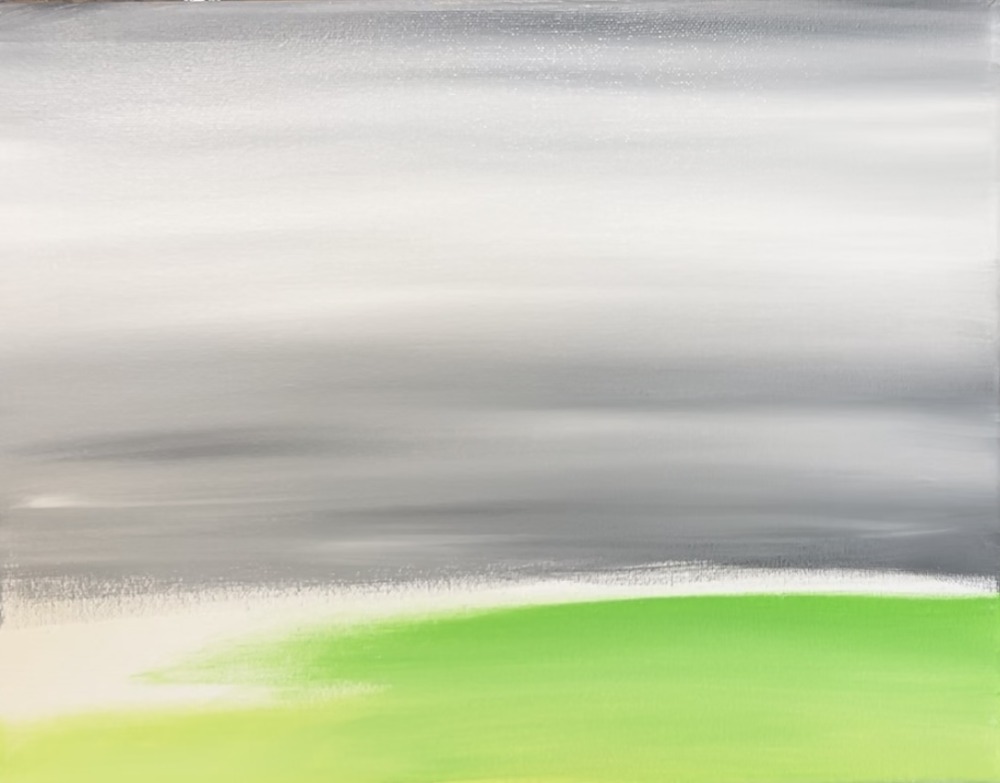
You can vary the color by adding different amounts of white and yellow to the green so it isn’t a solid color all throughout. You can even add a tiny bit of gray into the mix.
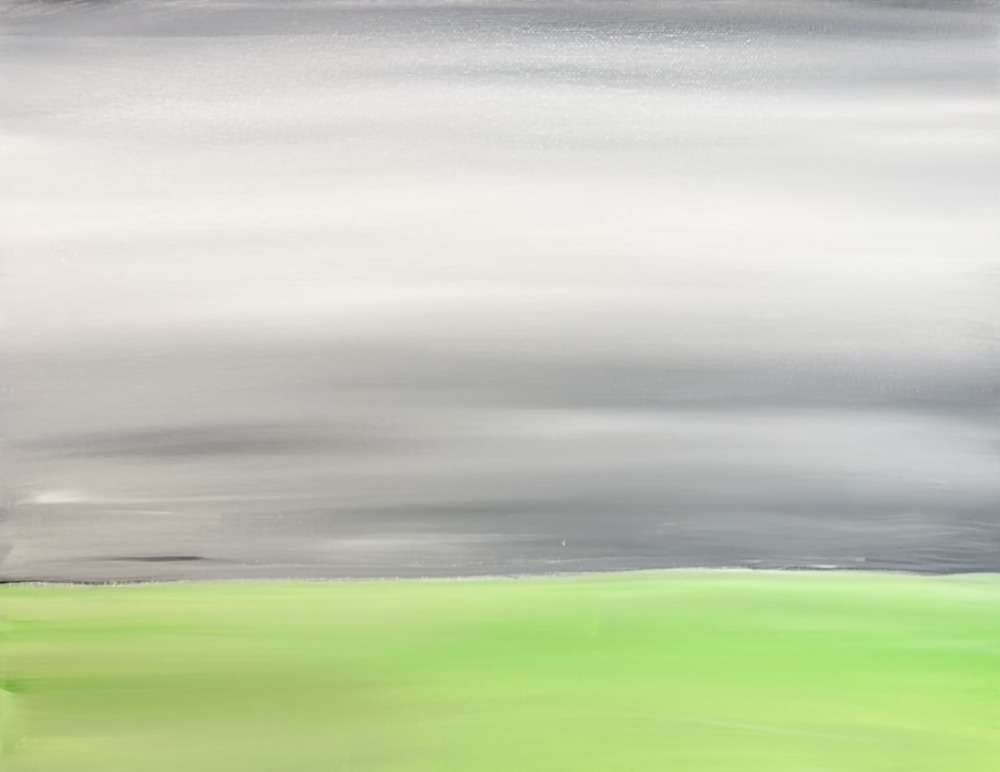
Then divide up the gray area into three panels. Use a ruler to estimate this area into thirds. Use a #8 round brush and dark gray paint (mix white and black together) to draw two loose horizontal lines across the canvas.
Then paint faux wood “knots” and wood grain. Use a dark gray color and the #8 round brush (or #4 round brush) to paint these.
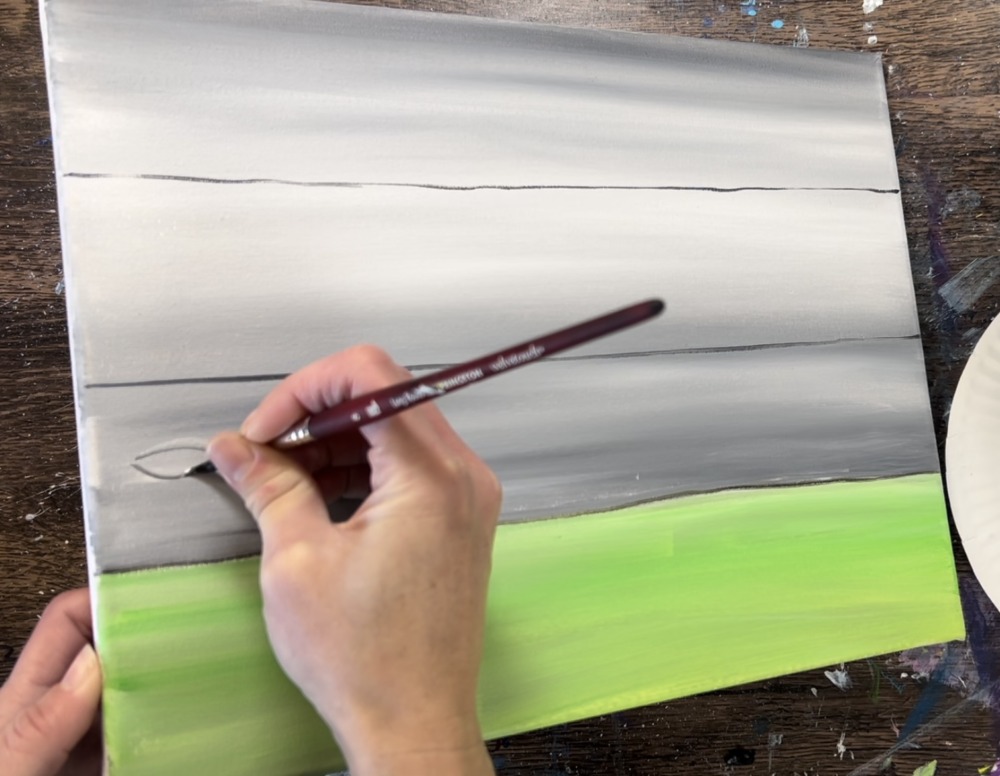
For the knot, paint a pointed oval shape and a few contouring lines that go around it. Then paint a few horizontal lines throughout.
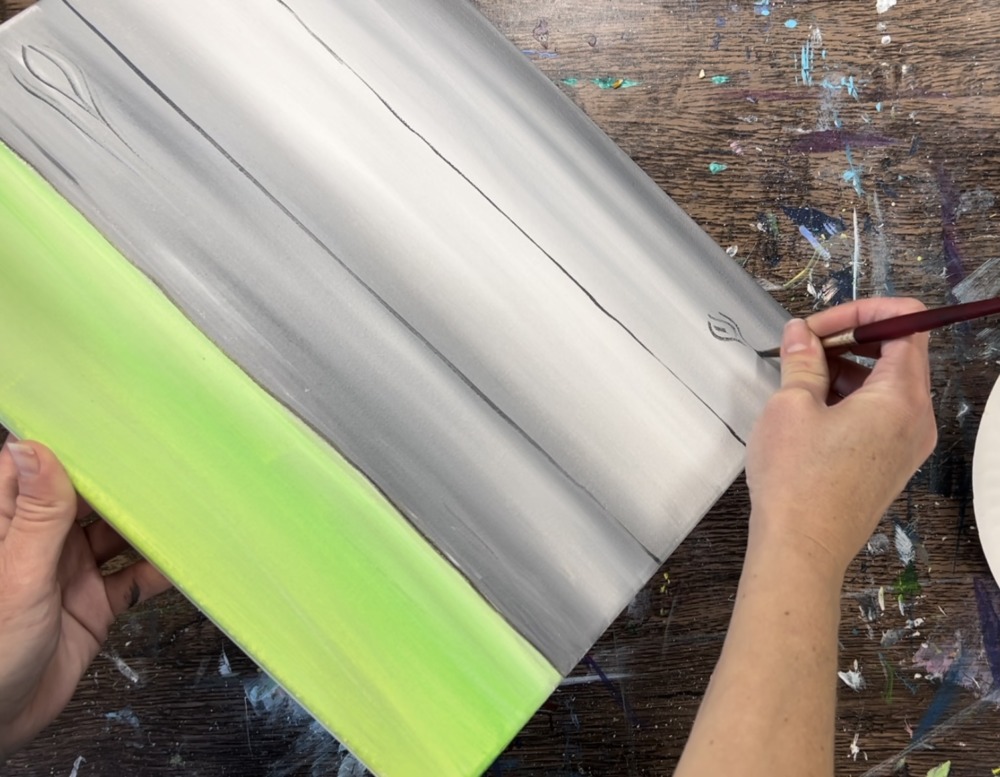
You can also use titanium white to paint some of the lines a lighter color.
Wait for this to dry before moving onto the next step.
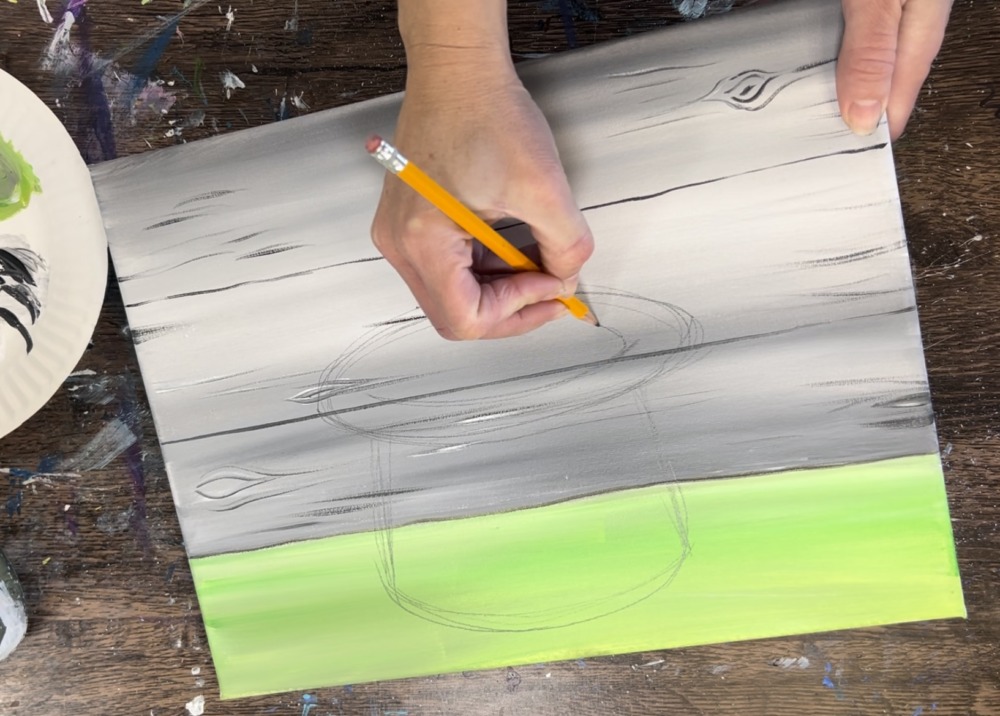
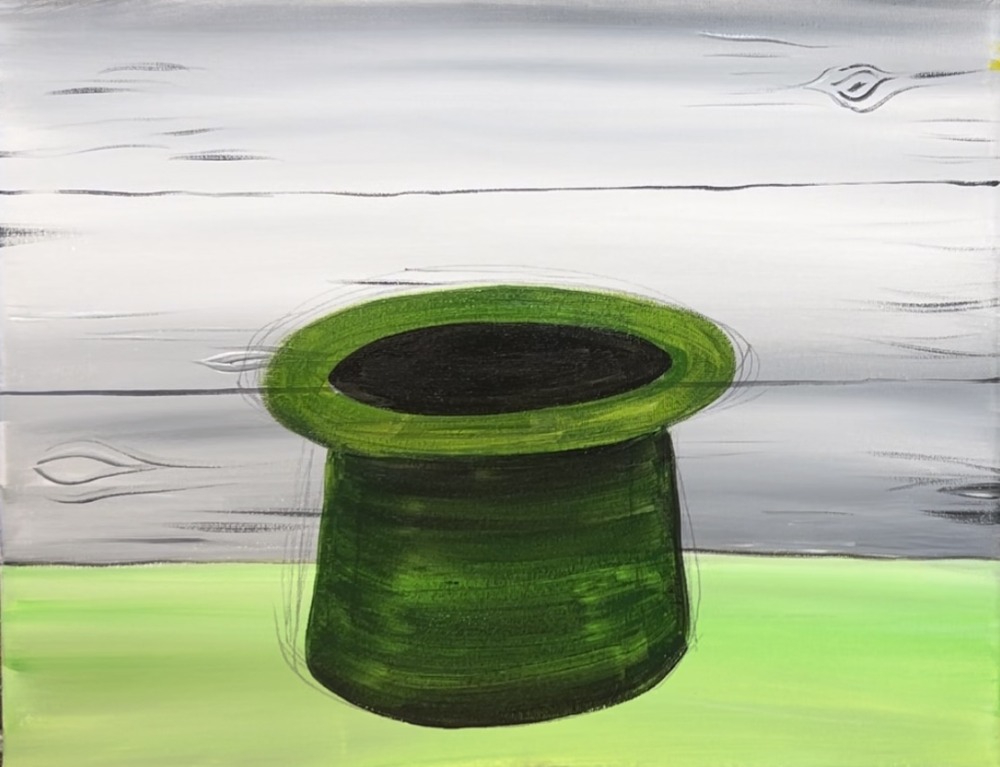
2. Draw Hat
If you are using the template, print it out. Use a sheet of graphite paper under the template and trace the design onto the canvas.
If you are drawing, use a pencil to lightly draw an upside down hat.
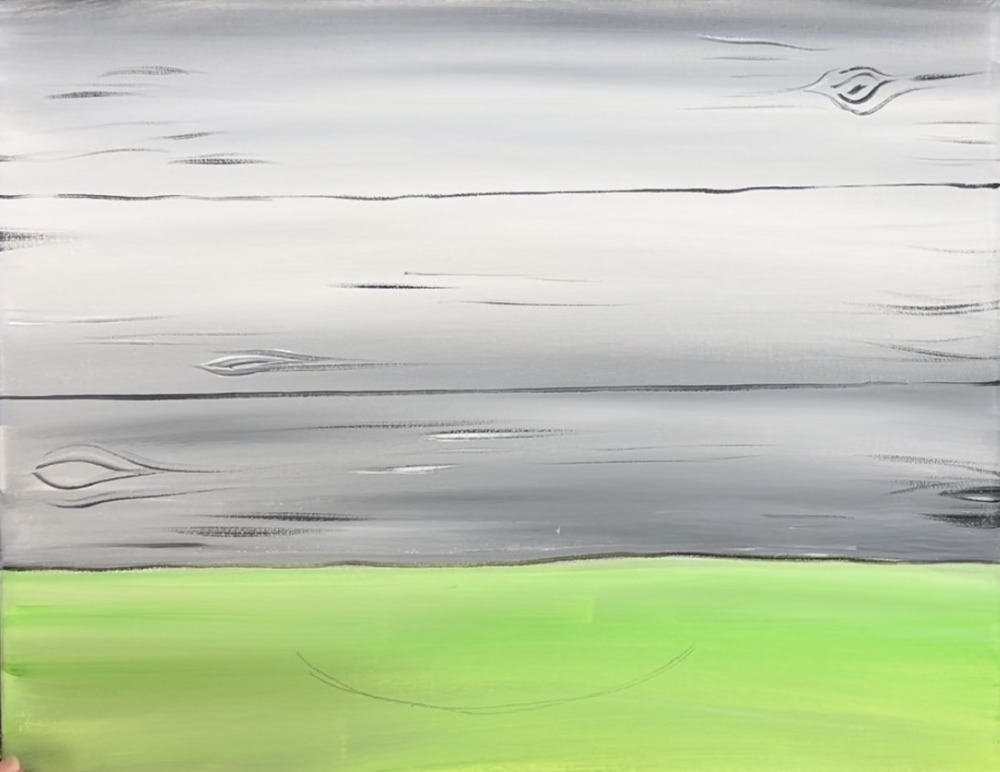
Start on the bottom and draw a large curve. Then draw two diagonal lines slightly going inwards.
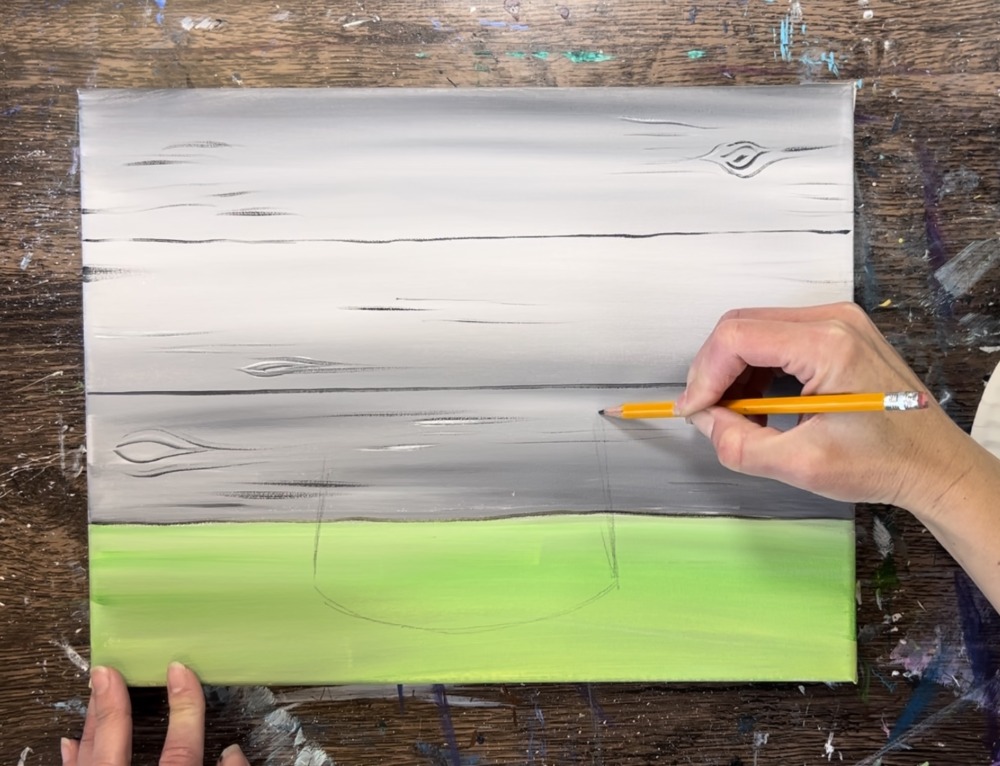
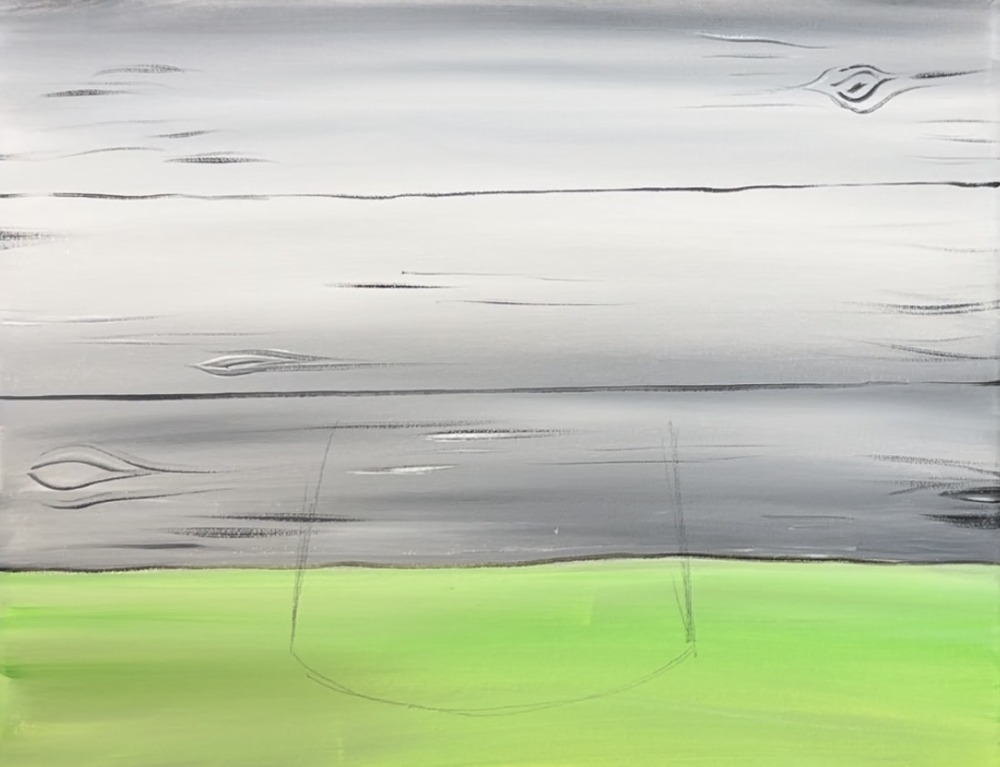
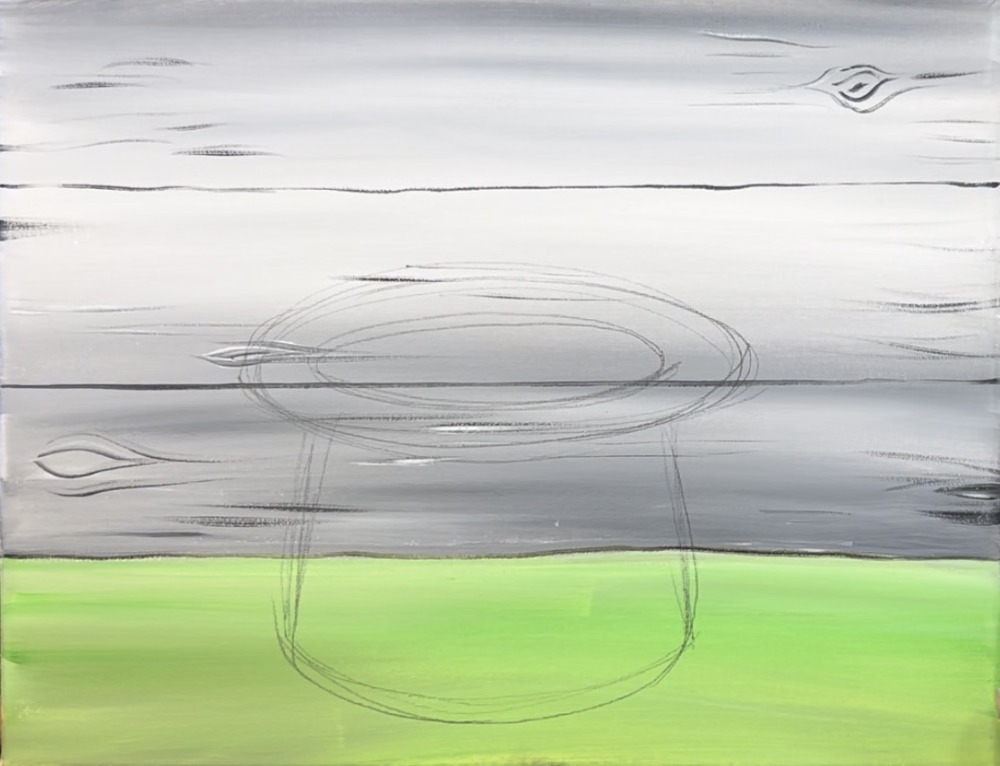
Then draw the rim of the hat. Draw a very large oval that is slightly wider than the crown of the hat. Draw another oval inside the large oval for the opening of the hat.
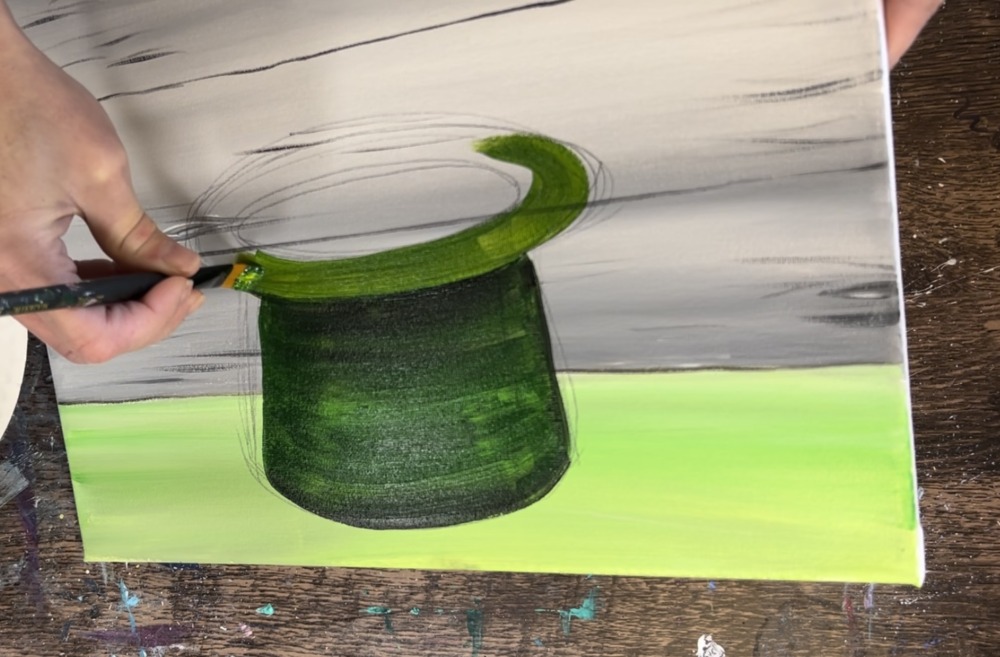
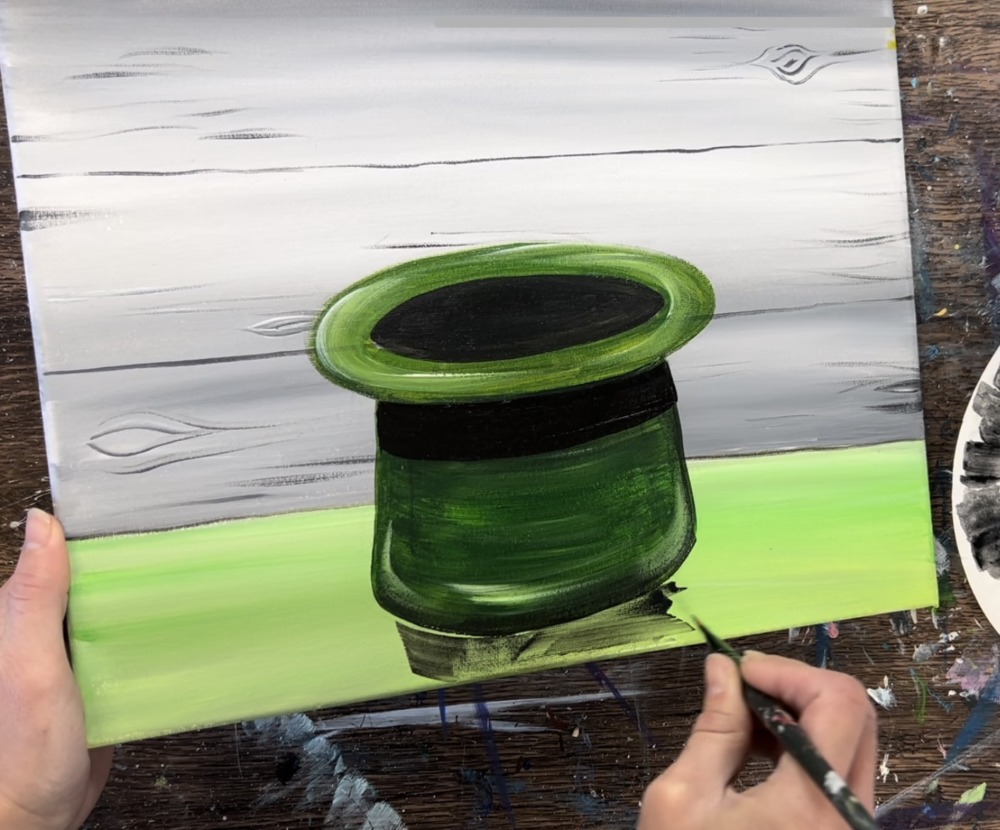
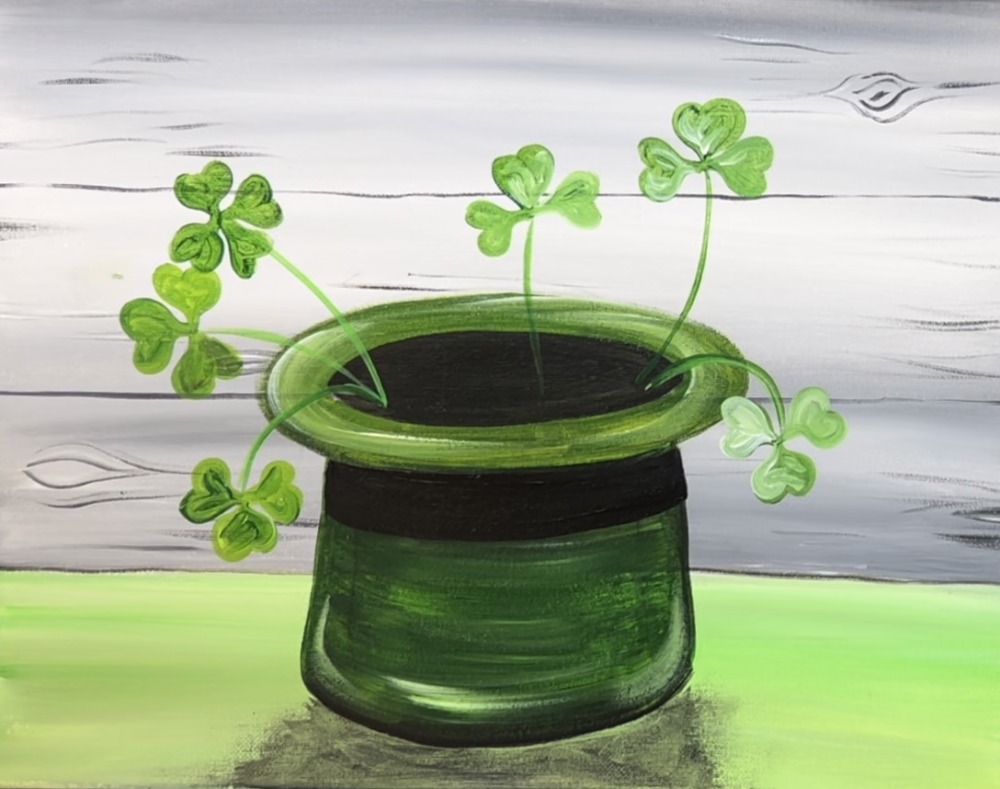
3. Paint Hat
Load your palette with the color “hooker’s green hue permanent” and “mars black”. Mix a very small amount of black into the green. Use the 12 bright brush to paint the bottom part. Use the full width of the brush to outline the inner part of the heat.
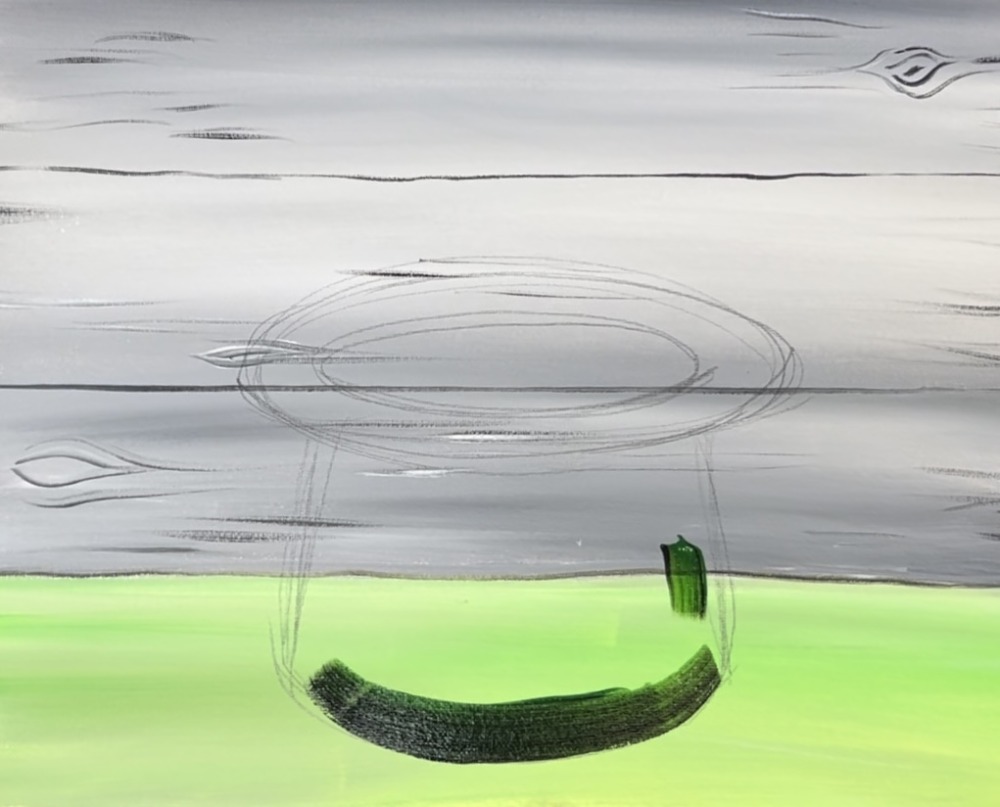
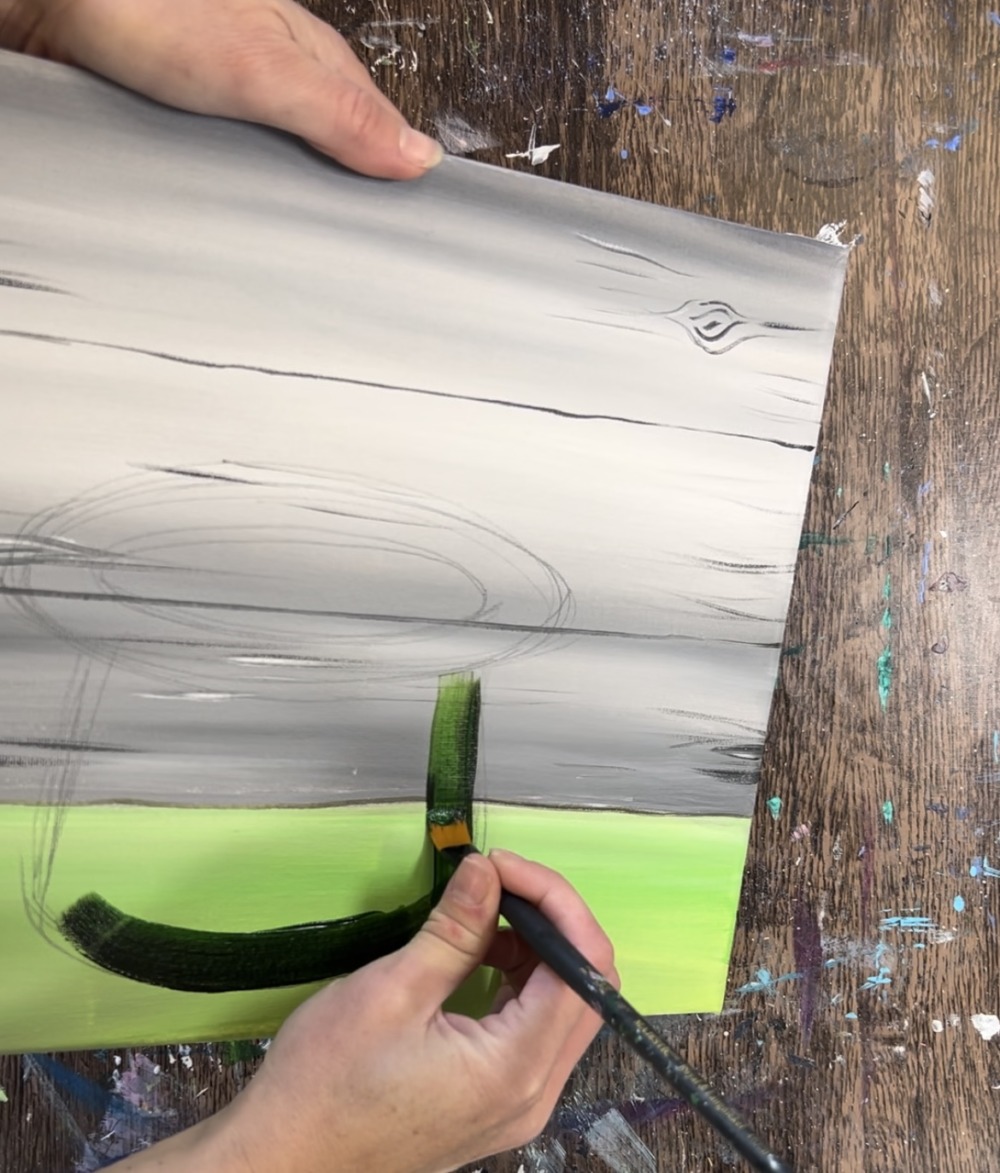
Then paint the center part of the hat. Do this in a curved direction using the full width of the brush.
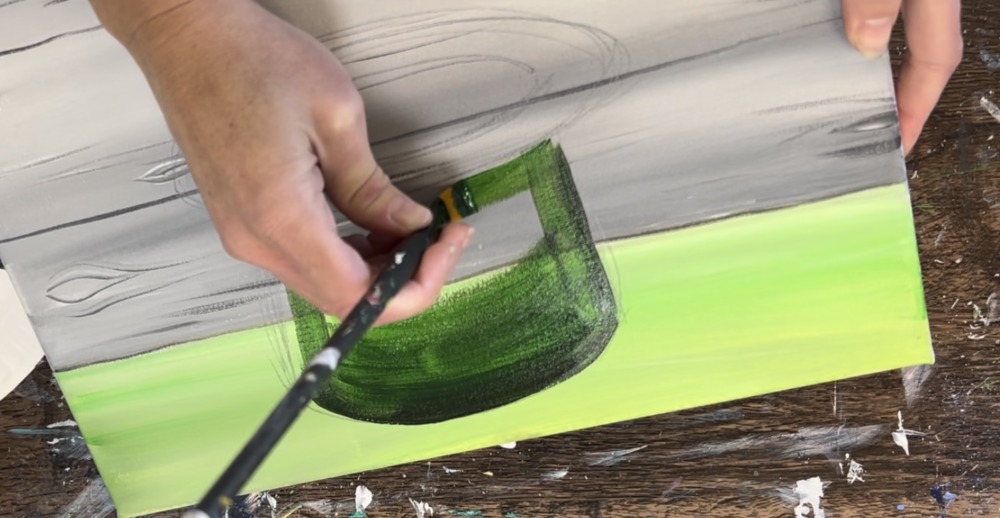
You may need to paint at least two coats of paint in this area to make sure it is covering all of the background.
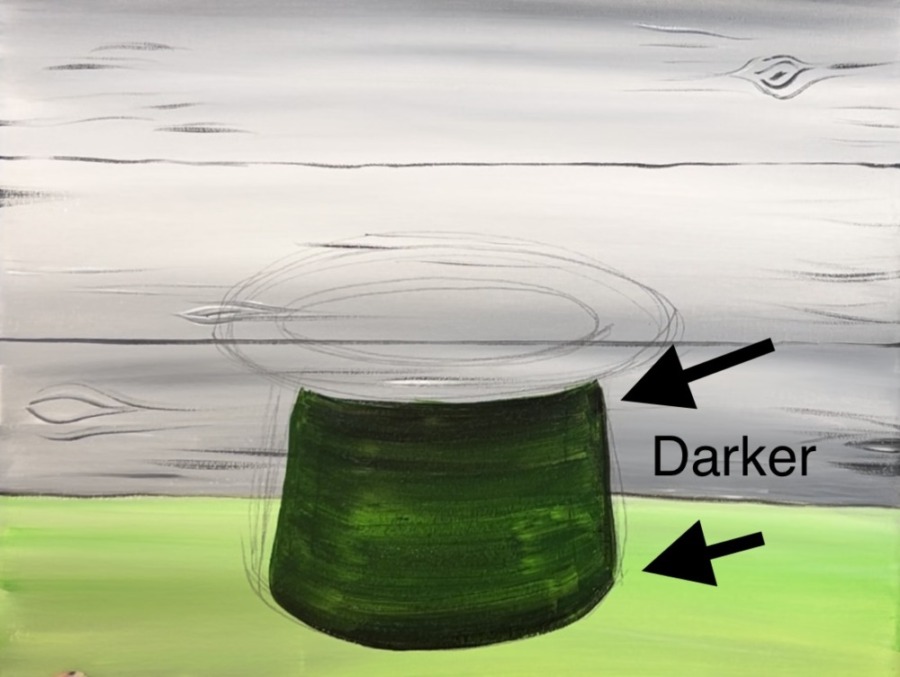
Add a little bit extra black towards the rim (upper part) of the hat and towards the bottom.
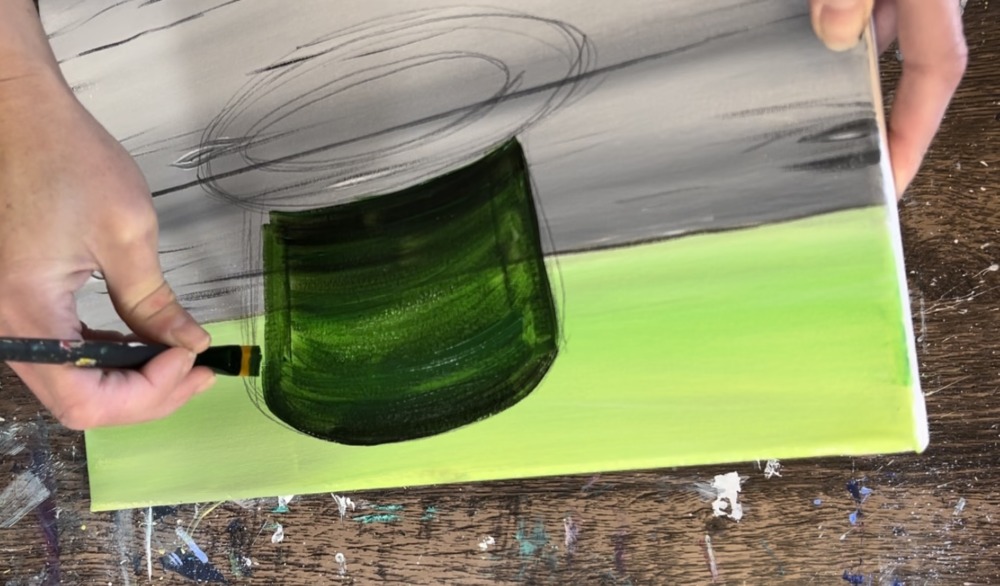
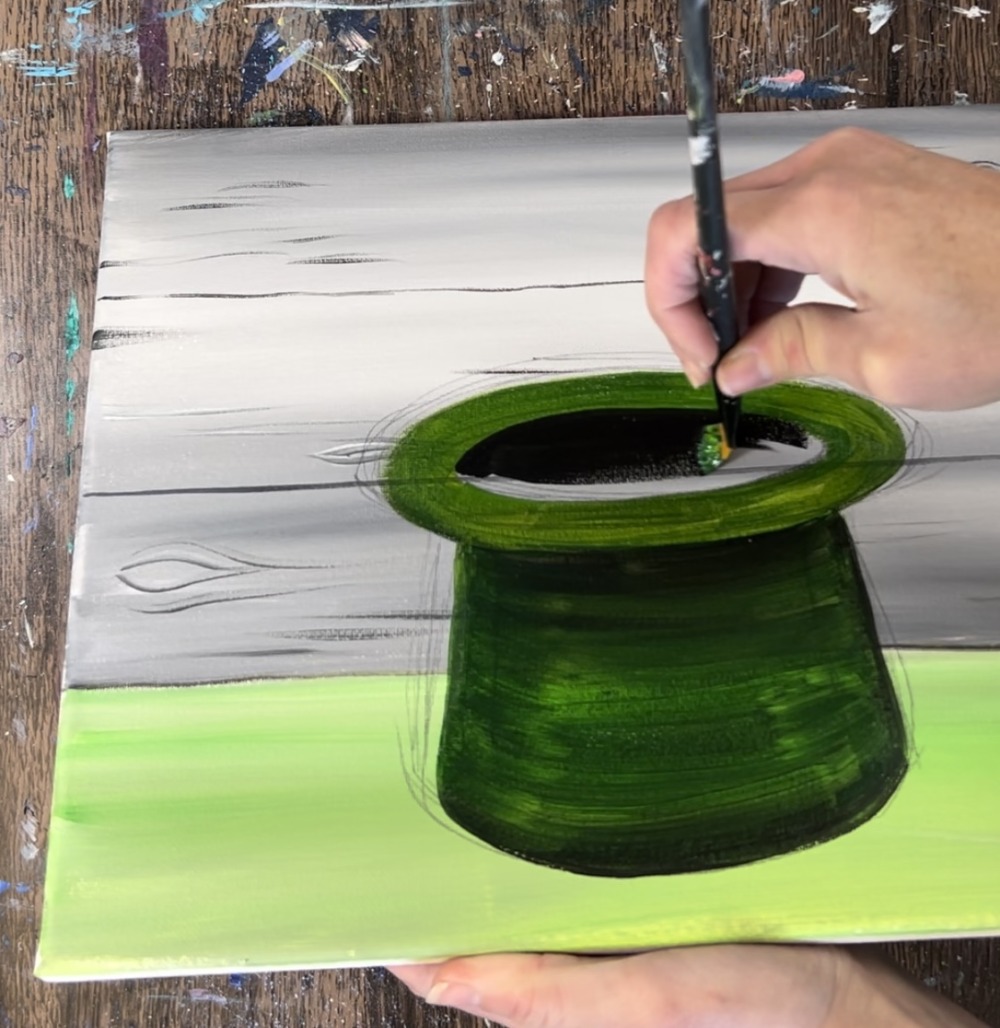
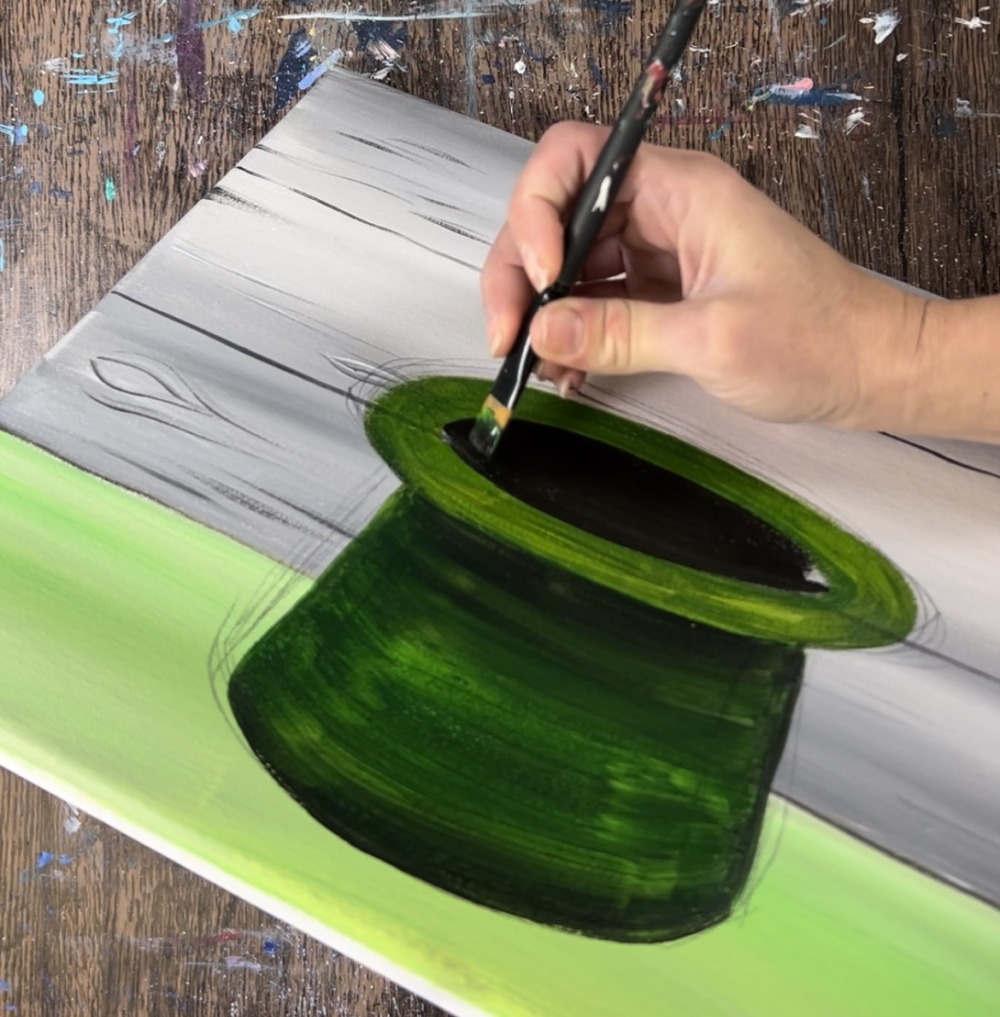
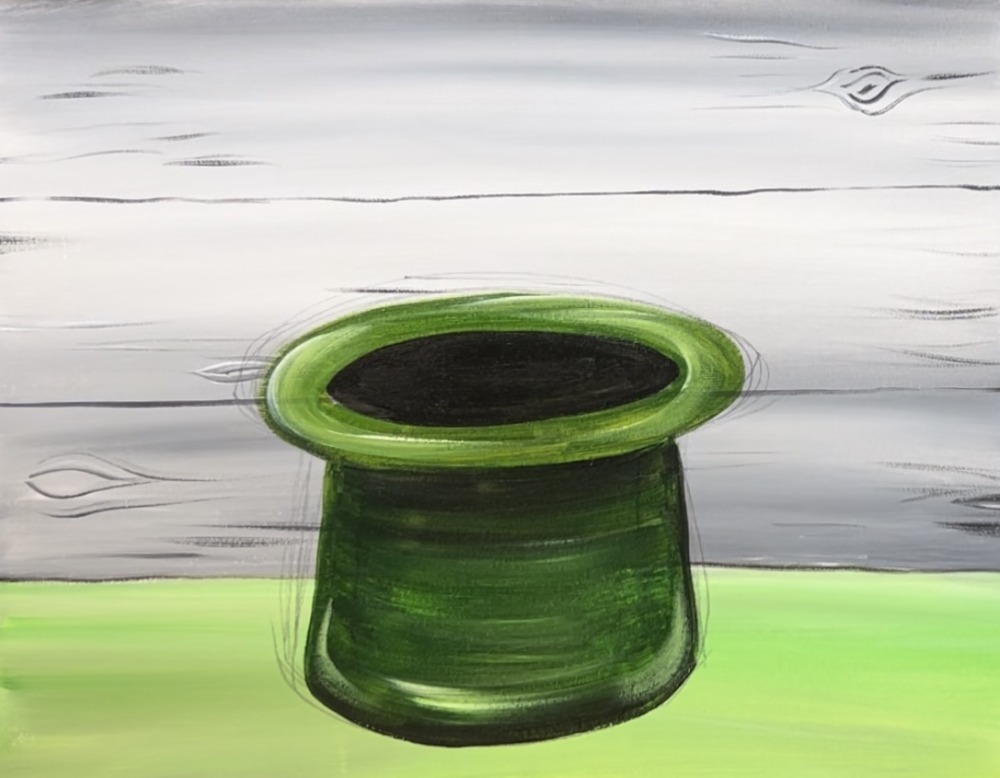
On your palette, mix about equal parts “primary yellow” and “hooker’s green permanent”. Then use the 12 bright brush to paint the rim around the center oval.
Next, paint the rim of the hat. This piece needs to be lighter green so it stands out from the other part of the hat.
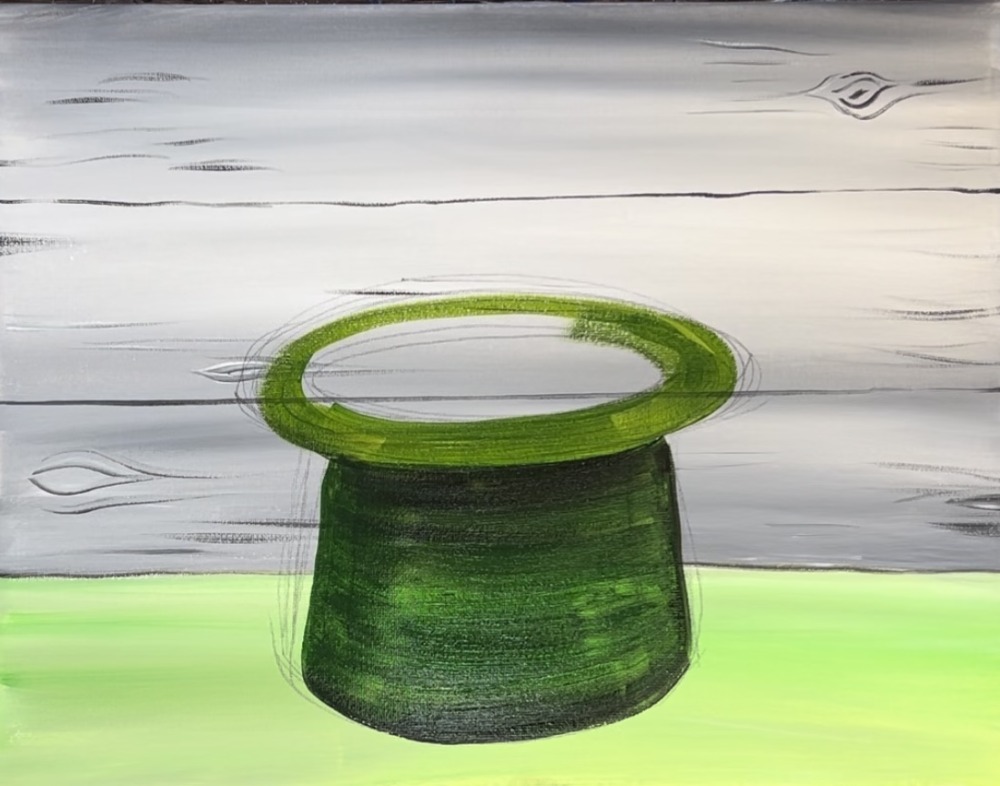
Then paint the center part mars black.
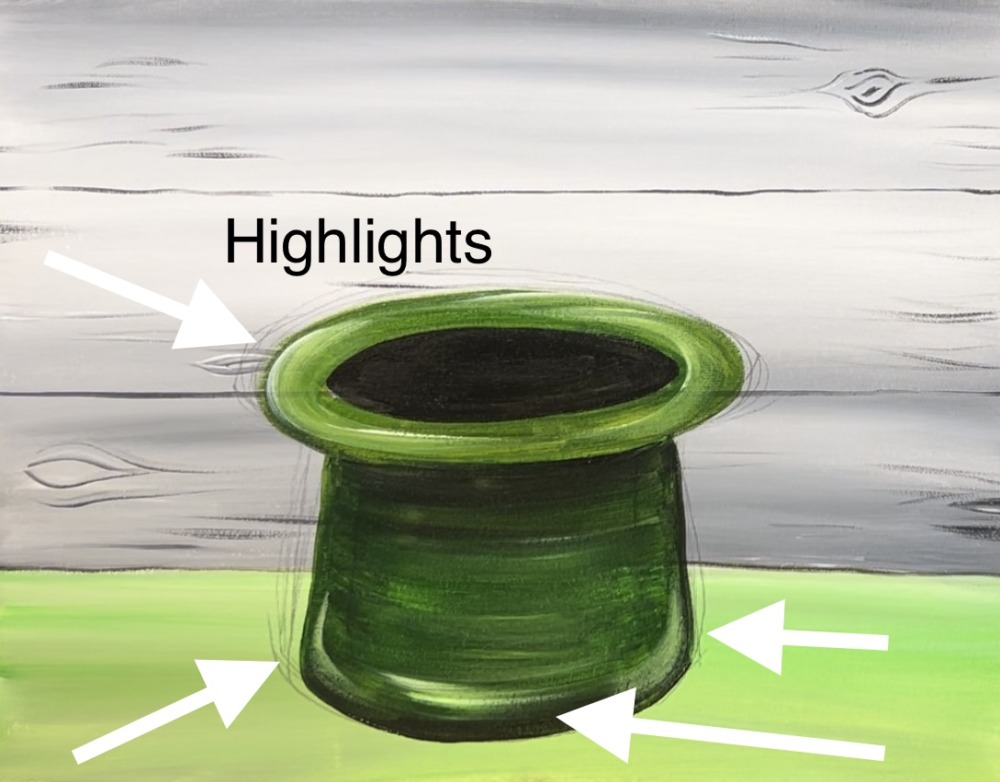
Next, mix “titanium white” into the same color used for the top rim of the hat. Paint a very loose “highlight” around the rim of the hat. This will blend gently with the green. Paint in a circular direction in the shape of the oval. Then lightly highlight the bottom part of the hat and bottom left and right corners of the hat. Do this “dry brush style”. This means you are adding very little paint to the brush and a lot of the dark color is still showing through.
Then paint the black belt that is located just directly under the brim of the hat. Use the 12 bright brush and “mars black” to paint this rectangular piece. Make sure that it is going slightly in a curved direction.
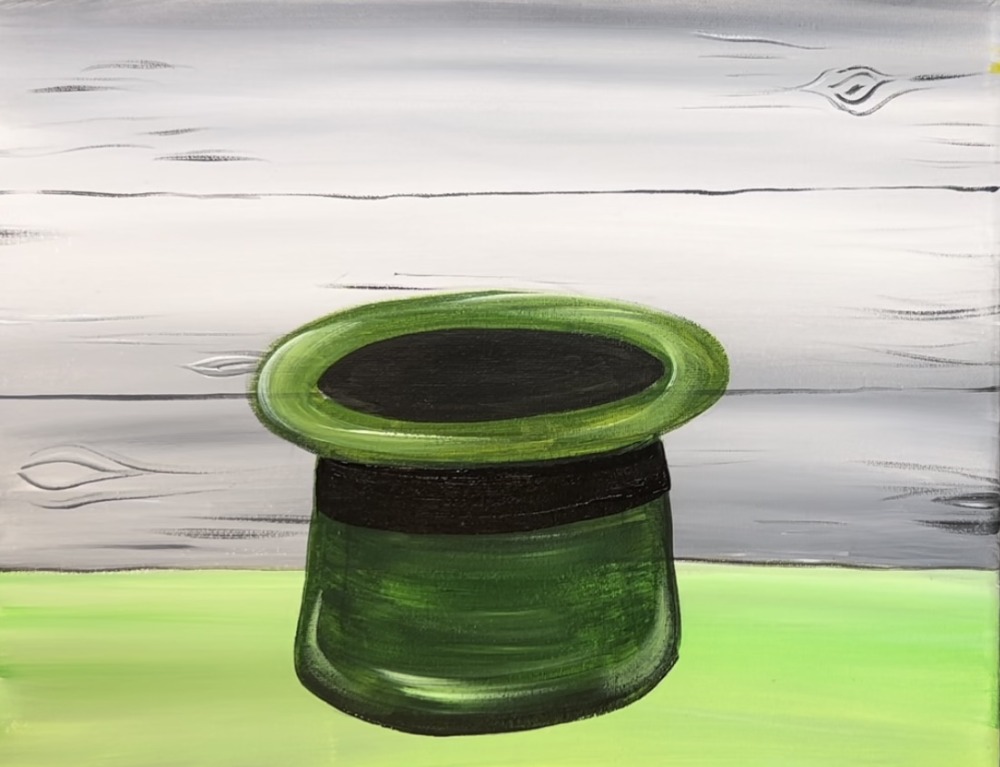
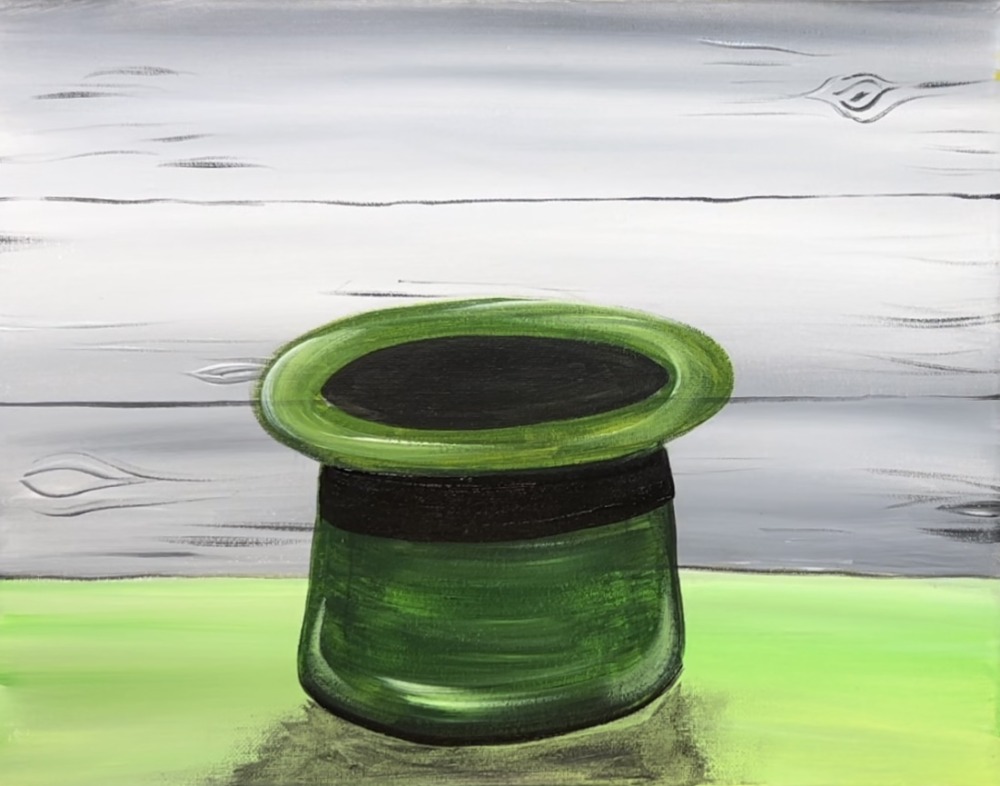
4. Paint Shadow
Water down mars black paint to a very thin water color consistency.
Then paint a very loose shadowy area under the hat. Make sure this black shows up very translucent. Load only a small amount of the watered down paint on your brush so that it is applied very thin.
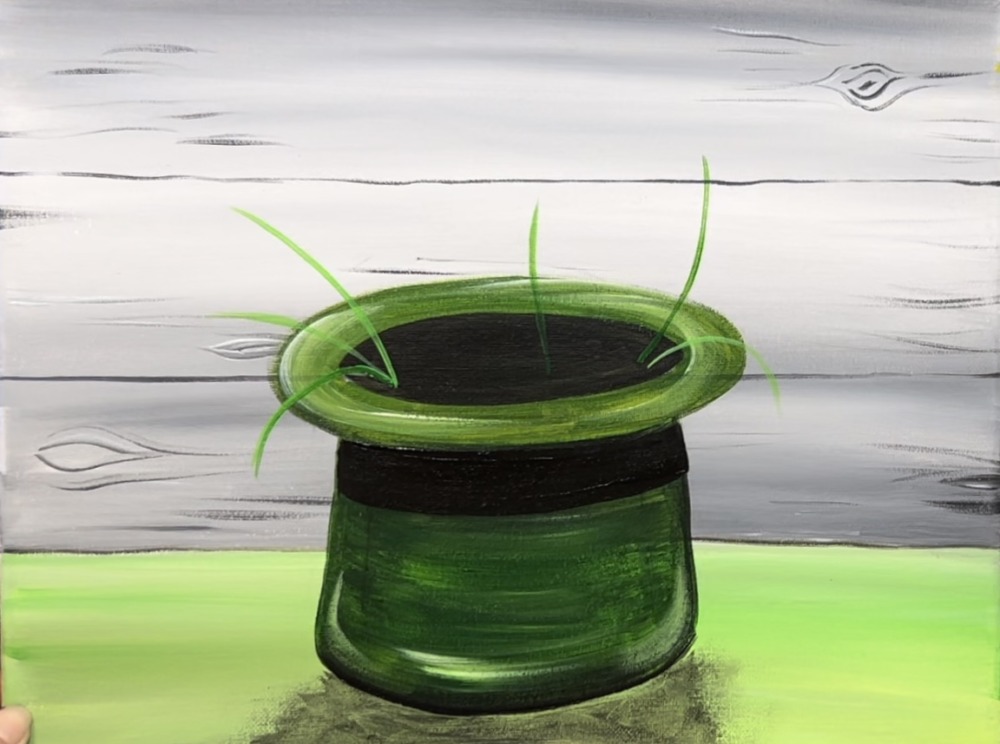
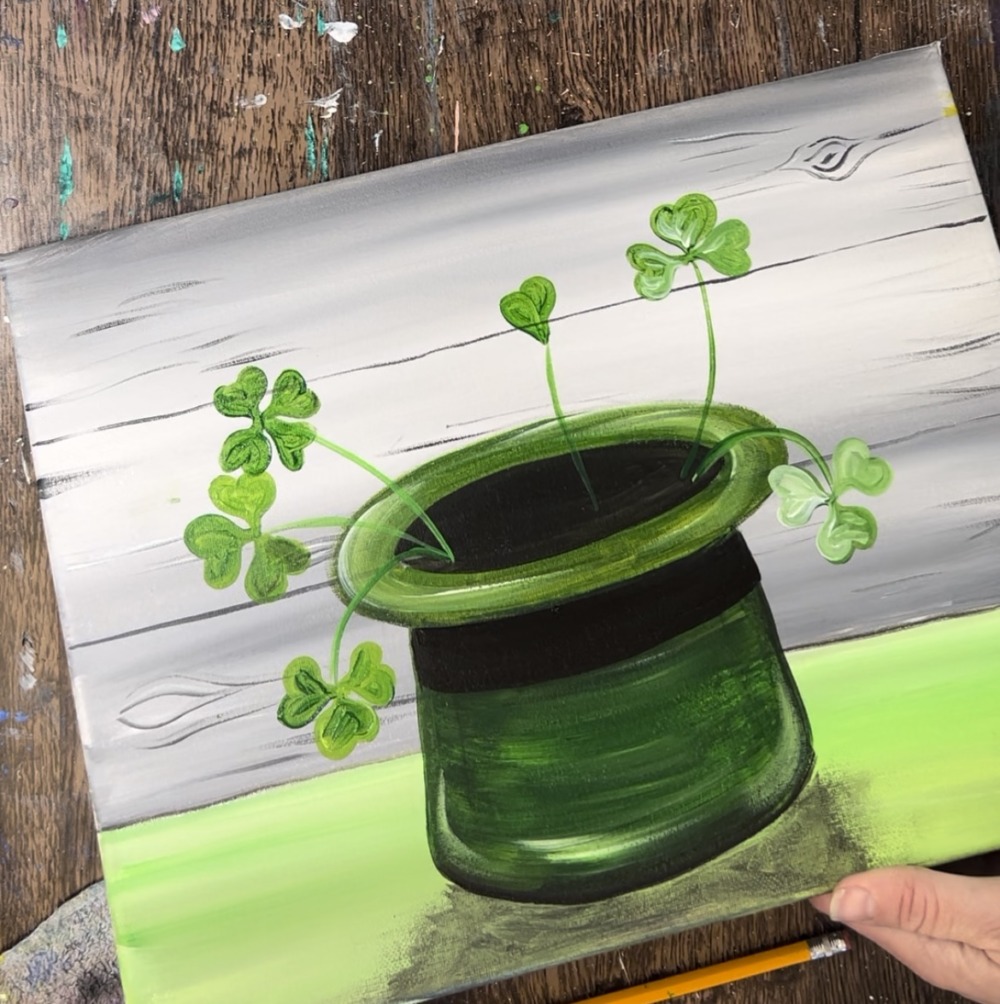
5. Paint Clover Stems
Use the #8 round brush (or #4 round brush) to paint stems of the clovers. Add a small amount of white into deep green permanent. This will help the stems stand out against the rim of the hat.
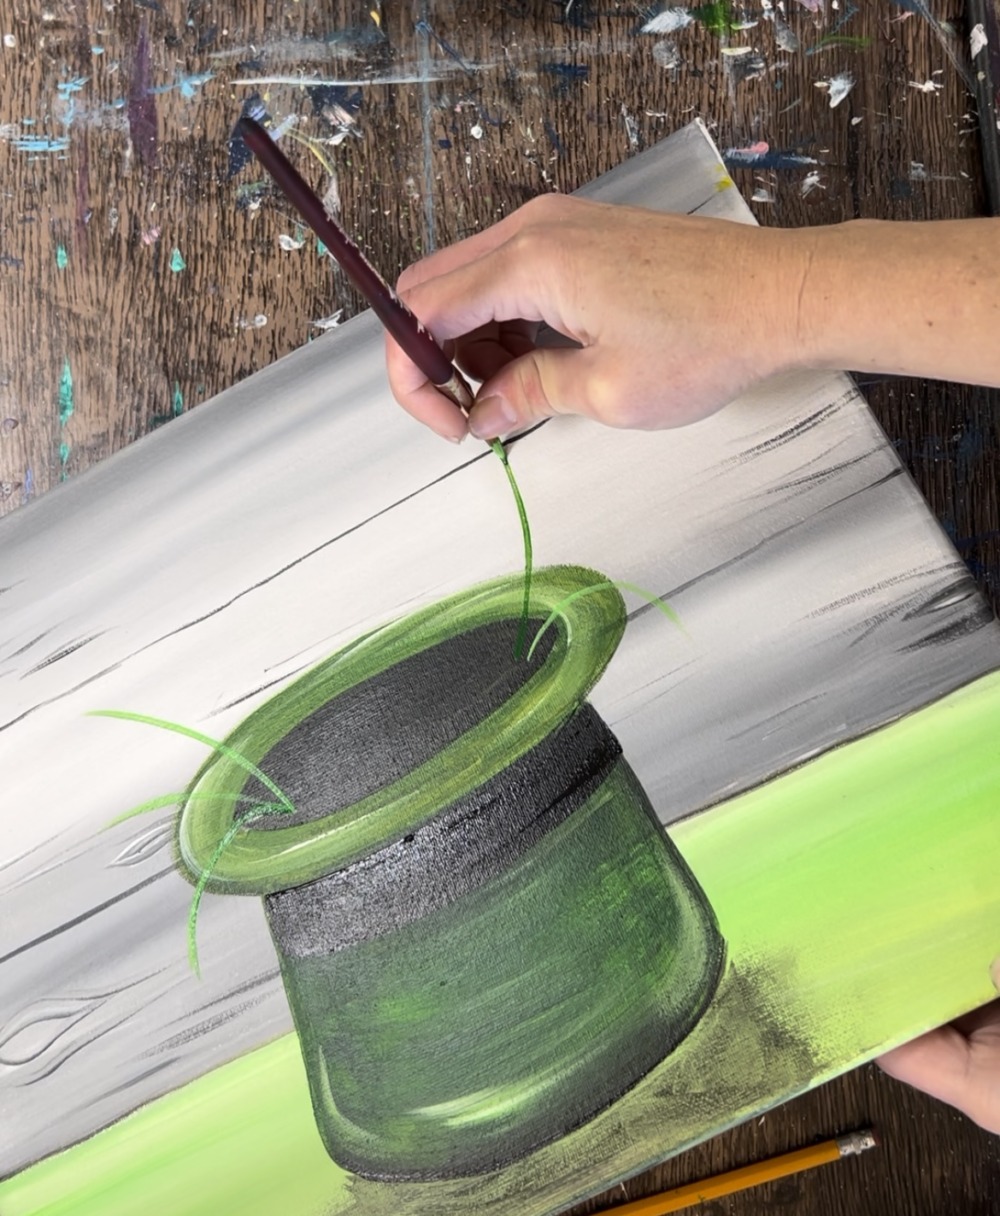
Paint at least six stems. Some hang over the edge, some are sticking up vertical. Some may be bunched together and some may be singular. Note: more stems and clovers can be painted later.
6. Paint Clovers
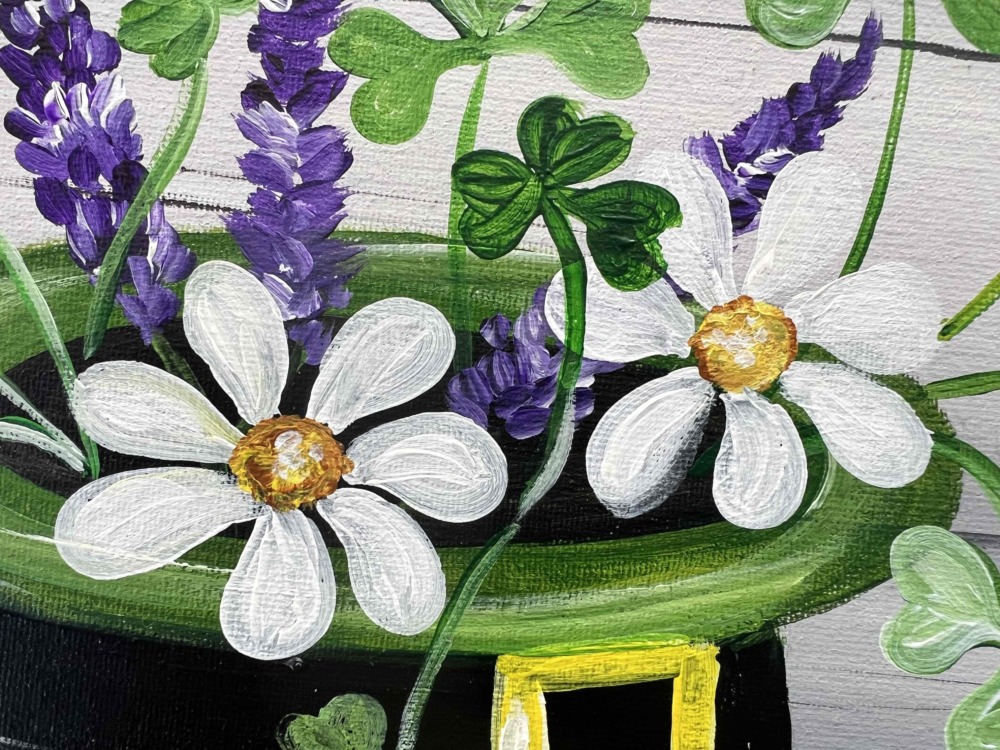
Use a #4 round brush to paint clovers. To paint a clover, paint three hearts with each point of the heart touching the top tip of the stem.
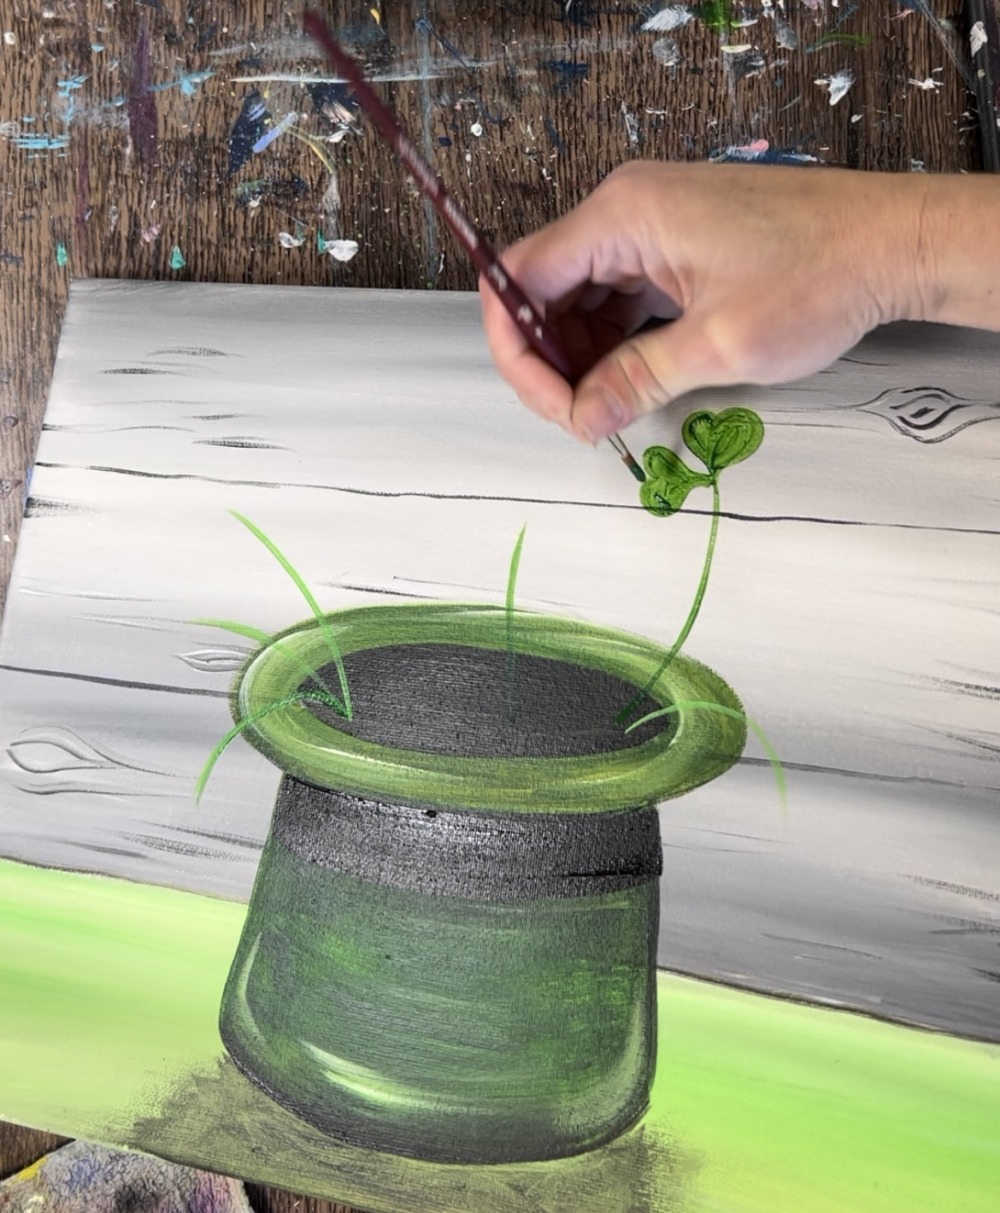
Do the clover with a combination of all the green you have on your palette. Add a tiny bit of white and mix that into some of the green to create some color variation.
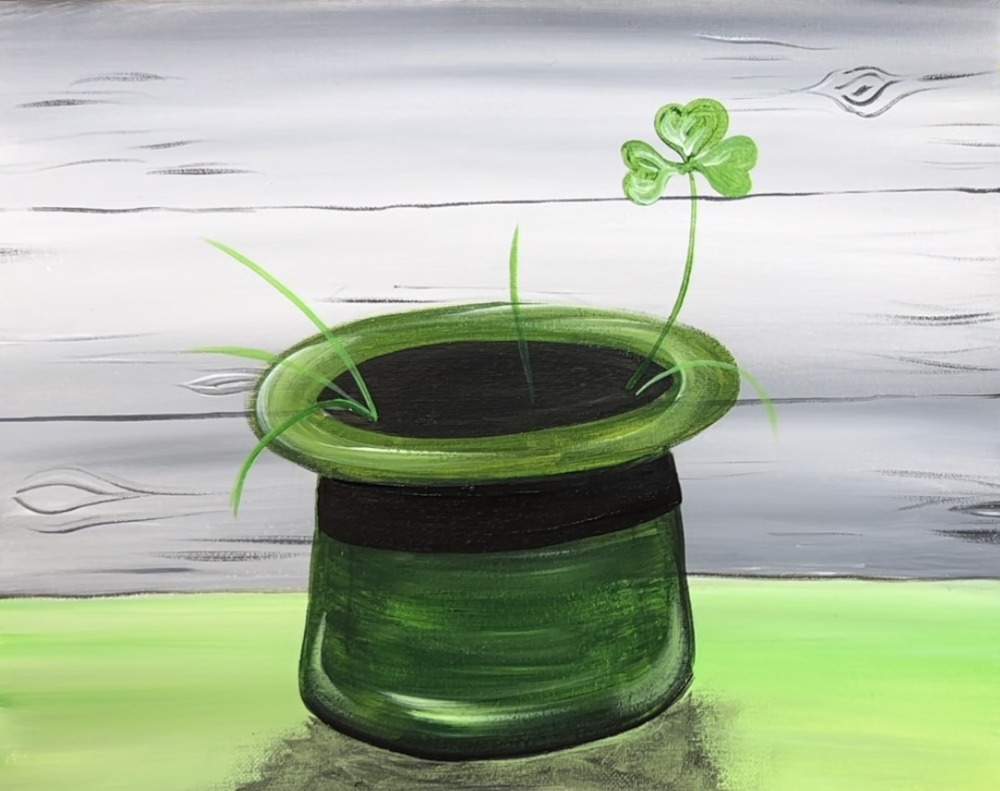
Paint each of the clovers using this “three hearts” technique. Each of the clovers may be slightly lighter or darker from one another. You can also create contrast if a clover is overlapping a dark part of the painting but adding extra white into the green.
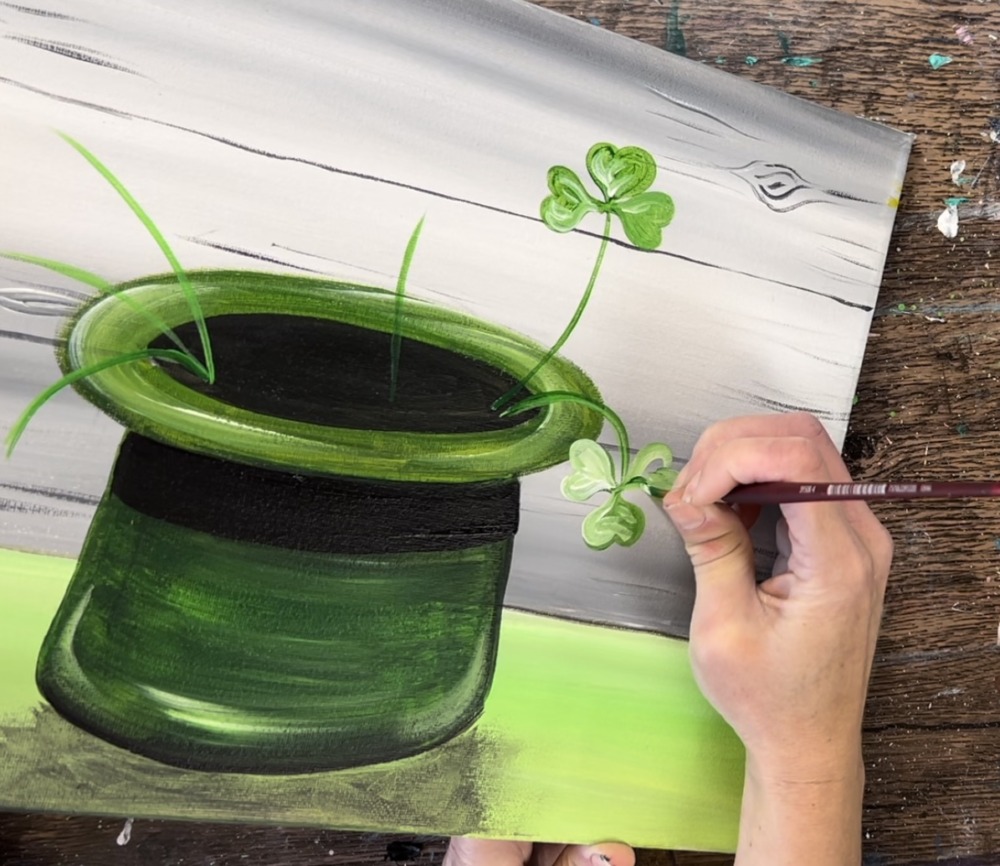
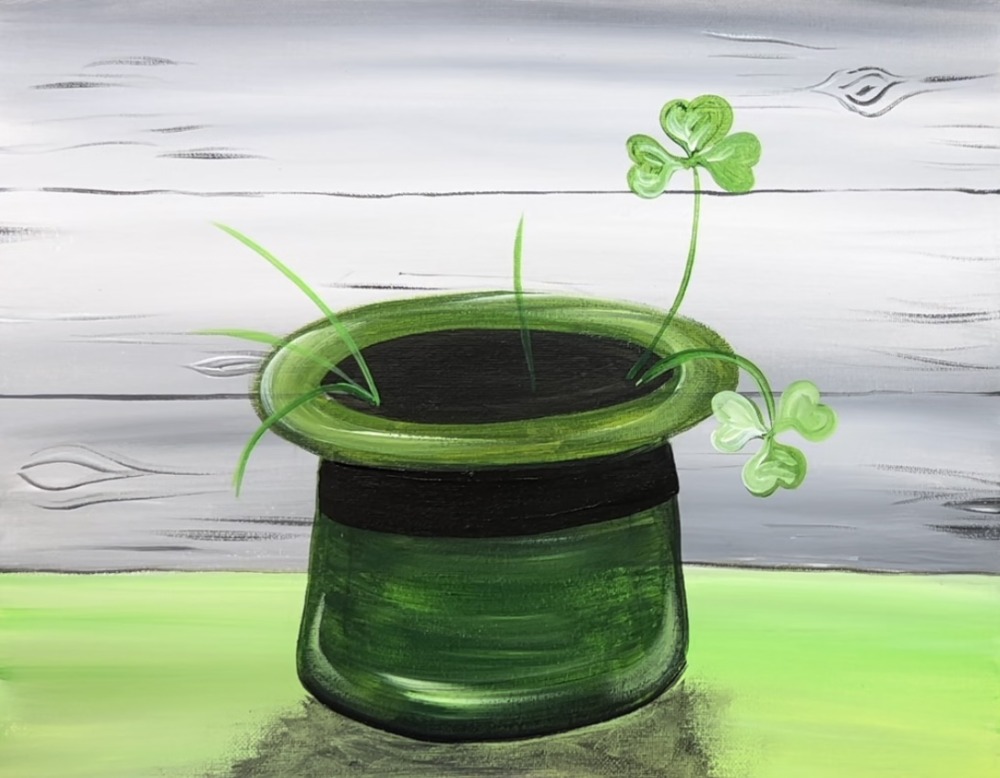
It’s okay if some of the clovers touch each other or overlap. Just be sure to vary the greens so that each clover stands out. If you want to do a four leaf clover, you can paint a fourth heart shape on the bottom that overlaps the stem (or paint four hearts going different directions).
7. Paint Lavender
Load your palette with the colors: dioxazine purple and titanium white. Use a #4 round brush. To paint the lavender, start at the top. Double load the tip of your #4 round brush in purple and white. Paint tiny strokes of paint and work your way down.
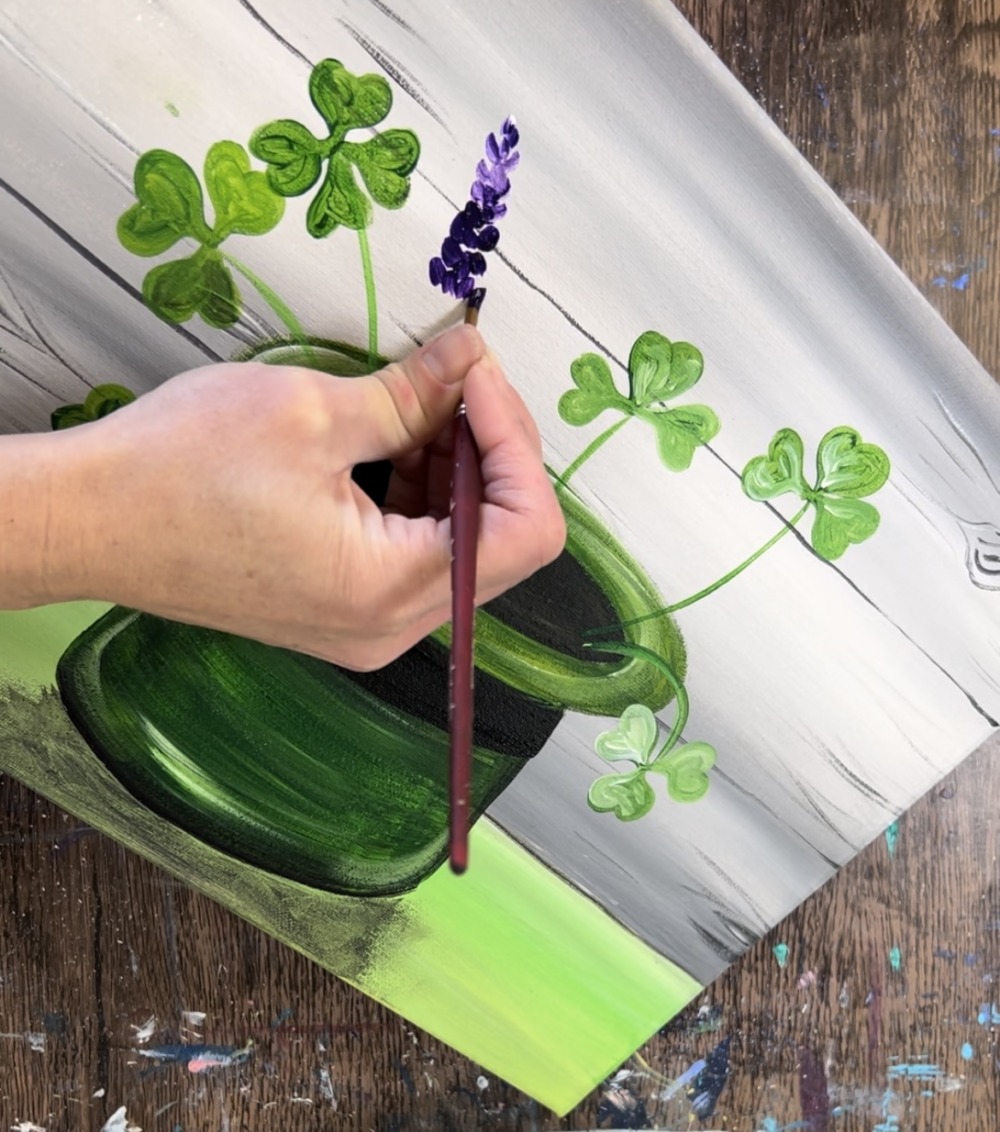
As you work your way down, form a vertical beam of tiny flower petals. This “cone shape” gets slightly wider on the bottom. Vary the purple and white so some areas are darker and some are lighter.

Paint two sets of lavender pieces close to each other.
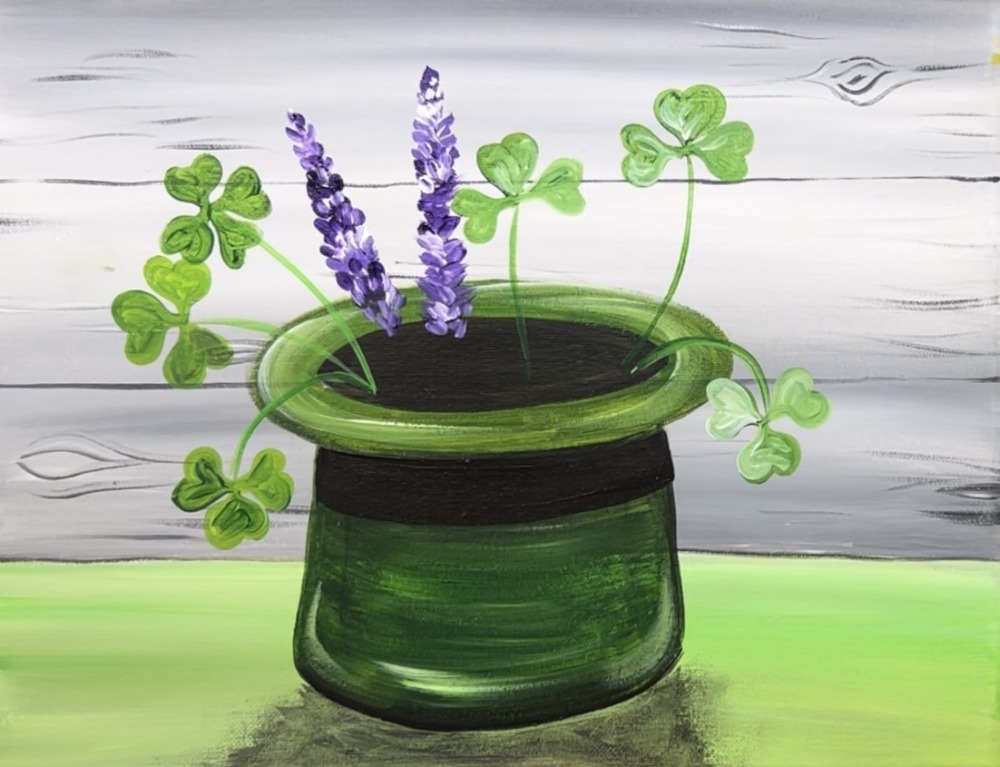
Then paint a third lavender piece on the right going at a different angle.
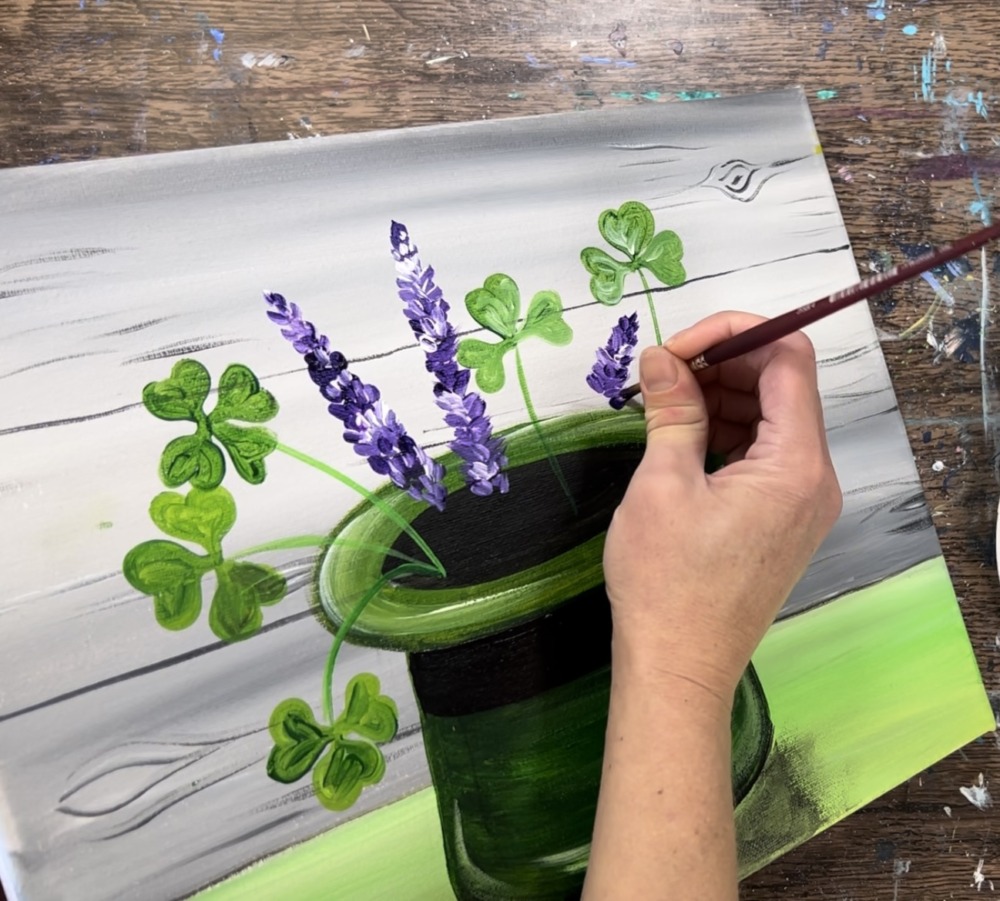
You can paint more lavender if wanted. Then paint stems that are attached to each of the pieces of lavender. Add a tiny bit of titanium white into hooker’s green hue to make it lightly enough to show up against the black.
8. Paint Coins & Buckle
Load your palette with fresh primary yellow paint. Then paint a solid white square shape overlapping the black belt piece. After that dries, paint this over with yellow paint.
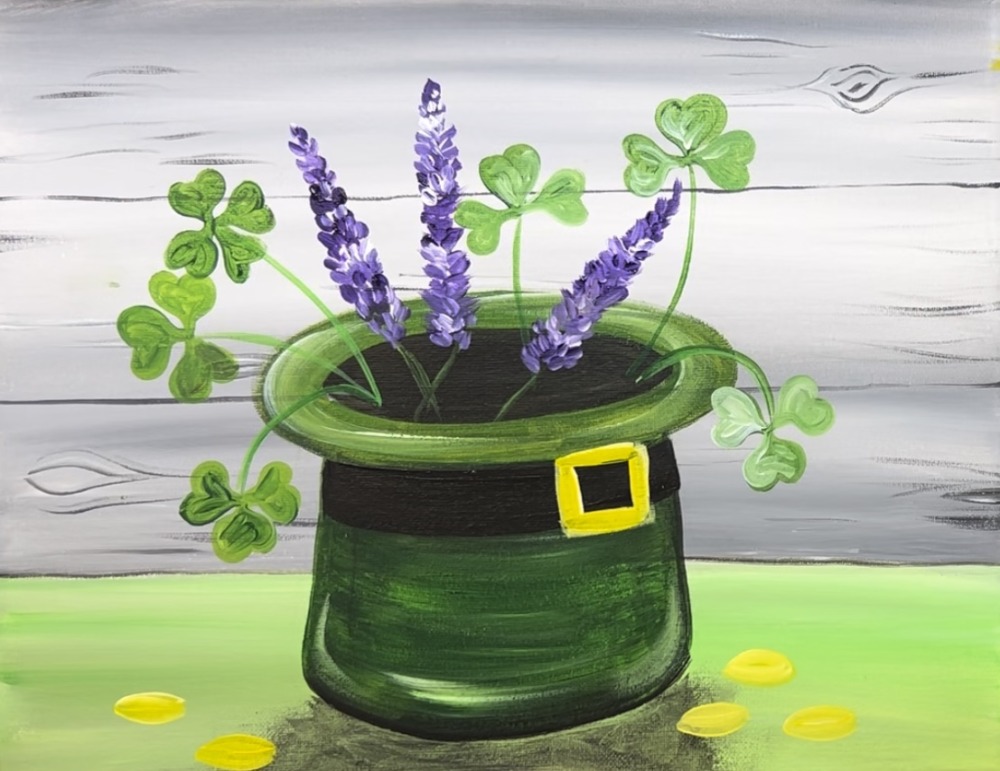
Then paint several oval shapes on the table area to resemble gold cones. After this dries, use a little bit of raw Sienna to paint a small line/shape area below each of the coins to make it look three dimensional.

Then paint a white highlight on the left side of each of the coins. Next, paint a shadow area under each of the coins using very watered down black paint.
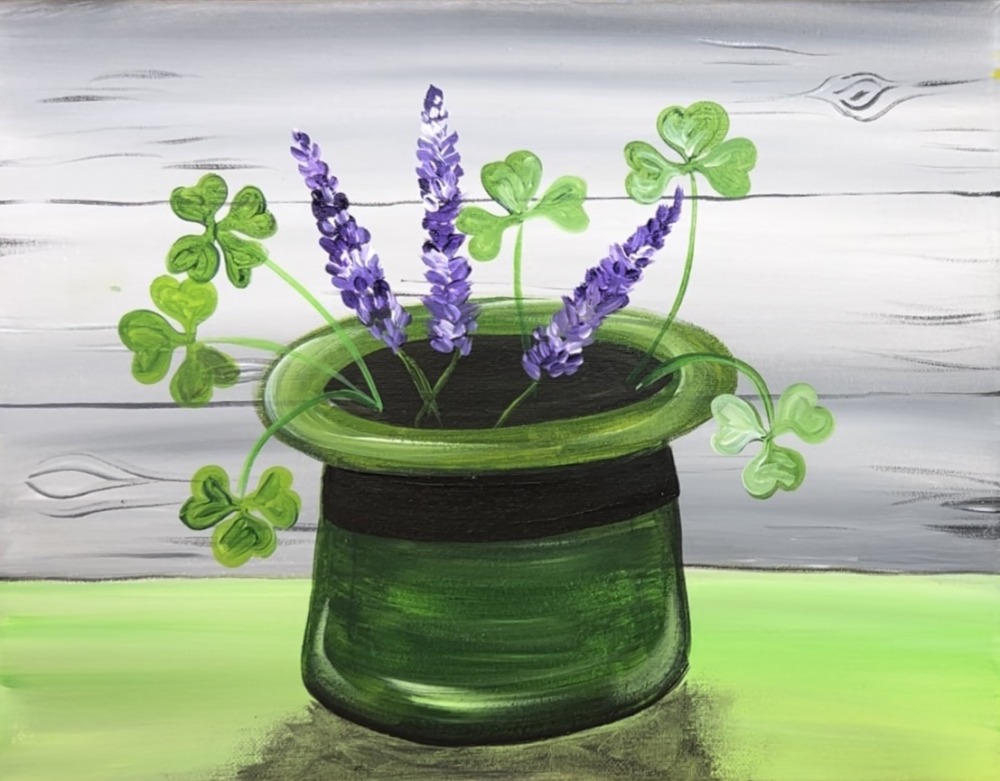
9. Paint Daisies
To paint the daisies, paint two small circles with yellow paint. If the yellow isn’t showing up, add a small amount of white into the paint.
Then use titanium white and the #4 round brush to paint each of the petals of the daisies. Outline the shape of the petal first and then fill them each in solid with white. These daisy petals are slightly narrow at first and then go wide and rounded at the edges.
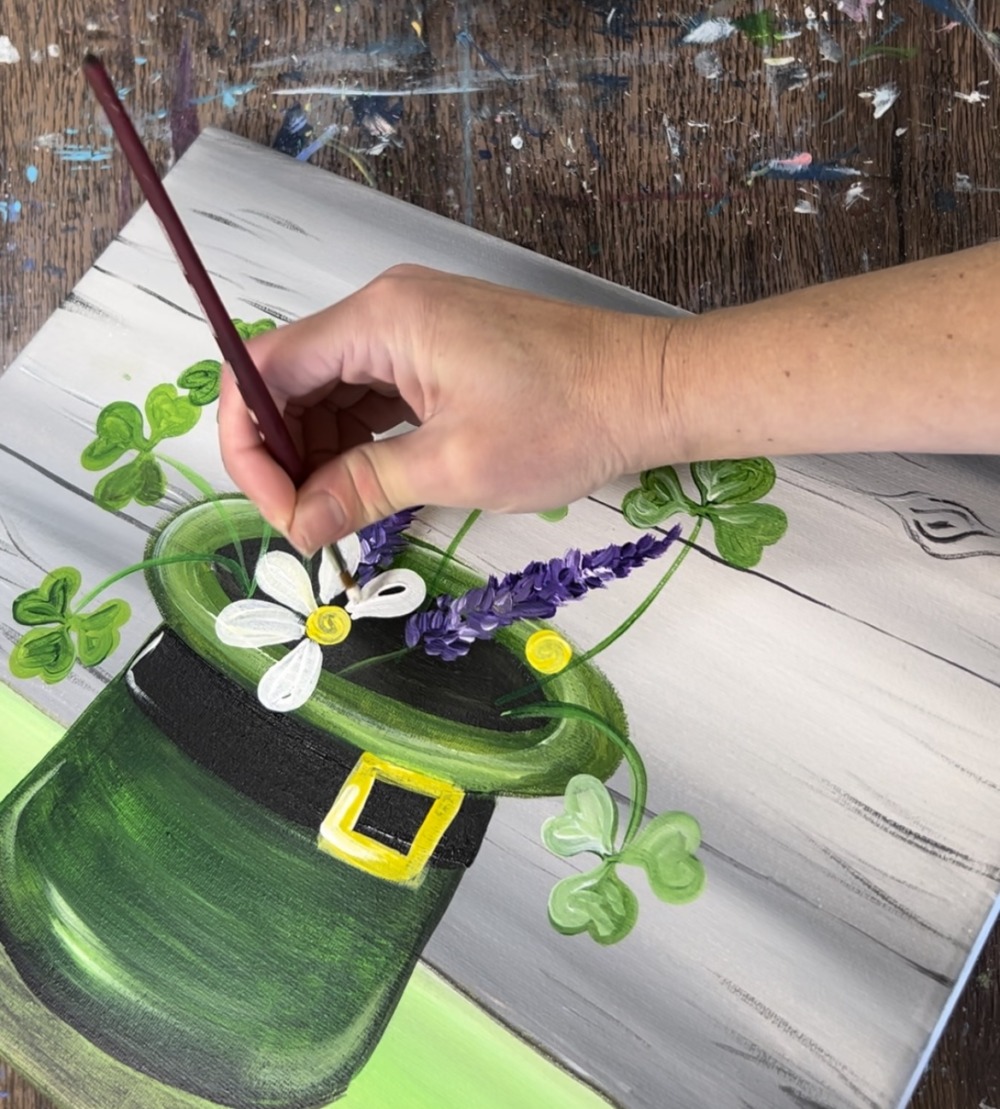
Then paint the second daisy petals.
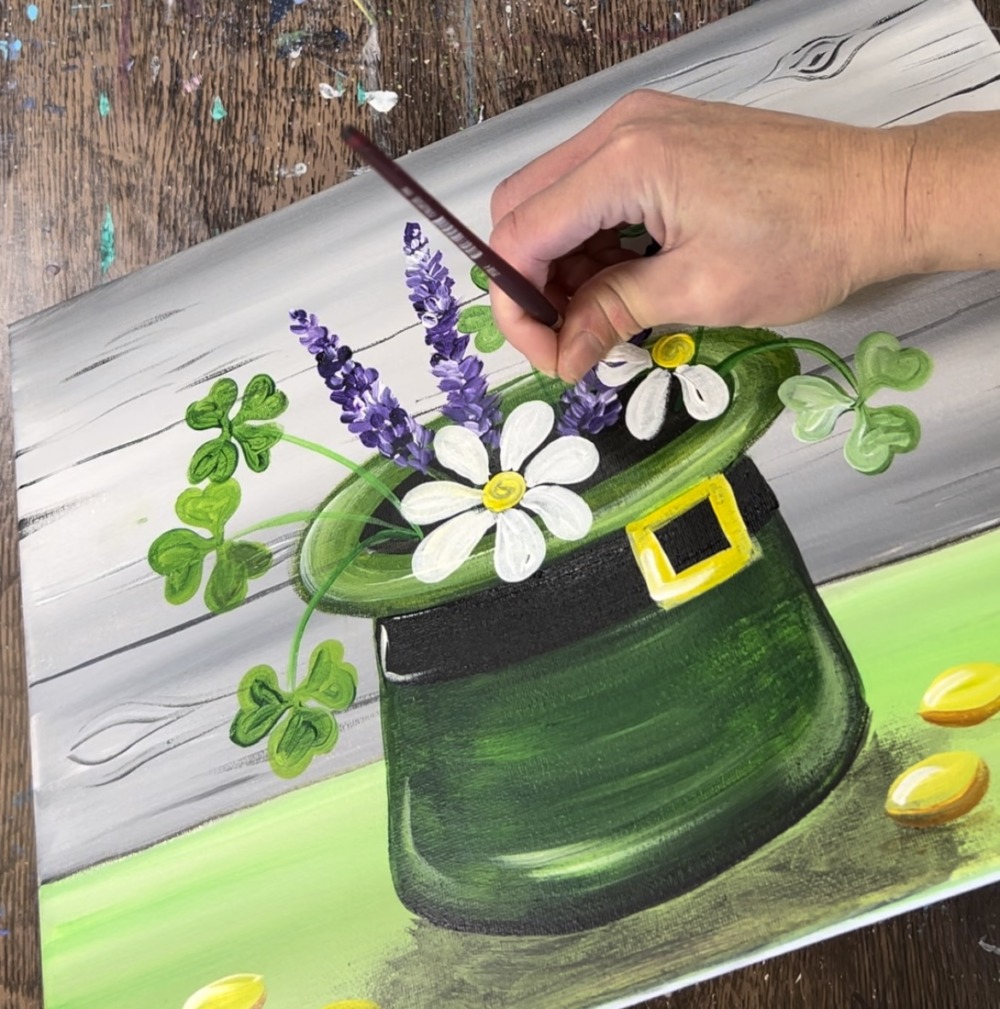
Next, use the #4 round brush and raw umber to “stipple” light brown dots in the center of the daisy circles. Then add more yellow and a small amount of titanium white just in the center part of the circles.
10. Paint More Clovers
Paint more clovers to fill up the bouquet! You can paint clovers that slightly overlap the daisies, more clovers hanging down from the hat, etc. Be sure to vary your greens to get a nice variety! You can also paint a clover laying on the table.
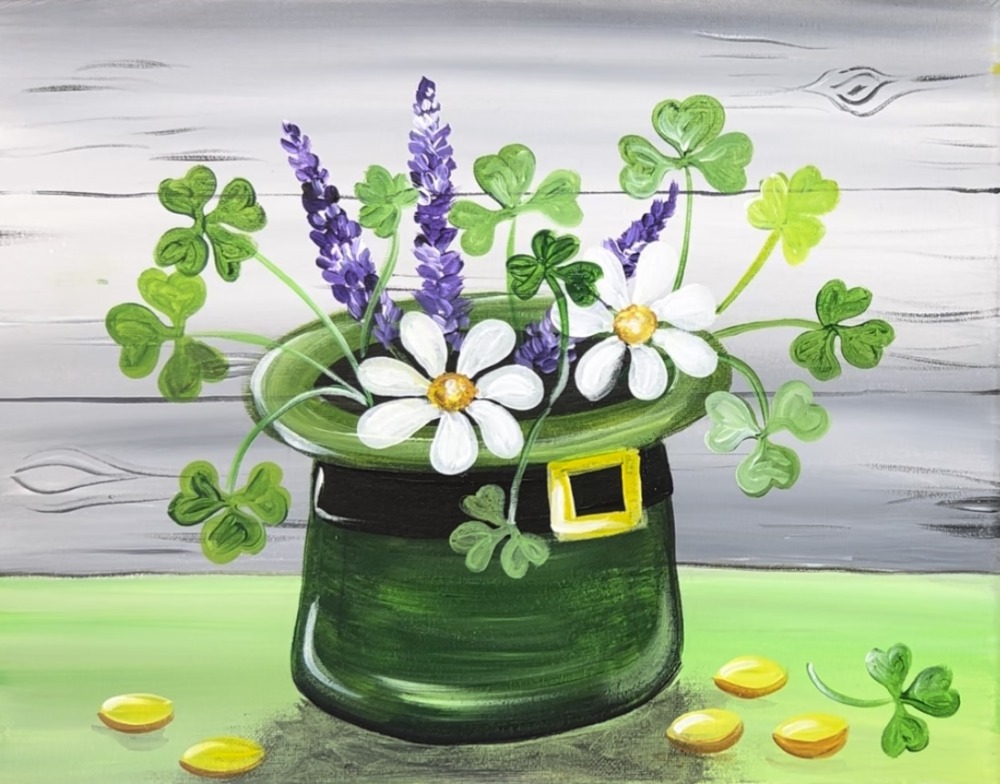
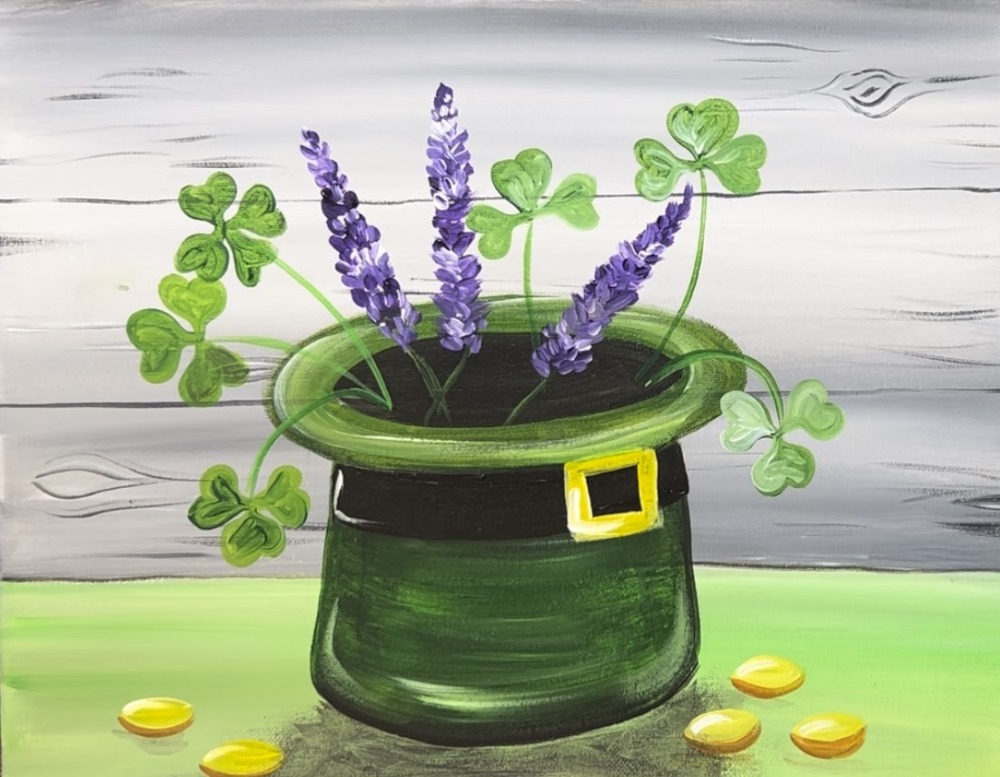
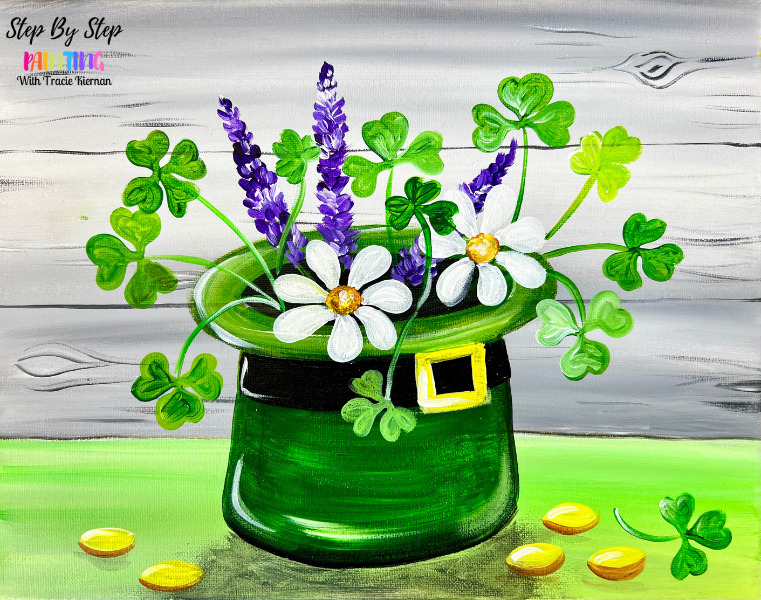
Finished
Tracie. Thank you very much for the St Patrick’s Day hat painting. I am going to paint it. Love your paintings and style.