


Would you like to save this?
Learn how to paint a cheerful spring bee painting scene with three different kinds of flowers.
This tutorial includes an optional traceable template to help you with the drawing portion.
Enjoy and happy painting!
Materials
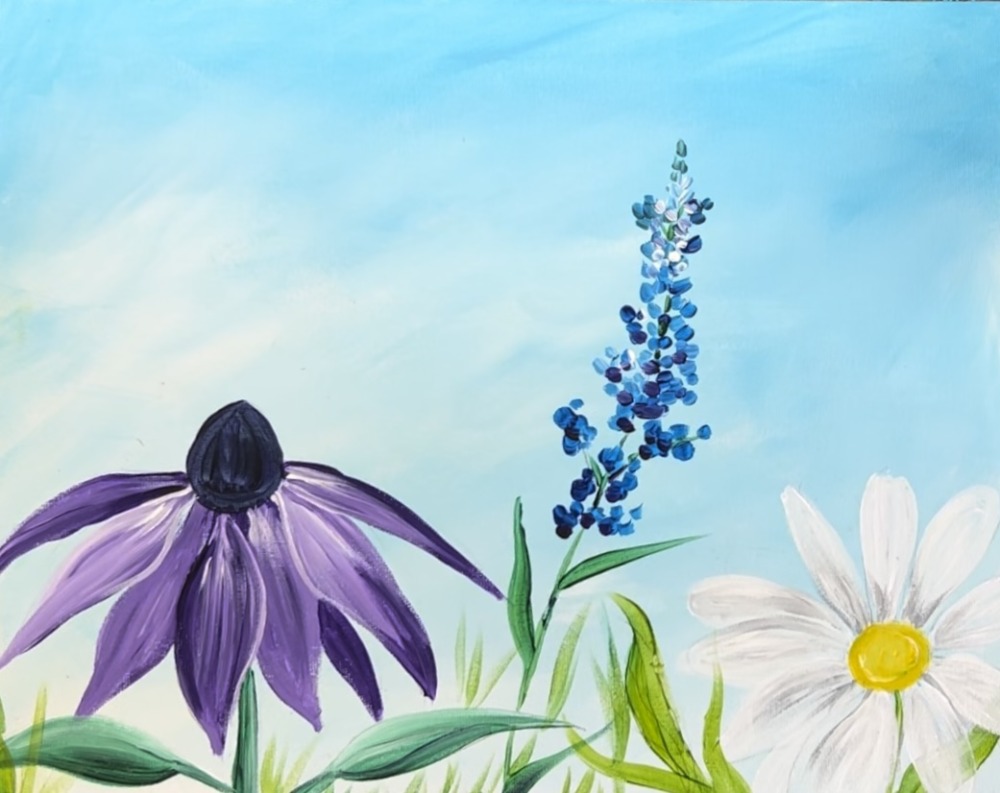
"Busy Bee" - Acrylic Painting Tutorial
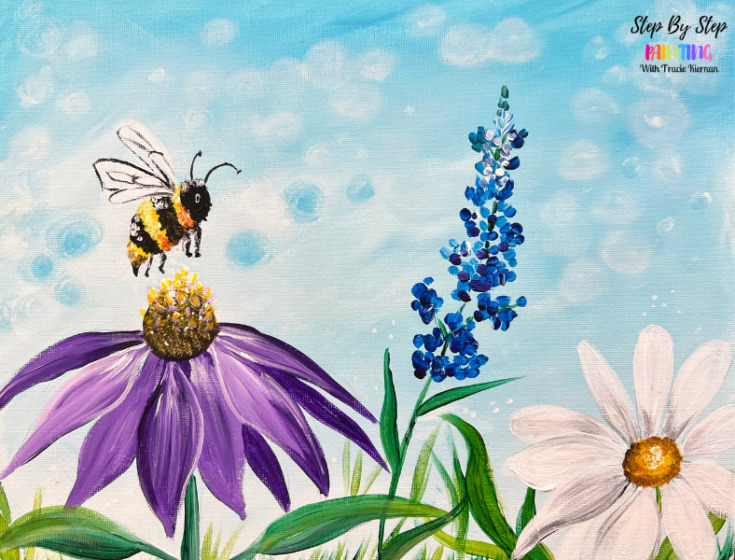
Paint a spring scene with three flowers and a busy bumble bee.
Tools
- 11 x 14 Canvas
- Acrylic Paint
- Paint Brushes
- Optional Traceable Template
- Optional Graphite Paper
- Pencil
Brushes
- 3/4 Wash Brush
- #4 Round Brush
Colors
- Titanium White
- Mars Black
- Light Blue Permanent
- Cad Orange Hue
- Cad Yellow Medium Hue
- Deep Green Permanent
- Dioxazine Purple
- Brilliant Purple
- Burnt Umber
Color Palette
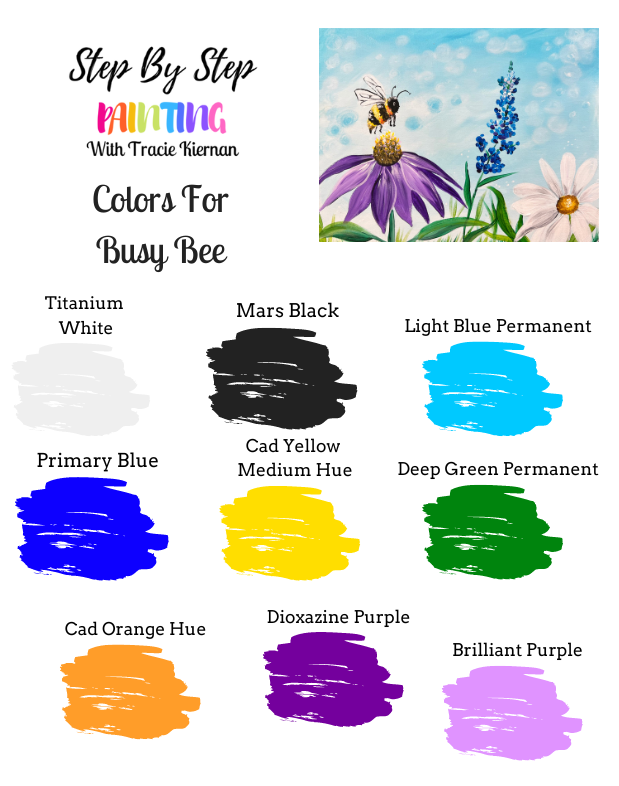
*Burnt umber not pictured
Craft Paint Conversion
If you are using craft paints, such as the Apple Barrel Craft Paints, I would recommend subbing to:
- White
- Black
- Parrot Blue
- Bright Blue
- Bright Yellow
- New Shamrock
- Jack O Lantern
- Purple Iris
- Purple Iris + White
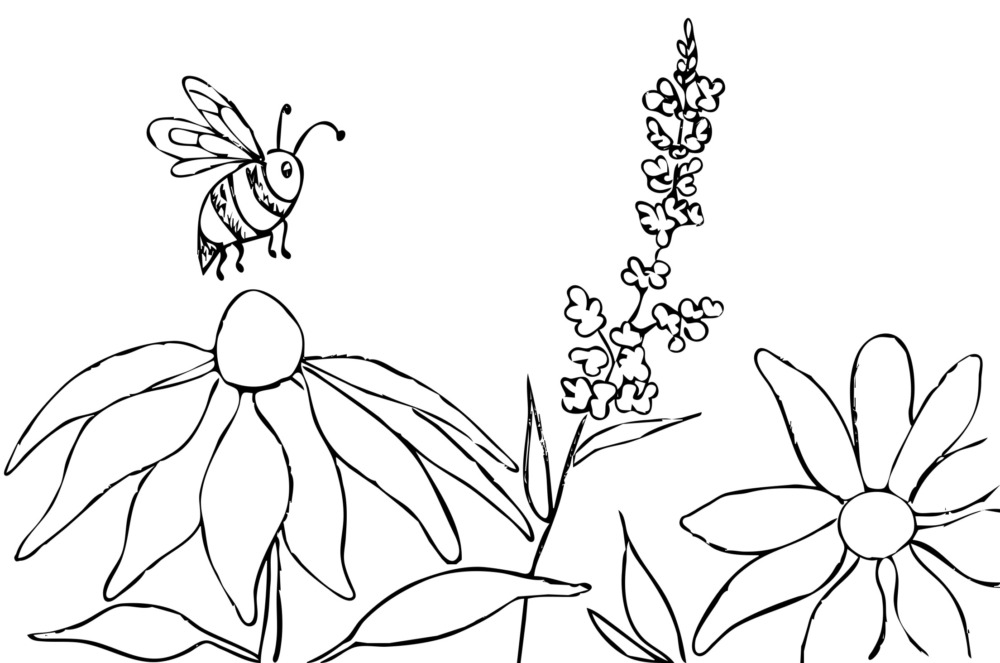
Traceable
This is optional! You’re welcome to use it for the drawing portion of the tutorial.
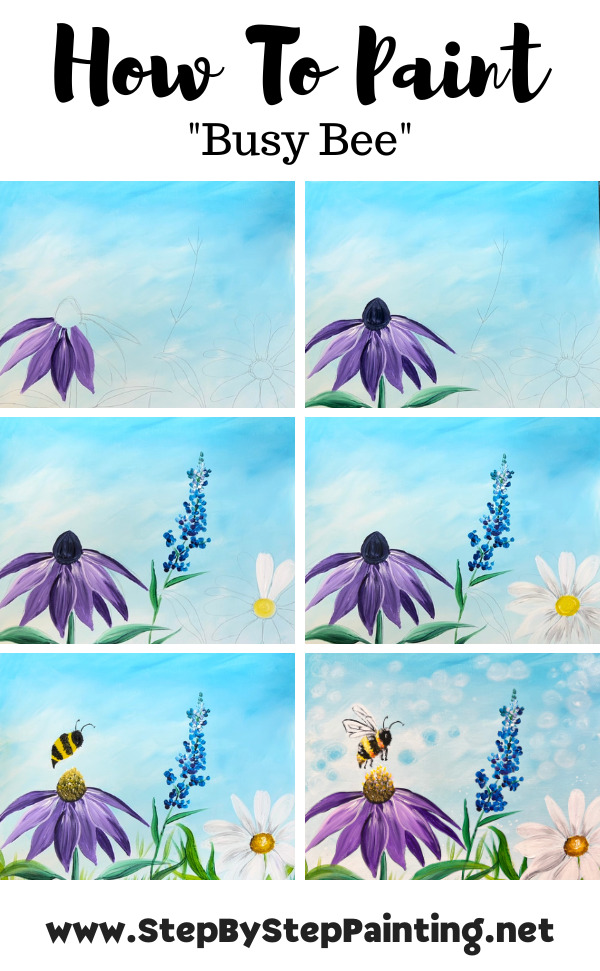
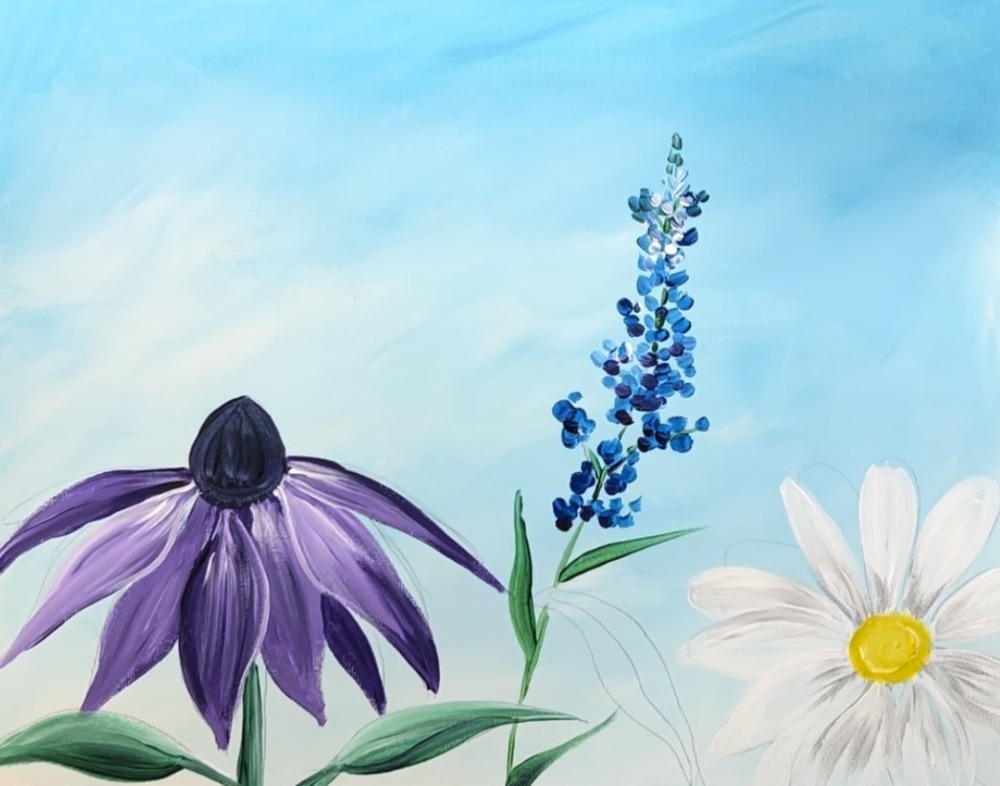
Directions At A Glance
Video
Step By Step Instructions
1. Paint background
Load your palette with the two colors: light blue permanent and titanium white. Use a 3/4″ flat wash brush to load it into just the light blue at first.
Start at the top of the canvas. Paint “angled”, “expressive” style strokes.
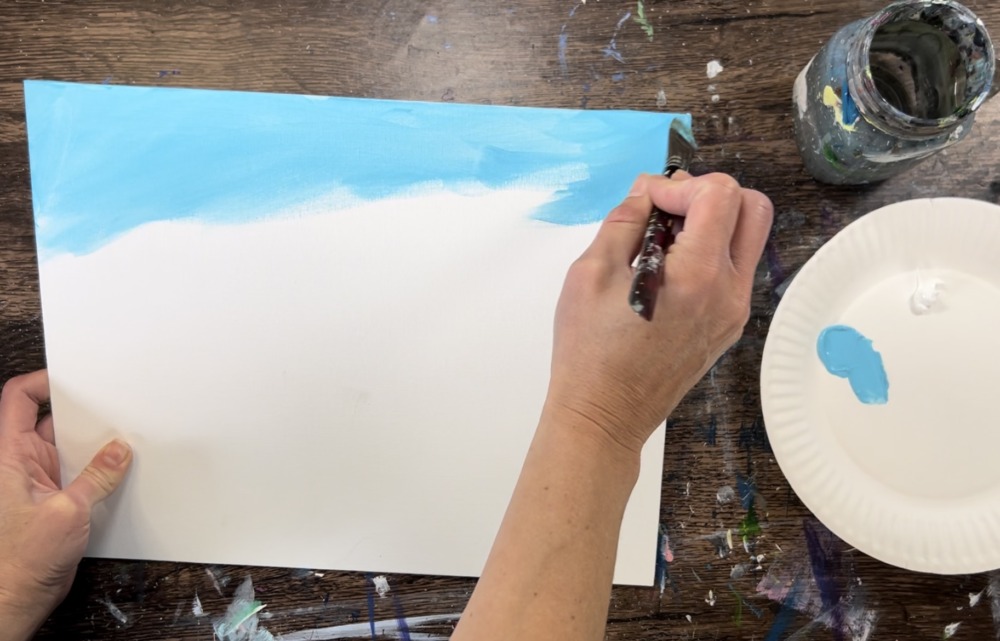
For this background, you need the blue to be slightly darker at the top and then get slightly lighter towards the bottom.
As you work your way down the canvas, gradually add white to the blue so the sky becomes lightly lighter. Let the blue and white blend right on the canvas.
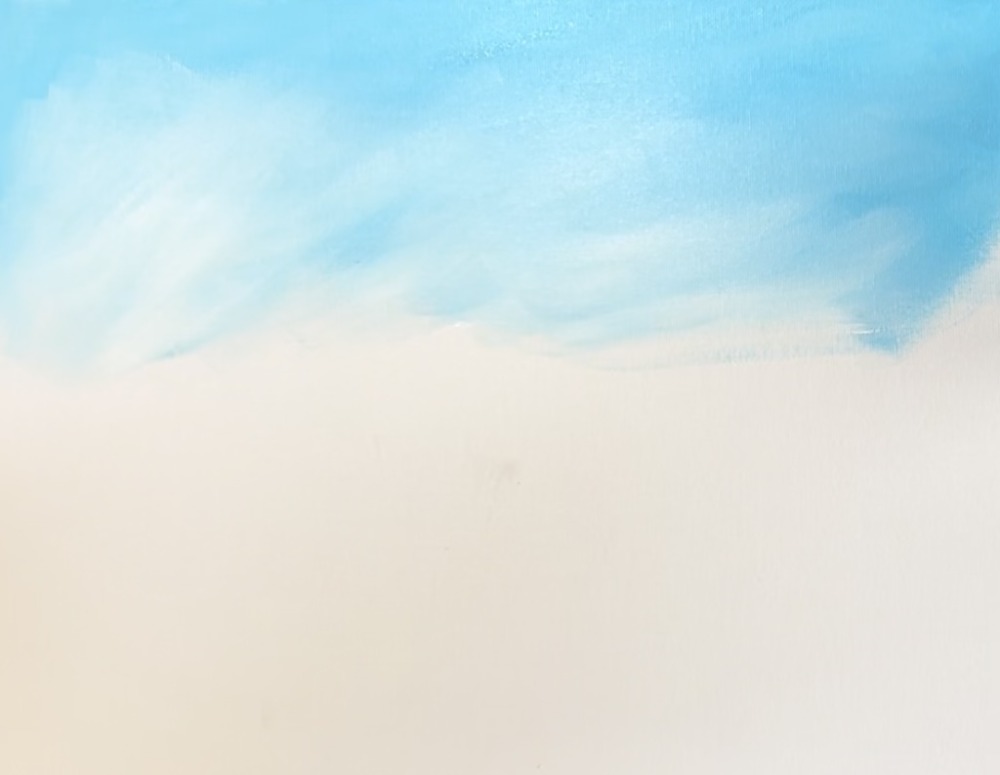
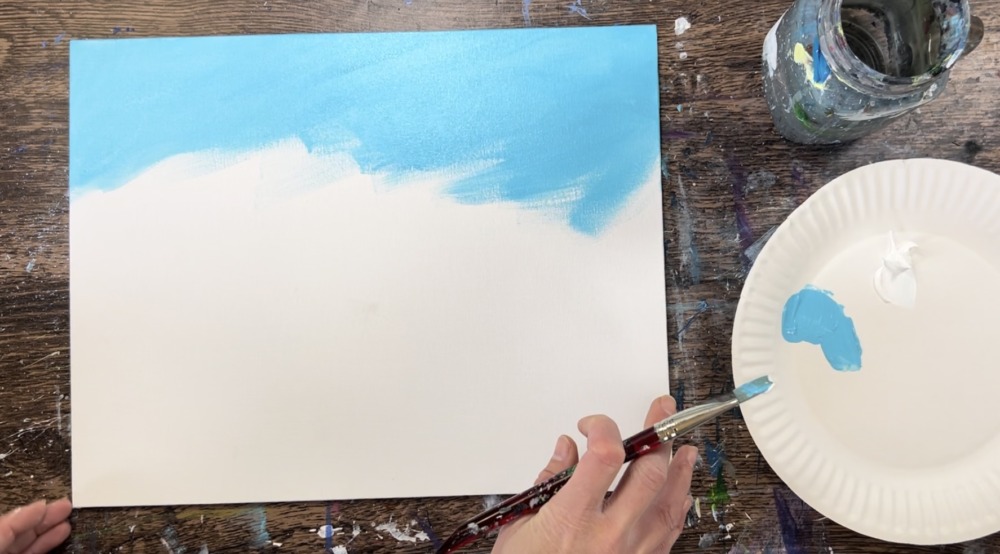
Fill the entire canvas from top to bottom with this blue and white, blended combination of colors. You can add a bit of water to your brush to thin the paint down a bit and help it to spread faster.
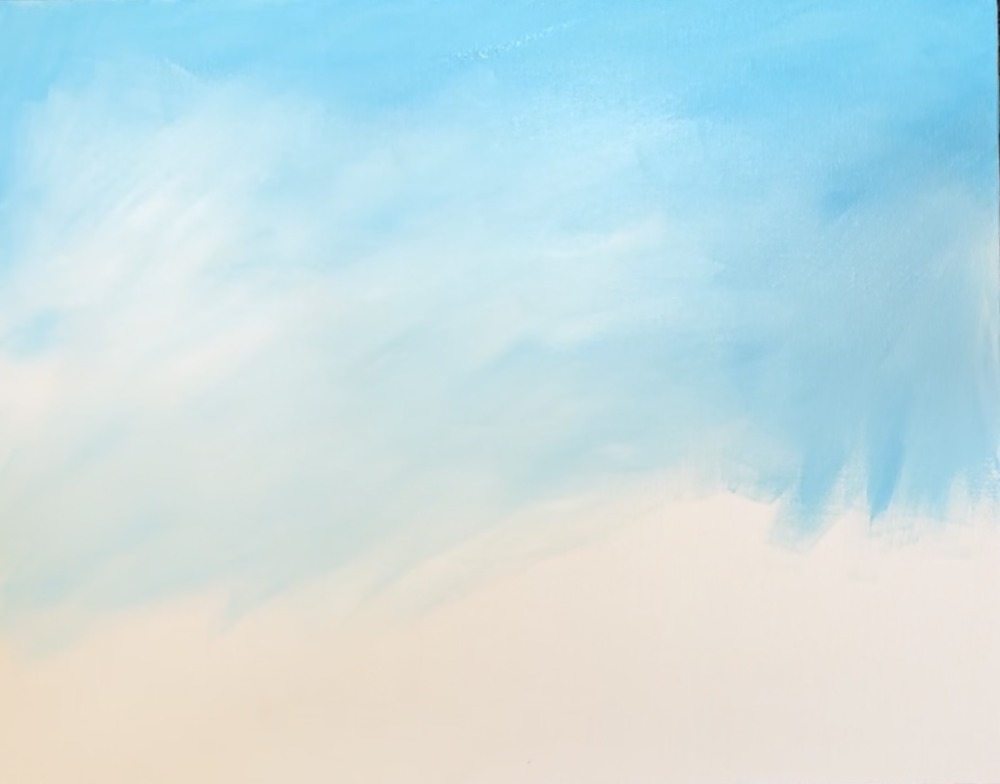
Let the bottom portion of the canvas be very light blue but not all the way white. You’ll still need enough contrast on the bottom of the painting for the pure white petals of the daisy flower.
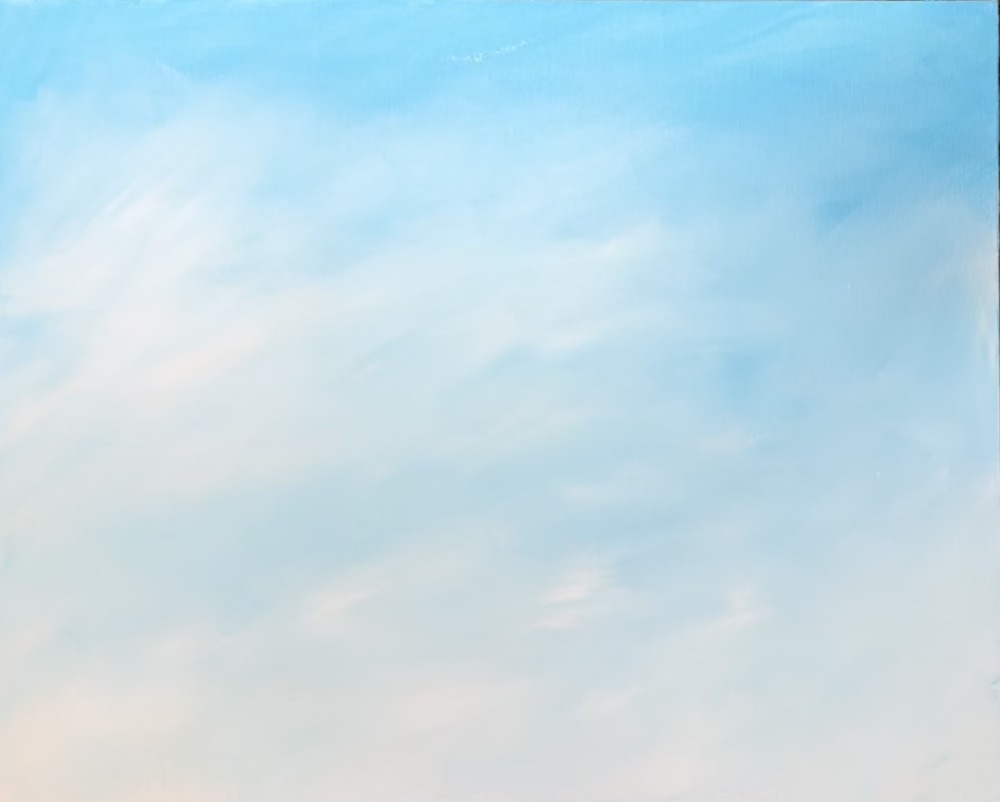
Wait for this to dry before moving onto the next step.
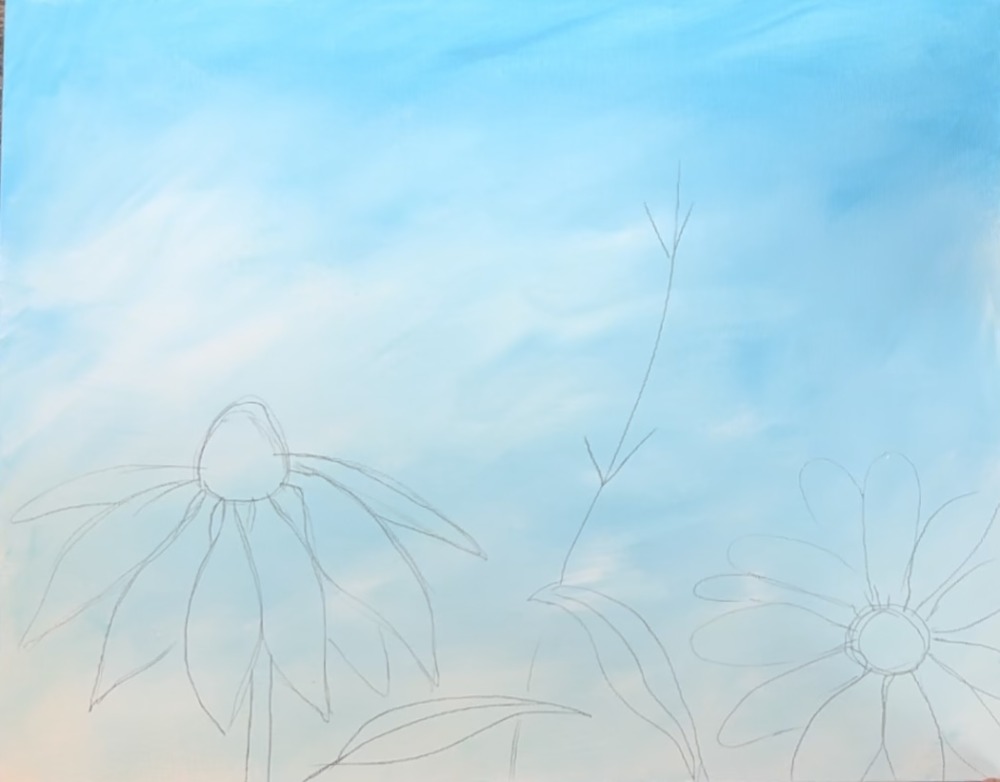
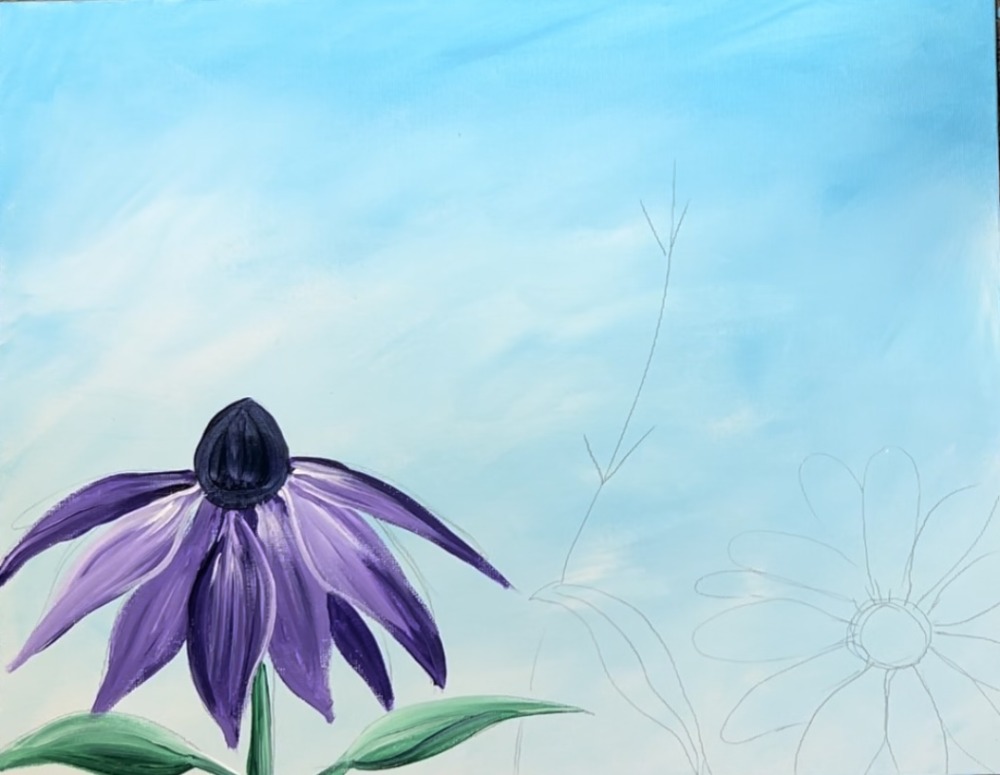
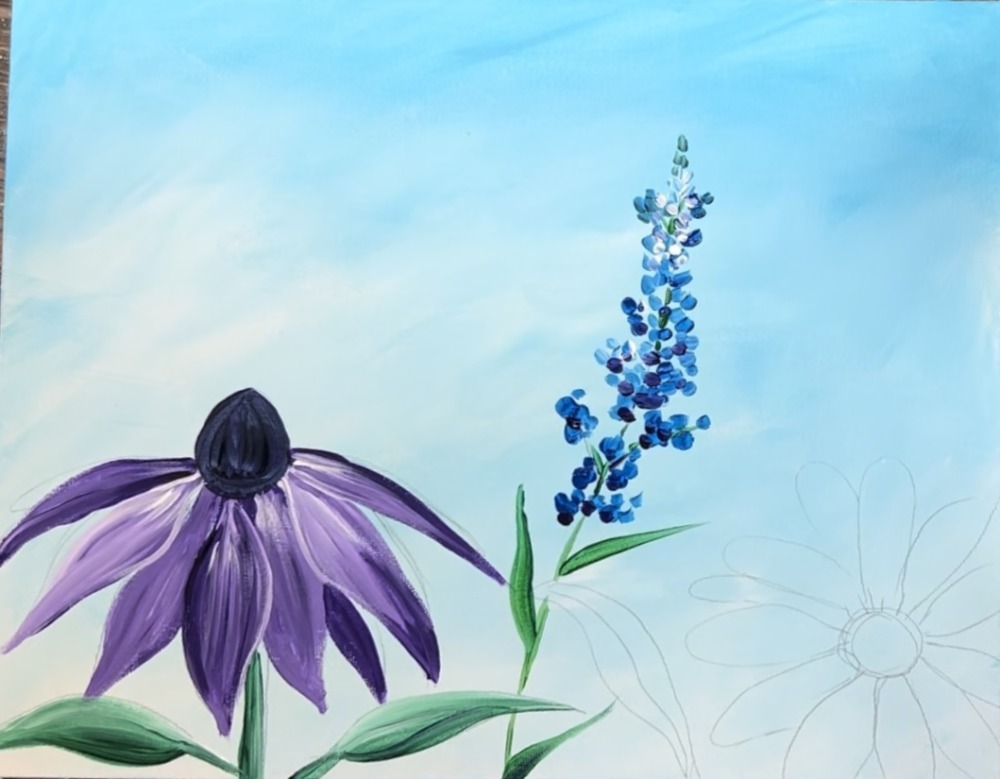
2. Draw flowers
If you are using the traceable template, print it out and use a sheet of graphite paper to transfer it to the canvas.
If you are drawing the flowers, start on the left with the purple coneflower. Draw a triangular shape for the “cone” part. Then draw each individual petal. Each petal starts out very narrow at the base and goes elongated to a round shape and is slightly pointed on the tips.

Draw each petal so that it slightly overlaps a petal next to it.
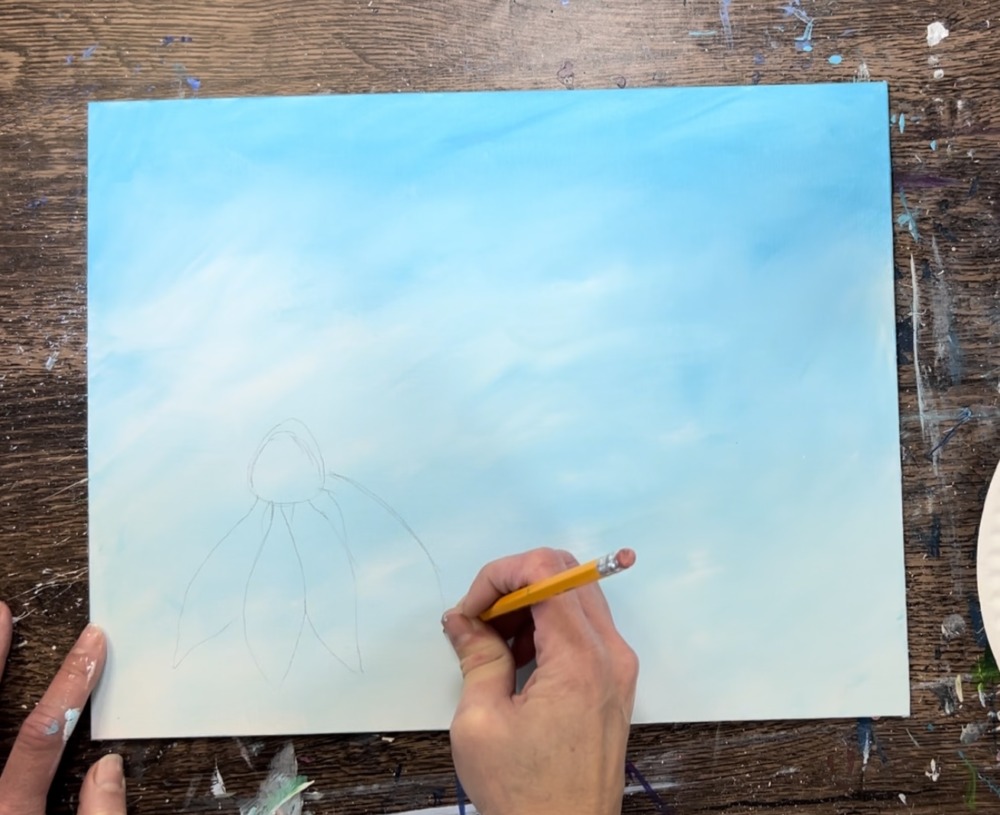
Some of the petals are completely behind the front petals so you only see the tip. Draw a narrow rectangular shape for the stem.
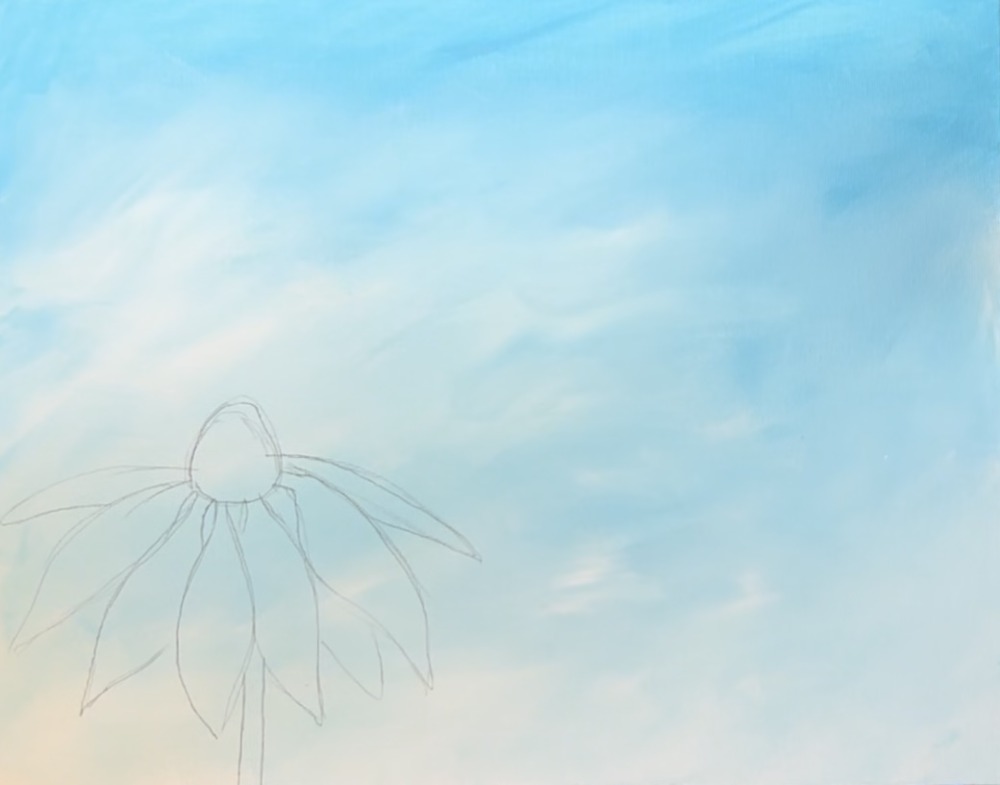
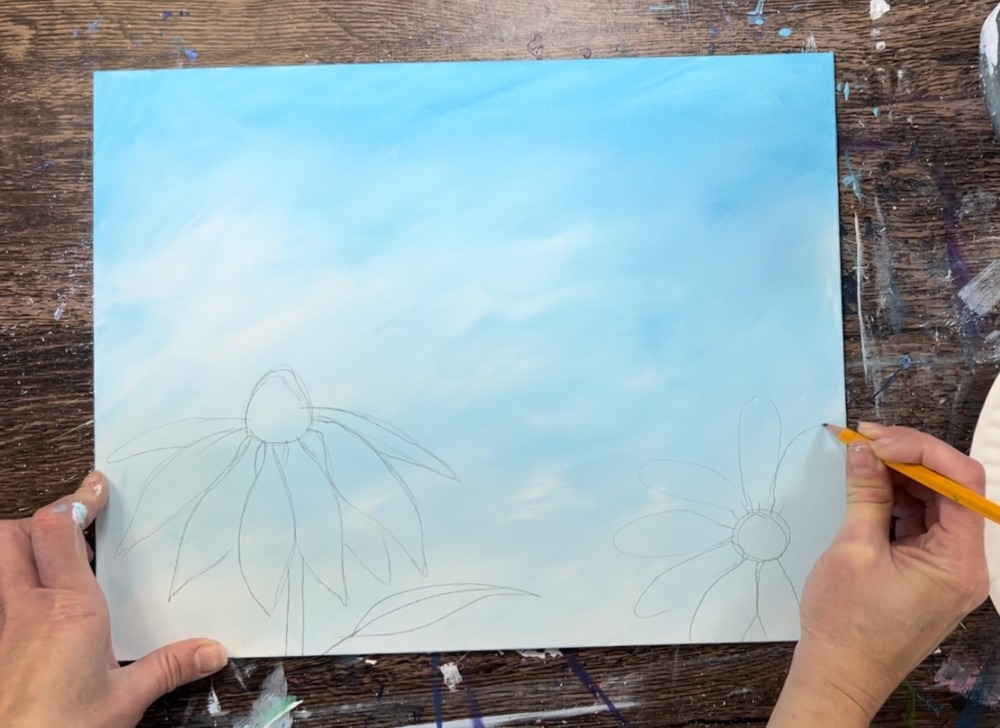
Draw a leaf. Then draw the daisy on the right. Start by drawing a small circle. Then draw each petal radiating around the circle. This daisy is a frontal view so each petal is relatively the same shape and size.
Next, draw just the stem for the bluebonnets. Drawing the individual small blue flowers would be a little tedious. Draw a long, semi-wavy stem. Then draw two sets of small branches.
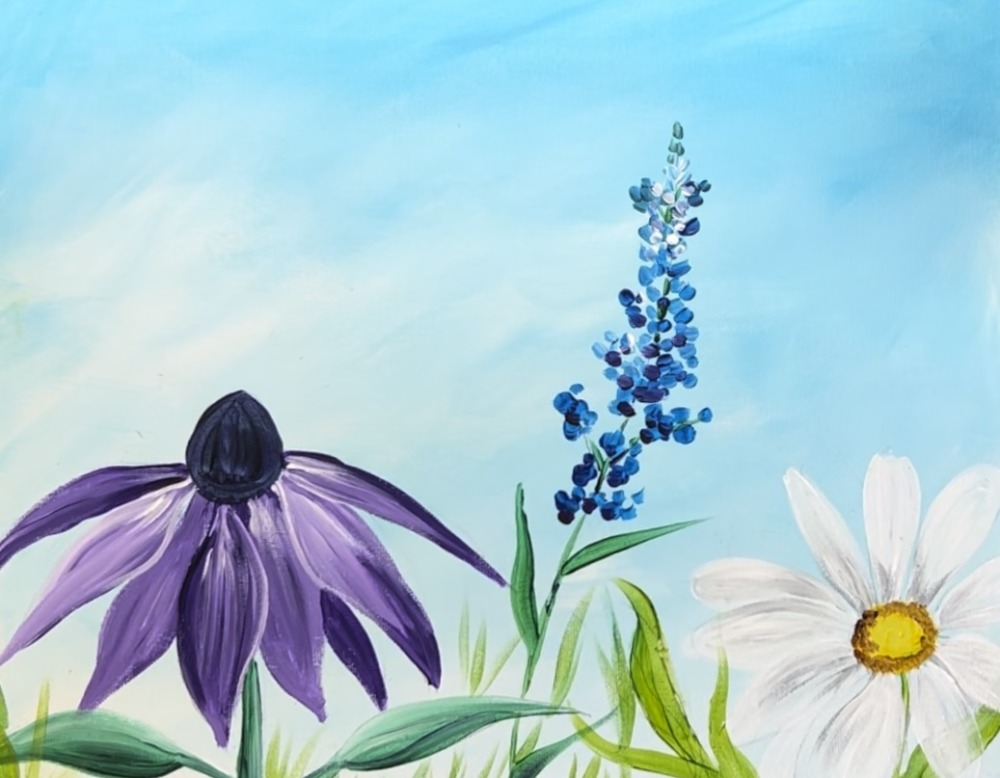
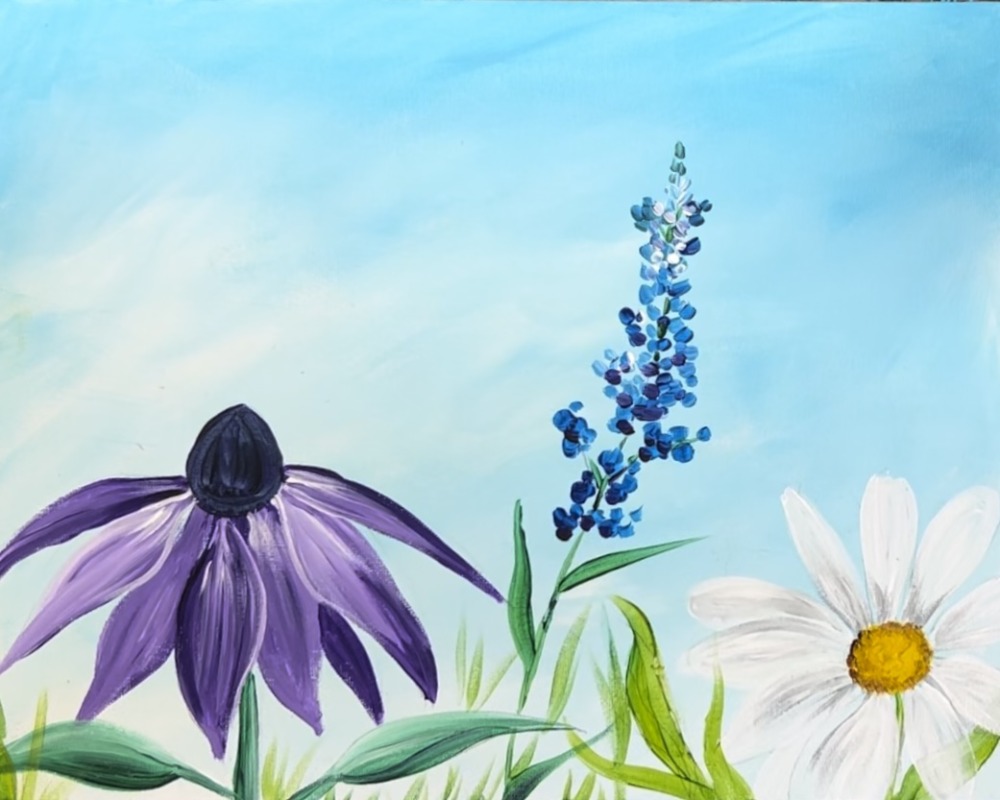
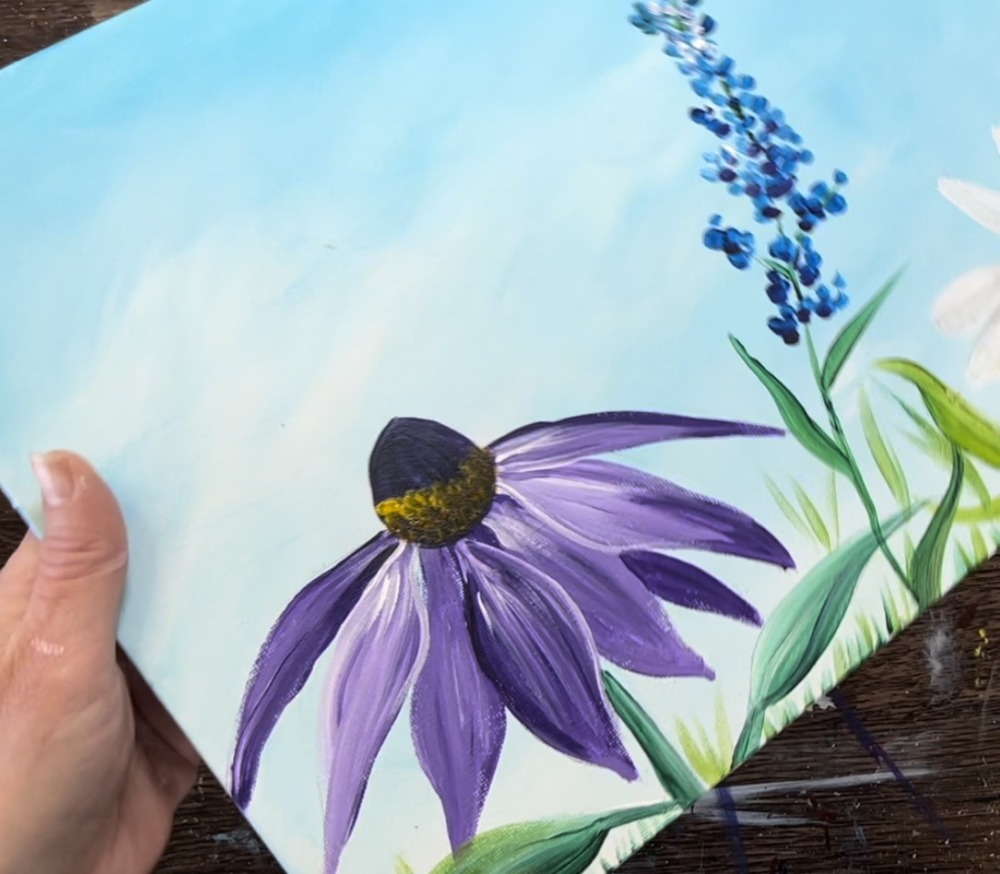
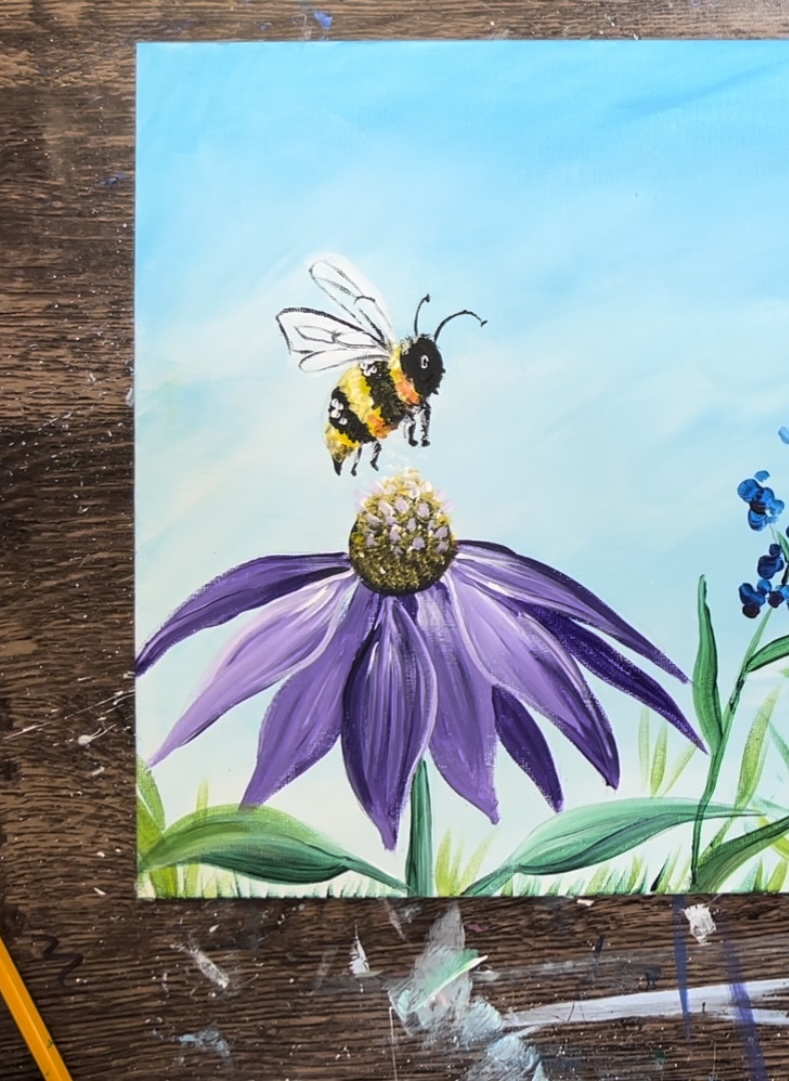
3. Paint Purple Coneflower

Load your palette with the colors: dioxazine purple, brilliant purple and titanium white. Start with just the dioxazine purple. Use your #4 round brush to paint one of the petals. Paint in “contouring strokes”. Outline the petal shape and then fill it in with long strokes that go in the direction of the petal shape.
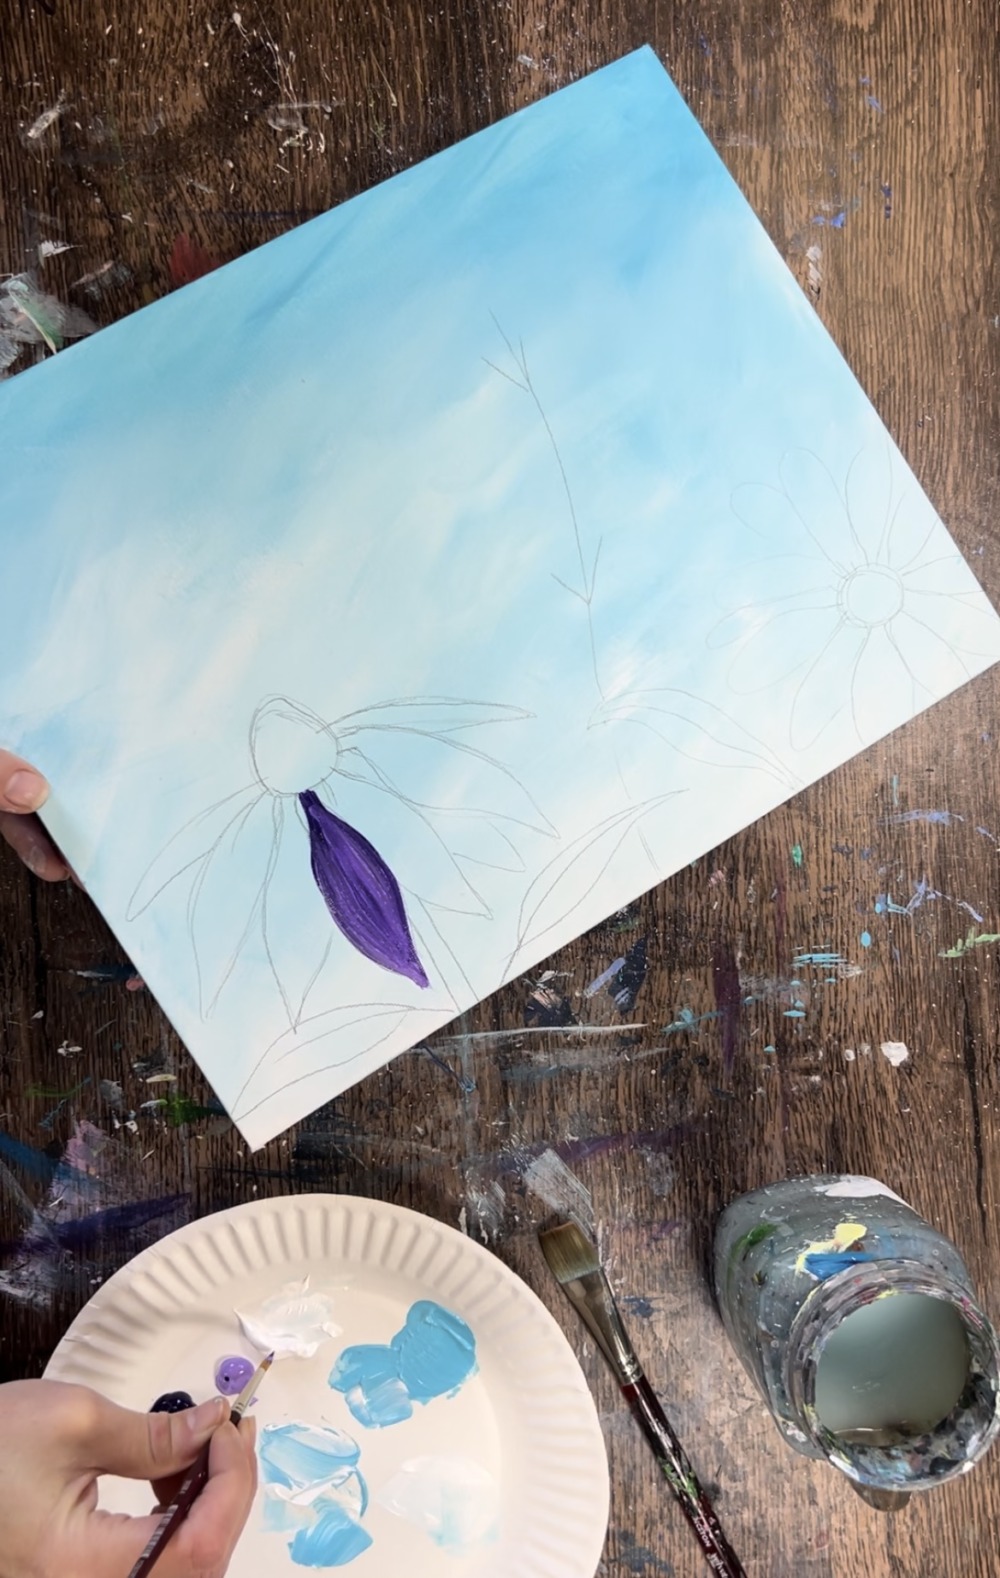
Then gently mix some brilliant purple into the darker purple. Paint in vertical strokes but don’t blend the color all the way. Paint the next petal using the same technique. You’ll want to pay particular attention to where the petals overlap. Change the lightness or darkness of the edge so the petal next to it will stand out with a different tint of purple.
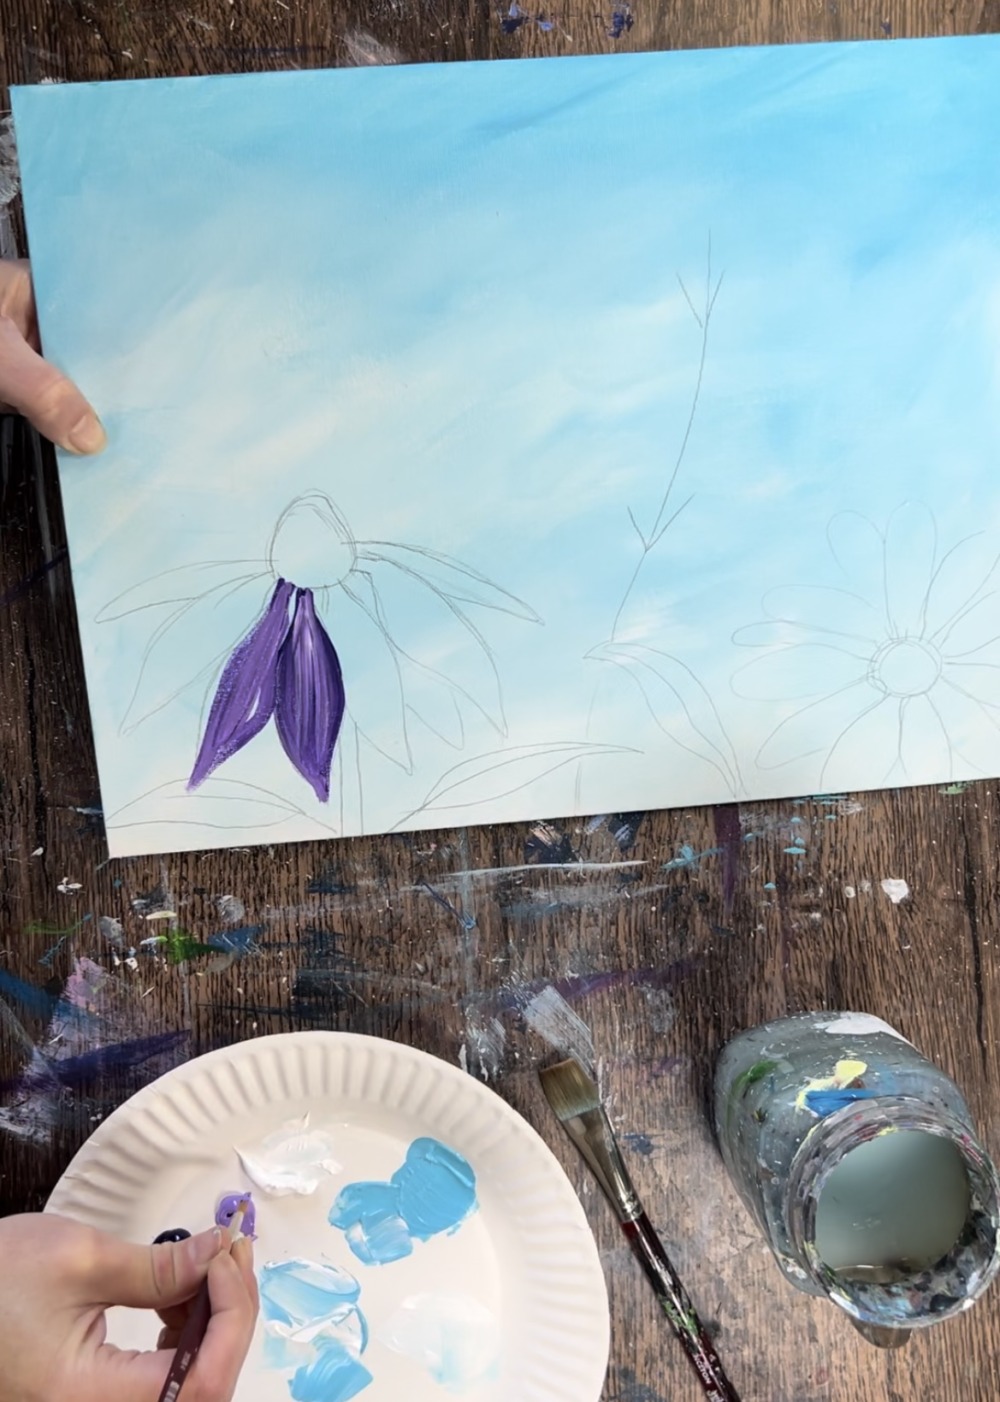
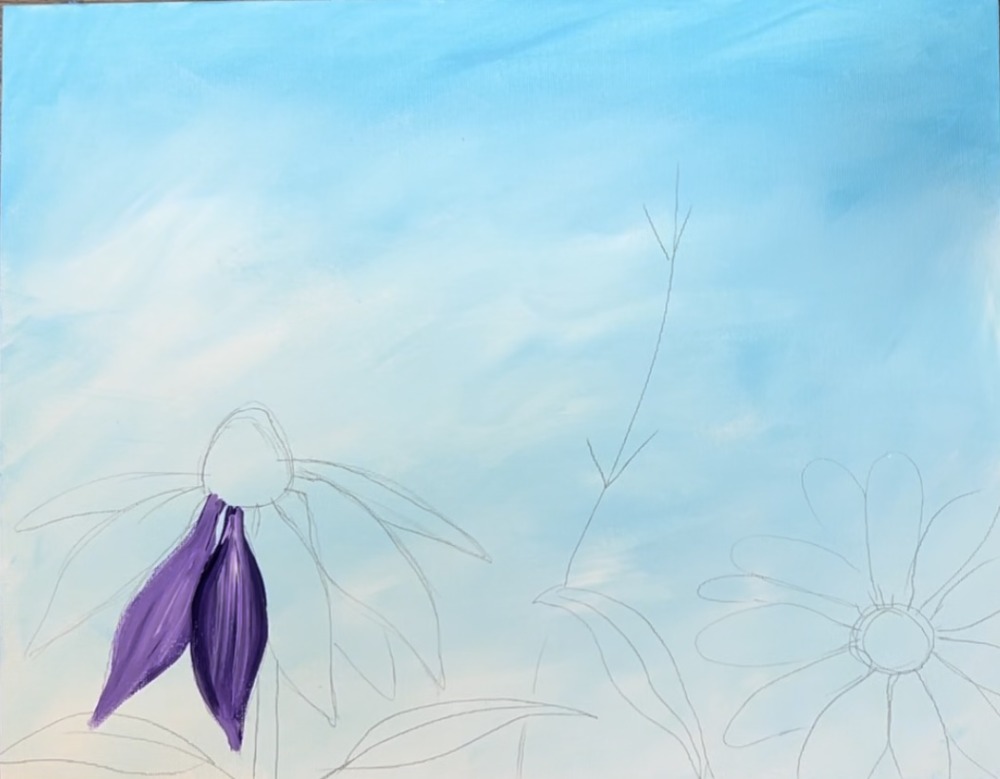
As you paint each petal, vary the purples. Make sure the edges are slightly lighter or darker compared to the petal next to it.
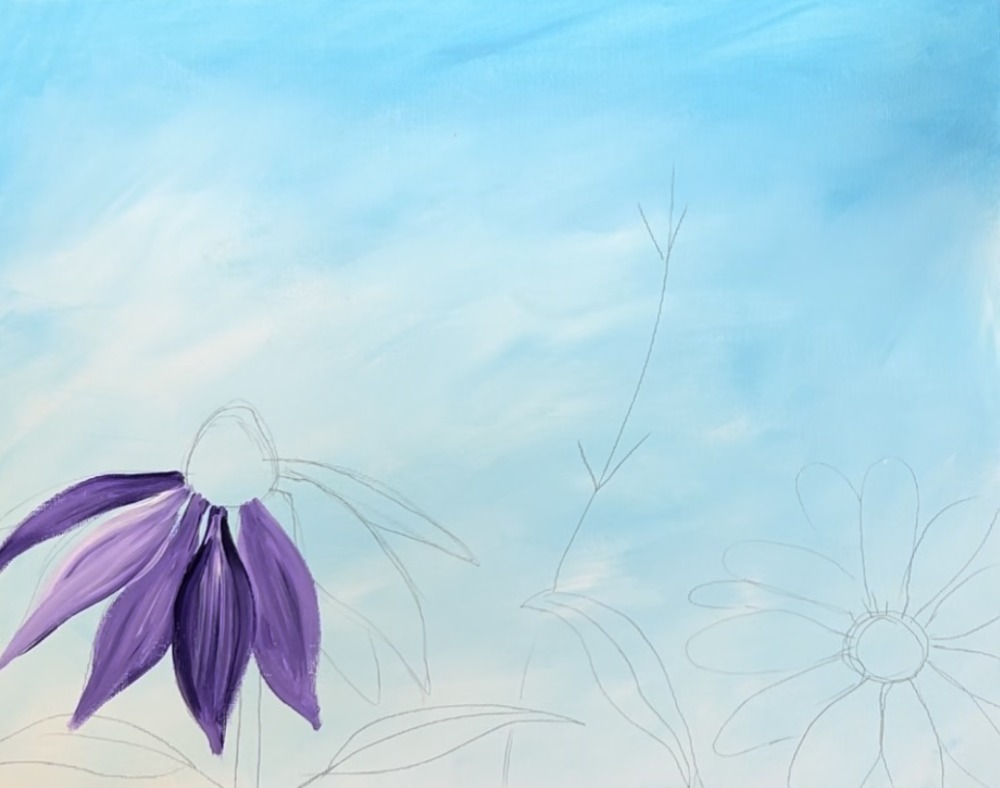
Utilize the titanium white to add a little bit of highlight on the upper part of each of the petals that blend into the rest of the purple.

Next, paint the cone part of the coneflower. On your palette, mix equal parts dioxazine purple with deep green permanent. This will make a very dark color, almost black.
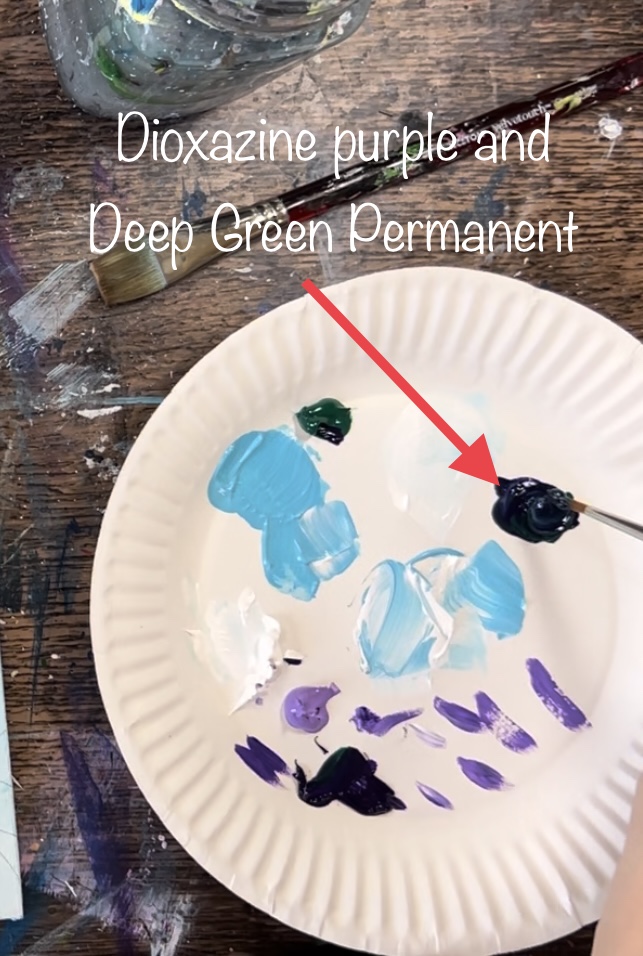
Then paint the cone piece of the flower. Let this dry before adding any of the bright yellow pollen on the flower.
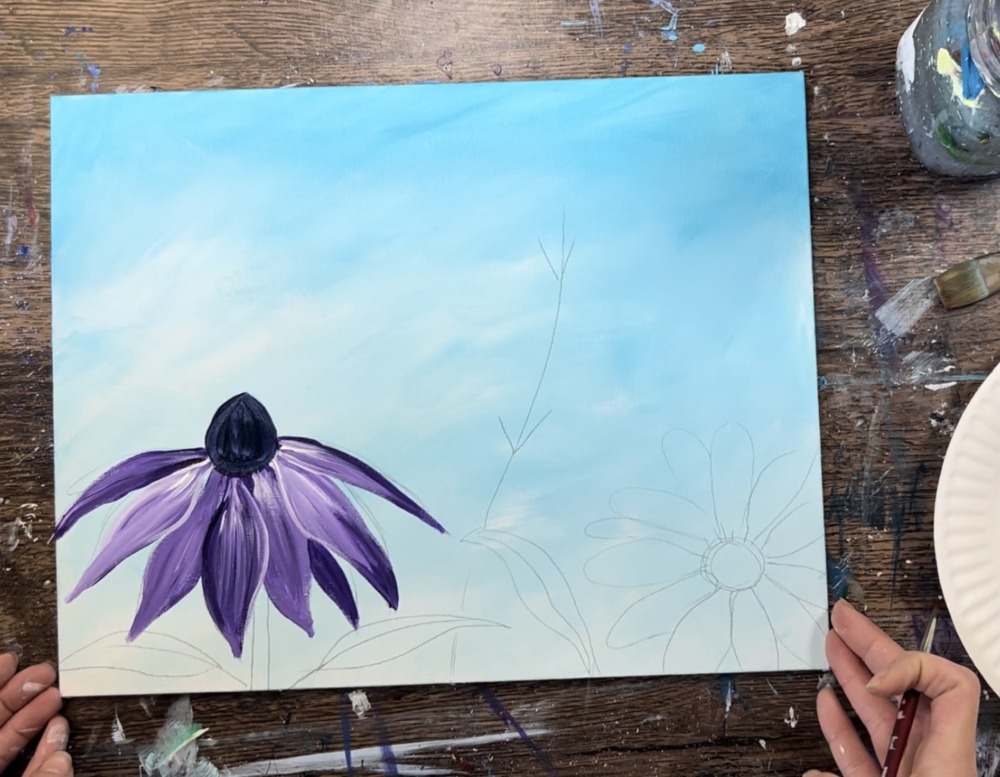
Next, rinse the #4 round brush and dry. Load it into deep green permanent. Paint the stem and the leaves. First paint the leaf and stem with a coat of “deep green permanent”. Then load your brush in a small amount of white. Gently blend white just on the top of the leaf and to the right of the stem. This will blend your green and white to highlight the stem and leaf.
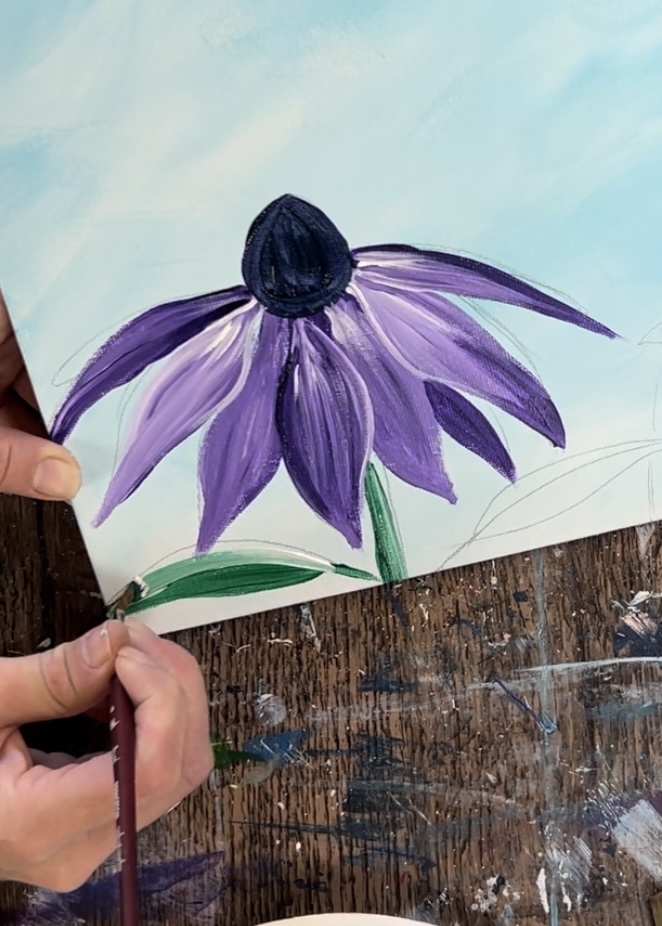
Paint both of the leaves.
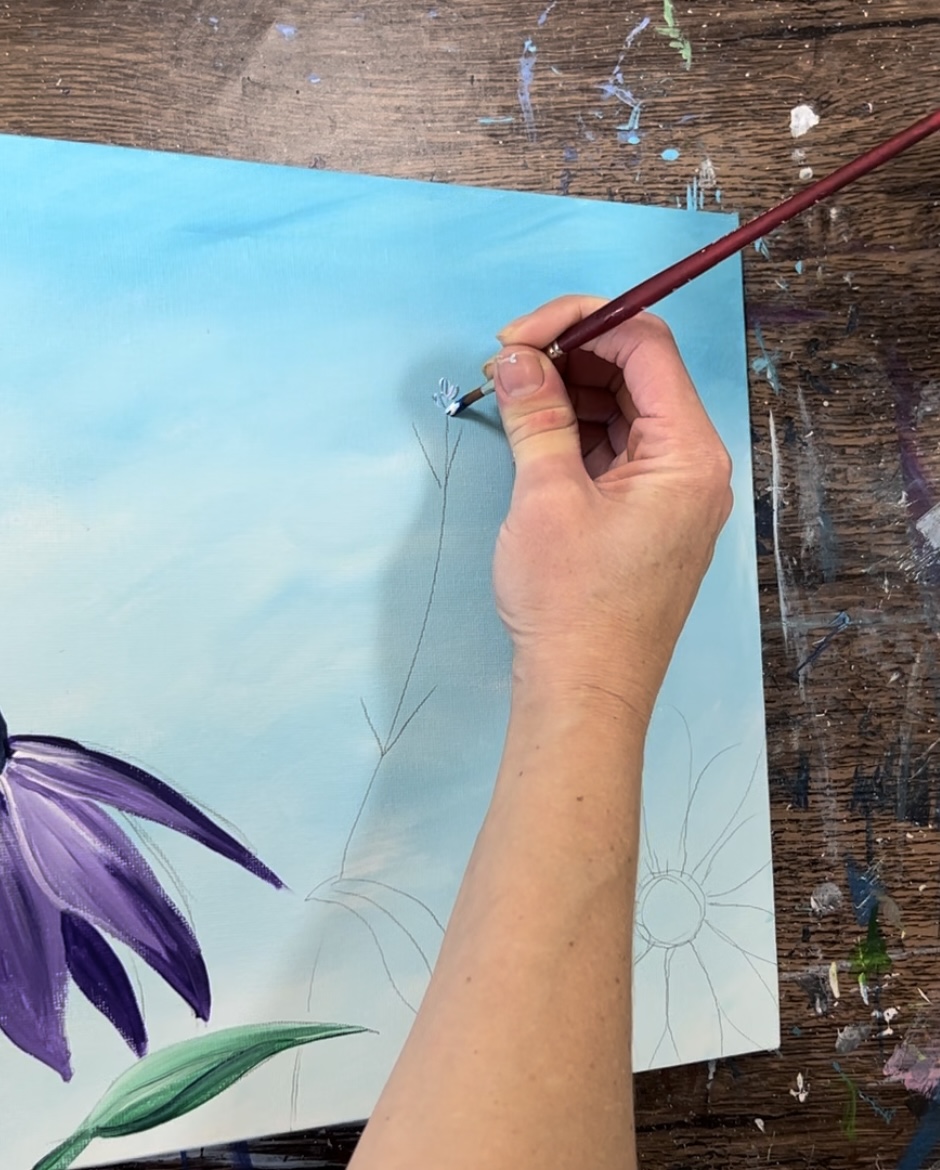
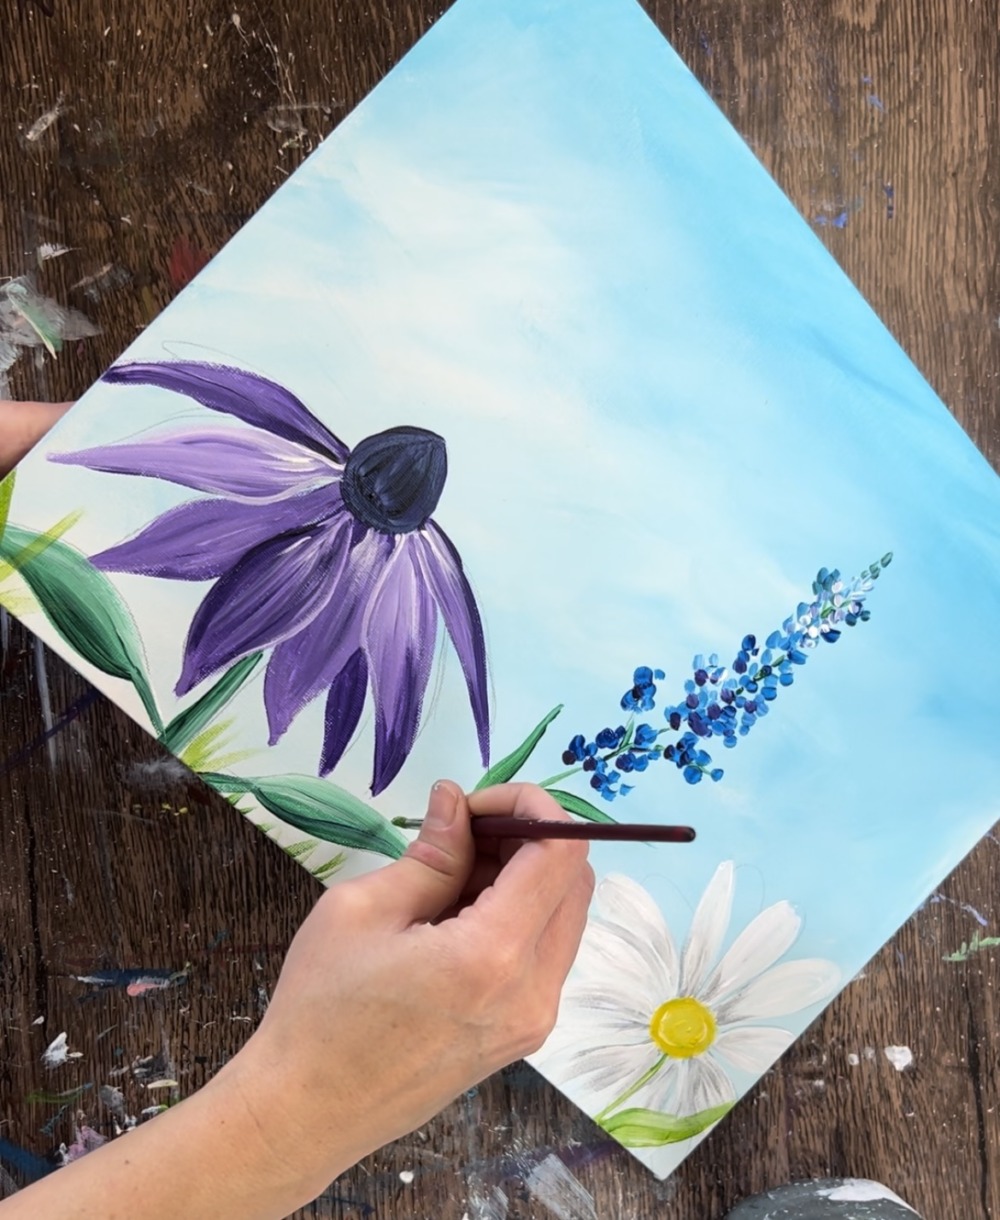
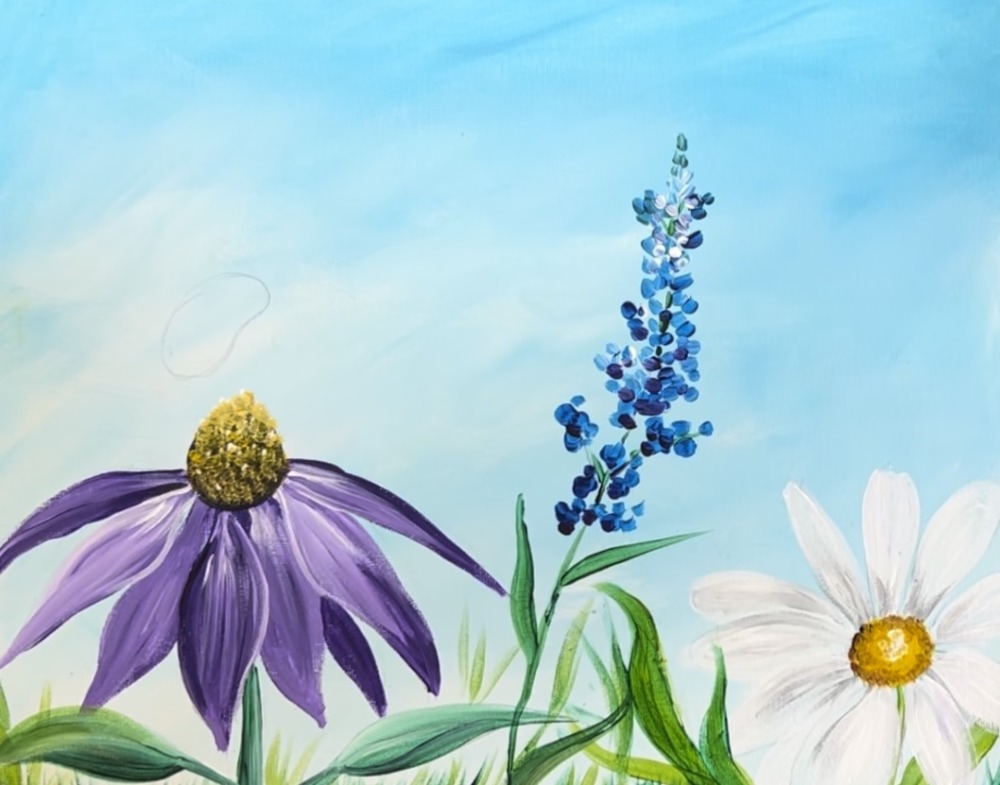
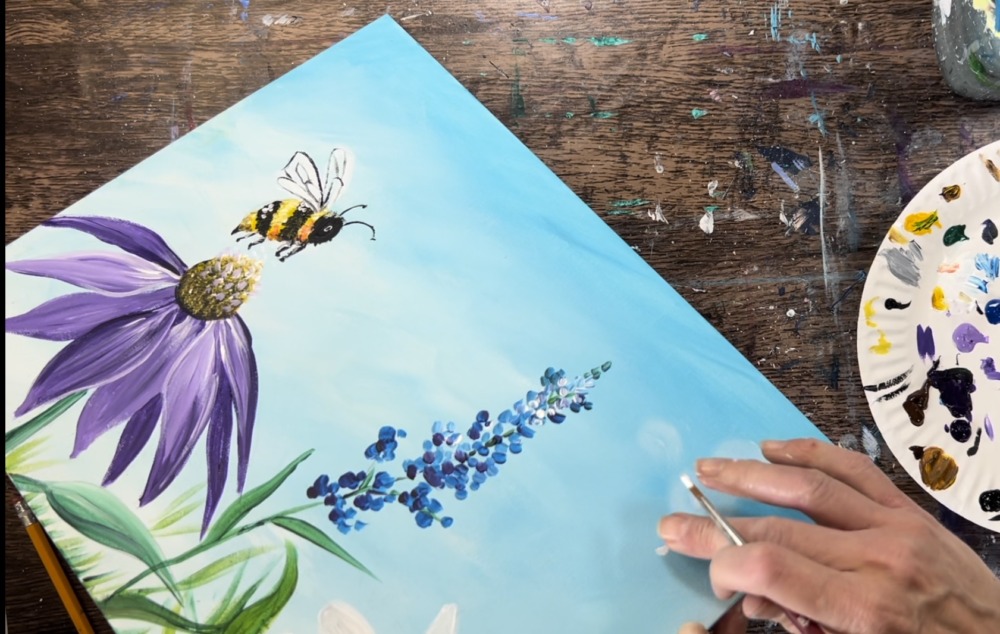
4. Paint Blue Bonnet
Load your palette with the color primary blue. Completely rinse and dry the brush.

Load the tip of your brush in a small amount of blue and white. Start at the top. Paint very tiny strokes forming the buds of the bluebonnet flowers. As you work your way down, gradually add more blue into your small strokes so the flowers become darker. Also, make the flowers slightly larger as you work your way to the bottom.
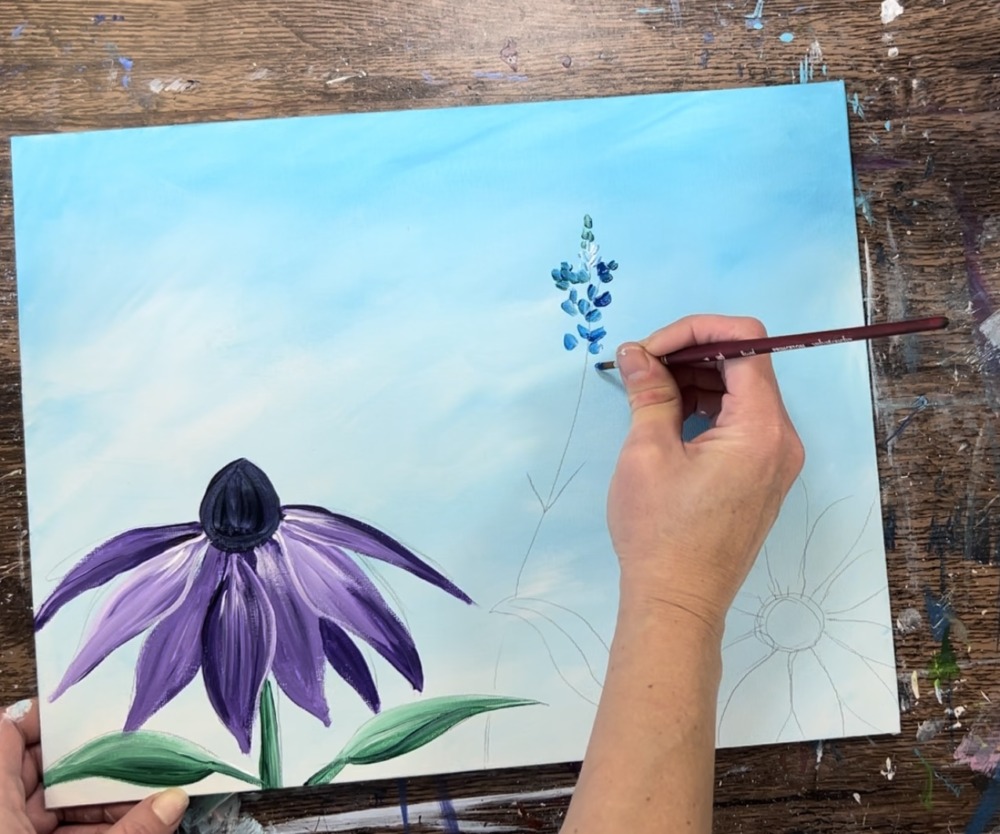
The bluebonnet is a cluster of tiny blue flowers. The column gets slightly thicker towards the bottom. Use a variety in your blue strokes by adding white to it.
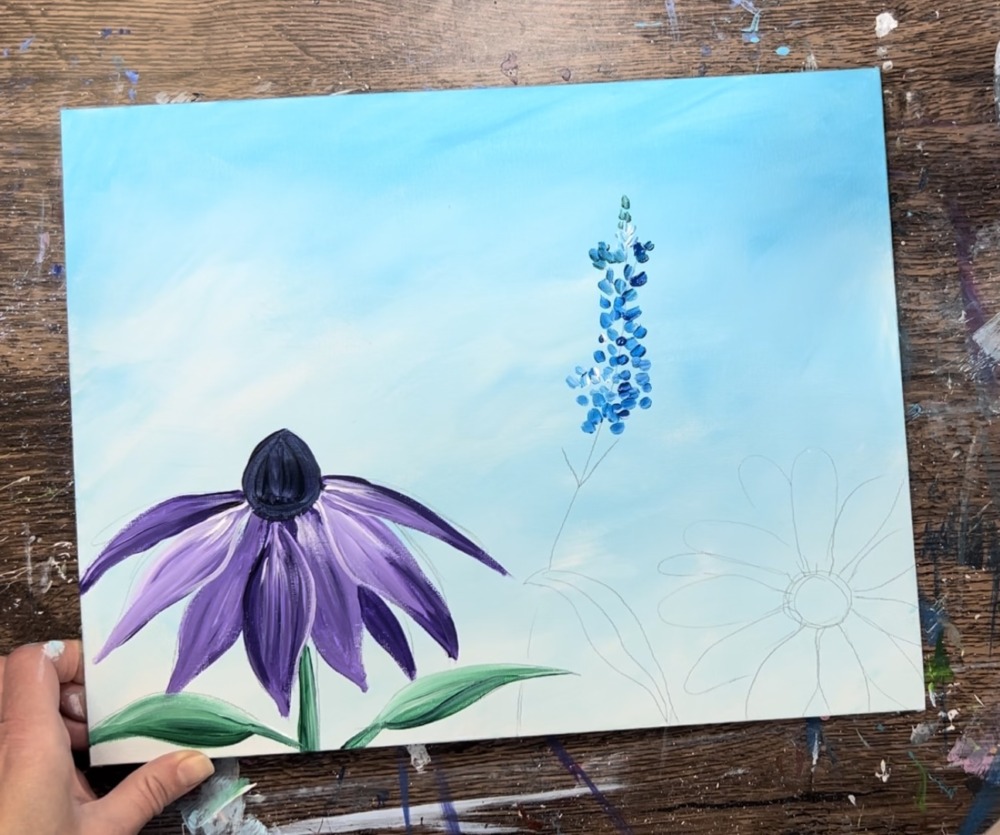
Then add a bit of dioxazine purple to the strokes. This will allow the blue to be darker and richer towards the bottom area.

Next, use the deep green permanent to paint the stem and the leaves of the bluebonnet. The bluebonnet has a very thin stem. Some of the stem can be seen through the clusters of blue flowers. The leaves are also very thin, narrow and pointed.
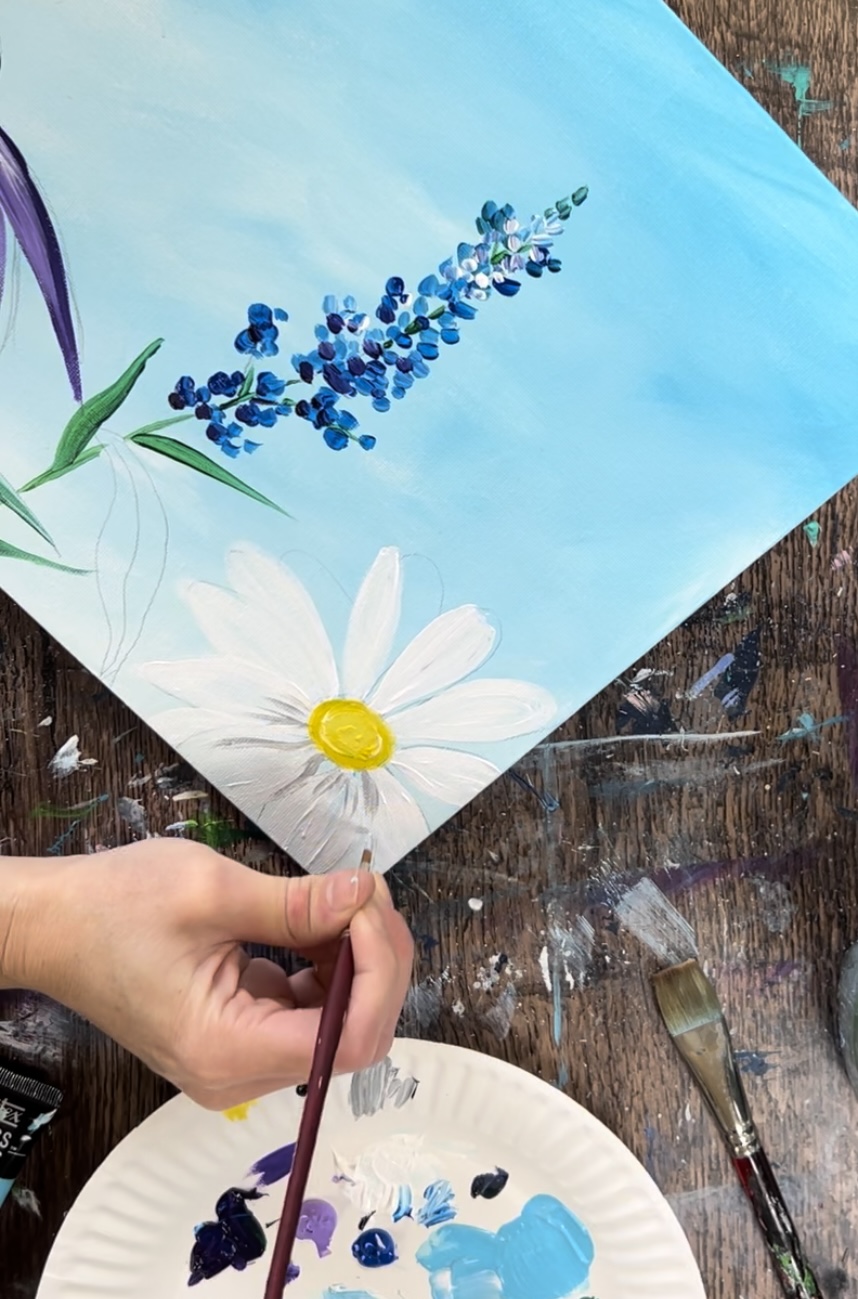
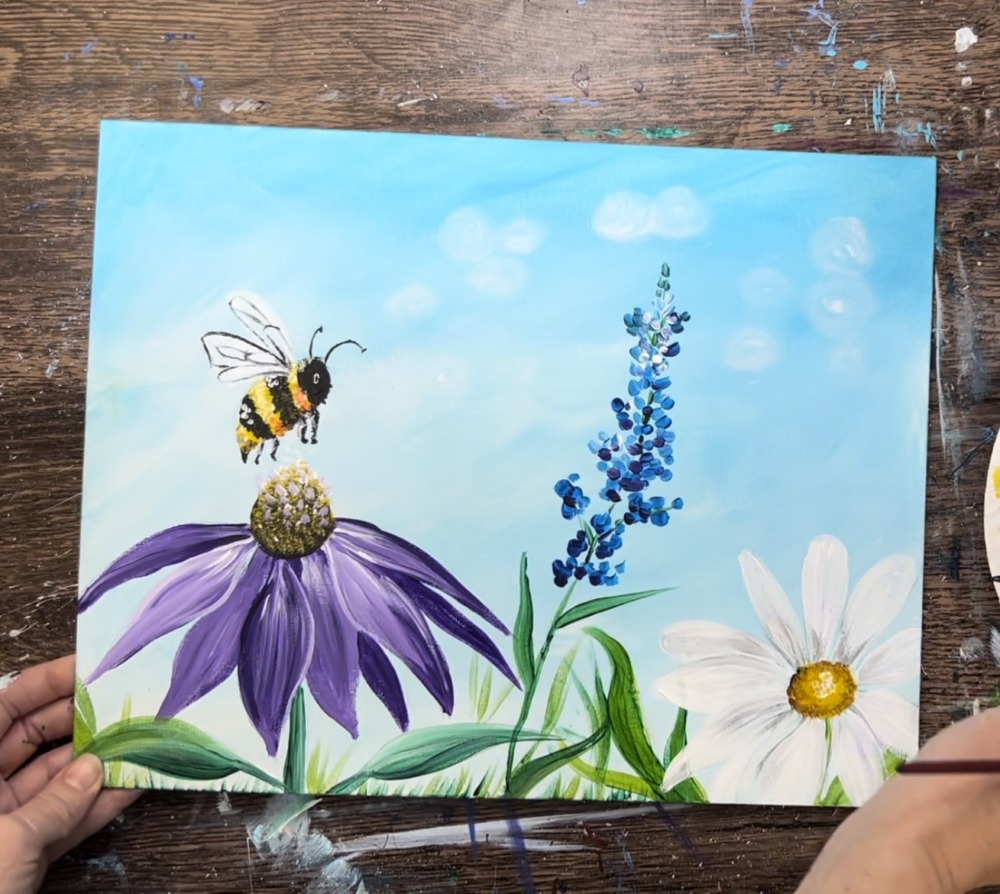
5. Paint Daisy
Start out by painting the center circle of the daisy with an equal amount of yellow mixed with white.
Then rinse the #4 round brush and load it into just titanium white. Paint each of the daisy petals a solid coat of white.


Next, add a small amount of black into the white on the palette to make a very light gray color. Use the gray to shade the daisy petals. Paint the gray at the bottom base of each of the petals in short strokes. Then blend with the rest of the white. This will give the daisy petals some texture and help the petals to stand out a bit better against the light background.
6. Paint Grass/ Leaves
Mix a little yellow into your green. Then use the yellow-green to paint small grass blades sticking up from the bottom edge of the canvas.
Use the yellow green to paint more leaves by the daisy.
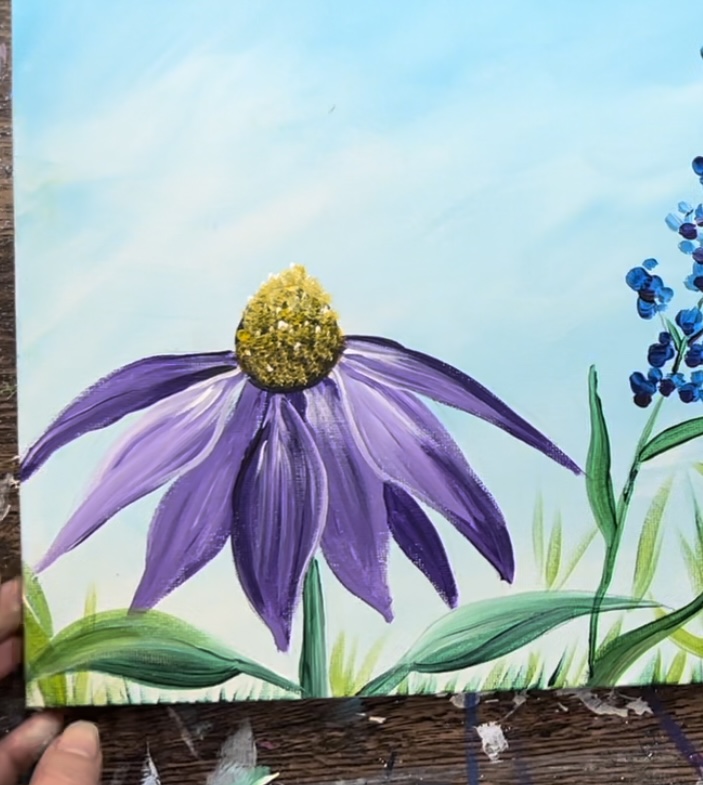
7. Add Inner Detail of Daisy and Coneflower
Load your palette with burnt umber. Then mix about equal parts burnt umber with cadmium yellow medium on your palette. Use the #4 round brush to “stipple” (paint dots) on the outer edge of the circle. You will get a brown ring.
Then load your brush in just the yellow. Use the yellow to stipple the rest of the center of the circle and blend the brown in with the yellow. The center part of the circle should be lighter with not much brown.
Then wipe the brush off. Add a small amount of white to the tip. Paint a few white dots in the very center.
Paint the cone using almost the same technique and colors. Start at the bottom. Paint brown/yellow stipple strokes on the very bottom of the cone.
Then, as you work your way up, add more yellow to the brush so it gradually gets brighter. Add white to your brush and stipple little white pollen dots at the very top of the cone to highlight it. Then add a few white dots here and there but keep the bottom of the cone relatively dark compared to the top of it.
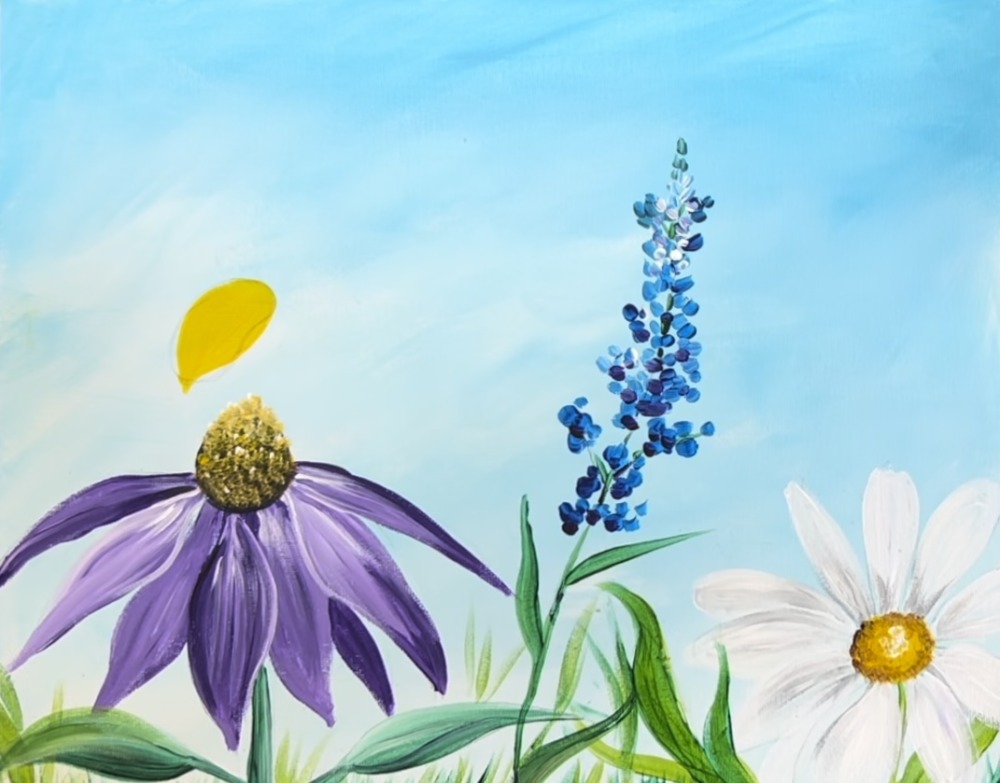
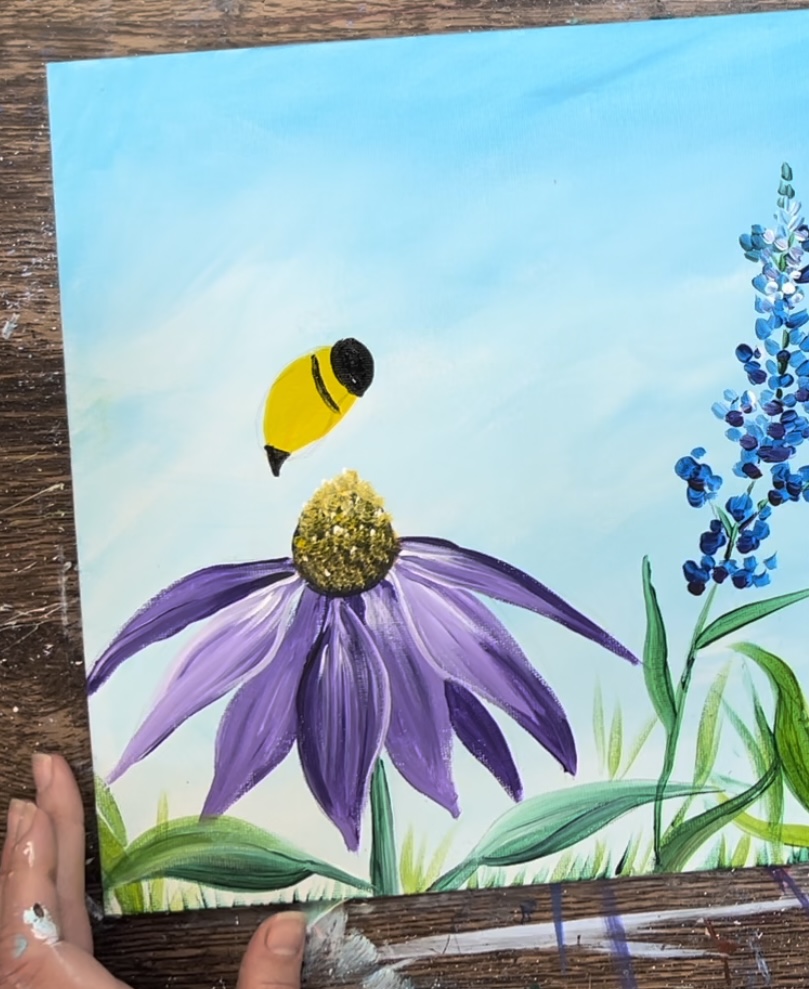
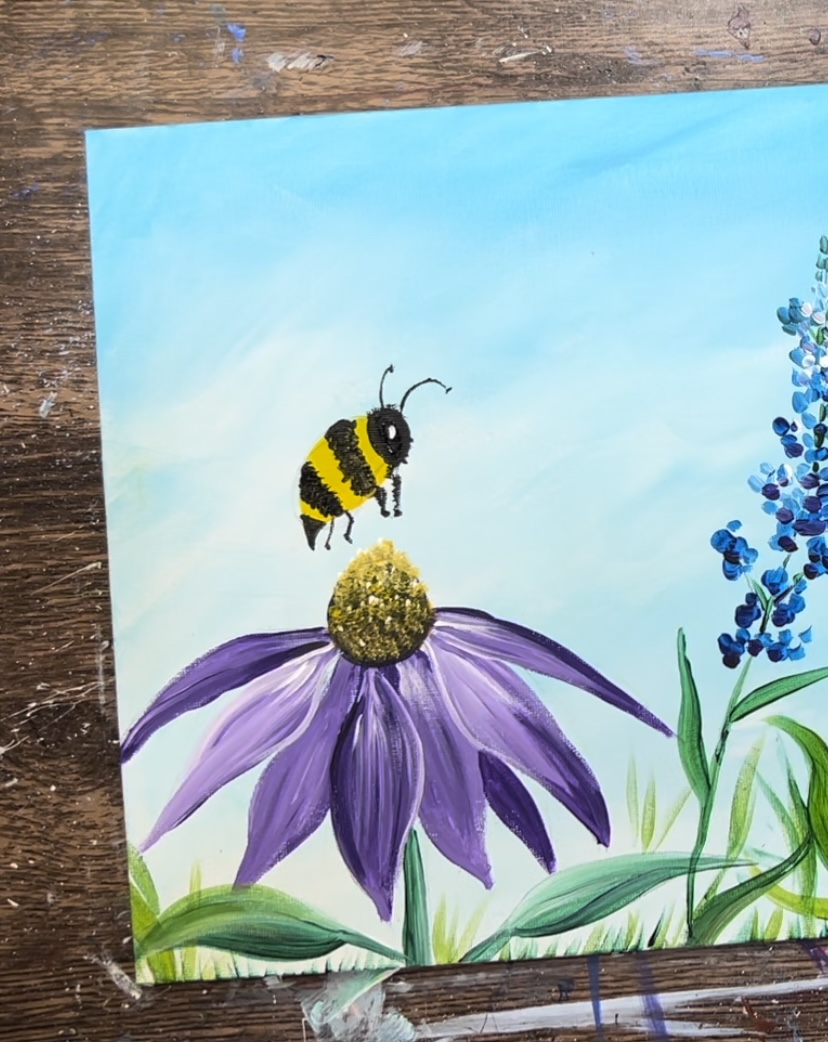
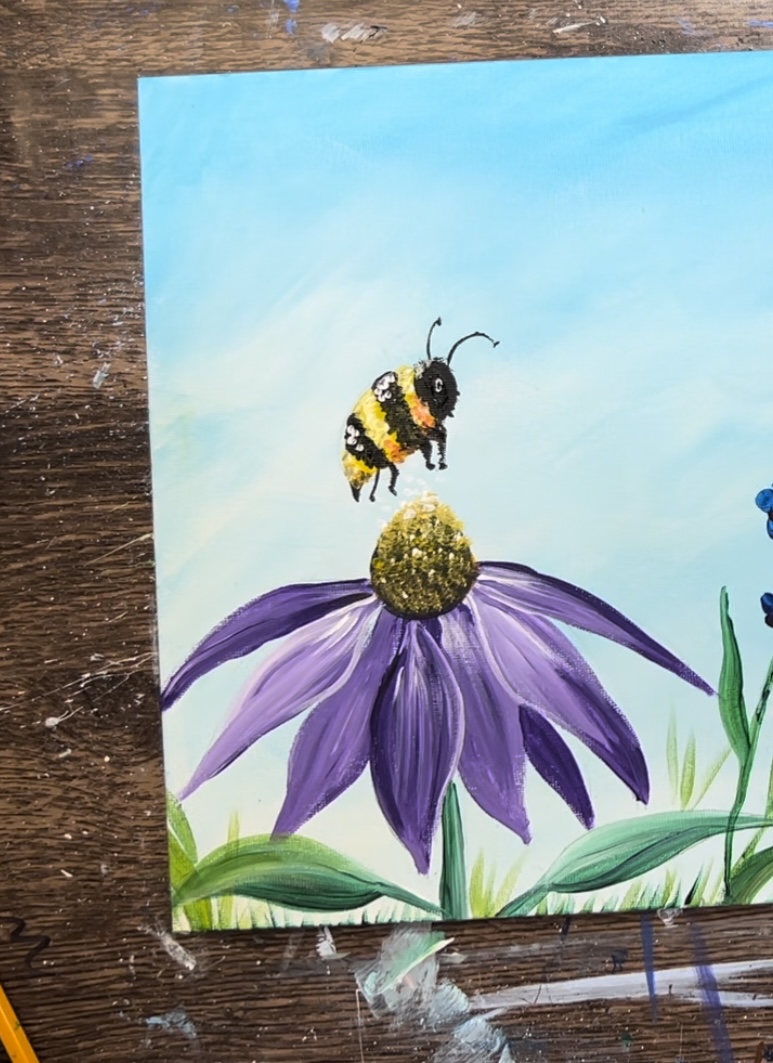
8. Paint Bee
To help with the bee shape and size, use your pencil to lightly draw in a kidney bean/ jellybean shape hovering above the center of the coneflower.
Then use the #4 round brush to paint the shape of the been yellow. Note: I made the bottom left part slightly pointed for the stinger.
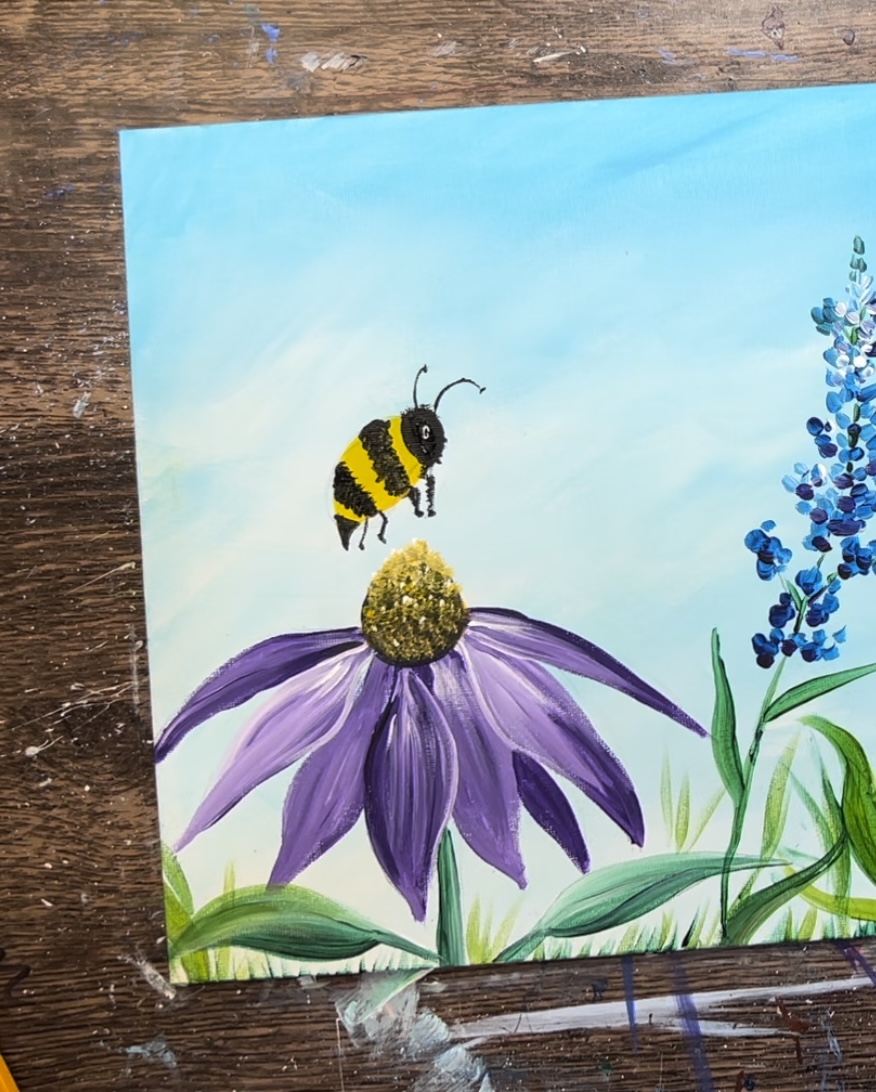
Next, rinse the brush. Then load it into just the mars black. Paint an oval shape on the far right for the head. Then paint the stinger black and the first stripe.
To make this bee look fuzzy, go back over your stripe with short strokes going in the direction of the stripe.
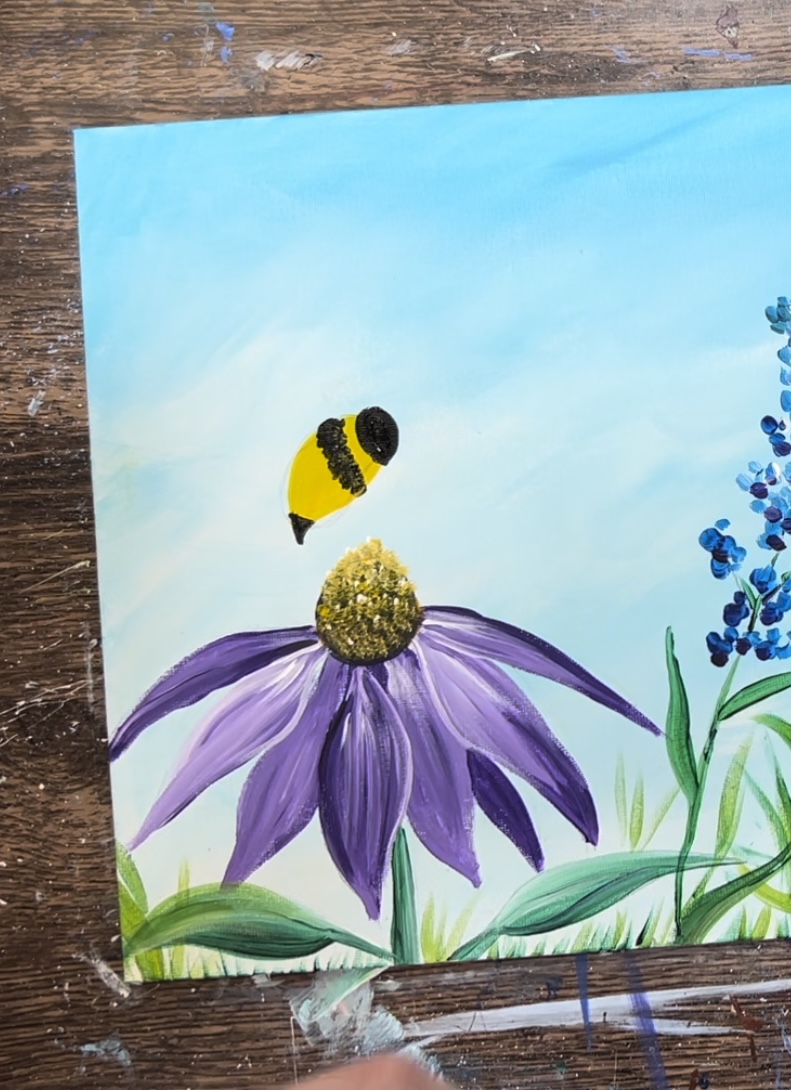
Then add a second stripe and paint short strokes to make it look fuzzy. Paint tiny fuzzy strokes going outside the edges of the head shape to make the head look fuzzy. Then paint very tiny antennas. You may need to use a smaller round brush for the antennae or a black paint pen.
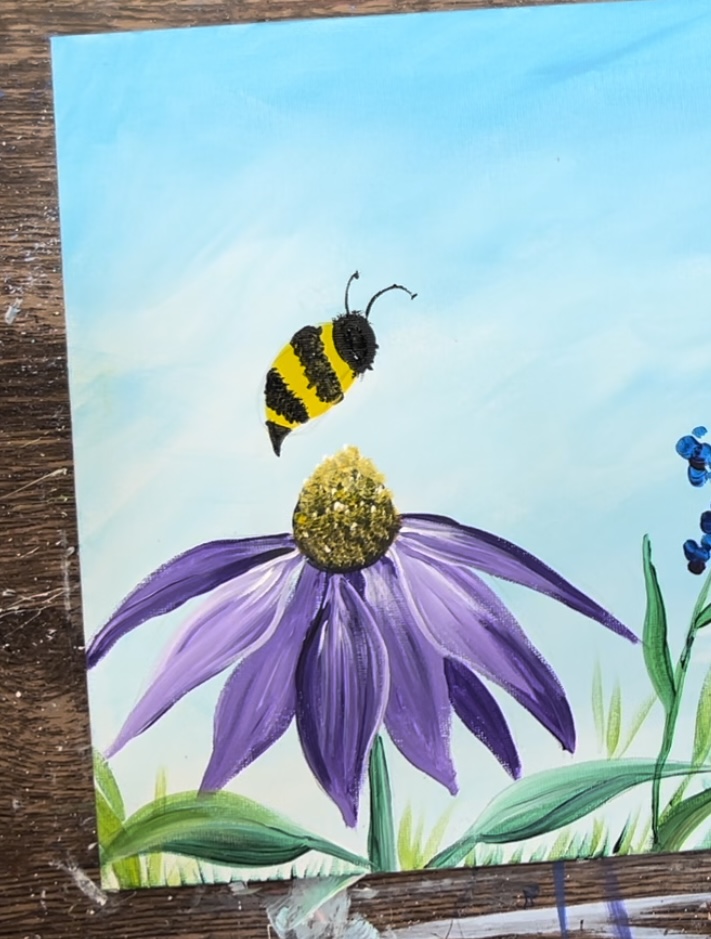
Next, paint the legs. I did 4 legs that are visible even though a bee technically has 7. Paint small, segmenting lines that point downwards above the coneflower. Then go back over the lines with fuzzy, short stroke lines to make the legs look fuzzy.
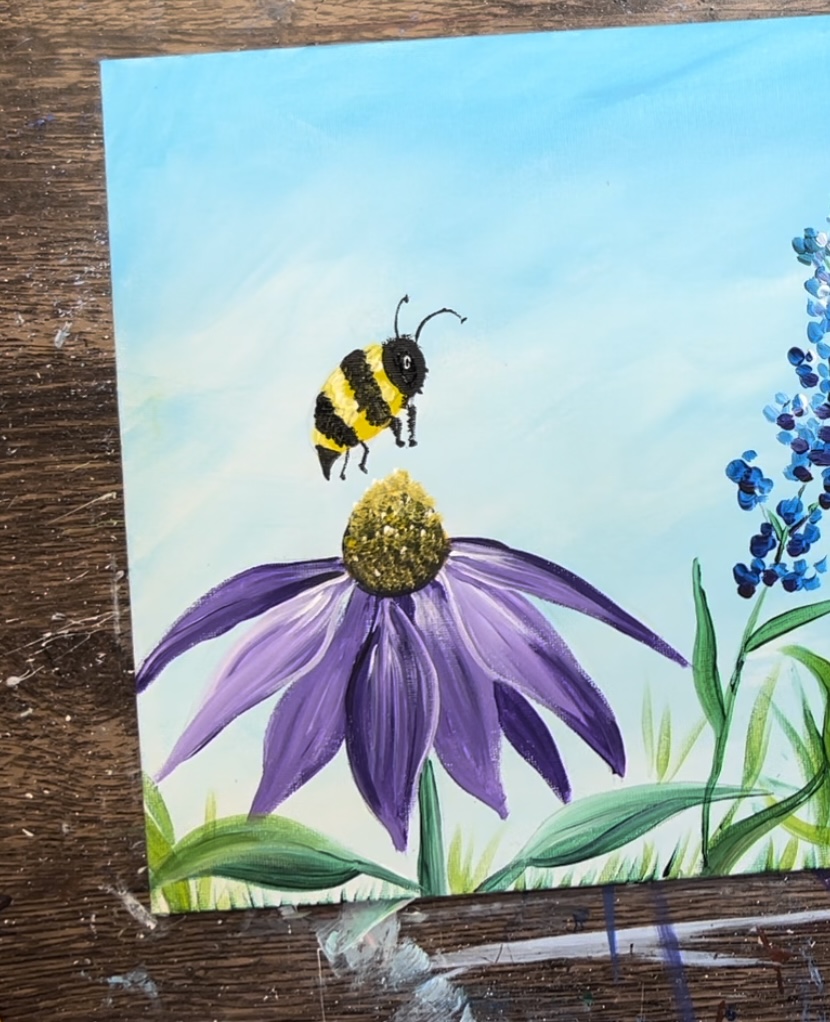
Use titanium white to paint a tiny oval shape for the eye.
Then paint a black dot inside the oval shape.
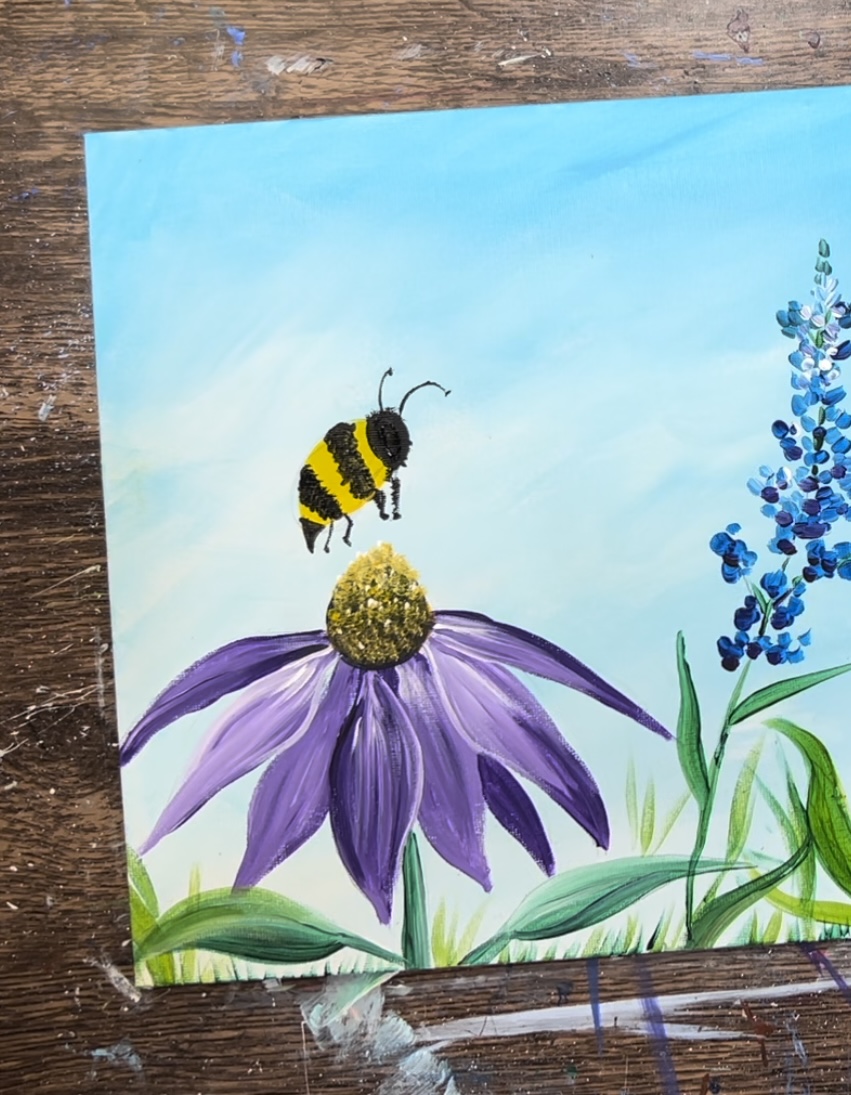
To make the yellow part of the bee look a little fuzzy, add a small amount of titanium white to your brush and paint little white strokes that blend with the yellow.
Then, at the bottom of the yellow parts of the bee, add small strokes of cadmium orange hue paint.
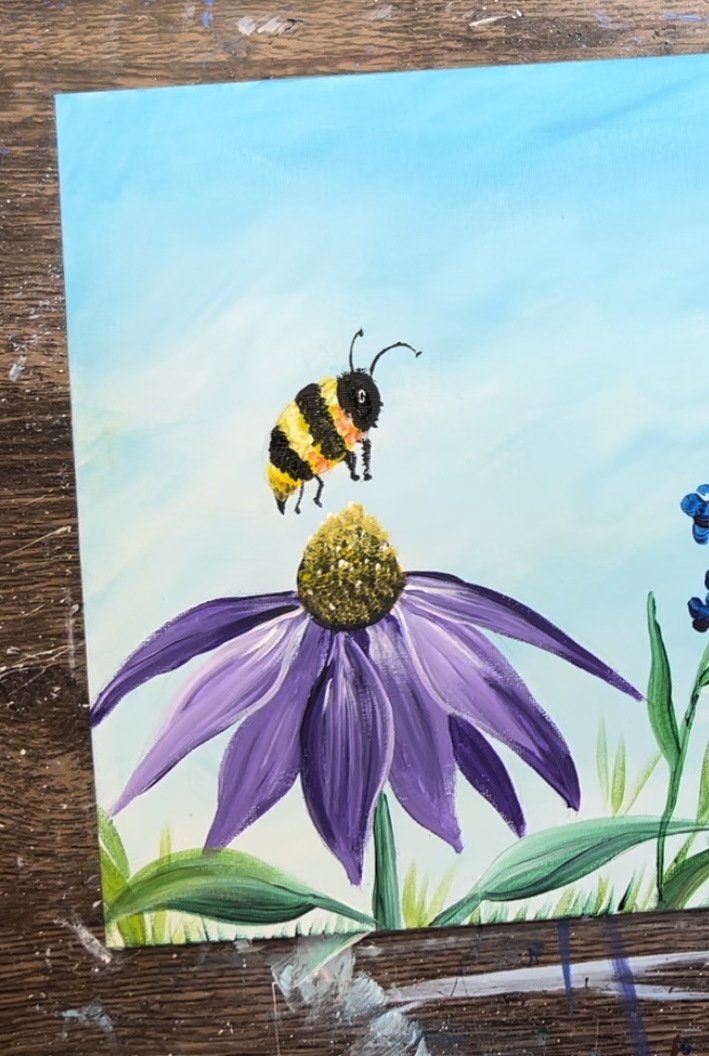
Then add little white dots on the top parts of each of the black stripes and head. This will give the bee some highlight.
Let this dry before painting the wings. To do the wings, load your clean #4 round brush in titanium white. Paint two wing shapes towards the top of the bee’s body that go to a point at the base.
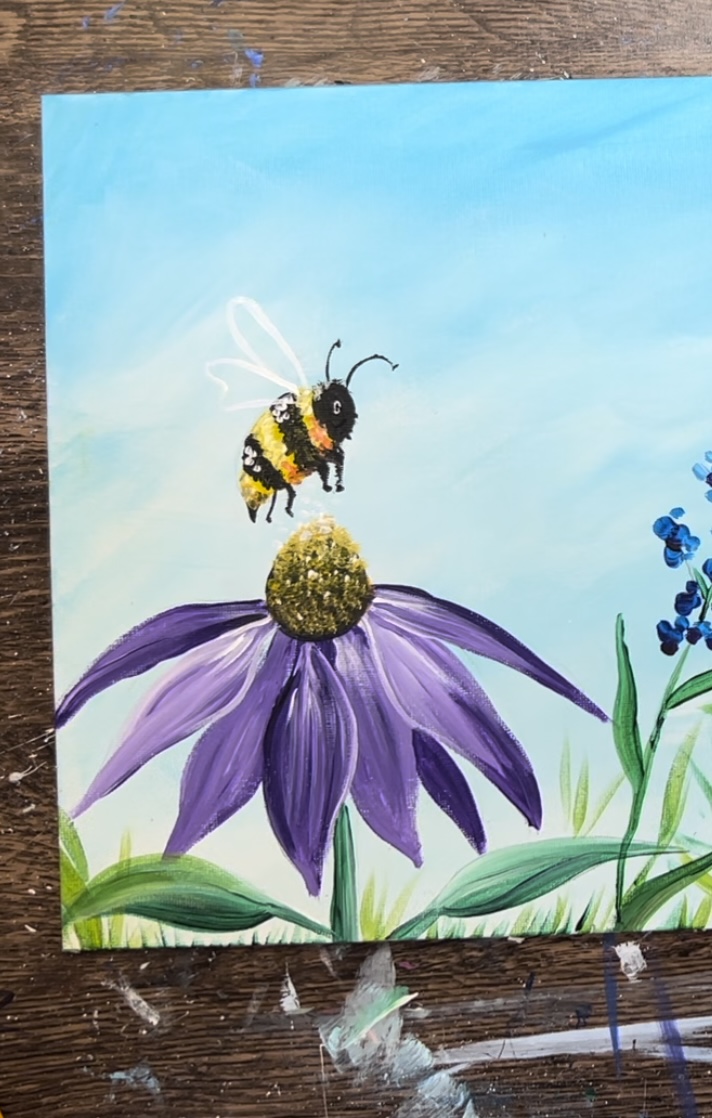
Then fill in the wing shapes with a very very thin layer of white. You can either water the white down to make it thin (think water color consistency). Or, you can “dry brush” the white. This means you only load a small amount of white on your brush and wipe it off so it appears translucent.
Next, paint the detail texture on the wing. I used the #4 round for this, however, you may fine it easier to use a paint pen or a much smaller round brush with a nice tip to it.
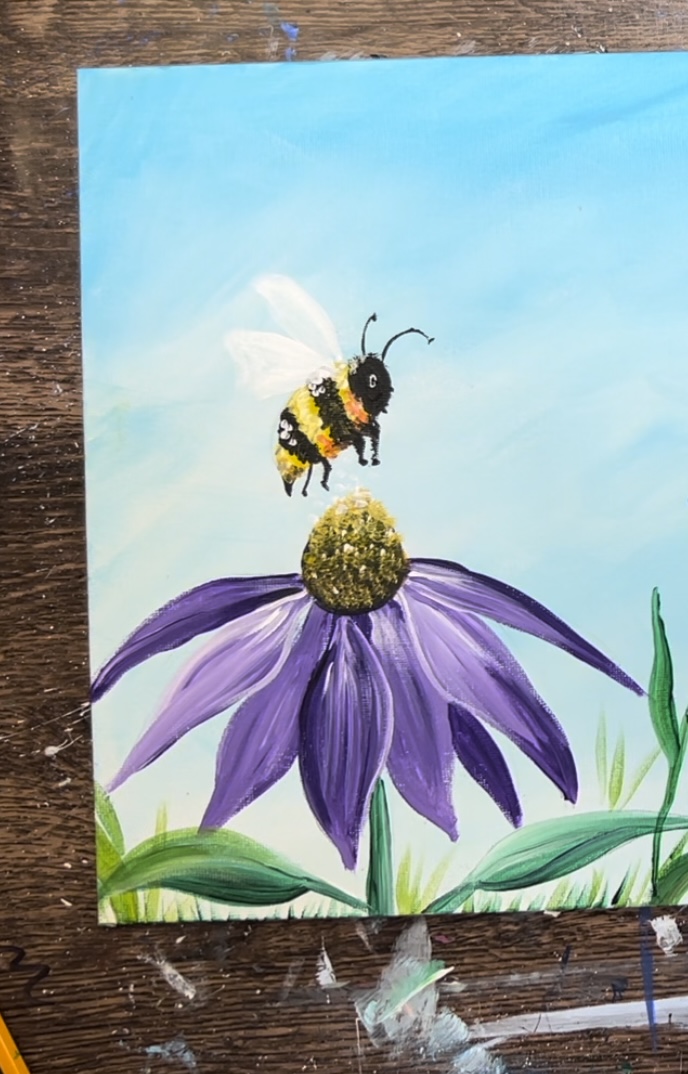
Start by outlining just the tip part of the wing. Then loosely outline the bottom part. This should be a very thin line! Then paint two oval shapes that connect together inside the wing.
Do the same thing for the top wing. Lightly paint two connecting oval shapes inside the wing and loosely outline the bottom of the wing.
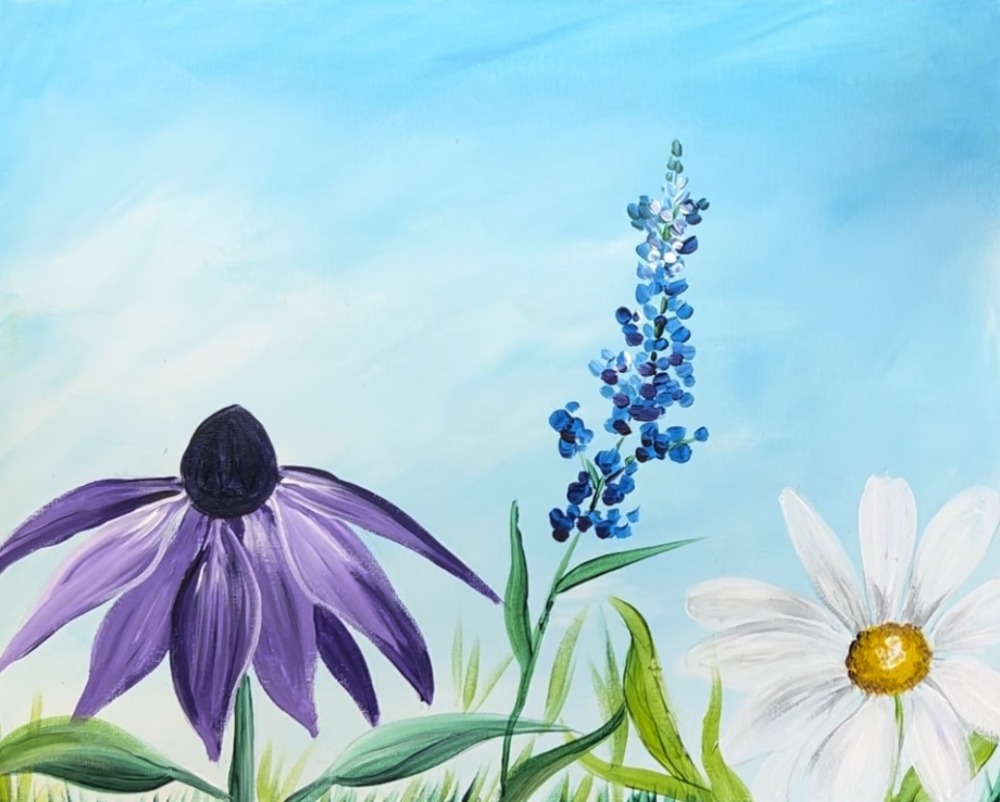
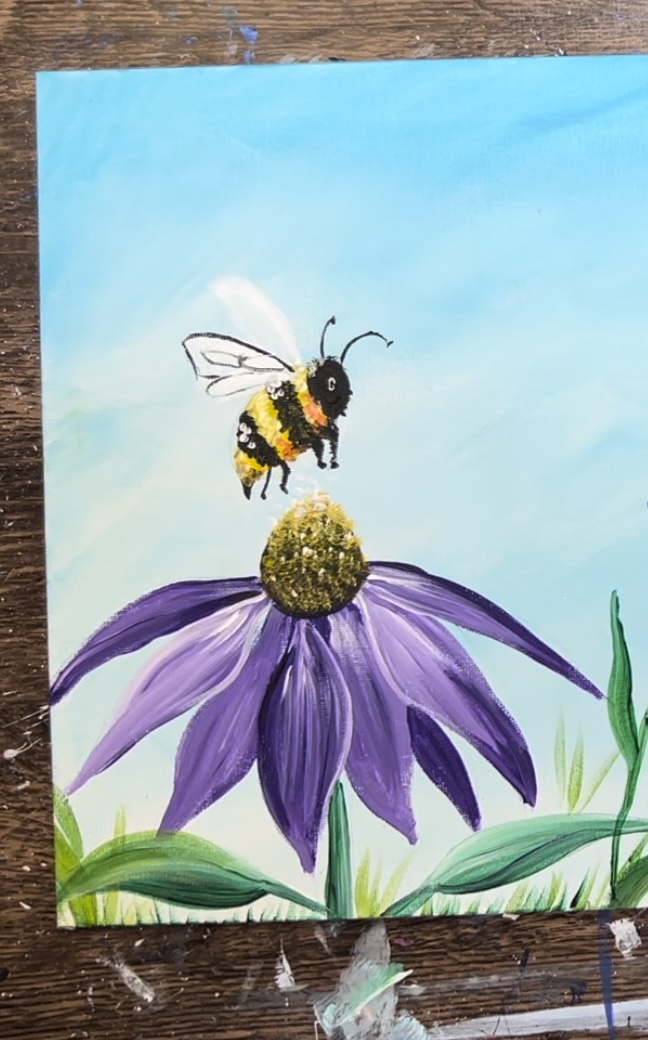
9. Paint Bokeh/ Dot Background
This is an optional step but it adds more interest and kind of a whimsical effect to the background. To paint the “dots” or “bokeh”, use a very small amount of white paint on the tip of your round brush. Paint a small dot and then use your finger to “blur” the dot and smear it outwards.
These should be very thin and translucent with a lot of the sky color still showing through. Make variety of sizes in these circles and have them all slightly overlap each other. You can vary the brightness of the dots by adding some blue into the white.

Some of the dots can be light blue. You can fill the sky with these whimsical dots or make it more minimalistic with only a few dots.
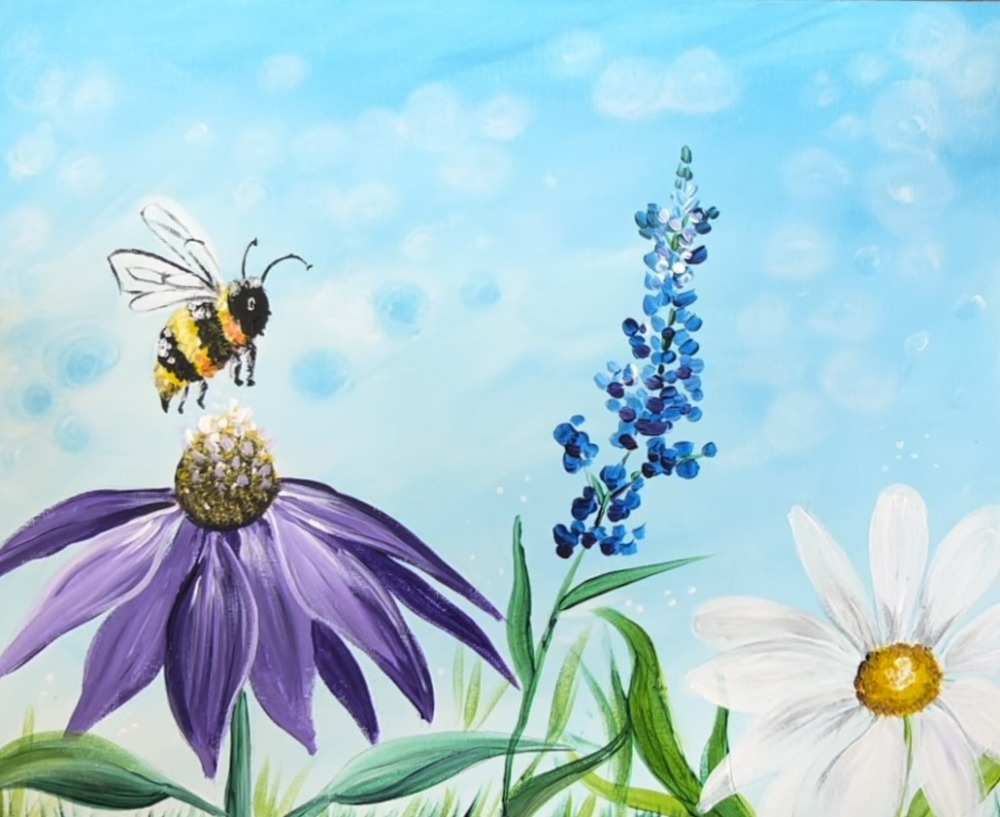
Finished
That’s it! Sign your name and show it off!