

Would you like to save this?
Materials Needed
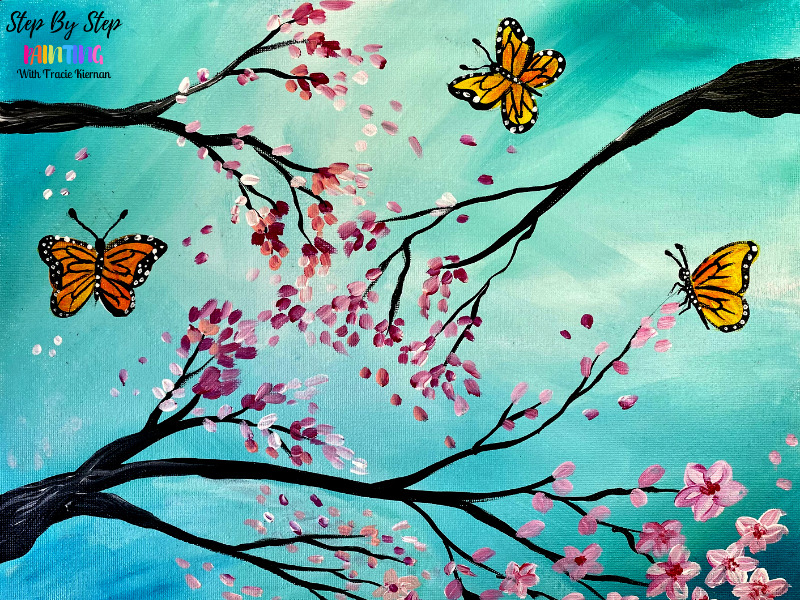
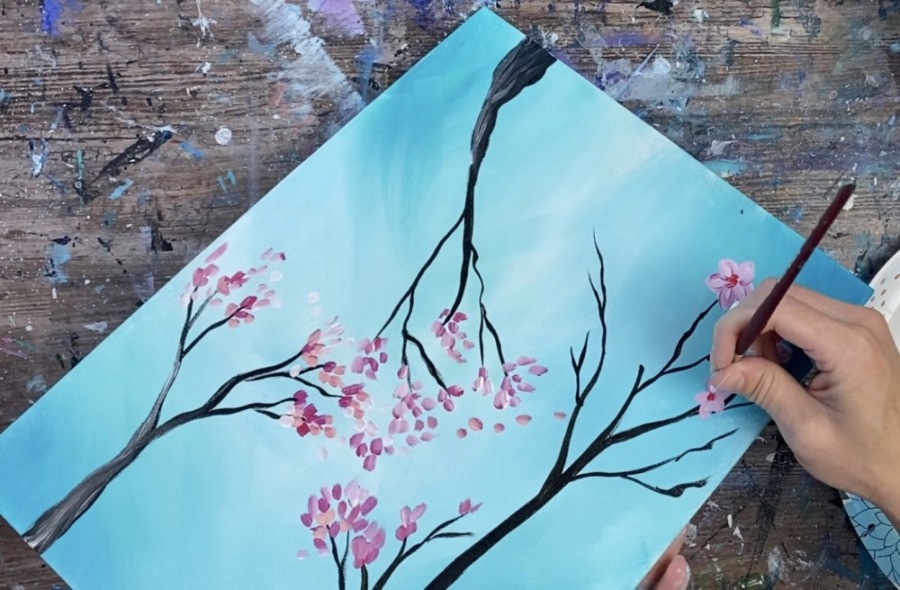
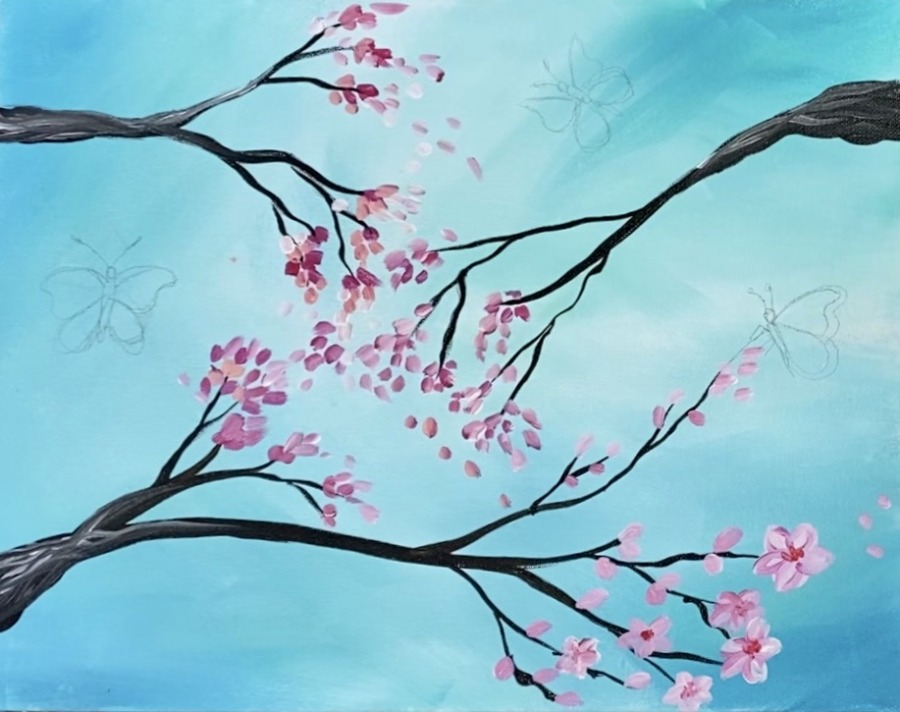
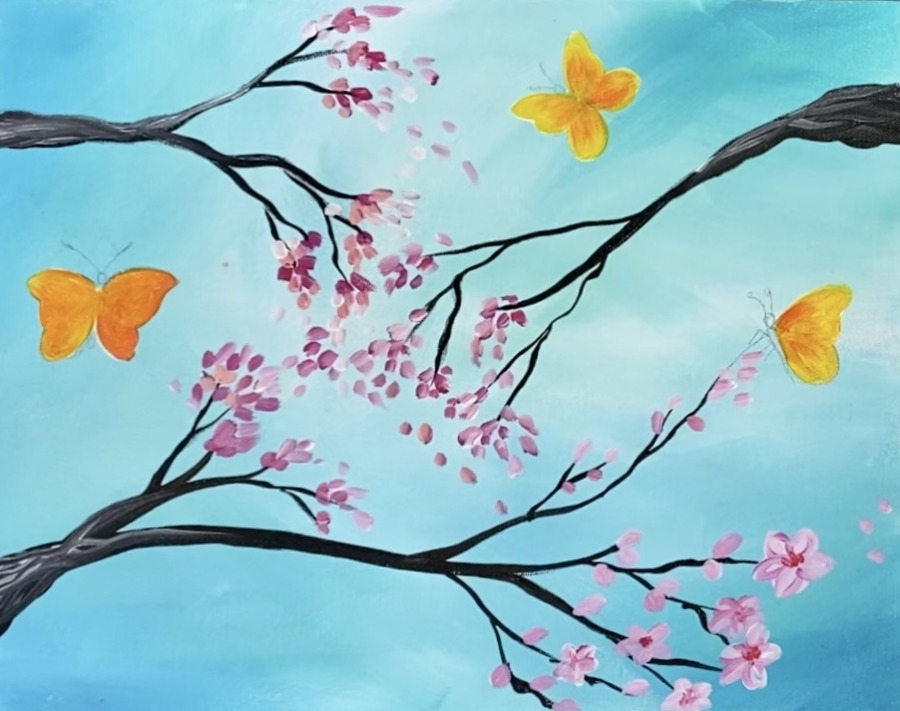
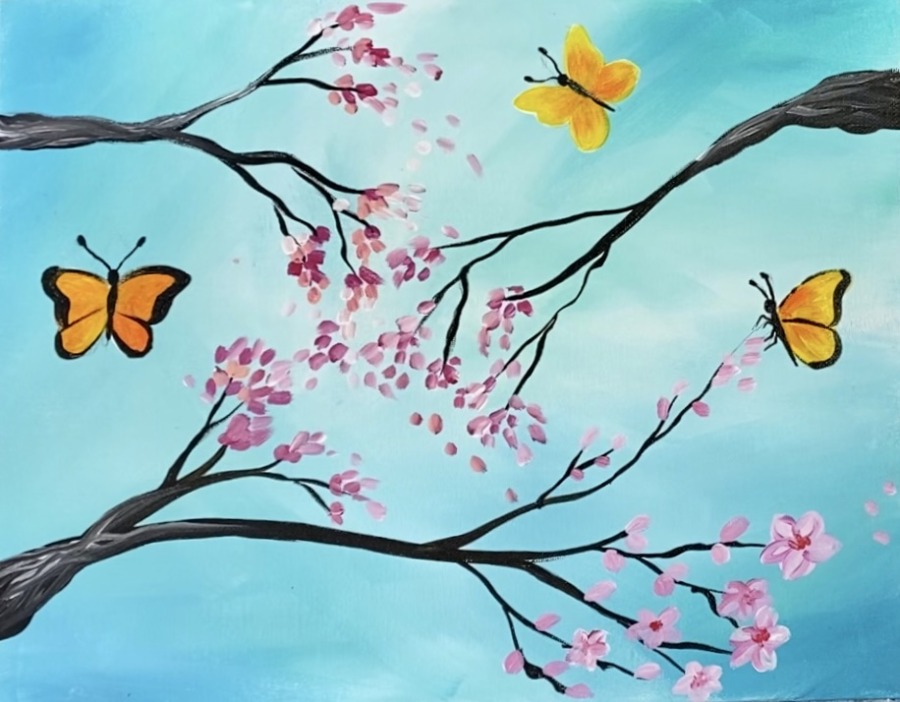
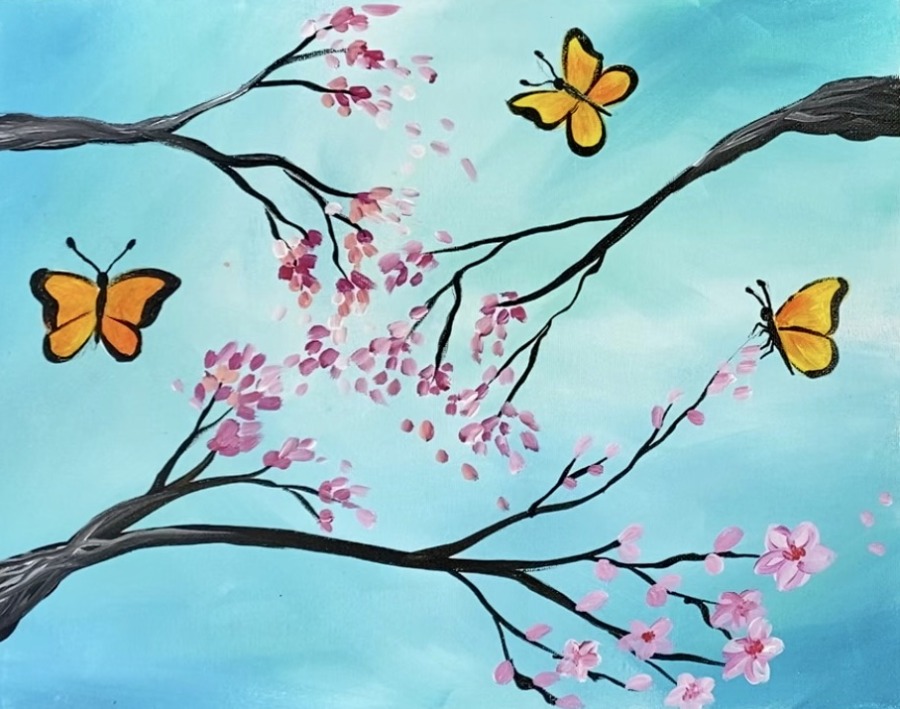
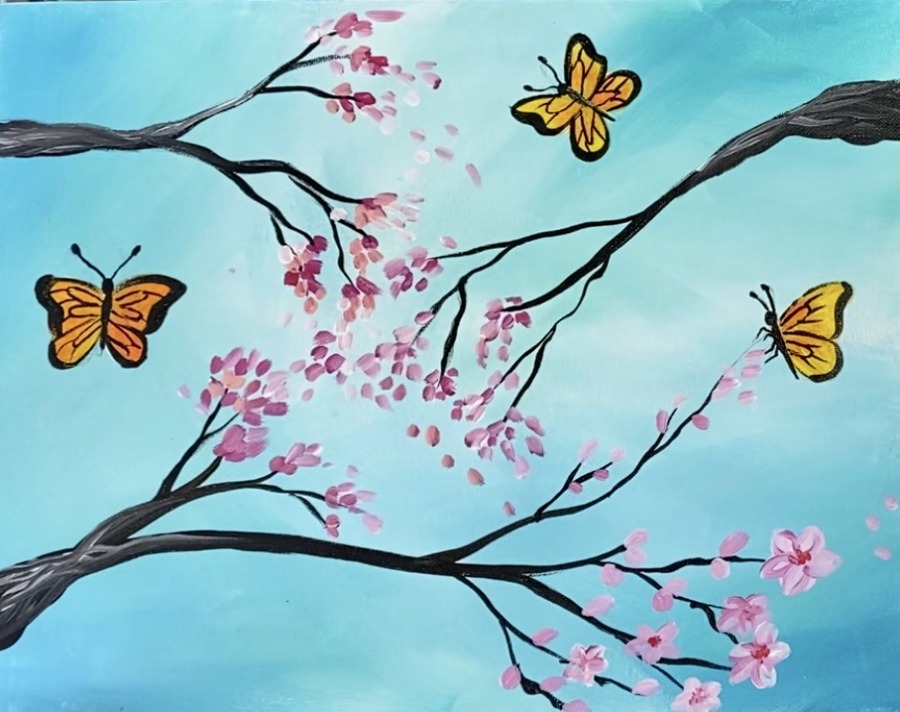
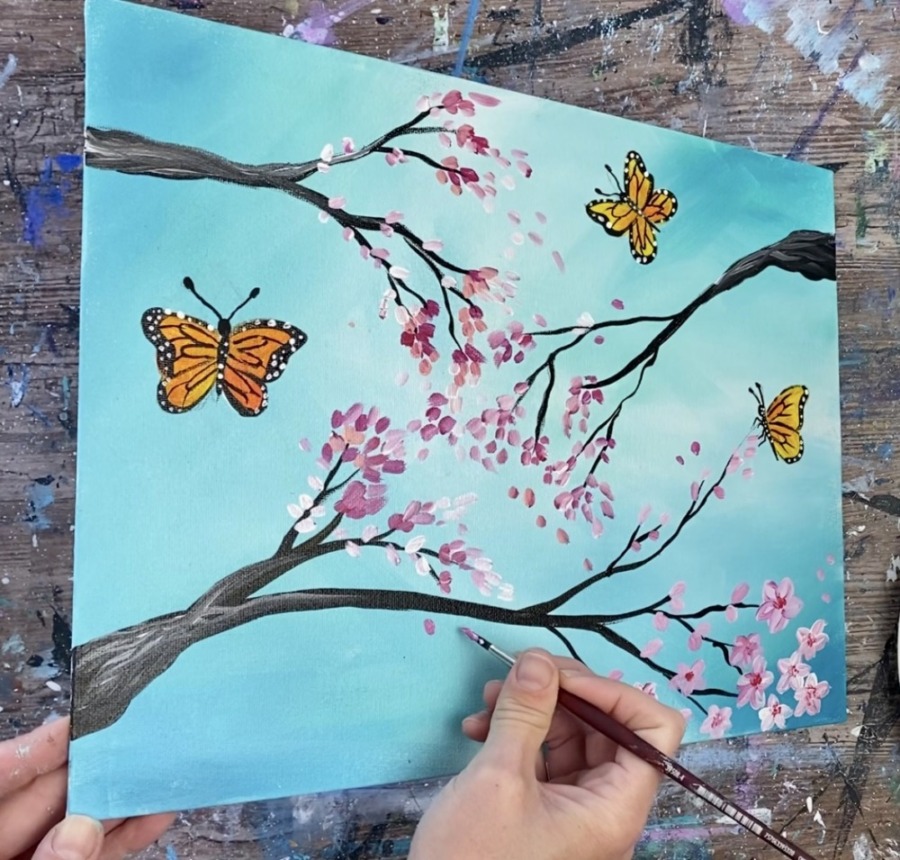
How To Paint "Cherry Tree Butterflies"
This beginner painting tutorial demonstrates how to paint cherry blossom trees with monarch butterflies.
Materials
- 11 x 14 Canvas
- Acrylic Paint
- Pencil
- Brushes
- Black POSCA Paint Pen
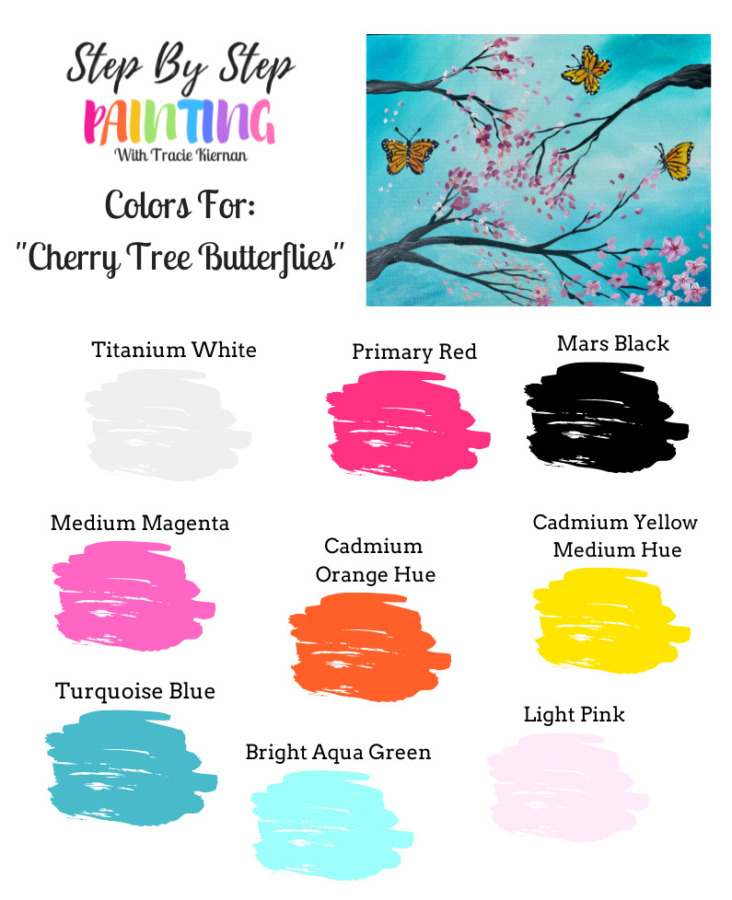
Colors
- Titanium White
- Primary Red
- Cadmium Orange Hue
- Cadmium Yellow Medium Hue
- Light Pink
- Bright Aqua Green
- Medium Magenta
- Turquoise
Brushes
- #8 Round Brush
- #4 Round Brush
- 3/4" Flat Wash Brush
- Tiny Round Brush (if not using paint pen)
Color Palette:
Using Craft Paints?
If using craft paints such as the Apple Barrel Craft paints, I recommend subbing for these colors:
- White
- Black
- Bimini Blue
- Bright Yellow
- Jack O Lantern
- Fuchsia
- Bright Magenta
- Parrot Blue
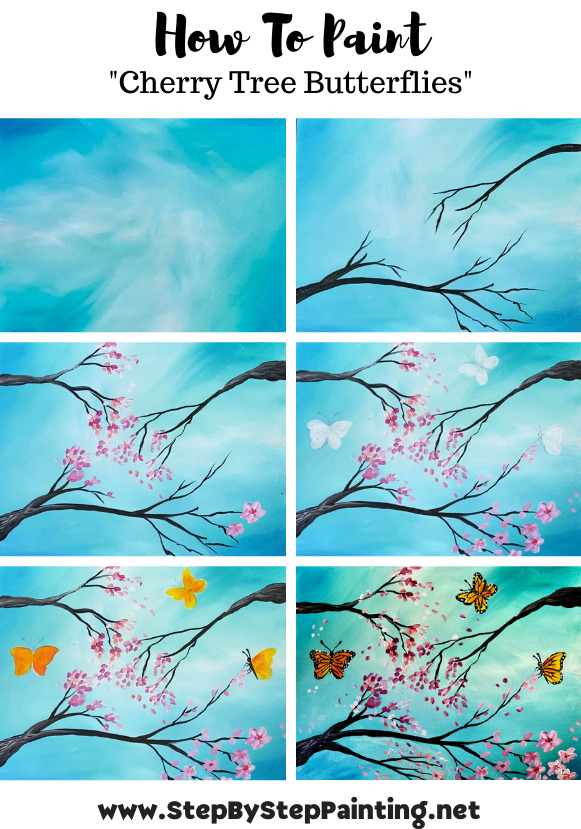
Directions At A Glance:
Video:
Step By Step Directions:
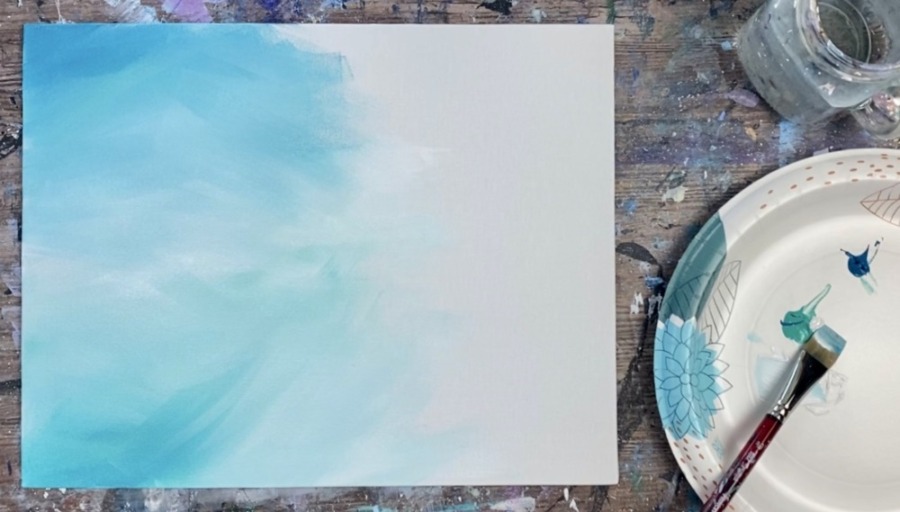
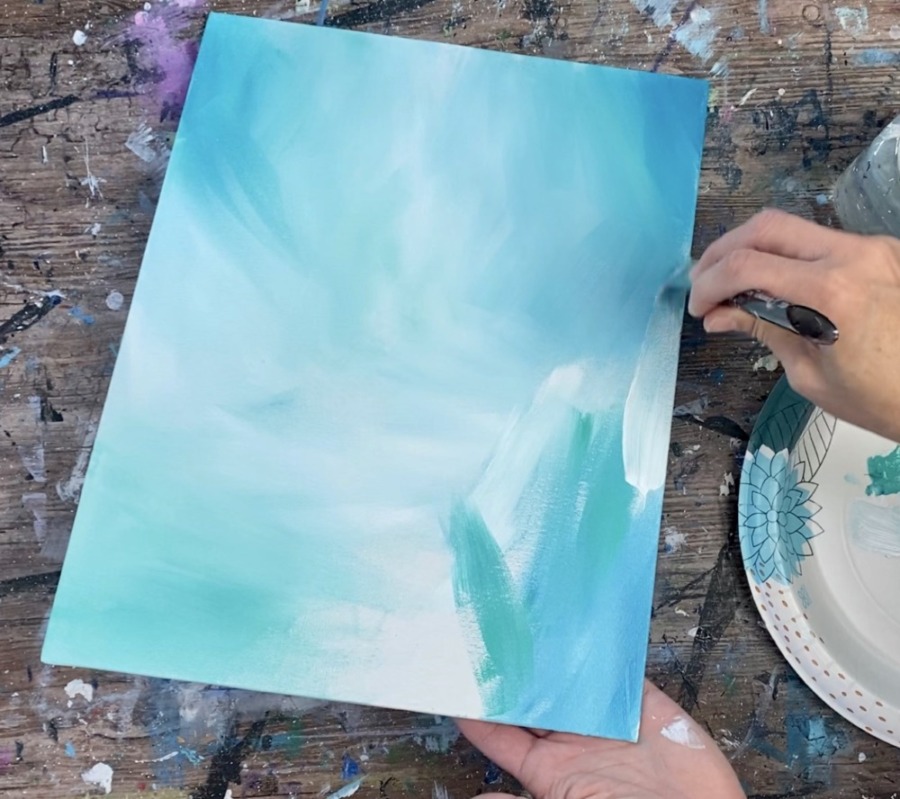
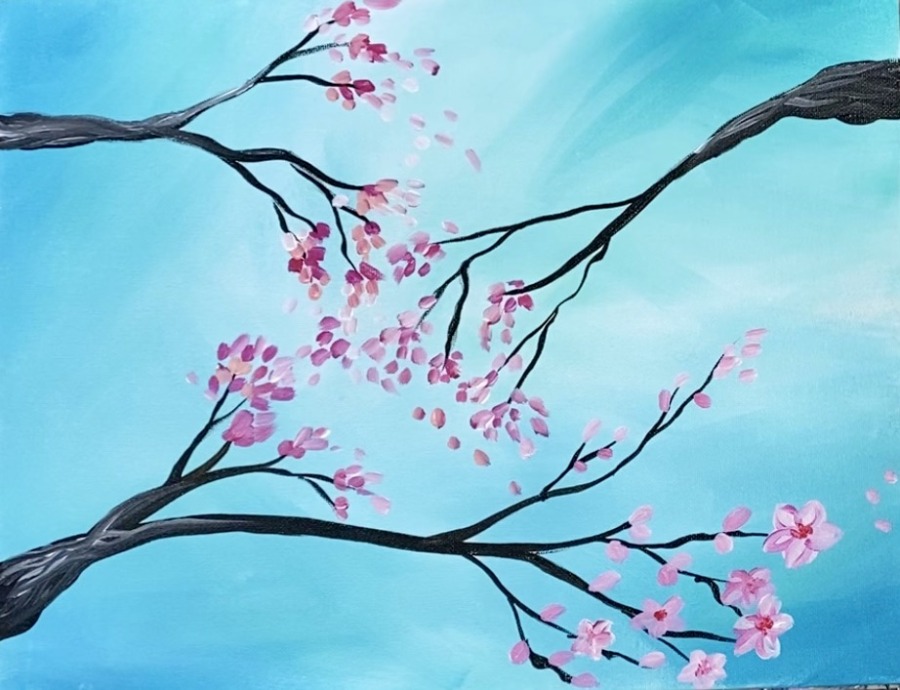
1. Paint The Background
The background is an abstract background of the colors: titanium white, bright aqua green and turquoise. Use a 3/4″ flat wash brush. Load it into mostly titanium white and a small amount of bright aqua green. Paint in cross-hatching “x style” strokes. Allow the colors to blend on the canvas.
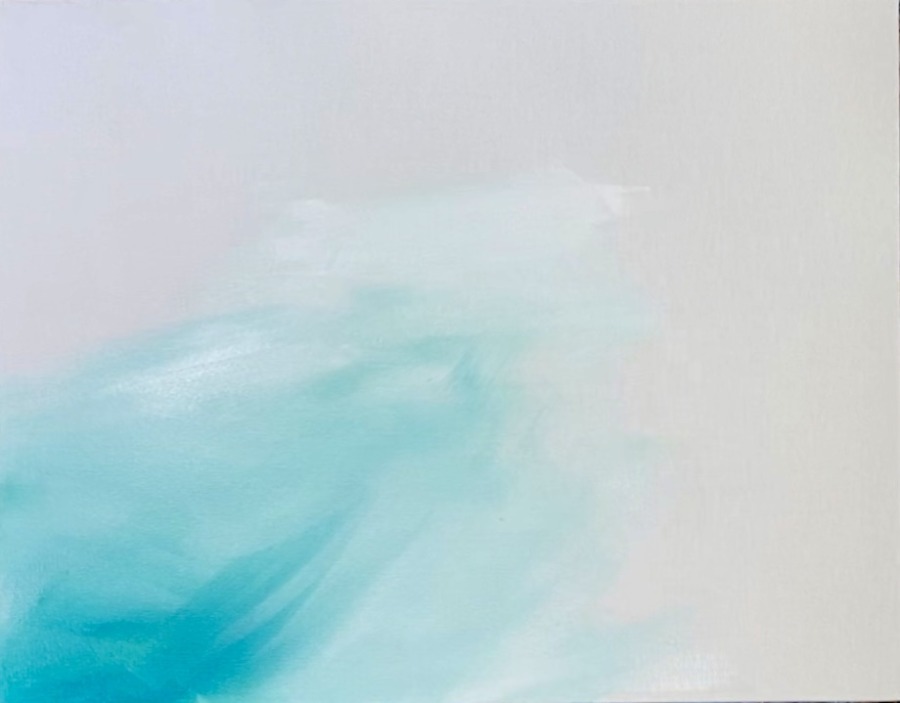
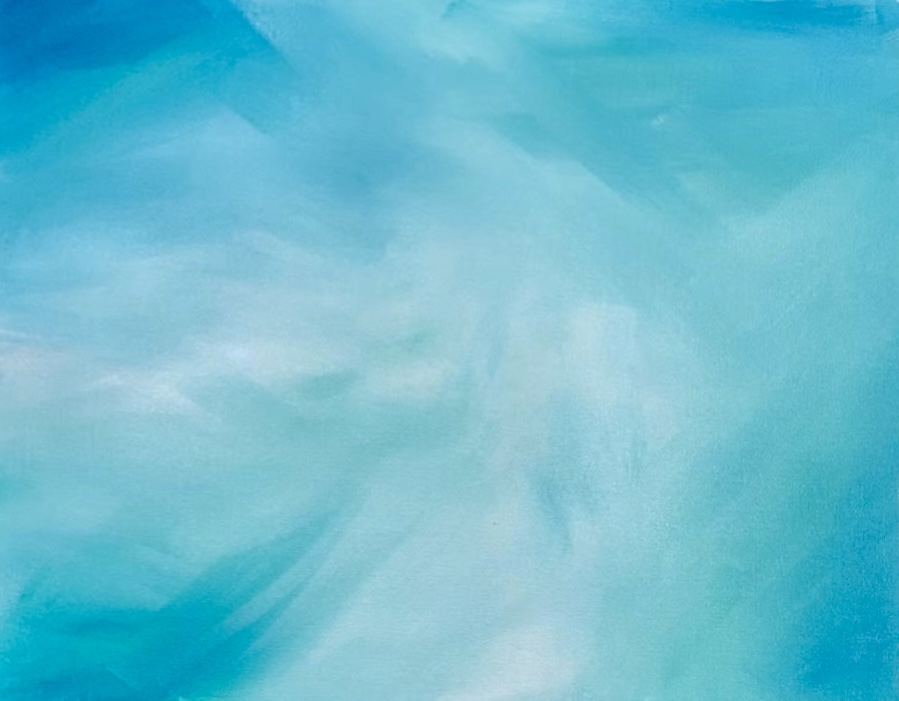
Add a bit of turquoise (the darker blue) on the outer edges of the canvas. Try not to allow the background to get too dark. Add more titanium white towards the middle and to keep the background lighter. Keep painting in expressive, cross-hatching strokes. Try not to over blend the colors. Keep a variety of lights and darks all throughout the canvas.
Allow your background to dry before continuing onto the next step.
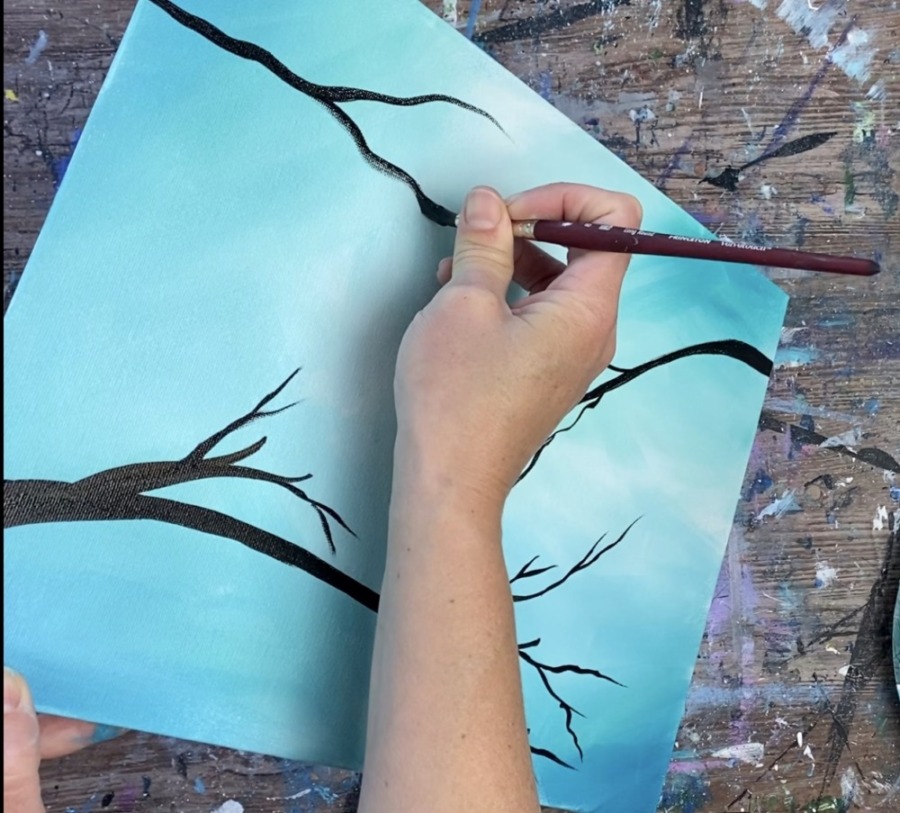
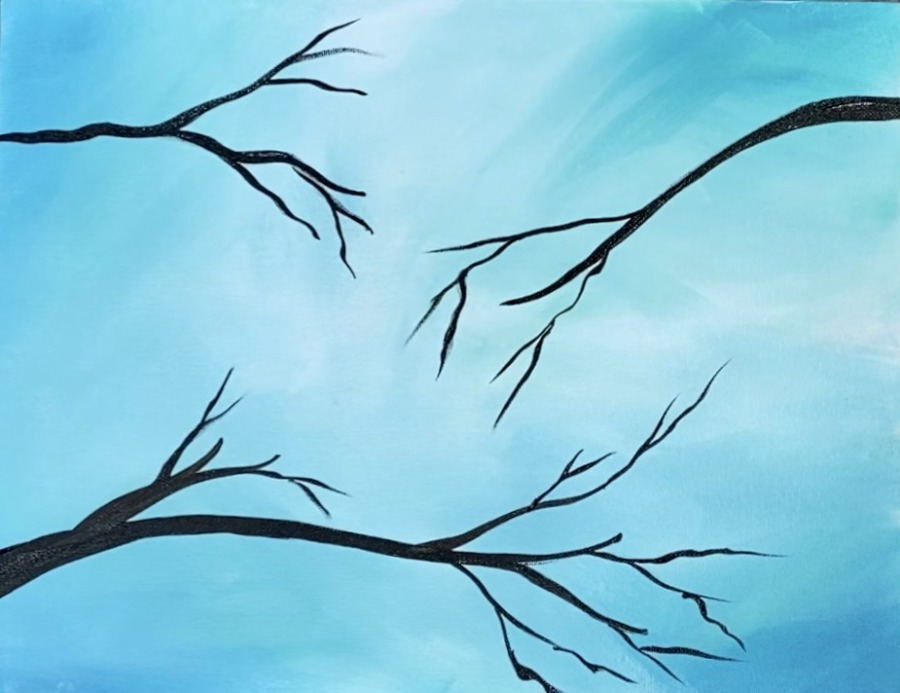
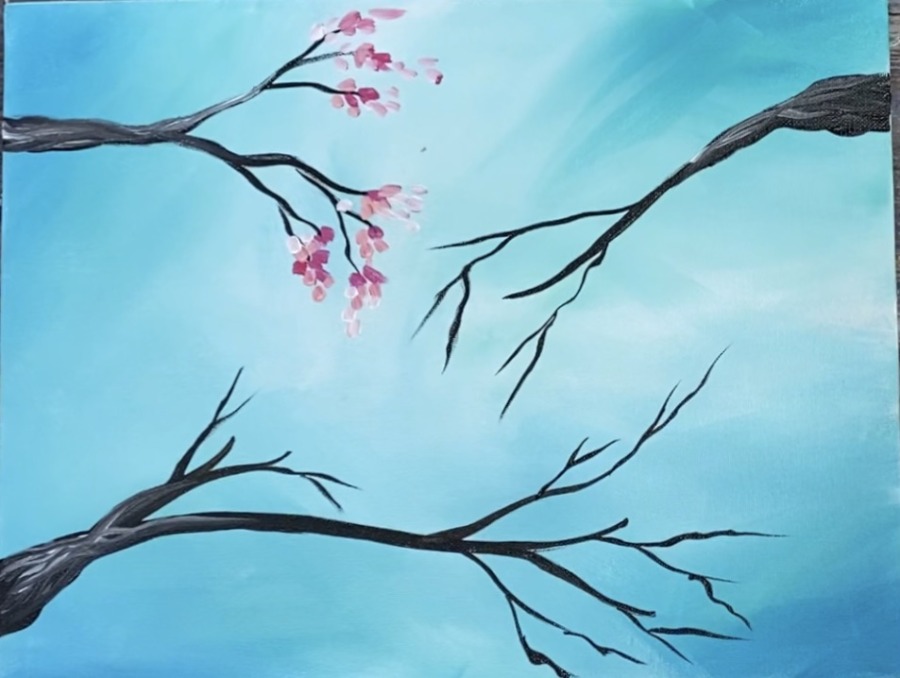
2. Paint the Tree Branches
Use a #8 round brush and the colors: burnt umber and mars black. Add water to your brush and distribute it into the brown and black (to thin it down a bit). Load about one part black and one part brown to your brush. Paint a branch starting on the lower part of the canvas.
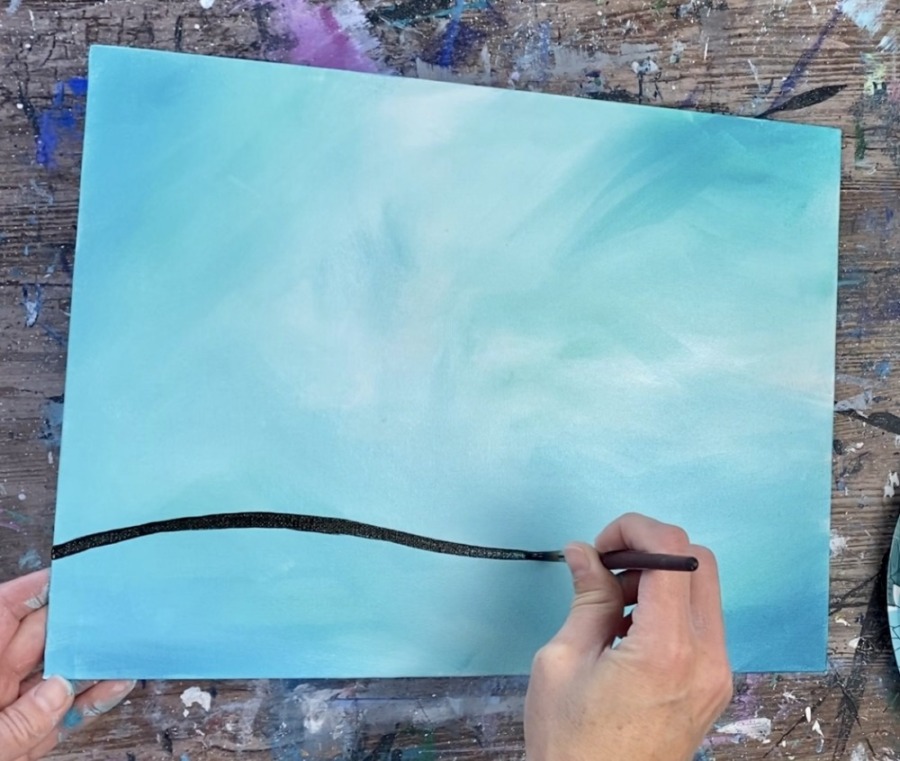
When you paint your branch, start out by putting a little pressure on your brush and then release the pressure so your stroke goes thinner.
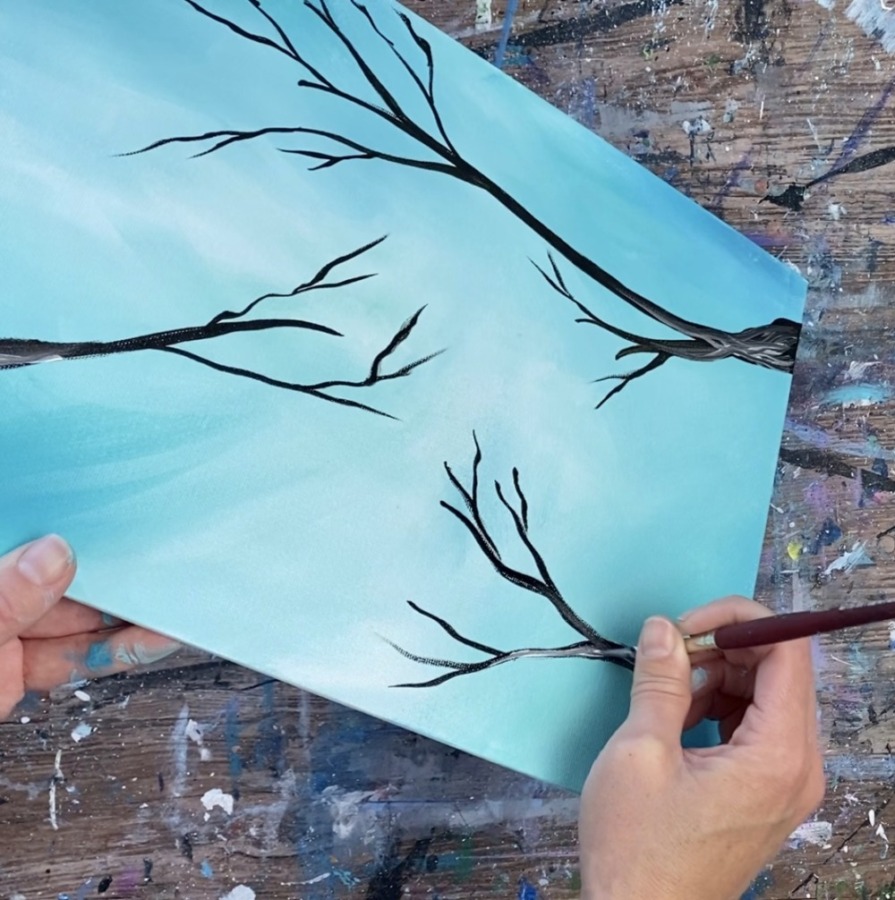
Then paint branches that stem out from the first main branch. It may be helpful to go backwards. Start at the tip of the brush (with light pressure on the brush) and then going to the base, making the stroke slightly larger as you reach the base of the branch.
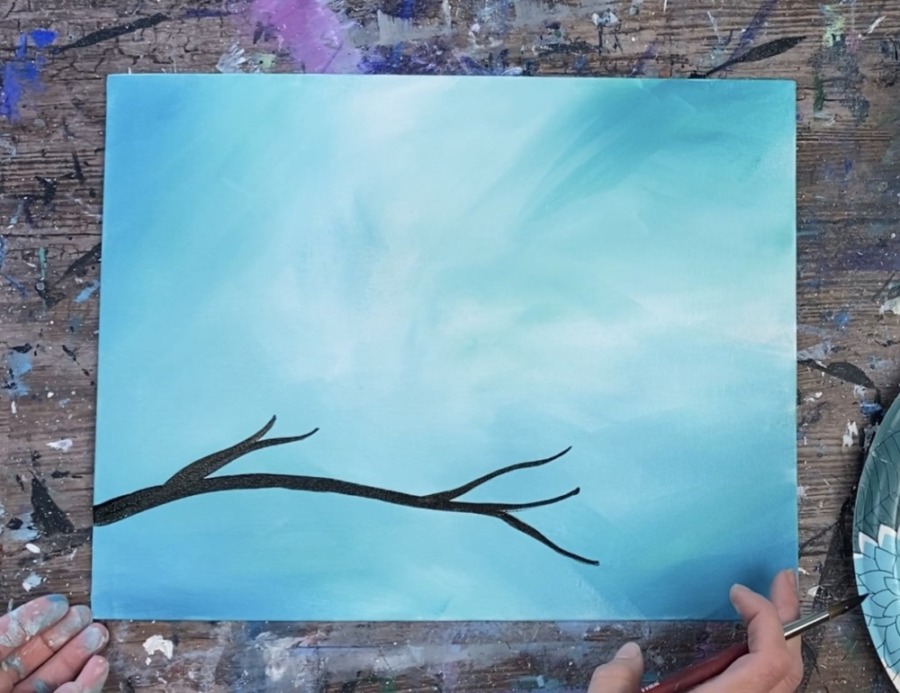
Cherry blossom branches are kind of “twisty” and “jagged”. You can create this in the branches by wiggling your wrist a bit as you paint the branches.

Paint another branch in the upper right corner.
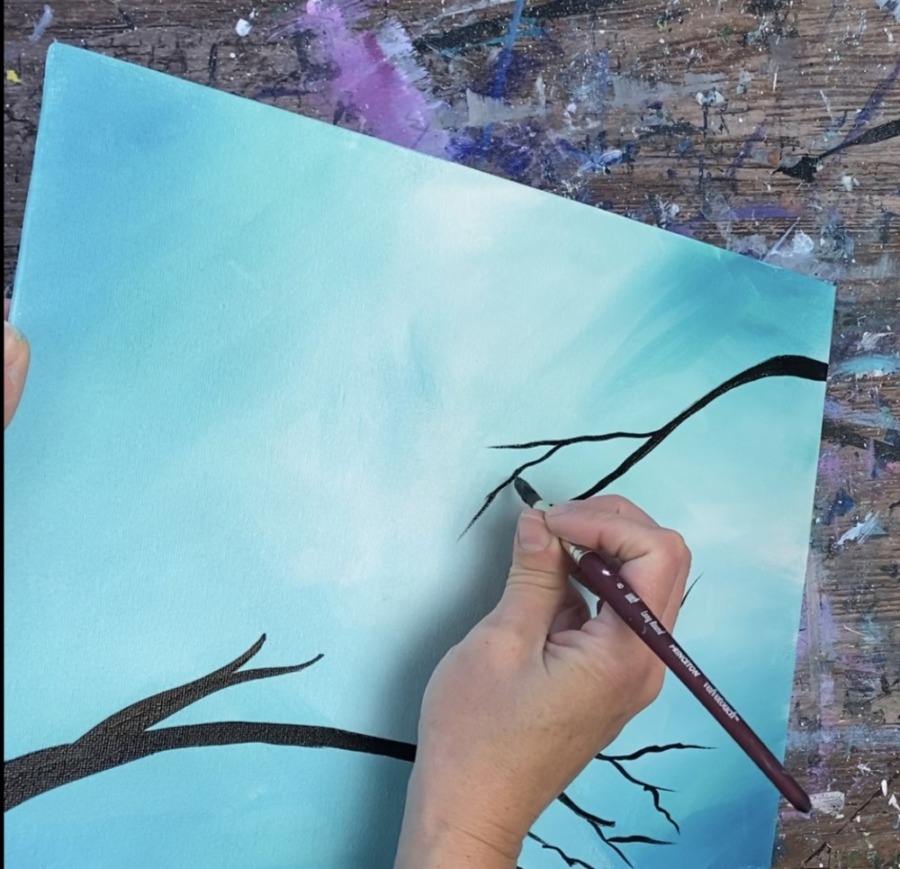
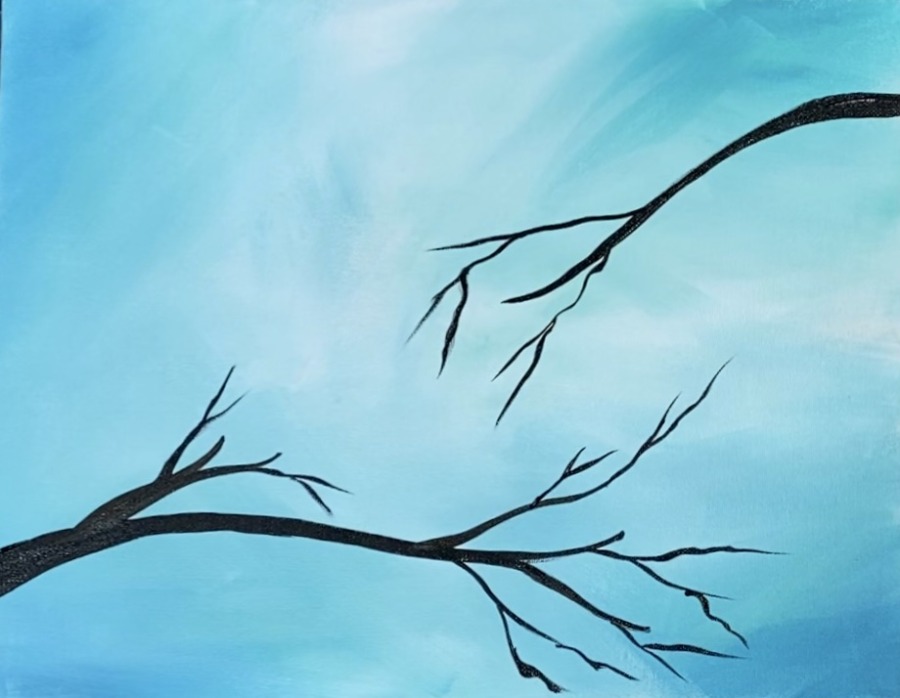
Then paint a third branch in the upper left corner.
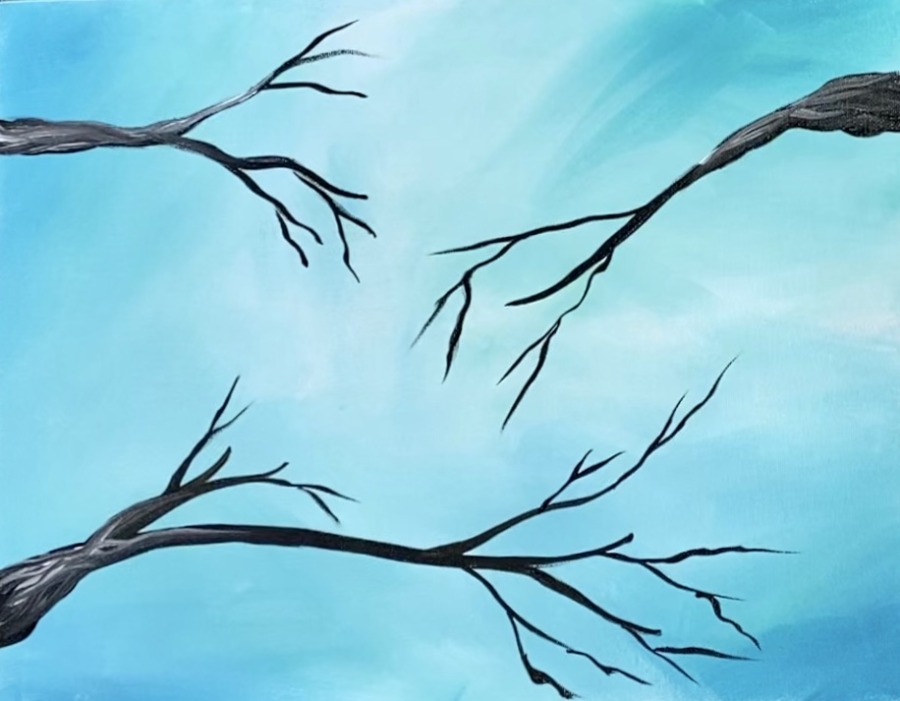
Add some highlight to the branches. Load some titanium white on your palette. Then, without rinsing your brush, add a small amount of the white to your brush. Blend in some of the white on the large part of the branches. Let it gently blend with the brown. Create some textured, wavy strokes.
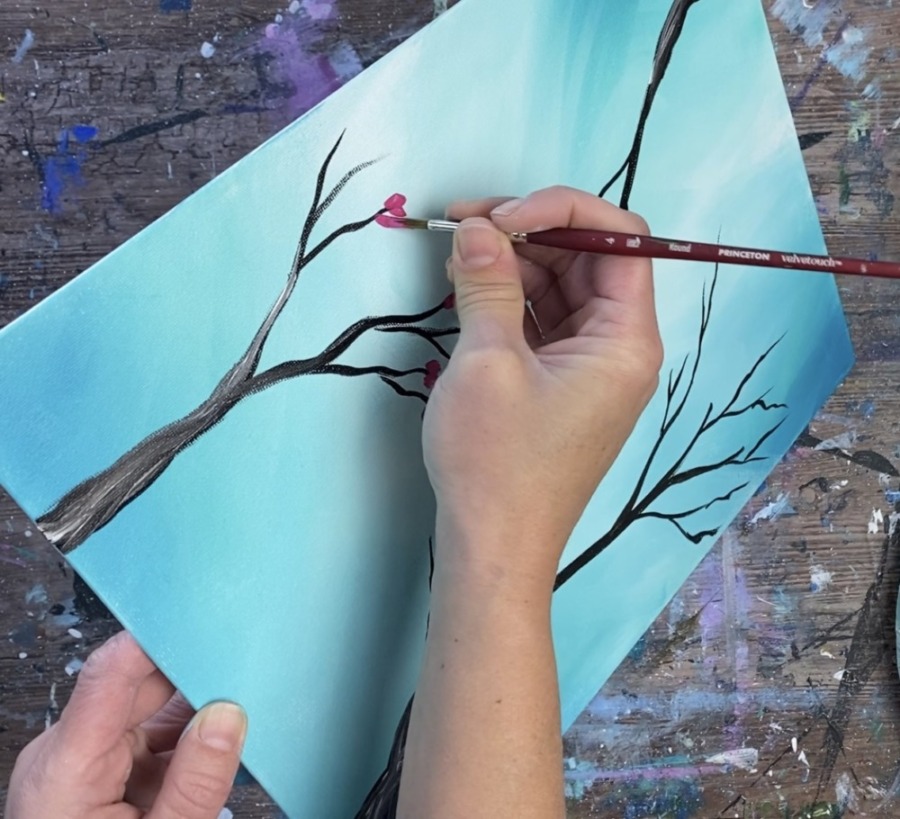
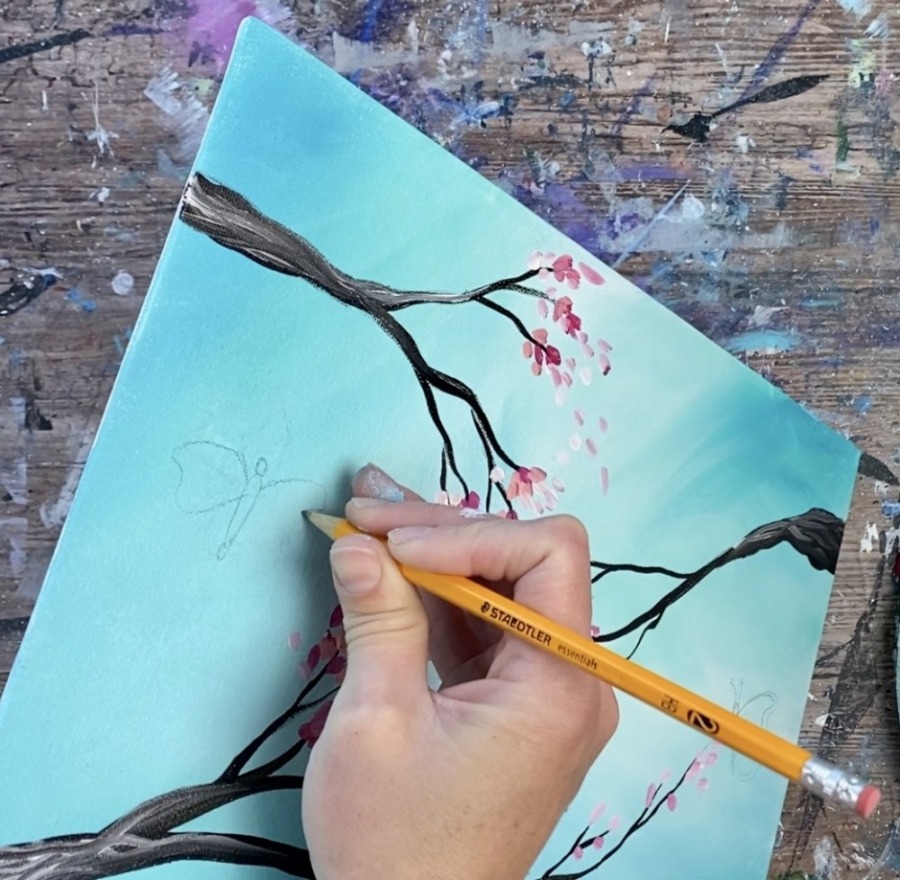
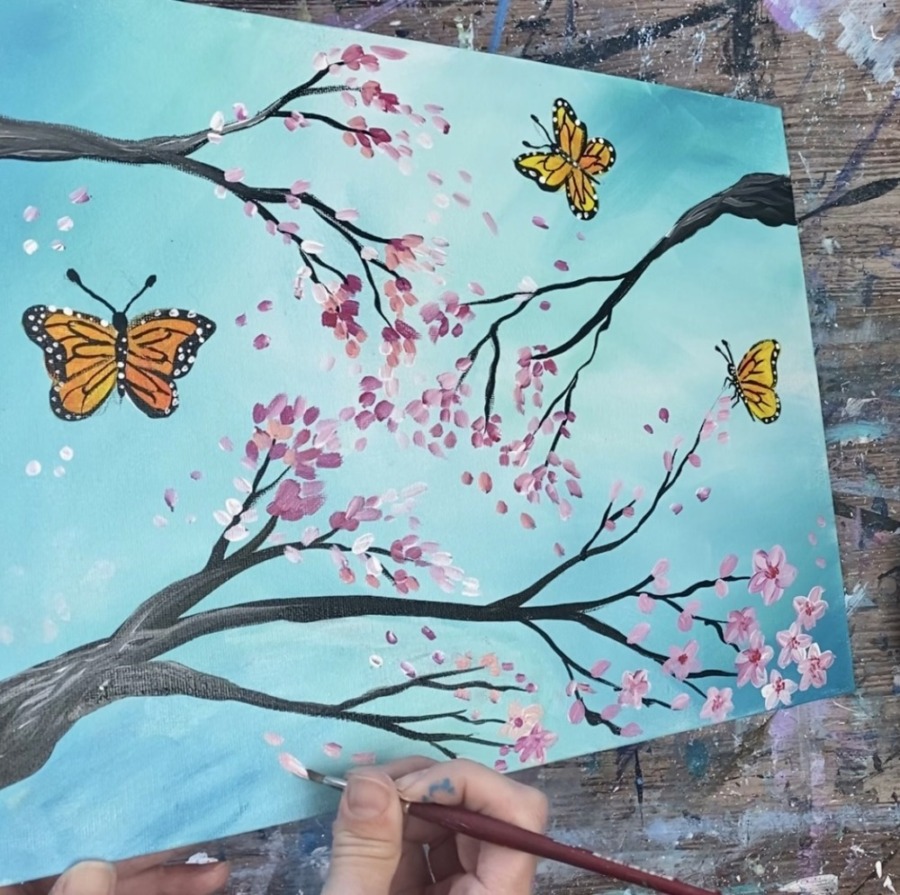
3. Paint Cherry Blossoms
Load your palette with: pink, medium magenta, primary red and titanium white. Use your #4 round brush. Load it in any of the colors I started with medium magenta).

Paint small, short strokes to create the blossoms on the tips of the branches.
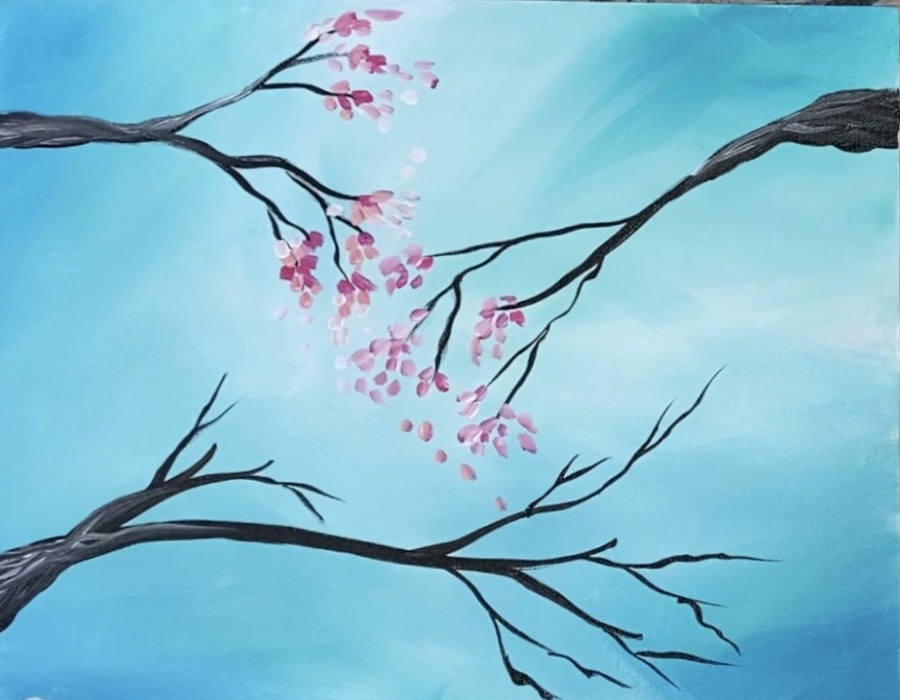
Load your brush in the other colors as well and paint layers of those small strokes. The colors will provide color variation in your blossoms.
Continue to paint small strokes on the branches, layering on all the different pink colors. Some of your blossoms could be falling and not attached to the branches.
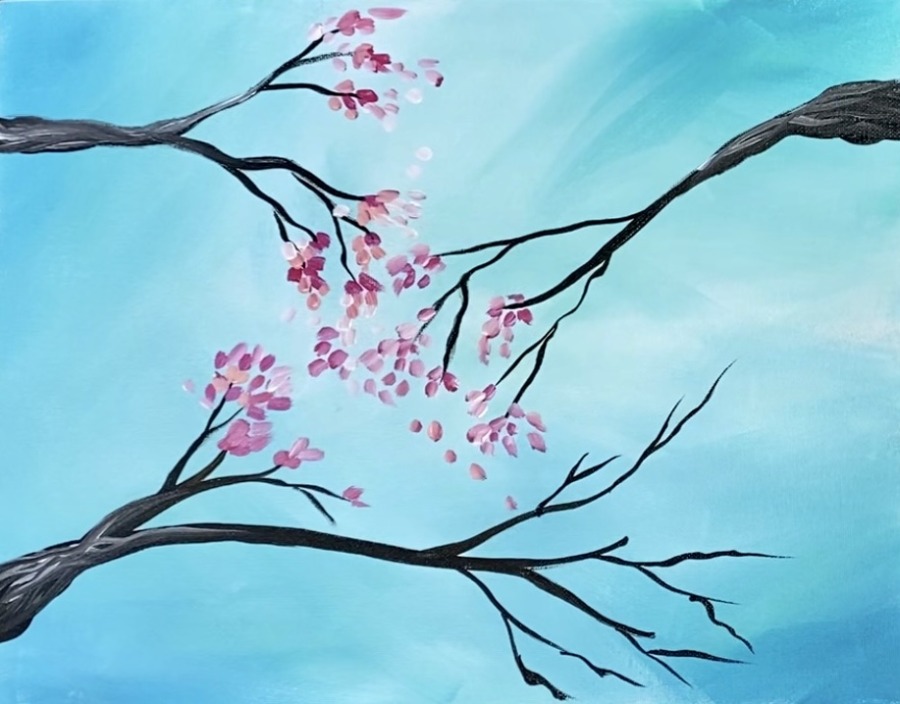
For the branches in the lower right, I painted little five petaled flowers. Use titanium white mixed with a little bit of medium magenta for a very light pink color. Use the 4 round brush to paint 5 simple petals. Then paint darker pink dots in the centers of the flowers.
You can do more 5 petal flowers but I did them just on the lower branches. Also paint smaller cherry blossom buds on the lower branches.
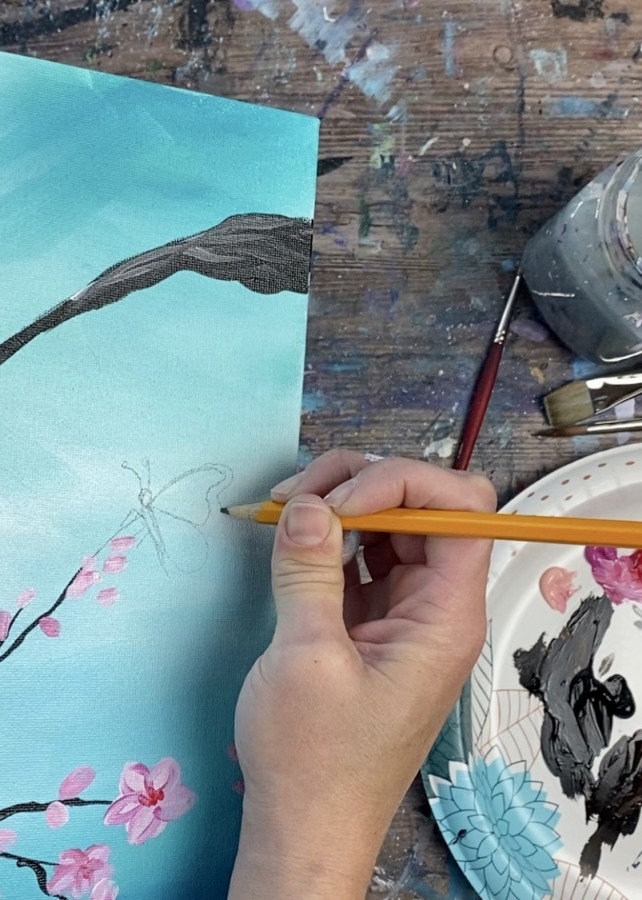
4. Draw Butterflies
Use a pencil to lightly draw the shape of the butterflies.
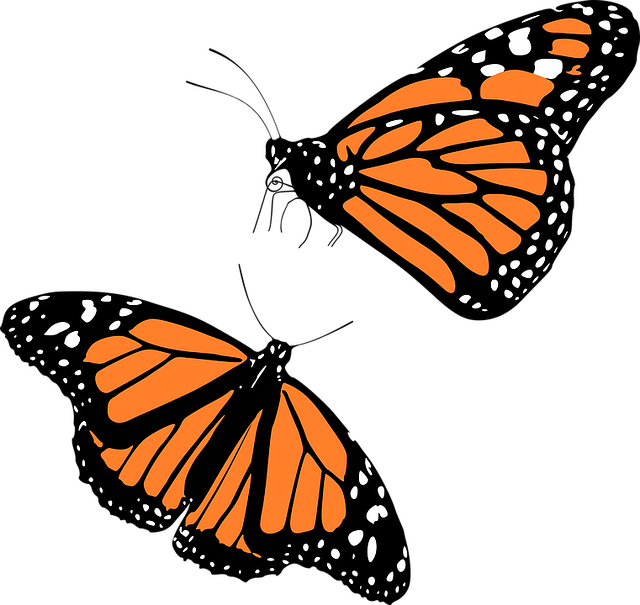
Draw the head, abdomen, antennae and legs. Lightly sketch the wings. The top wing is almost a heart shape and the bottom wing is a teardrop shape.
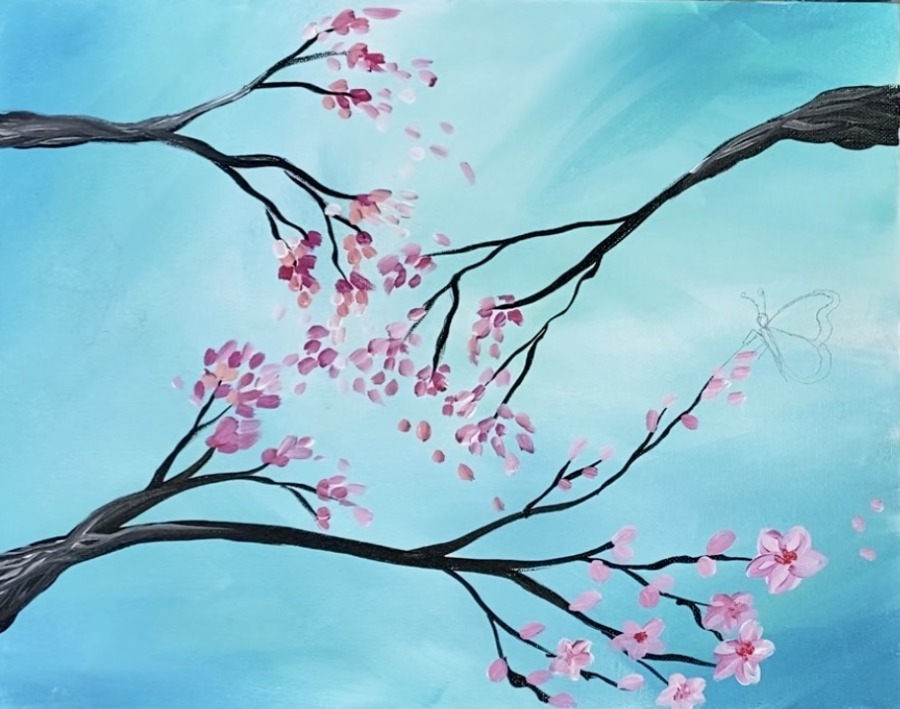
Then draw a butterfly in the air. Start with the abdomen and the head. Then draw the wings.
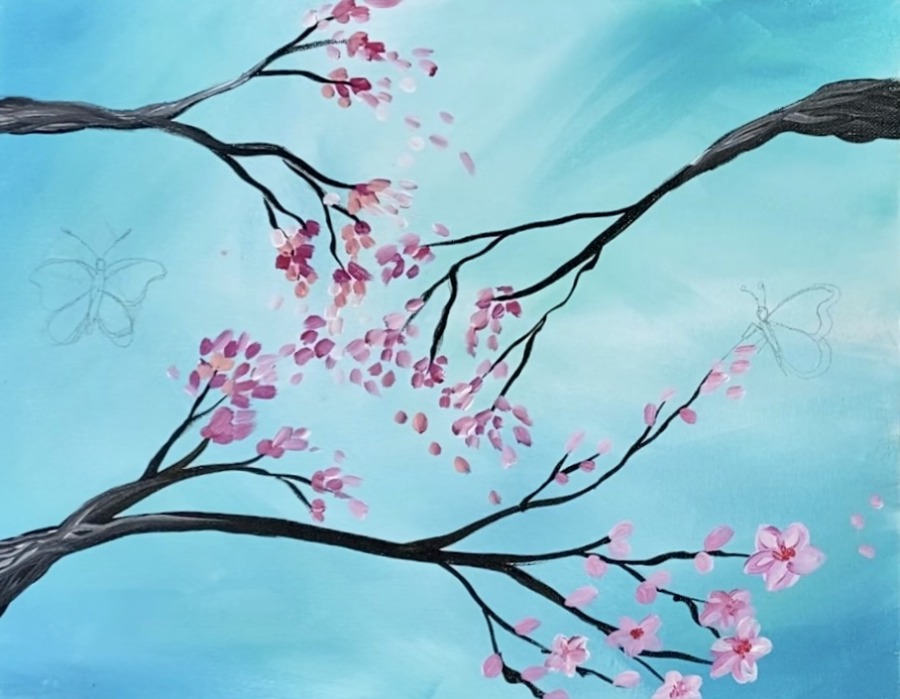
Then draw a third butterfly similar to the second one but going at an angle.
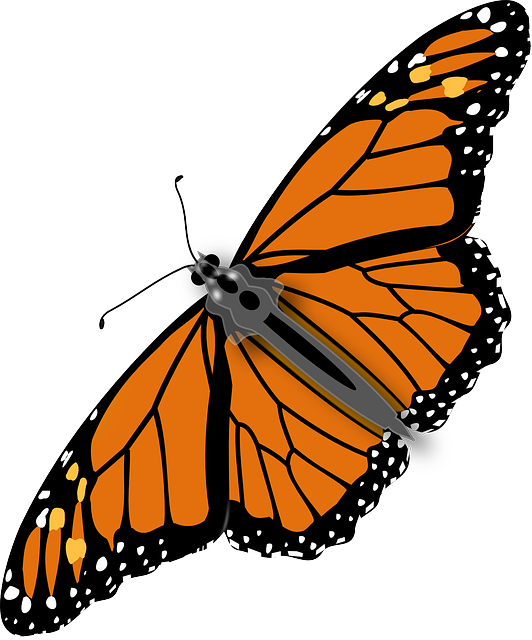
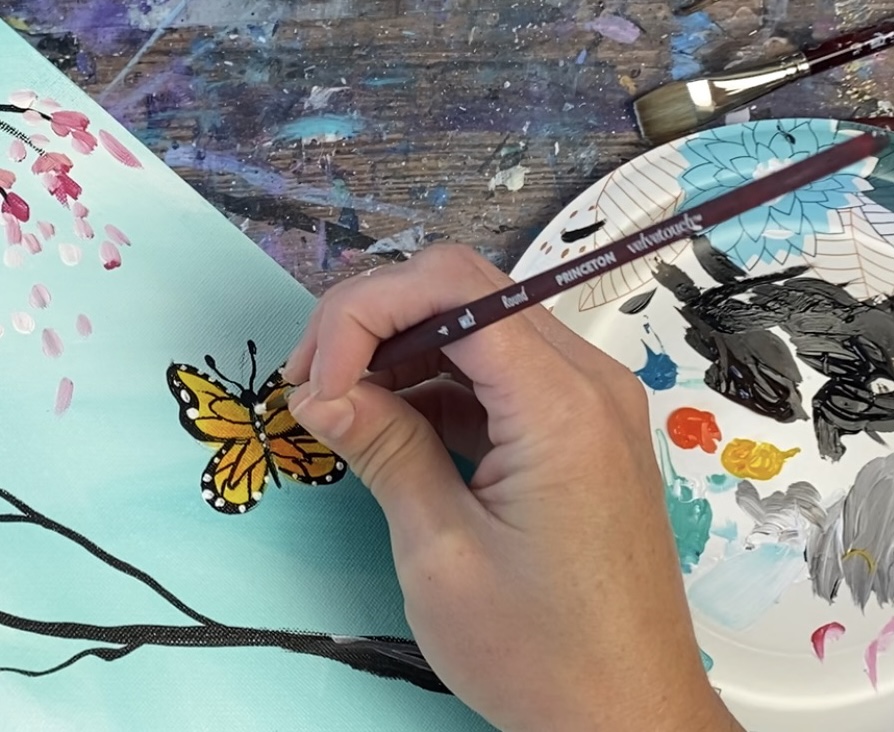
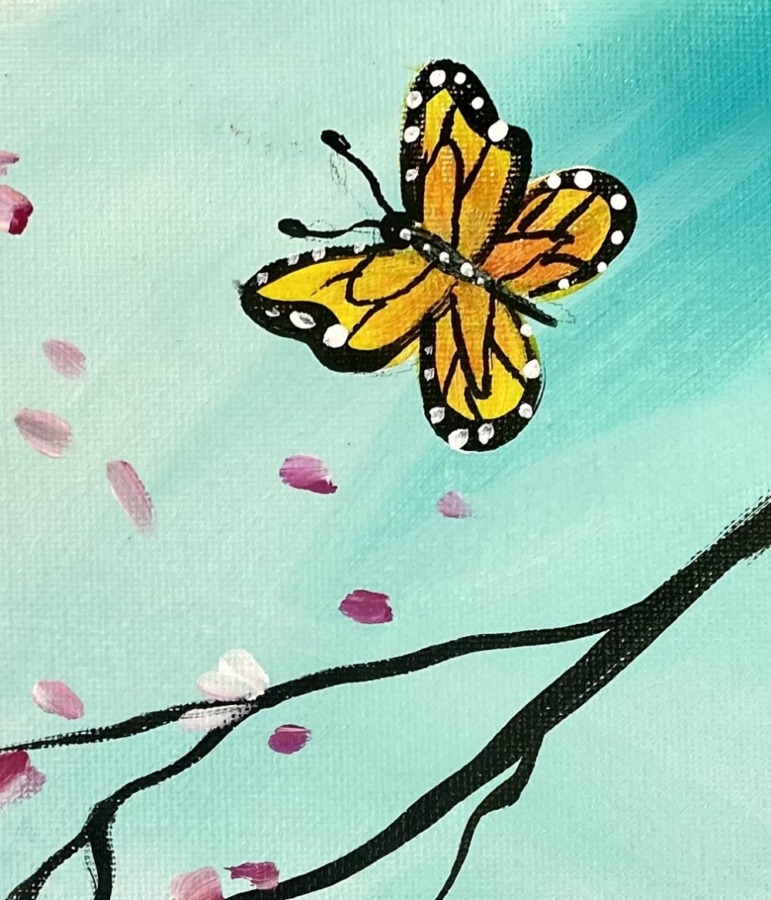
5. Paint Butterflies
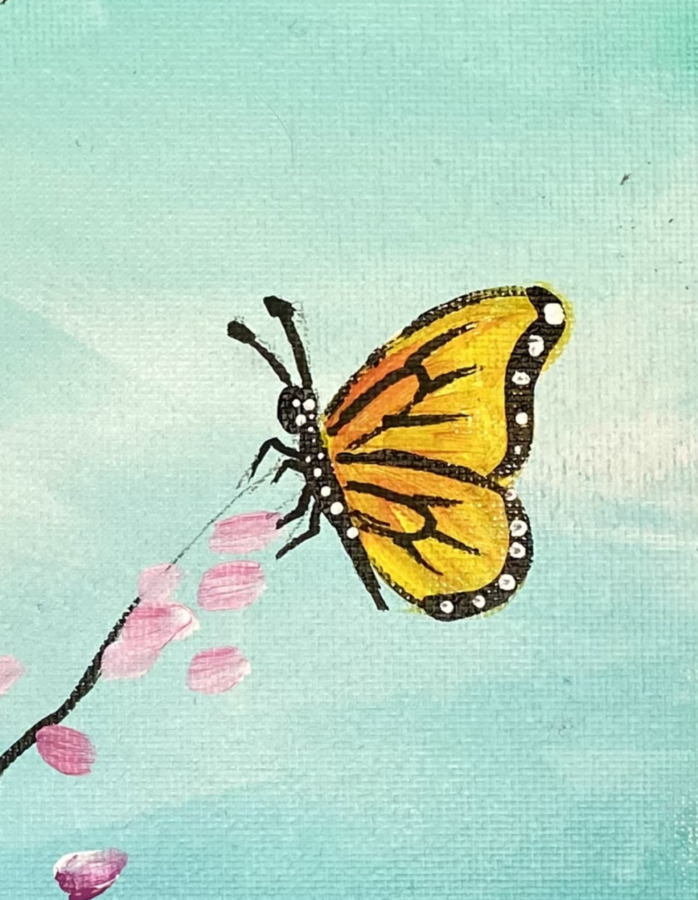
I recommend painting the wings of the butterflies with titanium white first before adding the orange and yellow so your orange and yellow will be bright and have enough “coverage”. Use a #4 round brush to paint the wings white.
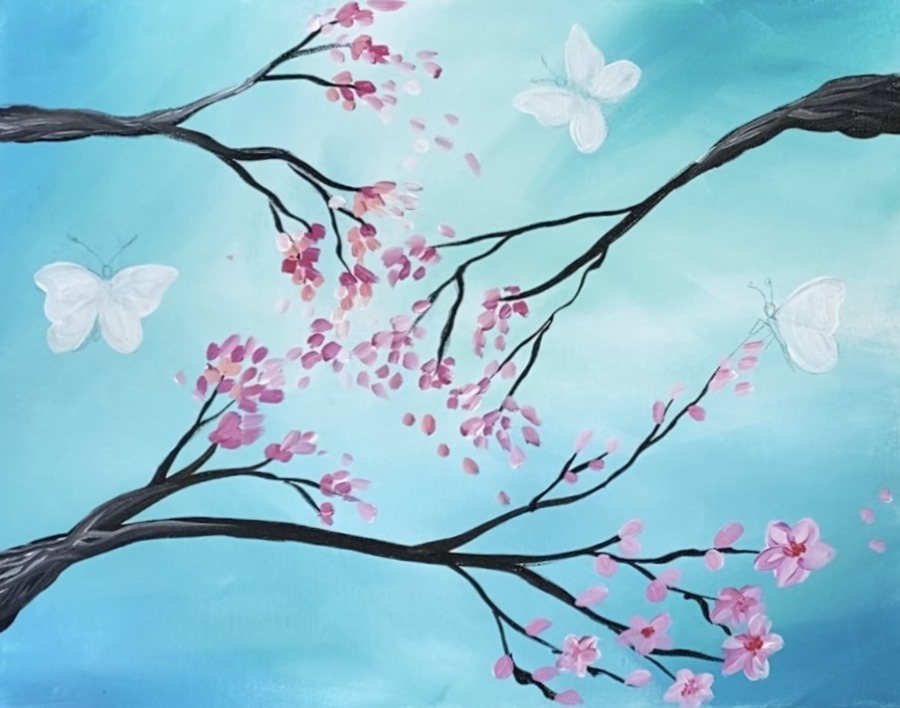
Then wait for the white to dry. Paint the wings with cadmium yellow medium hue.
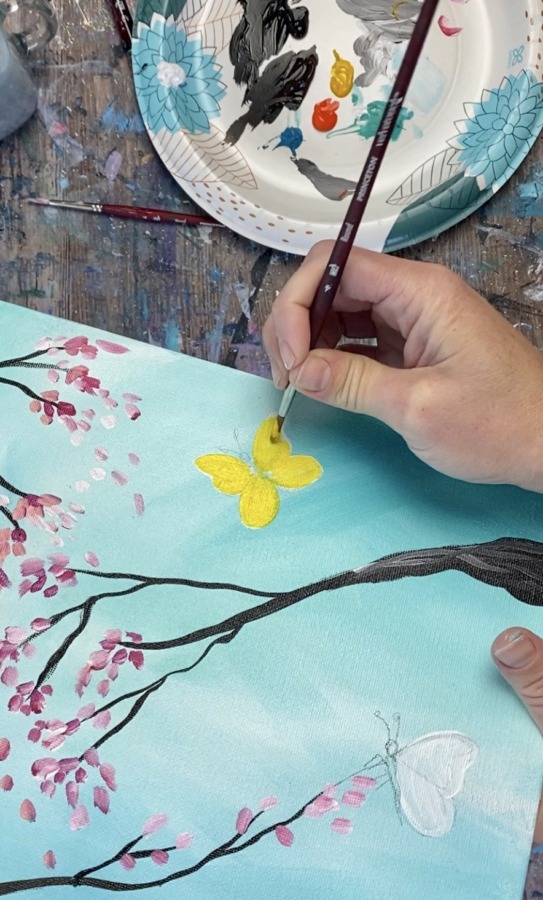
Then gently blend cadmium orange hue on the middle of the wings and blend it with the yellow so the middle part of the wings are darker. Use the #4 round brush to do this step.
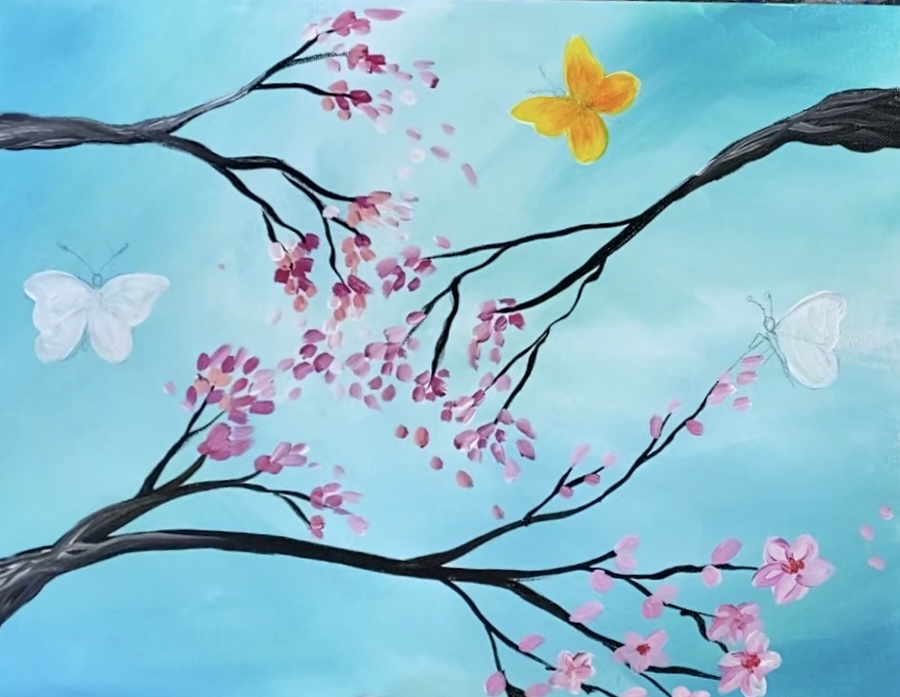
Then paint the yellow and orange on the other butterflies.

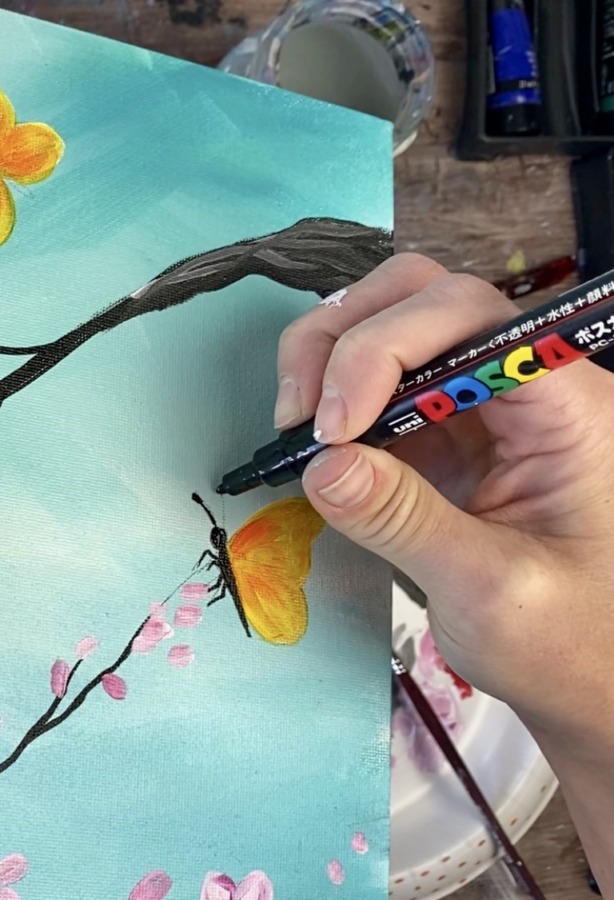
Use a black paint pen (or a really tiny round brush and mars black) to paint the legs, head, antennae and abdomen of the perched butterfly.
Repeat for the other two butterflies.
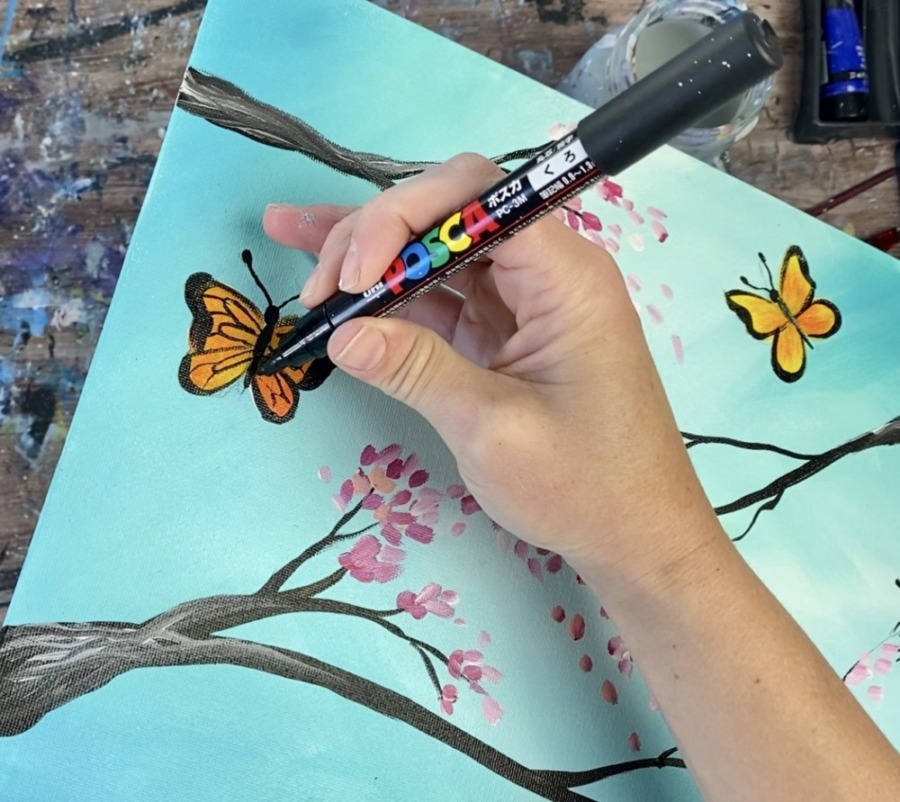
Then paint the border of the wings. Paint a thin line around the edges of the wings (I used a #4 round brush for this). Make the line slightly thicker on the far edge of the wing.
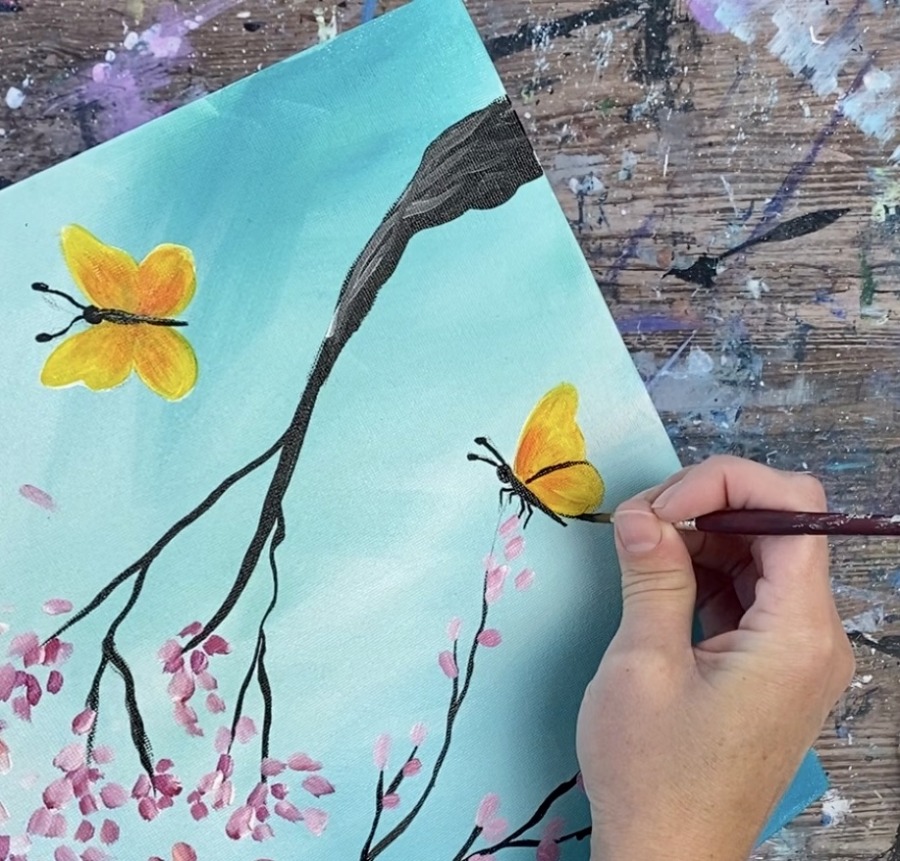
Use the POSCA pen for the smaller details such as the antennae.
Use the paint pen for the designs on the inside of the wings. Draw elongated elliptical shapes inside the wings then draw diagonal lines that go from that shape to the edge of the wings.
Then use your round brush and titanium white to paint dots on the edges of the wings over the black area.
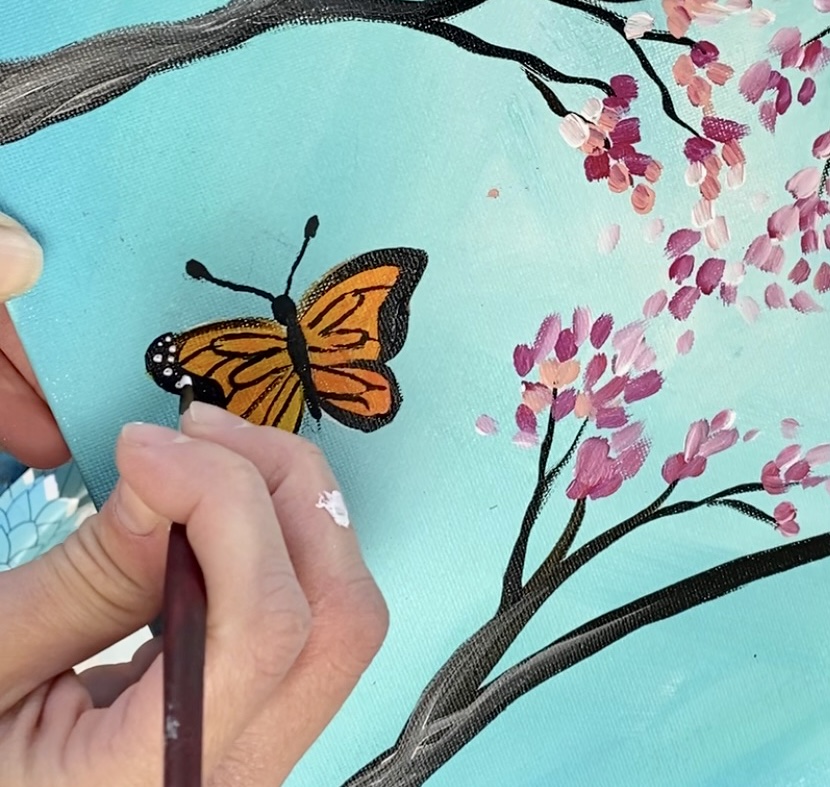
Paint little dots on the abdomen and head area as well.
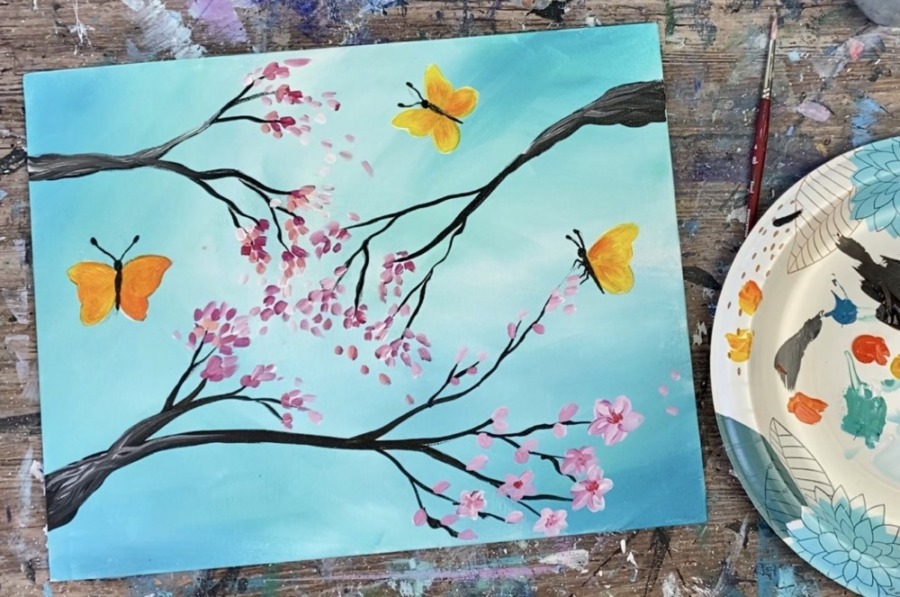
6. Final Touch Ups
Paint more blossoms and/or branches if wanted. I did one more branch on the bottom.
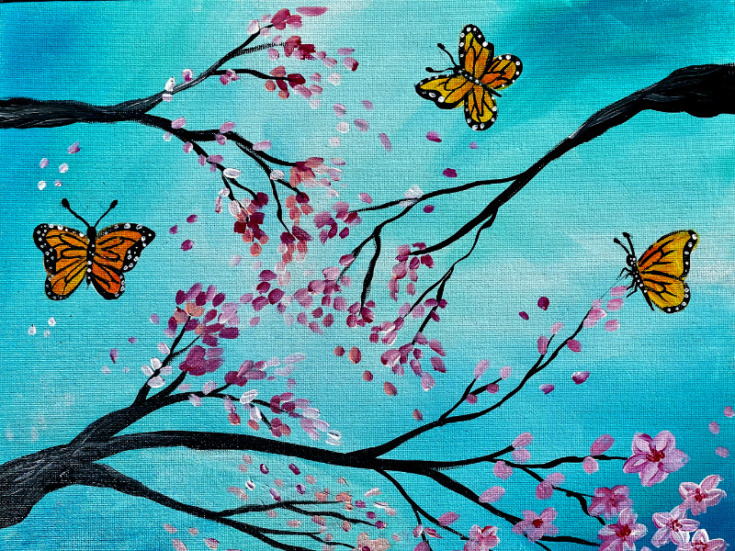
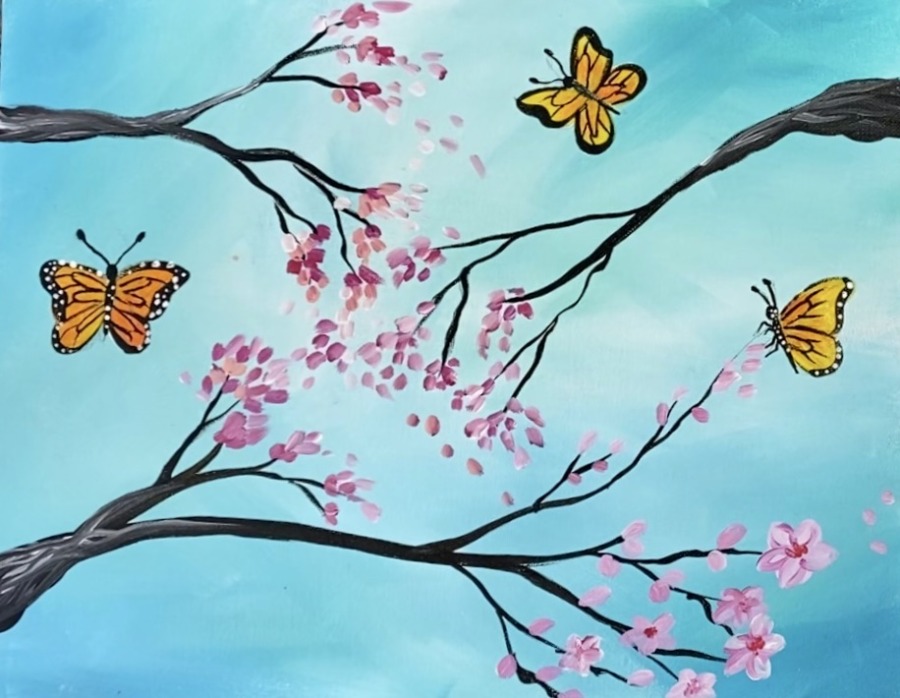
Finished!
Share Your Art Here:


