

Would you like to save this?
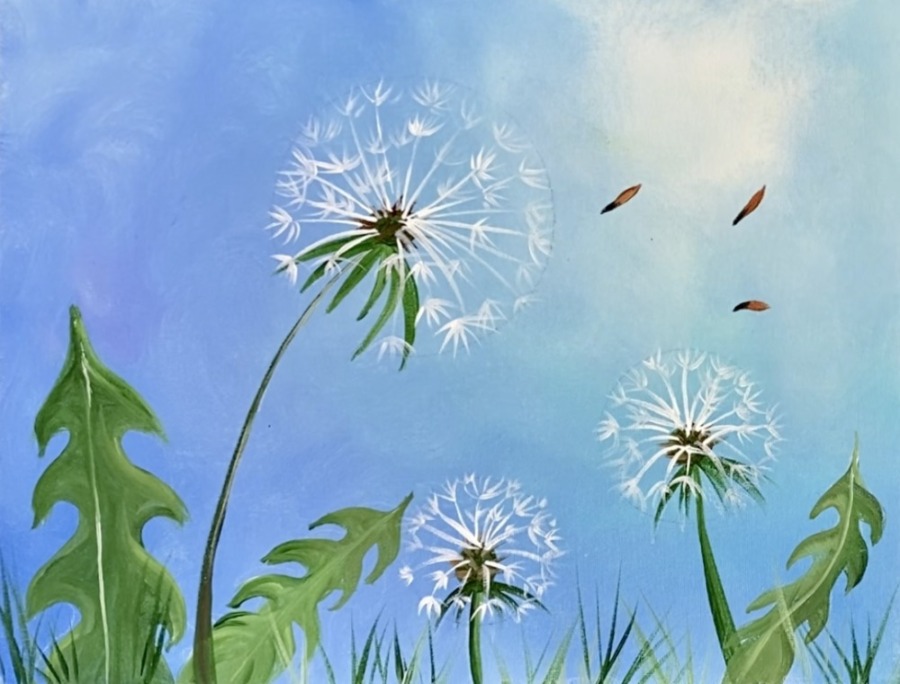
This acrylic painting tutorial demonstrates how to paint dandelions and two little lady bugs with acrylics on an 11 x 14 canvas.
Painting dandelions is very simple! In the techniques below, I will show you how to do the stem and bud and how to paint the white dandelion seeds that go in a circular direction.
Enjoy and happy painting!
Other Tutorials About Painting Dandelions:
Materials
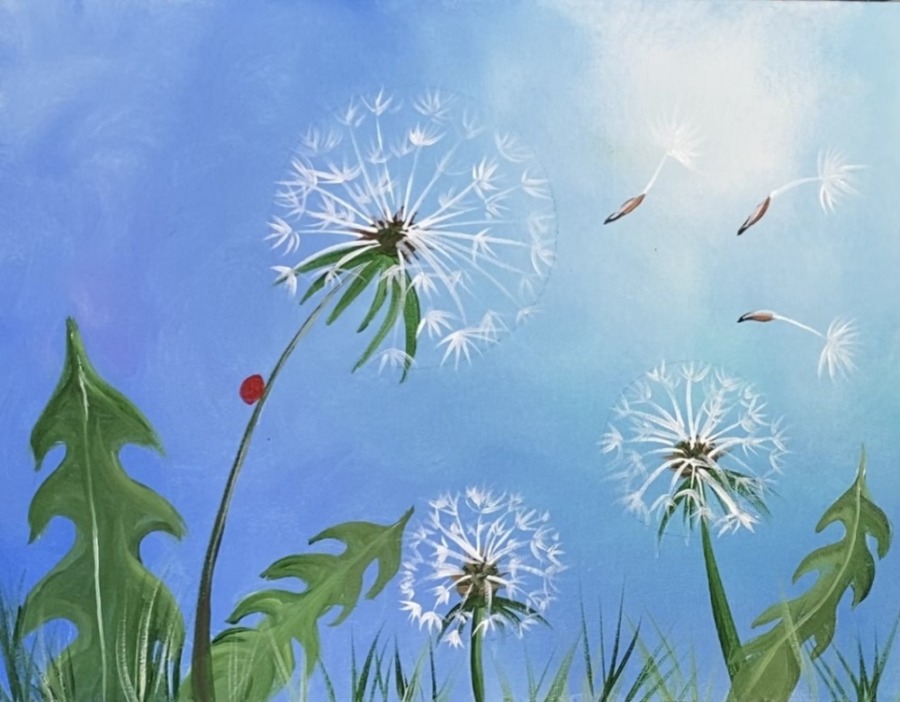
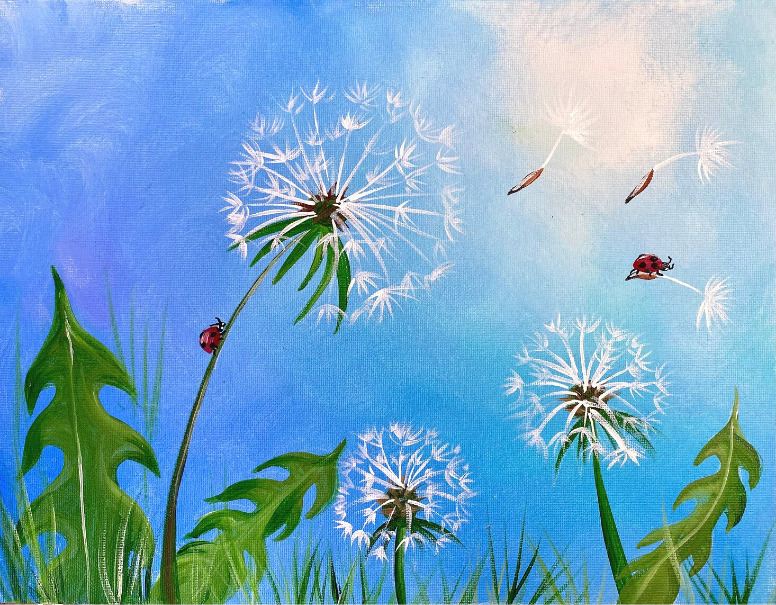
"Dandelion Wishes" Acrylic Painting Tutorial
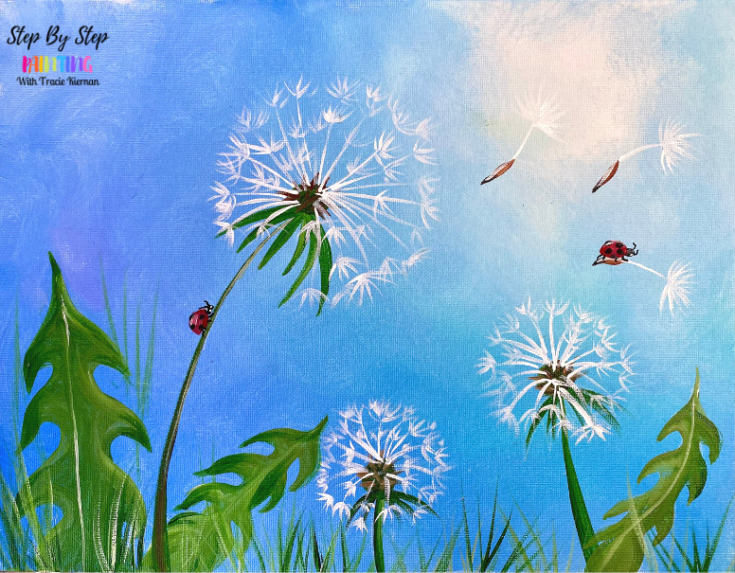
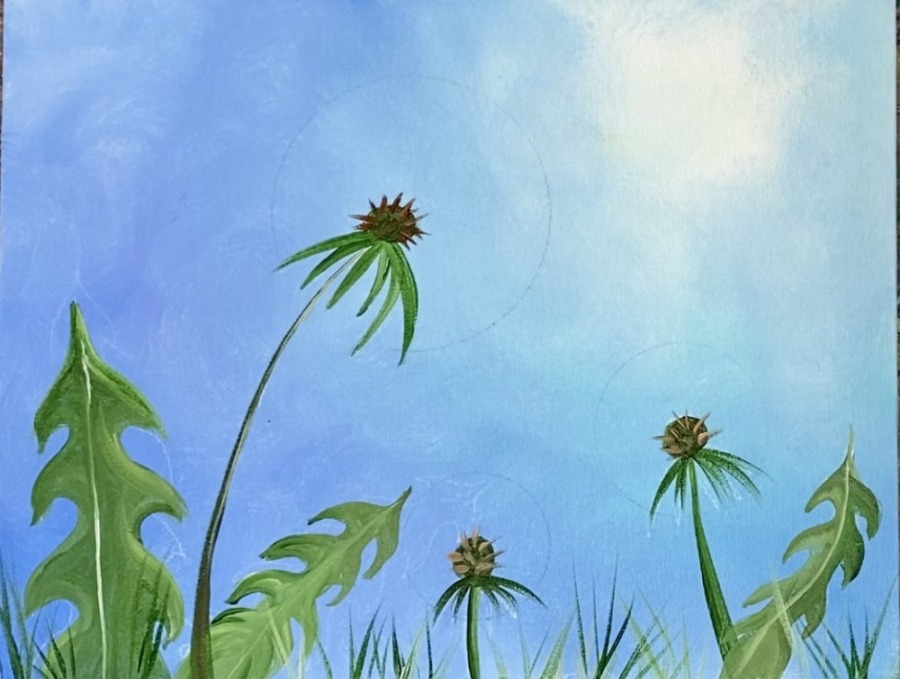
Learn to paint three dandelions with a blue sky background and two lady bugs.
Materials
- 11 x 14 Canvas
- Acrylic Paint
- Brushes
- White Chalk Pencil
- Compass
- Black POSCA Paint Pen
Brushes
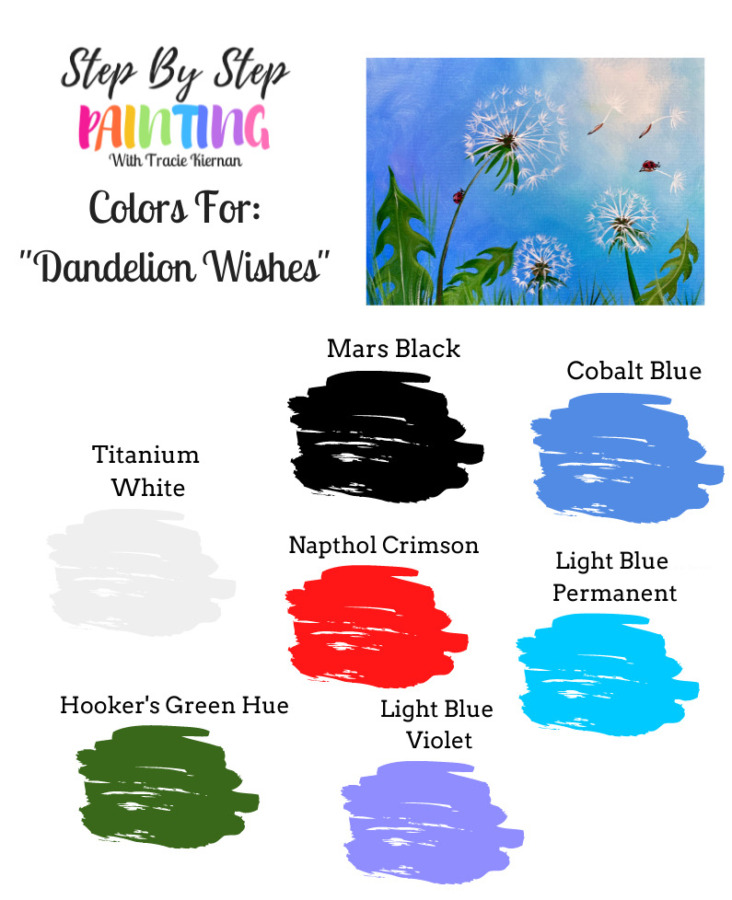
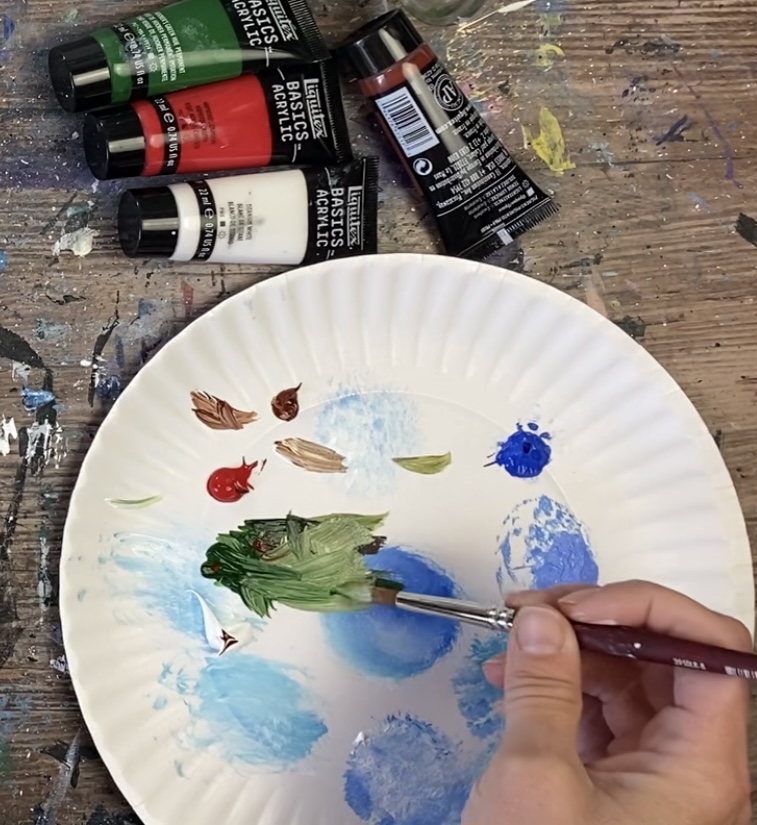
Colors
- Titanium White
- Naphthol Crimson
- Hooker's Green Hue Permanent
- Light Blue Permanent
- Cobalt Blue
- Light Blue Violet
- Mars Black
- Burnt Sienna
Colors
I used Liquitex Basics acrylic paint for this tutorial! *Not pictured: Burnt Sienna is also a color I used in this painting.
Using Craft Paints?
If you are using craft paints such as the Apple Barrel Craft Paints, I would suggest substituting for these colors:
- Black
- White
- Parrot Blue
- Bright Blue
- Holly Branch
- Nutmeg Brown
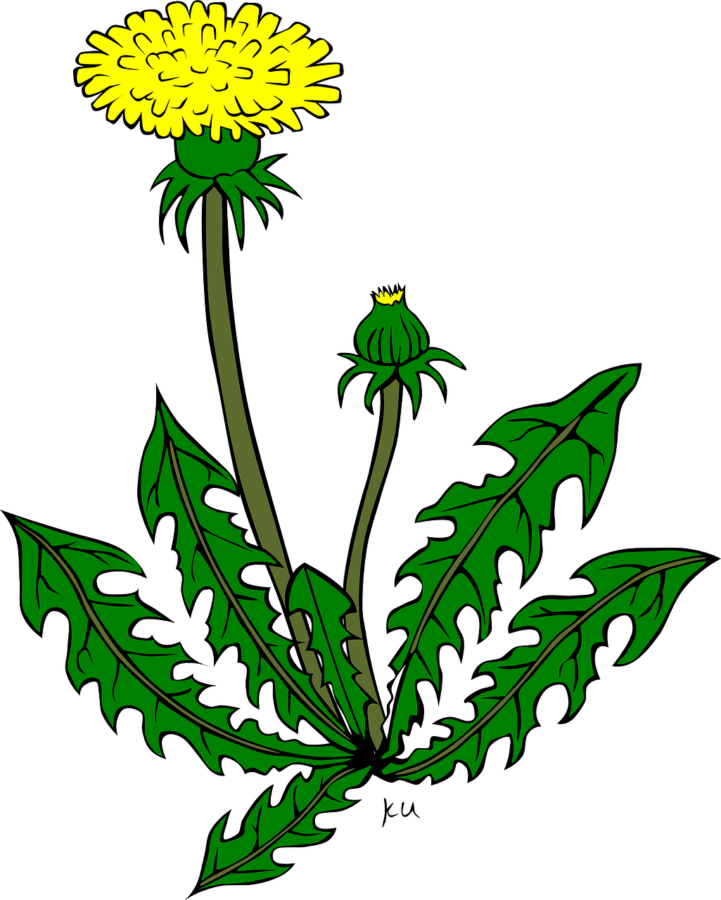
Traceable
This is optional! I will be demonstrating how to draw the leaves/ dandelions in video.

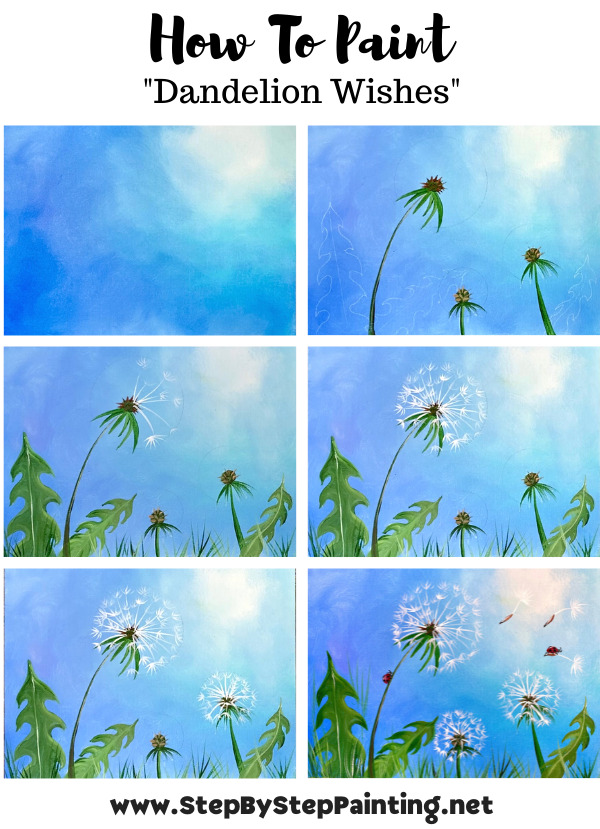
Directions At A Glance:
Video:
Step By Step Directions:
1. Paint The Background
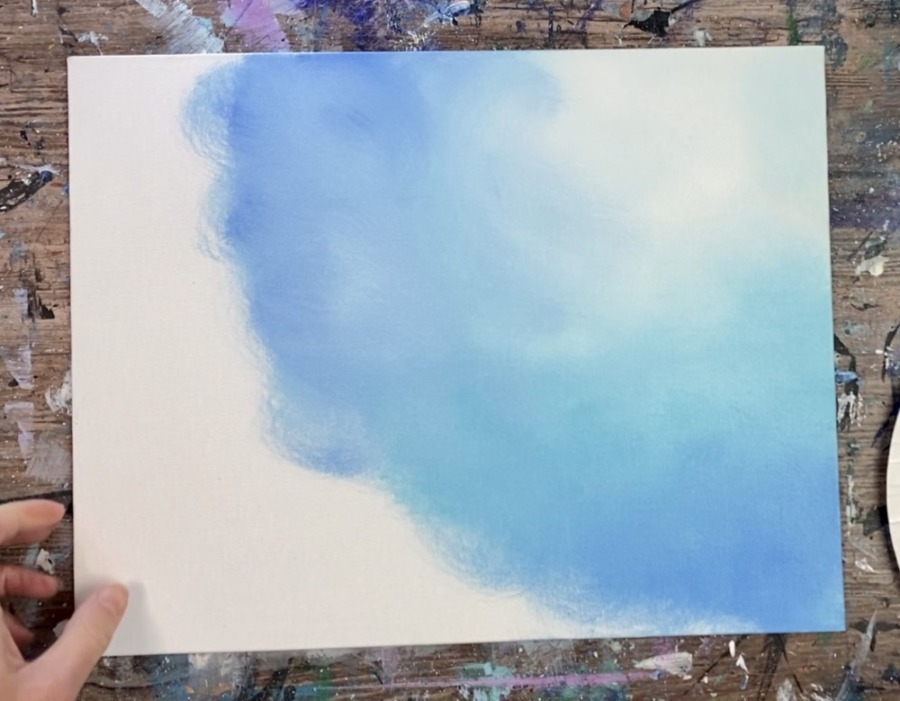
For the background, I used a blender brush and blended three different blues and titanium white. The background is lightest in the upper right corner region and gets darker in the lower left areas of the canvas.
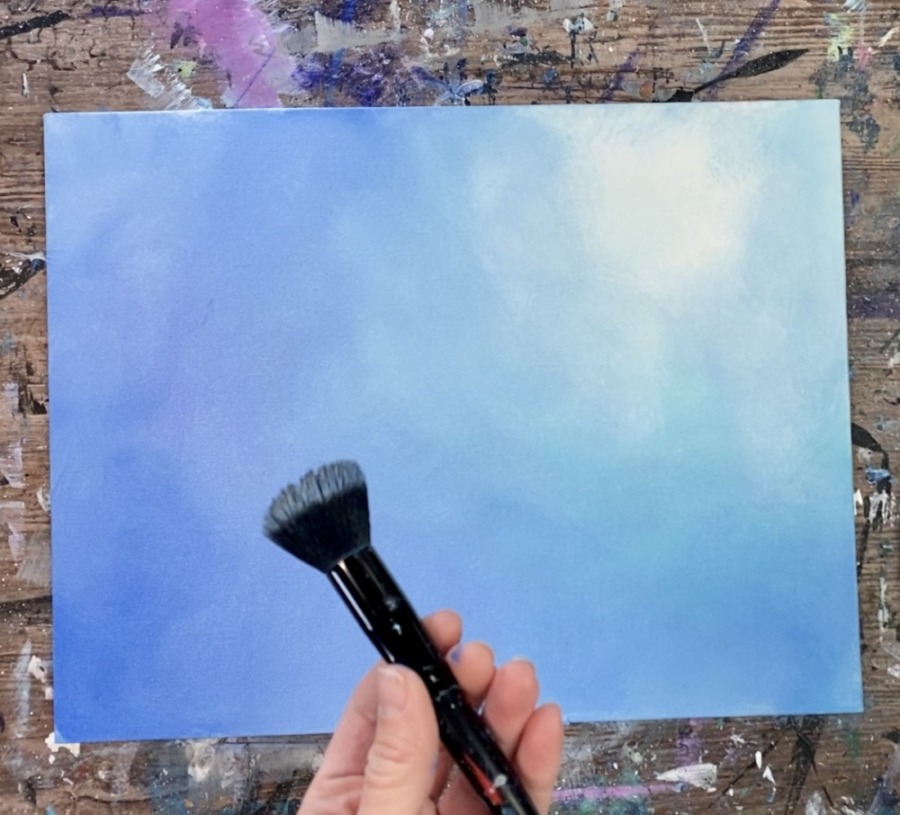
Start by loading your palette with: titanium white, light blue permanent, light blue violet and cobalt blue. (Note: if you do not have those three blues or you want to simplify this painting palette, you can eliminate cobalt and/or light blue violet).
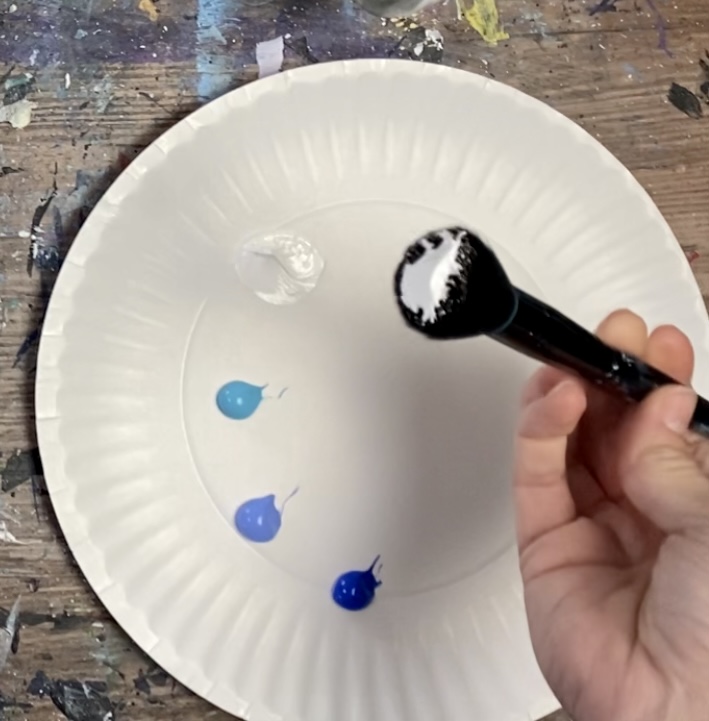
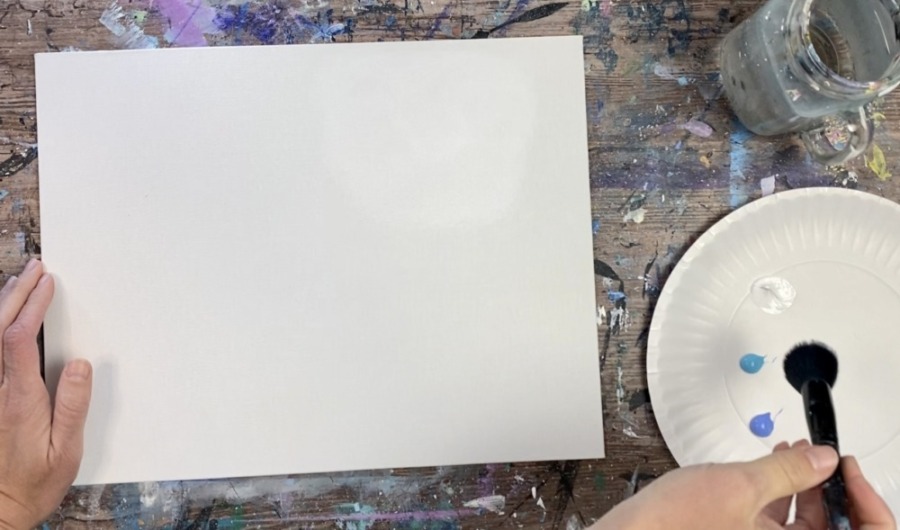
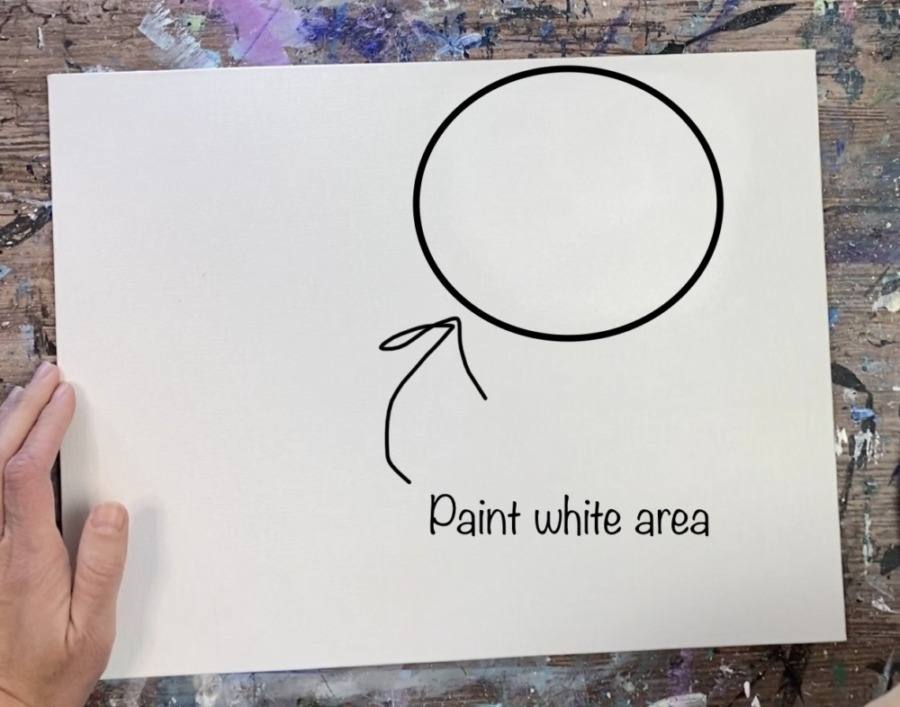
Load your brush with just titanium white and paint a large “blob” area in the upper right area of the canvas. Paint in circular strokes.
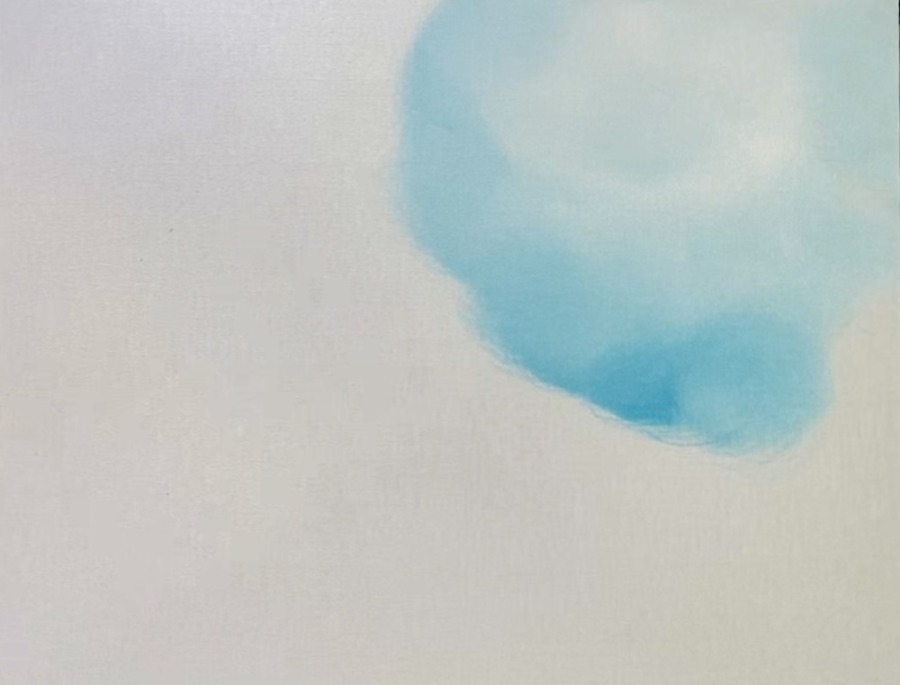
Then load a small amount of light blue permanent to your brush (without rinsing it). If needed, wipe the excess paint off with a towel. Then paint in small circular strokes round the round white “blob” area. Gently blend the blue with the white but do not over blend it. You should leave an area in the upper right corner area bright and very light blue/ almost white.
Continue to work your way outwards in the canvas painting soft, circular strokes with your blended brush. Add in cobalt blue violet and blend that with the light blue permanent. If needed, mix a little white into the cobalt so that it is lighter and blends easier with the light blue permanent color.
Continue to add more cobalt and work your way outwards. Then blend the light blue violet with the cobalt on the outer left and bottom edges of the canvas.
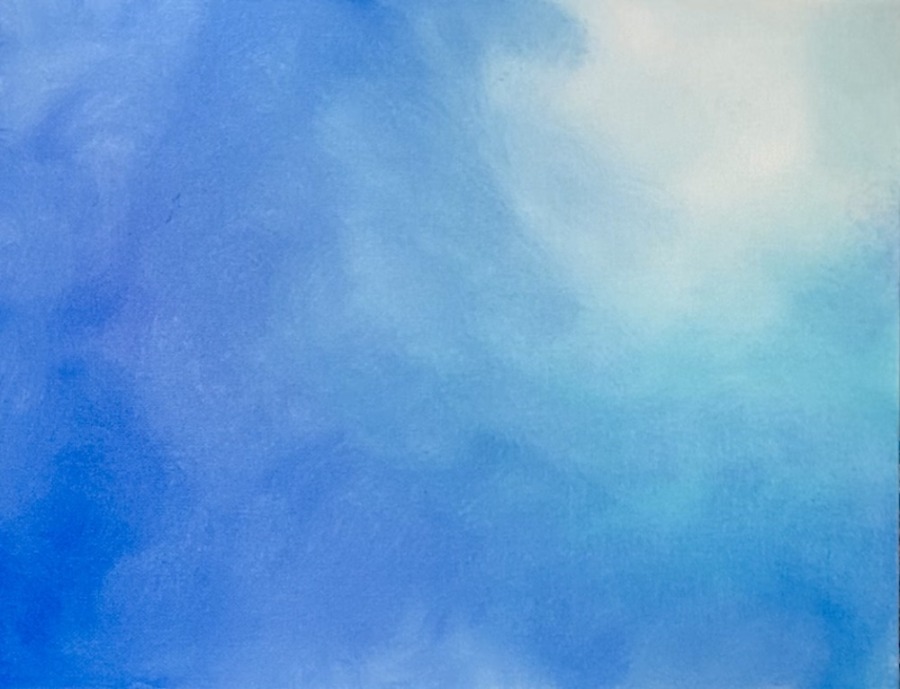
Blend more color as needed. Try not to overland. There should be a nice variety of the blues blended together and a bright, light area in the upper right area of the canvas.
Let this dry before going onto the next step.
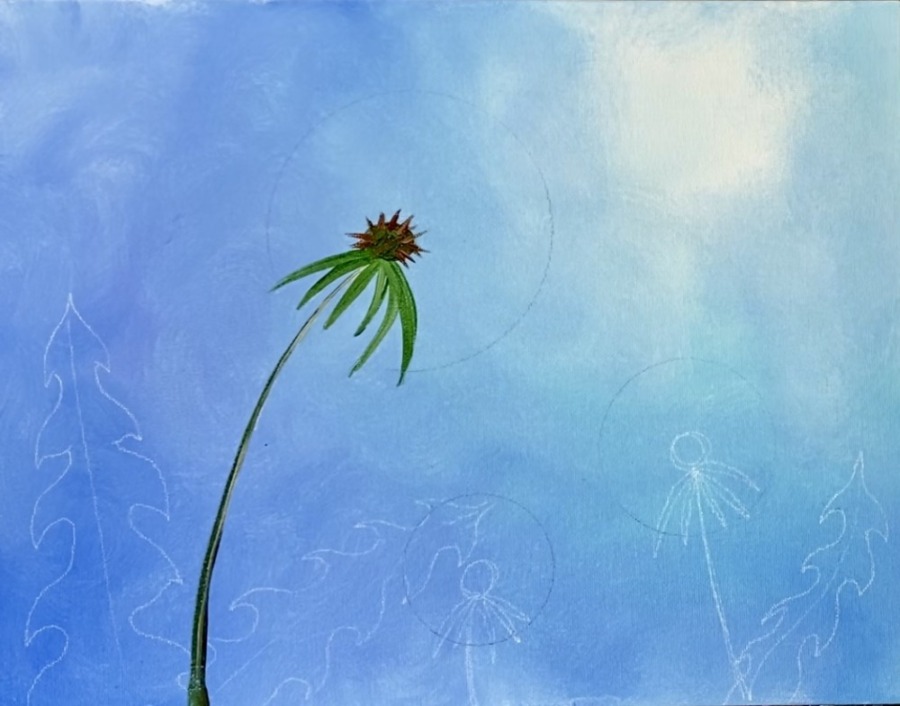
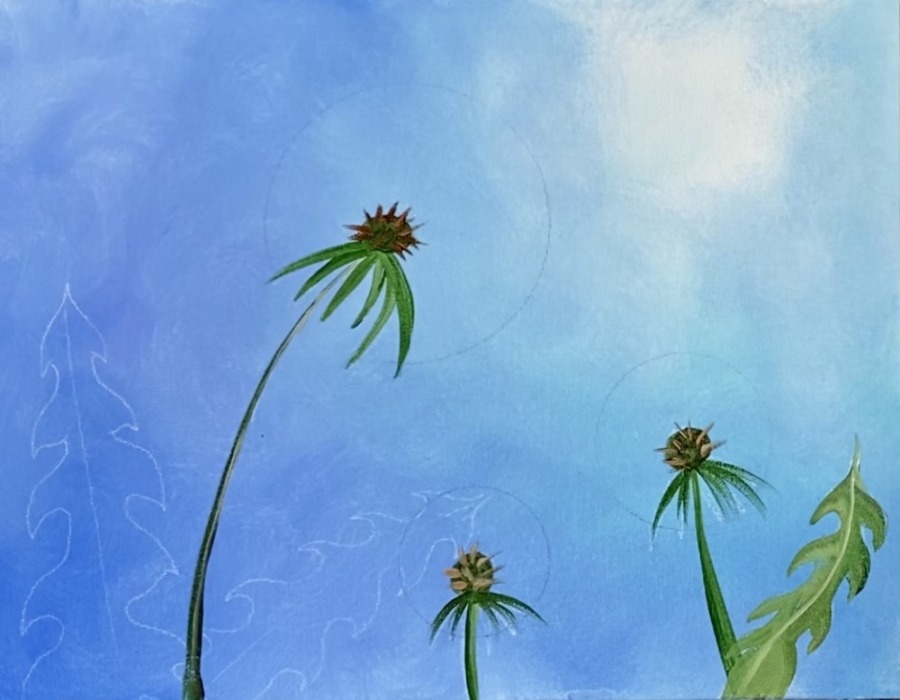
2. Draw The Dandelions
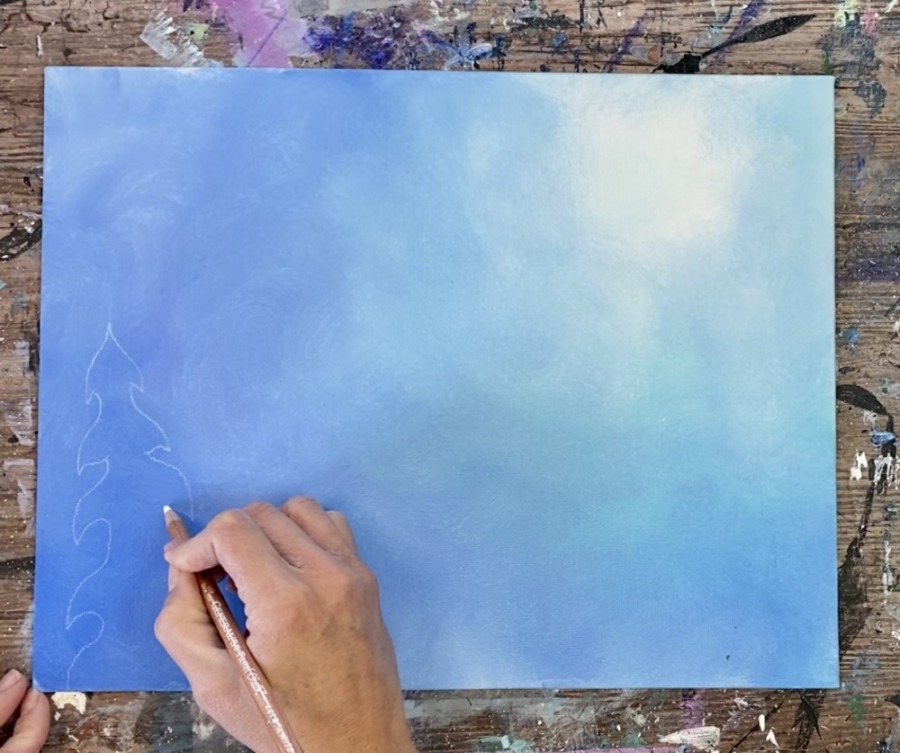
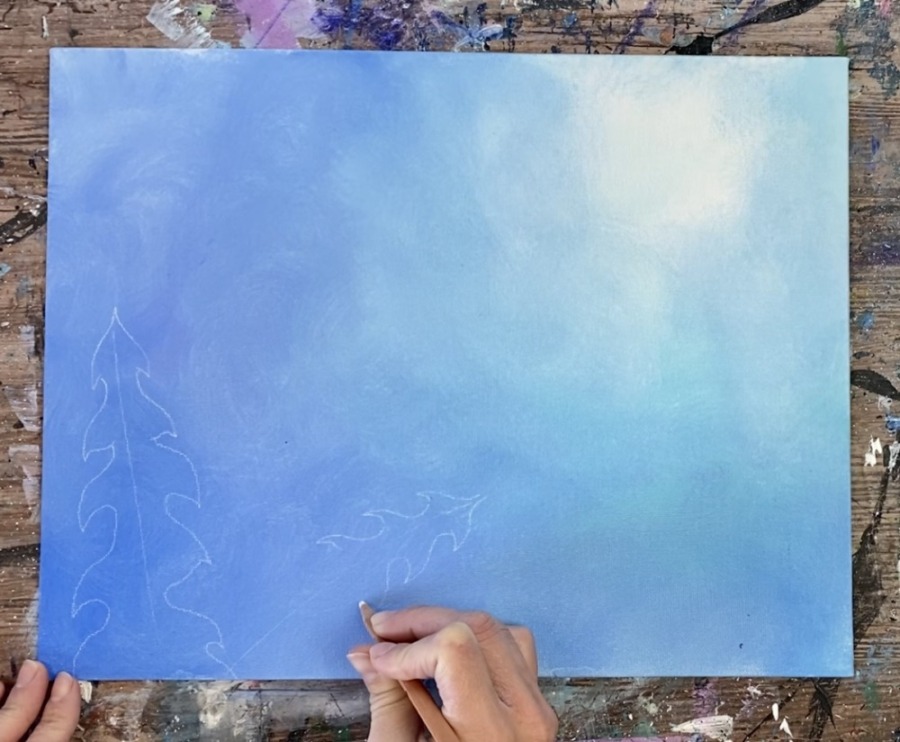
Use a chalk pencil (or a regular pencil) to draw your dandelion leaves and dandelion stems. Dandelion leaves are long and narrow with pointed edges that go downwards.
I started my drawing by sketching a leaf on the lower right area. The top of the leaf is somewhat triangular and the left and right side/edges of the leaves curve and point down.
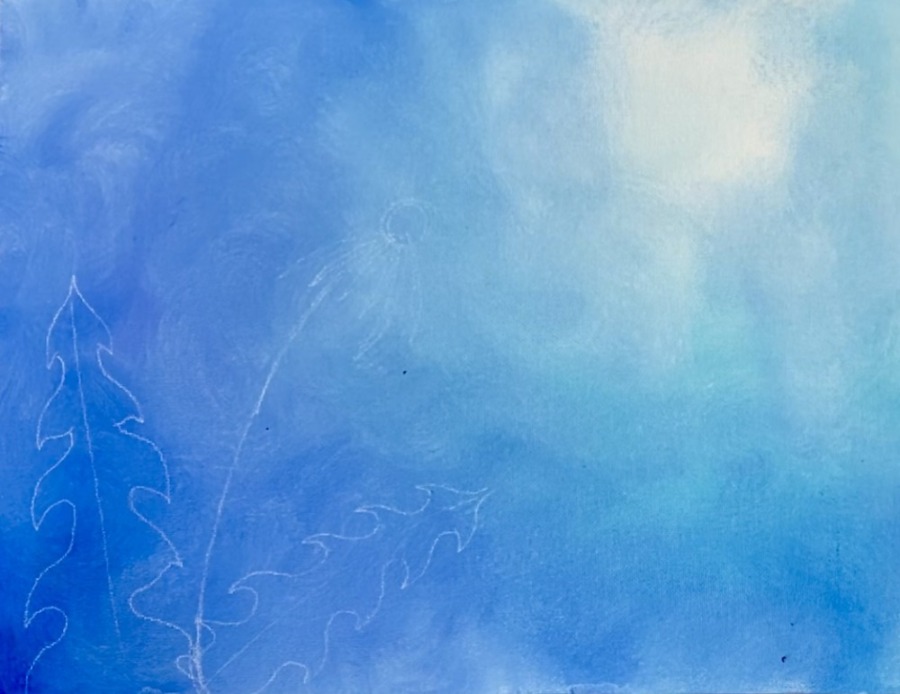
Then I did another leaf going in a diagonal direction.
Then draw a curved line that goes up to past the halfway point of the canvas.

Draw a small oval on the tip of that line and little, thin pointed leaves that go downwards.
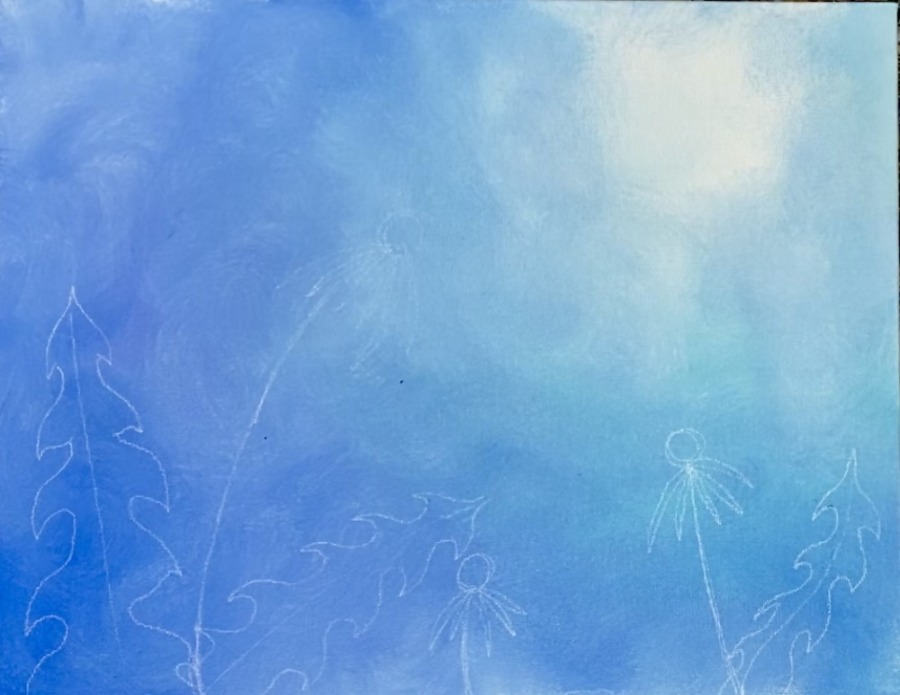
Then draw two more dandelion stems on the bottom plus another smaller dandelion leaf.
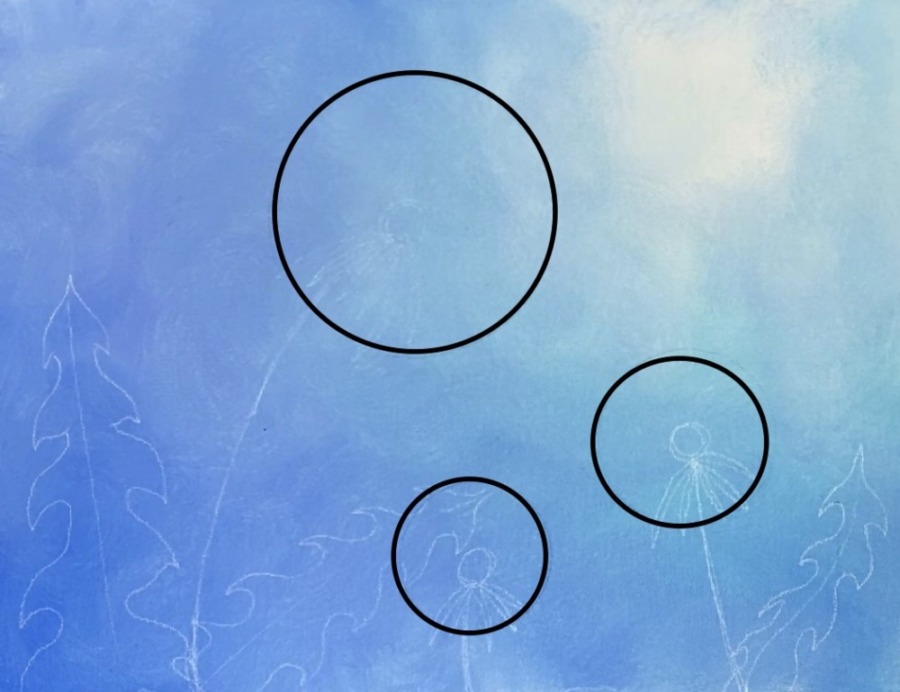
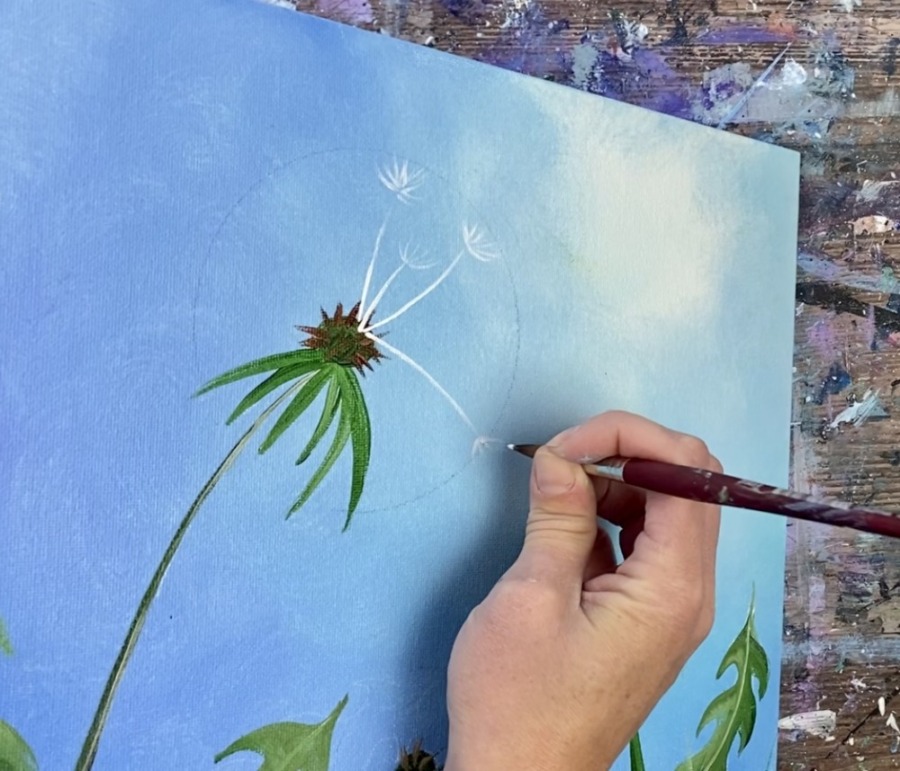
To help with the painting of the dandelion seeds later, I recommend drawing a circle around the middle part of the bud. Use a compass or trace circles.
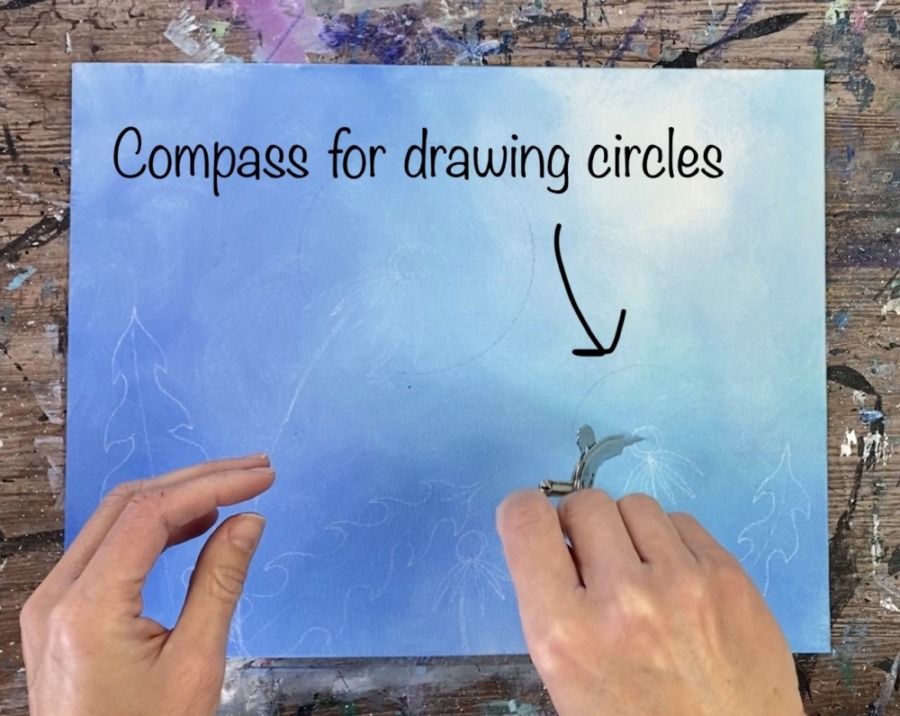
The dandelion on the left has a larger circle than the two lower ones.
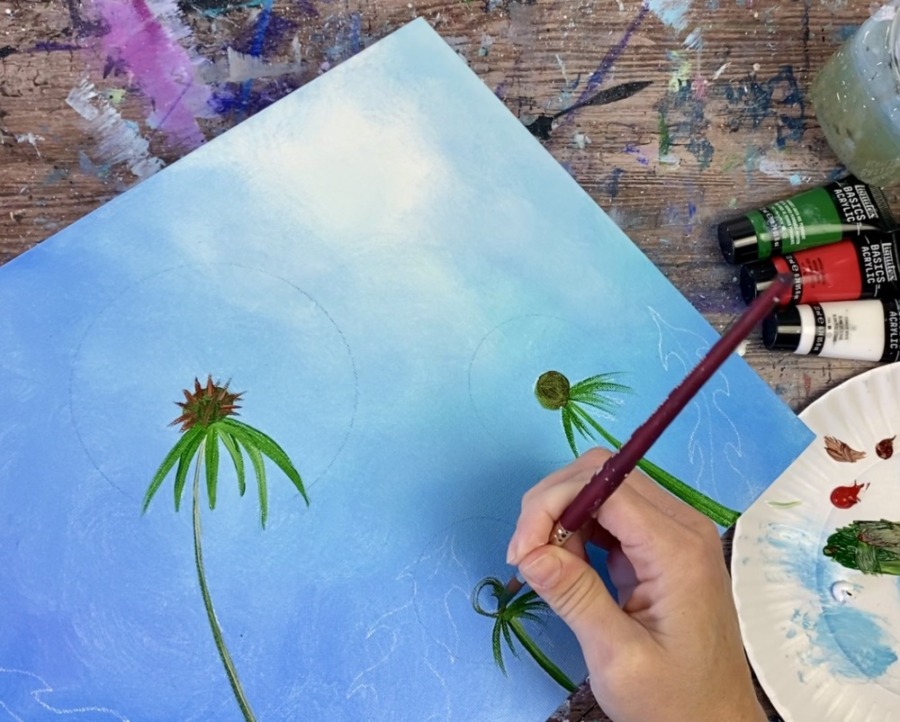
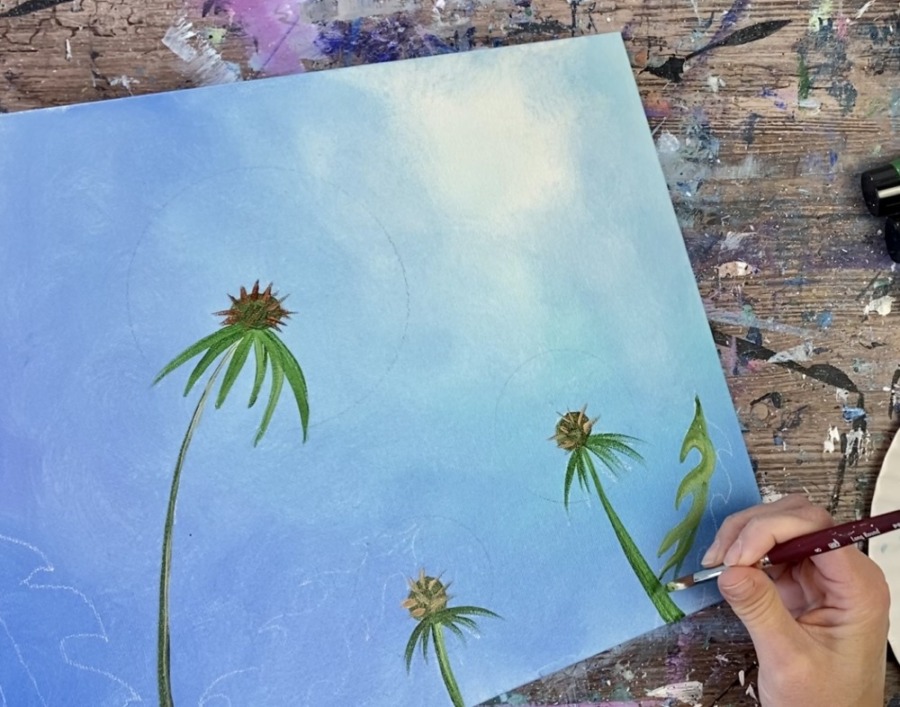
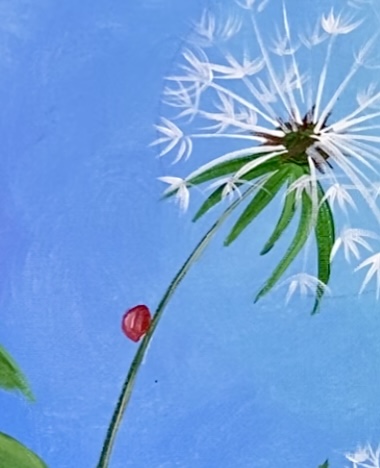
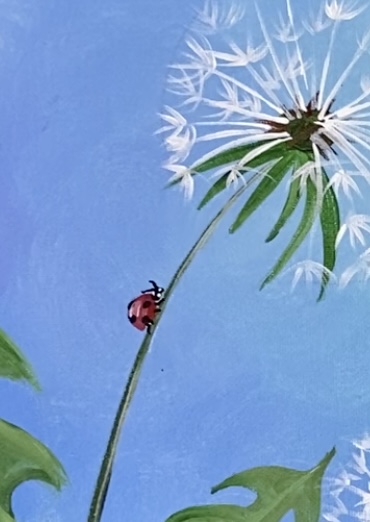
3. Paint Dandelion Stems
Load your palette with hooker’s green hue permanent, naphthol crimson and titanium white. Use the #8 round brush to mix about 3 parts green to 1 part red. This will darken your green and make it look more of a natural green color.

Add a little bit of water to the paint if needed to help with the flow. Start at the top and stroke downwards to paint the stem.
Then add a bit of white to the stem on the right side of it to highlight it.

Paint the top leaves that are under the bud of the flower.
Paint a small oval on top of the leaves for the “bud”.
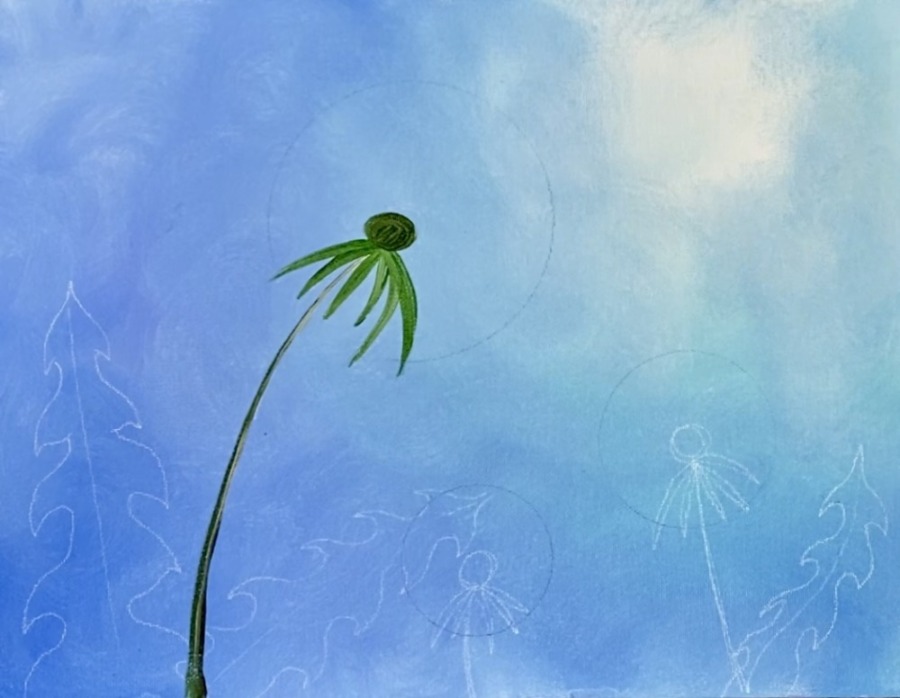
Then load your palette with burnt Sienna. Paint little dandelion seeds (they look like spikes) on the bud.
Repeat this for each of the dandelion stems.
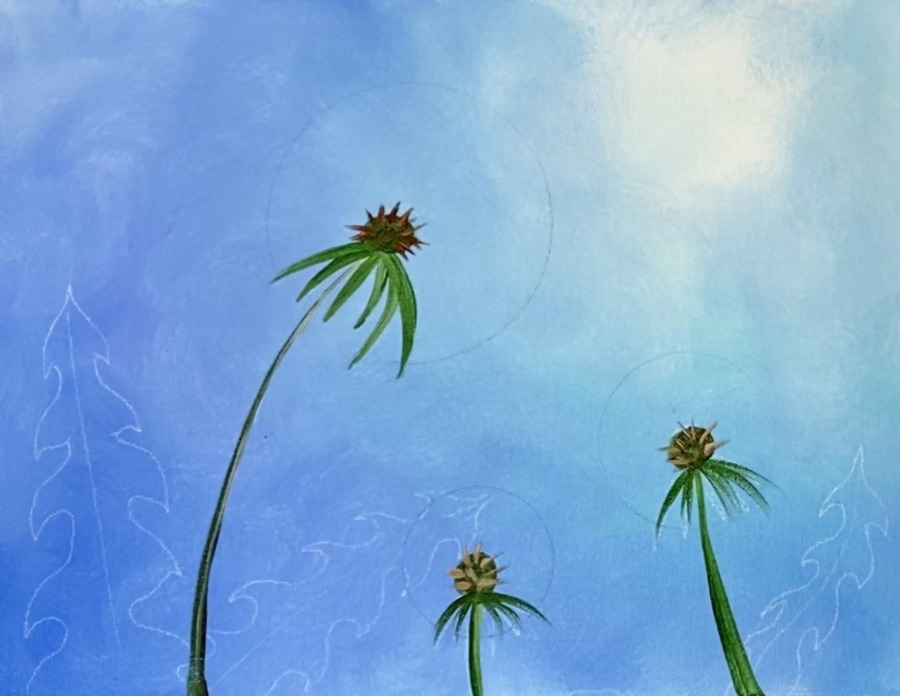
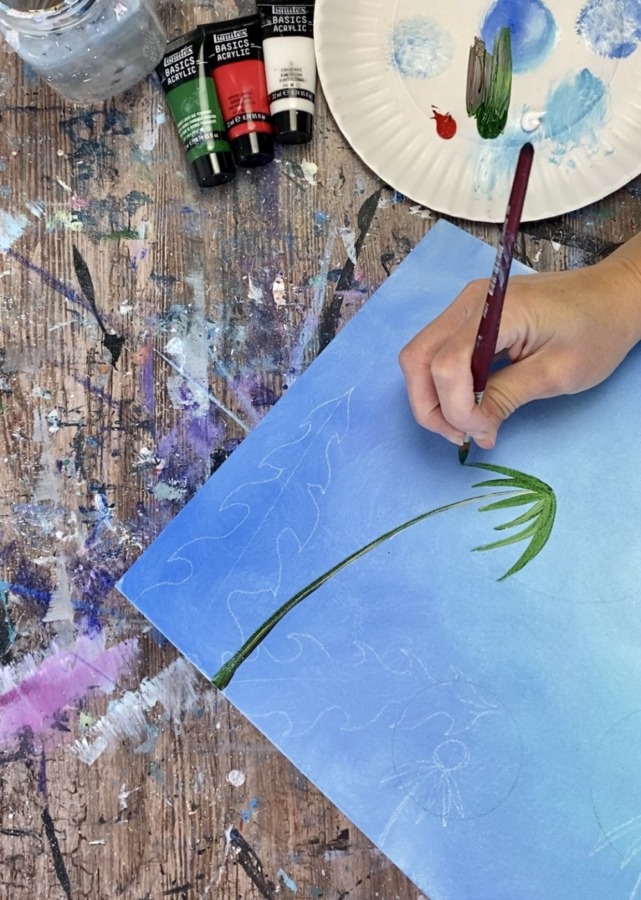
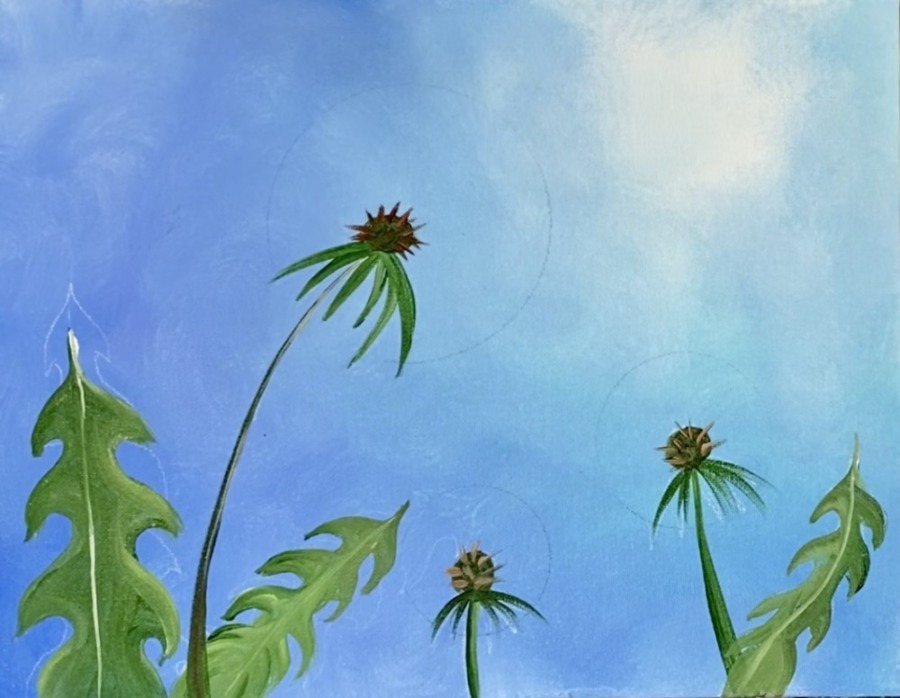
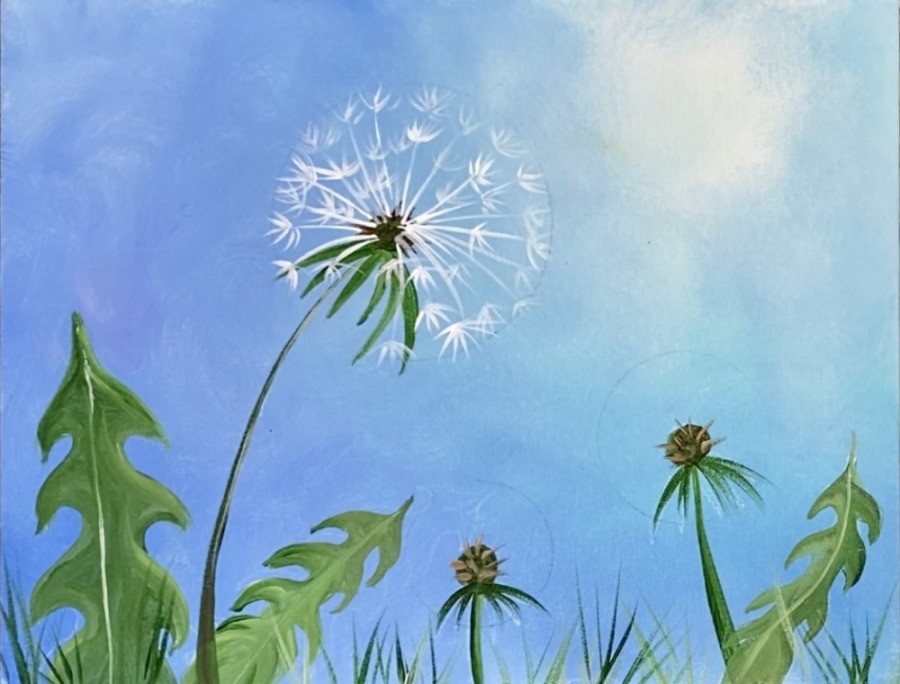
4. Paint Dandelion Leaves
Add white into your “green and red mix” on your palette. This will make a lighter green. Use the #8 round brush to paint the dandelion leaves.
Paint a white line down the middle of the leaf.
Change the pressure of your brush by varying your stroke. For the thin, points of the leaf only use the tip of the brush. For the thicker, middle part of the leaf, press firm on the brush.
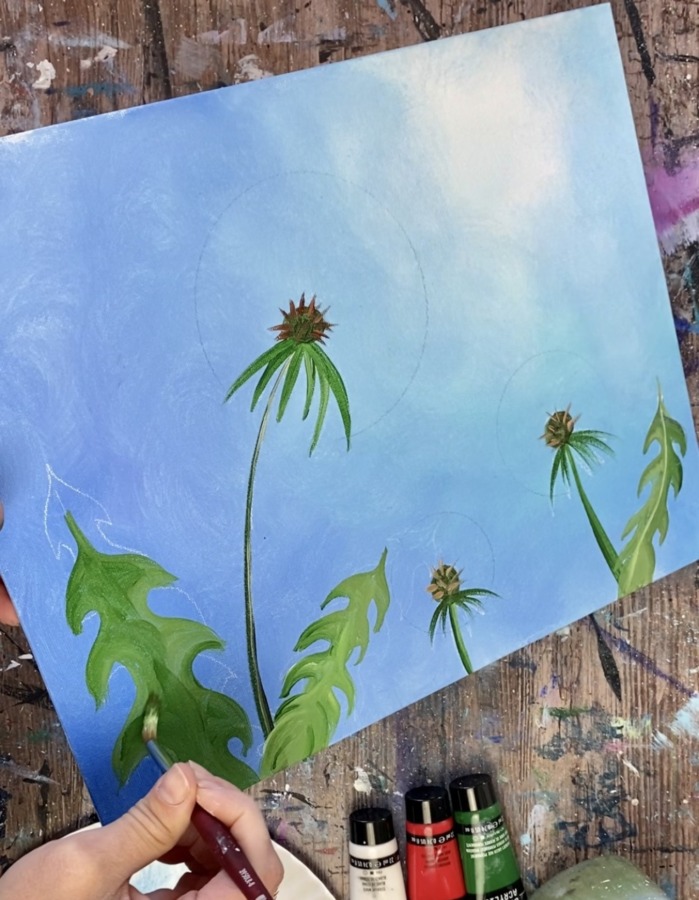
Vary the colors in the green by adding more white or more green into the leaf.
5. Paint Grass
Paint the grass by flicking the brush from the bottom upwards. Put more pressure on your brush at first but release the pressure so the grass goes to a point. Vary the green by adding more white or more red into the green to make it darker or lighter. Paint the grass in different angles and various heights.
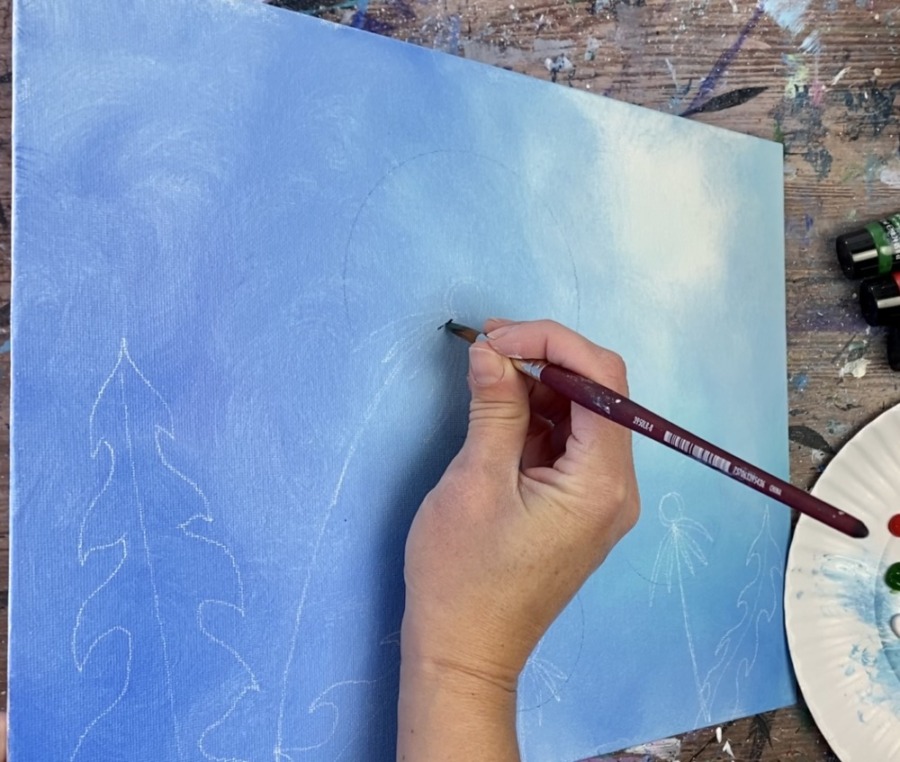
6. Paint Dandelion Seeds
Use the #8 round brush to paint the seeds. Start by painting a very thin line that goes from the bud to almost the inside edge of the circle you drew.
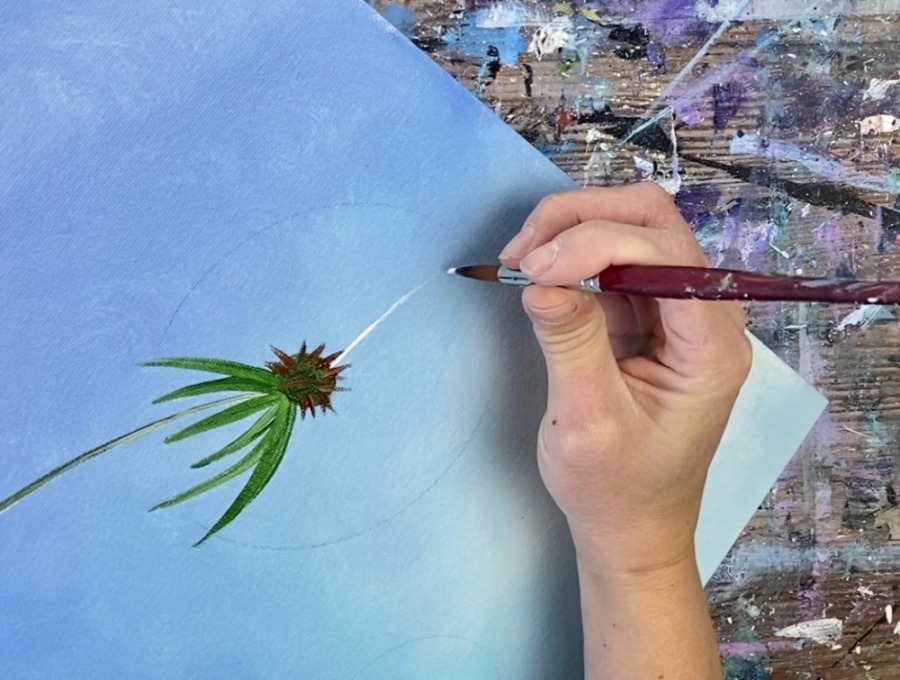
Then paint little angled lines on the tip of that line. Do not go outside the line of the circle.
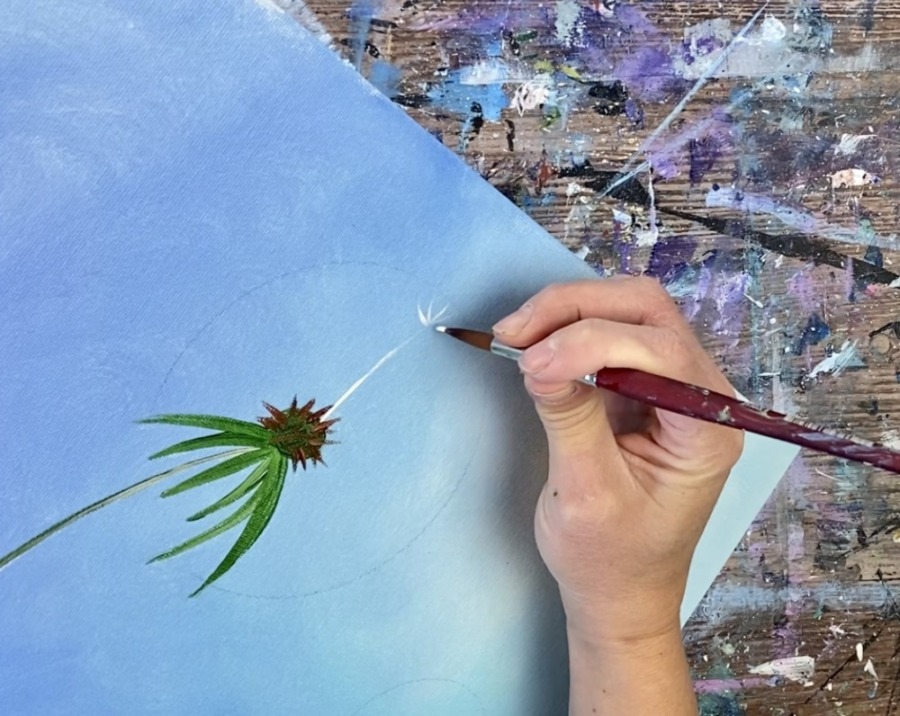
Repeat this step by painting more dandelion seeds. Some of the seeds can be shorter but try not to go outside of the circle you drew.
Continue to paint more seeds contained inside the circle.
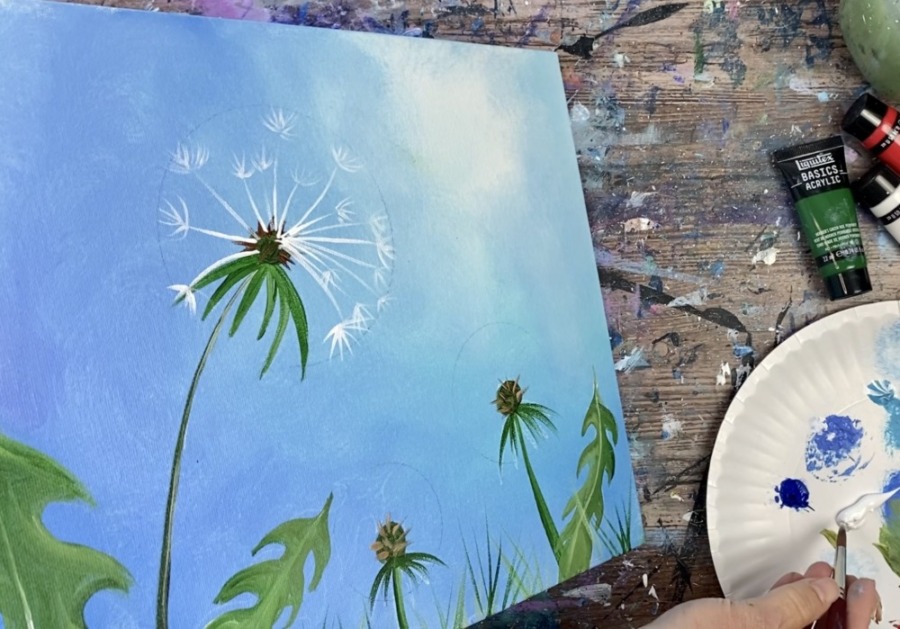
Fill up your dandelion as full as you would like it! Remember, some of the seeds can be shorter inside of the circle.
Repeat this for each of the dandelions.
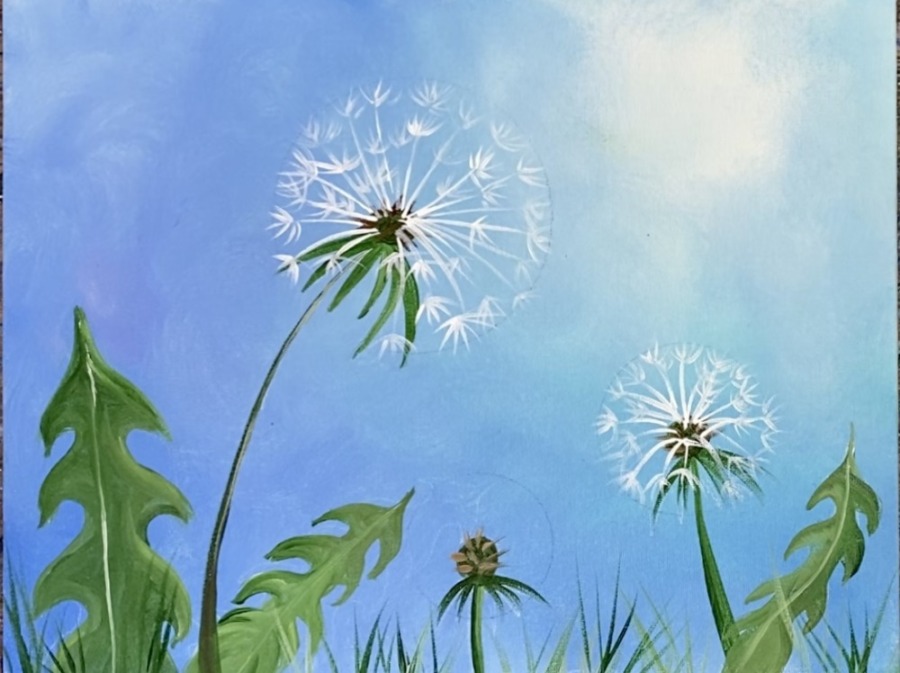

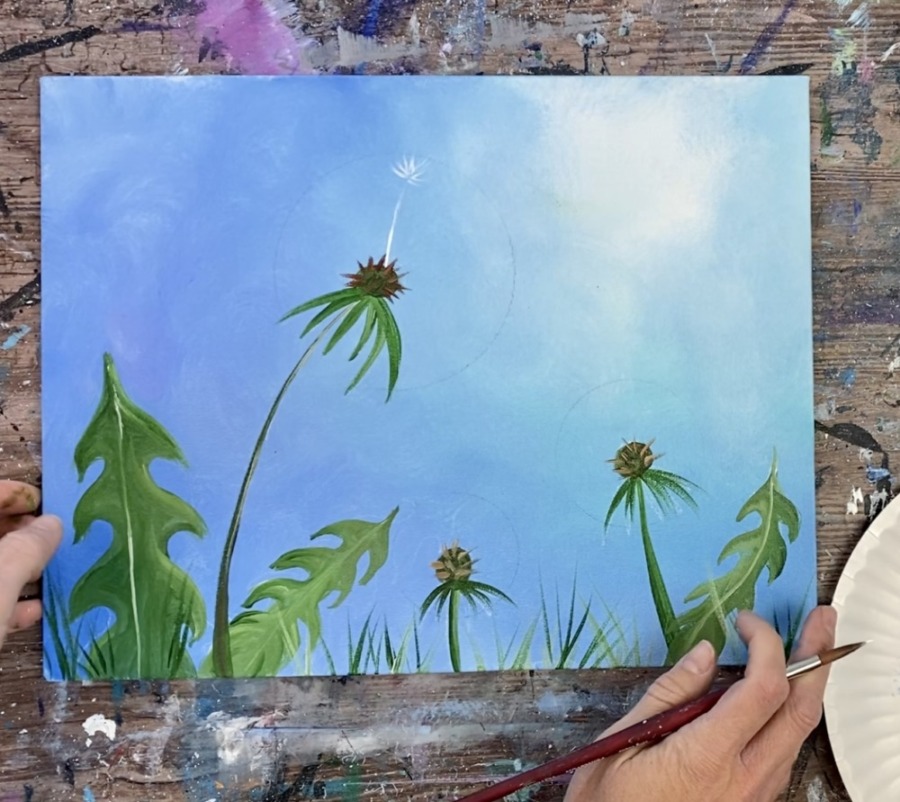
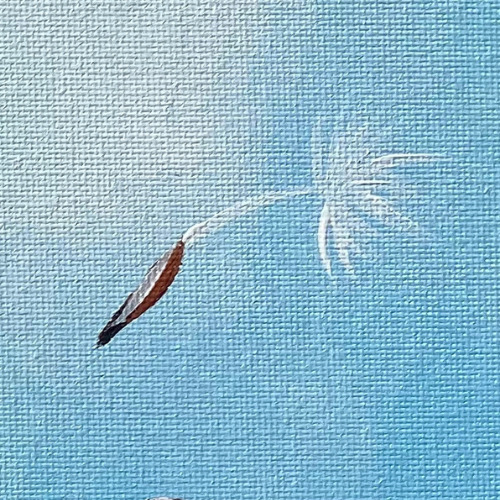
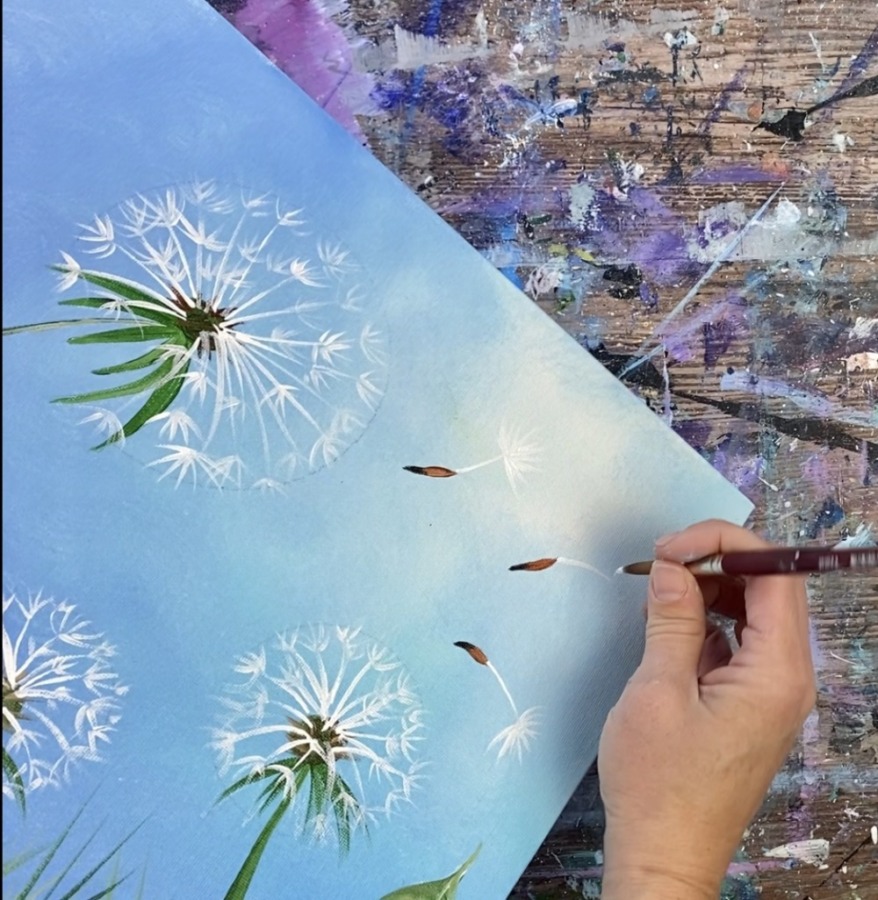
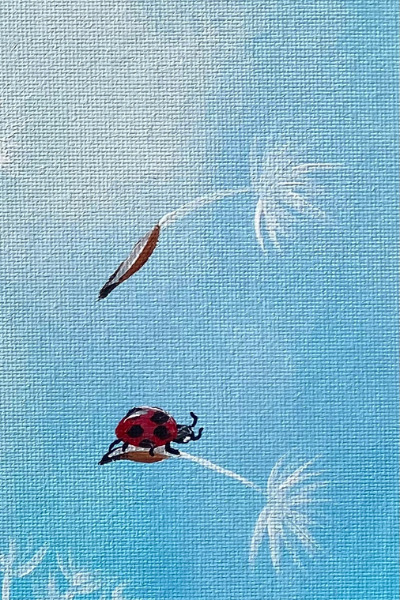
7. Paint Flying Seeds
Paint the seeds. Use the #8 round brush to paint little marks for the seed. Then paint mars black on the bottom edge of the seed.
Then paint the white part of the seed with titanium white. Do this the same way you painted the seeds in the dandelions. Paint a long line and then the little diagonal lines on the end.
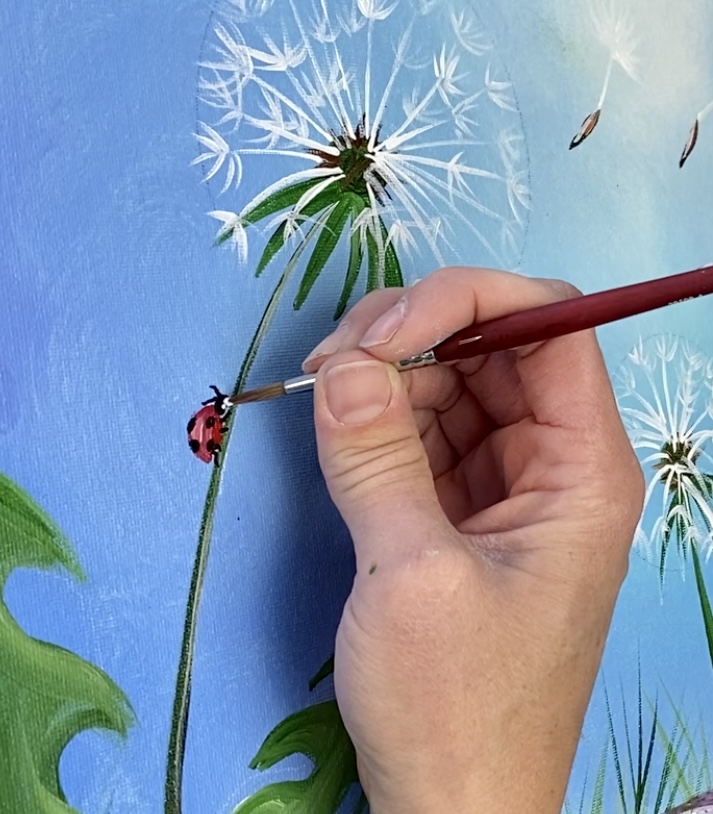
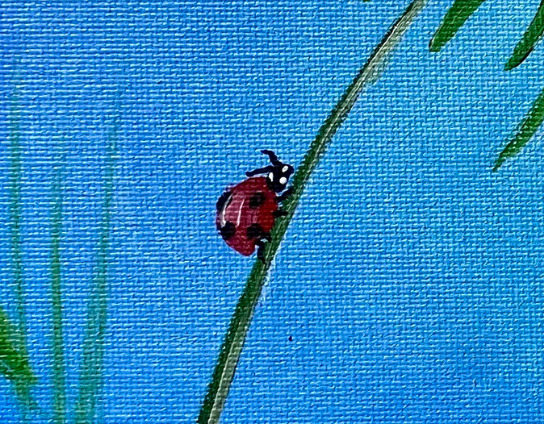
8. Paint Ladybugs
Use naphthol crimson to paint a small oval for the ladybug. Use the #4 round brush for this step.
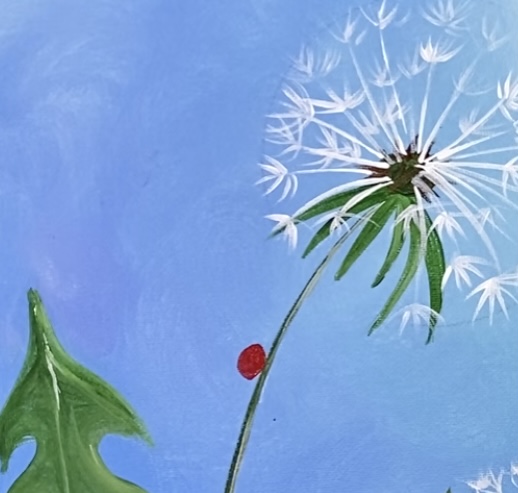
Then add a little bit of white on the far left of the oval.
Then use a black POSCA paint pen to paint the head, antennae and the legs. You do not have to draw all six of the legs.

Then draw the spots.

Use the #4 round brush and titanium white to paint spots on the head.
Repeat those steps for another ladybug on a flying dandelion seeds.
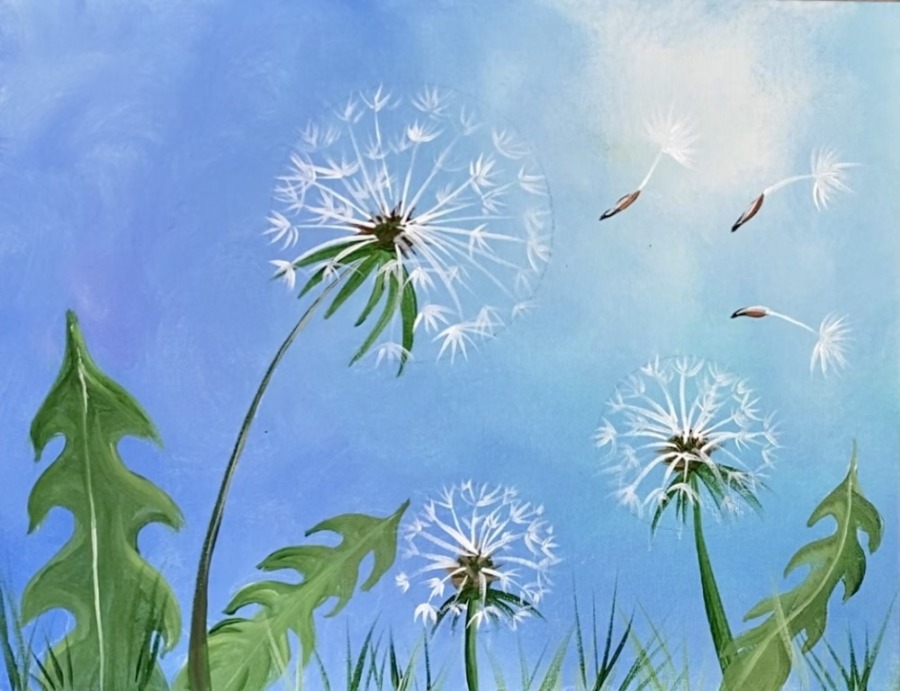
Finished!
Share your art here:


