
Would you like to save this?
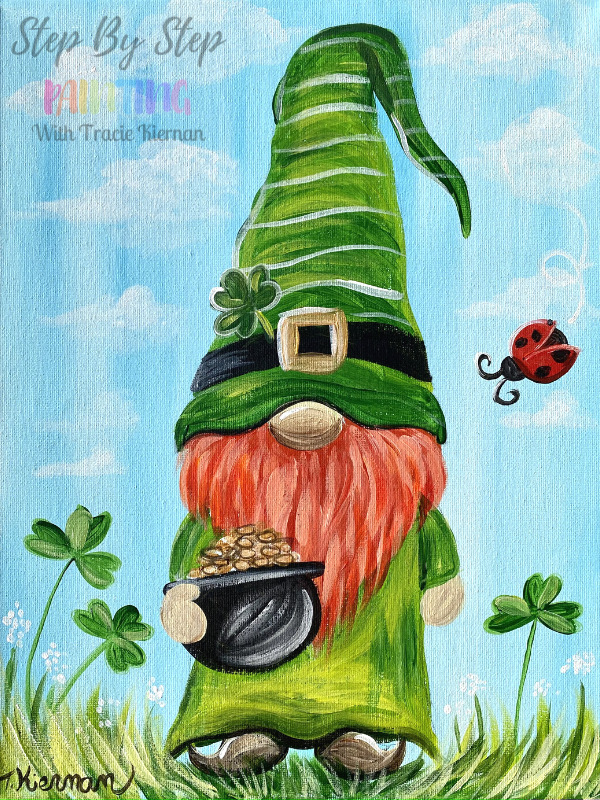
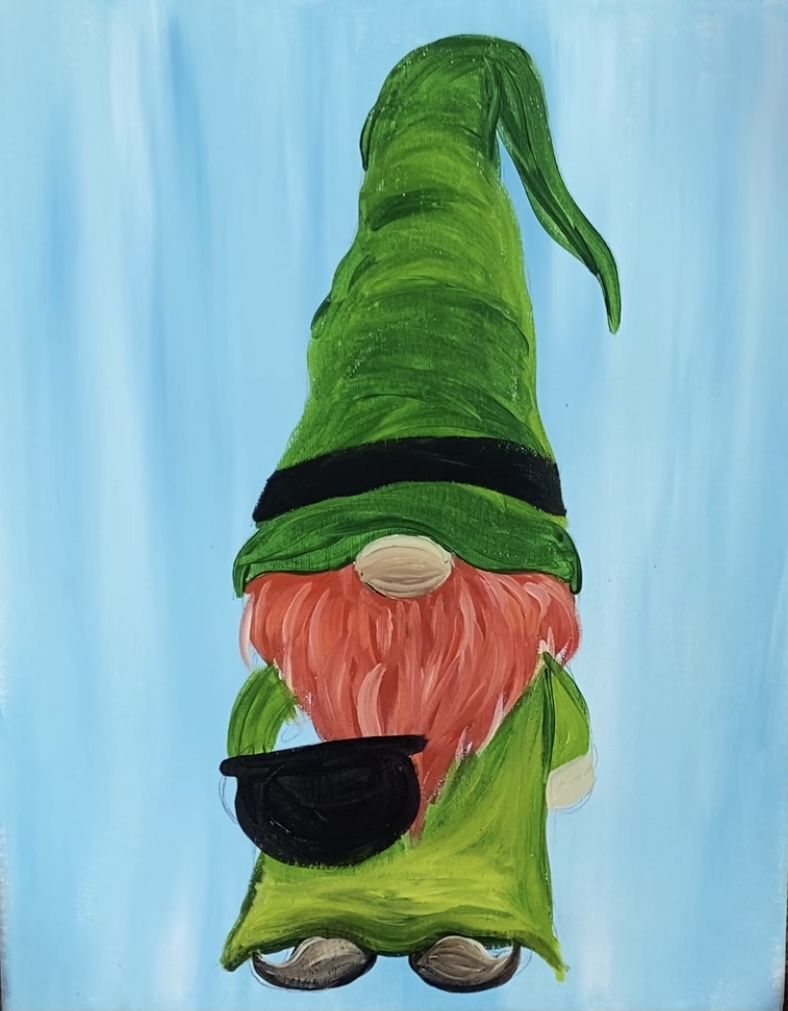
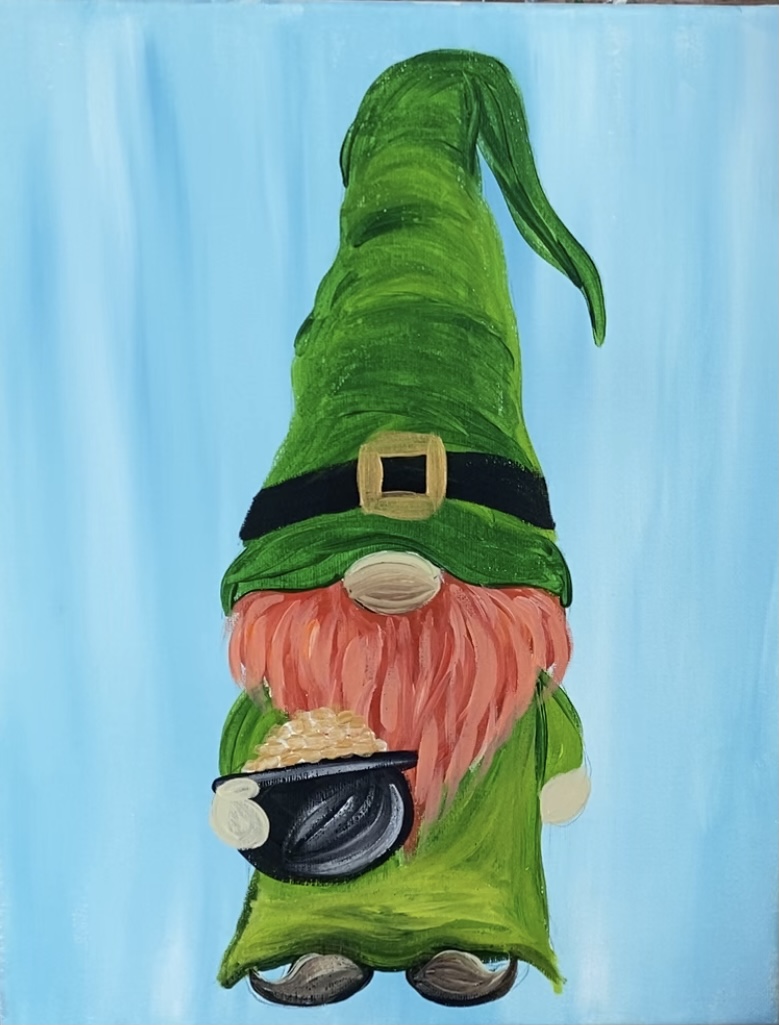
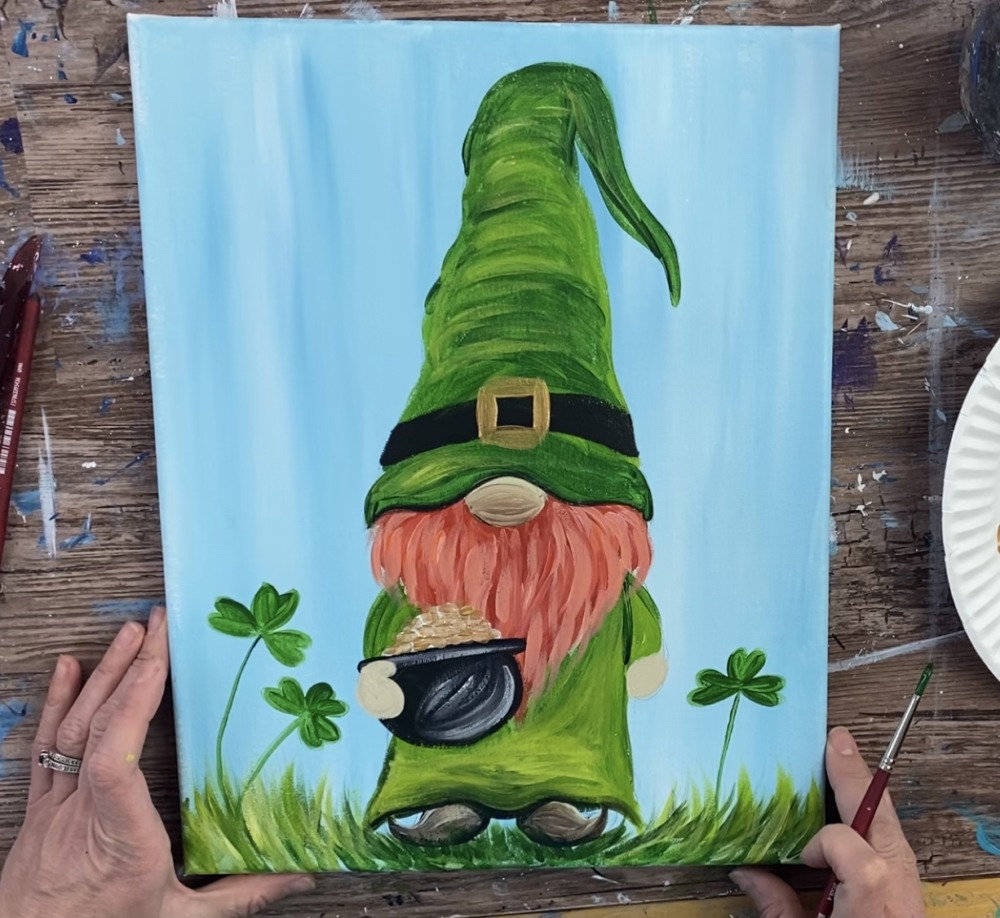
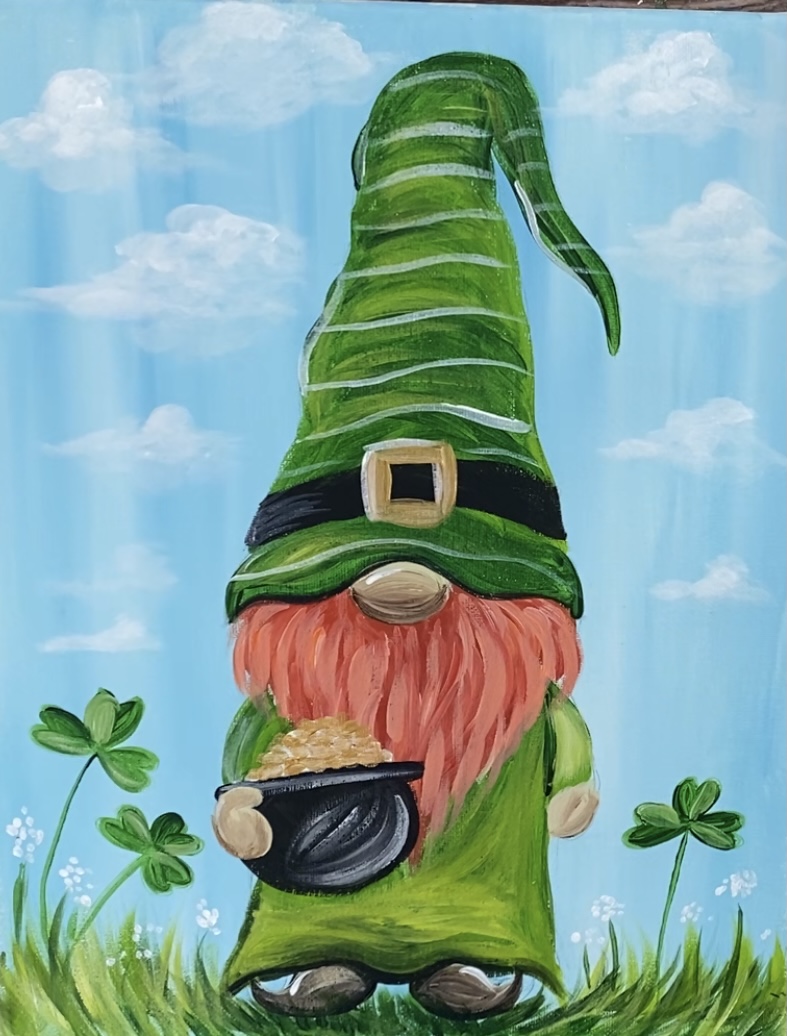
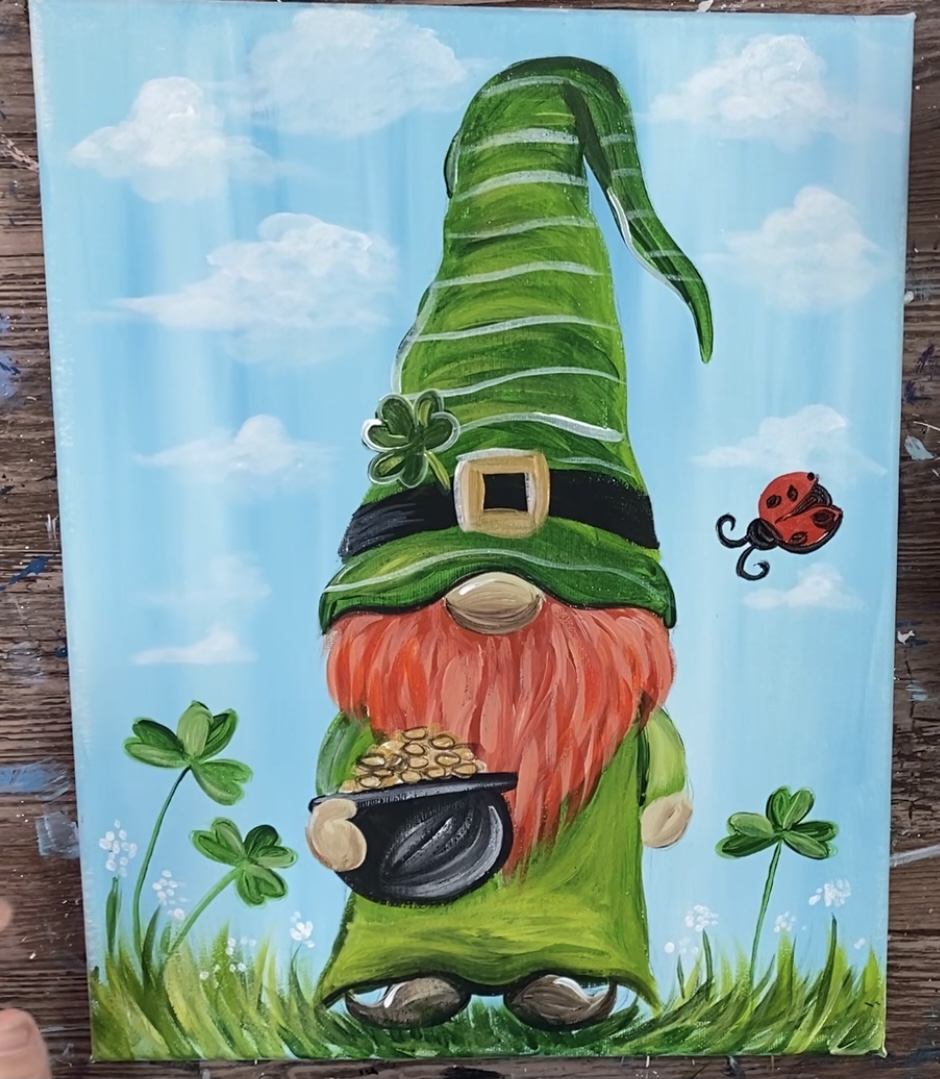
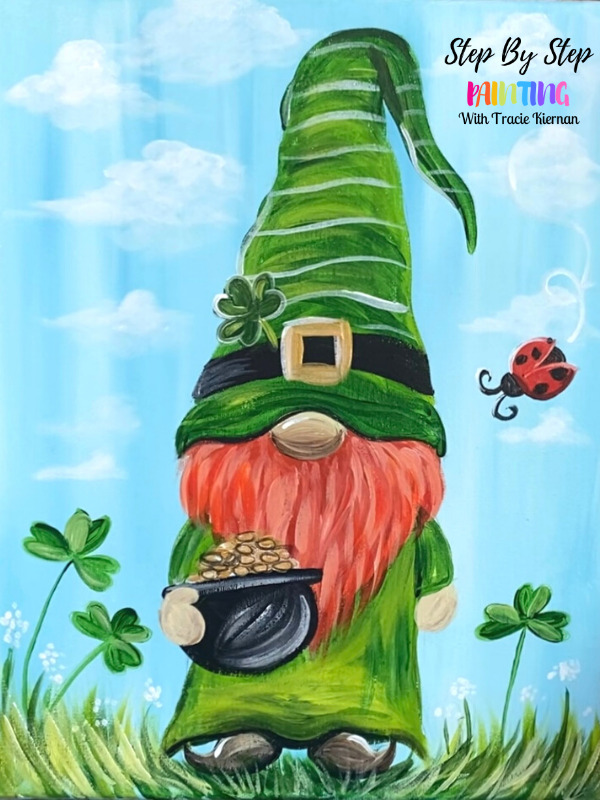
This tutorial will demonstrate how to paint a St. Patrick’s Day Leprechaun Gnome Painting. This is the fourth in a series of gnome paintings that I have on this website!
The painting has quite a few details in it. However, it can be simplified by omitting the clouds and ladybug. You are also welcome to change up the design and colors of it.
If you are part of our SBSP Facebook group, you can search for #gnomes and see so many creative renditions of this gnome series!
Enjoy and happy painting!
Materials
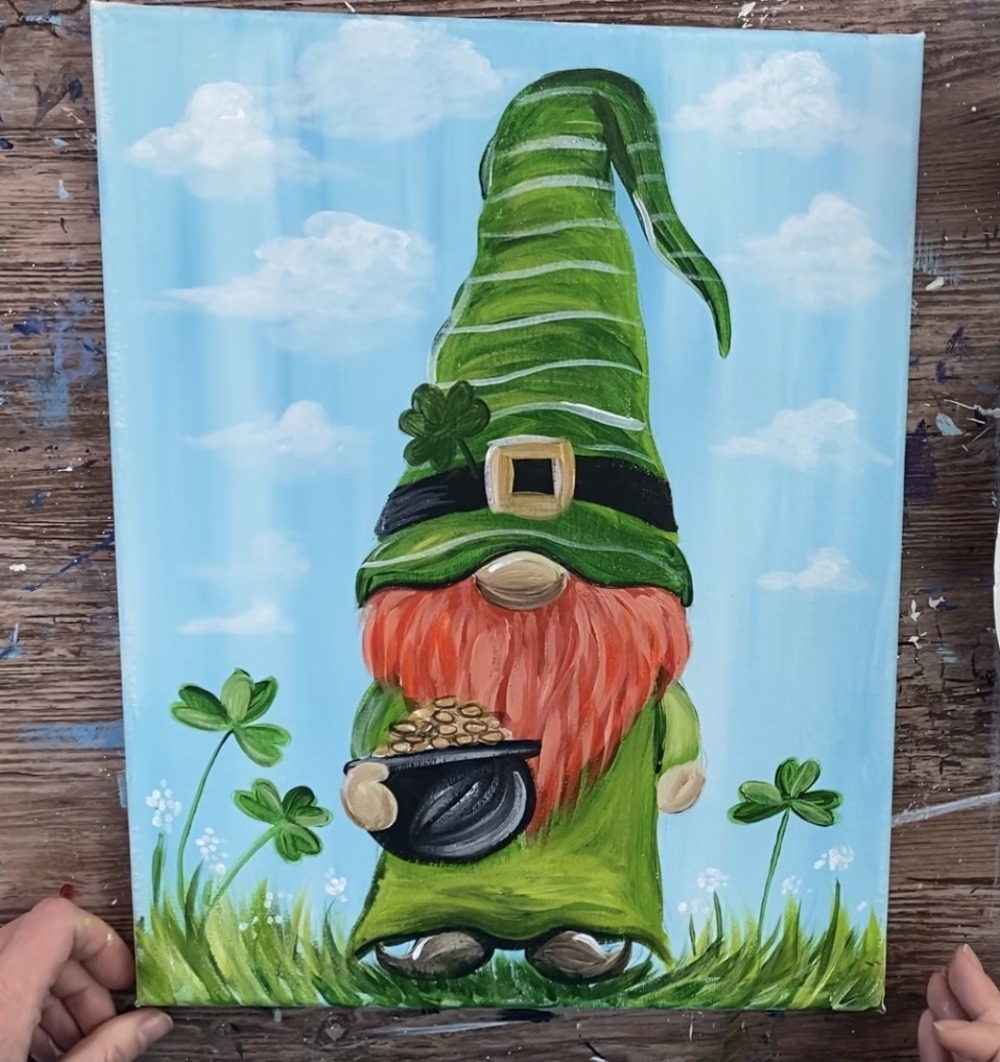
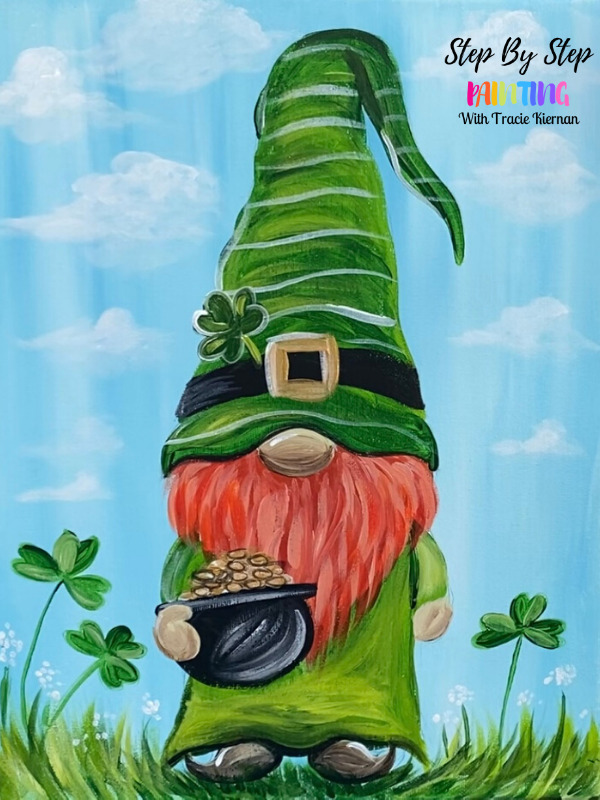
St. Patrick's Day Gnome Painting
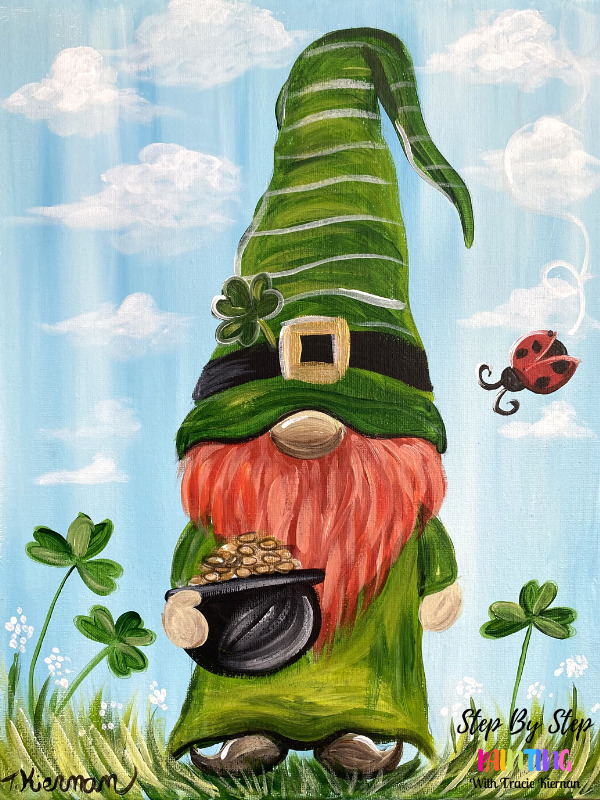
Learn how to paint a St. Patrick's Day Gnome step by step acrylic painting tutorial.
Materials
- 11 x 14 Canvas
- Acrylic Paint
- Paint Brushes
- Optional Traceable
- Pencil & Eraser
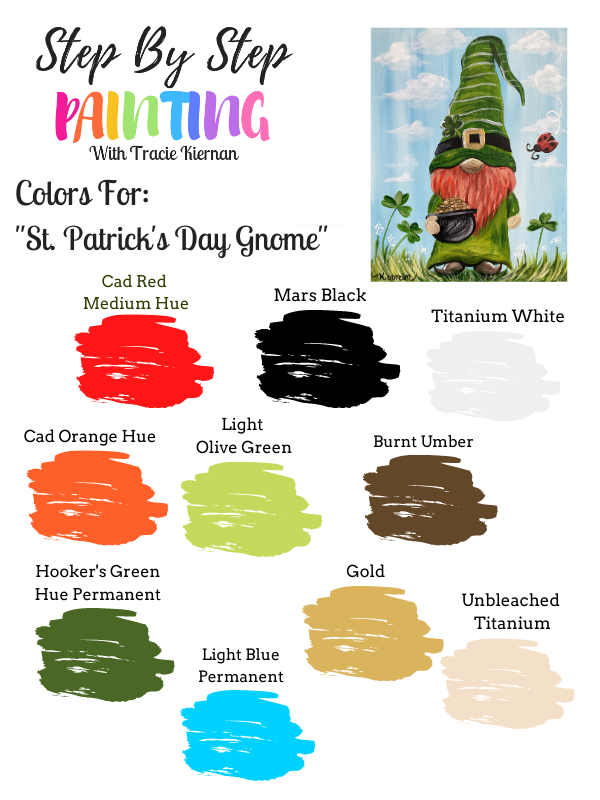
Colors
- Mars Black
- Titanium White
- Cadmium Red Medium Hue
- Cadmium Orange Hue
- Hooker's Green Hue Permanent
- Light Olive Green
- Light Blue Permanent
- Burnt Umber
- Gold
- Unbleached Titanium
Brushes
- 3/4" Flat Wash
- #8 Round
- #4 Round
- 1/4" Flat Brush (or any small flat)
Instructions
- See tutorial on www.stepbysteppainting.net for instructions.
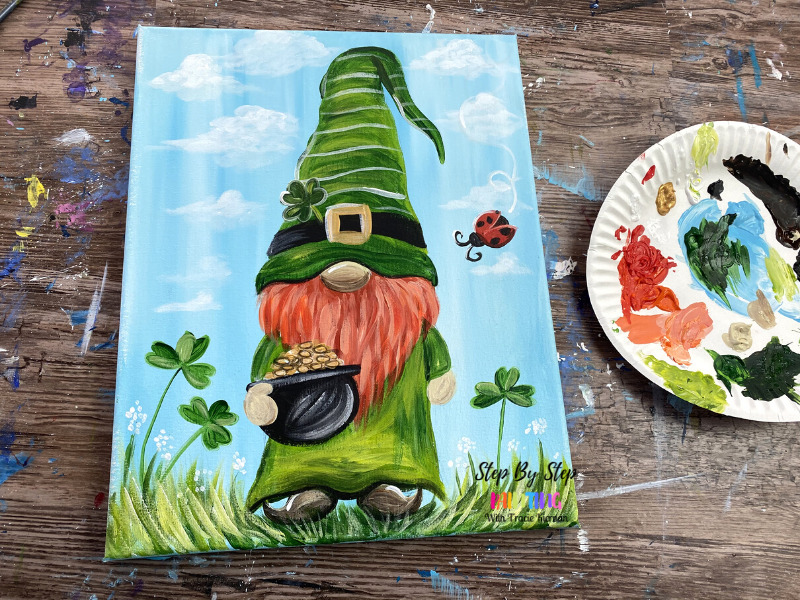
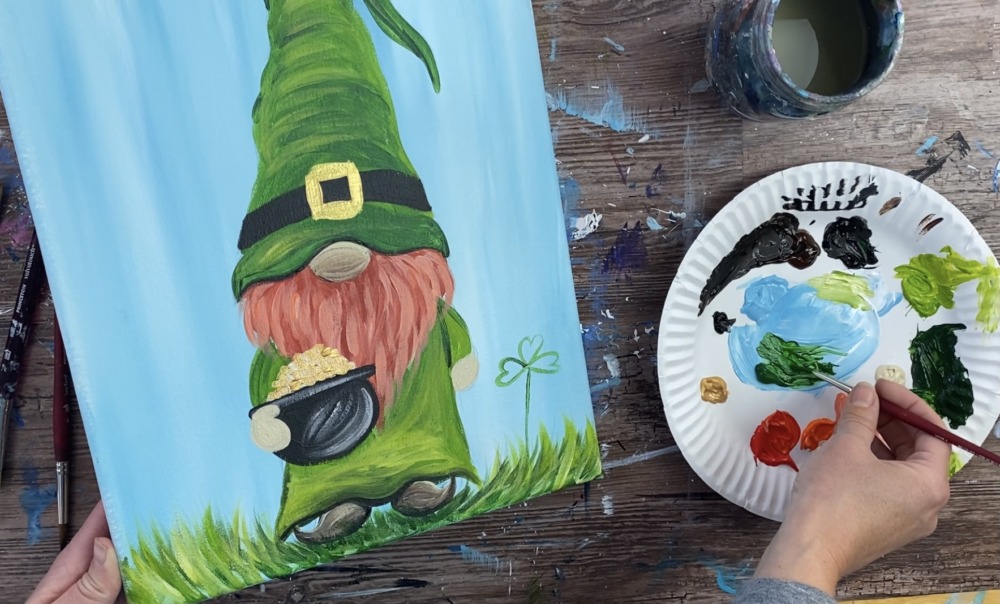
Color Palette
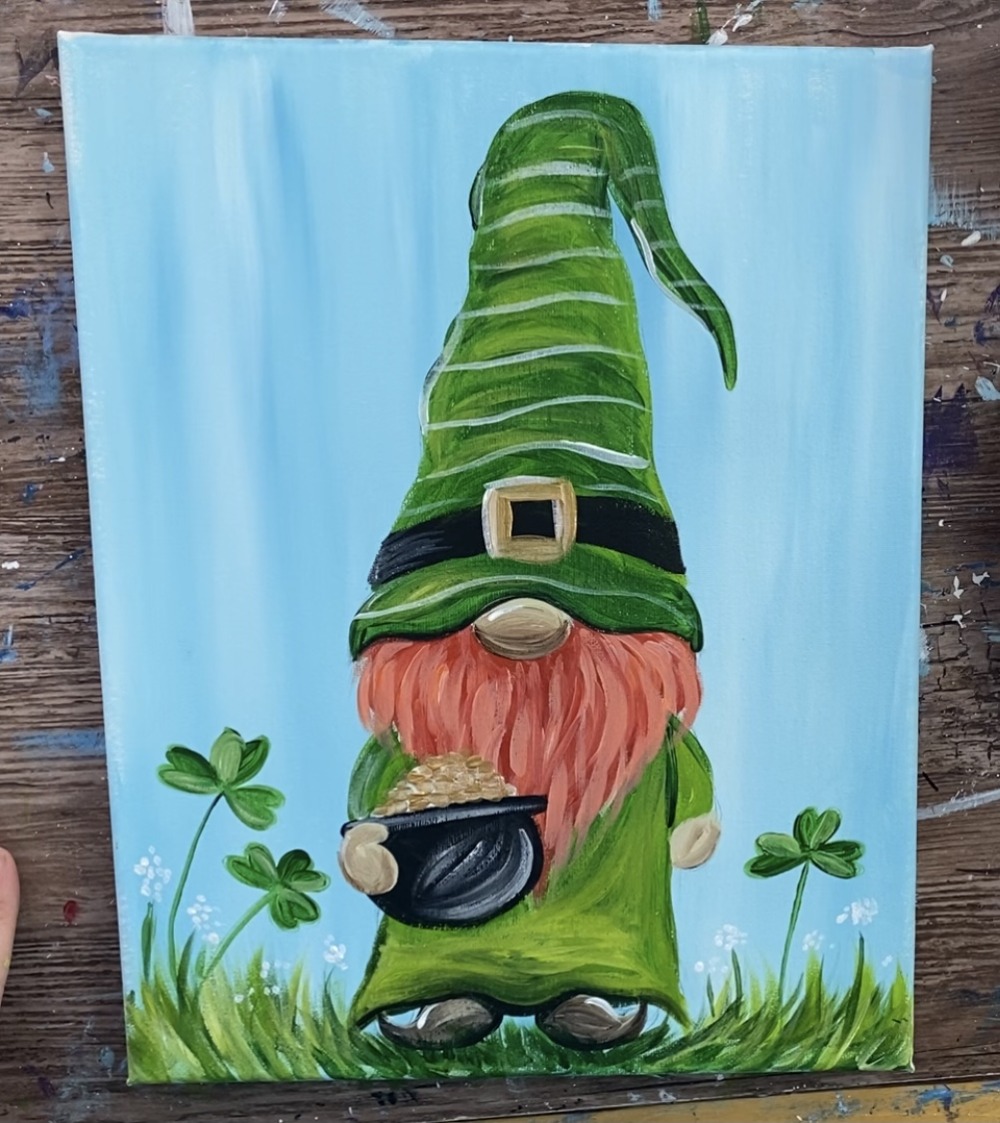
Directions At A Glance

Traceable

Video
Step By Step Instructions
1. Paint the background
Use a 3/4″ flat wash brush and the colors titanium white and light blue permanent. Double load your brush in both of the colors. Then paint up and down strokes.
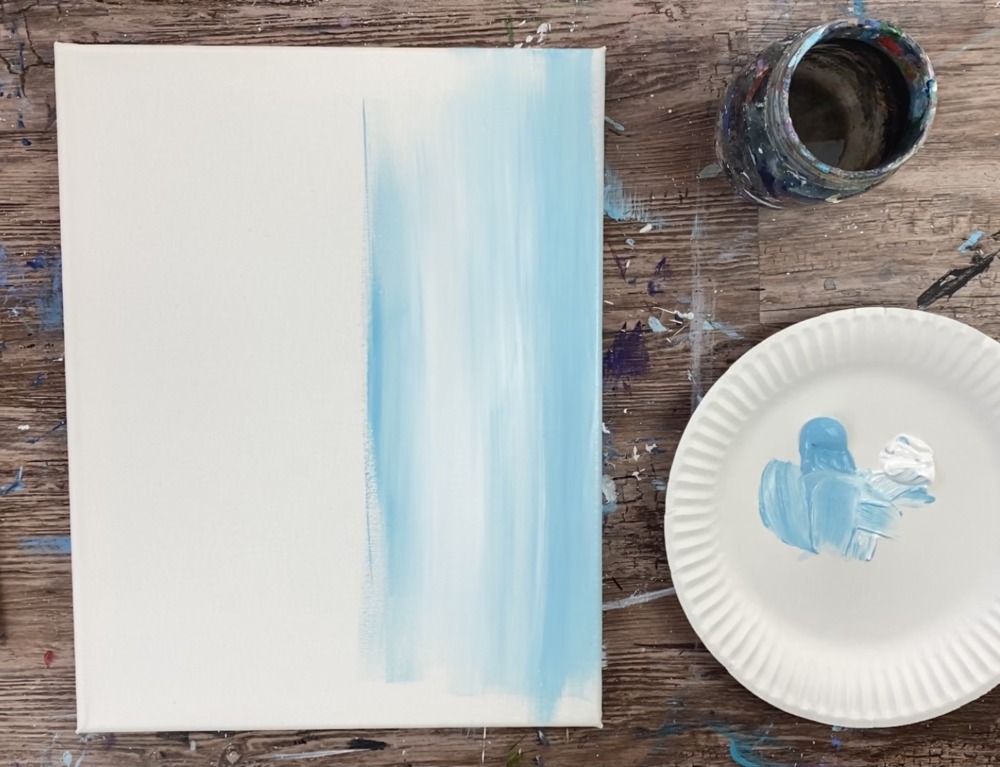
Add a small amount of water to the brush to help thin the paint down. This should be a thin layer of paint. You can leave it “unblended” or blend the white and blue all the way.
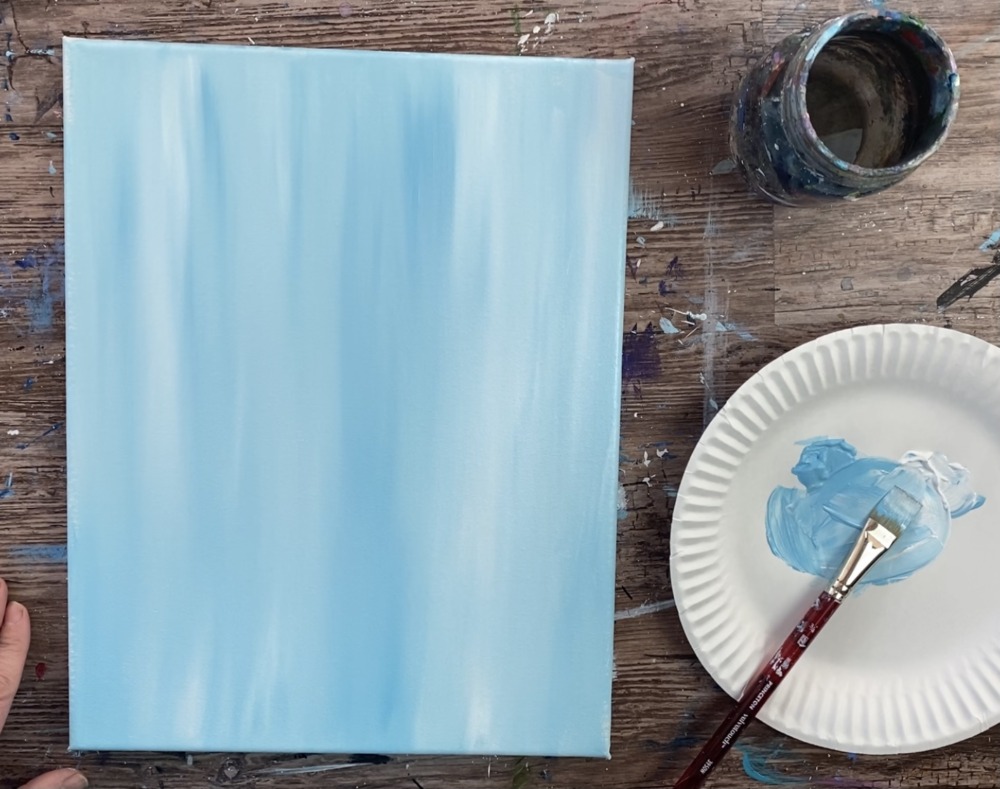
This background will need to dry before going to the next step.
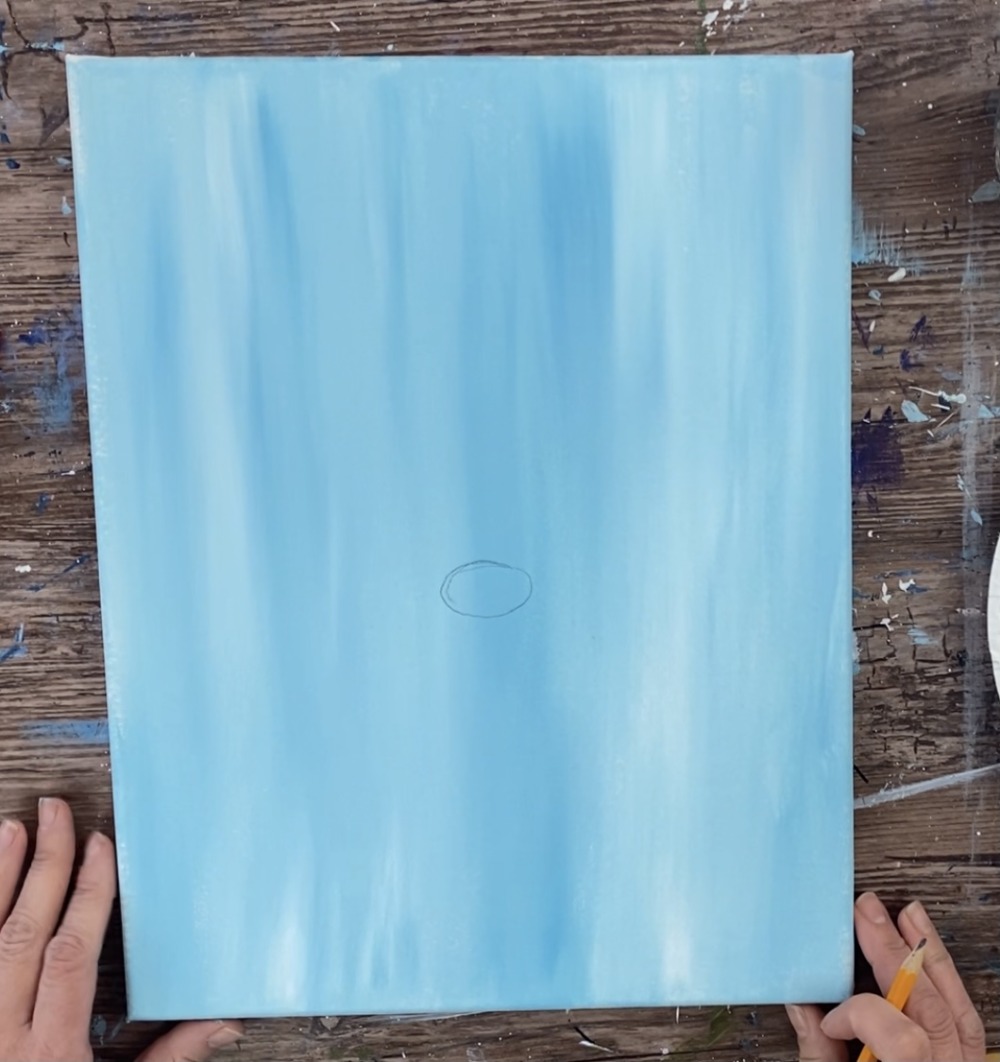
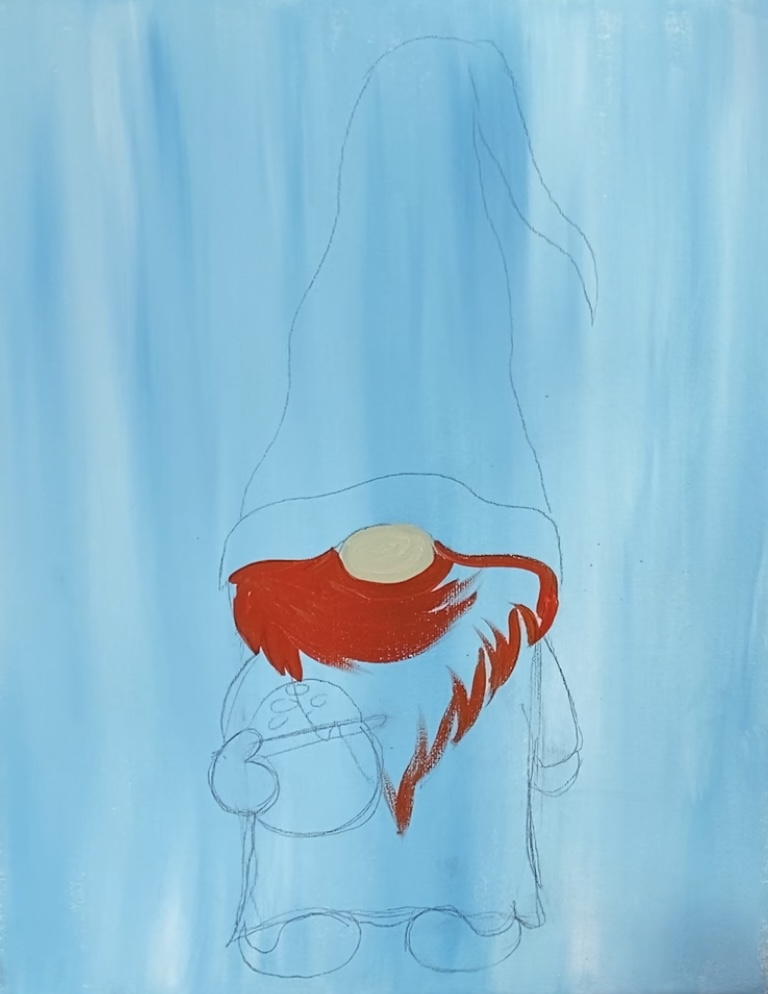
2. Draw The Gnome
Next draw the gnome or use the traceable. If you are using the traceable, place a sheet of graphite paper under the gnome and trace with a pencil so it will transfer onto the canvas.
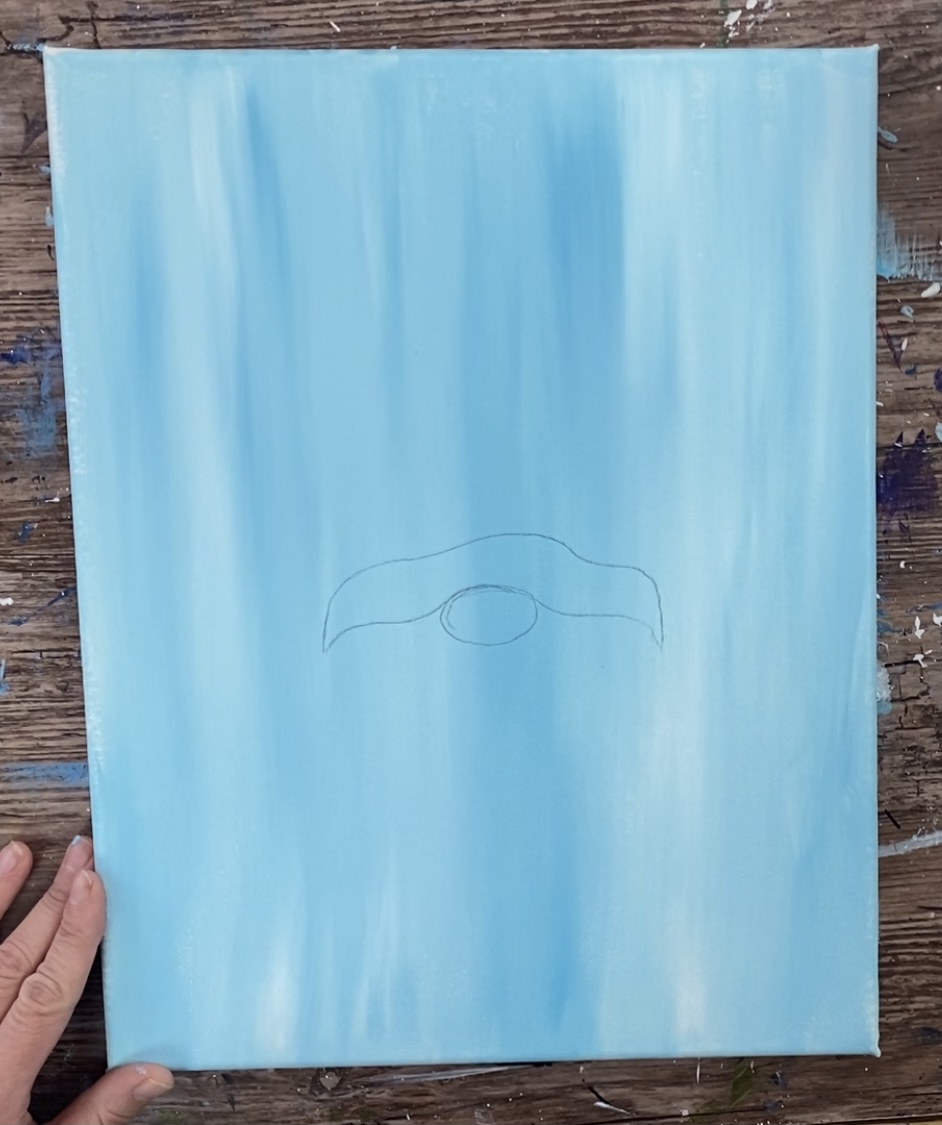
To draw the gnome, start with the nose. Draw a small oval shape in the middle of the canvas (slightly off center to the bottom).
Then draw the hat shape above the oval. This is a curved line shape that hugs the top of the gnome’s nose.
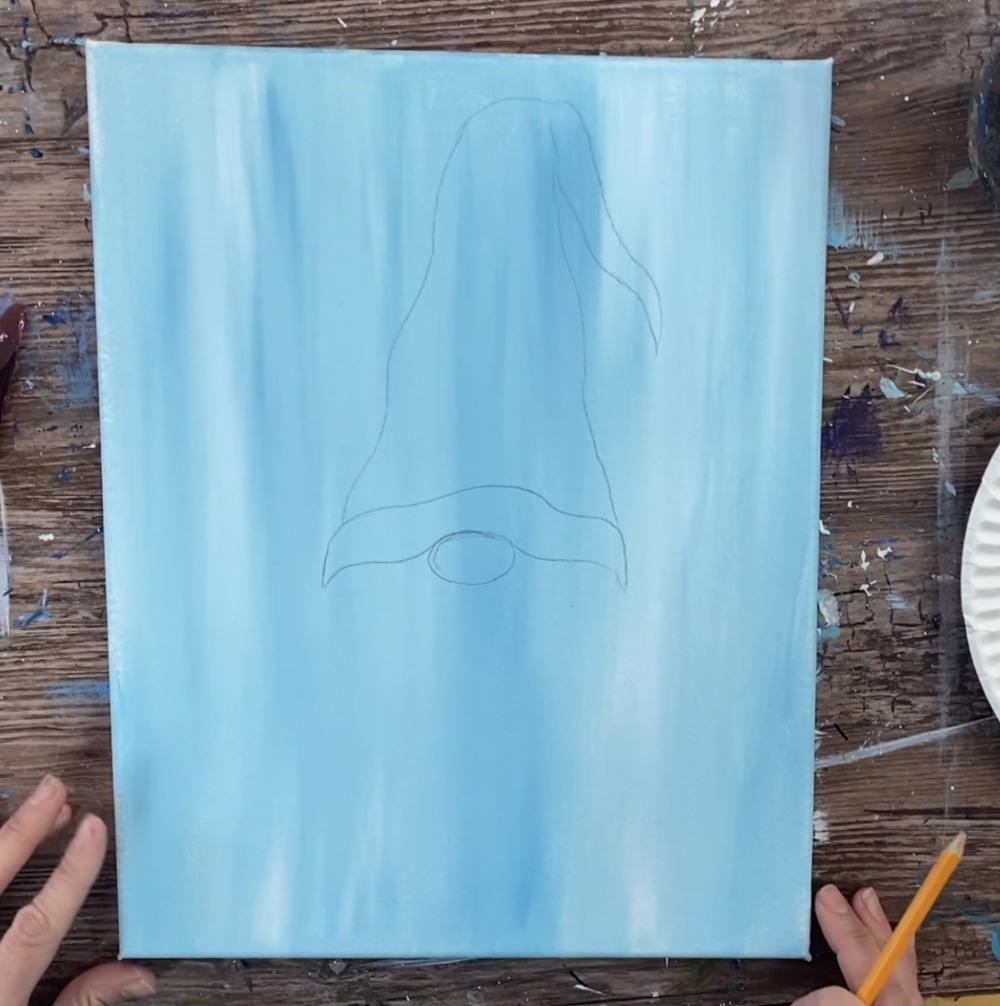
Next draw the hat. Sketch the hat lightly so that it goes nearly to the top of the canvas and then folds over to a point.
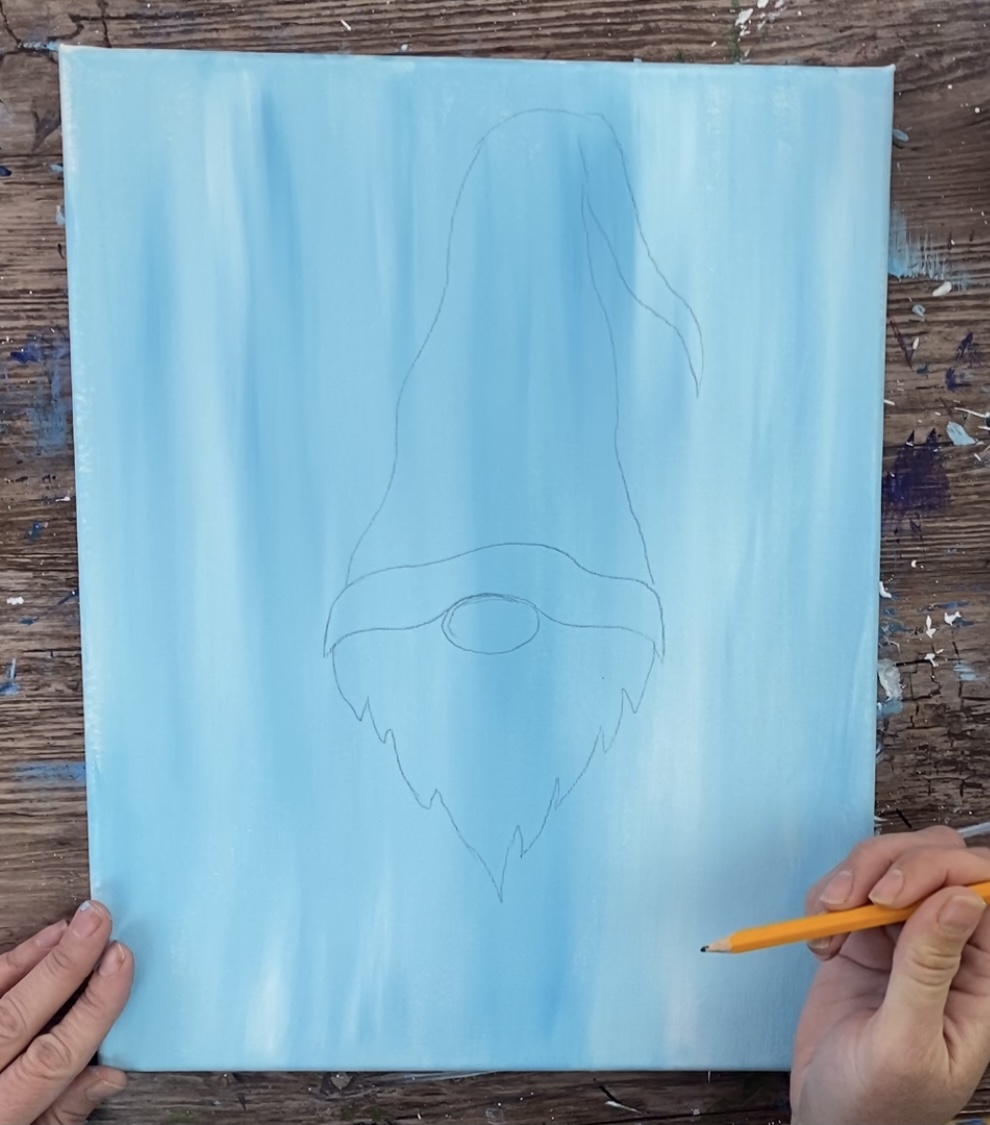
Then draw the beard. The width of the beard is the same width as the gnome’s hat and it goes down to a point. Draw the pointed edging of the beard too.
Then lightly sketch the robe and arms.
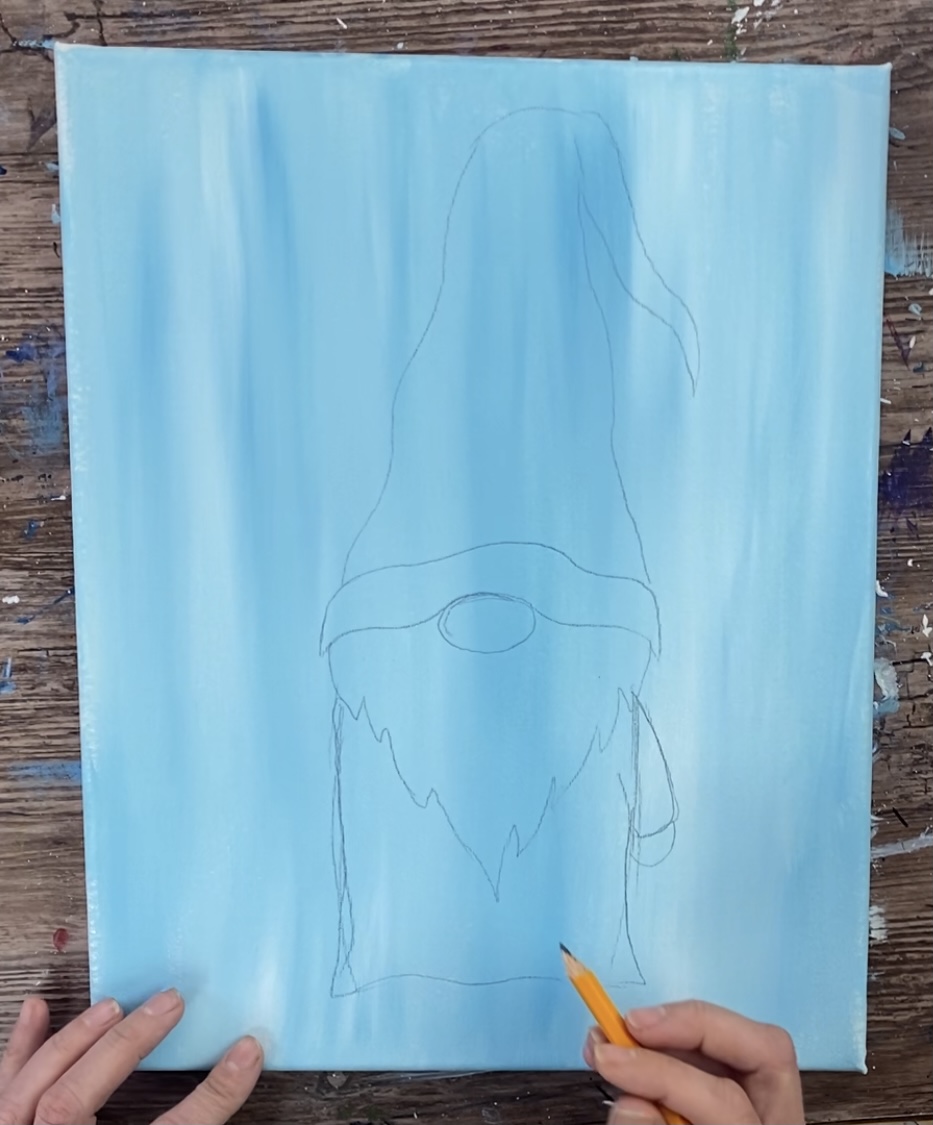
Draw the pot of gold that will be overlapping the robe and part of the beard on the left side. Draw a diagonal line for the top of the pot and then a curved/ rounded shape for the pot.
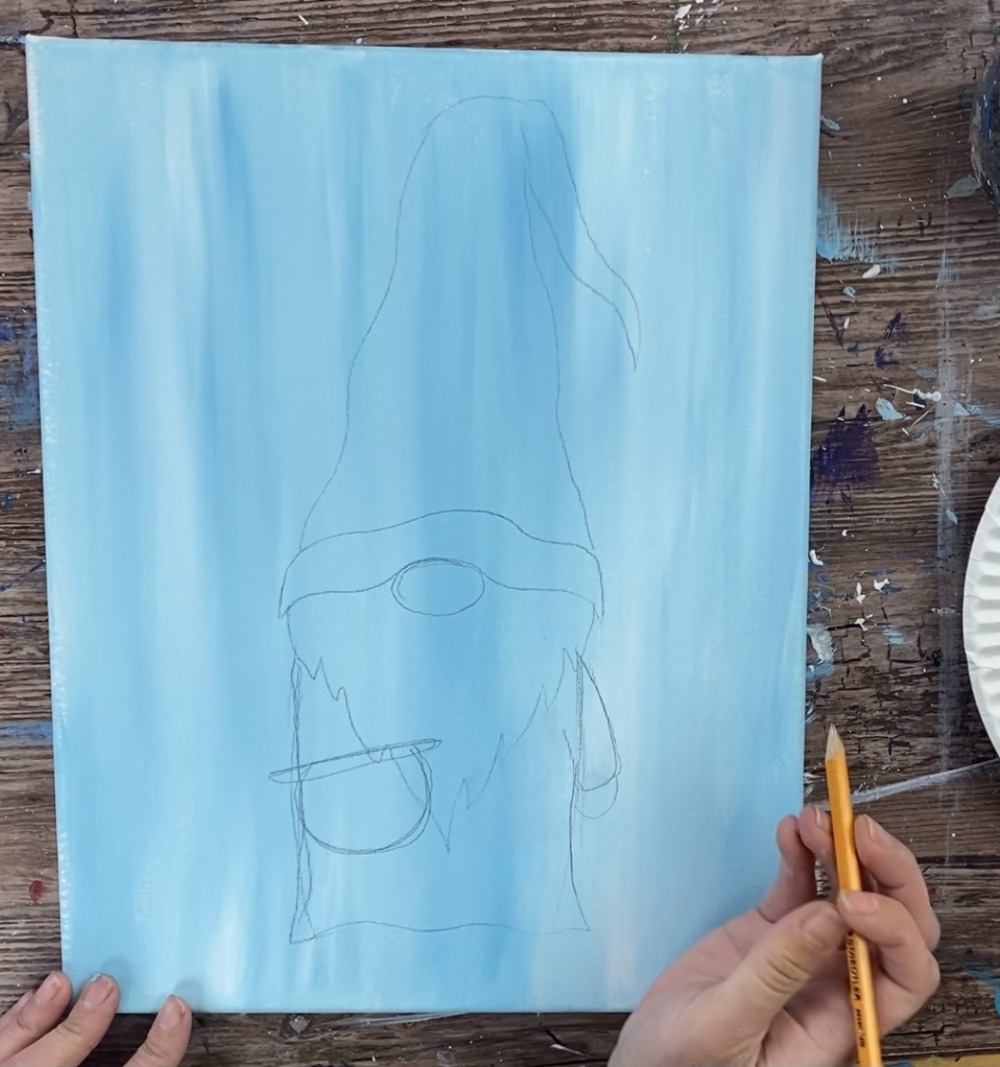
Then lightly sketch the gnome’s hand and top of the pot/ where the gold will be. You don’t have to draw all the little gold pieces, just make a half circle on top of the pot.
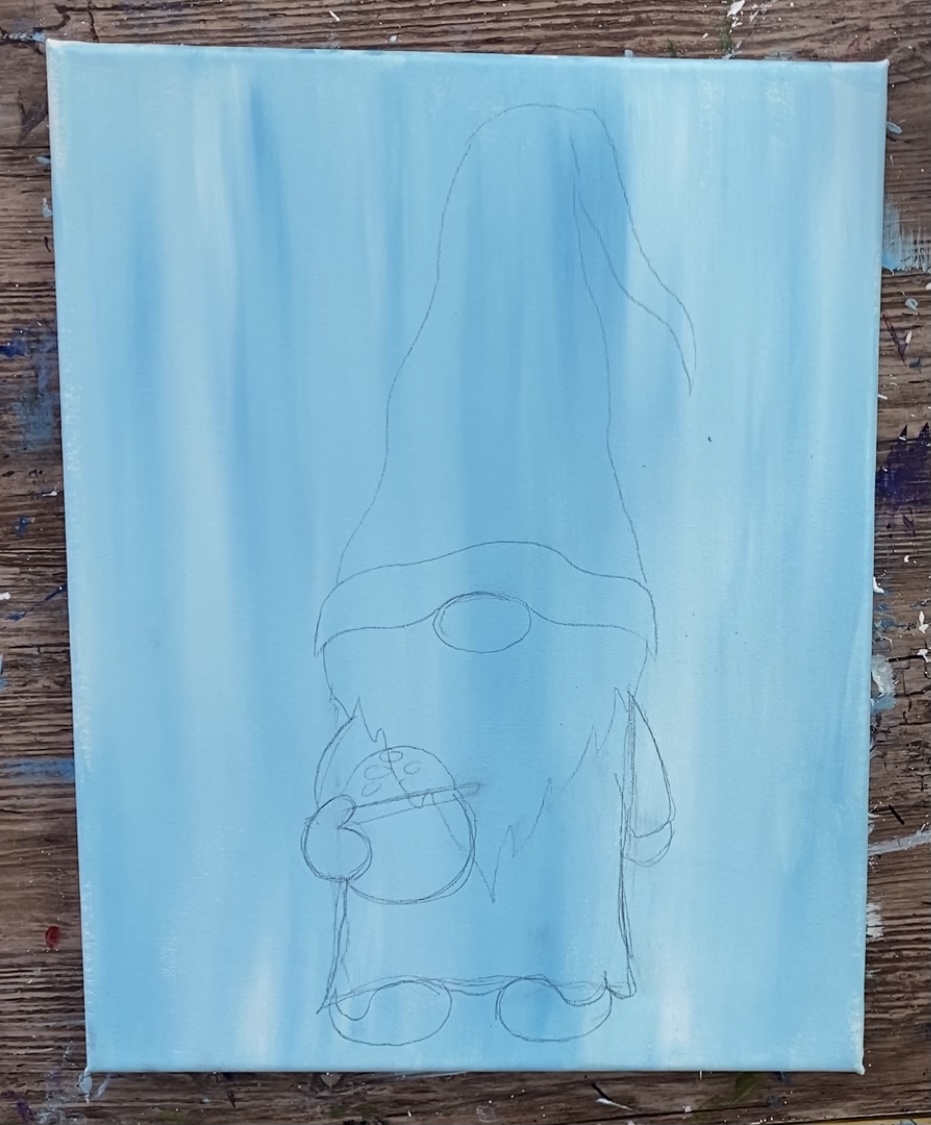
Then draw the shoes. These shoes are similar to my other gnome’s shoes only they go to a point. It is kind of like a sideways teardrop or comma shape.
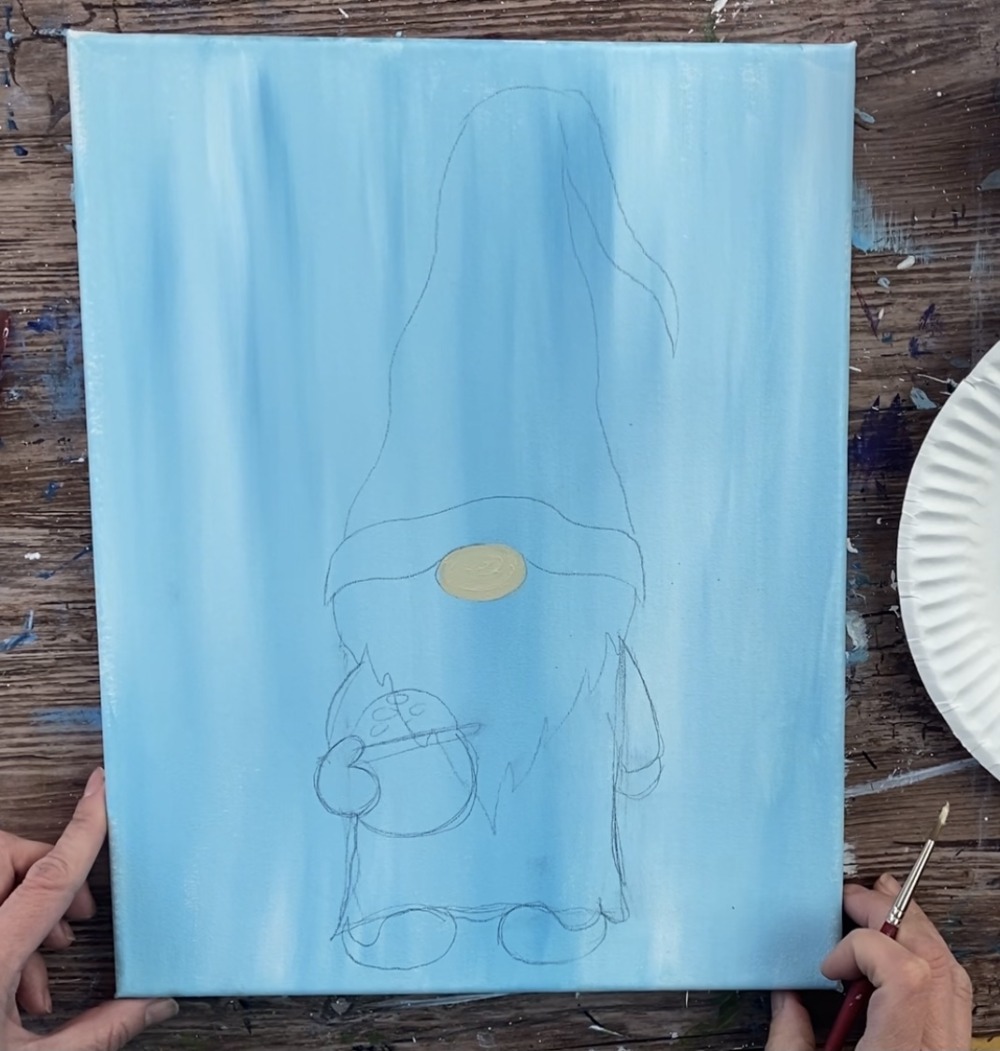
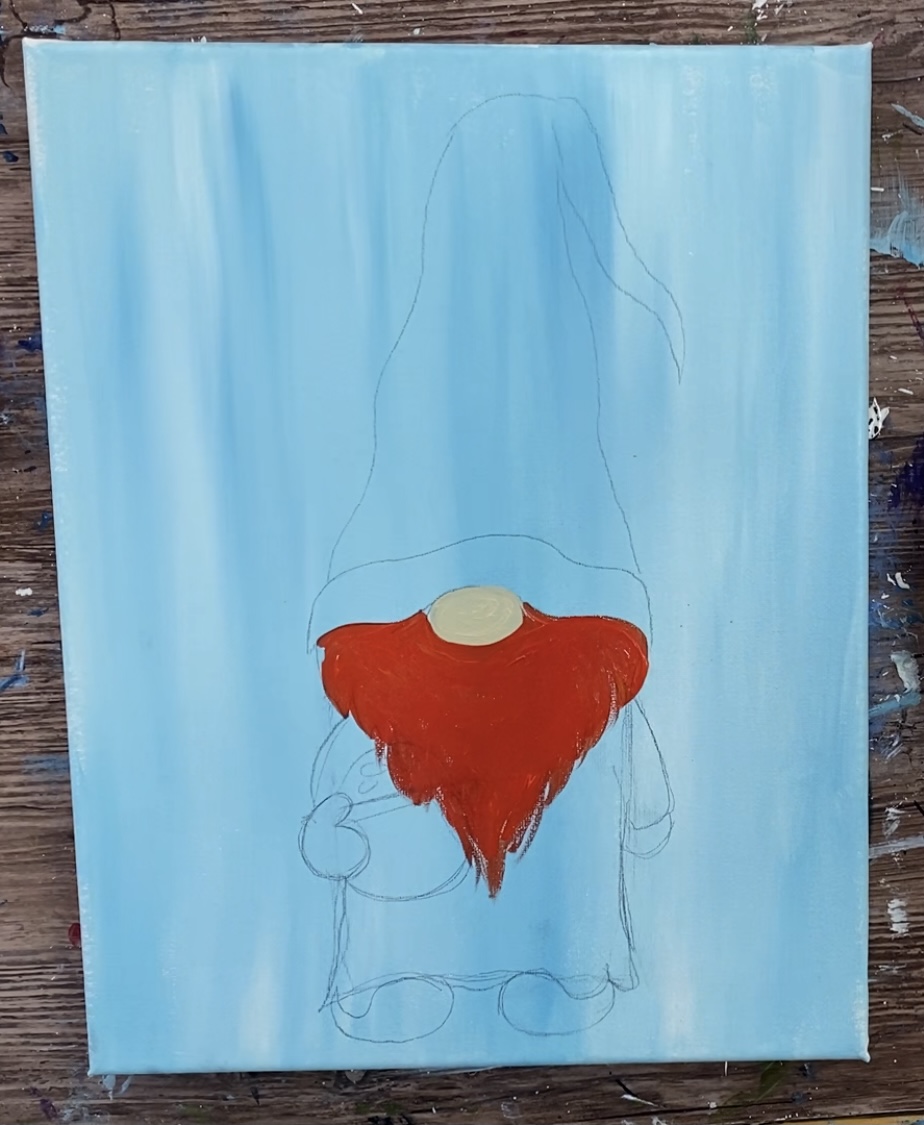
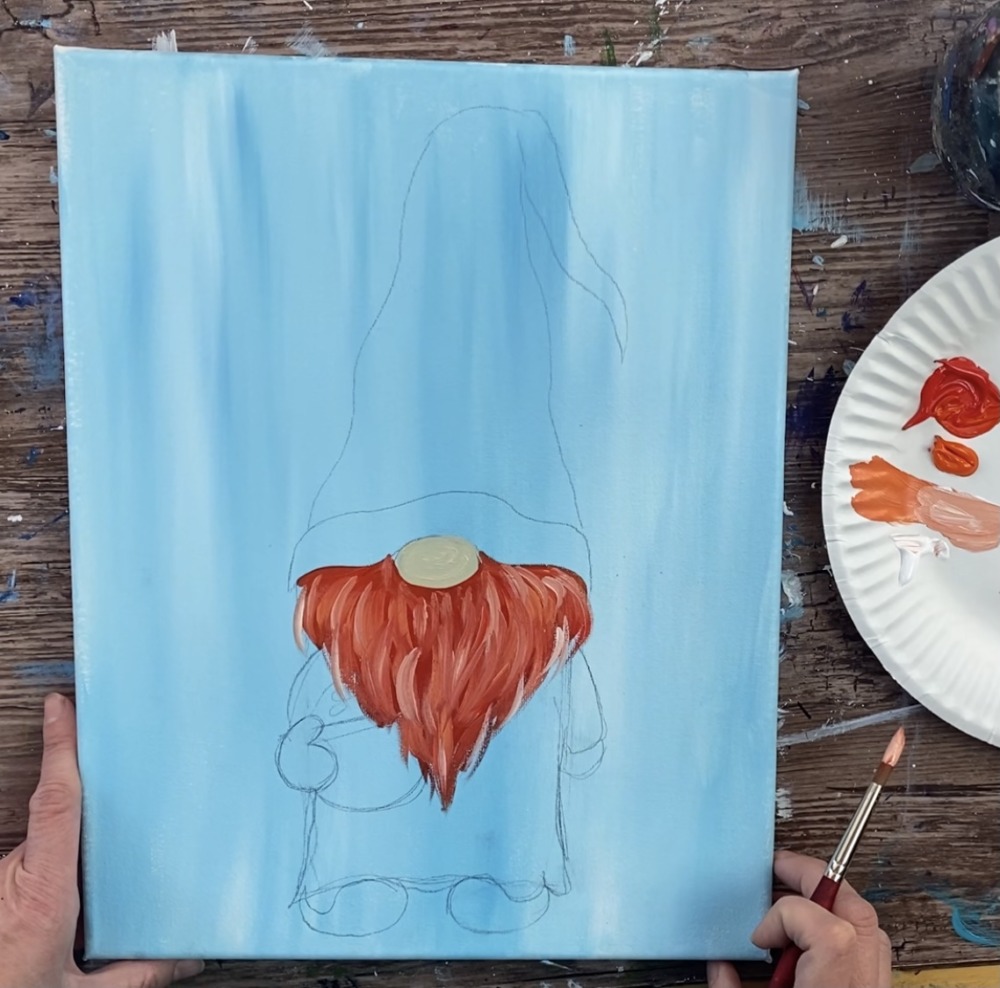
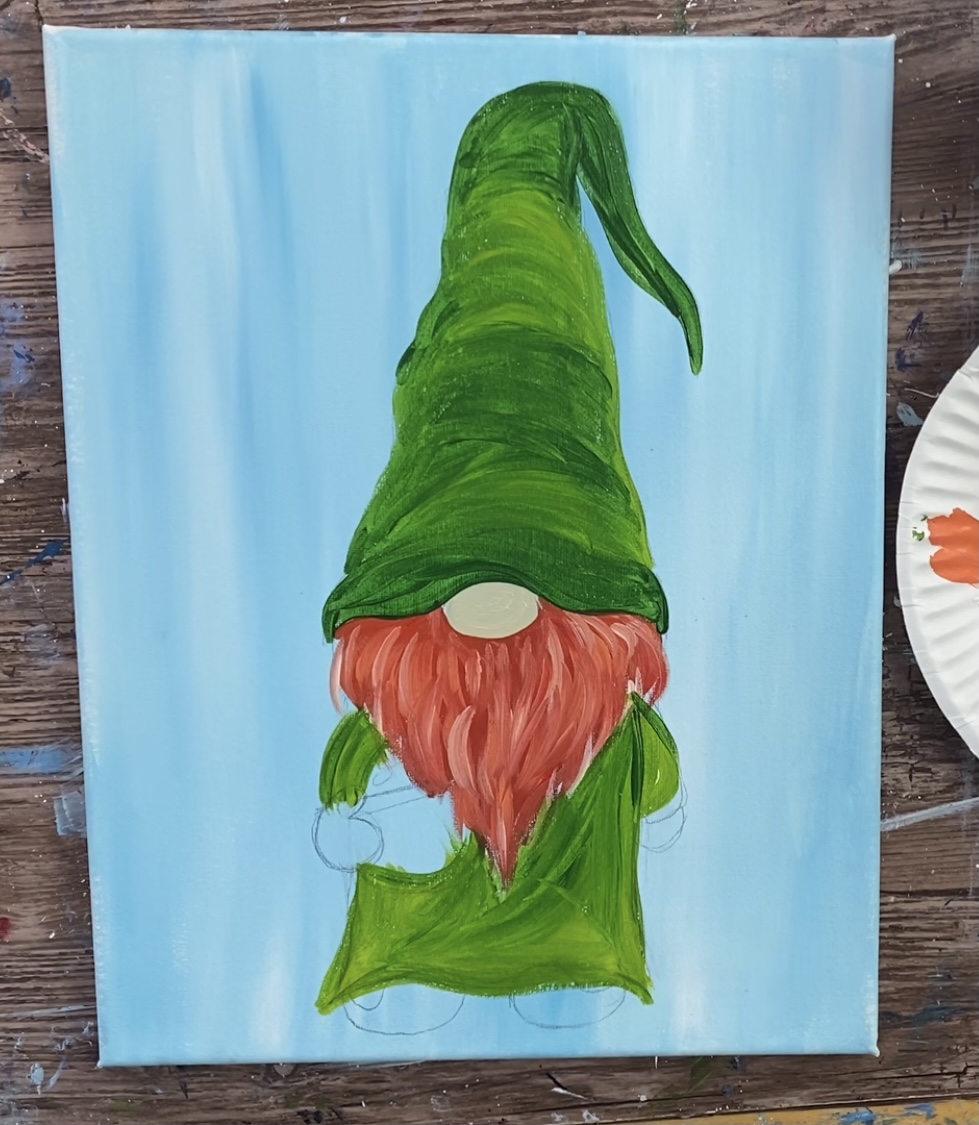
3. Paint the nose & beard
Use unbleached titanium and a small round brush for the nose. Paint it solid.
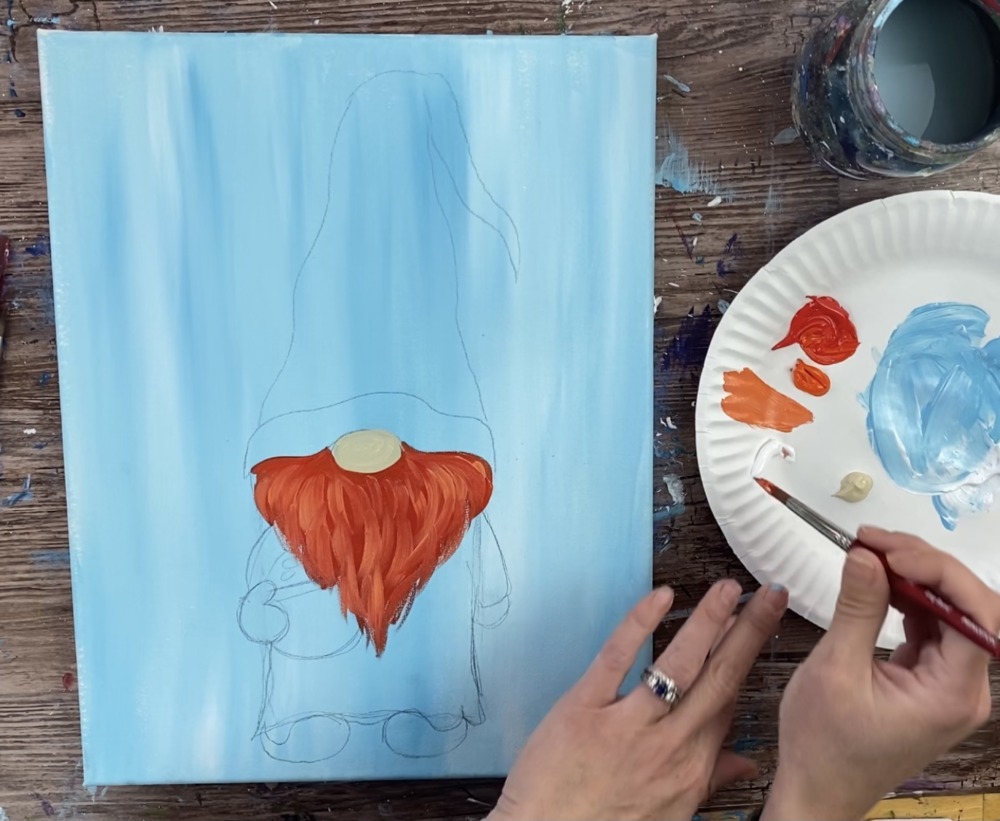
Then load your palette with cadmium red medium hue and cadmium orange hue. Mix the two colors together on your palette to get a red-orange color. Then use a #8 round brush to paint the beard a solid coat of that color. Go in contouring strokes in the direction of the beard.
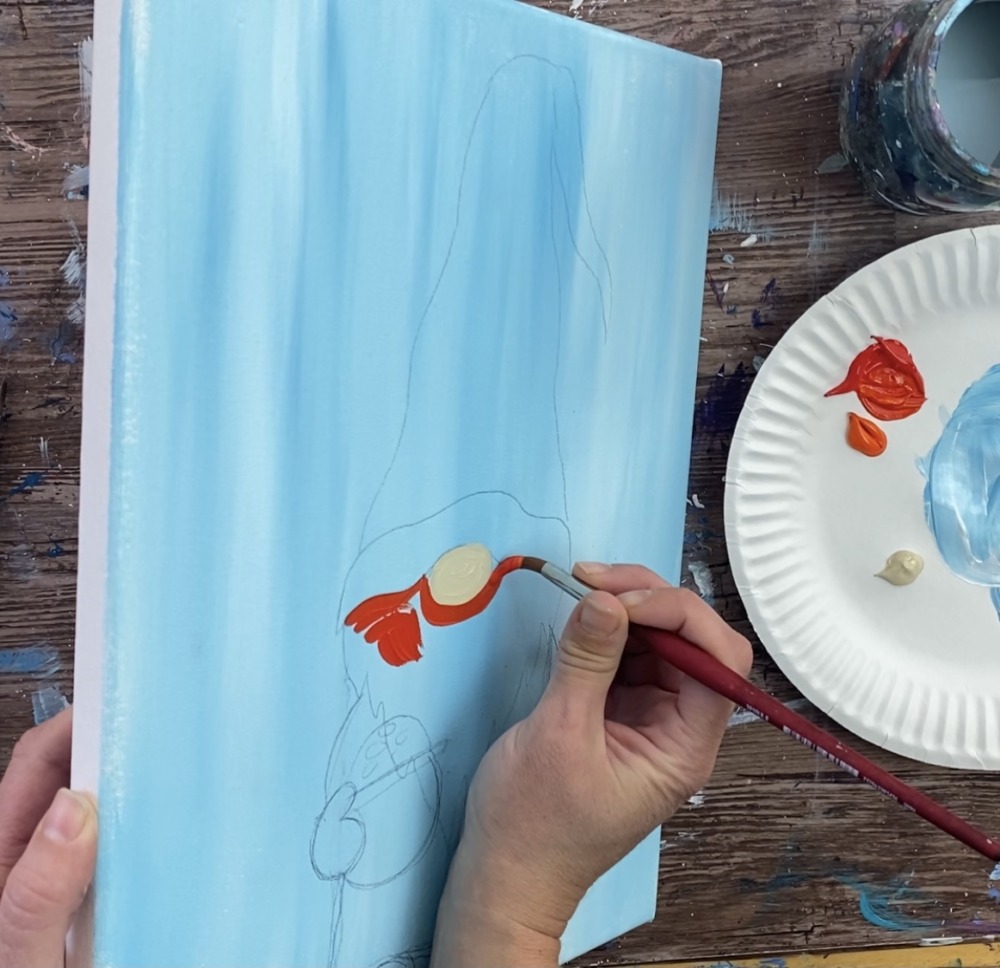
The beard will be filled in solid with that red-orange color and highlights/ texture will be added in the next steps.
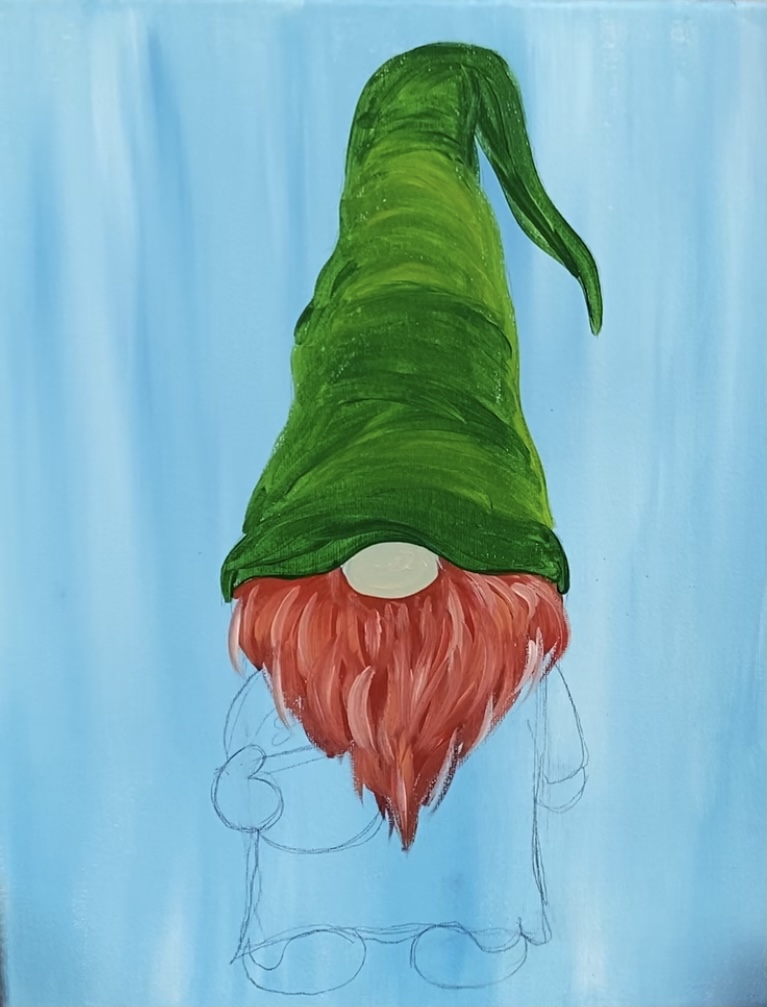
Then add some titanium white to your palette and mix the white with the red-orange color to get a lighter tint of that color.
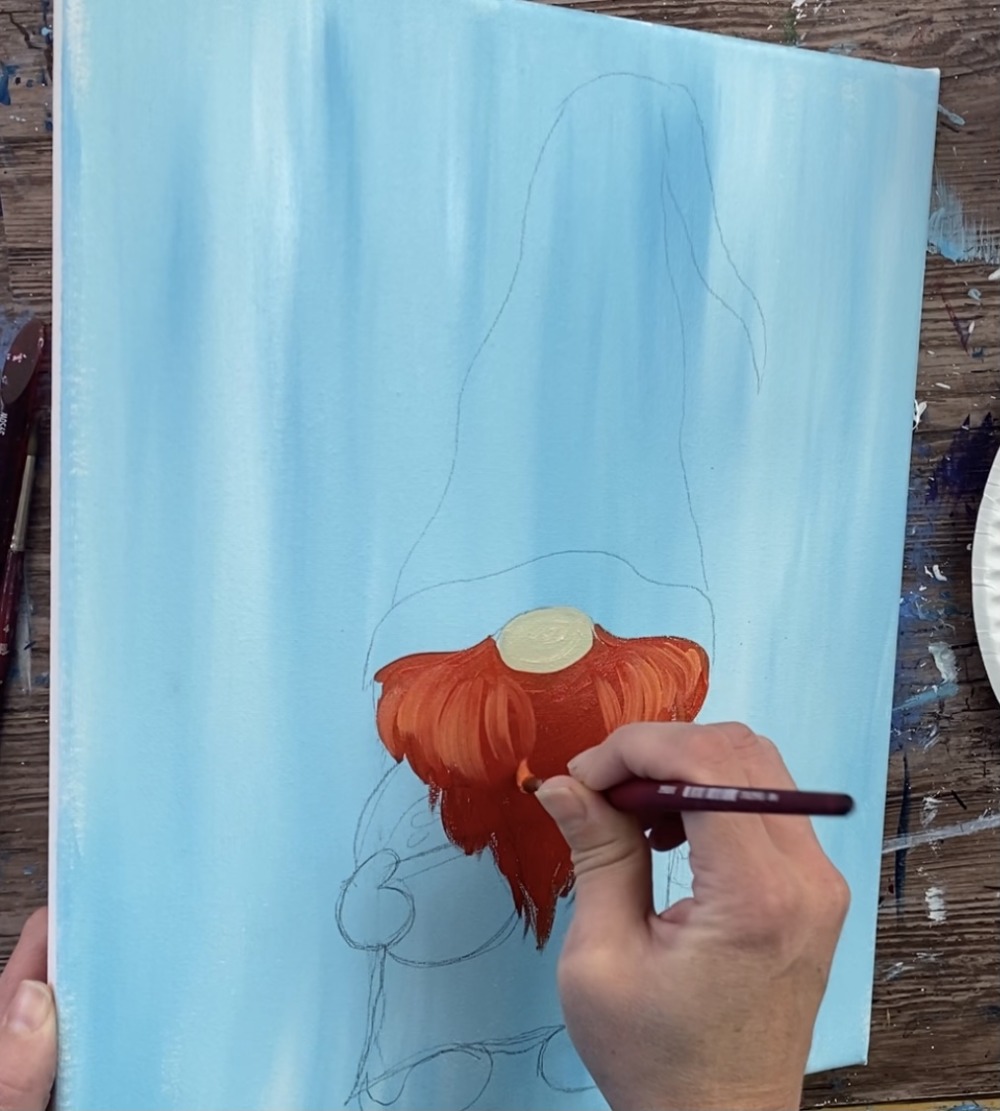
Then use your brush to paint the texture of the hairs. Go in curved/ contouring strokes. The lighter orange will blend slightly with the darker orange below.
Try not to cover the first darker read layer of paint completely. Just use the lighter color to make the textured lines.
Then add a third layer of hair with an even lighter tint of that orange-red color.
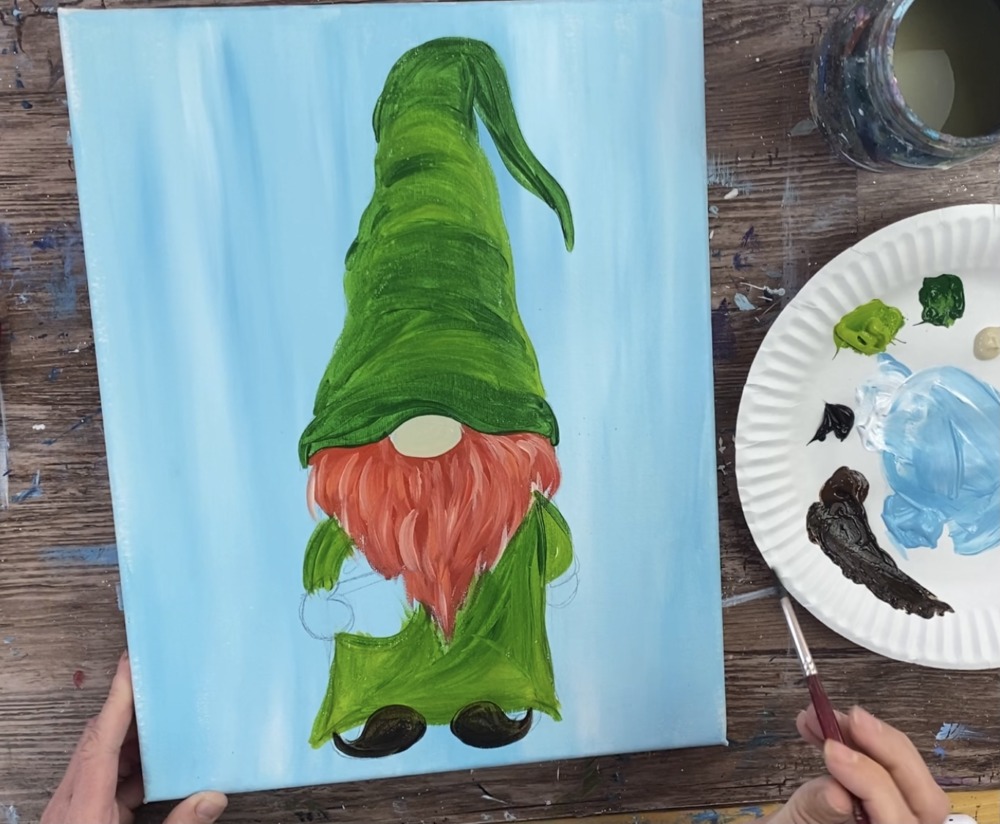
4. Paint The Hat & Robe
Load your palette with hooker’s green hue permanent and light olive green.
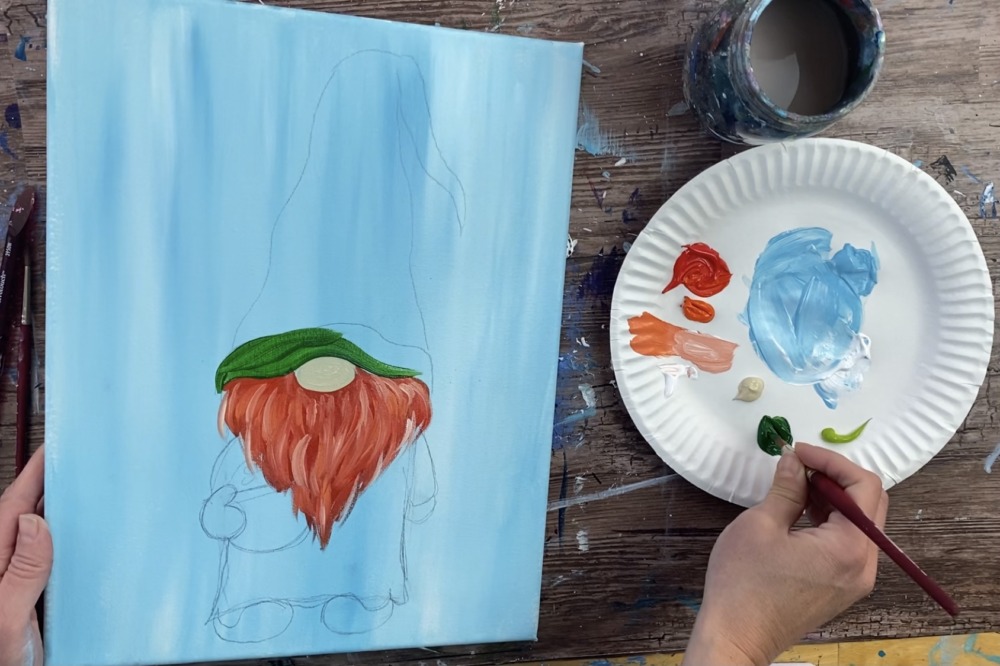
Use your #8 round brush to paint the hat. Start at the bottom. Go in curved, strokes going with the flow of the shape of the hat. Load the brush in both the light olive green and the darker green so the two colors blend together on the canvas.
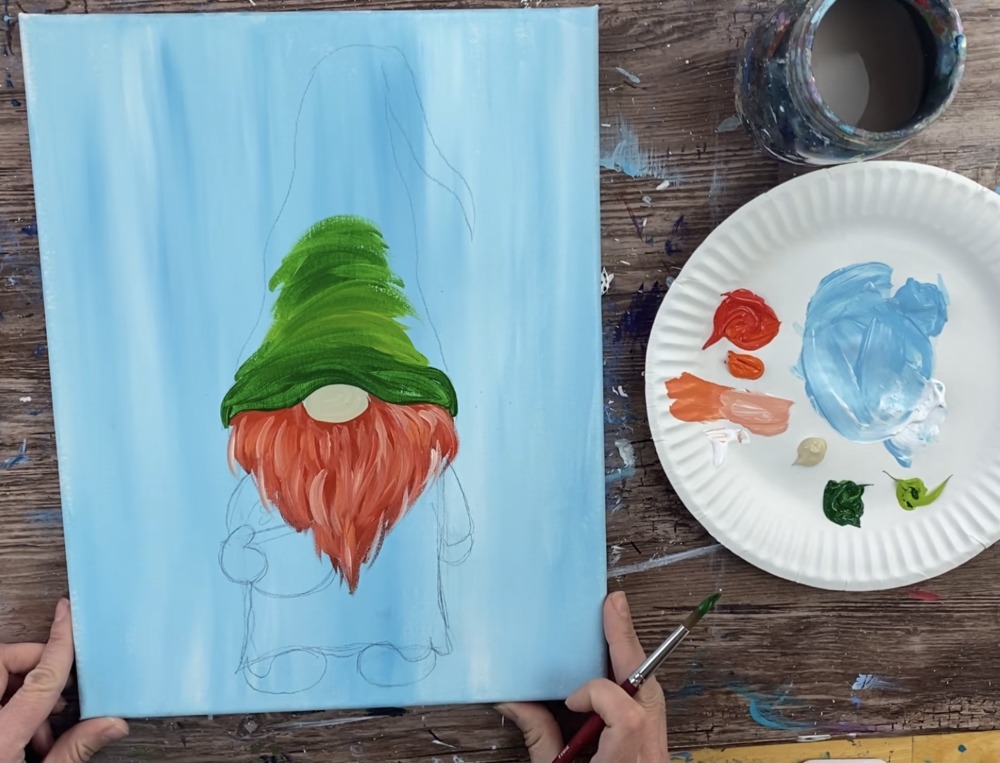
It also helps to outline the shape of the hat and fill it in.

Then paint the robe in. I used the same colors on the robe that I did on the hat. Paint it so the two colors blend and go in contouring strokes in the direction of the shape you are filling in.
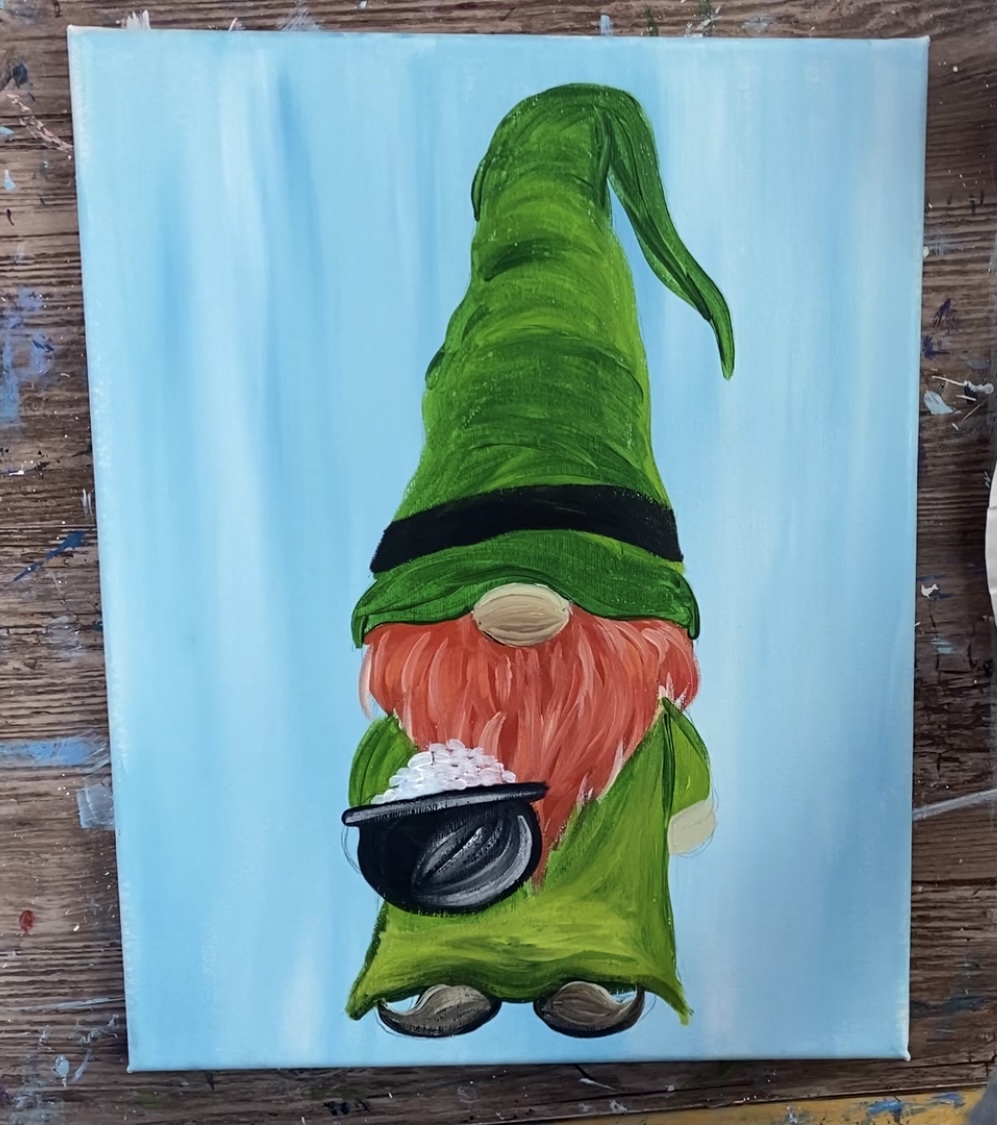
5. Paint the shoes, hat band & pot
Load your palette in burnt umber and mars black. Mix a very dark brown on your palette. Then use a #4 round brush to paint the shoes in with that color.
Next paint the pot black as well as the band on his hat.
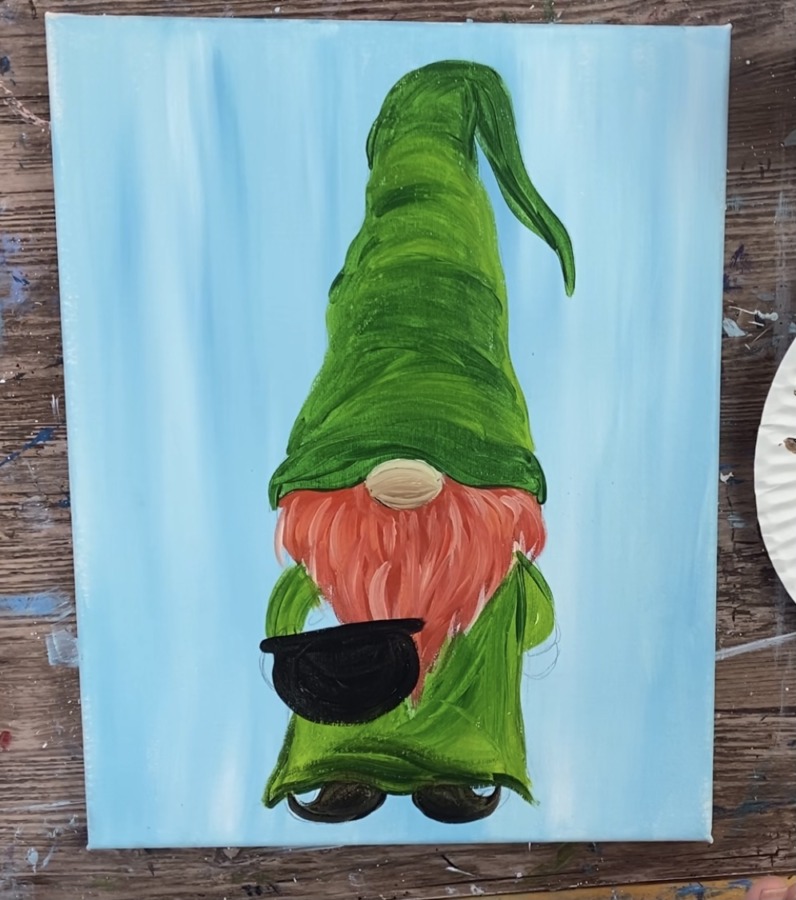
Then add unbleached titanium to the top of his shoes and blend it down with more brown. This will give highlight to the top of the shoes.
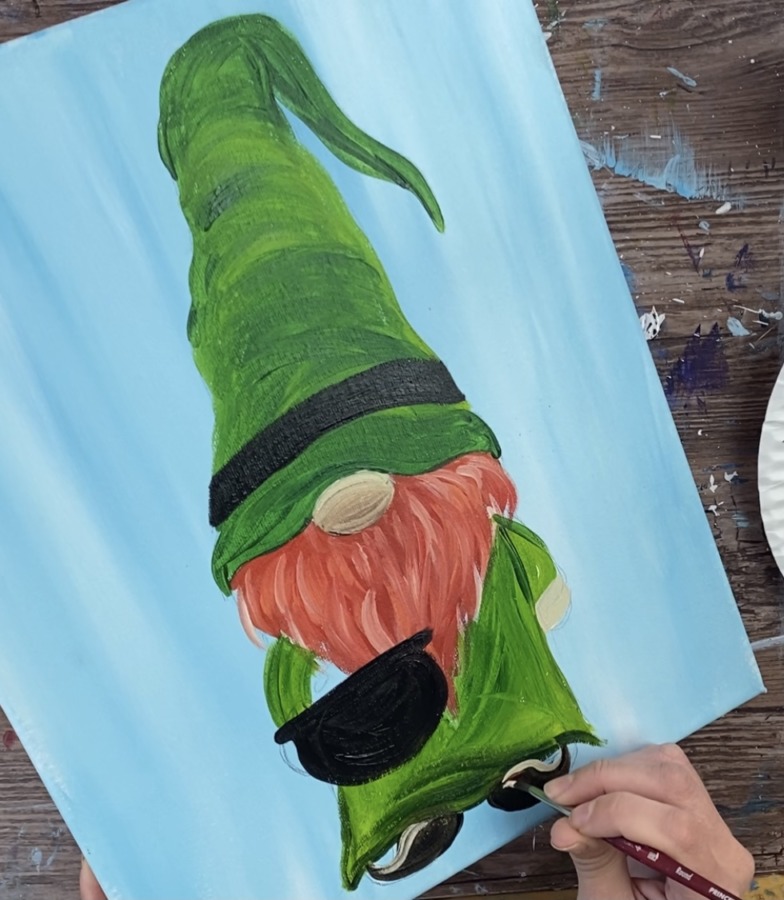
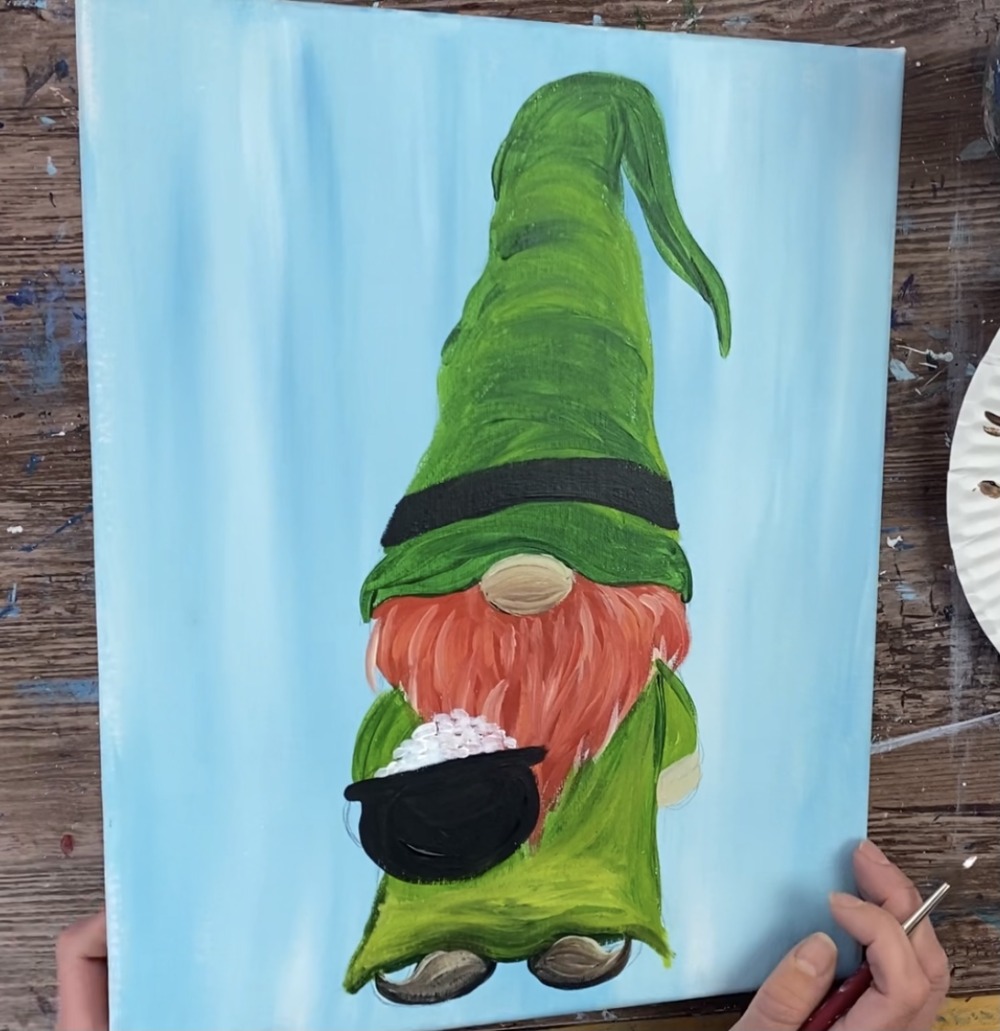
6. Add Details on Pot & Hat
Use a #4 round brush to paint small white dots/ short strokes on the top of the pot. You will need to wait for this to dry before adding the gold.
Then dry brush some white on the right side of the pot and just under the rim. When you “dry brush” you only add a small amount of paint to your brush and wipe some off with the paper towel so the strokes are very thin and scratchy.
The highlight on the pot goes in a curved/ expressive direction in the lower right.
Next use the gold paint to paint a square buckle in the middle of the black band on the hat.
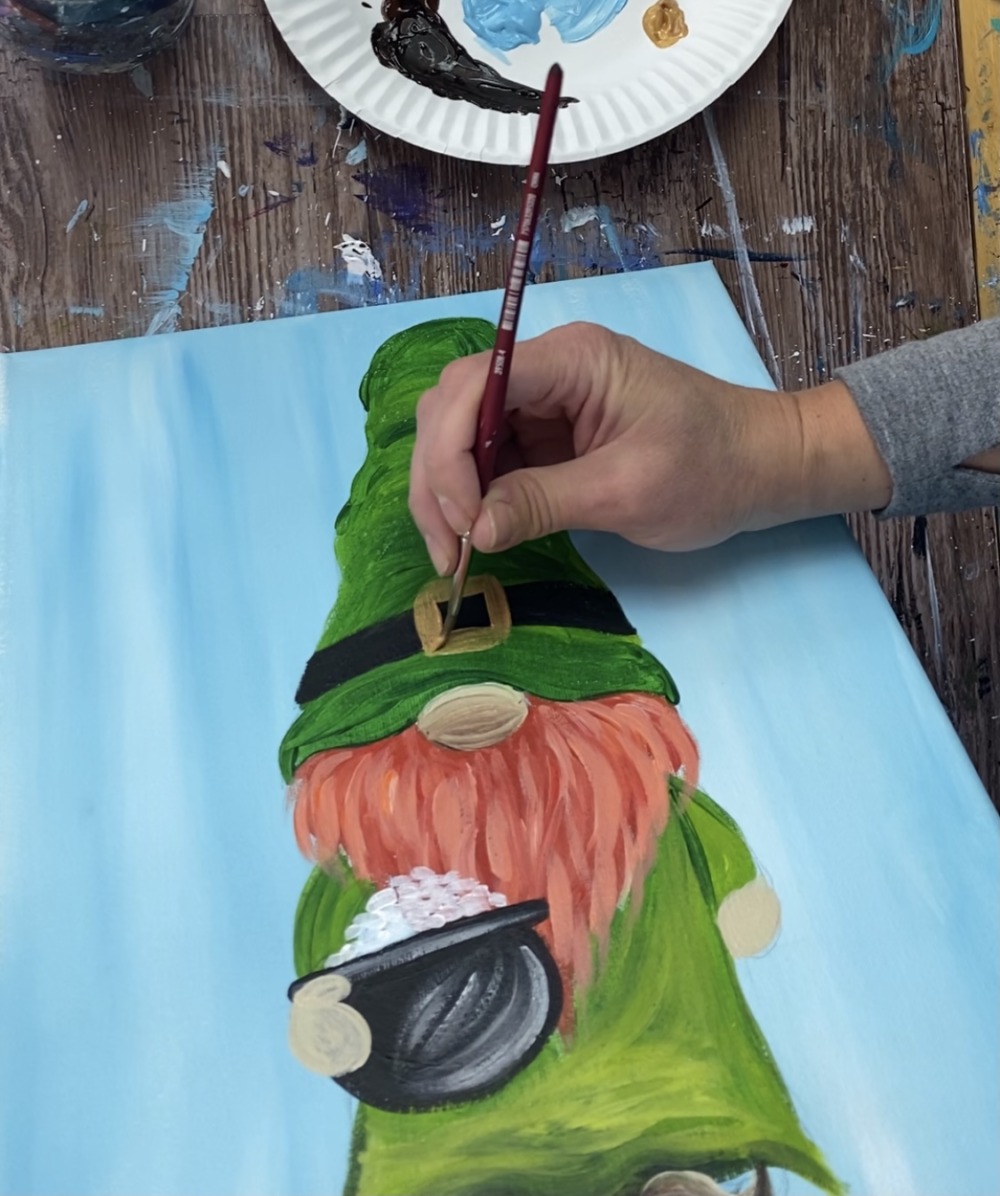
Then paint gold strokes over the white on the pot of gold.
7. Paint The Grass
For the grass, I used a #4 round brush, however, you can use a different brush that you prefer for grass (such as an angle brush or flat brush). Mix a very dark green on your palette by mixing a little bit of black into the hooker’s green hue permanent.
Then paint your grass blades starting from the ground and stroking up.
The grass blades on the right of the gnome are swaying on direction and the grass blades on the left are swaying the opposite way. The grass blades below the feet are somewhat shorter.
Then add a second layer of green grass blades with a lighter green. Mix some light olive green with a bit of white. This second lighter layer will allow the grass to have depth and texture to it. The first darker layer should still show through.
8. Paint The Clovers
Use the #4 round brush (or paint pen or a tiny round brush) to paint the stem and draw out the leaves of the clover. The clover leaves are simply 3 heart shapes attached the the stem.
Then paint the clovers in with hooker’s green hue permanent.
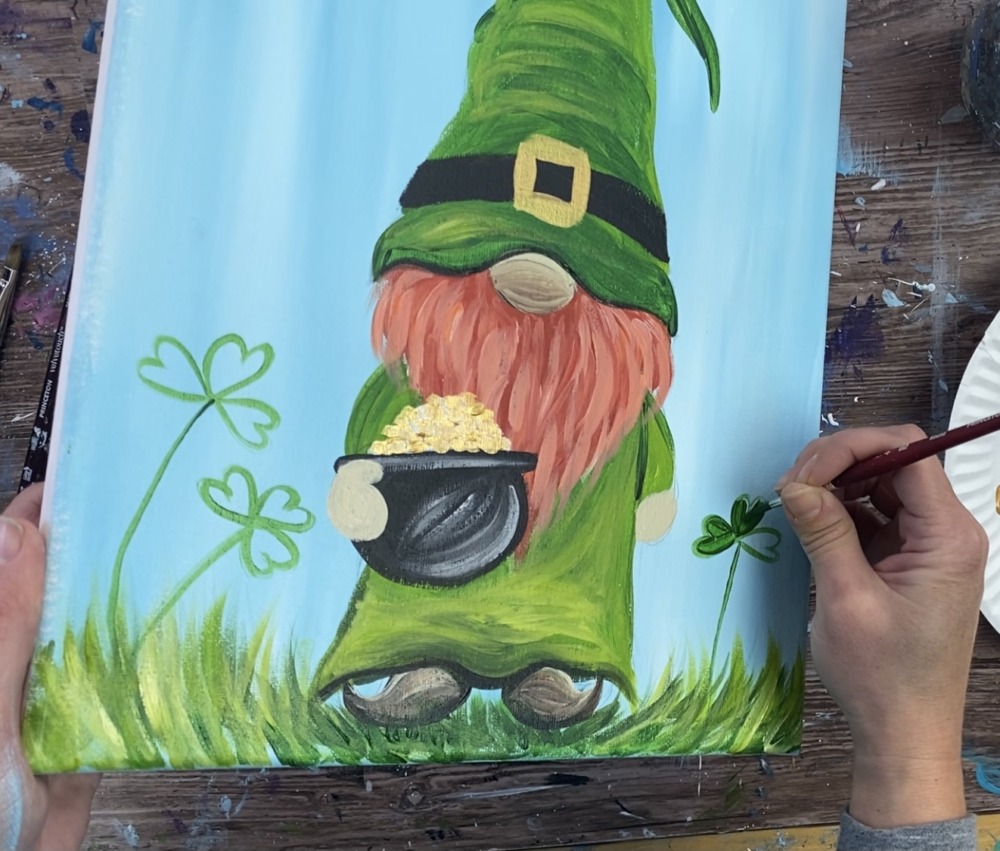
You can add some lighter green (light olive green) to some of the heart shaped leaves.
For the white clover blossoms, use your #4 round brush and titanium white to paint small white clusters of dots.
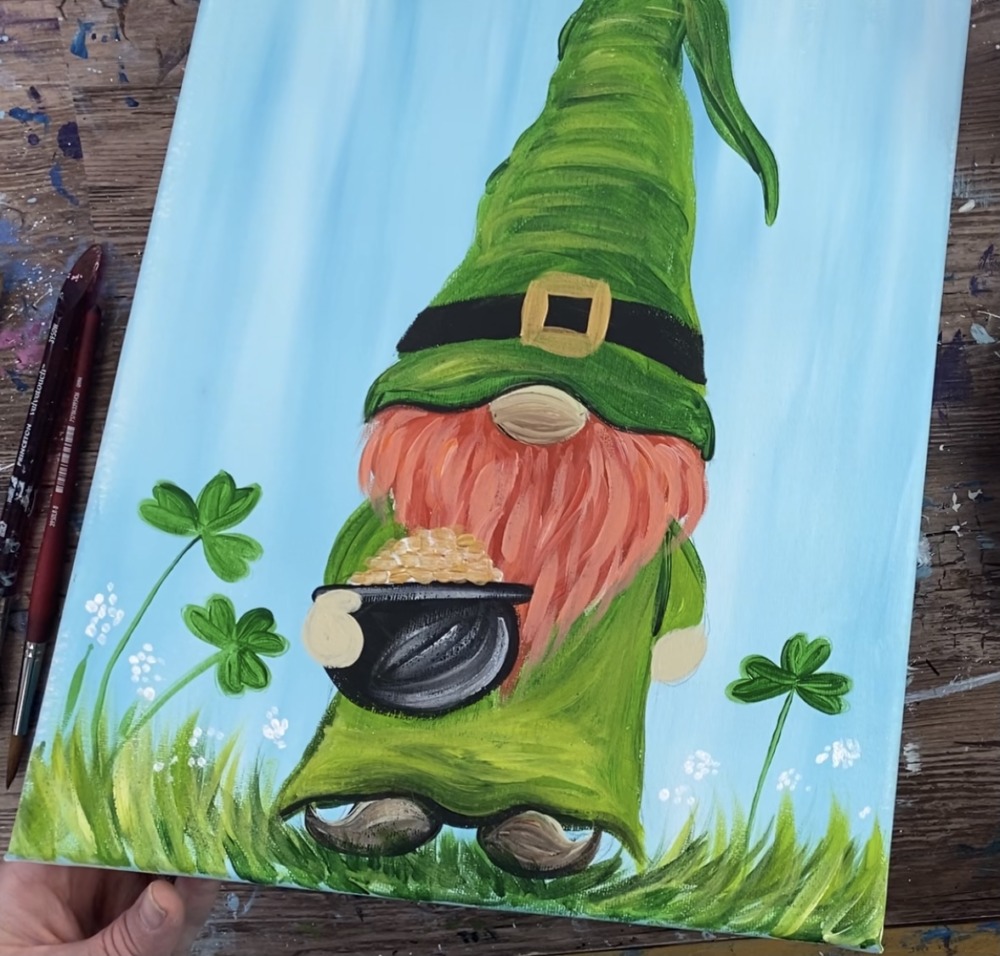
Then paint some longer stems attached to the white clusters.
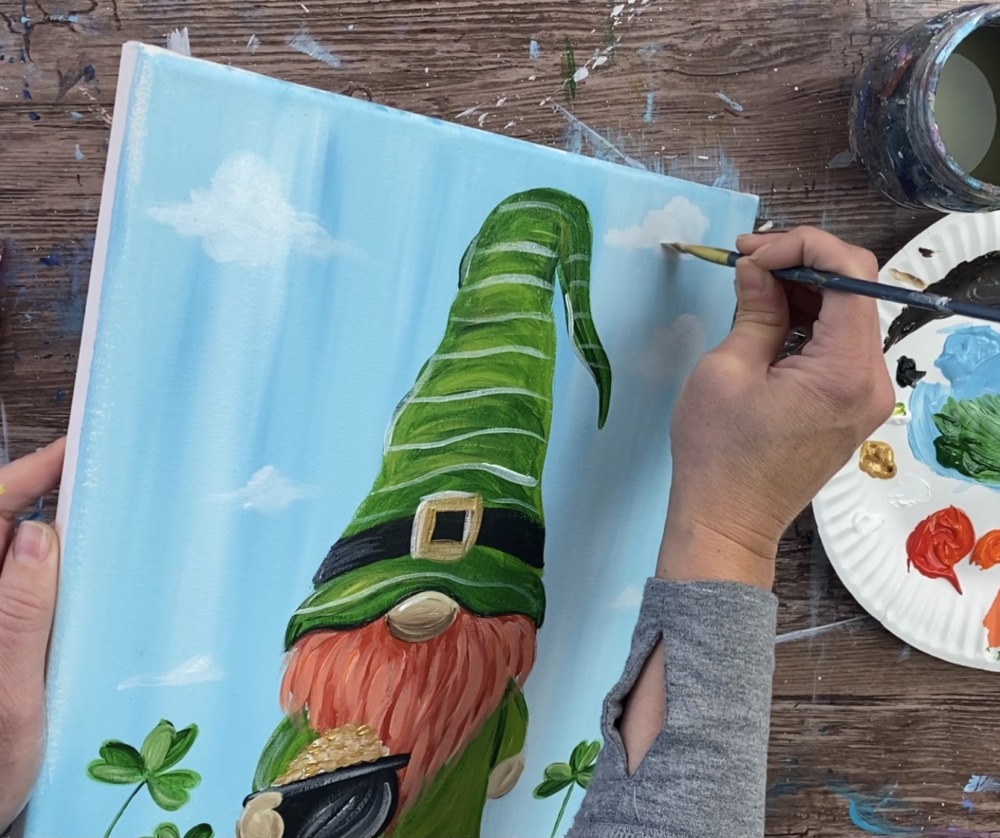
Optional: paint some white stripes on the hat.
9. Paint The Clouds (optional)
For the clouds, I used a 1/4″ flat brush and titanium white. Load just the tip of the brush with titanium white but wipe off some of the paint. Form the shape of the cloud by painting small circular strokes.
Have a towel on hand to wipe off the brush so there isn’t too much paint on the brush.

Add some lighter strokes on the tops of the clouds to give them some dimension.

The clouds towards the top are larger and clouds towards the bottom are smaller.
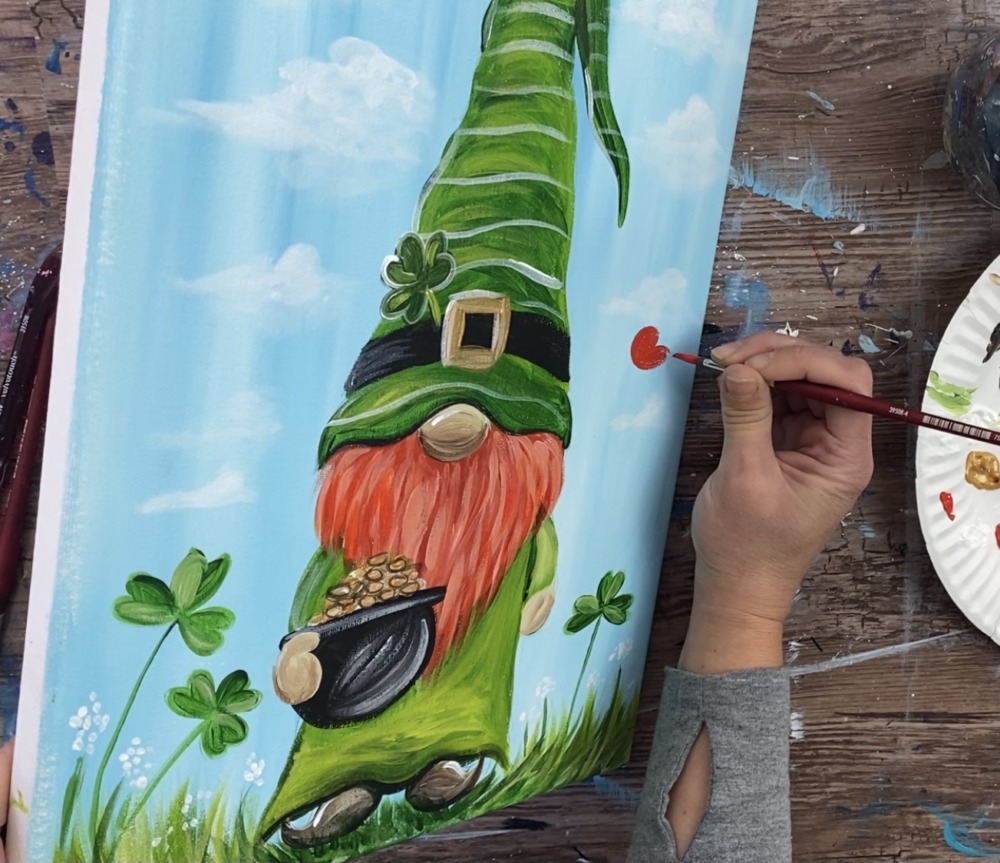
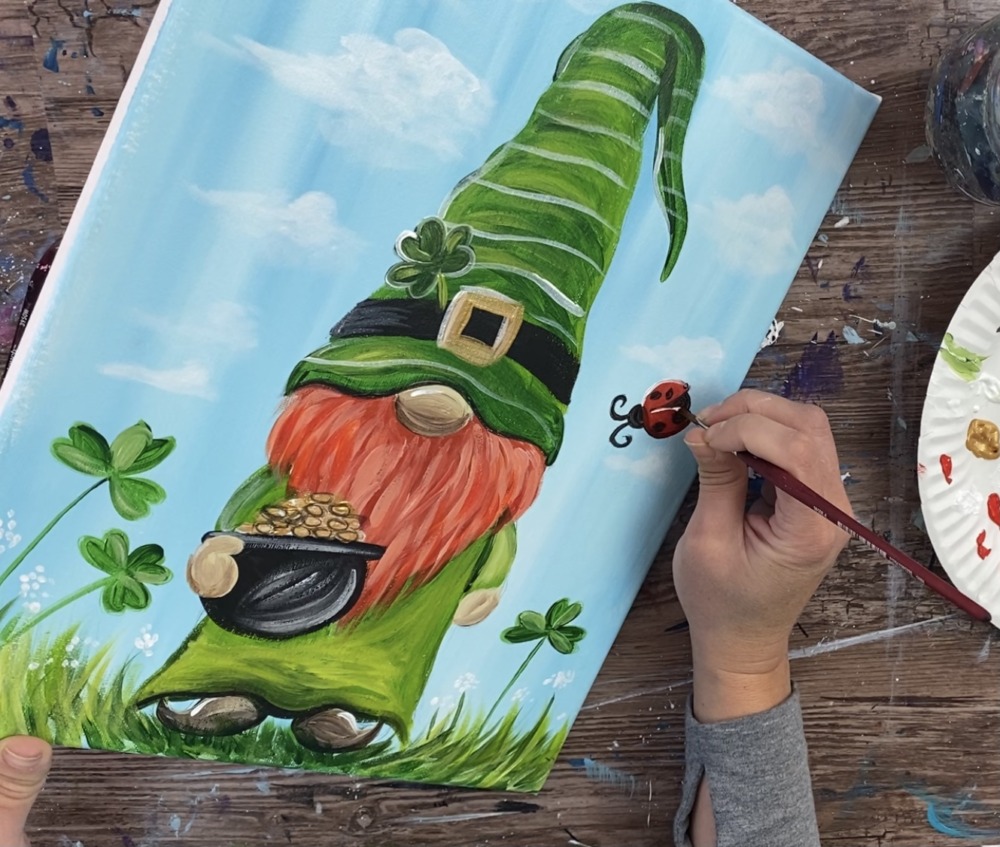
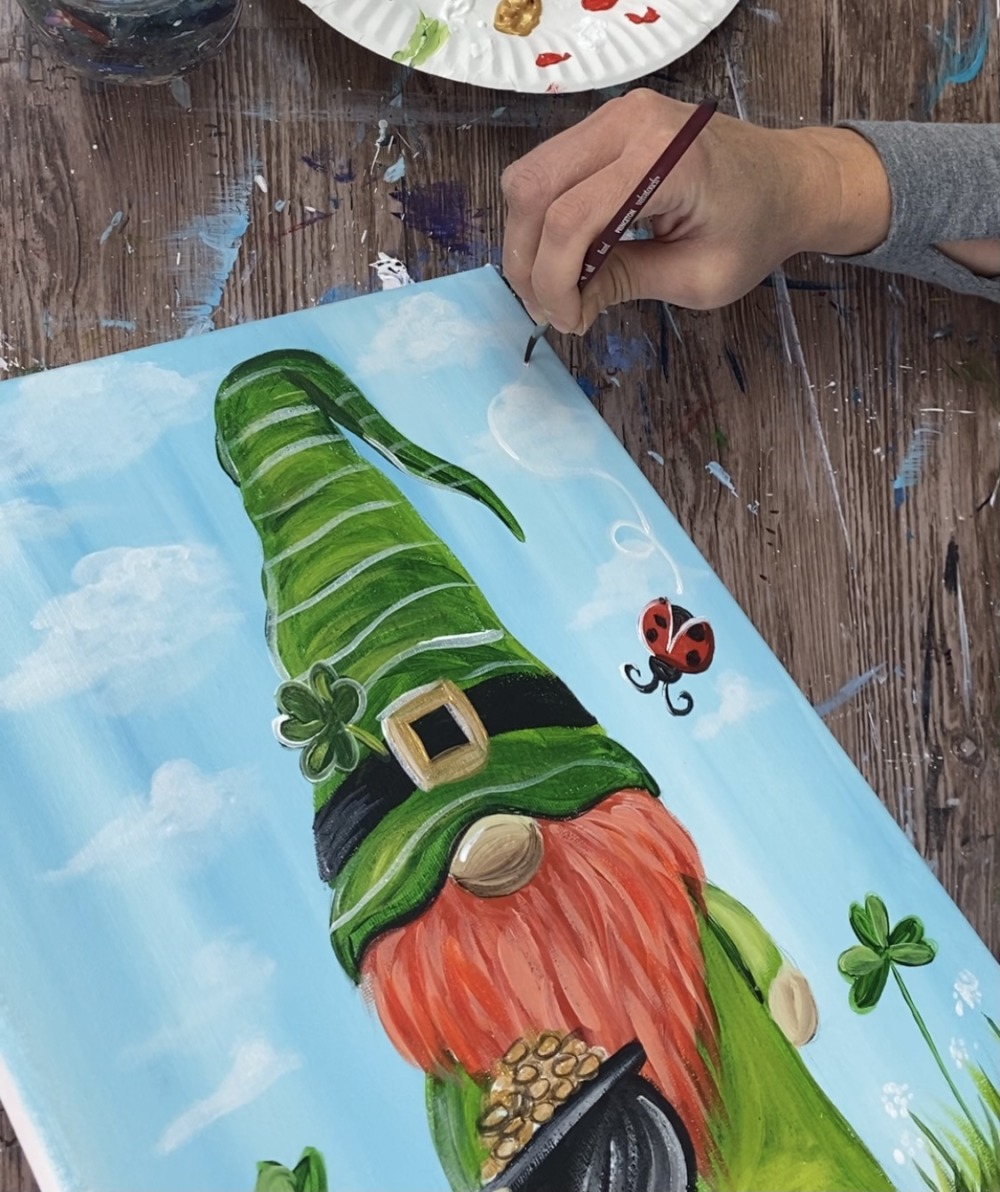
10. Paint Clover On Hat & Ladybug
Use the #4 round brush and hookers green hue permanent (mixed with a little black) to paint the clover sticking out of the band.

To get the clover to pop a bit, add some white highlight around the edges. Then add some white outline to the gold belt buckle and the left side of some of the hat.
For the ladybug, I used cadmium red medium hue. Paint the wings so they are open and flying.
Use mars black to paint the head, abdomen, antennae and spots.
Then use titanium white to paint the edges of the wings.
Then paint the swirly bug trail in the sky.
Share Your Art Here!


