Would you like to save this?
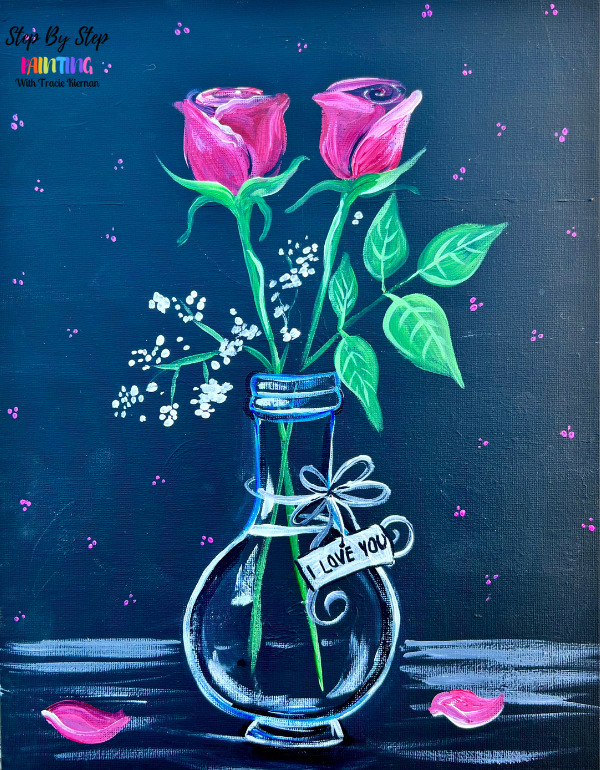
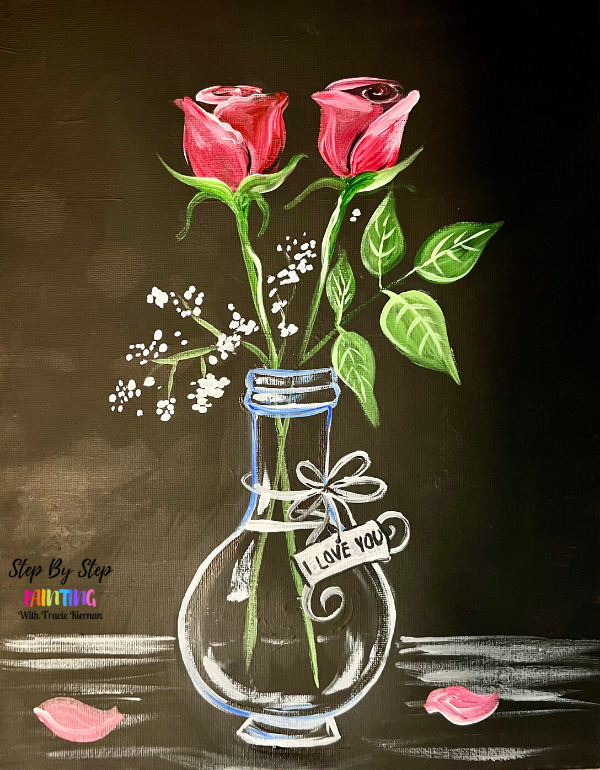
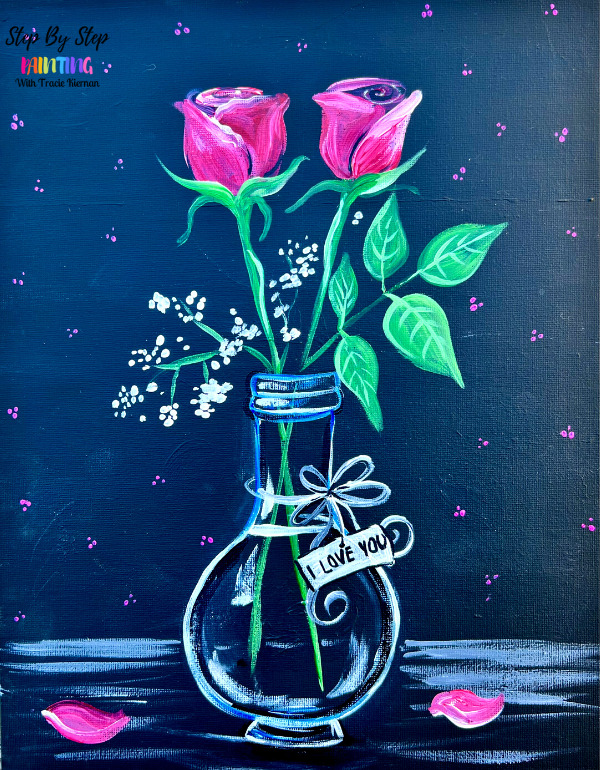
Learn how to paint easy rose buds in a vase on a black canvas. Painting on a black canvas is a little different than the white primed canvas. The one difference is making sure your colors show up vibrant!

You can easily make the colors show up against the dark by adding white to the color. I’ll be demonstrating how to do this in the video and tutorial below!
See my other canvas paintings with a black background…
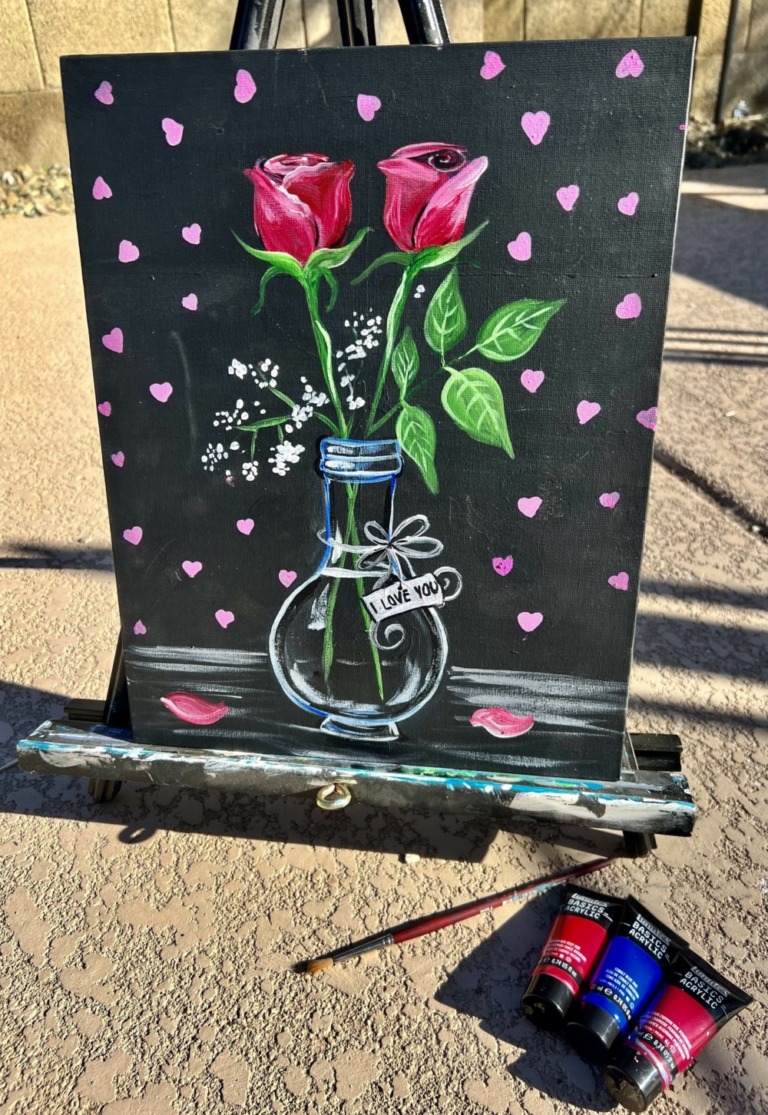
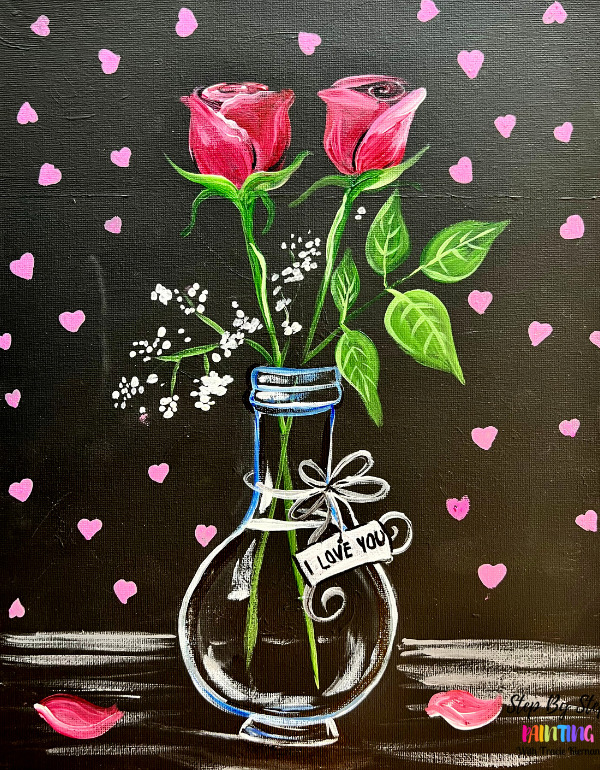
Add pretty designs to the background such as little pink hearts for a Valentine’s Day theme painting! I did those little hearts with a Pink POSCA paint pen!

Materials Needed
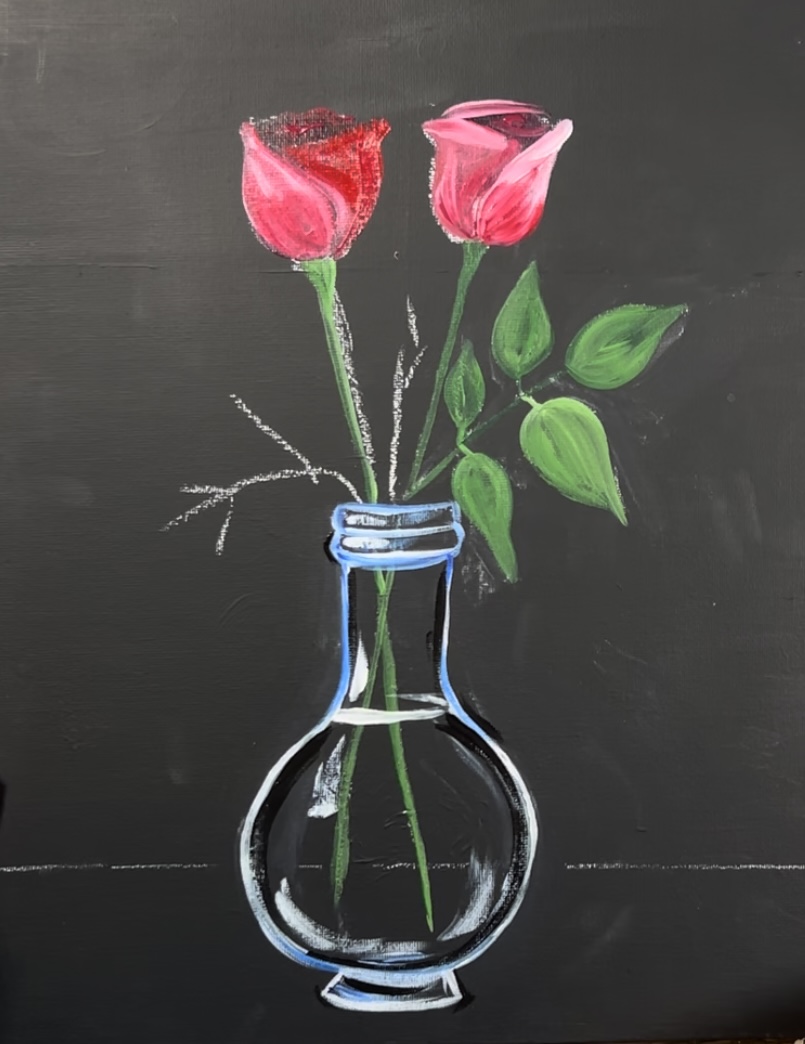
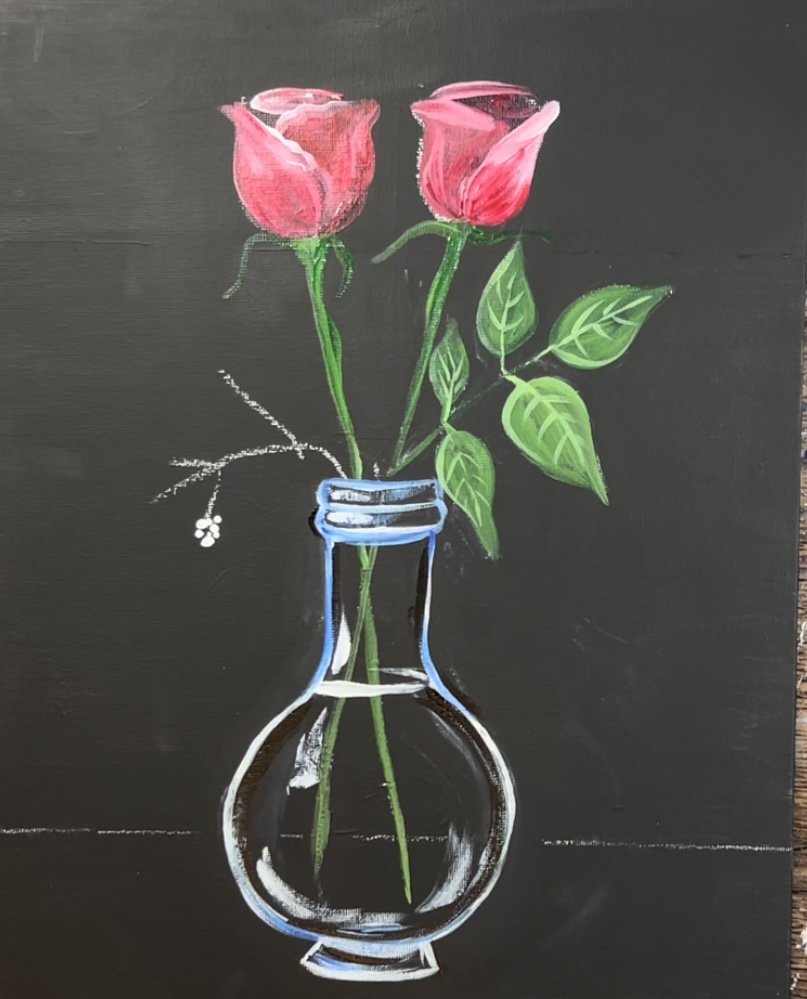
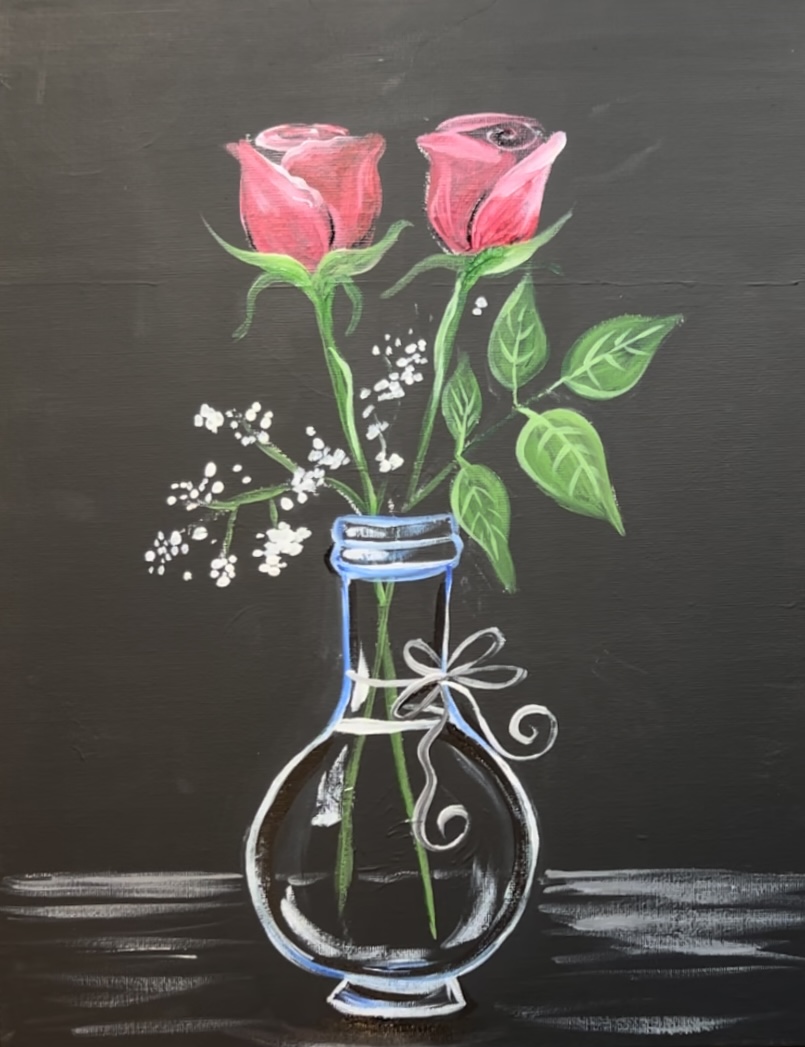
Rose Buds In A Vase - Acrylic Painting Tutorial On Black Canvas
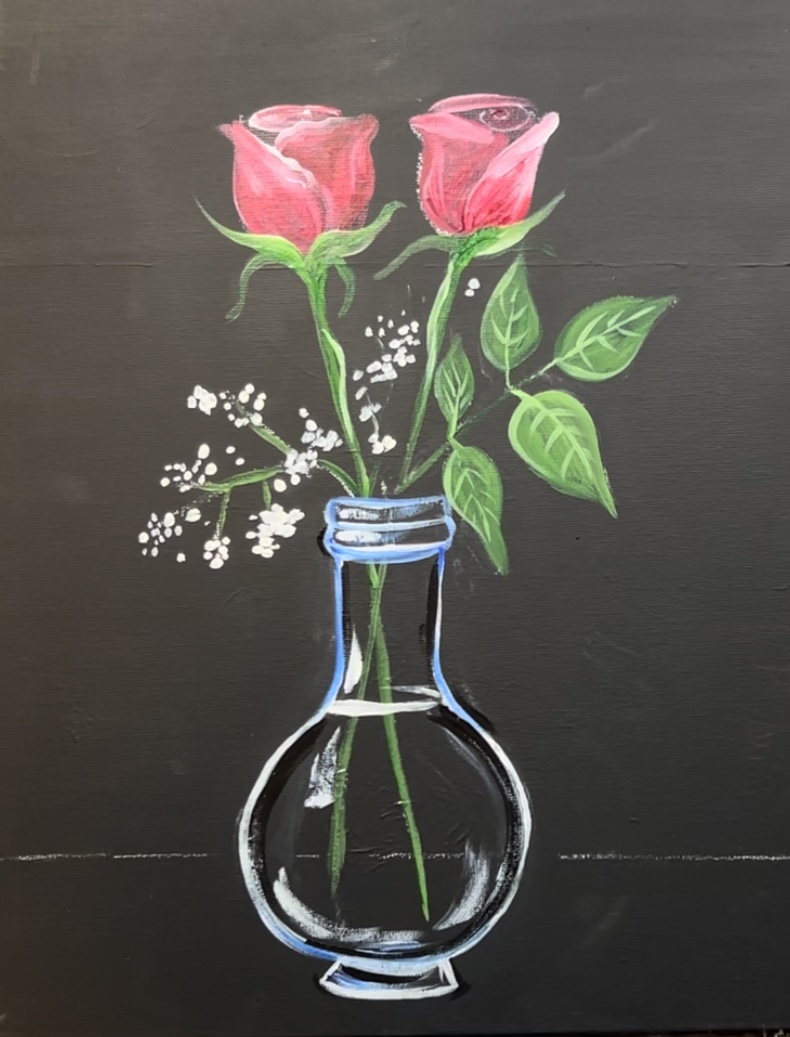
This is a simple design of two roses in a glass vase. You will be learning basic techniques using a round brush.
Materials
- 11 x 14 Canvas Painted Black
- Acrylic Paint
- Brush (this painting uses just one brush)
- White Chalk or White Chalk Pencil
- Optional Traceable Template
- Wet Wipe or Baby Wipe
- Black Paint Pen (optional)
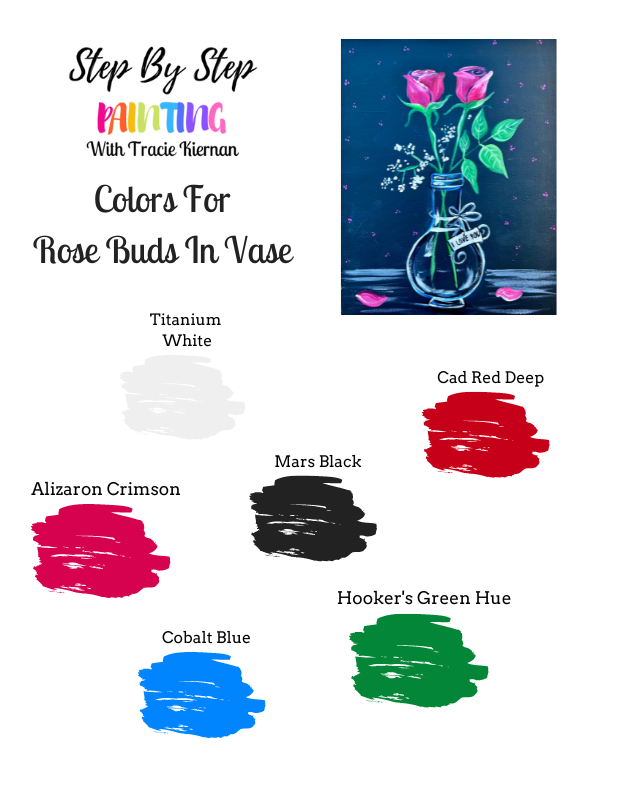
Paint Colors
- Titanium White
- Mars Black
- Cadmium Red Deep Hue
- Alizarin Crimson Hue
- Hooker's Green Hue Permanent
- Cobalt Blue
Paint Brush
- #4 Round Brush
Color Palette
Using Craft Paints?
If you are using craft paints such as the Apple Barrel Craft paints, I would recommend subbing to the colors:
- White
- Black
- Flag Red
- Fuchsia
- New Shamrock
- Bright Blue
Directions At A Glance

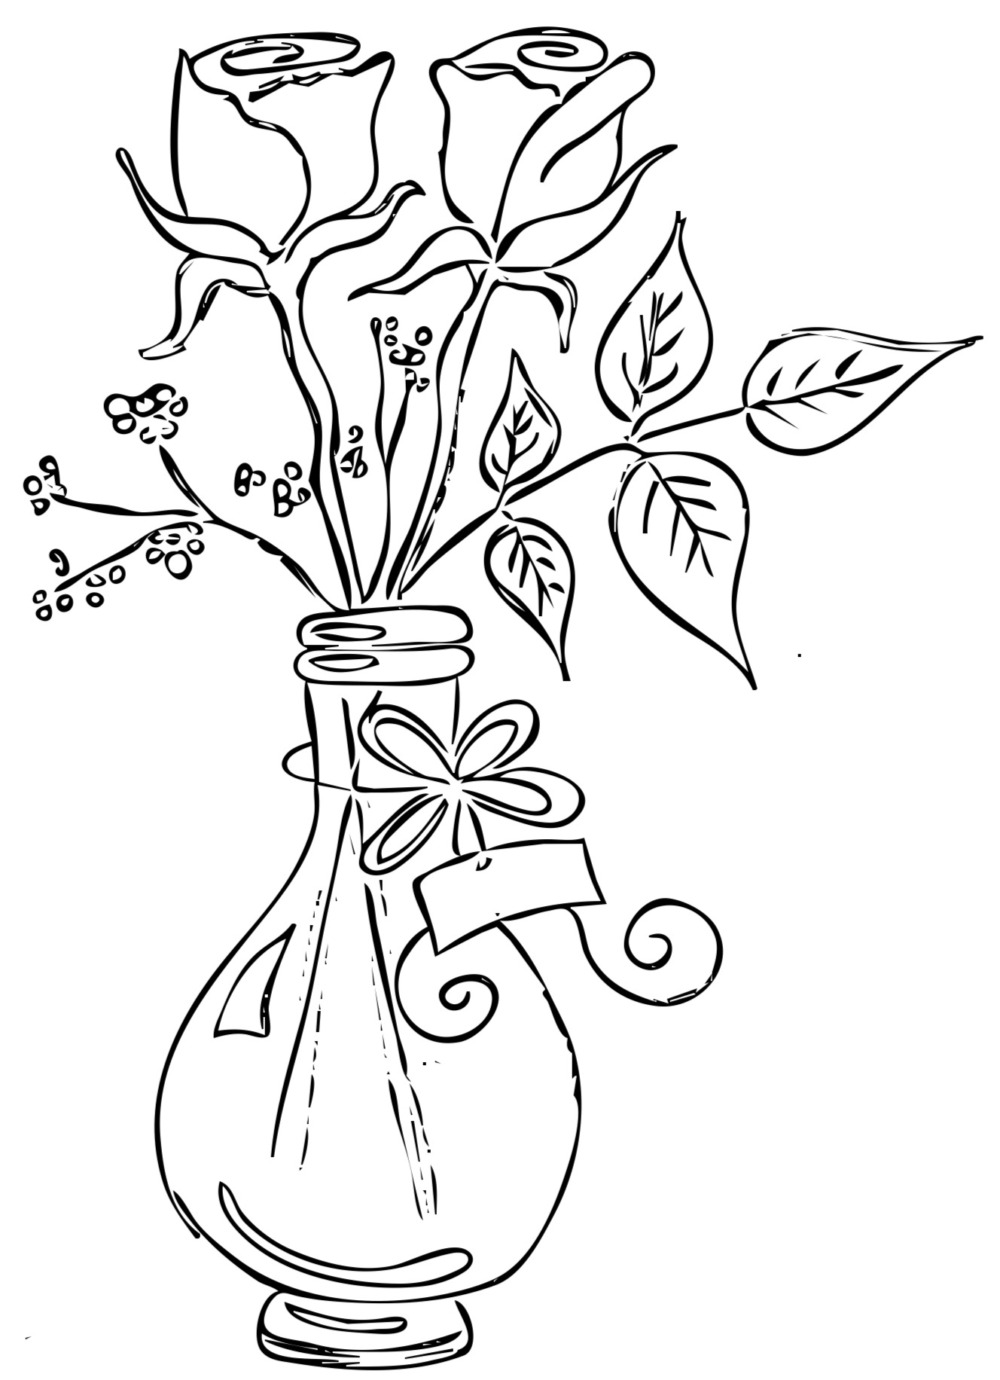
Optional Traceable
You’re welcome to use this template or do the drawing with me! If you are using the template, I recommend using white graphite paper below the printable so the design will show on the black canvas. You can also rub white chalk or white color pencil on the back of the printable and trace.
Video
Step By Step Directions
1. Paint a canvas black
This is a great way to cover a “mess up painting”. Simply add one or two layers of black paint to your canvas using a large flat brush.
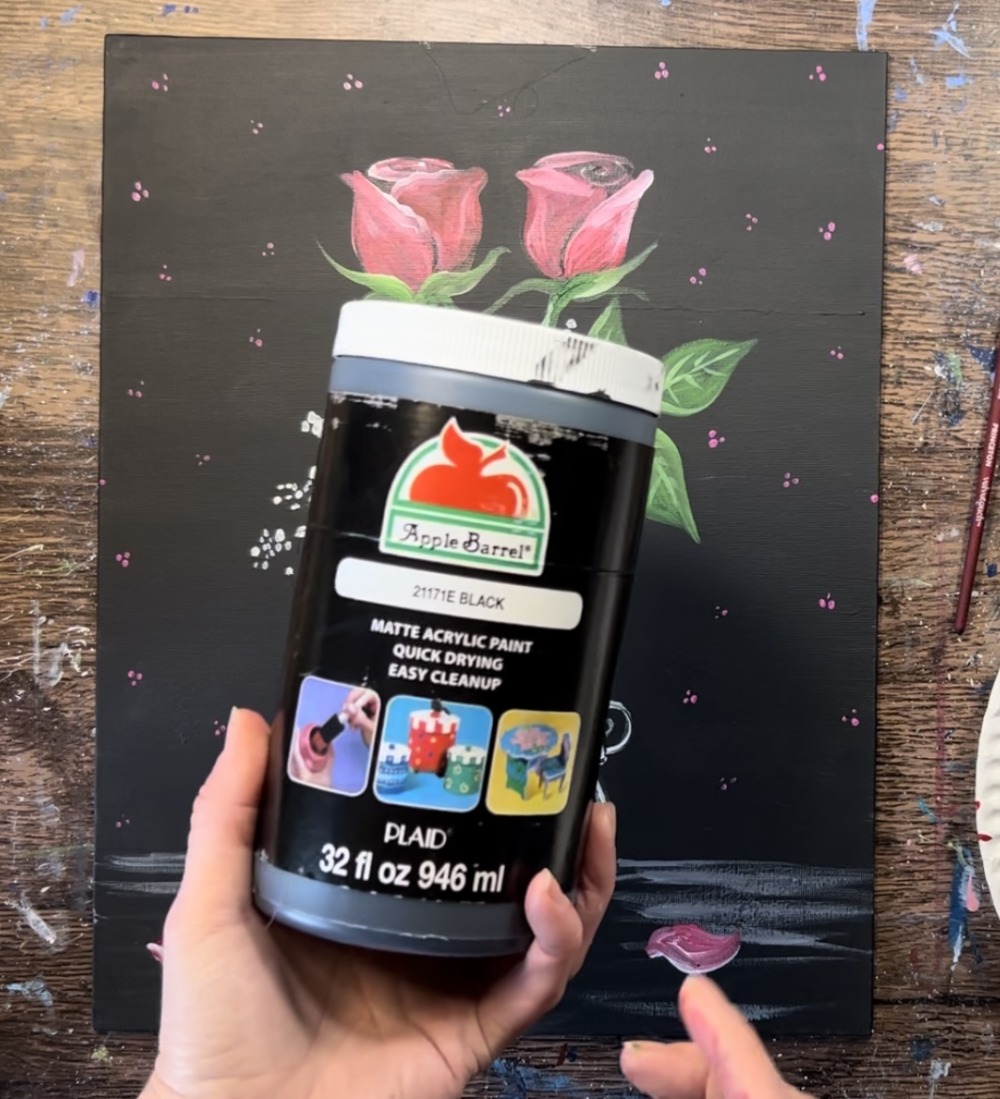
For this painting, I used the Apple Barrel Matte Black acrylic paint. This paint dries in a matte/ not shiny finish. If you don’t have this paint, you can use any black paint you have available.
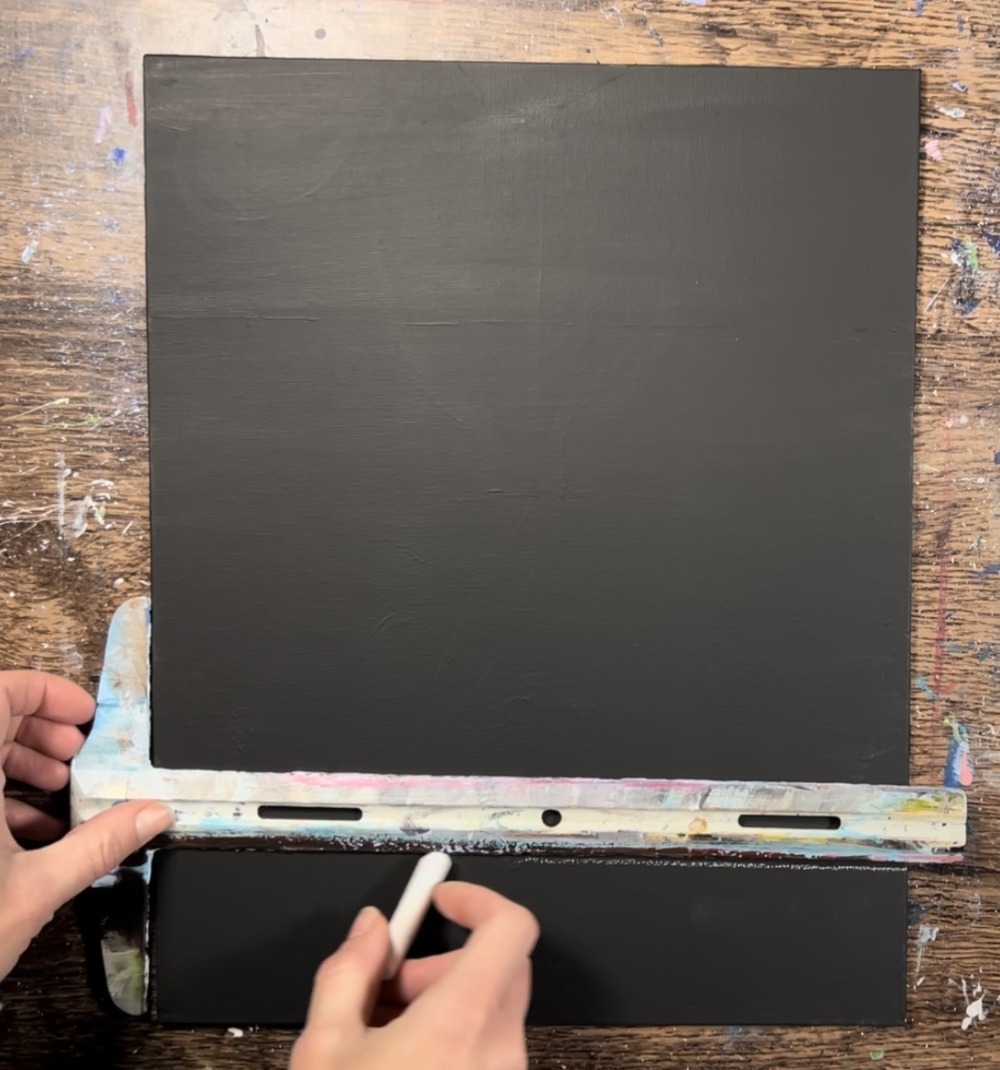
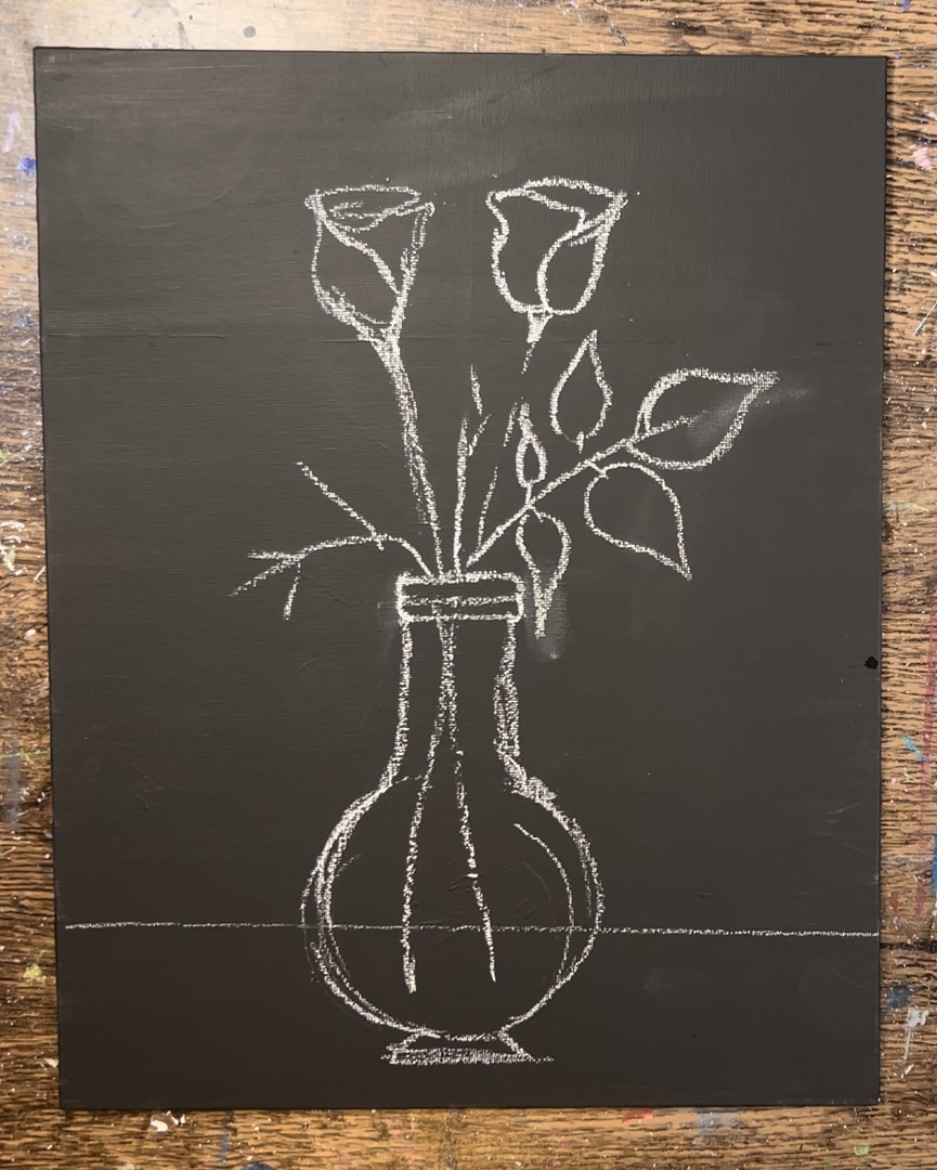
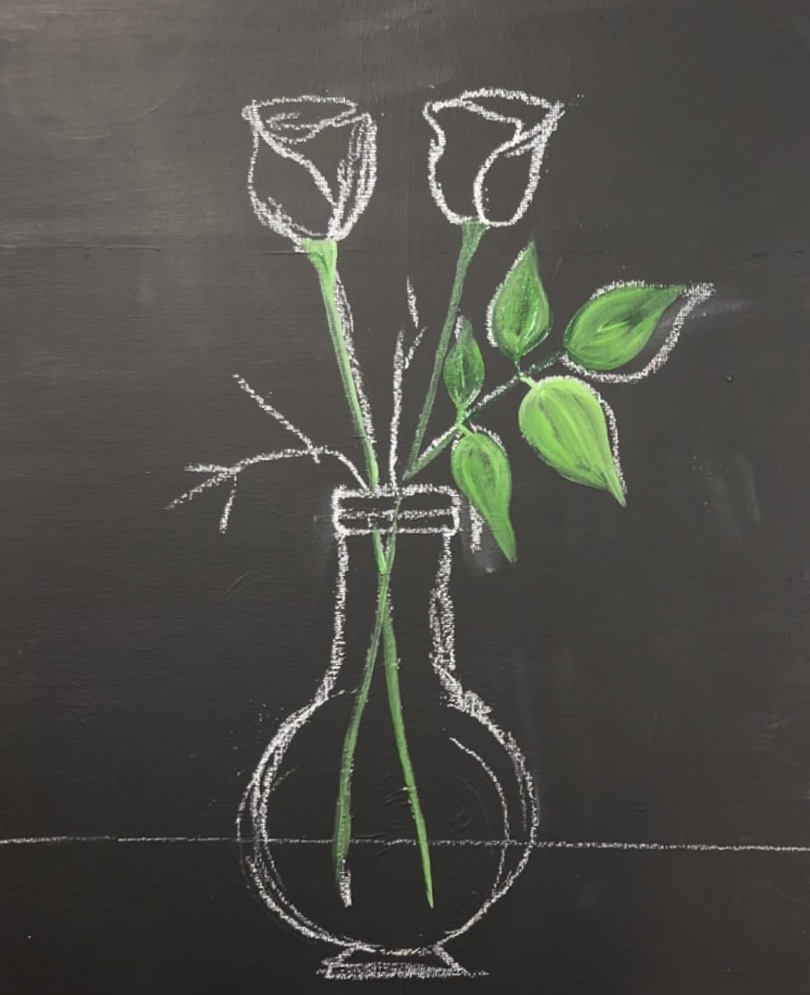
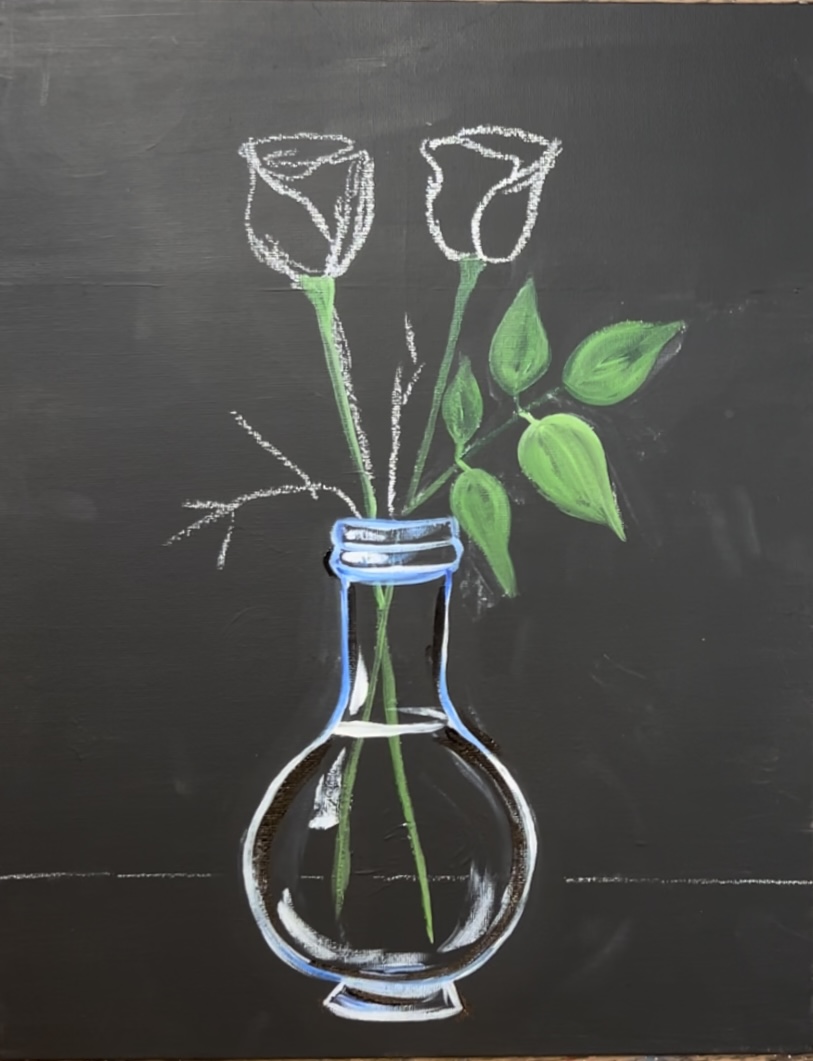
2. Draw vase & rose design with chalk
If you are using the traceable template for this, you will need to use a sheet of white graphite paper to transfer this design to the dark background. If you don’t have white graphite paper, you can rub chalk or white color pencil on the back of the print out and then trace on the front.
If you are drawing the design, use a regular piece of chalk or a white chalk pencil.
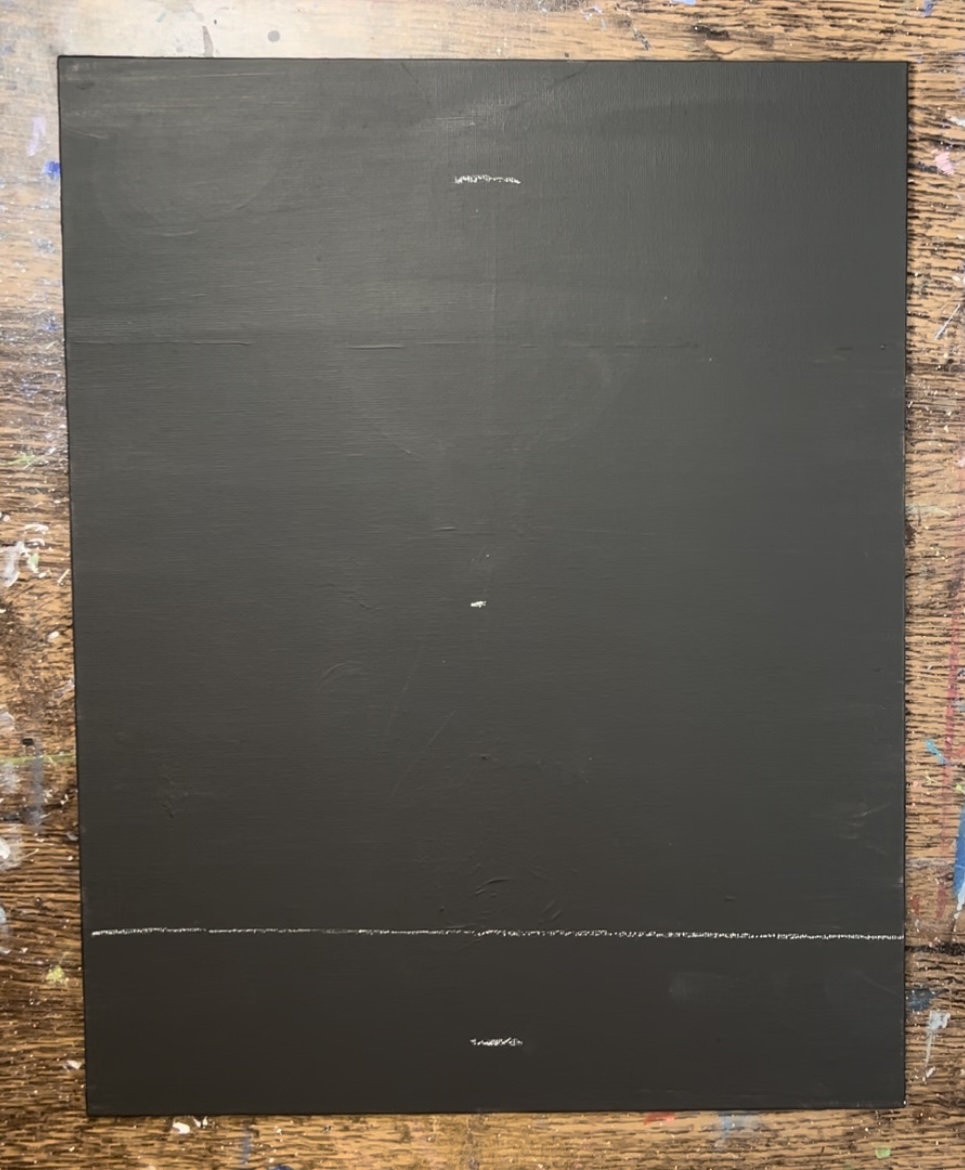
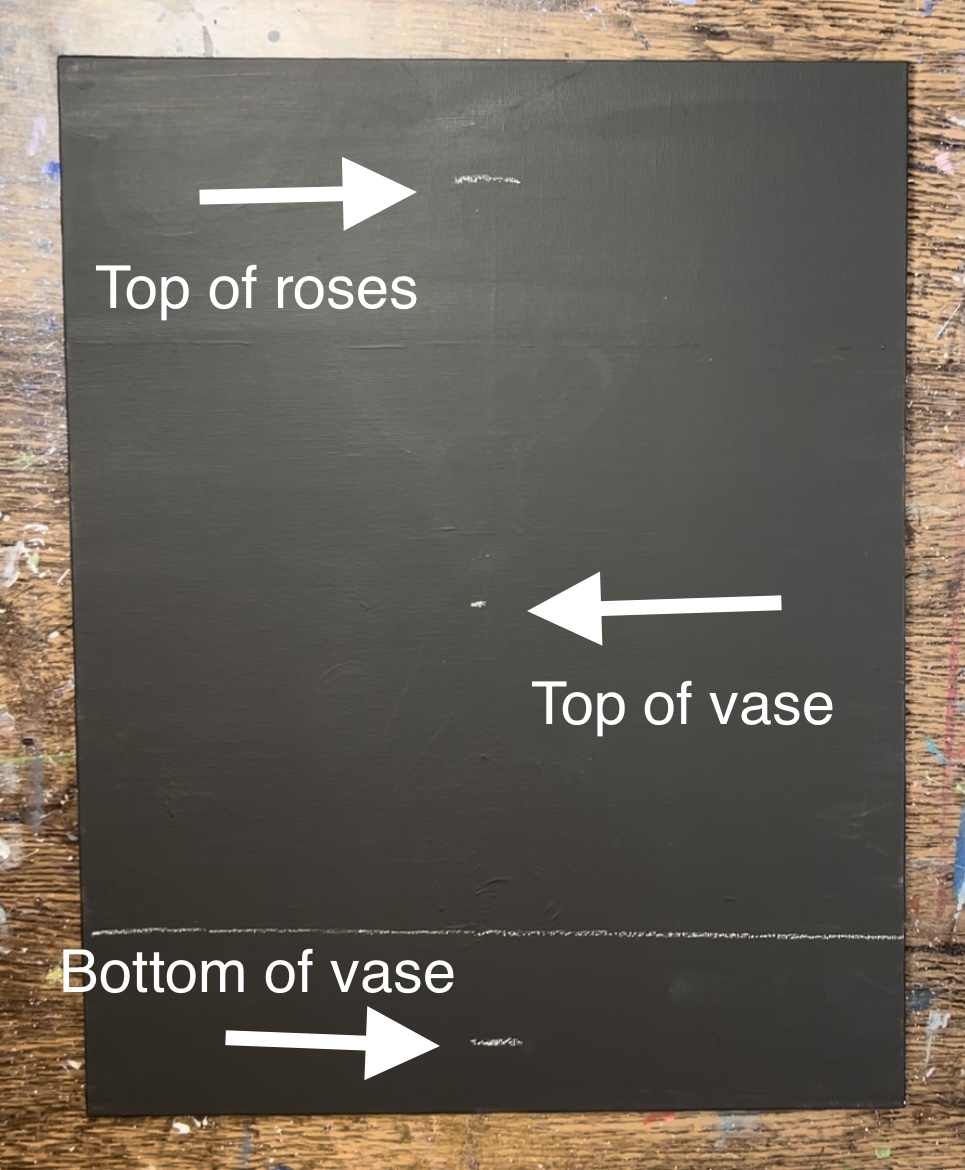
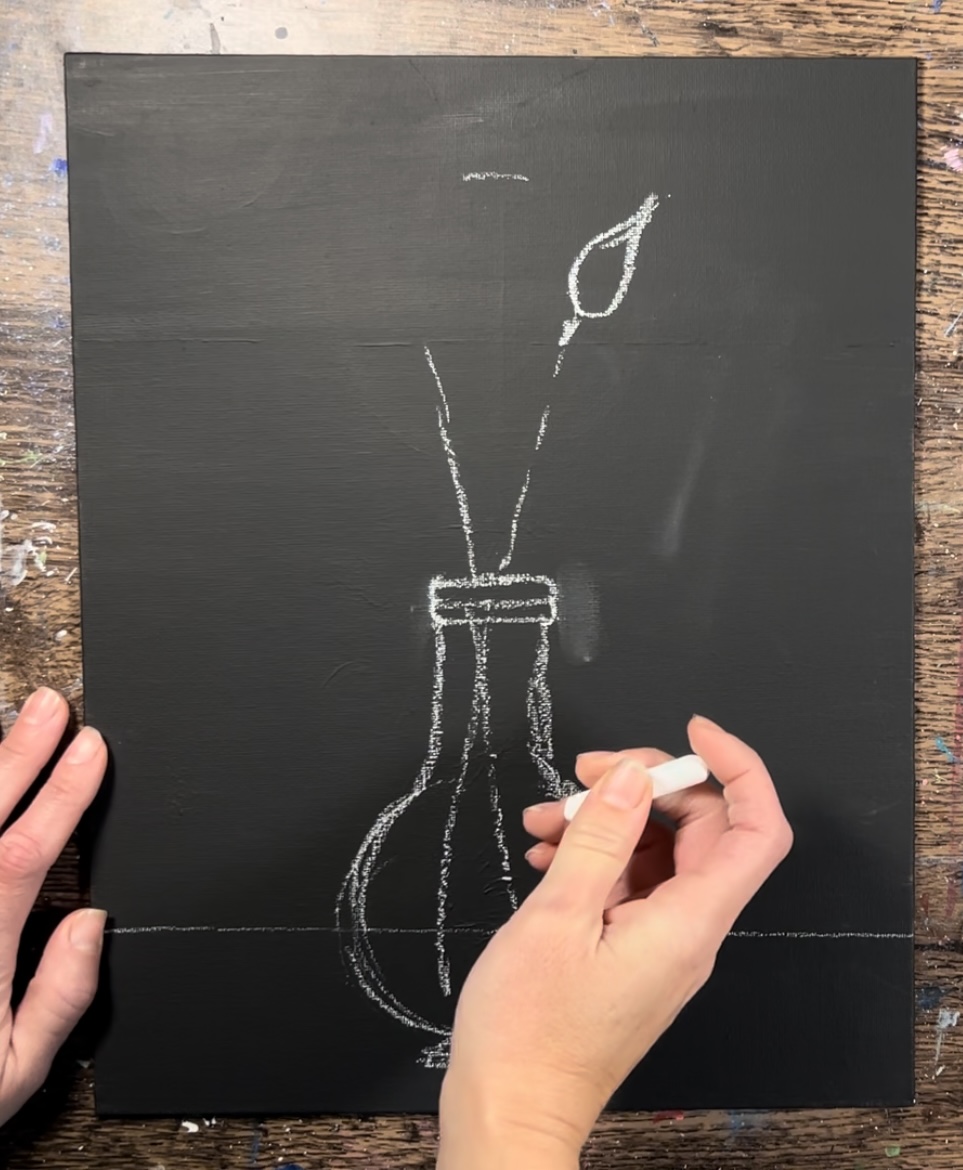
First draw a horizontal line about 3 inches from the bottom of the canvas.
Next mark where the bottom of the vase will be and the top of the rose. Then mark the midpoint between those two marks. That is where the top of the vase will be.
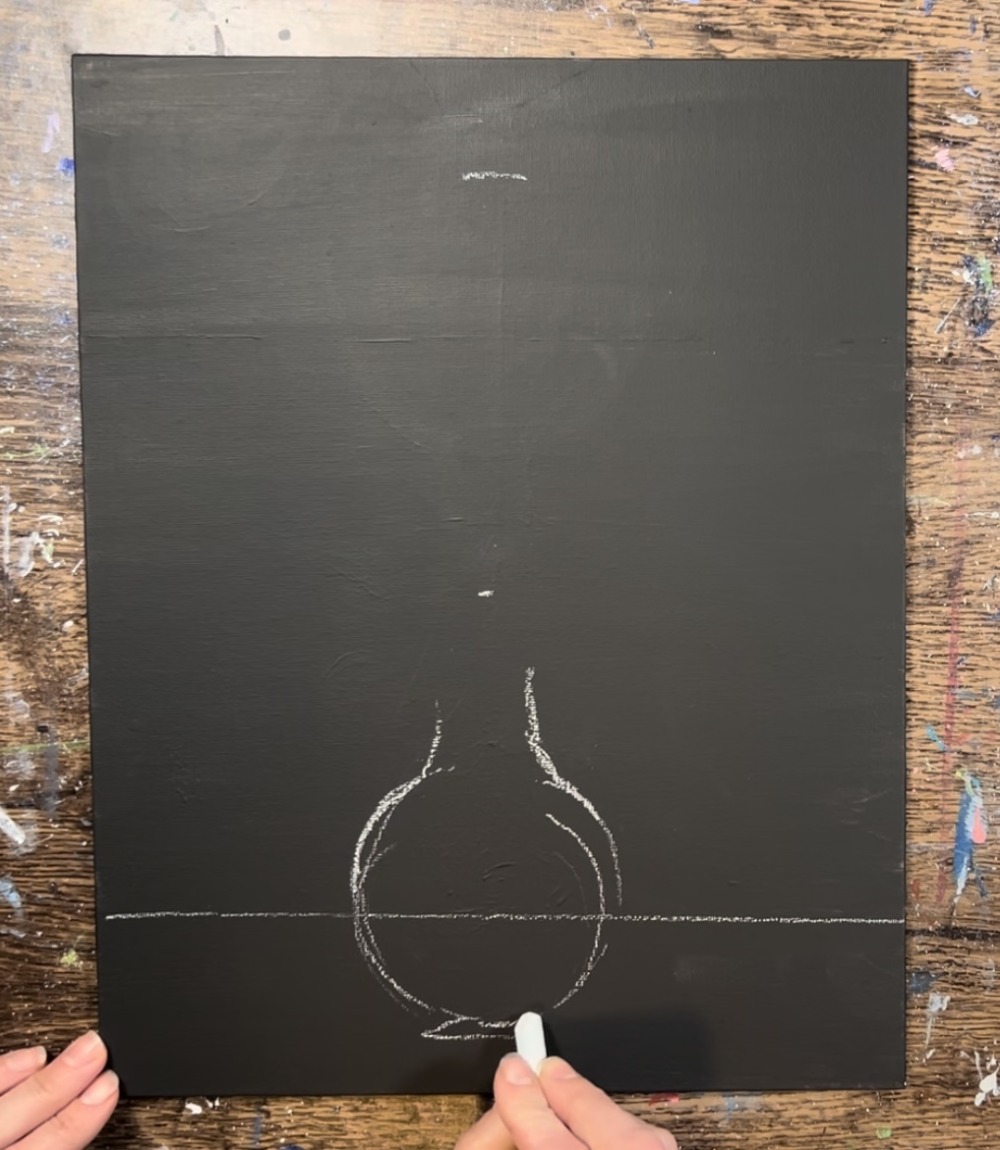
Next draw a circular shape for the bottom of the vase. Keep the top part of the circle open for the neck of the vase.
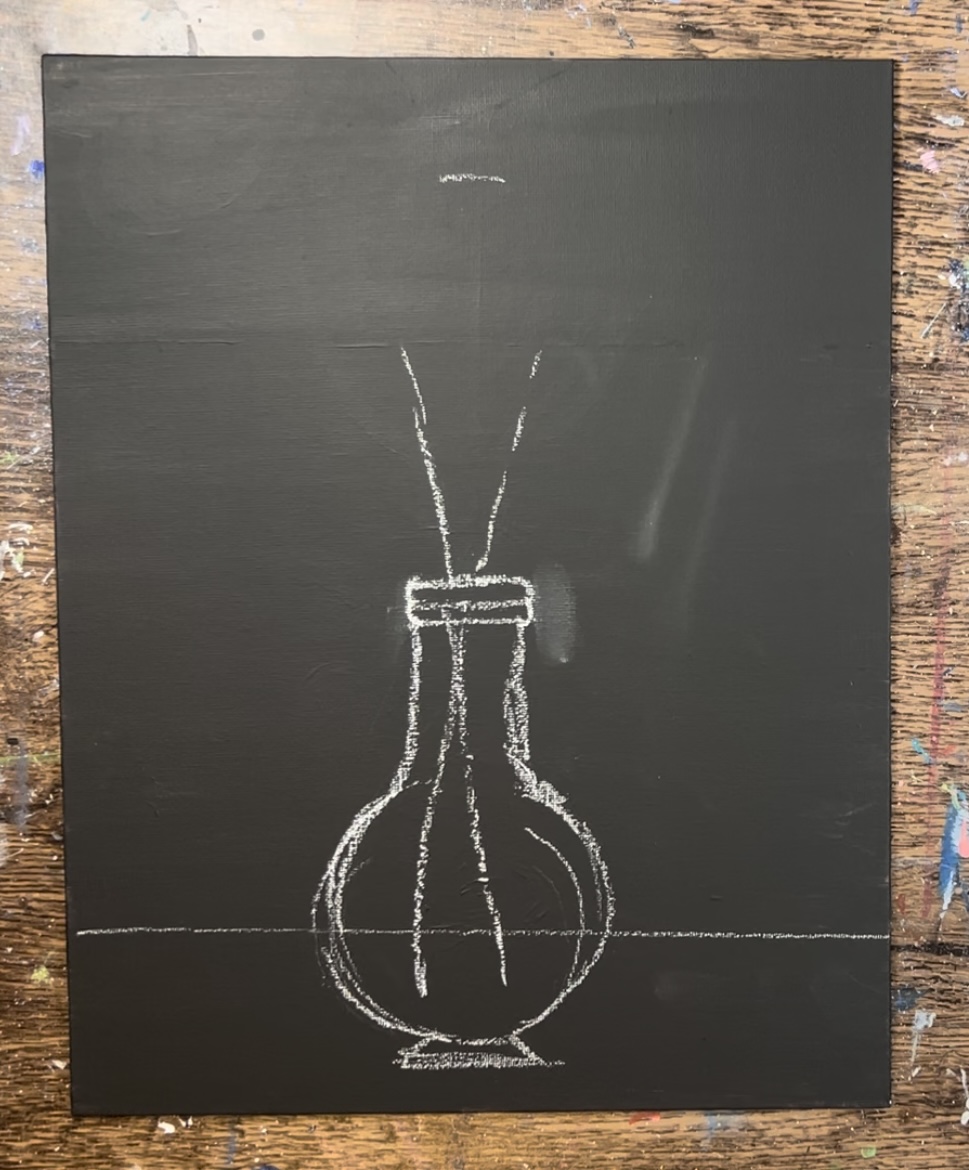
Draw a narrow trapezoid shape. Then draw two vertical lines going upwards to the mid point where you made a mark. Draw the threads by drawing two very narrow rectangular shapes that are rounded at the corners.

Then draw two diagonal lines for the stems.
Next, draw the rose bud. Start out by drawing a tear drop shape.
Then draw the left side of the rose with a separate larger petal shape that goes under the teardrop shape. Draw a curve at the top for the top opening of the rose.
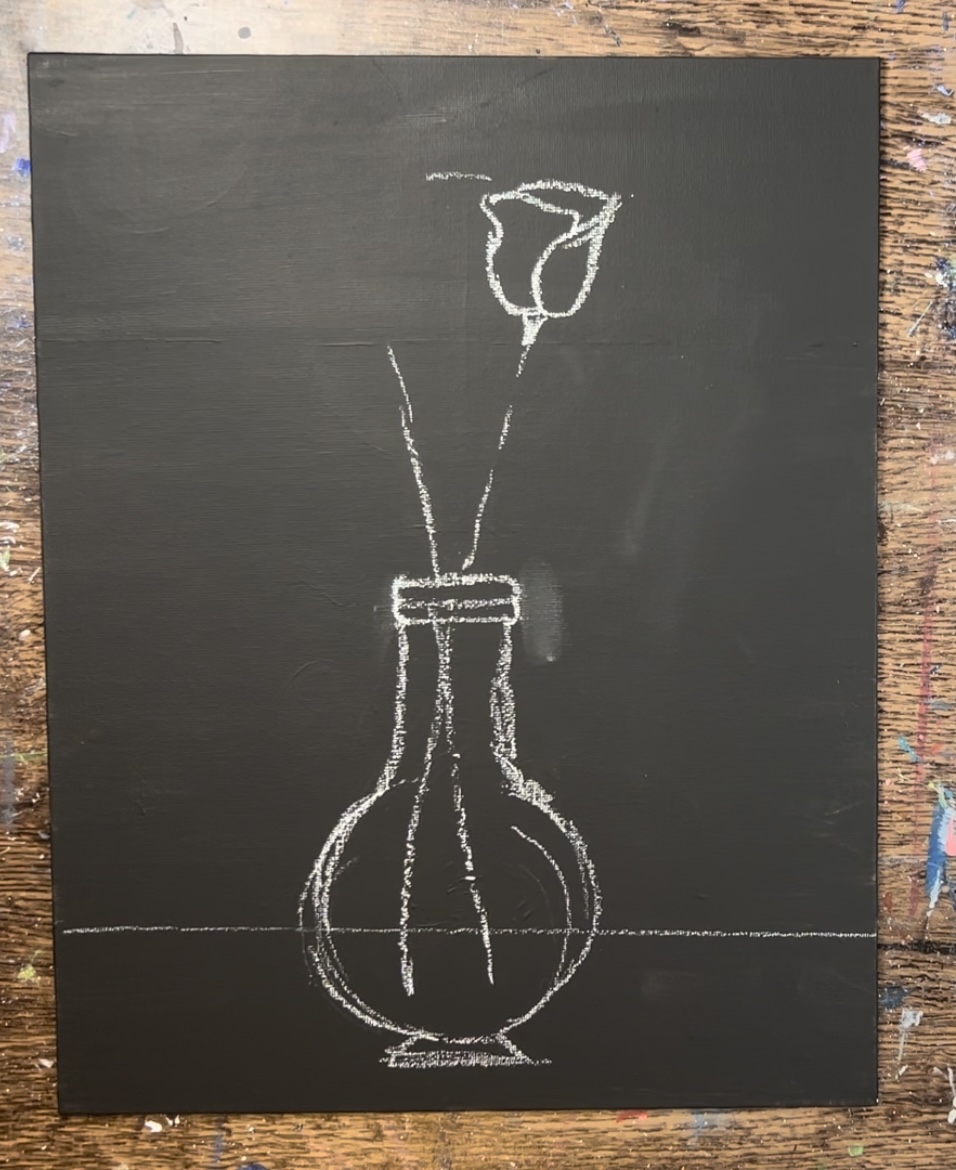
Tip: chalk will erase on the canvas! You can use a wet paint brush or a soft wet wipe to erase lines.
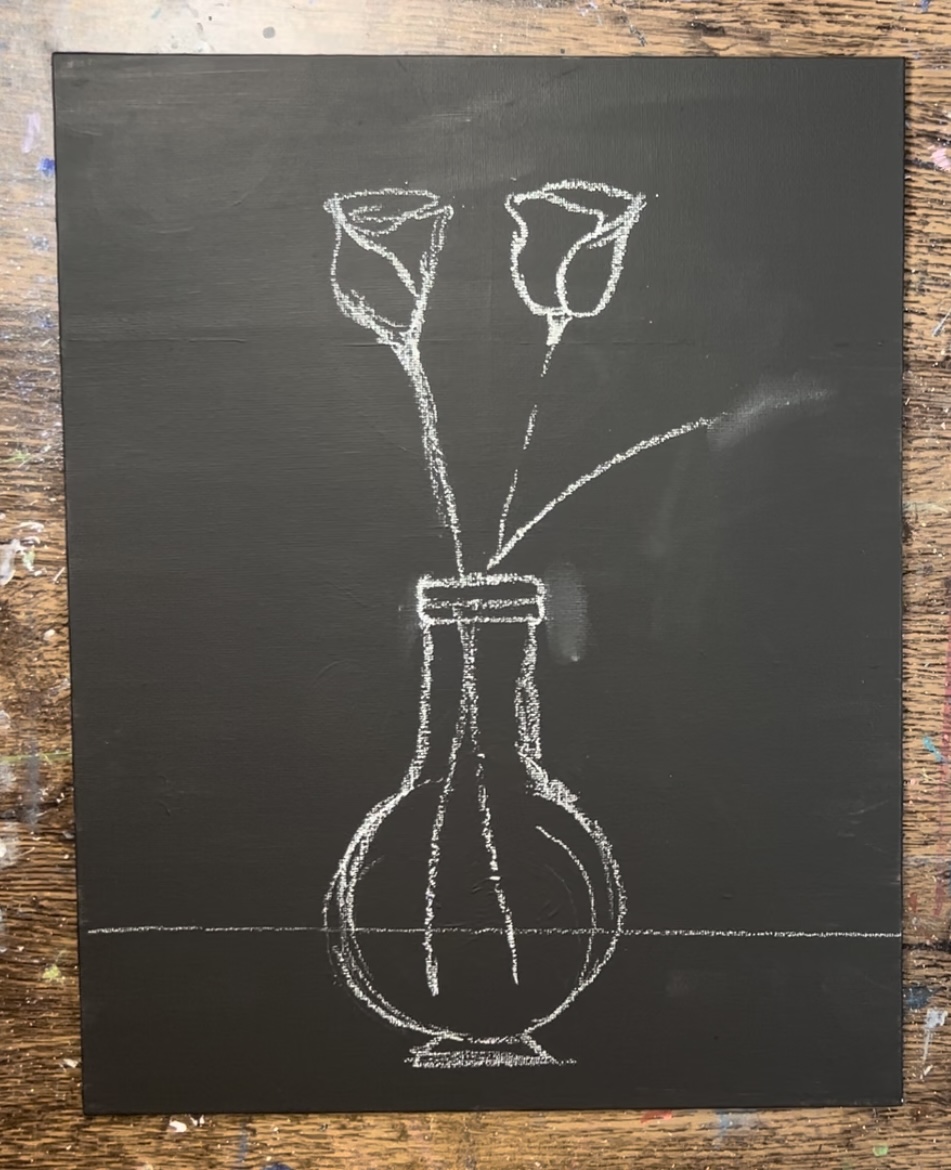
Then repeat this for the other rose.
Draw the leaves attached to the rose on the right. Start out by drawing a diagonal lines with small rounded/pointed leaves attached to the stem.
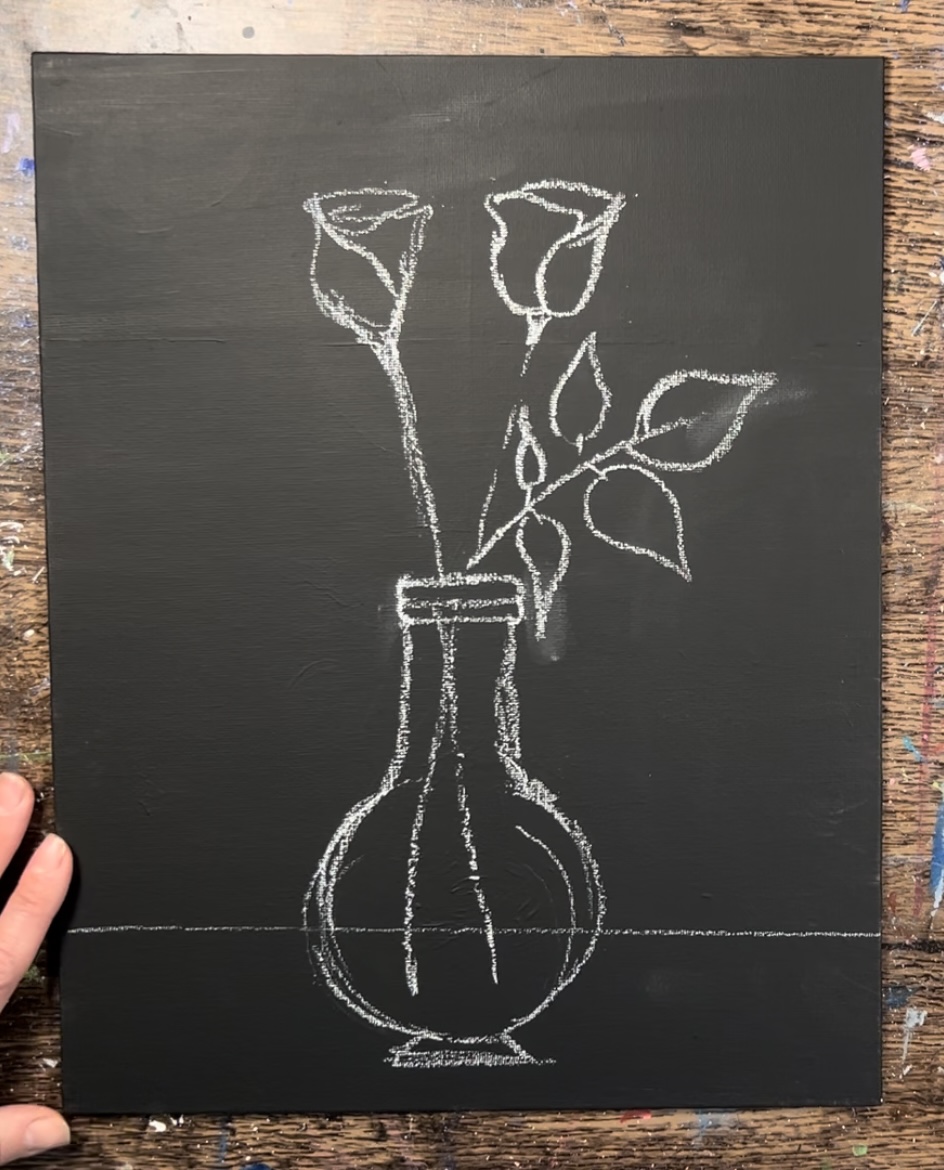
Then draw one or two branch like lines for the baby’s breath stems.
Your drawing can always be adjusted when you paint this in because the chalk is not permanent.
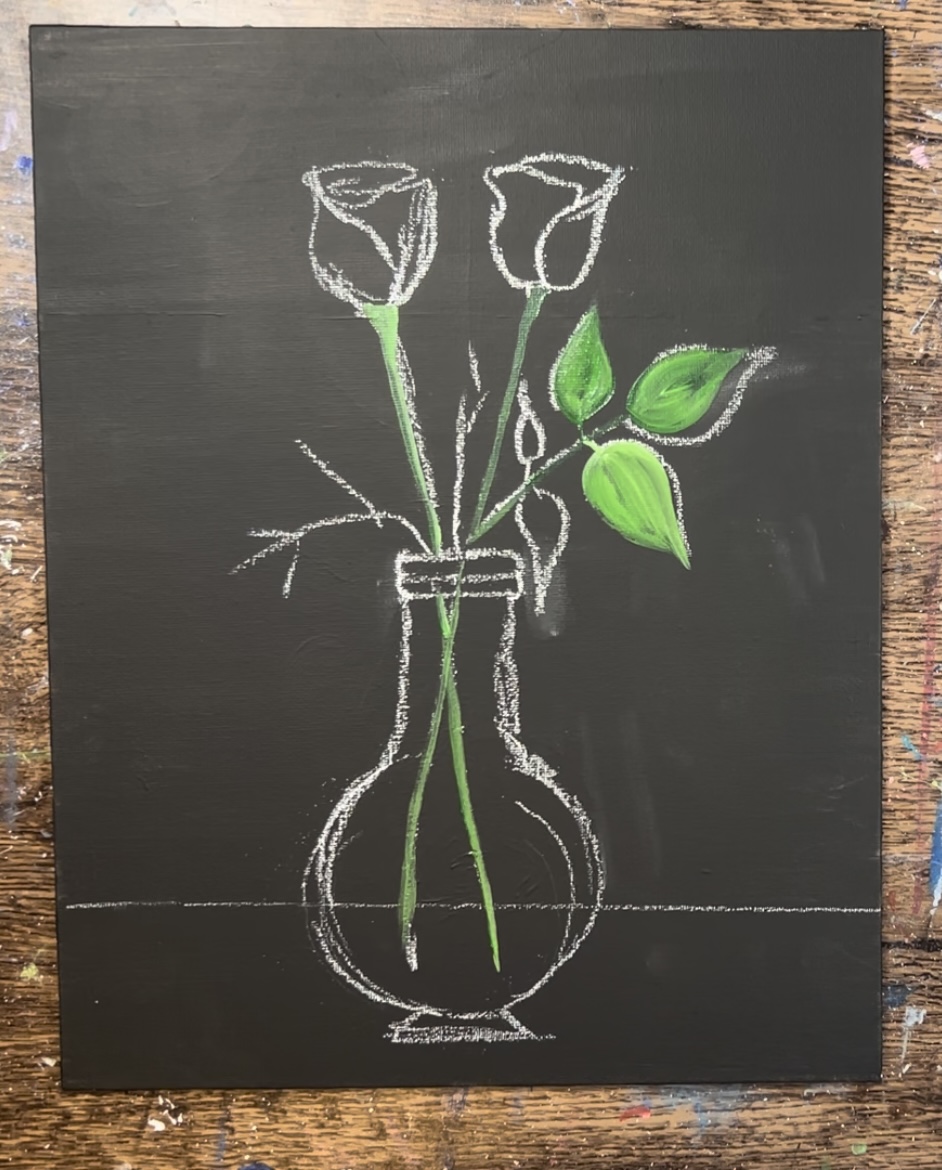
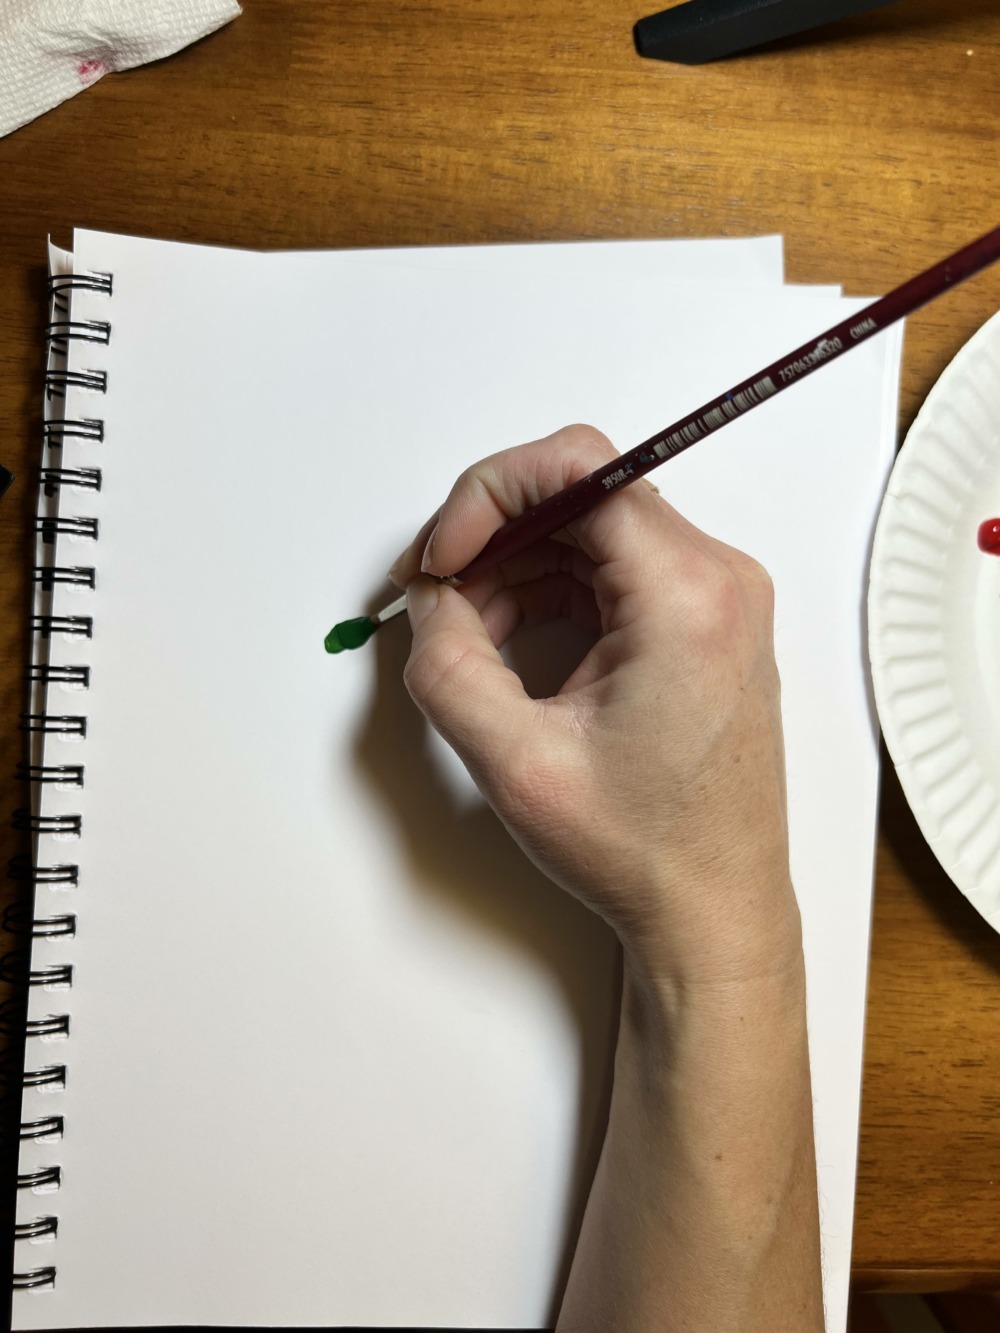
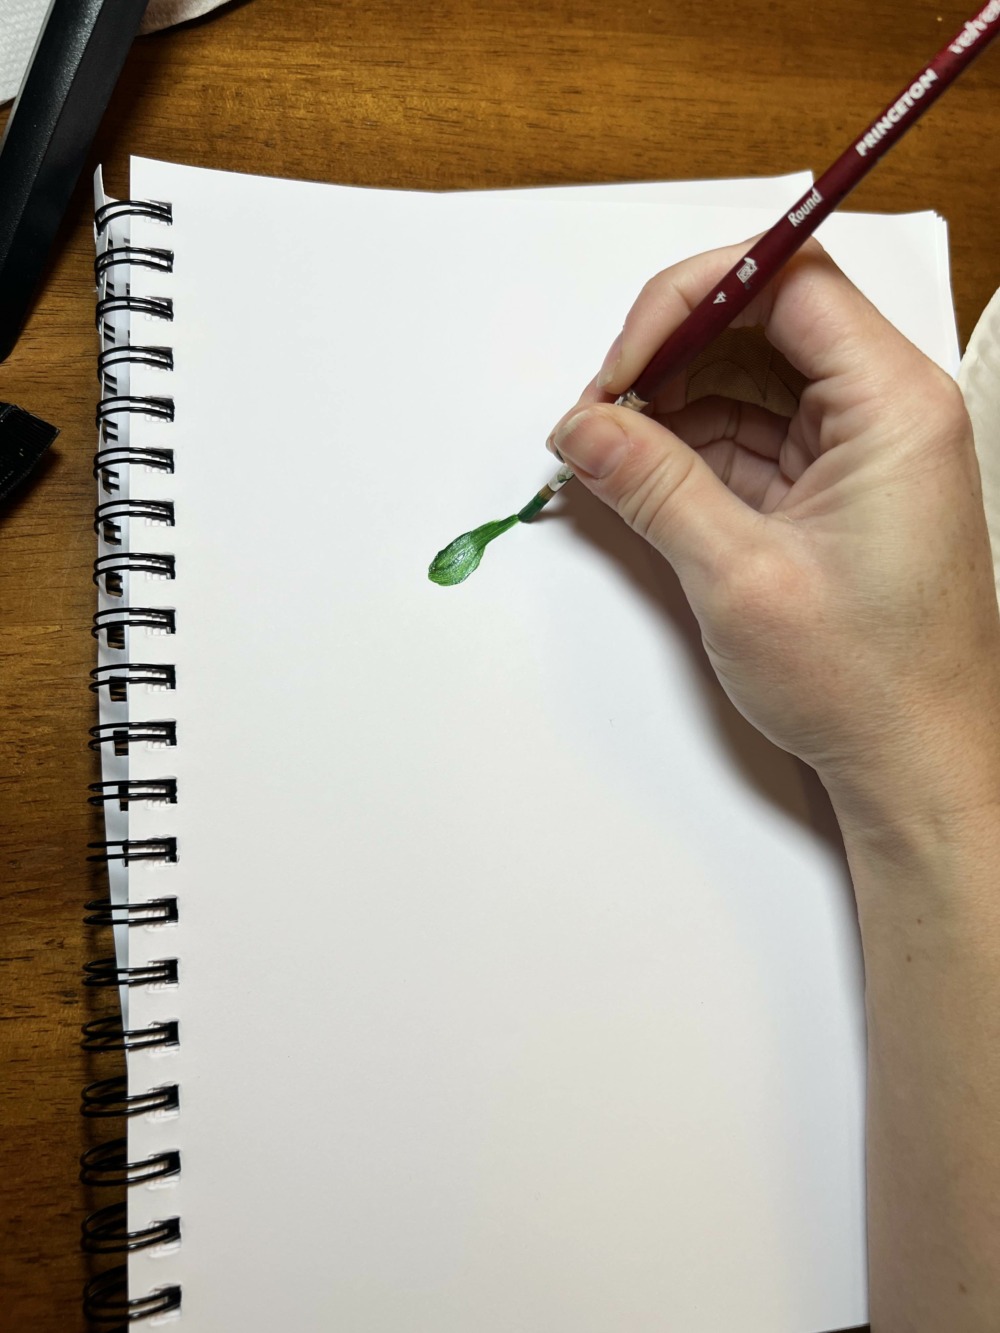
3. Paint stems & leaves
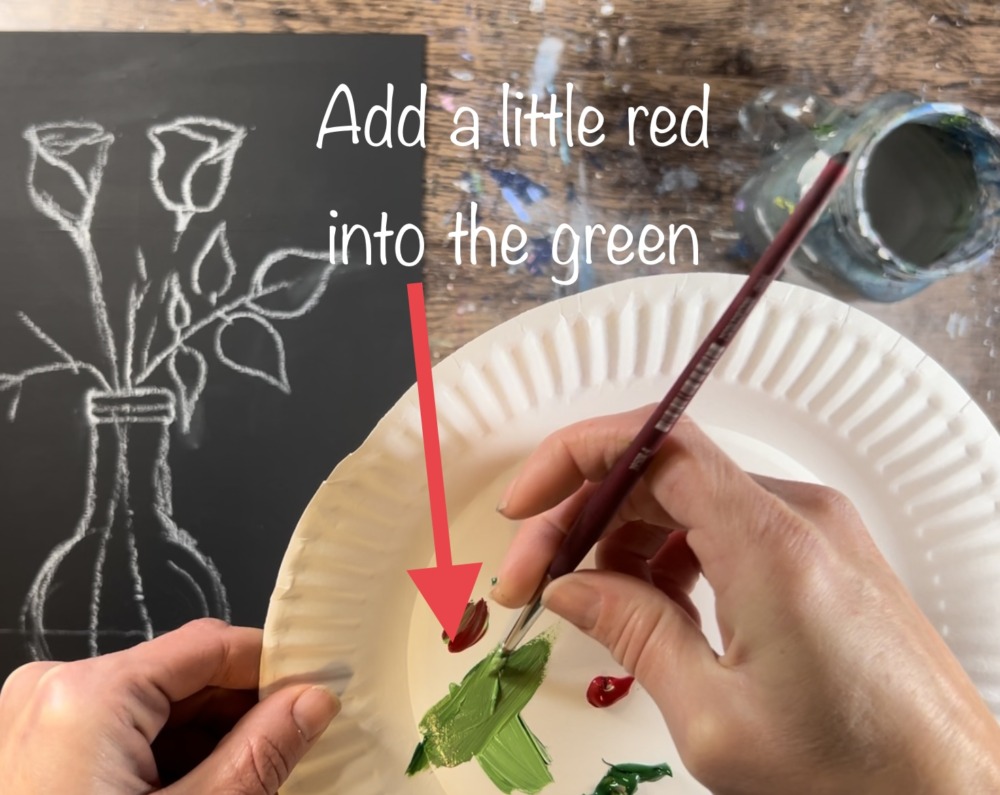
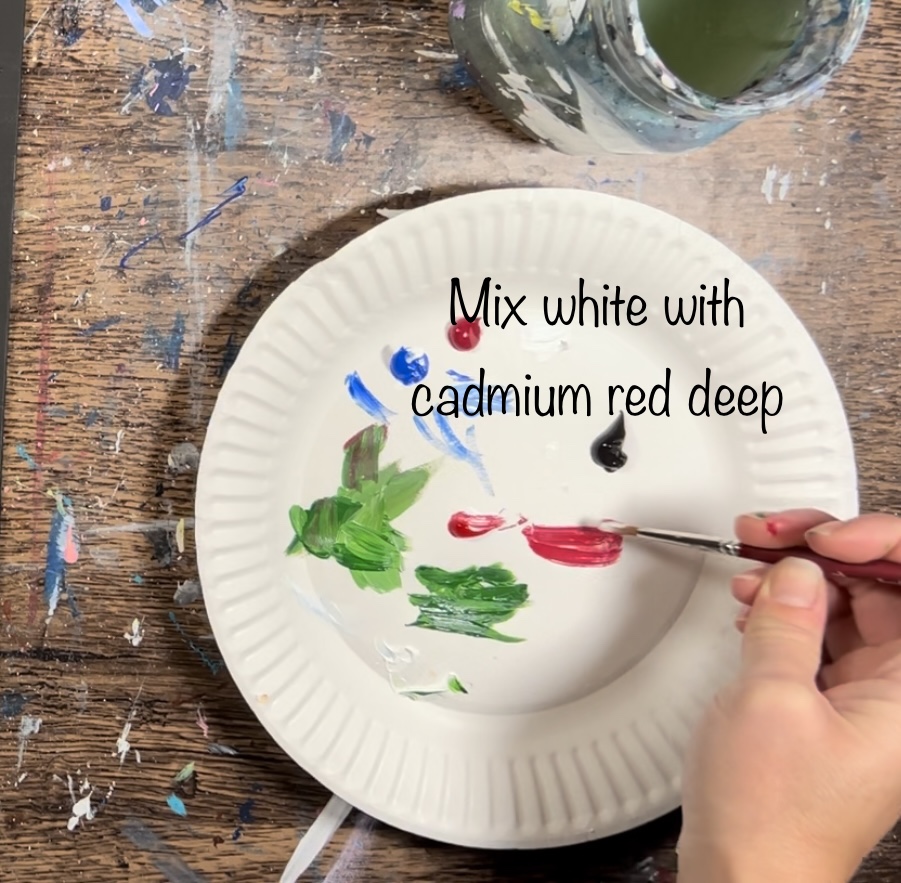
Load your palette with hooker’s green hue permanent and titanium white. Also, load a little cadmium red deep hue onto your palette.
Mix about equal parts white and green together. Adding white to this green will help it show up on the canvas. Then add a very tiny amount of the red into the green. This will make the green look more warm and natural. Don’t do equal parts red or it will turn too brown.
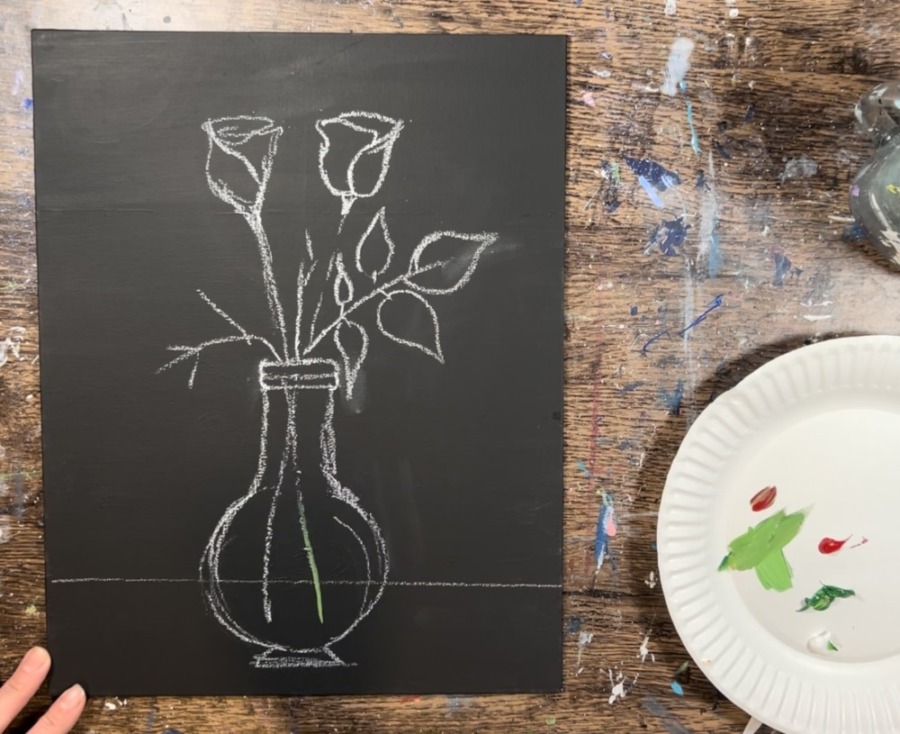
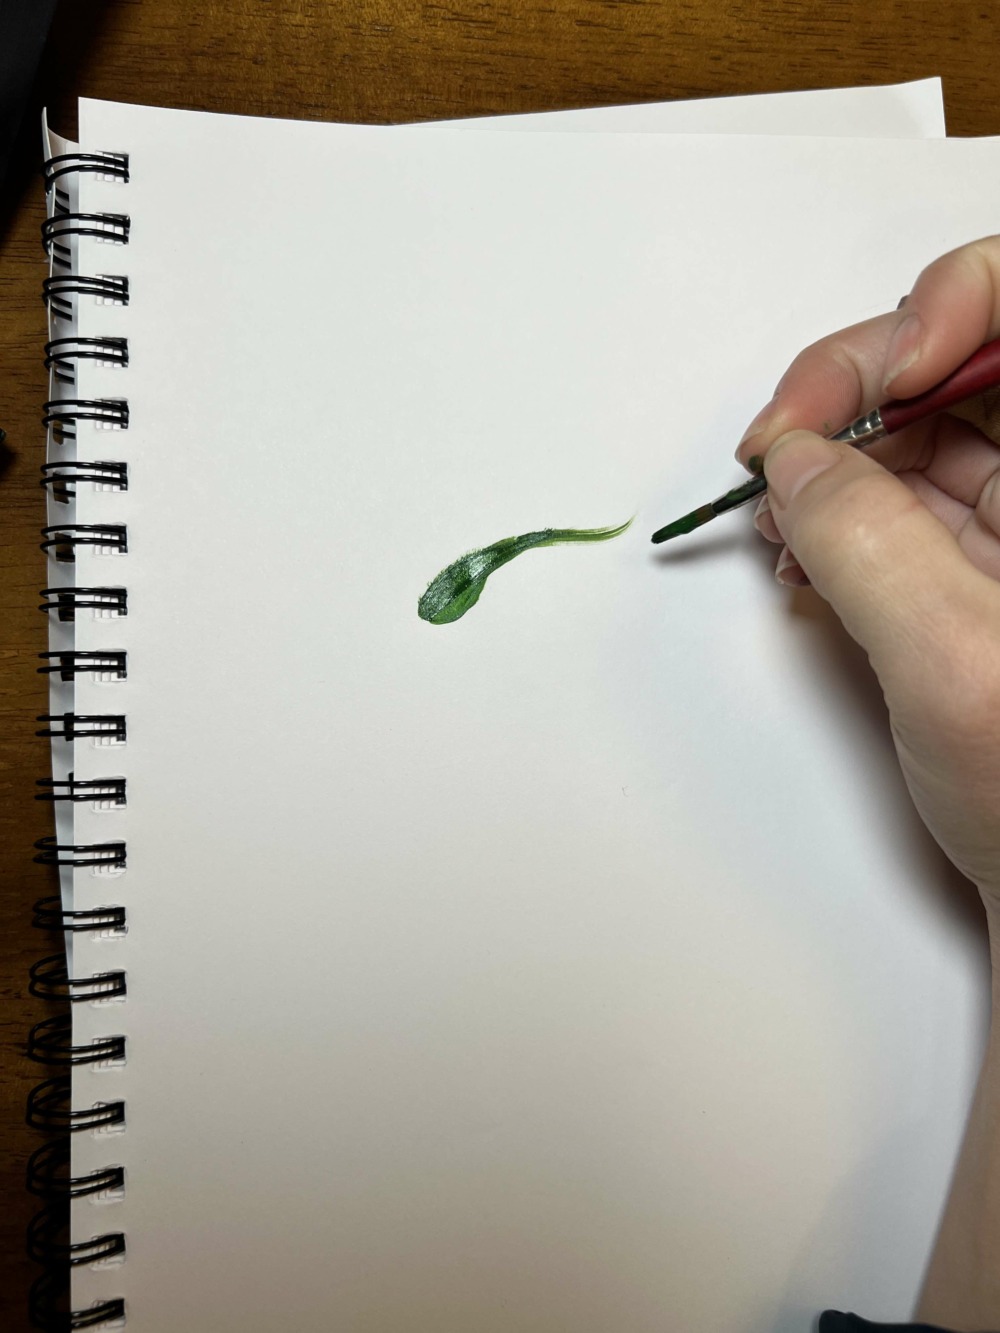
Paint the two stems first. Then paint the leaves. To create “color variation” in the leaves, load your brush in different amounts of the green and white and tiny bits of red.
4. Paint Vase
Load your palette with cobalt blue and titanium white. Use the tip of your #4 round brush to paint the shape of the bottle. Load different amounts of the white and blue on the brush so that the lines shift color from white to blue.
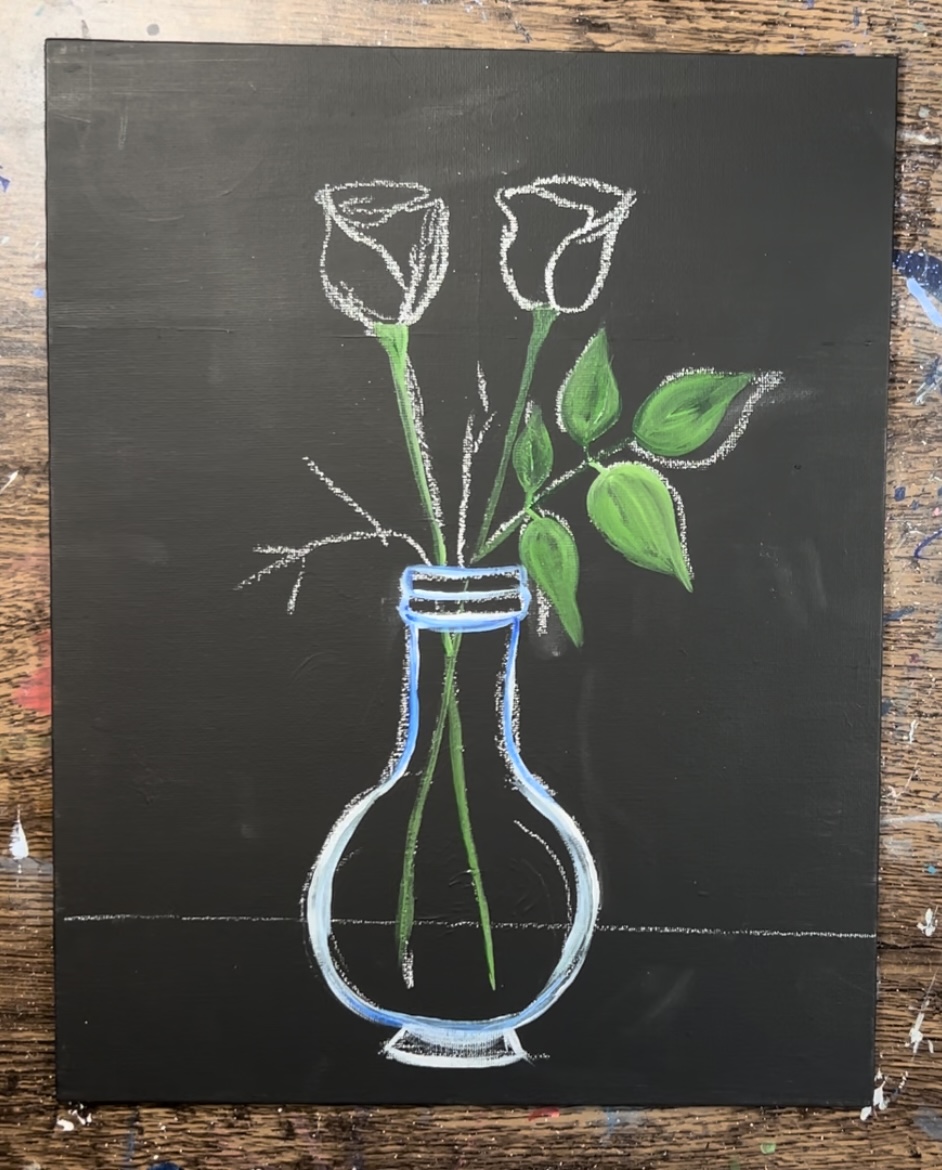
After this dries, use a wet wipe or wet paint brush to erase the chalk lines. Then use mars black paint to touch up the shape of the bottle. The lines should be relatively thin. I used the black to go back on the inside edge of the glass to thin the line down.
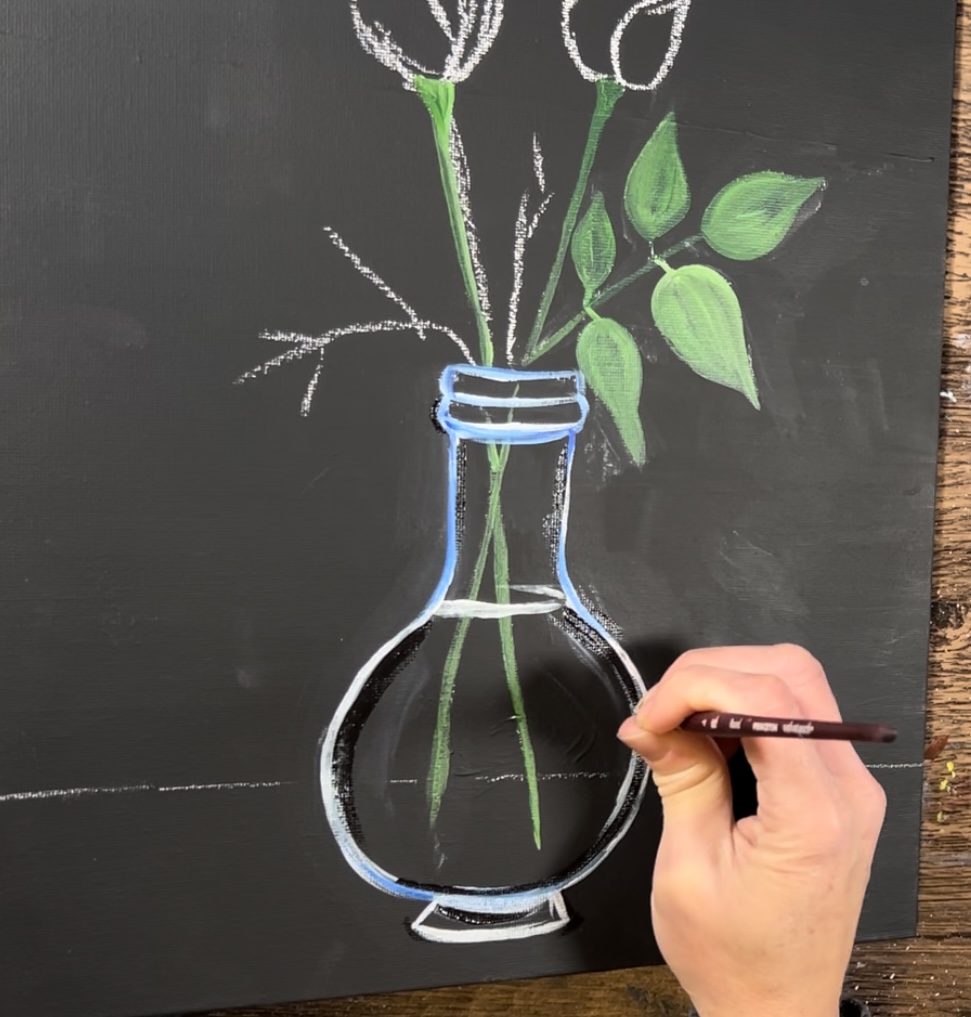
Also note: There is a waterline inside the vase that goes around the stems.
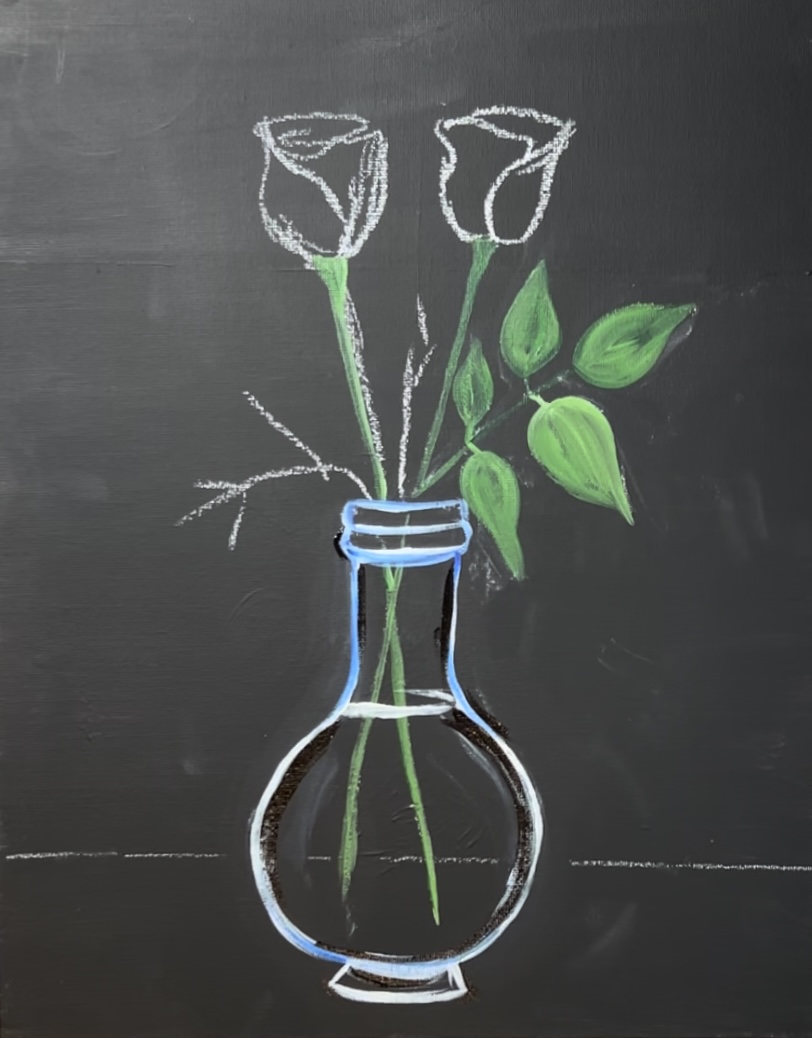
Next, “dry brush” the glare on the glass. To do this, load your #4 round brush in titanium white paint. Then wipe almost all the paint off using a soft towel. The point of this is to ensure only a small amount of paint is left on the brush.

Next, paint the glares on the glass. Do one large curved glare on the bottom of the glass. Then do a vertical glare on the left part off the neck. Also, do a triangular shaped glare on the left side of the glass. Then do two small horizontal glares on the threads (top) of the glass.
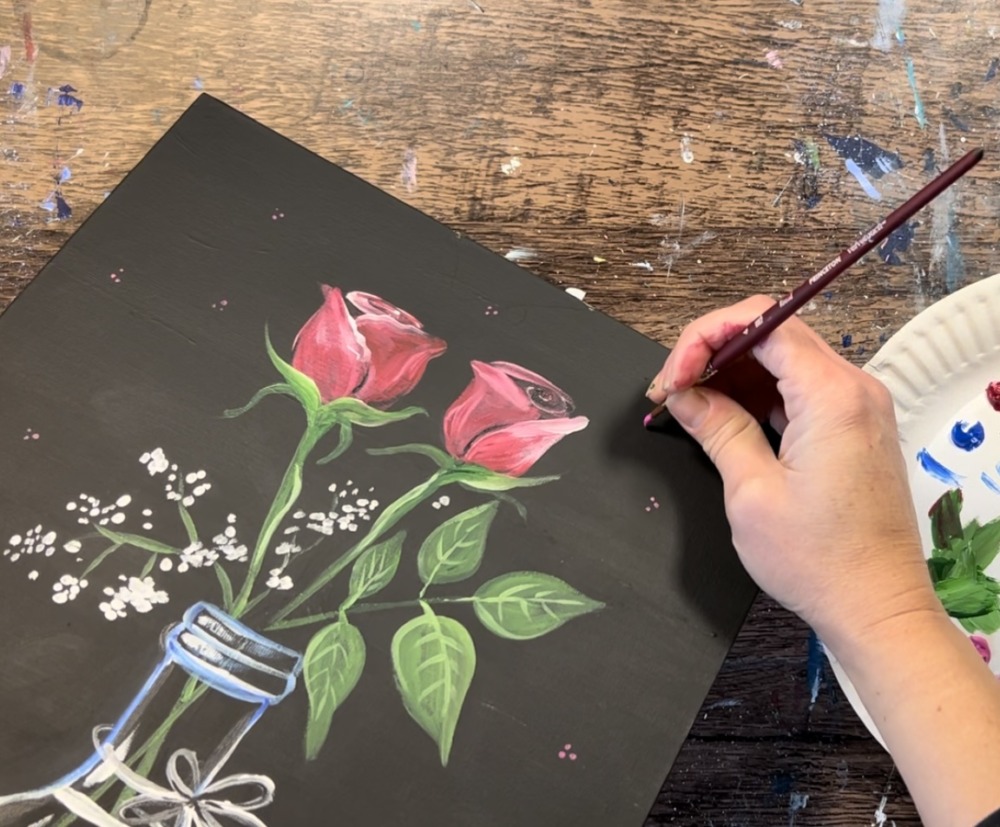
5. Paint rose buds
The roses were done using two different reds: alizarin crimson and cadmium red deep hue. If you don’t have those exact red, find a red that is darker and one that is lighter.
You can practice this on sketch paper if you want first! We are simplifying these roses so don’t worry about making them look super realistic. This will also look much different on the black canvas.


Use the #4 round brush to paint one side of the rose first. Mix cadmium red deep with titanium white on your palette (about 1 part white and 3 parts red). It’s important to mix a little white in our red so that it shows up opaque on the canvas.
Fill in theft side of the rose (or the right teardrop shape first, it doesn’t matter which side you paint first).
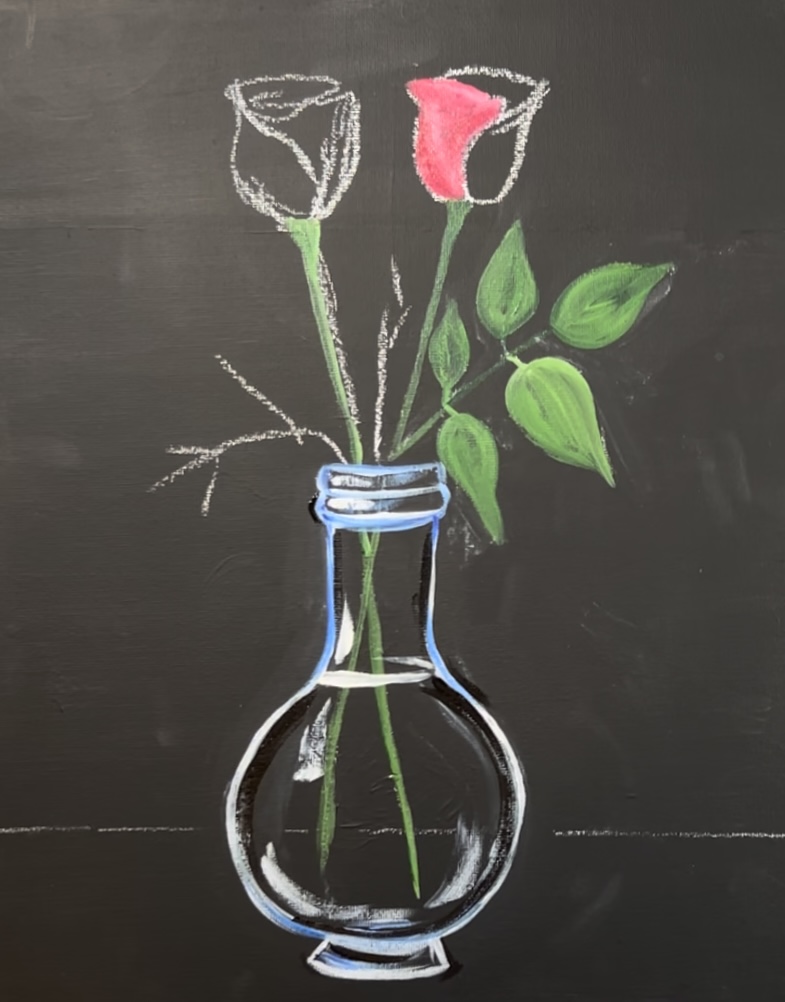
Then paint the tear drop (right side) of the rose using a different red. Mix white with alizarin crimson so that it becomes a lighter red. Then paint the teardrop shape. Each side of the rose is a different tint so they stand out from each other.

Paint the top part of the rose with alizarin crimson not mixed with any white. Then outline the left side of the teardrop petal shape with a little more white. Blend some darker red on the bottom of the rose.
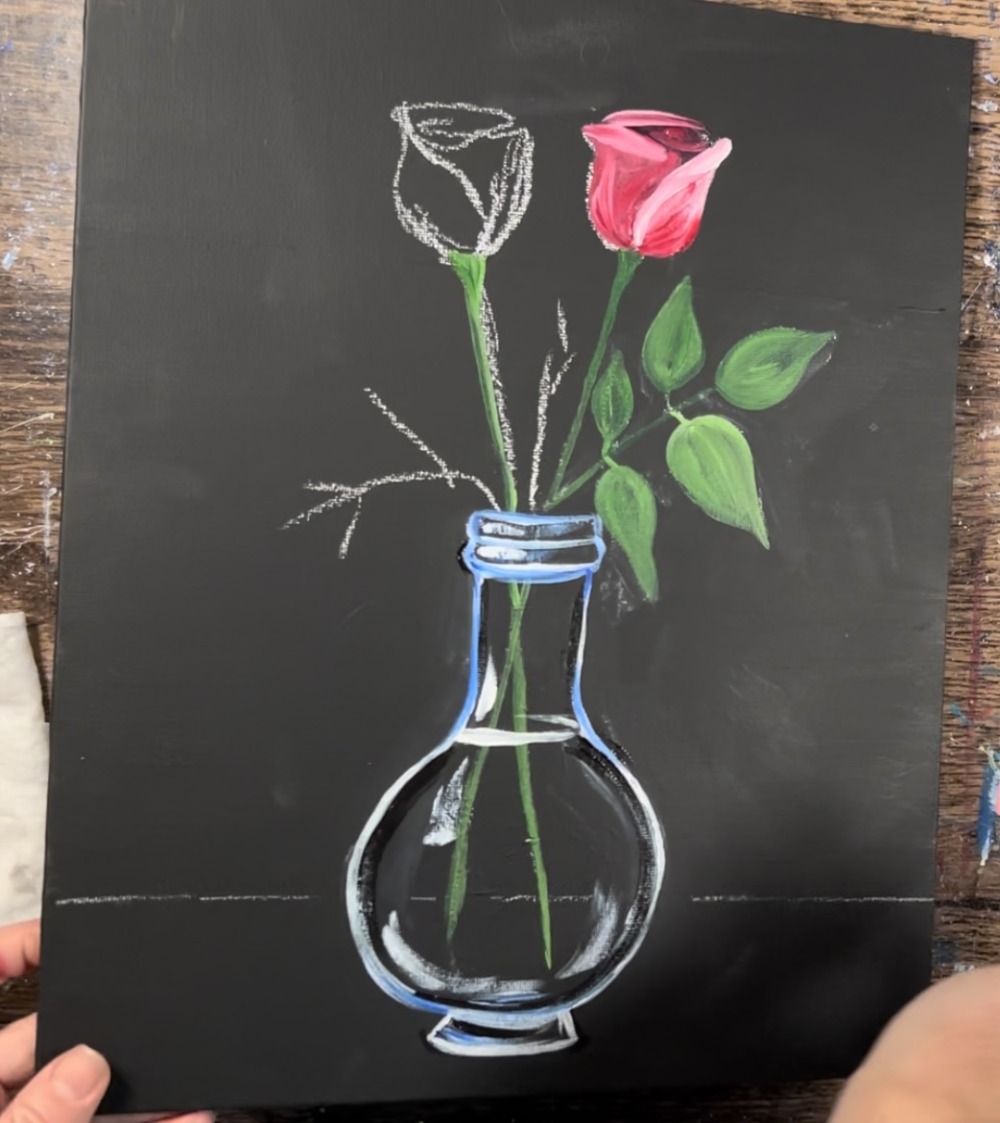
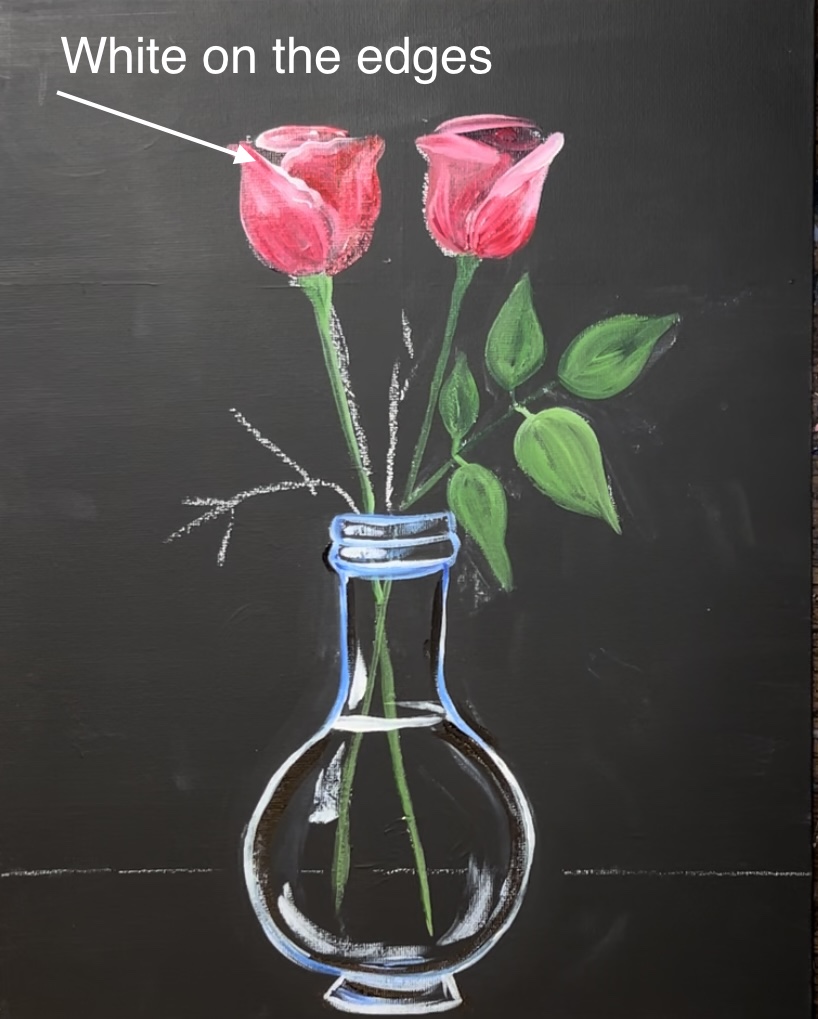
Repeat this step for the rose on the left. The trick is to paint each petal segment separate with different reds and use the white to allow the edges to stand out.
Along the edge of the petals, use a tiny bit of white to loosely outline.
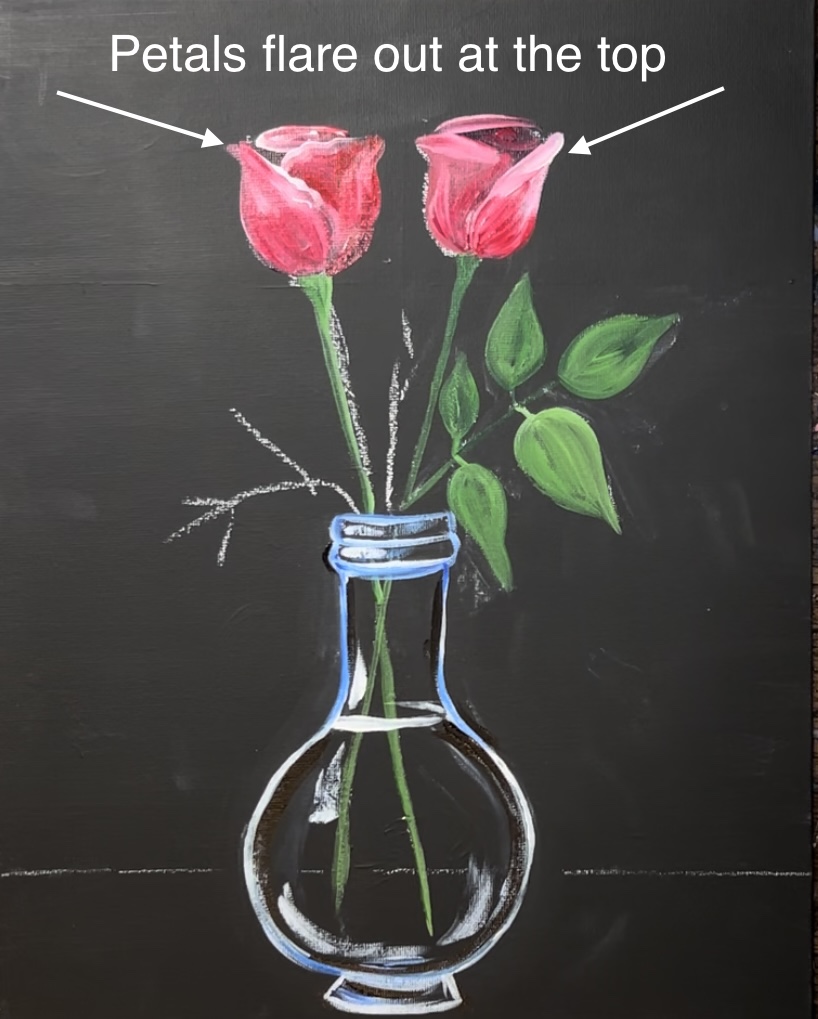
Also, make sure the top parts of the petals flare out a little bit.
6. Paint leaf & stem details
Add detail to the rose stems. Make the edges kind of curved by adding another layer of green.
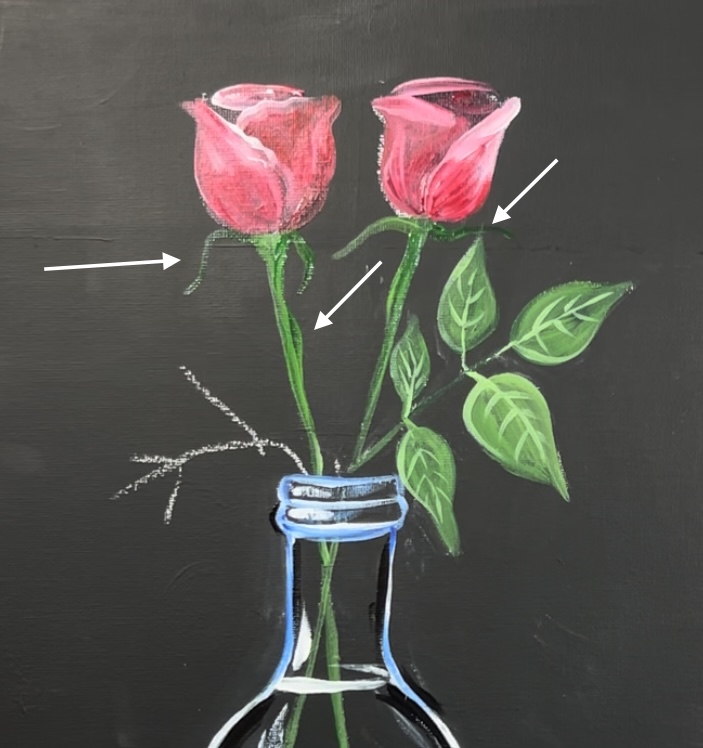
Then paint the small base leaves (the sepal). Use the round brush to paint curved, thin leaves that go to a sharp point. The back/ smaller ones are painted first. Then when the rose bud color dries, you can paint another set of sepal leaves that overlap the base of the rose.
7. Paint baby’s breath
Use titanium white for this step. “Stipple” little dots of the white on the ends of each of the branch pieces.
Paint little dotted clusters all throughout there areas where you want your baby’s breath to be.
Then loosely paint the branches of the baby’s breath using green.
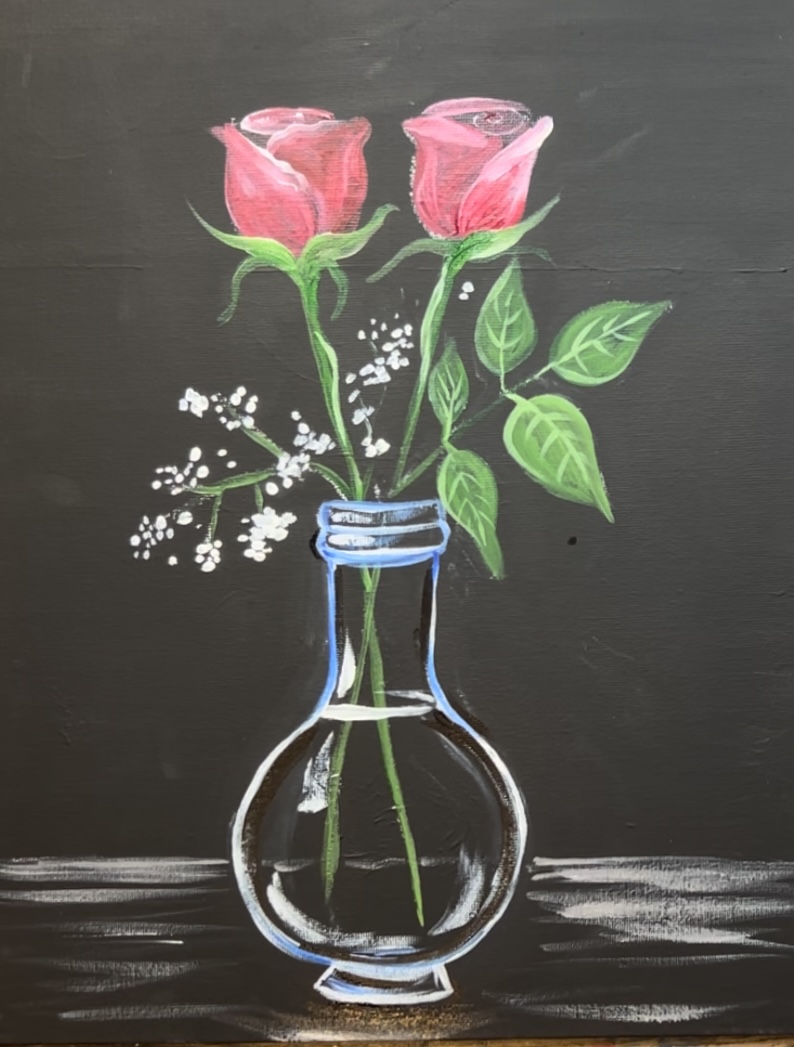
8. Paint table texture
For the table texture, mix a medium gray on your palette (about equal parts black and white). Use your #4 round brush to loosely paint left and right strokes in the table area. Also, outline the top table line.
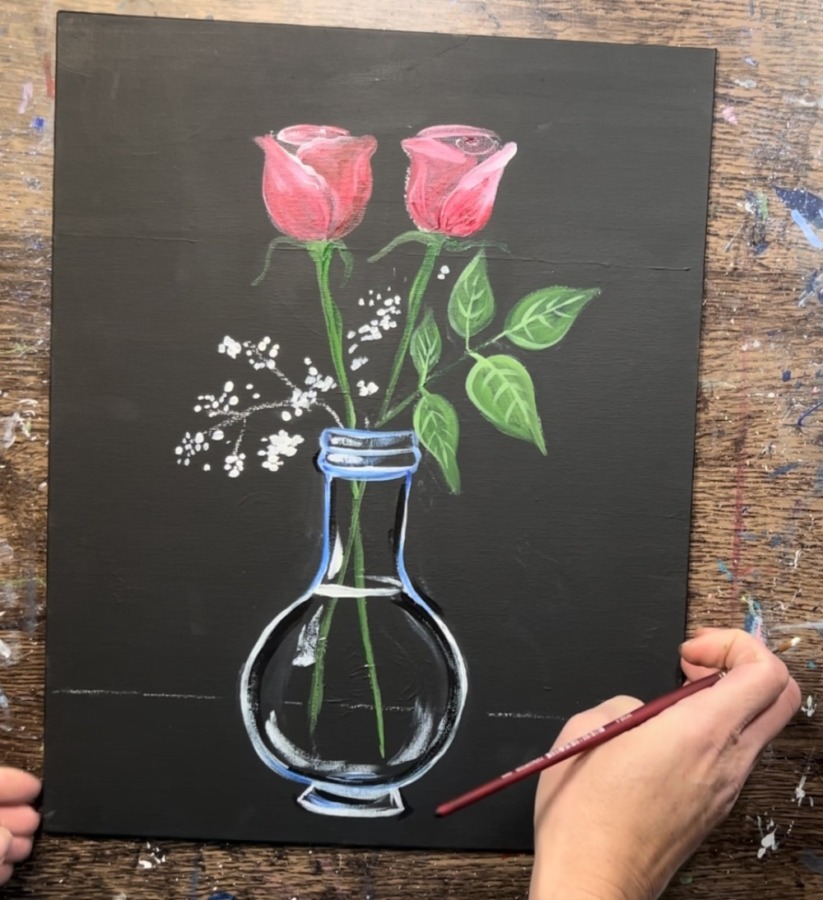
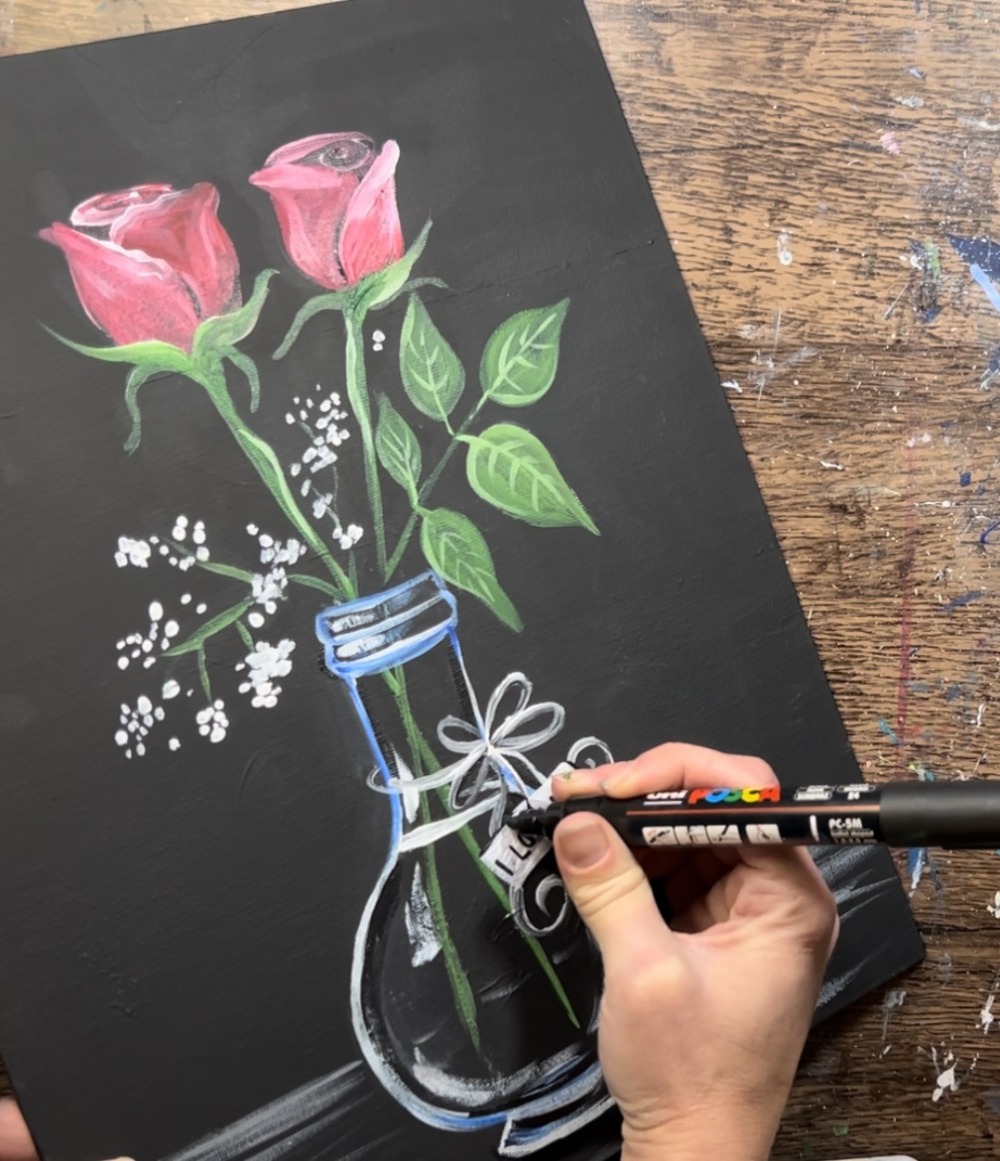
9. Paint bow & tag
Use titanium white mixed with a tiny bit of black. Paint a string that goes around the neck of the glass vase. Then paint four loops for the bow and two strings dangling down that go in a spiral.
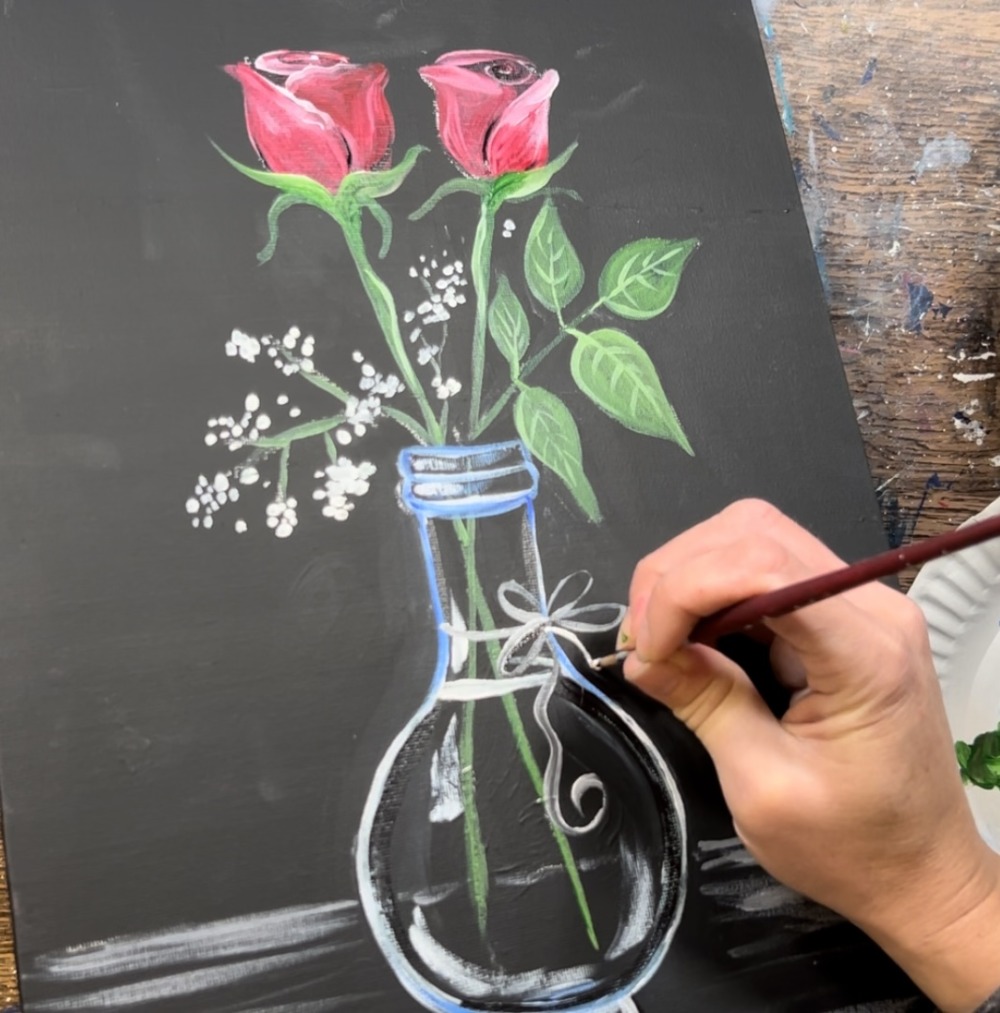
After the string dies, paint a white rectangle attached to it for a little tag.

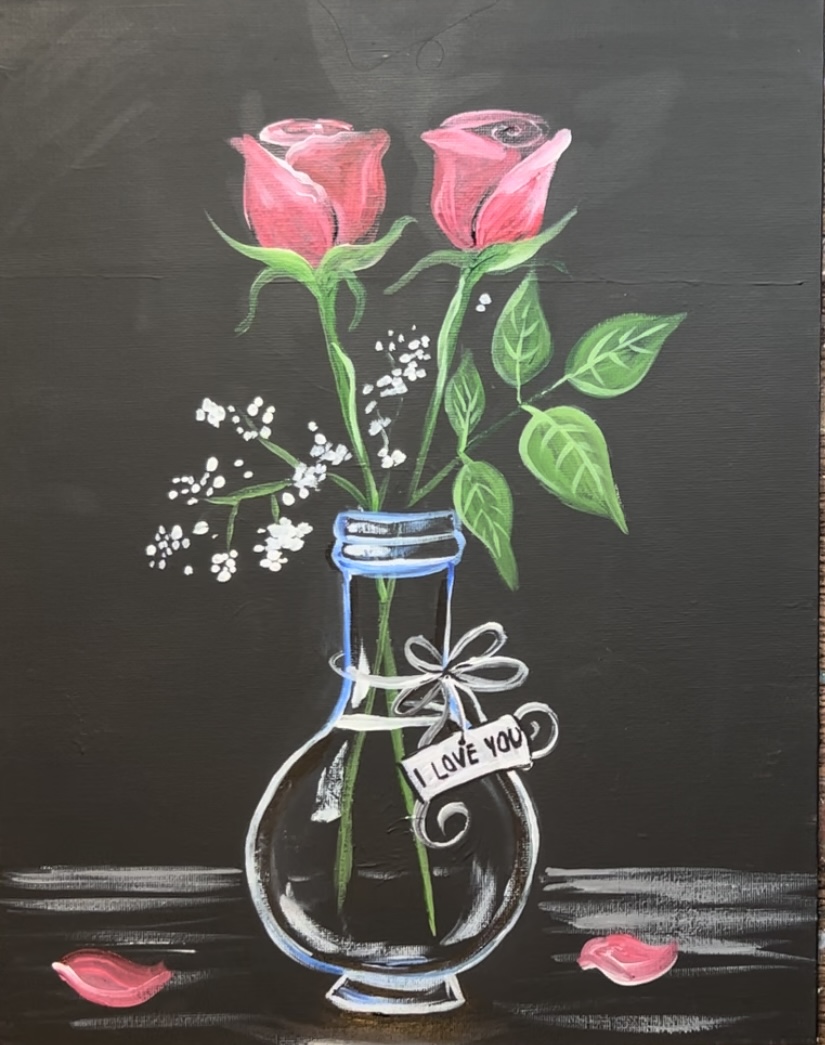
Use a paint paint pen to write the words “I Love You” or another message.
To do the rose petals, use any of the reds mixed with a little white. Paint a thick curvy shape. Add a little extra white towards the bottom edge of the petal. You can do more rose petals if you want!
10. Optional: add patterns in background
The background can be left blank for a simple design. If you want to add polka dots or hearts you can paint them on with any color such as medium magenta.
You can also use a POSCA paint pen to paint patterns in the background such as hearts.
Finished !