

Would you like to save this?
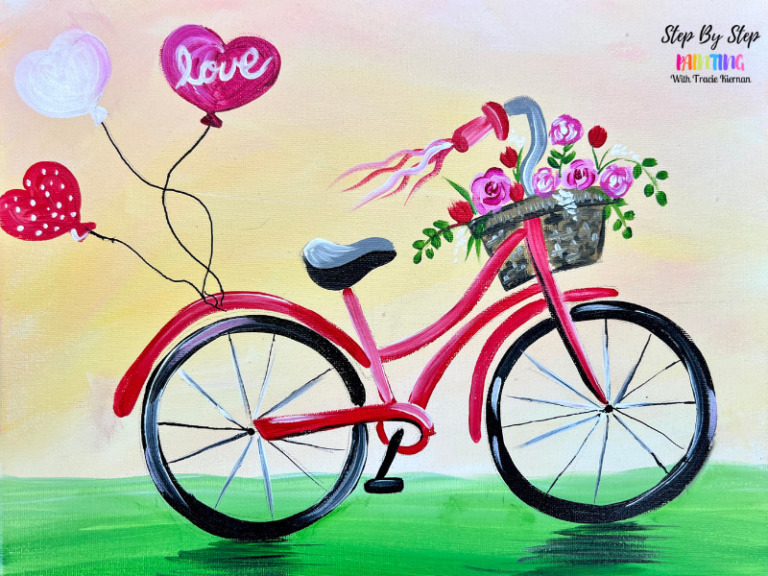
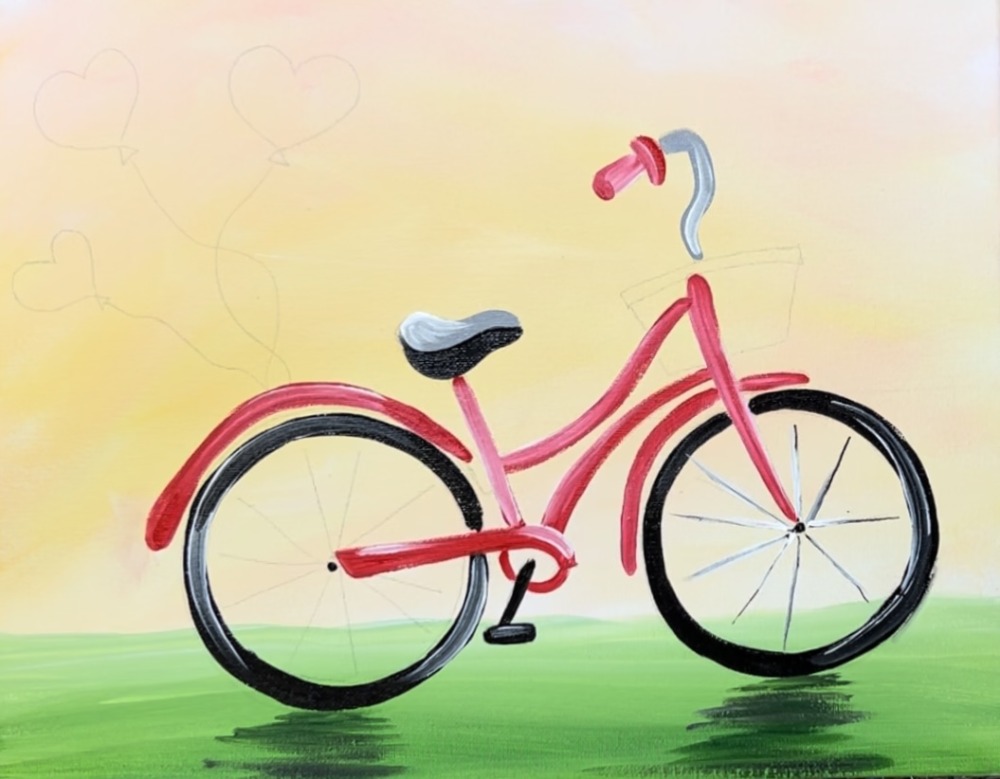
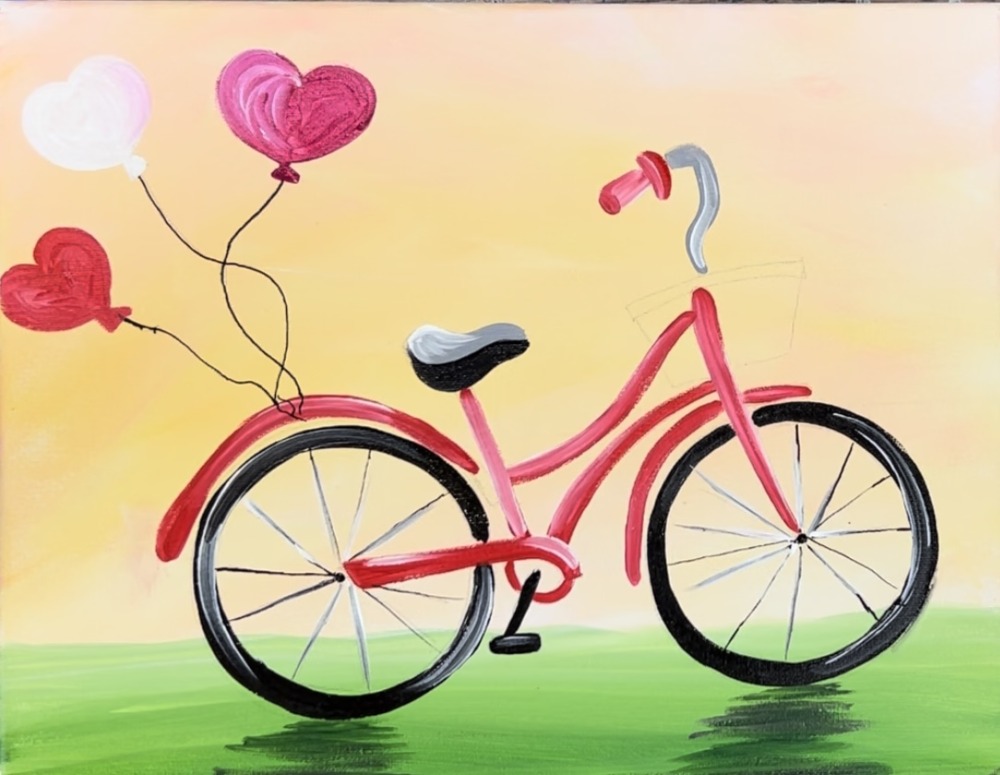
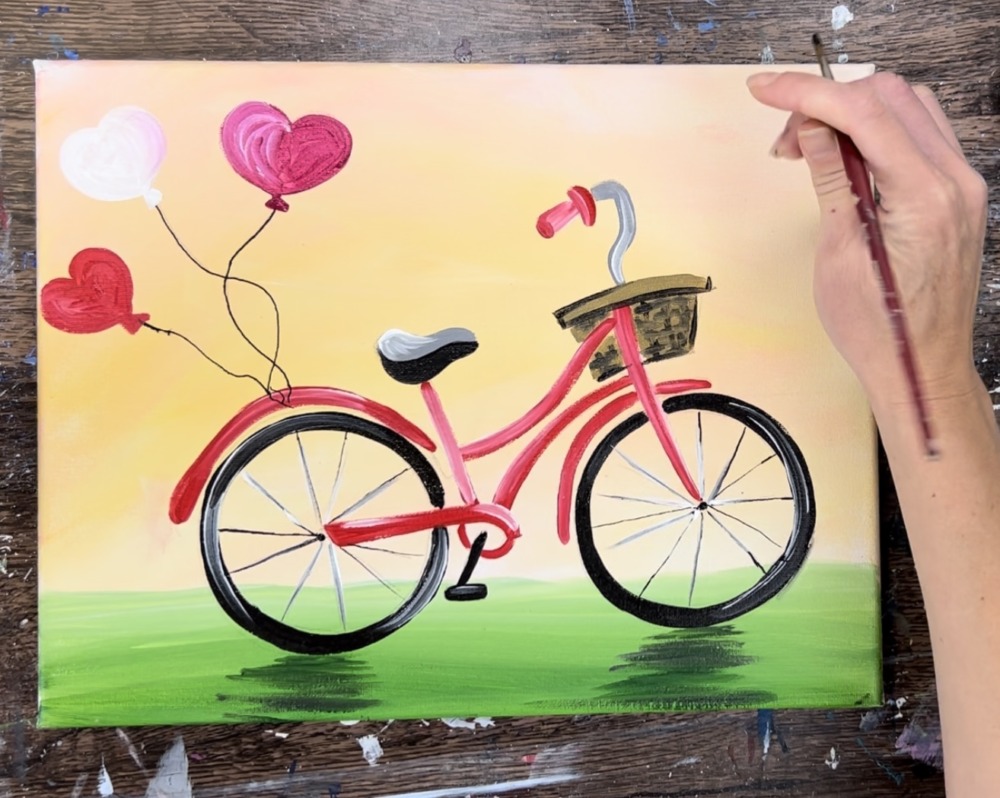
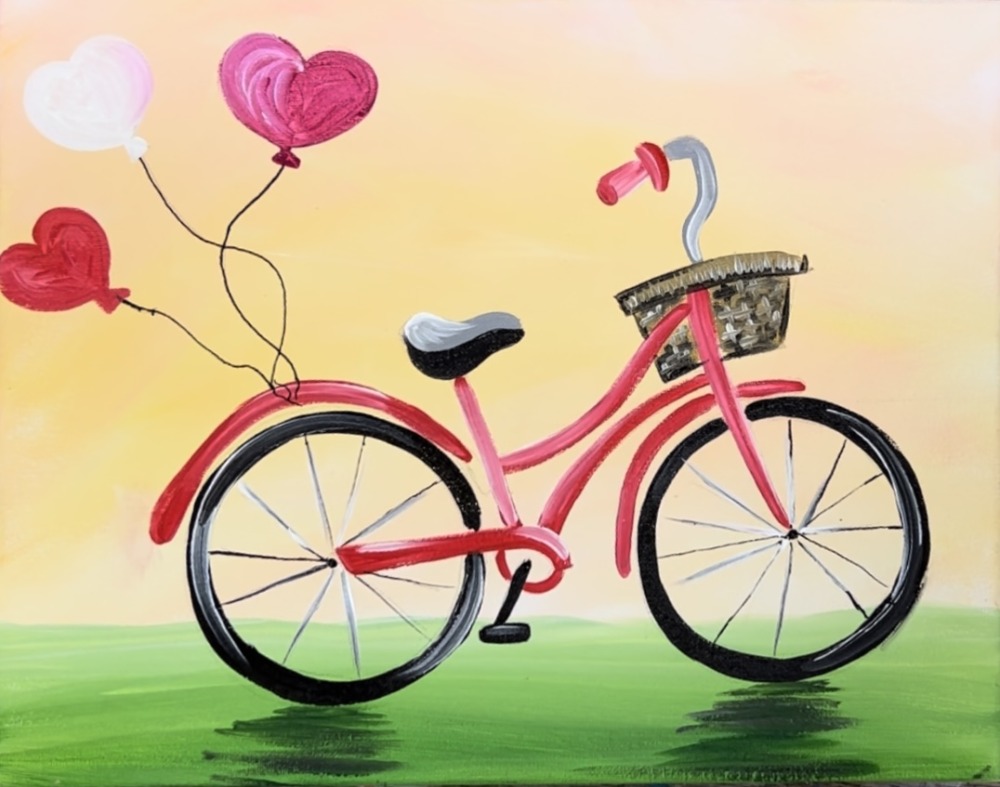
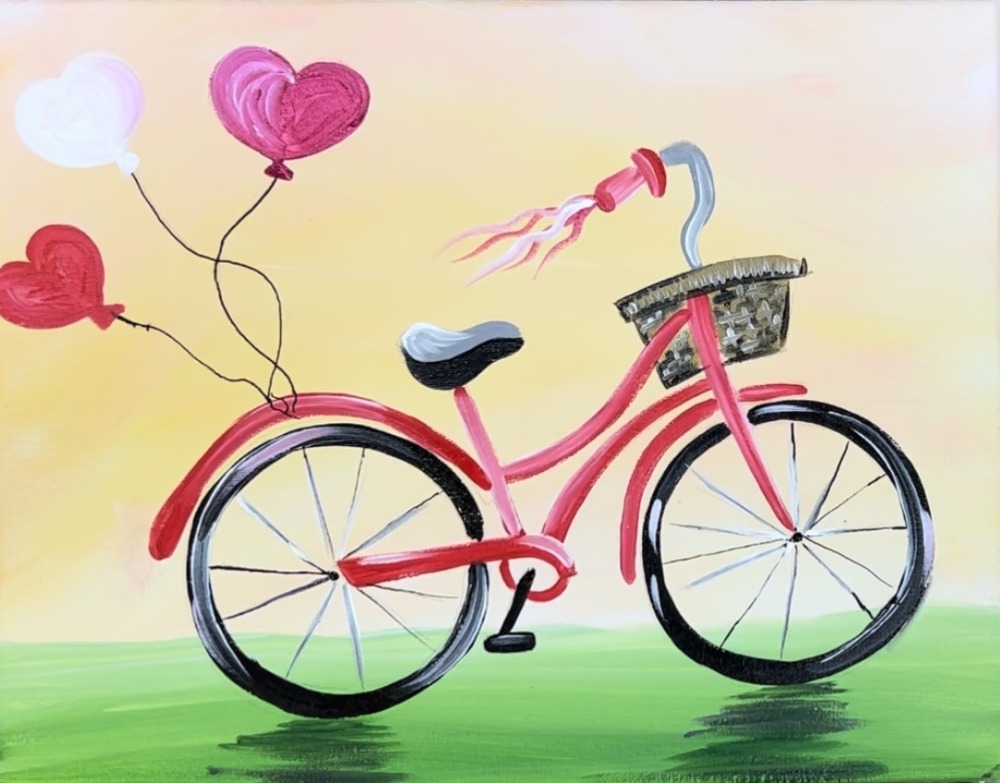
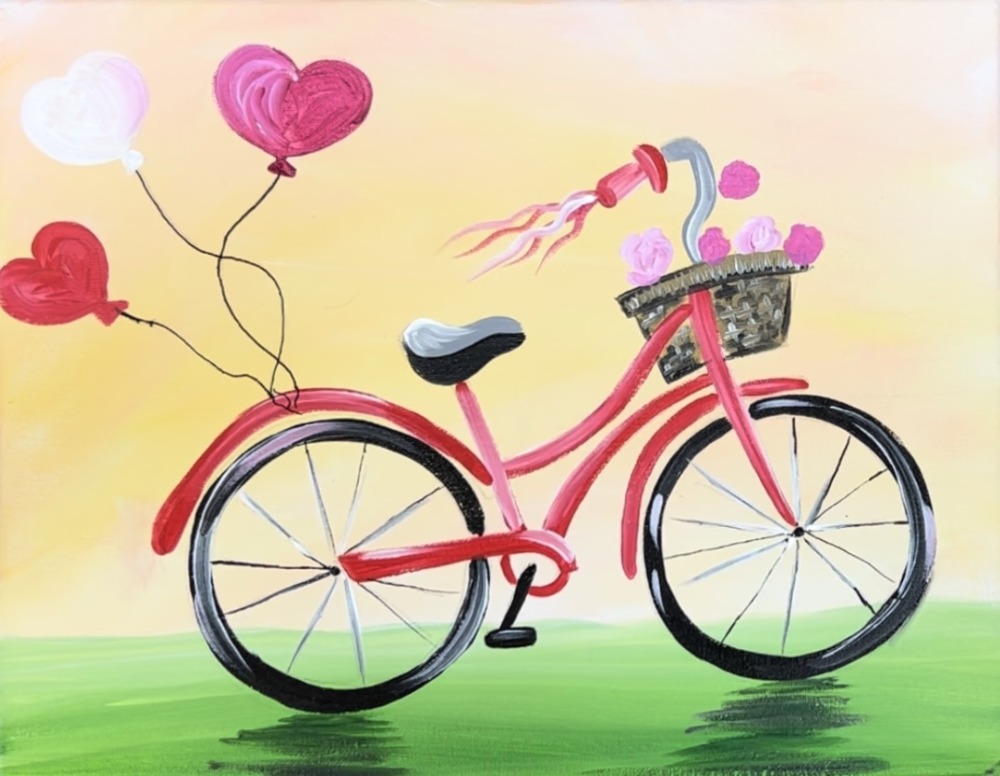
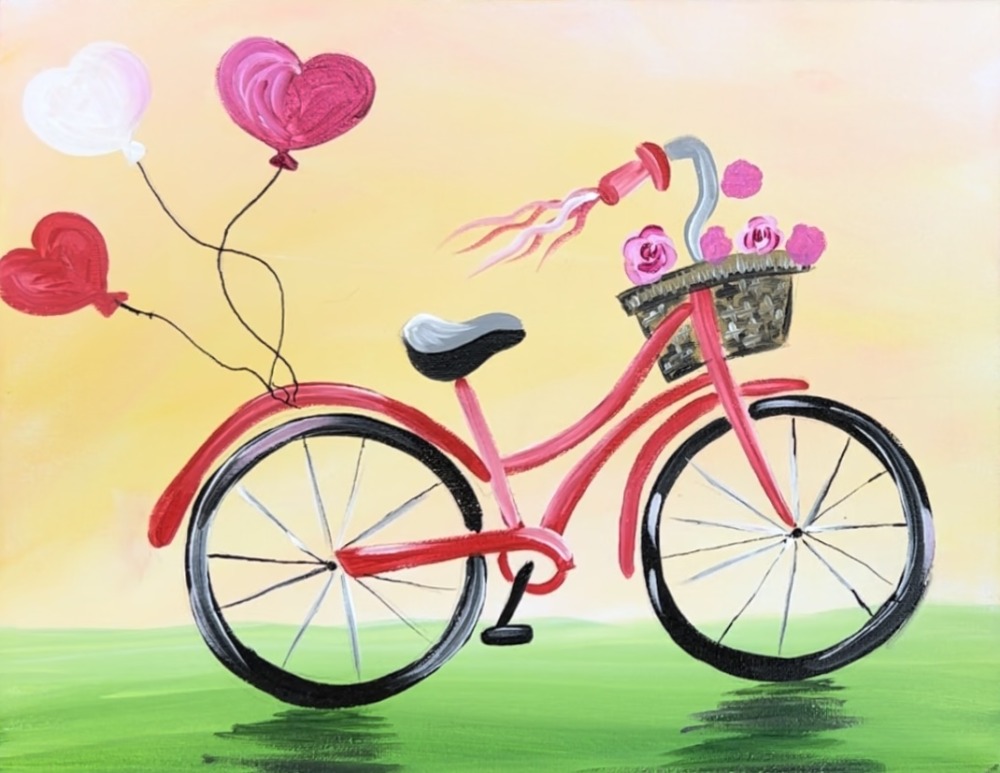
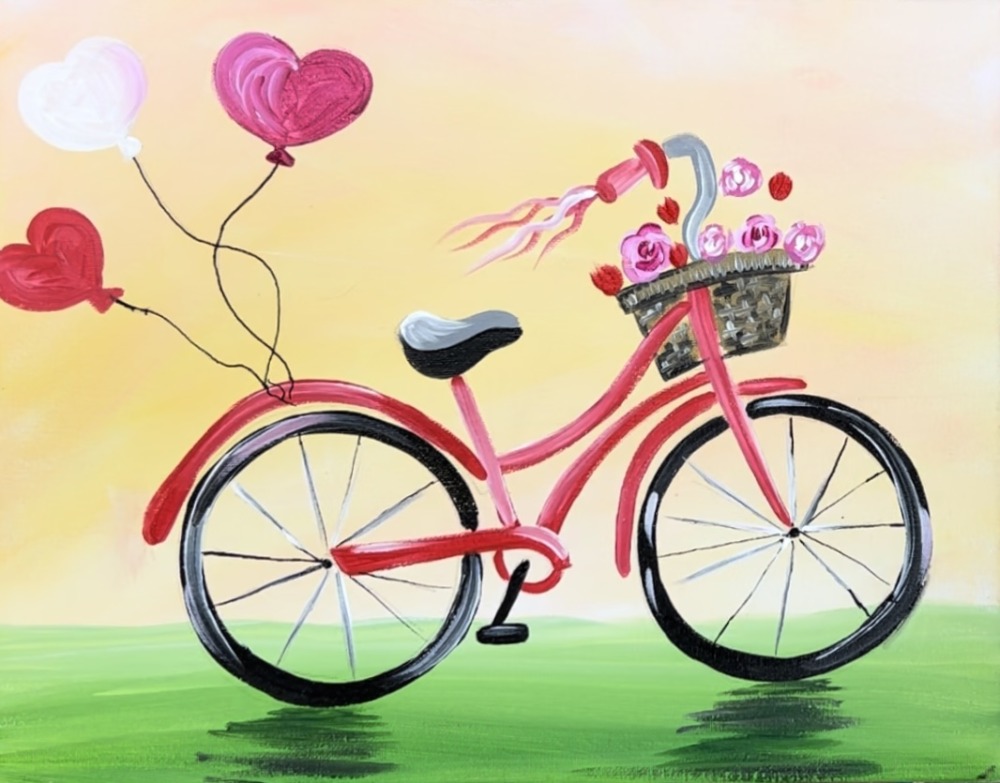
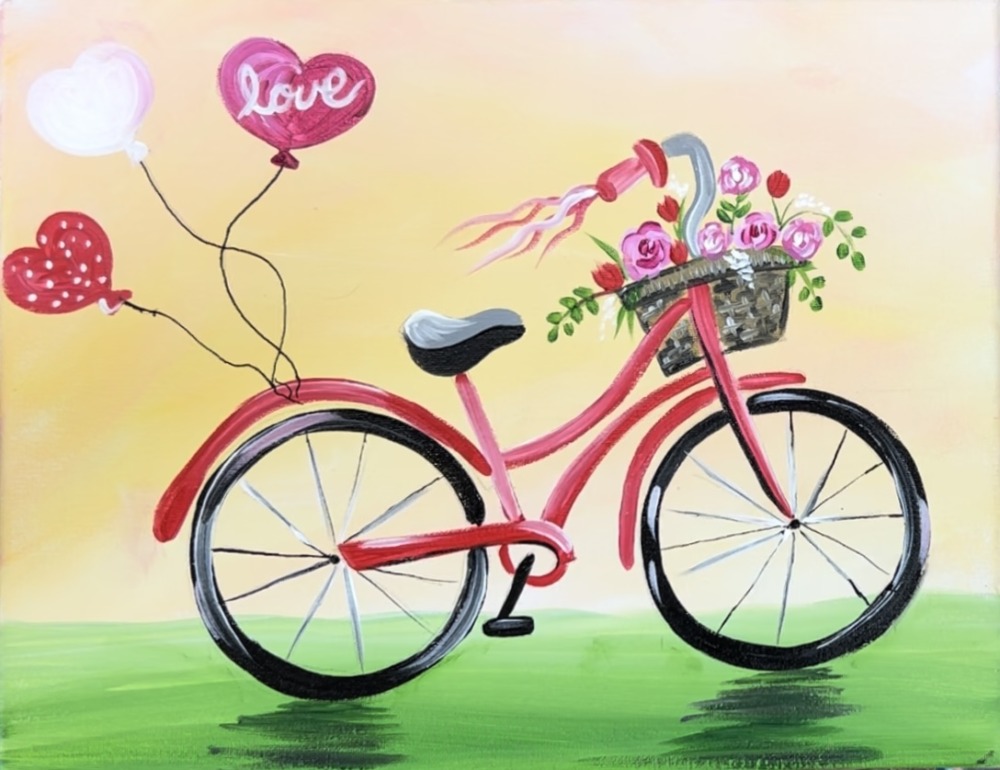
“Valentine’s Day Ride” is an adorable bike painting with flowers in a basket and heart shaped balloons tied to the back fender.
This tutorial utilizes a traceable template and is an easy level painting!
Materials Needed
Valentine's Day Ride

Learn how to paint an adorable Valentine's Day bike!
Materials
- 11 x 14 Canvas
- Traceable Template
- Graphite Paper
- Acrylic Paints
- Brushes
- Pencil
- Black Paint Pen (optional)
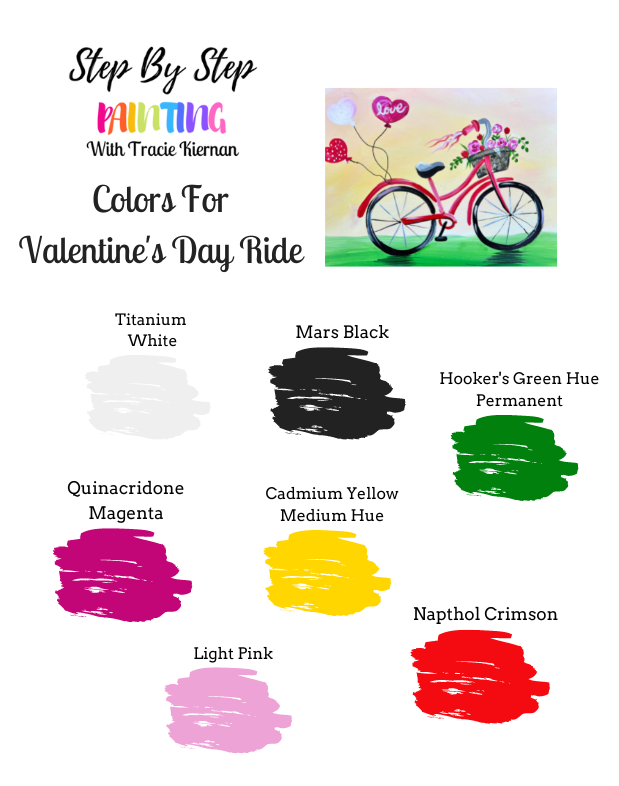
Colors
- Titanium White
- Mars Black
- Naphthol Crimson
- Hooker's Green Hue
- Cadmium Yellow Medium Hue
- Light Pink
- Quinacridone Magenta
Brushes
- 3/4" Flat Wash
- #4 Round Brush
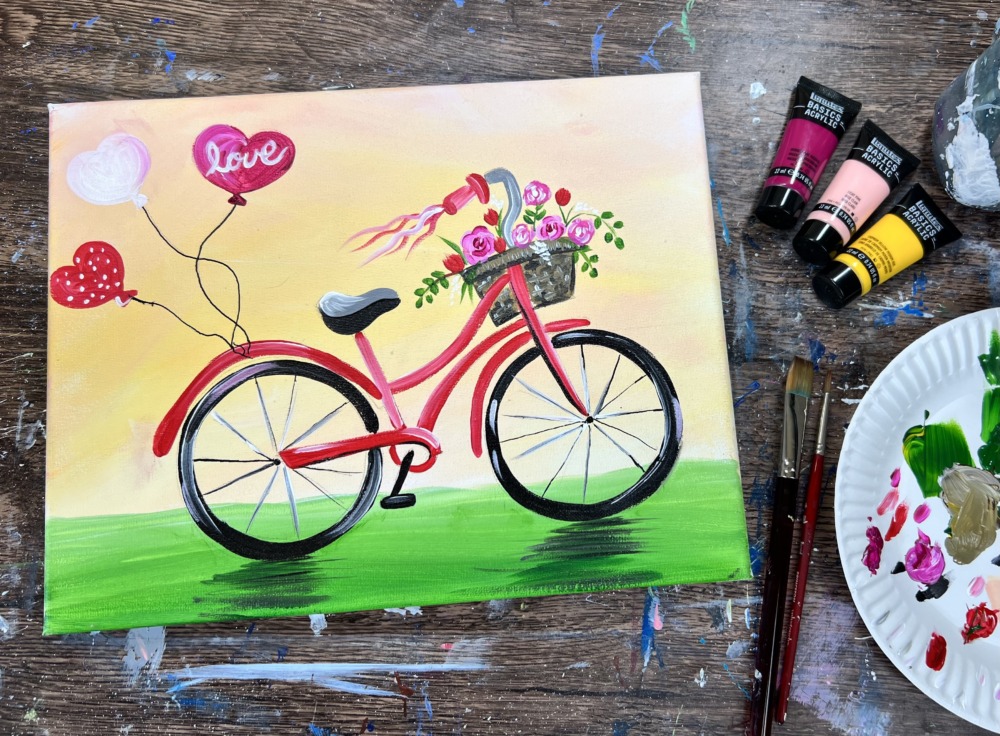
Color Palette
Tracie used Liquitex BASICS acrylic for this painting. If you are using a different brand, use the color chart below to help you match colors.
Craft Paint Conversion
If you are using craft paints such as the Apple Barrel Craft Paints, I would recommend subbing to these colors:
- White
- Black
- New Shamrock
- Bright Magenta
- Fuchsia (mix equal parts white into it to make it lighter)
- Flag Red
- Yellow Flame
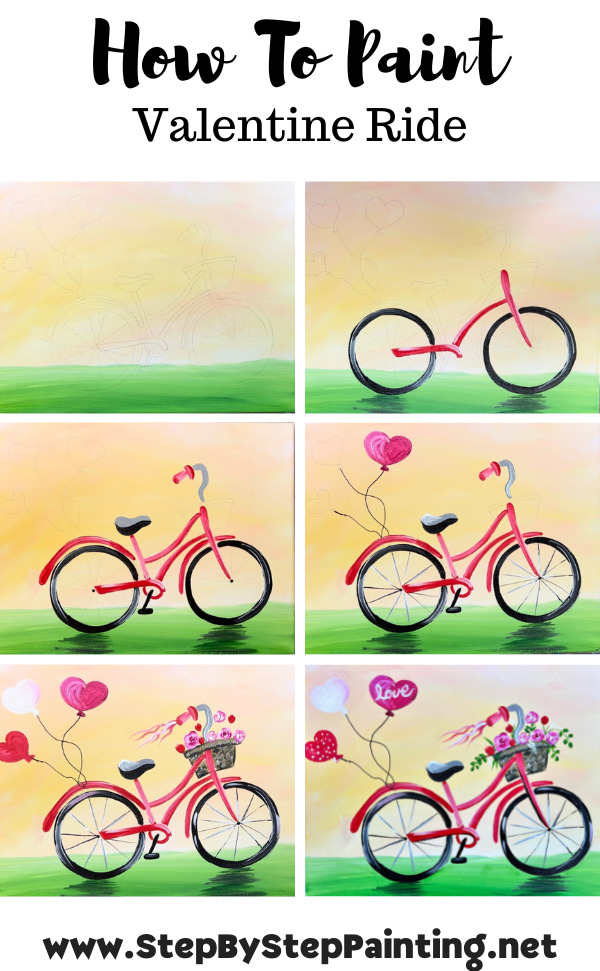
Directions At A Glance
Traceable

You can use the dimensions below to help if you are drawing this free handed. The dimensions do not have to be exact but may help with the measurements.

Video
Step By Step Instructions
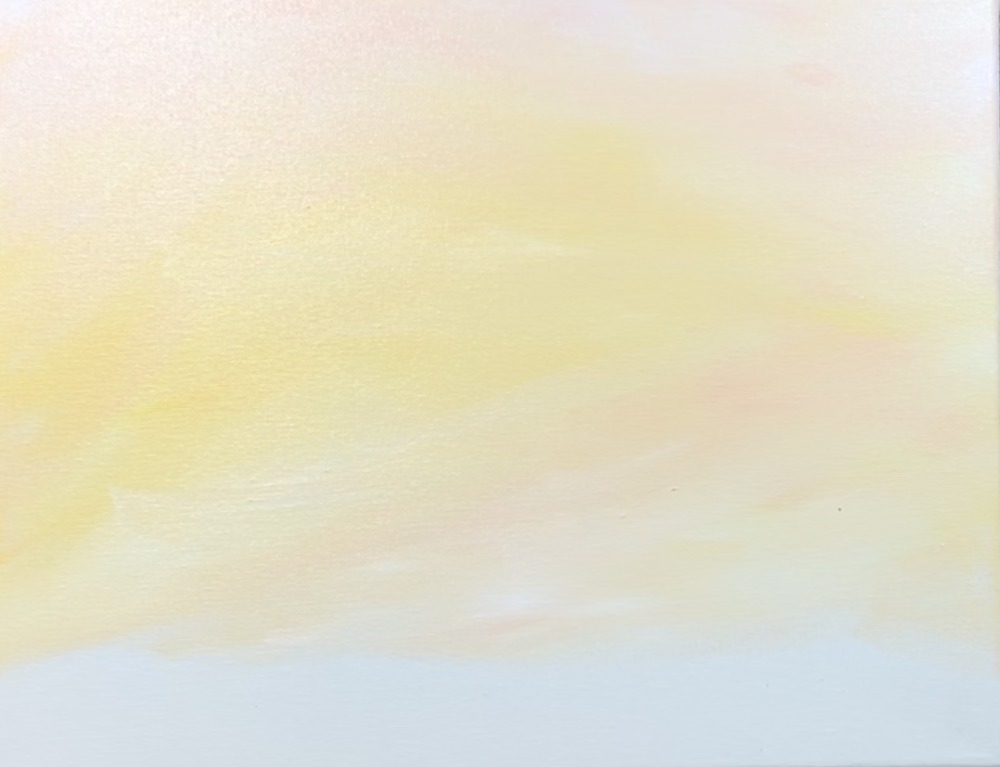
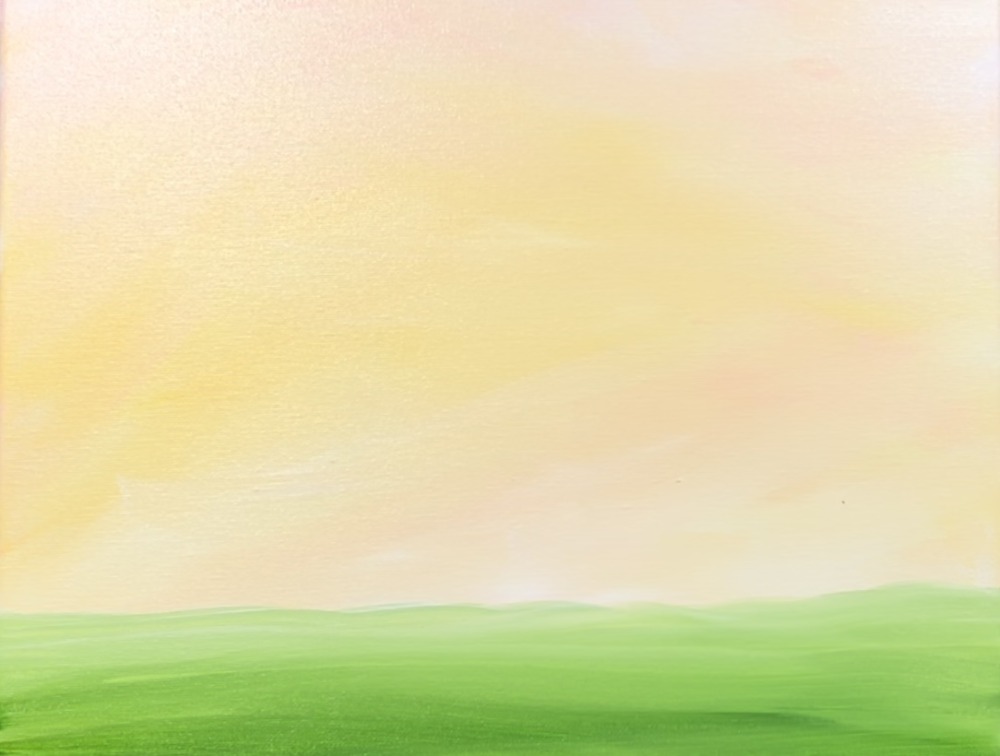
1. Paint background
Load your palette with the colors: titanium white, light pink, hooker’s green hue and cadmium yellow medium hue.
Use your 3/4″ flat wash brush and double load the brush in both the light pink and the titanium white.
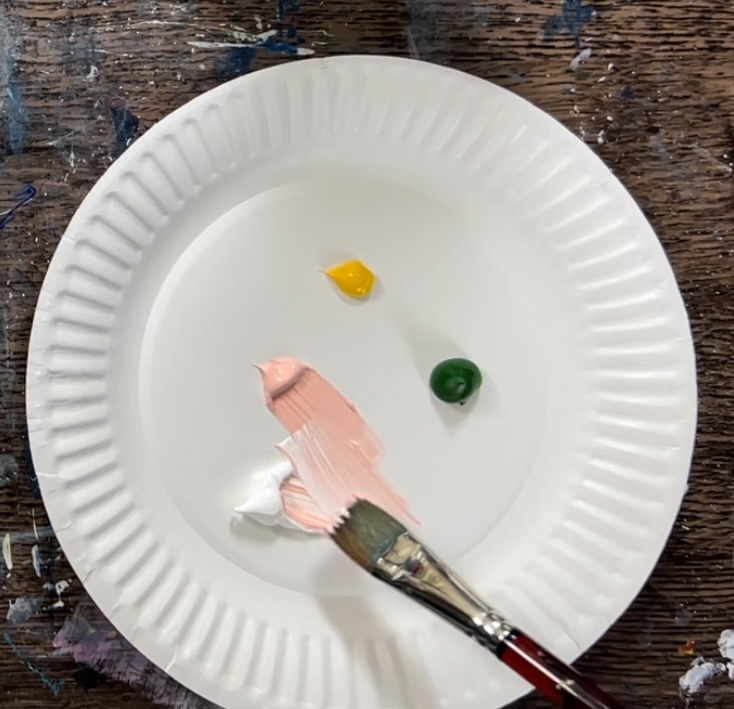
On the top of the canvas, paint “expressive strokes” that allow the pink and white to blend to a pastel color.
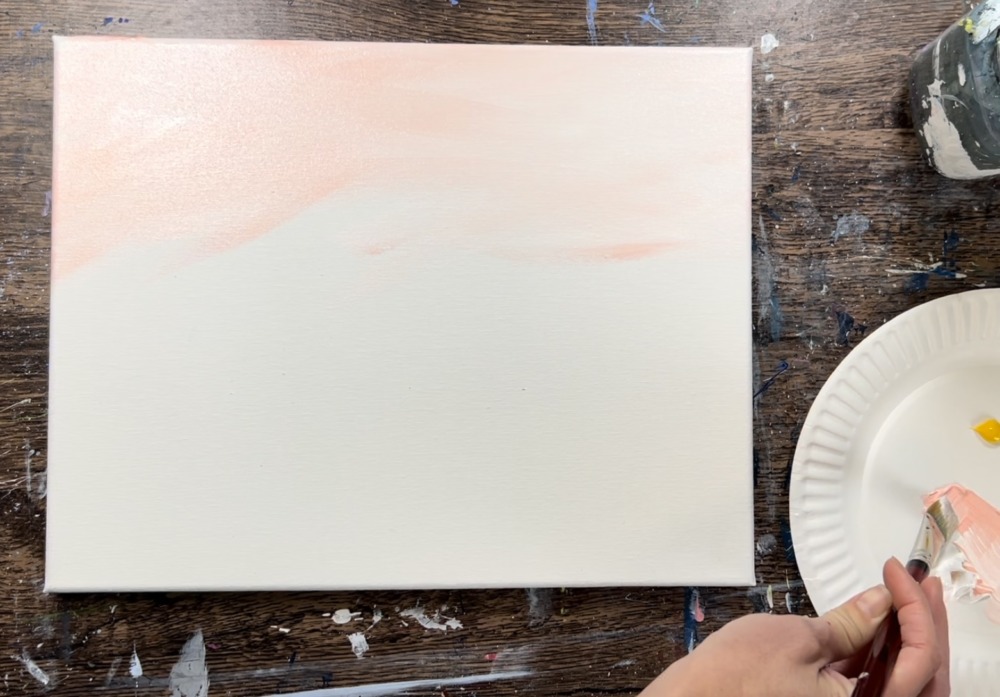
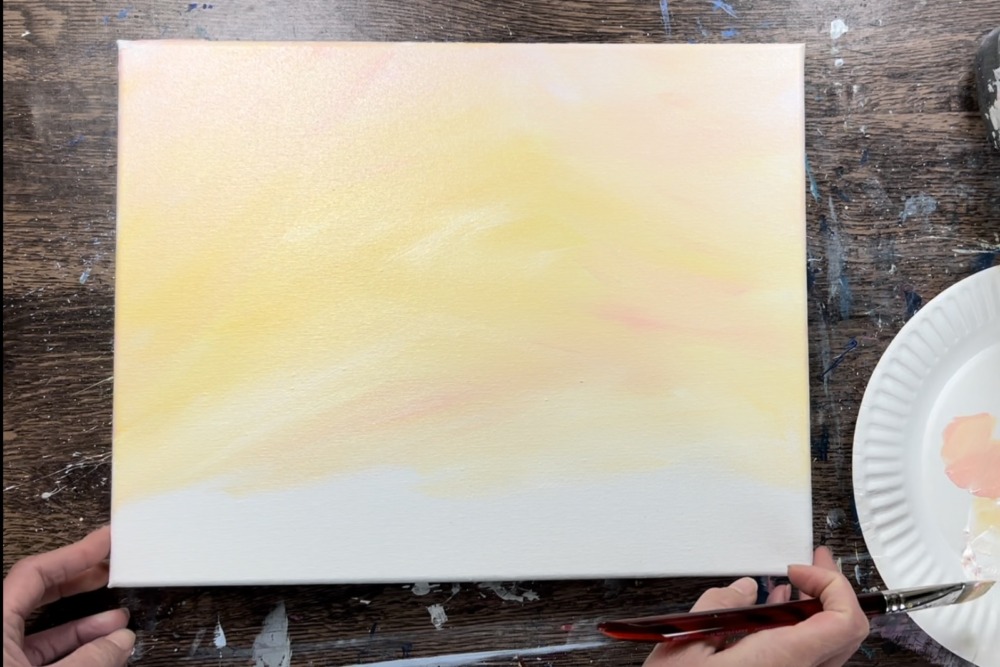
Then gently blend some yellow into the background. Add a higher proportion of white over the yellow so that the yellow turns to a light, pastel yellow. This background should be very light so the vivid colors of the bike stand out.
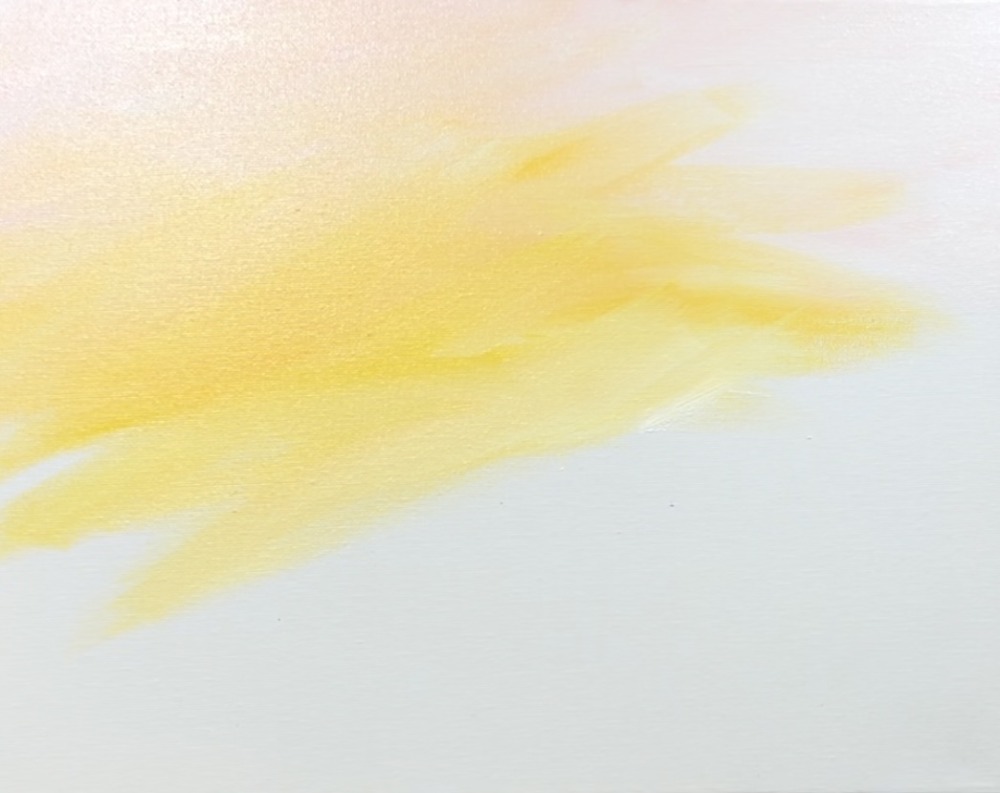
Continue adding this color combination to the canvas. Leave about a two inch gap on the bottom for the ground that will be painted in the next step.
2. Paint Ground
You don’t need to wait for this to dry for this step. Load your 3/4″ flat wash brush in the hooker’s green hue permanent. Measure about 2.5″ from the bottom of the canvas and make a mark.
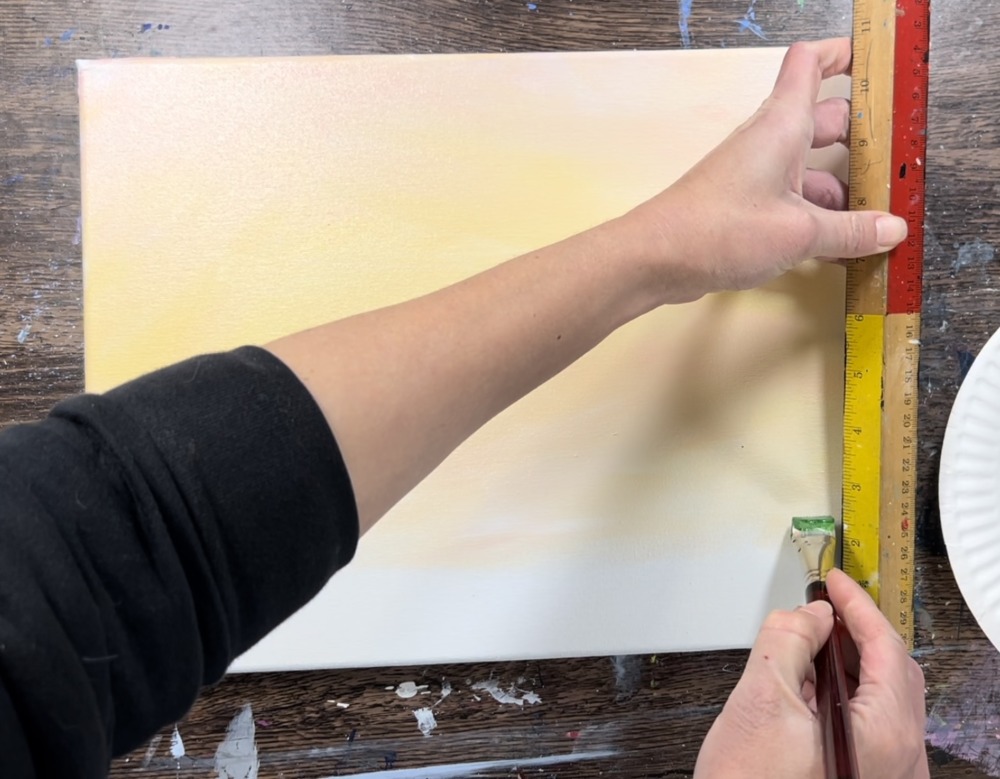
Paint the bottom of the canvas with the green. Then gently blend some white into the green as you work your way up.
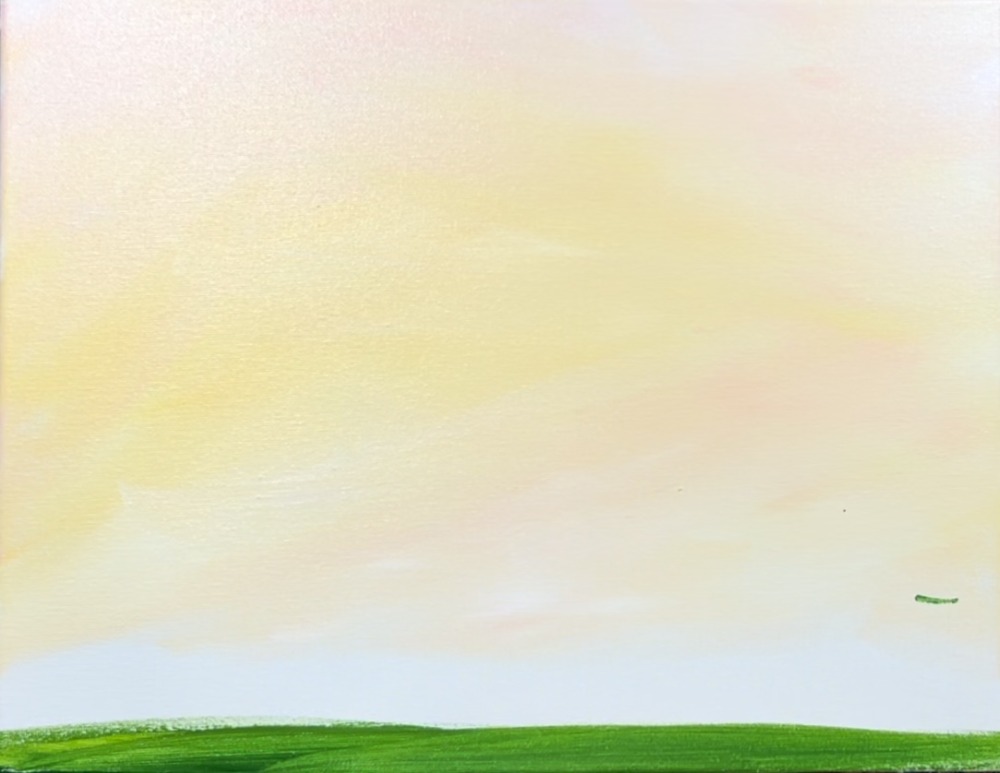
The green is slightly lighter at the top and slightly darker on the bottom. You can also add some yellow into your green to make it more of a spring green color.
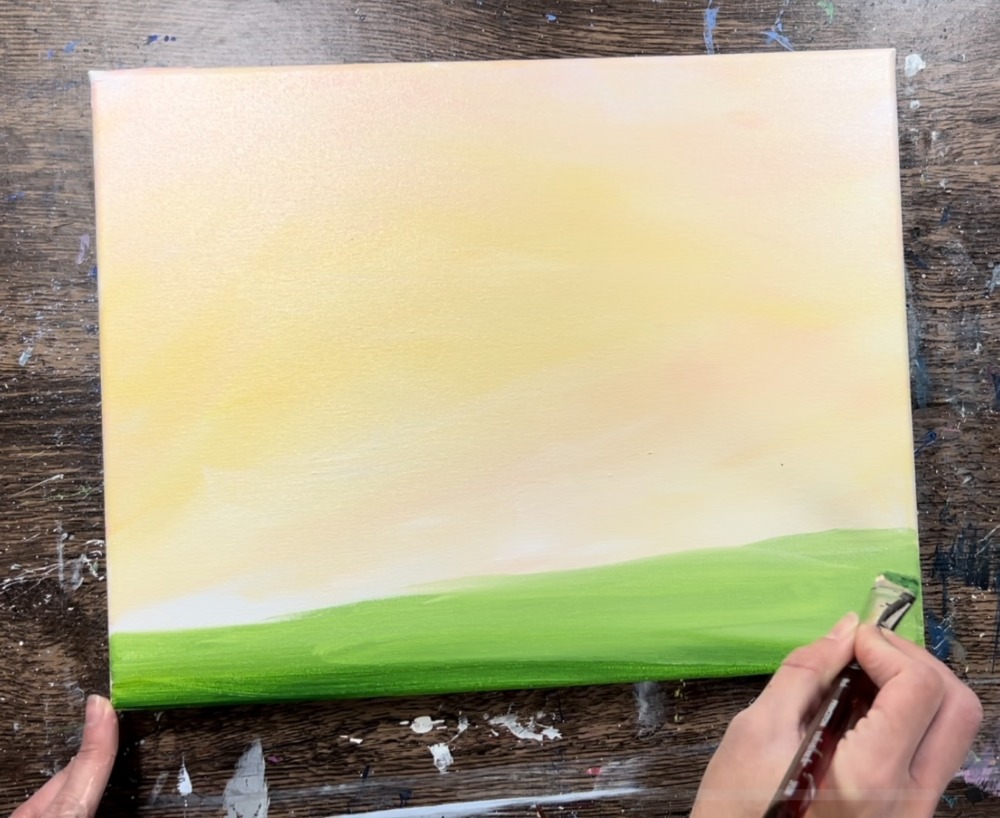
Also note: the line does not have to be straight. It can be kind of wavy.
Let this dry before going onto the next step.
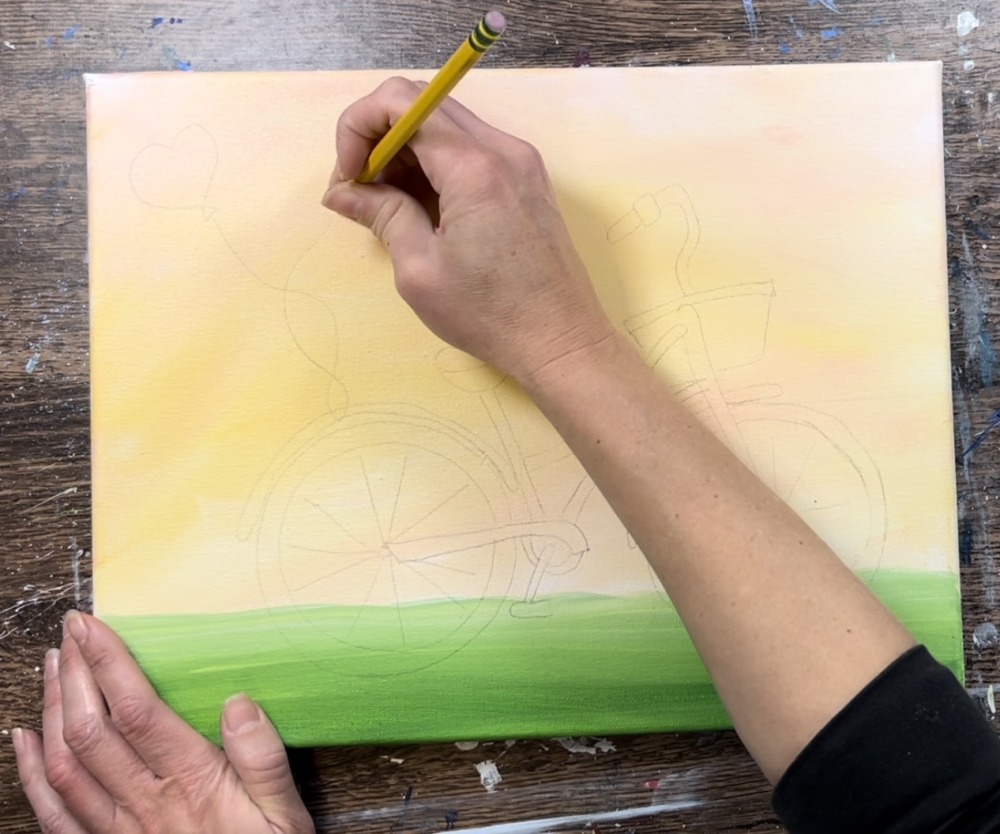
3. Transfer Bike Design
Print out the bike template. For the 11 x 14 size, it is recommended that you print the PDF file and tape the two sheets together.
Place a sheet of graphite paper below the template and trace the design. Note: the template is positioned slightly more to the right so the Valentine’s Day balloons.
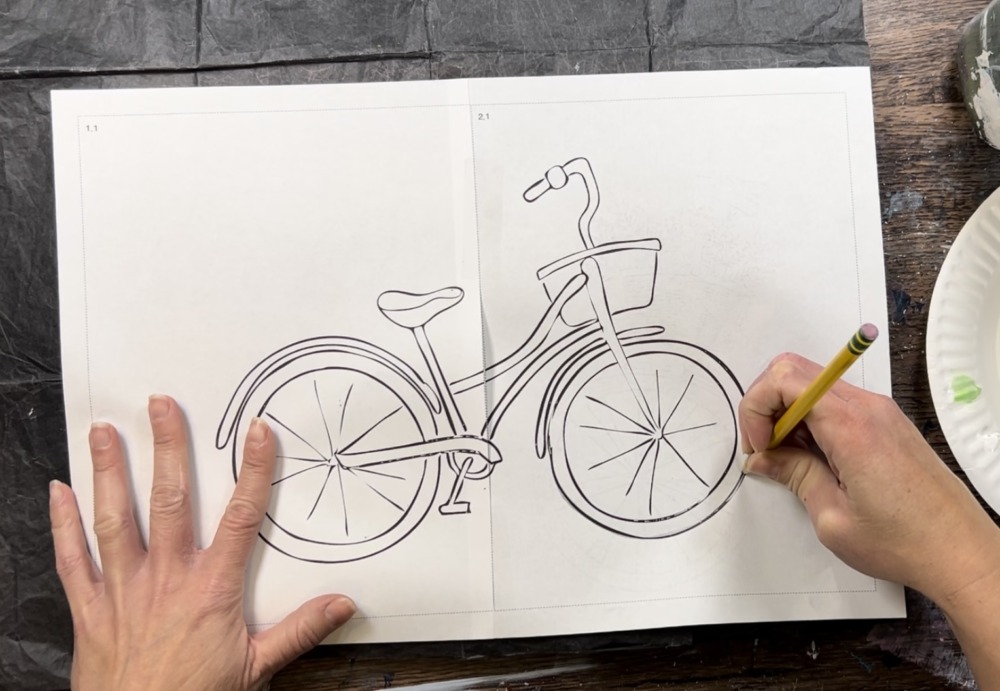
After tracing the design, draw three balloons that attach to the back fender of the bike.

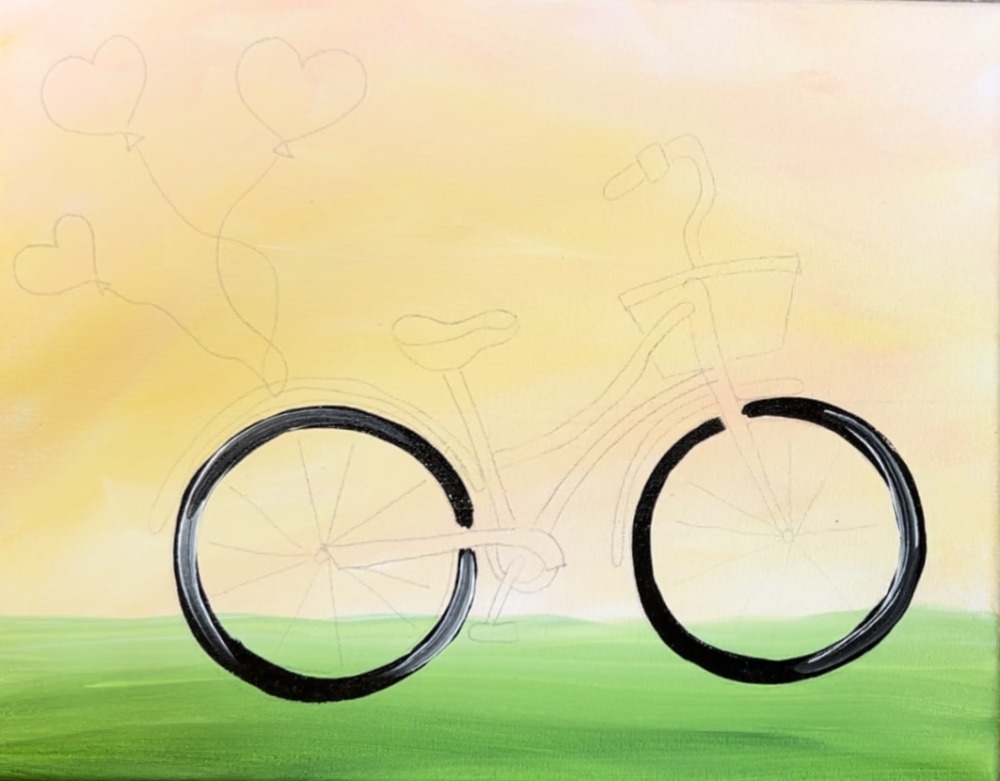
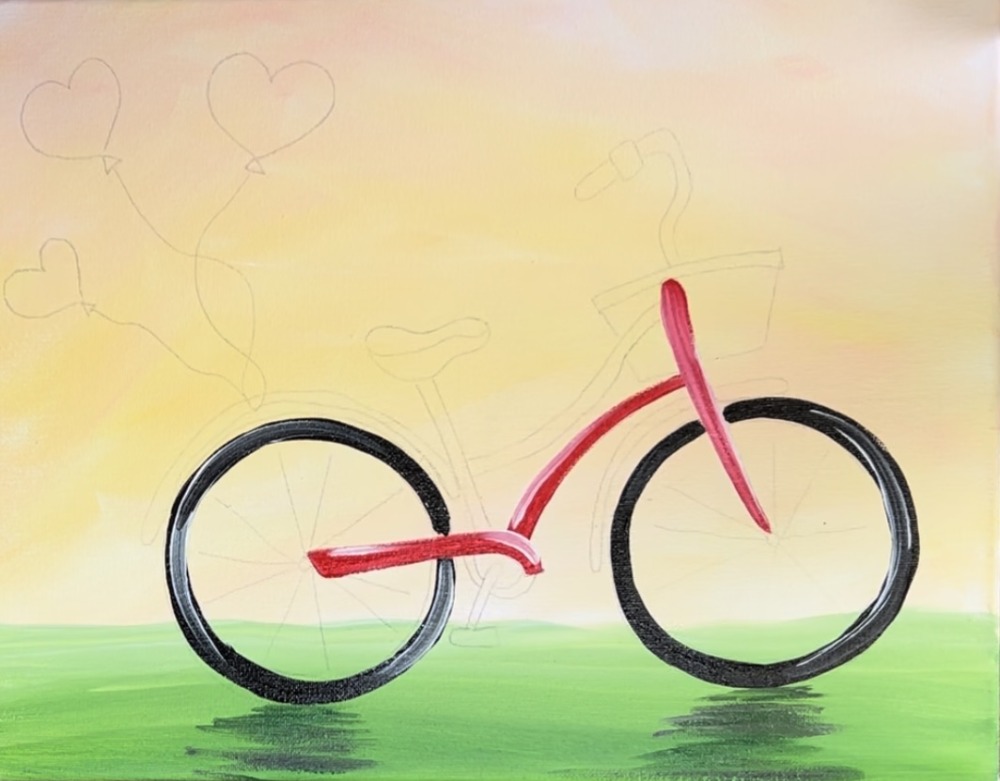
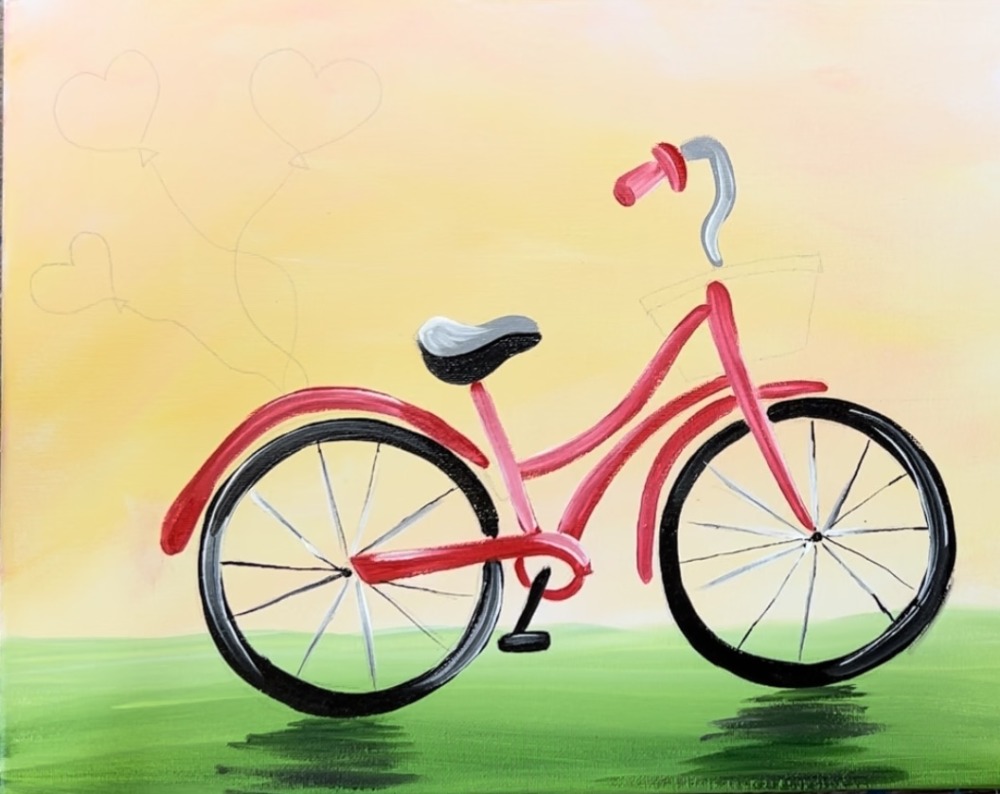
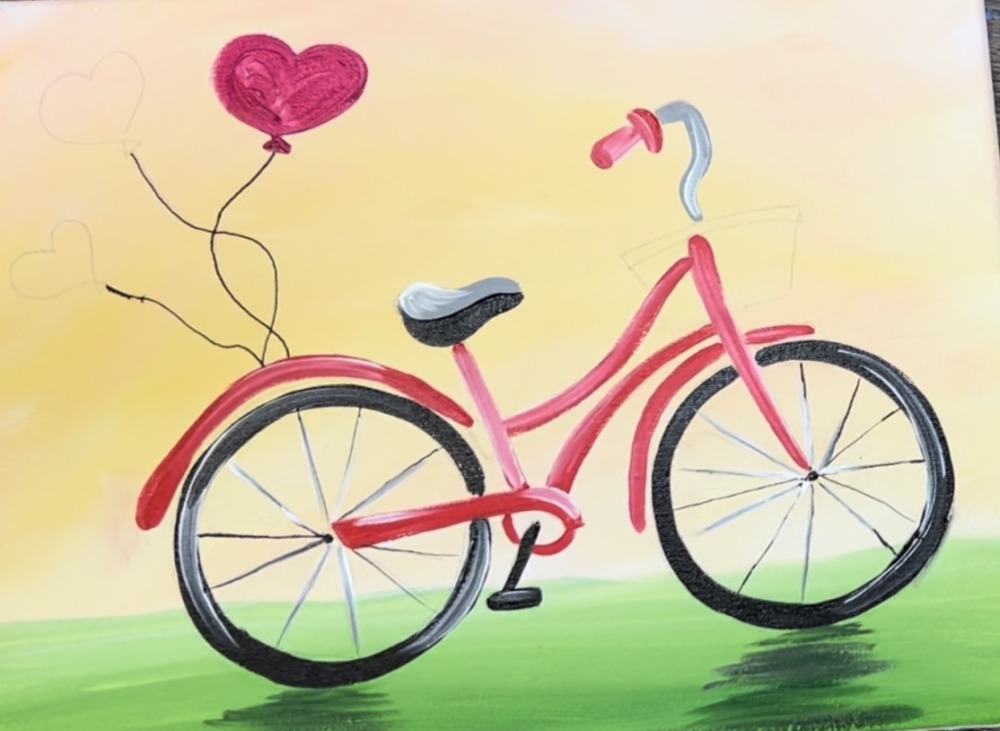
4. Paint Wheels & Shadow
Next, load your palette with the colors: mars black, titanium white and naphthol crimson.
Use the #4 round brush to paint the wheels. Add a little bit of water into the black to help it to flow better for these curves.
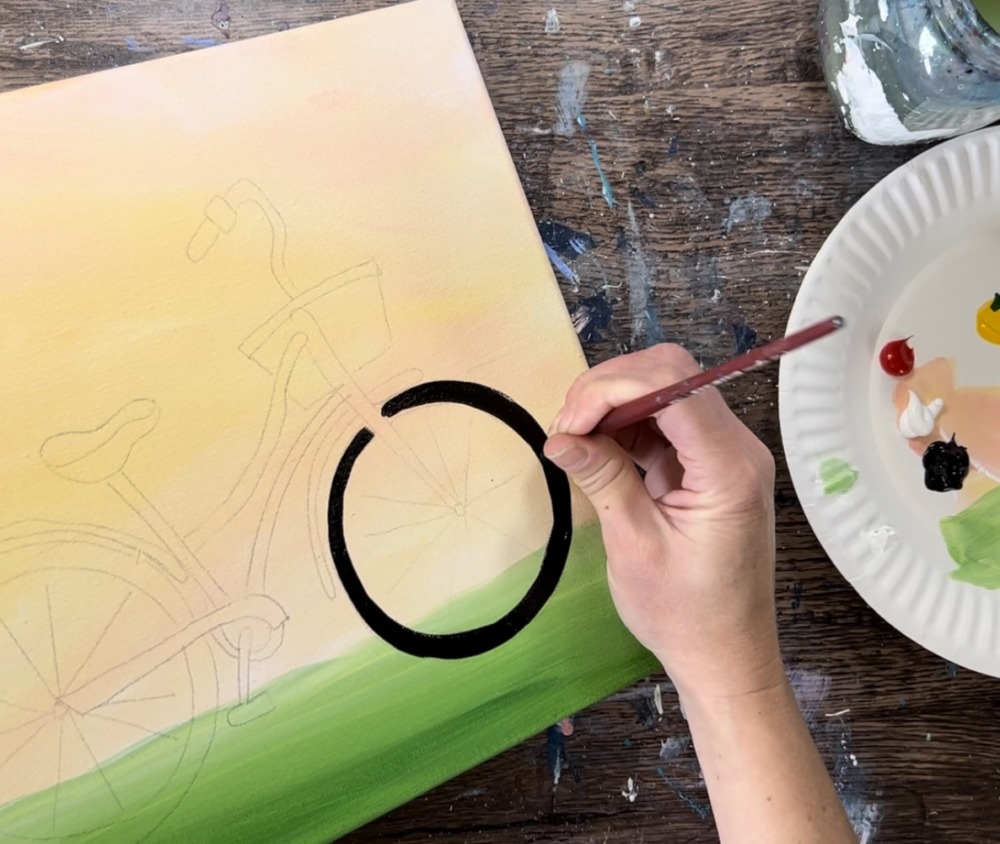
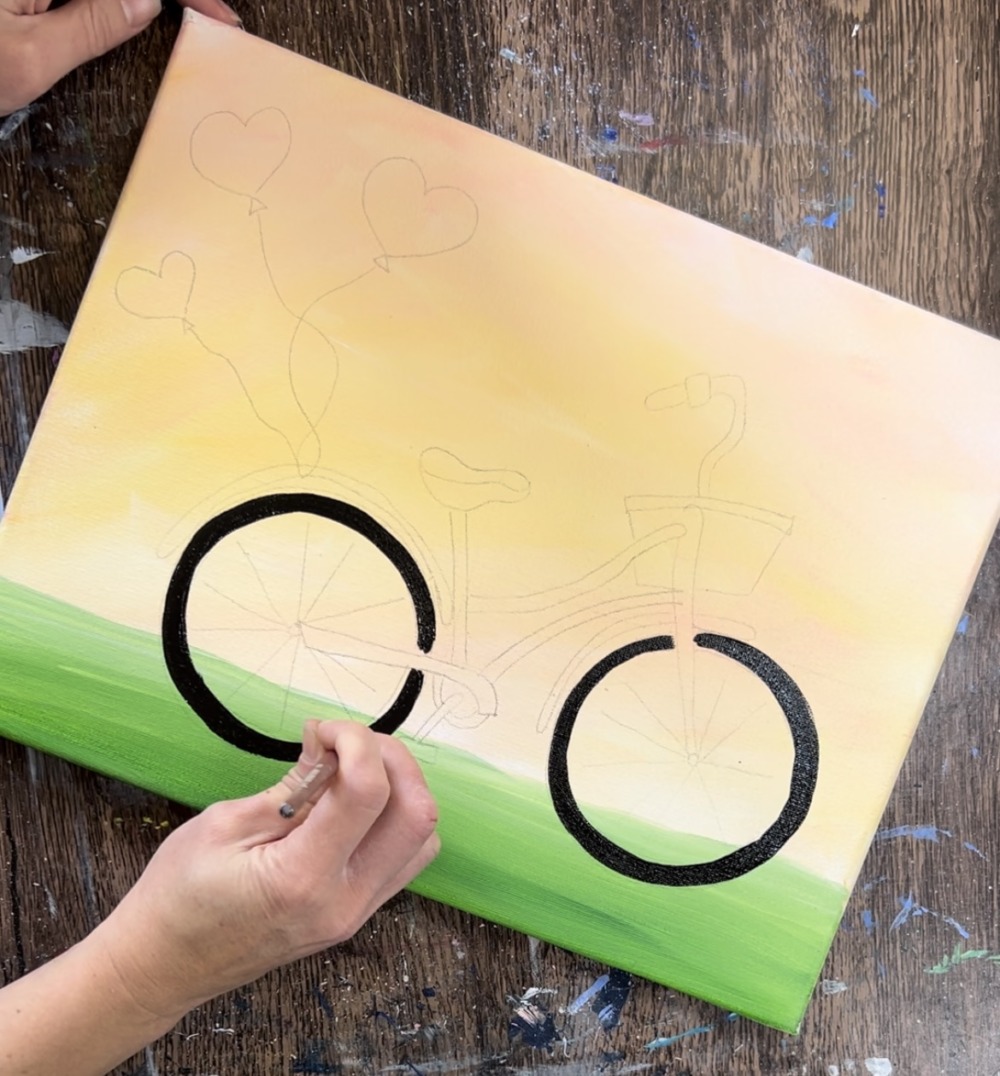
Add a tiny bit of white to your brush and paint some white curved strokes on the tires. This will blend with the black to give it kind of a shiny highlight look.
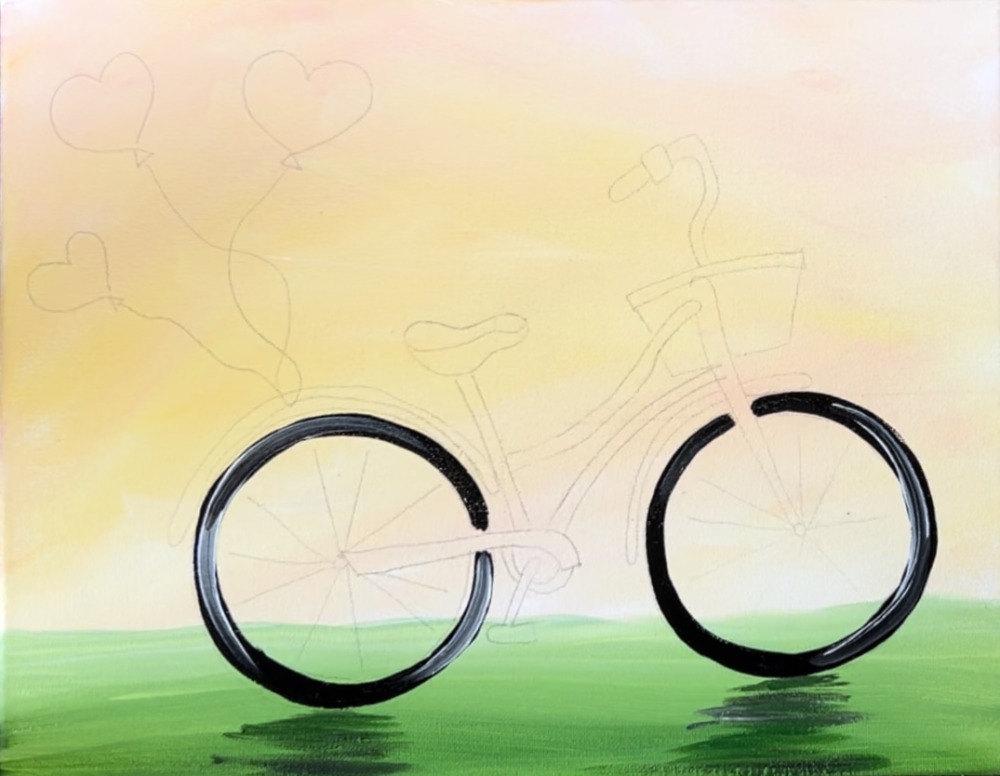
To paint the shadow, add a tiny bit of black into the green. Paint loose, left and right strokes under the tires.
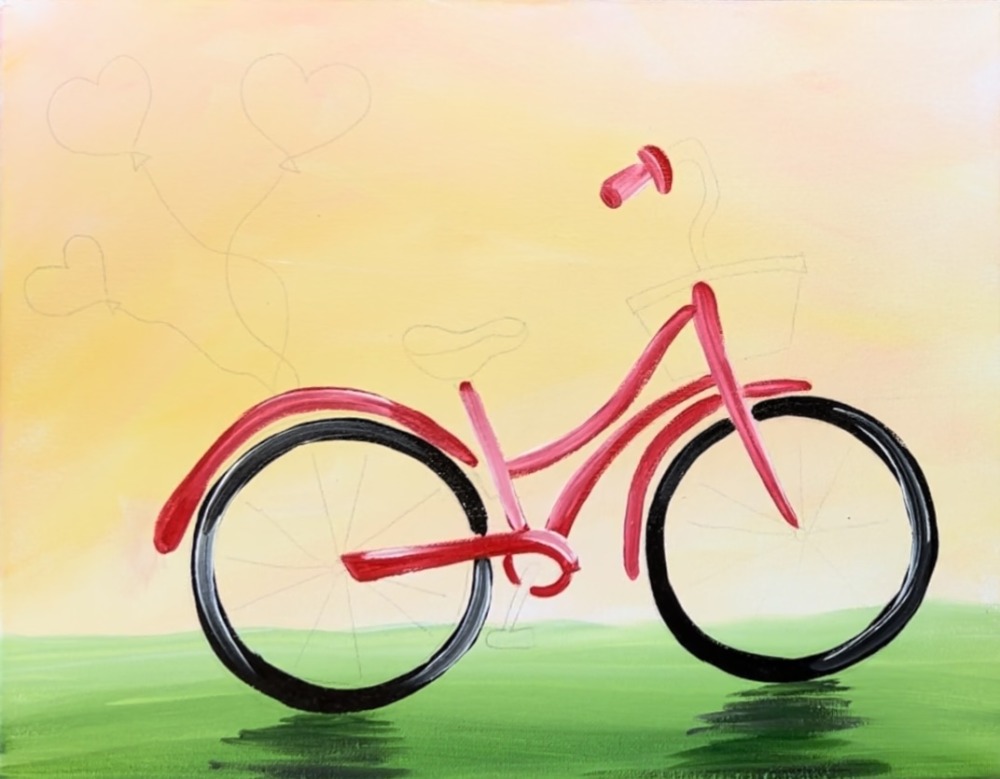
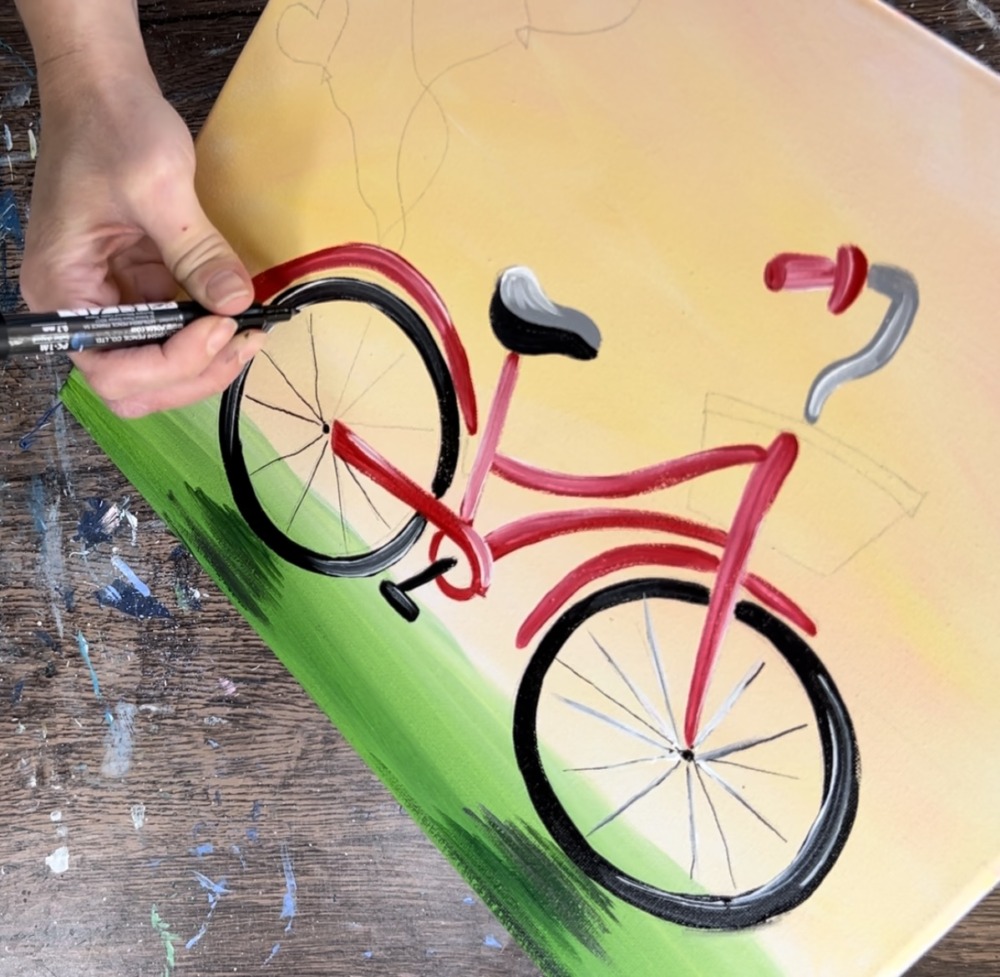
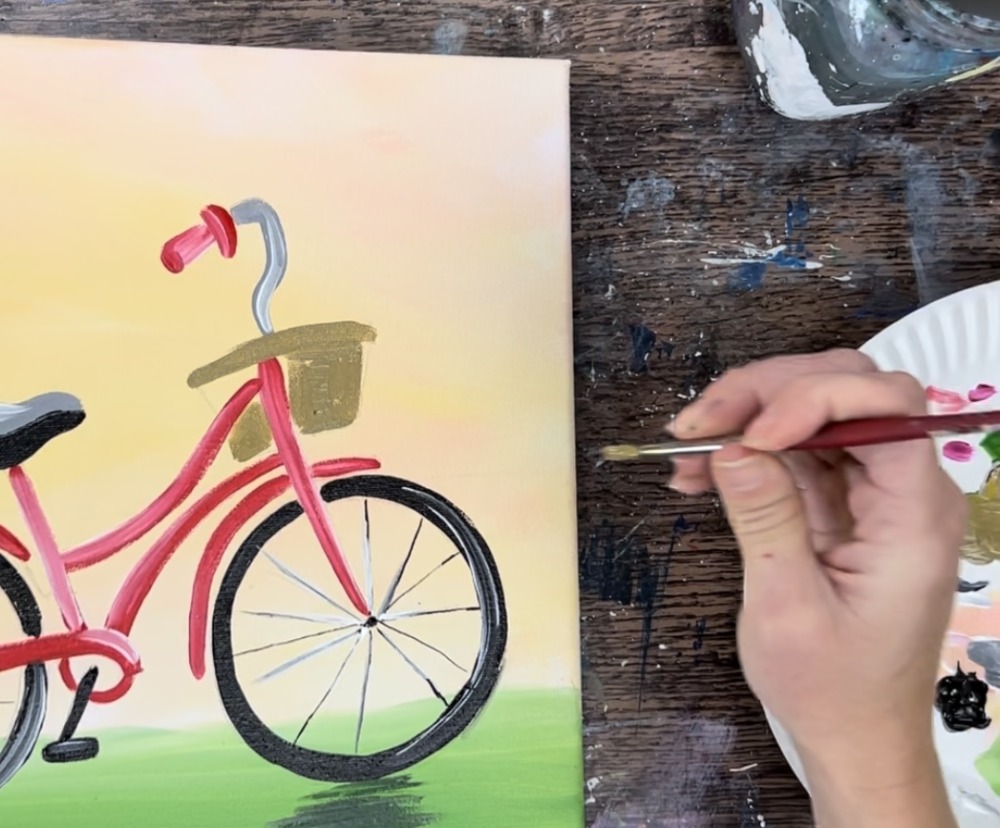
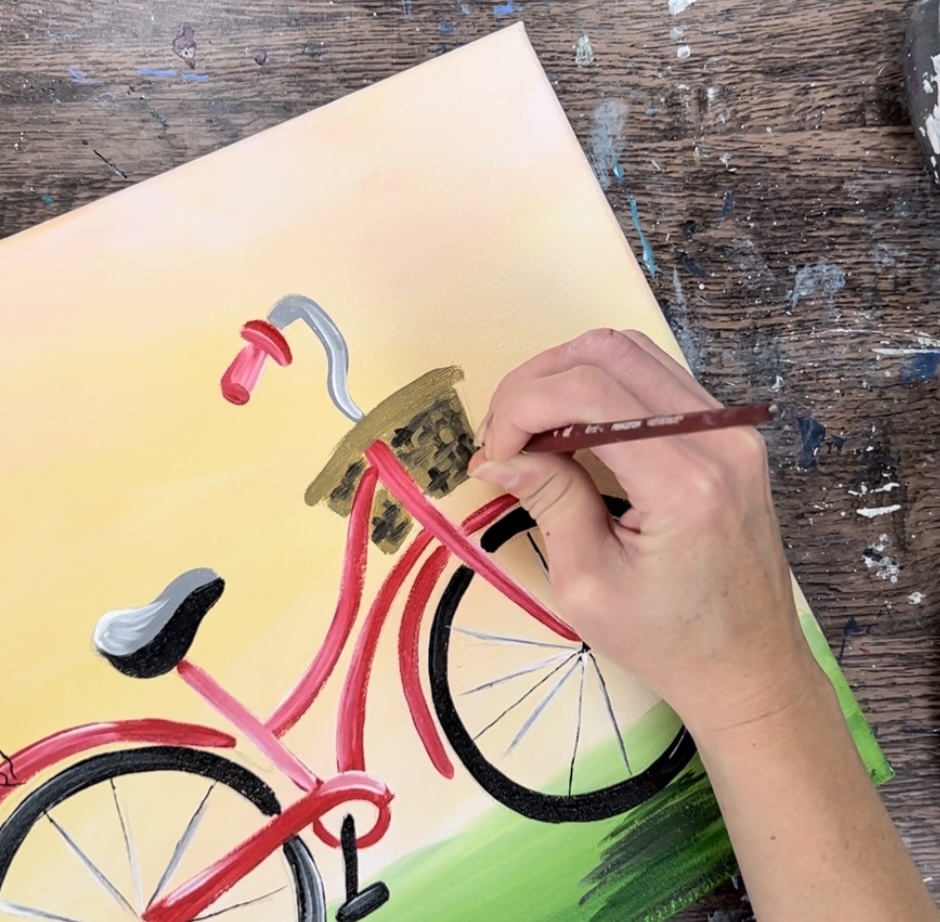
5. Paint Frame, Seat, Handle & Pedal
Next, use the #4 round brush to paint the frame of the brush. The first layer is a solid layer of naphthol crimson.
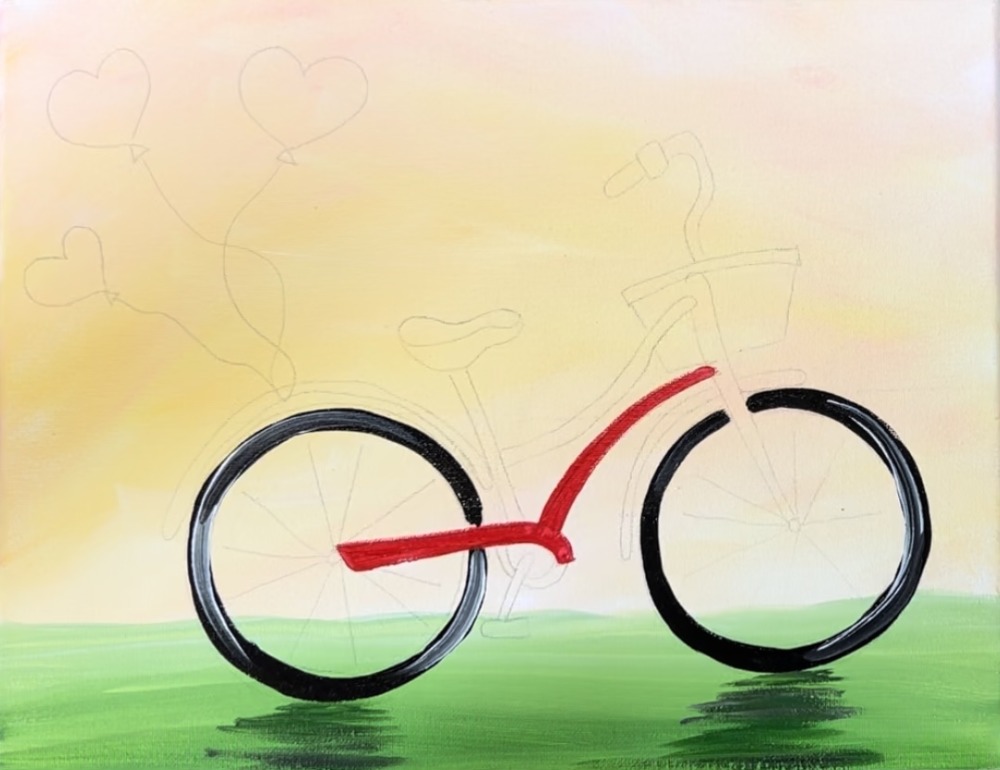
As you are painting the frame, add a tiny bit of titanium white to your brush and gently blend it with the white. This will allow the color of the frame to look shiny and give it highlight.
Paint the handle and the rest of the frame.
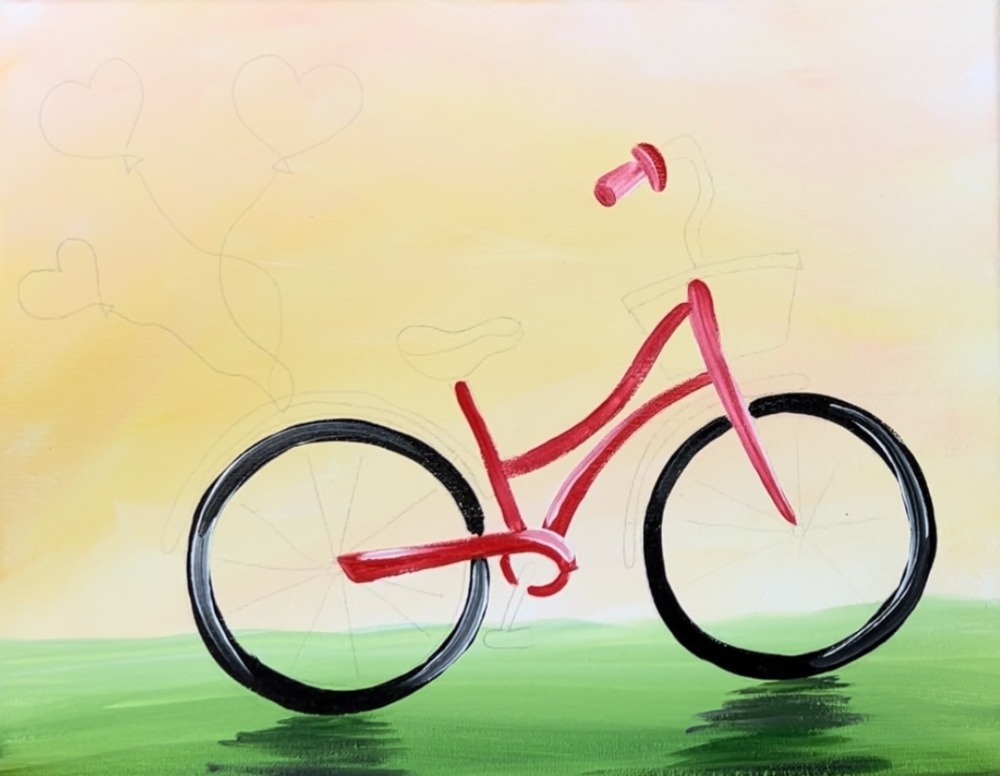
Paint the fenders.
Paint the seat and petal with mars black. Mix gray on your palette by mixing about equal parts white and black. Paint the handle bar and the top part of the bike seat with this gray.
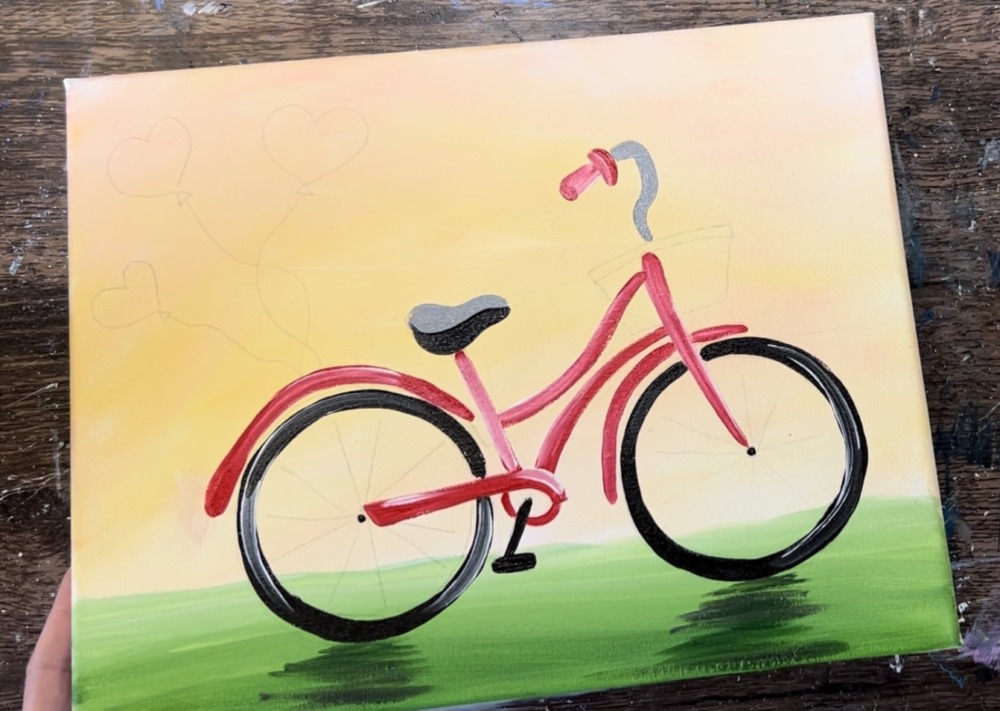
6. Paint Spokes
Use a black POSCA paint pen to paint the spokes.
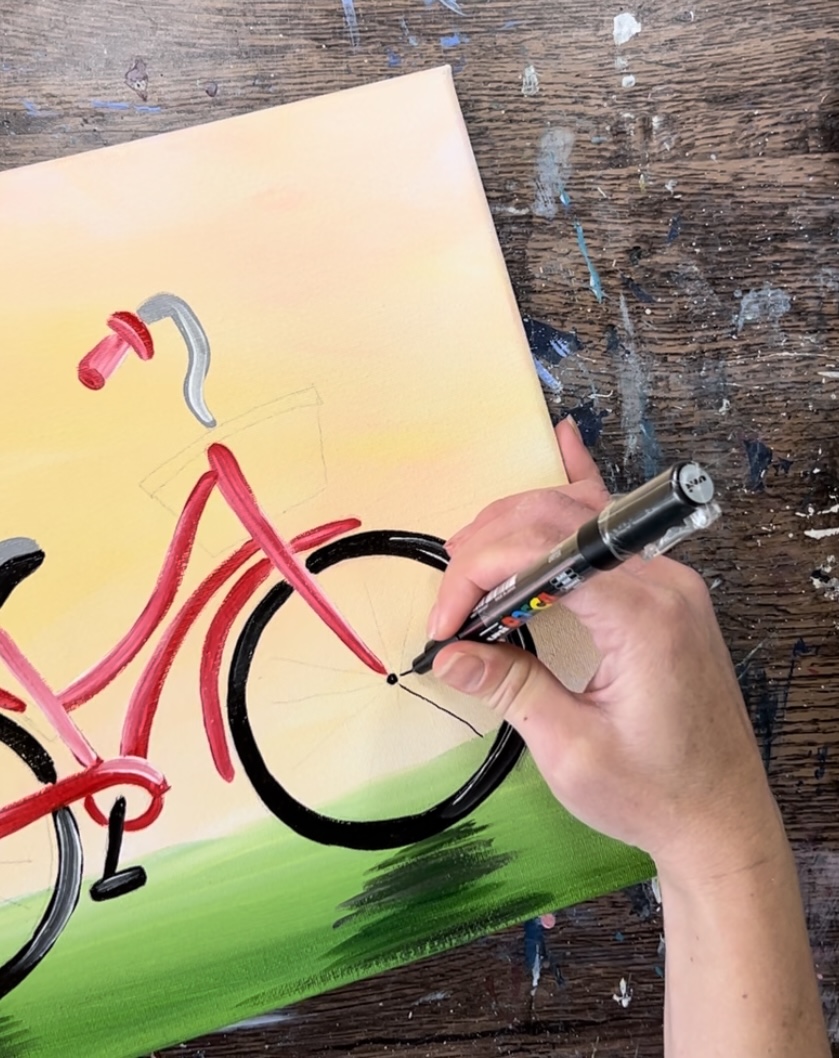
Then (optional) use the #4 round brush (or white paint pen) and add a layer of white over the black spoke lines. This makes them looks shiny.
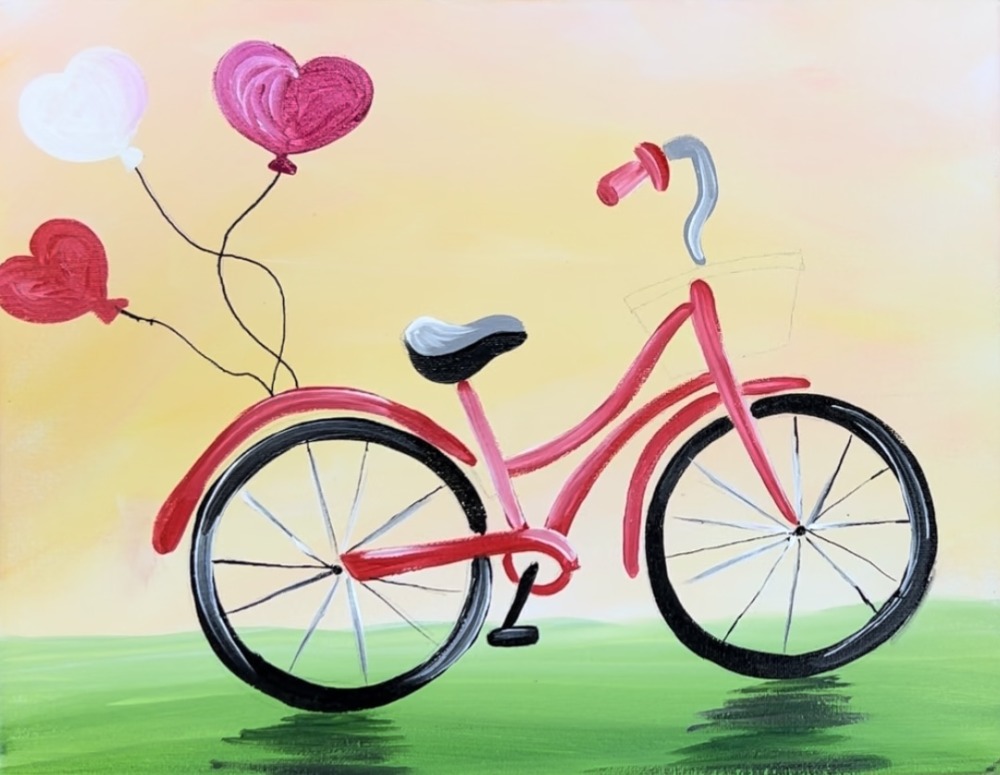
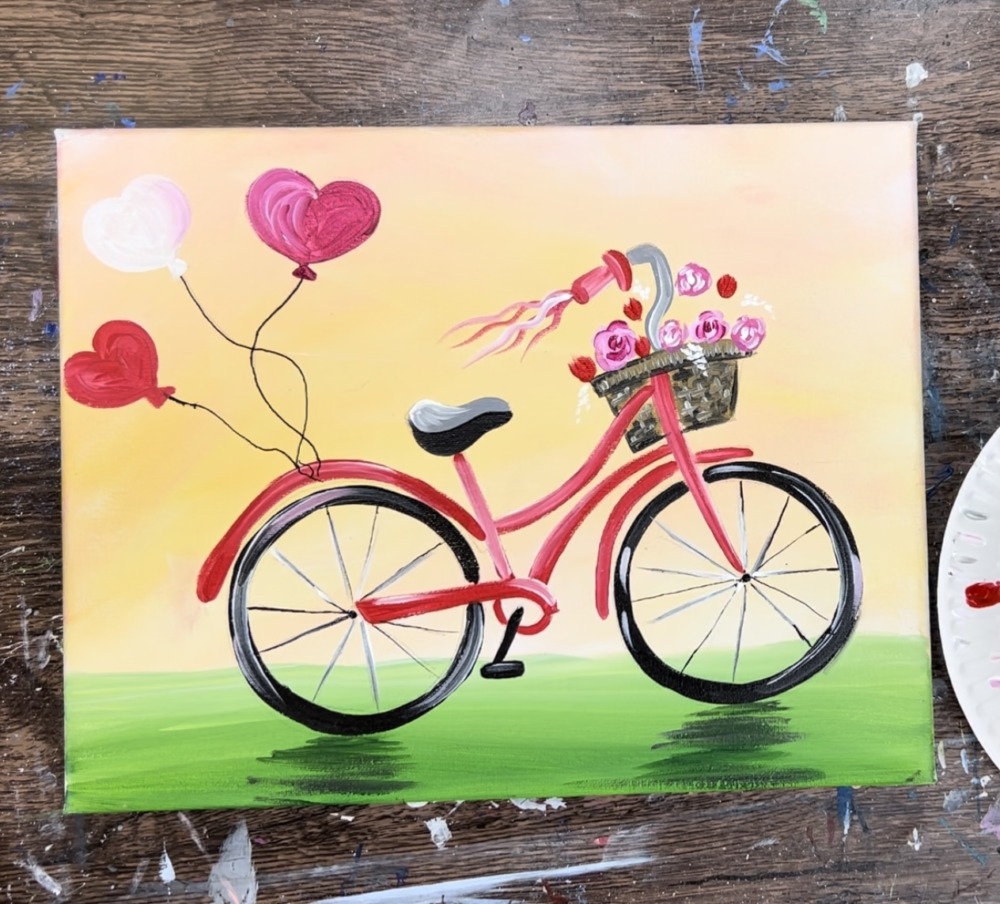
7. Paint Balloons
Use the paint pen to draw the balloon strings. Then paint the balloons. For the balloon on the right, I used quinacridone magenta.
Then I used titanium white of the balloon in the middle.
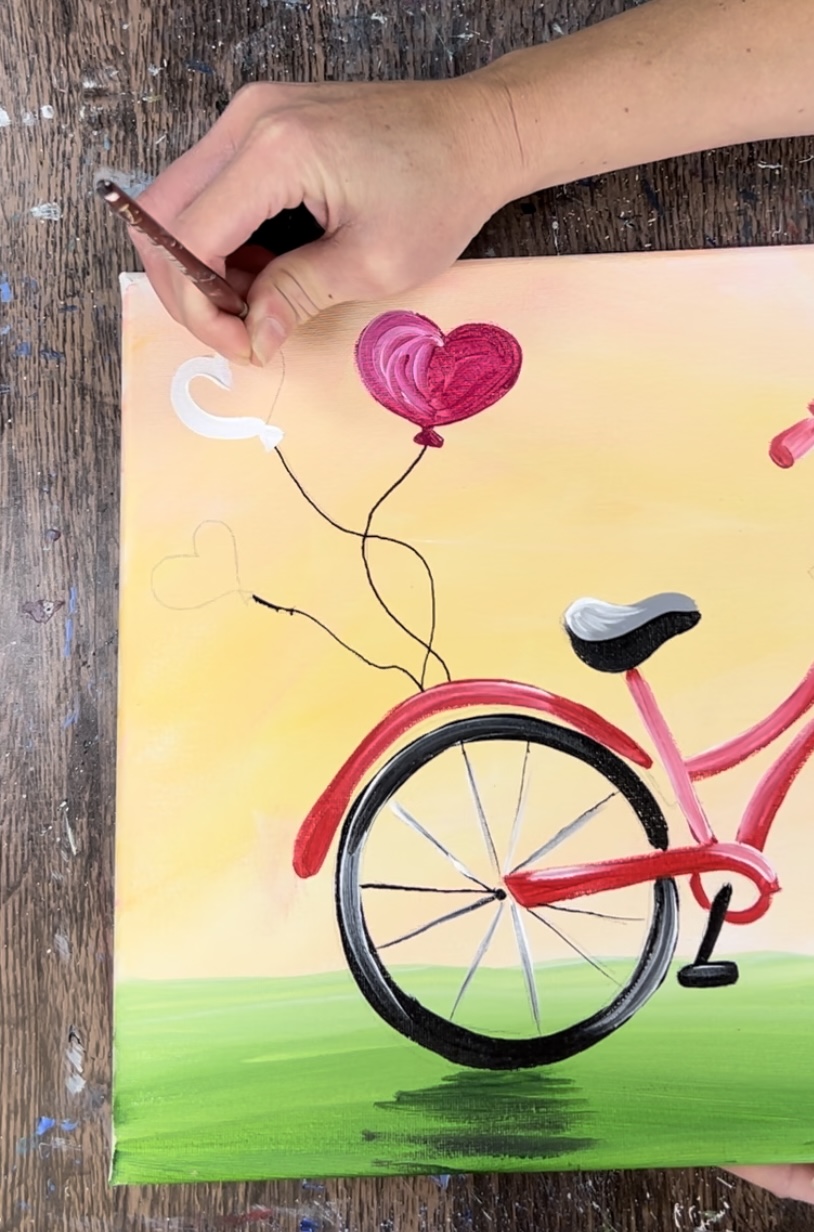
And the balloon on the far left was naphthol crimson.
8. Paint Basket
On your palette, mix a brown by mixing equal parts red and green. Add a little yellow to that color and a little white. This will make a light brown. You can also use any light brown paint color.

Use the #4 round brush to paint the basket this brown color.
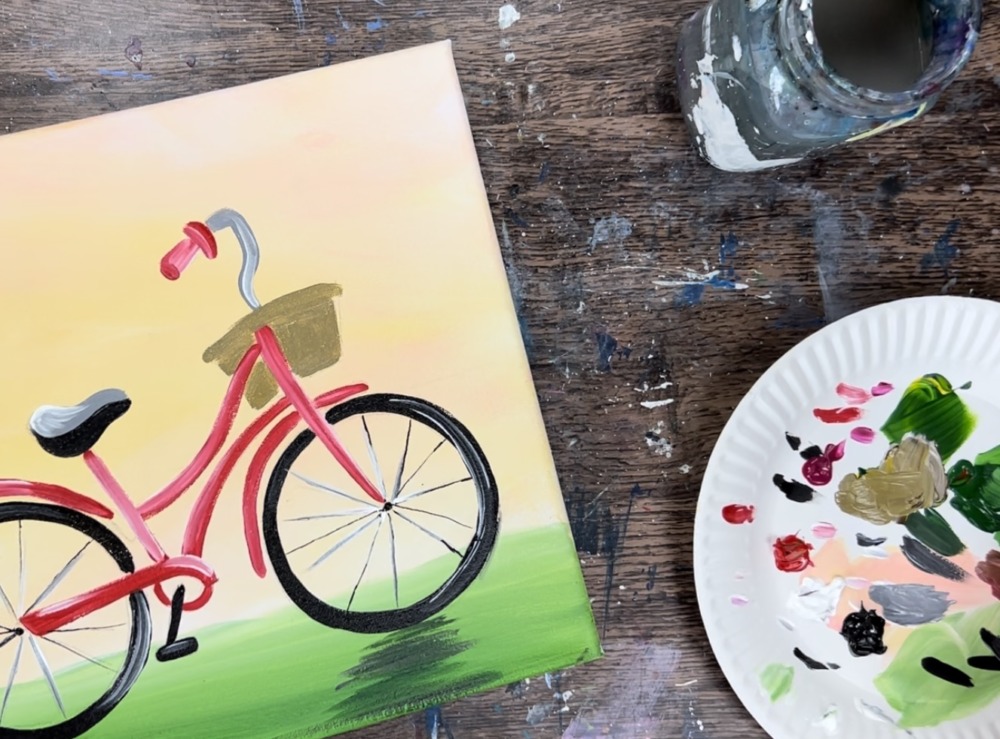
Next, add a little black to the brown on your palette. Use the #4 round brush to paint little “+” marks on the basket. These “+” marks can overlap each other. This will create basket weave texture on the basket.
Then loosely outline the entire basket with black including the top rim of the basket.
Use titanium white to paint little white marks along the top rim of the basket and add titanium white “+” marks on the basket weave part.
9. Paint Ribbons
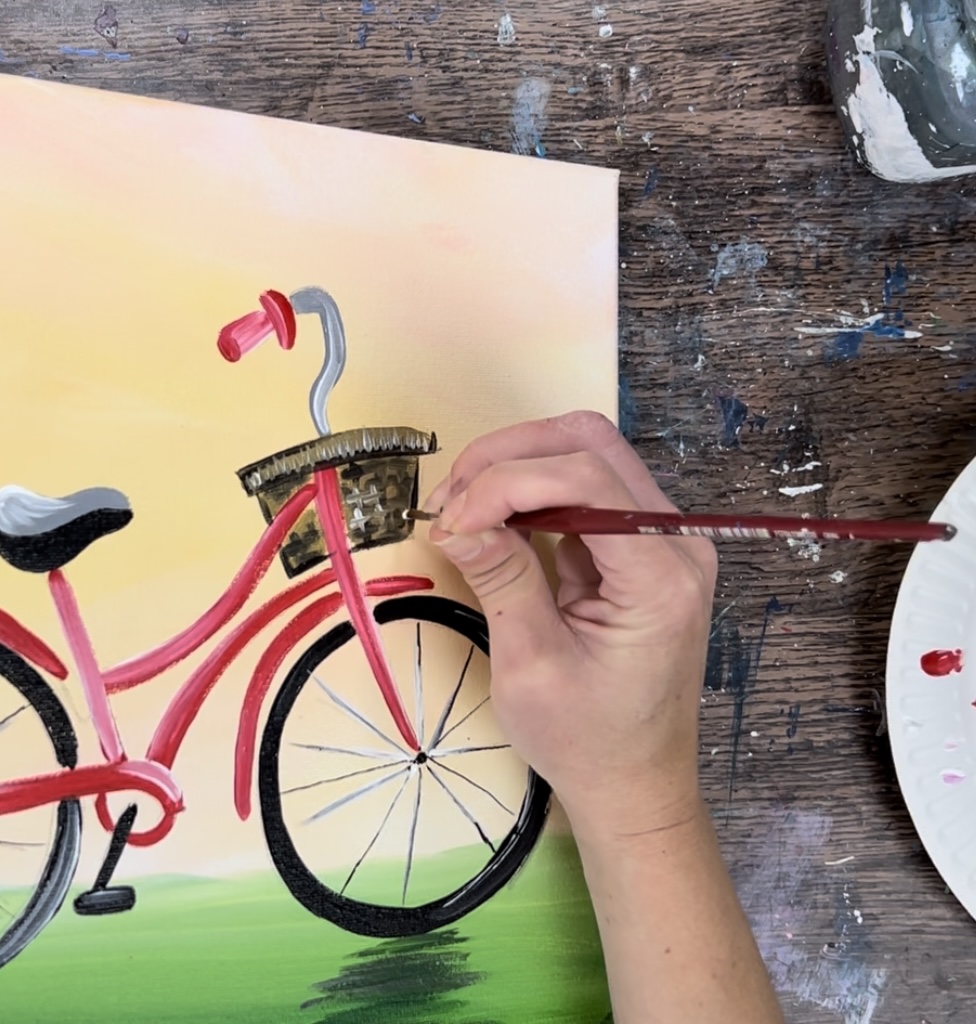
Use the #4 round brush and various amounts of the red, magenta and white on your palette to paint the ribbons that extend from the bike handle.
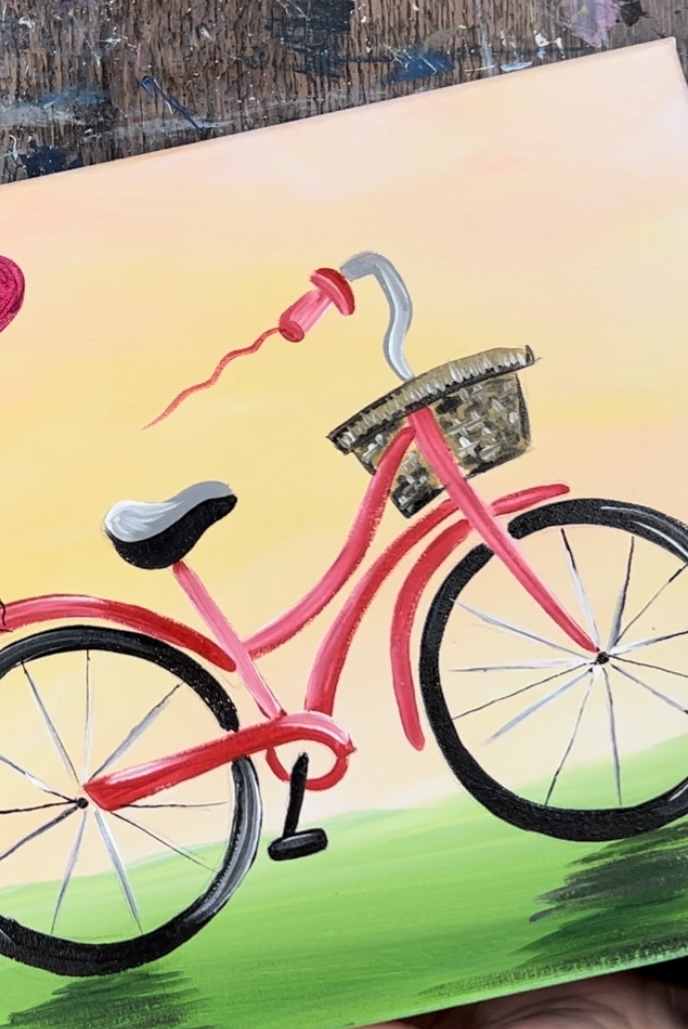
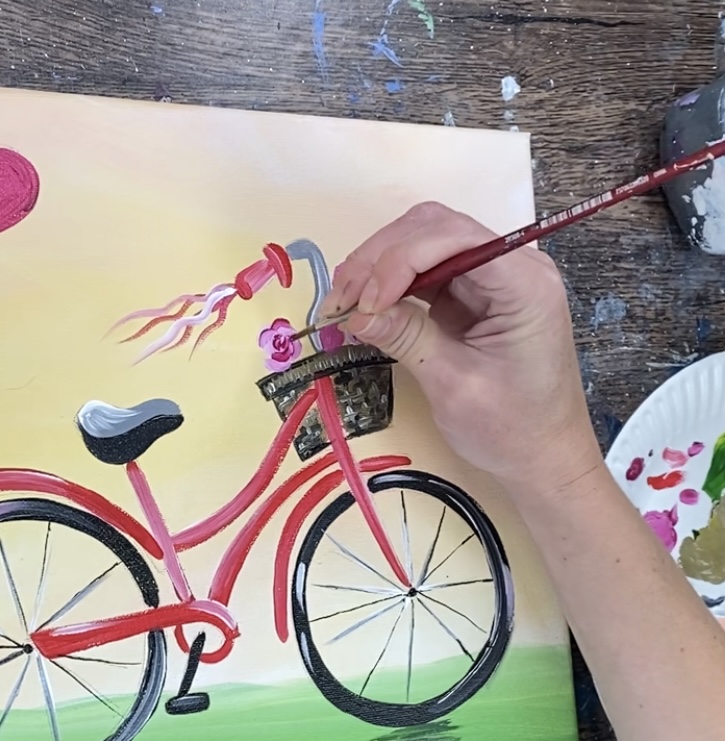
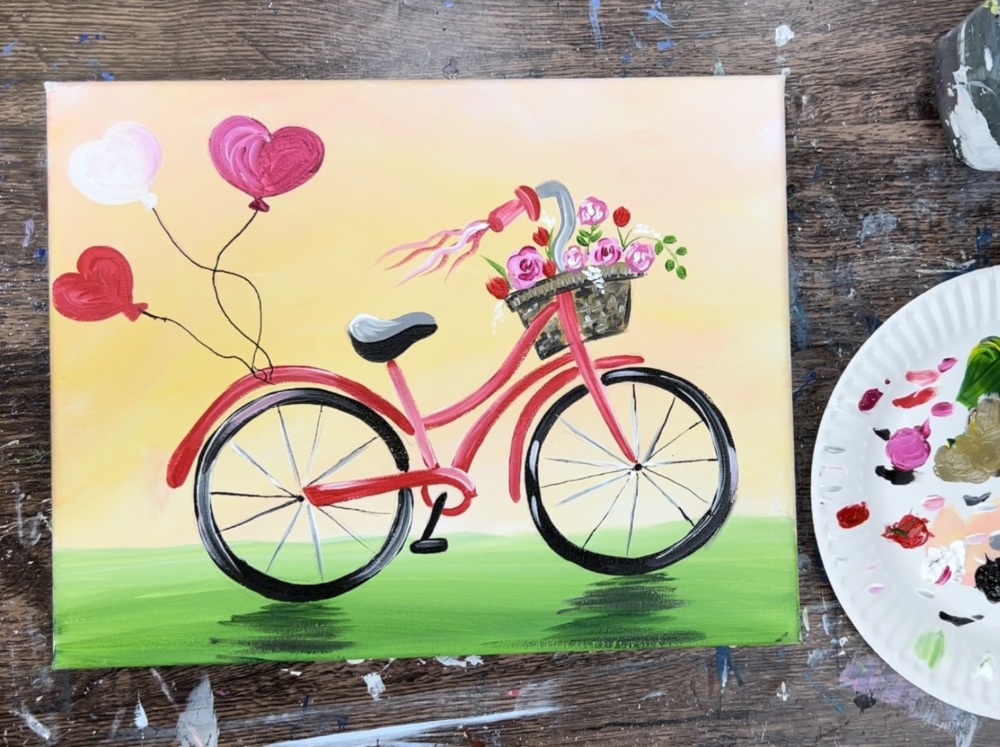
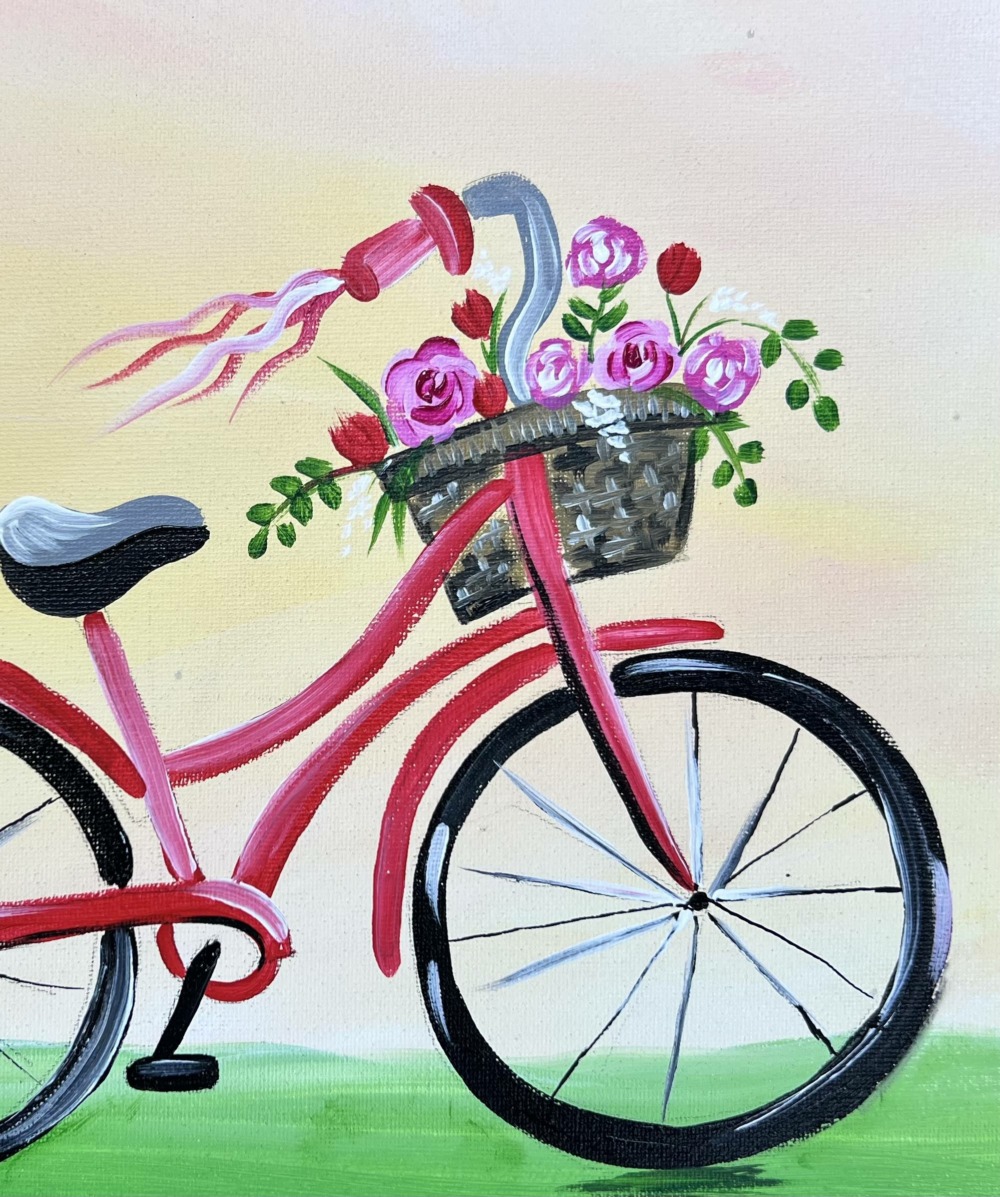
10. Paint Flowers In Basket
Next, paint the flowers in the basket. Use the #4 round brush and the quinacridone magenta mixed with titanium white. Paint small flower shapes. I did three dark colored flower shapes and two lighter color.
Then add the second layer to these flowers. Start in the center. Paint “C” strokes that stagger and go outwards from the center of the flower.
Note: you can see a more in depth tutorial here about how to do these decorative roses.
For the darker color roses, use titanium white for the second layer.
Use the naphthol crimson to paint small oval shaped flowers.
Use titanium white to paint little clusters of white dots that hang out from the basket.
Then use the green to paint stems and leaves.
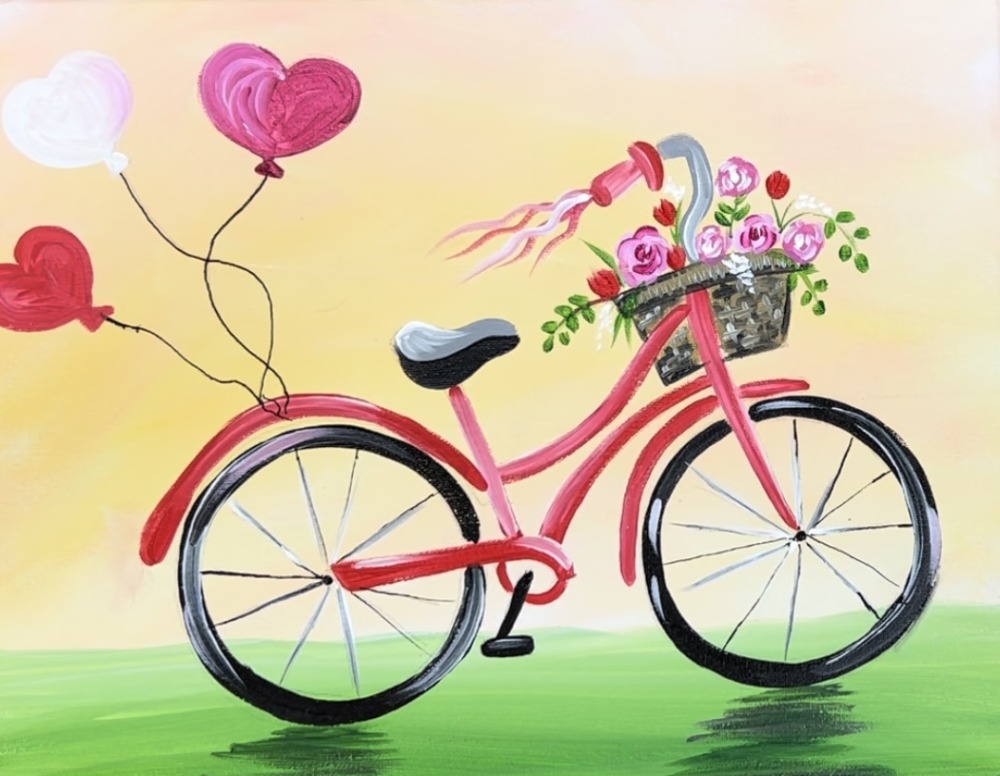
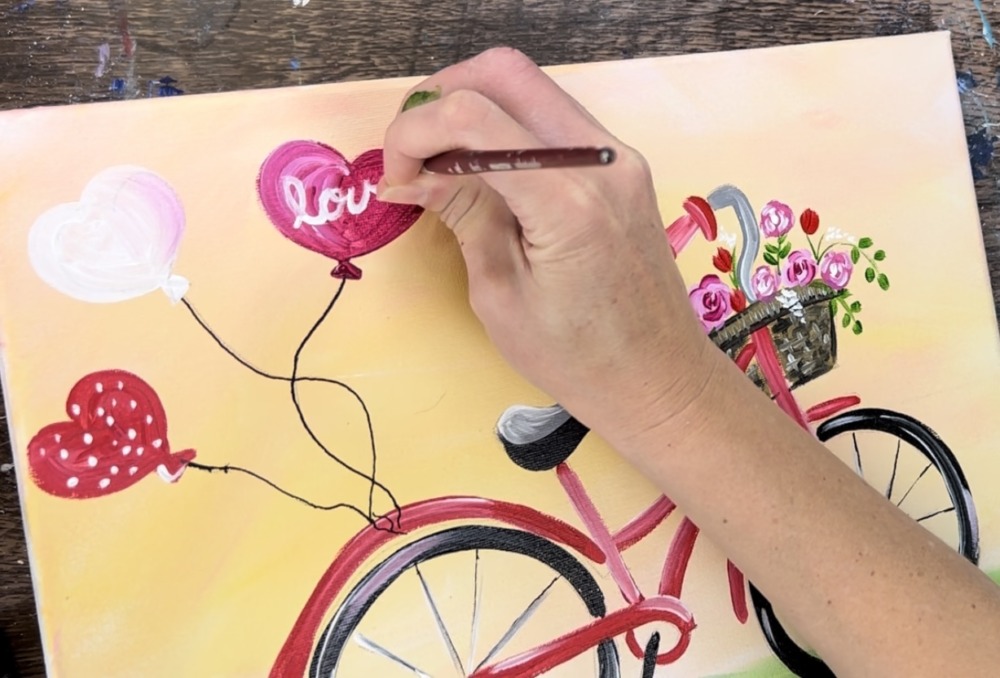
11. Decorate Balloons
You can use a paint for for this or the round brush. Use titanium white to paint the little white dots on the far left balloon. Then paint “love” on the far right balloon. I left the center balloon blank.
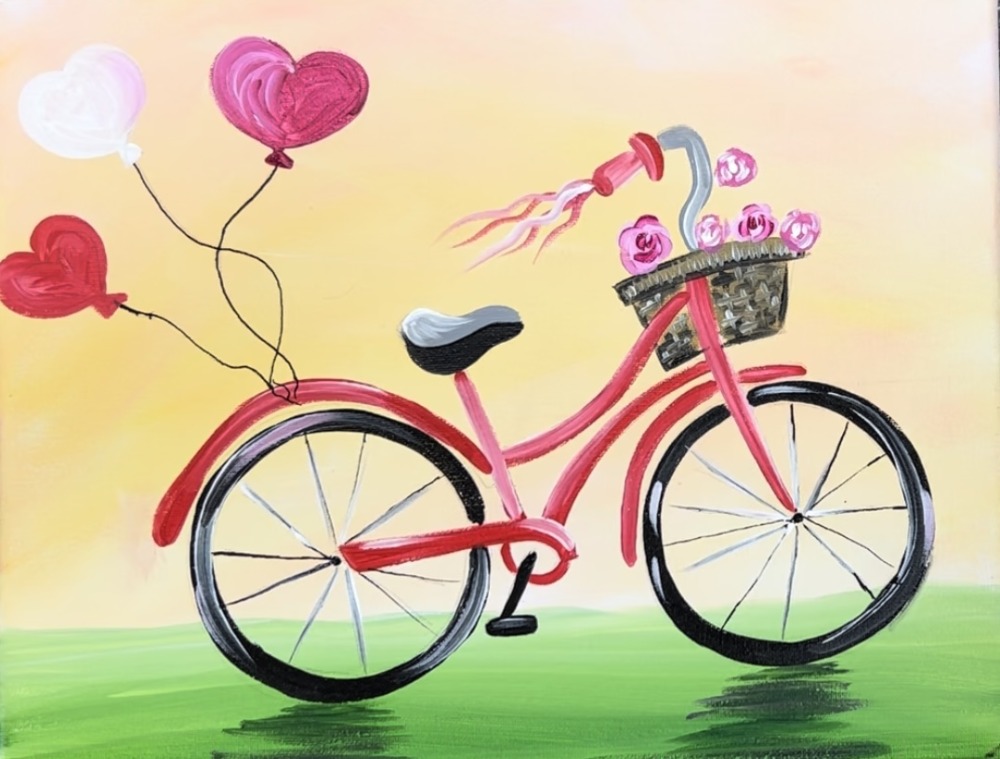
Finished