

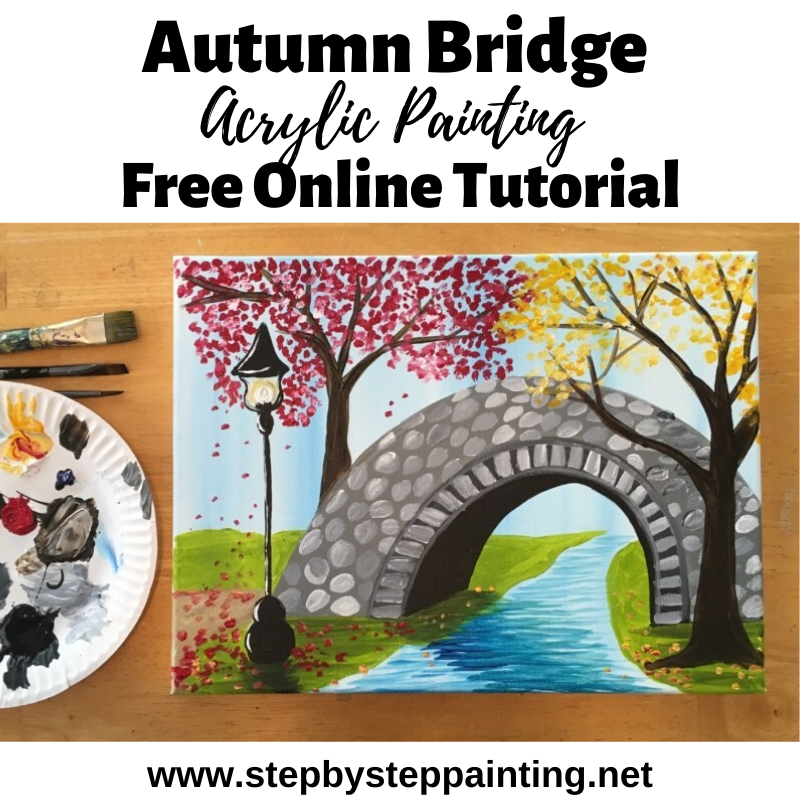
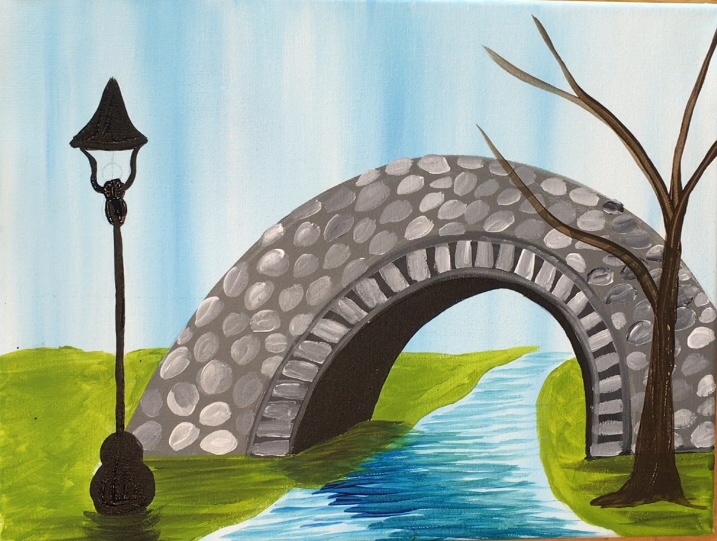
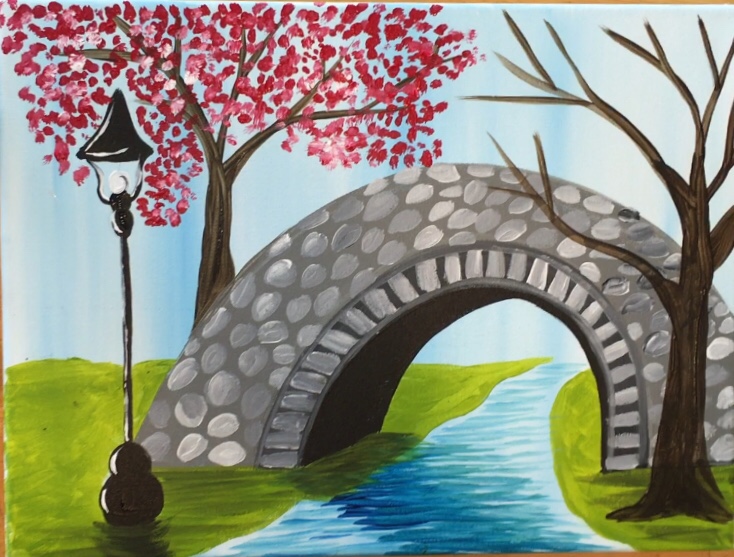
Autumn Bridge Painting Tutorial
This beginner tutorial will show you how to paint a bridge in acrylics! This is a Fall themed canvas painting tutorial, however, you’re welcome to paint the trees in your favorite season.
Would you like to save this?
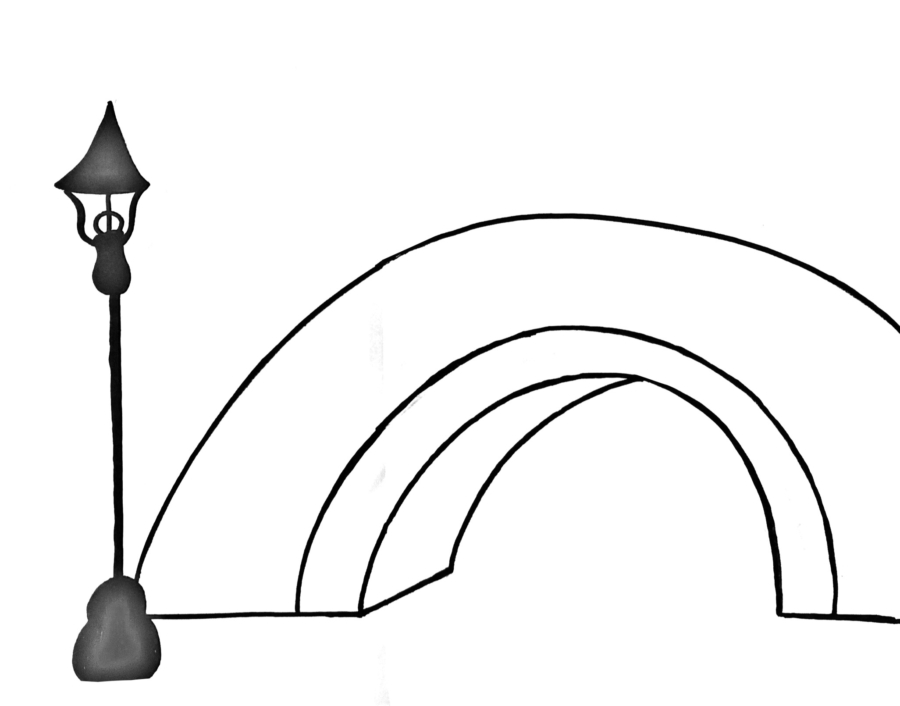
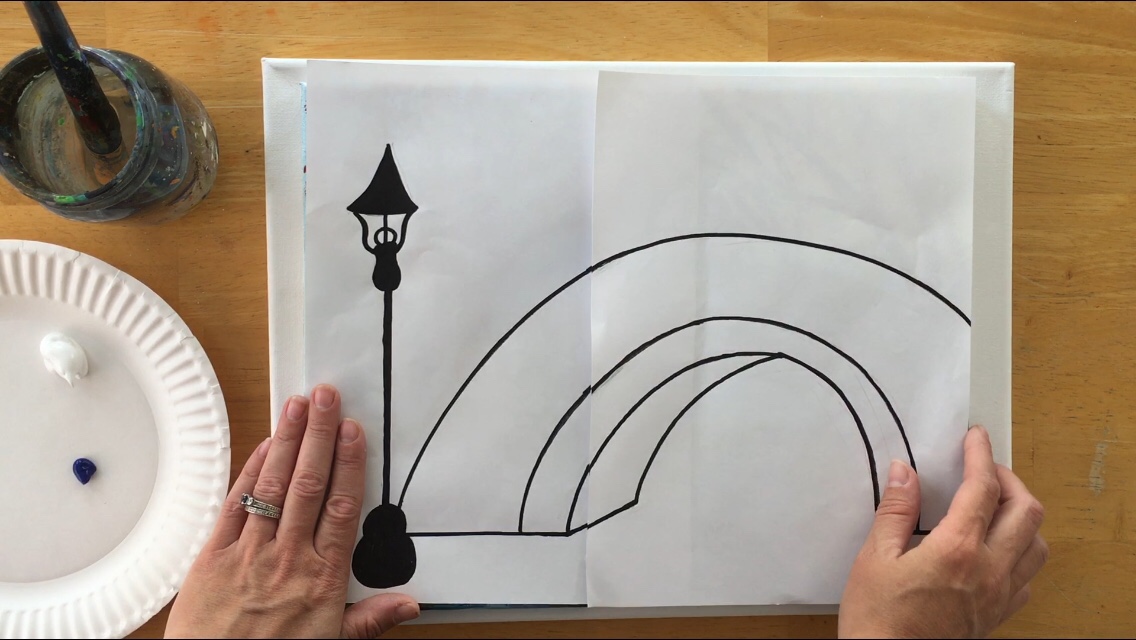
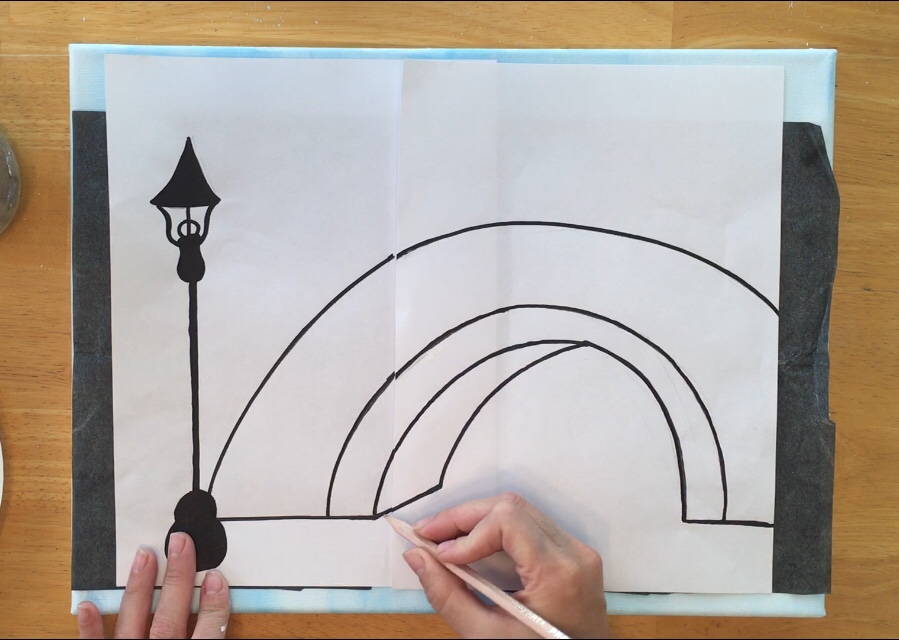
This tutorial includes a traceable of the bridge and the park lamp so that you don’t have to worry about drawing them! Simply print and trace onto the canvas with graphite paper (further instructions explained later).
I did this painting on an 12″ x 16″ canvas. The design can also be done on an 11″ x 14″ canvas with the same traceable. If you are doing this on a larger (or smaller) scale, you may need to adjust the size of the traceable. Learn more how to do this here.
Enjoy & Happy Painting!
Materials:
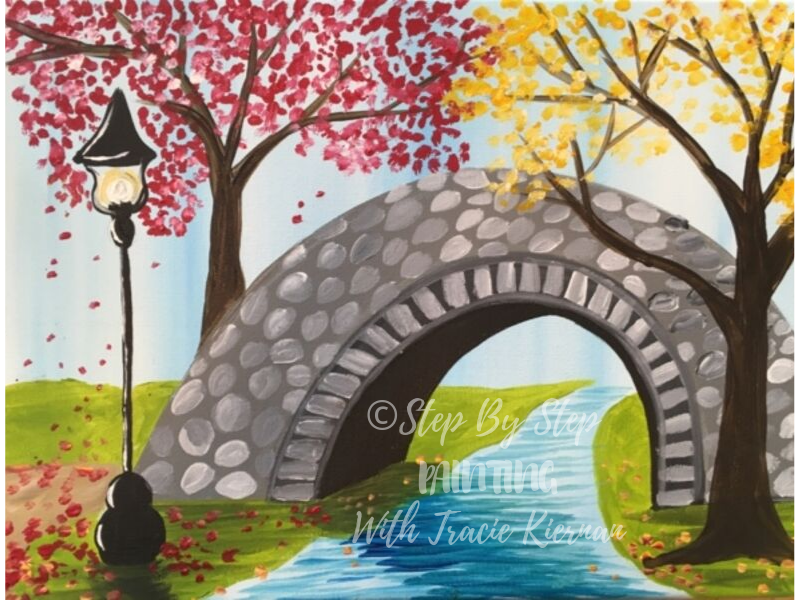
How To Paint A Bridge
This acrylic painting tutorial will guide you through the steps of how to paint a beautiful landscape with a bridge on a crisp fall day.
Materials
- 12" x 16" canvas (Or 11" x 14")
- Acrylic Paint
- Paint Brushes
- Graphite Paper
- Traceable
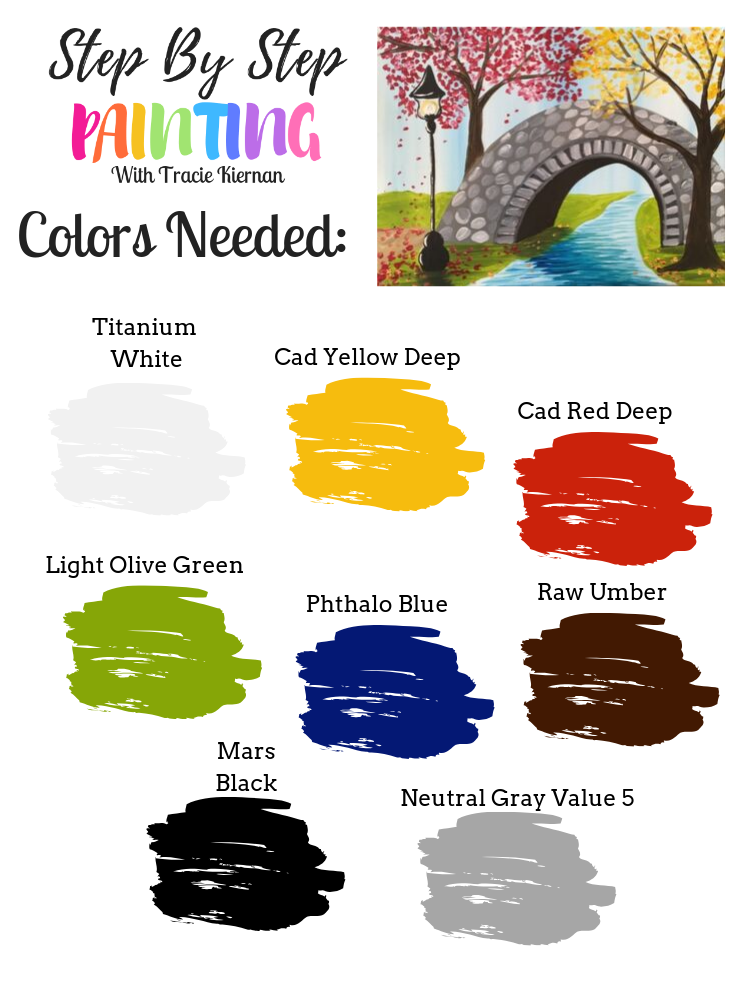
Colors
- Cadmium Red Deep
- Cadmium Yellow Deep
- Light Olive Green
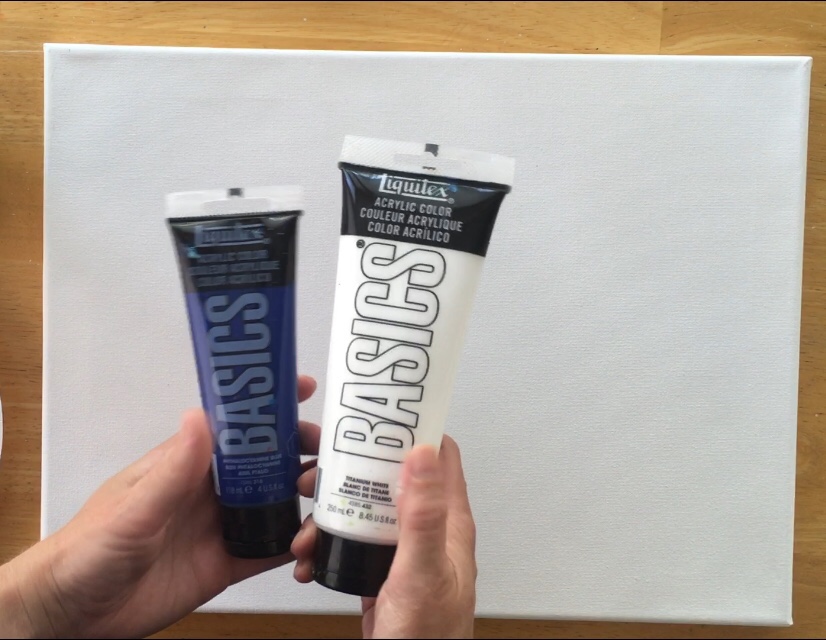
- Phthalo Blue
- Mars Black
- Titanium White
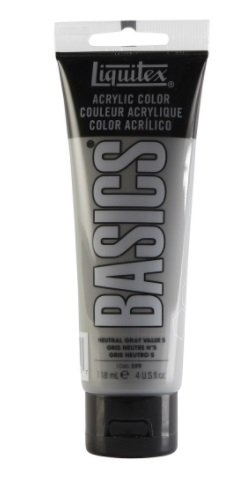
- Neutral Gray Value 5
- Raw Umber
Brushes
Notes
This design works on 12 x 16 and 11 x 14 canvas (the traceable will fit both sizes if printed on standard 8.5" x 11" computer paper)
Recommended Products
As an Amazon Associate, Michaels Affiliate and a member of other affiliate programs, I earn from qualifying purchases.
Color Palette
Directions At A Glance:
Traceable
This traceable can be used for either a 12″ x 16″ canvas or a 11″ x 14″ canvas. Print both pages on a 8.5″ x 11″ computer size paper. Position the two traceables together and apply tape at the seem. Use graphite paper to transfer onto the canvas.
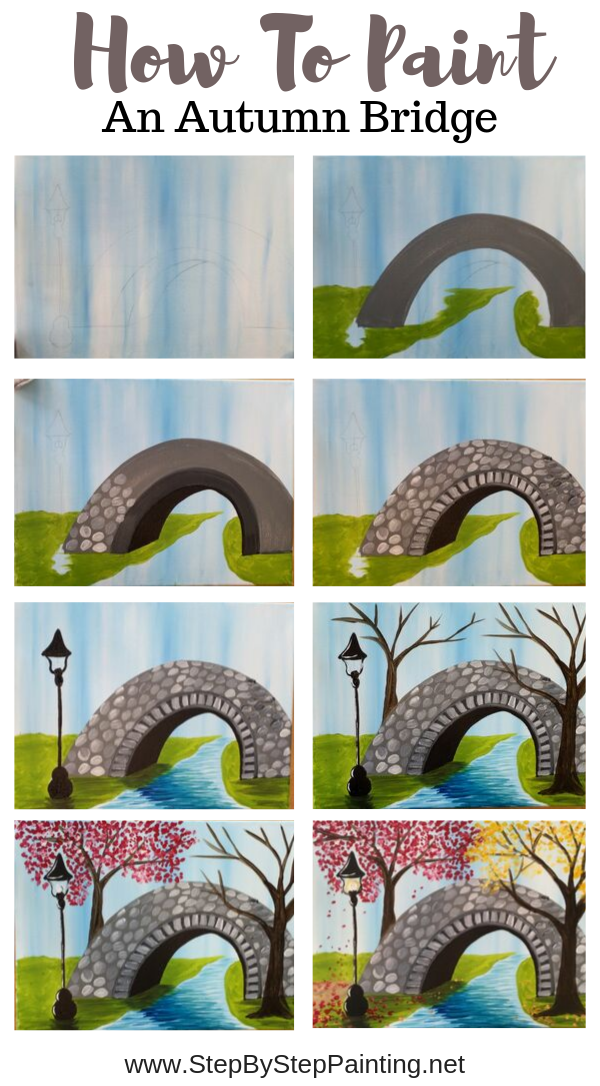
Step By Step Directions
Step 1 “Background”
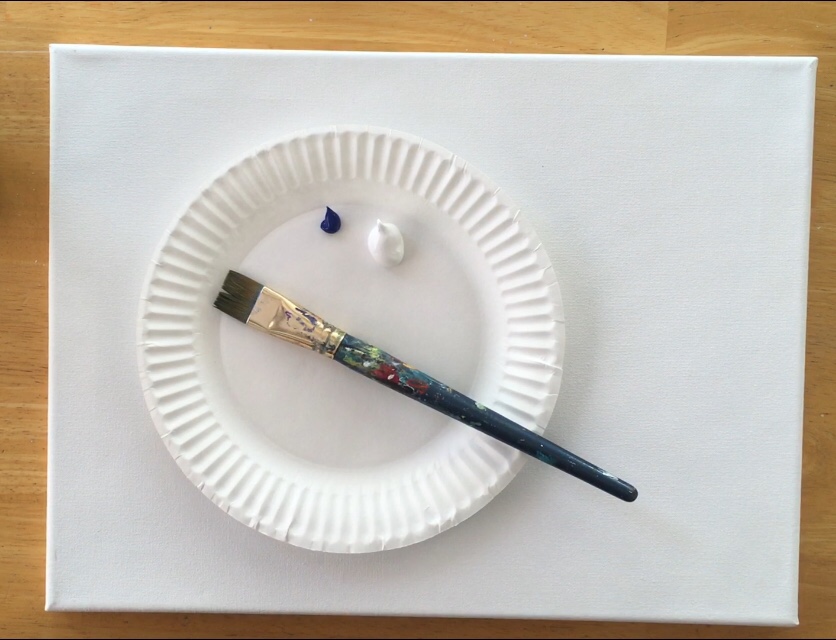
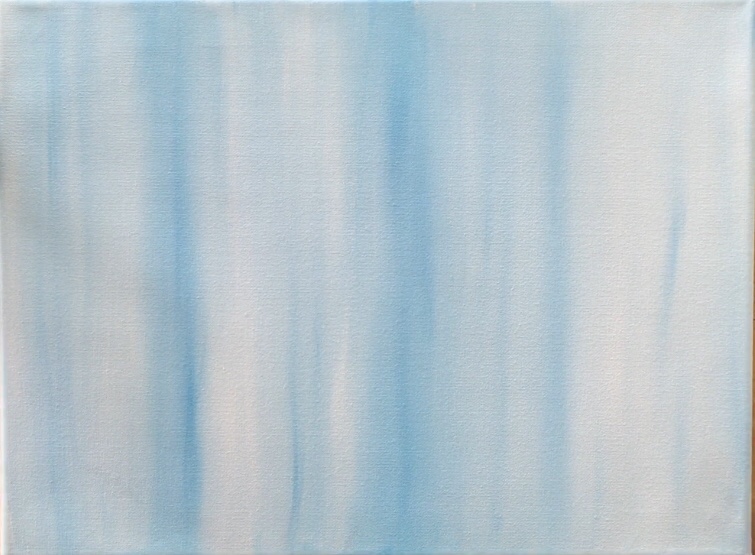
You will need your canvas positioned in “landscape” position. You will also need phthalo blue, titanium white and your 3/4″ flat brush. Only poor a tiny bit of phthalo blue onto your palette for now but a good amount of titanium white.
Dip your 3/4″ flat brush in a big chunk of white but only a tiny bit of blue. Paint full width up and down strokes on the entire canvas so the color turns into a very light blue.
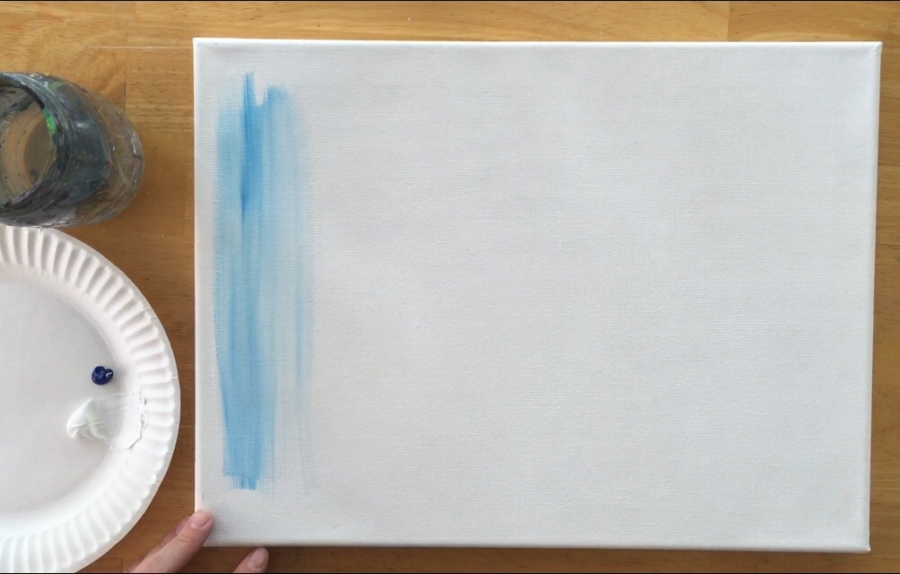
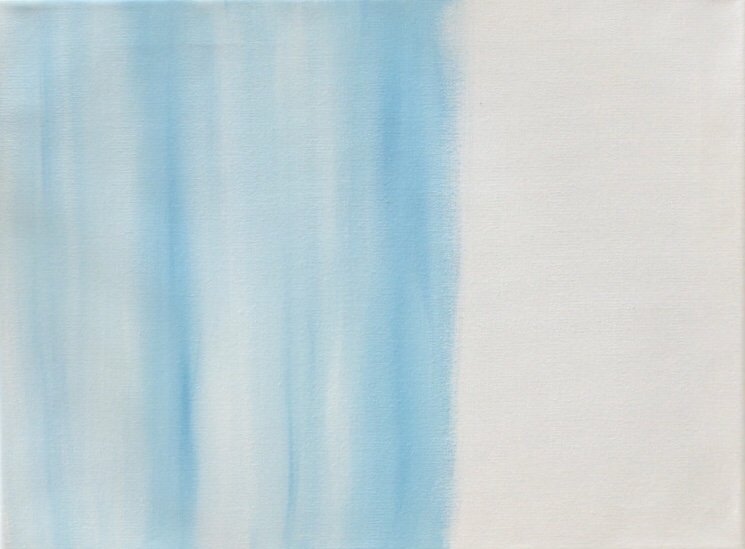
The color should be somewhat streaky, very light and it should fill the entire canvas. You may use a bit of water to help get the color to flow and spread faster.
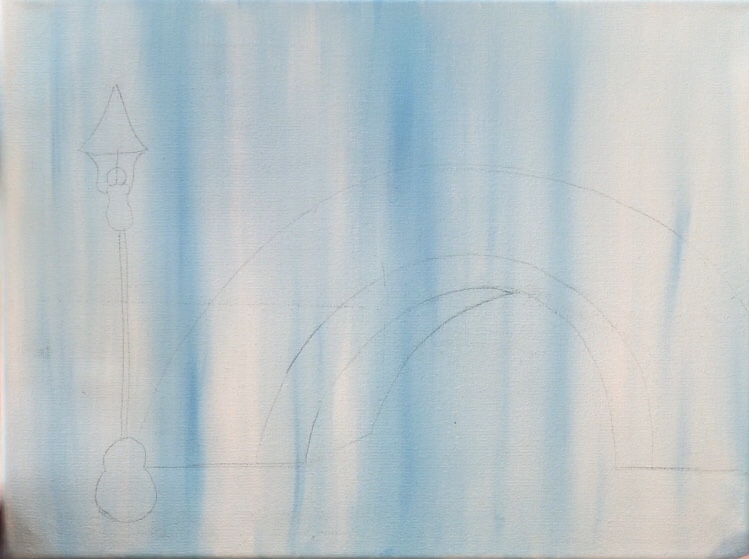
Step 2 “Traceable”
Position your traceables onto the canvas. If you are using a 12″ x 16″ canvas, you’ll want to center it. If you are using a 11″ x 14″ canvas, the traceables will cover the entire canvas and you will trace it as is. Remember, the traceables are on two sheets so you’ll also need to place a piece of tape underneath to join them together.
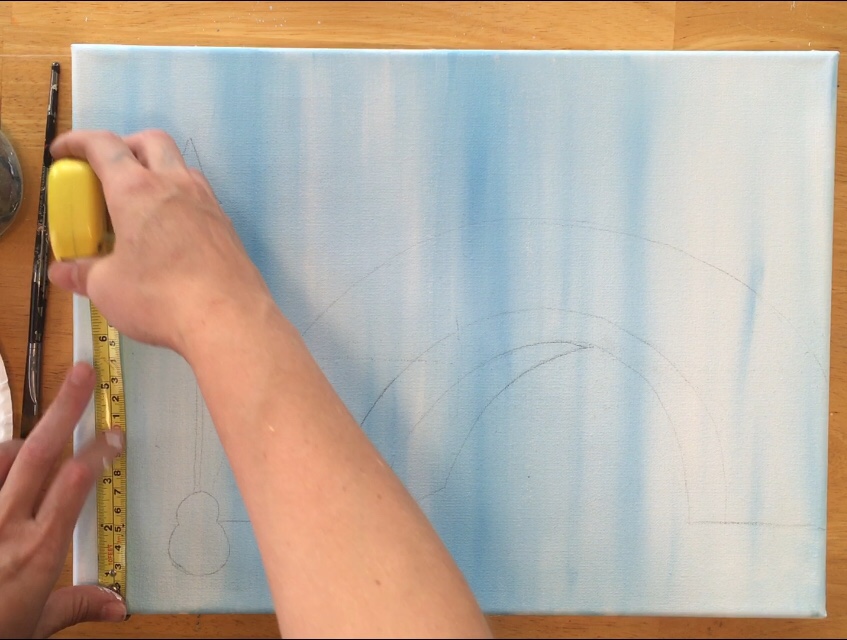
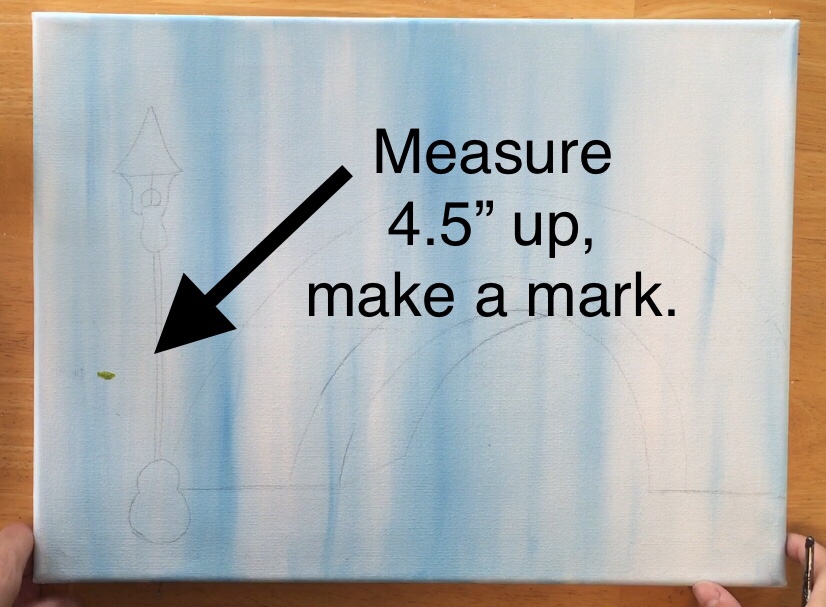
Step 3 “Horizon Line”
To find out where the “horizon line” is, measure 4.5″ up from the canvas and make a mark. I used paint to make a little mark.
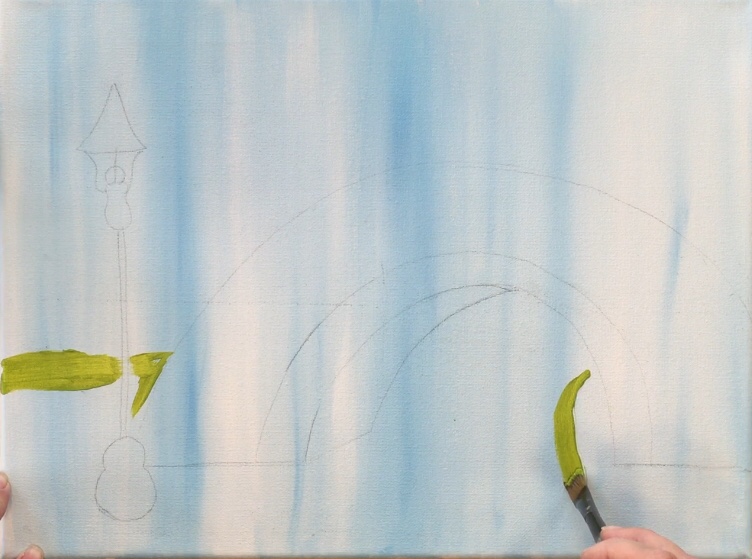
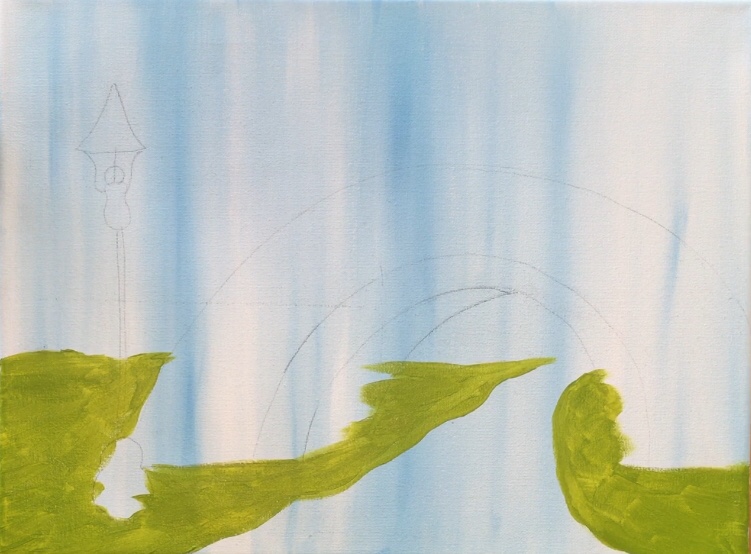
Step 4 “Green Ground”
Next, you will fill in (almost) everything below the horizon line with the color “light olive green”. I used a #12 bright brush for this. Go around the light and the bridge as best as you can and don’t paint over the river.
You will need to define your river line. You can draw this with pencil first if you feel more comfortable or just go ahead and paint the river line with the green. Make a wide opening on the bottom and have the river go diagonally under the bridge and get smaller in the distance. I did not have my river go to a point, it is flat along the horizon.
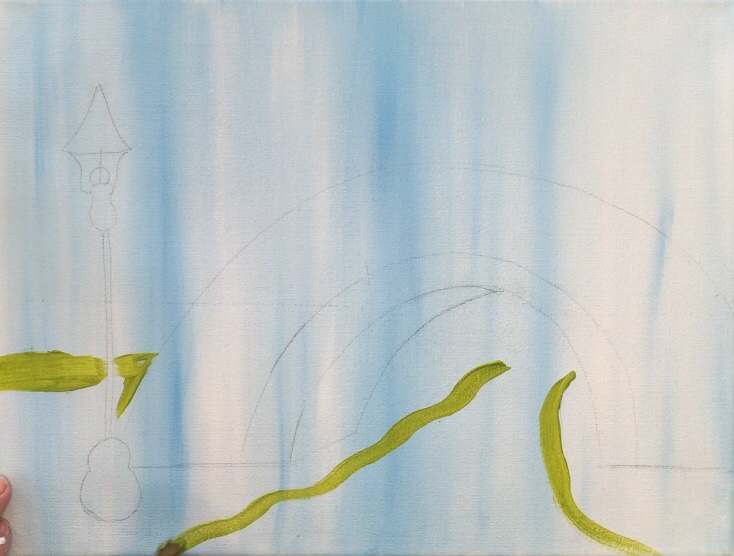
Continue to fill in the rest of the area on the bottom with the green. I made my stokes kind of “choppy” here going in all sorts of directions but also having them be short little strokes. You may need to apply a few layers of this color because it is kind of translucent.
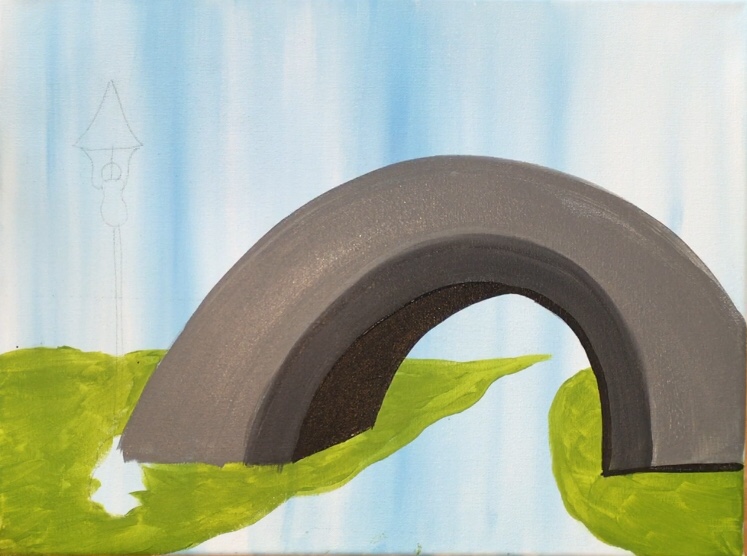
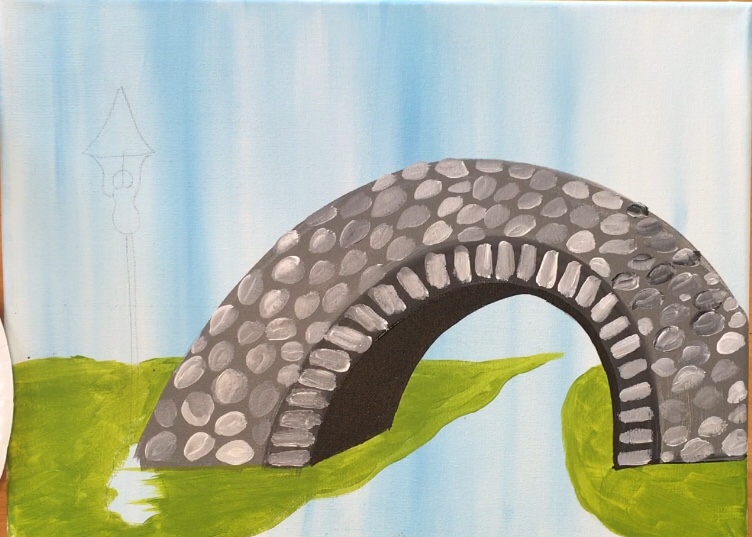
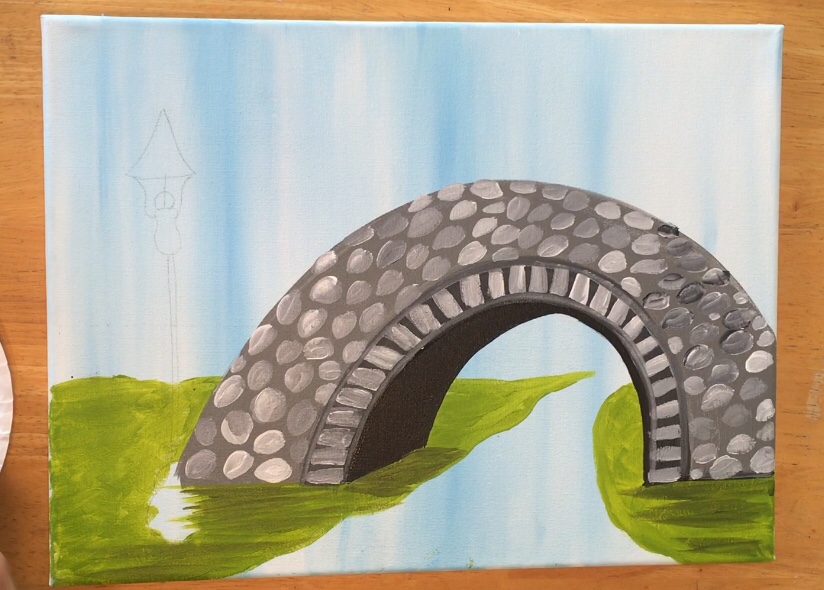
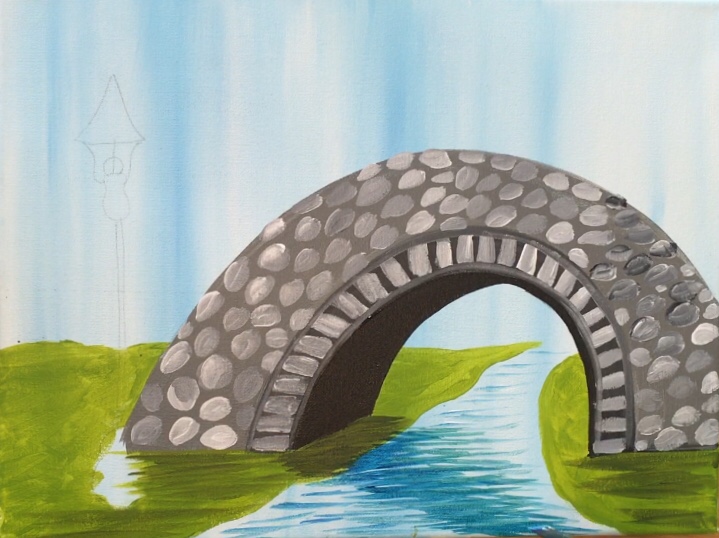
Step 5 “The Bridge”
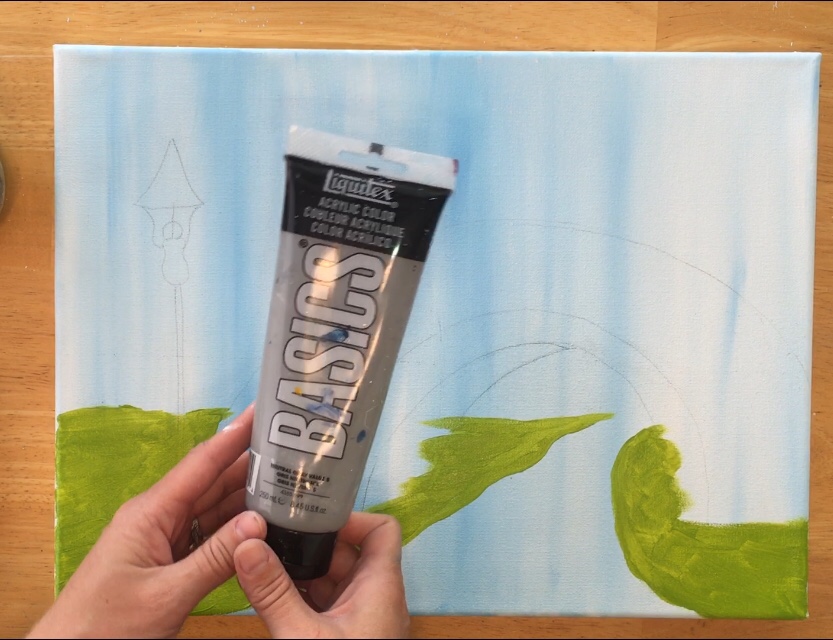
The color of the bridge was done with “neutral gray value 5”. You can also mix a medium/light gray on your palette by mixing black and white.
Use your 3/4″ flat to paint the main part of the bridge but not the underneath part or the “border” on the bottom of the arch.
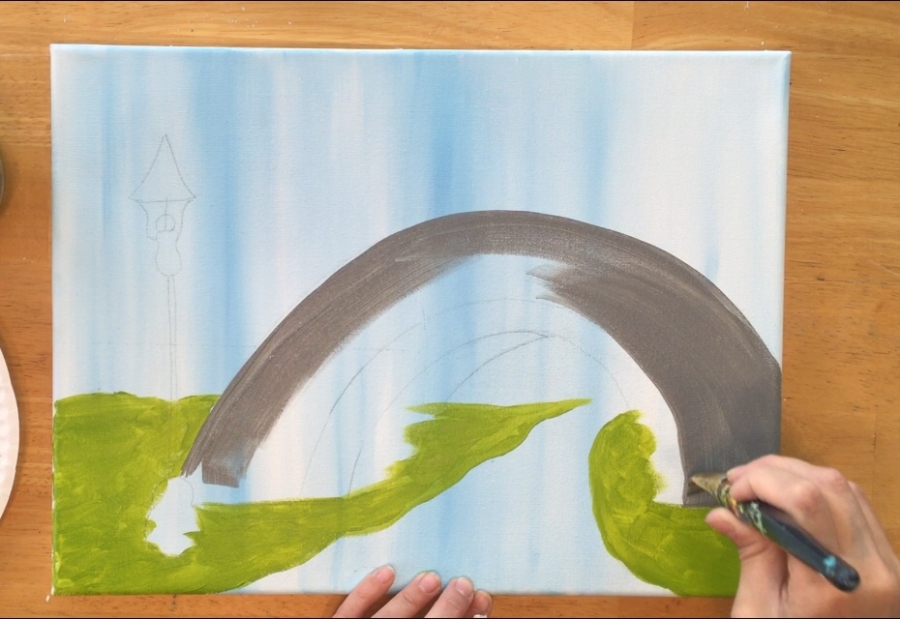
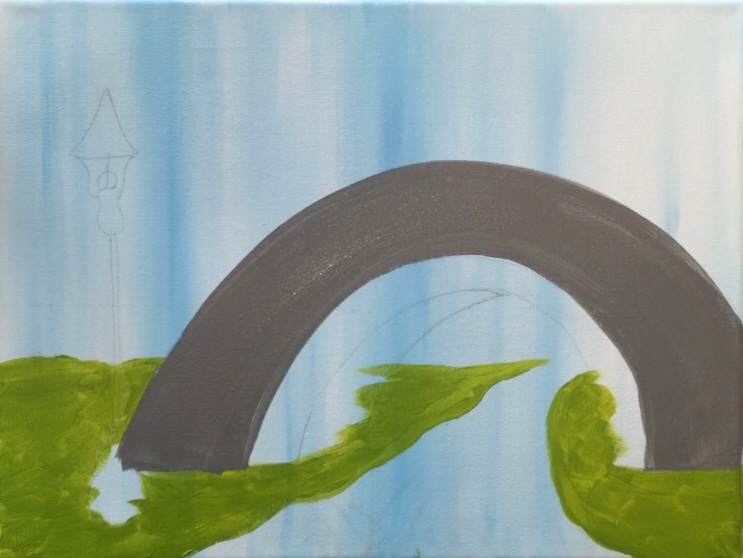
Then the border is a neutral gray value 5 mixed with a a little bit of mars black to make a darker gray. This gray should be dark but not black so only add a little bit of black to this gray. You may need to use your #12 bright for this smaller area.

The under part of the bridge is a solid mars black. Use any brush you feel comfortable with painting this area. The arch on the bottom of this bridge was also outlined with black.
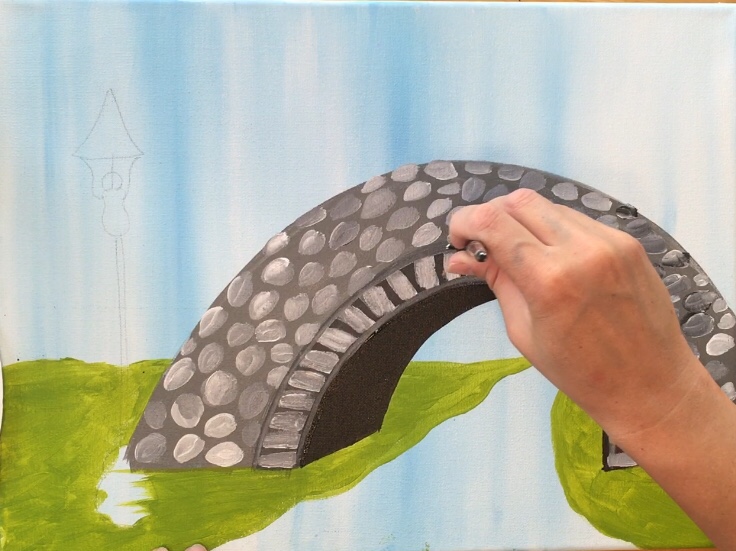
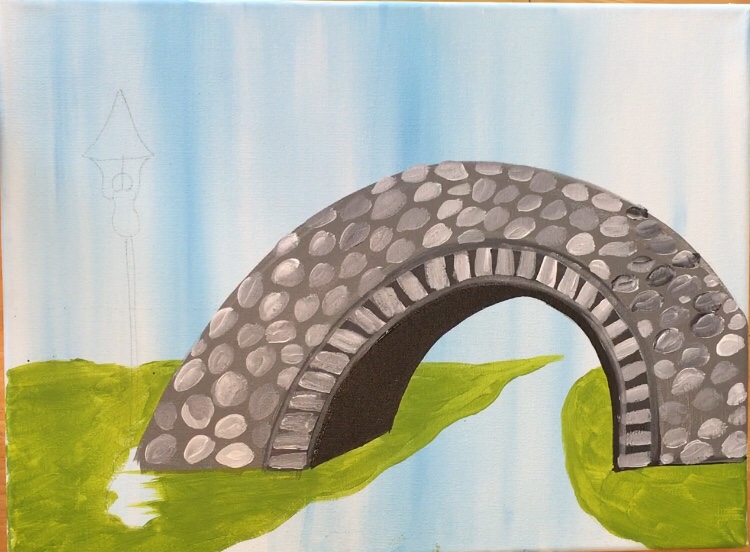
“Step 6” The Bridge Texture
To paint the cobblestone texture on the bridge use neutral gray value 5 mixed with some titanium white to create a lighter gray that will show up. Also use a #4 round brush. Paint small irregular ovals all along the gray part of the bridge.
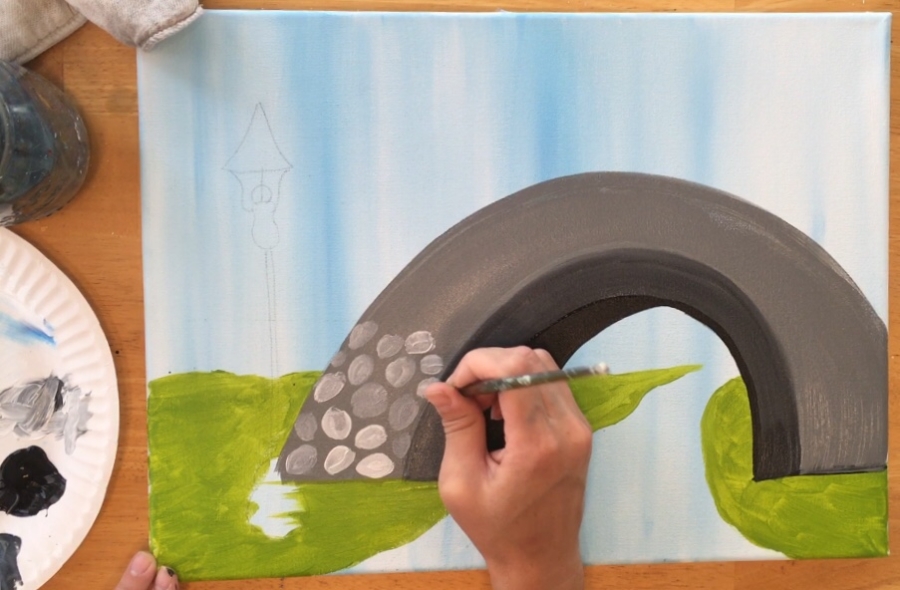
To get some color variation in these stones, I recommend dipping your brush in different variations of the gray and the white. I simply double loaded my brush and let the colors do their thing on the canvas.
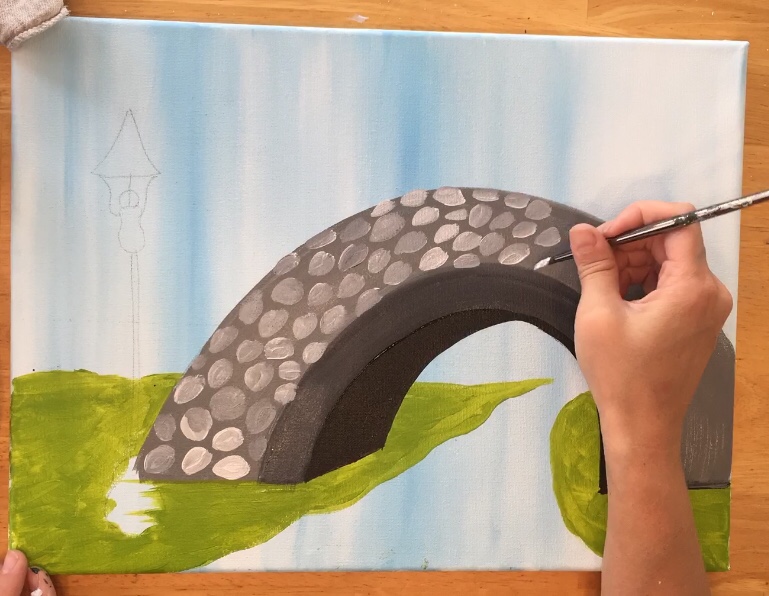
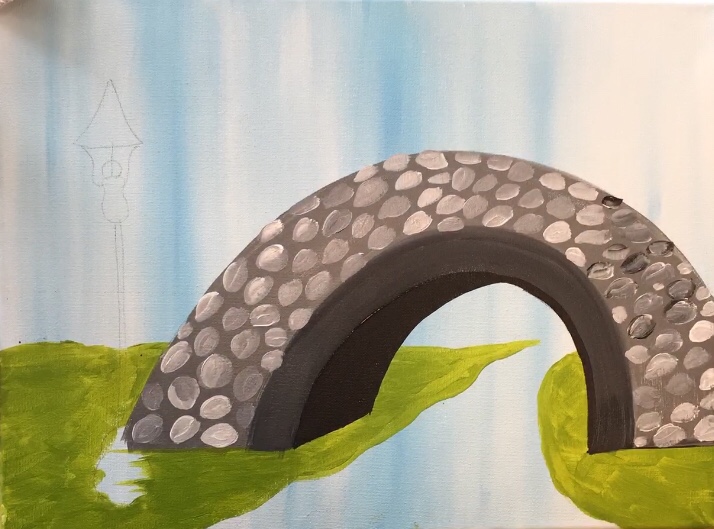
To paint the border stones, use your round brush to paint little rectangular lines along the arch. Use the same colors you used for the other stones.
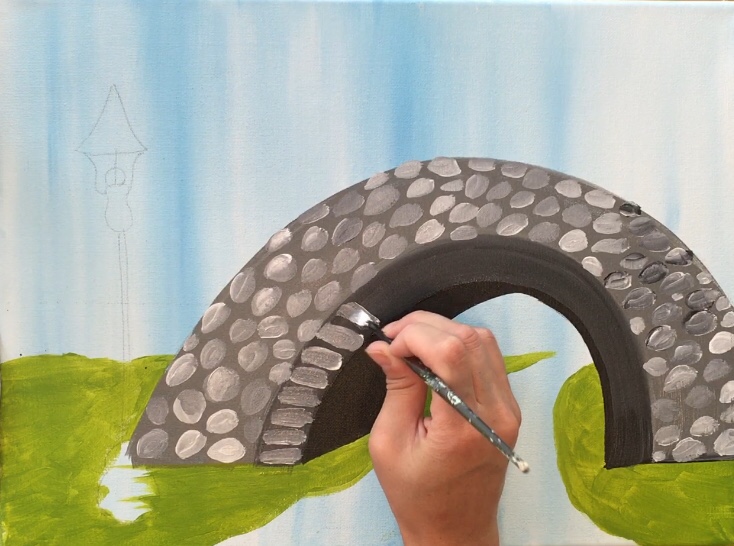
Then I went back and outlines the arch with neutral gray and my #12 flat (although this isn’t entirely necessary)
Step 7 “The Green Shadows”
To paint darker areas of green, mix a tiny bit of mars black in with the light olive green. Then use your #12 bright brush to paint the grass darker just under the bridge area.
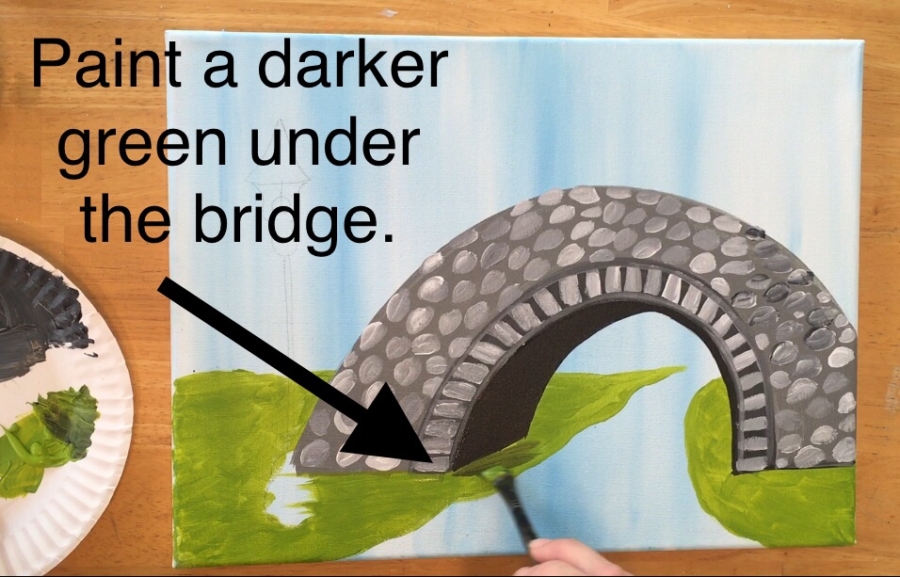
You can also paint darker areas in the grass under the bridge all the way to the bottom of the canvas.
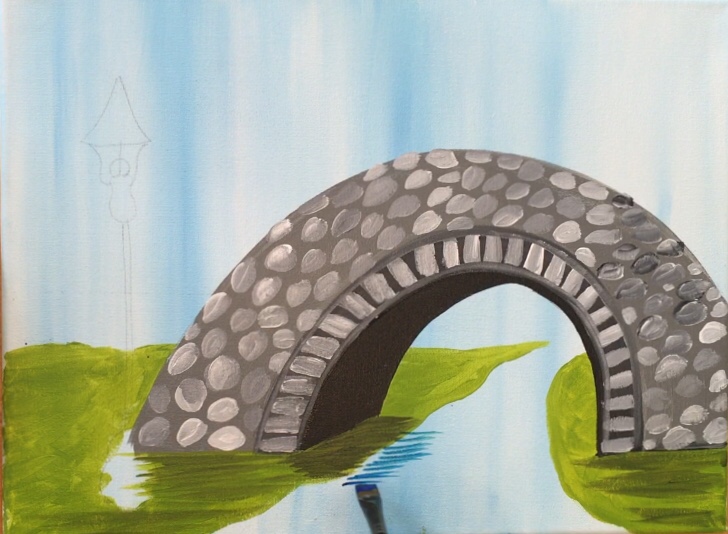
Step 8 “The Water Reflection”
To make it look like the bridge is reflecting in the water, use phthalo blue and paint horizontal water lines forming a diagonal line area under the bridge (see below image).
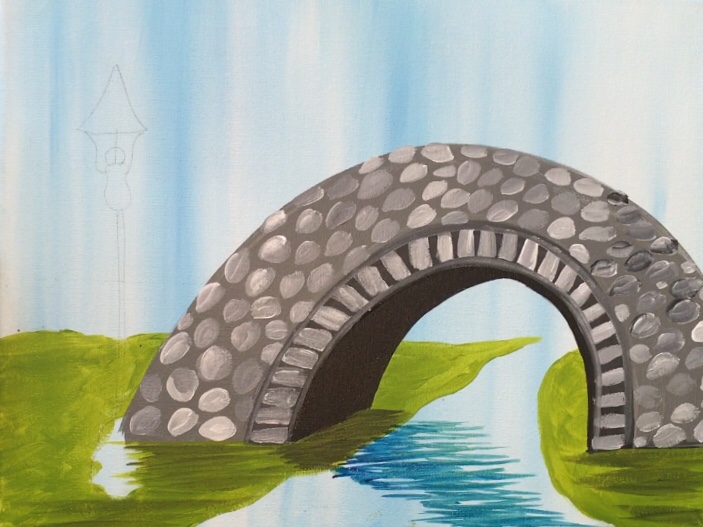
Then I painted other water lines on the river. I used the #12 bright brush double loaded in both phthalo blue and titanium white (to make a light blue). Paint these small horizontal strokes along the top and bottom of the river.
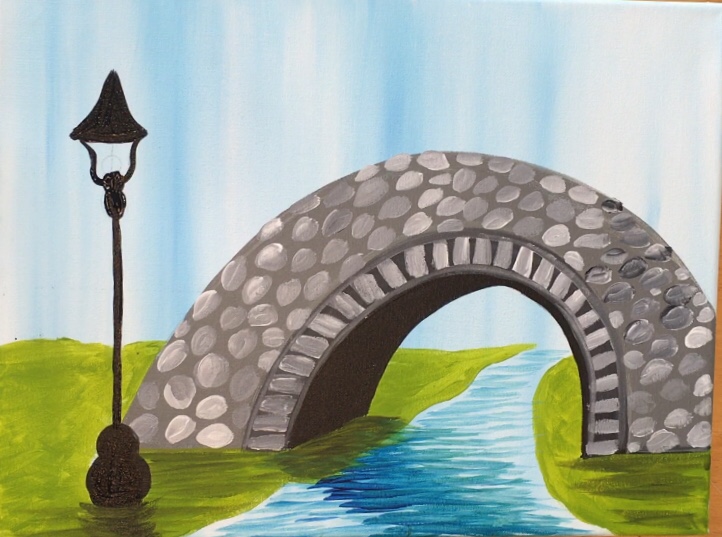
Step 9 “The Lamp”
To paint the lamp, I used my #4 round brush and mars black. It may help to water the black down slightly to get a nice flowing black line. You’ll need a steady hand to paint that vertical line but if it helps, you can use a ruler or straight edge to line up your brush stroke.
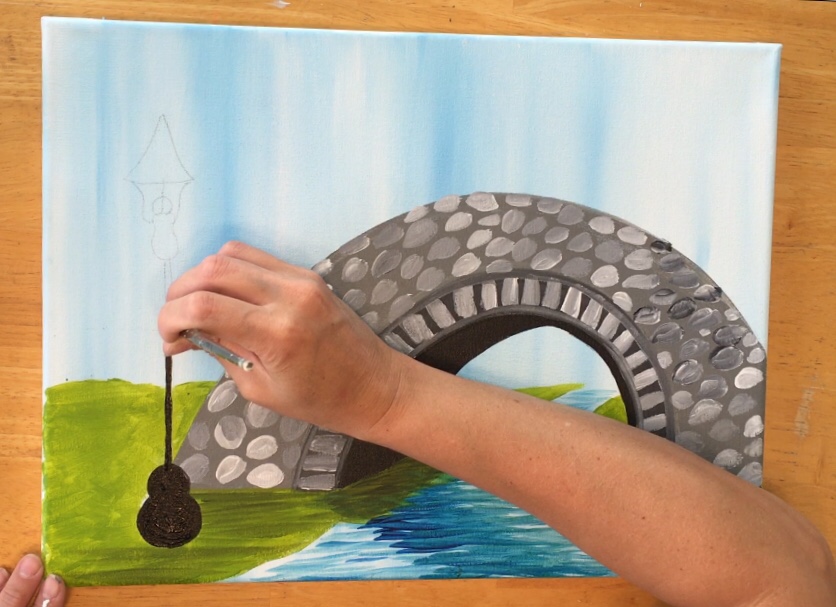

The inside light bulb part will be painted in a later step.
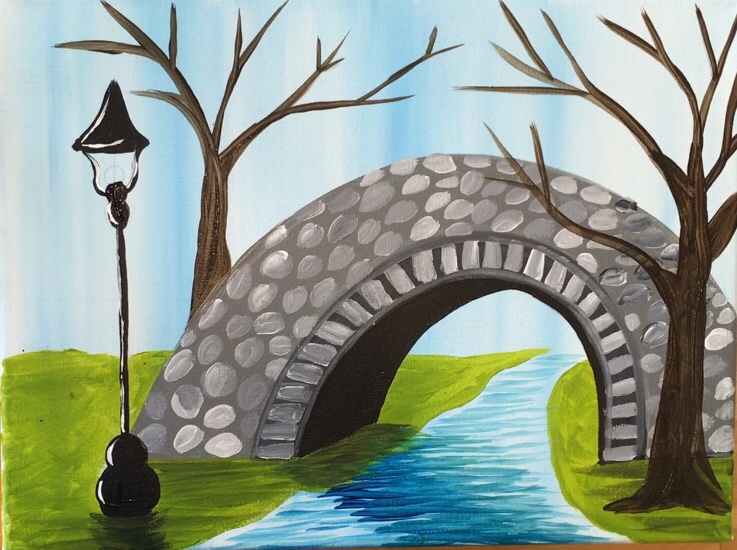
Step 10 “The Trees”
To paint the trees, I used raw umber and my #12 bright brush. Start with the first tree on the right. Start at the bottom and paint a thick trunk base.
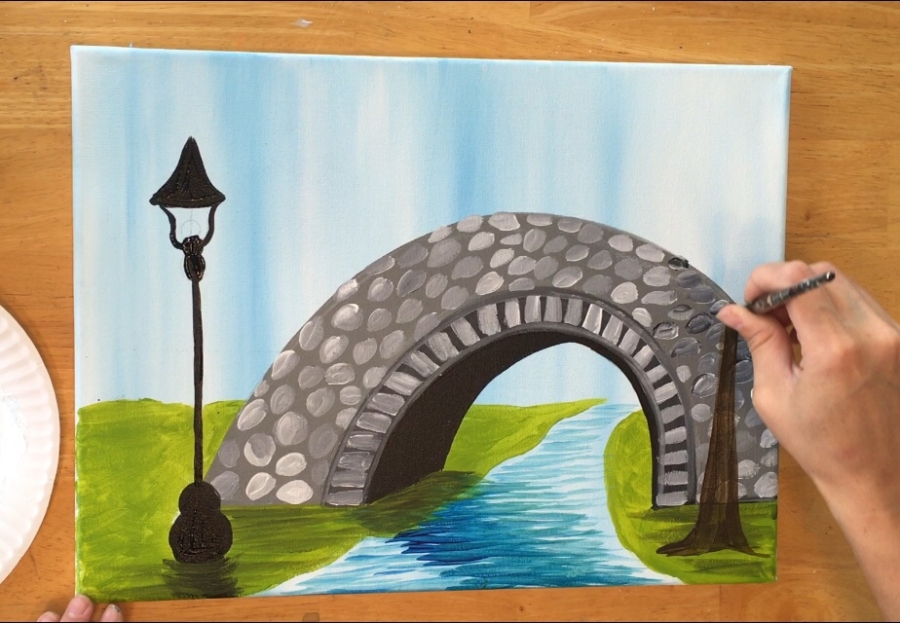
Then paint thinner branches stemming out from the thick trunk. Use the tp of the bright brush to get the thinner branch strokes.
Then paint another tree behind the bridge using the same color and technique.
Then paint a little highlight on the lamp post with your titanium white. Paint the white lines on the left part of the base, pole and top of the lamppost.
Step 8 “The Fall Leaves”
To paint the leaves, I used my #4 round brush and the color cadmium red deep for one tree and cadmium yellow deep for the other tree. Use the round brush to paint little dots all throughout both of the trees.
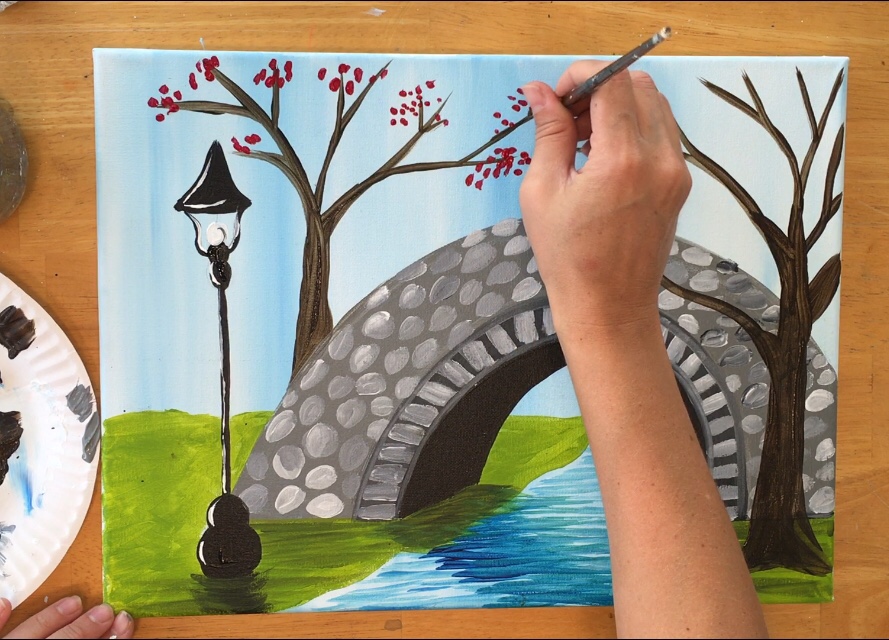
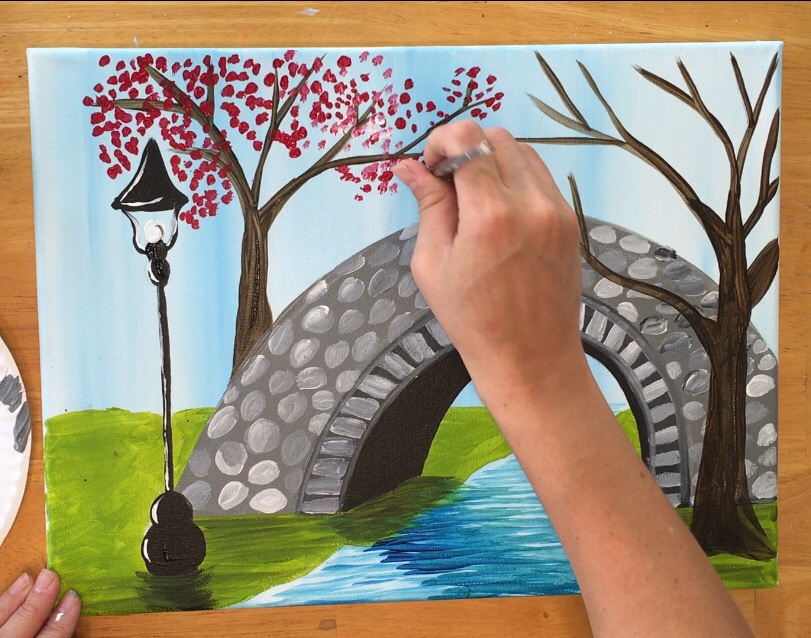
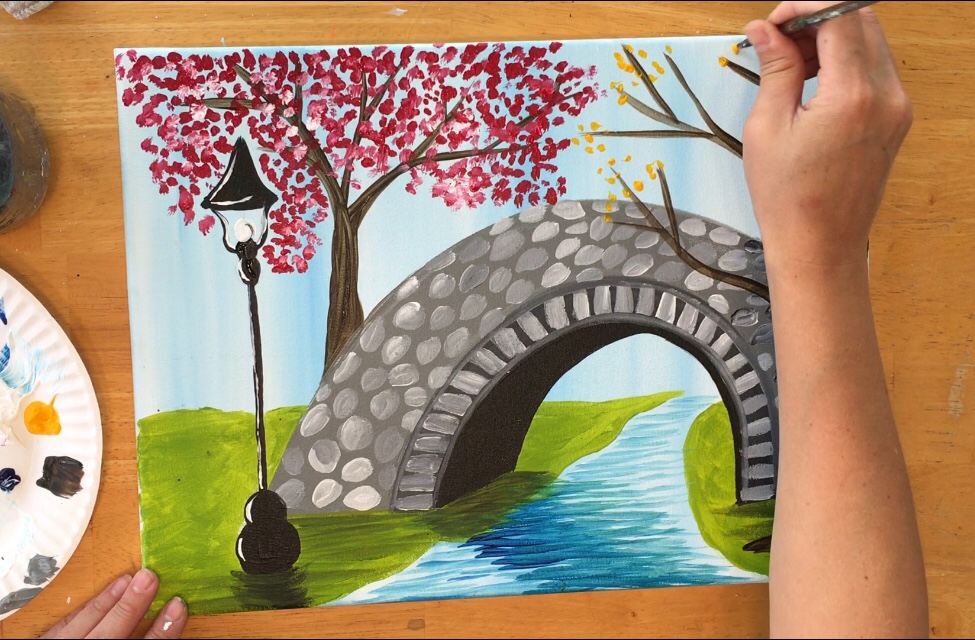
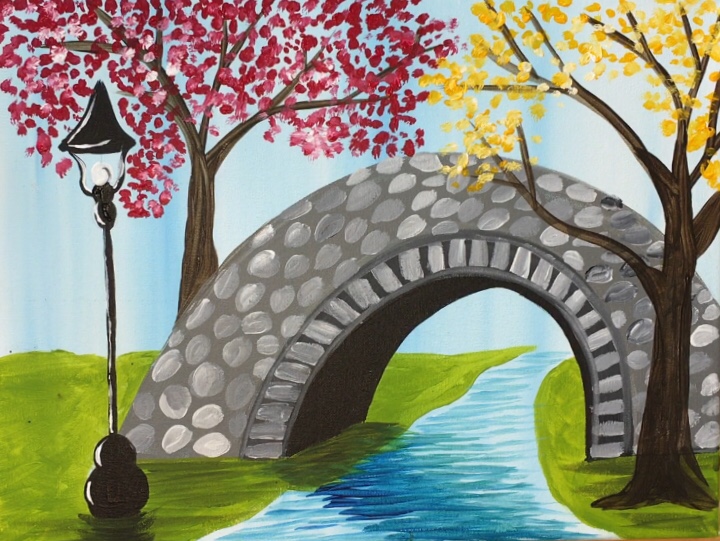
Tip: To get some color variation in the leaves, try dipping your brush in the titanium white and the color. This will create some various tints in the leaves.
Step 9 “Small Details”
You can add details to this painting! Paint little leaves falling off the tree and on the ground. You can paint a path that leads to the bridge (I did this by mixing the brown with the yellow and white).
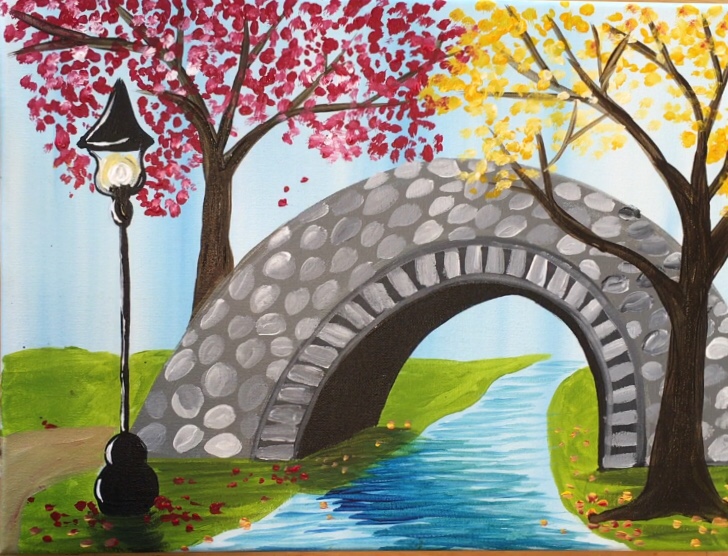
You can also pant the light bulb inside of the lamppost. Use a #4 round brush. Paint the bulb titanium white and then add some cad yellow deep around the white bulb.
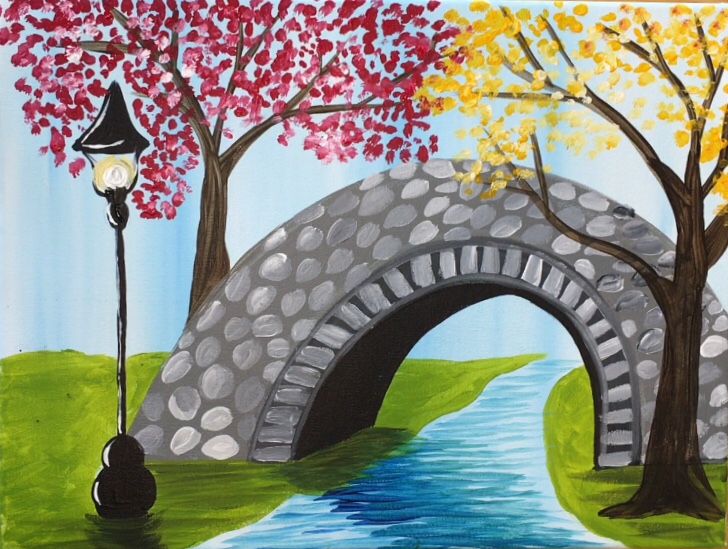
Finished!
Did you do this painting? Share Your Results!

