
How To Paint A Turkey
Learn to paint a turkey step by step! I love the spirals all throughout the border, background and even the Turkey’s feathers! If you’re feeling extra creative, you can even write words on the feathers.
This painting is very easy and would be a fun project to do as a DIY paint night just before Thanksgiving or even with your kids! Enjoy and happy painting!
Materials:
How To Paint A Turkey On Canvas
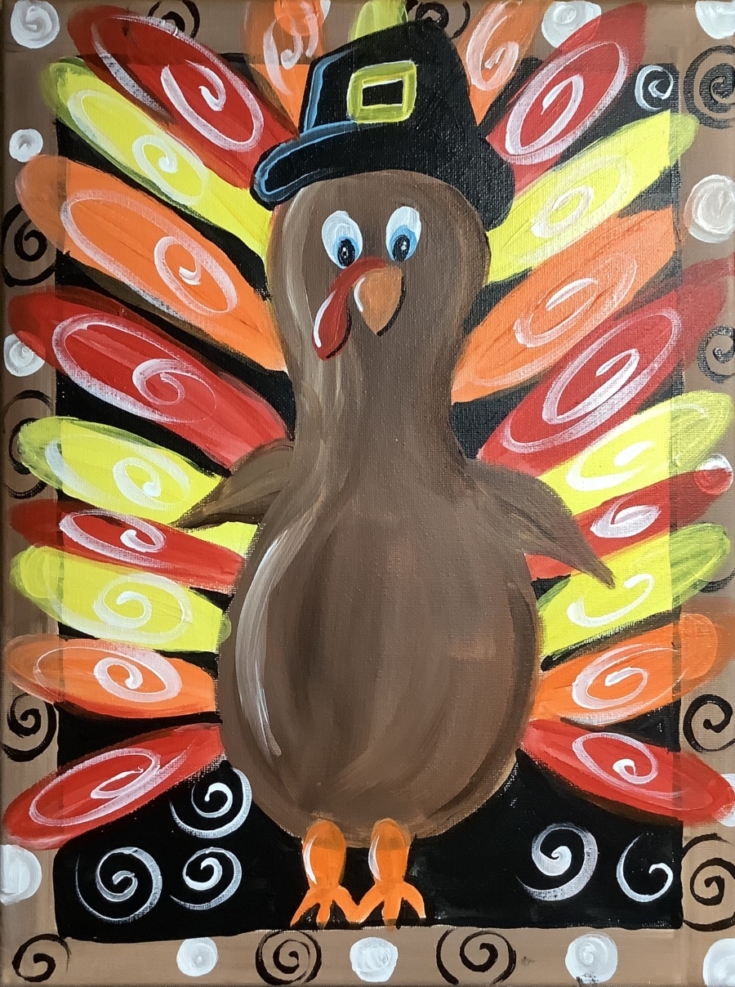
This adorable turkey canvas painting was done on a 16” x 20” canvas but can be done with any size.
Materials
- 16” x 20” canvas
- Acrylic Paint
- Brushes
- Pencil
Colors
- Cad Red Medium
- Cad Orange Hue
- Cad Yellow Medium
- Light Blue Permanent (for eyes but those can be any color)
- Mars Black
- Titanium White
- Burnt Umber
Brushes
- 3/4” flat
- 4 Bright
- 0 Round
Instructions
- Paint the border
- Draw the turkey
- Paint the feathers one color at a time
- Paint the turkey brown
- Paint the wings, face and feet
- Paint the hat
- Paint the background black
- Paint designs on the turkey feathers
- Paint designs in the background
Notes
You can create a stencil for the turkey shape if you’re doing this with kids or as a DIY paint party.
Color Palette
You can use any acrylic paint brand! The colors are very flexible in this painting: red, orange, yellow, brown, black, white and light blue.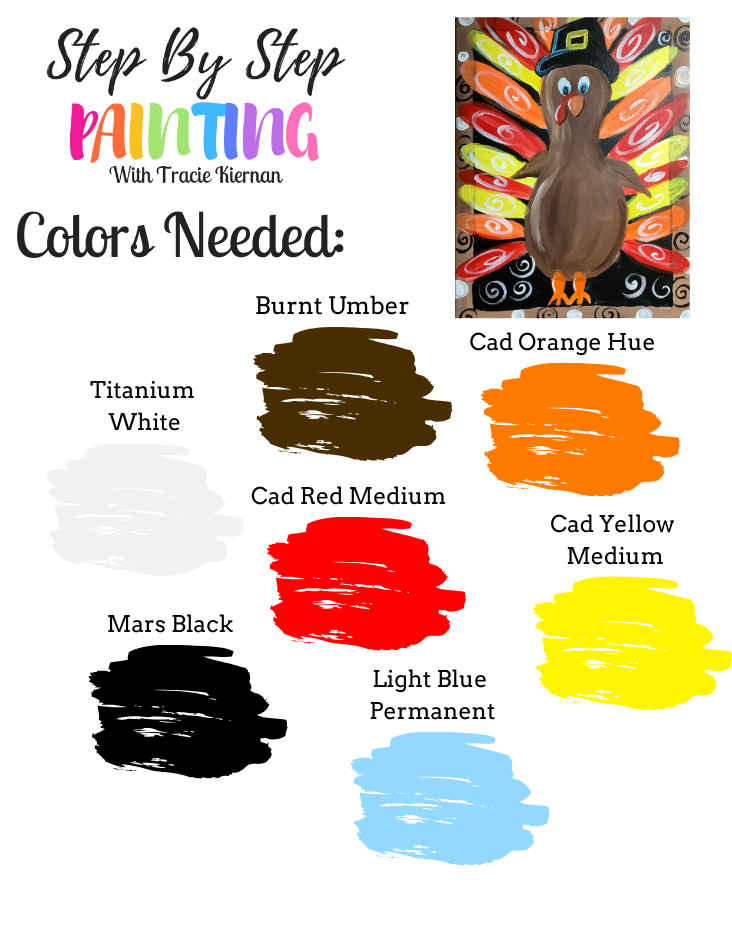
![]()
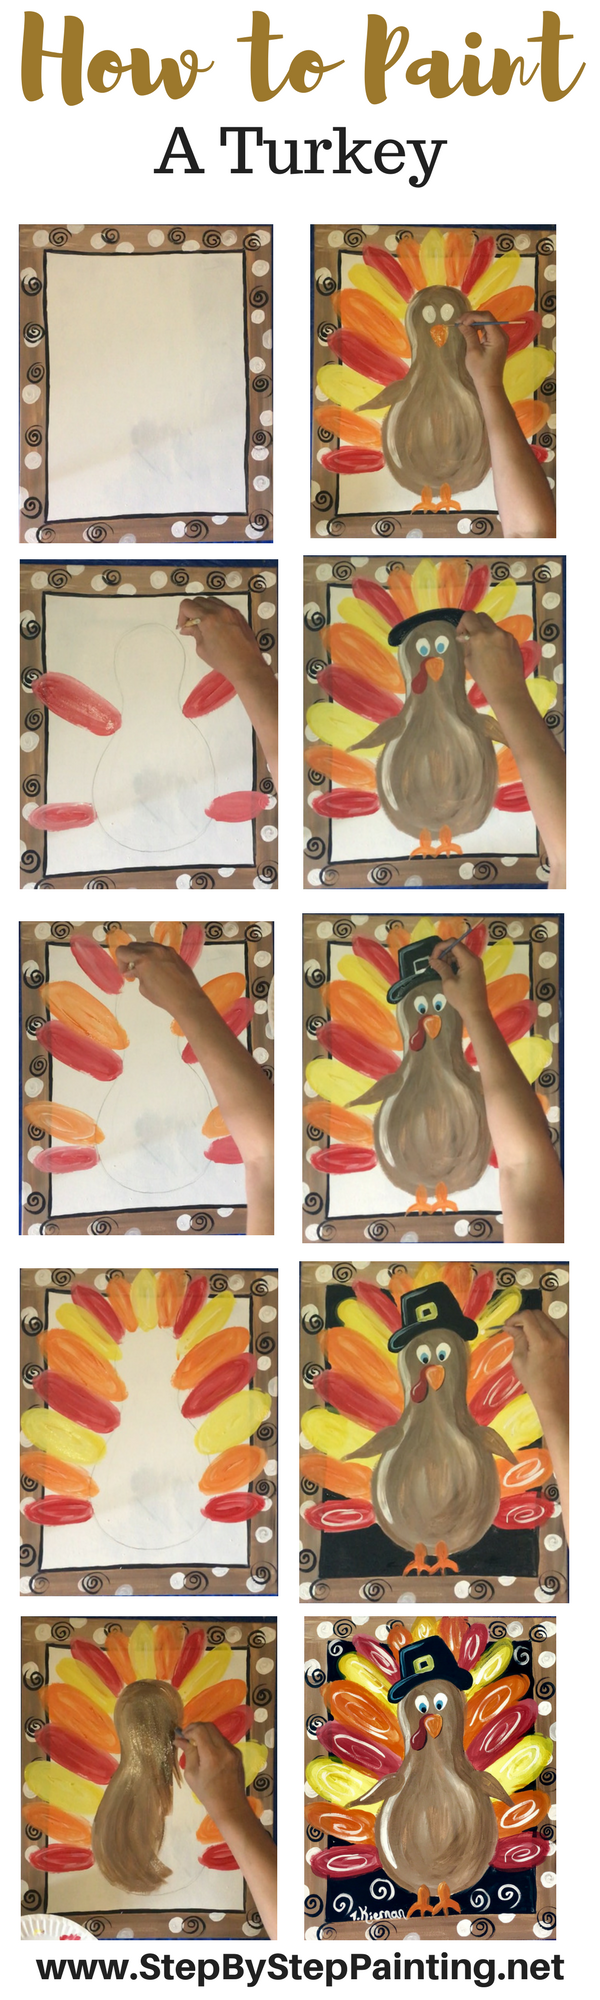
Directions At A Glance:
Video:
Step By Step:
First I painted a frame around the canvas using a 3/4″ Flat Wash Brush. This color was burnt umber mixed with titanium white (brown and white mixed together). You can change the color of your frame or follow my color scheme. Note, this frame is about 2 inches.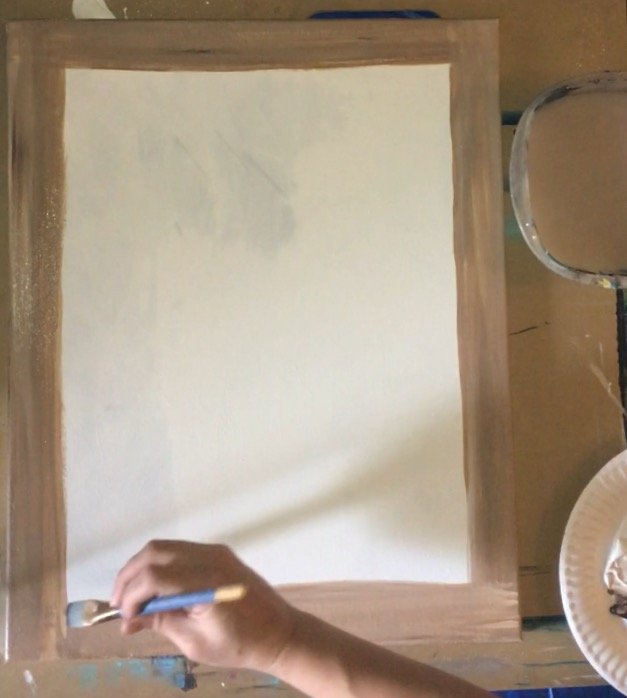
With a round brush (#0 round), I outlined the inside of the frame with black. 
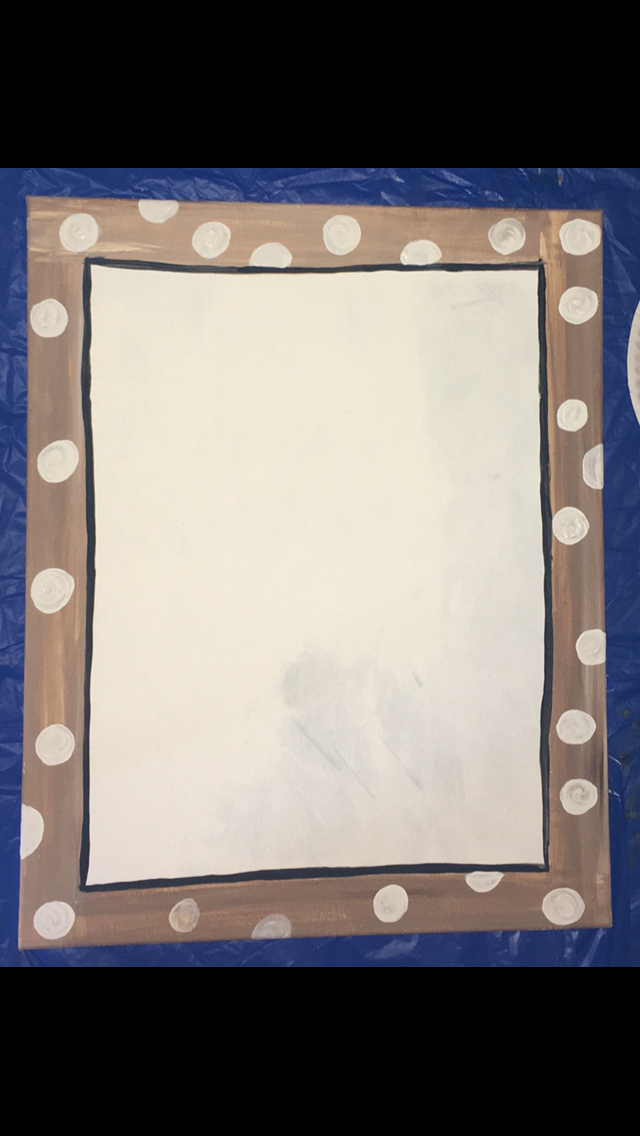
Then I added white polka dots. Mine looked a bit brown because I didn’t let the brown dry all the way. You can use a #0 Round. Note: You can also use foam pouncers for this step!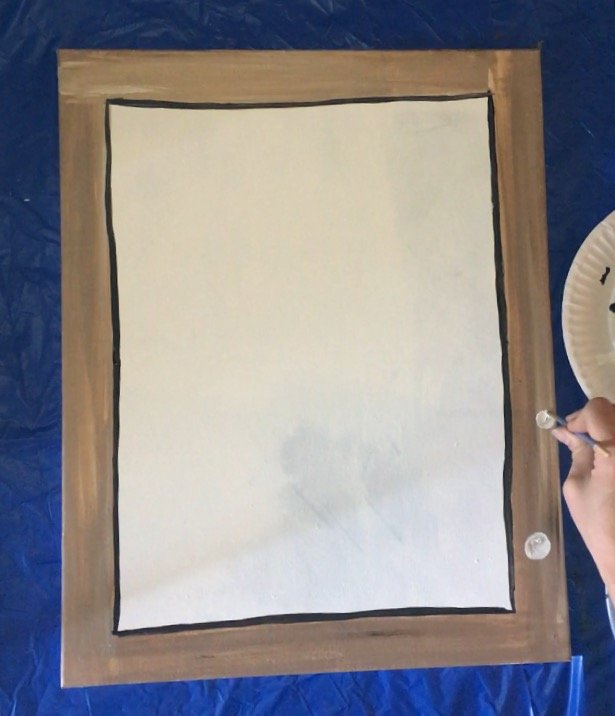
Then, with a small #0 round brush, I painted black spirals. Some spirals did overlap the polka dots. 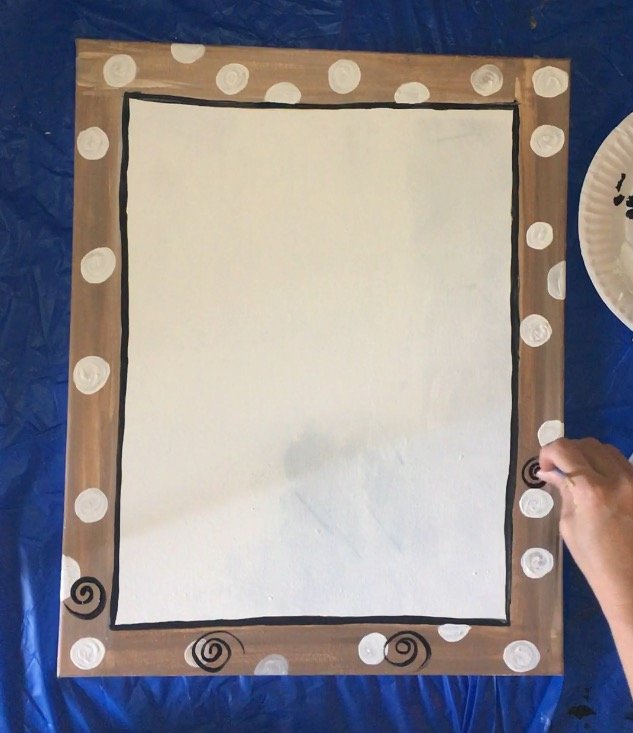
My finished border looked like this!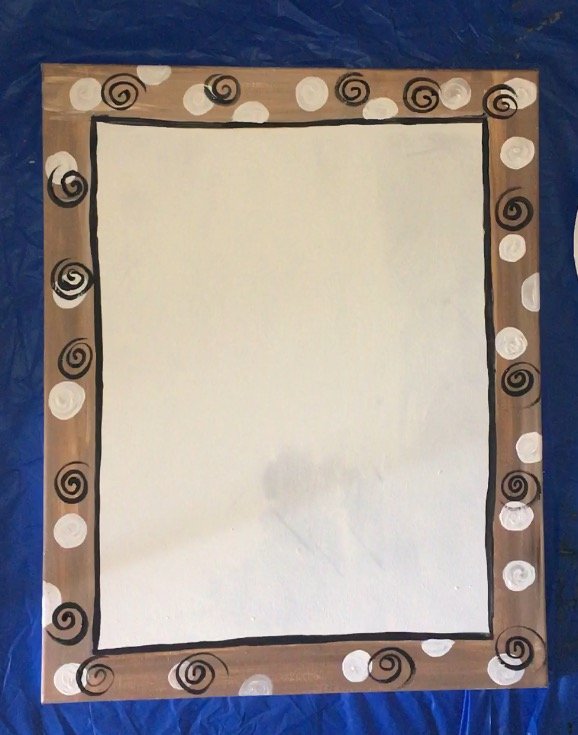
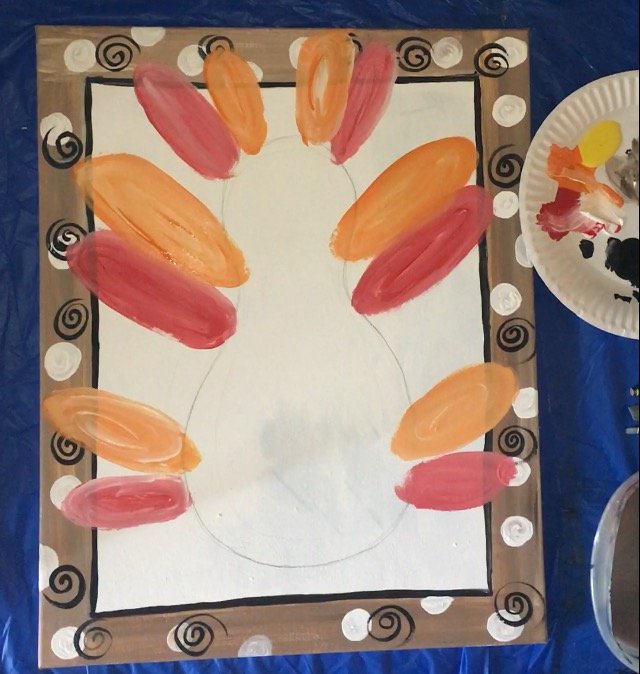
Then I drew the turkey’s body with a pencil! Think “bowling pin” when drawing this shape. And draw it large!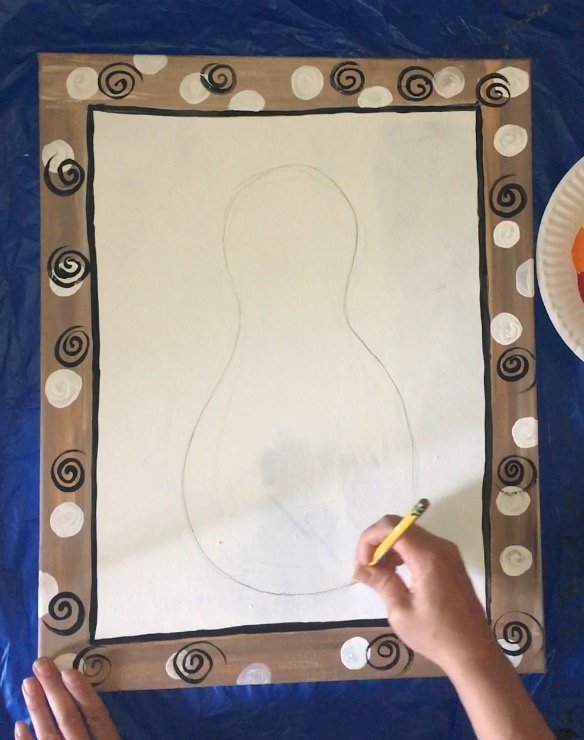
Next I painted the feathers. I did not want to paint the body yet because I knew the feathers had to go behind the brown body. Any how, got my palette of red, orange, yellow and white paint ready. I started with all the red feathers. To do this, I loaded my brush with equal amounts of red and white. (#4 Bright Brush)
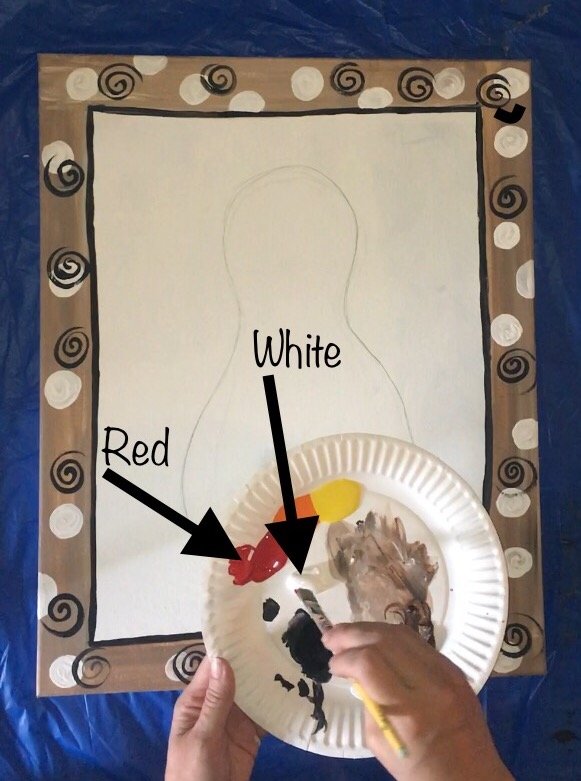
My brush is loaded with red and white. 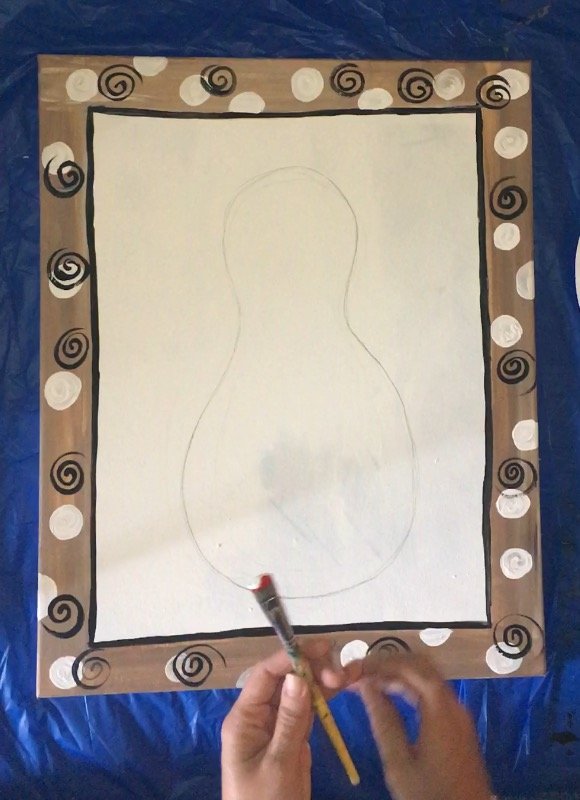
Red and white will mix together on the canvas. It gives it a varied color effect. Also note that I painted my strokes in an oval shape!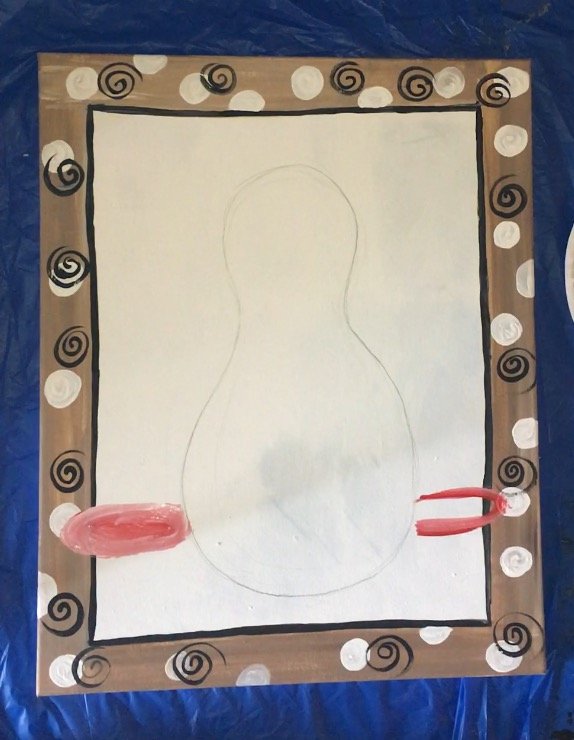
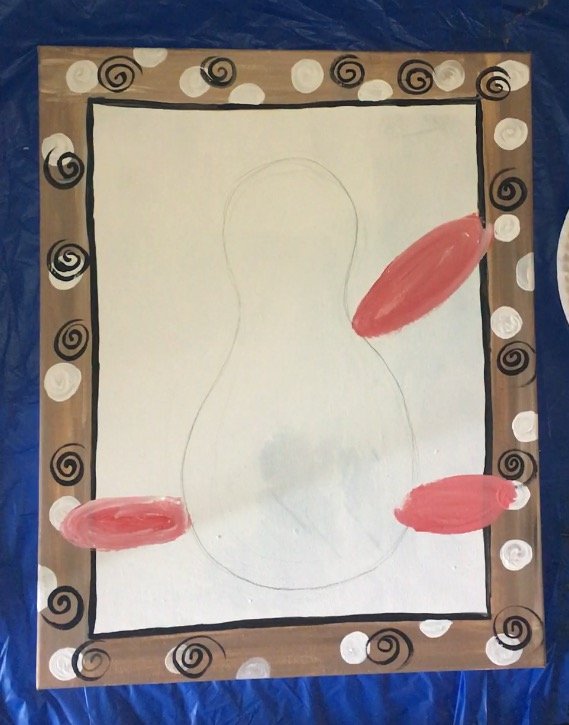
I kept my feathers somewhat symmetrical when painting. Also, don’t be afraid to make the feathers overlap that frame.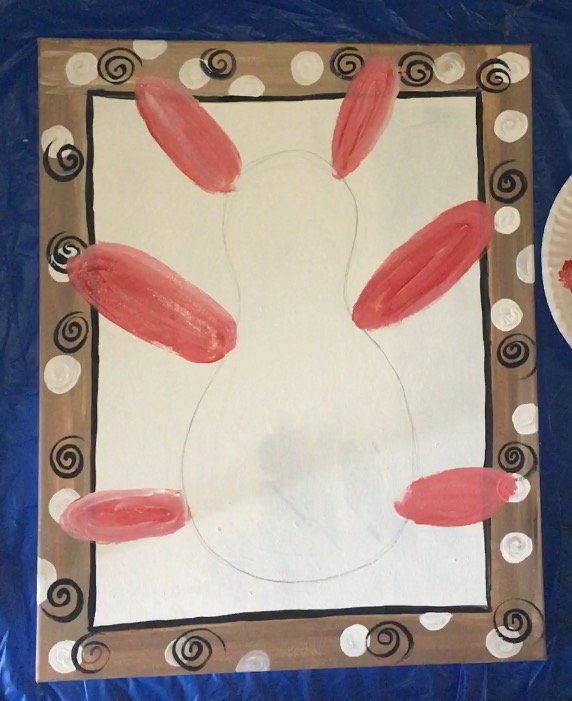
Then I did the same thing with orange feathers. 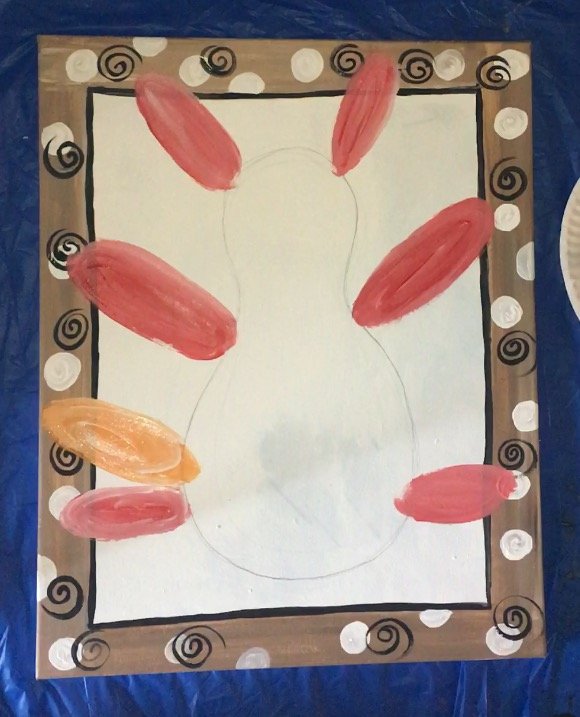
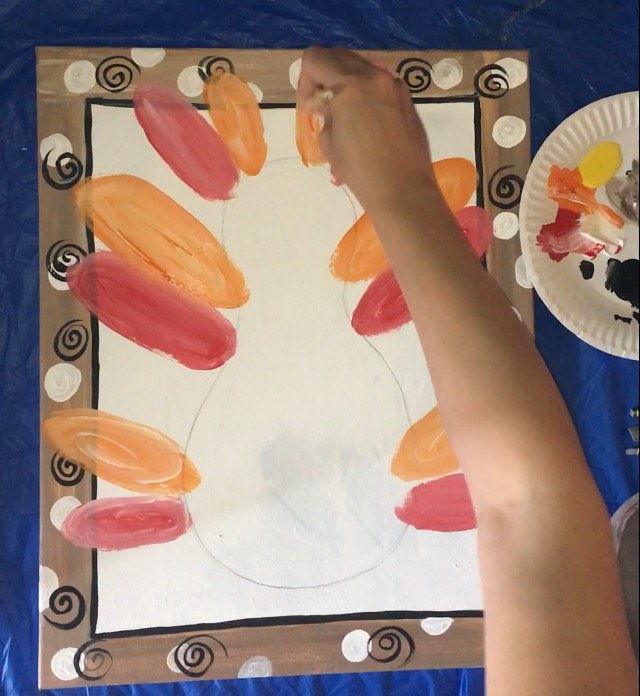
Then I did the yellow feathers. If you have any gaps left, you can make some feathers wider or just add more colored feathers. 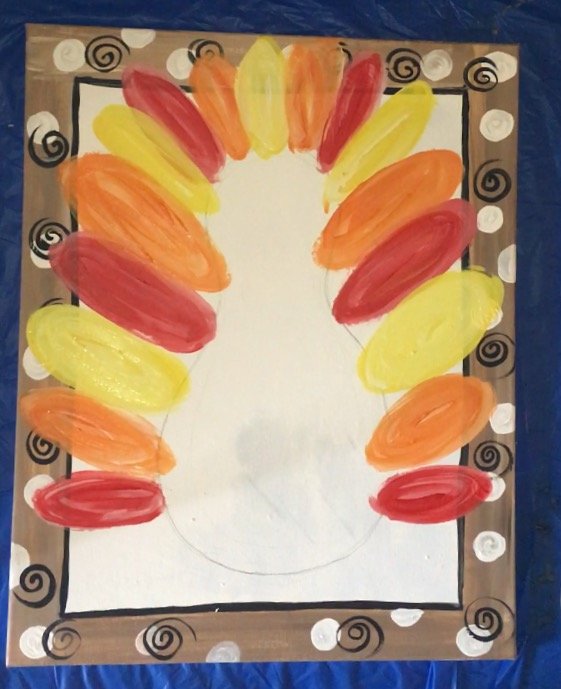
Next (excuse my messy palette) I mixed brown and white together. This was pretty much the same color as the frame. Also, I did not want this color to be mixed all the way because I wanted color variation on my brown. (3/4″ flat brush)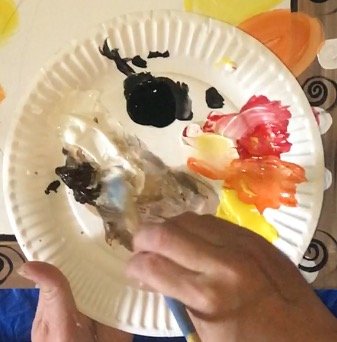
I painted the turkey! Keep your strokes going in the same manner as the line/shape of the turkey. 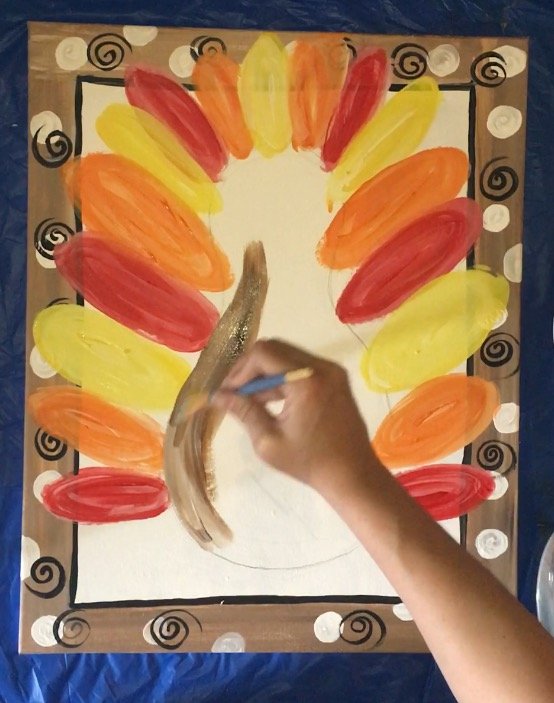
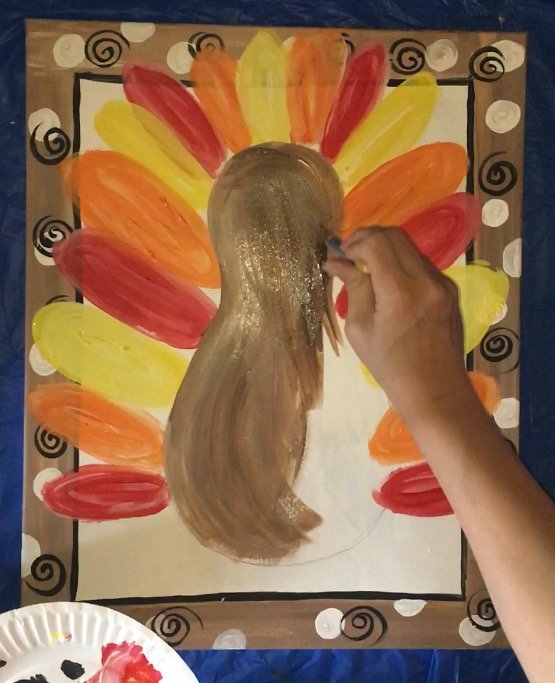
The turkey looks more like a painting and less like a “coloring book picture” because the paint colors are varied and not mixed all the way. 
Then I added a white highlight on the left side of the turkey’s body and head. (#4 Bright Brush)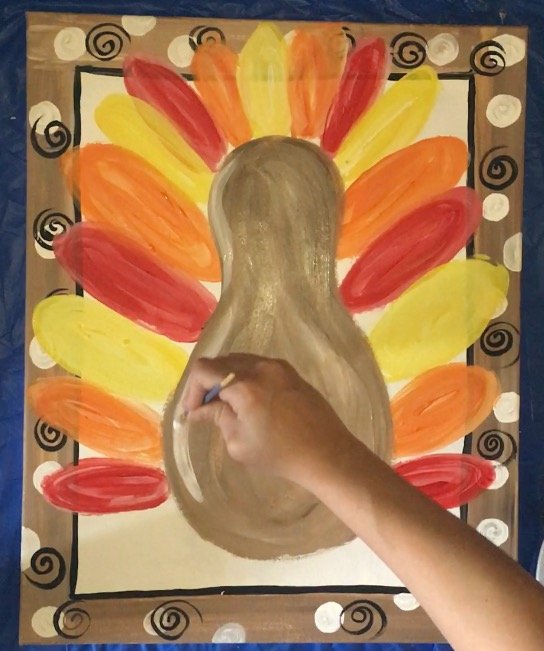
I painted some arms in with the brown paint. (#5 Round Brush)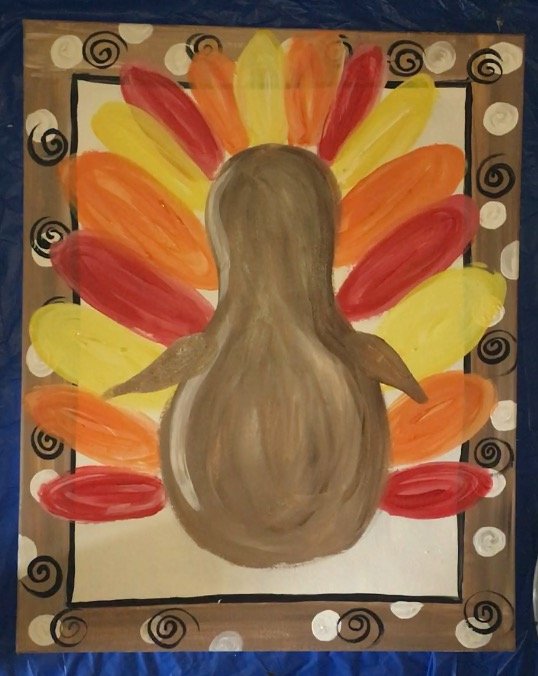
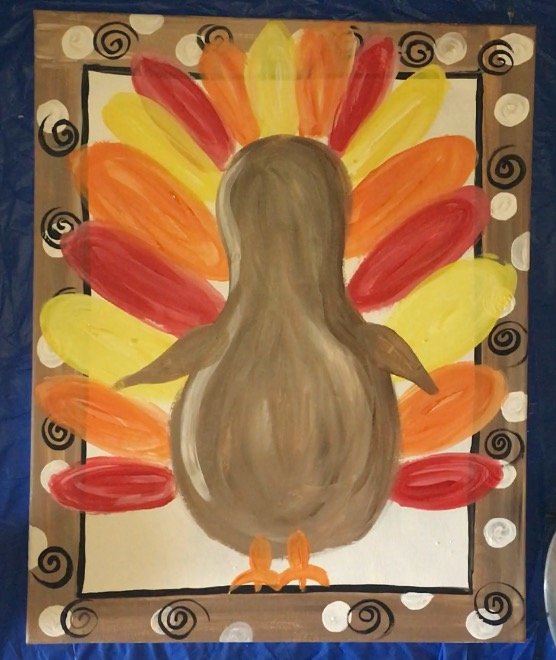
Next I painted in the legs with orange. (#5 Round)
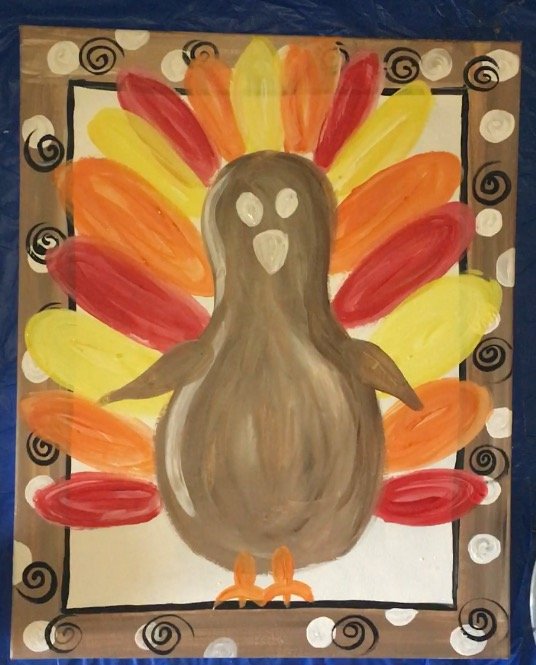
With white, I painted his beak and eyes. (#0 Round)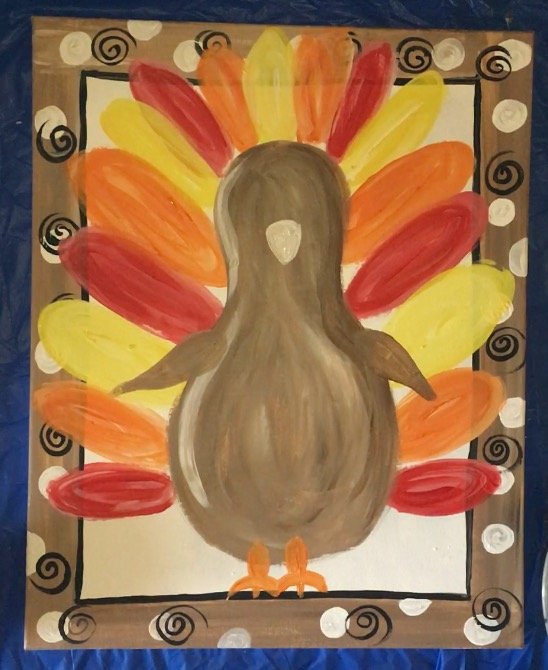
I painted orange over the white beak. (#0 Round)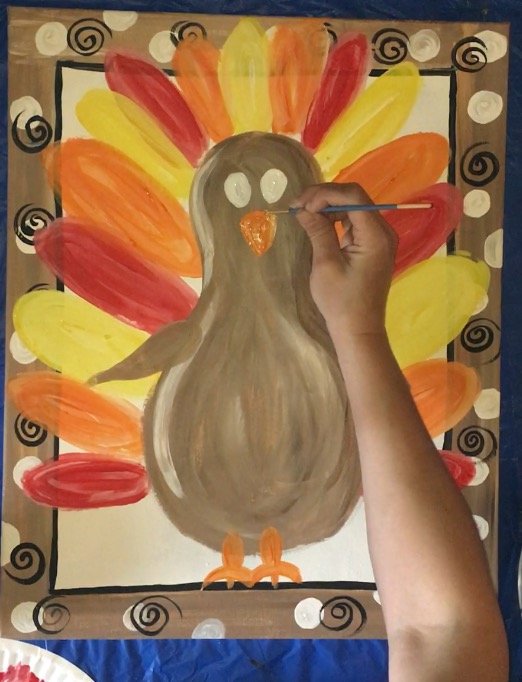
And then his red “snood”. (#0 Round)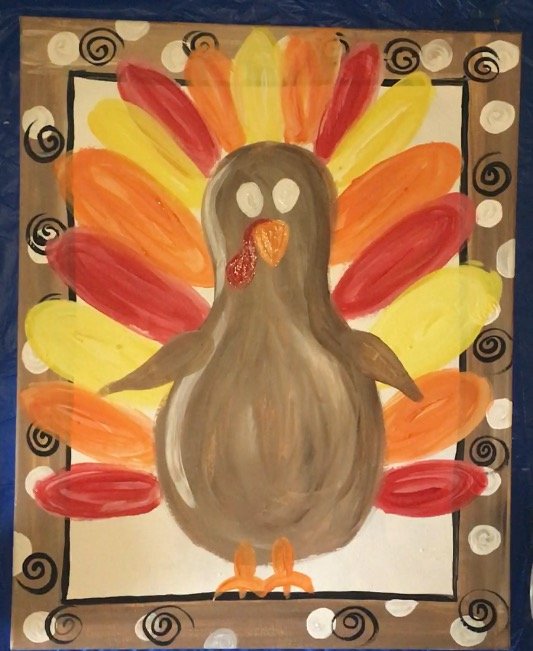
I painted in some blue eyes. (#0 Round)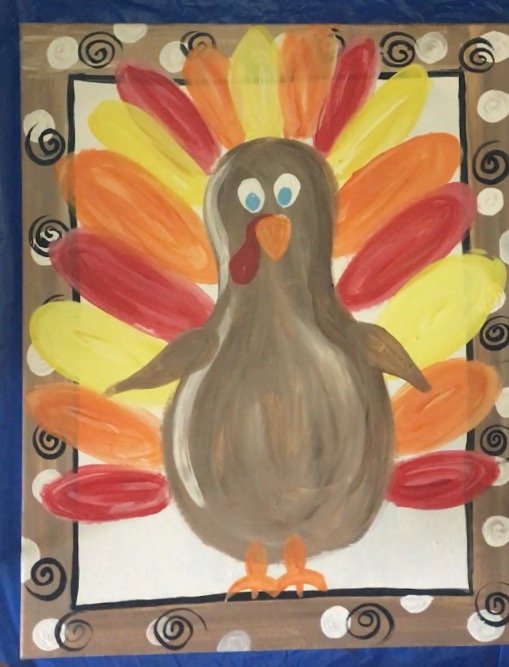
Then while the eyes were drying I painted his hat. (#4 Bright Brush)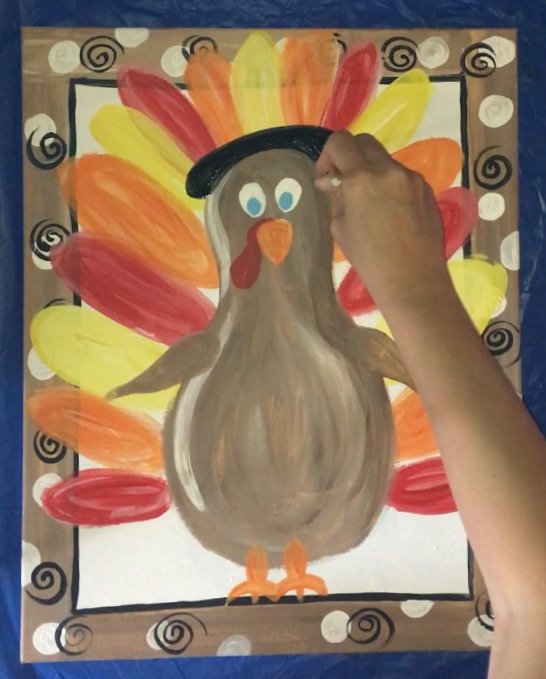
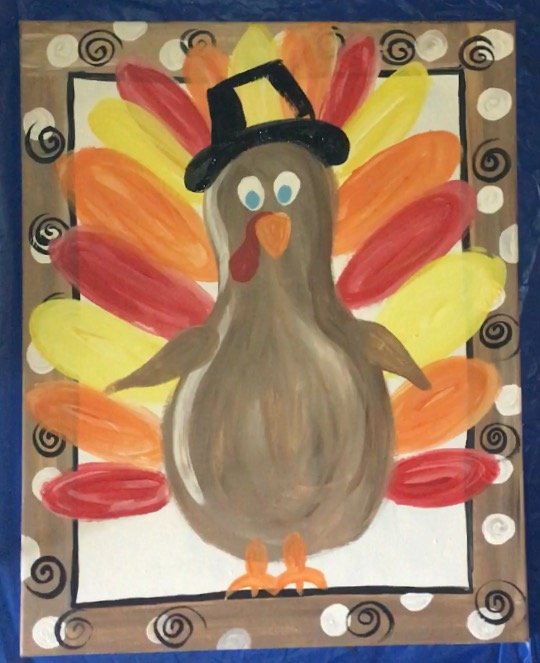
I used light blue paint for the highlight of his hat. (#4 Bright)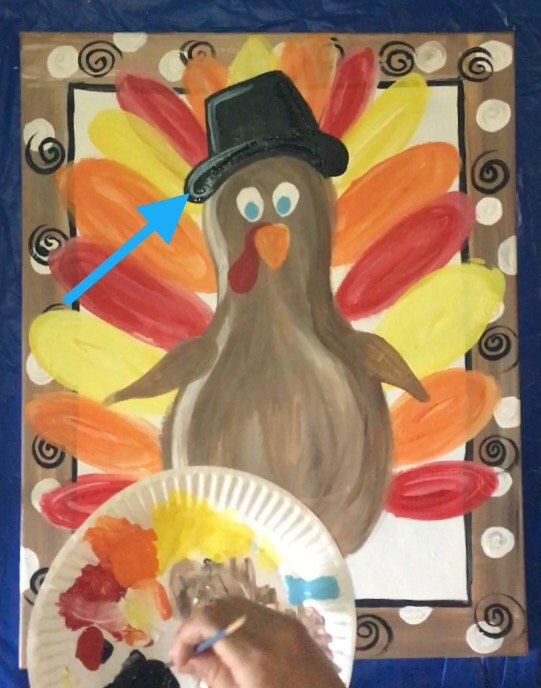
For the buckle, I painted white first and then yellow. Also, when the blue part of the eyes were dry, I painted the pupils. (#0 Round Brush)
Almost done! I had some white gaps between some of the feathers and I went in and painted those in so I wouldn’t have to paint black in those tiny areas. (#0 Round)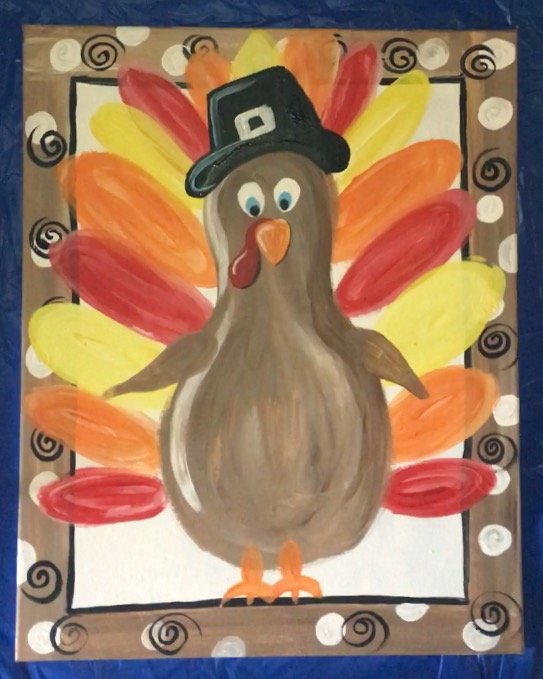
I painted the background in black. (Use any brush for this, & #0 for tiny spots)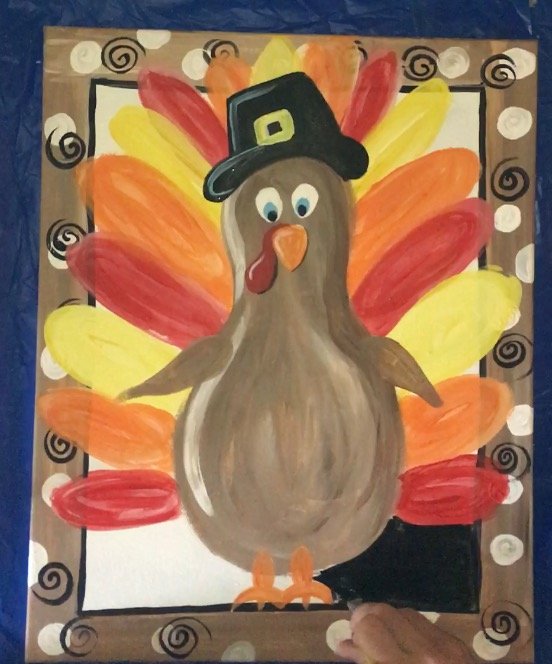
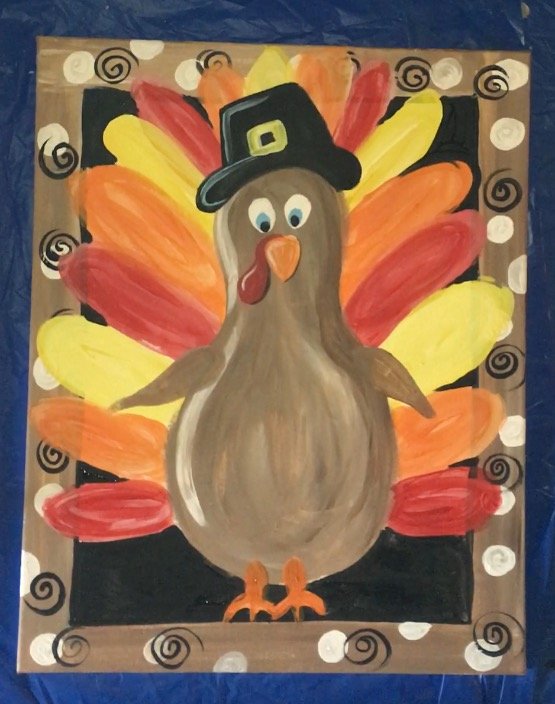
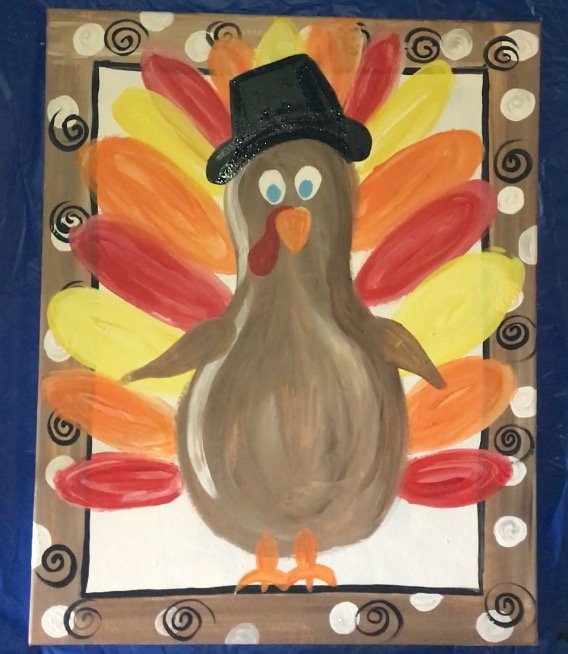
Then, with white paint and a small brush, I painted some spirals on the turkey’s feathers. This is where I said it would be a fun idea to paint words on the feathers! (#0 Round)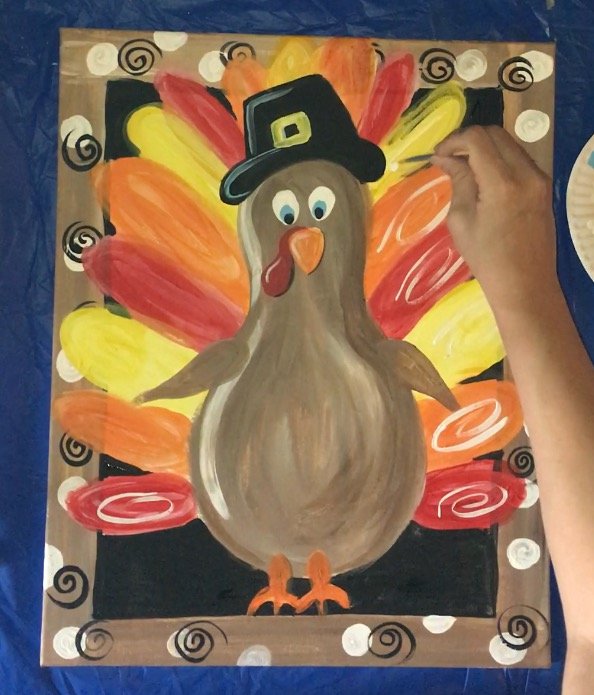
And finally, I painted white spirals on the black background. (#0 Round)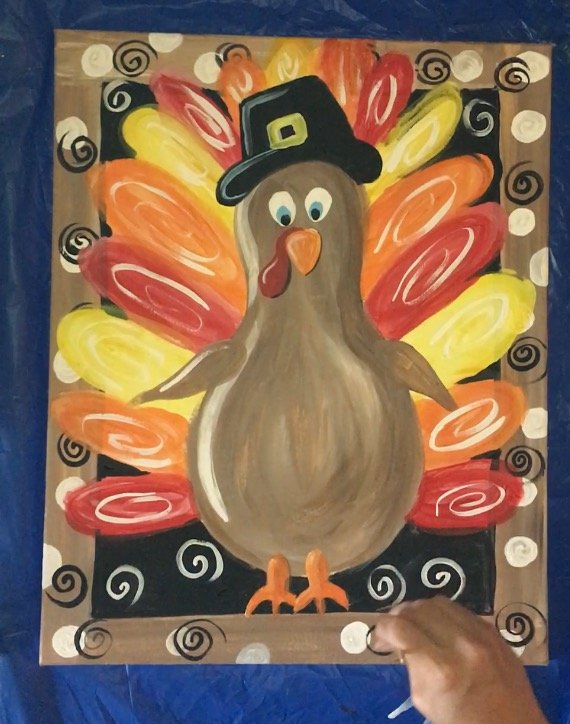
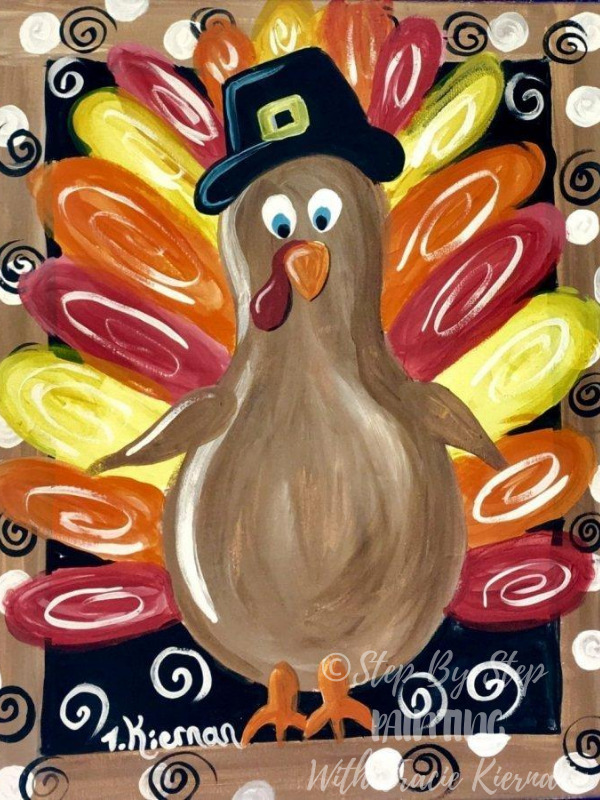
Sign your work and you’re finished!
Would you like to save this?
Don’t forget to share your painting on Pinterest or Facebook!

I cannot wait to try this! Thank you for sharing. This is so adorable!!
Thank you Stephanie! And you are welcome! This one was a fun one! I can’t wait to see how yours turns out!!
I just finished. Thank you for the step-by-step. I loved it!
You’re welcome Rebecca! Happy Thanksgiving!