

Would you like to save this?
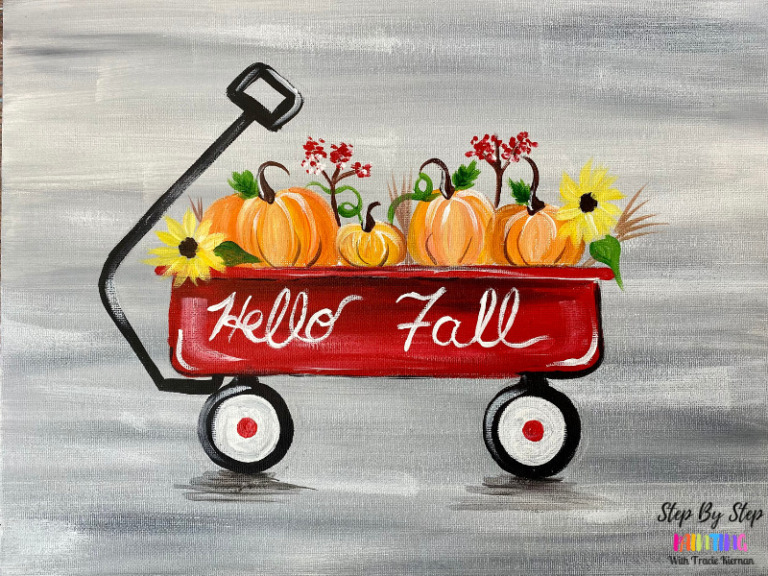
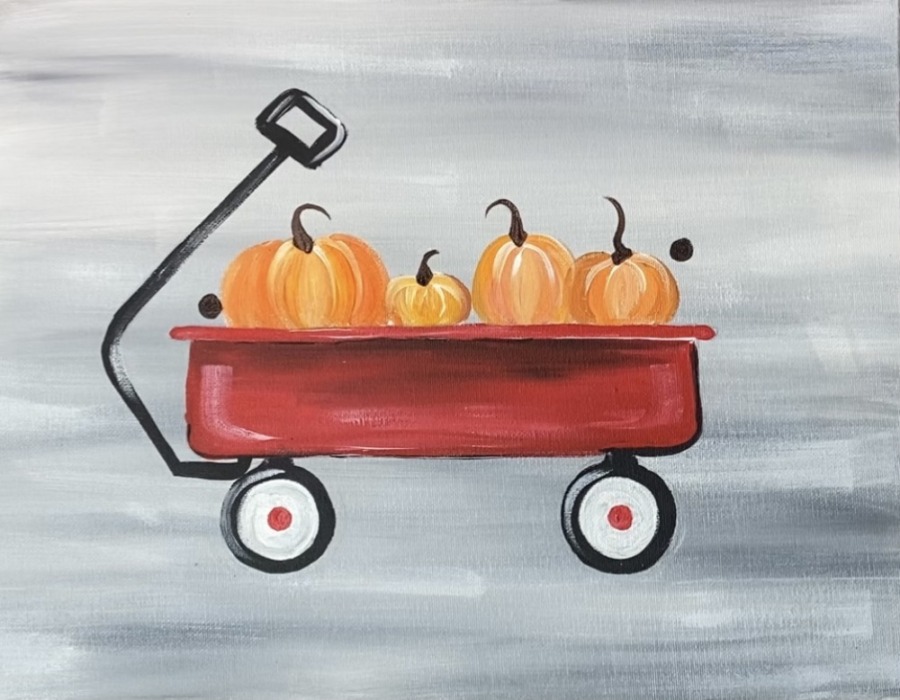
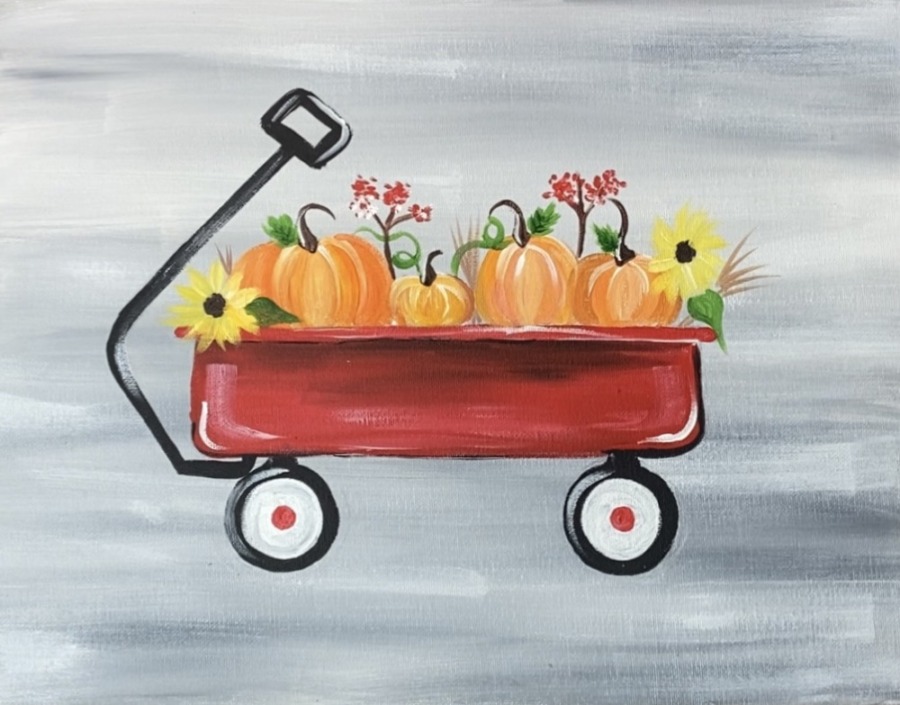
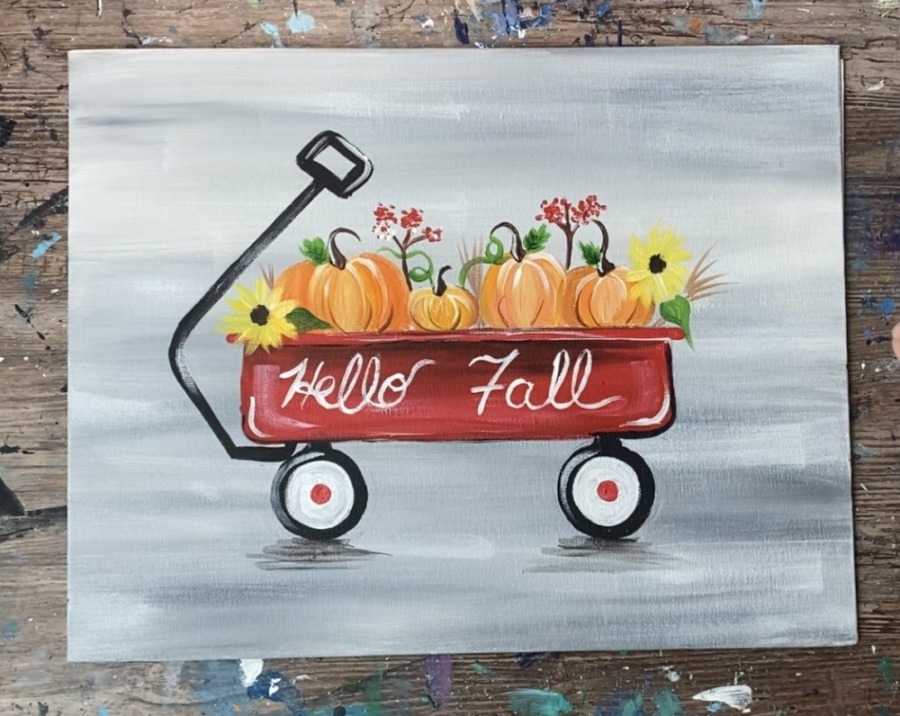
Learn how to paint an adorable red wagon with pumpkins and other fall decor inside! This acrylic painting tutorial is demonstrated on an 11 x 14 canvas but the design can work on any size canvas.
Enjoy and happy painting!
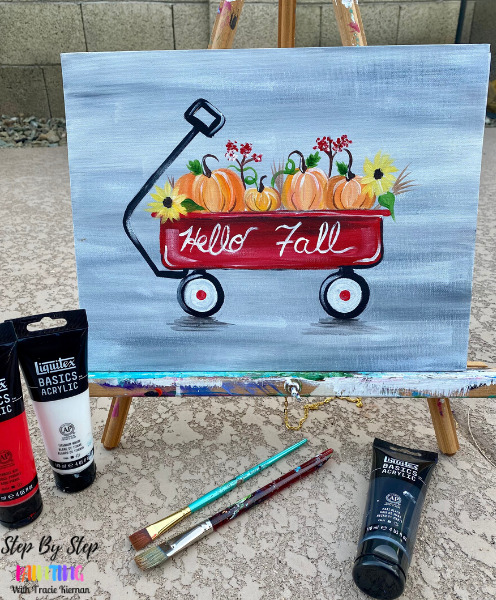
Materials
Pumpkin Wagon Acrylic Painting Tutorial

Learn how to paint a red wagon with customizable lettering and pumpkin/ fall decor inside the wagon.
Materials
- 11 x 14 Canvas
- Acrylic Paint
- Brushes
- Ruler or Straight Edge
- Pencil or Chalk Pencil
- Optional Traceable
- Optional Graphite Paper
- Optional White Paint Pen
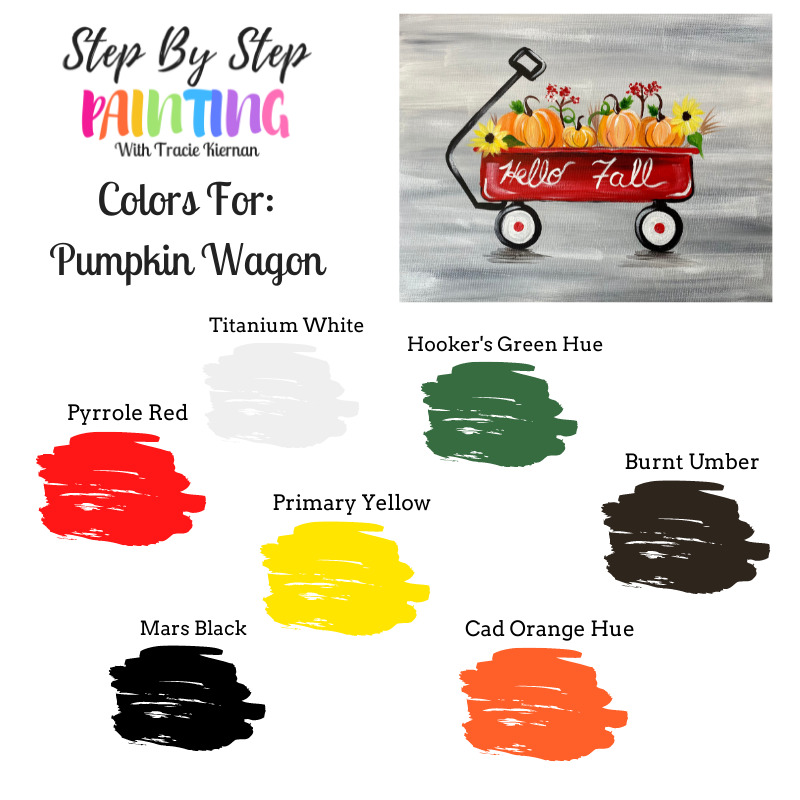
Colors
- Titanium White
- Mars Black
- Pyrrole Red
- Primary Yellow
- Hooker's Green Hue Permanent
- Burnt Umber
- Cadmium Orange Hue
Brushes
Instructions
- See tutorial on www.stepbysteppainting.net for full instructions!
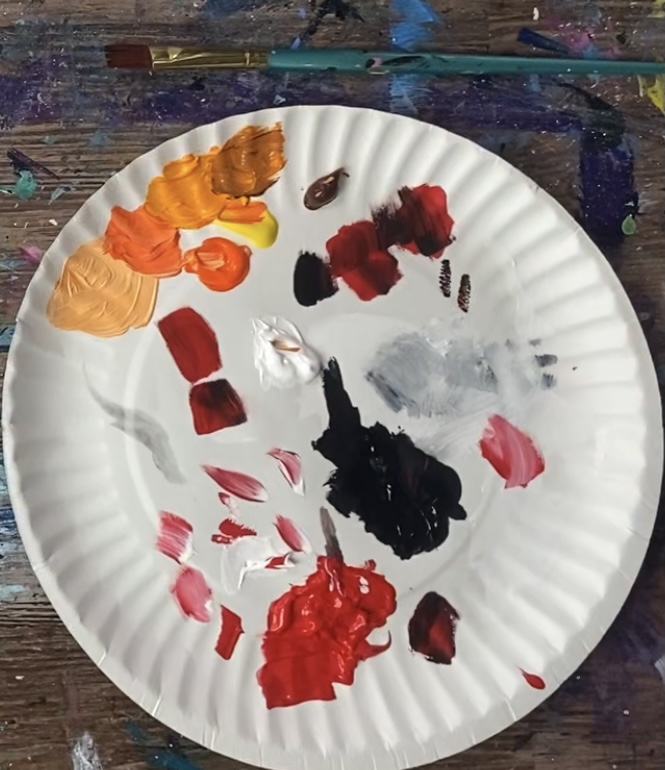
Color Palette
Using Craft Paints?
You can try substituting these Apple Barrel Craft Paints:
- White
- Black
- Bright Yellow
- Jack-O-Lantern
- Flag Red
- New Shamrock or Holly Branch
- Nutmeg Brown
Traceable
This is optional! The wagon is a simple drawing. However, if you do not want to draw the wagon, you can download the traceable and use graphite paper to transfer the design to your canvas.

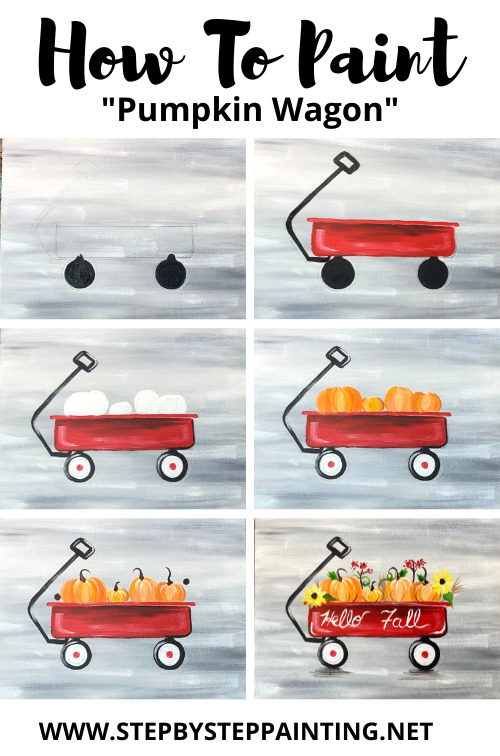
Directions At A Glance:
Video
Step By Step Directions
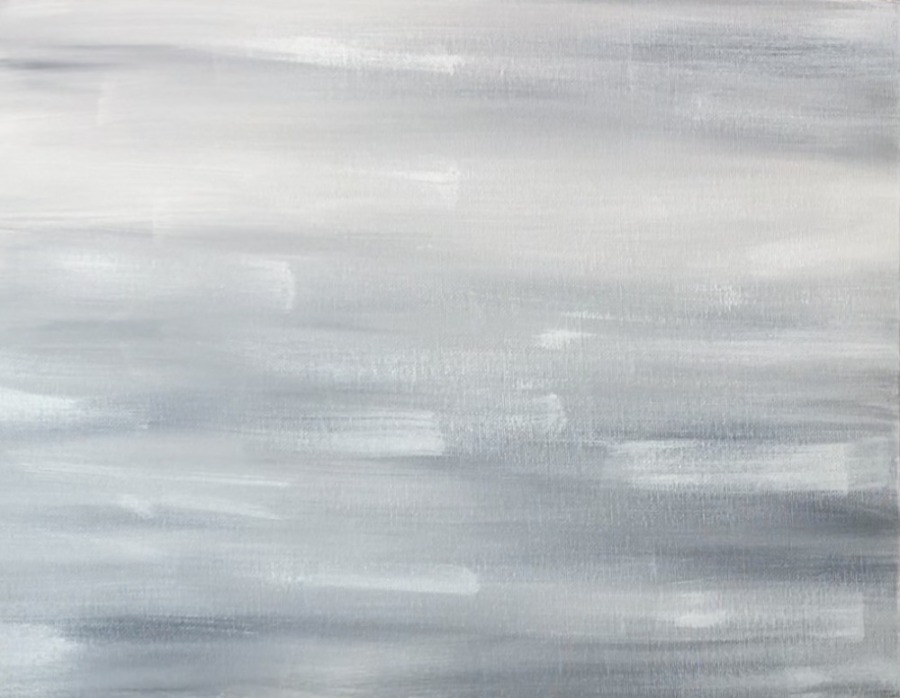
1. Paint The Background
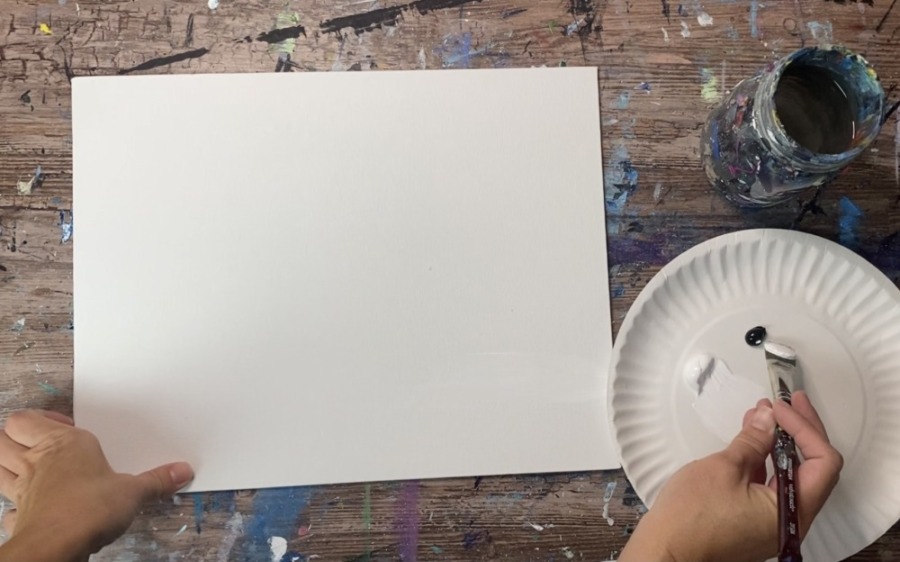
Load your palette with titanium white and a small amount of mars black. Use a 3/4″ flat wash brush. Load it into the white and dip the corner in mars black.
Paint left and right horizontal strokes so that the white and small amount of black mix together to make a light to medium gray.
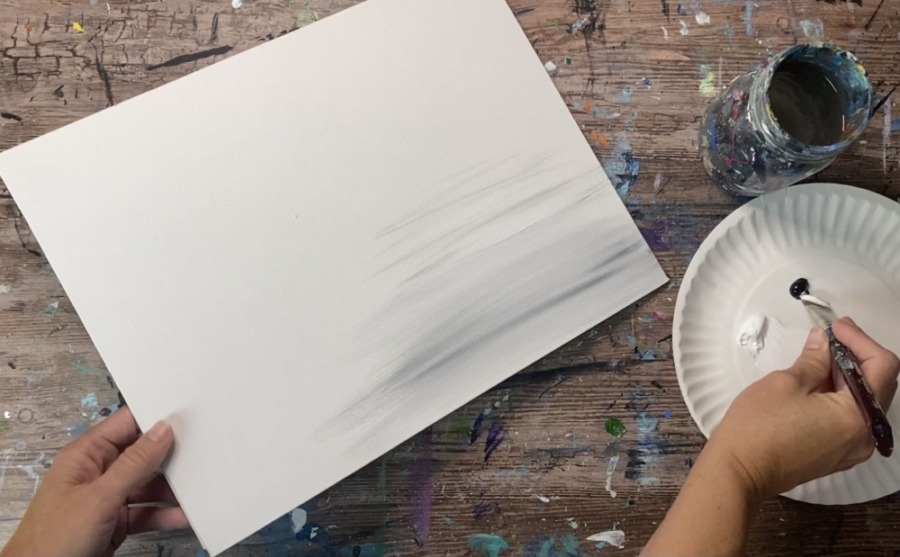
Keep painting left and right strokes with the white and gray. Cover the entire canvas with this combination.

Wait for this to dry.
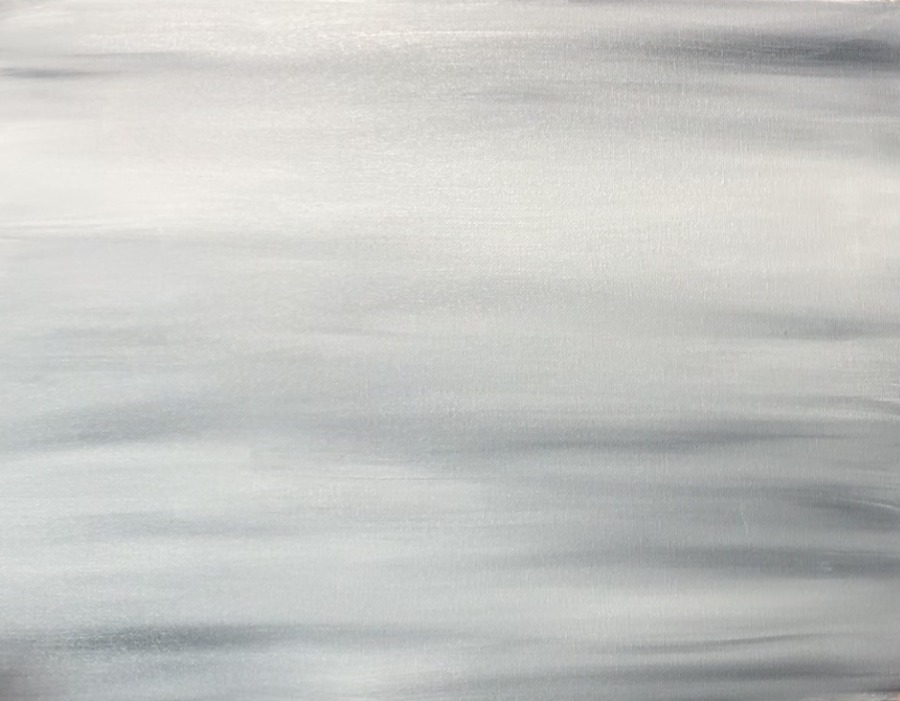
Then “dry brush” some shorter strokes of titanium white on the canvas going in a horizontal direction. This helps get the background to look more “rustic”.
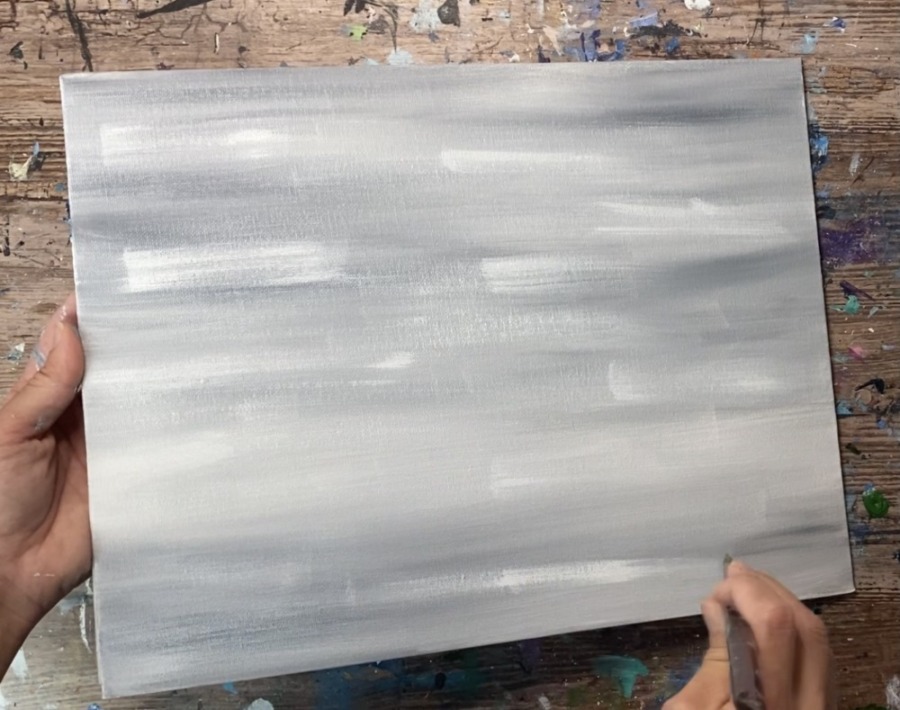
When you do the “dry brush effect” you want to load only a small amount of paint on the brush then wipe some of the paint off with a towel. The paint should be thin and somewhat translucent.
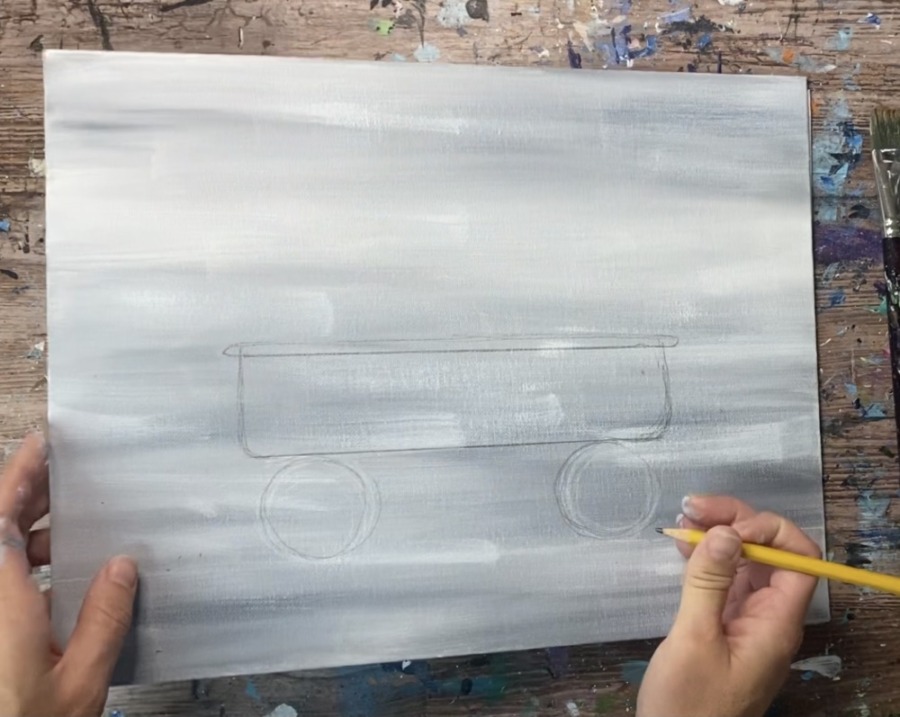
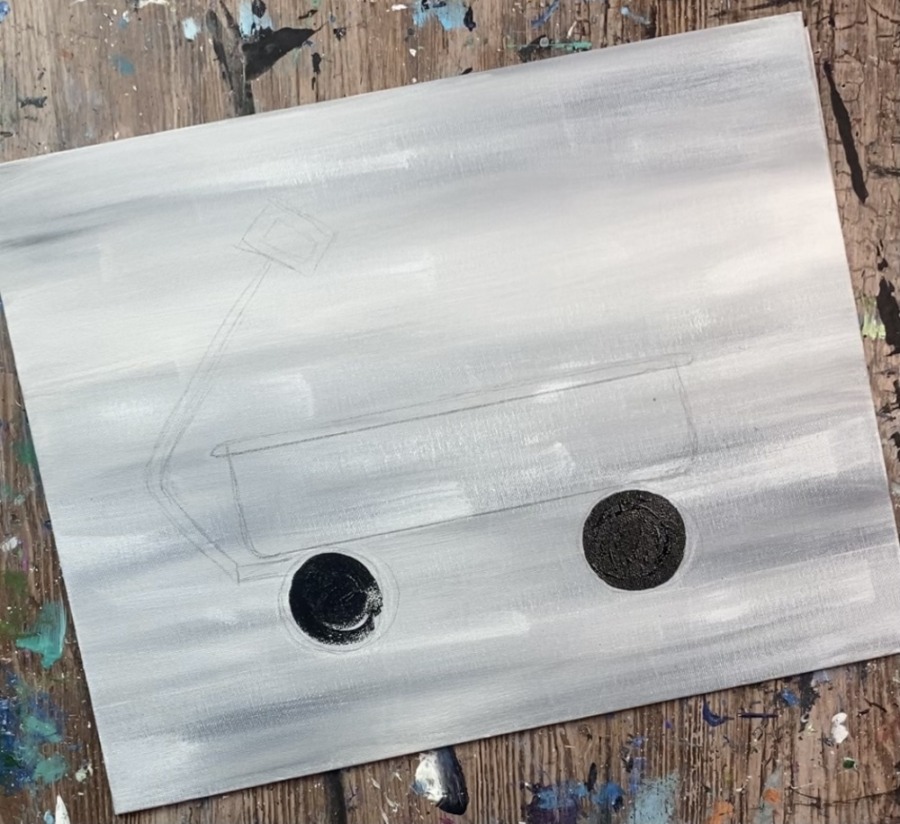
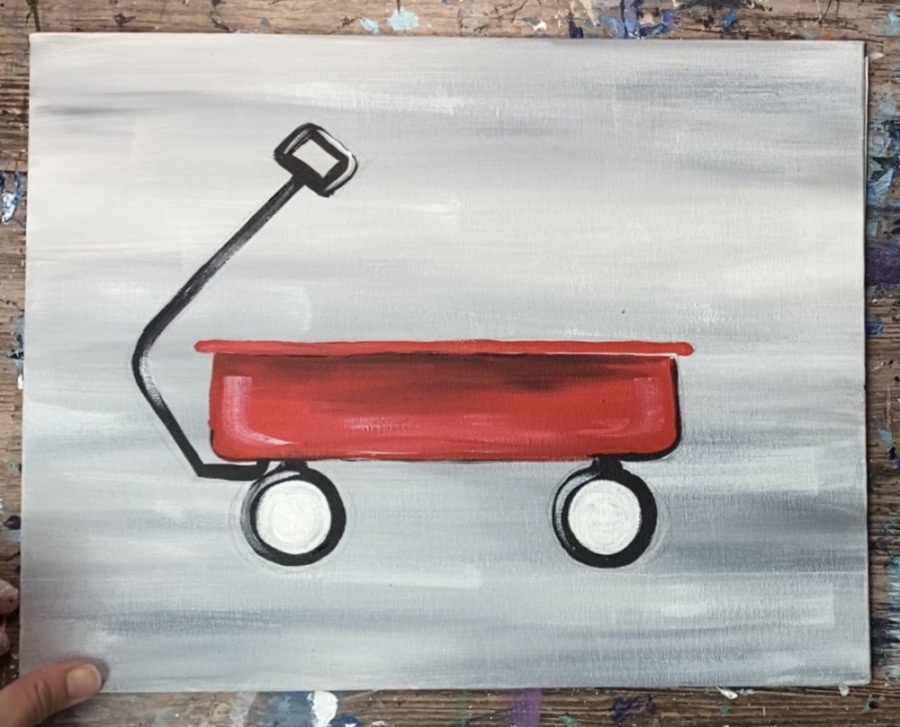
2. Draw The Wagon
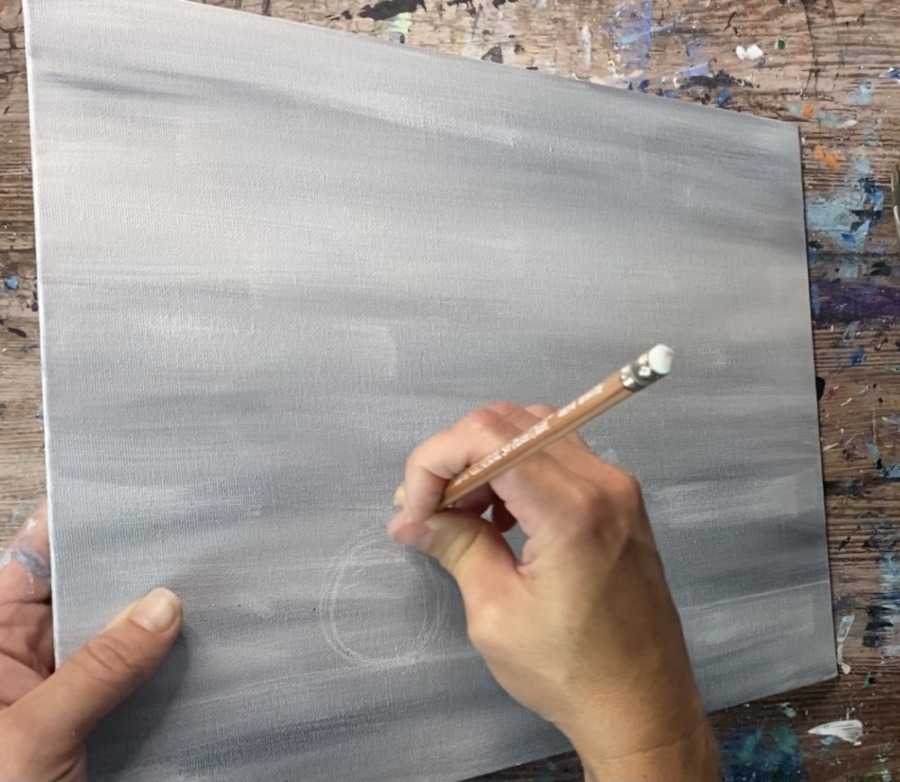
Use the traceable or draw the wagon lightly on the canvas! If you are drawing, you can use either a regular pencil or a white chalk pencil. Depending on how dark your background is, your white pencil may not show up.
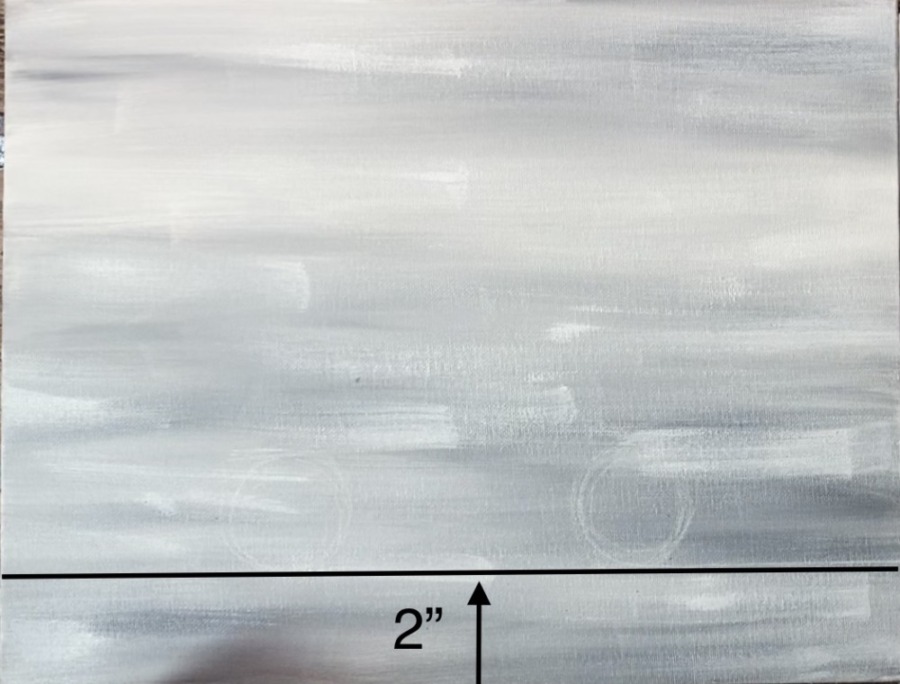
Start at the bottom of the canvas and draw a horizontal line with a ruler. Place this horizontal line about 2″ from the bottom of the canvas. This is where the bottom of the wheels will be.
Then draw to circles about 1.7″ – 2″ in diameter. These circles should be on the top of that horizontal line. Space them about 3.5″ apart. You can estimate the circles, use a compass or find a circle to trace.
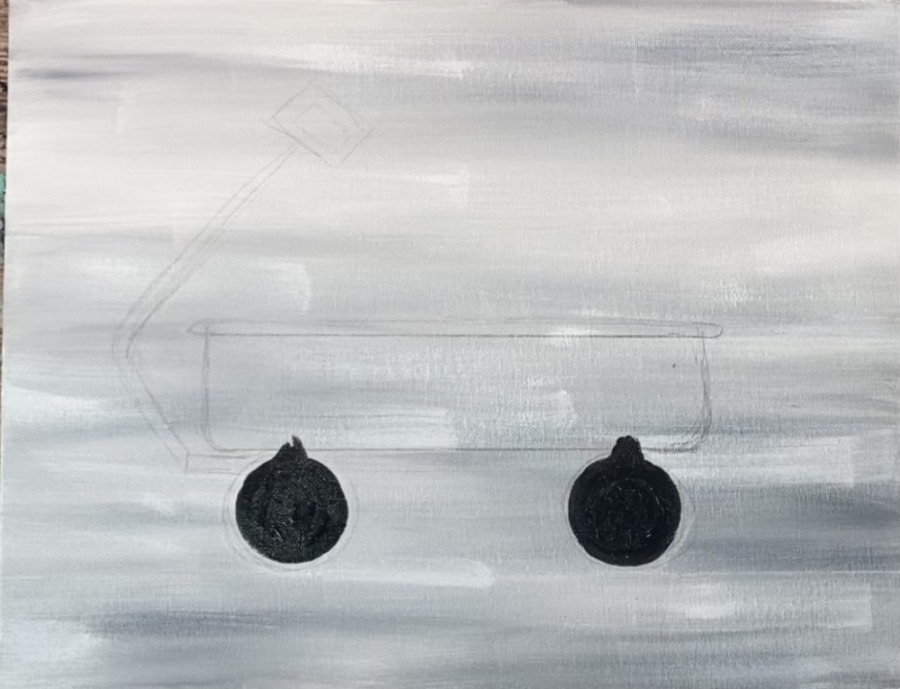
Then use the ruler to draw a horizontal line above the two wheels. This will be the bottom of the wagon.
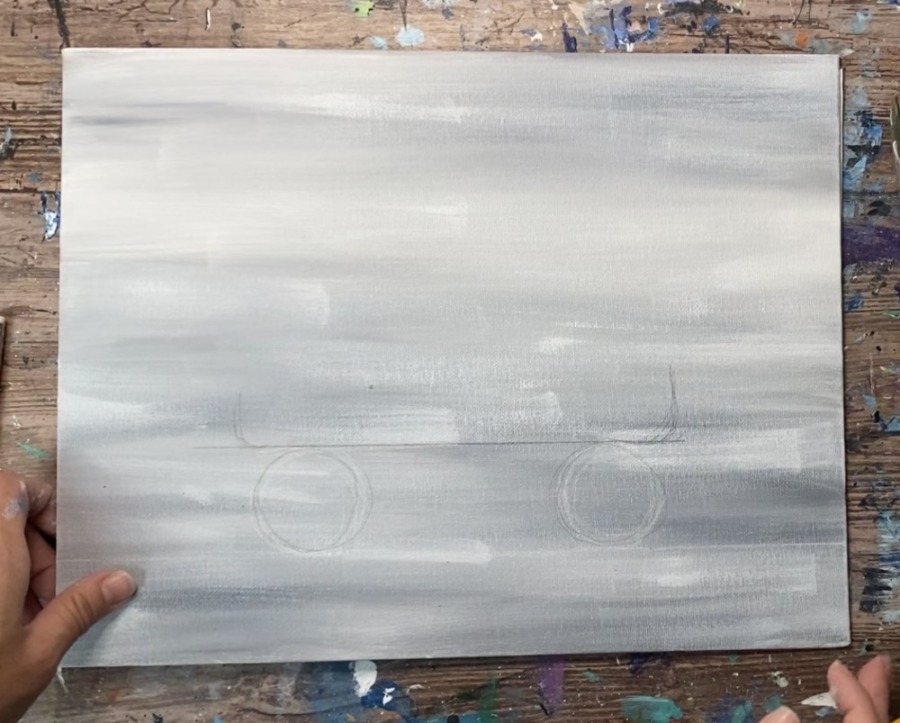
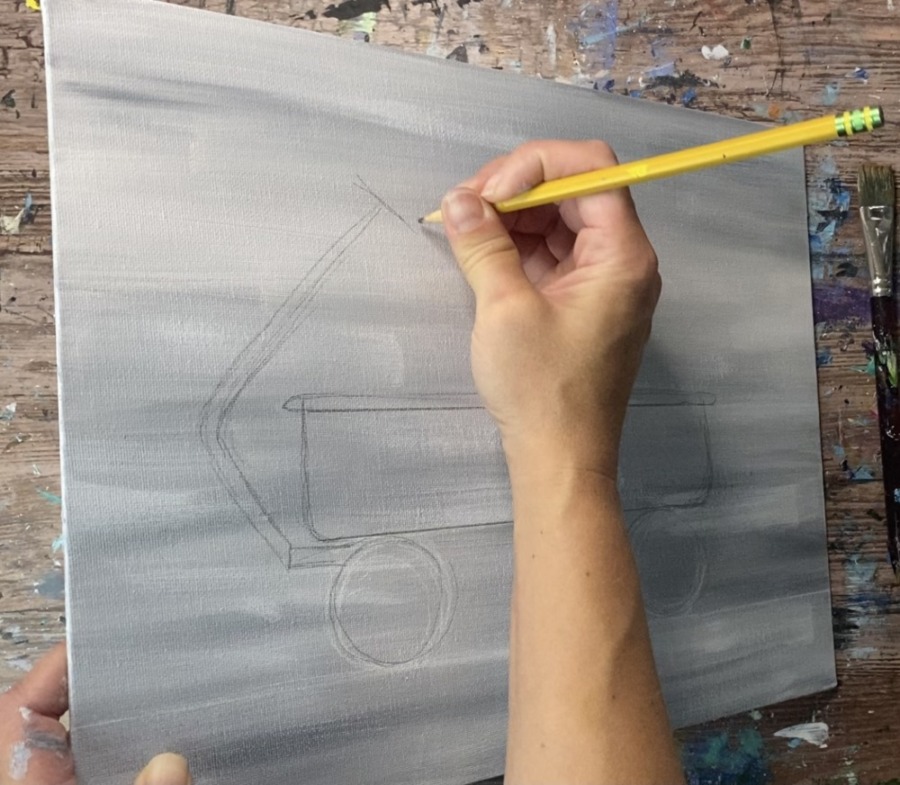
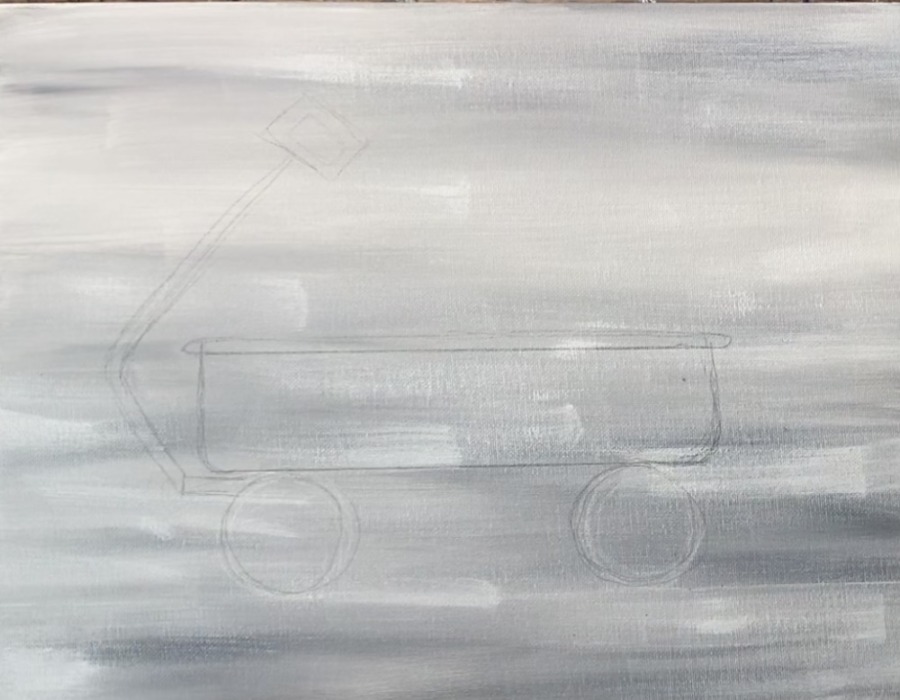
Round the bottom left and right corners of the wagon and then draw two vertical lines up. The height of the wagon (red part) is about 2″ high. Then draw a very thin rectangular lip piece at the top.
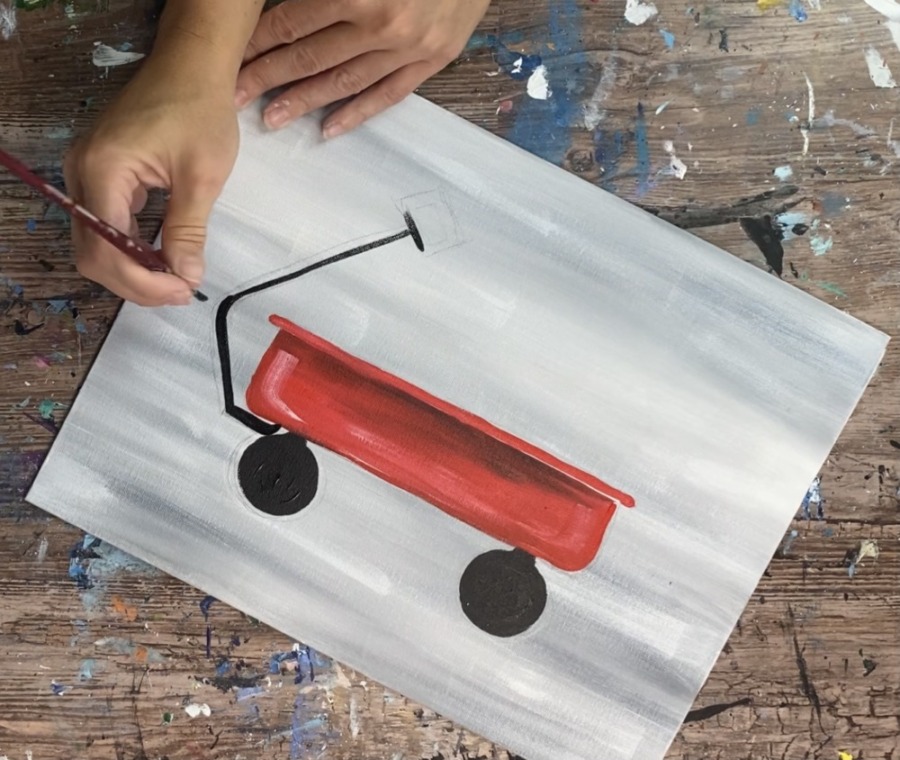
Next draw the handle. Start at the top of the left wheel and draw a small horizontal rectangle. Then draw the black handle going out diagonal and then curving to the right. Continue drawing the diagonal wagon handle and then draw a rectangular handle piece on the end.
3. Paint The Wheels
Use a #4 round brush and mars black. Paint both of the wheels solid black.
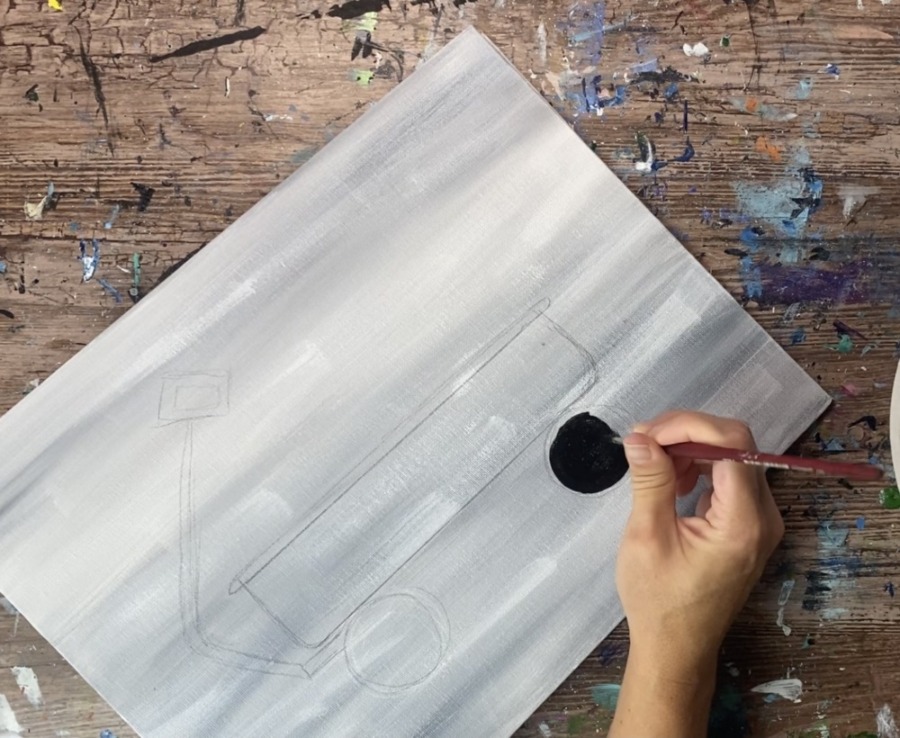
Then paint small black pieces above the wheels that attach to the red part of the wagon.
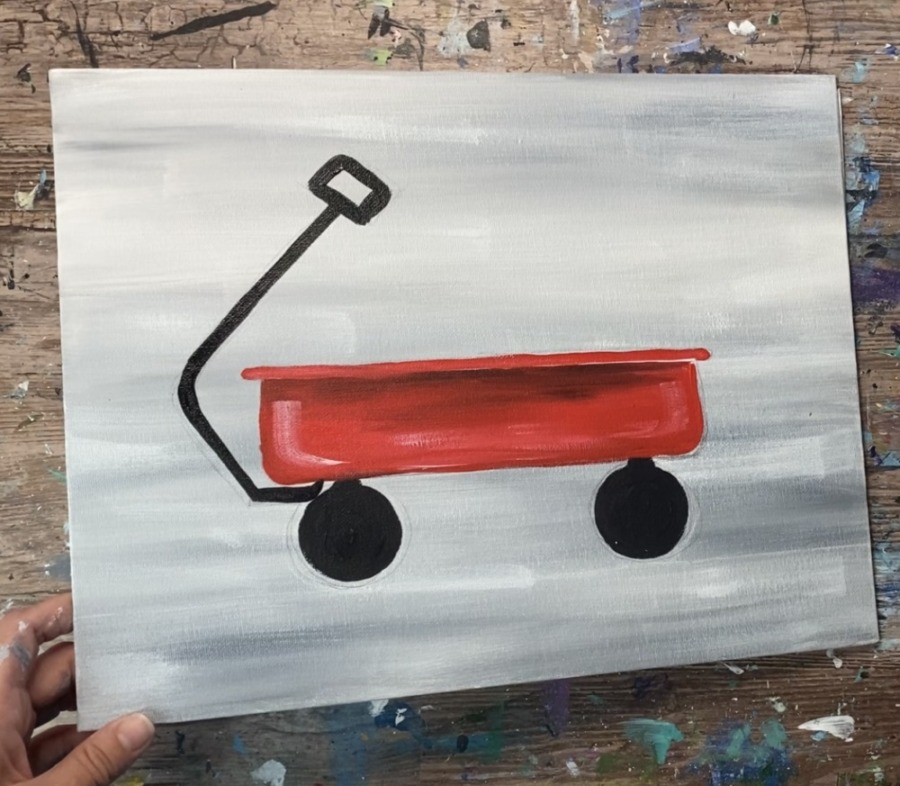
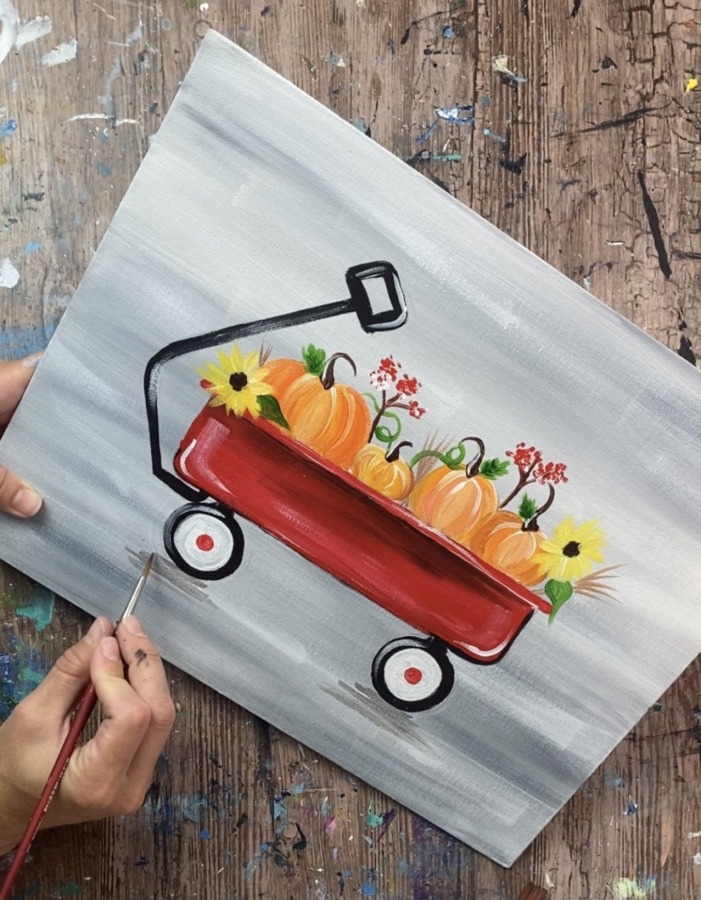
4. Paint The Red Wagon
Use a #12 bright brush to paint the wagon a solid coat of pyrrole red. Pyrrole red tends to be an opaque color but if it is not giving you coverage, you may need to apply another coat or two or paint the base of the wagon white and then paint it red.
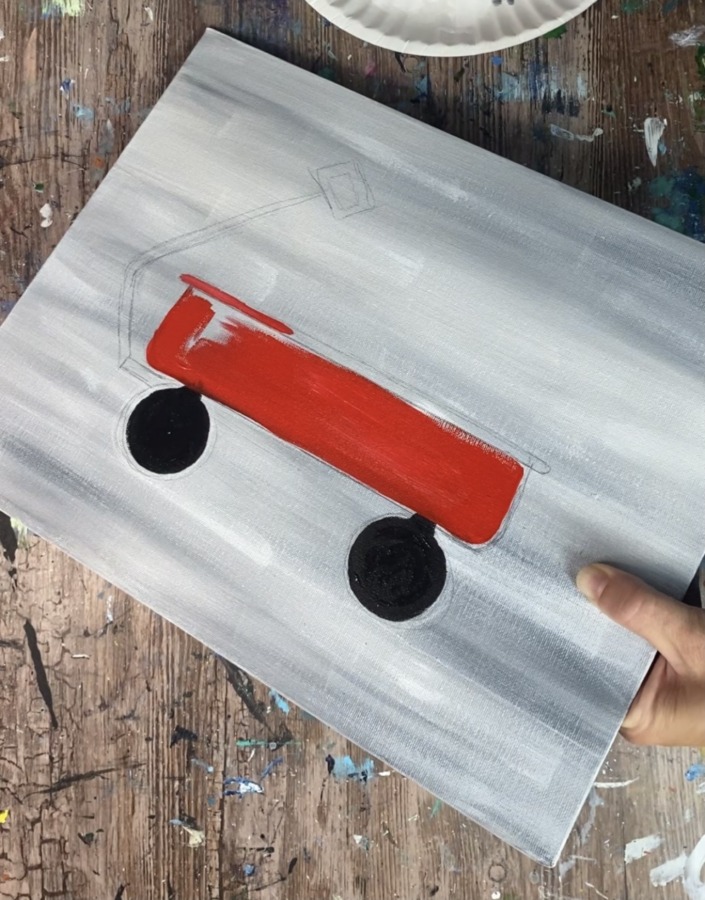
Use your round brush to paint the smaller areas and the bottom curved corners. Also add a small amount of white to your brush to add some “color variation” in the red. Add a small amount of black to your brush to add some darker red towards the top.
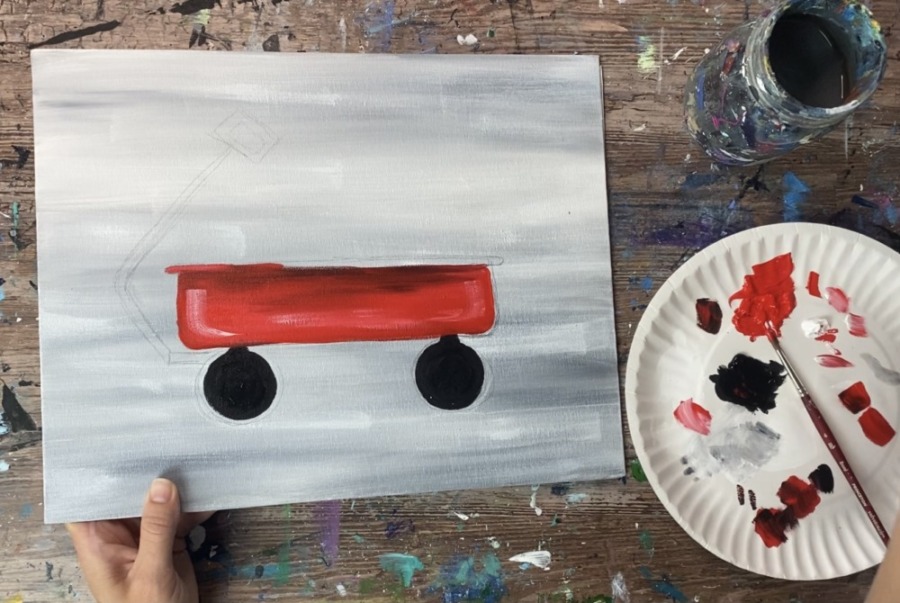
Dry brush the bottom corners of the wagon with titanium white to give the wagon some “highlight”.
5. Paint The Handle
Use your #4 round brush and mars black to paint the handle for the wagon. Slightly water it down to increase the flow.
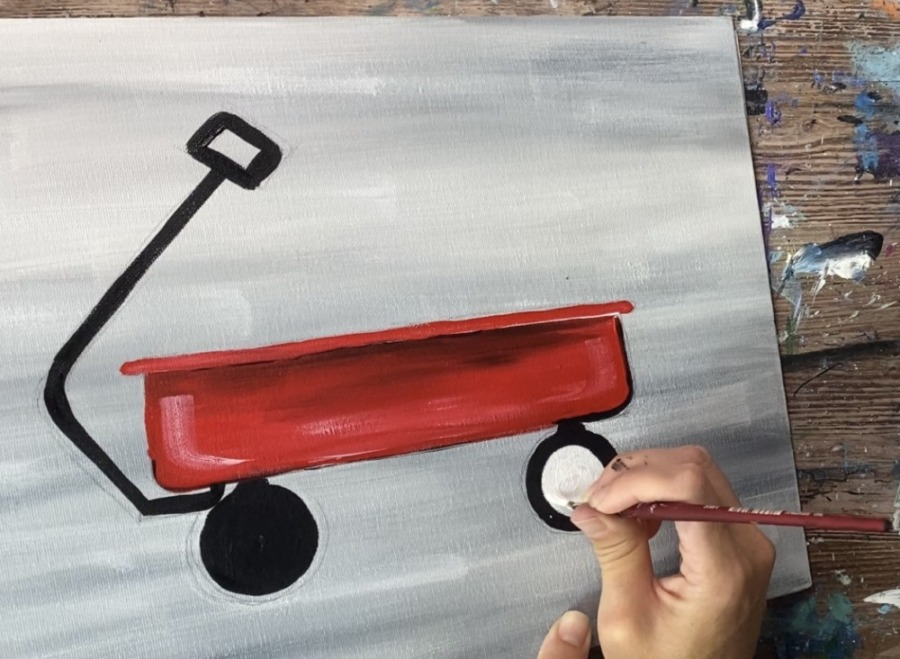
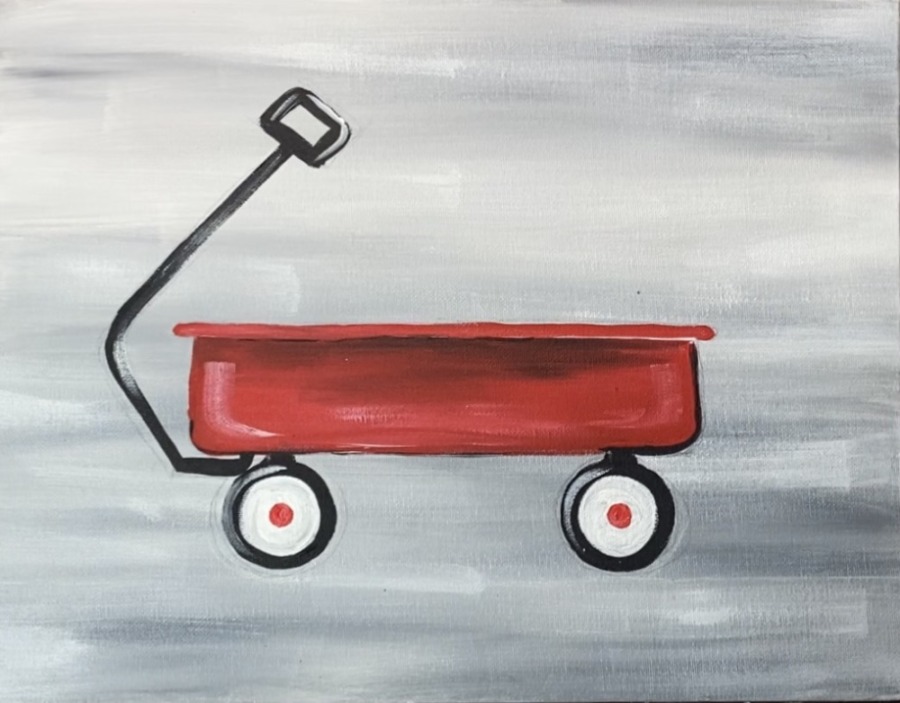
6. Paint White Part Of Wheels
Paint the inner part of the wheels a solid coat of titanium white.
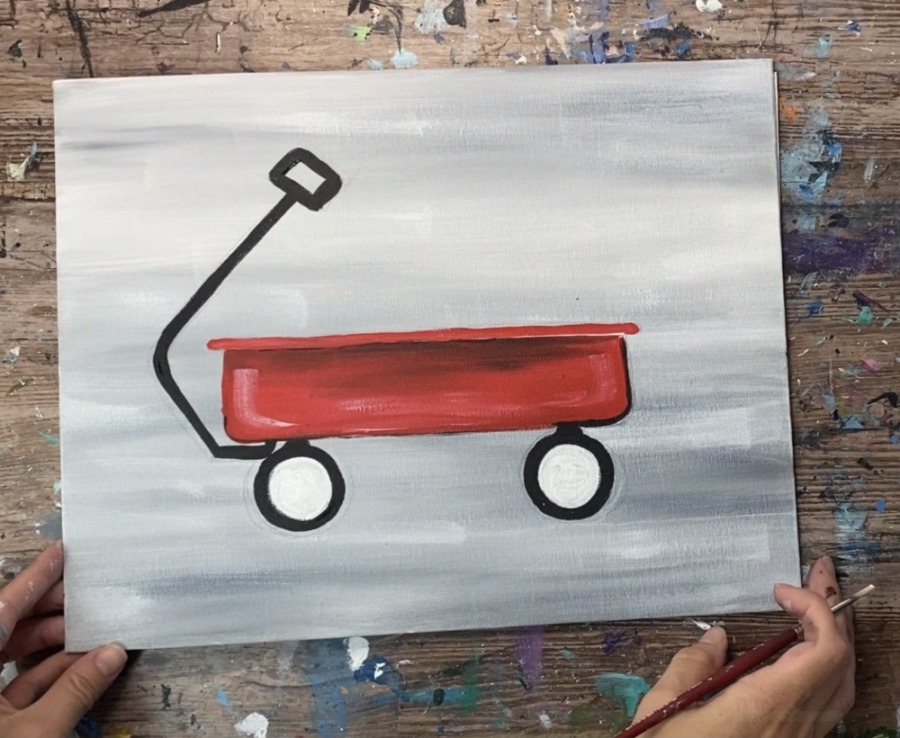
7. Paint Highlights
Load your #4 round brush in a small amount of titanium white. Loosely paint some highlight with the white on one side of the handle.
Add some white to the left side of the wheels.
8. Paint Red Circles On Wheels
Next paint small red circles on the inside of the white circles.
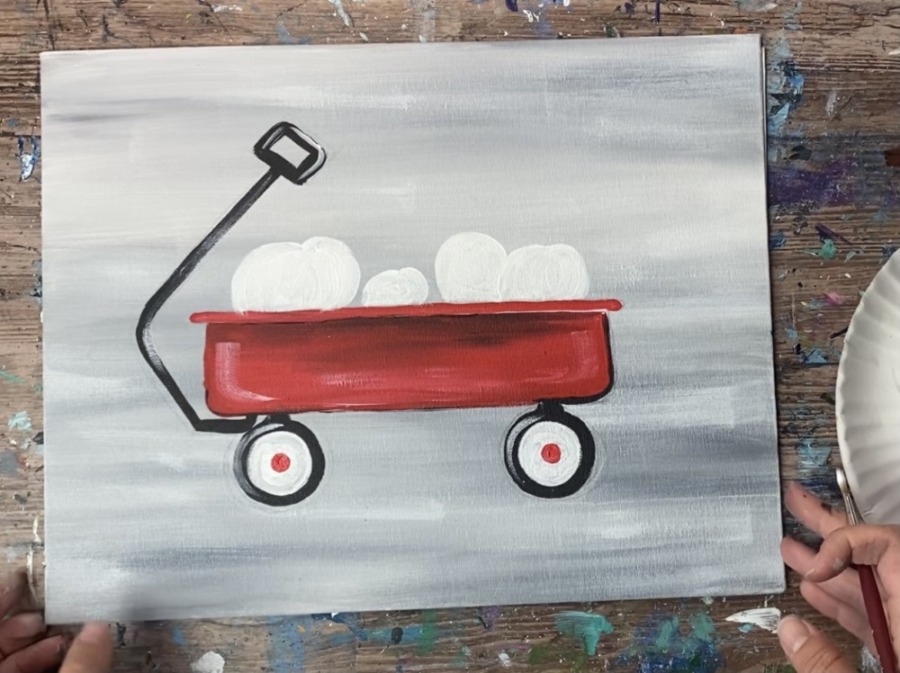
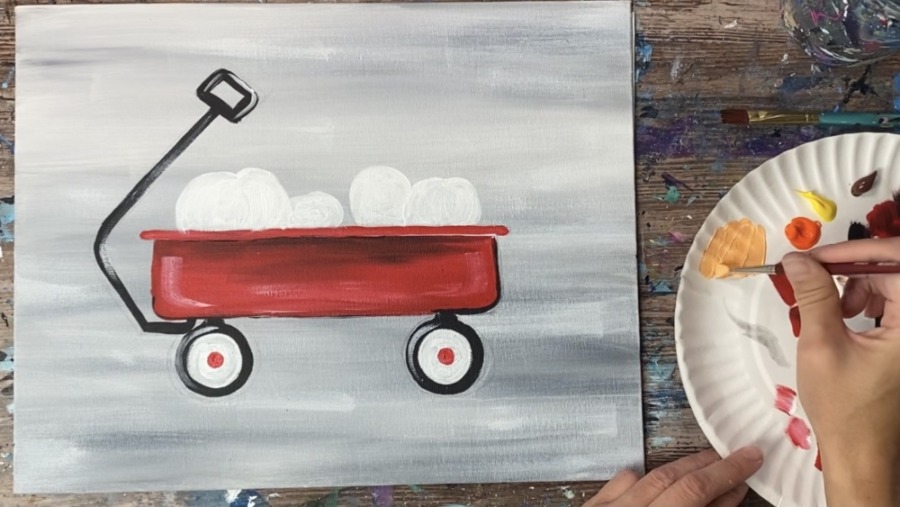
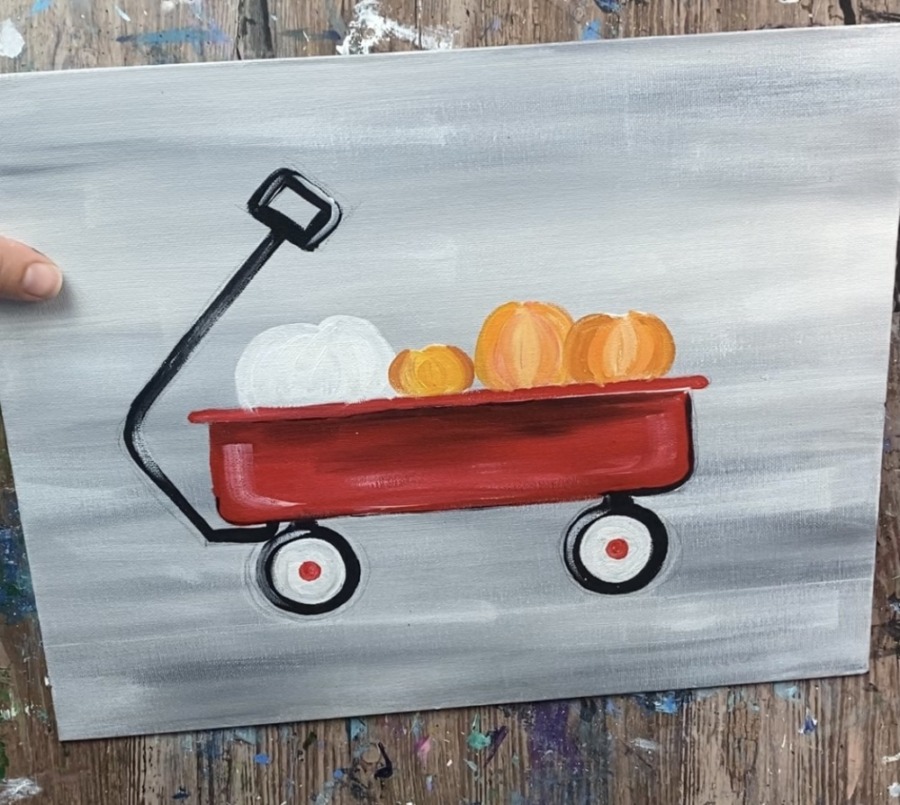
9. Paint Pumpkin Base White
Use the #4 round brush and titanium white to paint the shapes of the pumpkins.
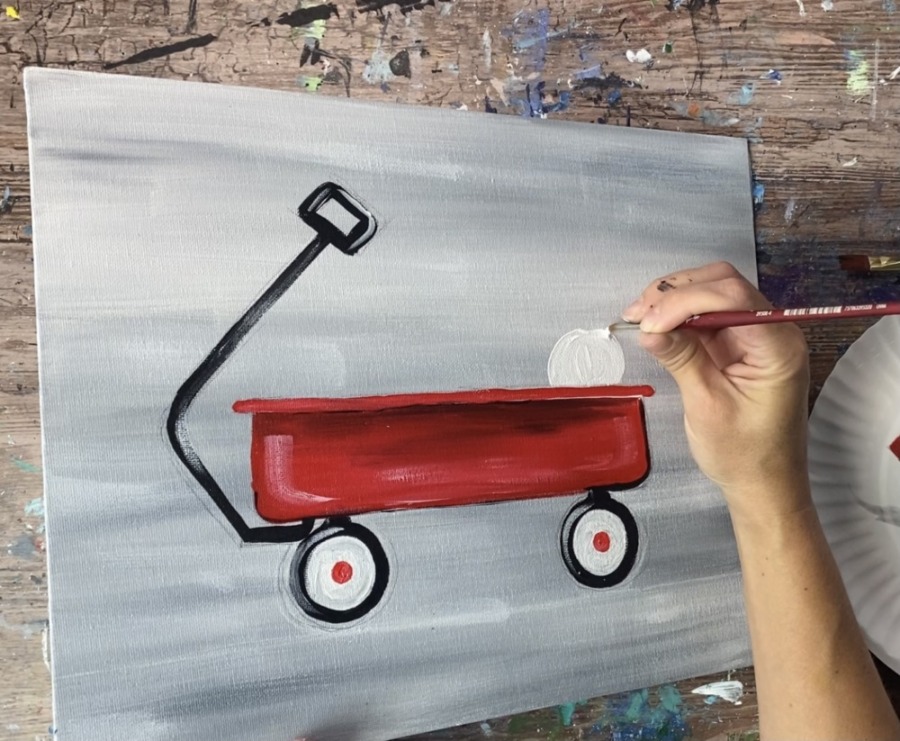
Paint various size pumpkins. Some can be taller, some shorter. You can also overlap a few. I did four pumpkins in my wagon, however, you can do more or less.
10. Paint Pumpkins
On your palette, you will want to mix a few different shades of orange so your pumpkins show up with different darks and lights. Load your palette with cadmium orange hue, titanium white, primary yellow and a small amount of burnt umber.
Make a light orange by mixing white with orange, make a yellow-orange by mixing orange and yellow together, make a dark orange by mixing a small amount of brown with orange.
Next choose one of the oranges on your palette. Paint the middle oval bump of one of the pumpkins first. Then wipe off the brush and load it into another shade of orange. Stroke the pumpkin starting at the top and stroking down. Then paint the next bump and so on.
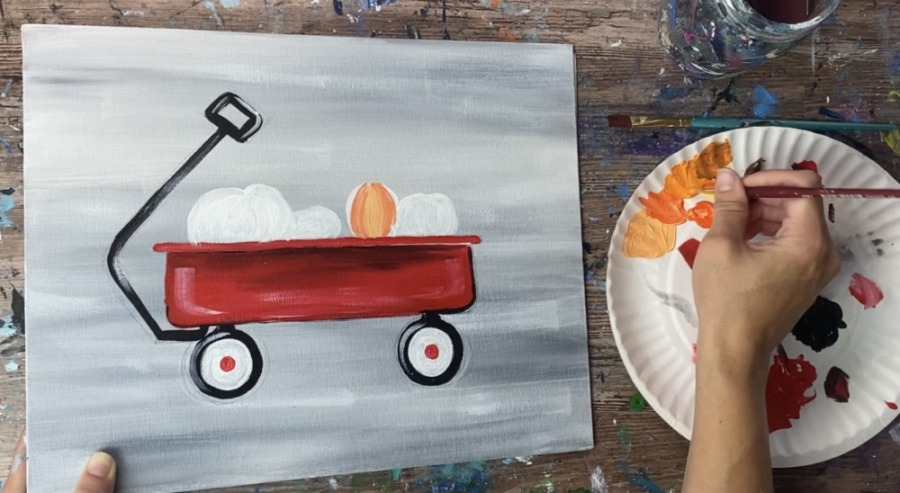
Paint each of your pumpkins one “bump” at a time using the different shades of orange on your palette. Stroke from the top of the pumpkin ind curve your stroke down.
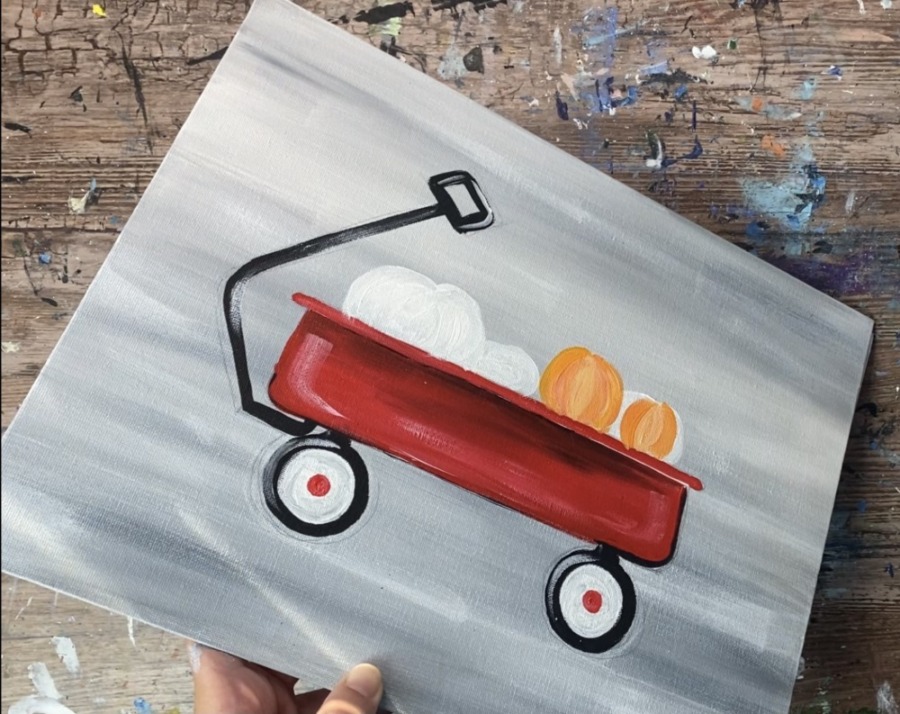
Paint each of the pumpkins using this technique.
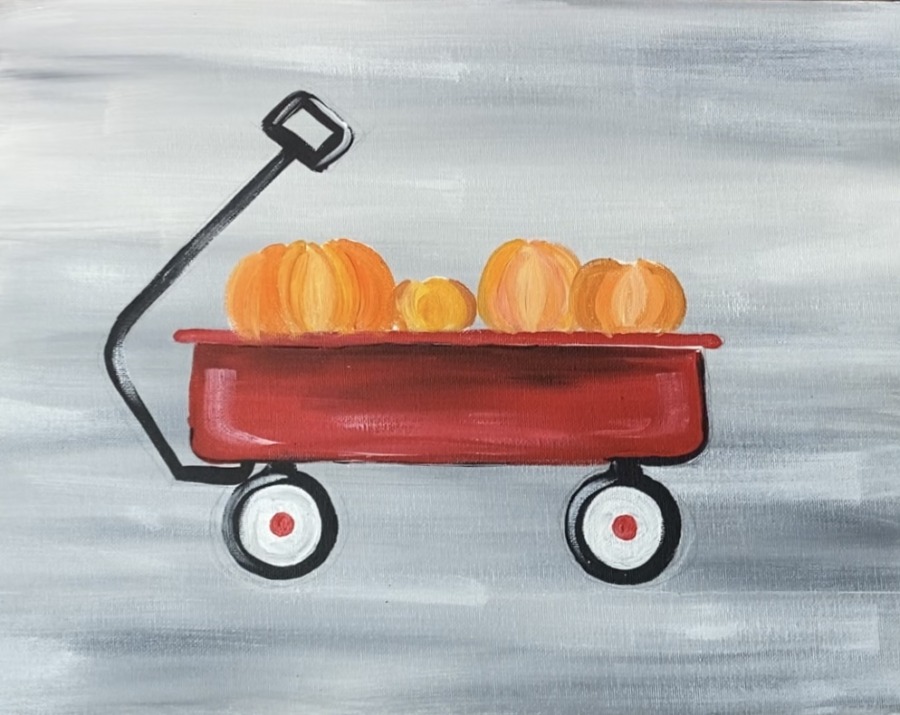
If you painted orange over part of the red top of the wagon, go back over it with a coat of red paint.
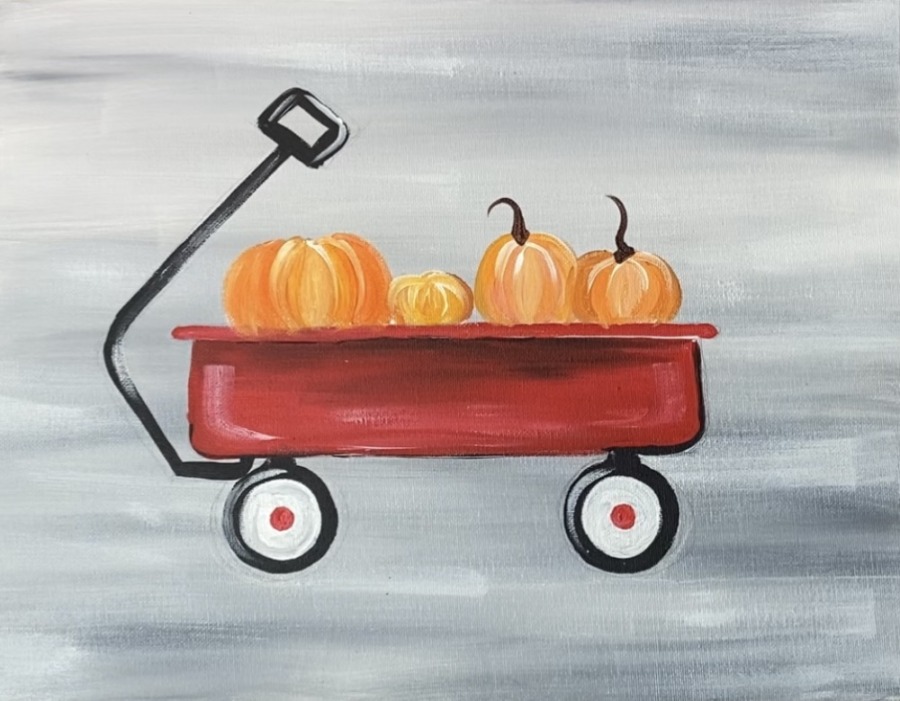
11. Paint Pumpkin Stems
Use the #4 round brush and burnt umber to paint the stems of the pumpkins. Start a little bit below to top of the pumpkin and paint the base. Then paint a thin, wavy stem shape that goes to a point.
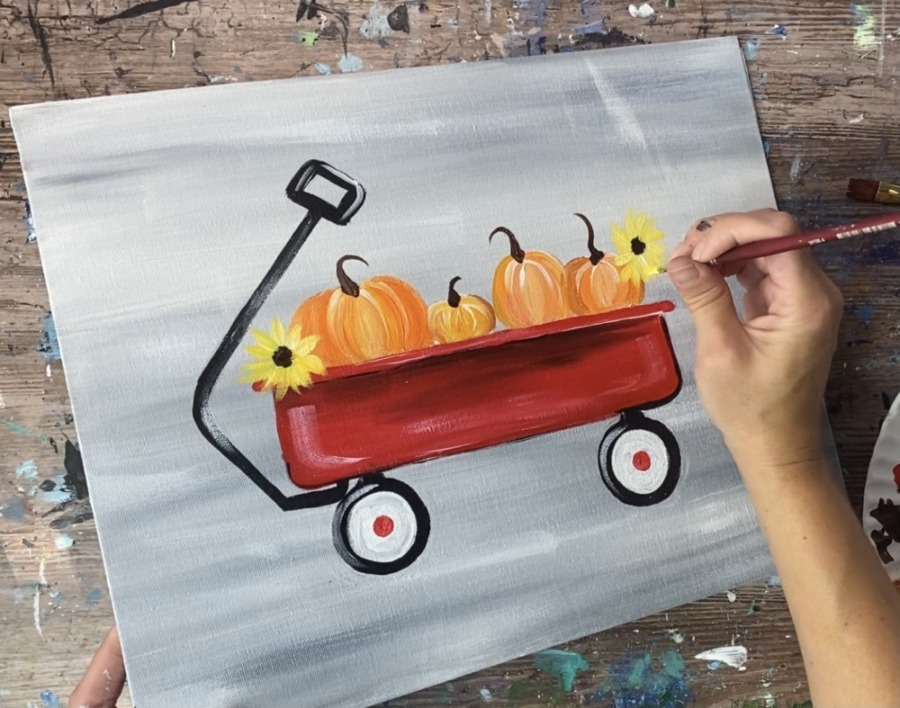
12. Paint Sunflowers
Use the burnt umber to paint the middle circle for each of the sunflowers.
Next paint the sunflower petals using the #4 round brush and primary yellow mixed with a little titanium white (to make the yellow bright and more opaque). Start on the outer edge of the brown circle and make one stroke for each of the petals.
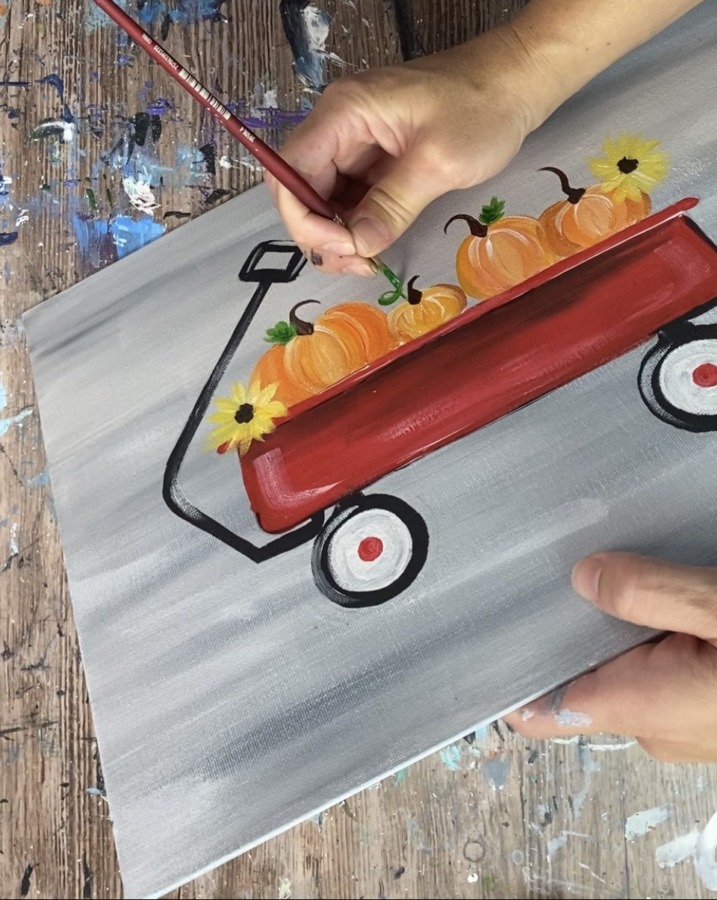
13. Paint Leaves & Vines
Load your #4 round brush in hooker’s green hue permanent. Paint pumpkin leaves and some vines using the tip of your round brush.
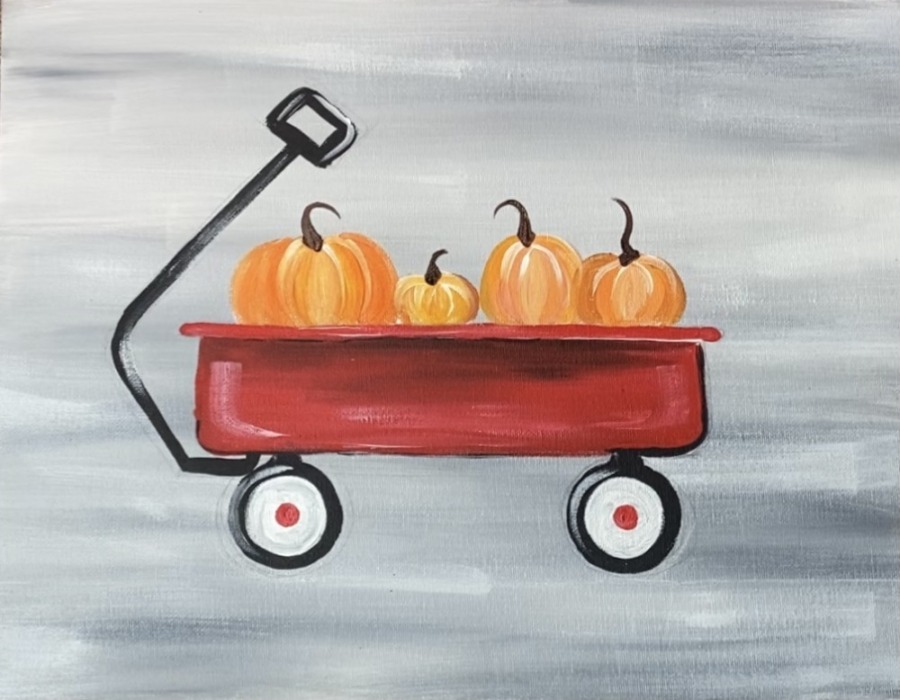
14. Paint Other Fall Decor
Add some other fall decor such as little twigs with tiny red dot berries and some brown hay. Paint some white highlights on the pumpkin stems.
15. Paint Shadow
Water down mars black to a water color consistency and paint a small shadow under both of the wheels.
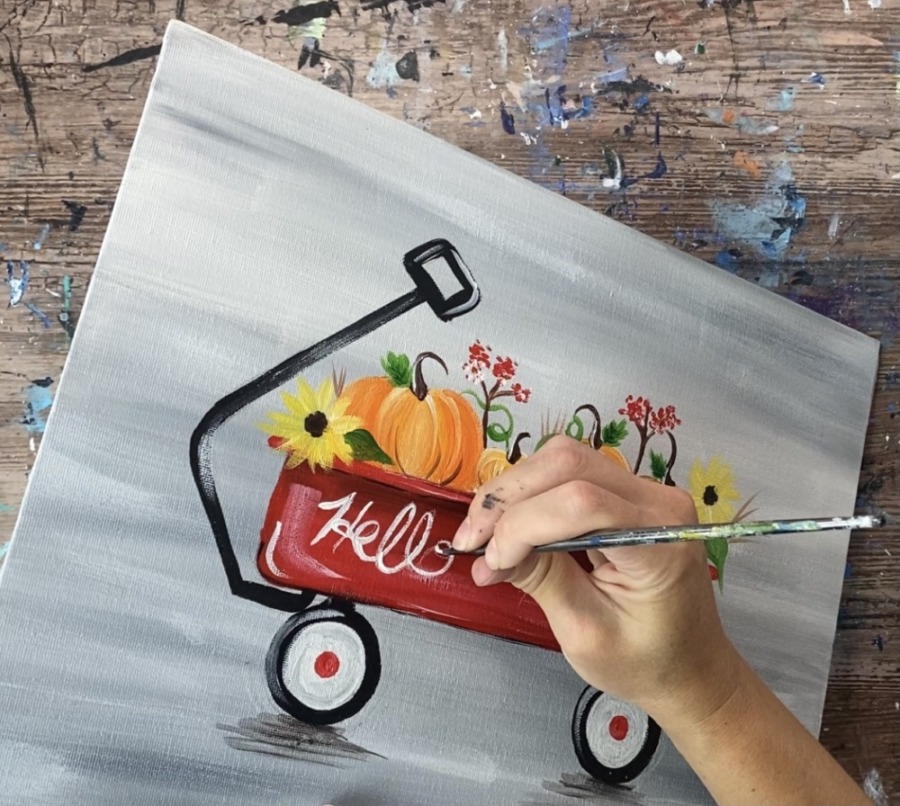
16. Write “Hello Fall”
Next use a pencil or a white chalk pencil to write a word on the side of the wagon. You can do “Hello Fall” or another word.
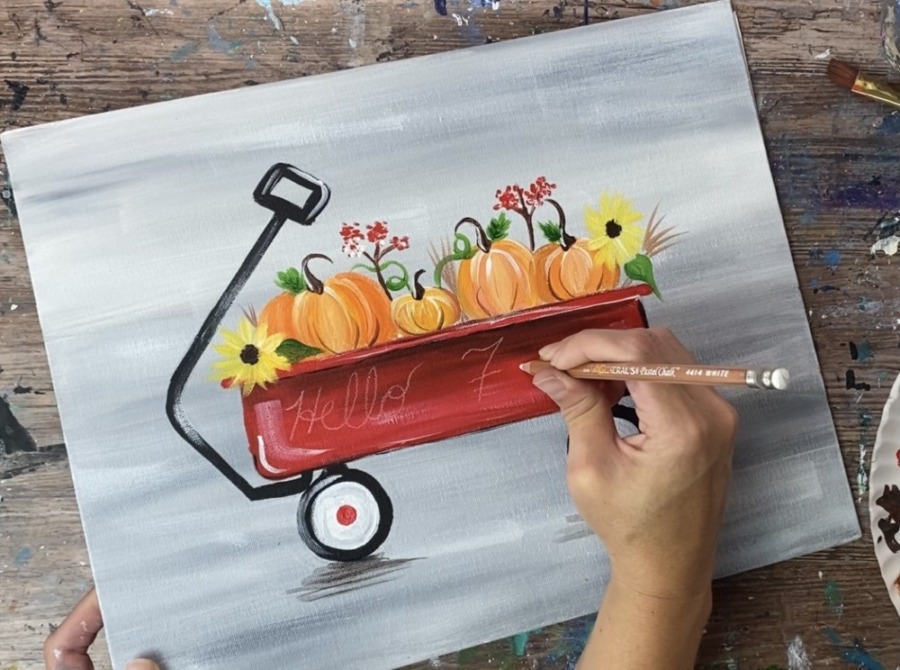
17. Paint “Hello Fall”
Then use a 10/0 liner brush and titanium white or a white paint pen to paint the word.
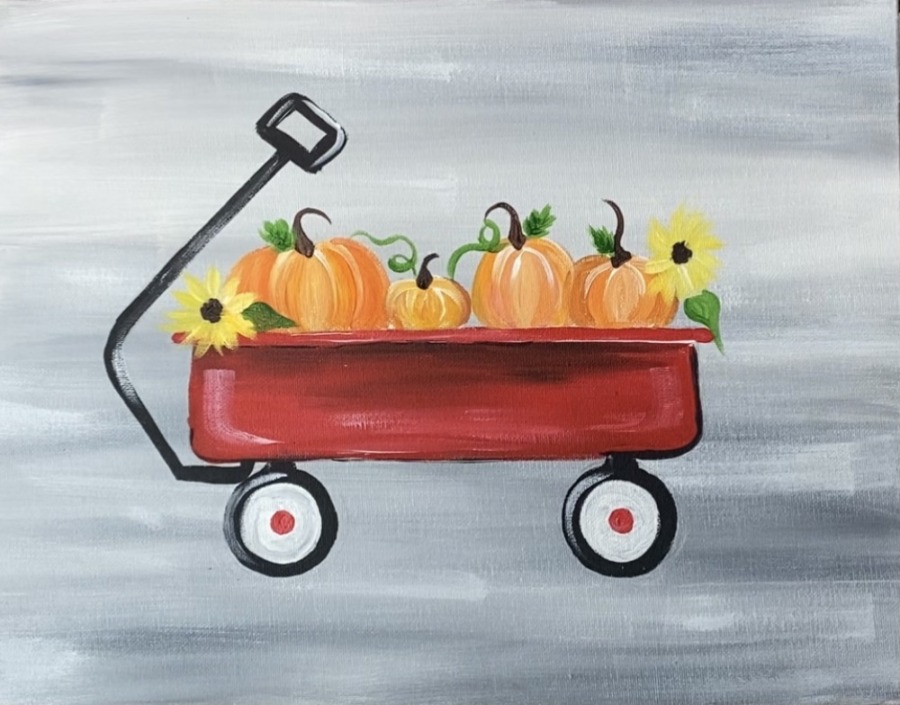
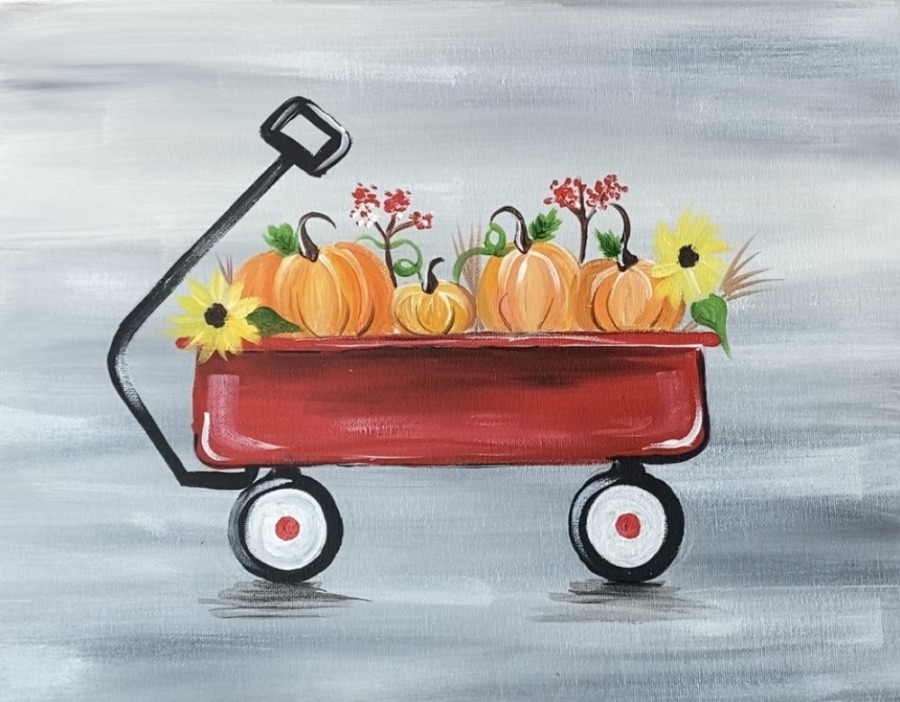
Finished!

Share Your Art Here!


