
Would you like to save this?
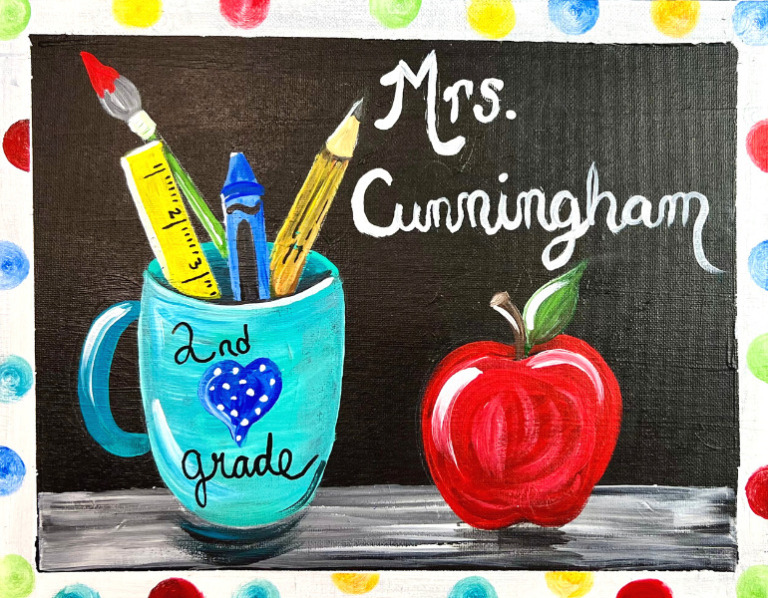
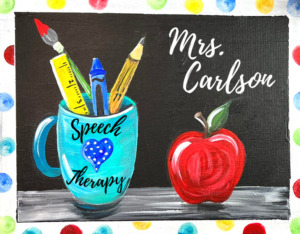
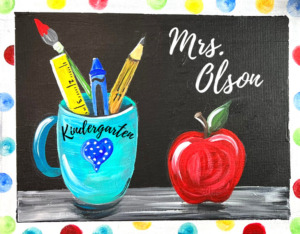
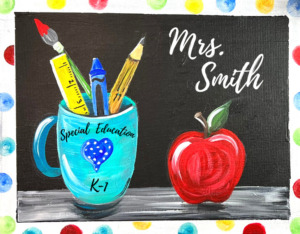
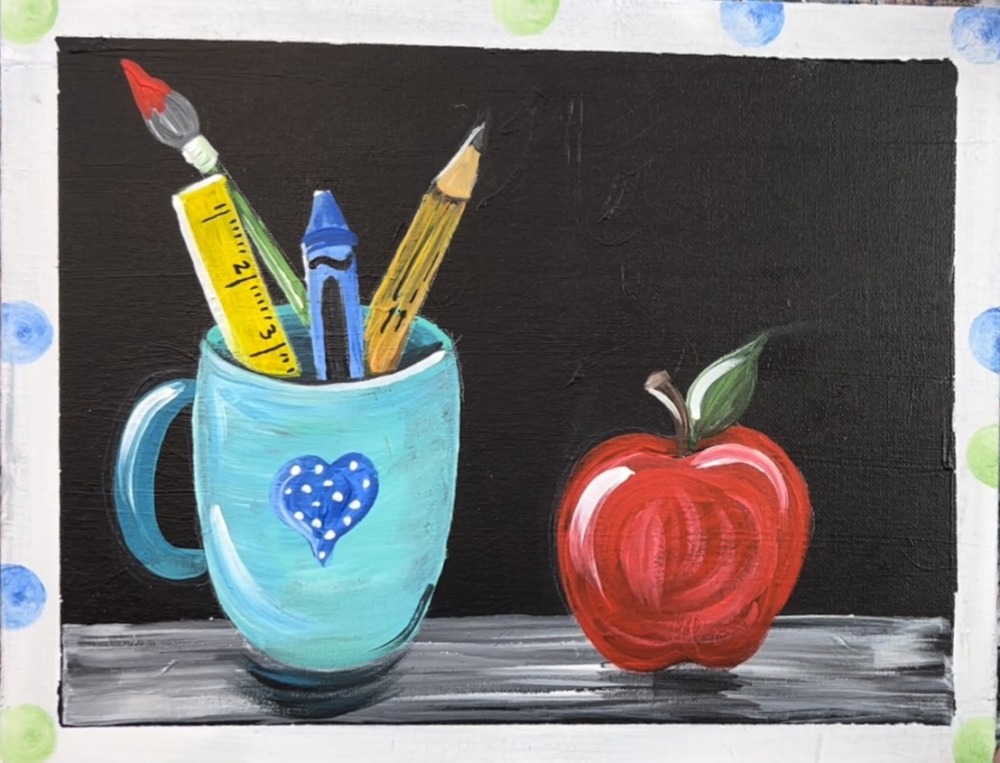
Learn how to paint this customizable teacher painting! This is a great painting to do if you are a teacher or as a teacher appreciation day painting gift!
I will be providing the template for this but also showing you how to draw the design on the canvas if you prefer to do the drawing yourself and not use the template! If you are using the template, simply print this out and use graphite paper below the template to transfer your design.
For the border, I used pouncer sponges. Feel free to add your own cute elements on the border and add creative touches to this depending on your teacher’s favorite color and/or subject he or she teaches!
Enjoy and happy painting!
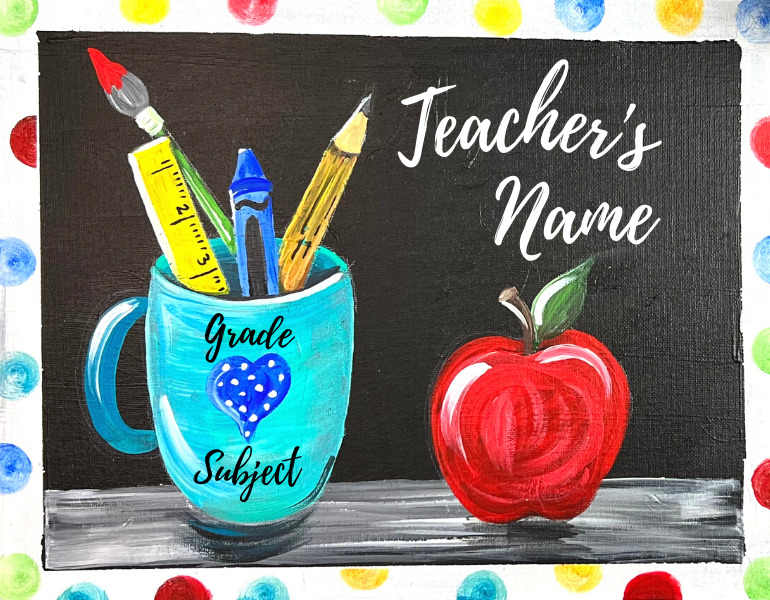
So many possibilities!
Special education, art, music, therapy & any grade level! You can customize this painting with any text! You can also customize the border, cup color, cup symbol and the items in the cup for a theme based painting.


See Also…
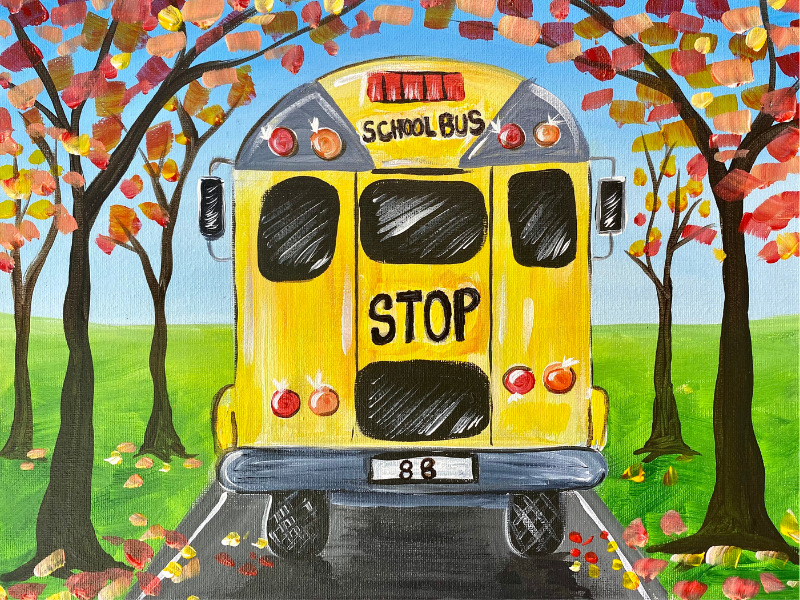
This bus painting is also a great painting to do for a teacher! It comes with a downloadable template for the bus.
Tip for painting on a black canvas…
This painting design is done on a canvas that is painted black! When working on a black canvas, keep in mind that a lot of paint colors will not show up “opaque” on the dark background. A way around this is to “double load” your color in titanium white OR mixing titanium white with the color you are painting with. Titanium white will add opacity to your paint color and make it show up bright against the black. You can also paint your object white first, wait for the white to dry and then paint the object with the color.
Materials
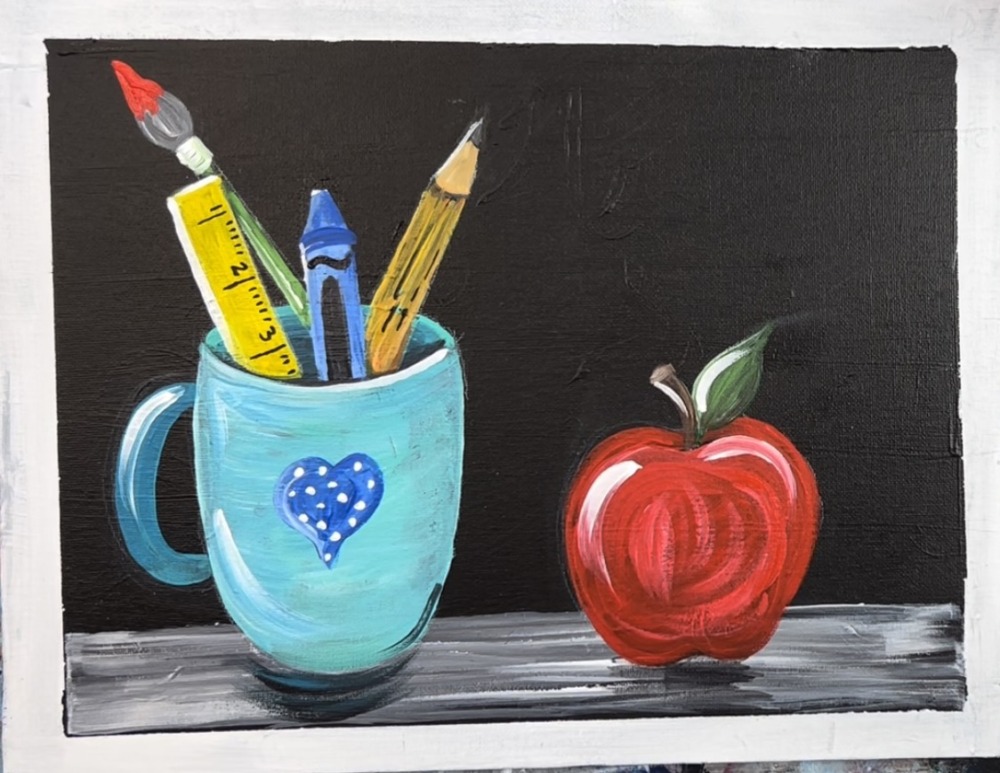
How To Paint A Teacher Painting

Create a highly customized teacher theme painting!
Materials
- Acrylic Paint
- 11 x 14 Canvas (painted black - see notes)
- Paint Brushes
- Foam Pouncers (optional)
- White Chalk Pencil (optional)
- Black Paint Pen (optional)
- Traceable Template (optional)
- White or Black Graphite Paper (optional)
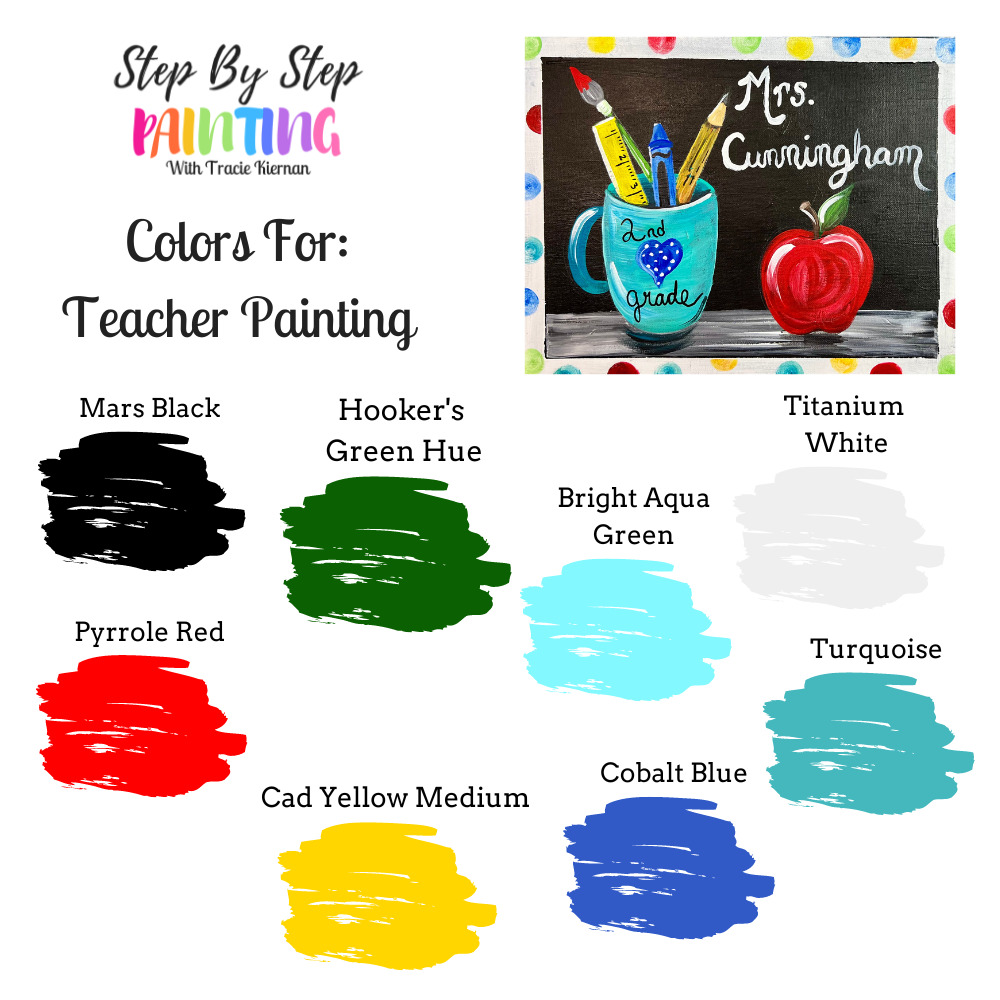
Colors
- Titanium White
- Mars Black
- Pyrrole Red
- Cadmium Yellow Medium Hue
- Hooker's Green Hue Permanent
- Cobalt Blue
- Bright Aqua Green
- Turquoise Blue
- Raw Umber
Brushes
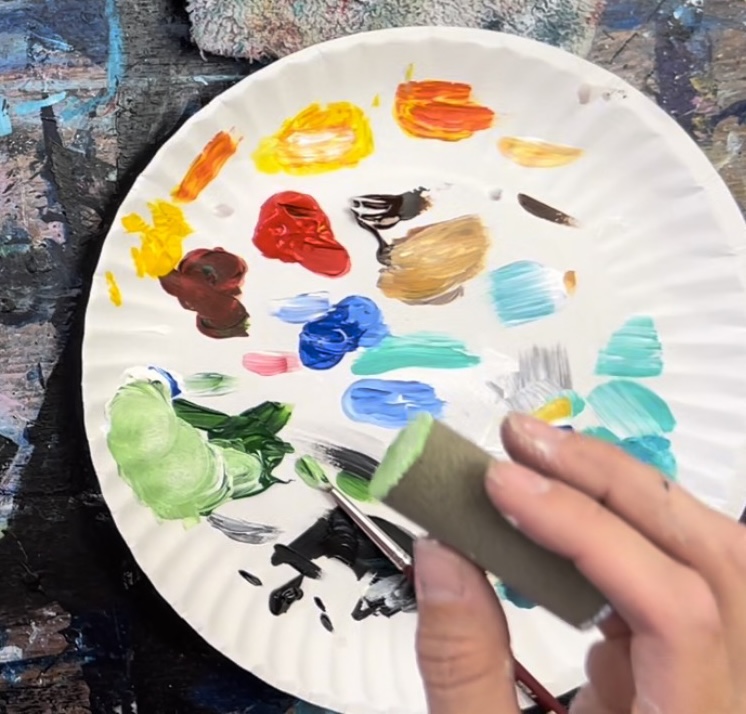
Color Palette
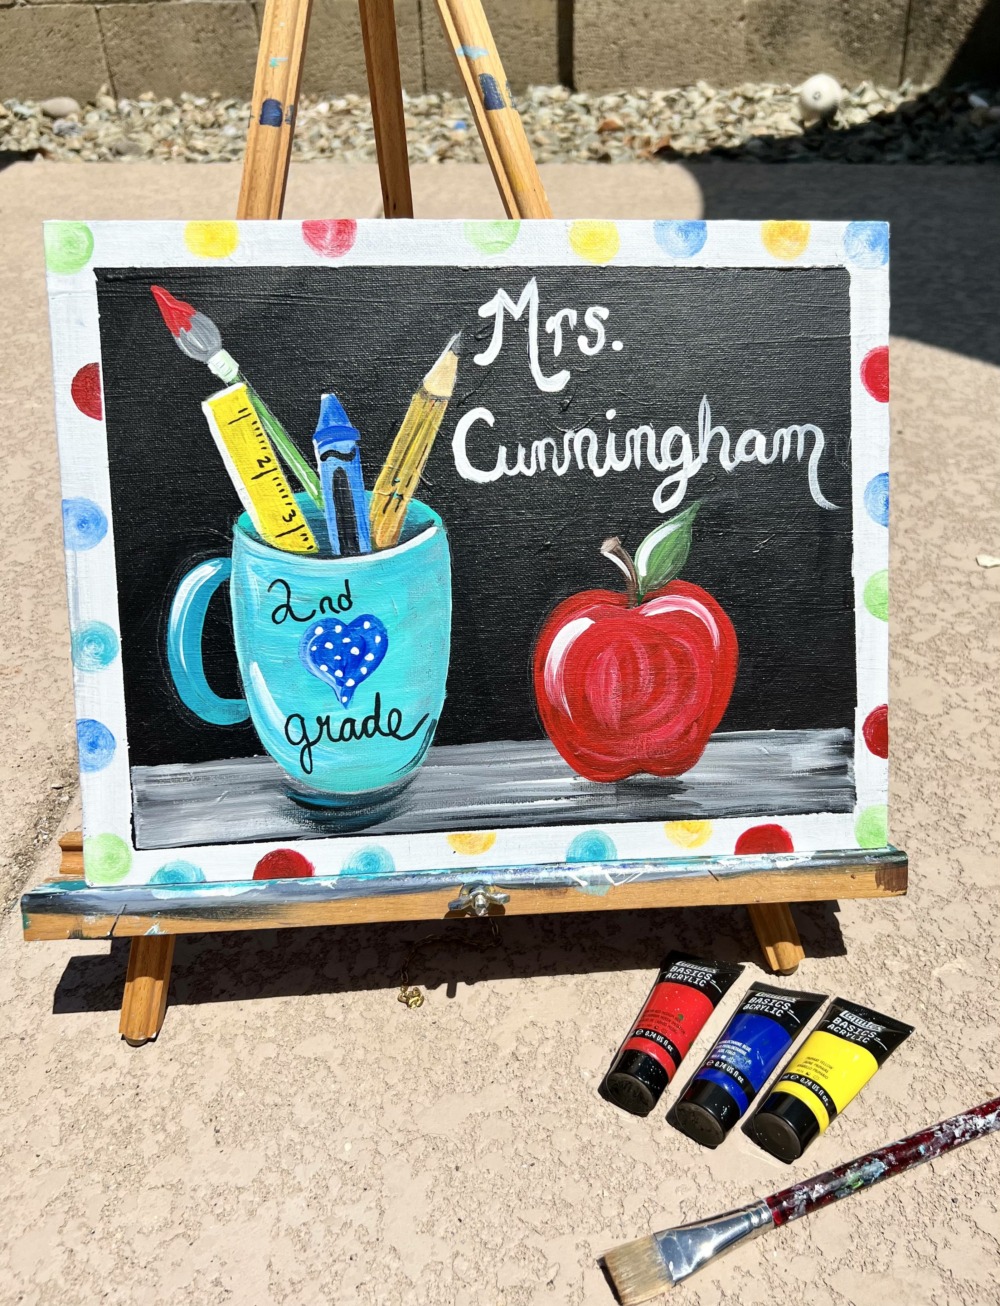
I used Liquitex BASICS acrylic paints for this painting! You can use whatever paint you have available. This painting can be customized so feel free to change the colors!
Using Craft Paints?
If you are using craft paints such as the Apple Barrel Craft Paints, I recommend subbing to these colors:
- Black
- White
- Holly Branch
- Bimini Blue
- Too Blue or Bright Blue
- Flag Red
- Yellow Flame
- Parrot Blue
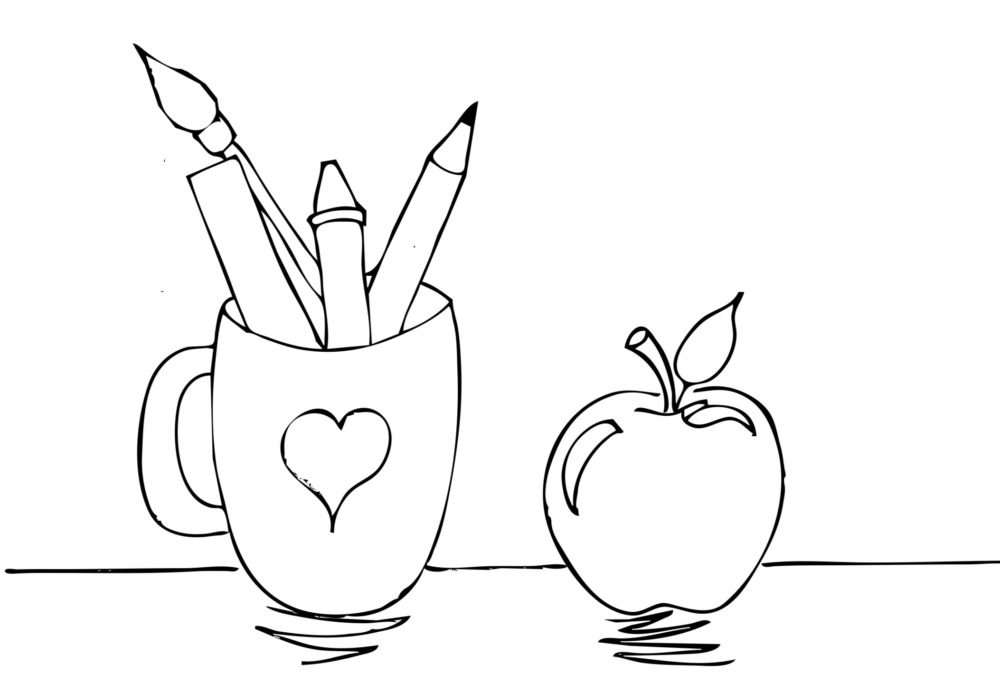
Traceable
Print this out and tape it together to fit your 11 x 14 canvas!
You can trace it onto the white canvas and paint the black background around the objects.
You can also trace it onto the black canvas and use white graphite paper so the lines show up.
As an alternative to white graphite paper, you can also rub white chalk on the back of the traceable template and trace the design.
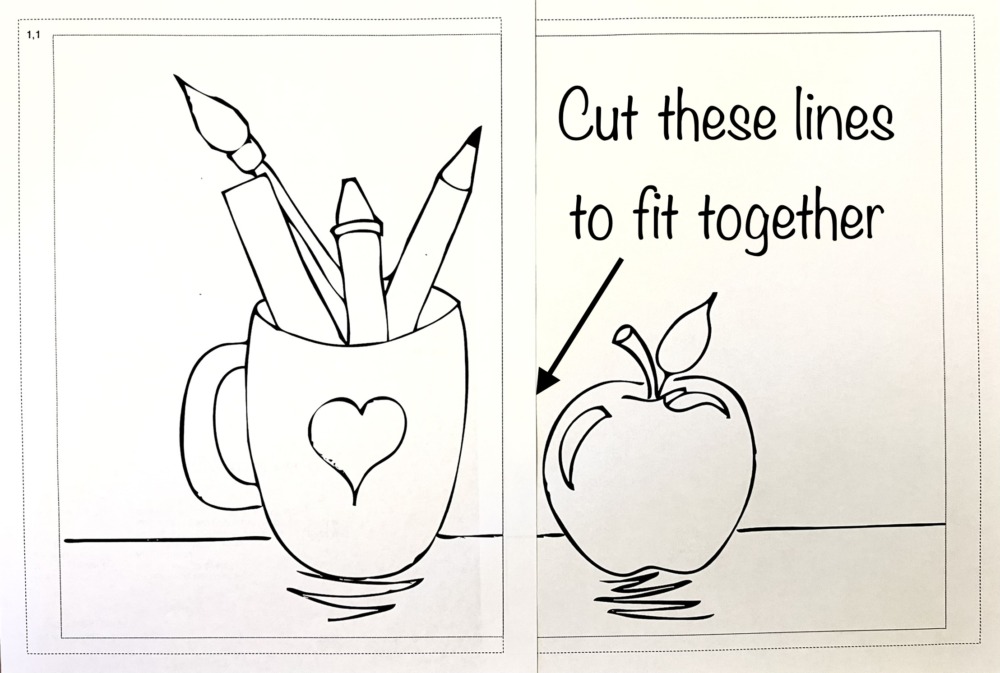
If you are using the 11 x 14 PDF (from above), you will need to cut the center lines to fit the template together. The border was not added onto the template and will need to be painted separately.
Directions At A Glance

Video
Step By Step Directions
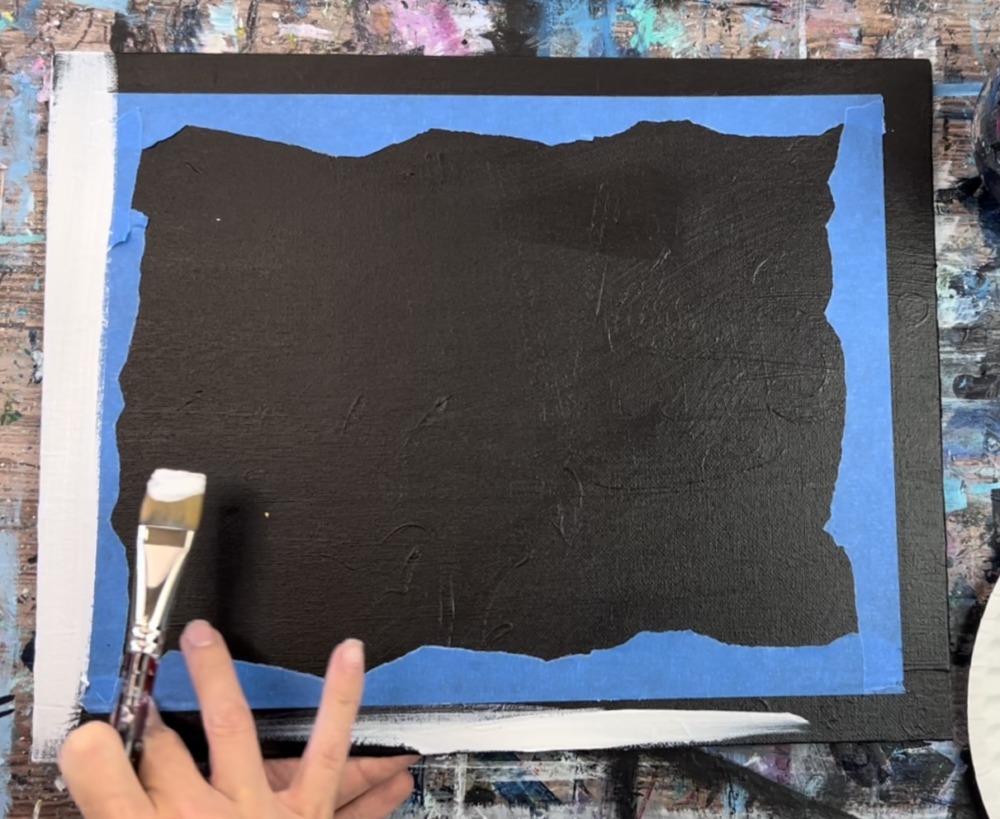
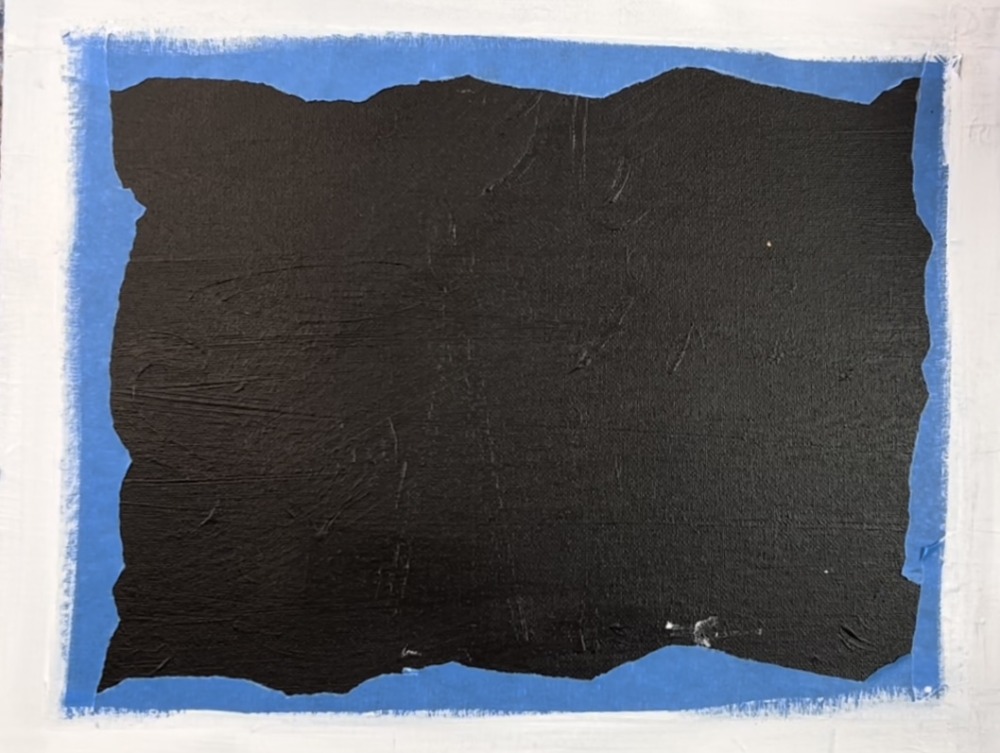
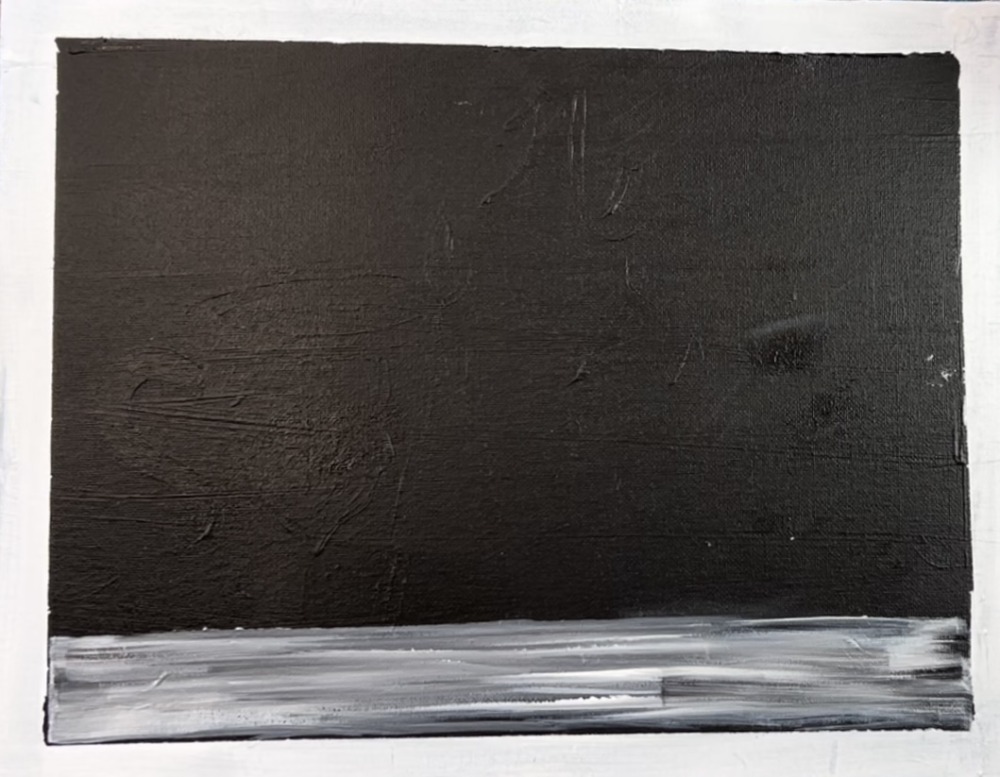
1. Paint Canvas Black & Paint White Border
Paint a canvas a solid coat of black. Then mask the border with painters tape or masking tape. I made my border about 3/4″ wide. Use a t-square ruler or straight edge to align your tape lines.
An alternative to this could be to mask the inside rectangle and paint that black leaving the border blank white.
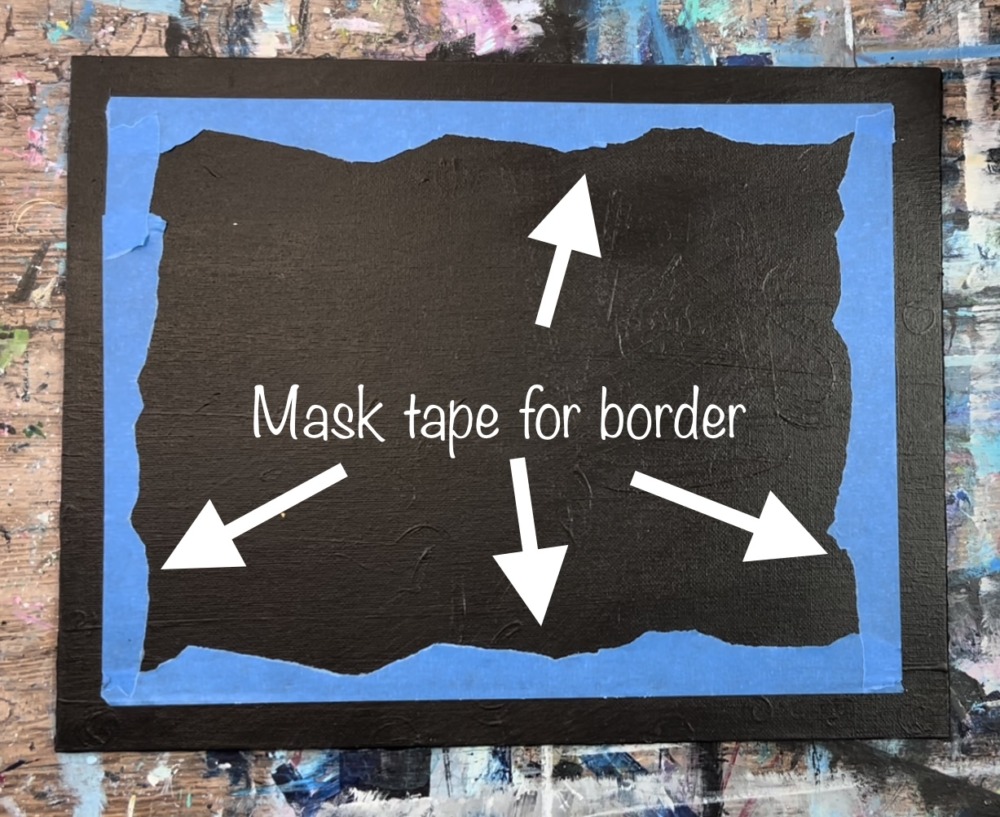
To paint the border, I used a 3/4″ flat wash brush and titanium white paint.
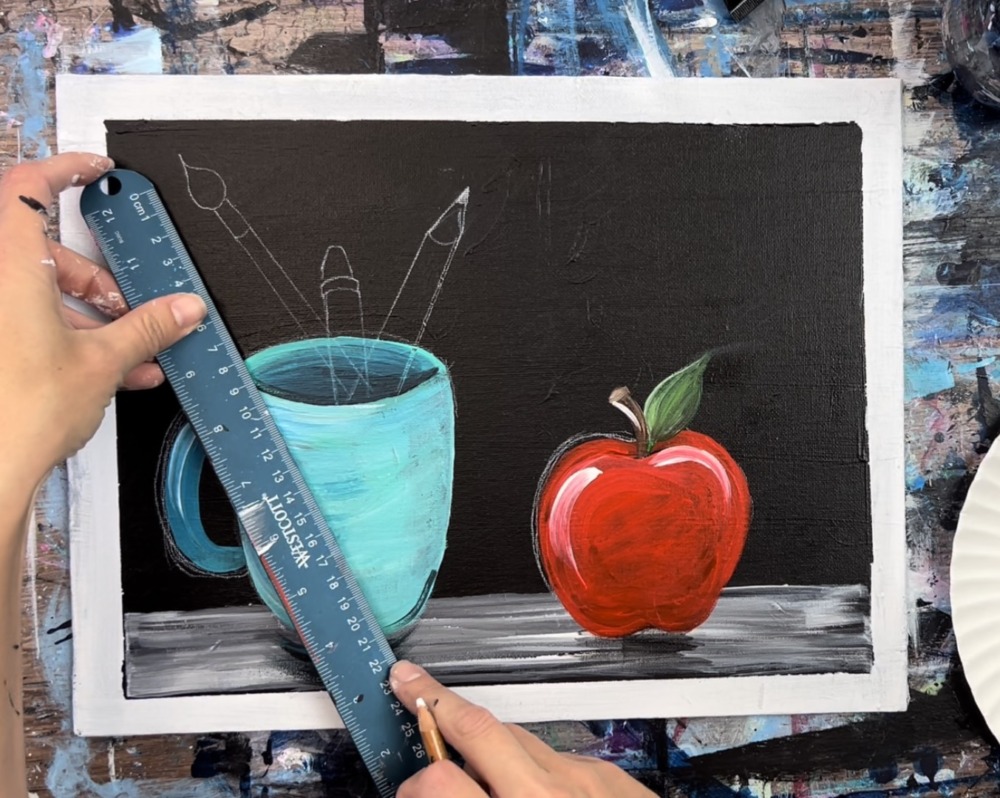
2. Paint Table
Dry your painting.
Note: if you are using the traceable, you can transfer that now. Use a sheet of white graphite paper below the template to transfer the design onto the canvas. As an alternative to white graphite paper, you can rub white chalk on the back of the template and then trace.
Then paint the table area. I used a t-square ruler to help mask off that area. However, you can use the painters tape if you prefer.
Double load your 3/4″ flat wash brush in titanium white and add mars black on the corners of the brush. Then paint left and right strokes. Gently blend the white and black together to make a “streaky gray” table.
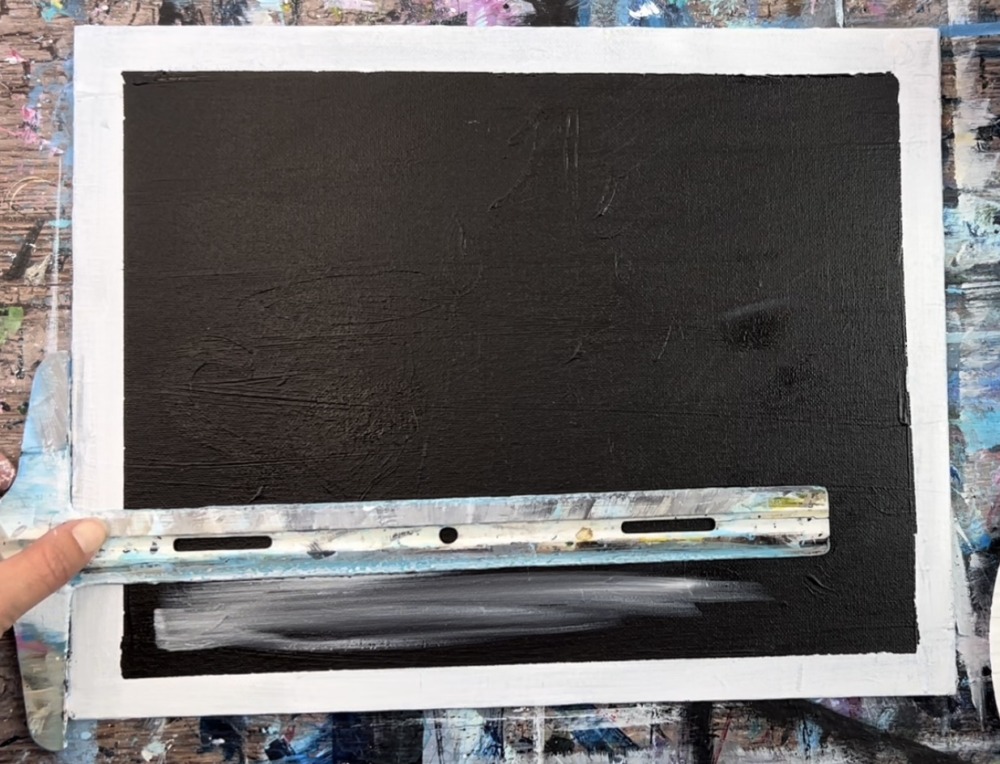
The table area is about 1″ high, however, this does not have to be exact. If you are using the traceable, you can use the table line that is on the traceable.
Finish the entire table area with the black and white that gently blend together but do not over-blend the two colors.
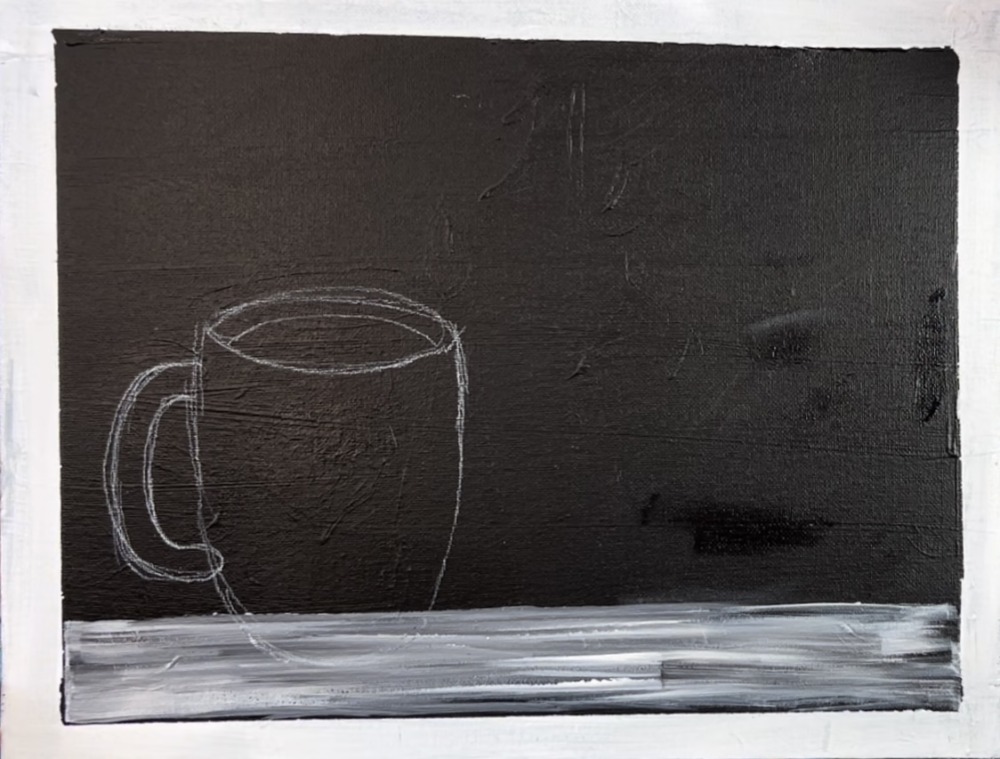
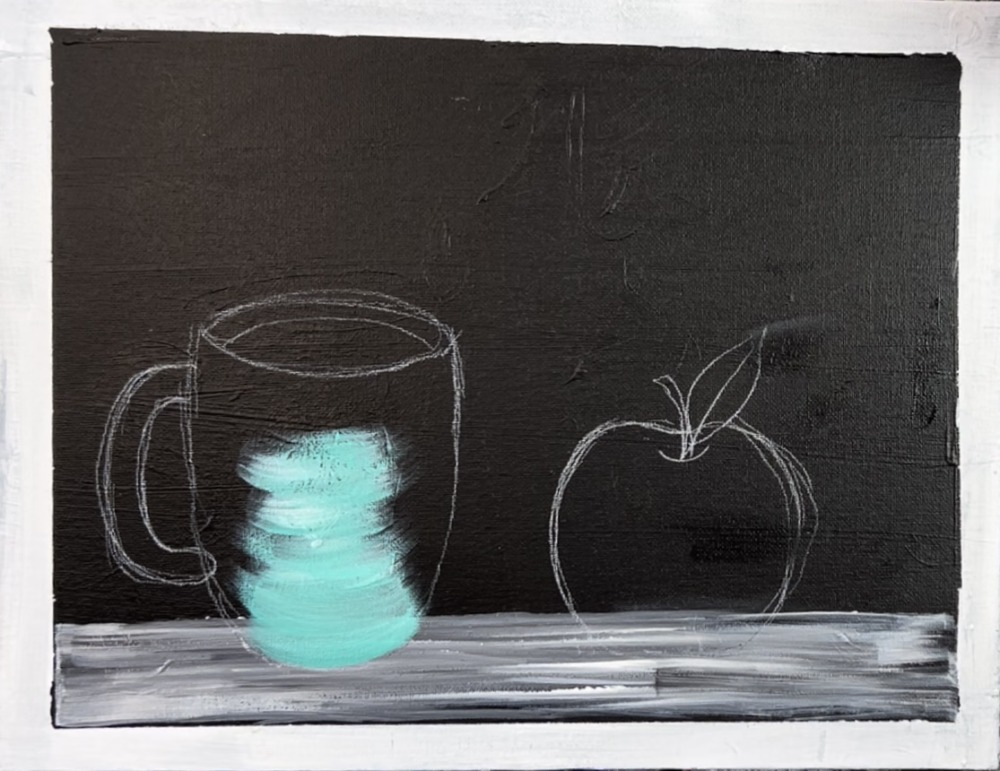
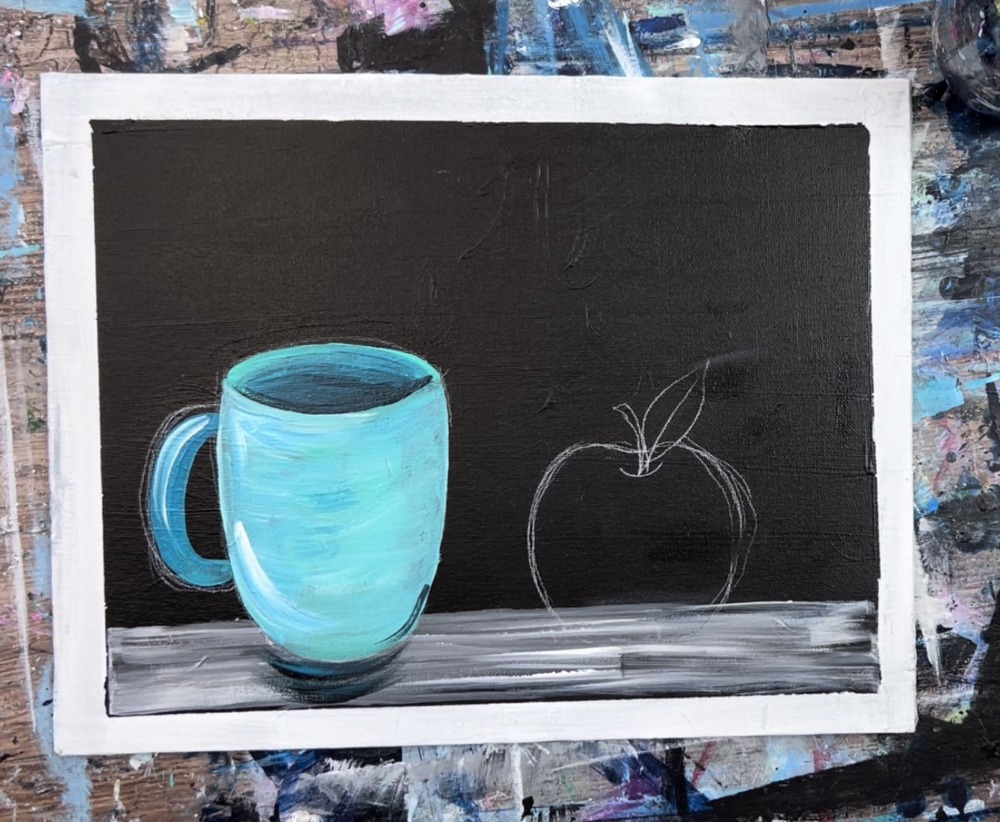
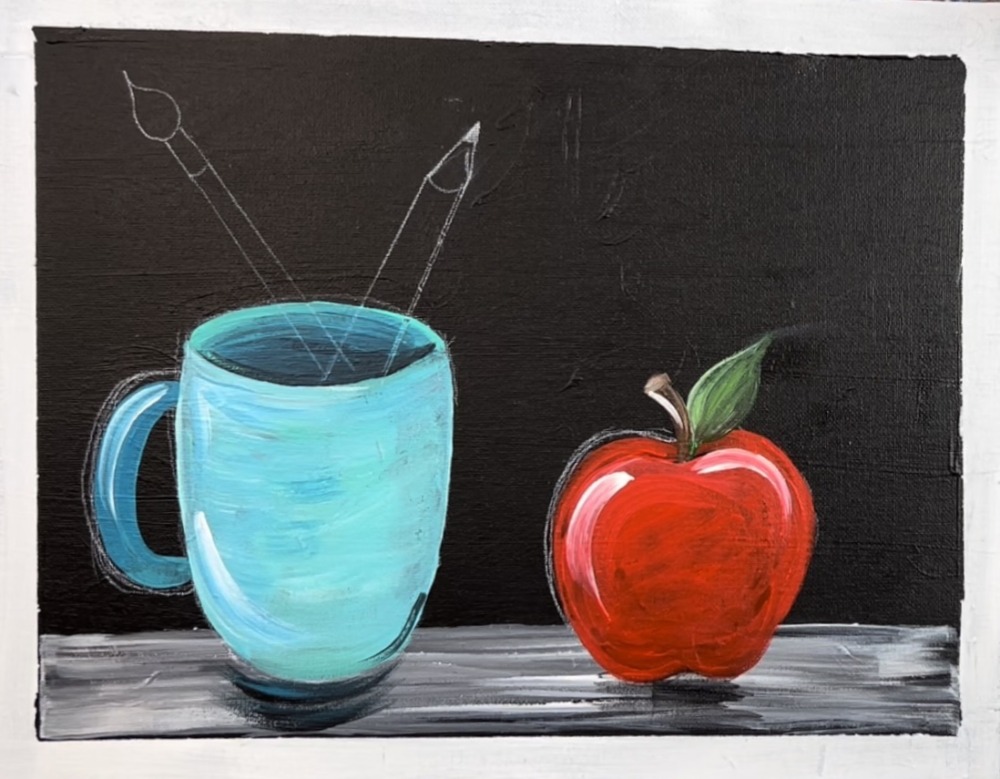
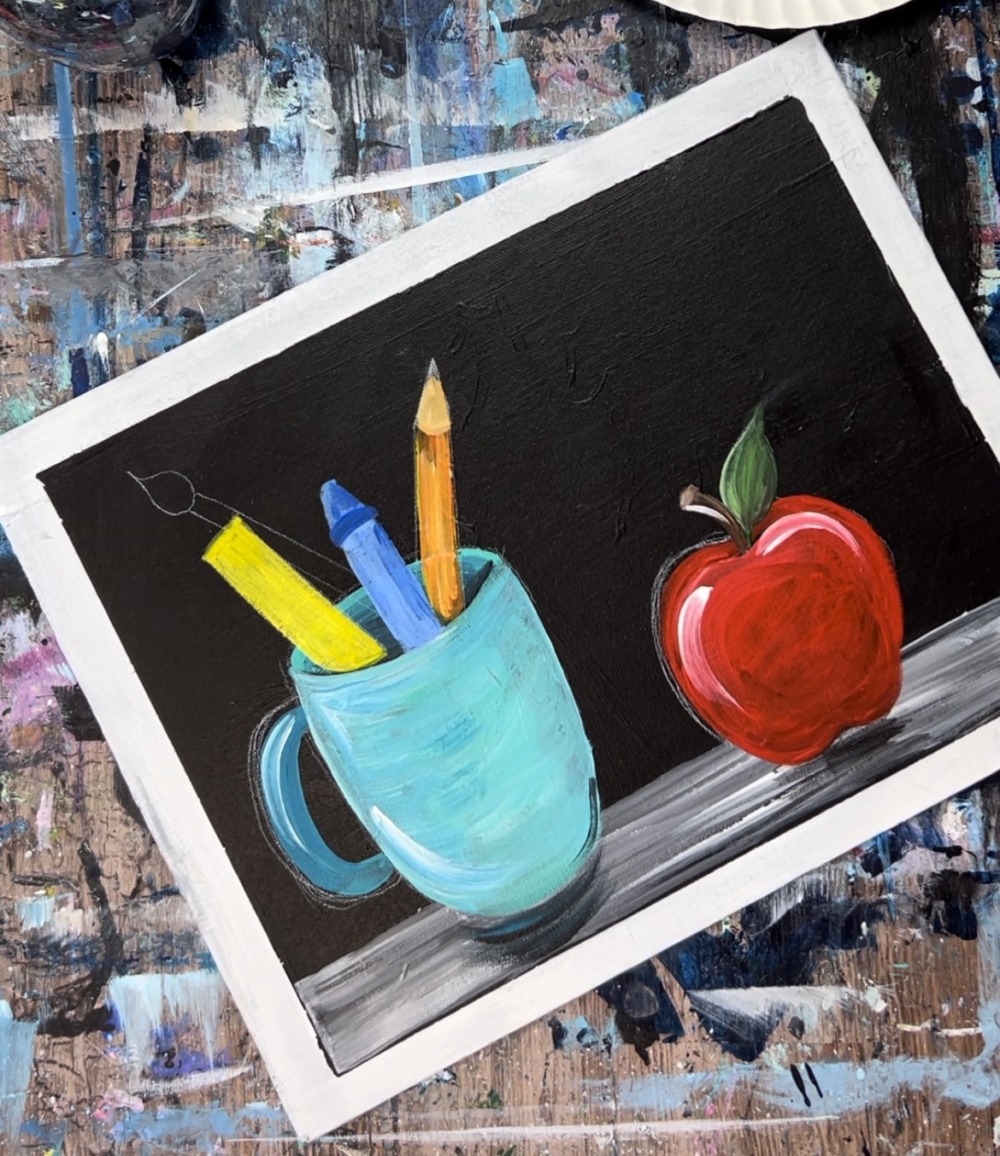
3. Draw Cup & Apple (or use traceable)
Next, draw the cup and apple. You can skip this step if you used the template.
To draw the cup, start at just below the middle of the black area. Draw an ellipse/ oval shape that is about 3.5″ wide.
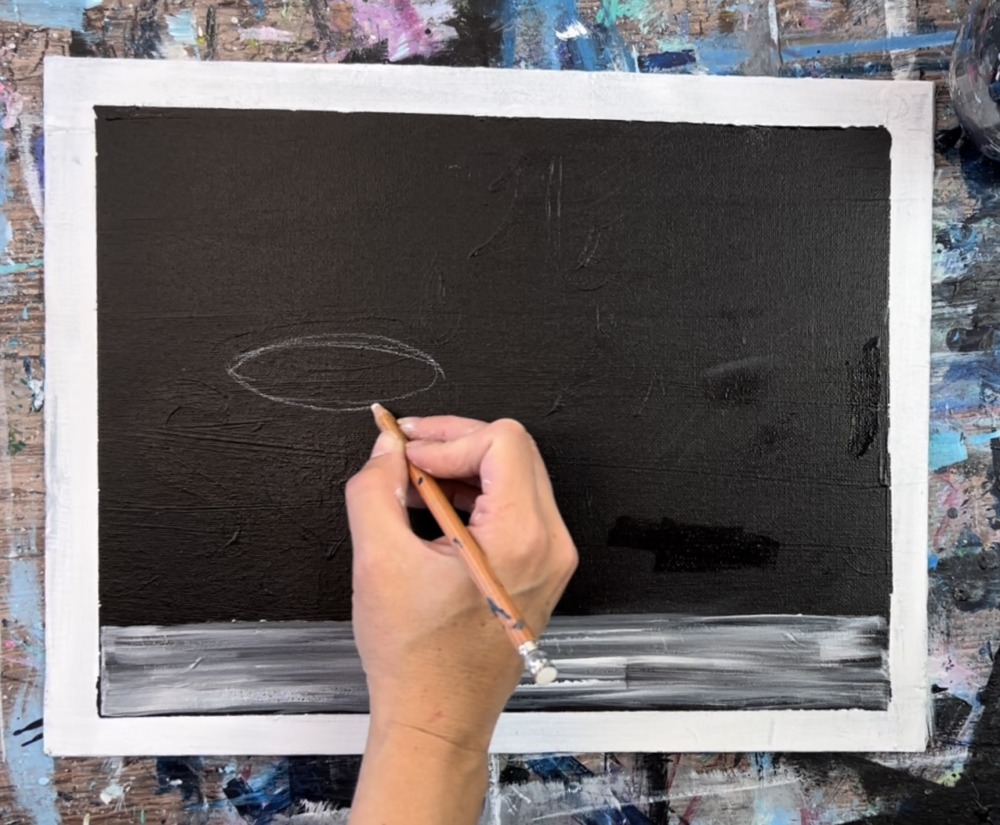
Then draw a curve inside of the ellipse/oval shape to represent the inside portion of the cup.
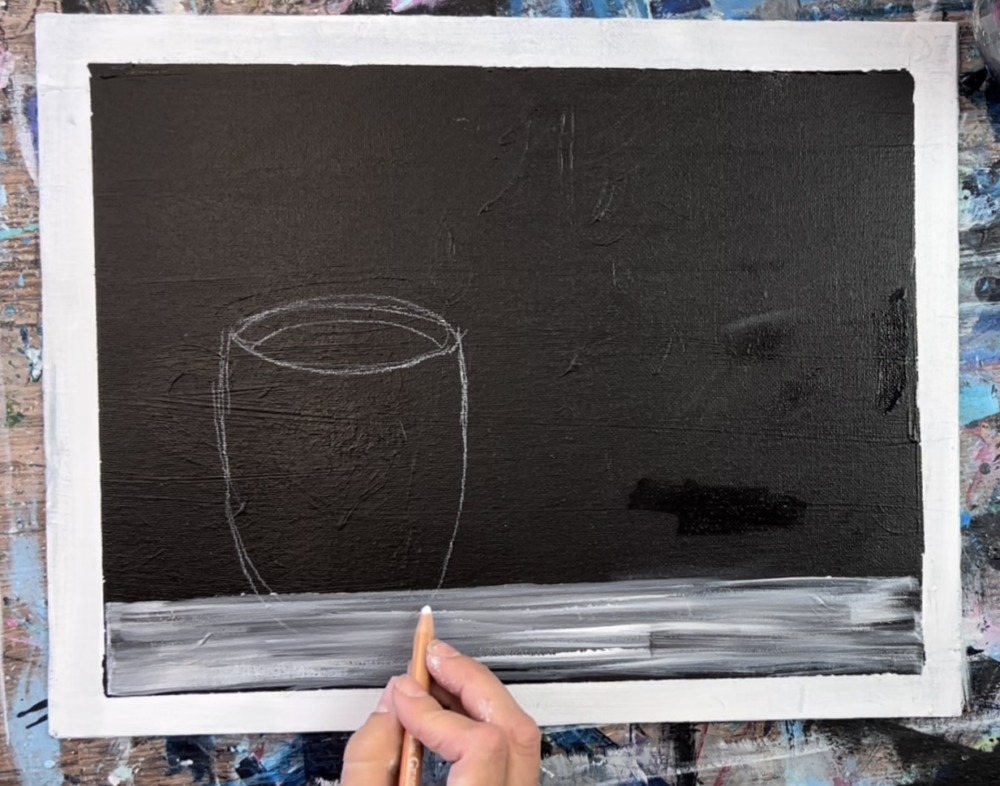
Draw the sides of the cup by drawing slightly curved lines. Curve the bottom of the cup on the bottom. The bottom of the cup is at about the midpoint of the table.
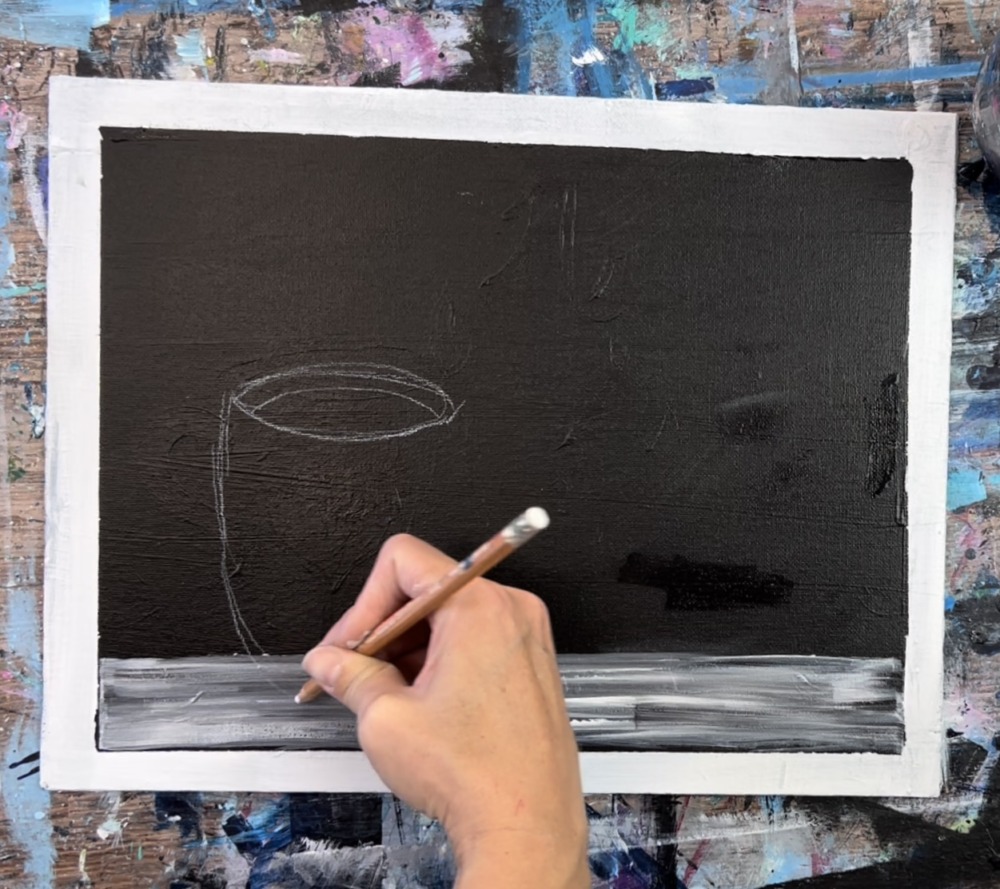
Repeat the line on the opposite side of the cup. Note: the height of the cup from the top rim line to the bottom is about 5.25″.
Then draw the handle on the left side.
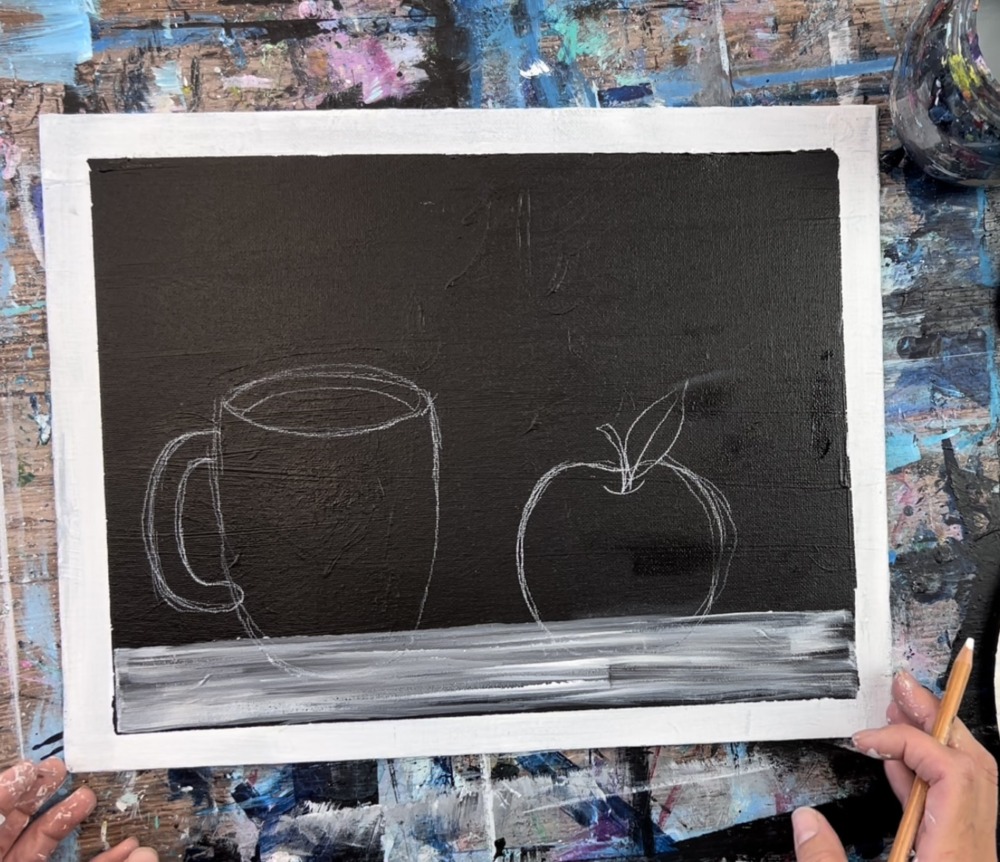
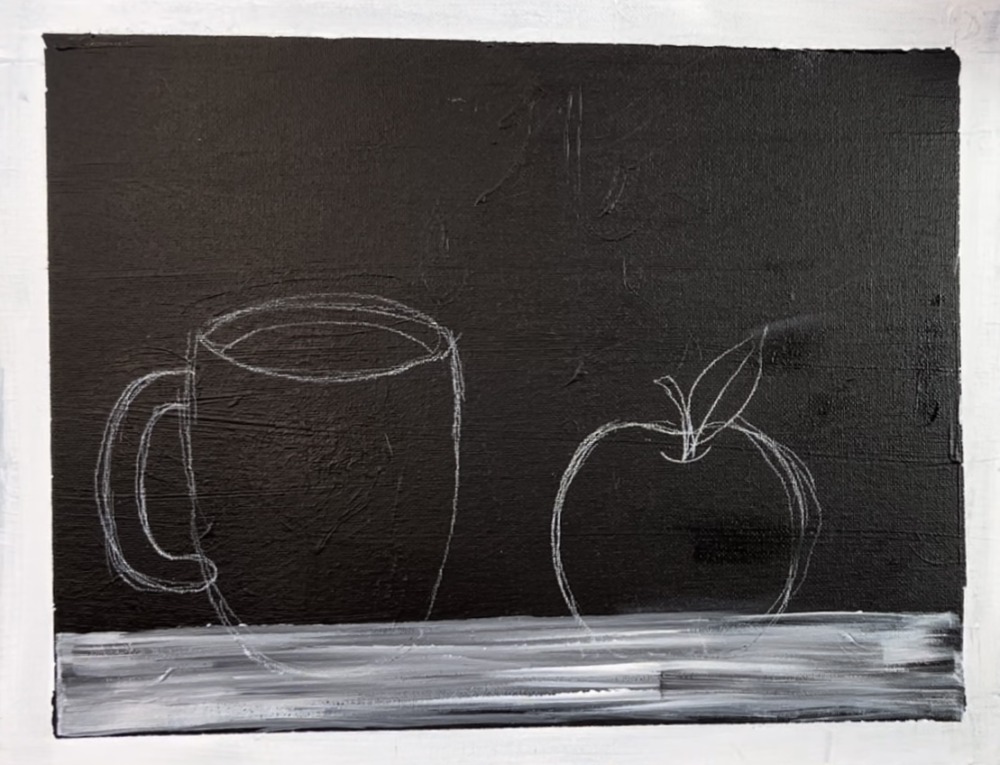
Next, draw the apple. The height of this apple is about 3.5″ high and is shorter than the cup. The width of the apple is about 3.5″.

Draw a curved line below the top line of the apple. This is where the stem will be. Draw a narrow rectangular shape for the stem starting at that curved line as its base.
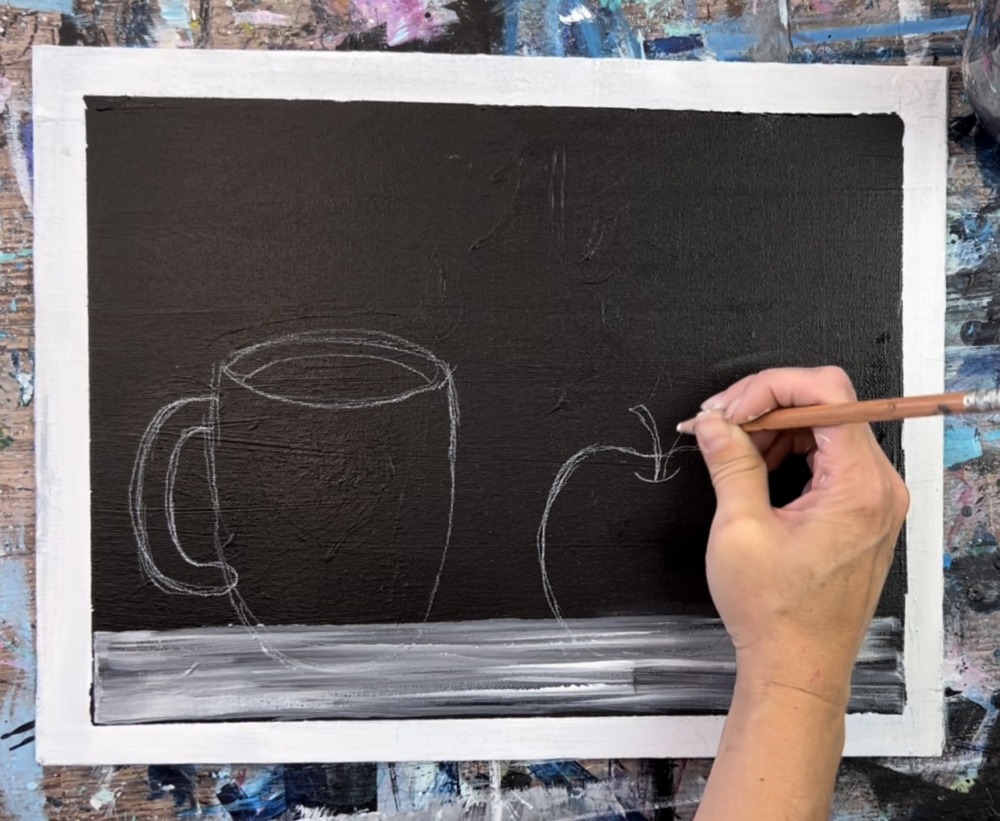
Then draw the leaf. The base of this leaf starts next to the base of the stem.

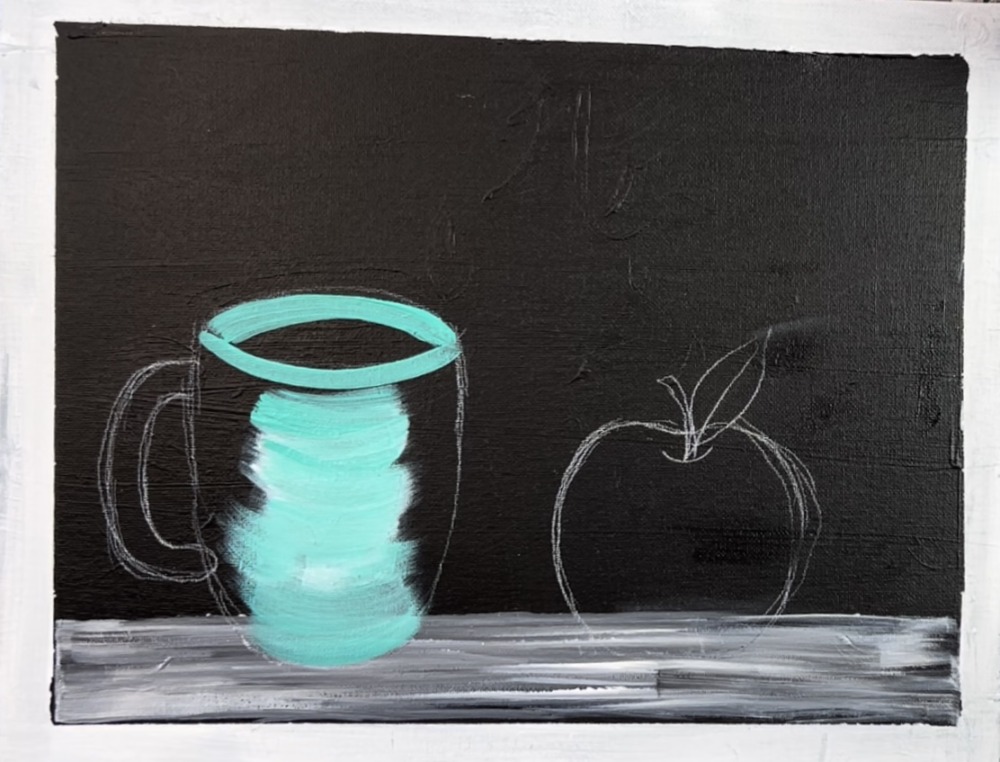
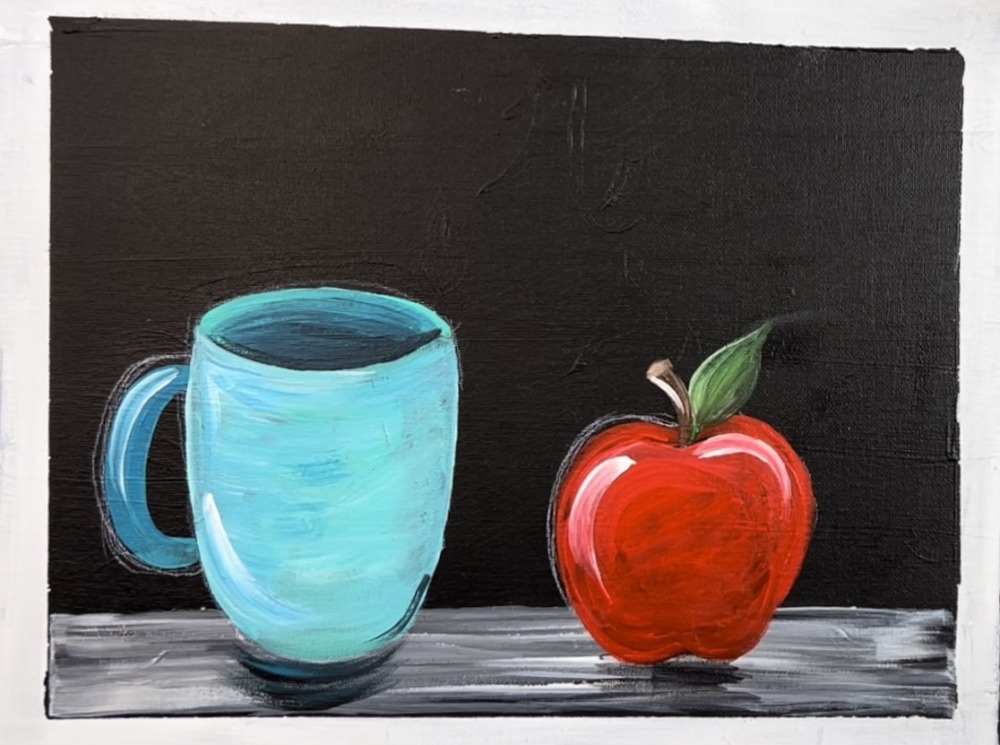
4. Paint Cup
You can choose your cup color for this! I painted mine a light aqua color. If you are painting it aqua as well, load your palette with bright aqua green and titanium white. If you are using a different color, you also need titanium white. The white will ensure your color shows up bright against the canvas.
Use a 12 bright brush (or a 1/4″ flat brush). Double load it into bright aqua green and titanium white.
Paint in curved strokes. When you do curved left and right strokes, it will help give the cup form.
Paint the center part of the cup with these curved strokes. Then use the tip of your brush to outline the opening of the cup.
Next, load your palette with a darker shade than the one you are using to paint the cup. Since I painted my cup “bright aqua green”, I chose a darker turquoise color called “turquoise blue”. If you are painting the cup a different color, such as purple, I would select a darker purple. You can also add a tiny bit of black into your color to make it darker.
Paint the inside opening part of the cup with that darker color. Blend it up slightly into the lighter color.

Then continue painting the reset of the cup with the lighter aqua color.
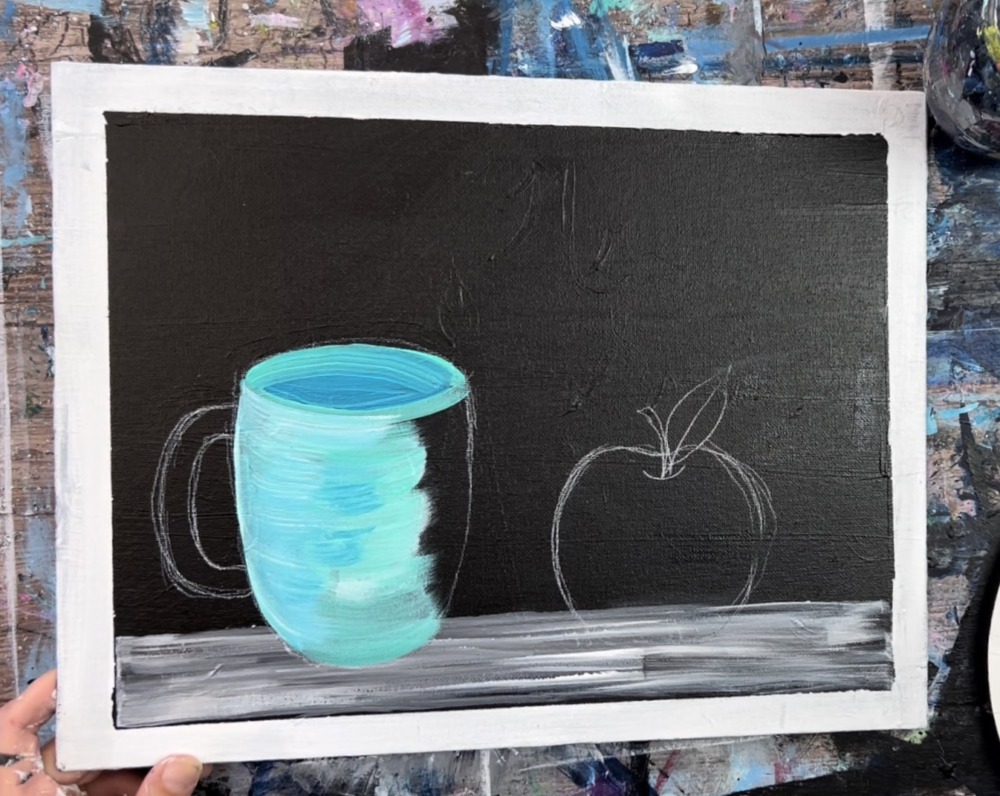
You can use the tip of your brush to outline the edges of the cup but try to keep the reset of your strokes going in a curved direction.

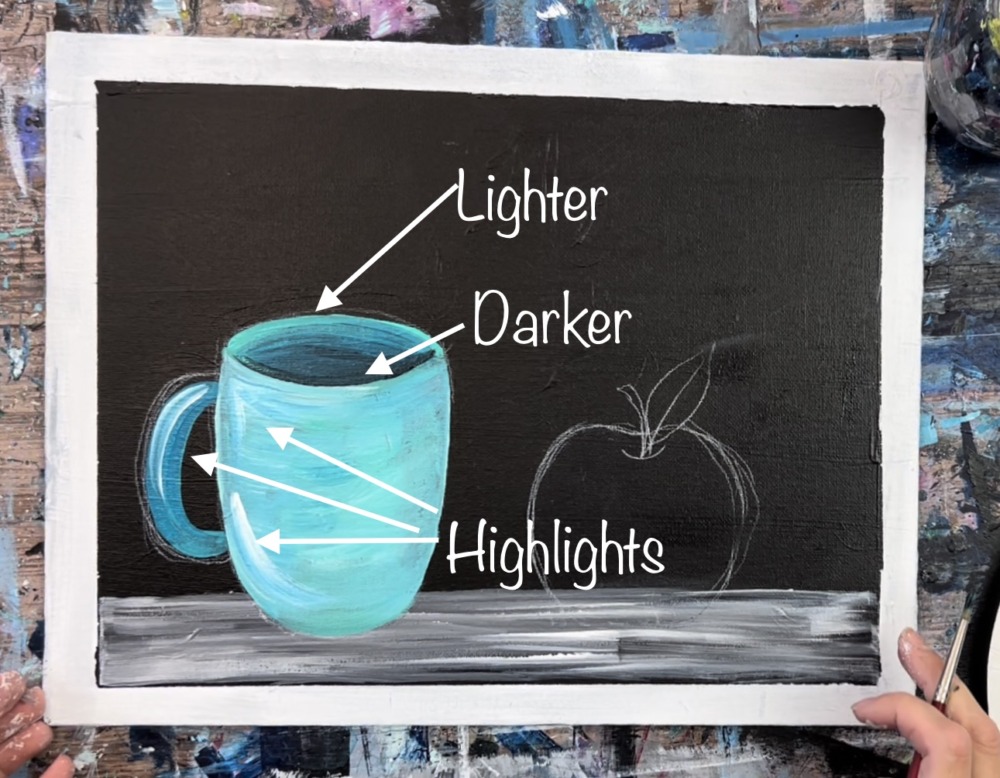
Next, paint the handle. You can switch to a #4 round brush for the handle because this is a smaller area to paint in. Then add a small amount of black to your turquoise color to make is slightly darker. Paint this darker color on the bottom inside of the cup and blend it up. The top part of the rim is lighter and the bottom part is darker.
Then rinse your brush off and load it in just white. Add white highlight on the right side of the handle. Also, add white on the left lower side of the cup as well as the top left corner area.
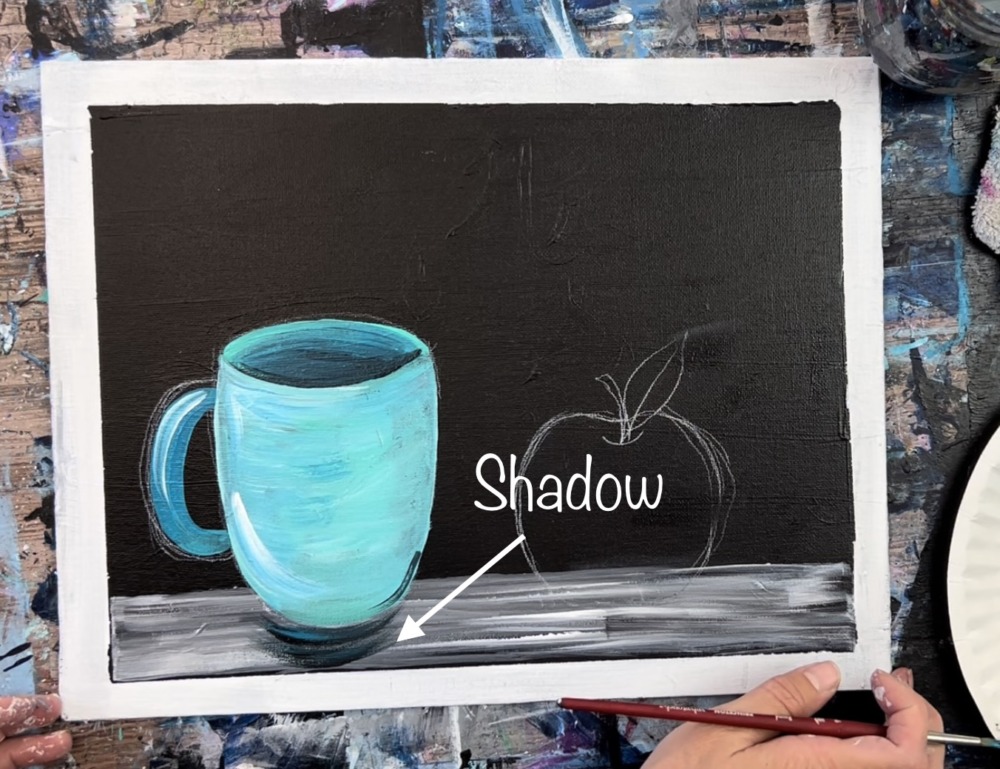
Next, load your brush in mars black and a little bit of your turquoise color. Wipe the brush off so there is only a small amount of paint on the brush. Then paint the shadow below the cup. Paint curved strokes forming a shadow area under the cup.
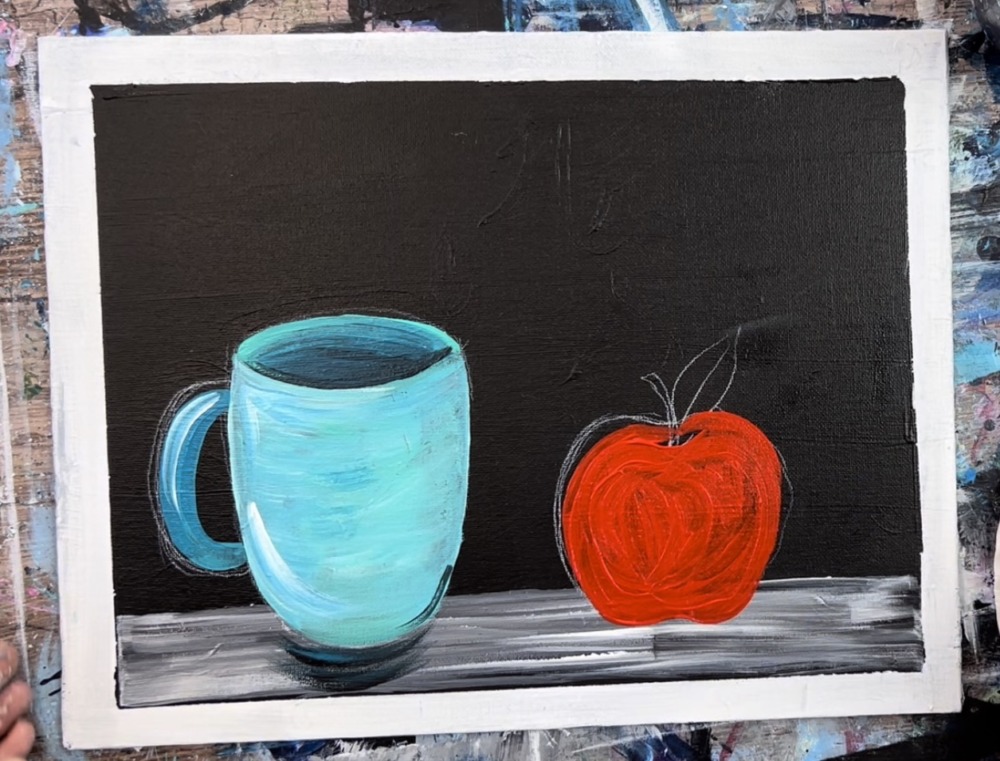
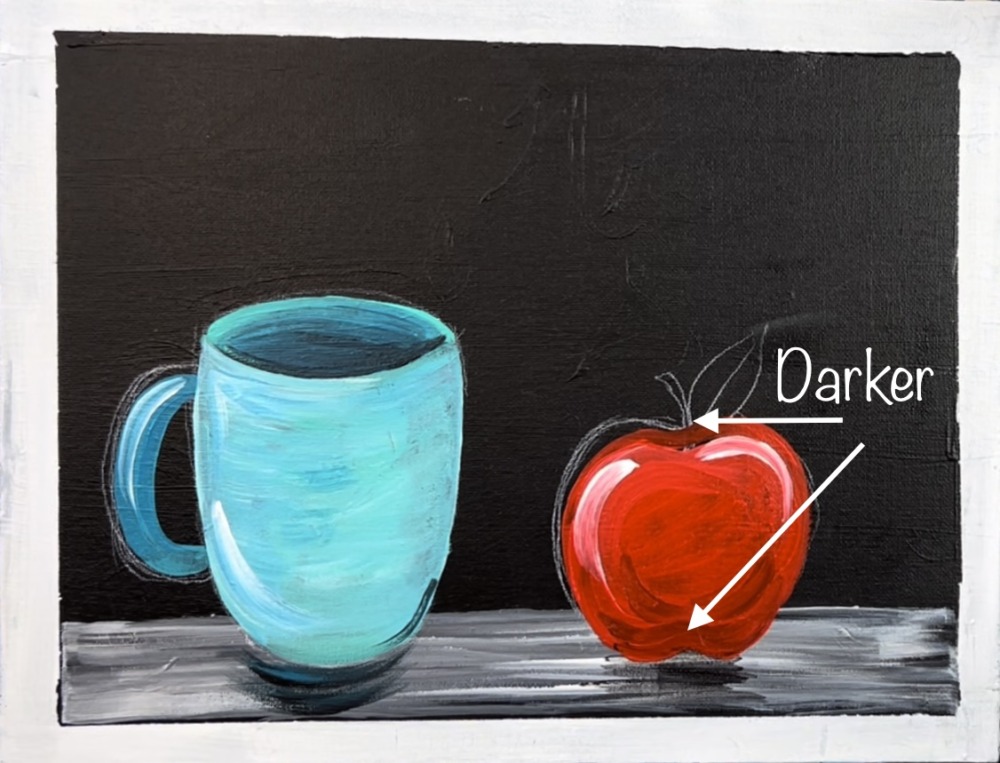
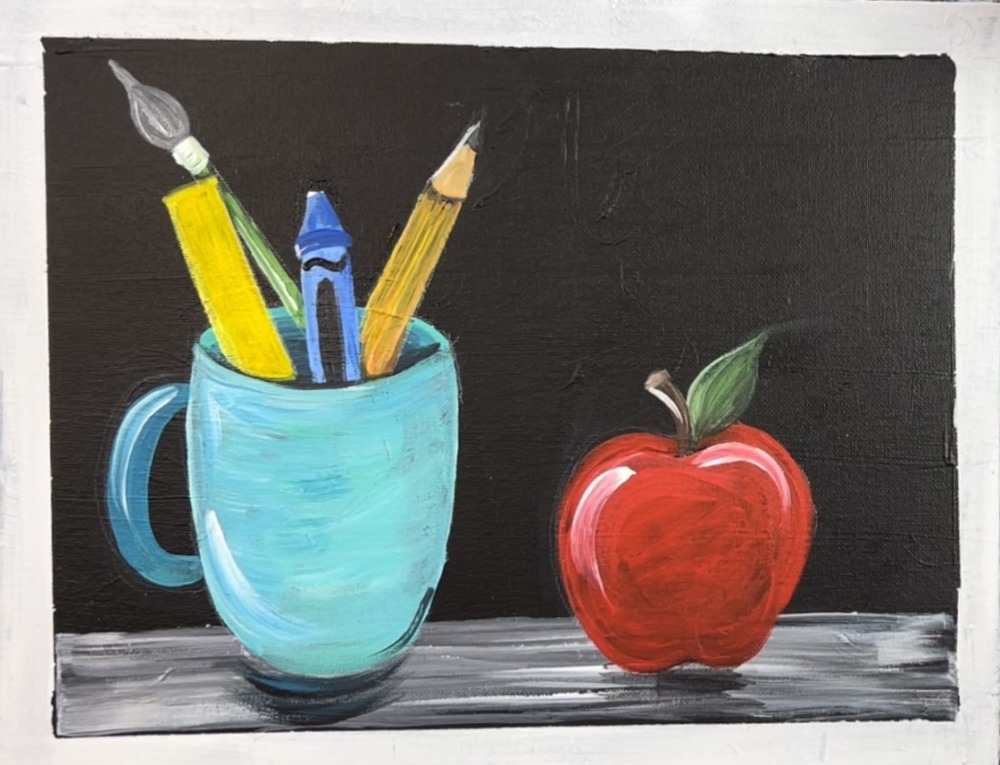
5. Paint Apple
Load your brush with pyrrole red (or any other red). Pyrrole red tends to be an opaque and bright red and will show up nicely on the black. If you are using a different red, it might have “coverage issues”. If this is the case, I recommend painting the apple white first and then painting red over it.
Use a #4 round brush to paint the apple.
Then paint two highlights on the apple with titanium white. Paint a larger one on the left and a smaller one on the right.
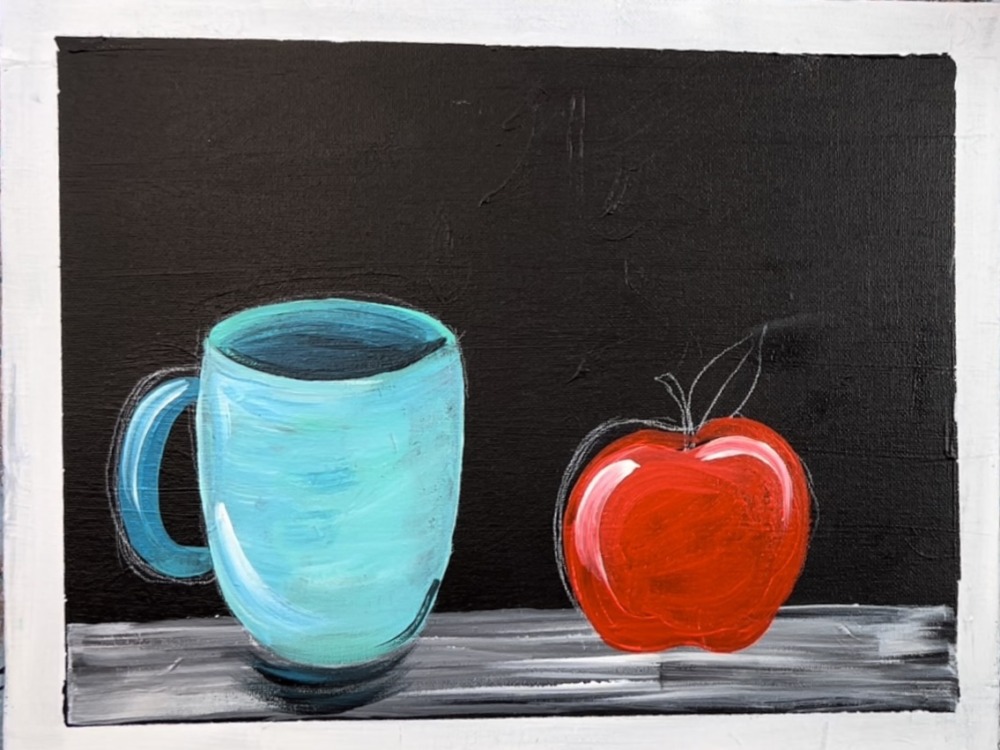
Then load your palette with hooker’s green hue permanent. If you want to paint some of the apple with darker shades of red, mix a little bit of the green into your red. This will darken the red. Then add some of this darker red on the bottom of the apple and a little at the top behind the stem area.
Next, paint the leaf with hooker’s green hue permanent. Add a little white to the left side of the leaf and blend it in. This gives the leaf some color variation.
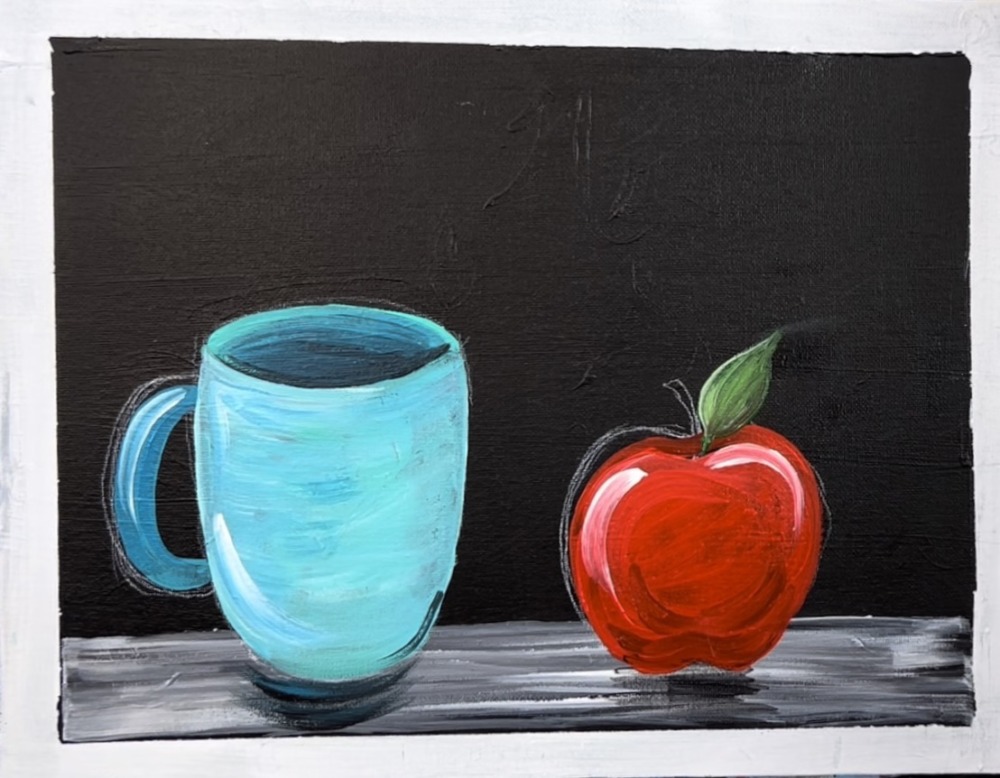
Next, paint the stem. Load your palette with raw umber. Add a small amount of titanium white into the brown to make it lighter. Use the #4 round brush to paint the stem. Paint the top part of the stem a lighter brown by adding more white to your brown. Then paint a white highlight on the left side of the stem.
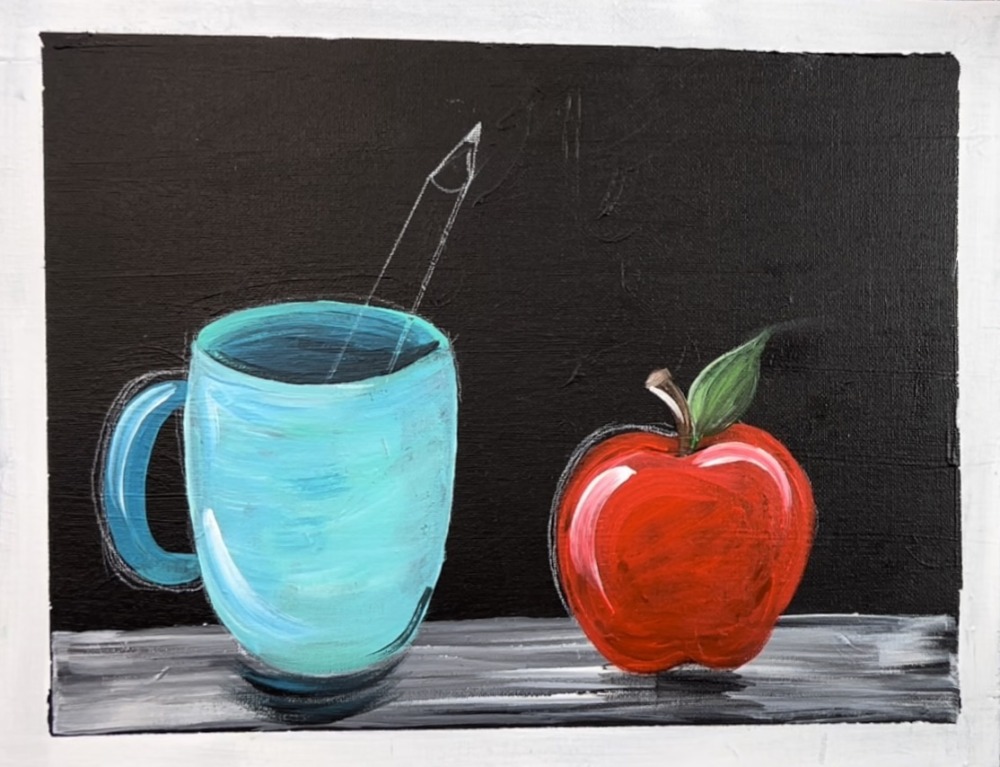
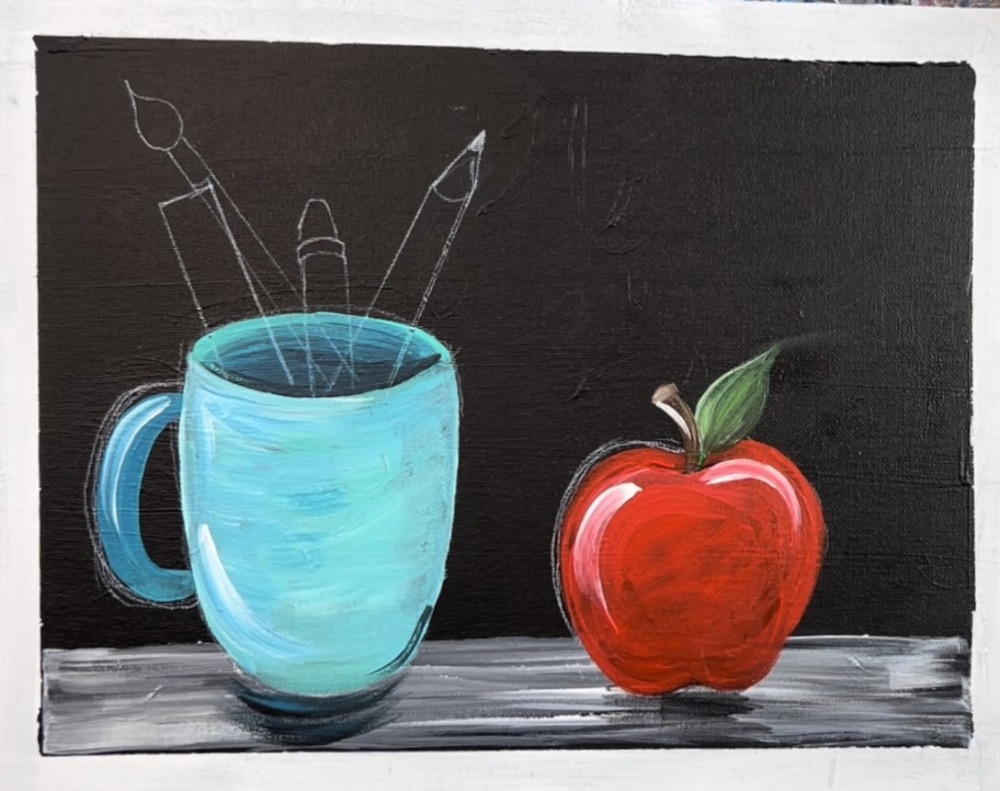
6. Draw Items Inside Cup (or skip step if using traceable)
You can skip this step if you are using the traceable. If you painted over the objects on the bottom part of the cup, you might want to take a white pencil and draw the lines that were painted over.
Use a white chalk pencil or white colored pencil to draw the objects. I first drew a pencil. It helps to use a ruler to create your diagonal lines.
Tip: I found it helpful to look up “School Supply Clipart” on google images. This helps to simplify the objects and you can look at examples to help you draw them.
Then draw the paint brush.
Draw a crayon and a ruler…
Your objects may be overlapping each other and that is okay!
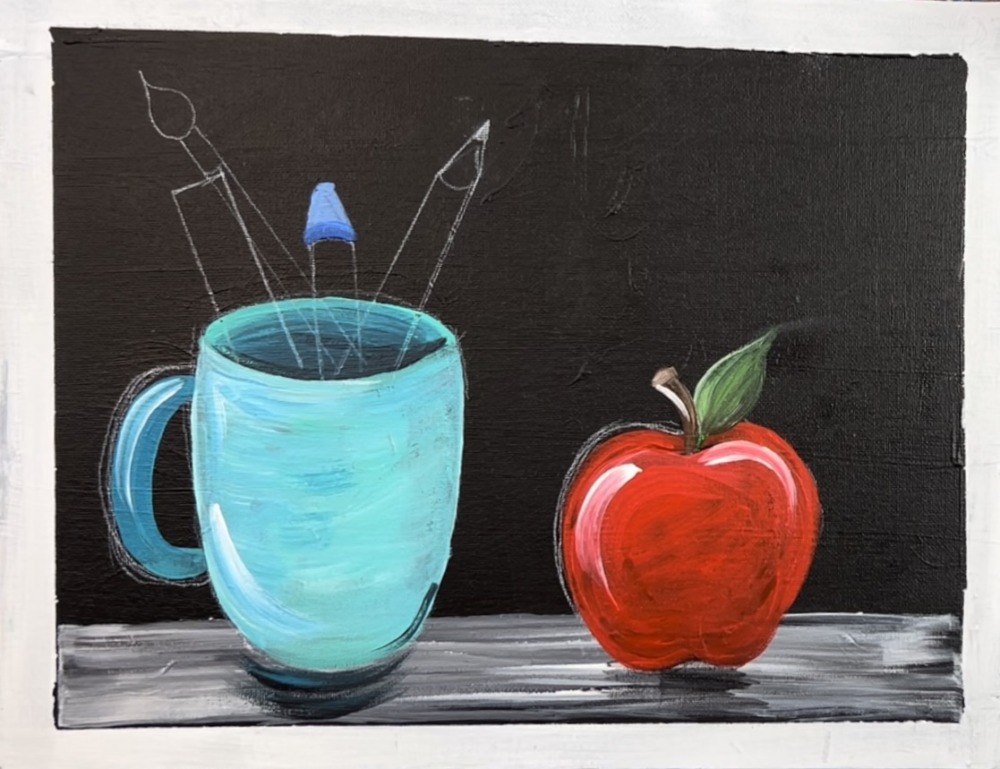
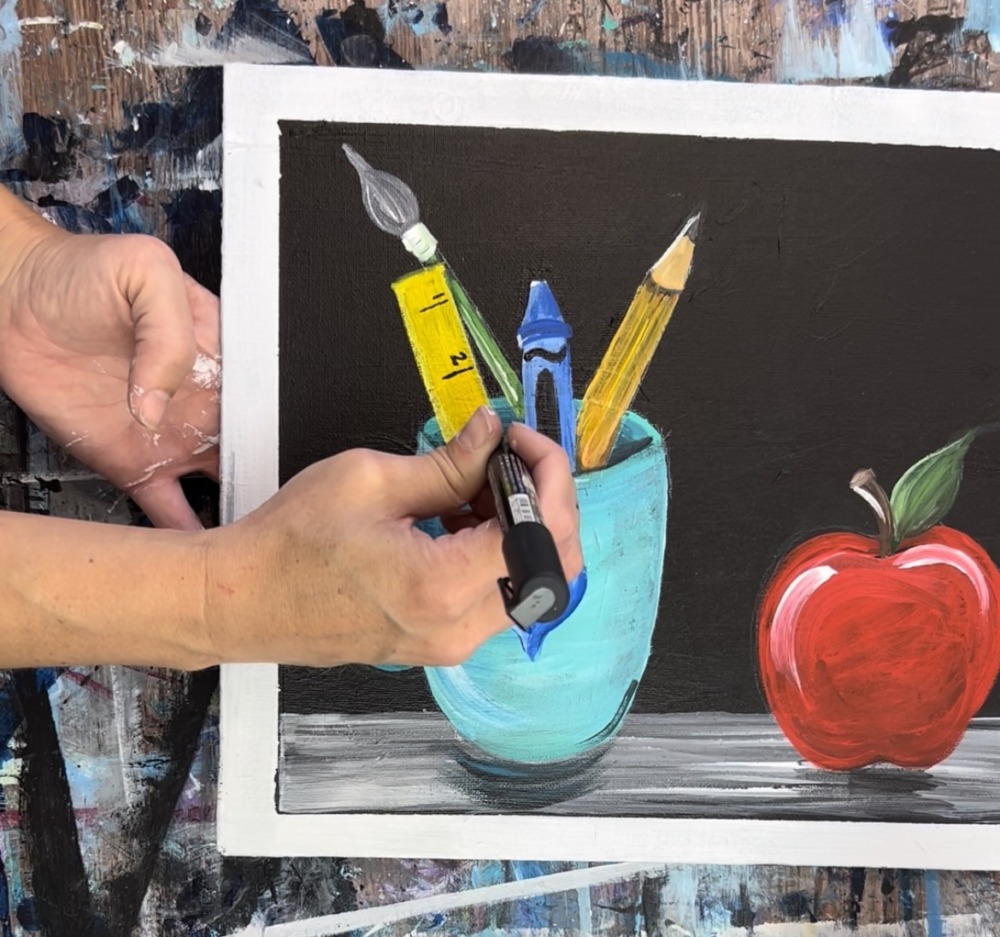
7. Paint Cup Items
Next, load your palette with the colors you will be painting the objects in. Keep in mind that, in order for the colors to show up bright against the black, you will need to also mix your colors with titanium white or “double load” the color with titanium white. You can also paint the object white first and then paint the color in.
I started with the crayon. This was done with “cobalt blue”. Use the #4 round brush to paint the objects. You can use a smaller round brush or even paint pens for some of the small details.
The ruler was painted with cadmium yellow medium mixed with titanium white.

To make the pencil “orange”, I mixed 1 part red to 4 parts yellow. This will make a yellow-orange color. To do the wood/sharpened part of the pencil, I mixed 3 parts white to 1 part brown to make a light brown. Then to do the lead, I mixed equal parts black and white to make a gray.
The handle of the brush with painted with equal parts hooker’s green hue and titanium white to make a lighter green. The “ferrule” of the brush was painted white. Then the bristles were painted a light gray (white mixed with a small amount of black).
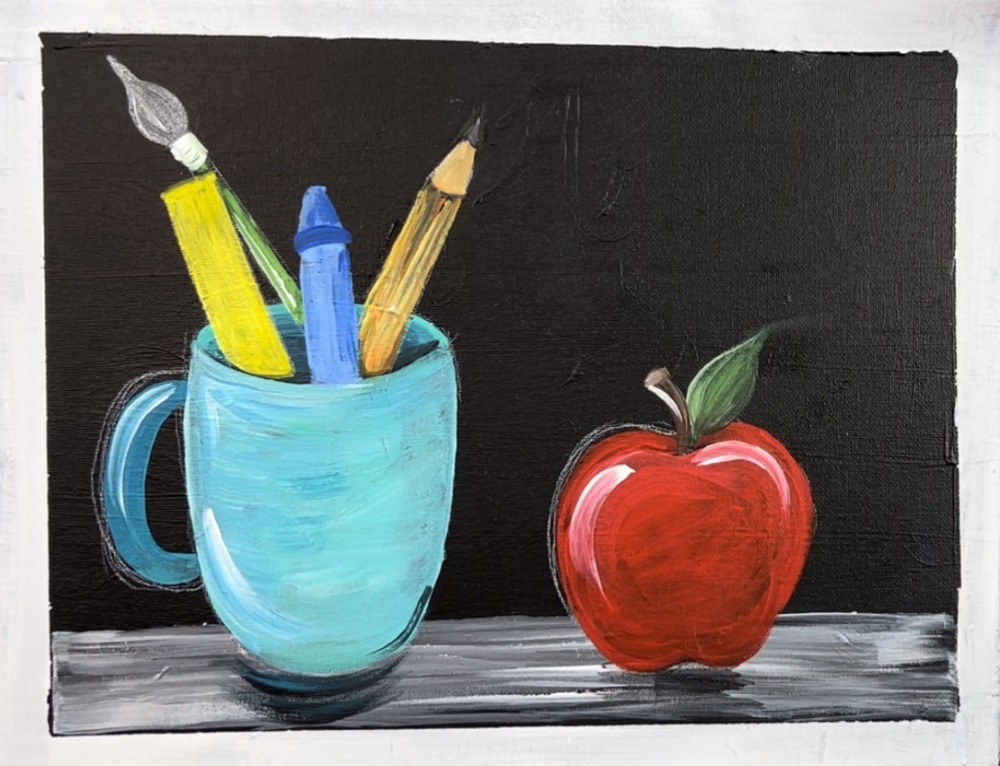
Add details to your objects such as the black curvy line and oblong shape on the crayon.
Paint a heart or another design on the mug. For the heart, I used cobalt blue and titanium white.
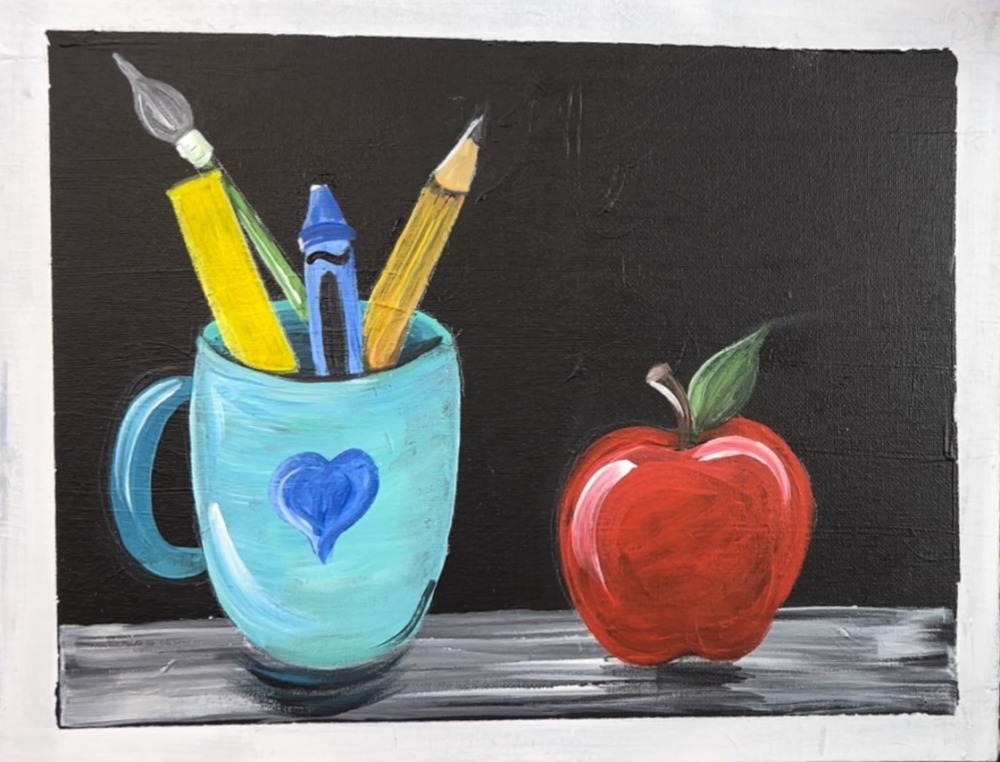
To do the numbers on the ruler, I used a black paint pen.
I also used the black paint pen to paint a few lines along the pencil. I also painted red paint on the tip of the bristles of the brush. White dots are painted on the heart. Again, you can customize this symbol to any color or design!
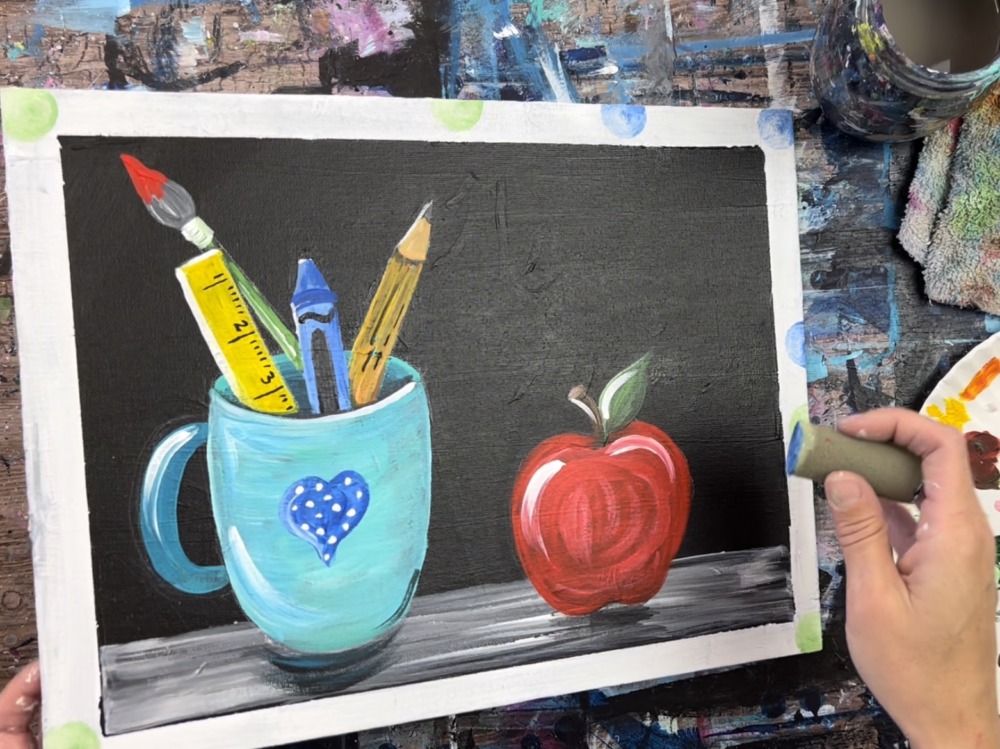
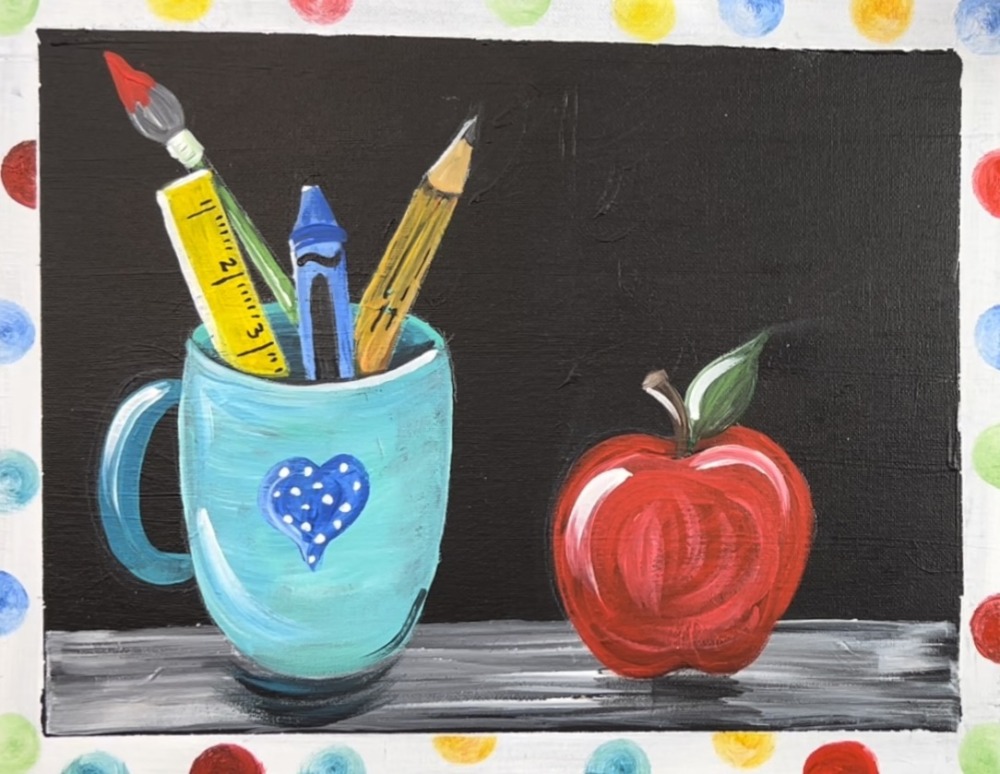
8. Paint Dots Along Border
To do the dots along the border, I used a cylindrical sponge called a “pouncer”. These can be found at craft shops or on amazon. You can do these dots any color! I chose rainbow dots. You can also do a different design along the border.

![]()
Load your sponge in the first color. I chose to mix green and white together and do light green spots.
Then press and twist your sponge to form the dot. Then wipe the sponge off between colors. For the next dots, I did cobalt blue.
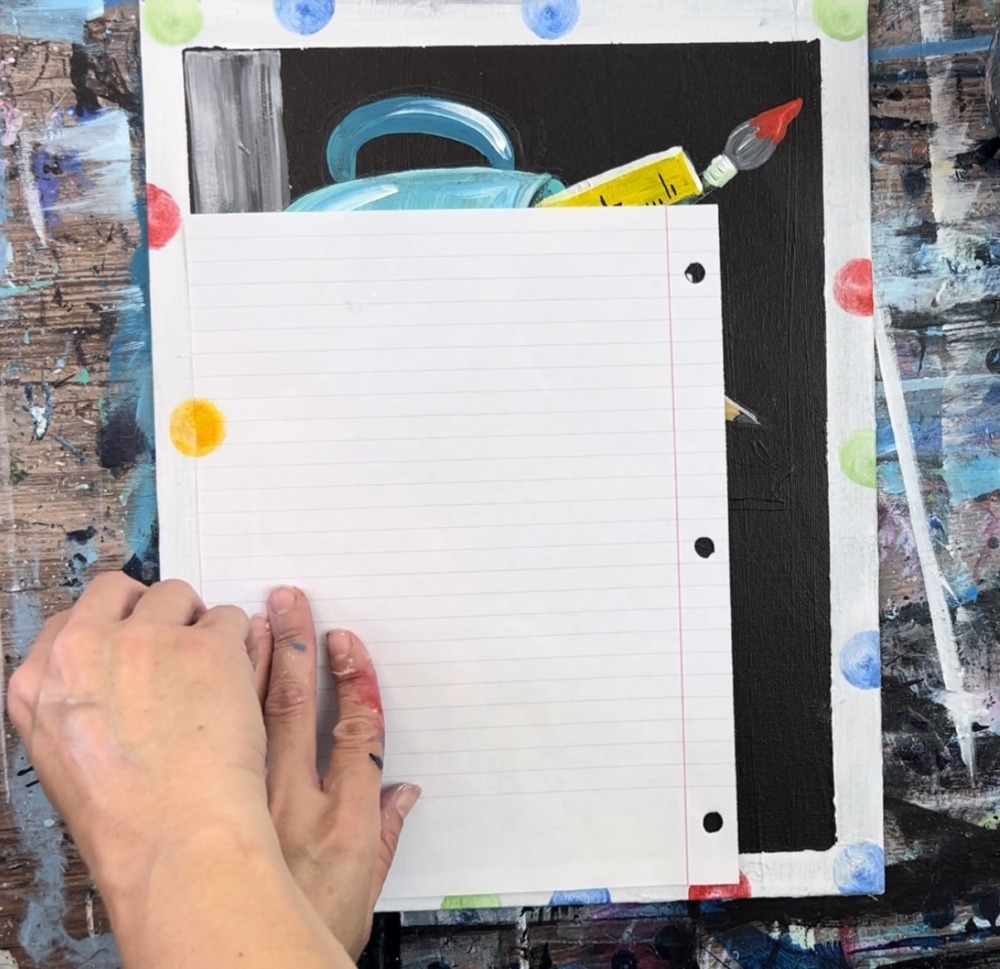
Next, I did red and then yellow. If you want dots to hang off the border, you can use a sheet of paper to aline it over your painting so the other half of the dot will not show.
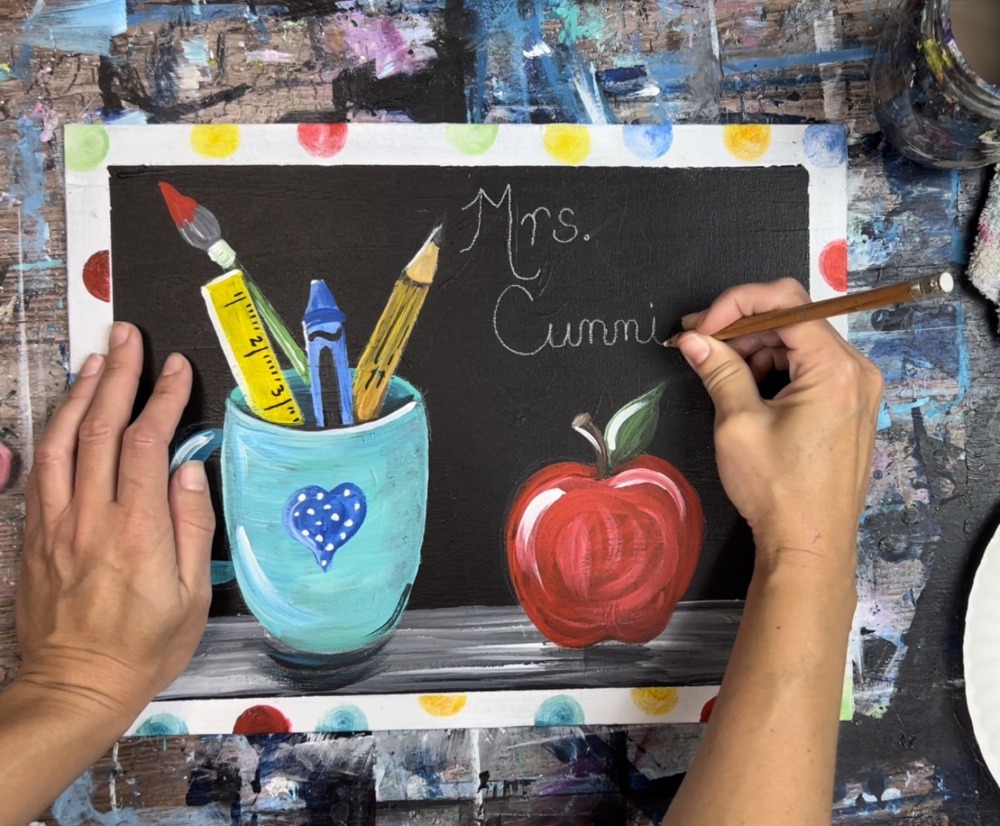
9. Write & Paint Name & Text On Cup
For the name part, I recommend using a pencil or chalk pencil to write the name out first to get the positioning in the right spot.
Then use a black paint pen to write the grade and/or subject (or whatever you would like written on the cup).
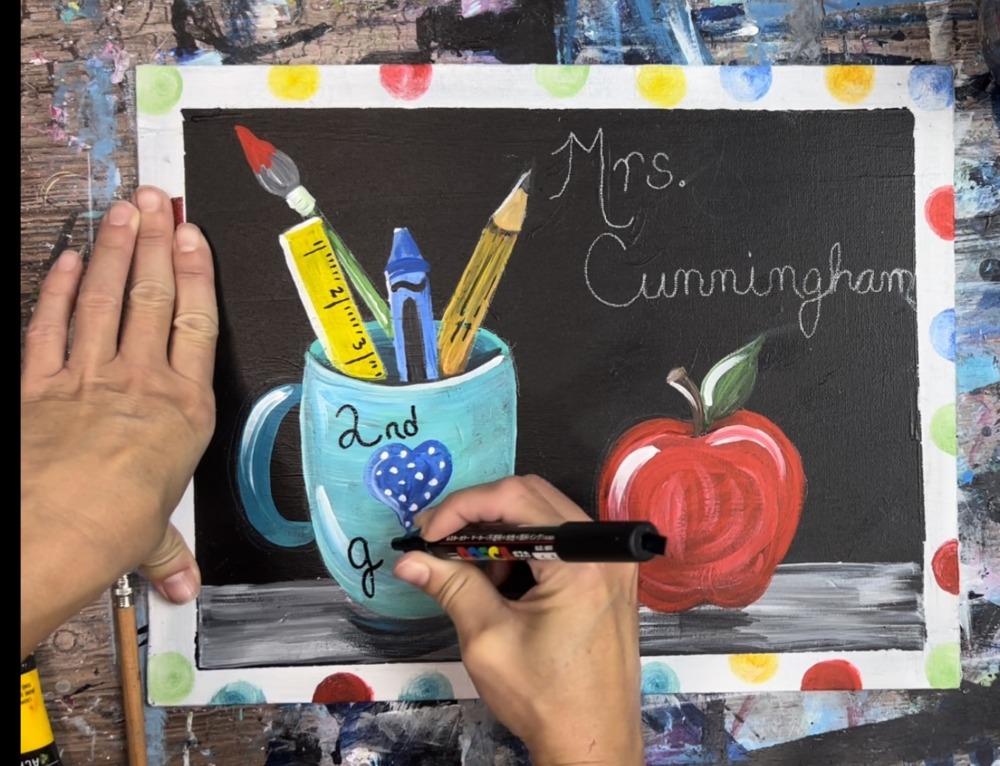
You can use a white paint pen for the letters, however, I chose to paint these in with titanium white paint because this paint will show up brighter than the white paint pen that I own. You may, however, chose to use a paint pen!
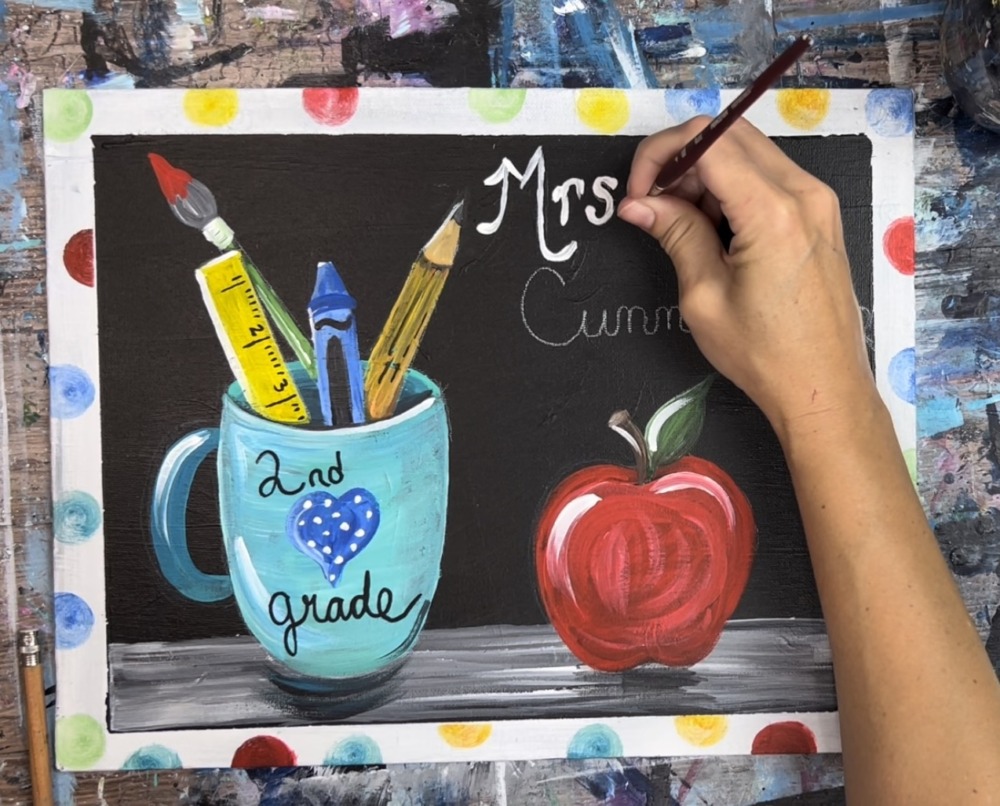
Paint over your letters. Then, when the paint dries, erase any remaining pencil lines.
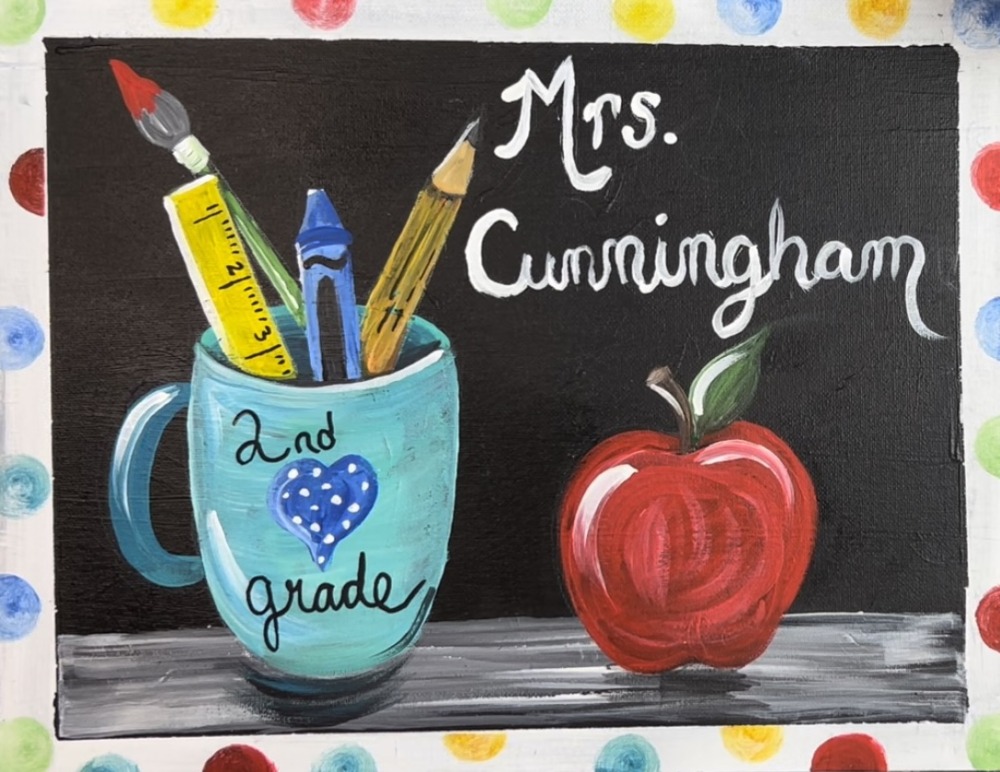
Finished!
Share your art here:


