
Would you like to save this?
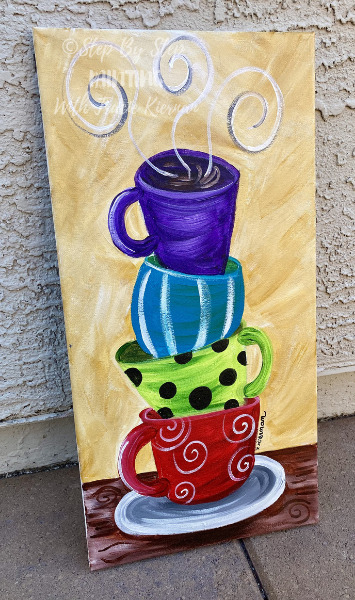
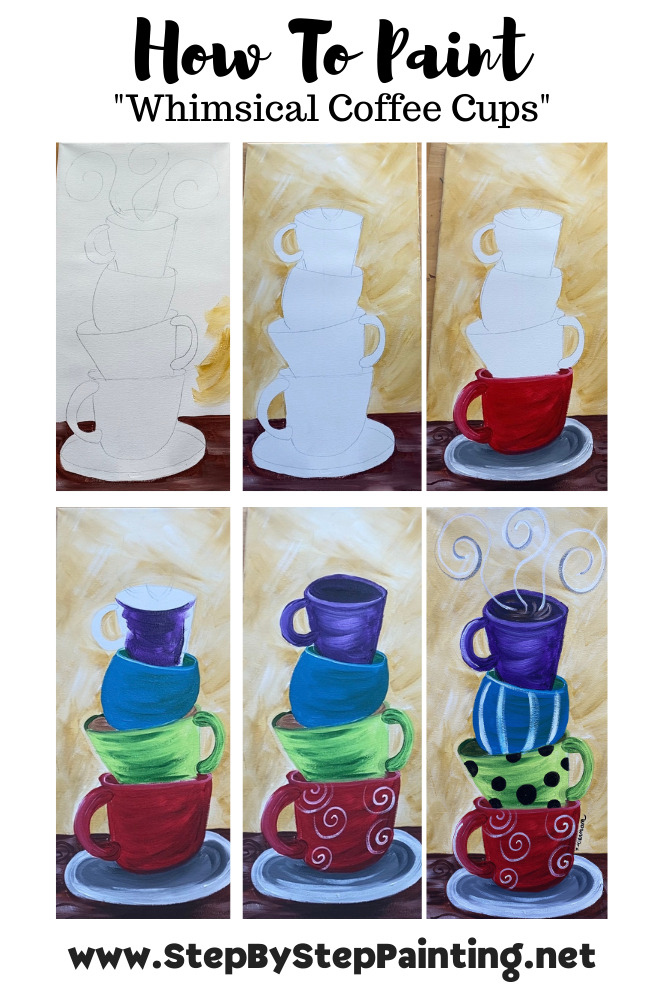
Learn how to create a fun and whimsical coffee art piece on a 10 x 20 canvas! This tutorial comes with a tracer that can be printed out and transferred to your canvas. You can also lightly sketch the design directly onto your canvas.
This is one of those paintings where you can customize the colors and the designs on the cups. Select different colors to match your decor.
Enjoy and happy painting!
Materials Needed
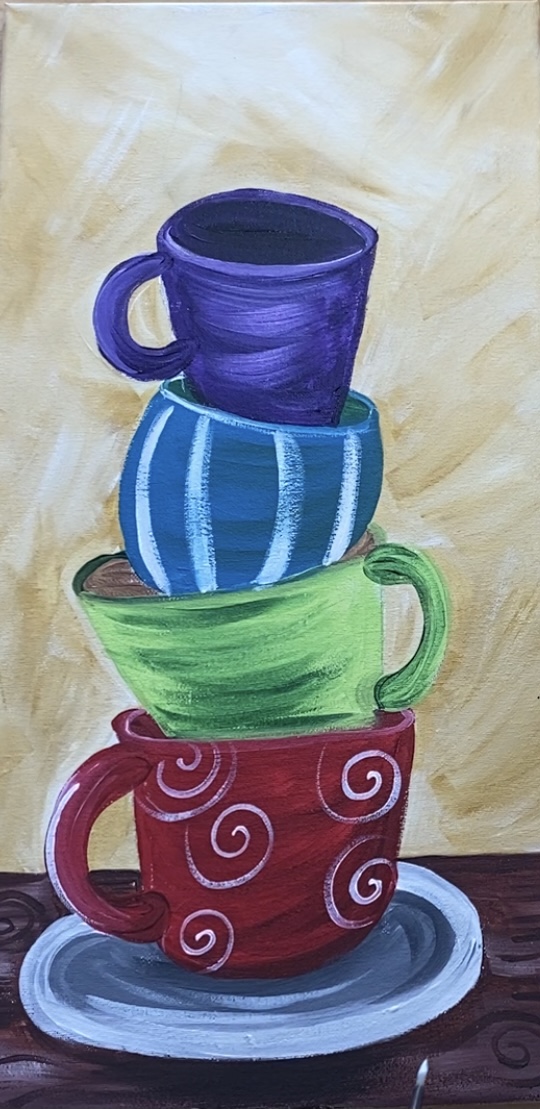
Whimsical Coffee Cups
Learn to paint stacked coffee cups! This is a fun whimsical painting and you can customize colors and designs.
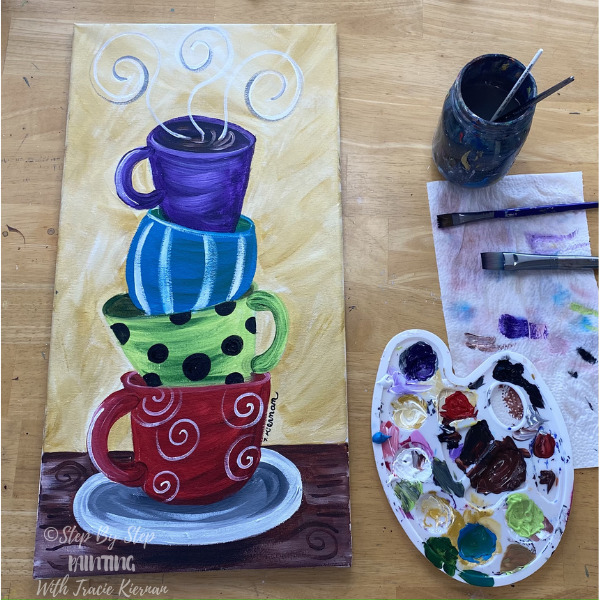
Materials
- 10" x 20" Canvas
- Acrylic Paint (I used student grade paint, DecoArt Americana, Liquitex BASICS and Royal Essentials)
- Brushes
- Tracer
- Graphite Paper & Pencil To Trace
Colors
- Titanium White
- Mars Black
- Yellow Oxide
- Naphthol Crimson
- Brilliant Yellow Green
- Hooker's Green Hue Permanent
- Dioxazine Purple
- Turquoise Blue
- Burnt Umber
Brush Sizes
Instructions
- See full tutorial for steps!
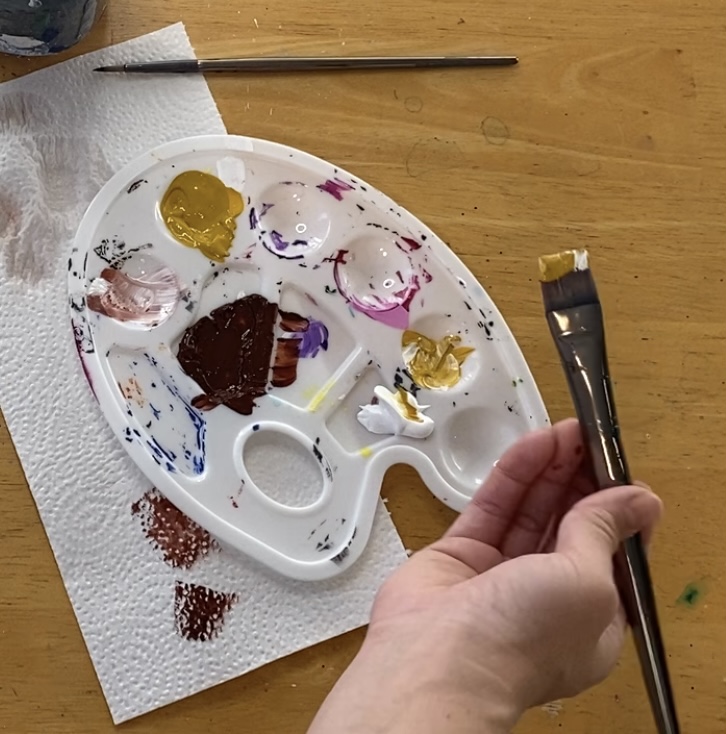
Color Palette
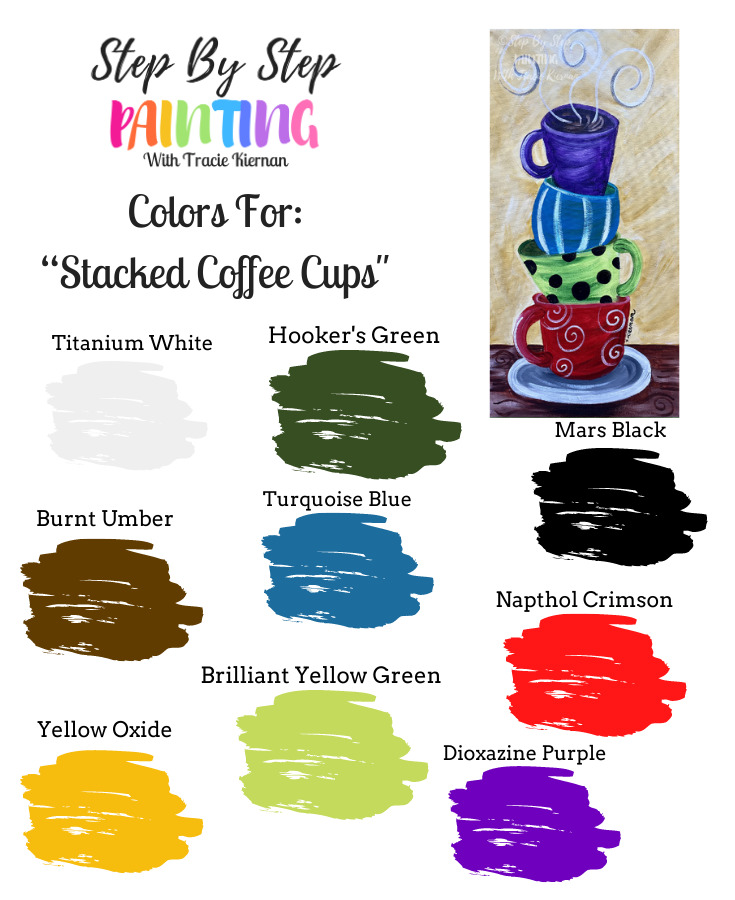
Using craft paints? No problem! Take the swatch above and try to match the colors I used! Here are some craft paint color suggestions:
- White
- Dark Green
- Black
- Dark Brown
- Teal or Turquoise
- Flag Red
- Dark Yellow or Mustard Color
- Lime Green
- Deep Purple
Traceable

Directions At A Glance
Video
Step By Step Instructions
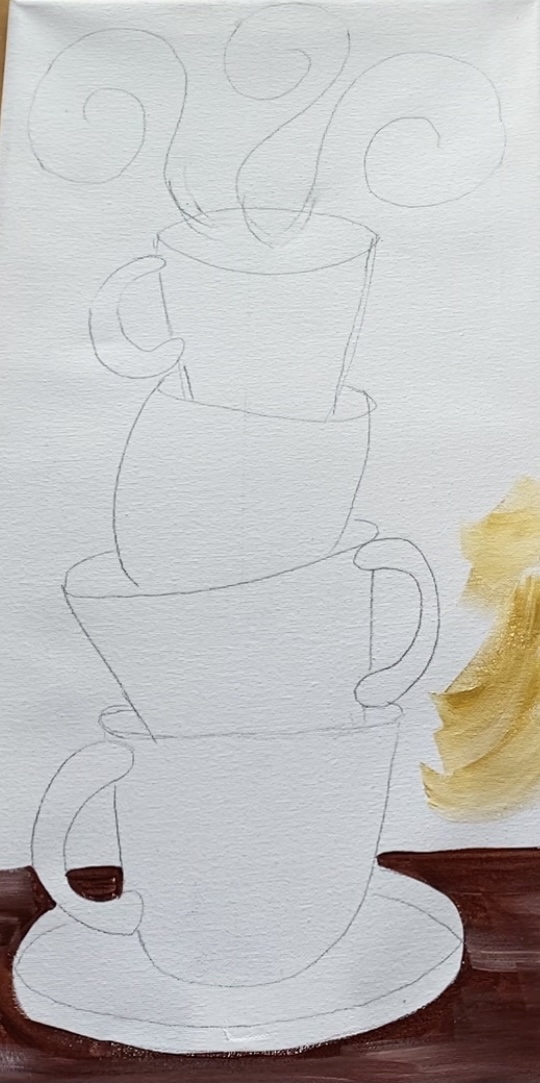
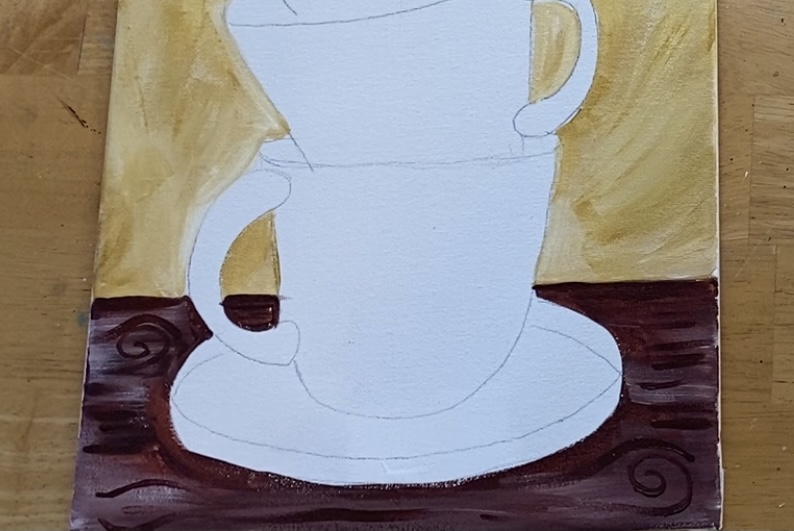
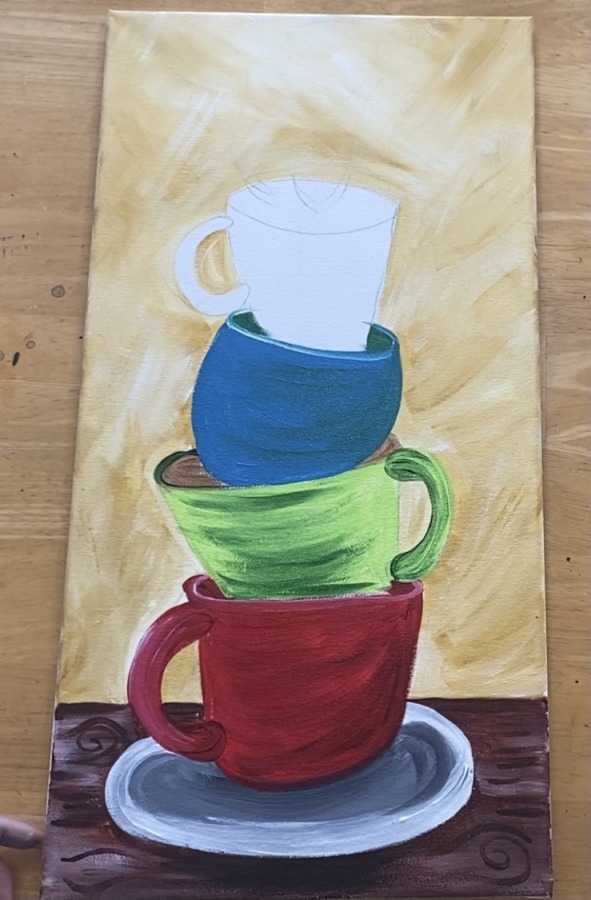
1. Transfer the design onto the canvas or lightly sketch it.
I used a 10 x 20 canvas for this! My printable prints out on three sheets to tape together. You may need to cut on the dotted lines before taping.
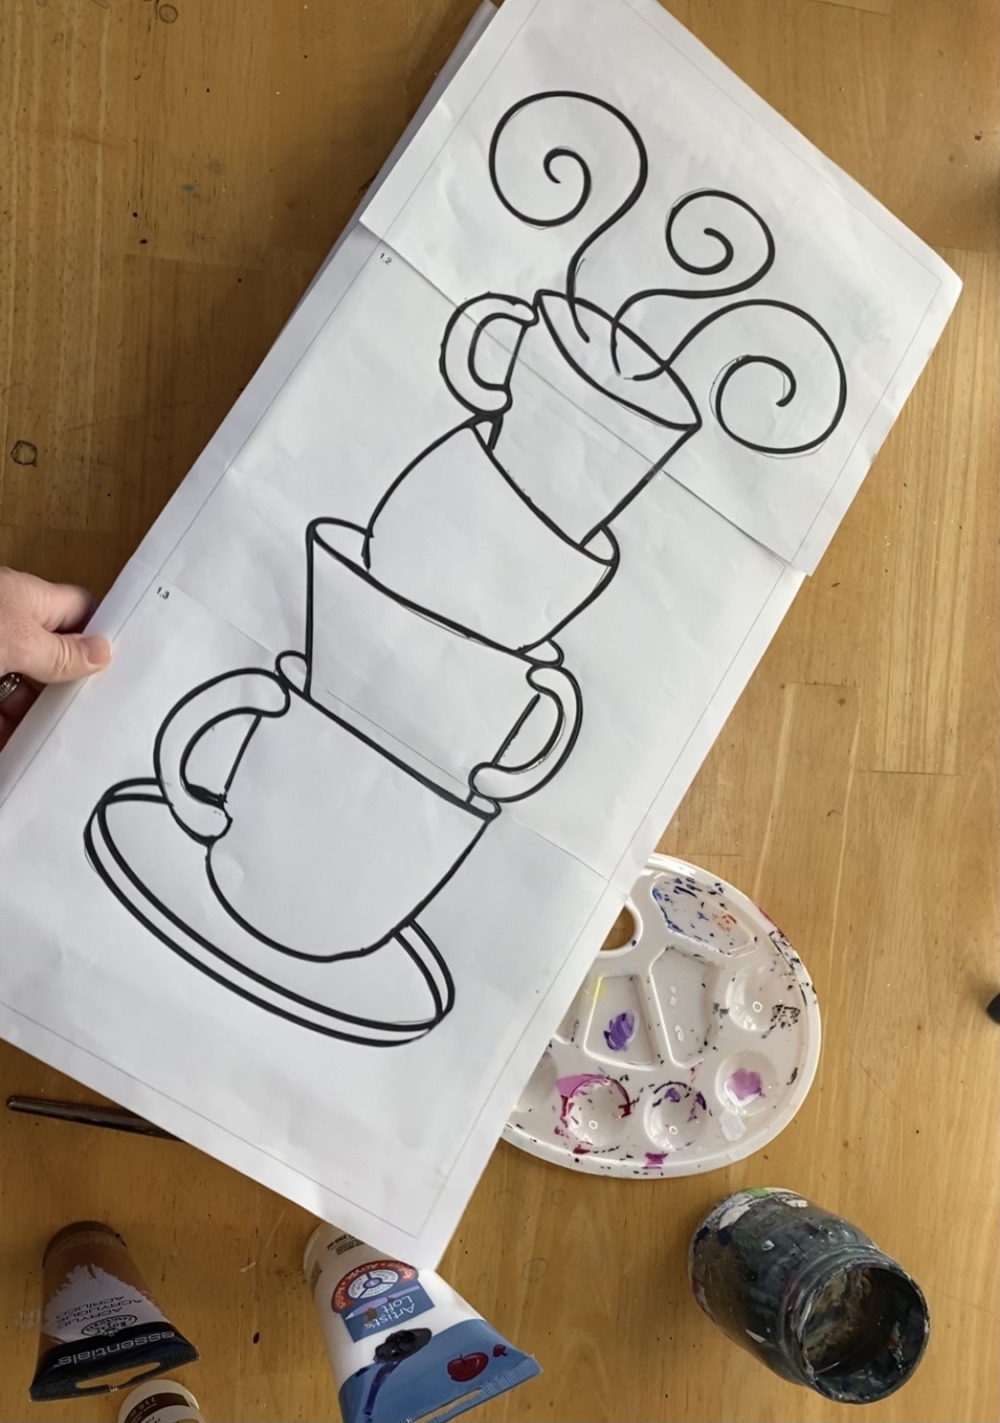
Then use a sheet of graphite paper and position it under the tracer. Press firmly with a pencil while the canvas is flat on the table. Your design will transfer.
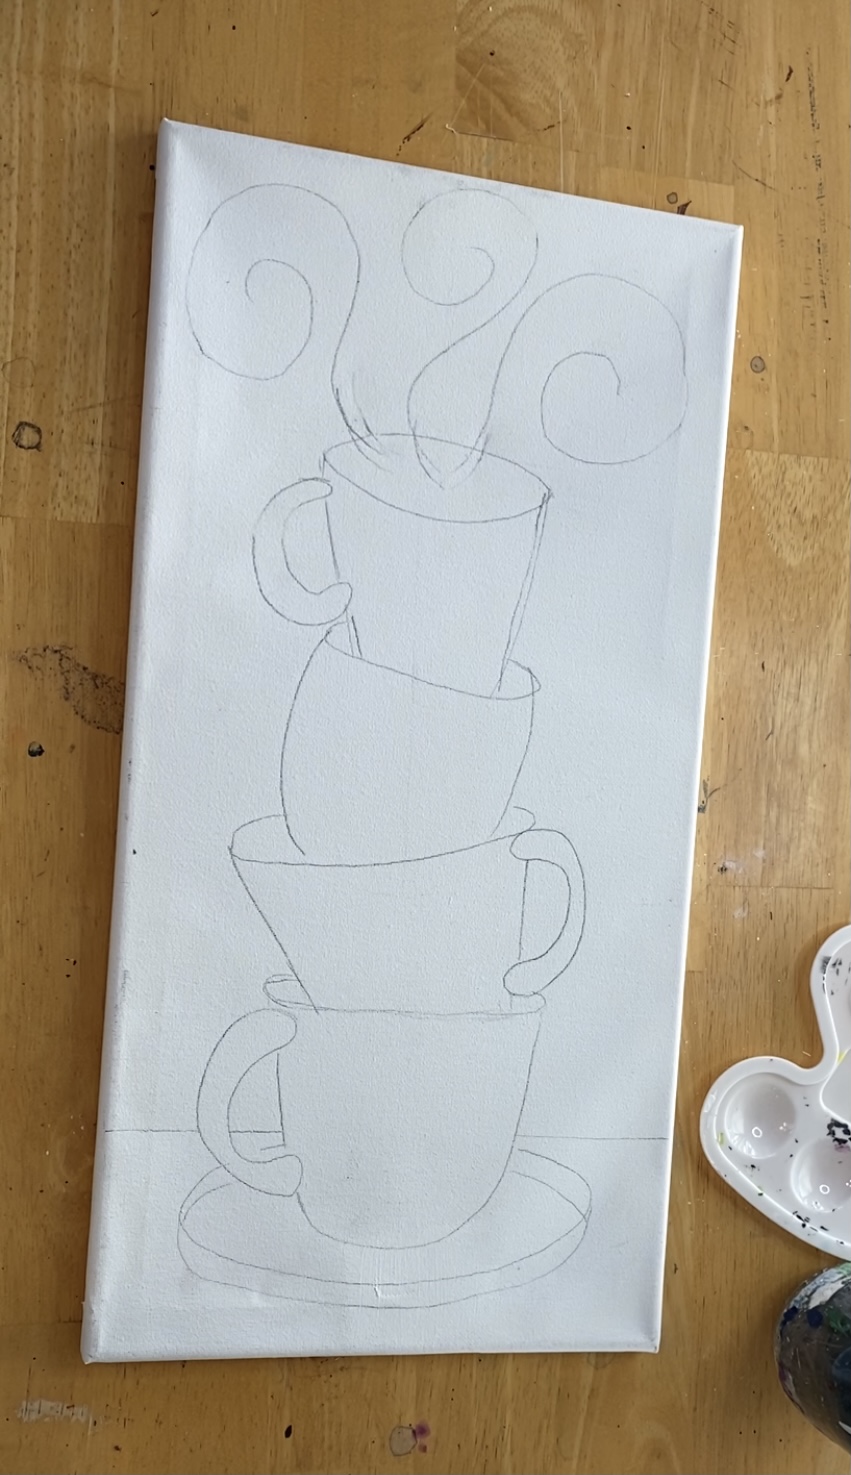
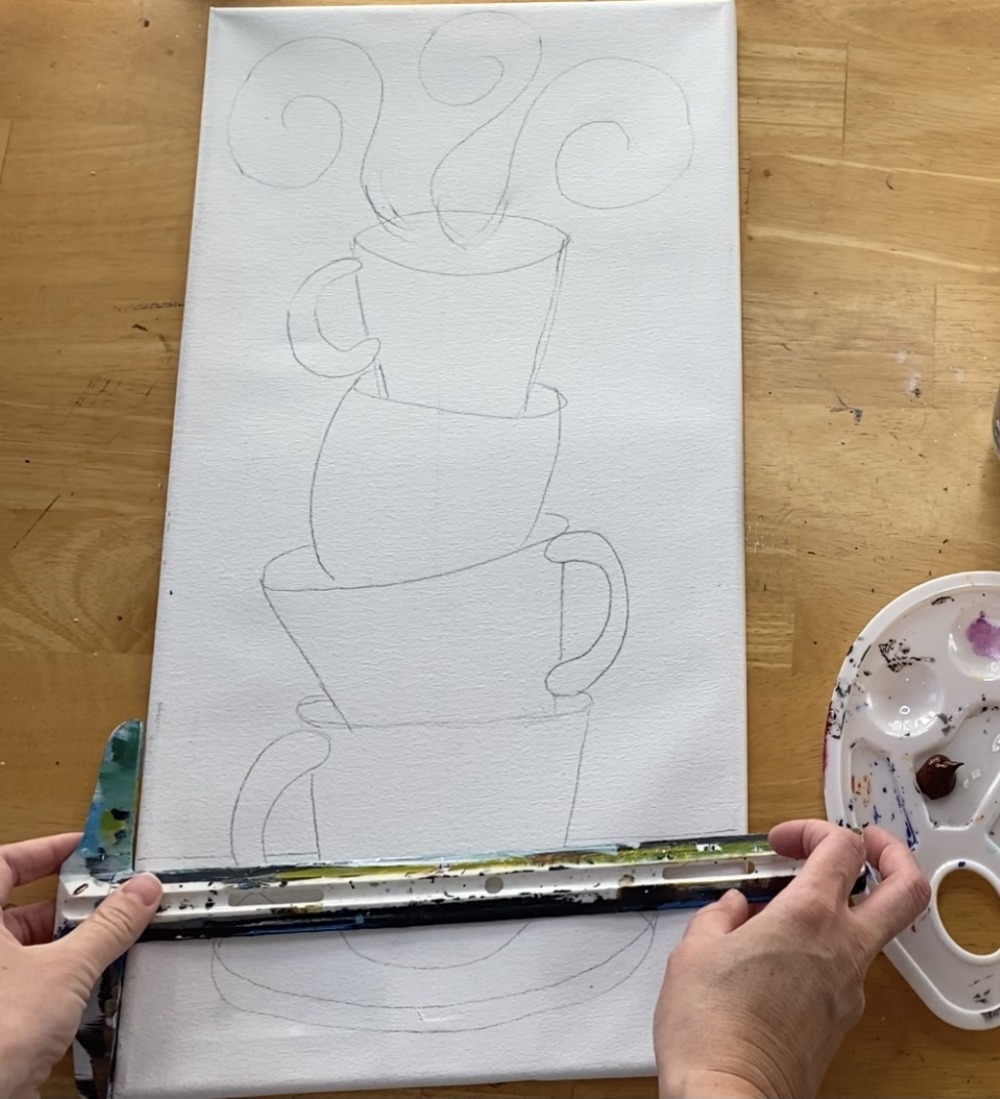
Next use a t-square or straight edge to draw the table line. Mine was at about at the half way point of the bottom of the coffee cup.
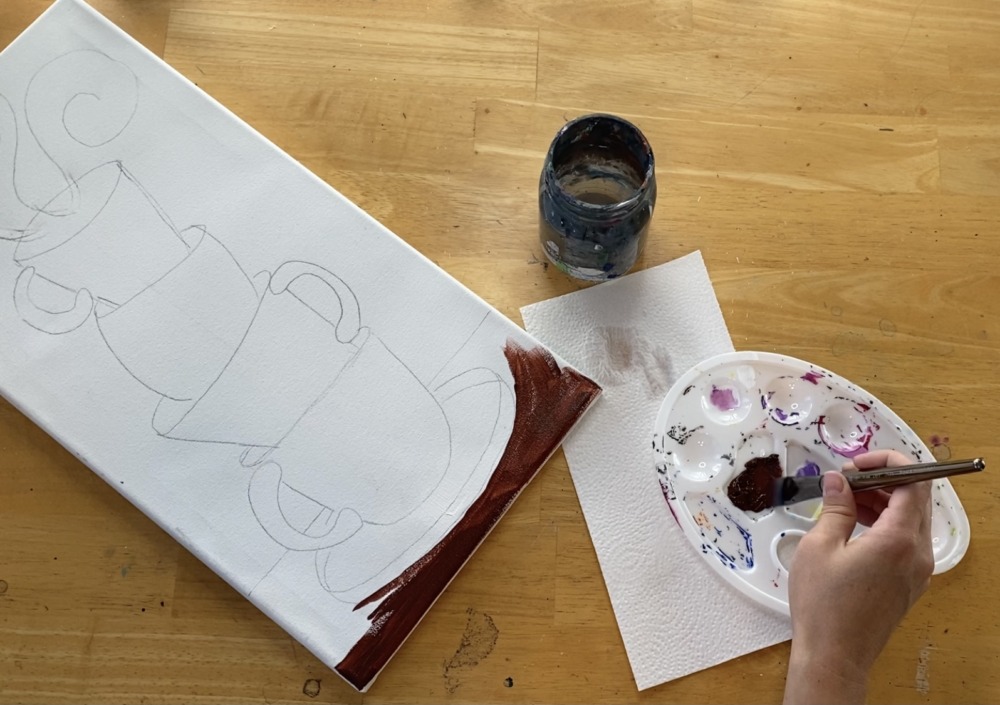
2. Paint the table
For the table, I used burnt umber and a 3/4″ wash brush. Paint a solid coat of this brown onto the table.
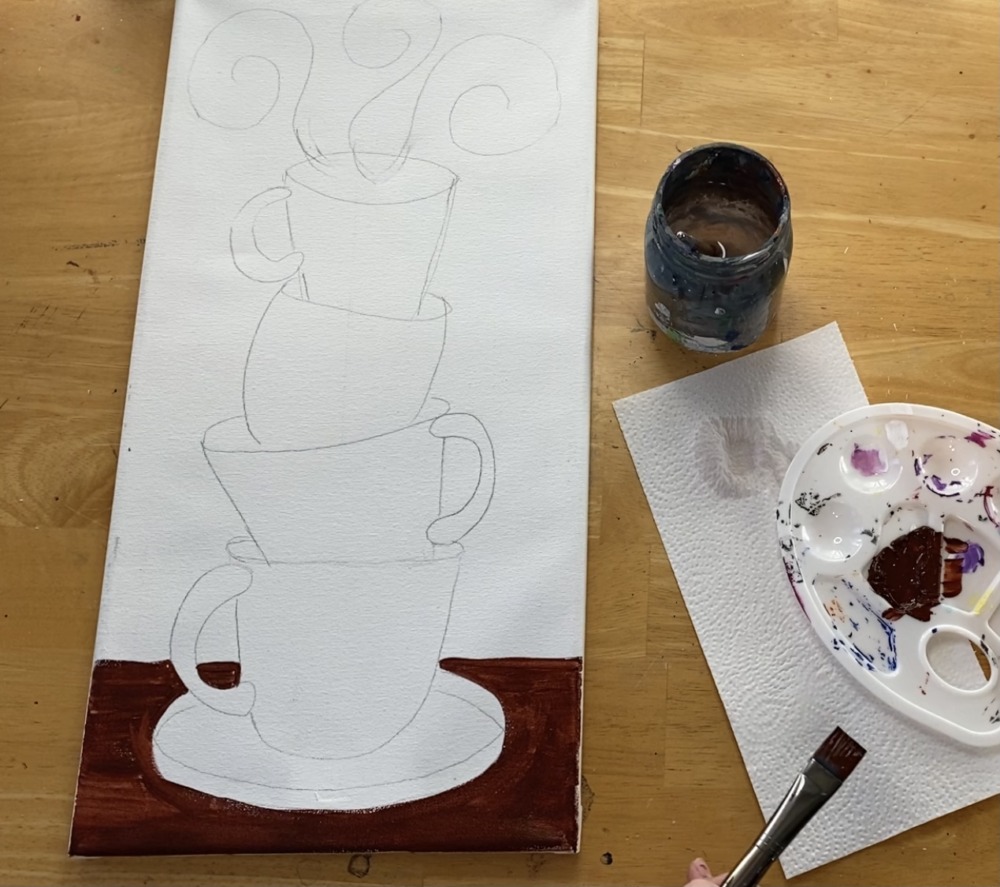
Next dip your brush in a little bit of white without rinsing the brown off. Lightly paint some of the white on the table (all horizontal strokes) so that it lightly blends with the brown.
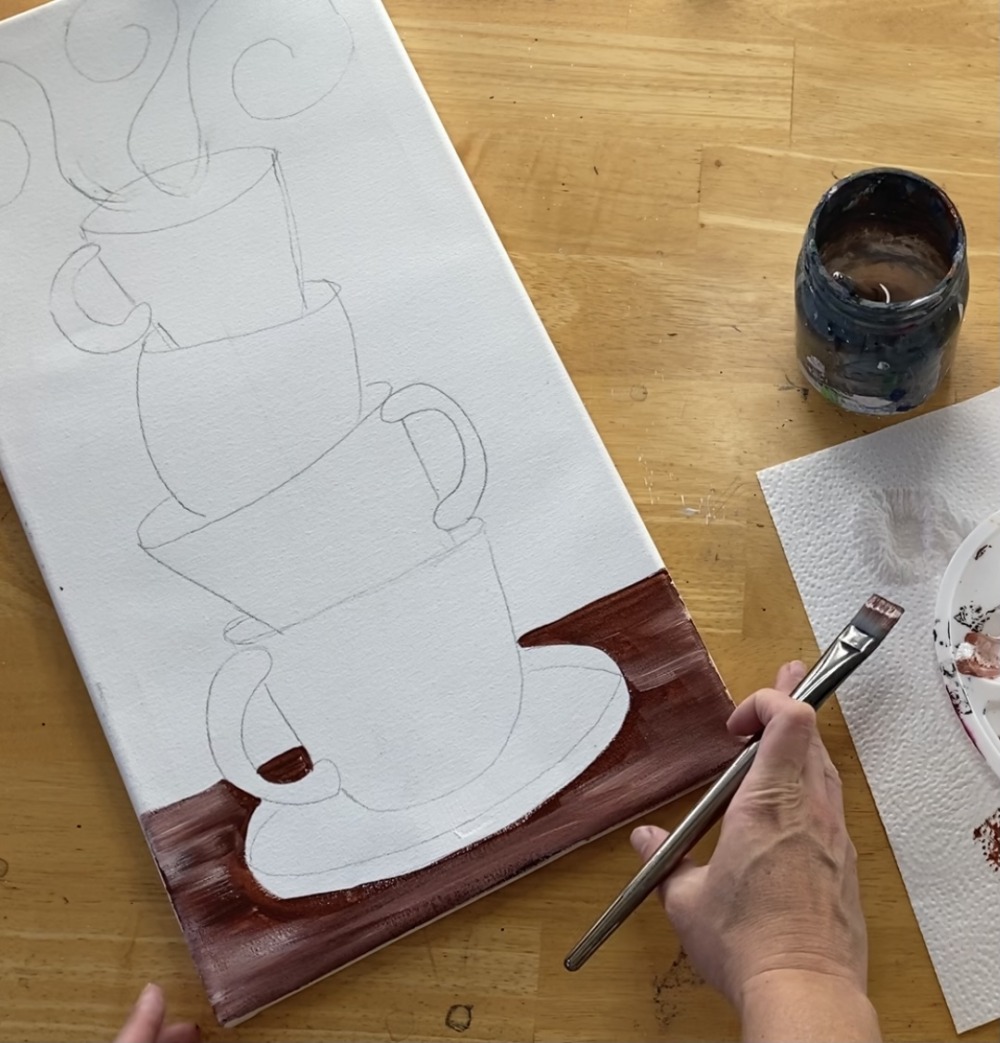
This will create a “streaky look” of brown and white to help create the impression of faux wood. Later on, I did more texture lines with a round brush but for now this needs to dry.
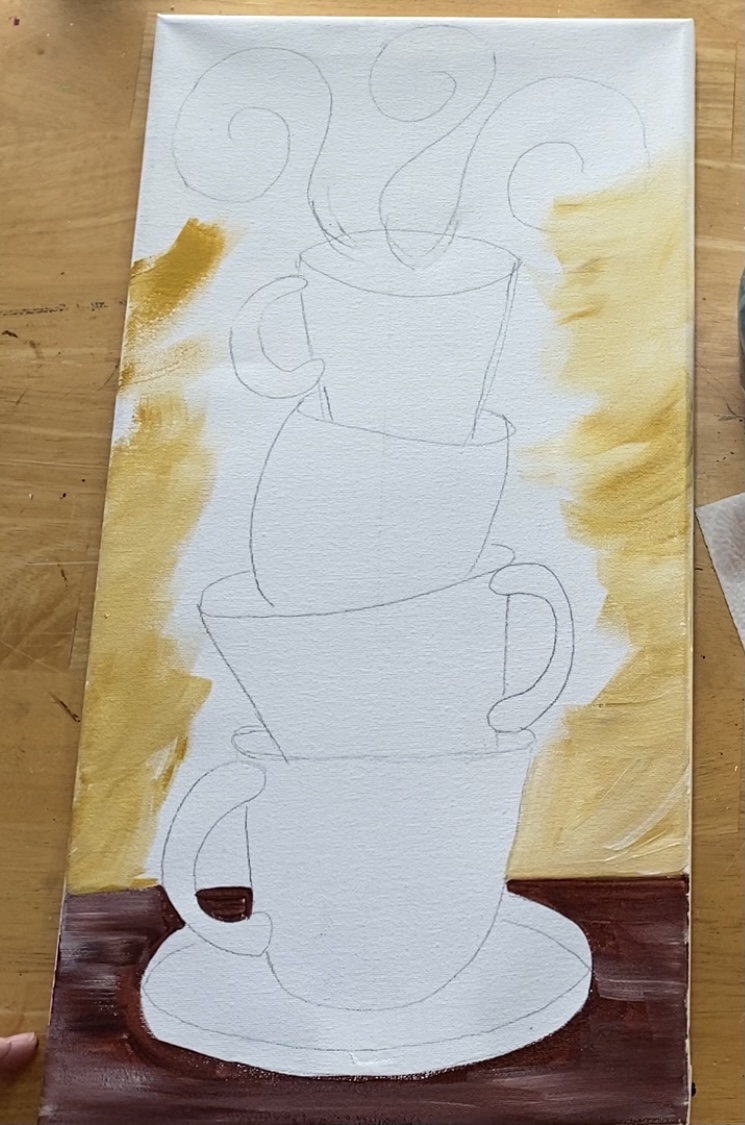
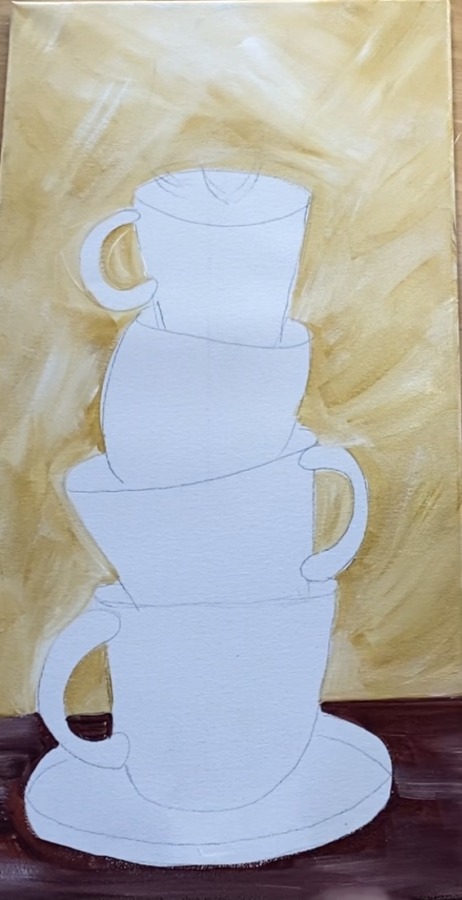
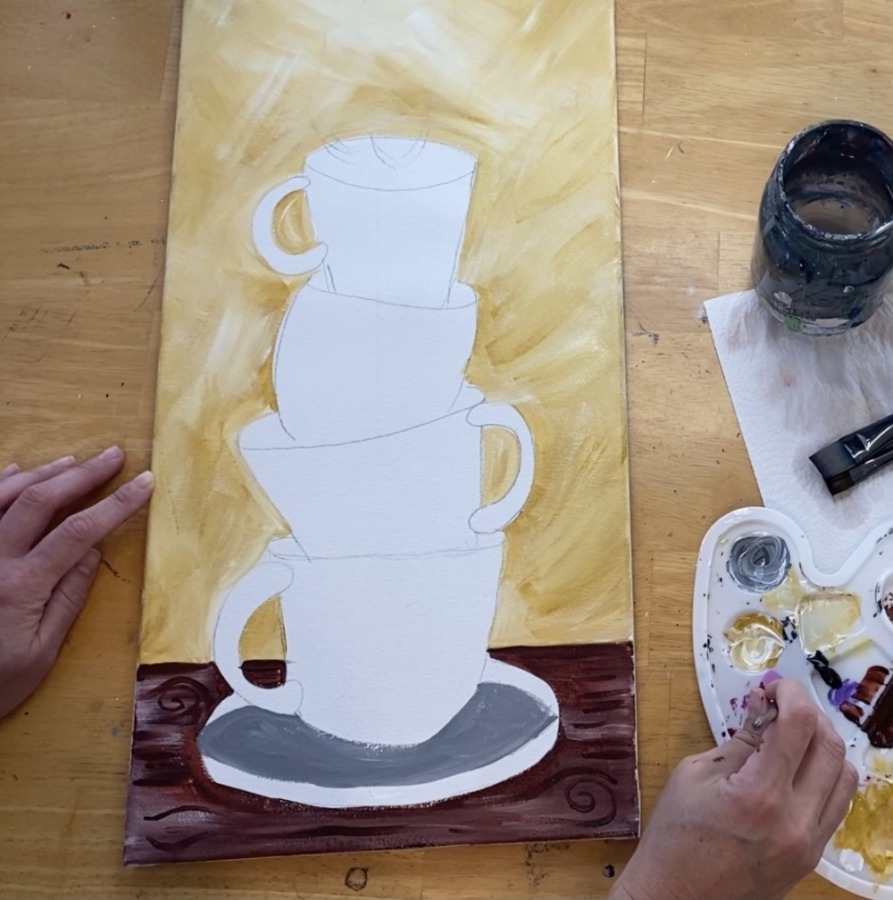
3. Paint the background
The background is two colors: yellow oxide and titanium white. I also used my 3/4 wash brush for this. Double load your brush in both the white and the yellow oxide.
Paint expressive angular strokes in the background so the two blend together. Paint all around the coffee cup drawing.
Go around the coffee drawing. If you need to use a smaller brush, you can use your 12 bright or your 4 round brush. Keep blending and doing angular strokes.
4. Paint texture on the table
Use your #4 round brush to paint texture lines on the table. Paint spirals and curves to represent a faux wood texture.
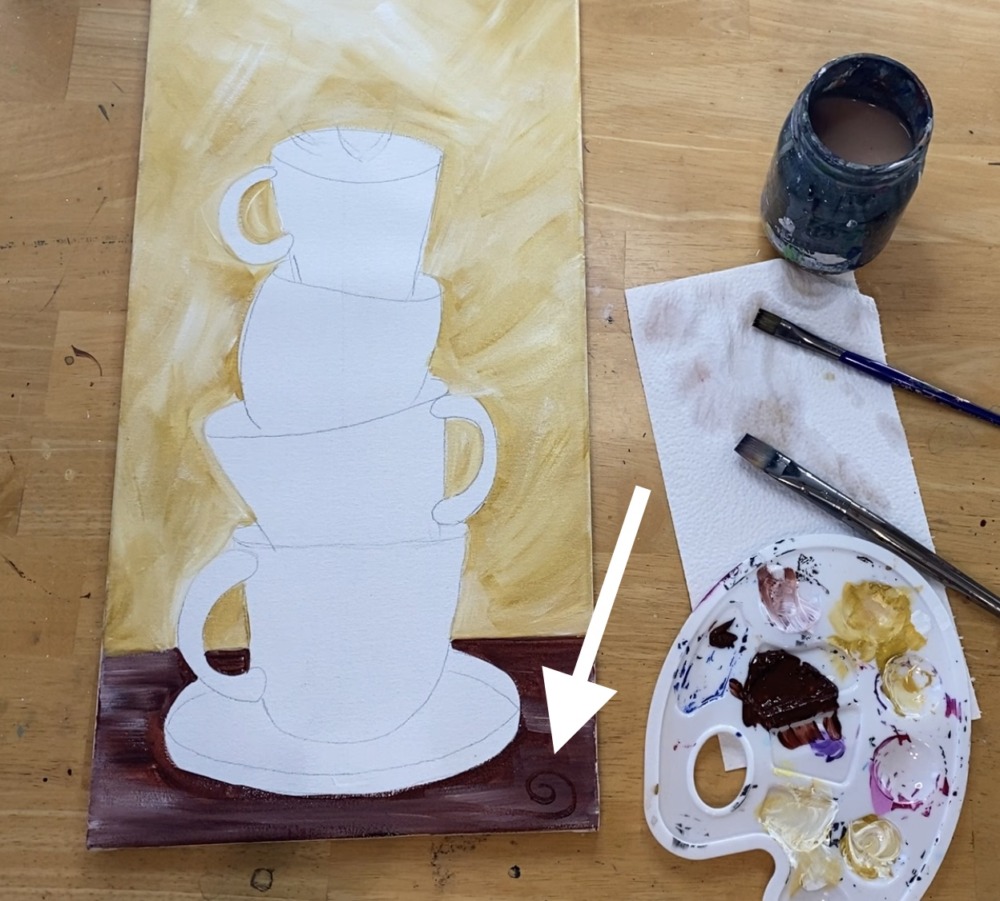
This was done with just burnt umber. If it is not showing up dark enough, you can add a tiny bit of black into the brown.
5. Paint the plate
First mix black and white together to make a medium gray. Then paint the flat part of the plate just under the bottom coffee cup. Use your #4 round brush.
Then paint the rim. Use titanium white for this step. It is okay if your plate gets all “deformed”, mine did! Remember this is not a realistic painting.
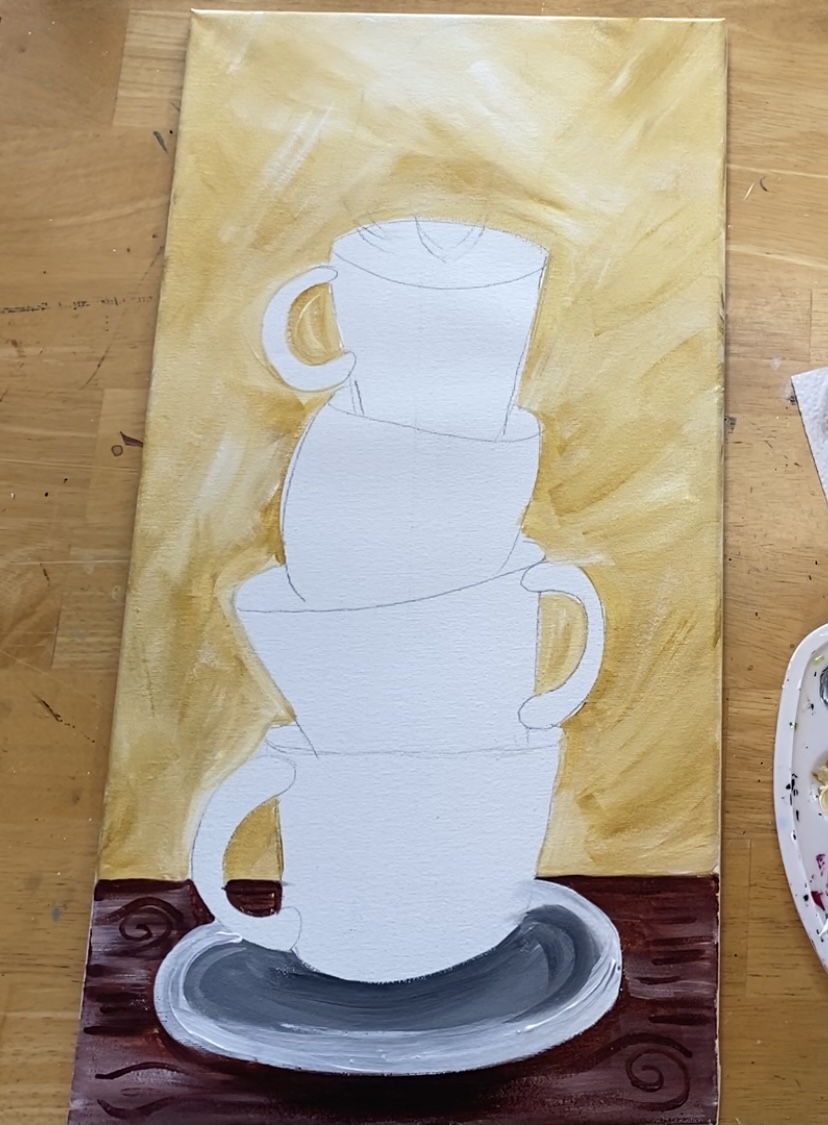
I also blended some gray into that white on the rim and added darker gray just under the cup for some shadow. Then add a little black into your burnt umber and paint some darker brown under the plate for some shadow.
6. Paint the cup
Use naphthol crimson red for the cup and your 12 bright brush. Paint a solid coat of red on all the cup. Tip: with each of these cups, you need to paint in a curved direction so it gives the cup some dimension.
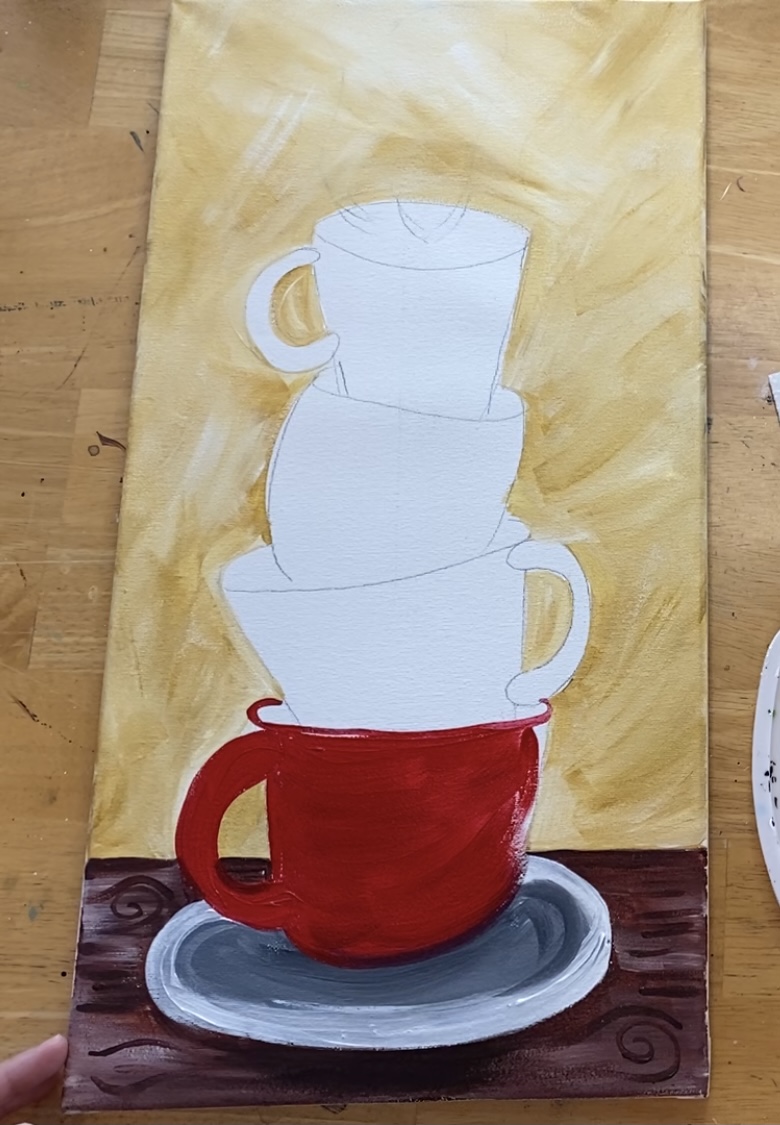
Then mix a darker red on your palette by mixing a little burnt umber with the red. Use this darker red shade to paint the inside of the cup.
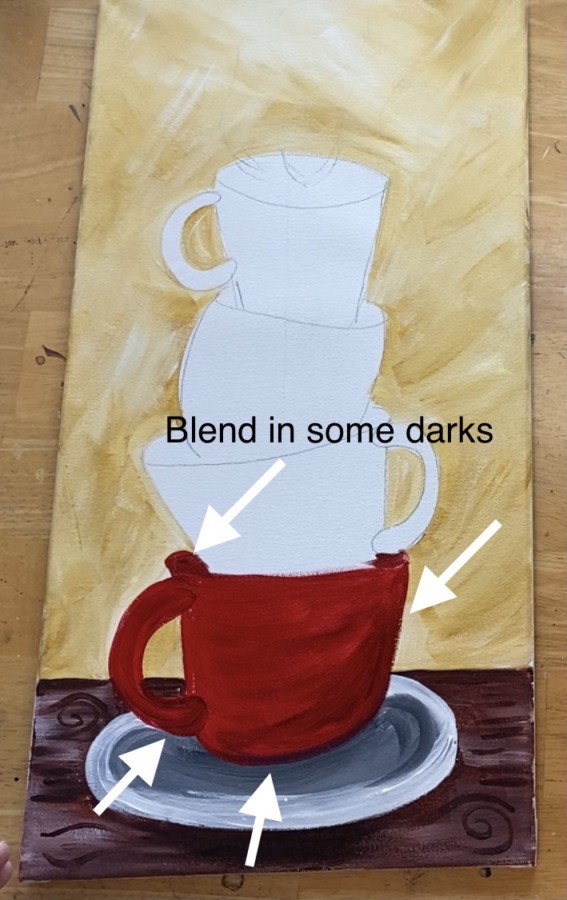
Add some darker red to the bottom part of the cup, left part of the cup, bottom of the cup and bottom part of the handle. Blend that darker red back into the solid red. This is all wet-on-wet blending.

Then add some white on the left part of the handle and on the top of the rim.
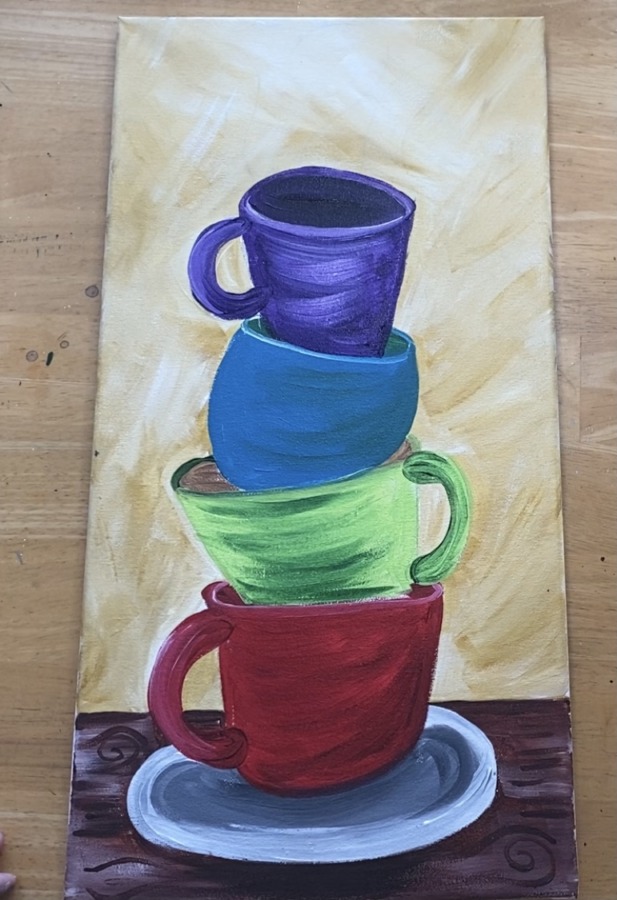
Next paint the green coffee cup with brilliant yellow green. Start out by painting it a solid coat of this green with no blending or shading yet.
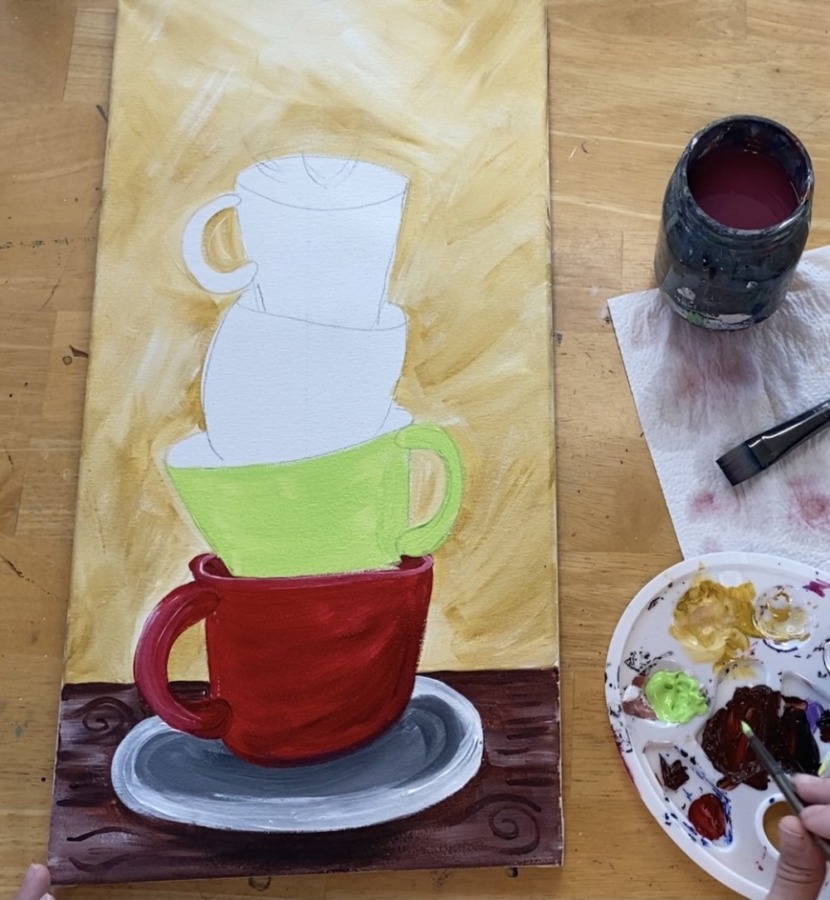
Paint the inside of the cup with the brilliant yellow green mixed with a little brown.
Then load your palette with some hookers green hue. Paint some strokes of this dark green (going in a curved direction). Do not cover all of the light green.
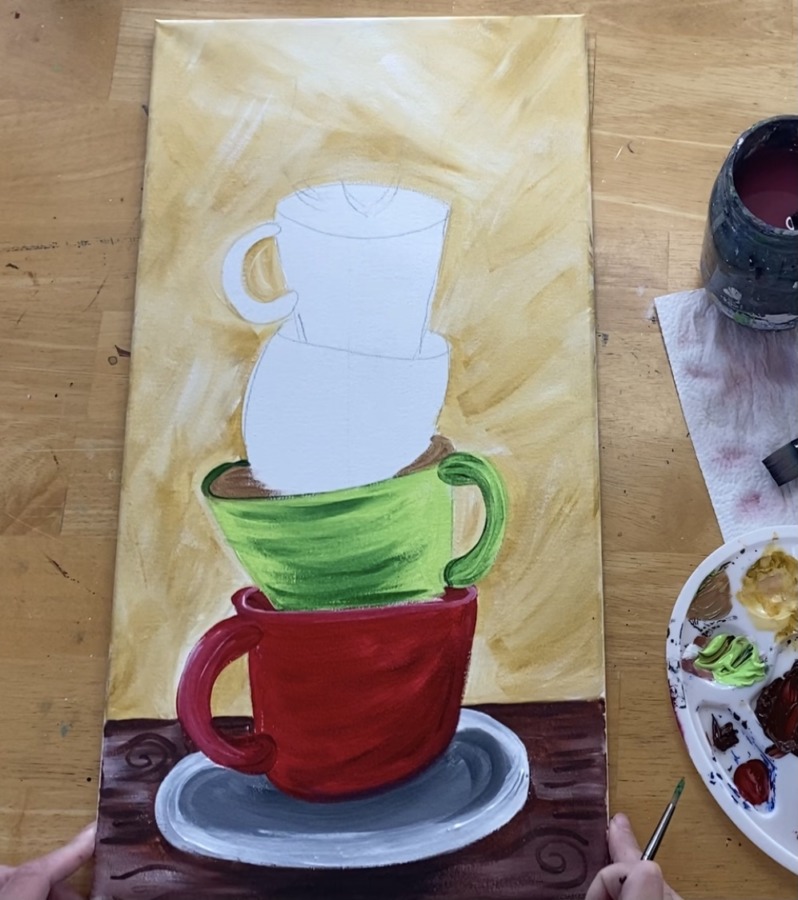
Add some dark green on the handle and rim of the cup.
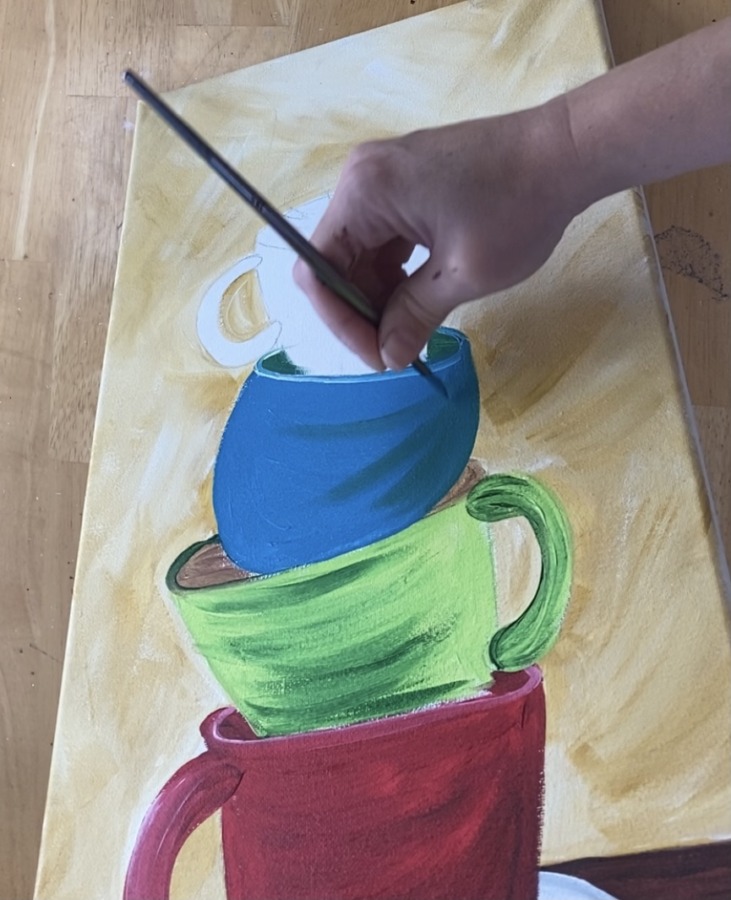
Next paint the third cup with turquoise blue.

Paint the inside of the cup with hookers green hue permanent. Then add some strokes of that green on the right of the cup. Add some white on the rim of the cup.
Paint the top cup dioxazine purple. Use the 12 bright brush and paint in curved strokes.
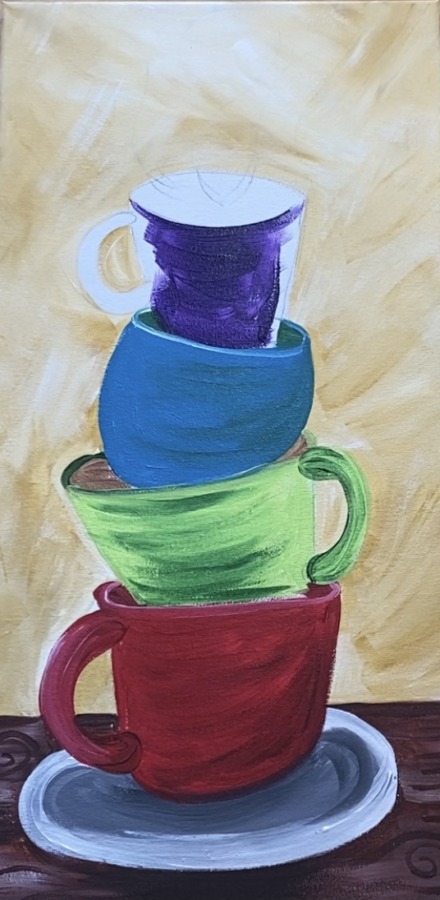
Then add some titanium white into the purple and blend it a little but not all the way. Paint in curved strokes. Add a little white with purple in the handle of the cup as well.

Then paint the inside of the coffee cup with dioxazine purple and a little bit of mars black mixed into it (to make it darker). Also add some white on the rim.
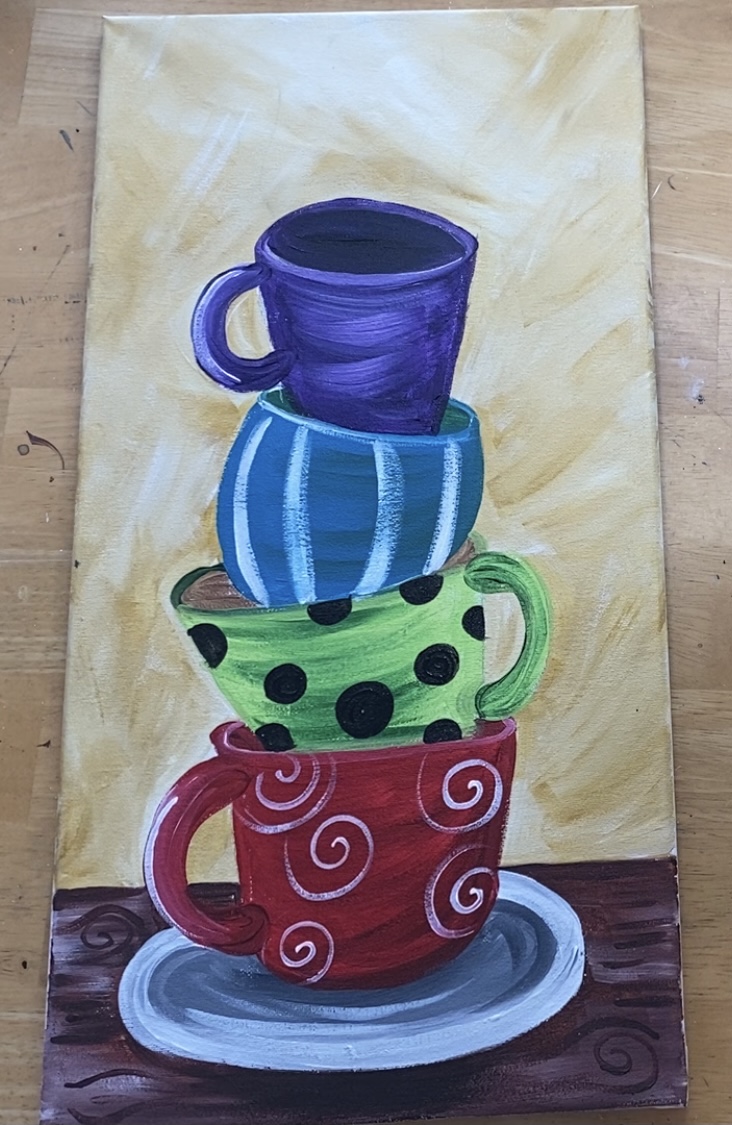
7. Paint designs on the cup
Use your #4 round brush and titanium white. I started with the bottom red cup and did spirals.
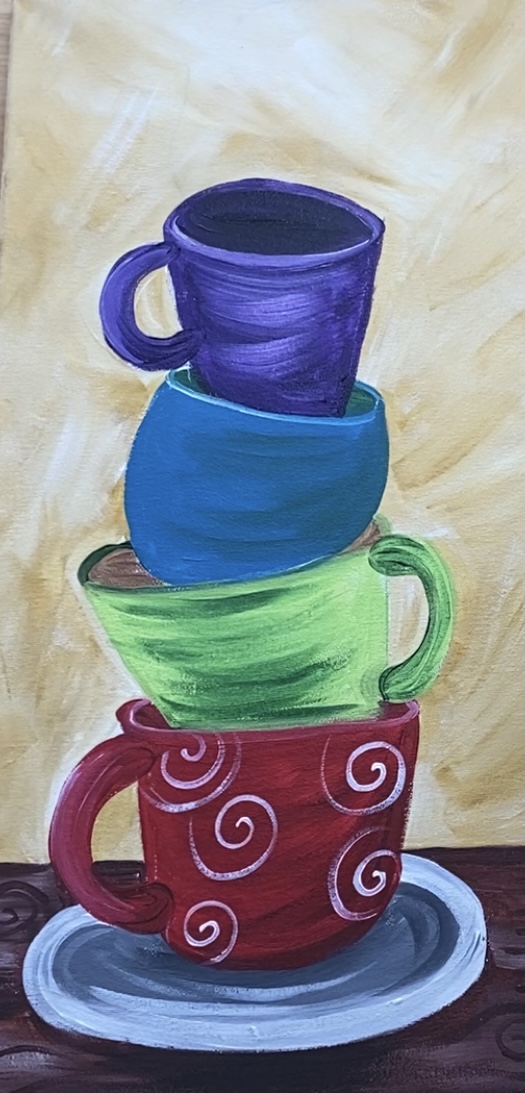
Then paint stripes on the turquoise cup. Do these stripes slightly curved because the cup has form.
Then I used mars black for the dots on the green cup.
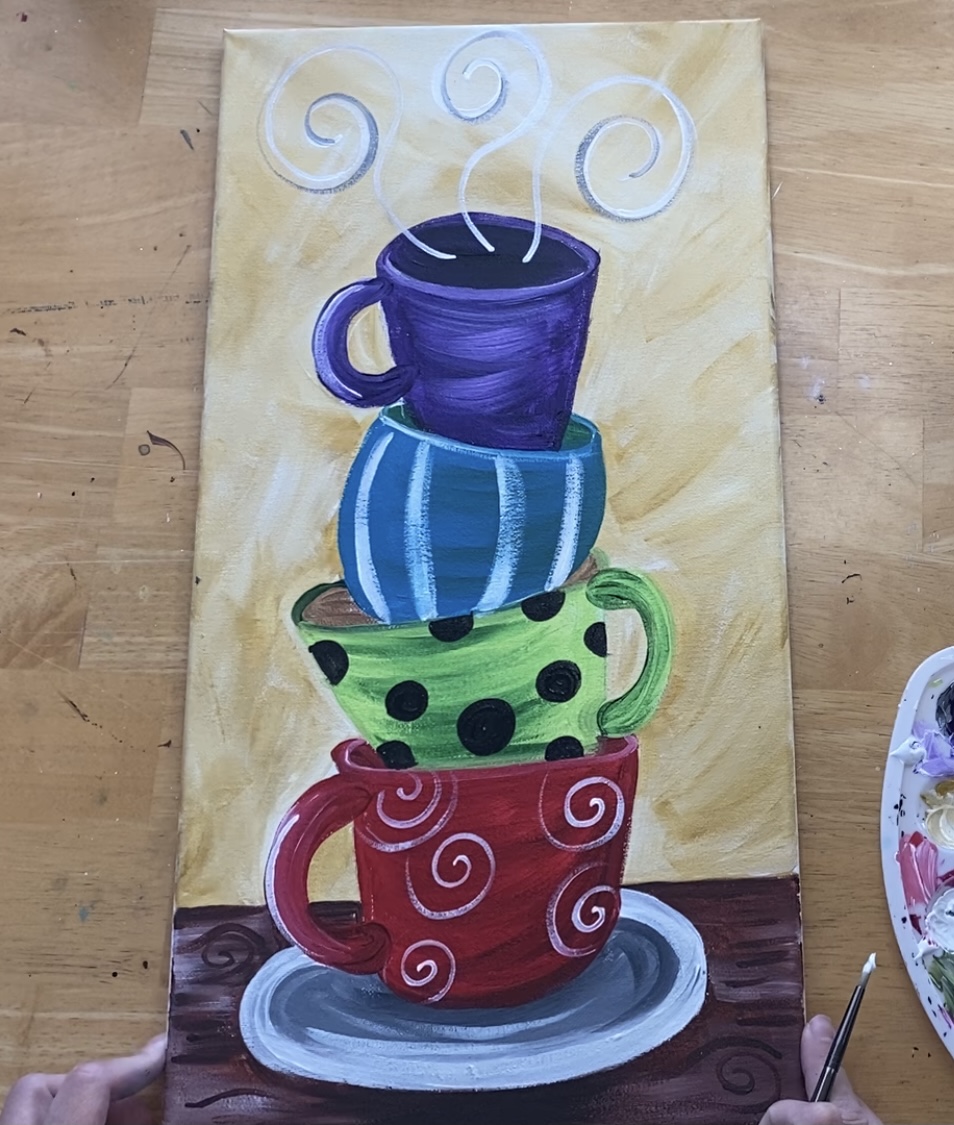
8. Paint Steam Spirals
Use your #4 round brush and titanium white to paint the spirals. My lines were still showing through from the drawing. You can also use a piece of chalk to pre-draw your lines before you paint them.

I did three large spirals.

Then I added a tiny bit of gray (mars black mixed with white) into some of the spirals.
Then use the burnt umber (and a little bit of white) to paint some coffee swirls inside of the top cup!
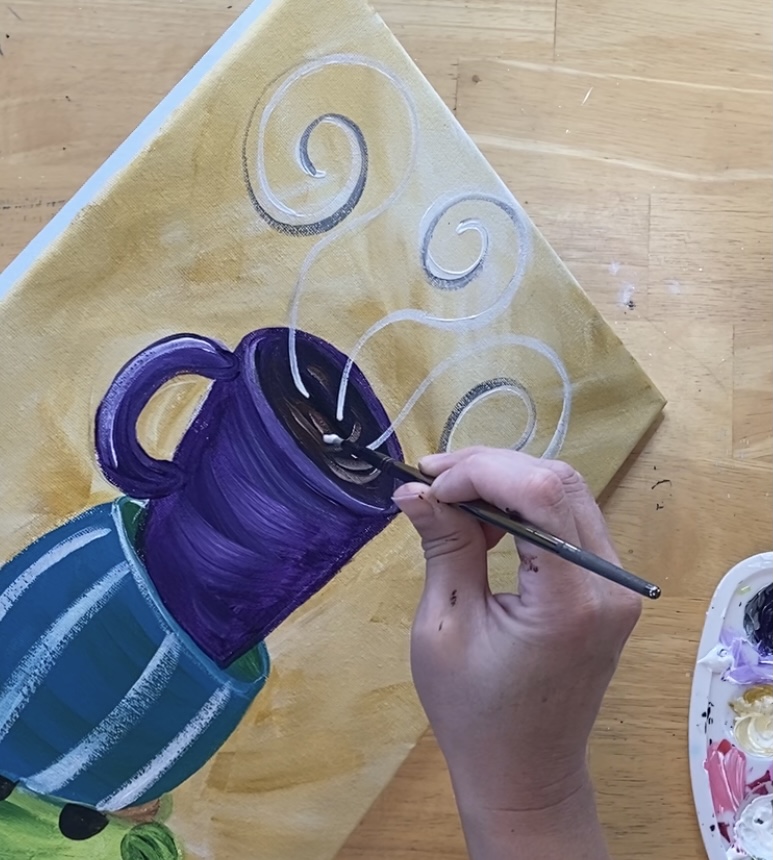
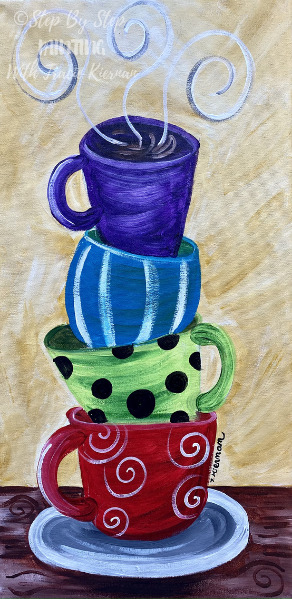
Finished!
Sign your name and show it off!

Share Your Art!


