
Techniques For Varnishing Your Painting
Would you like to save this?
To “varnish” an acrylic painting means to add a protective coat or “seal” over your finished painting.
There are many reasons you would want to do this! You may be gifting or selling your painting or you simply LOVE your painting so much that you want to protect it for years to come. Adding that protective seal gives it that finished look.

![]() Providing a protective seal will make the painting last longer because you’re protecting it from dust, debree and some fading from UV Rays.
Providing a protective seal will make the painting last longer because you’re protecting it from dust, debree and some fading from UV Rays.
There are some varnishes that can be removed years later so you can re-varnish a painting and make it last even longer! With that kind of varnish, you would apply an “isolation coat” and then apply the removable varnish over it.
I will NOT be describing that kind of removable varnish process in this post – only the permanent one. Yes, permanent! Please make sure you read the instructions on your varnish bottle and test out a surface first before applying it to your painting. Testing a small surface is important because you don’t want to ruin the painting!!
My ABSOLUTE FAVORITE thing about varnishing an acrylic painting is that it can make the colors look richer and deeper because it adds a semi-reflective sheen to the entire painting. The satin and gloss varnishes add that extra wow factor to your painting especially with dark colors.
Reasons to not varnish your acrylic paintings are because you may want to paint over it at a later time. Maybe you don’t want to have any kind of sheen on the finished painting, although they do make a matte varnish. Or perhaps you simply don’t want the extra expense and time it takes to varnish your painting.
It’s okay to simply hang a finished acrylic painting up and not varnish it! I do it a lot. In fact, I don’t apply varnish to most of my paintings that I create for this website.
In this post, I am going to show you how I varnish my acrylic paintings! I use the Liquitex Brush on Varnishes. If you are using something else, read the directions on the bottle to be absolutely sure and always test out a surface before adding it to your painting. They also make a spray varnish that many prefer over the brush on varnish.
Okay let’s begin!
This post contains affiliate links.
Materials Needed
How To Varnish Your Acrylic Paintings
Varnishing your painting provides a lasting seal that will protect your painting from dust, debree and some fading. You don’t technically have to varnish all your paintings, however, choosing to varnish is a good idea if you are going to gift or sell your painting.
Materials
Tools
Instructions
- Make sure your acrylic painting is dry before applying the varnish sealer.
- Apply the first coat of varnish with a wide base coat brush. Make your coat go all in the same direction (horizontal or vertical) using the width of the brush.
- Wait for the first coat to dry.
- Apply a second coat going the opposite direction of the first coat.
- Wait for the second coat to dry. A third coat is not necessary.
- Hang, admire, gift or sell your painting!
Notes
The sheen will depend on how shiny you want your painting to look! I like a satin sheen. However, you may want to go for a gloss or a matte finish. You can mix gloss and matte for a semi-gloss look. Darker paint colors look extra nice with glossier sheens.
How To Varnish Your Acrylic Paintings
Please make sure to read instructions on your bottle! Test a little bit on a separate surface to make sure this is what you want because this varnish is permanent.
Step 1
Wait for your finished acrylic painting to dry. I would wait at least 24 hours because you don’t want to risk any thick under coats of the painting running through the sealer and ruining your painting. The is especially important for any of the under coat of the painting that may take longer to dry.
Also if you are photographing your painting, make sure you do this before the varnish is applied! It can be tricky to photograph a painting that has been varnished because the sheen will make a glare.
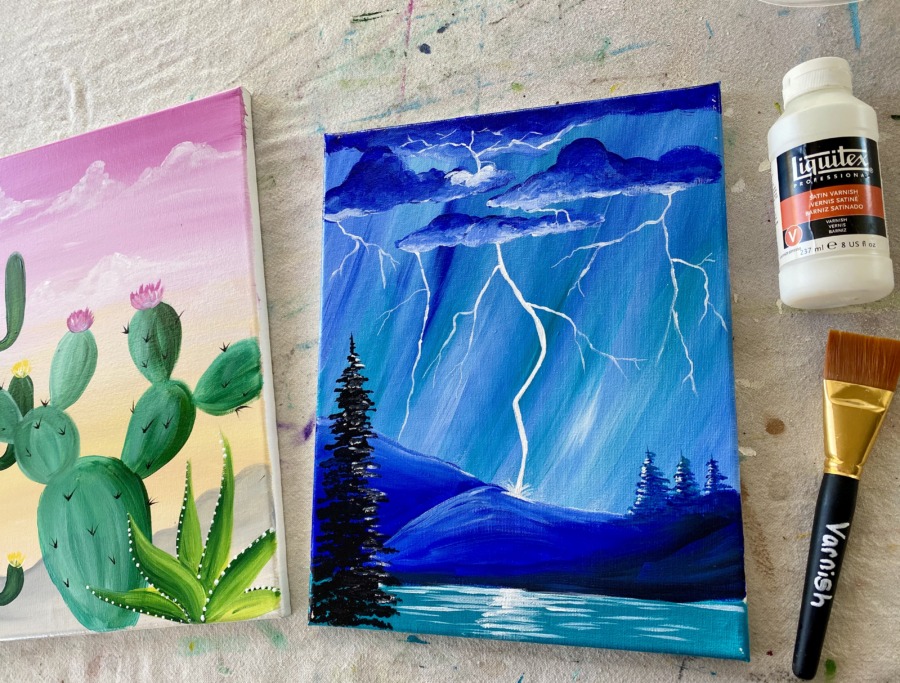
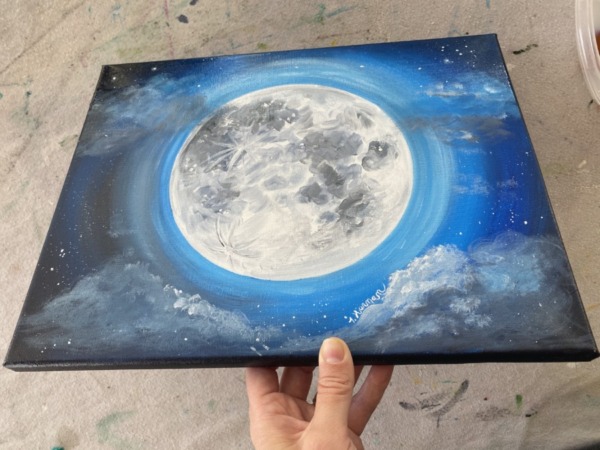
I am going to demonstrate how I varnished my Moon Painting.
Before you begin… Test a little bit of the varnish on a surface other than your painting to see if you like the results and sheen! You’ll want to be absolutely sure because this is a permanent non, removable varnish.
Step 2
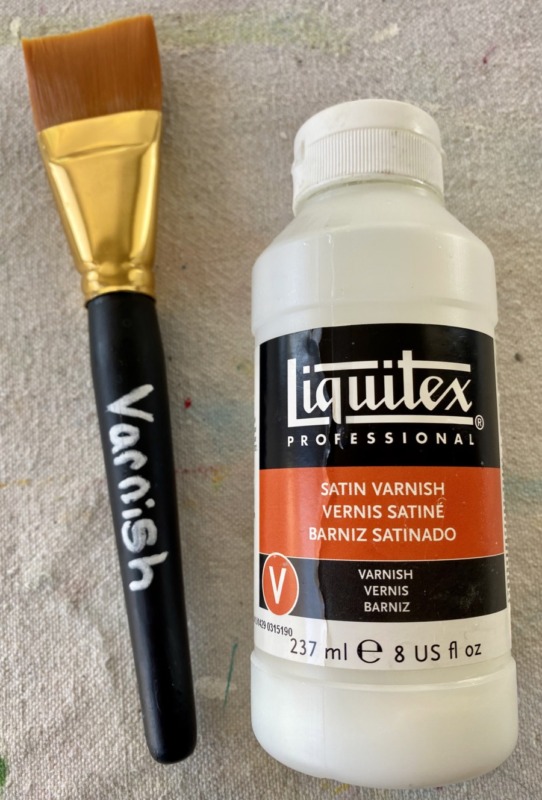
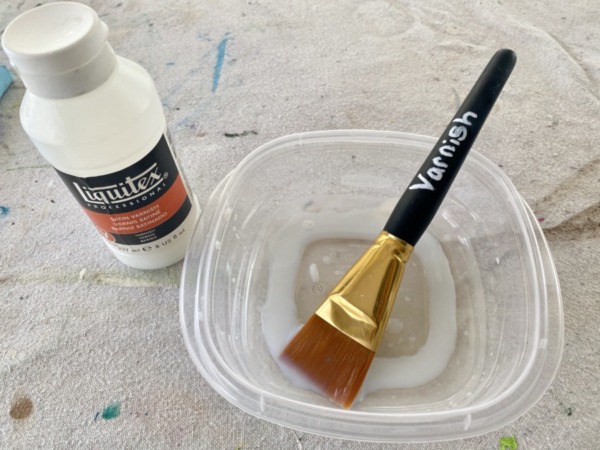
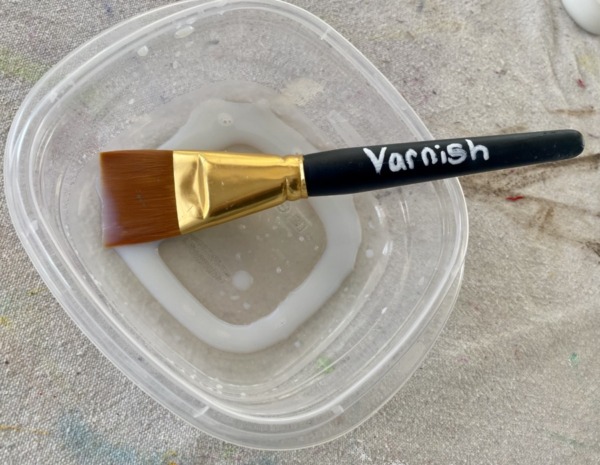
Pour a little bit of the acrylic sealer into a shallow dish. I am using a Liquitex Satin Varnish in this demo. Then use a base coat brush to apply the first layers. I am using a base coat brush in this set. The bristles are very soft and it comes with two brushes. I labeled it on the handle because I don’t want to use that brush for anything else other than the sealer.
Tip: if there are bubbles in the varnish after you pour it in the container, let the varnish sit a bit so the bubbles dissolve. Cover it while it’s sitting so the varnish won’t dry out. If you paint the varnish with bubbles, this will end up on your painting and create an undesirable effect.
Lay your canvas painting on a flat, protected workspace.
There are different ways you can apply the varnish but I prefer running a straight even coat with the width of the brush. I do my first layer all horizontal strokes. The varnish I am using is very thin and fluid so it glides easily across the canvas.
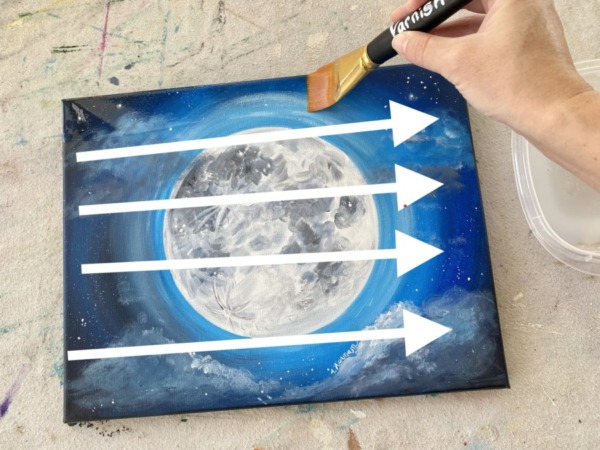
You want to make sure you do the strokes all the way across the canvas and not stop half way in the middle.
Some artists like to make the strokes go with the strokes of the painting. This can add a nice looking effect to your painting, however, doing it this way is hard to make sure you have covered all of the canvas evenly.
Also, it’s helpful to work in a bright room or an area where there is a lot of sun shining through the window. Tilt your canvas to make sure you have applied each row evenly.
Although tempting, do not keep going back and keep re-applying your strokes. This can cause the varnish to sort of “peel” because it has slightly dried already.
Step 3
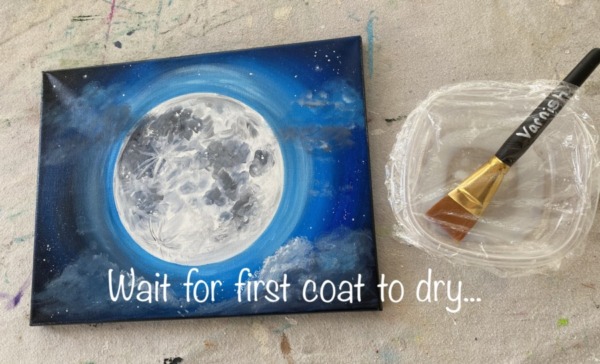
Wait for this first coat to dry. The bottle says to wait 3 hours. While this first coat is drying, cover your shallow dish and brush with plastic wrap or clean and rinse your brush so the varnish doesn’t dry on your brush.
Step 4
Add a second coat. I prefer going in the opposite direction of the first coat but you can do the same direction you used the first time. Again make sure you apply these coats evenly.

Step 5
Wait for this coat to dry. If you want you can add a third layer, however, two coats is what I usually stick with!
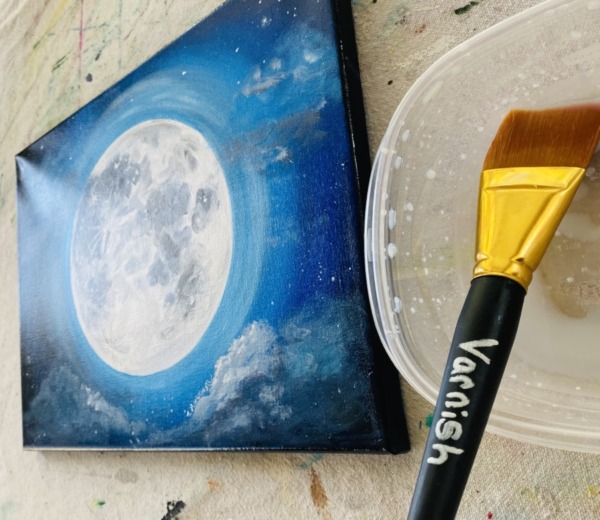
It’s hard to capture on camera but it definitely made the dark colors in my moon painting more deeper and richer!
Alternative Methods
Varnishing your acrylic paintings will ensure your painting will last from dust and some UV Ray fading. I was able to sit down and varnish several paintings all in one session and it really didn’t take that long!
There are a few other ways you can varnish your acrylic paintings including a spray varnish.
I have tried spray Mod Podge on an acrylic painting. It was a very easy but messy process! However, I did not like the final results of it. It didn’t look even and the sheen looked a little “cloudy”.
There are a few other spray varnishes on the market including a Liquitex Professional Satin Spray Varnish and Grumbacher Hyplar Goss Varnish Spray.
Also, earlier in this post I mentioned you can do an isolation coat with a removable varnish. This only works with non-permanent varnish, the one demonstrated earlier is permanent and cannot be removed.
An isolation coat is simply a barrier between the actual painting and the varnish so that later on you can remove and reapply the varnish.
If you are interested in doing that method, look for a varnish that says “removable” such as this Golden one. Make sure you read the instructions on the bottle carefully before using it because I do not address that technique in this post.
That’s It My Friends!
It really is a simple process to apply a sealer coat to your acrylic paintings! Once you’ve done this several times, it gets very easy and you will gain more confidence in applying your coats evenly. It doesn’t take much time at all to do this and you have a protected painting!
Like Learning Beginner Painting Tips?
Check out more posts like this! Learn things like how to gesso over your painting, acrylic painting techniques and cleaning your brushes!
Is a special cleaner needed to wash varnish brush after use? Thank you for the tips on varnishing!
Hi Cheryl that is a great question! YES! I recommend using a special cleaner to rinse the varnish. Otherwise you get dried residue on the brush if you rinse with just water. I like to use The Masters Brush Cleaner.
Thank you for the tip on cleaning a varnish brush. Enjoying your tutorials very much!
Can you use this to keep your painting on glass
My varnish seem rather thick should I thin it out with something
I live in Mexico so supplies are limited
Hello. Have you ever used a sponge brush to avoid brush marks in your varnish? Do you use a specific brand of base brush? Thank you!
I have used sponges for gesso but haven’t tried it with varnish. I imagine it could be helpful for avoiding brush marks although you may end up getting texture from the sponge. I use the folk art brand of base coat brush.
I’ve been reading a lot about varnish lately and have been applying golden gel as an isolation coat on several paintings. There seems to be two approaches being plugged, one using a brush the other is to spray on the varnish. I’m confused as to why nobody is talking the best method which is to neither of those – I use a mini sponge roller. The first painting I tried an isolation coat on I ruined with brush strokes. In contrast the mini roller is a breeze. It’s very easy to apply product evenly and quickly with the roller and you can see easily if there are any lines or irregularities which are easily smoothed out by running the roller vertically in one direction down the painting. It takes a total of about ten seconds and the result is very even.
Ok. Cheers.
Thanks so much Paul for this information! I have never tried this with a mini roller and I’m sure it beautifully solves the brush marks problem! I’ll have to try it out next time I varnish!
Thank you for sharing this. I have been using poly acrylic to seal and my paintings are cracking. I am going to try your method.
Hi! I wanted to paint on ceramics glazed ones with acrylic paints, I want it to last longer also be useful for some use and not just as a show piece would varnish help to increase the longevity of the paint on the cups
Help! My varnish must have been too thick and it bubbled up badly!! I went over it probably too many times with the brush trying to smooth it out, but it just kept bubbling! Now it’s dried with bubbly varnish and I’m afraid I ruined a painting I really liked and felt proud of?. Is it possible to very carefully sand out the bubbles? Help this extremely inexperienced beginner save her painting! LoL!
Hi Stephanie! I am so very sorry this happened! 🙁 That is very frustrating. Can I ask which varnish you used, is it the Liquitex one?
You can try lightly sanding but you may run the risk of lifting the paint from your original painting. Try a little surface first to see what happens but I am pretty sure it will lift the paint as well… I can’t think of any other solution especially if you used a permanent varnish. I’m so sorry 🙁
Hi Tracy thanks for the instructions and tips on sealing acrylic paintings. Read Stephanie’s dilemma… do you think using a small paint brush with a very small amount of the varnish cleanser might fix the bubbles?
Lars October Alicia commented on her finish cracking. Has anyone tried to repair a cracked finish successfully? I have had some of my finishes crack and it’s confusing why. I have done many paintings and only a few have cracked. I wondering if you can refinish with the same finish? Maybe use an epoxy finish over the top ? Lots of questions while searching for a fix.
Hi,
I have painted curtain with acrylic paint. Would sealing the painted area still allow the fabric to move,, or would it be too stiff?