
How To Clean & Restore Your Brushes With The Masters Brush Cleaner
If you use (and abuse) your paint brushes often, chances are they eventually get out of shape, stained, have bits of paint residue and feel harder. While it is recommended that you thoroughly clean your brushes after each use, no matter how careful you are with them, they get to a point where they just need a deep clean.
There are a few products on the market meant to help you restore your brushes so they will last longer. While I have not compared and contrasted all of them, there is one particular product that I love and will stick to.
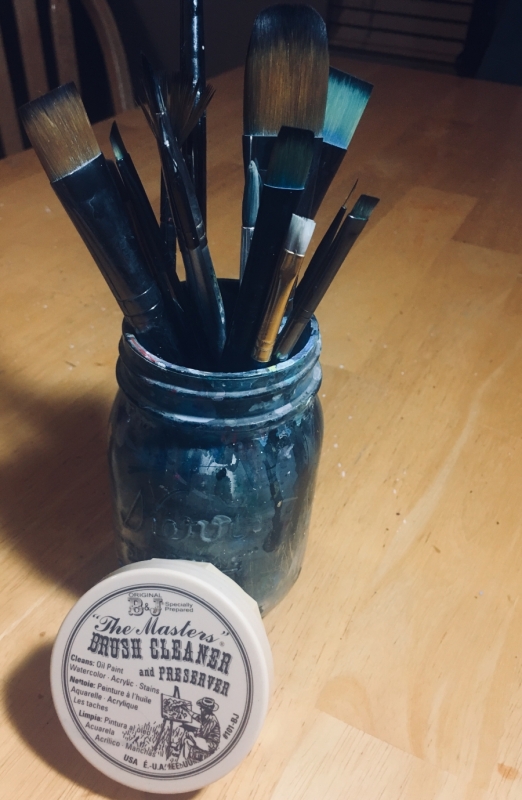
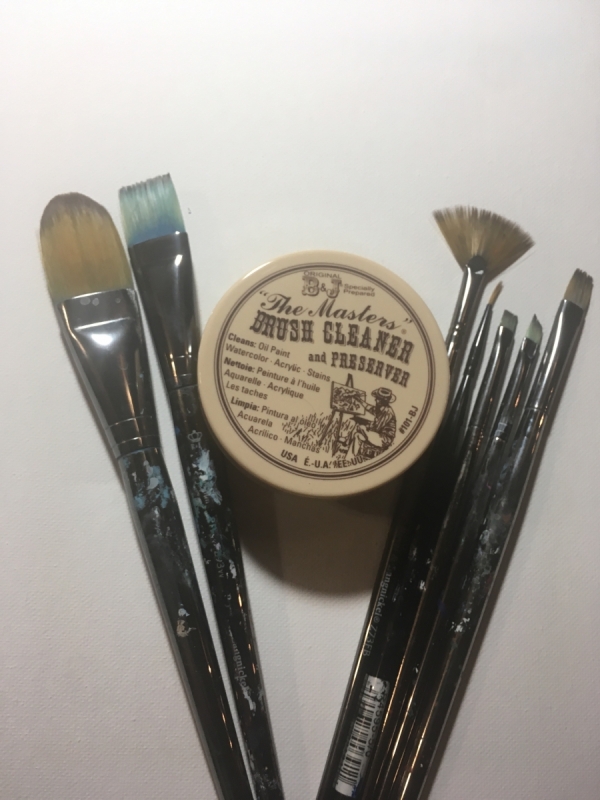
The Masters Brush Cleaner And Preserver by General Pencil on Amazon gets my two thumbs up!
Note: before proceeding with this product, it is recommended that you check cleaning instructions with the manufacturer of your brush to find out what they recommend!
This cleaner works just like a shampoo and conditioner for your paint brushes! It gets the build up out that accumulates from multiple paintings, it softens the brushes and it can actually restore the bristles to their original shape.

![]()
Below I will give your instructions for how I use this cleaner to clean my brushes and restore them to their original shape. 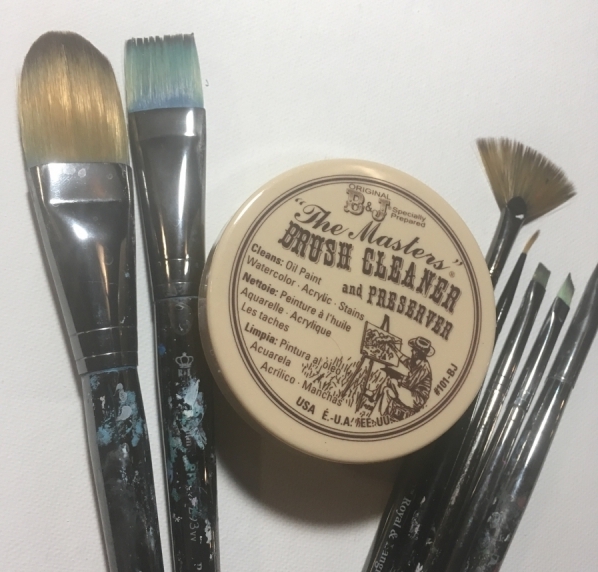
How To Clean The Bristles Using This Product
The instructions are actually listed on this cleaner but I will summarize them below in the steps.
1. Rinse your brush in warm water
If there are any dried areas of paint, try to get the pieces off just with water alone.
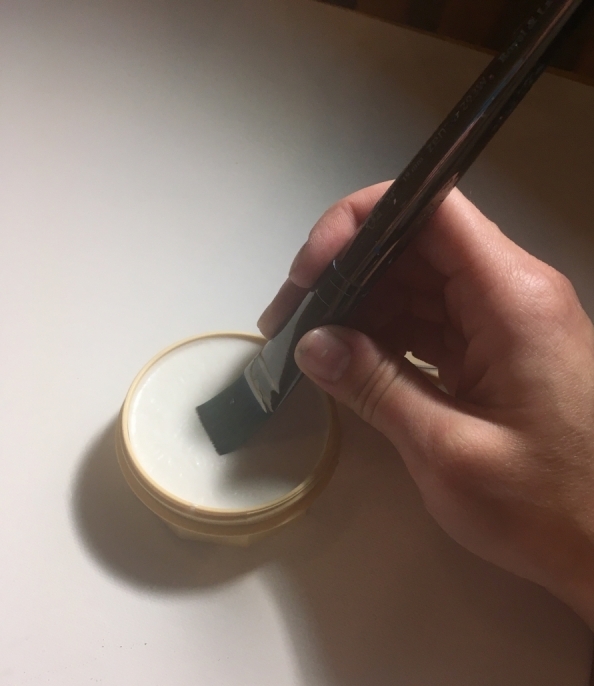
2. Swirl the brush around on the brush cleaner
The cleaner feels like a bar of soap. It is hard but lathers up when it gets wet. The directions say to swirl your brush onto the cleaner.
3. Rub the bristles into a lather
This is the part when you realize how dirty your brush really is! Colors come out in that lather that you didn’t even know were on the brush. This is just like shampooing hair!

4. Rinse the brush in warm water again
For this step I had a jar of clean, warm water that I can rinse the brush in. After this rinse, you’ll immediately feel the difference in the bristles. They become a lot softer and you can also easily reshape them to their normal point.
5. Repeat if needed.
Now I want to point out that I was unable to completely get the stains out of my brushes. This does not bother me. Dark blues and blacks are colors that permanently stain. I imagine if I repeated the wash four or five times, the stains “might” come out but then I would probably become impatient at that point!
How To Restore The Shape Of Your Brushes
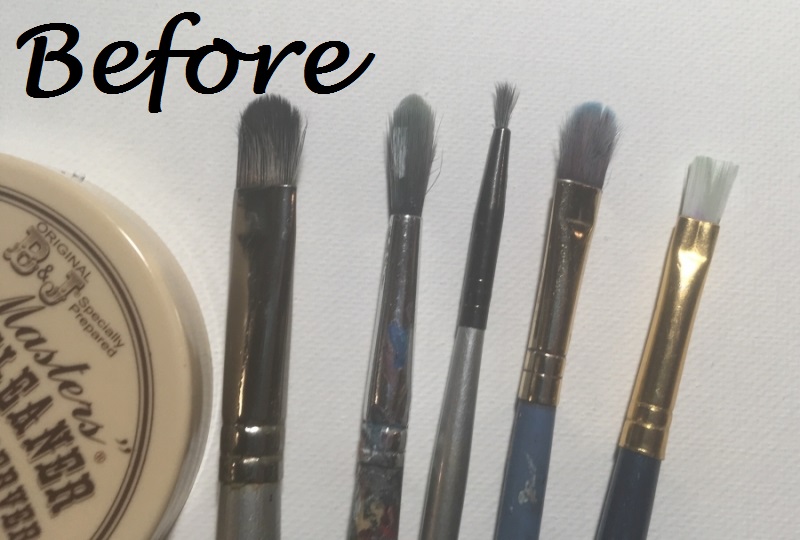
This is the part that I was most excited about! I bought this cleaner only to do one job – clean! However, I did not know I could also use it to reshape my “bent” brushes. I put this to the test and brought out my worst brushes.
As you see below, these brushes were in bad shape. They are retired brushes that I no longer use because the bristles are in bad condition. Round brushes, especially liners, are notorious for getting this way. And, for some reason I always ruin my filbert brushes!
1. Clean the brushes using the brush cleaner
Follow the instructions on the brush cleaner to thoroughly clean your brushes and get out any dried paint residue stuck in the bristles.
2. Pat the brushes dry
This step wasn’t in the instructions on the brush cleaner but I found it helpful to slightly dry the brush. That way when you apply the cleaner it won’t be a lather.
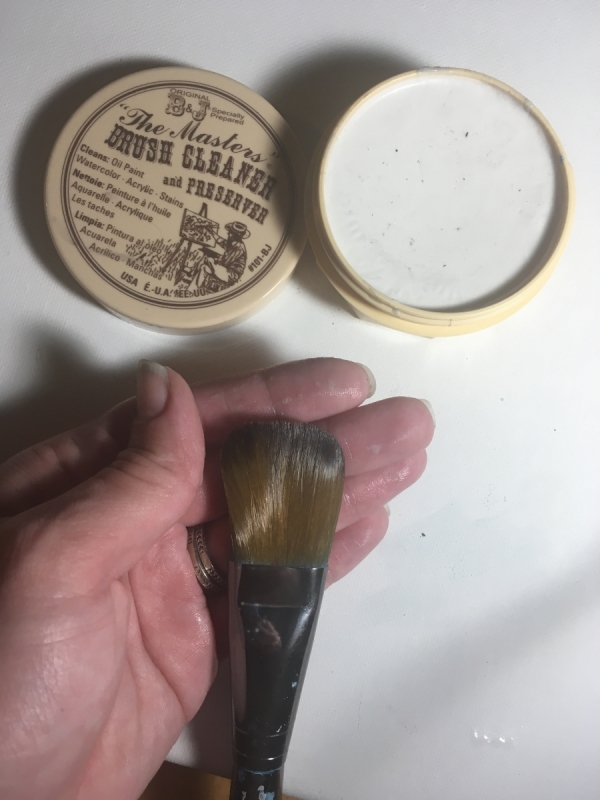
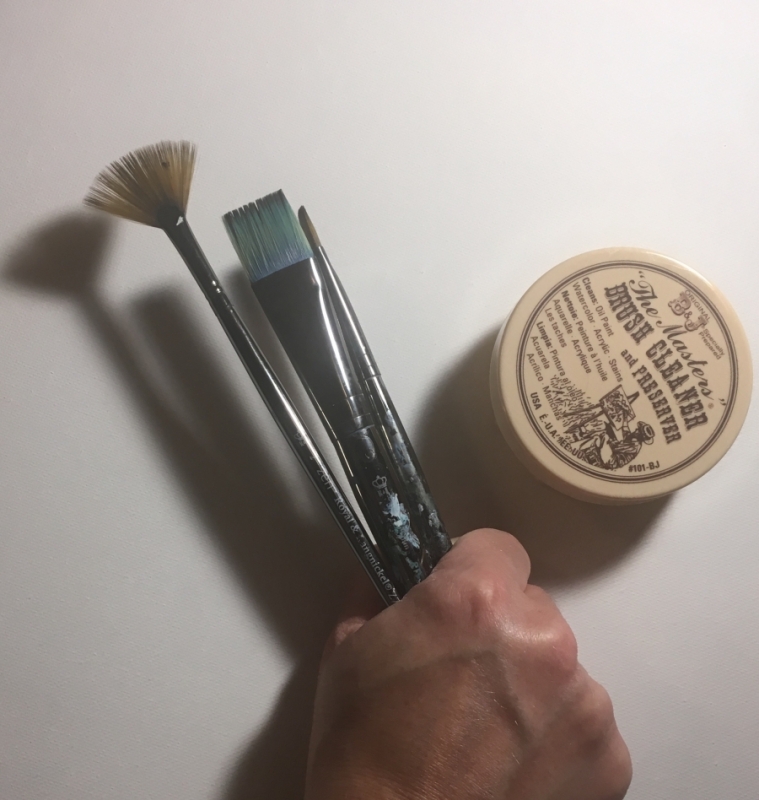
3. Apply the cleaner to the bristles and shape them with your fingers
Swish the brush in the cleaner then use your fingers to shape the bristles to their original form. If the bristles are really bad, you may need to apply several layers of the cleaner.
4. Do not rinse the brush, let the cleaner dry on the brush and leave it over night.
This cleaner acts like a leave in conditioner! Store your brushes with the bristles facing up. The cleaner will dry and stiffen the bristles into the shape you formed them in. Then the next day, rinse the residue off and your bristles will look restored.
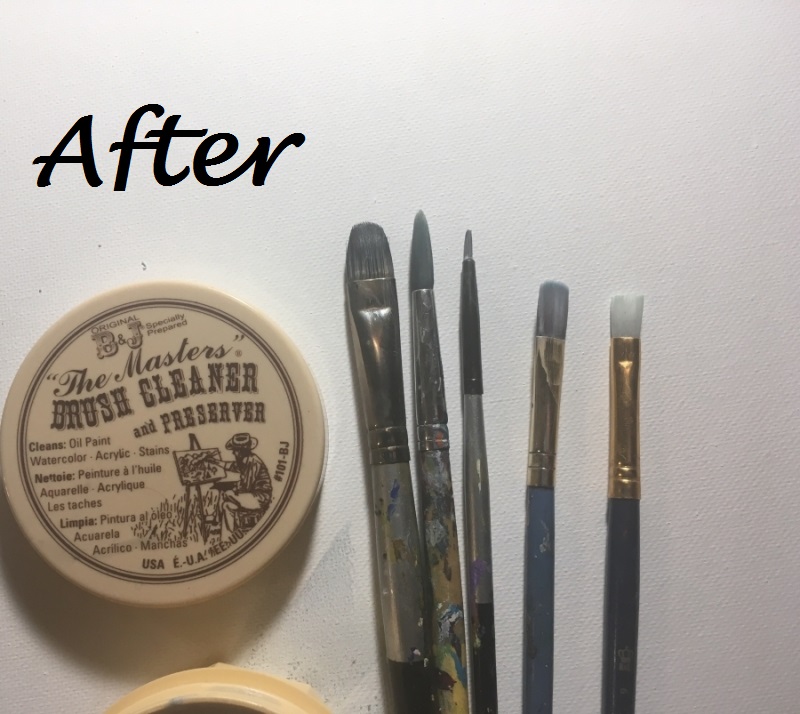
The next day after leaving the cleaner on the bristles, I used them for a painting! There wasn’t any white residue on the bristles, although they felt soft, almost waxy. All it took was a swish in the water and they were good to go. I was AMAZED by how well this cleaner actually restored the bristles to their original shape. I was able to use all my retired brushes again.
Tips For Daily Brush Care
Yes, doing a deep clean on your brushes takes quite a bit of time and I don’t do this after every painting session. There are a few things you can do in between deep cleans to keep your brushes in good shape.
1. Rinse in luke-warm water and not hot water
I know this from experience, but when you use steaming hot water to clean your brushes, you run the risk of melting the glue that holds the brush together. If you have a brush that has fallen apart this may be the reason why!
2. Use a mild soap
Usually when I’m done with a painting session I have no time to stand there and thoroughly clean so I just rinse with water. That is typically okay. However, if you have the time, try to use a mild soap to get all the paint off the bristles. I like to use a hand soap because it’s not as harsh as dish soap.
3. Form the bristles to a tip and *store upright when dry
Use your fingers to shape the bristles after the rinse. This will help keep the shape from deforming. Then store them upright so the bristles do not get bent.
*Update: thanks to a user comment – a lot of brush manufacturers actually recommend drying the brushes slightly downward at an angel so the water doesn’t seep down into the handles. Check with your brush manufacture to see what they recommend. I actually pat my brushes dry using a paper towel so they aren’t soaking wet and upright. I’ve also made a habit of laying all my brushes horizontally over the sink so they don’t dry vertically.
4. Try to rinse your brushes during the paint session and don’t leave them in the jar too long
This is another bad habit of mine! When you get so into a painting and it lasts a long time, you may not realize just how long the brushes were sitting in the jar of dirty paint water. This can damage the brush. Try to rinse the brushes in water and set them aside laying flat on the table instead of in the jar.

That’s it! Go and paint some more now that you have clean brushes!
Just when you thought you needed to buy new brushes, it turns out you can prolong them by simply giving them a good cleaning! By following the procedures for daily cleaning and deep cleaning you will have brushes that last longer and are more enjoyable!
I love The Masters Brush Cleaner and Preserver! If you used a different cleaner or even a different method, feel free to comment below!
I just splurged on a set of expensive detail brushes and I’m afraid that I will ruin them if I handle them too much. I’m definitely going to get the Masters General Cleaner for my other brushes, but I was just wondering if there was a specific technique/product you would recommend for fine detail brushes or whether this product would also be ideal for them?
Hi Danielle! I think the Masters General Cleaner will work excellent on the fine detail brushes! Just be gentle when cleaning them because those bristles tend to be more delicate. I actually cleaned some of my fine detail brushes and left the cleaner in over night to reshape them to their point. It worked wonderful and felt like they were brand new! I will also say that if you bought really expensive brushes, you may want to check with the manufacturer to see if they have specific instructions for cleaning.
Tracie, I agree with all of your instruction on brush cleaning except for letting them dry with the bristles up. A brush manufacturer’s instructions (from a brush set I bought several years ago) says to let them dry in a slight downward position. This keeps water from draining down into the bristles which can loosen their structure. Just something I thought you might be interested in knowing. However, if you’ve used brushes for many years and have always dried with bristles up with no problems, then, hey! Go for it!
Hi Penny! Thank you for this piece of advice! I’ve actually never thought of this before about the water seeping down into the handle but it certainly makes sense that it would warp the wood of the brush and loosen the structure. I tend to pat the brushes with a towel before storing anyway but definitely can see how a soaking wet brush can cause problems. I’ll go ahead and update this information on the post!
To Tracie
I only knew the slightly downward angle because it is how I wash my pricey makeup brushes. They have bristles and a ferrule too. 😉 I did wonder about the other Master’s bar soap, the one that smells like spearmint…I’ve seen that used in between these conditionings by a few artists. Thank you for the very informative post and it is amazing how much pictures help. Thanks for all you do!!
Interesting! I’ve not heard of the spearmint Master’s soap before.