

Would you like to save this?
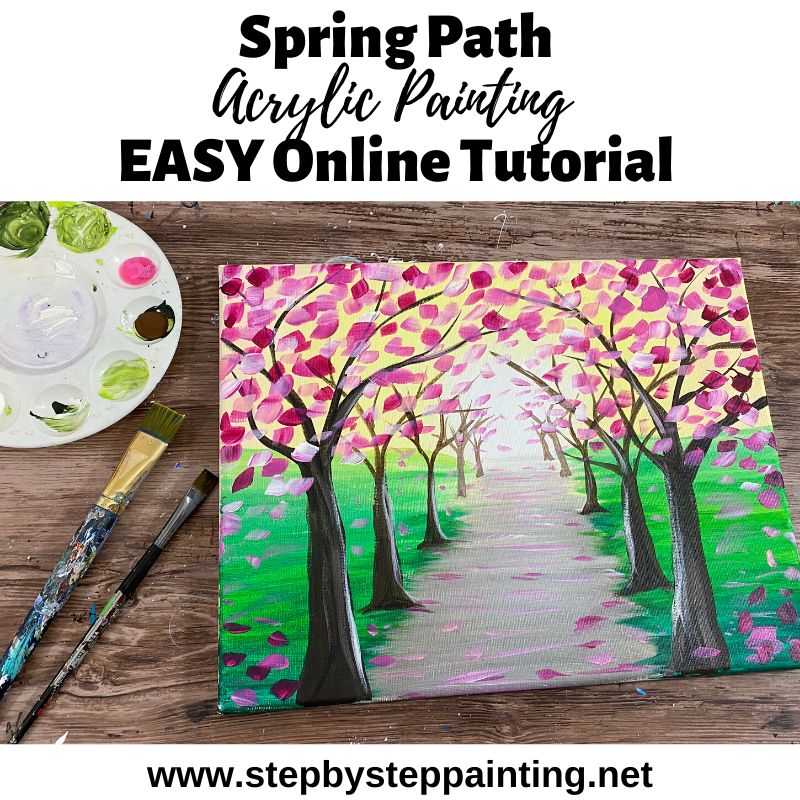
How To Paint A Spring Tree Path
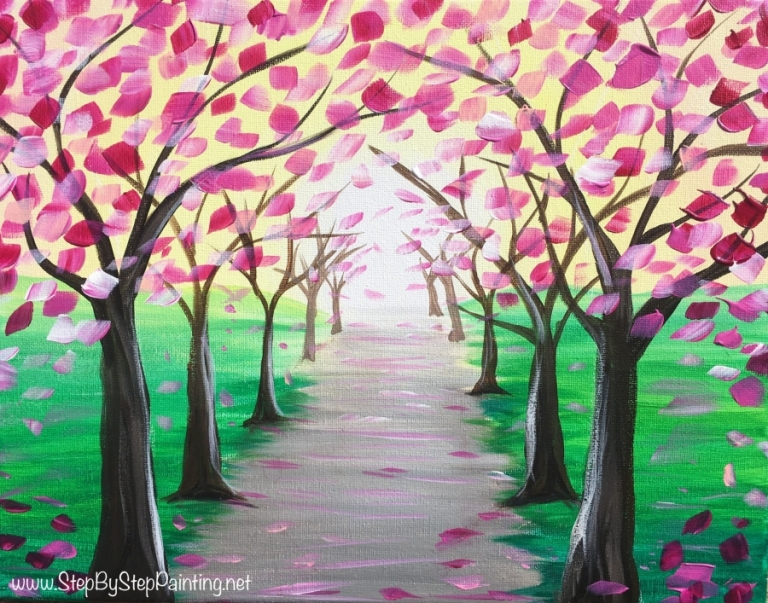
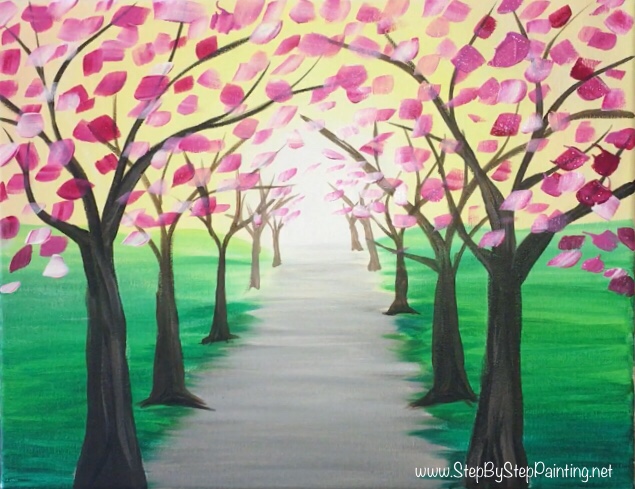
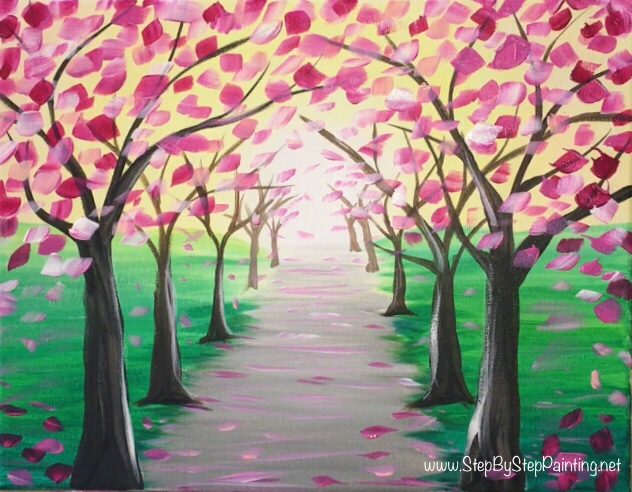
Get ready for Spring with this beautiful Spring Tree Path acrylic canvas painting! This step by step painting tutorial will guide you through the steps on how to paint a gray pathway between Spring Trees and a glowing yellow sunset.
Relax as you paint the EASY bright pink blossoms in the tree branches using a very simple technique.
This landscape painting was done with acrylic paints on an 11″ x 14″ canvas. The time it took to do this painting was about two hours and I believe it is an easy painting to do if you are a beginner!
This painting reminds me of a place that I used to visit every year when my husband (who is now a Veteran) was stationed in Norfolk, Virginia.
Each year in the Spring Time, we would go visit the Norfolk Botanical Gardens. Both of us are from Arizona so we aren’t used to seeing this much color but the trees in this garden are so memorable and look just like the ones in this painting.
Any how I hope you enjoy this painting and I can’t wait to see how yours turns out!
Enjoy and happy painting artists!
Similar Paintings:
Materials Needed:
How To Paint A Spring Tree Path
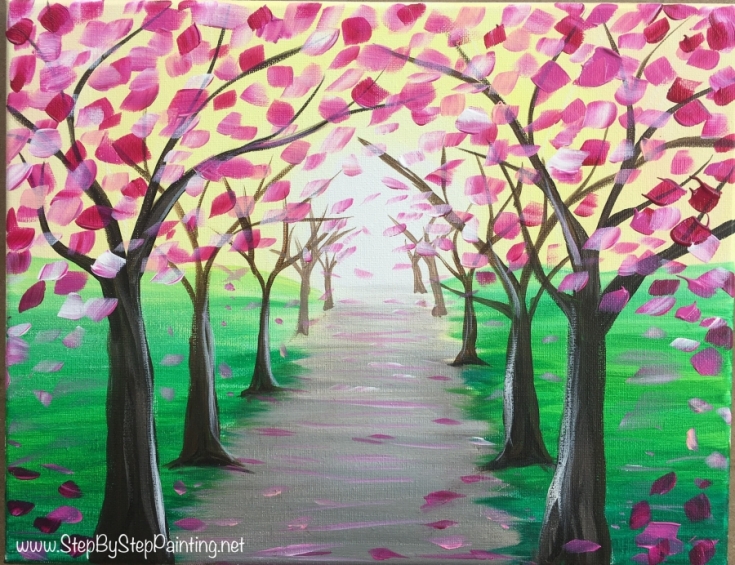
Beginners can learn how to paint a beautiful spring scene of pink blossoming trees beside a path that leads to a glowing yellow sunset.
Materials
The Basics
- 11" x 14" canvas
- Acrylic Paint
- Paint Brushes
- Chalk (Optional)
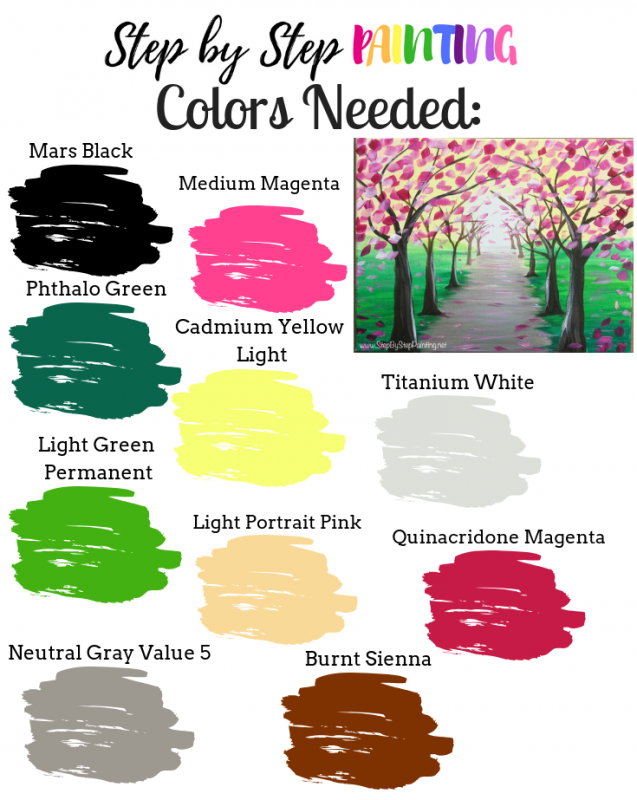
Paint Colors
- Mars Black
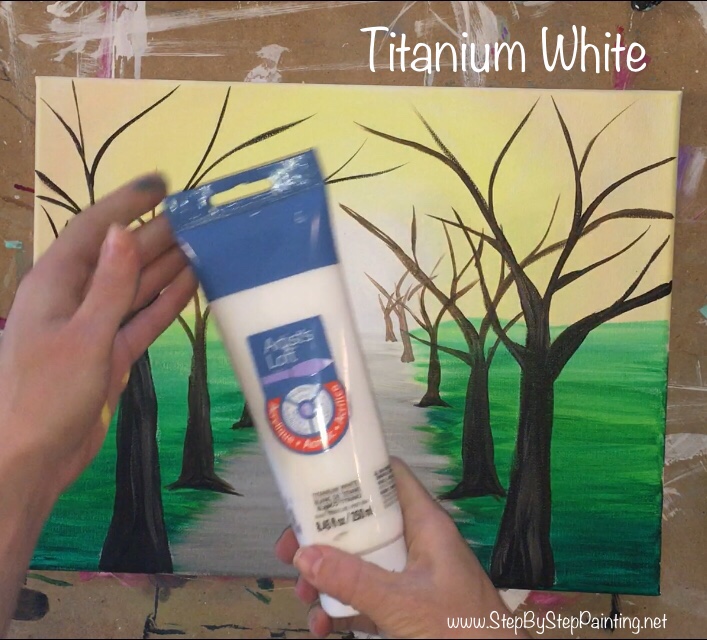
- Titanium White
- Quinacridone Magenta
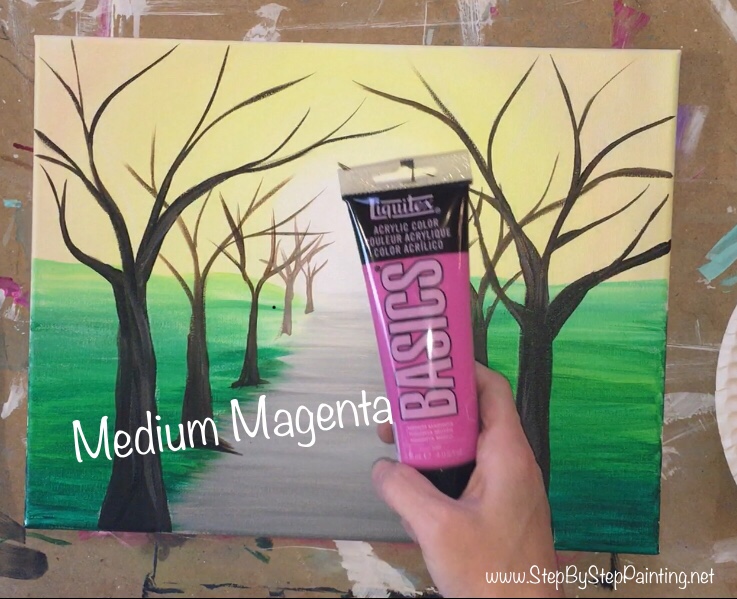
- Medium Magenta
- Light Portrait Pink
- Burnt Sienna
- Cadmium Yellow Light Hue
- Neutral Gray Value 5
- Light Green Permanent
- Phthalo Green (Optional)
Brush Sizes
Recommended Products
As an Amazon Associate, Michaels Affiliate and a member of other affiliate programs, I earn from qualifying purchases.
Color Palette:
Directions At A Glance:


Video:
Step By Step Directions:
1. Draw the horizon line and the path with a pencil
Make sure your canvas is going horizontal. Use a ruler to draw the horizon line halfway up the canvas. 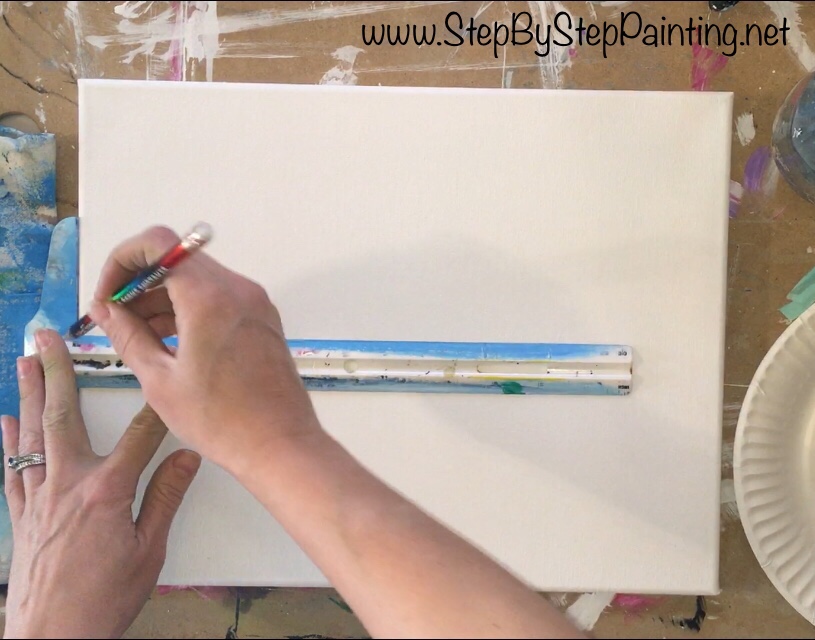
Next draw two diagonal lines for the path. This path is wide and gets slightly narrow towards the horizon but does not come to a point. 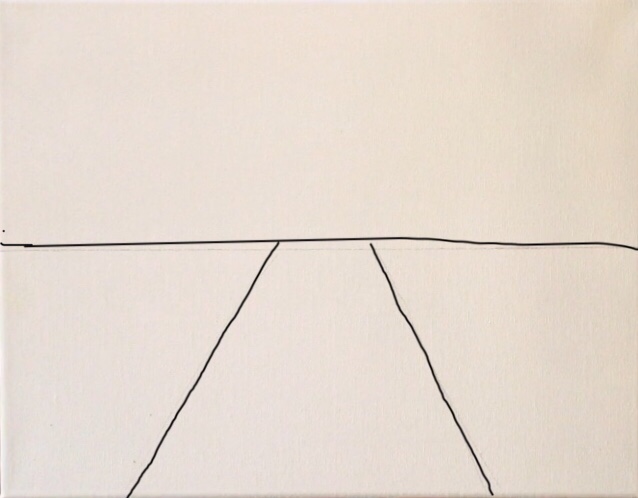
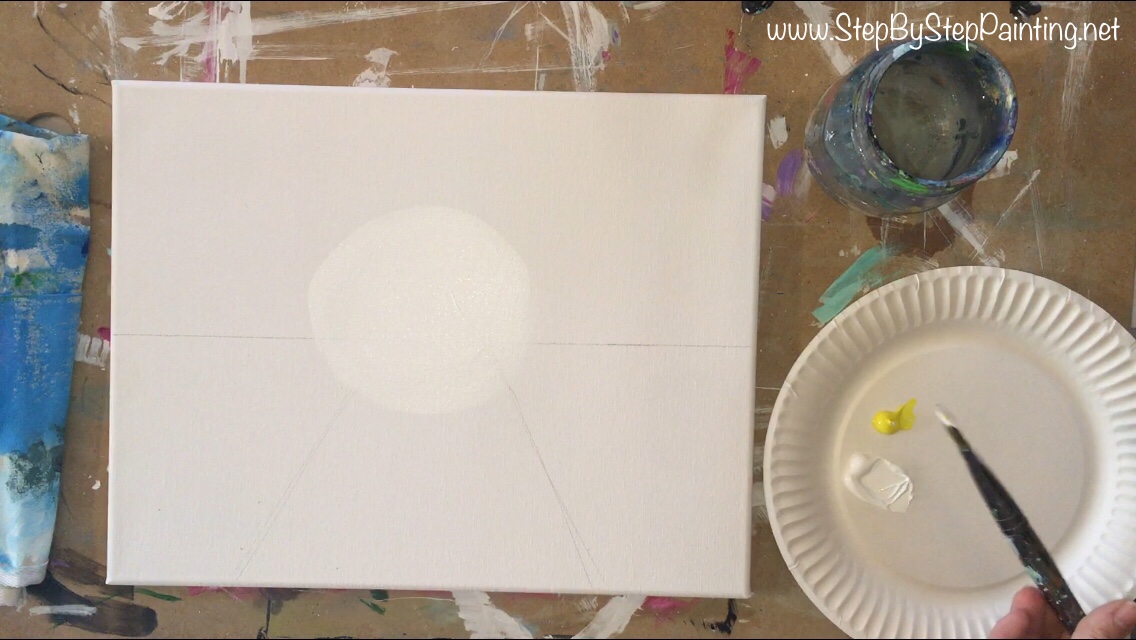
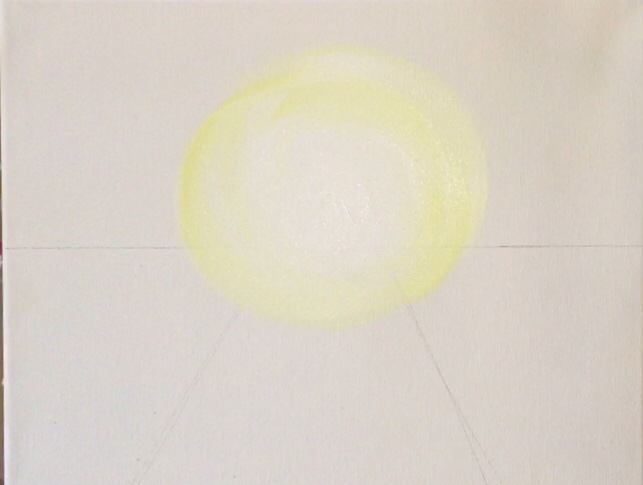
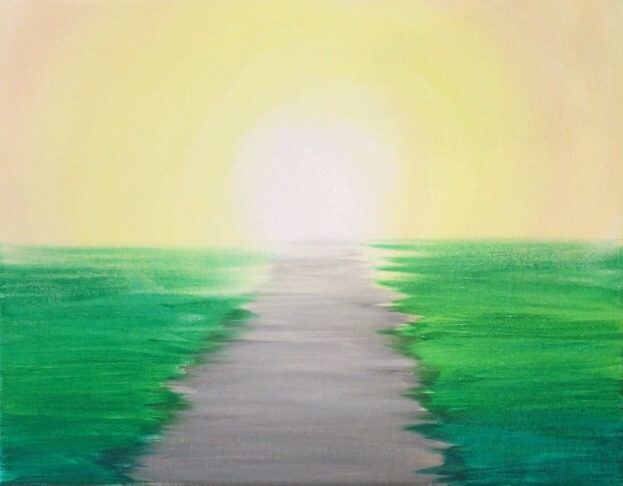
2. Paint a white circle in the center
Using a 3/4″ Flat brush and the color titanium white, paint a white circle in the center of the painting that goes above and below the horizon line. This will be the brightest, glowing part of the painting. 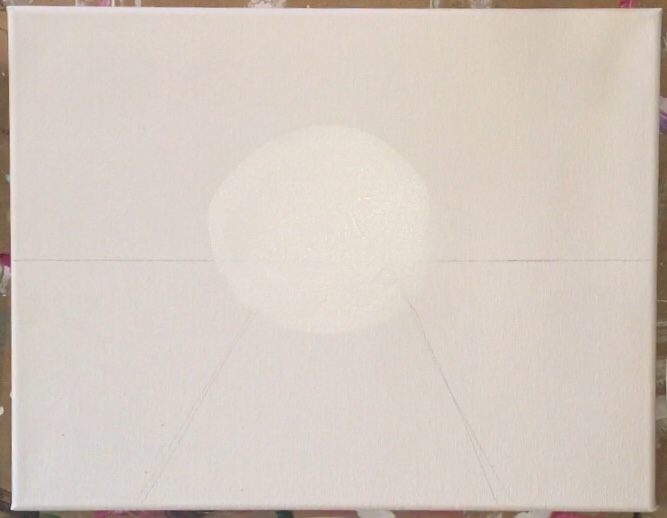
3. Add yellow to the sky
Add cadmium yellow light to the corner of your not rinsed brush (with the white on it). Gently add the yellow on the outer parts of that circle. Do the best you can to keep that circle as white as possible but blend the yellow on the outside of that circle so that the white gradually turns yellow. You are essentially painting in “rings” around that white circle and YES you are going below the horizon line too!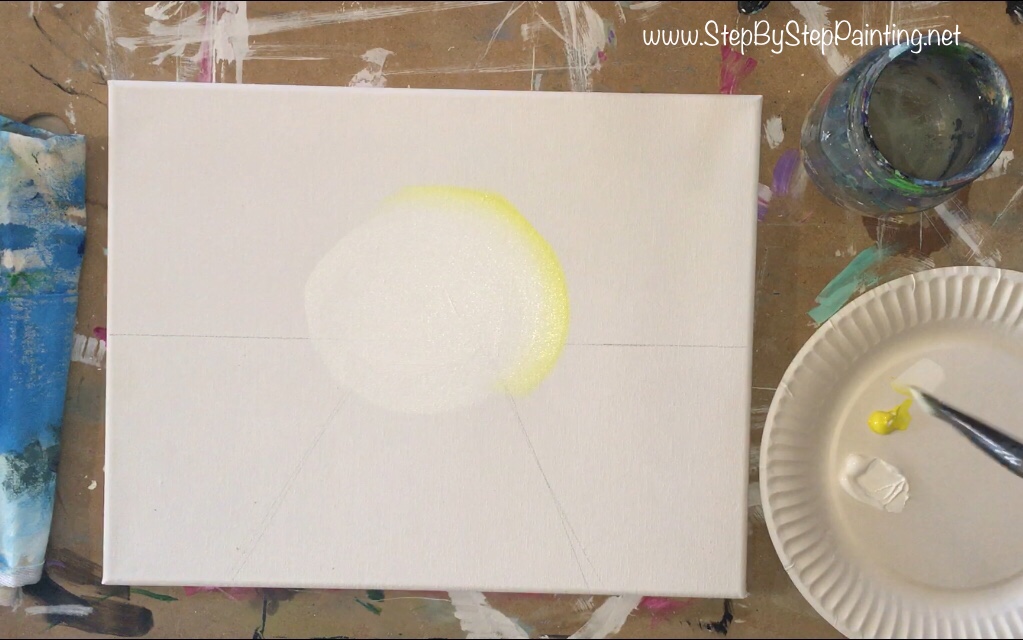
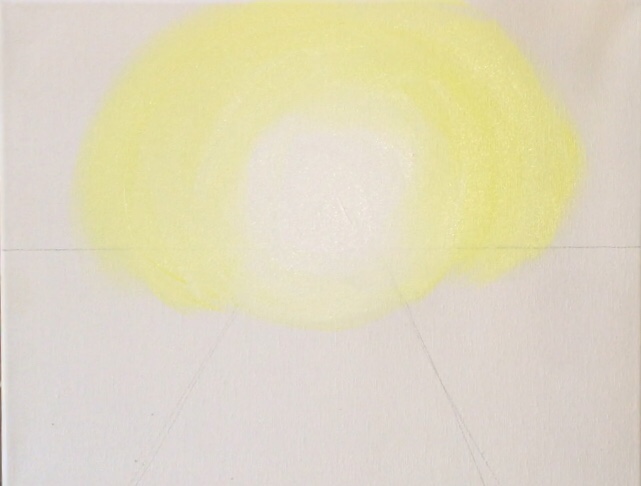
As you add more yellow working your way to the edges, you may also add more white to the brush as well. This sky should be a pale yellow with the brightest white right in the center. 
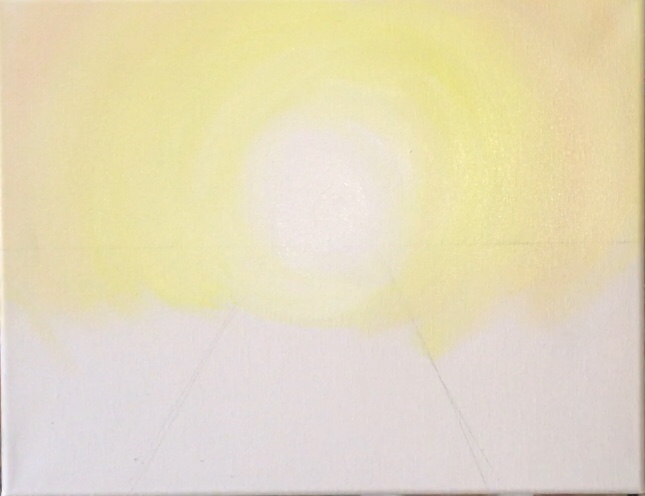
4. Add light portrait pink to the sky
On the edges of this painting in the sky, there is a bit of light portrait pink. Without rinsing your brush, add light portrait pink and blend it into the yellow. This pink should be a pale pink and not dark. If you need to, add more white to your brush to make this pink lighter. 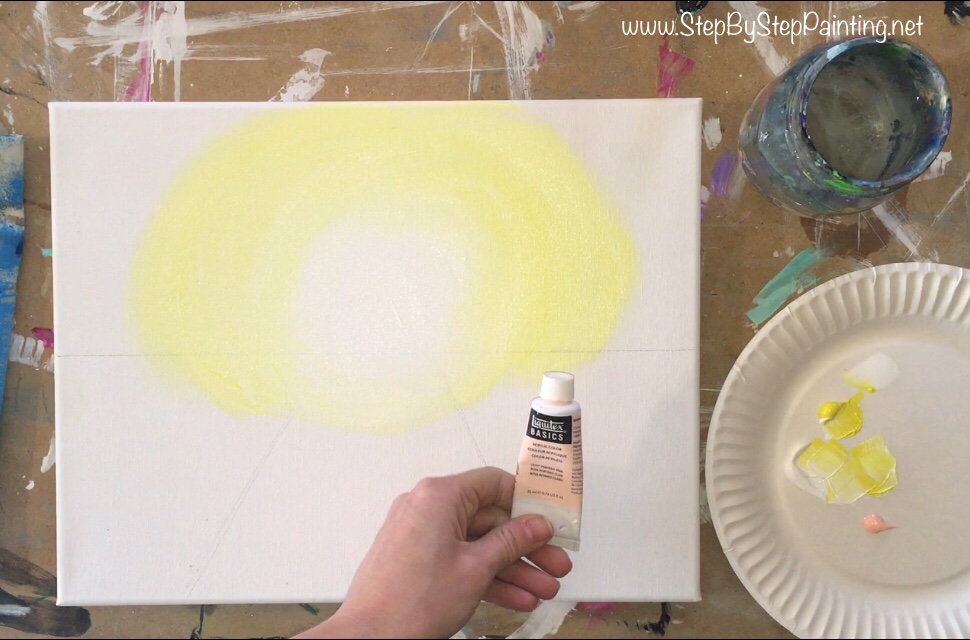
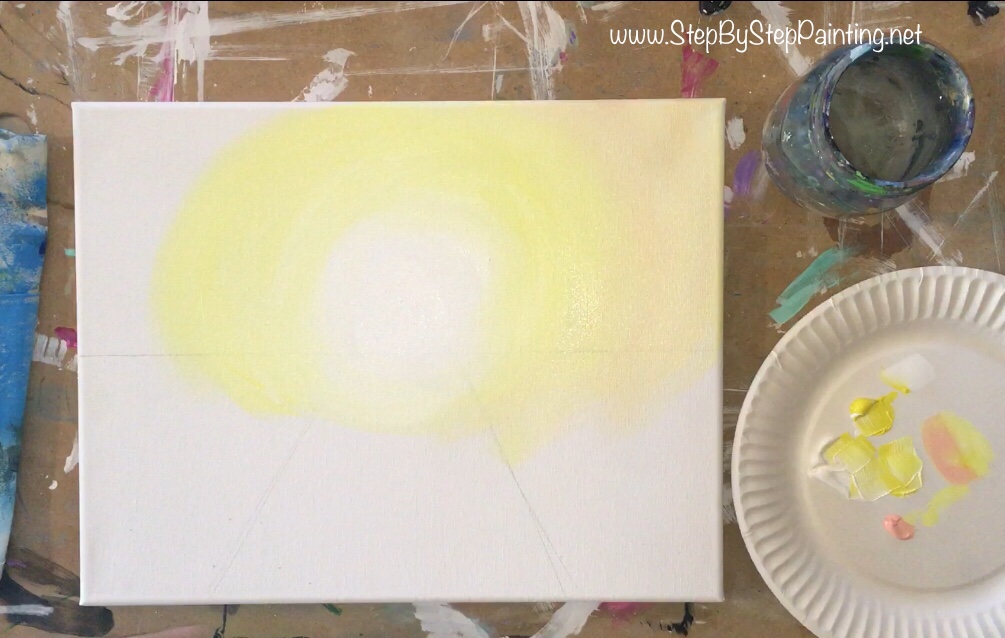
Note that I am going below the horizon line when I am painting these “rings” of color around that bright white circle. This is done intentionally because that bright glowing color from the sunset reflects on the ground in this landscape painting. However, it doesn’t completely cover the ground below the horizon, it only goes down about 2-3 inches. 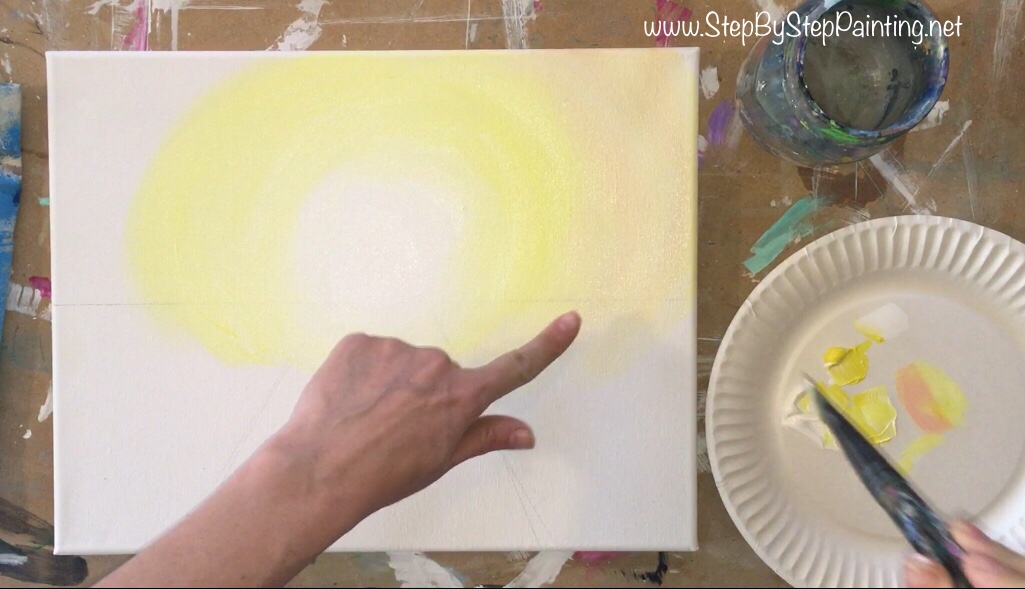
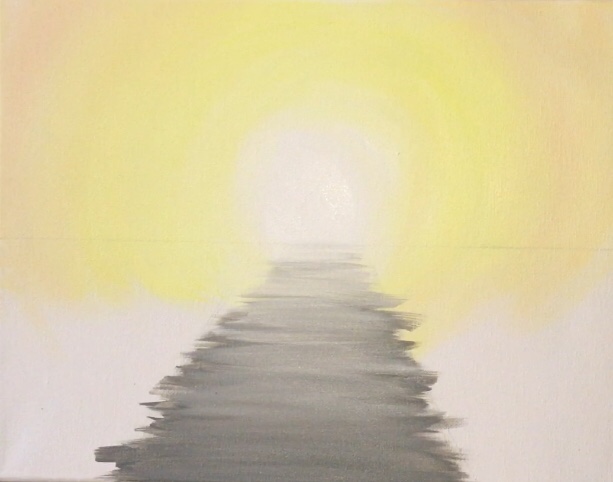
5. Paint the path
Use the colors neutral gray value 5 and titanium white to paint the path. You will also be using the 3/4″ flat brush (completely cleaned off and dried). Start at the bottom and paint left and right horizontal strokes going sort of outside of the lines of the path you drew with your pencil. 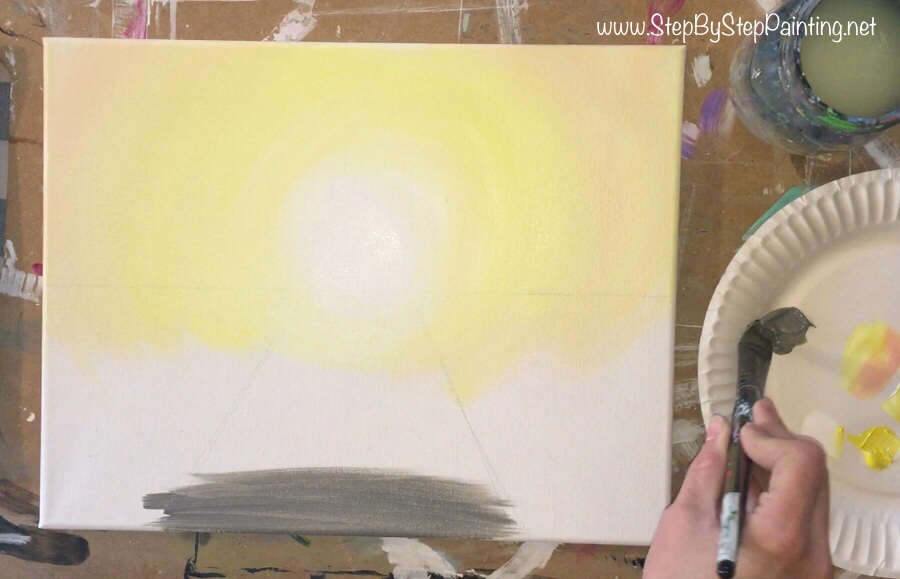
Your path should get narrower as you work your way up the canvas to the horizon line. 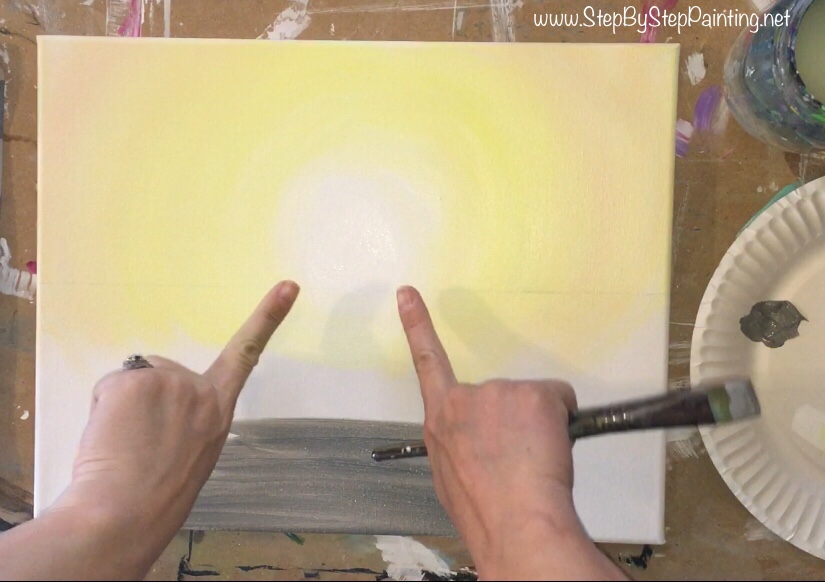
Then as you approach the horizon line, add white to your brush and blend it in with the gray. Essentially you want to make this path get lighter as it goes in the distance. That gray should turn from a regular gray on the bottom to a very light gray on the top. 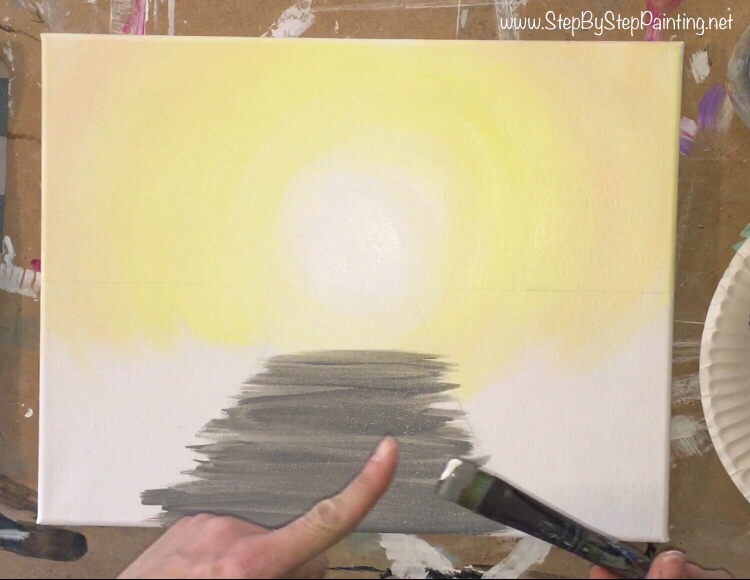
6. Paint the green ground
I used two different greens for the ground. I used Phthalo Green for the bottom and then blended it to Light Green Permanent and then let the light green permanent get very thin and light as it approached the horizon. If you are simplifying this painting, you can stick to one type of green and achieve similar results.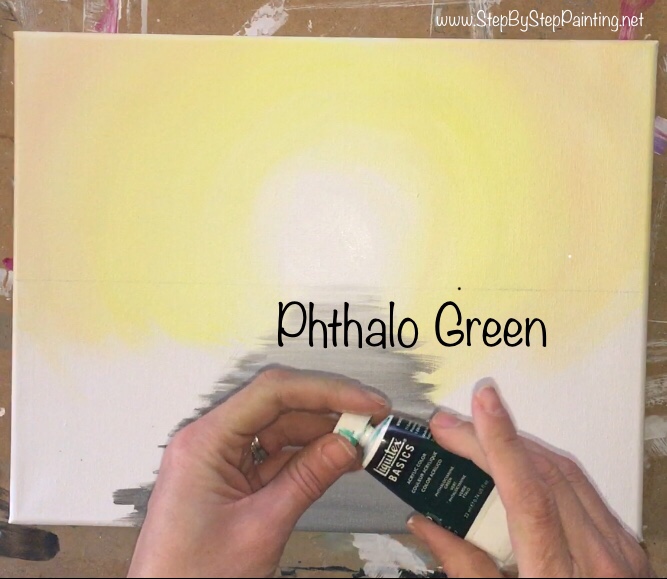
Use your 3/4″ flat brush (rinsed off and dry), start at the bottom and paint phthalo green. This area of the green grass in the painting should be the darkest area because it is closer to the bottom of the painting. 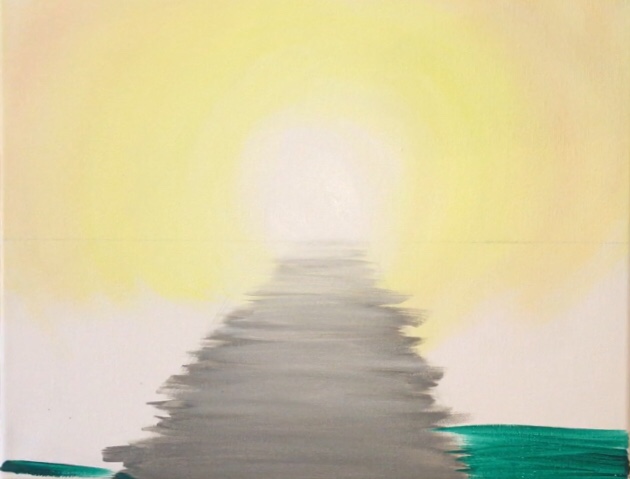

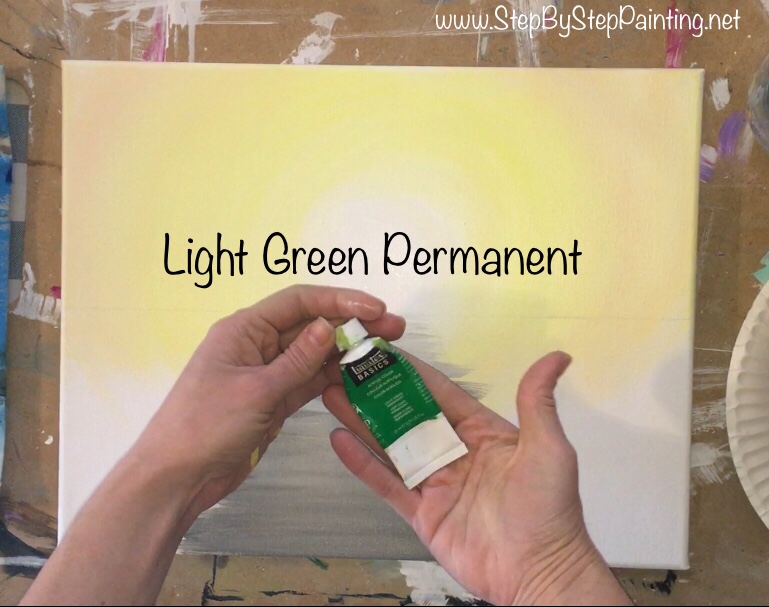
Next blend in the light green permanent as you work your way up the canvas. Blend it with the phthalo blue by doing wet on wet blending. 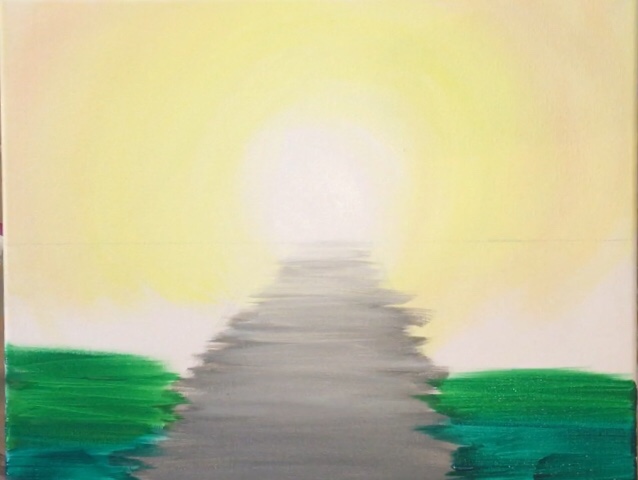
As you approach the area where the yellow from the sky crosses the horizon, you want to lightly apply the light green permanent. Let the green from your brush dry out and/or apply a very thin layer. You can also achieve this by watering down the green. You should essentially see some of that yellow showing through the green. 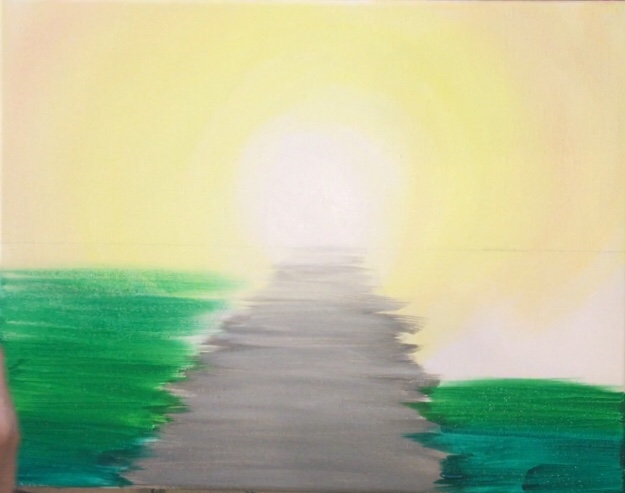
Then, using this light green, paint a small wavy line above the horizon line (to represent a hill). Fill it in with the light green permanent mixed with white and watered down to make sure this area is very light. 
Finally, do some touch ups. Go back and fill in any white spots on the canvas and make sure the green goes all the way to the gray path. 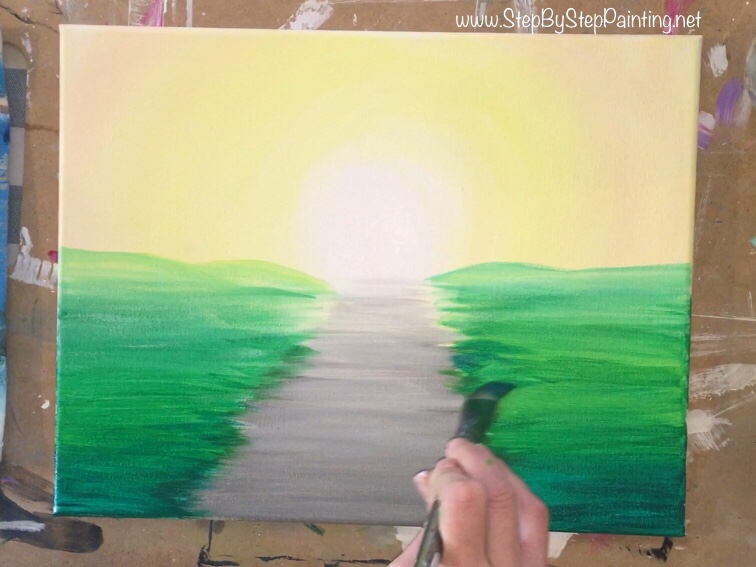
Let the Painting Dry!
I used a hair dryer to dry my painting. Everything should be dry before proceeding to the trees.
7. Paint the trees.
I used the colors mars black and burnt sienna, I also used a #4 Round Brush and a #12 Flat Bright Brush. You may also wish to use chalk for this step as well to help you draw out the trees. 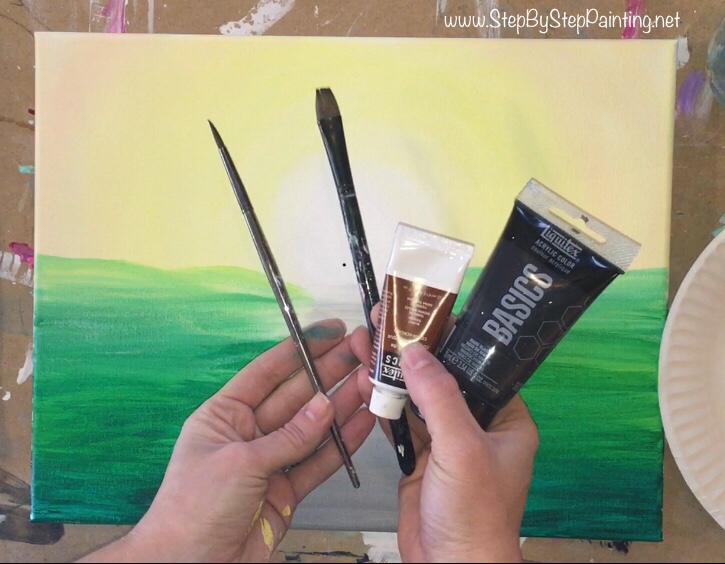
I started with the largest trees that are on the bottom of this painting. Use a piece of chalk to draw the trunk and some branches.
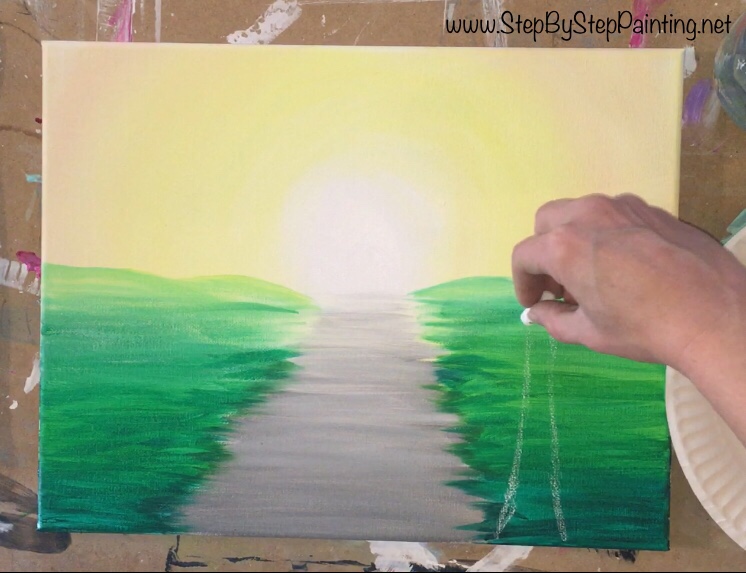
Draw two trees on both sides of this path. Remember, these are the largest trees. The branches should go all the way to the top of the canvas. The trunks should be large and thick on the bottom. 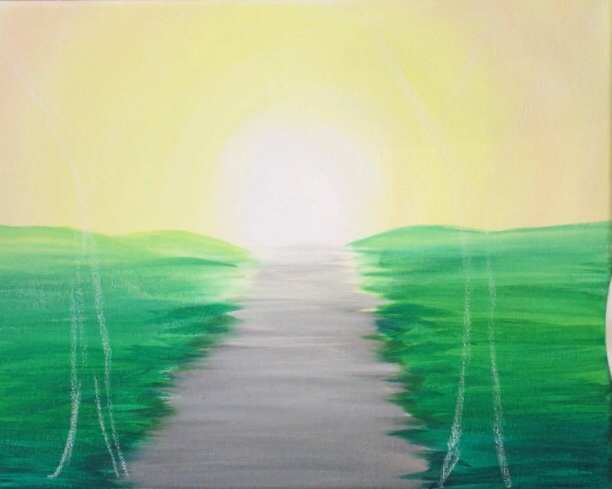
Next paint your large trees in. Dip your #12 Flat Bright Brush in water and both the colors mars black and burnt sienna. Try to water the paint down slightly to increase the flow. Start at the bottom of the trunk and paint it nice and thick and then get the trunk to get thinner and branch off into a “Y” shape. 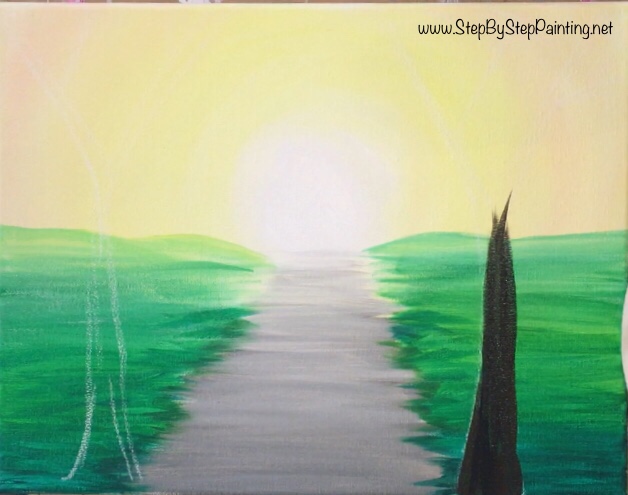
Tip: to get the thinner lines, turn your brush on its side. To get the branches to form a point, ease up on the amount of pressure you are holding the brush. 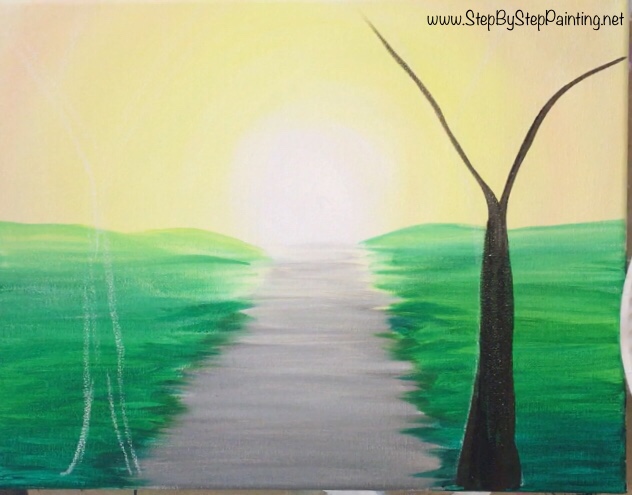
Paint some more smaller branches using the side tip of the brush. Remember to dip your brush in both the black and the brown to get the varied color of black and brown. The two colors will blend on the canvas. 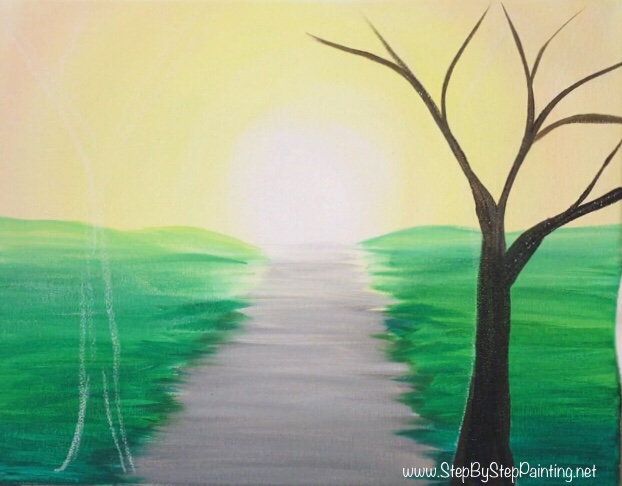
Then paint a similar tree on the left of the path using the same technique. These two trees should be the same size. 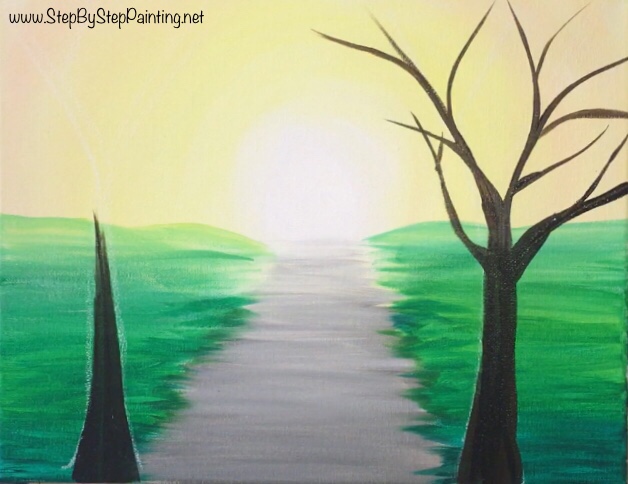
For the next trees, I did not use the chalk. HOWEVER, if you like drawing them with the chalk first, then use the chalk. I painted two more similar trees but this time they were a bit thinner and shorter. 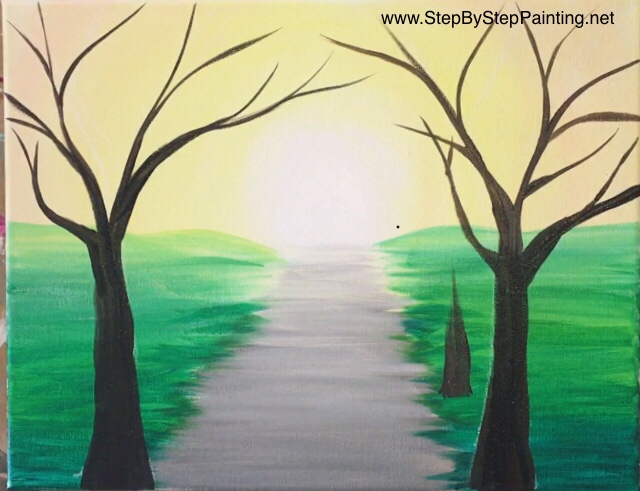
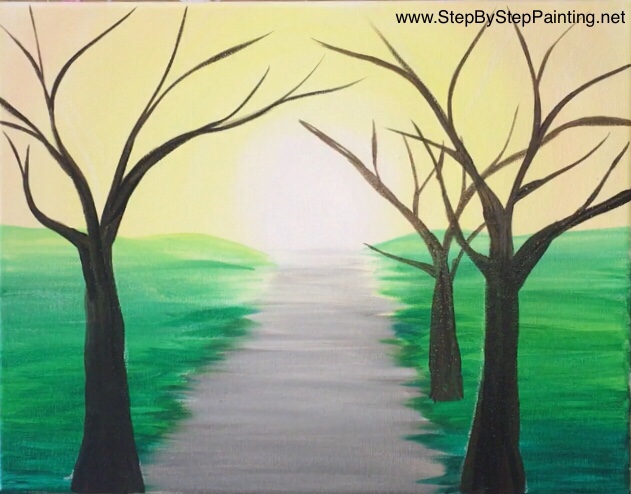
When you get to the third smaller trees, switch to your #4 round brush (or a similar size small round brush) so that it is easier to paint the tree smaller. ALSO add a bit of Titanium White to your brush. This will allow your browns to look lighter. The trees far in the distance are not only smaller but they are lighter. 
Remember that each tree gets smaller and shorter as you approach the horizon line. 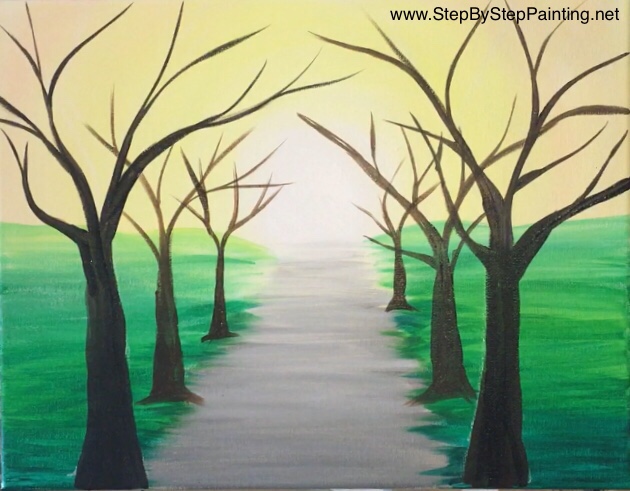
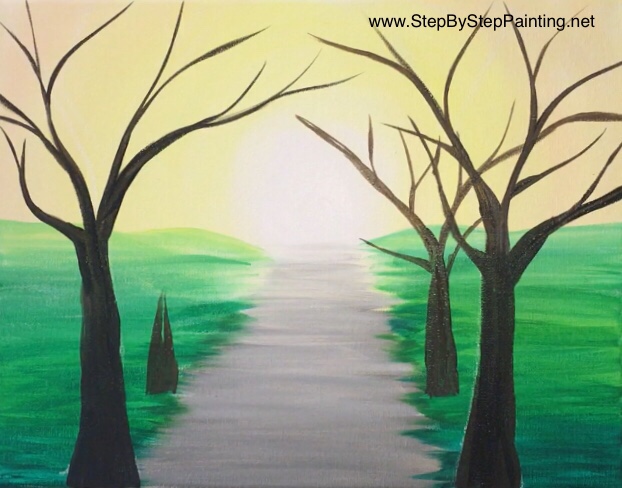
By the time I got to the fourth row of trees, I added even more white to the brown so they would be light. 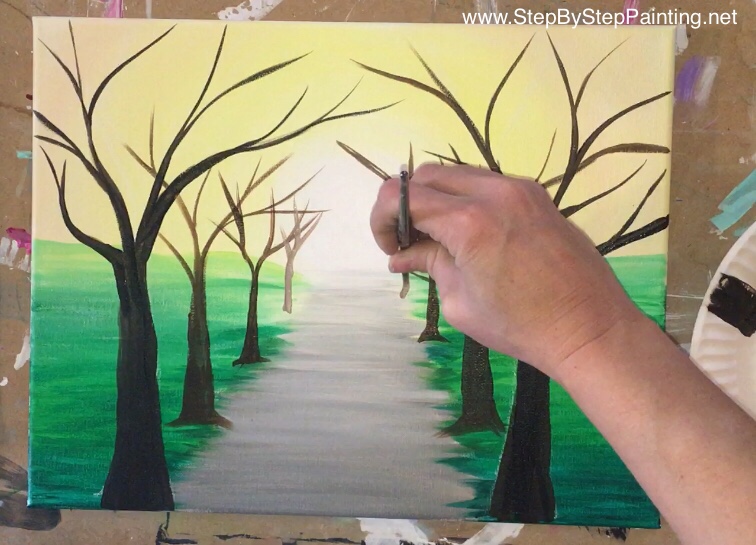
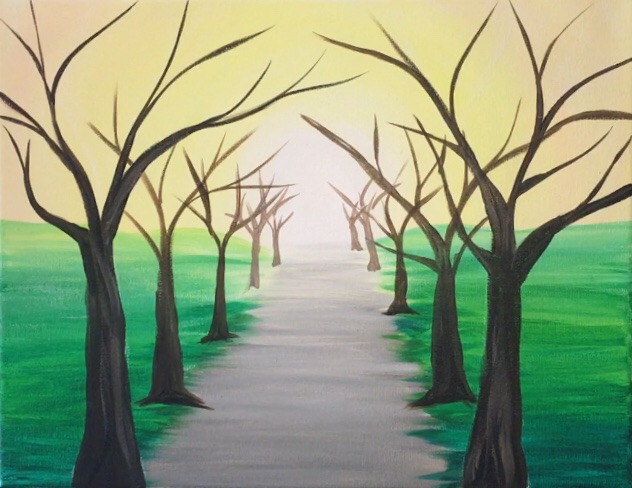
8. Optional: add some texture and highlight to the trees
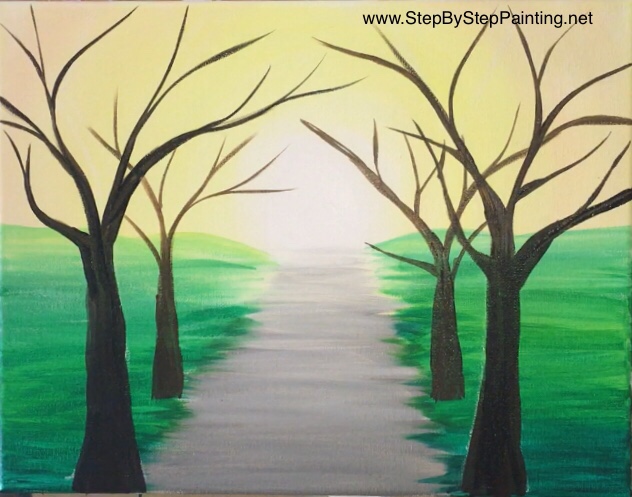
Note: I did five trees along the path! Then, using the #4 round brush, dip it in white and mix it with the brown on your palette. Paint some up and down strokes to create some texture in the trunks of the trees. Do this especially on the larger trees in the foreground. 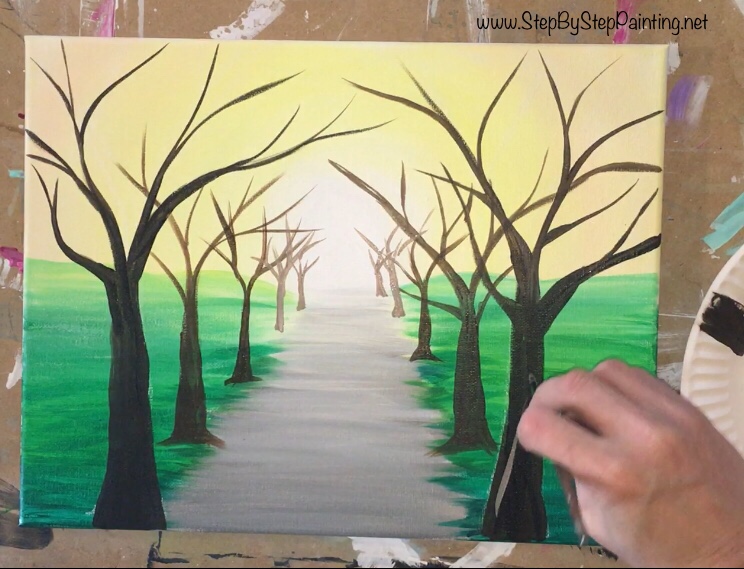
Let The Painting Dry!
Use a hair dryer or allow the entire painting to dry before proceeding the the flowers.
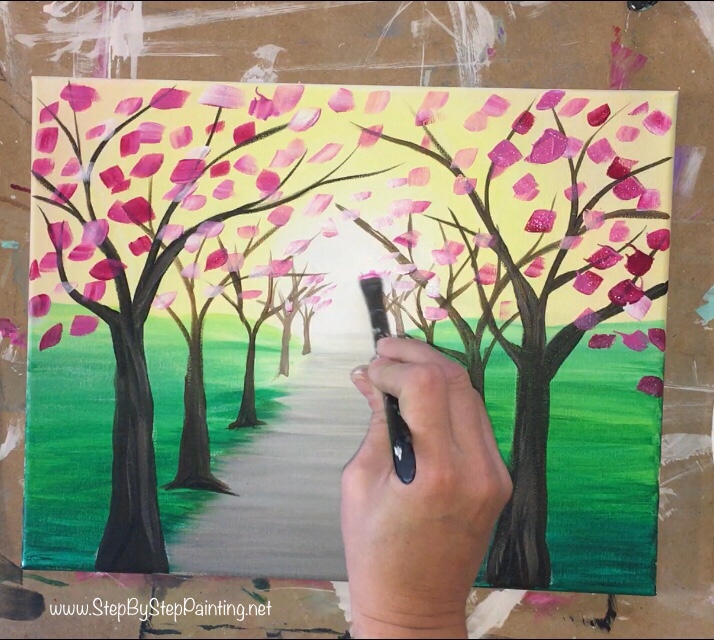
9. Paint the pink blossoms in the tree
This flower part is really simple! I loaded my palette with the colors: light portrait pink, medium magenta, quinacridone magenta, & titanium white. I also used the #12 flat bright brush (cleaned and dried). Basically, I dipped my brush in all these colors and “stamped” each flower to create a rectangular stroke. 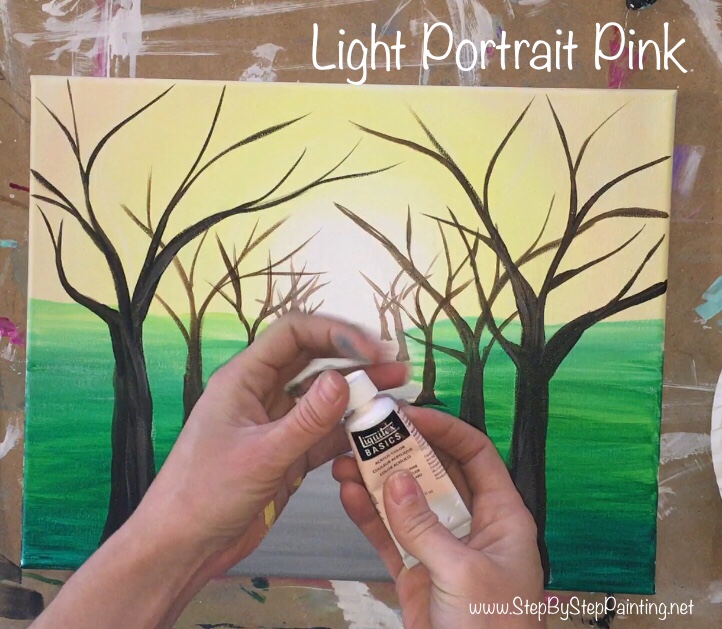
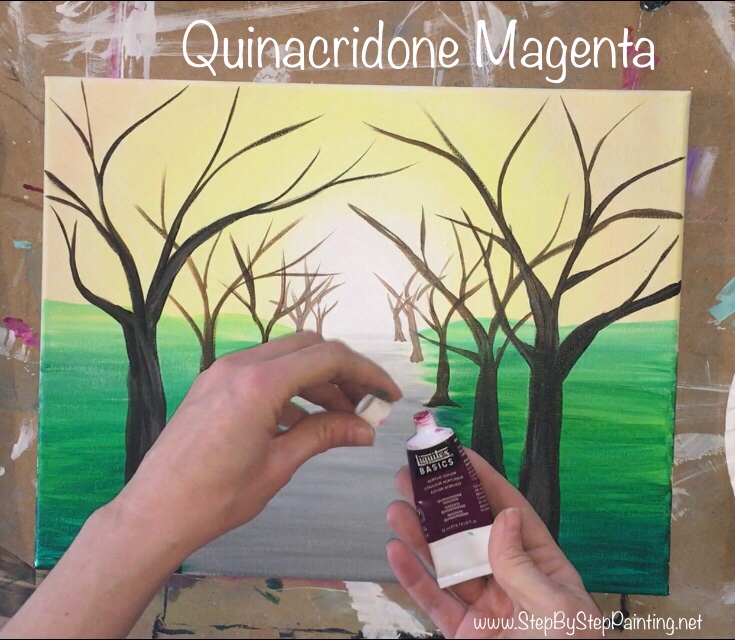
Start by “stamping” and “flip flopping” the side of the brush using the quinacridone magenta. Start with the larger trees. As you go to reload the brush, dip it in any of the colors on your palette. You want a nice variety of shades of pink and not all one solid color. 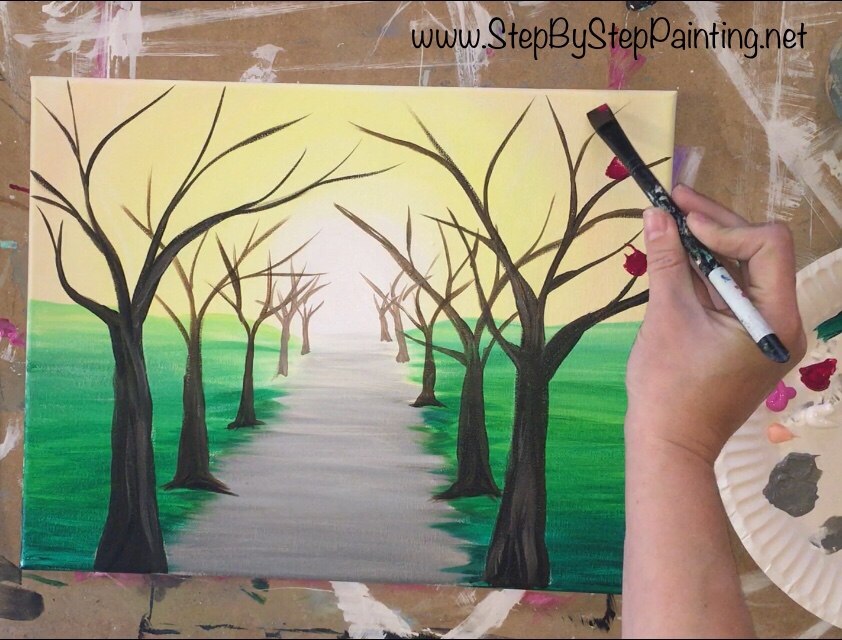
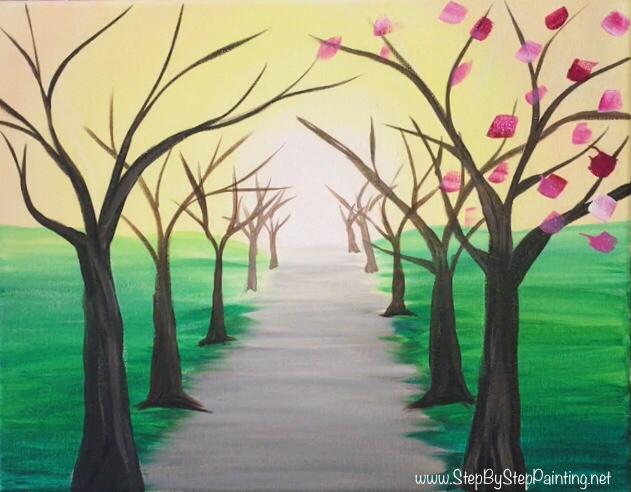
Continue to fill the entire area on the top of the painting with these types of strokes. Note that the blossoms in the middle were purposefully more white and slightly smaller. To get the slightly smaller blossoms, use the corner of your brush instead of the full width. 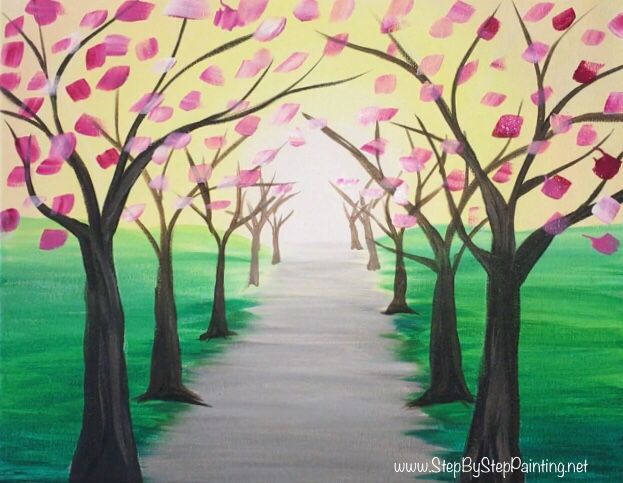
Decide for yourself how many blossoms you’d like. Try to leave a good amount of yellow still showing through and remember to keep that middle area nice and bright.
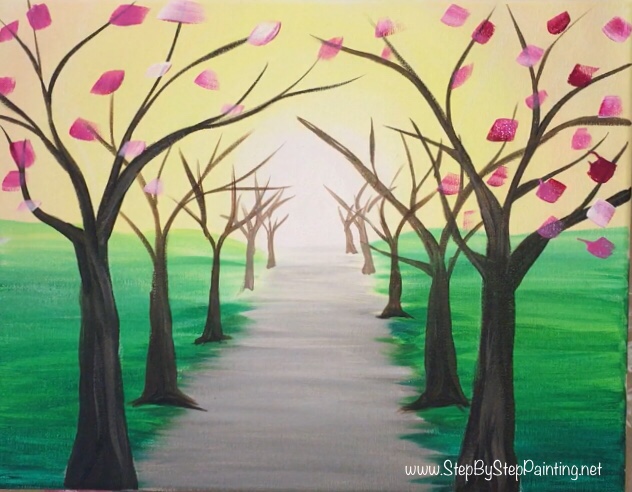
10. Paint some blossoms on the ground and falling down
Of course there would be blossoms falling off the tree and some on the ground! So I stamped some of these types of strokes on the ground and had some of the flowers look like they were falling off the tree. 
I also painted some horizontal strokes of this pink along the path. 
11. Optional: add some more highlight to the trees
On the part of the trunks facing the path, I painted a lighter color using the #4 round brush. Basically mix a very light brown on your palette by mixing a lot of titanium white with a little bit of brown. Water it down slightly and then apply it to the side of the trunk facing the path. 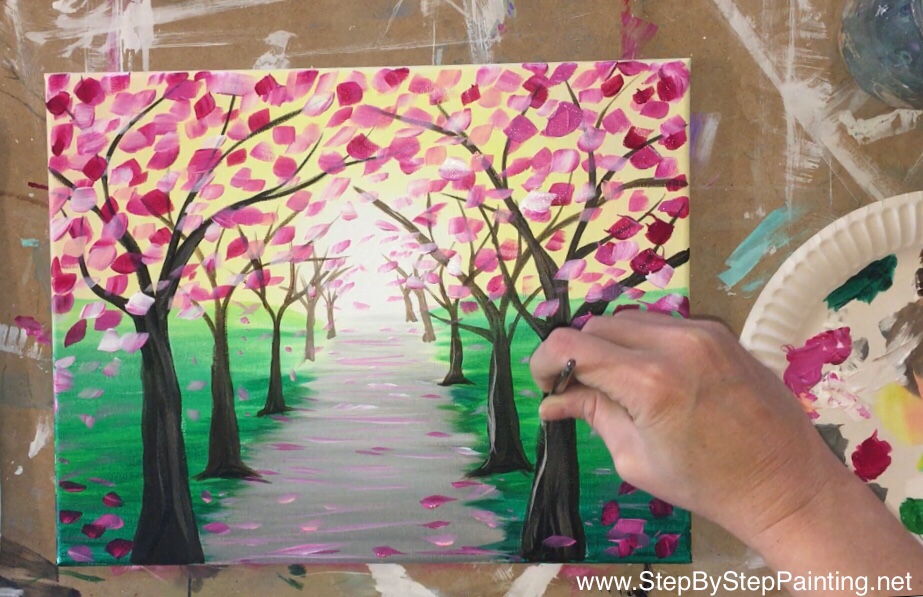

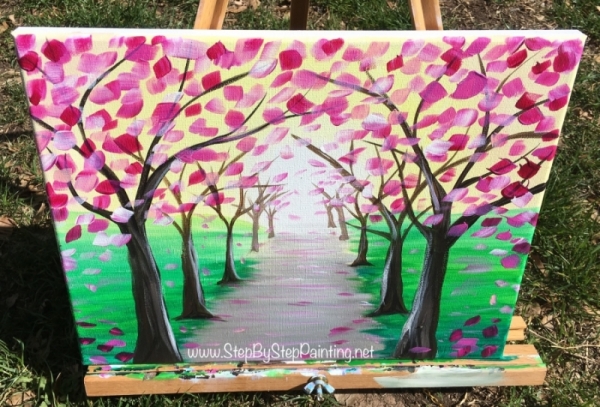
Finished!!!
Sign your name and show it off!!!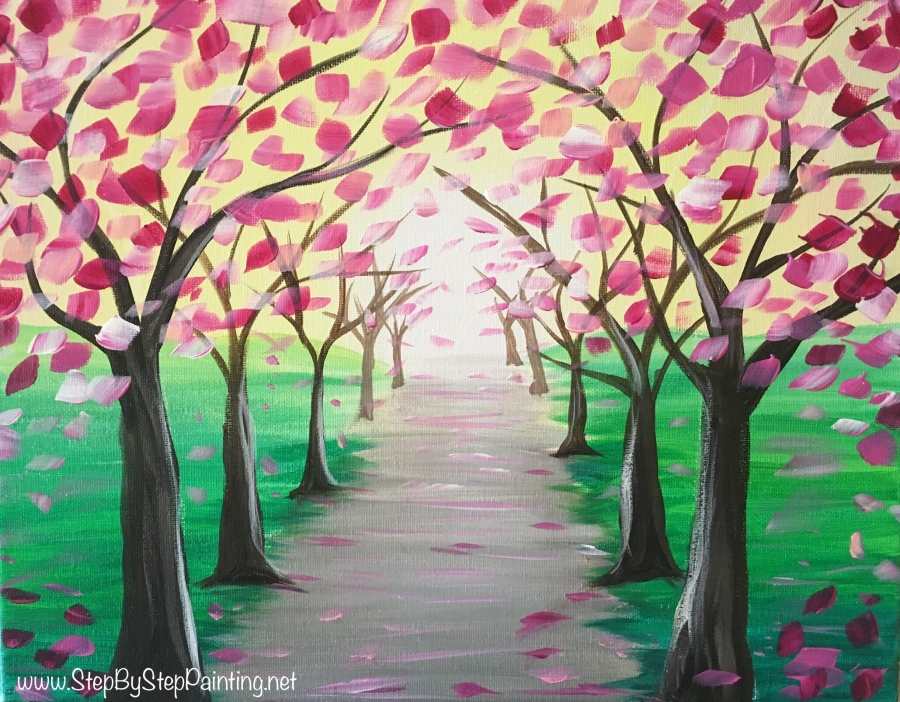
Share Your Art Here:


Thank u for sharing your talent in painting. I love it! The way how you teach step by step.
Thanks Mary Anne!
Tracie harikasın iyi ki varsın. Bu tarzda manzara resimlerini daha çok paylaşsanız keşke. Çocuklar için çok fazla resim var. Ben 33 yaşındayım manzara çalışmak istiyorum biraz daha zor.Seni seviyoruz Allah başarılarını daim etsin
Tracie lütfen daha fazla ve biraz daha zor manzara resimleri yap lütfen ? çok başarılı bir site kurmuşsun harikasın lütfen daha güzel resimler yapmamıza yardım et lütfen kendine iyi bak hoşçakal
Thank you for sharing your painting videos! I tried this from another site before seeing it on here. I love how you brake it down in detail. Makes it so much easier. And I love that it is free. Thanks! Really enjoying learning with these.?
You’re welcome!
Love it!!! This one came out so beautiful! I did this one on a 16×20 and the Spring Bridge and they look amazing together on my wall!!! Thanks so much Tracie!!! It’s so very appreciated!!
You’re welcome!! I bet it looks amazing on the 16 x 20 canvas!
This is just beautiful! I am going to try to share this project with my 6th grade Girl Scouts and since we are all stuck at home we’ll follow along online. I need to get them paint though: how much of each color do you think they would need? If I were to purchase acrylics and split them up into those little plastic paint pots for them (3mL each) would that be eough? maybe 2 pots of each color? I just don’t think our budget can cover tubes of each color for each girl, especially if there will be a lot leftover if they don’t need a whole tube?
Thanks!
Yes those little plastic pots would work great! I would think they’d be enough color for this painting, giving them 3 mL of each color especially if they are doing this on the 11×14 canvas.
Thanks so much! I am really looking forward to this 🙂 I just need to go and get a couple extra canvases because I didn’t get one for myself! 😉
Thaks so much.love how you explained
Step by step
Your voice is coming
.
Thanks so much- this is a really nice and well explained tutorial and I enjoyed it very much.