

Would you like to save this?
Create your own New Year Painting!
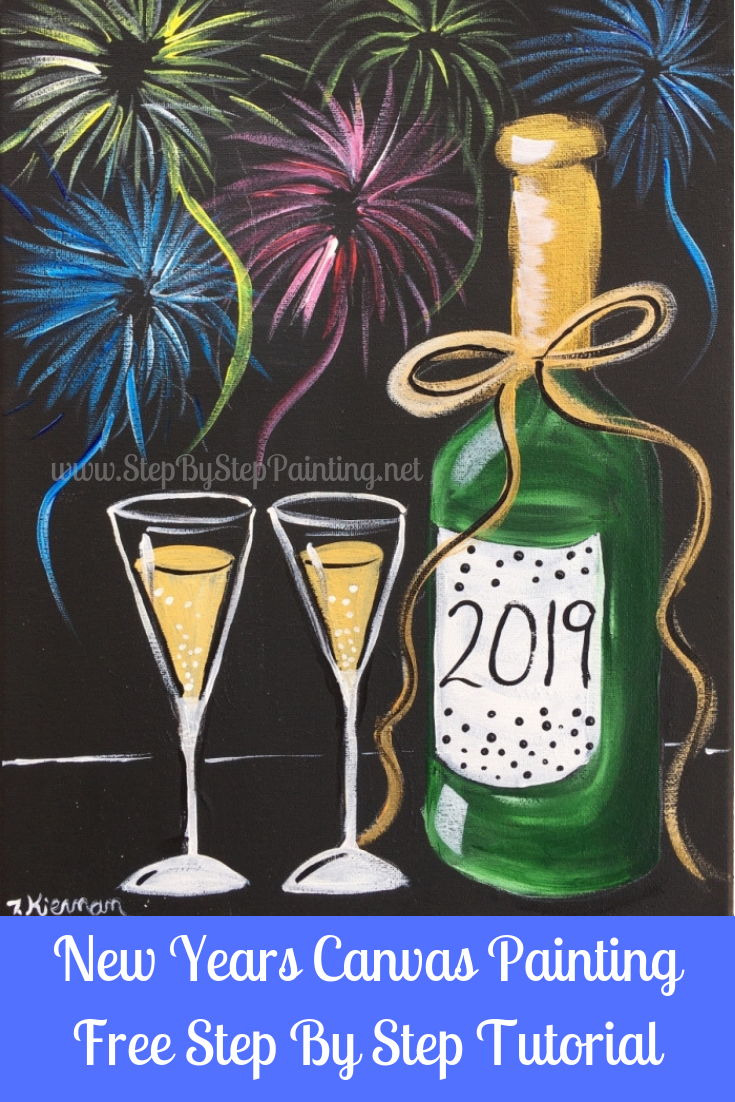
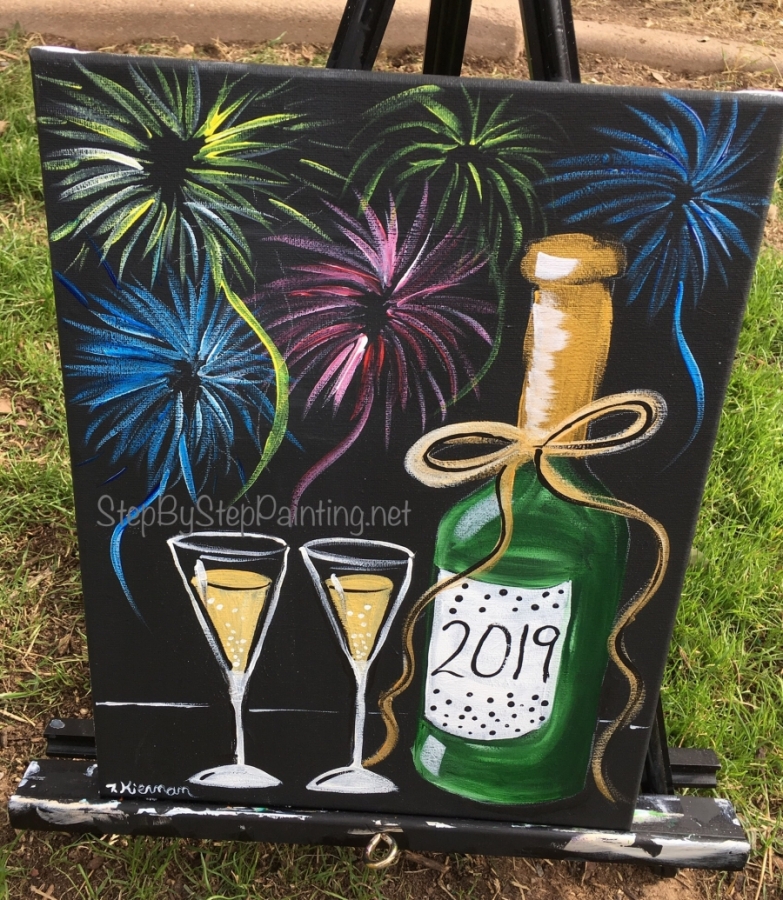
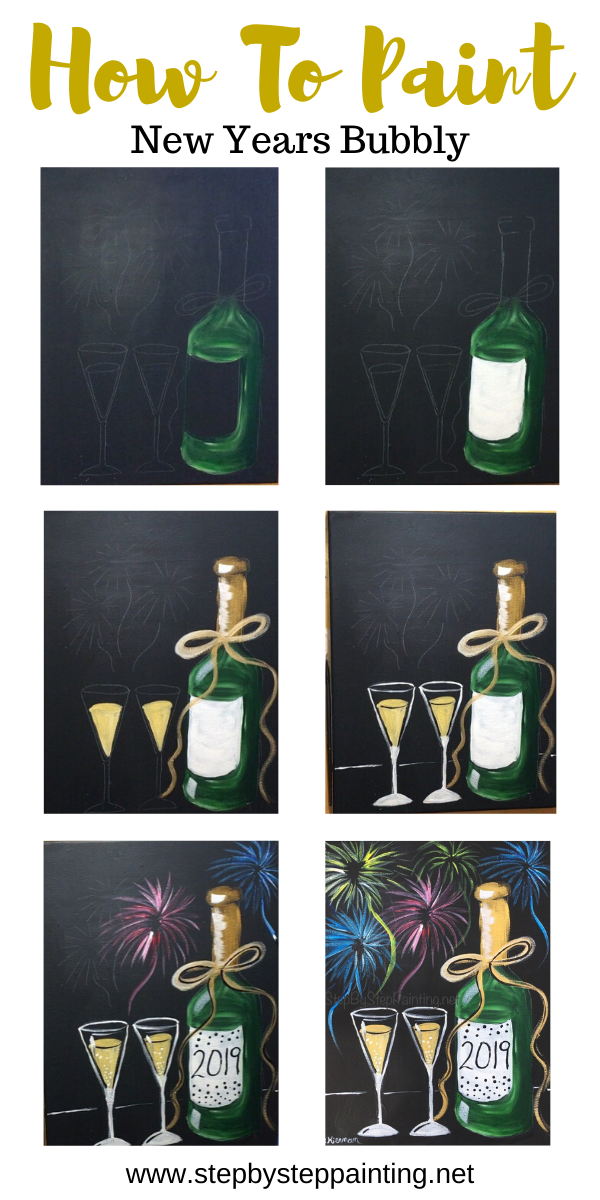
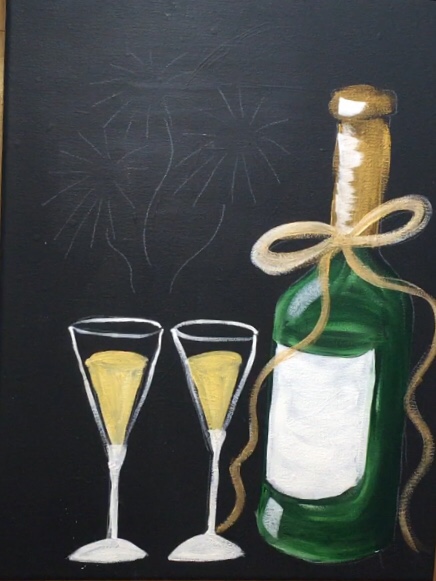
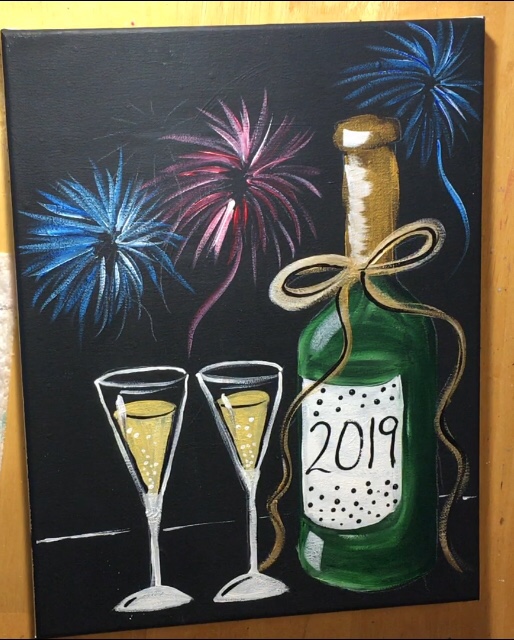
Ring in the New Year with this black canvas painting of a bubbly champagne bottle or Sparkling Apple Cider with two glasses and fireworks in the background!
Customize the year to match the year you will be painting this.
All you need is a black canvas (hint I painted over one of my “mess up paintings” with black paint) and a few basic colors.
Painting on a black canvas is actually really simple. You’ll need some basic knowledge about using paints that are opaque.
My number one tip for black canvas painting is simply double loading your brush in white and the color so it shows up nice and bright.
You can easily draw the champagne bottle and glasses BUT I also provide the traceable of the painting.
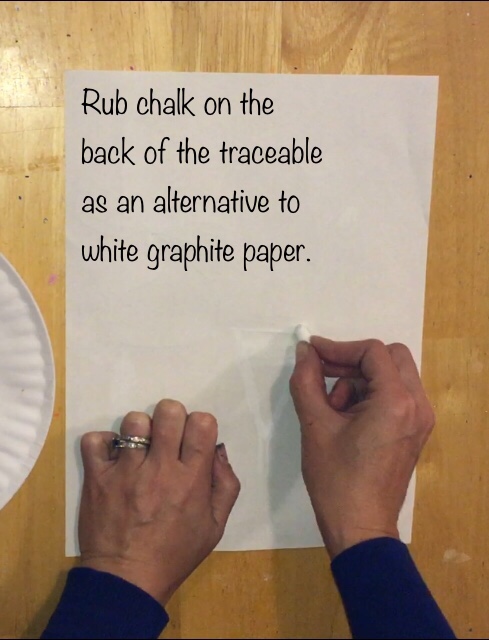
You might want to get some white graphite paper. However, if you are unable to get white graphite paper before the New Year, you can apply chalk to the back of the traceable and transfer it that way.
I’ll demonstrate that later!
Enjoy painting this and have a Happy New Year!
Traceable:
Go to the PDF library to grab the download or click the image below.

Materials
New Years Black Canvas Painting
Learn how to paint a New Years Eve Bubbly with fireworks in the background. This painting is all done on a black canvas!
Materials
Supplies
- 11" x 14" Canvas
- Black Paint to Cover Canvas
- Acrylic Paint
- Paint Brushes (see below for sizes and links)
- Traceable
- White Graphite Paper
- White chalk if you aren't using white graphite paper
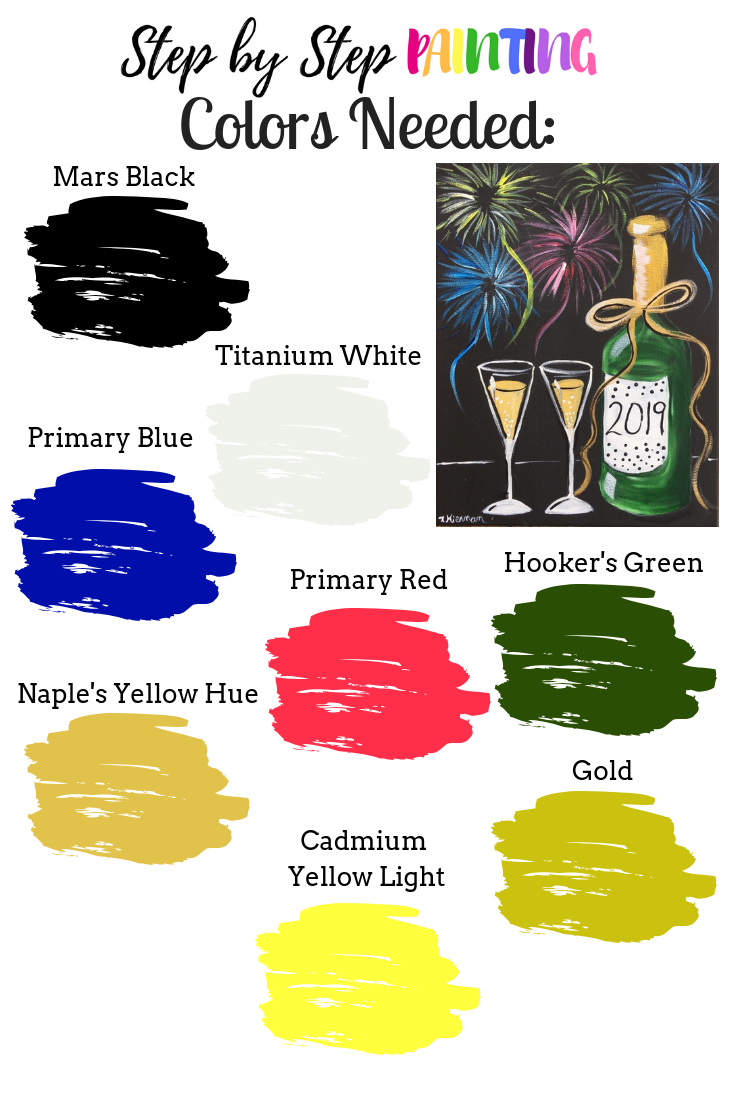
Colors
- Titanium White
- Mars Black
- Primary Red
- Naples Yellow Hue
- Hooker's Green
- Primary Blue
- Gold
Brush Sizes
Instructions
- Start with a black canvas or paint a canvas black.
- Transfer the bubbly traceable to the canvas using white graphite paper.
- Paint the champagne bottle green and white.
- Paint the white label and the gold wrapper on the champagne bottle.
- Paint the bow on the champagne bottle.
- Paint the inside liquid of the champagne glasses.
- Paint the outside glass of the champagne glasses.
- Paint the fireworks.
- Add final details such as the year to the champagne glass.
Recommended Products
As an Amazon Associate, Michaels Affiliate and a member of other affiliate programs, I earn from qualifying purchases.
Color Palette:
Directions at a glance:
New Year Painting Video:
Directions:
1. Paint a canvas black
I used an 11″ x 14″ canvas for this. Simply paint the entire canvas black.
As for what paint to use, you can use your mars black but it might have a “satin finish” to it. That is okay and I’ve done that many times for black canvas paintings.
However, I actually used my Apple Barrel Black Paint to cover the canvas. This paint has nice coverage and it dries in a matte finish easy to paint on (meaning it’s not shiny).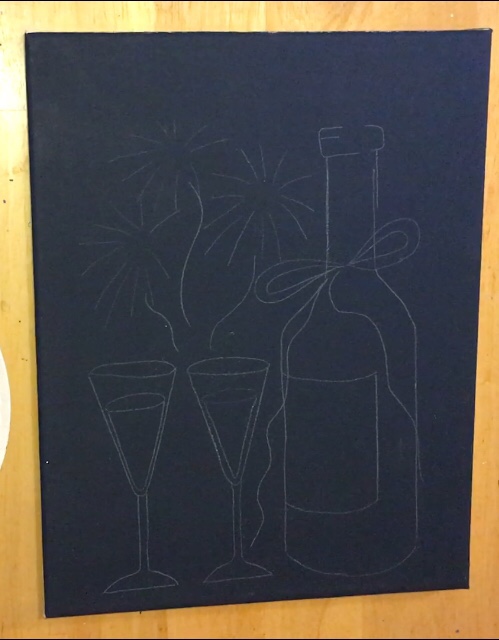

2. Trace the design onto the canvas
There’s two possible ways you can do this. You can get white graphite paper and use it like standard graphite paper.
It transfers the image to a white drawing onto the black canvas.
If you aren’t able to get white graphite paper in time before New Years, you can also use chalk!
Simply rub chalk on the back of the traceable. Then transfer it the same way by tracing over the design.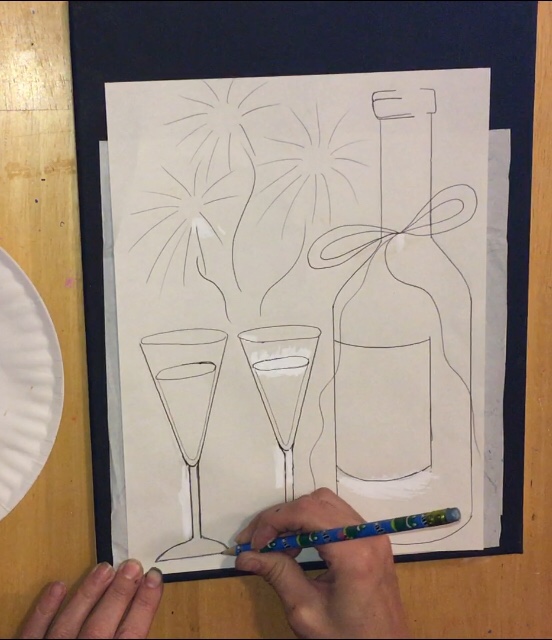
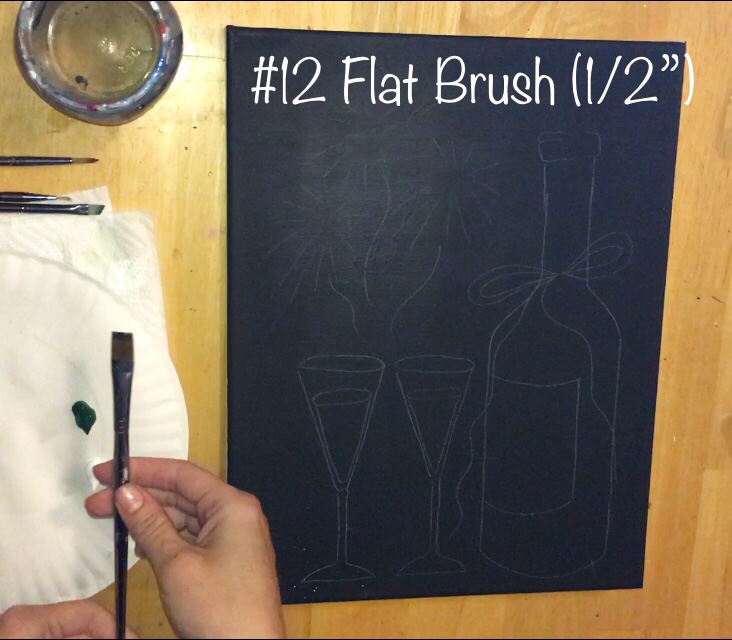
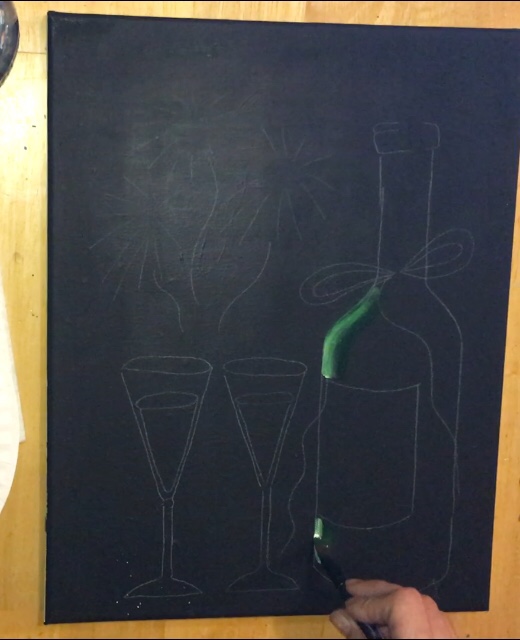
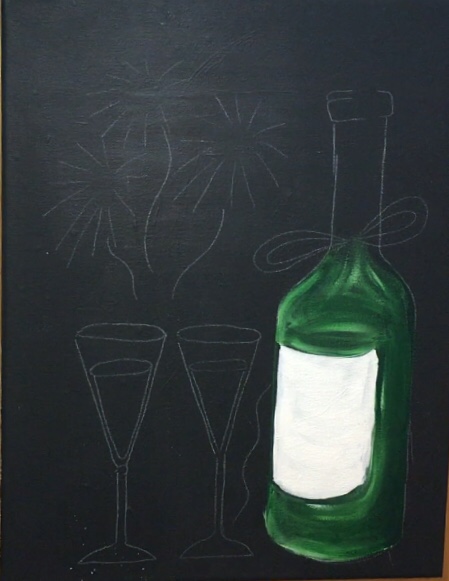
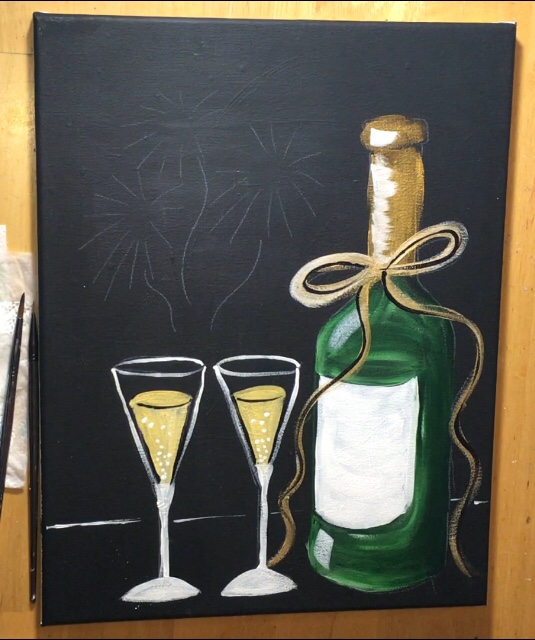
3. Paint the green part of the champagne bottle
Use a #12 flat brush (or equivalent size about 1/2″) and the colors hooker’s green and titanium white.
Dip the brush in the hooker’s green first and then dip the corner in the white.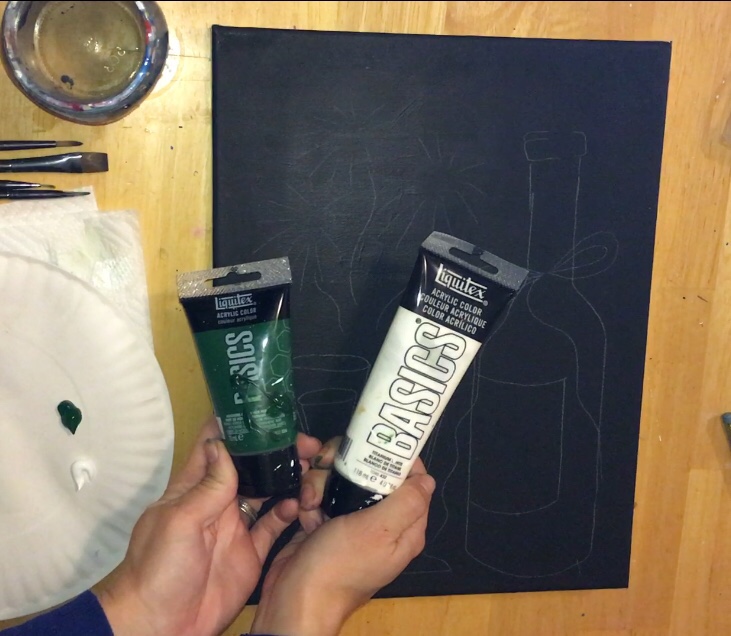

Start by painting the left side of the bottle.
Paint your strokes to contour with the shape of the bottle.
Note: the white corner of the brush was positioned on the left because the left side of the bottle is lighter.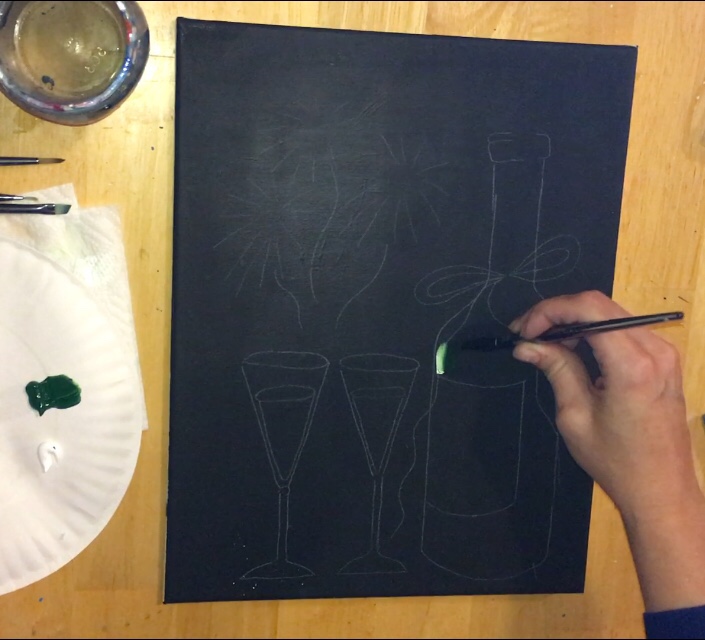
Continue onto the bottom of the bottle and make your strokes go in a horizontal curved shape to form the bottom of the bottle.
At this point it doesn’t matter where the white is on the brush, let the colors blend on the canvas without worrying too much about where and why.
In other words, let the colors lead the way!
You should get a pretty unmixed green and white that create the impression of a green glass.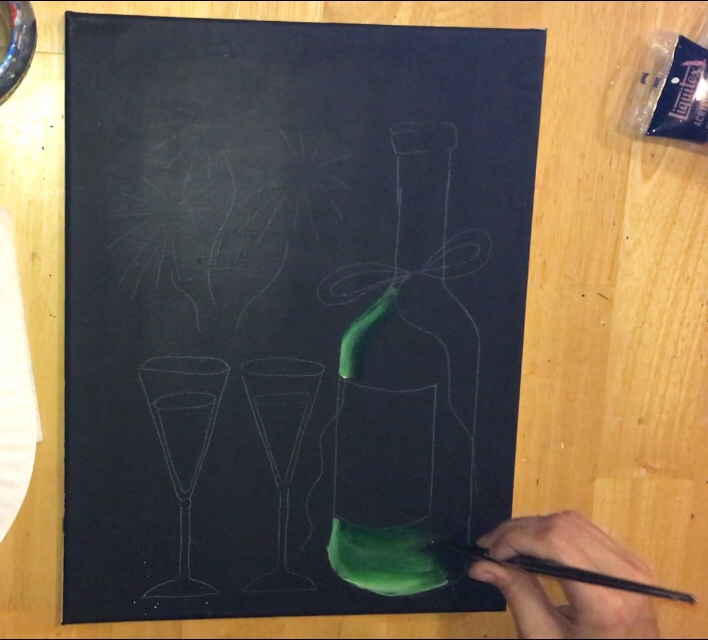
Continue your way up the right side of the bottle.
The right side is darker so I only loaded my brush with the green at this point but there was still a bit of white residue on my brush.
The direction of the strokes go in the direction of the shape you are filling in. Note: at no point did I rinse my brush off yet.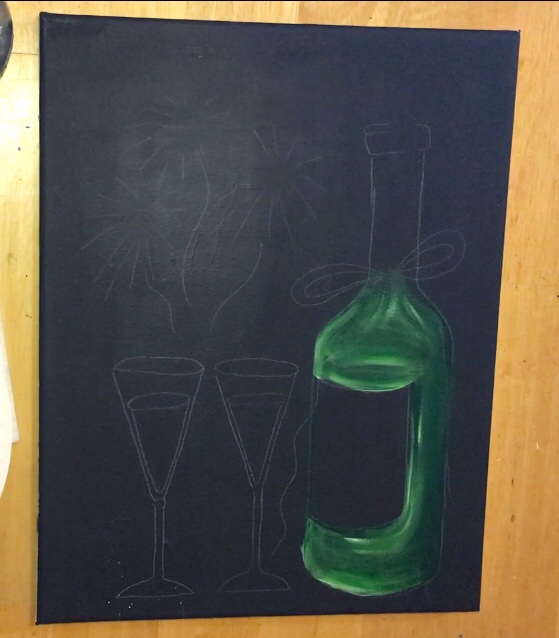
4. Paint the white label of the bottle
Rinse your brush completely and dry. Next load it with just titanium white and paint the entire label of the bottle area white.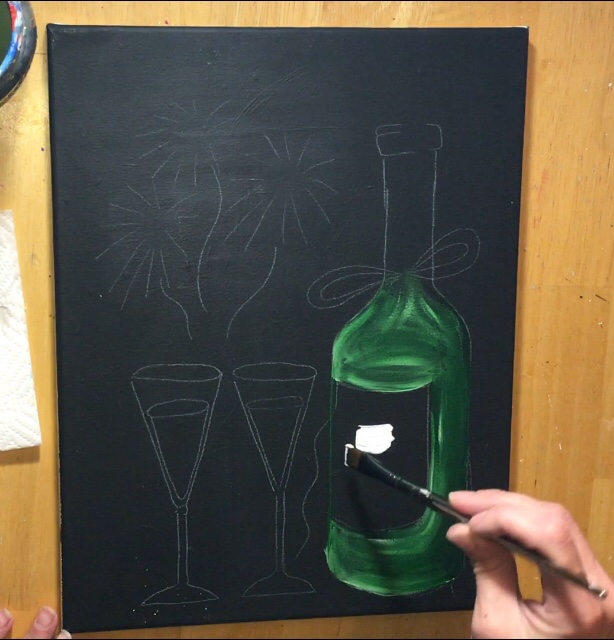
5. Paint two dry brush highlights on the bottle
Use your #12 brush with titanium white but wipe a bit of the white off with a paper towel.
Brush on two strokes on the left side of the glass as pictured below.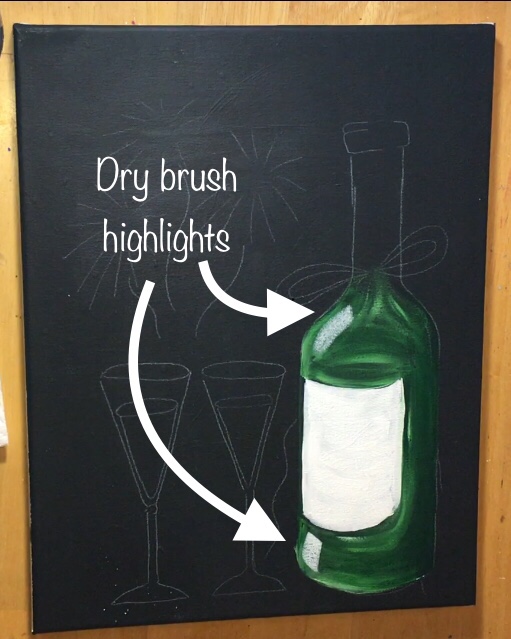
6. Paint the gold part of the bottle
The fun thing about gold paint is that is shows up beautifully on the black canvas without needing to white anything out on the bottom.
Just load your clean #12 flat brush in gold and paint the top area. I did up and down strokes.
Note: it’s important to remember that this is not a realism painting at all so if you go out of the lines a bit (like I did) that is okay!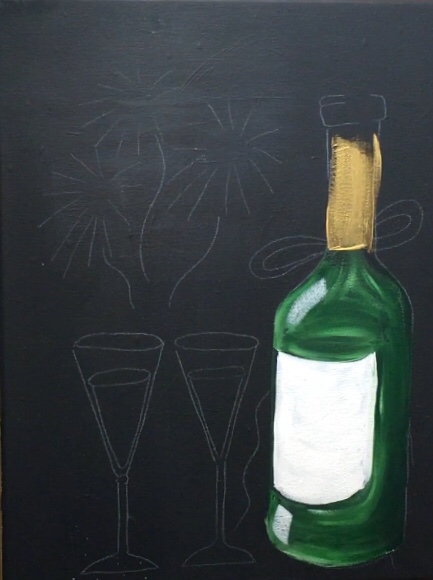
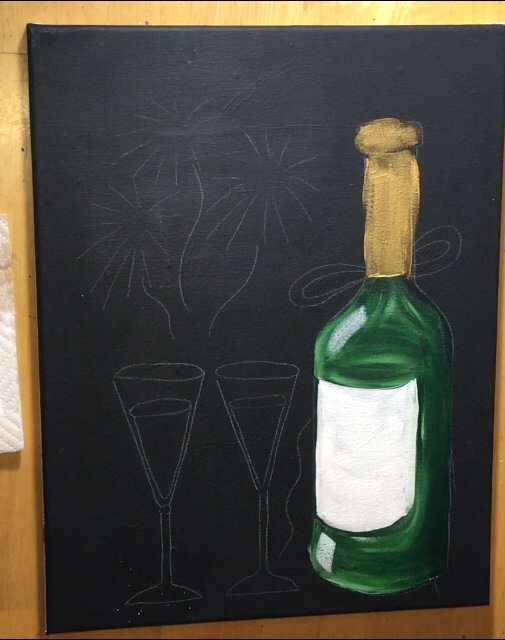
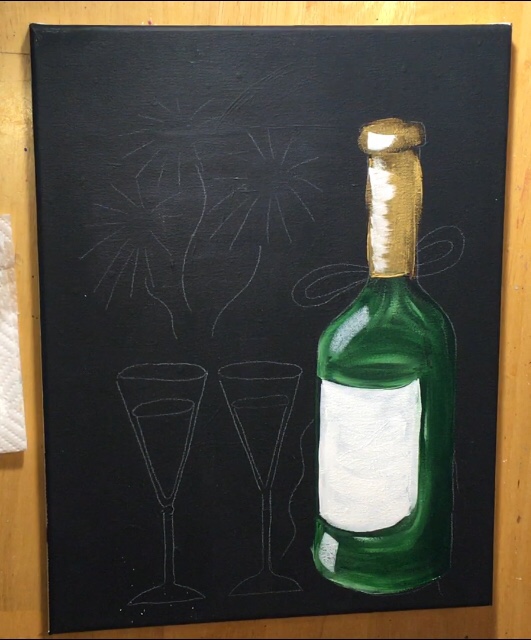
7. Paint highlights on the gold area of the bottle
Use the tip of your brush to drag the highlights in a horizontal stroke both at the very top of the bottle and also down the neck.
I only did this on the left side of the gold.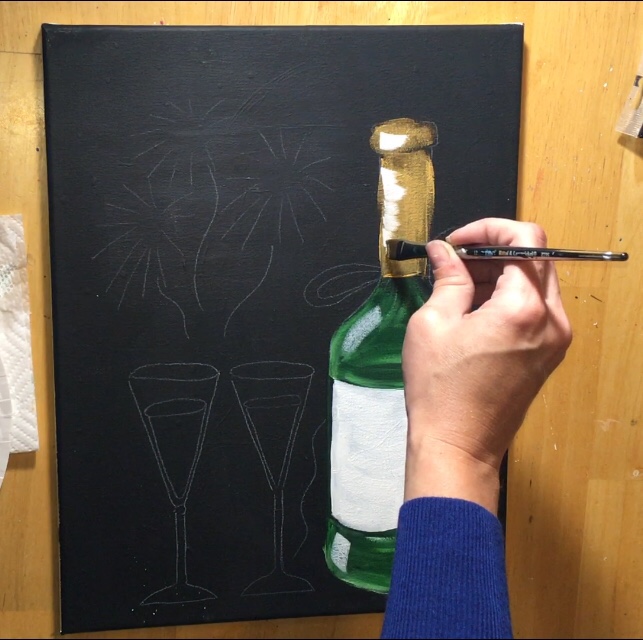
8. Paint the ribbon
I used #4 round brush dipped in gold and white. Basically follow the drawing to form a bow ribbon.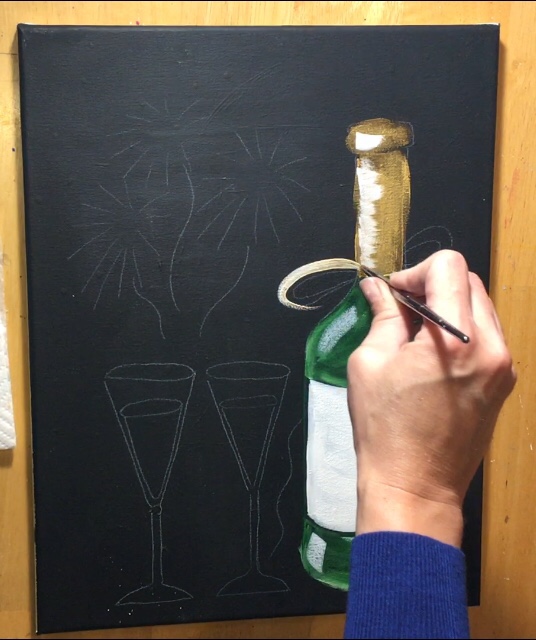
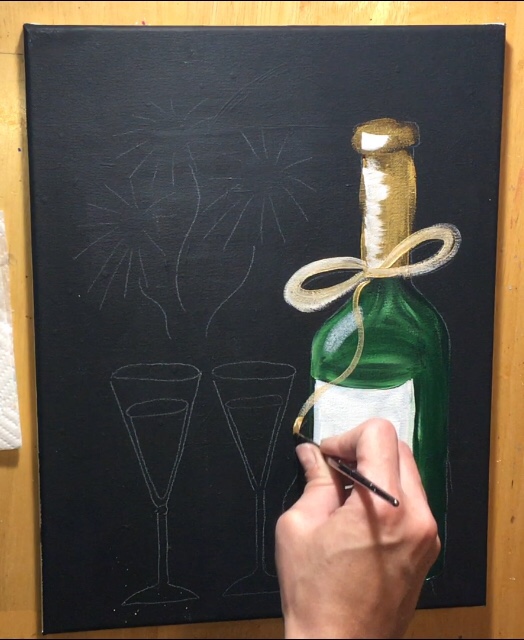
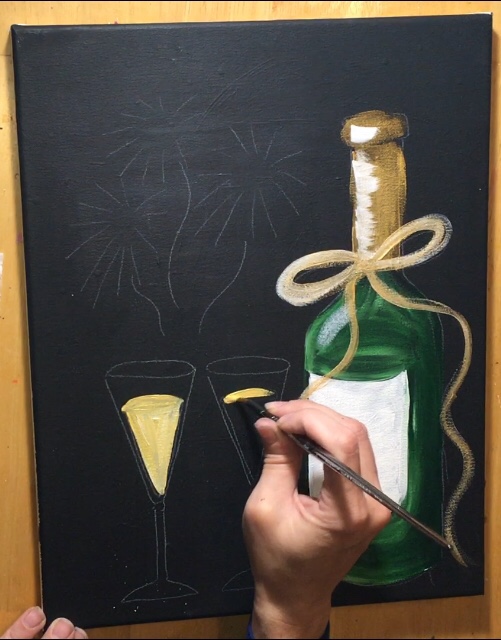
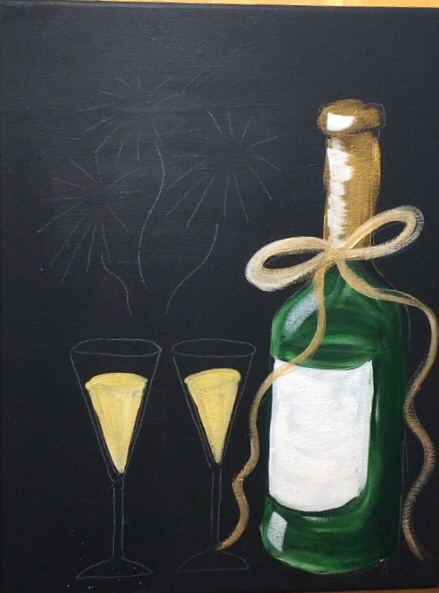
9. Paint the liquid inside the glass
Use the #4 round brush to paint the liquid “Naples yellow hue”.
I double loaded my brush in both the white and the yellow to get color variation.
Basically paint the shape in and leave a small gap where the glass touches the liquid.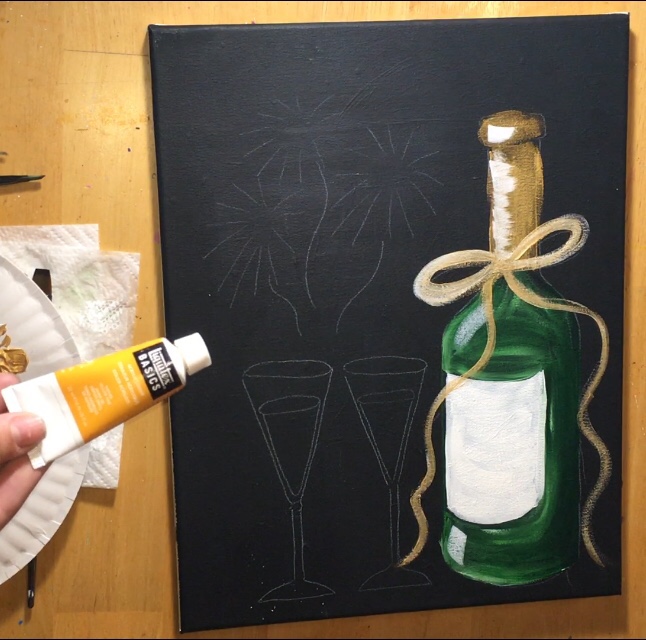
10. Paint the glass
Use a #4 round to paint the glass with titanium white.
Outline the rim, the sides, the stem and paint the bottom base in solid white. Remember it’s okay if your strokes look lose and outside of the lines!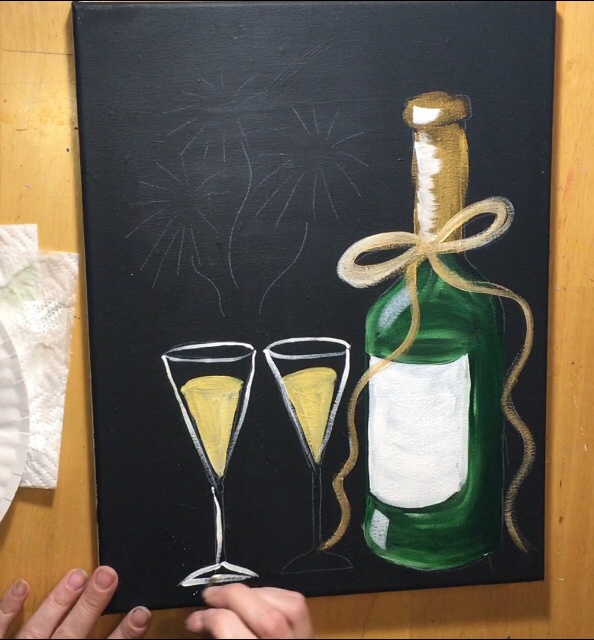
11. Outline the liquid with black
Next get your 10/0 liner brush to outline the top of the liquid to make this area look 3D.
Also outline the sides of the liquid. In other words, there should be a black line between the liquid and the glass.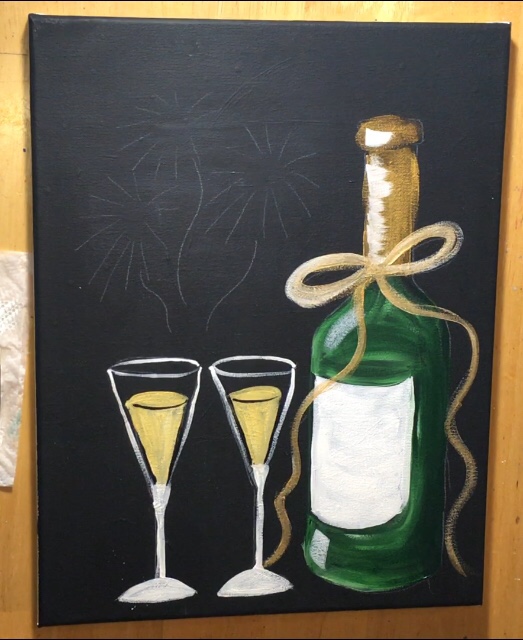
12. Paint a loose table line
Use the #4 round brush and titanium white to paint the table line.
Do this in one loose stroke that is not completely solid all the way across.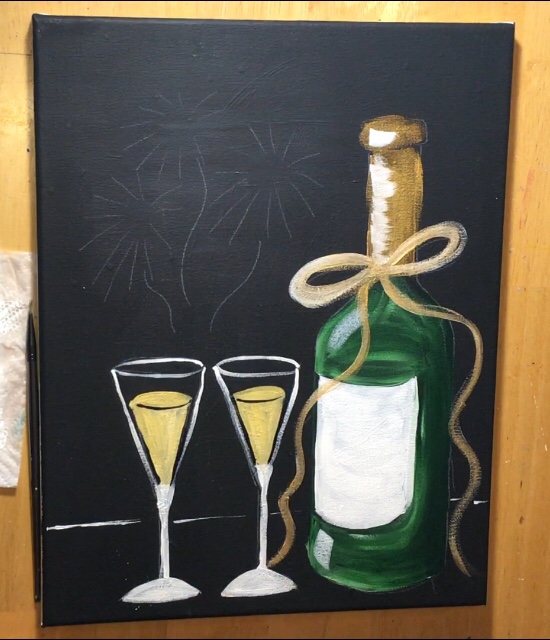
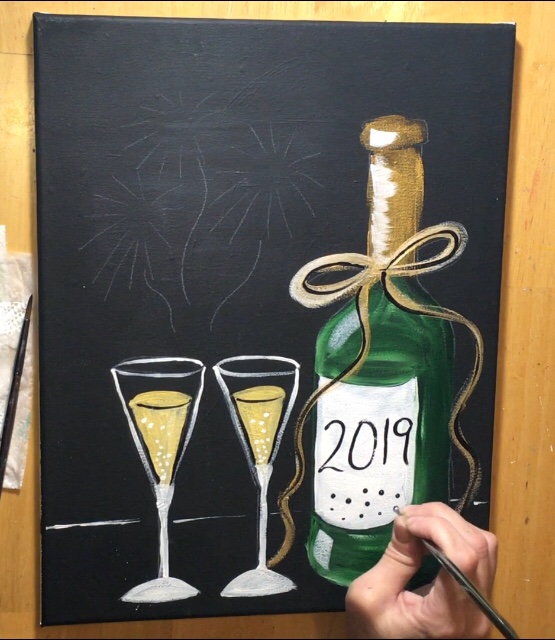
13. Paint little white bubbles
Use your #4 round brush and titanium white to make little white dots inside of the liquid area, particularly on the bottom.
12. Paint a black outline on the ribbon then paint the 2019
Use your #10/0 liner brush to paint a mars black outline on the ribbon. This gets it to “pop” a bit more.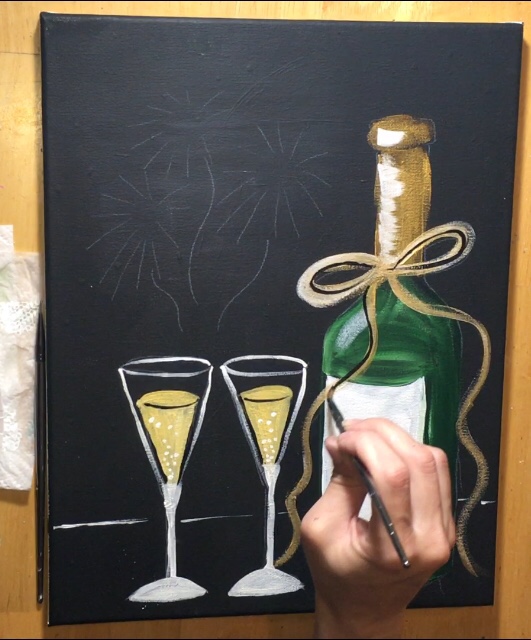
Then paint the 2019 on the label of the bottle! I also used the back of my paint brush to stamp on little polka dots on the label.
You can actually have some fun with this step and make the label all customized!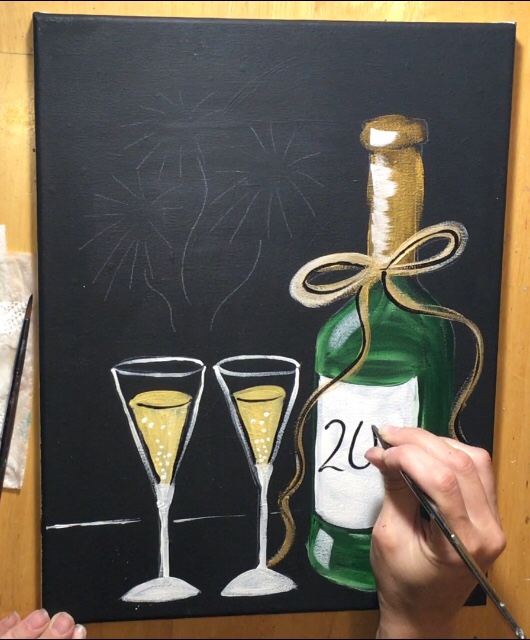
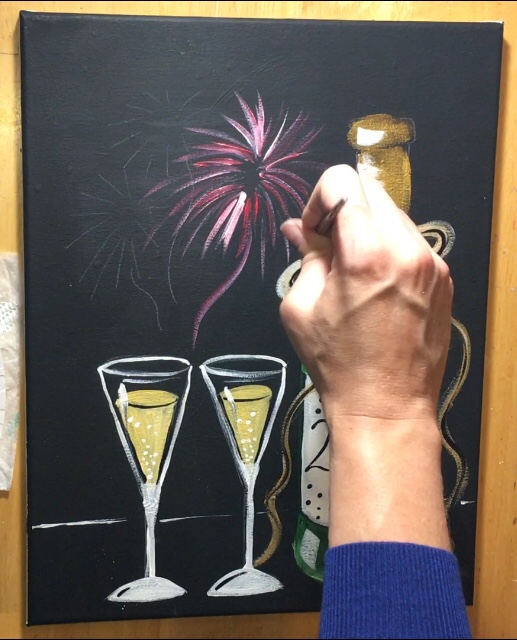
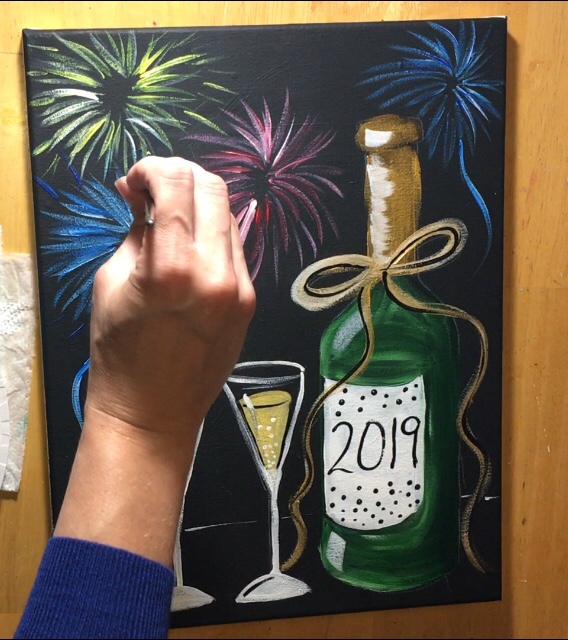
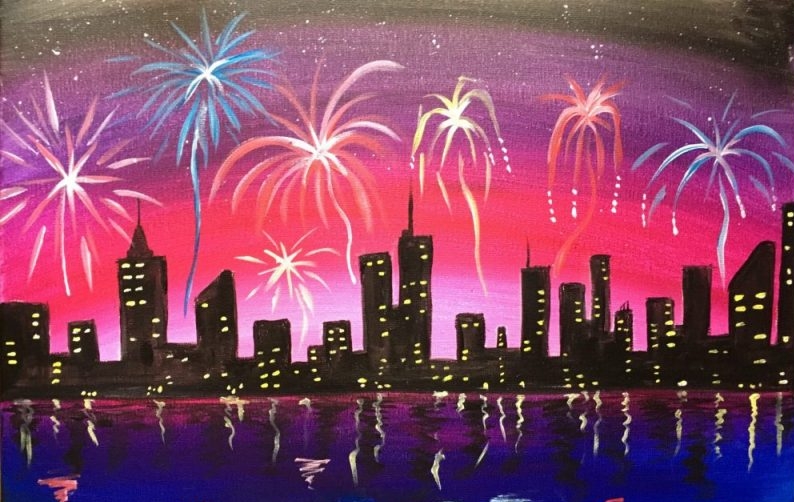
13. Paint fireworks
I used an angle brush for this and found it to be really helpful for this technique.
If you don’t have an angle brush, try to find a flat brush that is really small.
Double load the brush in primary red and titanium white.
Then start in the middle of the firework and stroke to the tip. (Note: also in the picture, I did a highlight on the glasses on the left side)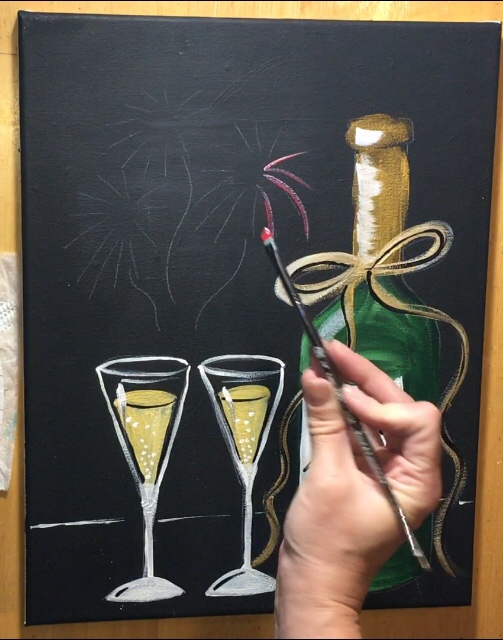
When you used the angle brush make sure the highest point is opposite of the direction you are painting.
This will allow your firework stroke to go to a tip.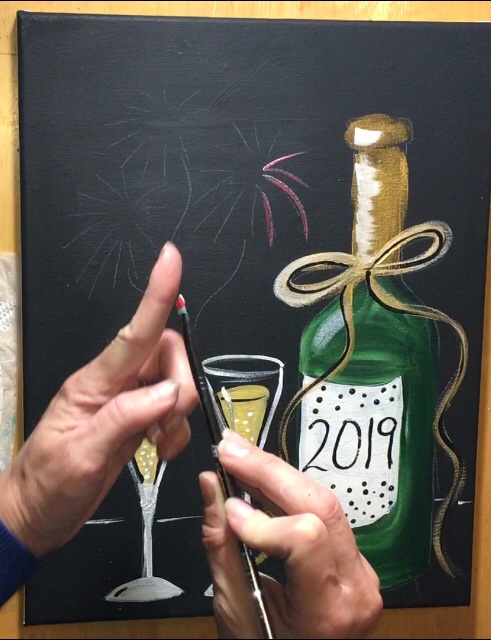
I used primary blue and white for the blue fireworks and cadmium yellow light hue for the yellow fireworks.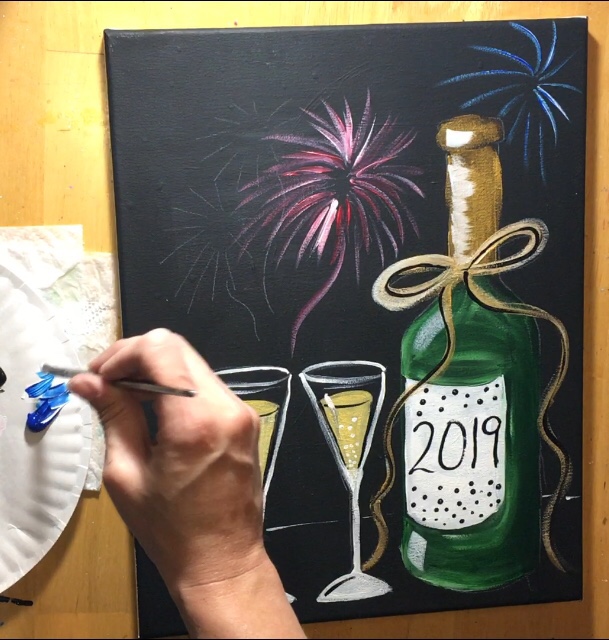
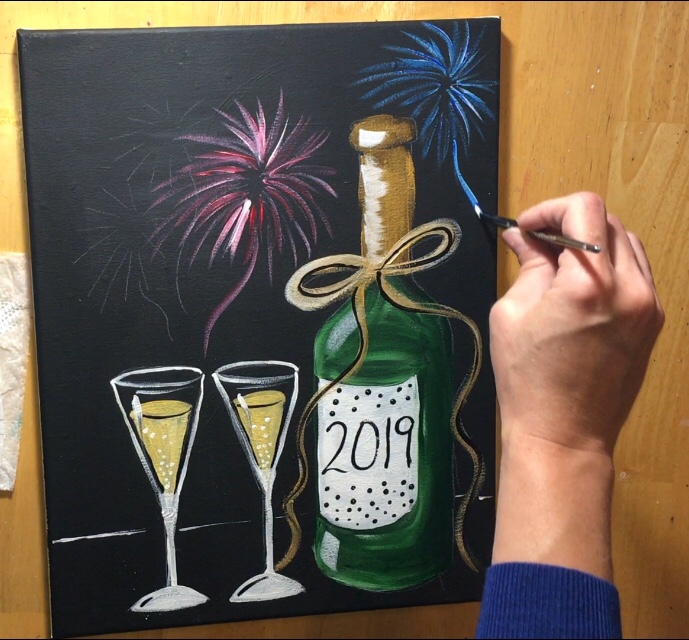
I definitely painted outside the lines for these! I even added a few fireworks that were not on the traceable. Feel free to do the same.
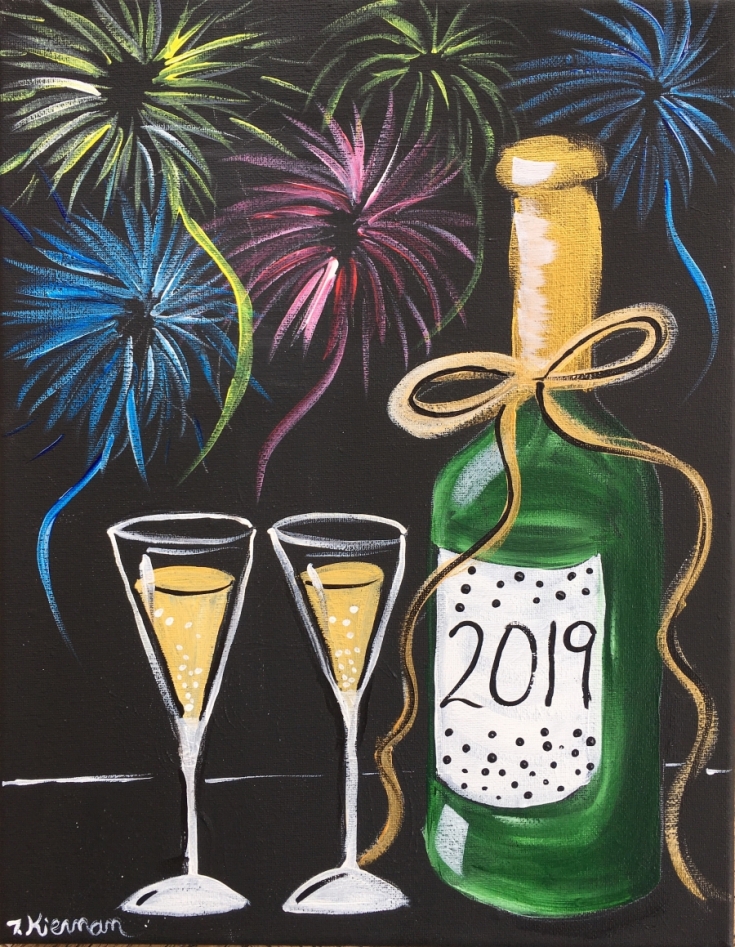
Finished!!!
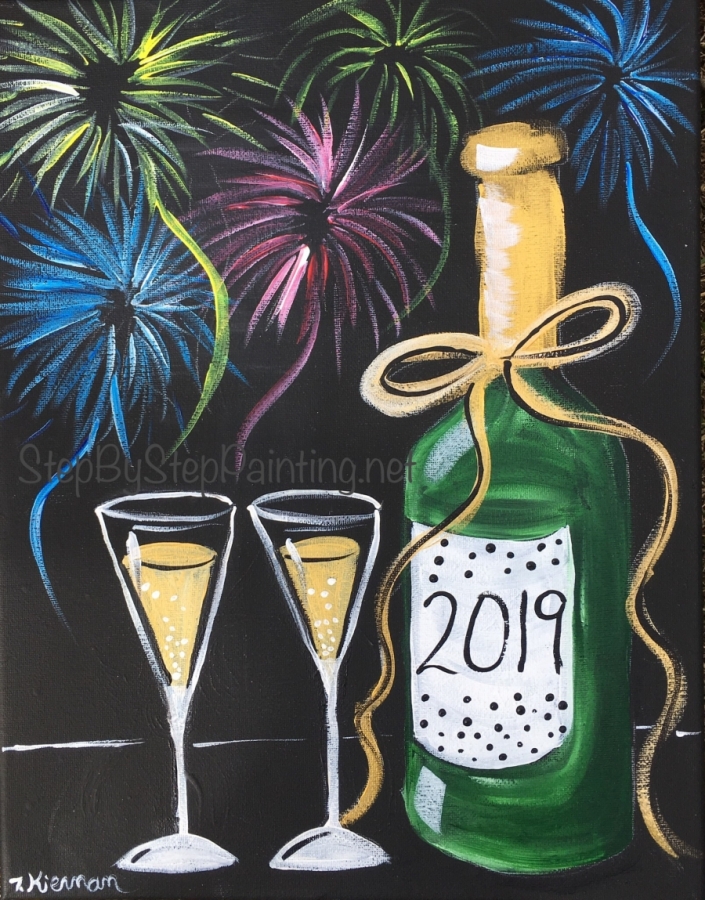
I hope you enjoyed this simple New Years Canvas Painting! Sign your name and share it!
Share this tutorial:
See Also:

Can I use oil paint instead of acrylic paint on top of the barrel apple mars black?
Hi Jessi! I’m not too sure how the oil paint will work on top of the Apple Barrel. My guess is that is should work to paint oils on top of dried acrylic surface but not the other way around. I’d say test out a small surface first and if it works, then go for it!
I decided to stick with acrylic paint after all thanks! I went to Hobby Lobby and they don’t carry Apples Barrel black acrylic paint so I bought satin black acrylic paint. Will this give a Matt finish like yours?
Hi Jessi! A satin paint will give a slight sheen to the surface but won’t be as matte. Overall I think it will still turn out fine! I’ve covered canvases in black satin paint before with no problems at all!
Thanks for the tutorial. I’m a little OCD, and wanted to point out in step 3, you said to start on the left, which is lighter, then continue up the left (not the right) size (not side), which is darker. On step 13, you also added highlites to the glass, which are looking like titanium white on top and black at the base. Is that correct? I plan to do this tomorrow. Thanks!
Hi Noura! Thanks for pointing that out! The right side is darker and it was a typo that I stated left! And yes I did add highlights on the left side of the glass. It’s fixed now!
I follow all your tutorials. Thank you for sharing them. Happy new year!
Happy New Year Lectus!! And thanks!