
Would you like to save this?
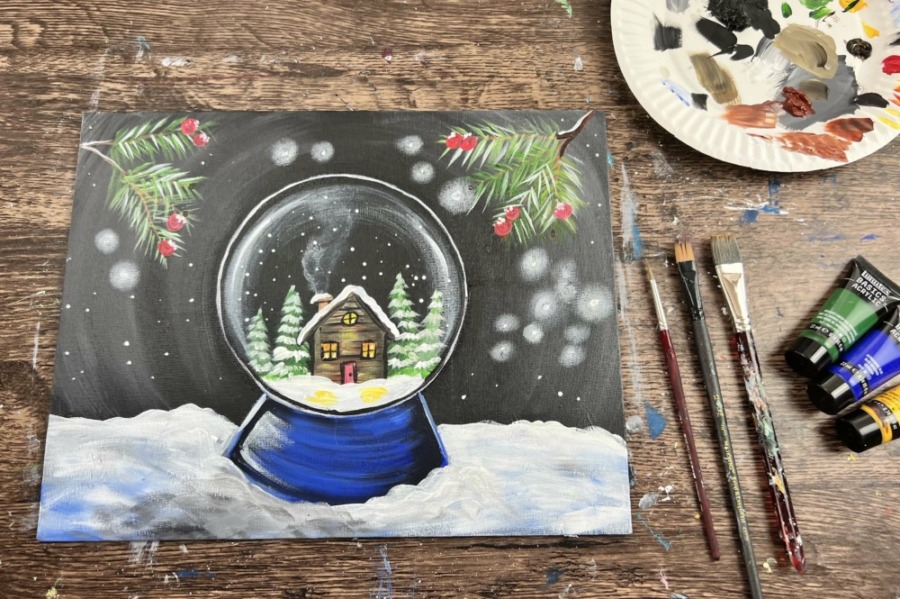
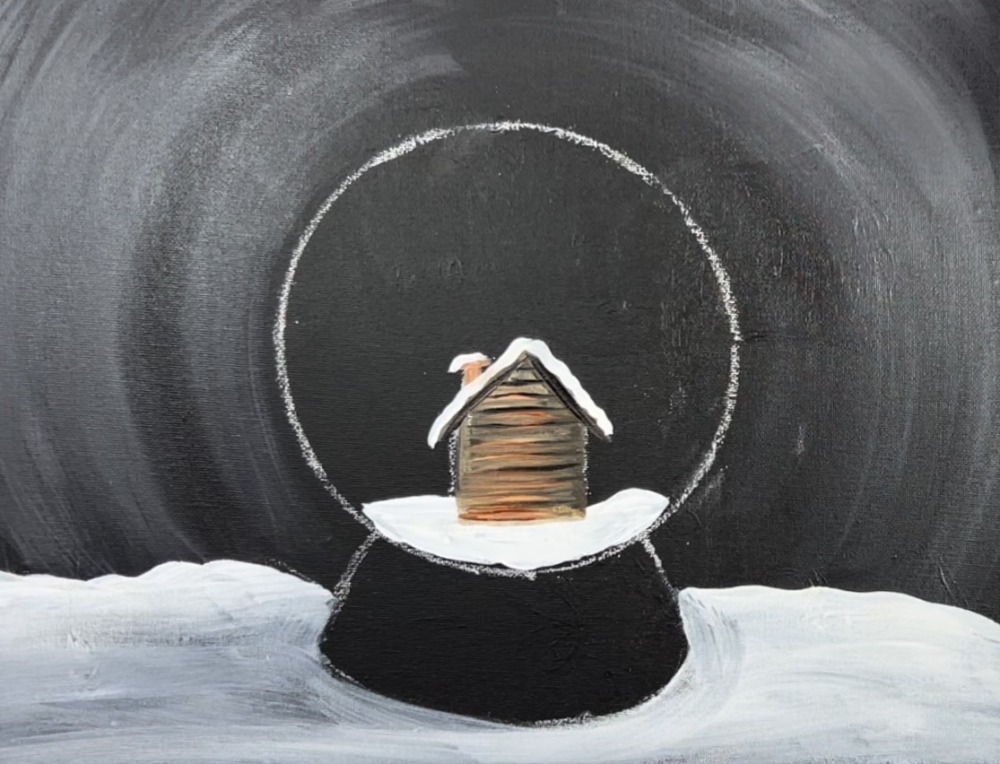
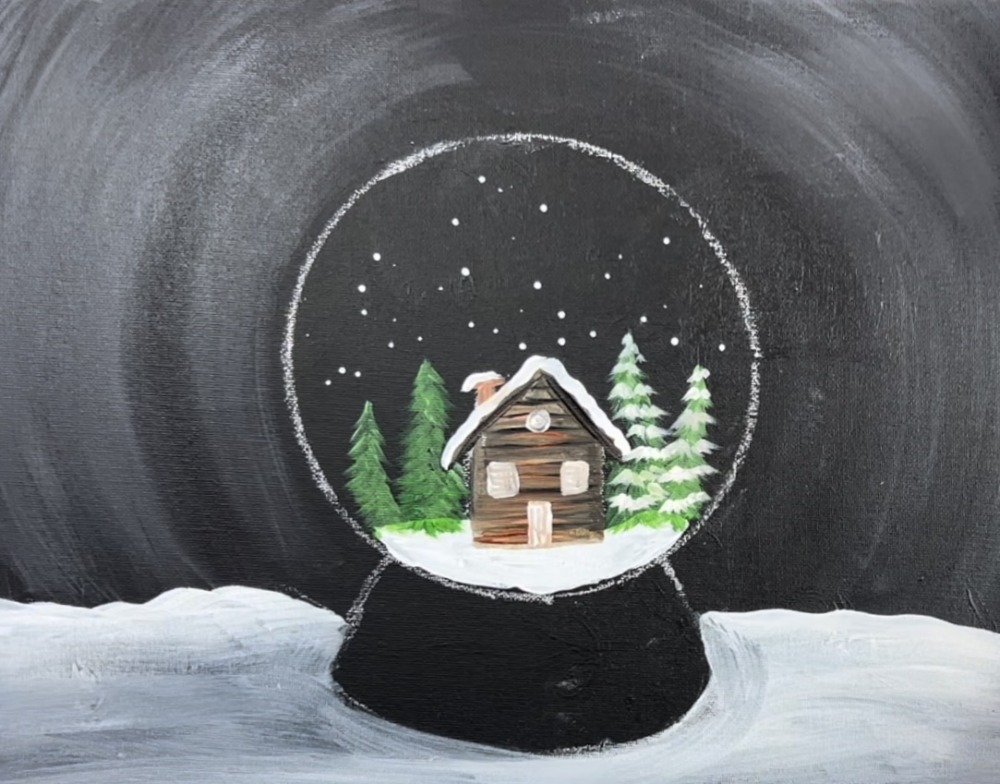
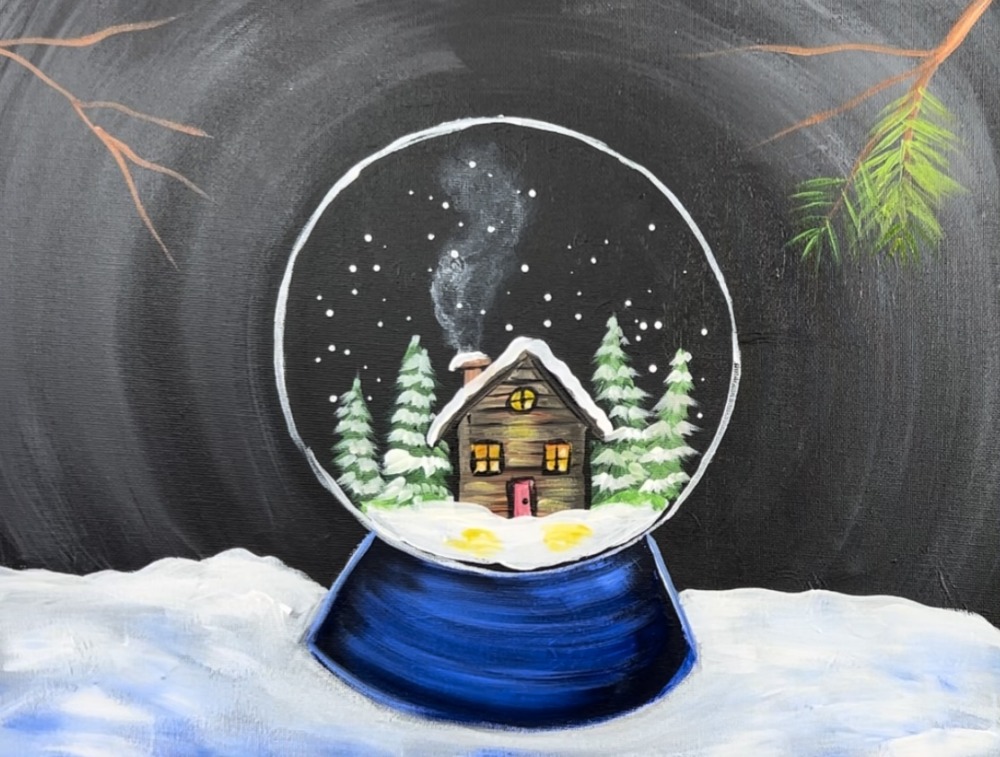
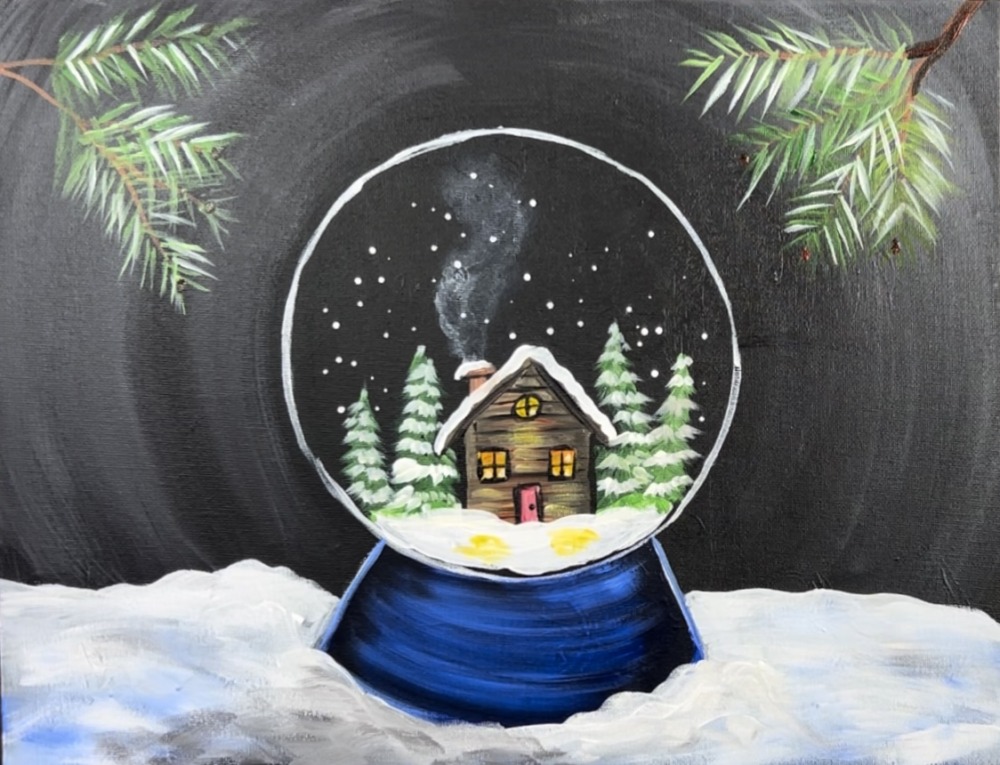
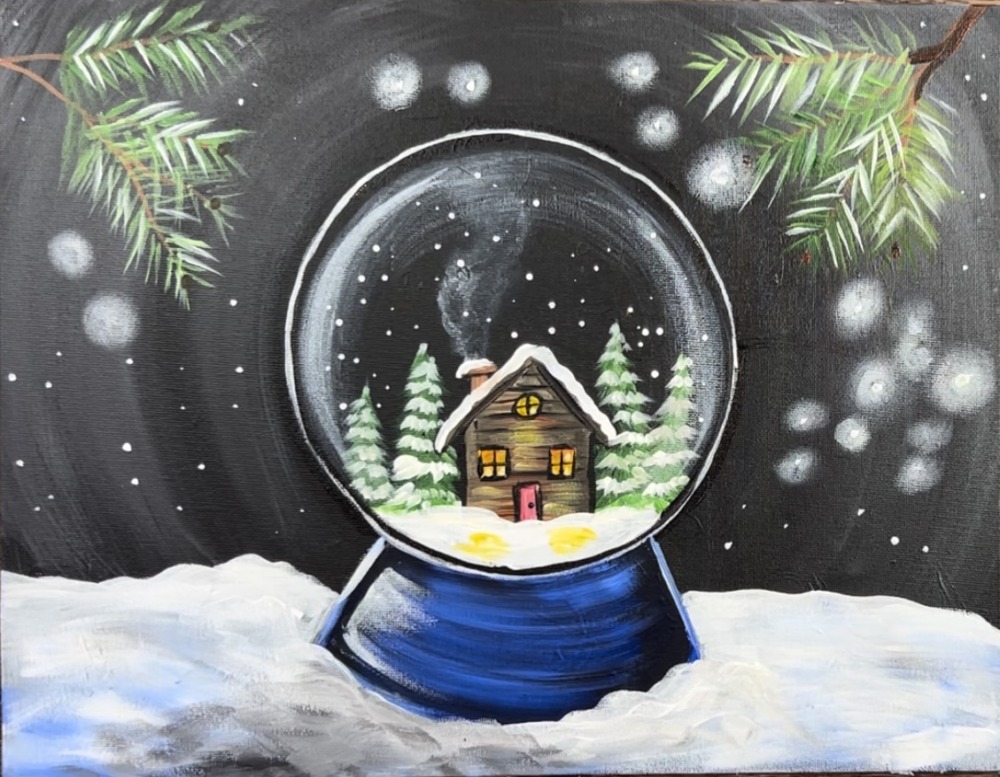
This painting tutorial demonstrates how to paint a snow globe with a winter cabin inside. The painting is demonstrated on a canvas pre-painted black! I will be showing you the techniques for how to create the snow globe effect with the glare on the glass.

I love painting on a black painted canvas because I typically use a “mess up” painting for these! You simply cover the canvas with one coat of black paint. You can use “Mars Black”, craft paint “Matte Black” or really any paint for this!

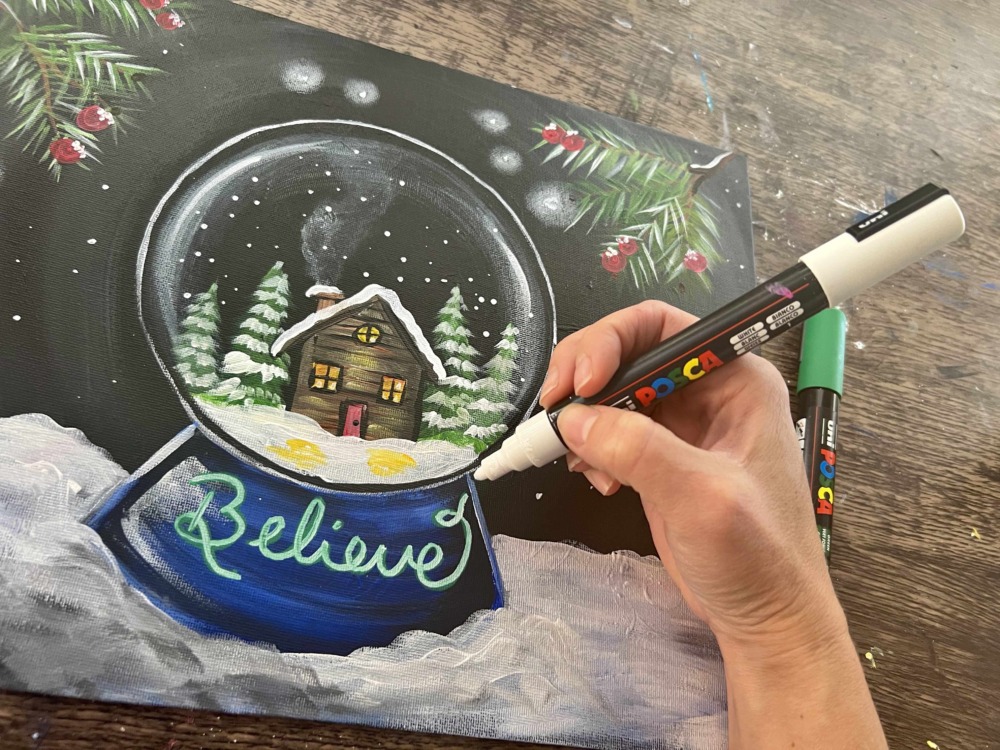
A final option on this painting is to write a word or even a family name on the snow globe base! I used POSCA paint pens to do this.
Enjoy and happy painting!
Materials
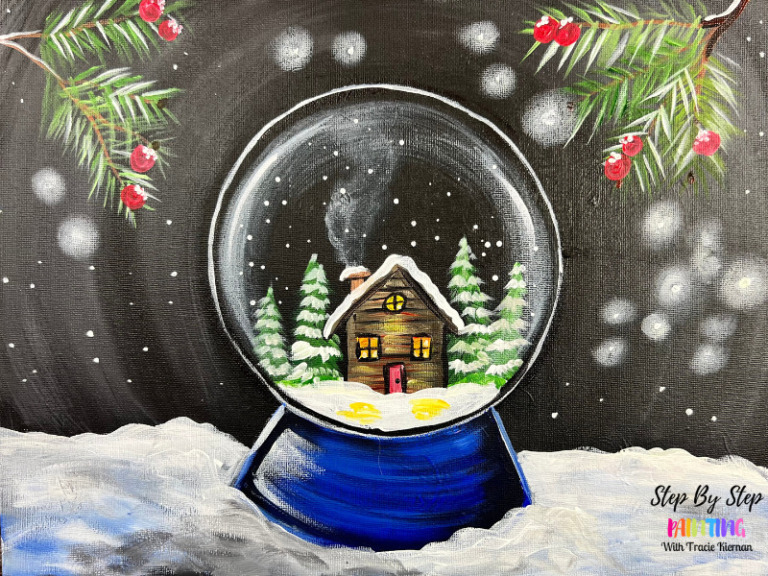
Snow Globe With Cabin - Acrylic Painting Tutorial

Paint a snowglobe with cabin on a black canvas.
Materials
- 11 x 14 Canvas (painted black)
- Acrylic Paint
- Paint Brushes
- Circle To Trace (6" diameter estimate)
- Chalk
Colors
- Mars Black
- Titanium White
- Ultramarine Blue
- Napthol Crimson Hue
- Cadmium Yellow Medium
- Hooker's Green Hue Permanent
- Burnt Sienna
- Raw Umber (optional)
Brush Sizes
- 3/4 Flat Wash
- 4 Round
- 12 Bright
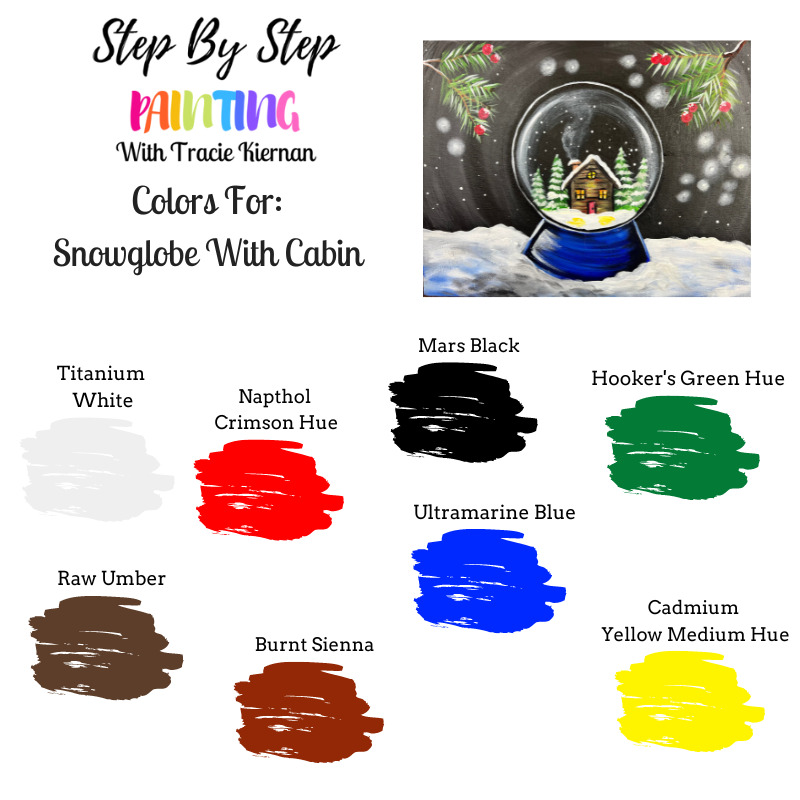
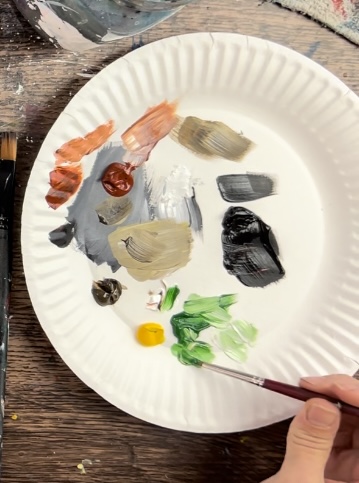
Color Palette
I used Liquitex BASICS acrylic paints for this. You are welcome to use whatever paints you have available! Use the color chart below to help you match colors!
Using craft paints?
If you are using craft paints such as Apple Barrel, I would recommend these colors:
- White
- Black
- Flag Red
- Holly Branch
- Bright Blue
- Nutmeg Brown
- Melted Chocolate
- Yellow Flame
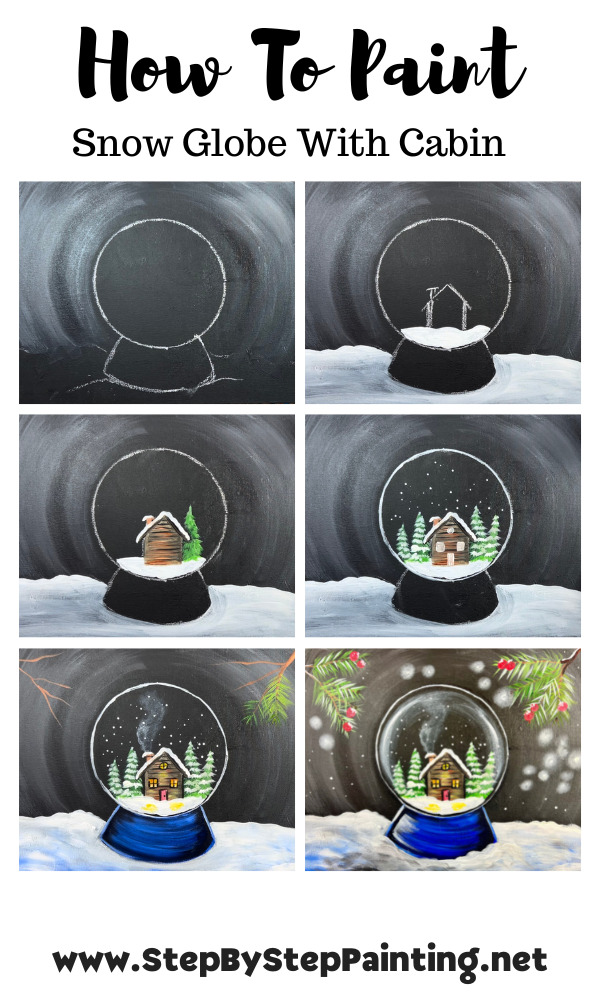
Directions At A Glance
No Traceable For This One!
You CAN paint this! I used a 6″ bowl to trace. I used a piece of chalk to trace the circle and a very basic shape and line for the base and snow.
Video
Step By Step Directions
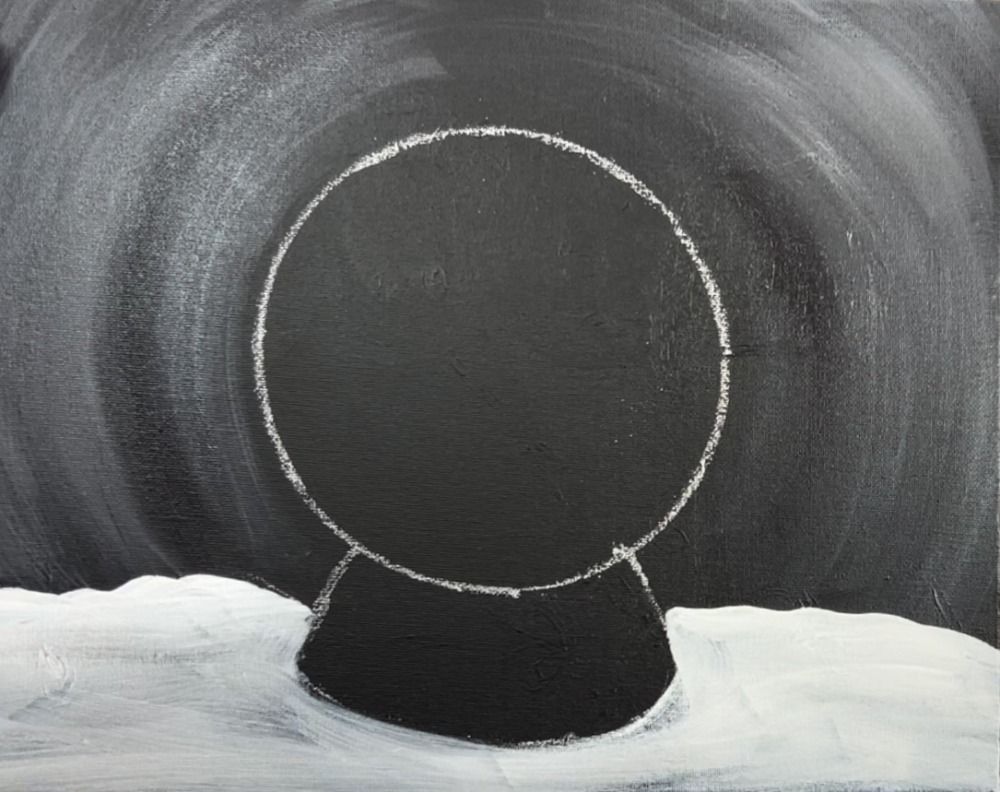
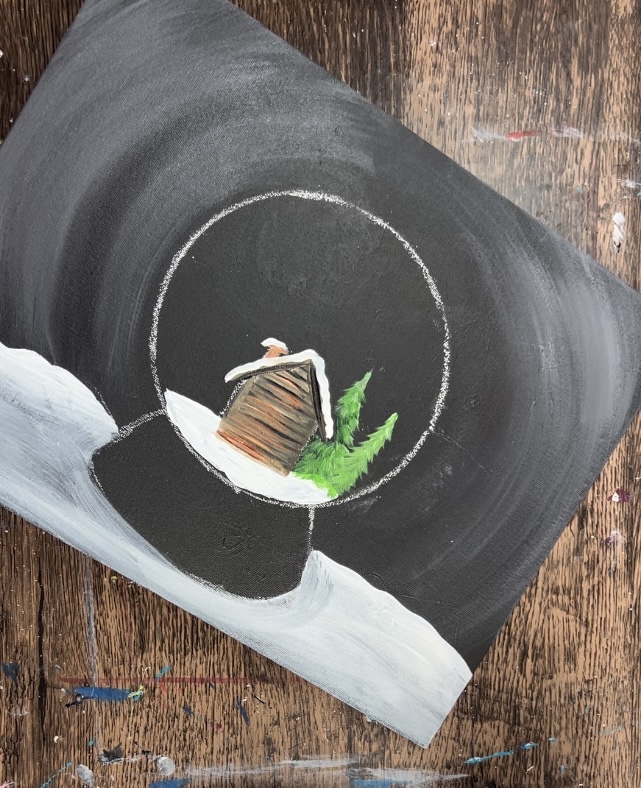
1. Paint canvas black and draw snow globe with chalk
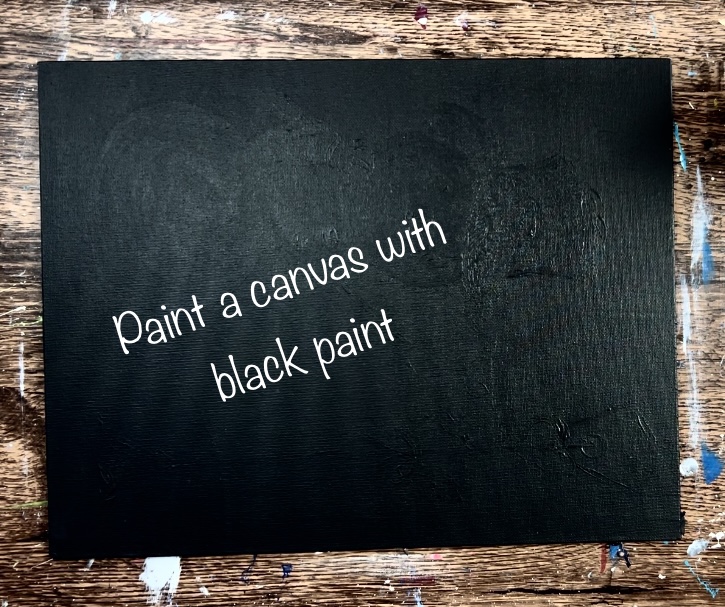
You can use a canvas that is already painted or primed with black. Or you can paint a canvas black!
My favorite thing to do is use a mess up painting to recycle it! Simply use “Mars Black” or “Apple Barrel Matte Black” paint and coat your canvas with one layer of black paint.
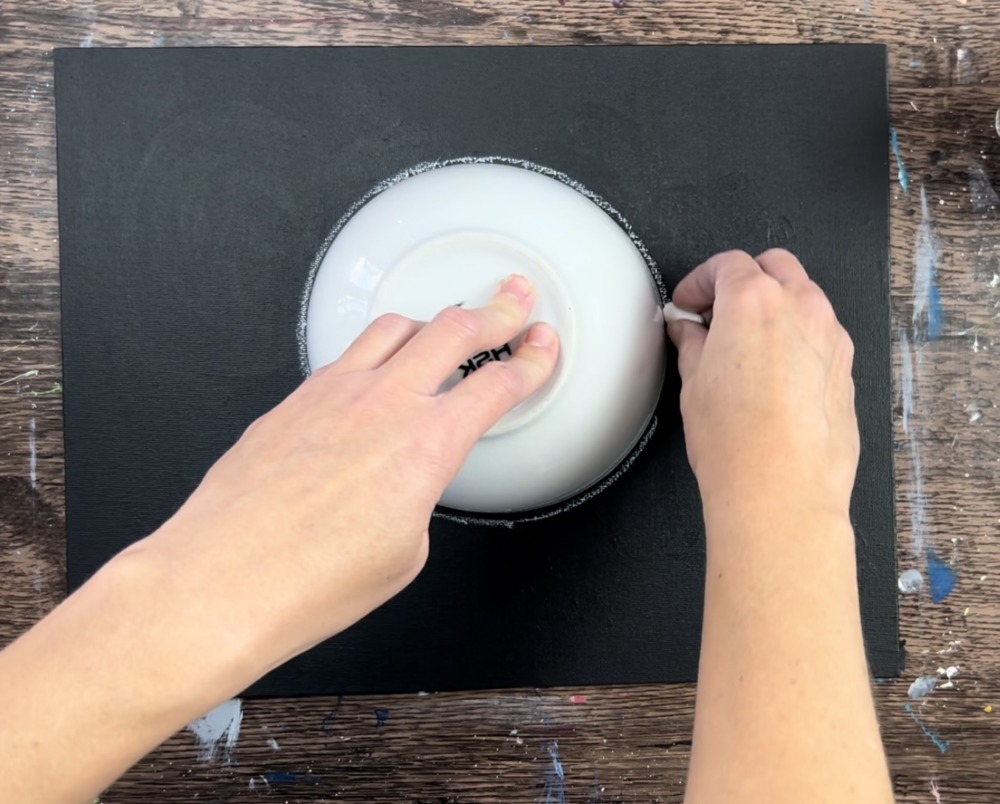
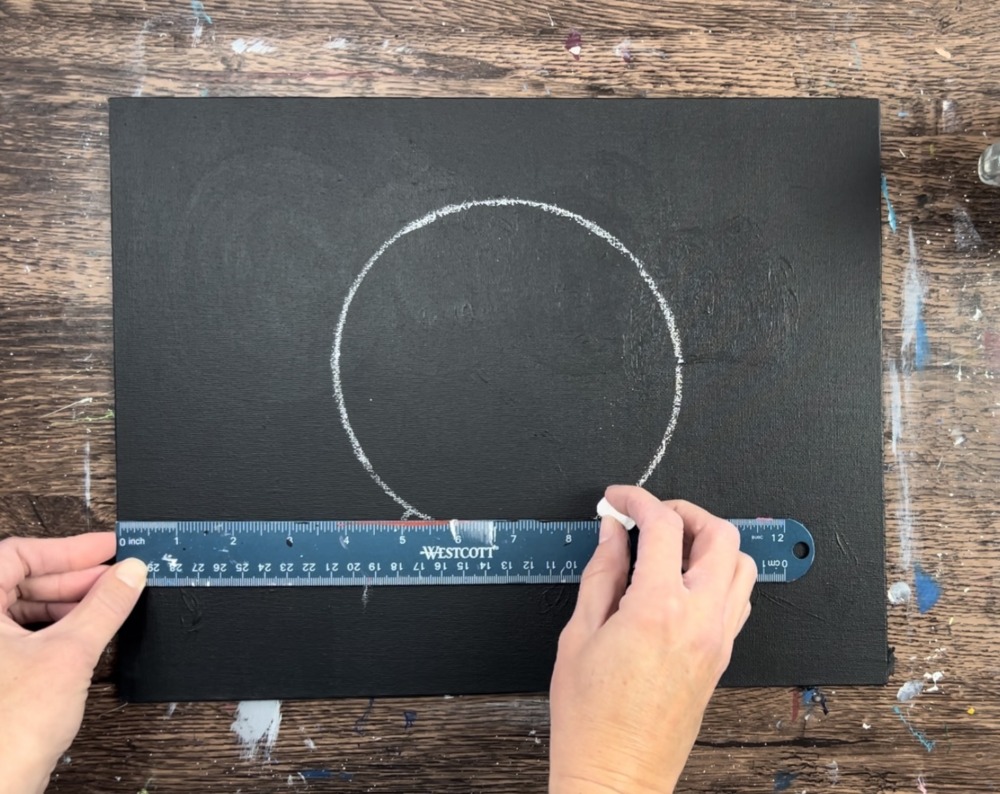
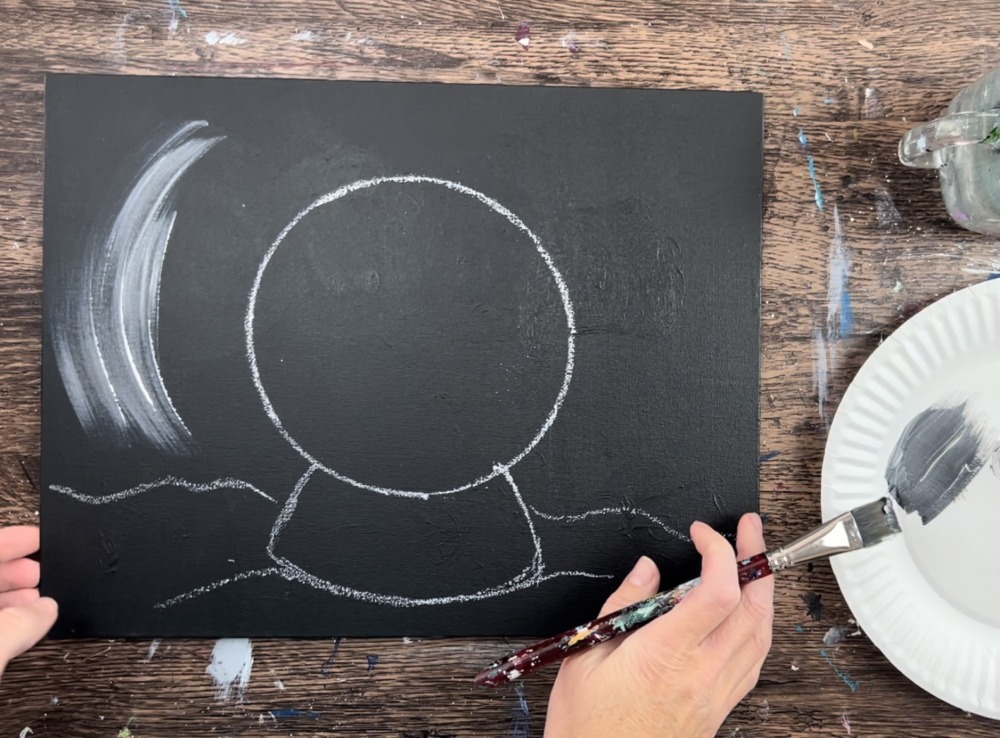
Next, you will be drawing the composition of the snow globe and it’s super easy! I found a circle (which happened to be a bowl) and traced it with a piece of chalk. This circle is about 6″ in diameter, however, you can do larger or smaller if needed!

Trace this circle in the exact center of the canvas.
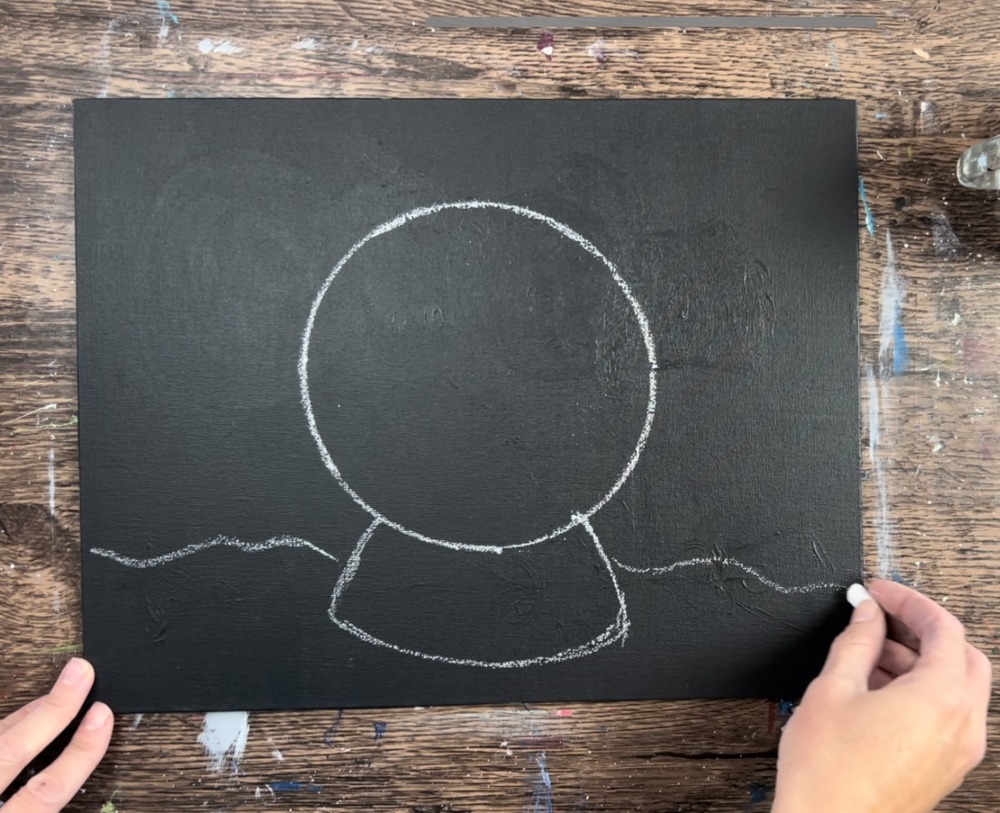
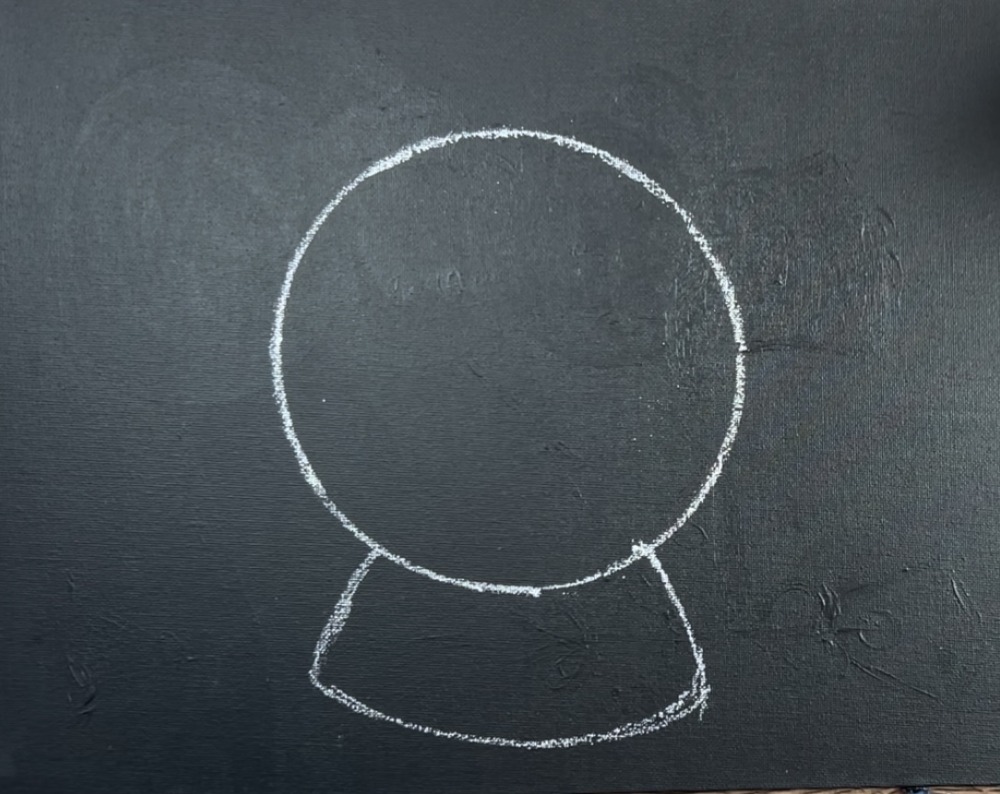
Then draw the base of the snow globe. Draw a curved line for the base and two diagonal lines that meet up to the circle. Tip: you can use a ruler to help you line up the base evenly on the bottom of the circle.
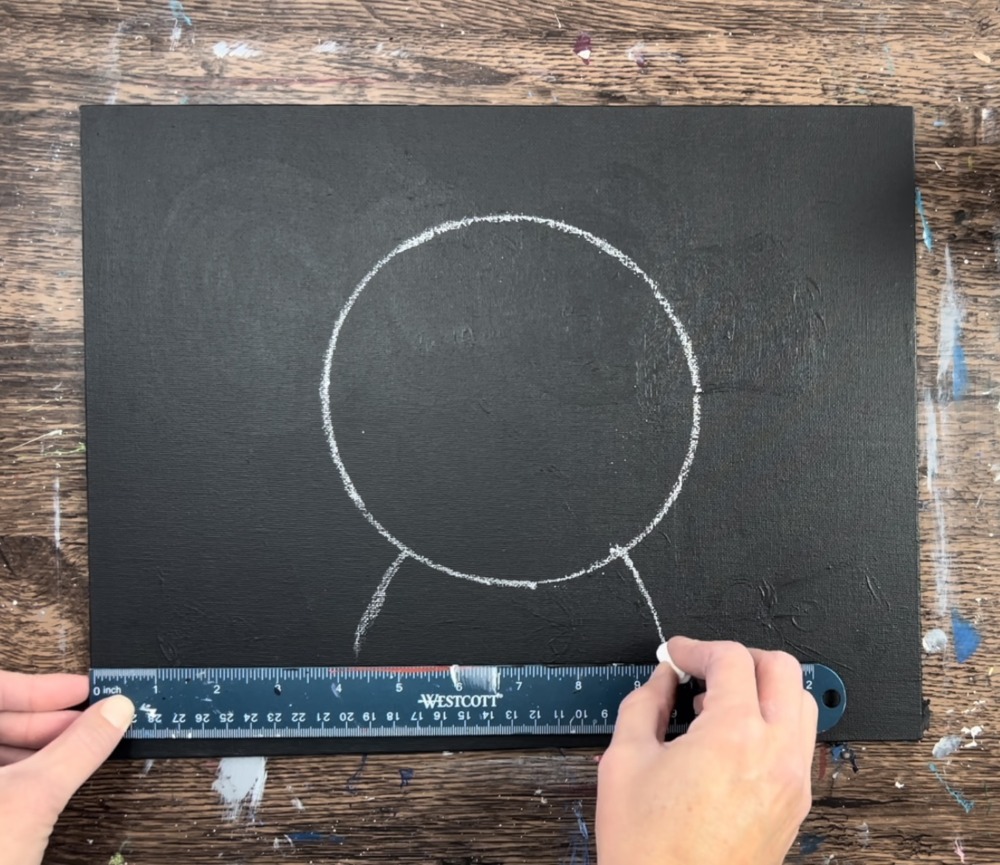
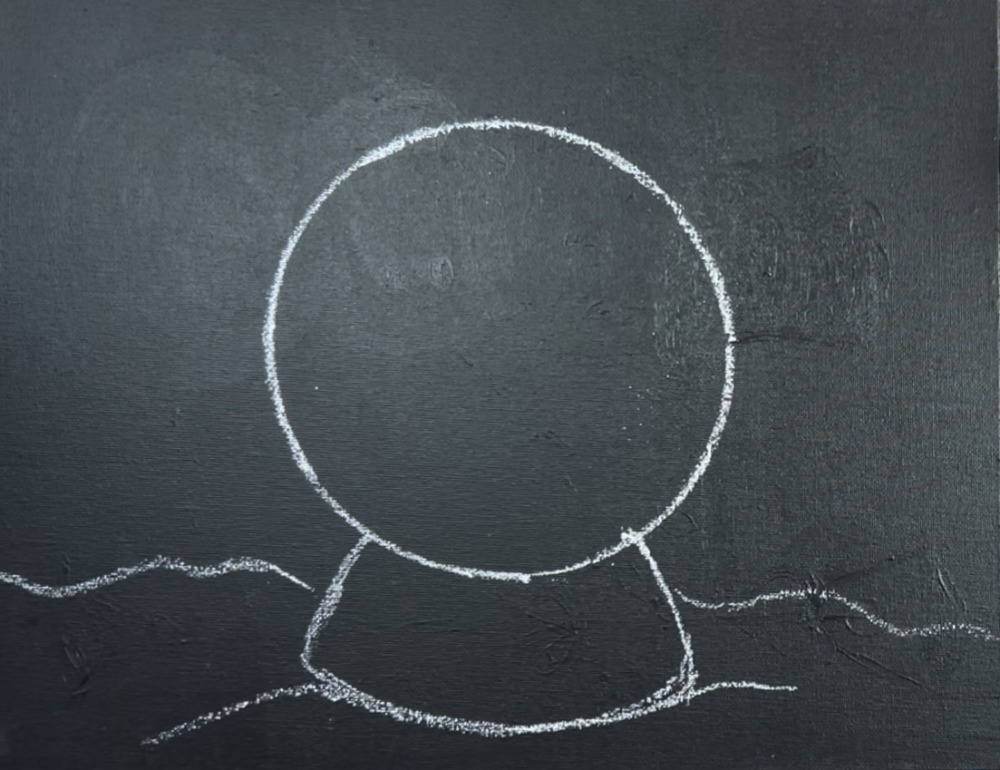
Then draw a wavy line that goes from one end of the canvas to the next just behind the base. This will make it look like the snow globe is on the snow!

Then draw a curved line at the base of the snow globe.
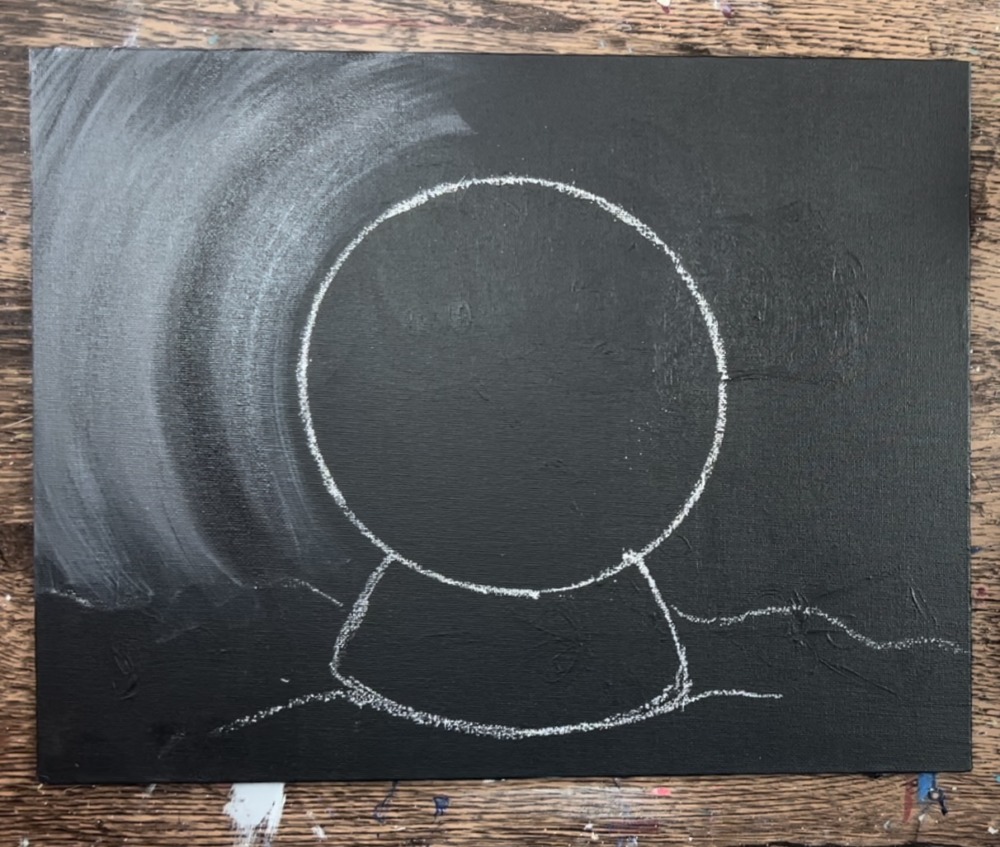
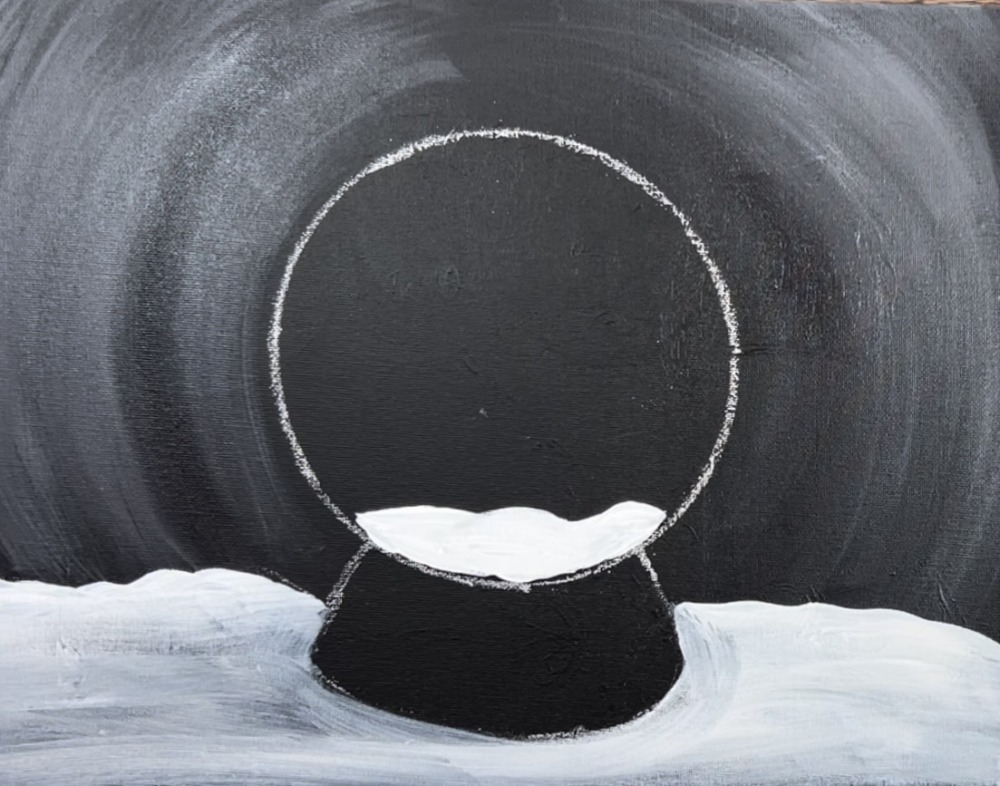
2. Paint Light Color On Sides Around Snow Globe
This is an optional step and you can skip it if you want. This step adds some lighter color on the sides of the canvas that fade to the black around the snow globe. It does give your background a little extra contrast.
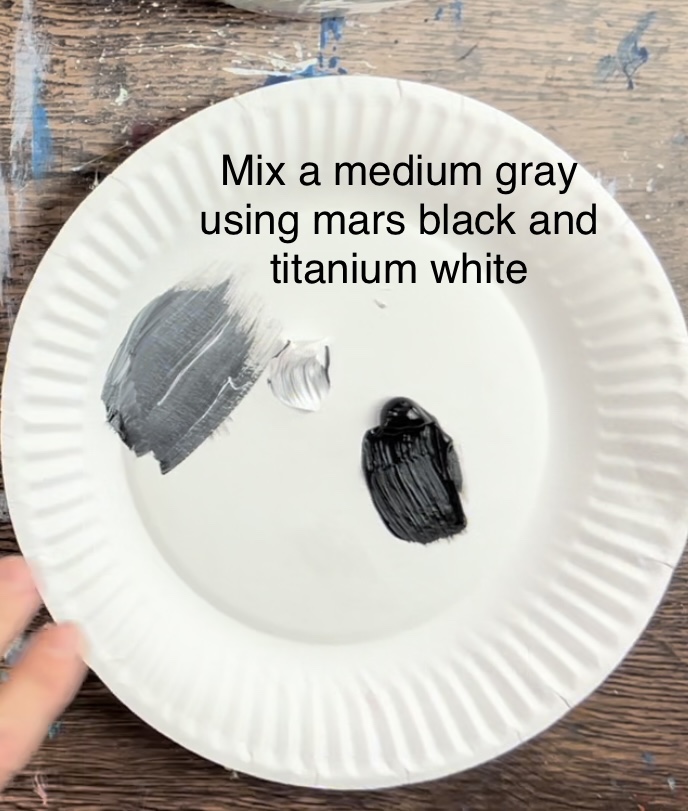
Load titanium white and mars black onto your palette. Mix a medium to dark gray by mixing about 3 parts black to 1 part white.
Load only a small amount of this medium gray onto the tip of your flat brush. Paint in circular strokes around the snow globe closer to the edge of the canvas. Keep this above the snow line.
Blend the circular strokes so that it is lighter on the edges and darkest closest to the snow globe. If needed, add more black around the snow globe.

3. Paint The Snow On Ground
Next, rinse and dry brush. Add a thin layer of titanium paint to the snow area on the ground. Start at the top edge of the “snow line” and paint in horizontal strokes to the bottom of the canvas.
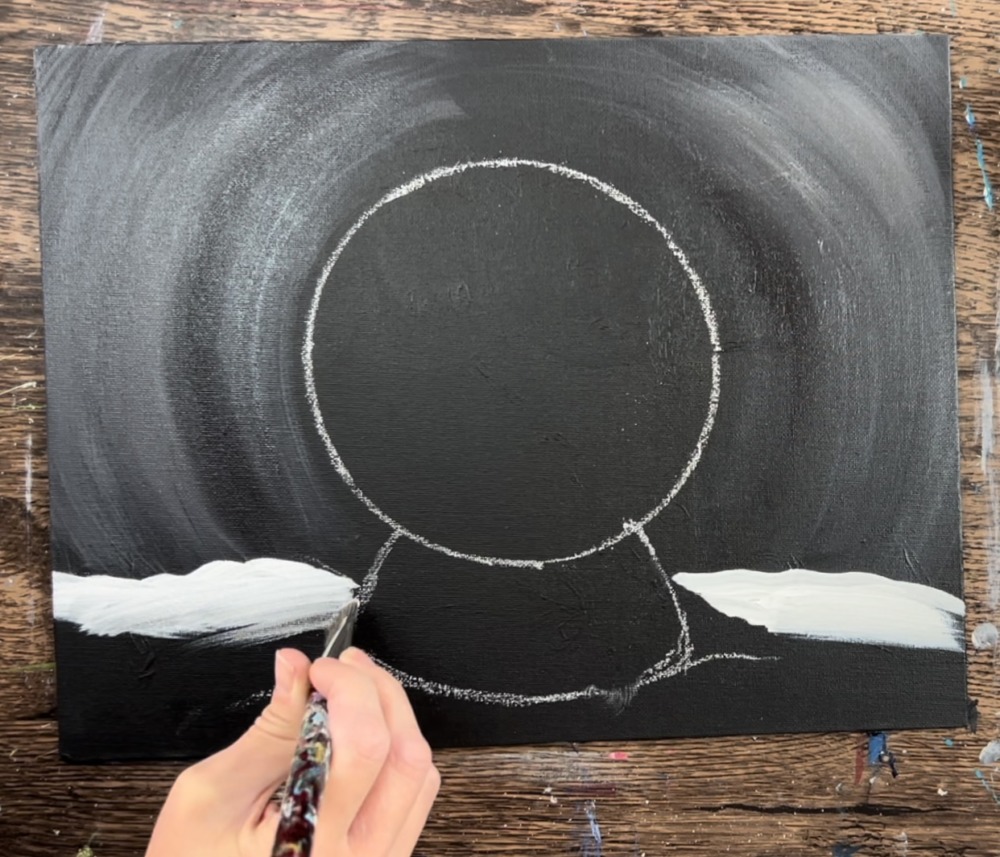
This is a relatively thin layer of paint. You can have a lot of the black canvas still showing through. We will be doing another coat of paint for the snow in a later step.
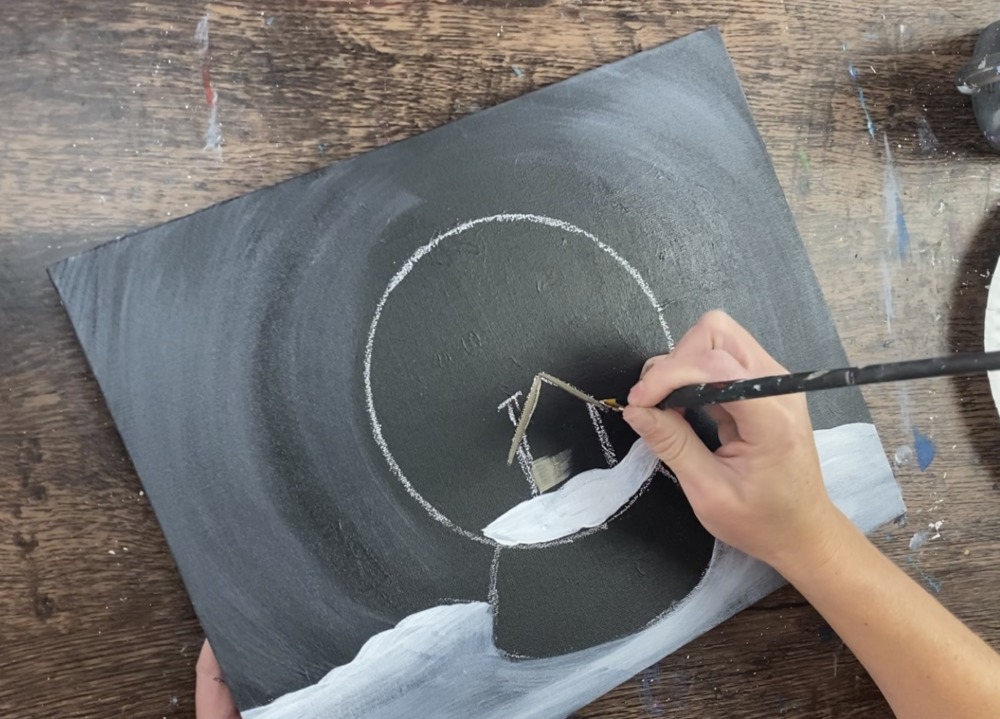
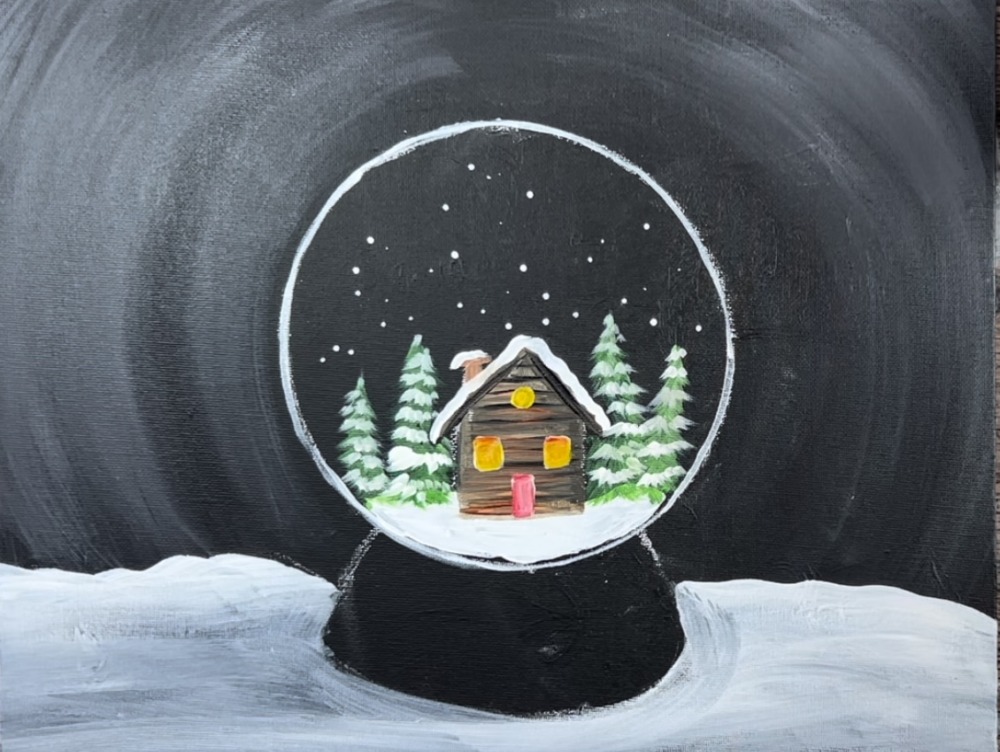
4. Paint Inside Snow Globe
Use the #4 round brush to paint the bottom of the inside of the globe. Paint a small area of snow with a wavy edge on the top.
Then use a piece of chalk to draw the cabin. Draw a simple frontal view of a house with a triangular roof and a simple chimney on top of the roof.
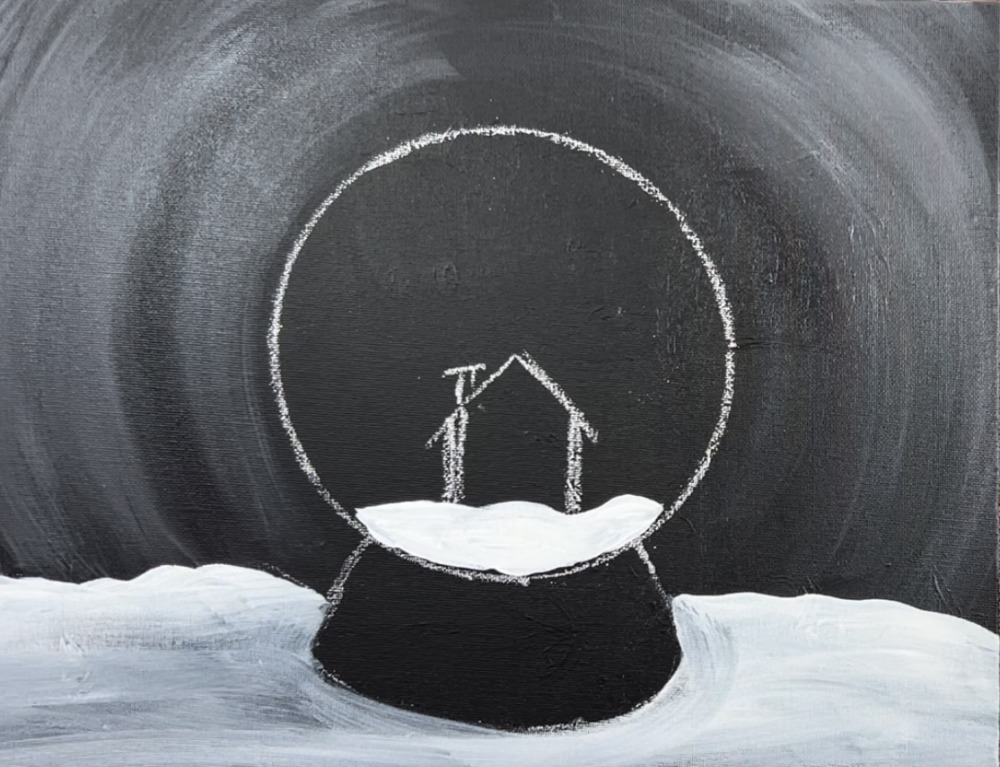
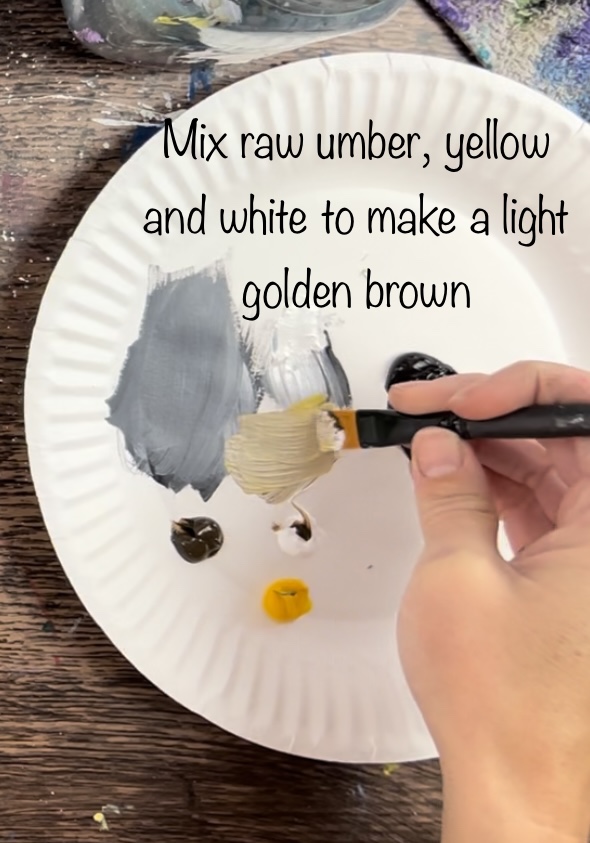
Then paint the cabin using the 12 bright brush (or a smaller brush if preferred because this is a small area). Load your palette with raw umber, titanium white, cadmium yellow medium and burnt Sienna.
To create a golden light brown, mix about 1 part yellow, 1 part brown, 1 part white. Tip: I often don’t mix my color completely. This allows the color to somewhat mix on the canvas as well to create some variation.
Then paint the cabin. Use the tip of the brush to outline the roof lines and sides of the cabin.
Then paint horizontal stokes to fill in the shape of the cabin. You can vary the color a little bit by loading your brush in some white or pure brown and letting it blend on the canvas with your golden brown. It’s okay if the paint is thin right now. We will be adding more layer and detail on this cabin.
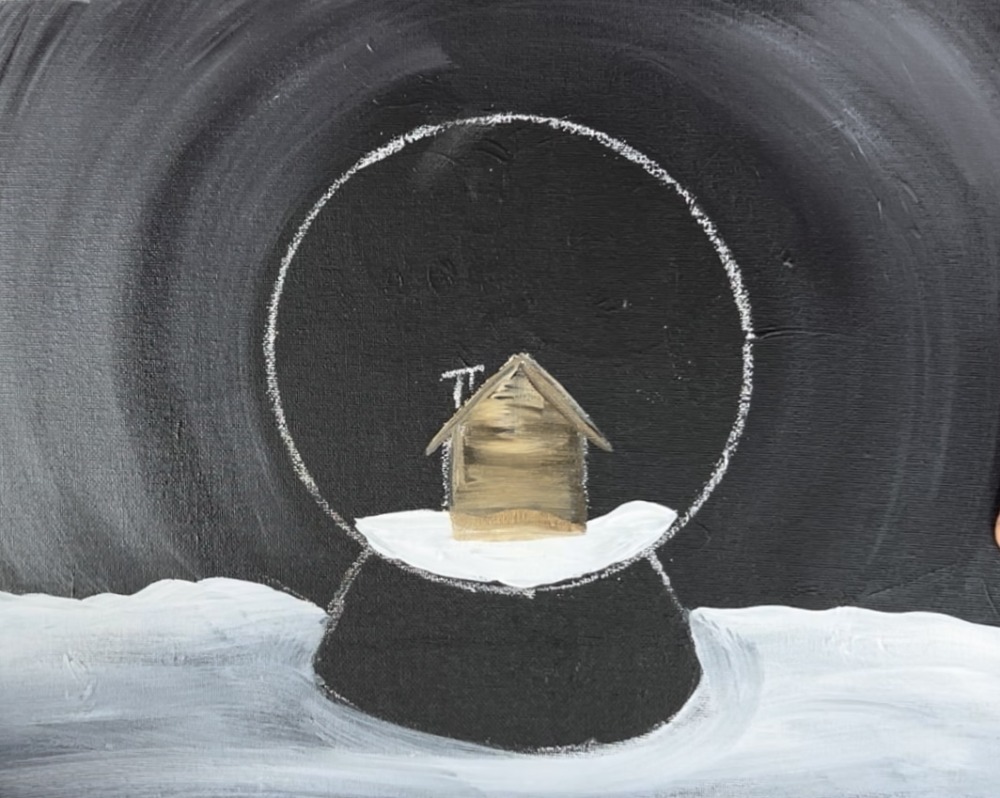
Then rinse and dry the brush. Load the tip in mars black. Paint horizontal lines to create the “log texture”. These lines can be very loose and don’t have to go all the way across. Start at the peak of the roof and work your way down to the base of the cabin.
Tip: if your 12 bright brush is too big for this cabin, use a smaller round brush or even a paint pen to help you with those horizontal lines.

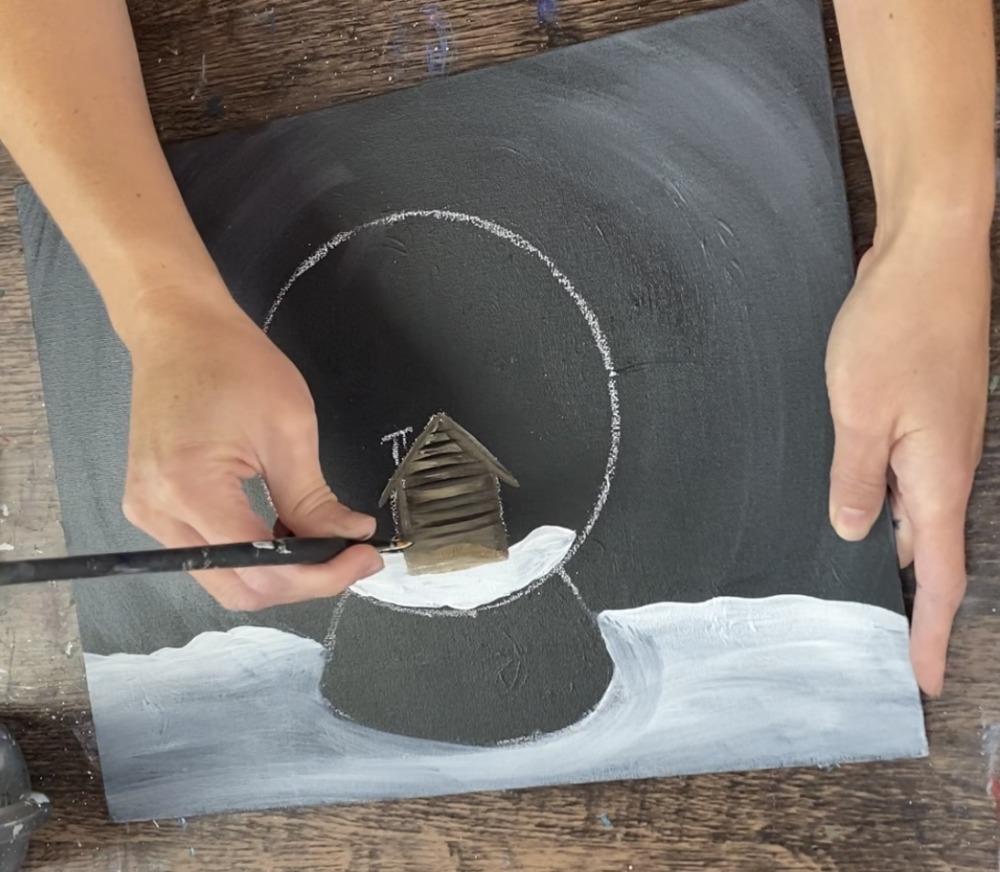
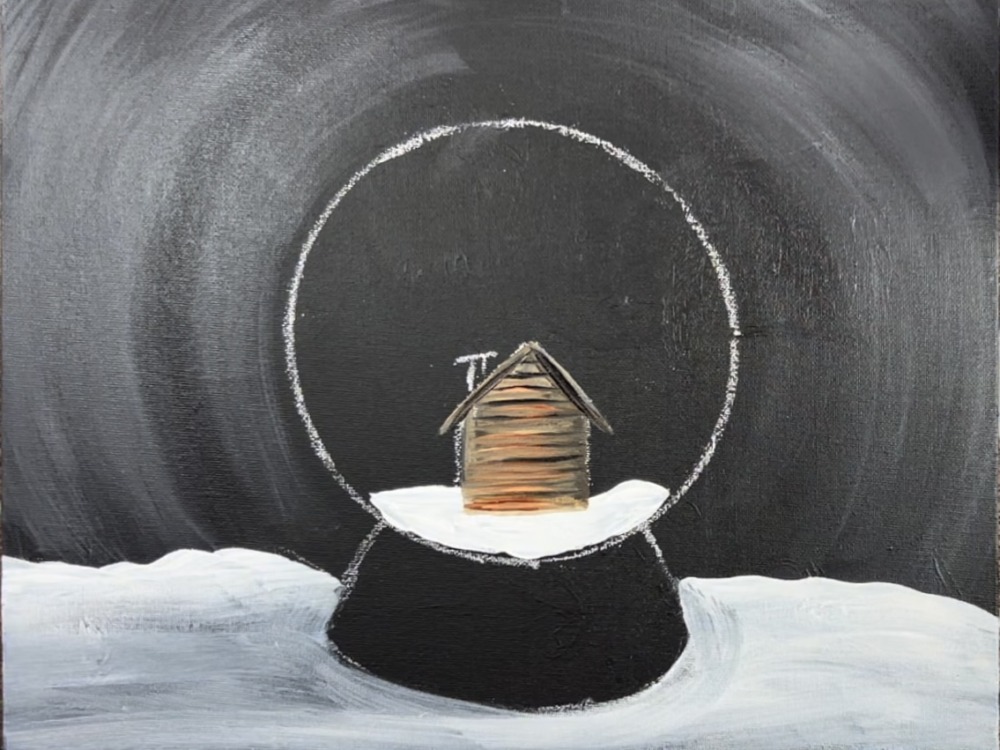
Optional: use “burnt Sienna” to add a reddish brown to the cabin. Use the tip of your 12 bright brush and lightly paint in horizontal strokes in between some of the black lines. Again, this is an optional step. I decided to add burnt Sienna because I didn’t like the cool brown of the raw umber and wanted more warm tones in it.
Then use the #4 round brush to paint the chimney with any of the browns. Rinse and dry the brush. Then paint snow on top of the roof using titanium white. Your snow should slightly overlap the top slither of the roof.
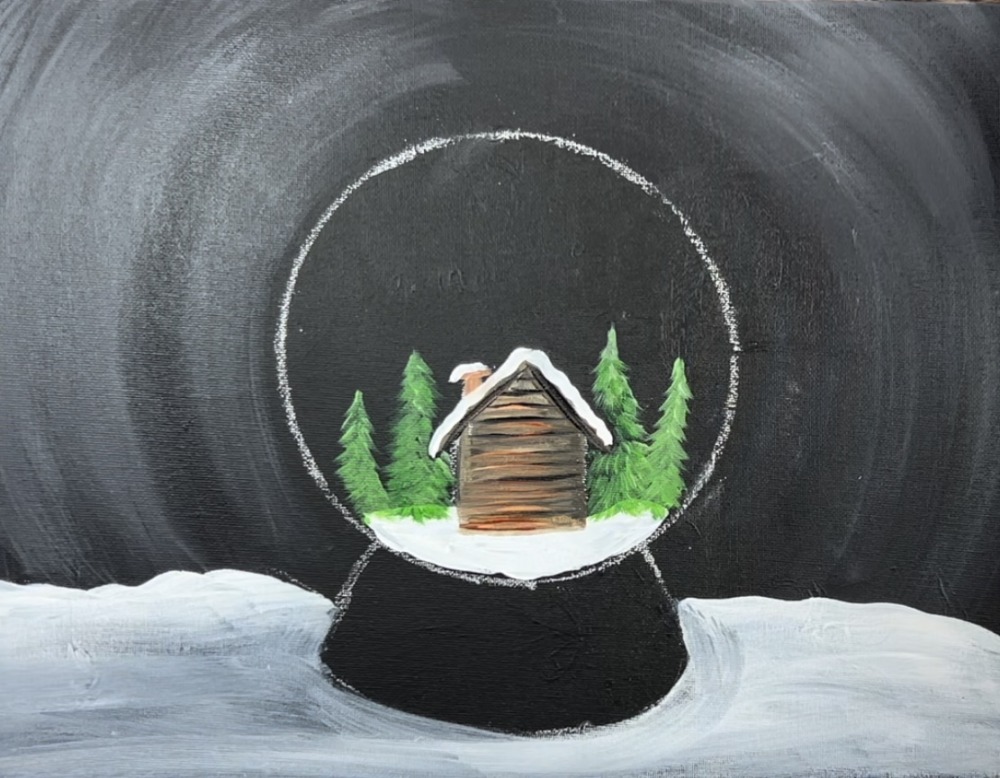
Next, paint the Christmas trees. Load hooker’s green hue permanent and titanium white on your palette. You can also use some of the yellow. Mix a light to medium green on your palette by mixing about 1 part green, 1 part yellow (optional) and 1 part titanium white.
Then paint the tiny Christmas trees using the 4 round brush. Start at the top of the tree and stroke down forming a conical shape of the pine tree. Make the tree go behind the cabin.
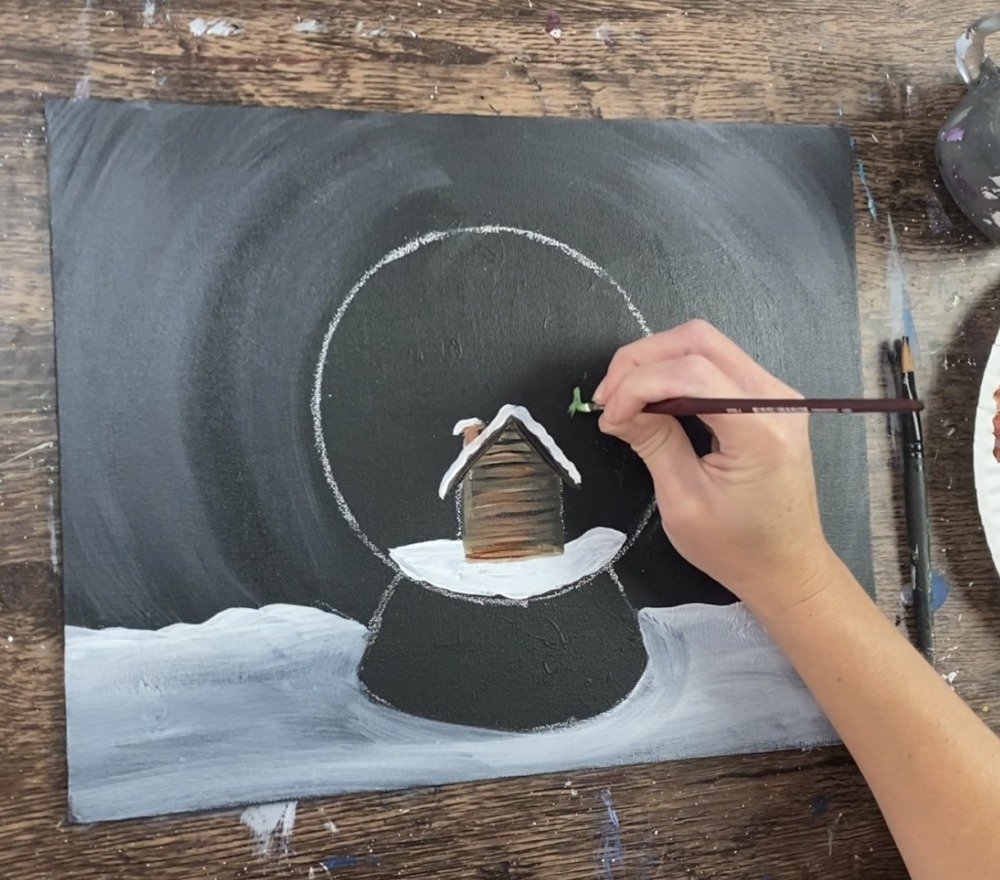
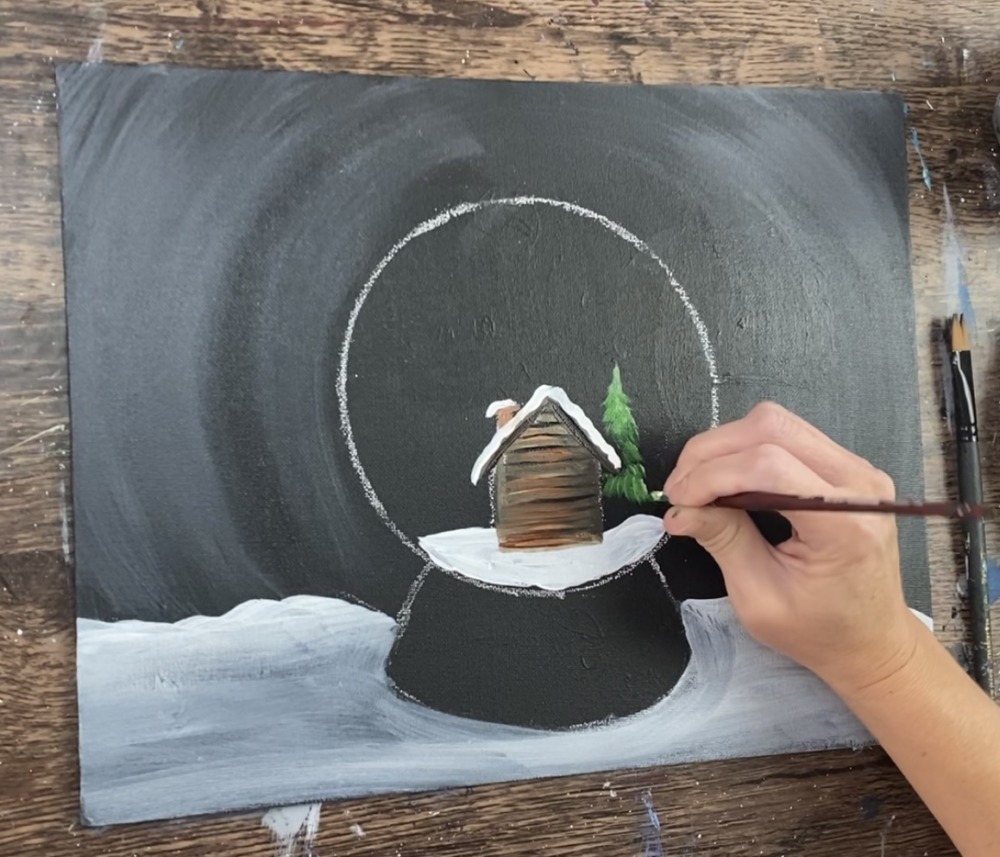
Then paint several trees around the cabin. Make sure you keep everything inside that circle!

Your tree color should show up relatively opaque from mixing the titanium white into that green. If it isn’t, try adding more white into your green.
I did a total of four trees. You can add more if you want. You can also add more details such as a snowman!
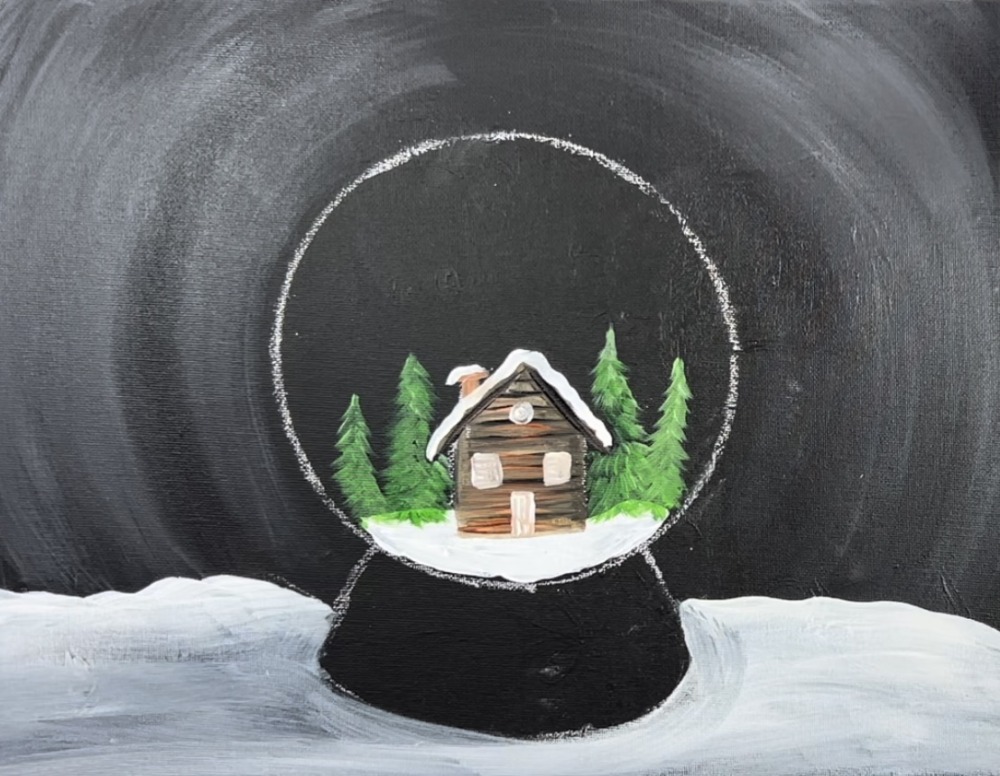
Next, use your round brush and titanium white to paint windows and a door on the front face of the cabin. You’ll want to make sure your brown is dry for the most part. Mine was a little wet still so my “white” turned to a light brown.
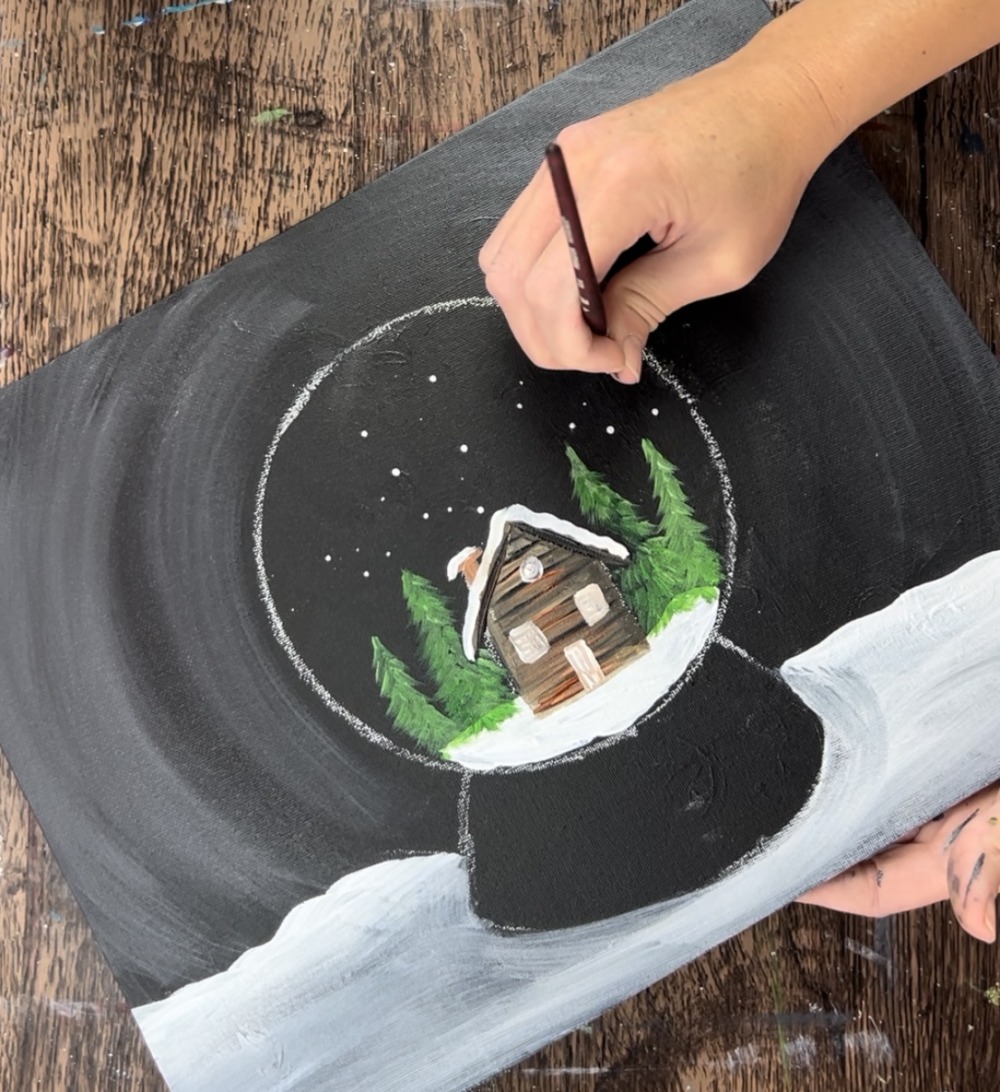
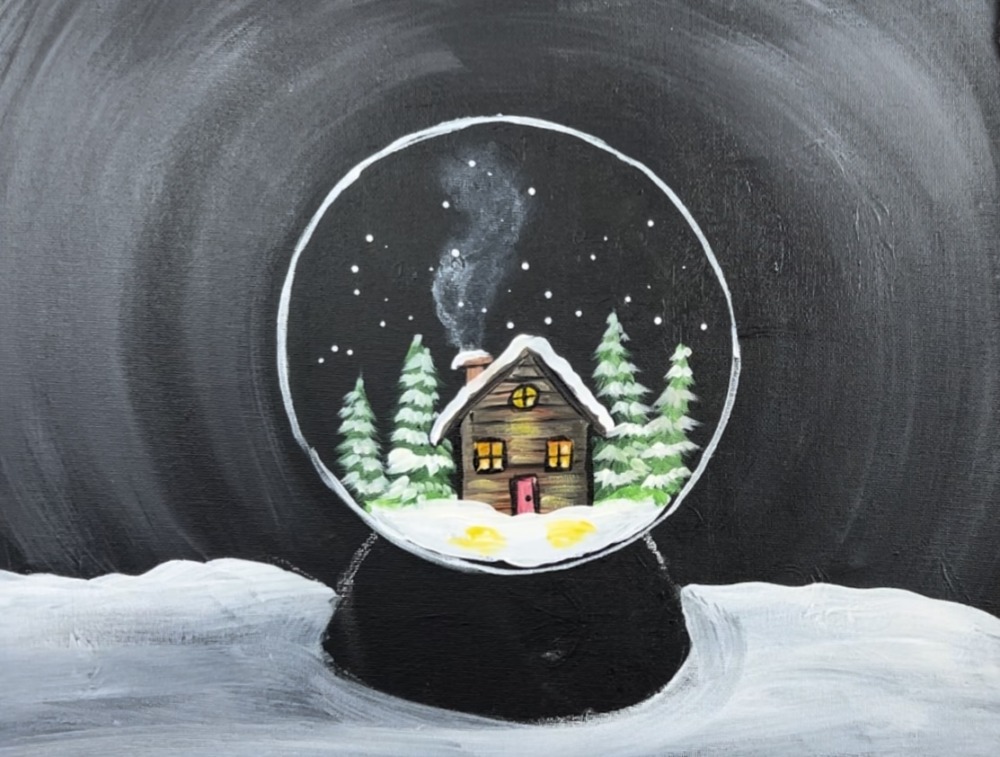
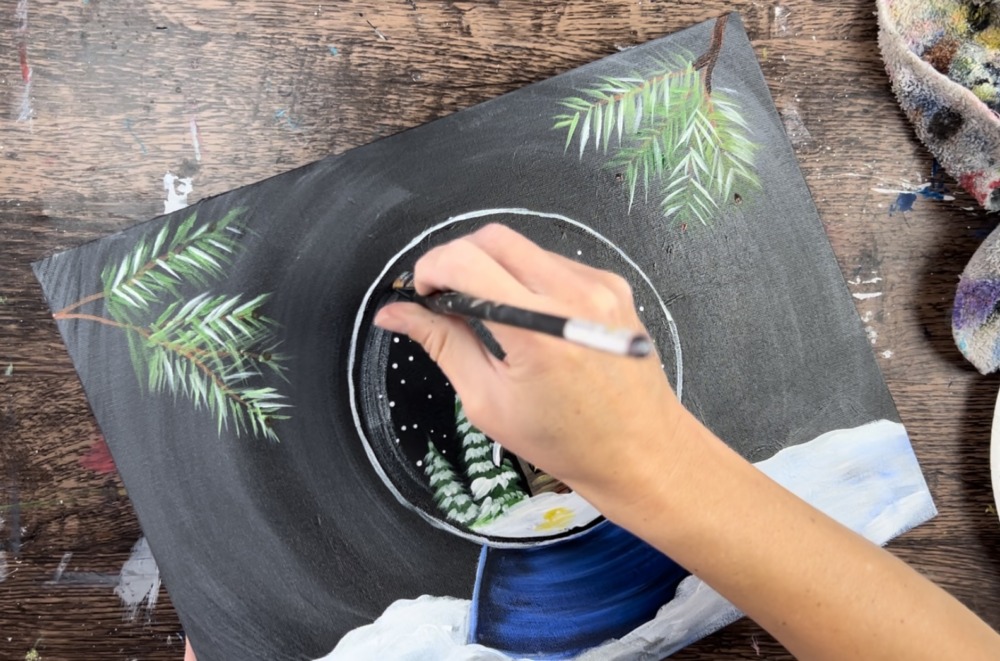
Then paint little snow dots all over on the inside of the globe. You can also use a toothbrush to splatter little snow dots inside the globe.
Then paint snow layers on the Christmas trees. To do this, use just titanium white and paint rows of white branches. Skip rows to keep a lot of the green showing.
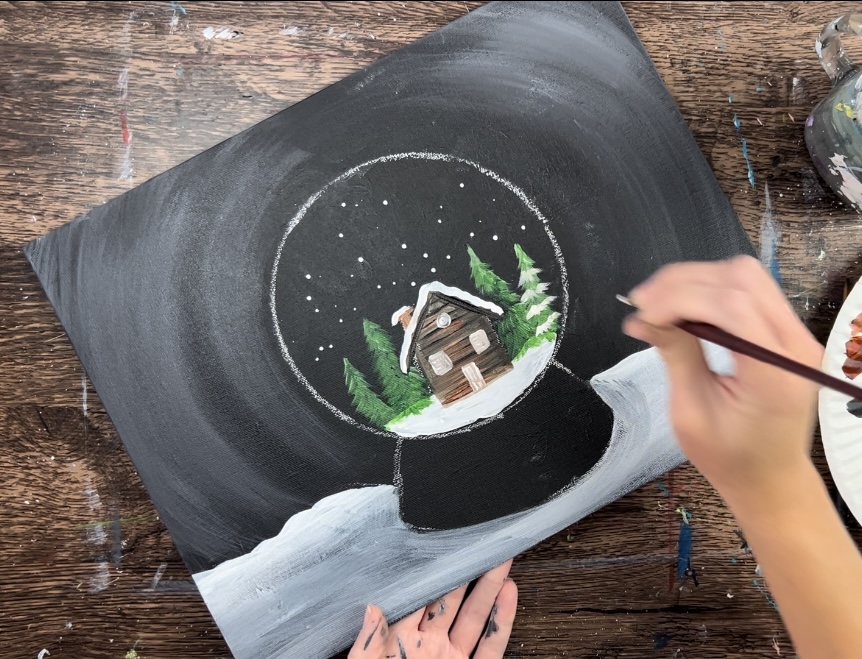
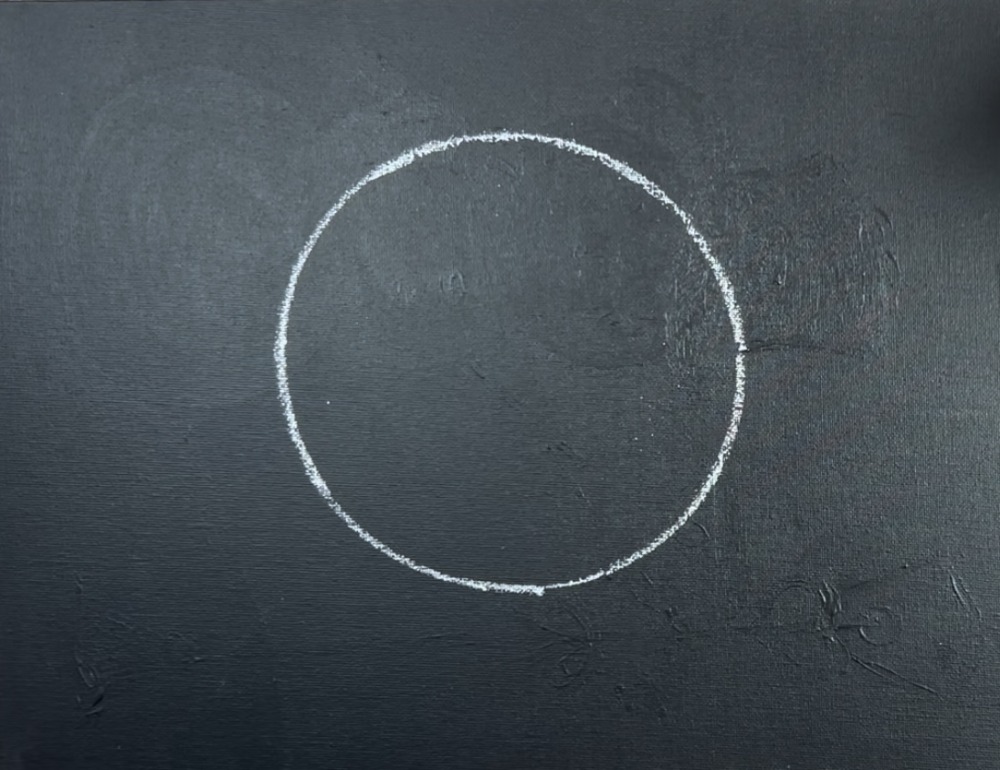
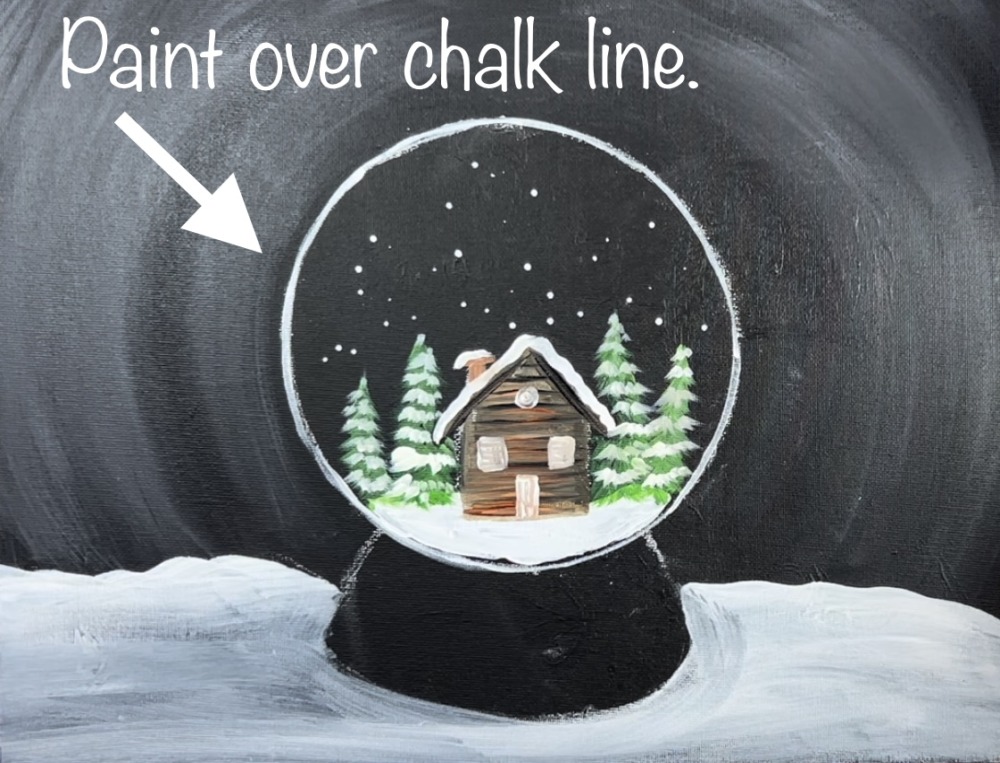
Use your #4 round brush and titanium white to outline the chalk circle. Most of the chalk will erase as you are painting over that circle. However, if there is some chalk left, you can erase it later with a soft wet paper towel or baby wipe.
Then paint the door red and the windows cadmium yellow medium. I added a little red to my yellow in the windows to give them an orange glow.
To do the smoke from the chimney, dry brush titanium white. Add a very tiny bit of white to the tip of the brush. Then paint a stream of smoke going in a curved direction from the chimney to the top of the snow globe.
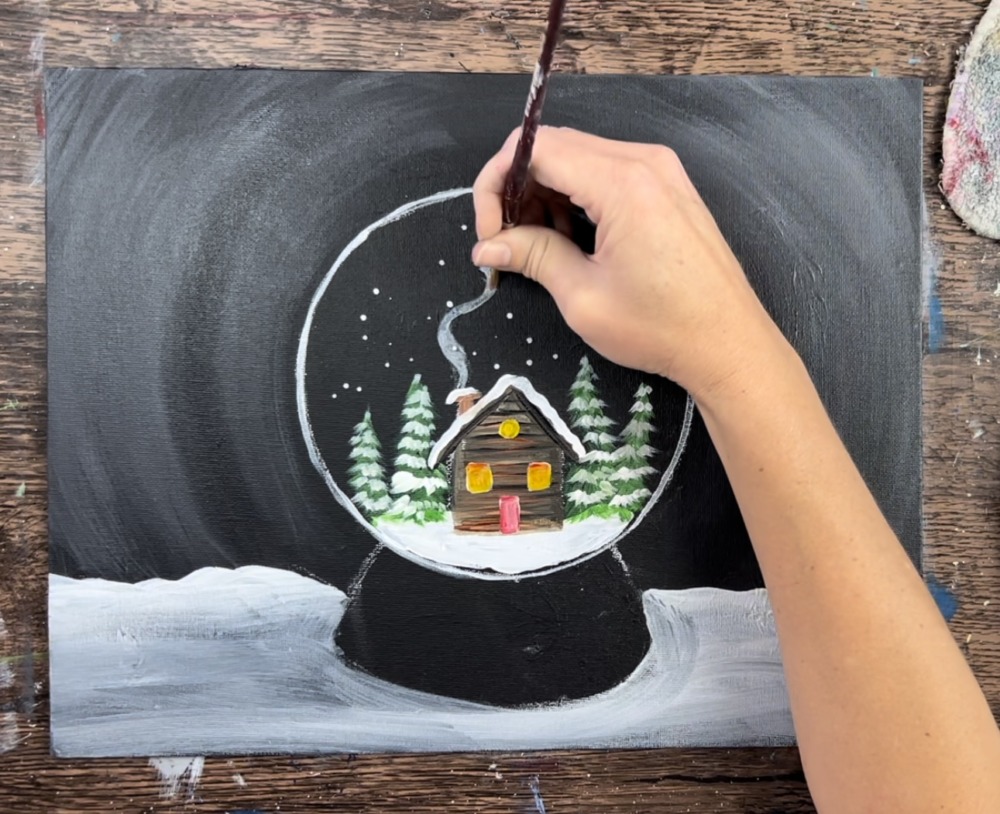
Smear it with your finger or a dry brush going in a circular direction to create a “see through” layer of paint to resemble smoke. To get that see through layer, you really need to make sure you are applying minimal paint to your canvas.

Next, outline the windows and door with black. Alternatively you can use a black paint pen to outline these. Also, bring up the snow so that it overlaps the base of the cabin slightly.

Next, paint cadmium yellow medium on the snow under the windows to make it look like the lights are reflecting on the snow. You can also add a bit of yellow to the front face of some of the cabin loges under the windows.
That’s it for the inside of the snow globe! Again, you can add more details to this if you want!
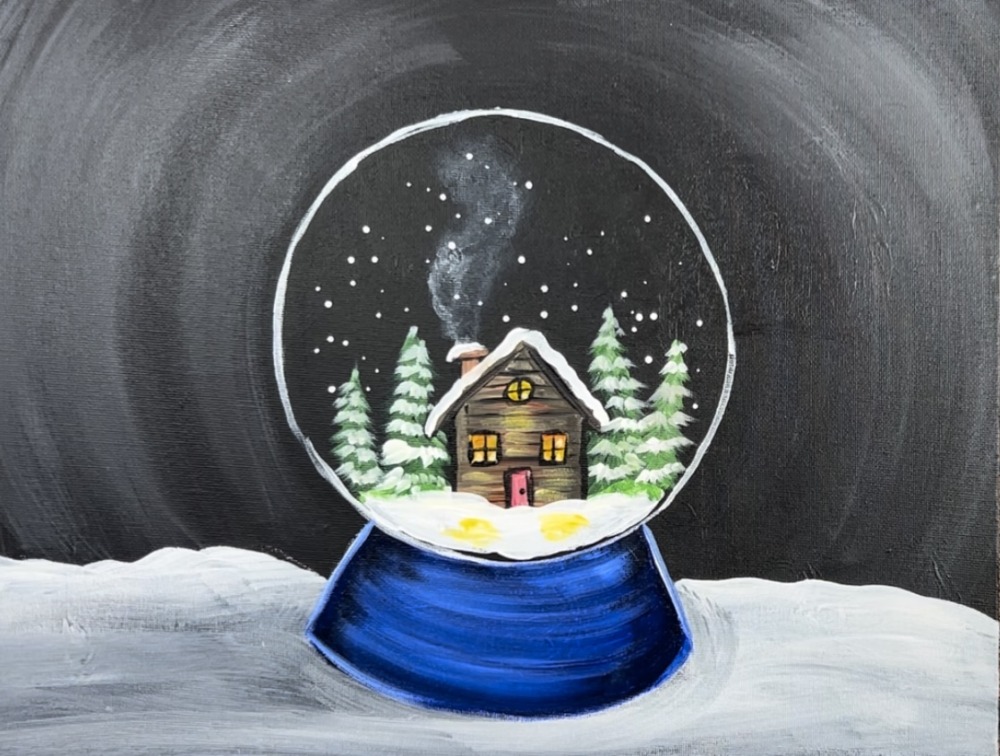
5. Paint Base Of Snow Globe
Use the 3/4″ flat wash brush and ultramarine blue to paint the base of the snow globe. First outline the shape. Then paint in a curved direction. When you paint in a curved direction using the full width of the brush, it will start to give that base some form.

Next, add titanium white to your brush and gently blend the white into the blue going in a curved direction. Let the white blend with the blue but not all the way. Go in a curved direction to create dimension with the snow globe base. I allowed the left and right sides of the base to be slightly darker.
6. Add more detail to snow
We will be using the ultramarine blue to create shadow in the snow. Use the 3/4 wash brush and mix a small amount of blue into white (about 1 part blue to 4 parts white). Paint the bottom of the snow area with this blue.
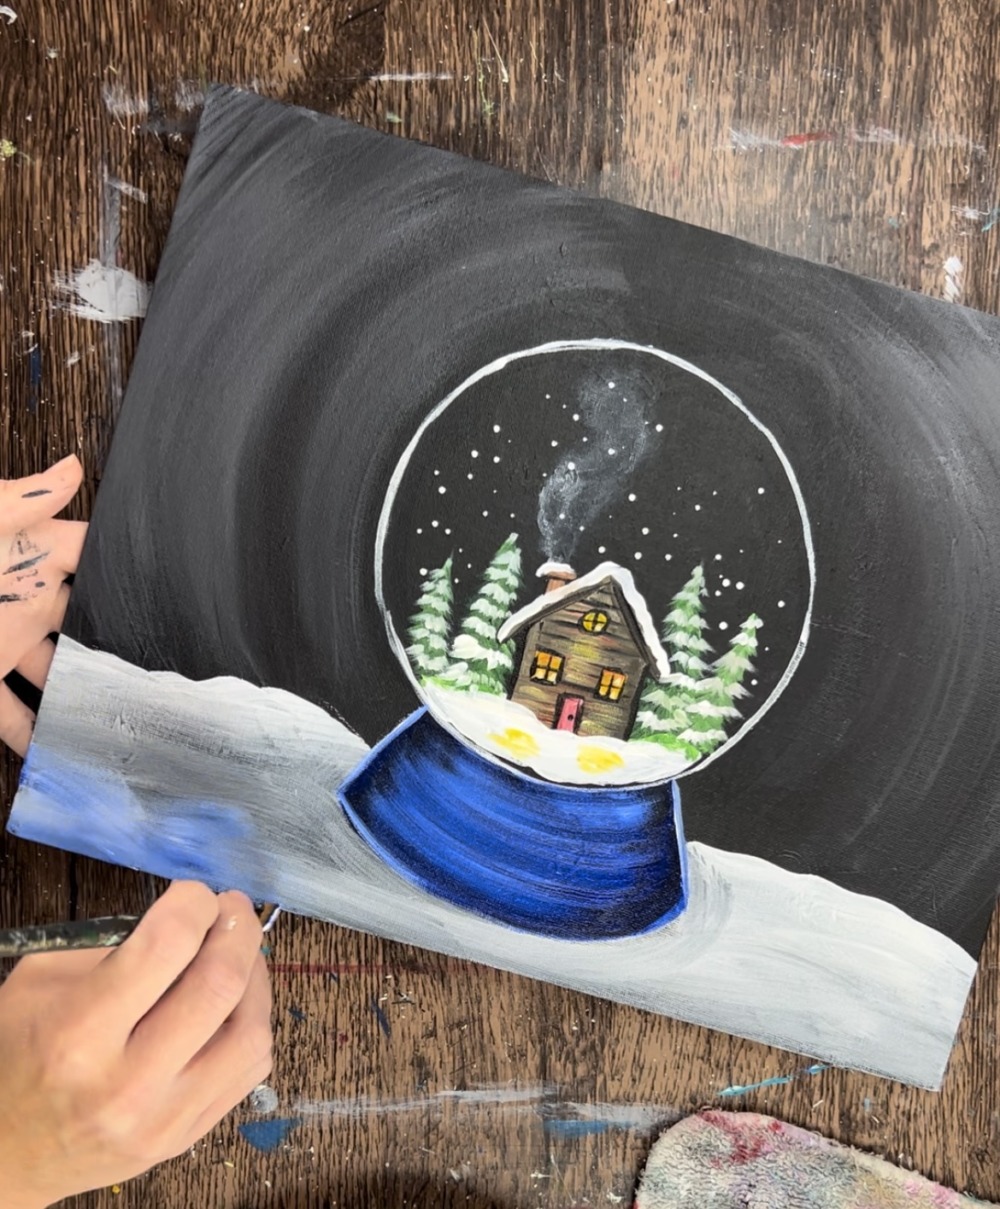
Do this in short, horizontal choppy strokes. Then blend more pure white up to the top. The snow should be dark on the bottom and light on the top. Try not to add too much blue into the snow! Only small amounts are needed to give your snow some shadow.
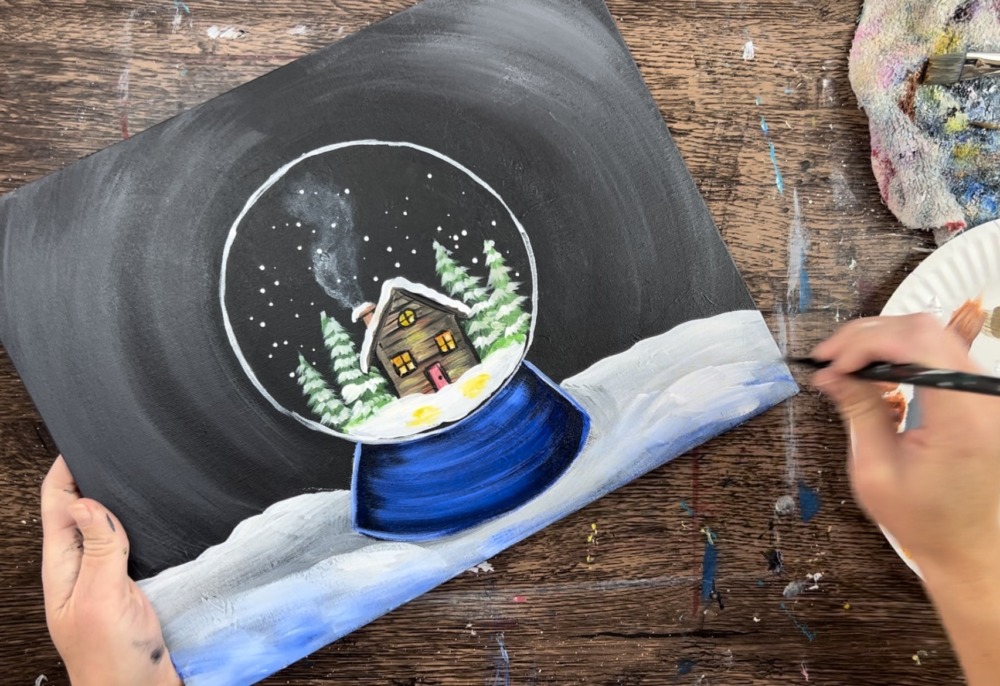
Add more short, choppy strokes of white throughout. This will give texture into the ground! In a later step, we will paint some snow going over the base of the snow globe a little on the bottom.
7. Paint Pine Branches
Use the #4 round brush to paint two branch bundles – one on each upper corner. Do this with either the burnt Sienna or raw Sienna mixed with white (I used the burnt Sienna).
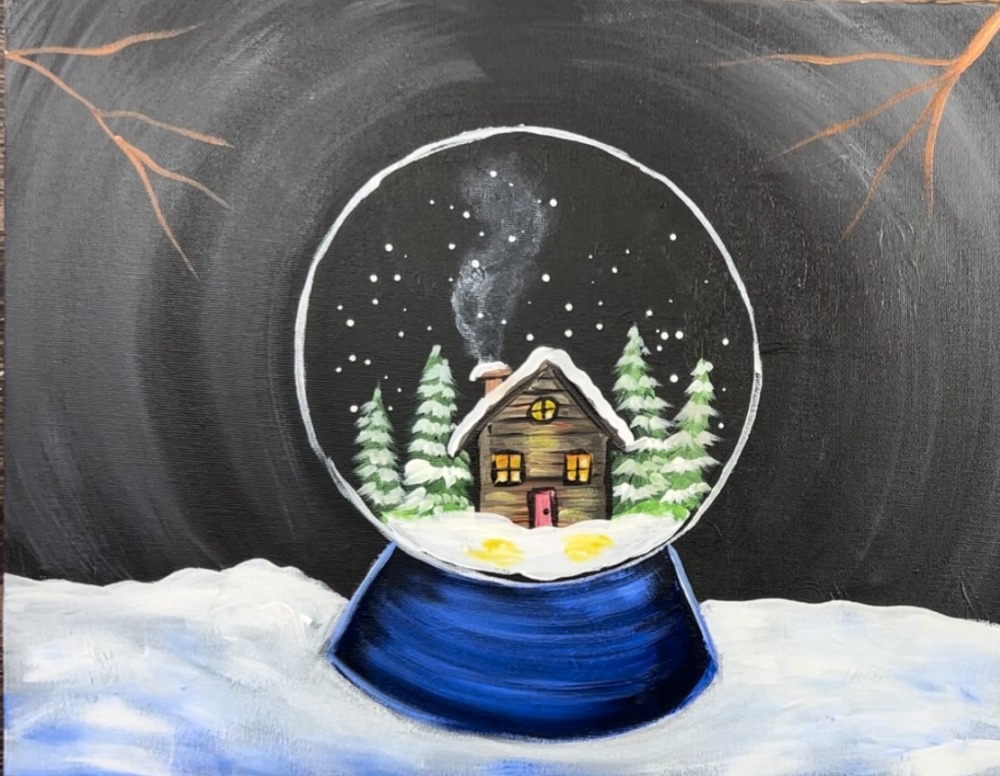
Then use the tip of your #12 bright brush to paint all the little pine needles. Do this with the same green that you used in the trees. If needed, add a little extra white to it so it shows up against the dark background. You can also vary the colors of the pine needles by adding more darker green into them.
Paint each little pine needle by using just the tip of your 12 bright brush. Paint all the pine needles so they are pointing outwards and going in the direction of the branch line.

Then go back and add a white layer of pine needles with just titanium white. Try not to cover all of the green.
Another detail I did was paint a small dot/notch on the tiles of the branches using the brown.
8. Add more detail in snow
Make sure the base of the snow globe is dry before doing this step. Use your 12 bright brush and titanium white to paint white that overlaps the base of the snow globe slightly on the right.

Then paint short choppy strokes. Blend a very very tiny amount of black into the snow area under the snow globe to create some shadow in the snow. Try not to add too much black!
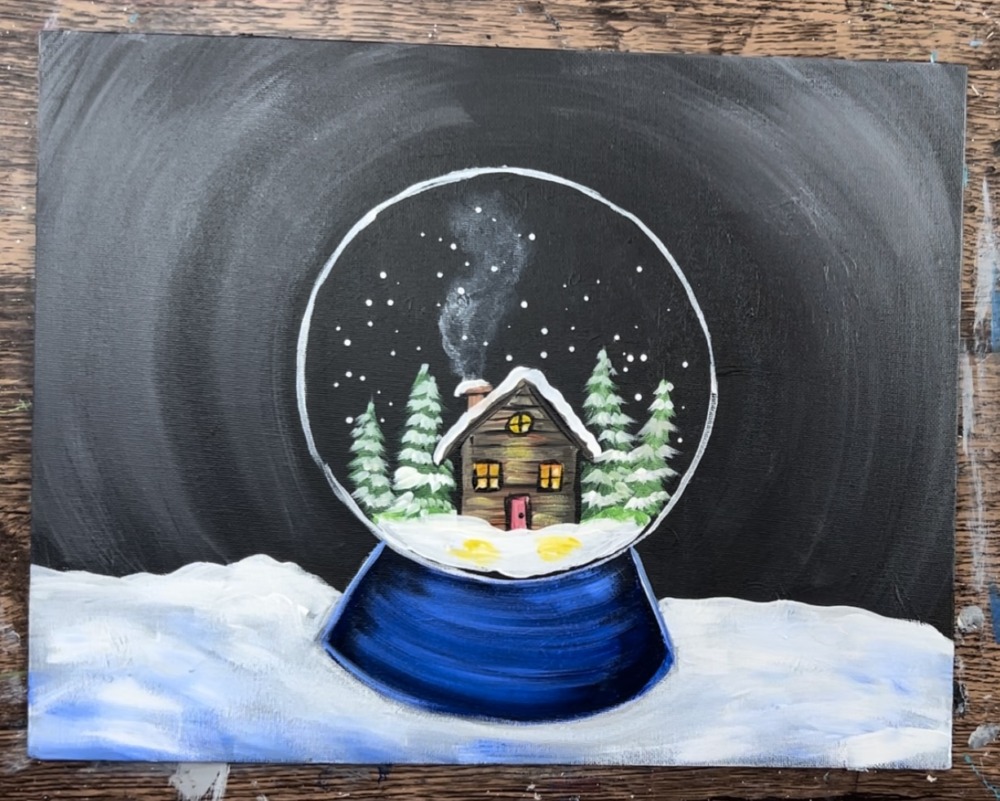
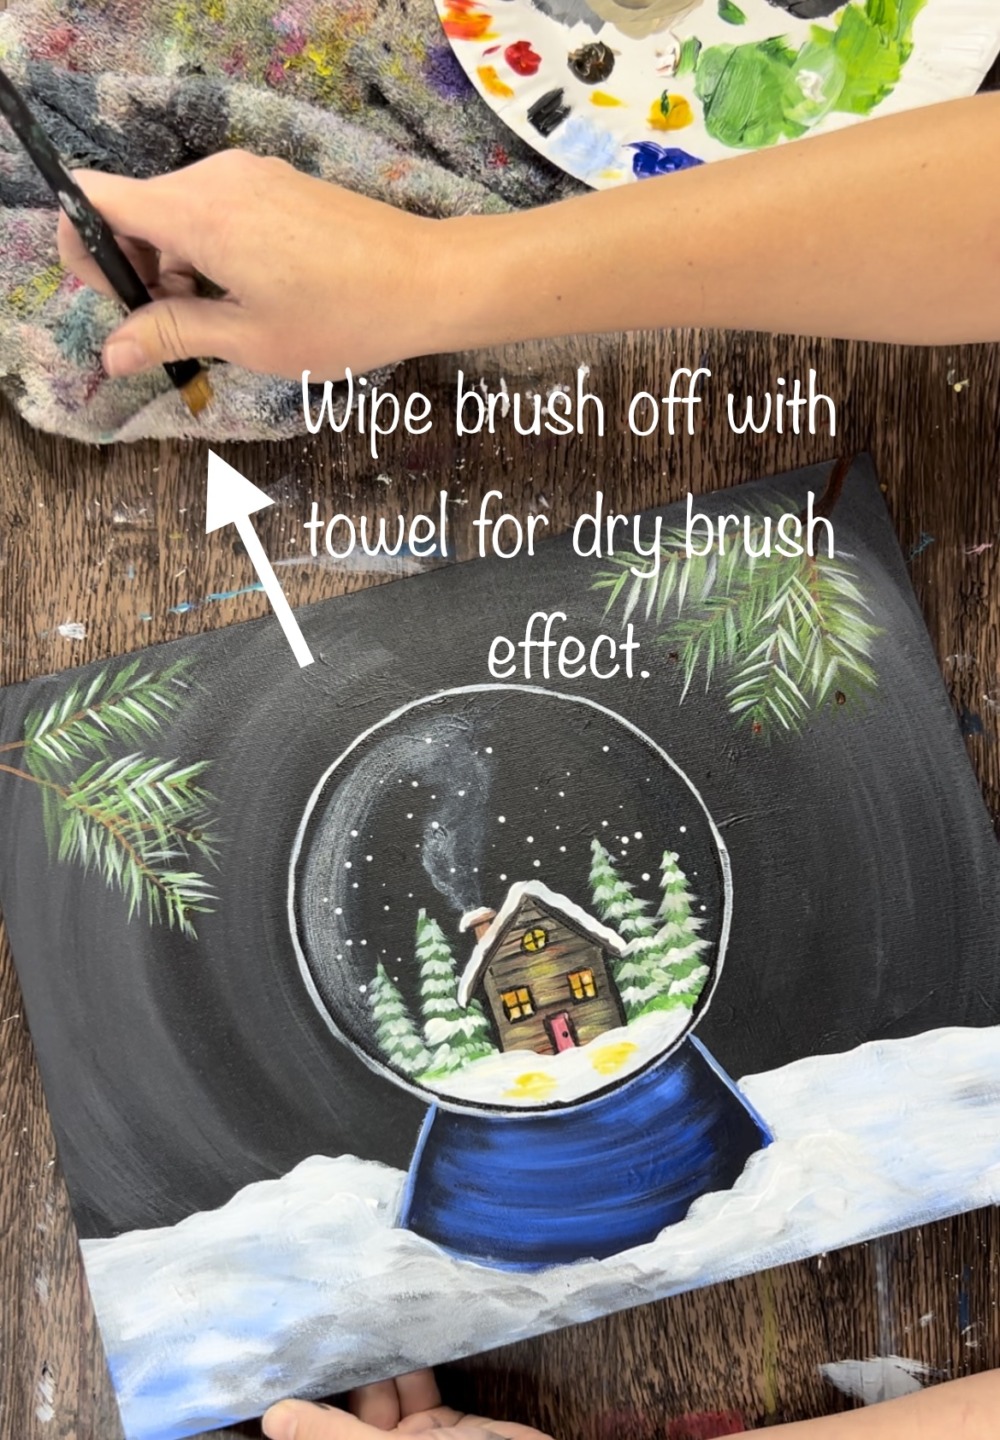
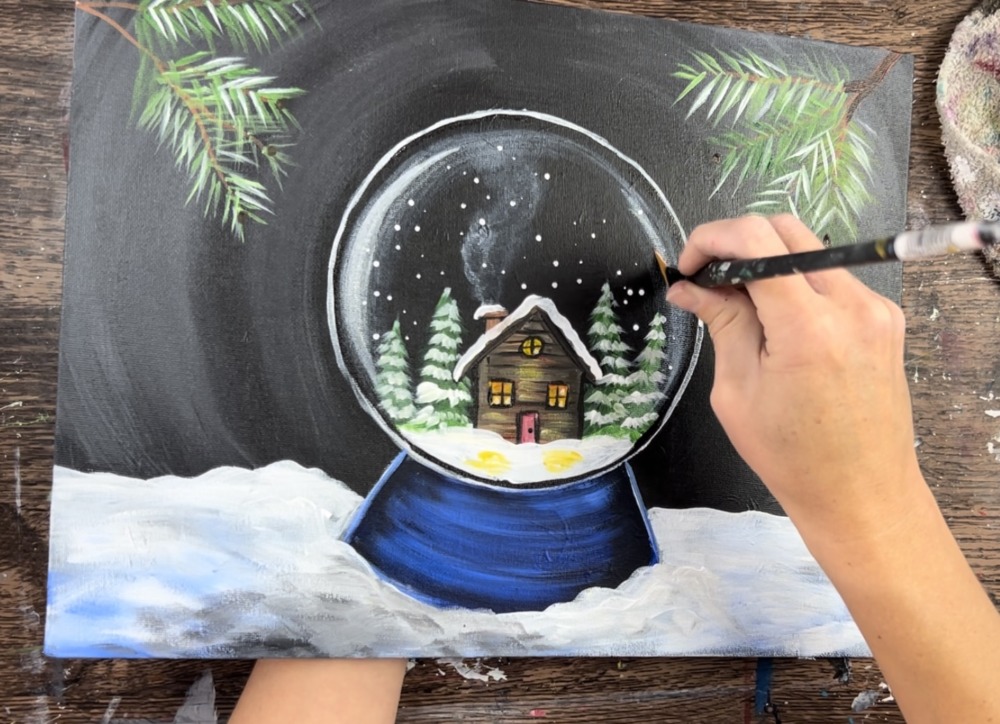
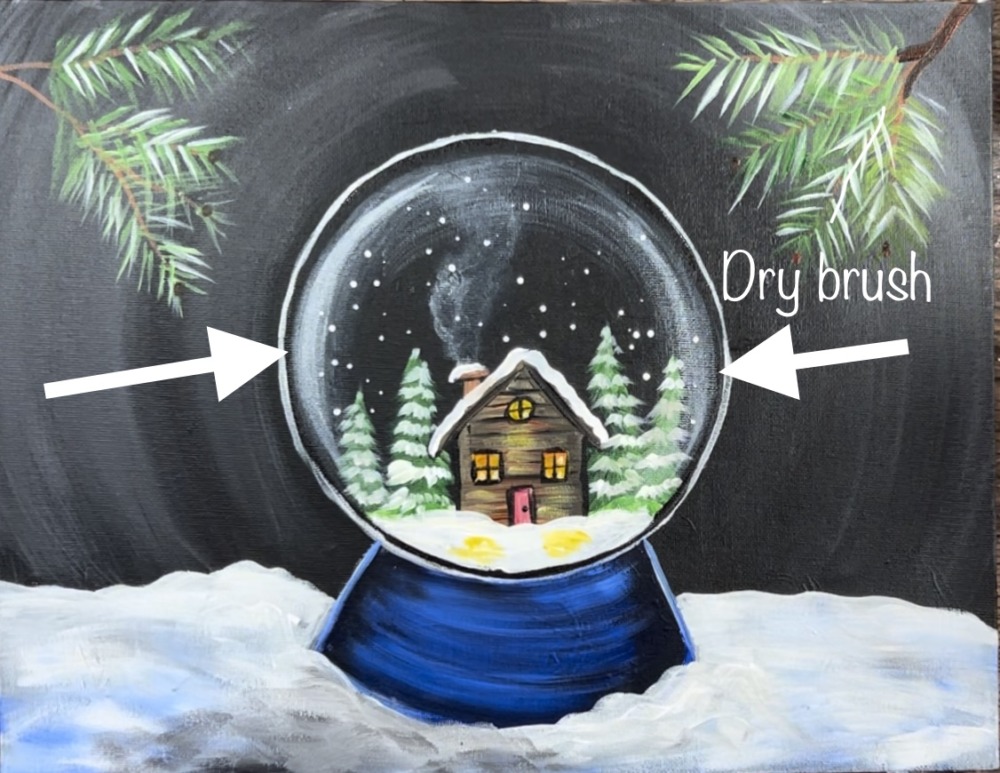
9. Dry Brush The Glare On Glass
The glass effect on the snow globe is created by painting a “dry brush” stroke of white going in a curved direction on the inside edge of the circle.
To do this, use a clean and dry #12 bright brush. (You can also do this with the round brush if it is easier). Load a very small amount on the tip of the bristles. Then wipe the paint off.
When you wipe the paint off, only a small amount is left. It is enough to create a very thin translucent layer of paint. Test this out first before doing the full big stroke…
Paint a curve on the inside left edge of the inner part of the circle.
Then do the same thing on the right.
Add a second layer over your first layer but make it thinner. Make this layer slightly brighter by adding a little more white to your brush (but it should still be somewhat translucent).
Make sure to only do the dry brush technique on the inside edge of the circle. Because this is glass, you want the majority of the the black background still showing through!

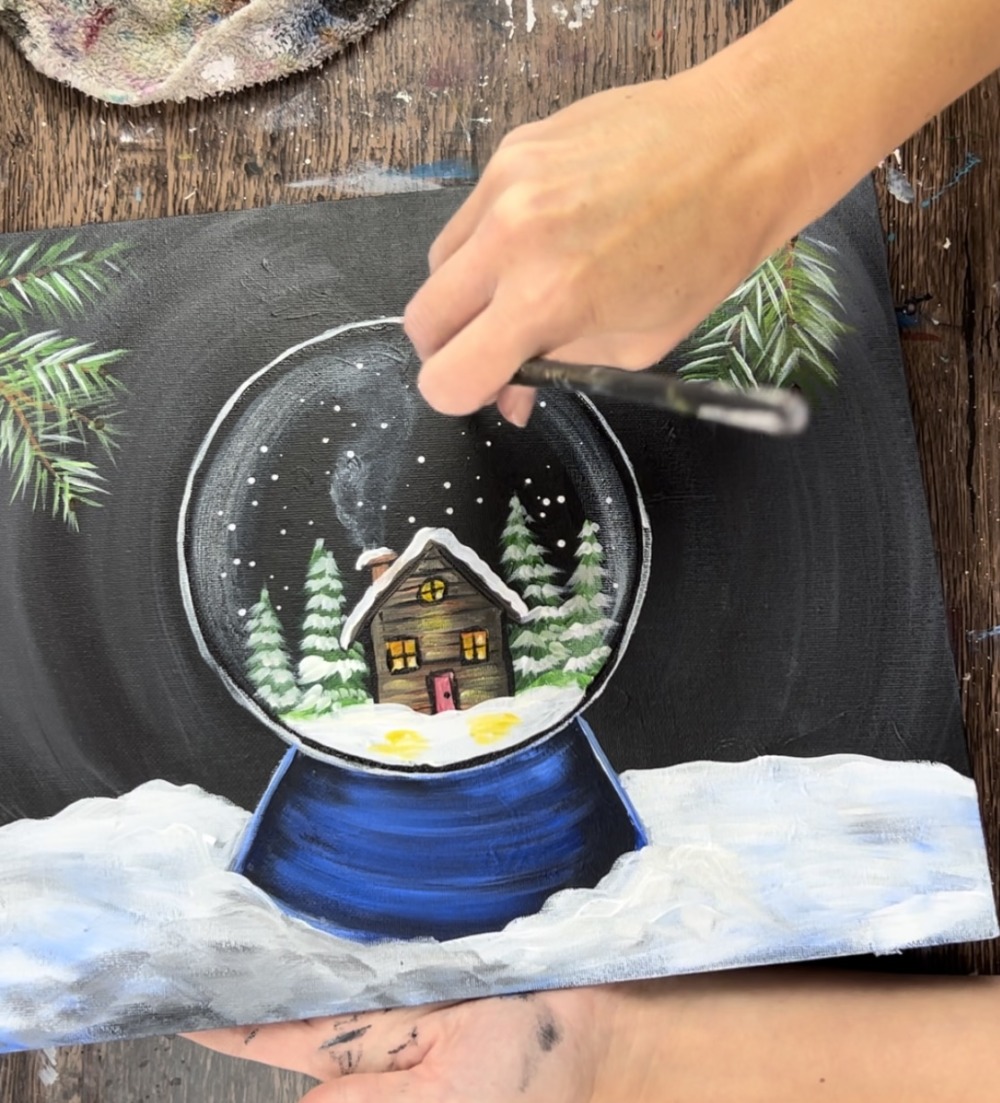
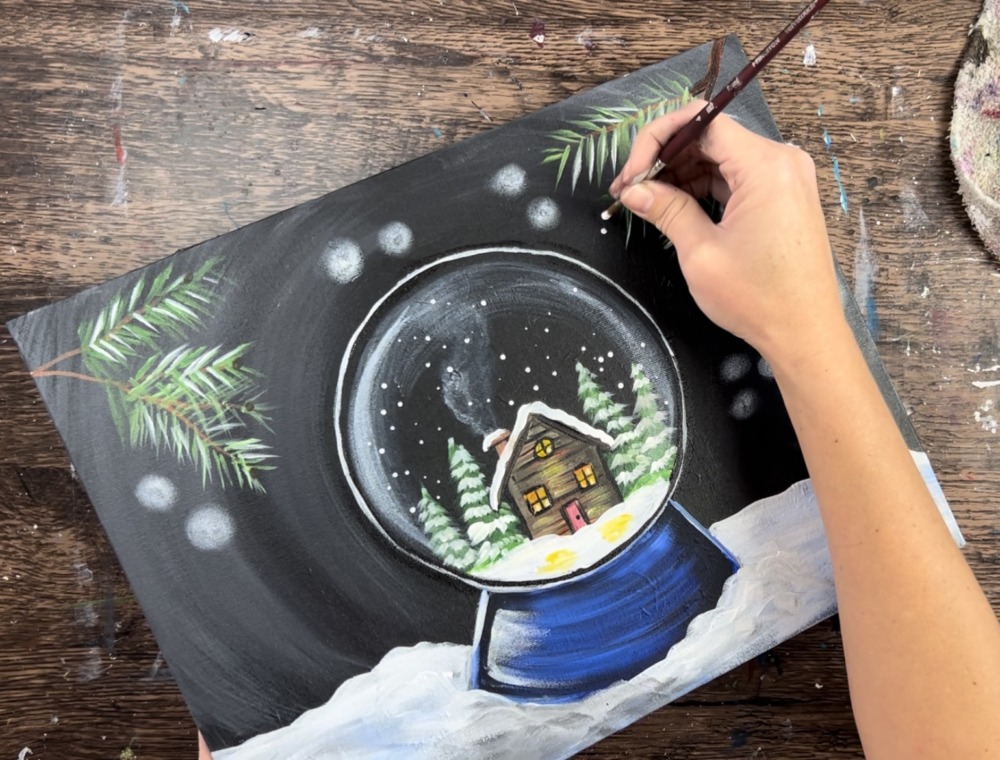
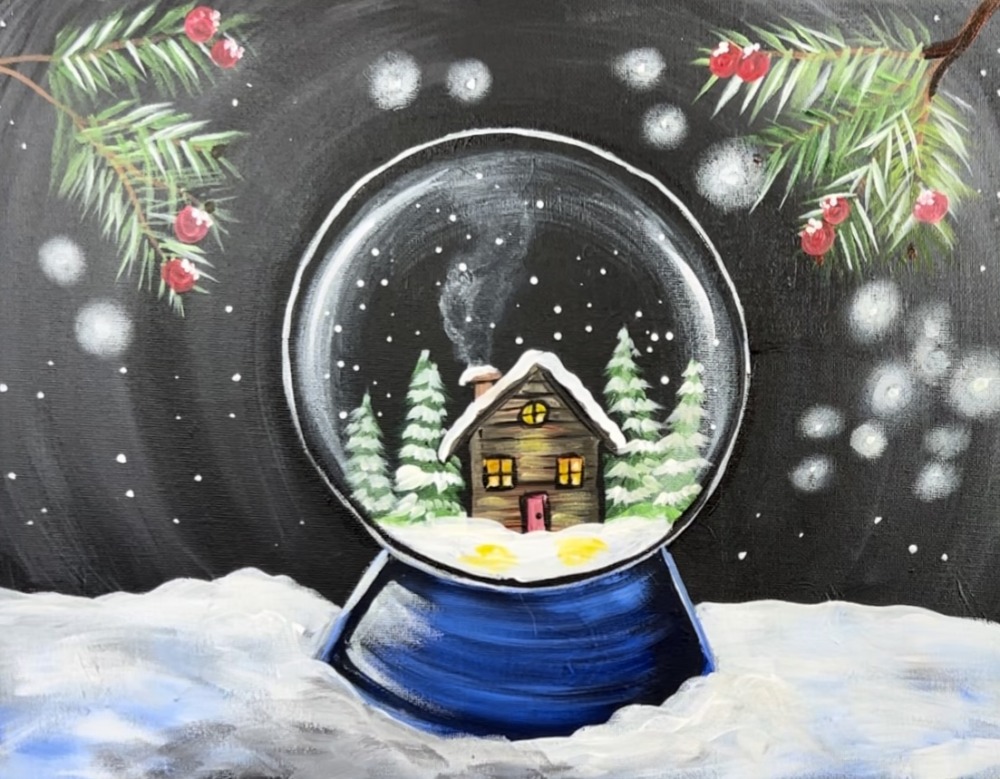
10. Paint blurry lights and snow flurries
Use a #4 round brush and titanium white. Paint little white dots throughout the background. Then, before the white dries, use your index finger to smear the dot to make it blurry.
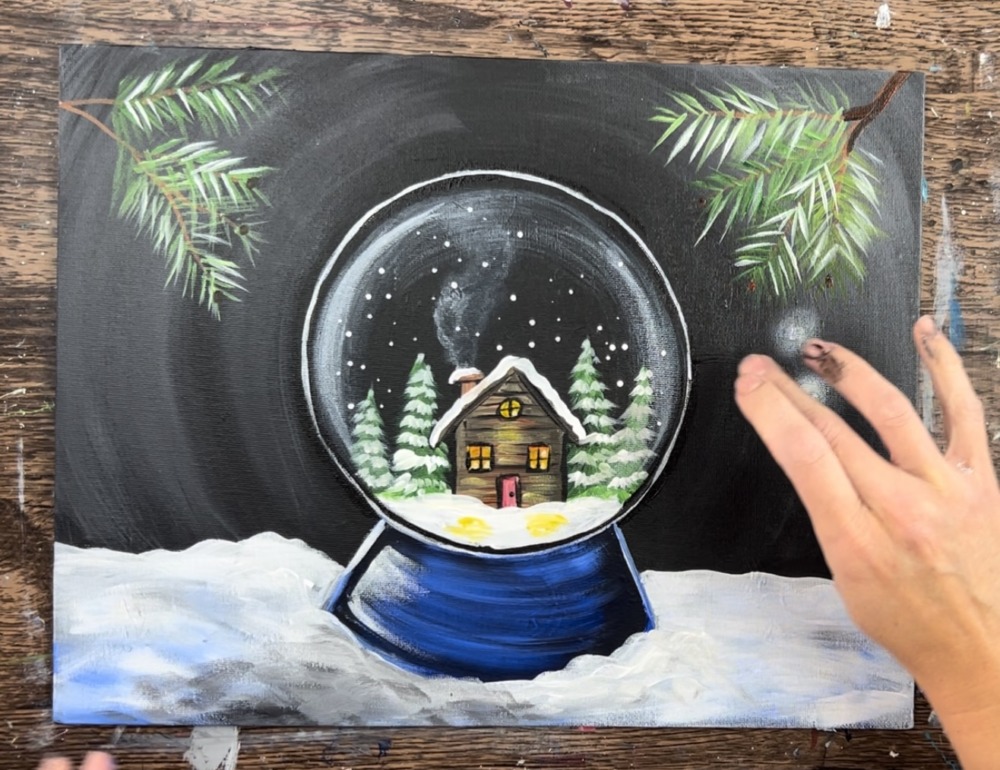
Do this throughout the background creating clusters of blurry white “bokeh”. These can overlap each other, some are larger and some smaller. Some are lighter in intensity and some are brighter.

In addition to the blurry dots, paint little white dots throughout the background to represent snow flurries.
11. Paint Berries
Use a round brush and naphthol crimson to paint little white berries on the ends of the branches. If the red doesn’t show up, paint white circles first and then paint over red when the white dries.
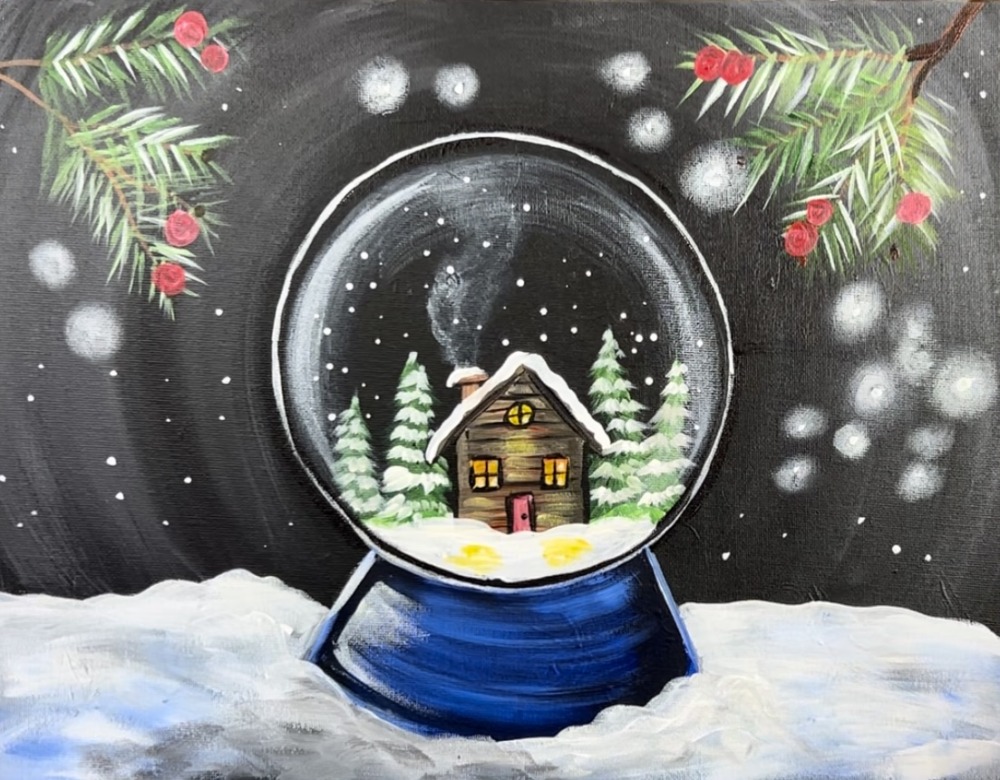
Then paint little white dots on the edges of each of the circles for little snow dots that landed on the berries.
12. Paint Optional Word or Quote
You can add an optional word, family name or quote on the base of this globe! To do that, I recommend using either a paint pen or a round brush.
I also recommend writing the word with chalk or pencil first to get the placement of the letters centered.
I used the green paint pen first. Then I added some white to the word over the green to brighten the letters up!
That’s it!
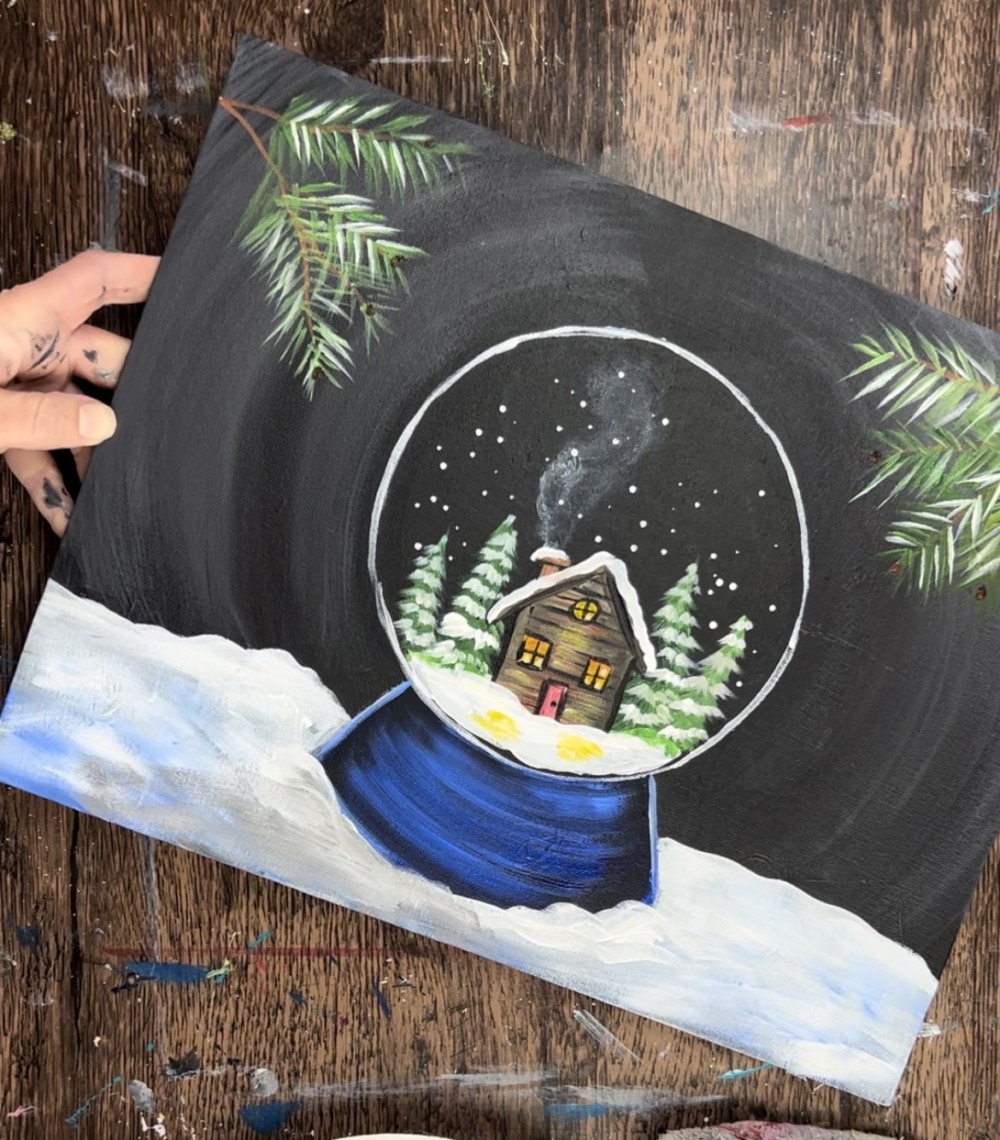
Finished!