


Would you like to save this?
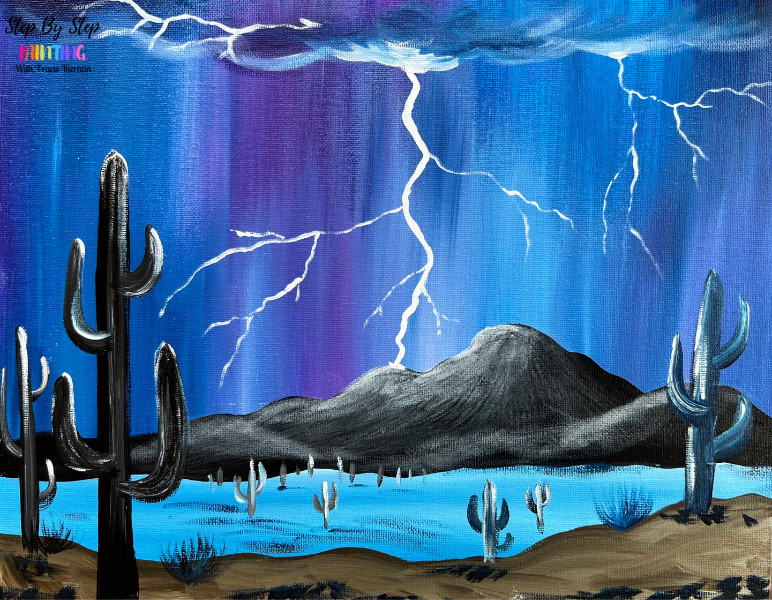
This acrylic painting tutorial will demonstrate how to paint a storm over a desert landscape.
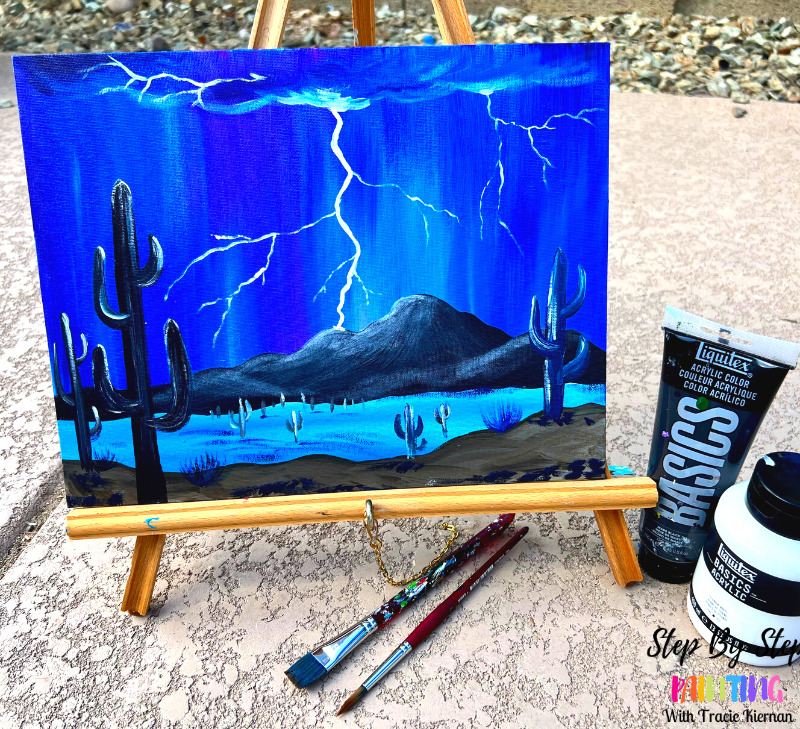
Storms are beautiful! I love the “monsoon storms” that we get during the summer time in Arizona! Imagine painting the moment the lightning flashes and all the vibrant color that lights the landscape for only a split second.
Enjoy and happy painting!
Desert Monsoon Storm Painting

Paint a desert monsoon storm! This painting tutorial will demonstarte how to paint a lightning and rain storm over a desert landscape.
Materials
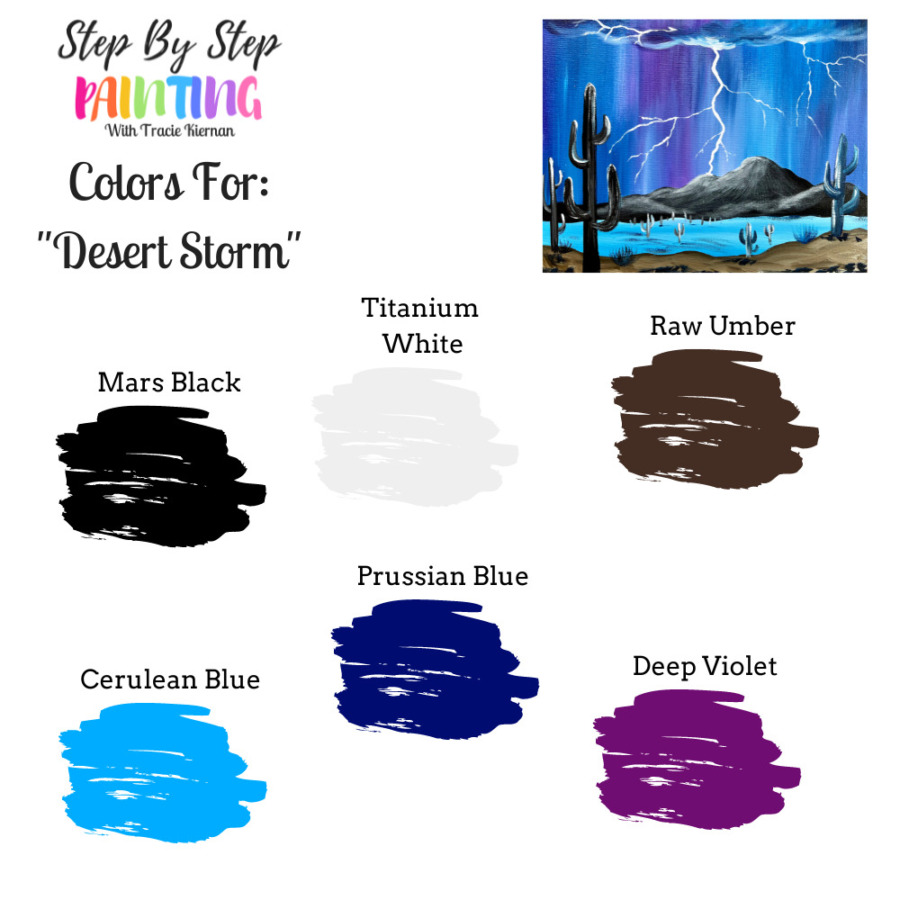
Colors
- Titanium White
- Mars Black
- Prussian Blue
- Cerulean Blue
- Raw Umber
- Deep Violet
Paint Brushes
- 3/4" Flat Wash Brush
- #12 Bright Brush
- #4 Round Brush
- #8 Round Brush
- #10/0 Round Brush
Color Palette:
I used Liquitex BASICS acrylic paint for this. Use the color chart below if you are trying to sub for different brands of paint. Note: if you do not have “Prussian blue” you can substitute this for “Phthalo Blue” or any dark blue.
Using Craft Paints?
If you are using craft paints such as the Apple Barrel Craft Paints, I would suggest subbing to these colors:
- White
- Black
- Too Blue
- Bright Blue
- Nutmeg Brown
- Purple Iris
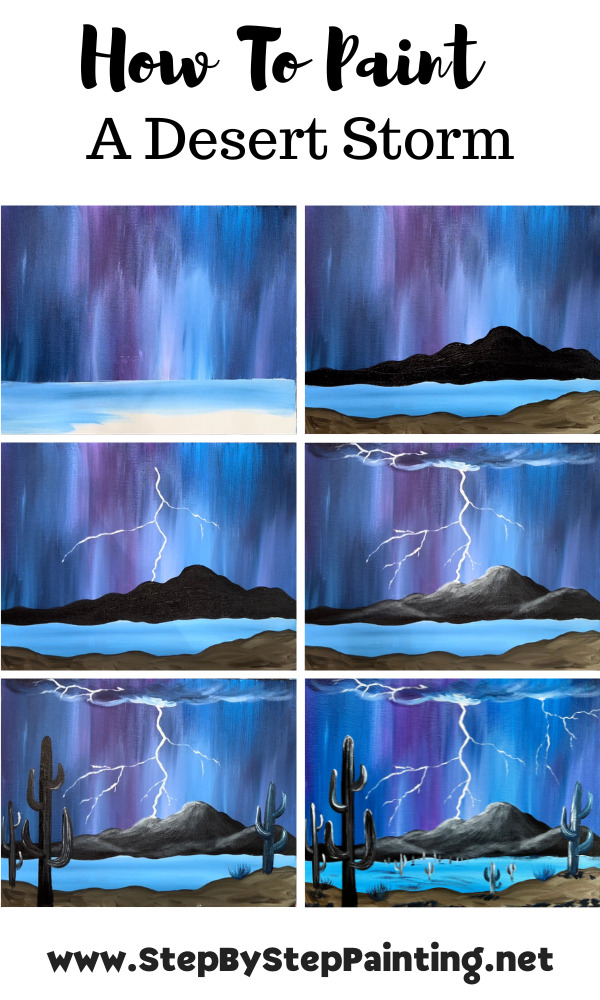
Directions At A Glance:
Video:
Step By Step Instructions:
1. Paint The Rainy Sky
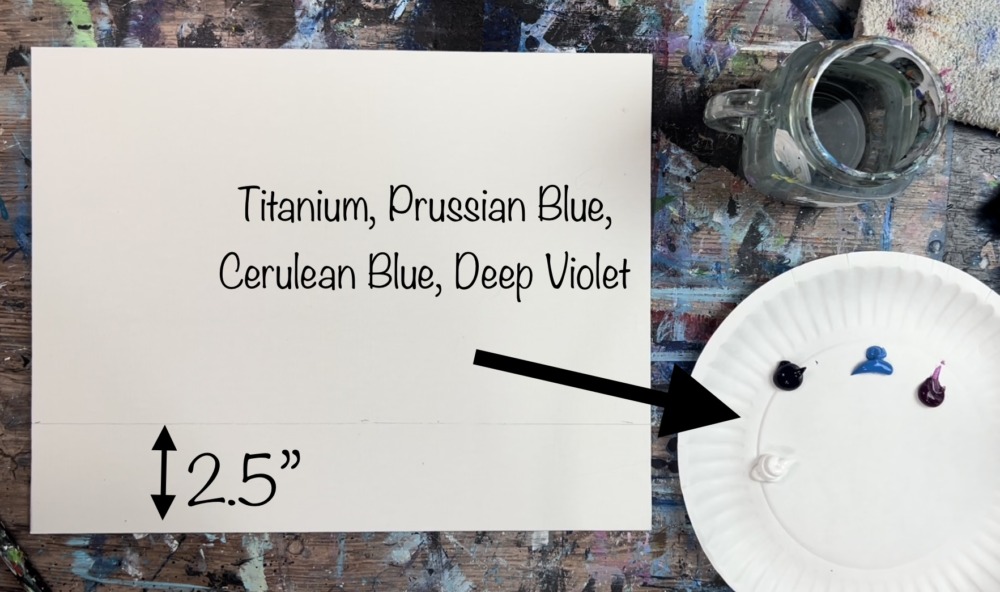
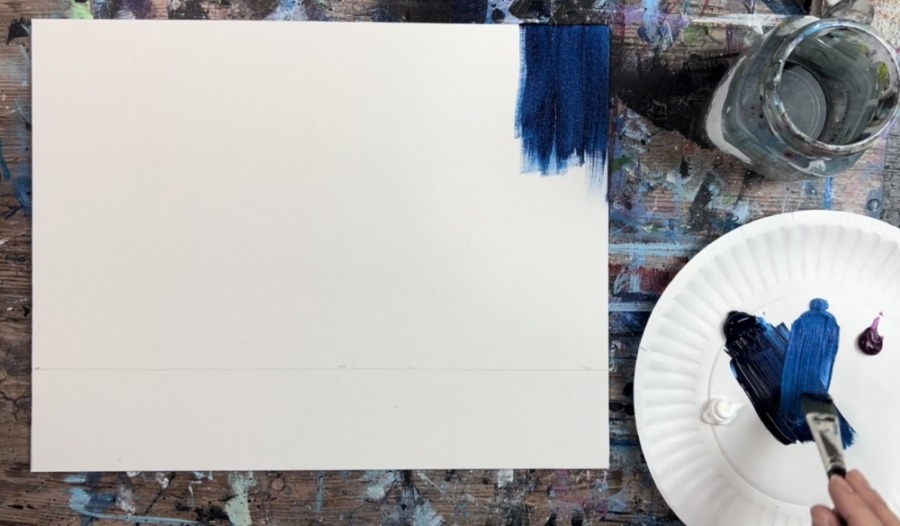
Load your palette with the four colors: titanium white, Prussian Blue, cerulean blue and deep violet.
Next, measure about 2.5″ from the bottom of the canvas. Use a ruler to draw a very light horizontal line across the canvas.
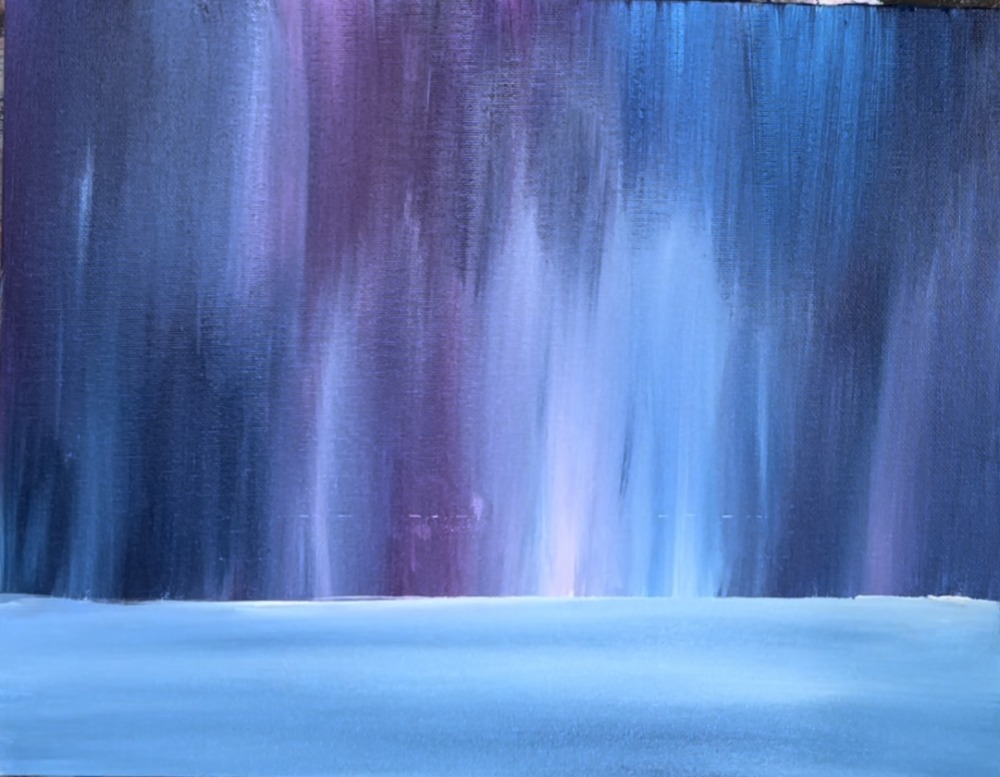
Then load your 3/4″ wash brush in water and tap dry. Load it into Prussian Blue and thin the Prussian Blue slightly down with the water on the brush. Start at the top of the canvas and paint vertical strokes.
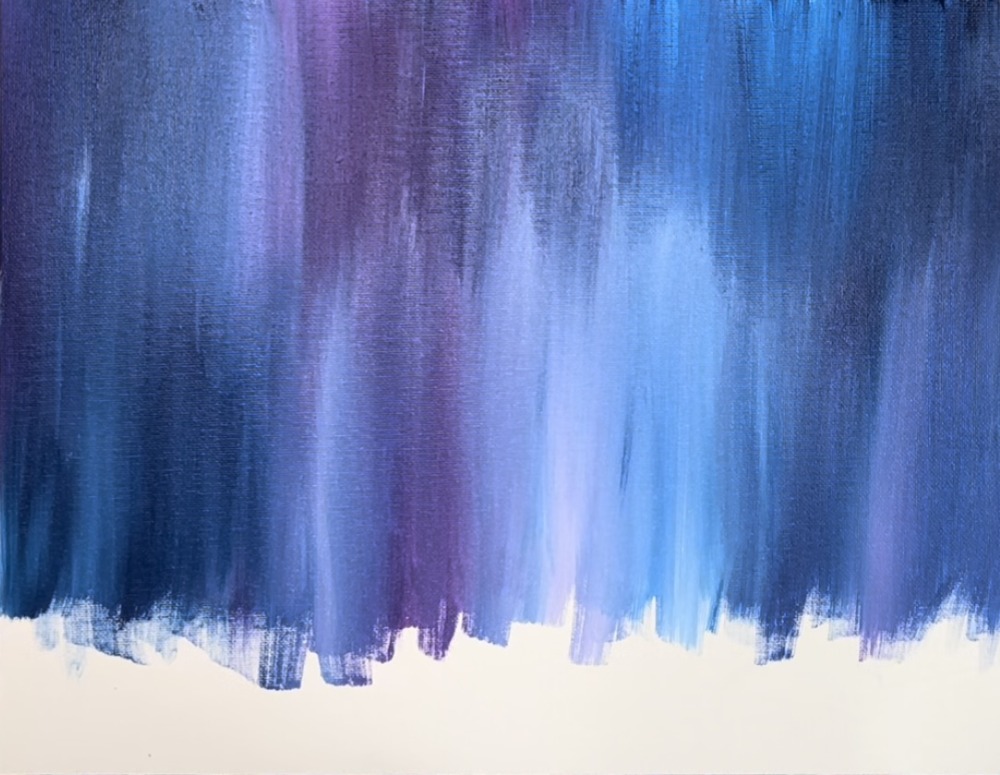
Gently blend the cerulean, deep violet and titanium white in the vertical direction. Let these colors blend gently to create the impression of rain falling down in the sky.
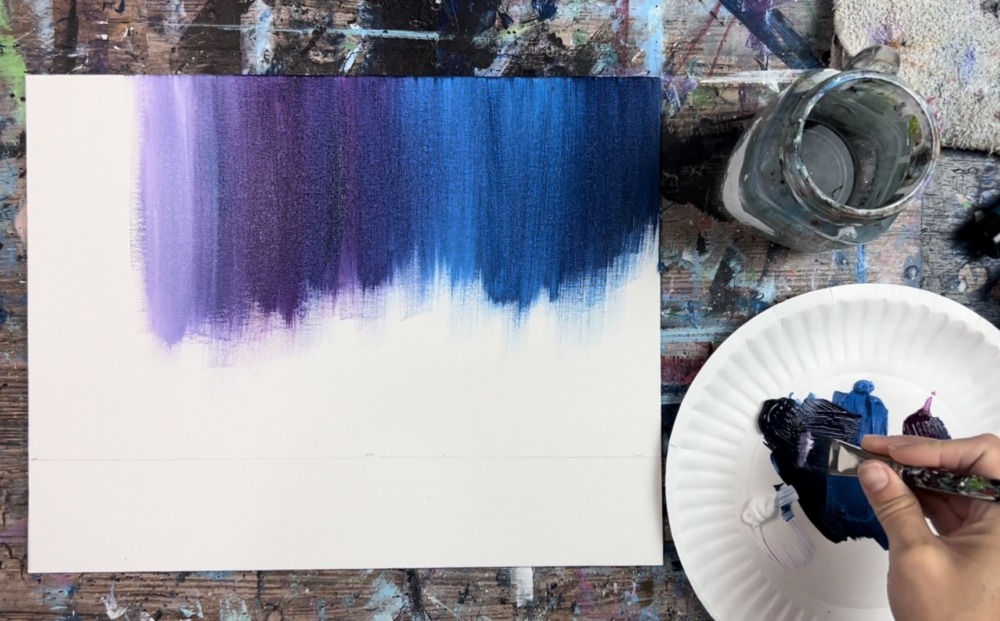
Paint vertical strokes with the four colors all above your horizontal line. Be sure to add a little bit of extra white in the center where the large lightning bolt will be. Gently blend this color but do not over blend it.

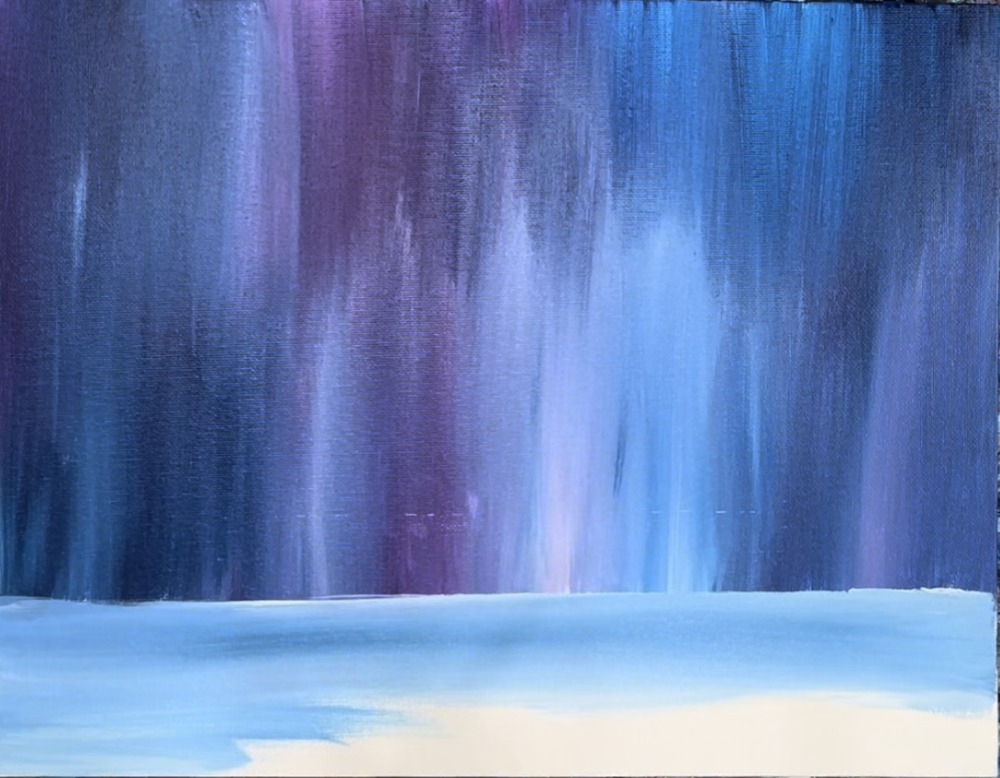
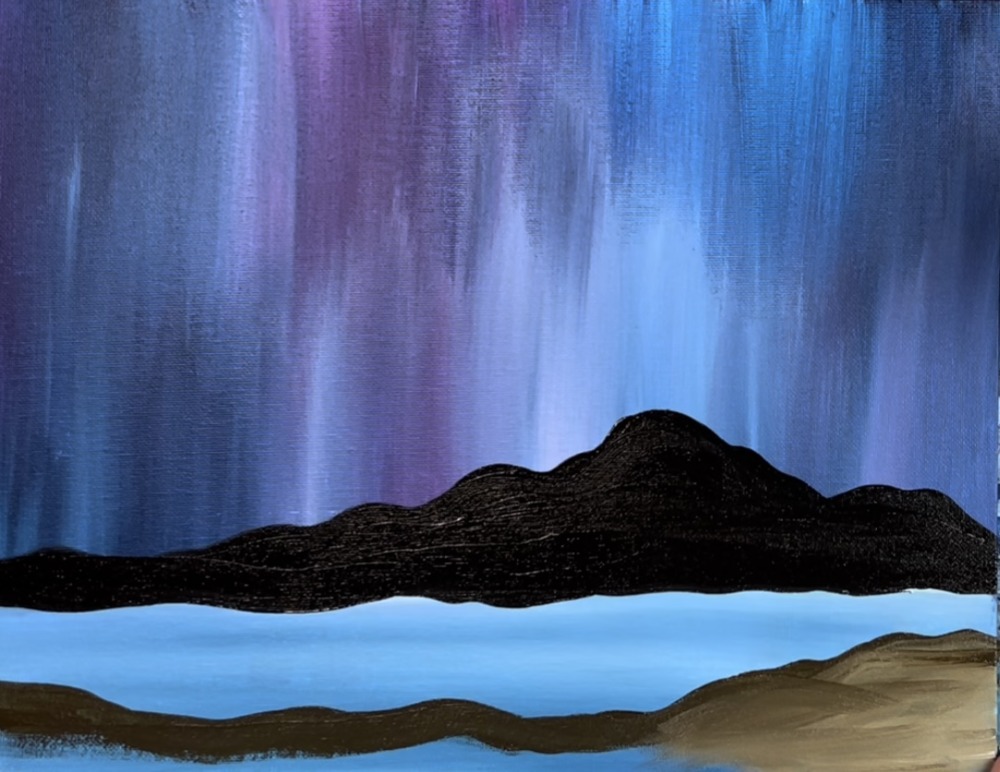
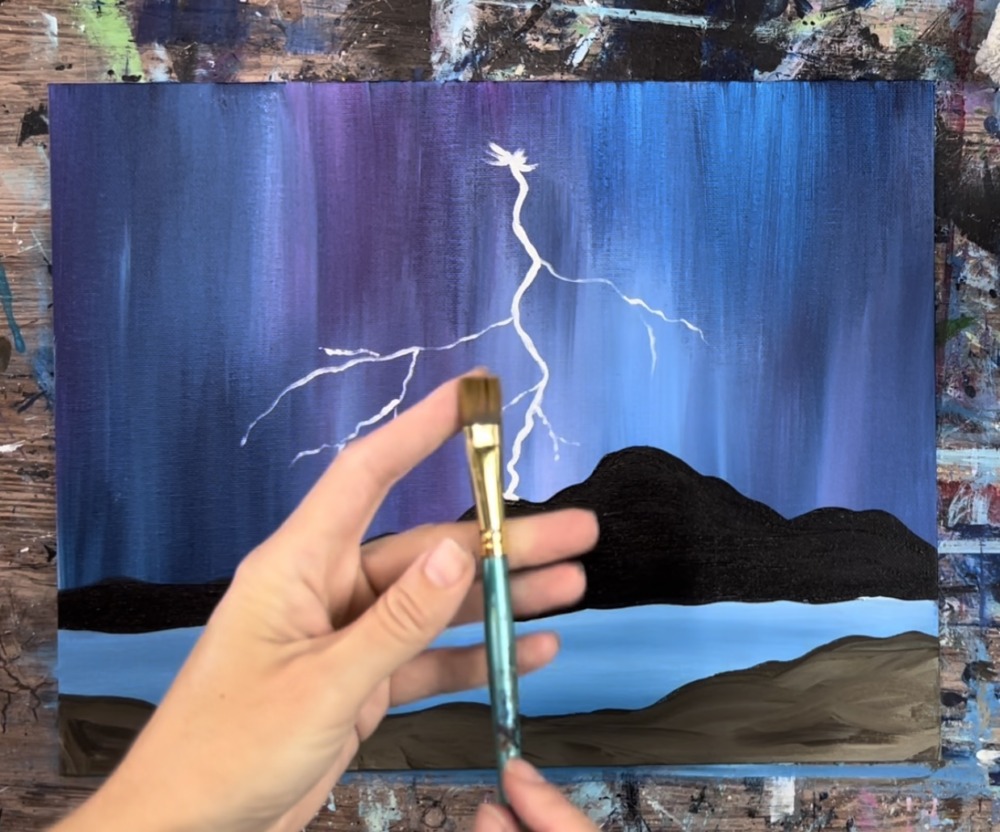
2. Paint The Ground
Use cerulean blue and titanium white to paint the ground. Mix the two colors together to create a light blue. Use a 3/4″ flat wash brush and paint left and right stokes across the canvas. You don’t have to mix the colors equally, you can leave it sort of unblended all the way.
3. Paint The Mountain
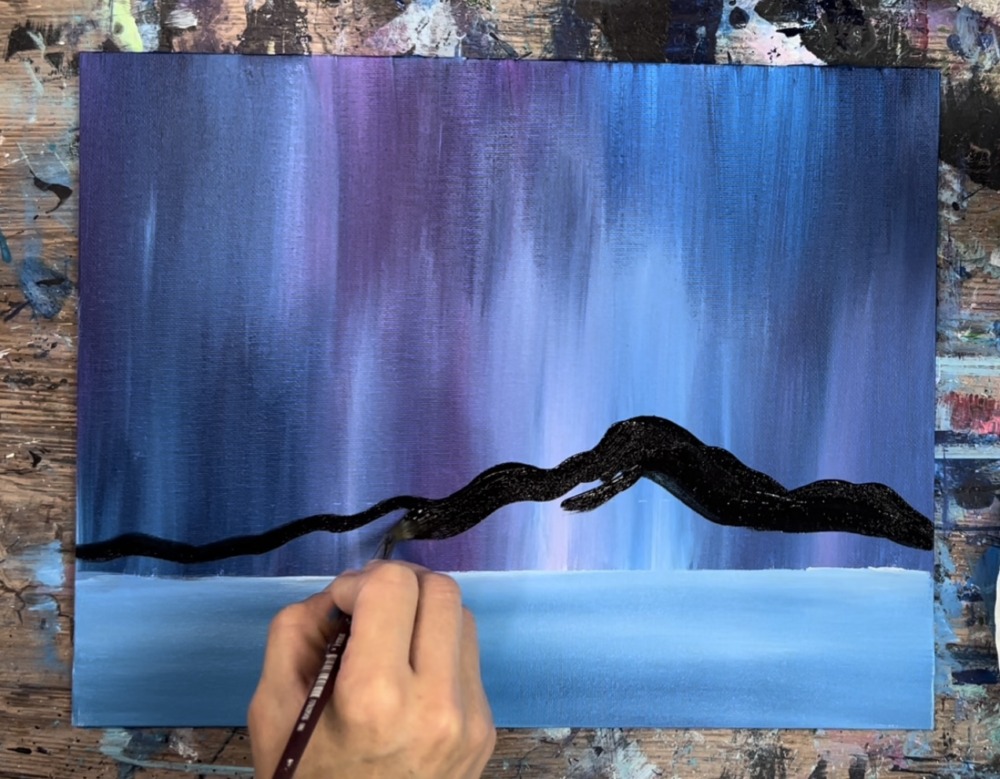
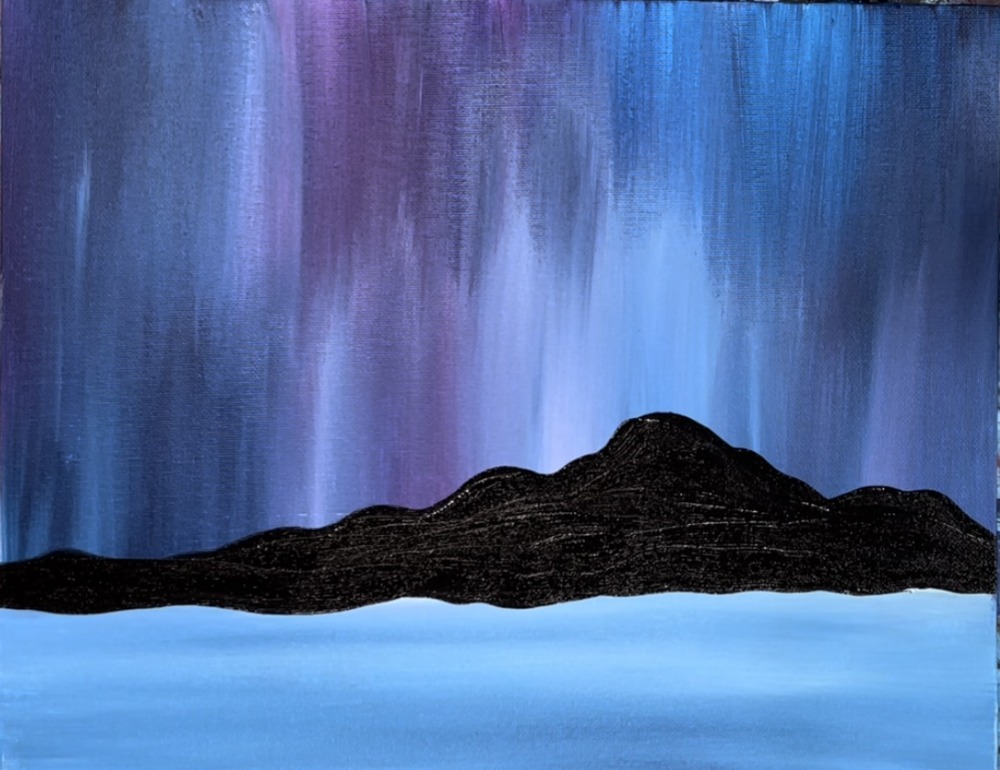
Use a #8 round brush and mars black to paint the mountain. The highest peak of this mountain is about 5″ from the horizon line. Slightly water the black down. Then loosely paint the mountain line.
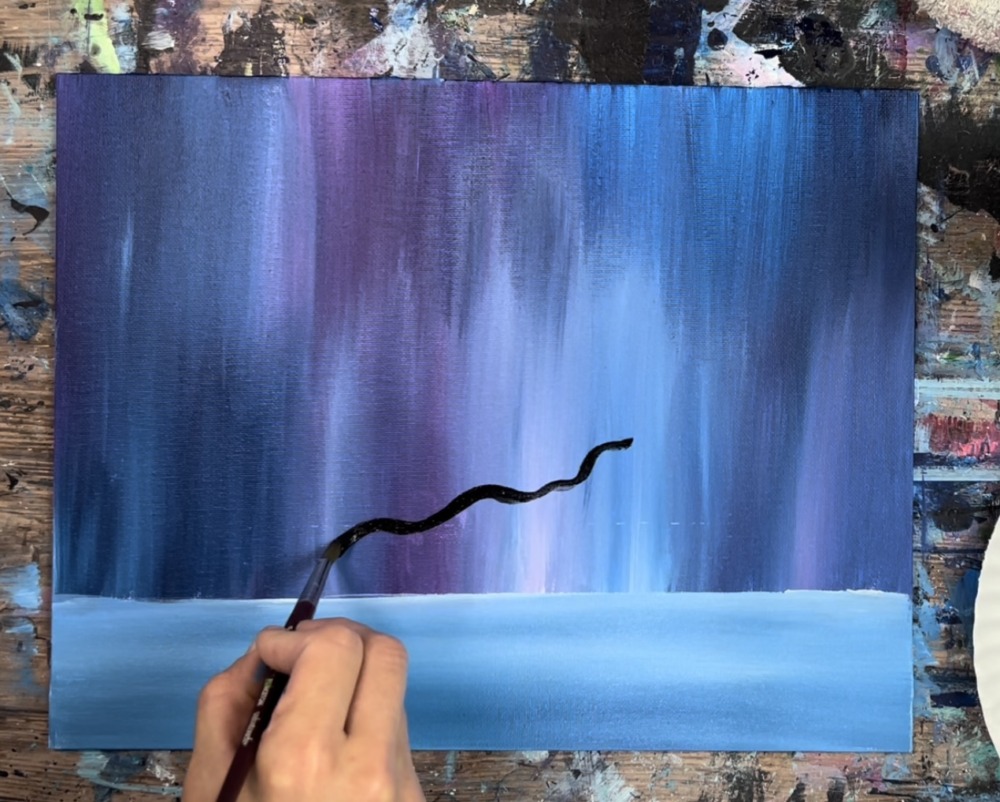
The highest peak is on the right and then it dips down to the right and left. Paint the edges so they are wavy/ loose lines. Then paint the mountain in solid black down to the base/horizon line.
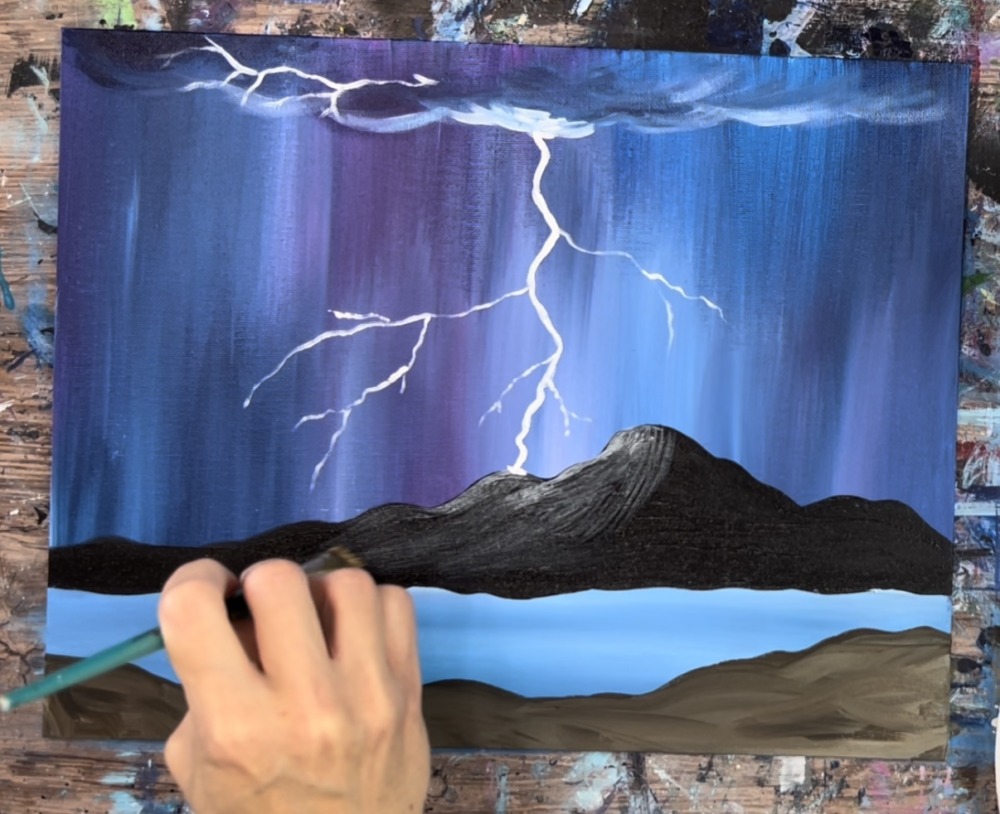
4. Paint Front Hill Area
Next, load your palette with raw umber and titanium white. Use your #8 round brush to paint a land area on the bottom of the canvas. Paint a loose/wavy line starting at about 3/4″ below the base of the mountain on the right. Then allow it to dip down in the middle.
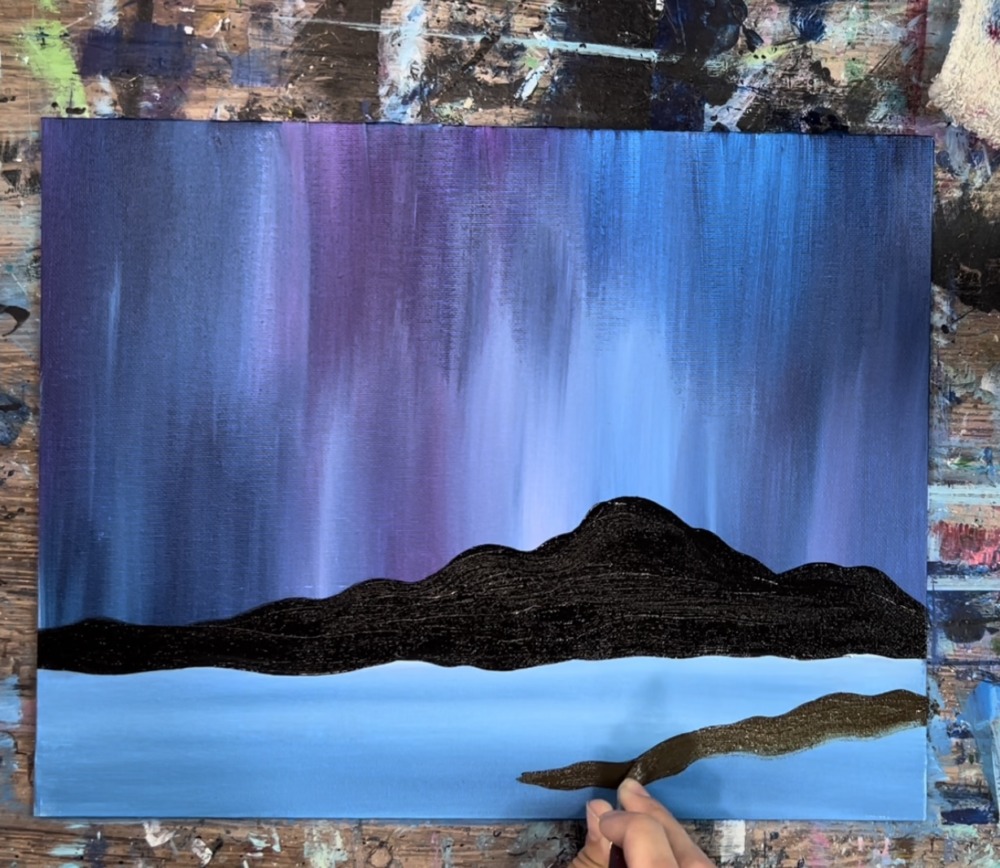
Then bring the line up slightly on the right. Paint the brown land area in. Add in a small amount of white in the brown and gently blend it so that the bottom of this land area is slightly lighter on the bottom and slightly darker on the top.
You can fill this brown land area in with expressive strokes by painting in “x” and “cross hatching” strokes that do not blend all the way.

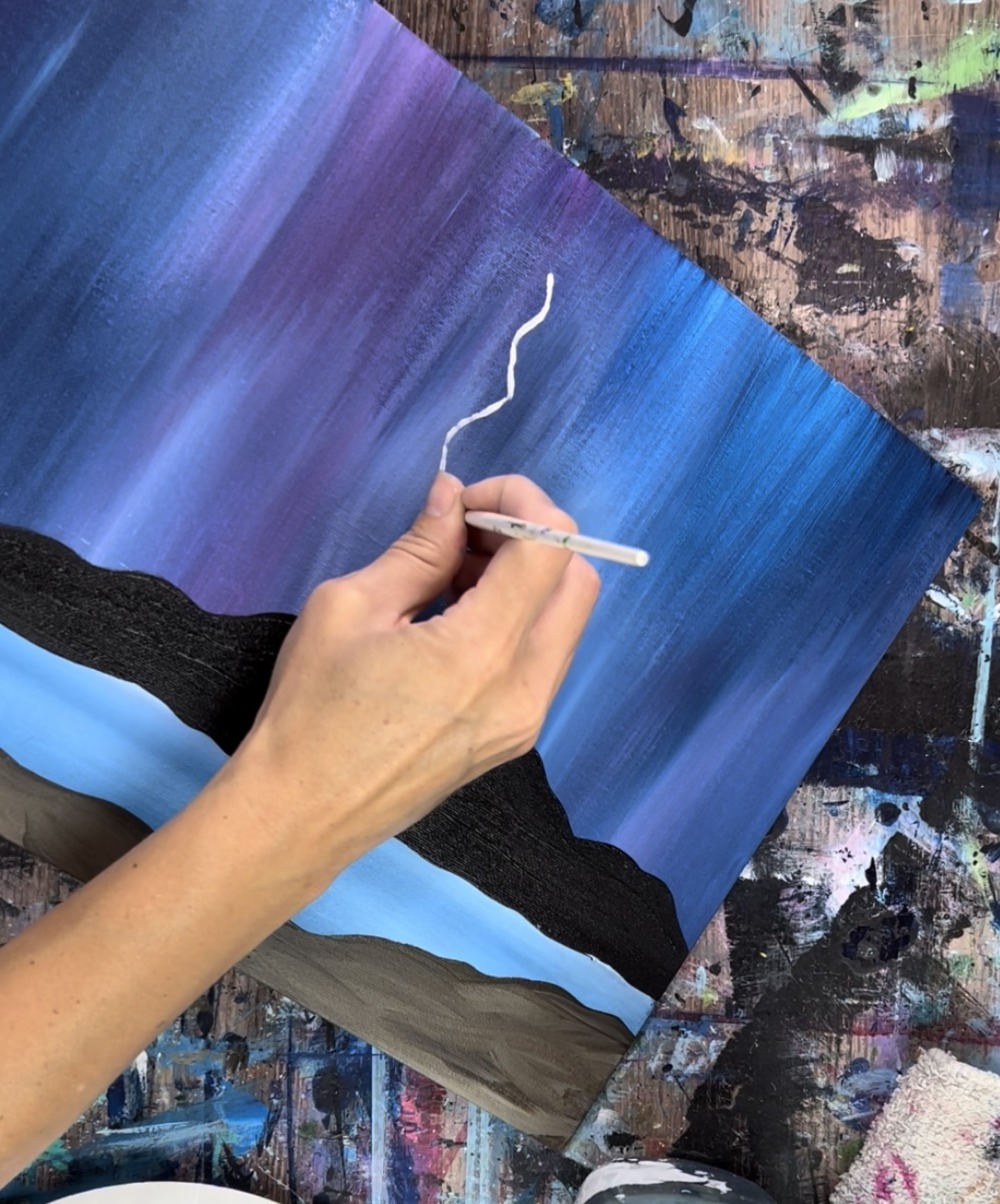
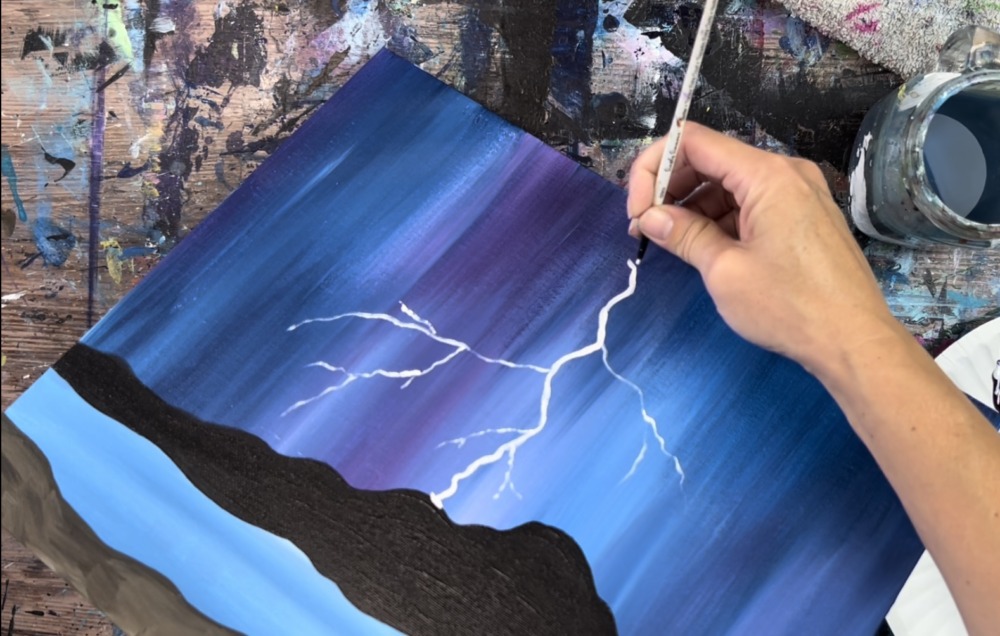
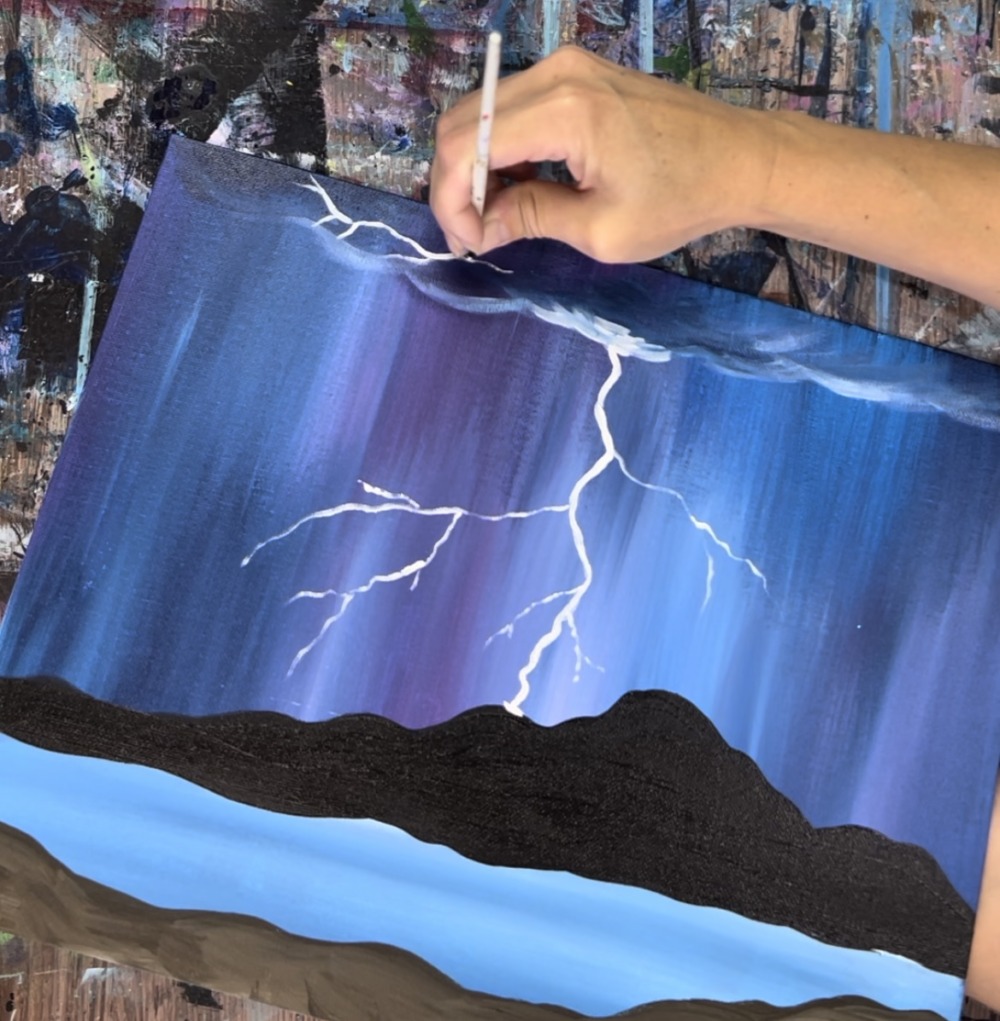
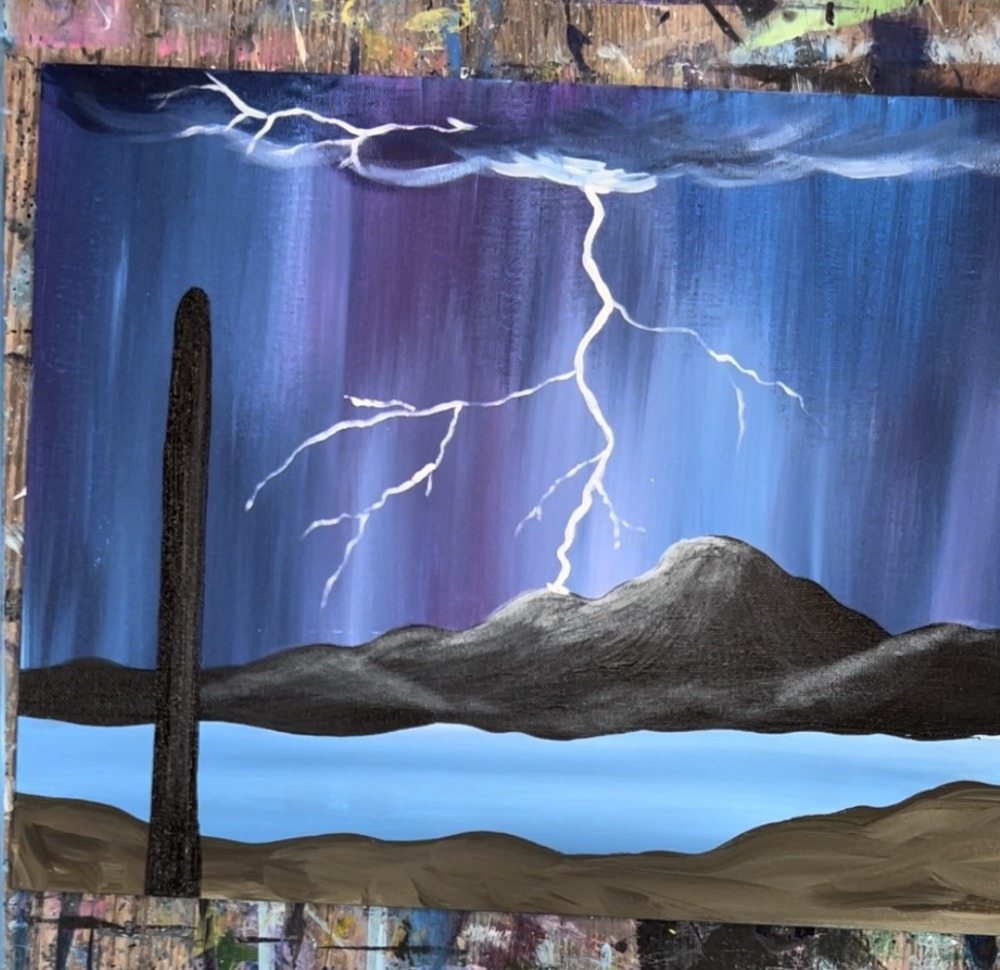
5. Paint Large Lightning Bolt
Use a 10/0 round brush and titanium white to paint the large lightning bolt. Start at about an inch below the top edge of the canvas. Then paint a very loose/ jagged line that goes down to the top of the black mountain.
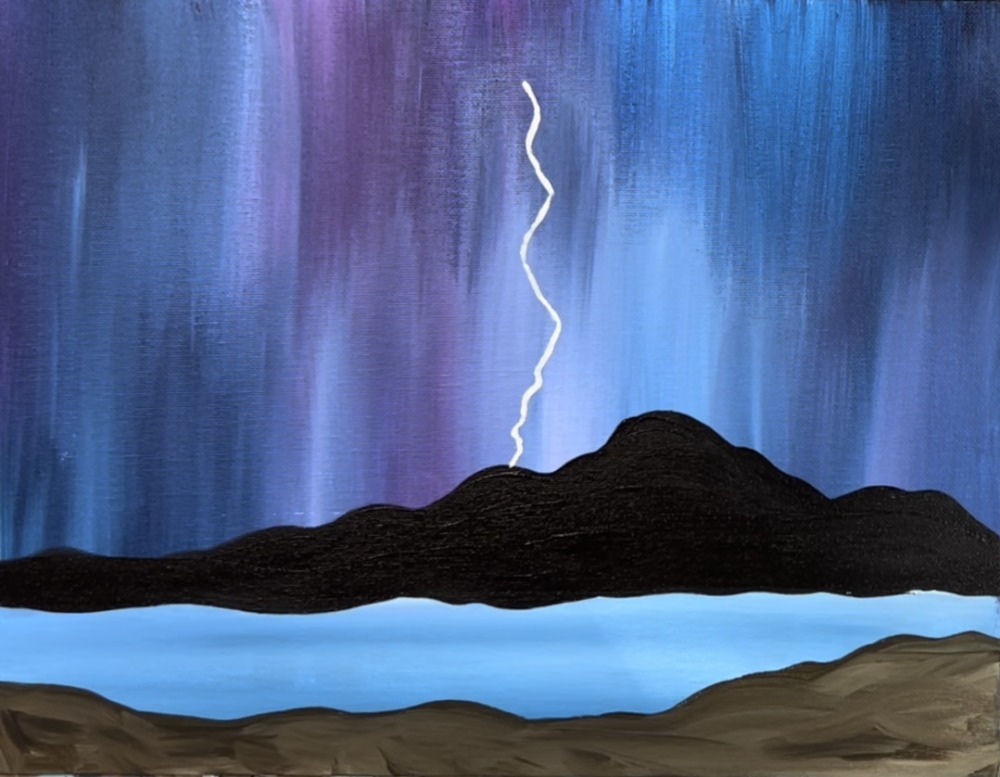
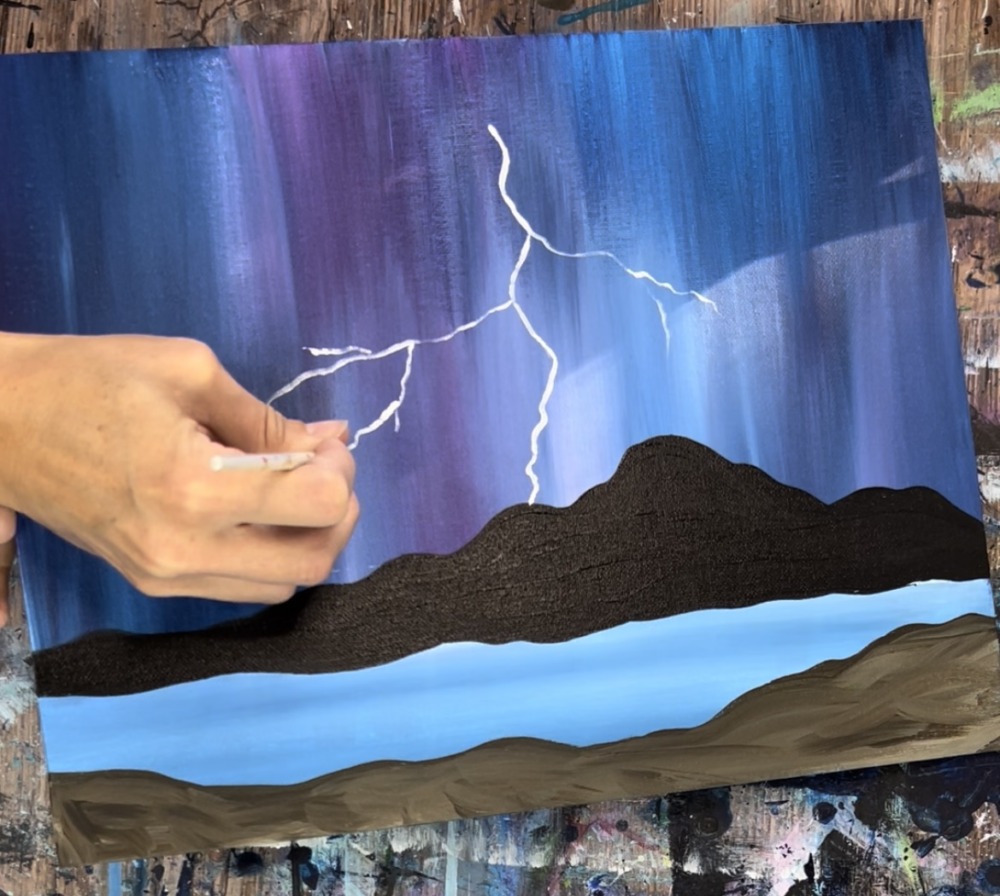
Next, loosely paint a branch off of your first bolt. Try to make this line thinner than the main bolt. Use a very steady hand and sort of “wiggle” the brush so that the line is jagged/uneven and loose.
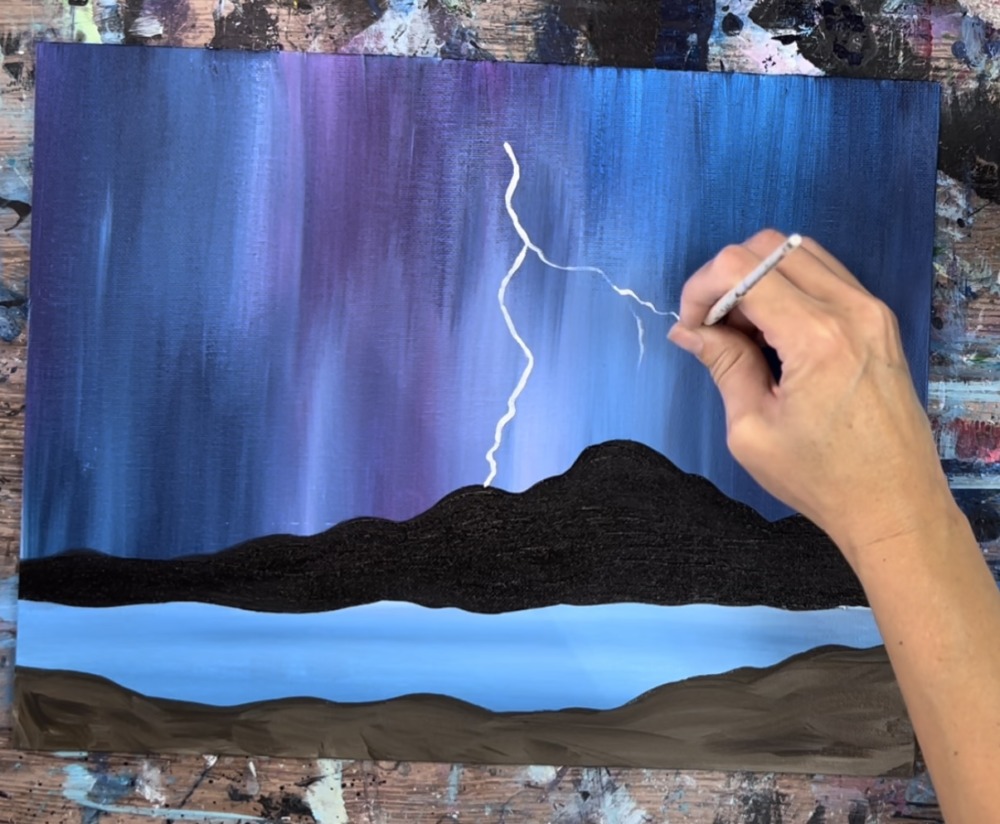
Do a second branch to the left.
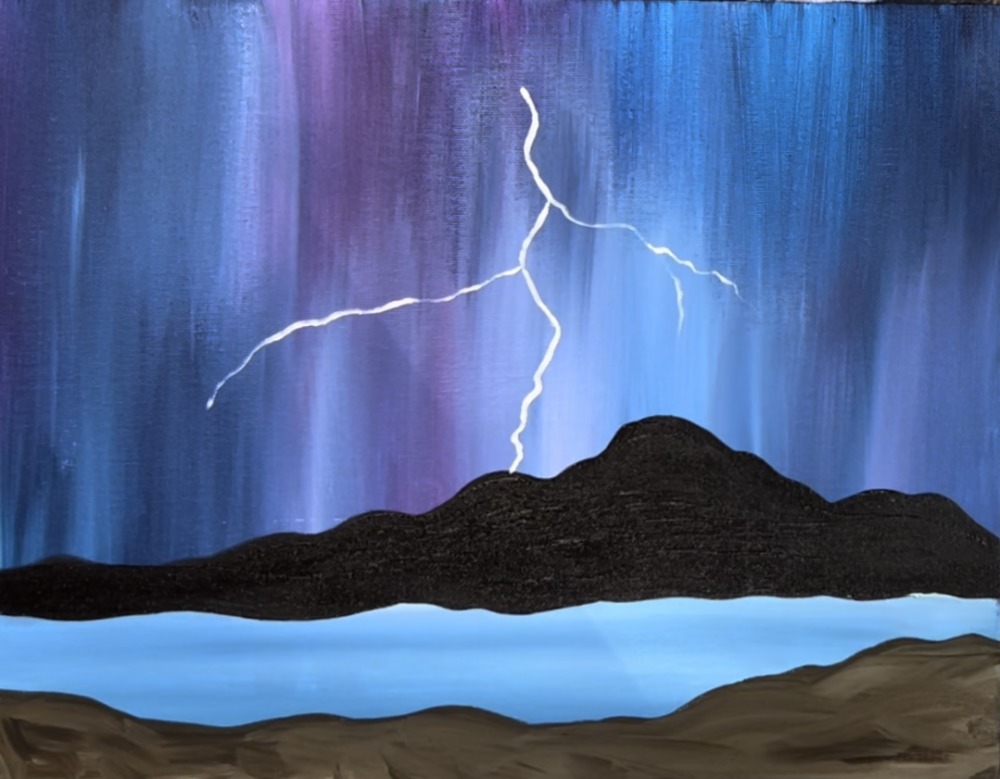
Continue to paint more branches off of your main lightning bolt.
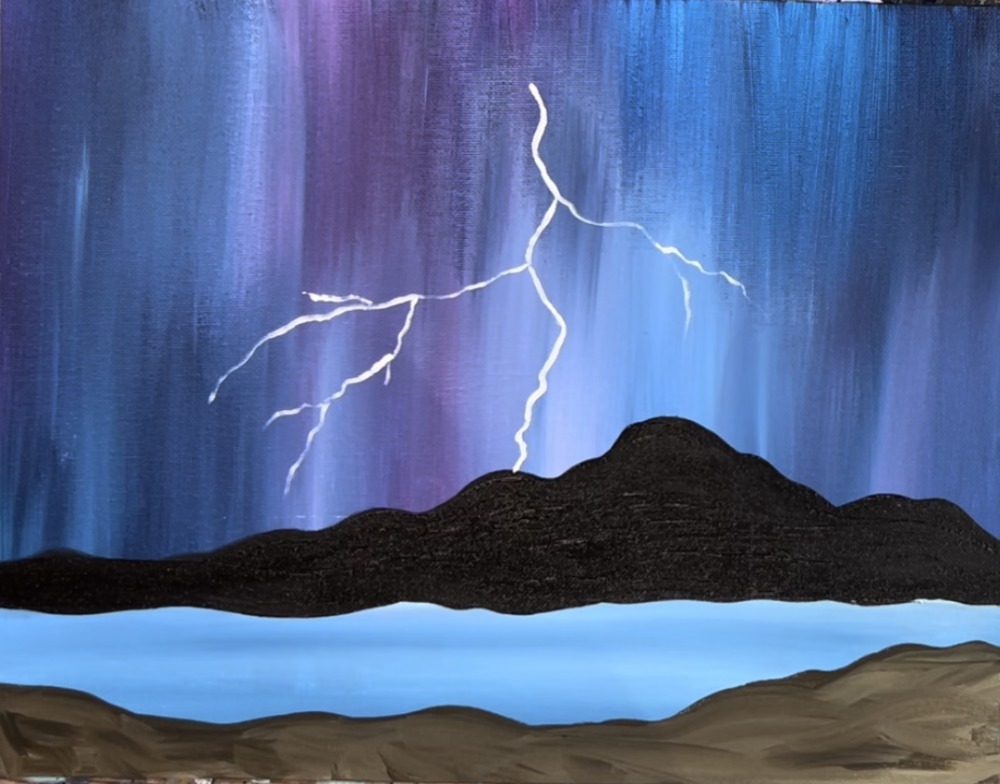
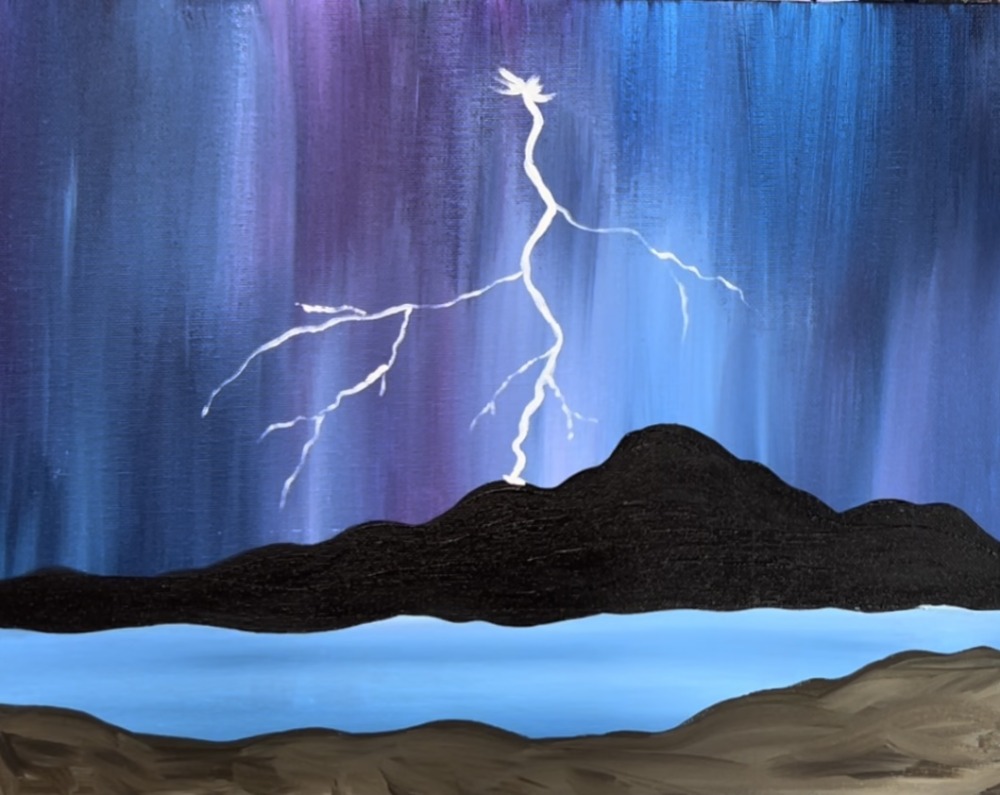
If needed, paint a second coat over your main large lightning bolt that is touching the mountain. This will ensure that line is much brighter and thicker than the smaller bolts that are branching out of it.
Paint a few curved strokes on the top and bottom of your main bolt. The top strokes are for the cloud that you will paint in the next step.
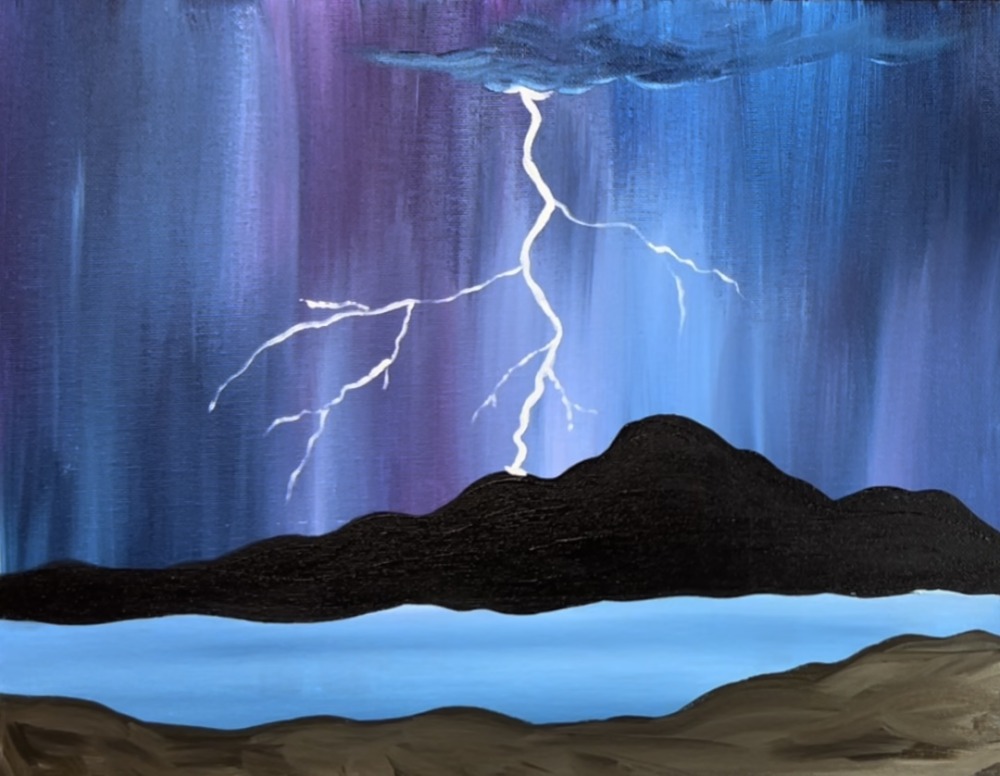
6. Paint Shelf Clouds
Use a #12 bright brush to paint the clouds. The clouds were done using the “dry brush” technique. This means that very little paint is loaded onto the brush. Keep a towel handy to wipe excess paint off the brush. This will allow the cloud to be somewhat “see through” and kind of fluffy. Most of the sky up at the top should still be showing through.
Load your 12 bright brush in the Prussian Blue and a small amount of titanium white. Wipe the brush off so only a small amount of paint remains. Use the tip of the brush to paint a “shelf” of clouds that your lightning bolt is attached to. Add a small amount of extra white on the bottom curves of the cloud.
Paint these “curved” strokes along the top portion of the sky.

Then dry brush a bit of white on the bottom curves of the clouds.

7. Paint Cloud Lightning
Use the 10/0 round brush to paint a lightning strike inside the clouds. Use the same technique only keep the lightning bolt contained inside the cloud.
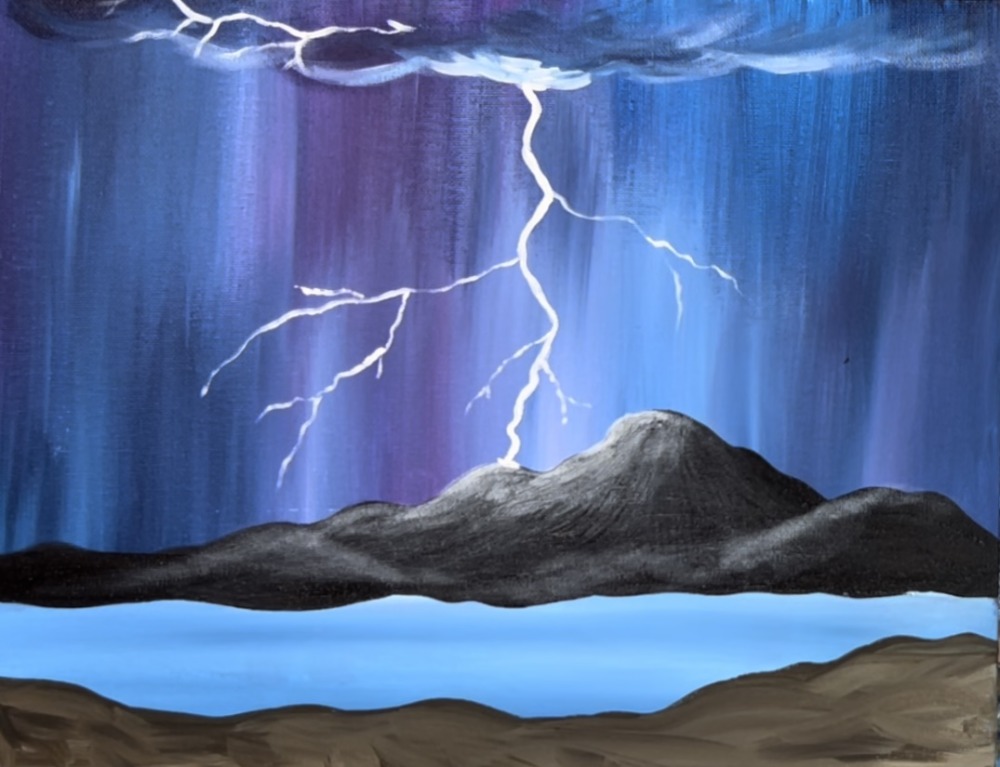
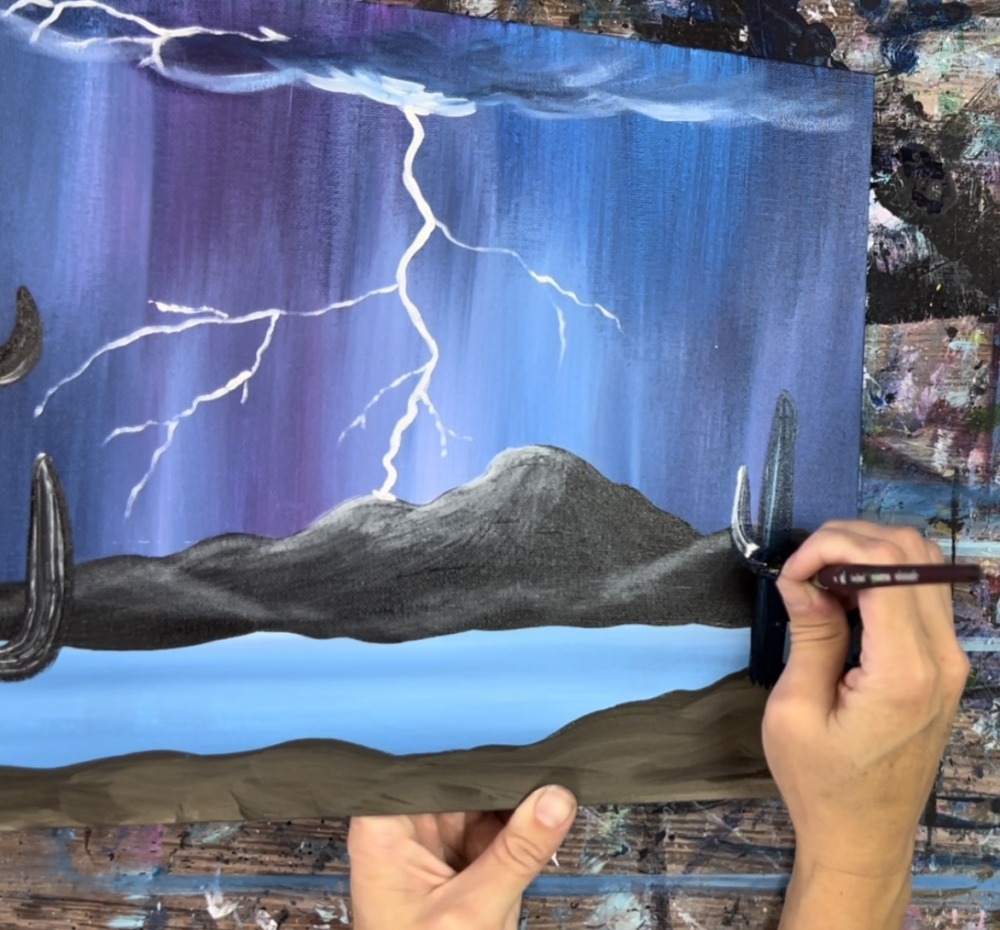
8. Add Highlight To Mountain
The light parts of this mountain are done by “dry brushing” white paint along the left sides of the mountain peaks. I would recommend doing this with the #12 bright brush but you can also do it with the round brush if you prefer.
Load the brush in titanium white paint and then wipe the brush so only a small amount of paint is on the tip of the brush.
Dry brush just the left part of the mountain and leave the right parts of the peaks dark and shadowy. You can add a little bit of extra white on the edges where the lightning bolt is striking.
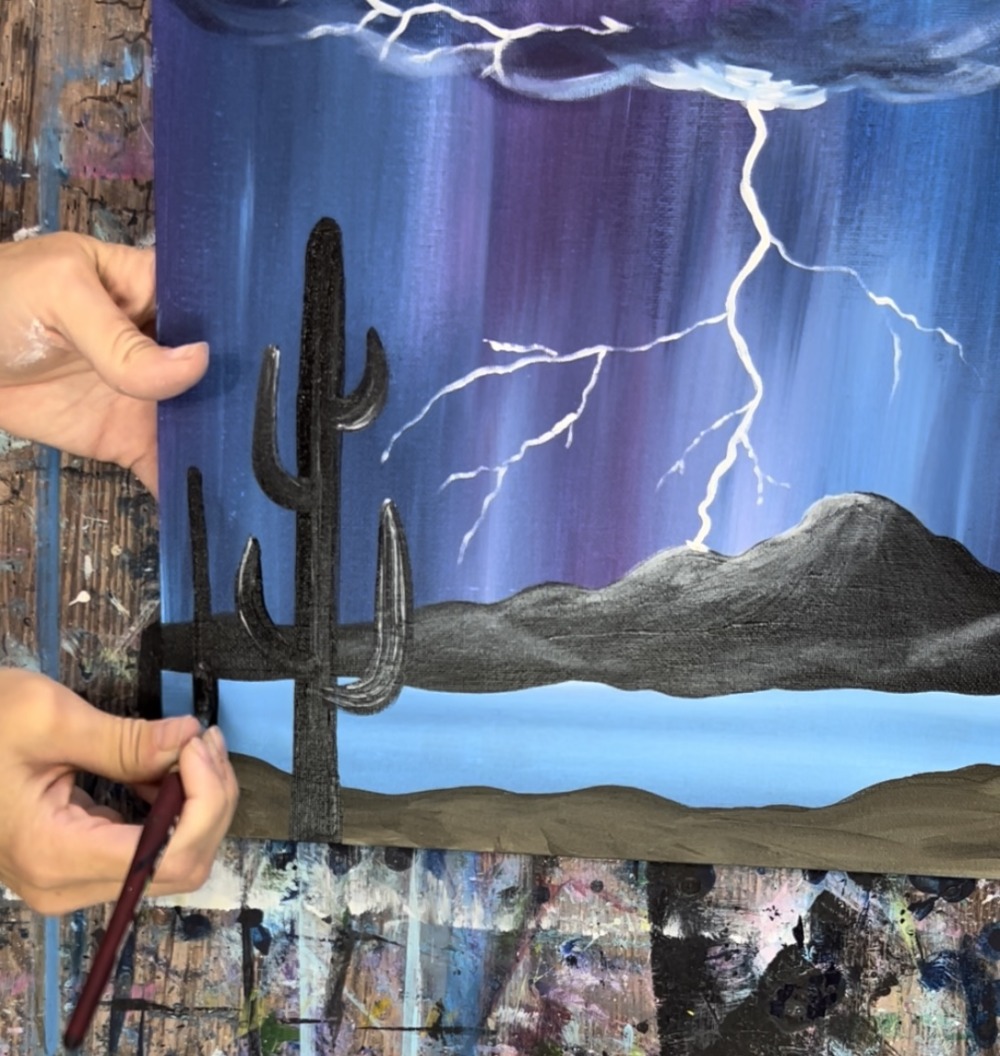
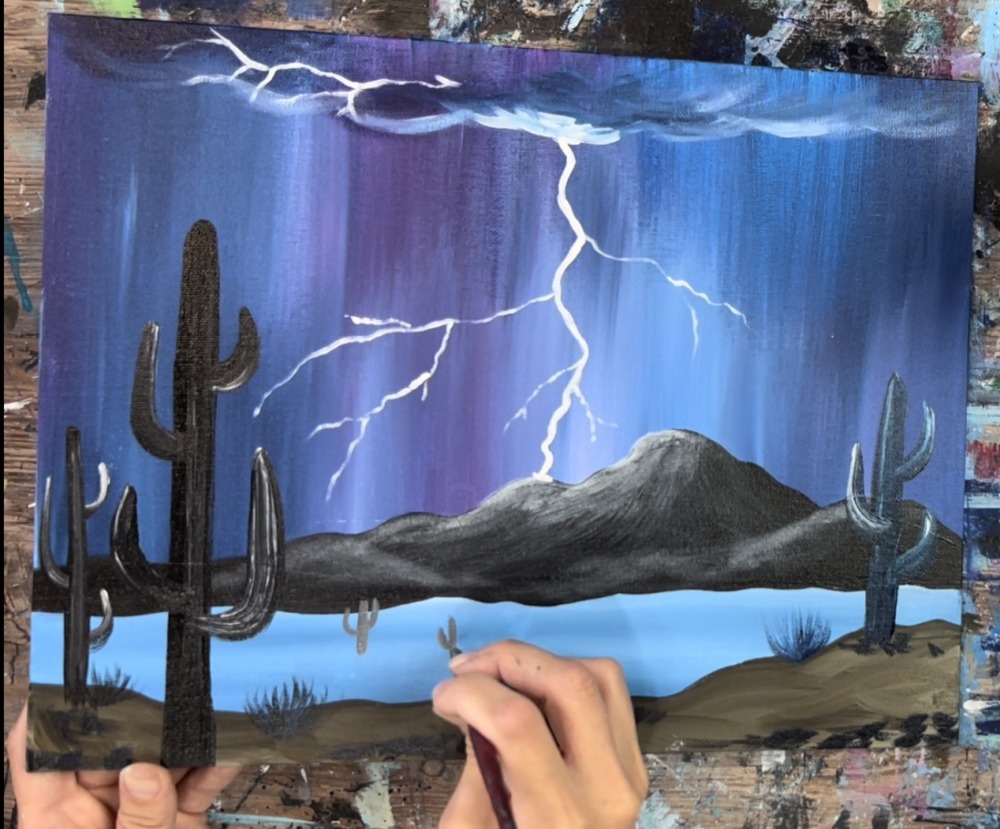
9. Paint Cacti
Use either the #8 round brush or the #4 round brush to paint the cacti. Start by painting a rectangular thick line with a curve on the top. Let the bottom part be a little thicker and then have it go thinner on the top.
Then paint the smaller arms of the cactus. Make little “L” shapes on the side of the middle piece. You can also load your brush in bits of white to help make the cactus lighter in some areas.

Paint more saguaro cacti throughout the landscape. Ones that are further in the distance are smaller, narrower and shorter.
Add small amounts of titanium white into the black and let it gently blend. You can also use Prussian blue to paint your saguaro cacti if it helps the cactus stand out against the dark color of the mountain.
For example, the cactus on the left was done using Prussian blue with a little bit of black and white.
Paint small pieces of “shrubbery” by stroking your brush upwards in curved directions. You can do this with the phthalo blue, black and white.
Mix a gray on your palette by mixing black and white together. Paint smaller cacti in the distance on the light blue ground area. These should be lighter color because they are more in the distance.
You can vary the grays in the cacti. Some cacti that are much further away may just be small vertical strokes without the arms.
10. Paint More Lightning/ Add Highlights To Cacti
If you want, use the 10/0 round brush to paint more lightning in the sky.
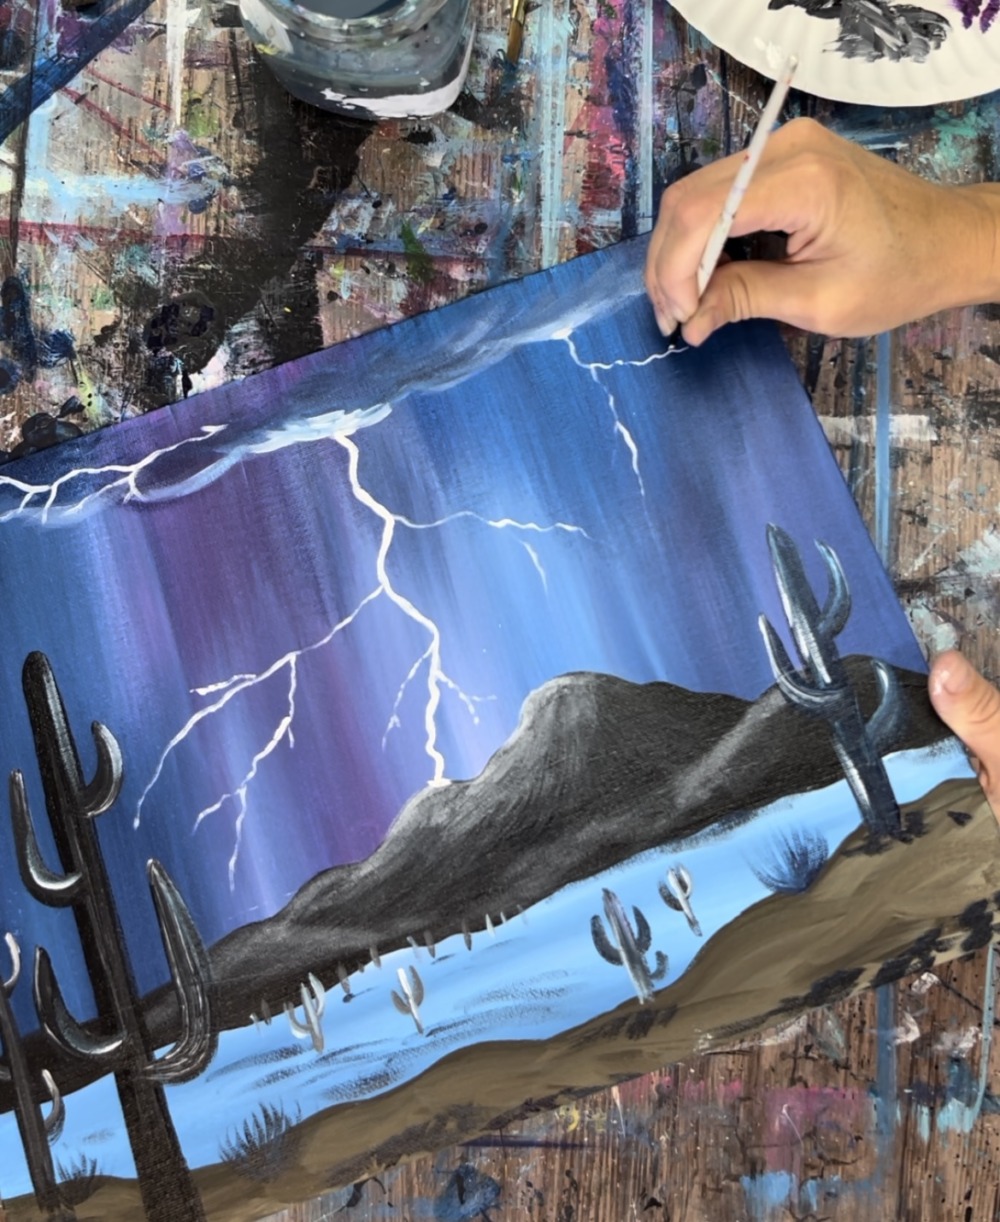
Use titanium white to highlight some of the edges on the arms of the cacti.
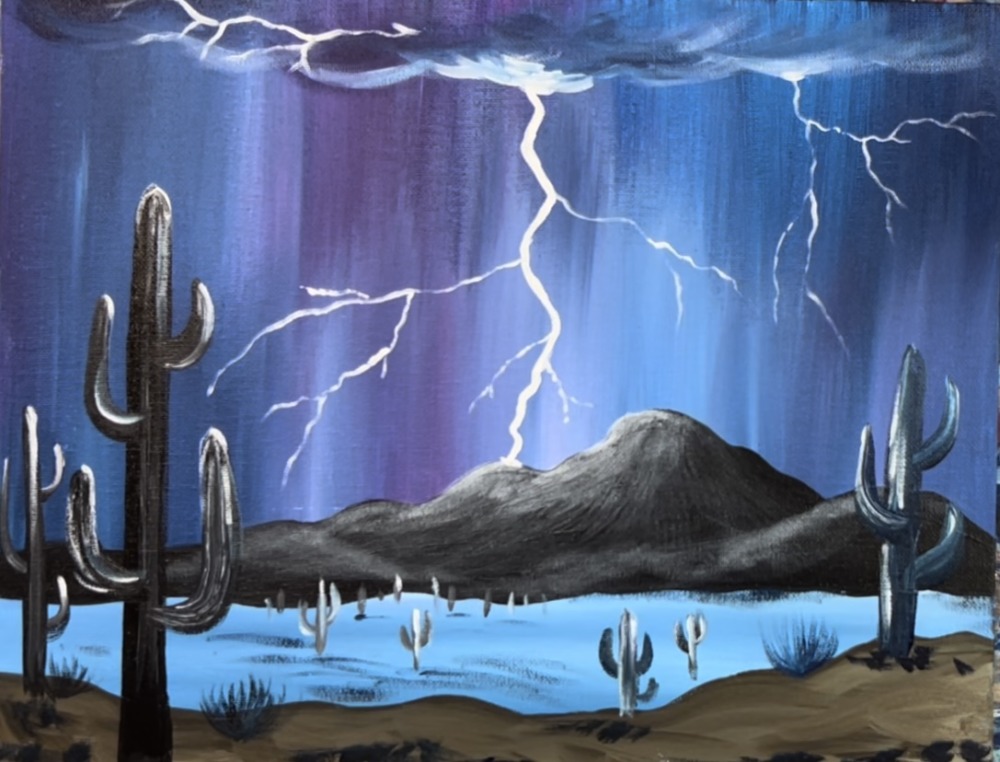
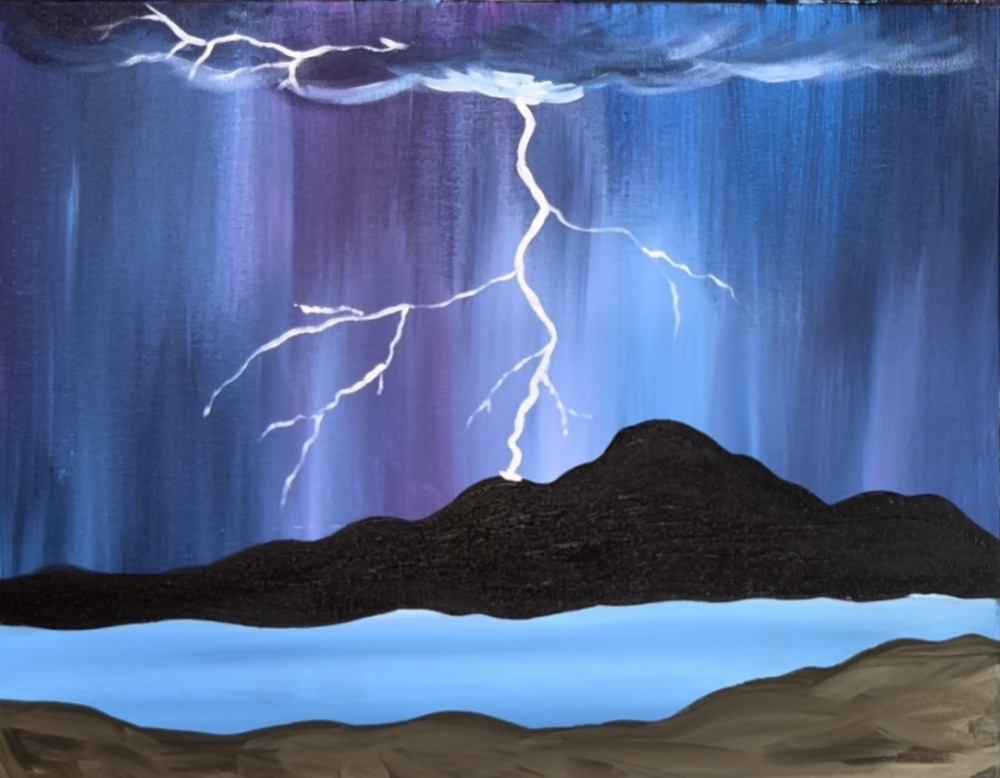
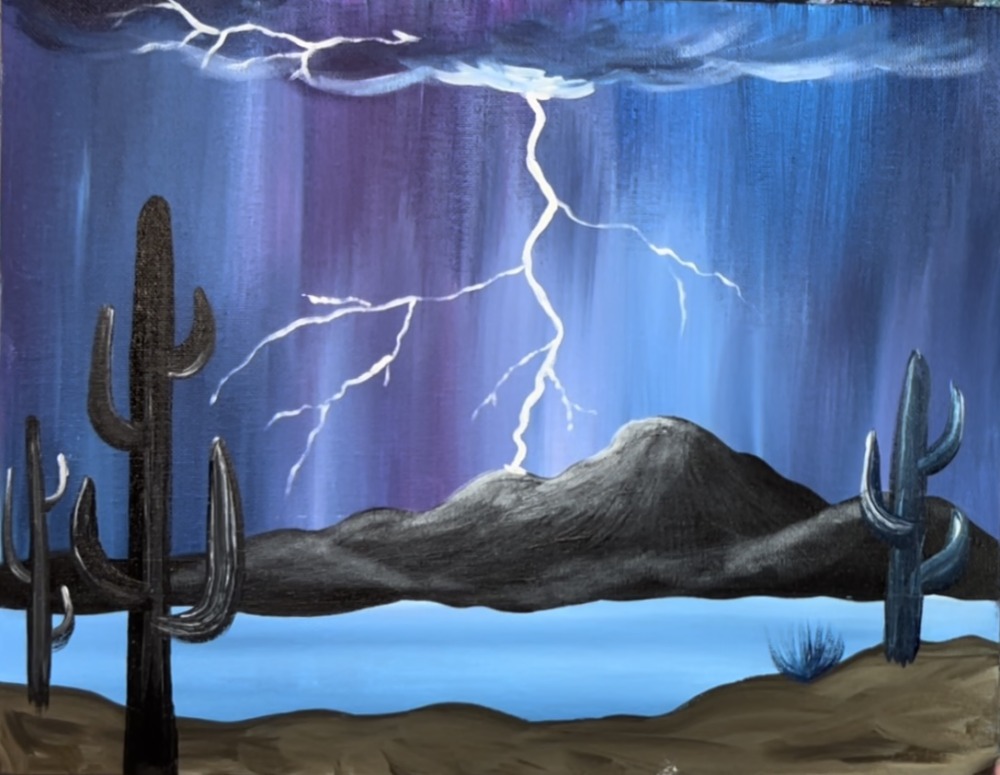
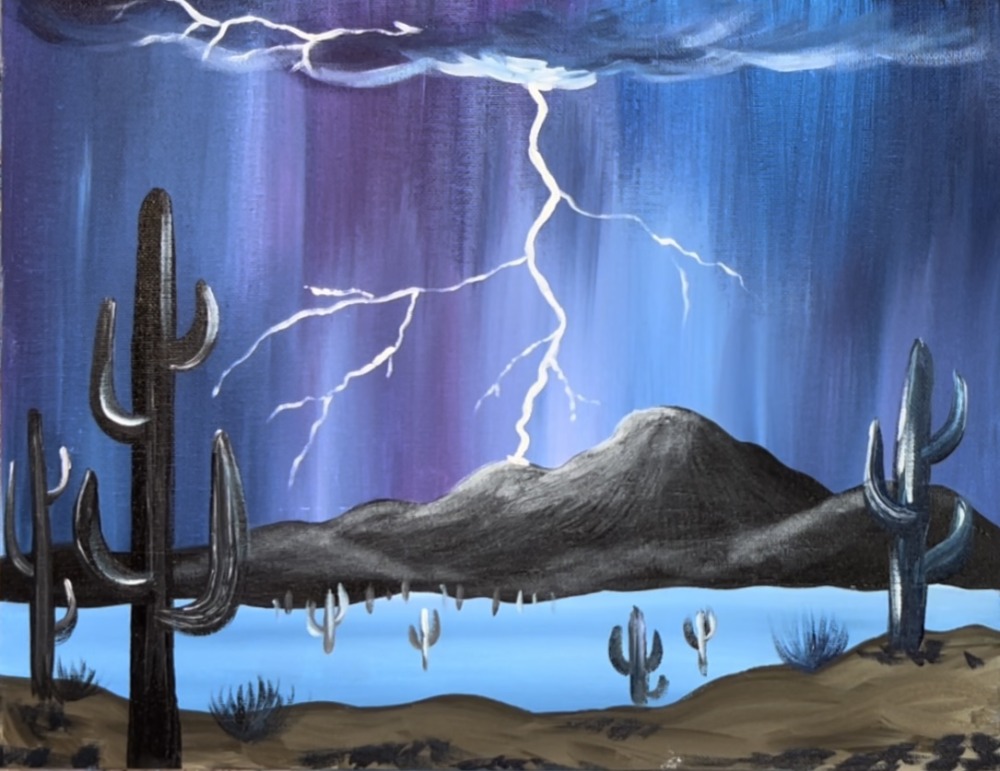
Finished!
That’s it! Your very own painted storm. Hope you enjoyed this painting tutorial! Sign your name and show it off!
Share your art here:


Hi Tracie,
Thank you for this lovely painting.
You have a gift for the rain/storm paintings. I can’t have enough of these. Love them.
This painting reminds me of the John Denver song “You fill up my senses…………like a storm in the desert” !!!!!
Cheers,
Usha
Awww Usha! Thank you so much!! I listened to that song after reading this and it does fit very well!! Storms are one of my favorite things to paint!!