

Would you like to save this?
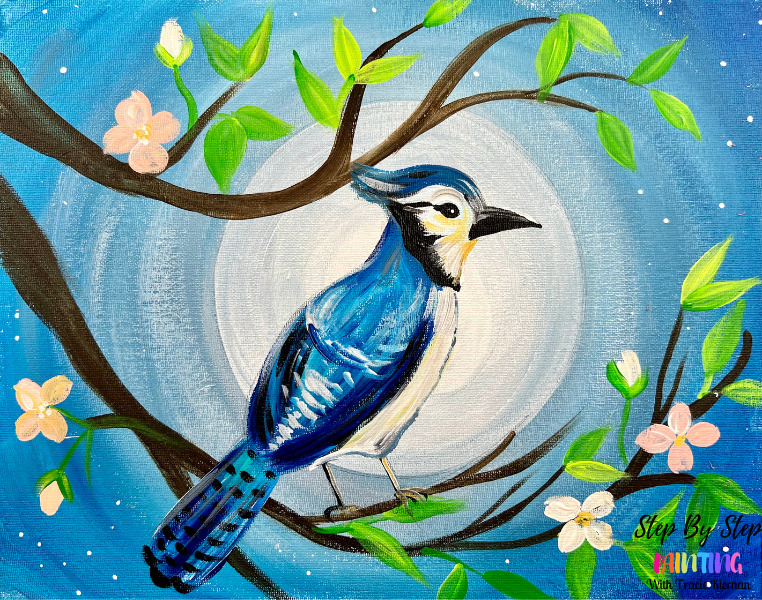
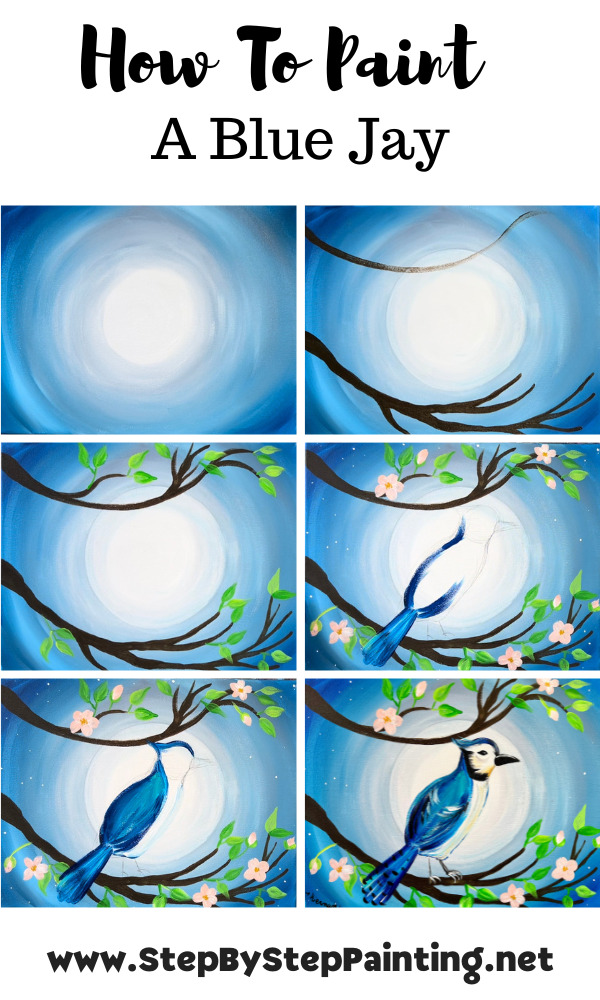
Learn how to paint a cherry blossom tree background with a blue jay on a branch! This tutorial will guide you through the steps in two parts!
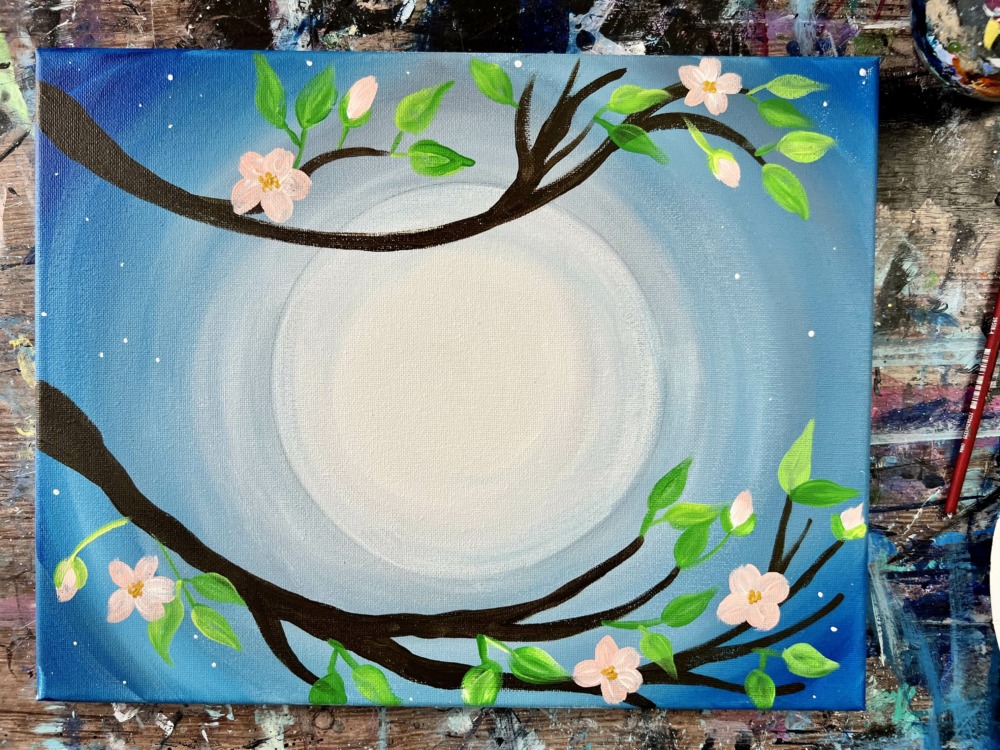
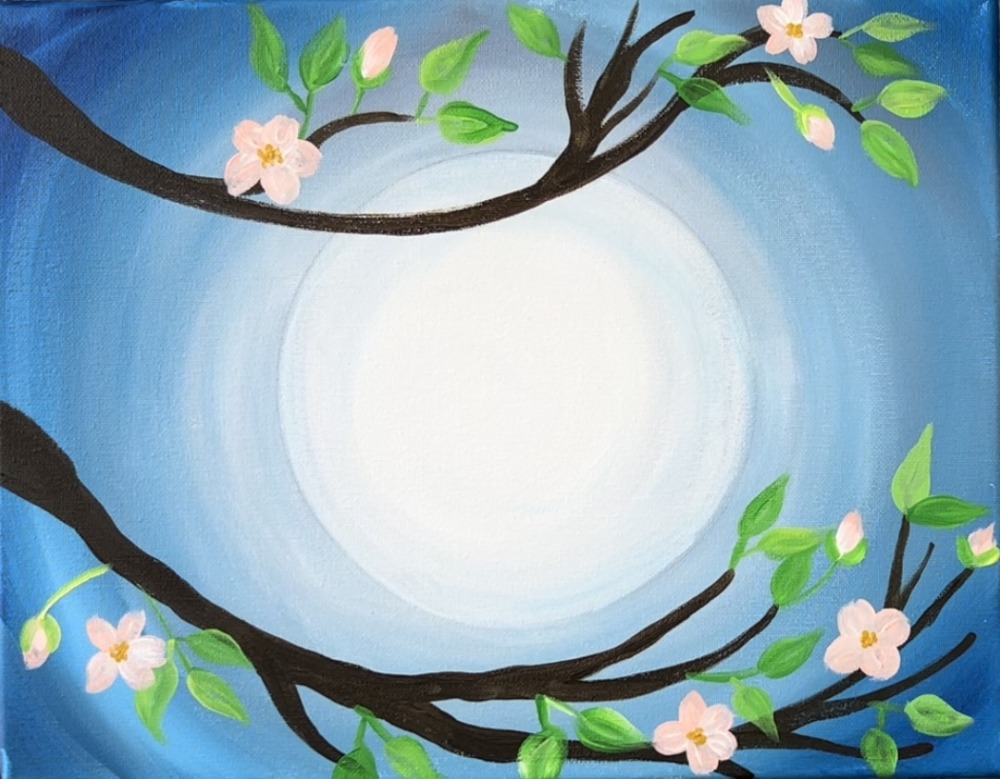
Part one is the background with the swirly tree and leaves/ blossoms. This painting can also be done without the bird if you want a simple design of the sky and branches.
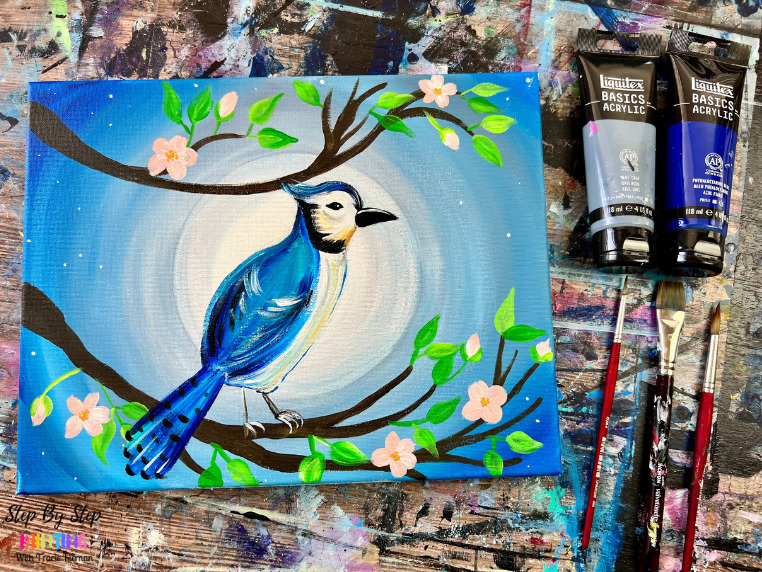
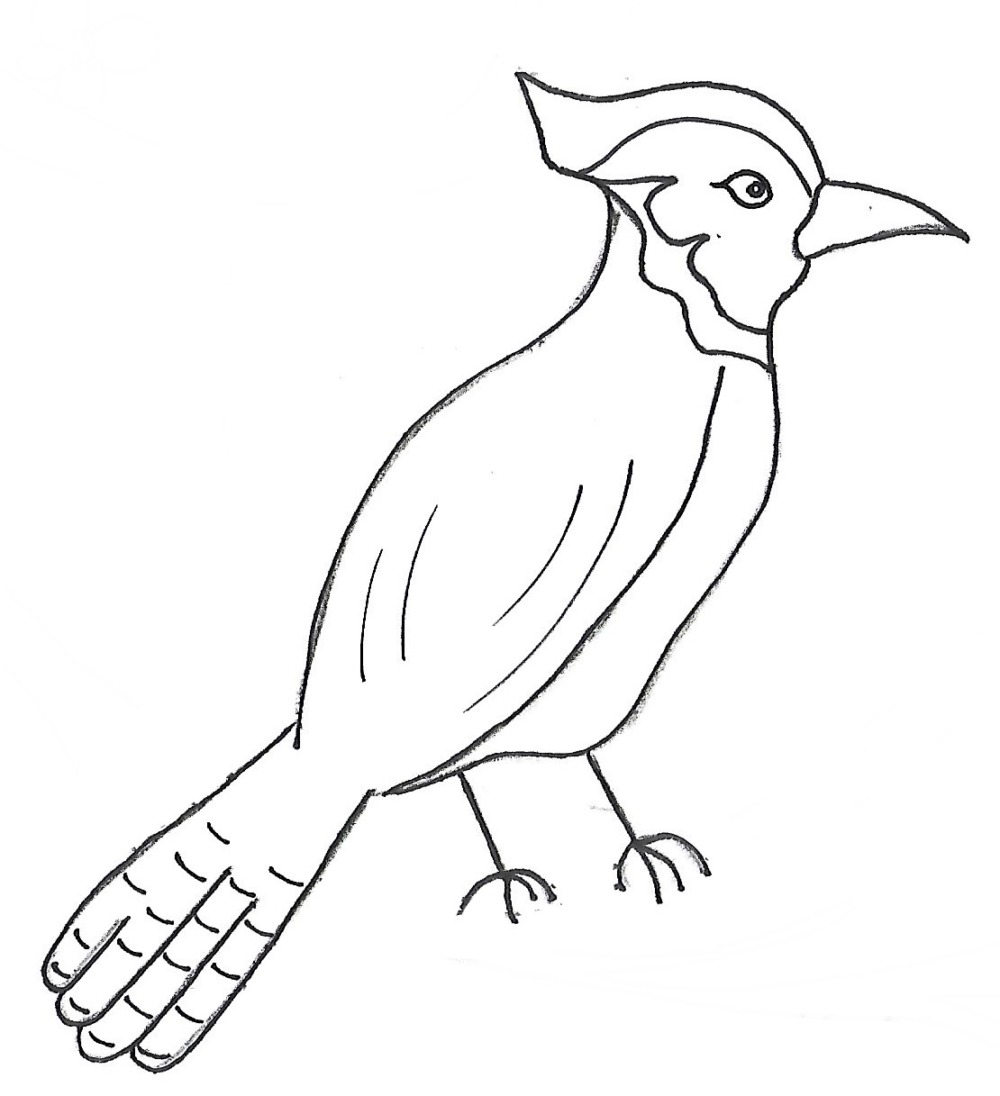
Then in part two of this tutorial I will be showing you how to draw and paint the blue jay! If you prefer not to do the drawing, you can also print and use the optional blue jay template. Simply place a sheet of graphite paper under the bird and trace.
Enjoy and happy painting!
Materials Needed
How To Paint A Blue Jay
Paint a blue jay with a cherry blossom tree background.
Materials
- 11 x 14 Canvas
- Acrylic Paint
- Brushes
- Paint Palette
- Water Cup
- Pencil
- Optional Traceable
- Optional Graphite Paper For Transferring Traceable
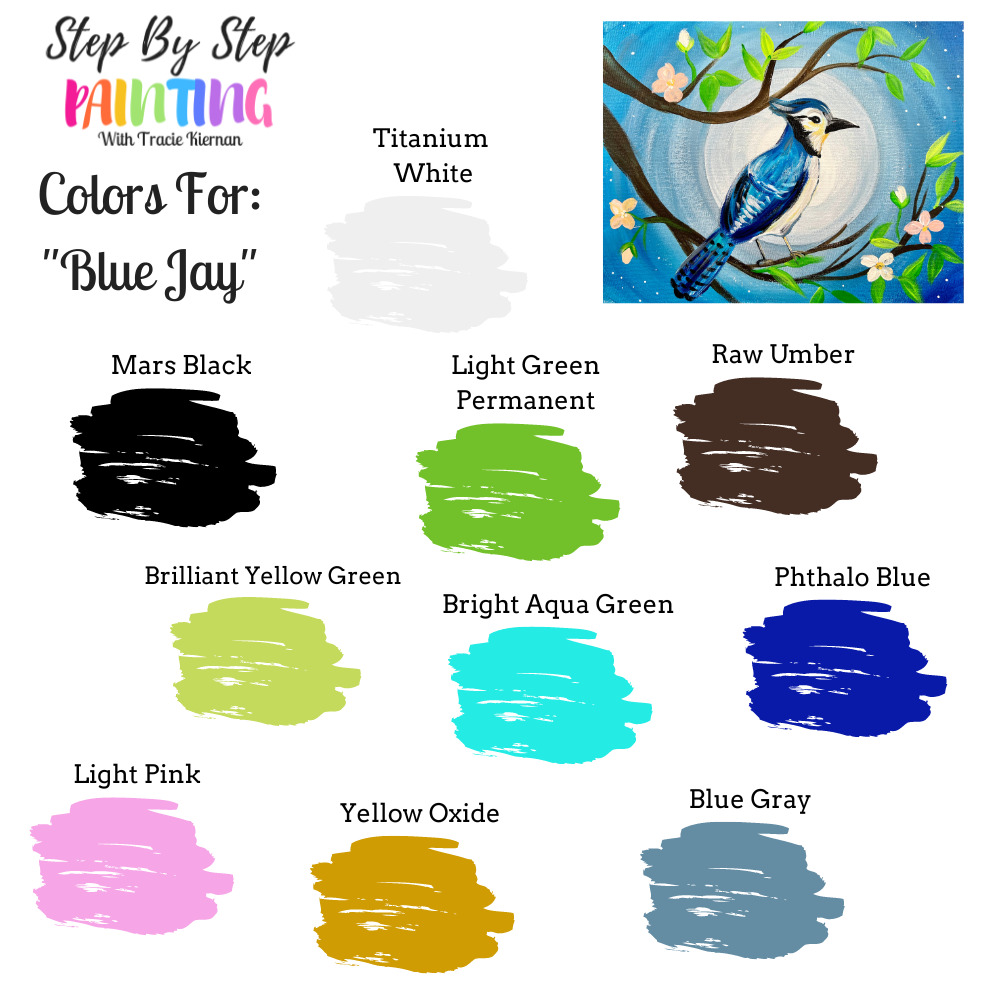
Colors
- Titanium White
- Blue Gray
- Mars Black
- Phthalo Blue
- Bright Aqua Green
- Raw Umber
- Brilliant Yellow Green
- Light Green Permanent
- Light Pink
- Yellow Oxide
Brushes
Color Palette
Using Craft Paints?
If you are using craft paints, such as Apple Barrel, I would recommend subbing to these colors:
- White
- Black
- Fuchsia
- New Shamrock
- Holly Branch
- Melted Chocolate
- Bimini Blue
- Too Blue
- Bright Blue
- Bright Yellow
Traceable

Directions At A Glance
Video
Step By Step Directions
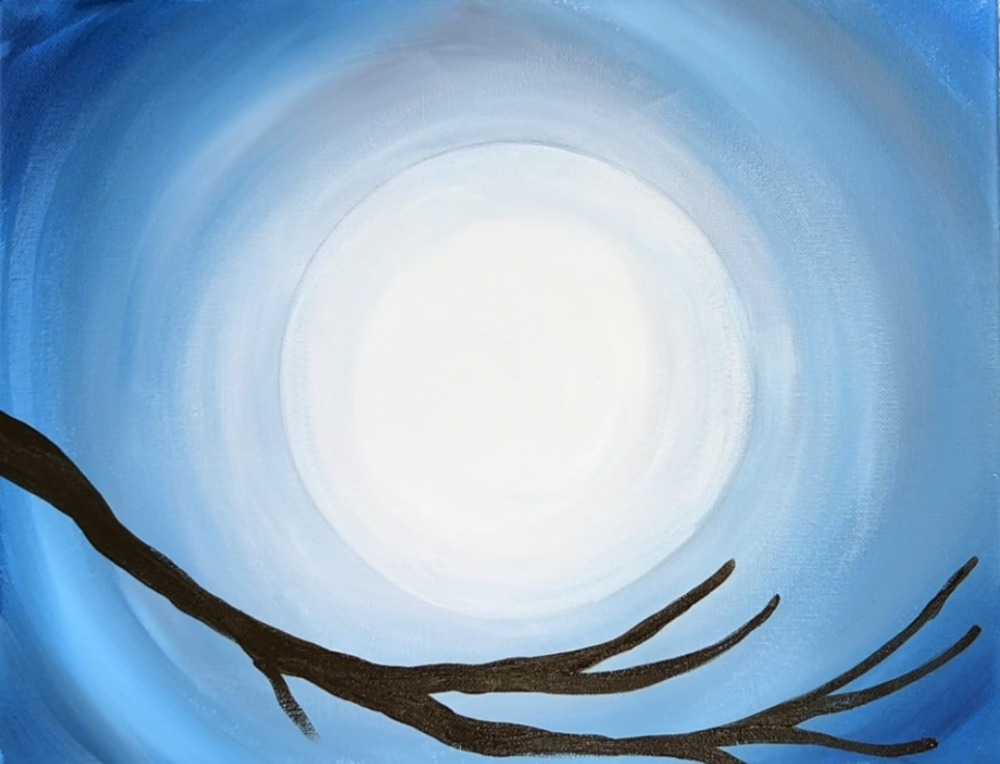
1. Paint Background
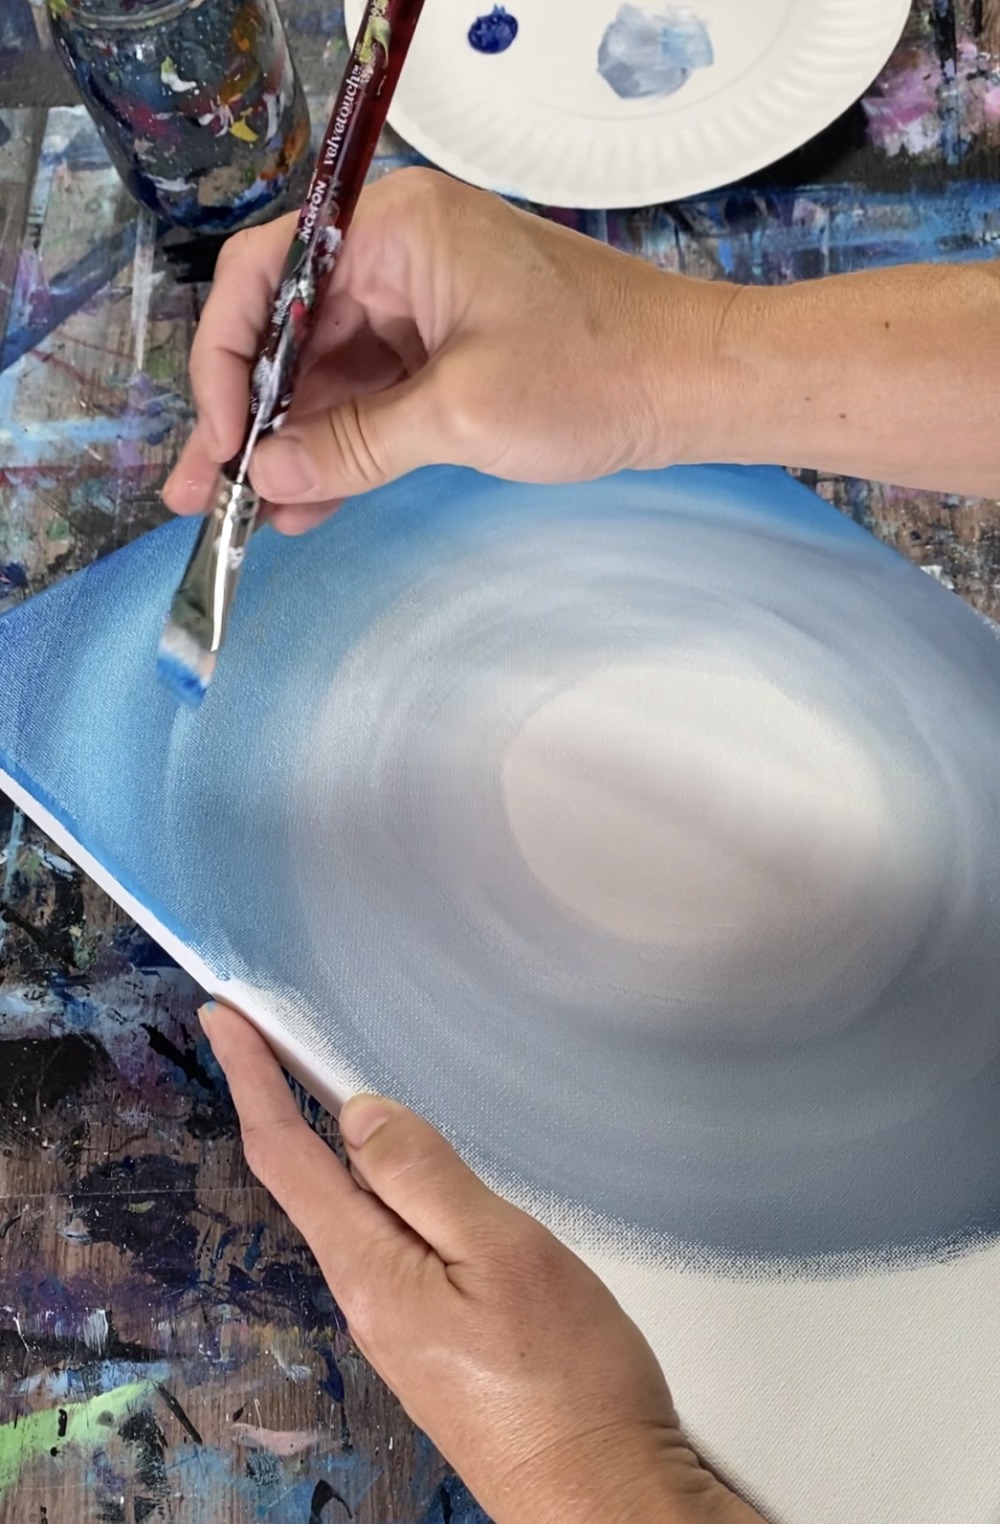
The background in this painting is a blended background with three colors: phthalo blue, *blue gray and titanium white. *If you do not have blue gray, you can substitute for any gray or mix a little bit of blue into gray.
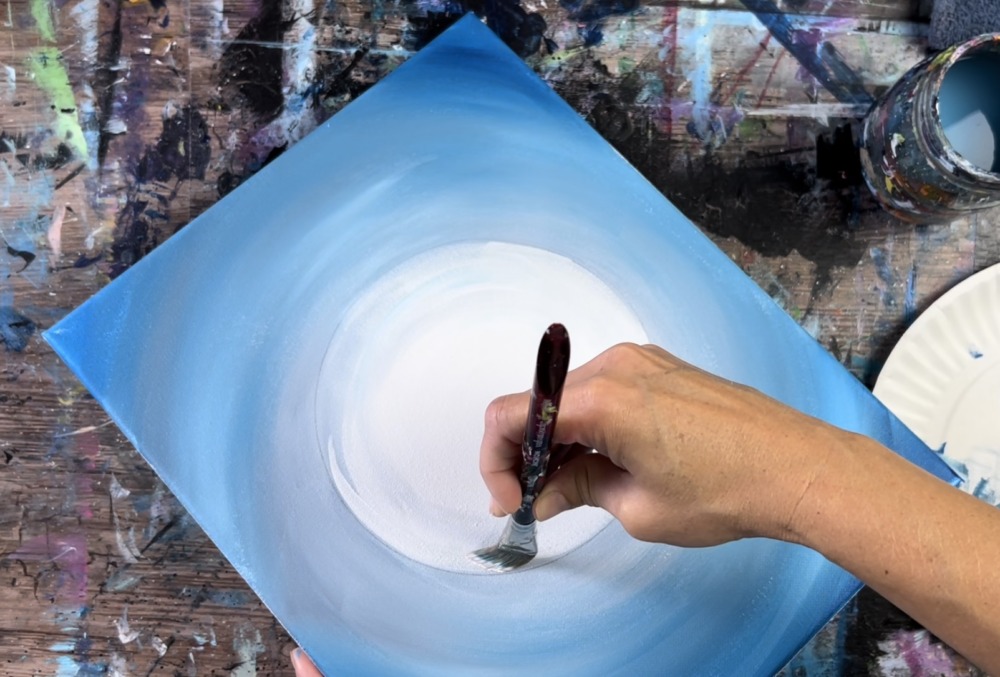
Start by painting a circle in the middle of the canvas with titanium white. This circle does not have to be defined (you will go back over later and re-draw/paint the circle to the desired size). Paint it about 6″ in diameter.
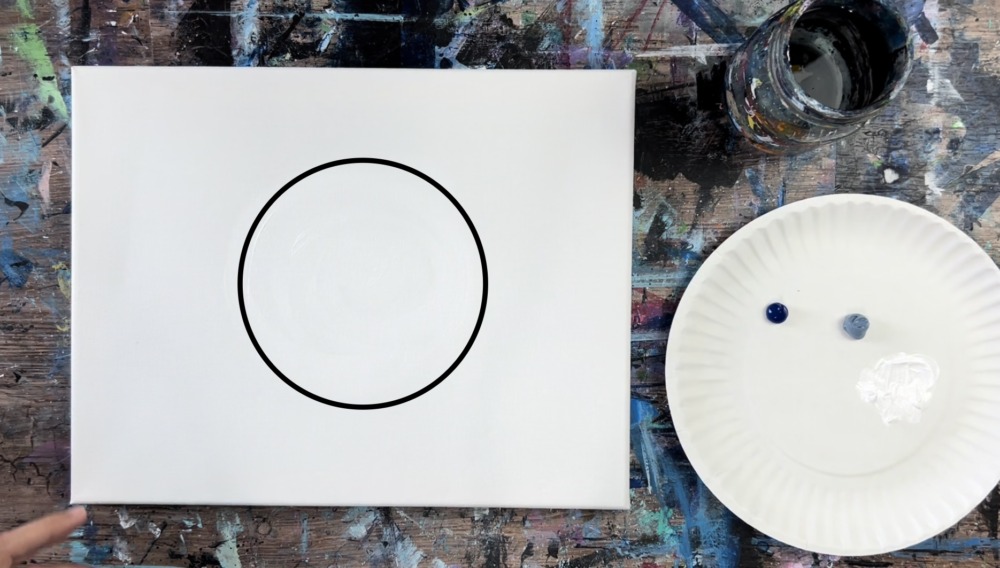
Then load a small amount of blue gray to your brush without rinsing it. Gently blend the gray into the white going in a circular direction.
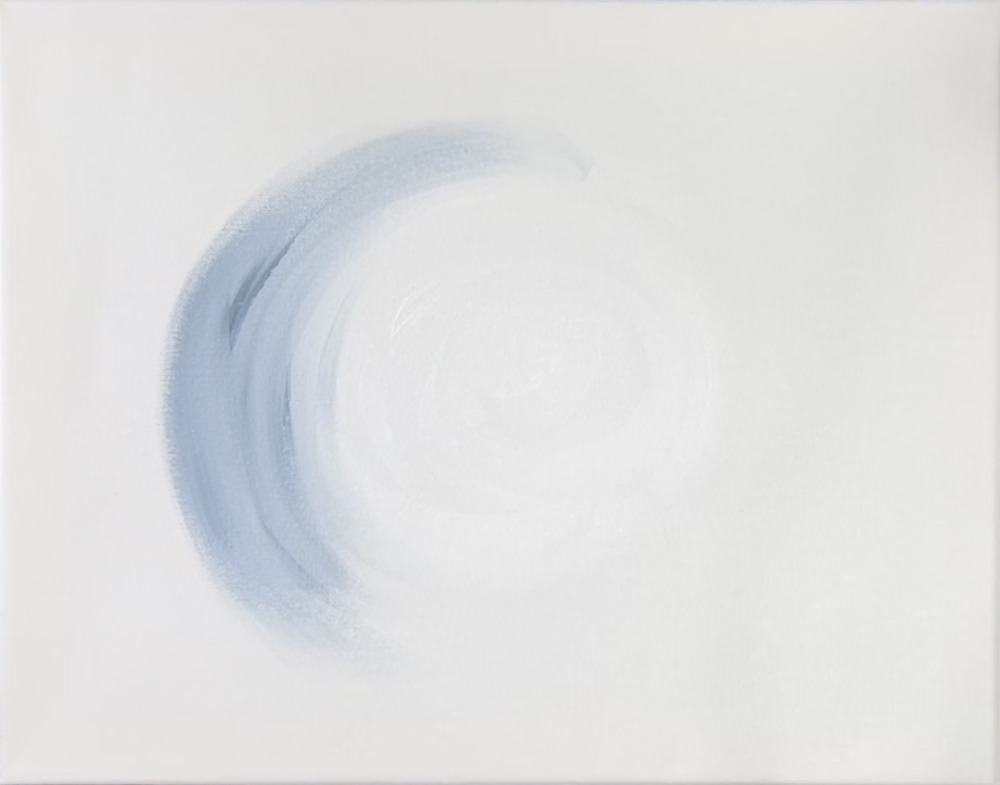
Leave the center part of the circle white and unblended.
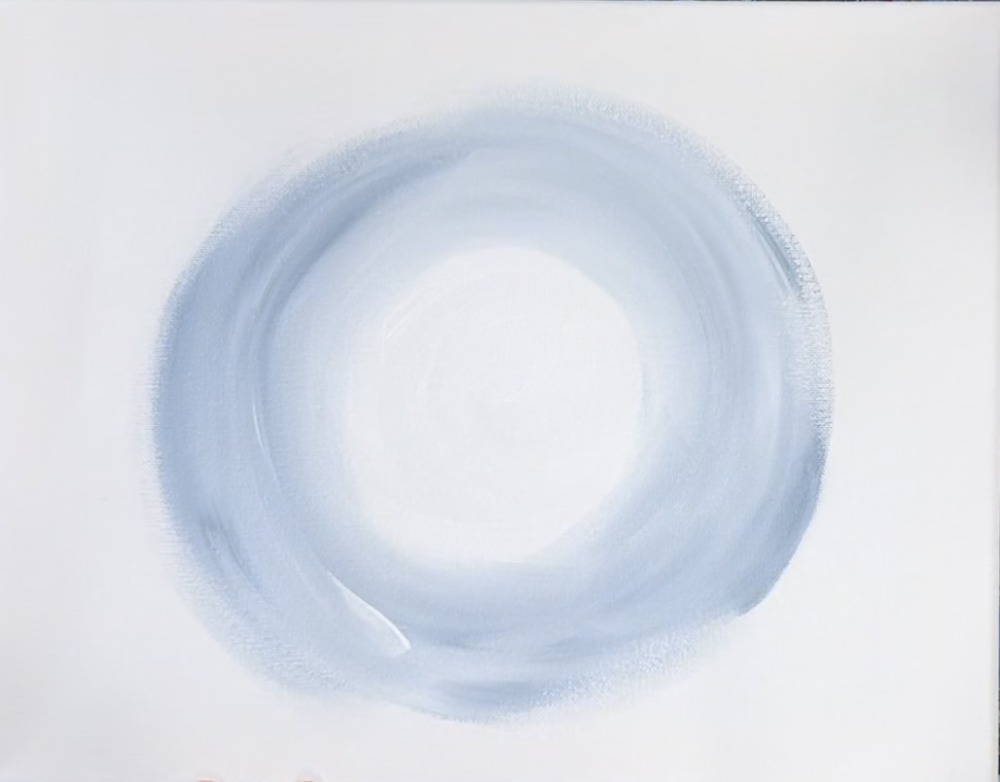
Then gradually add more blue gray going in an outward direction.
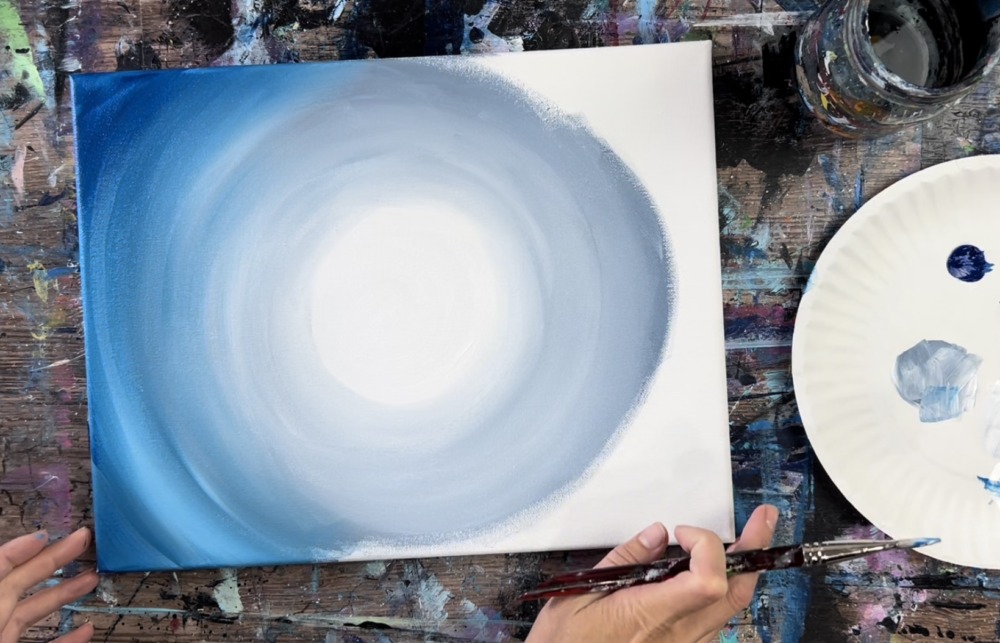
Next, load your brush with phthalo blue without rinsing the brush. Add phthalo blue to the corner areas going in a circular direction and blend that blue with the blue gray.
Tip: it may be helpful to add a little white to the blue to help it blend.

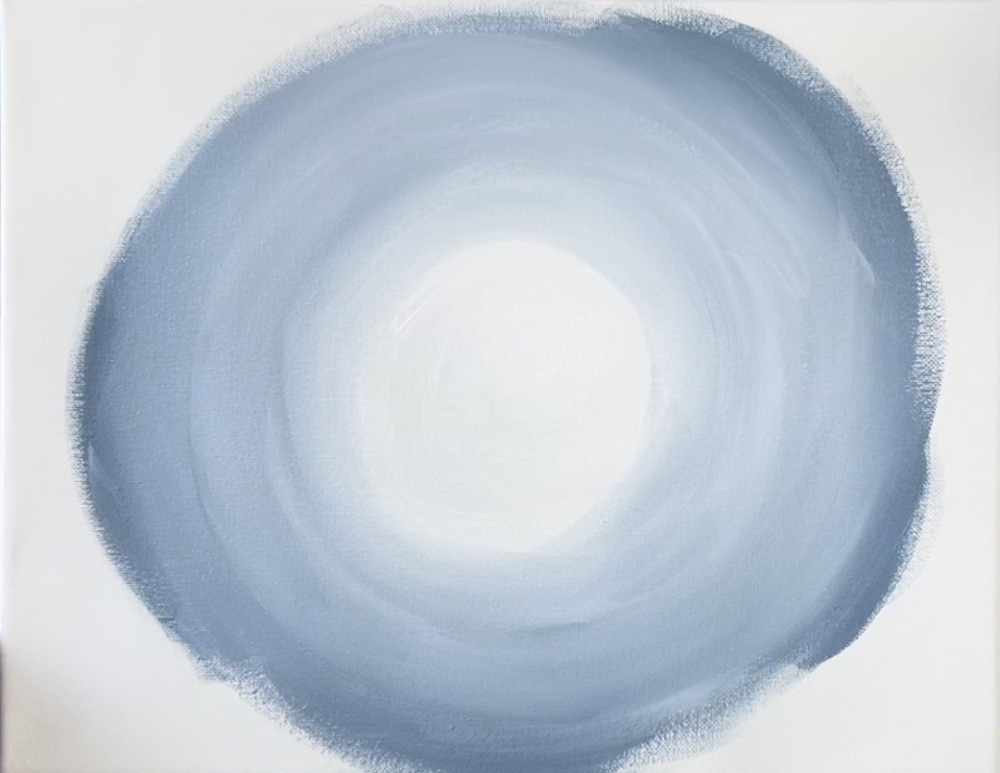
It’s okay if you don’t blend the colors all the way like a “perfect gradient”. There can be steaks of unblended color in the sky!
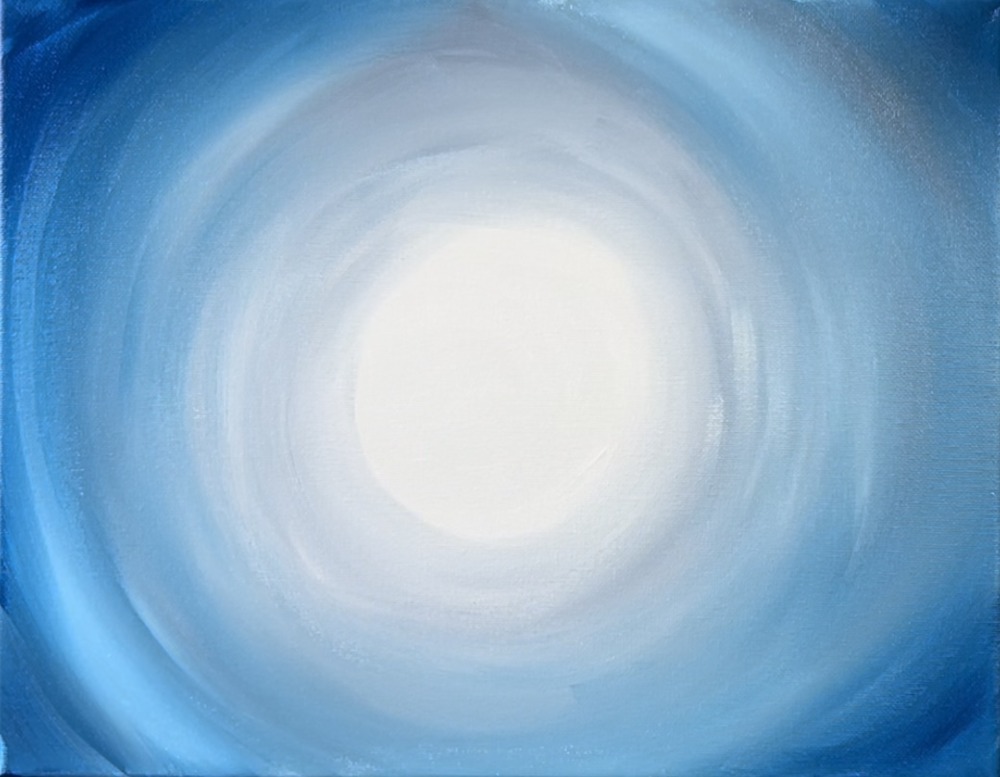
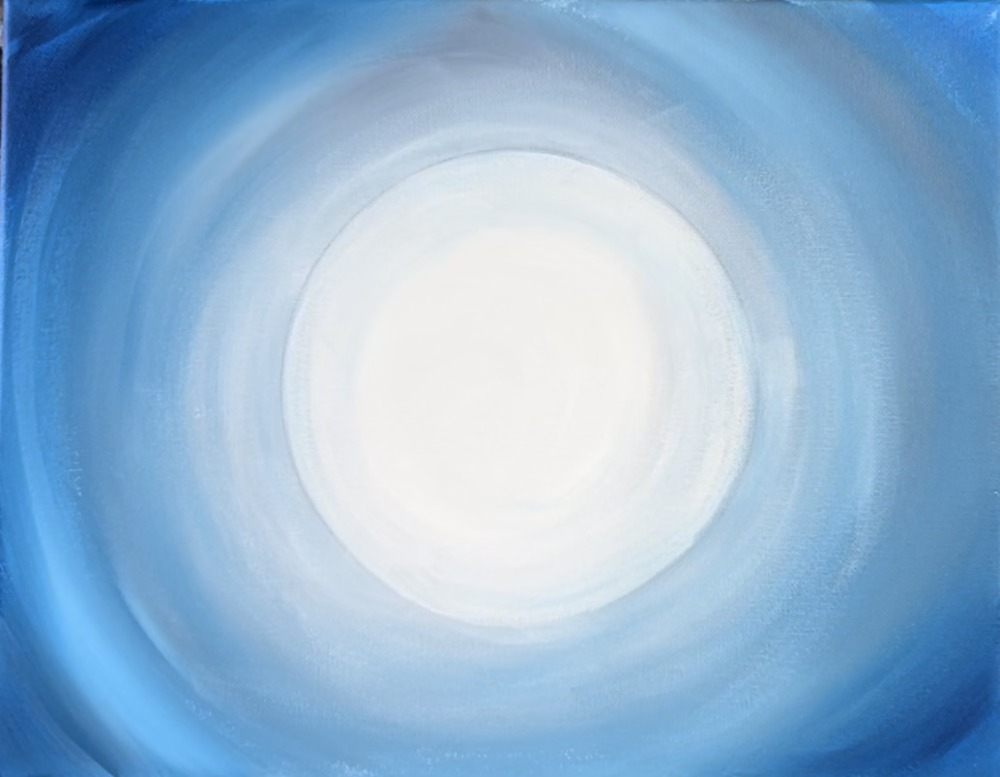
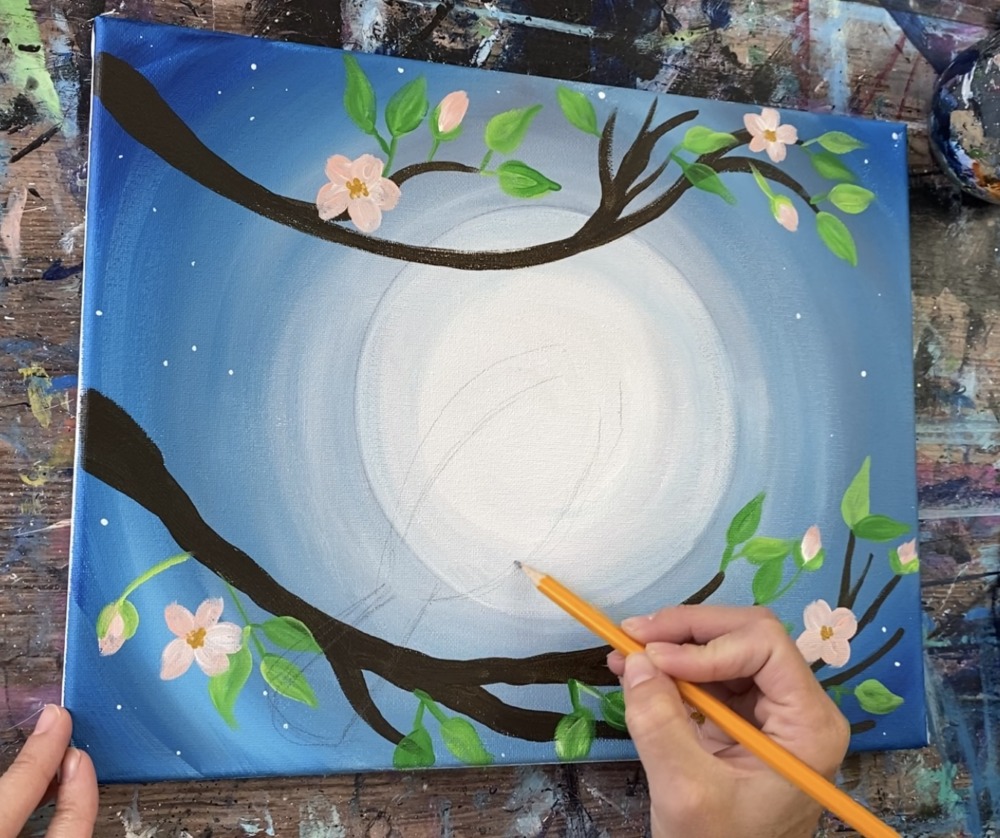
2. Define/ paint large circle
Next, go back and define your circle. I found a bowl that is about 6.5″ in diameter and used that to trace the circle onto the canvas. You can find a similar size to trace! You can also use a compass or hand draw the circle.
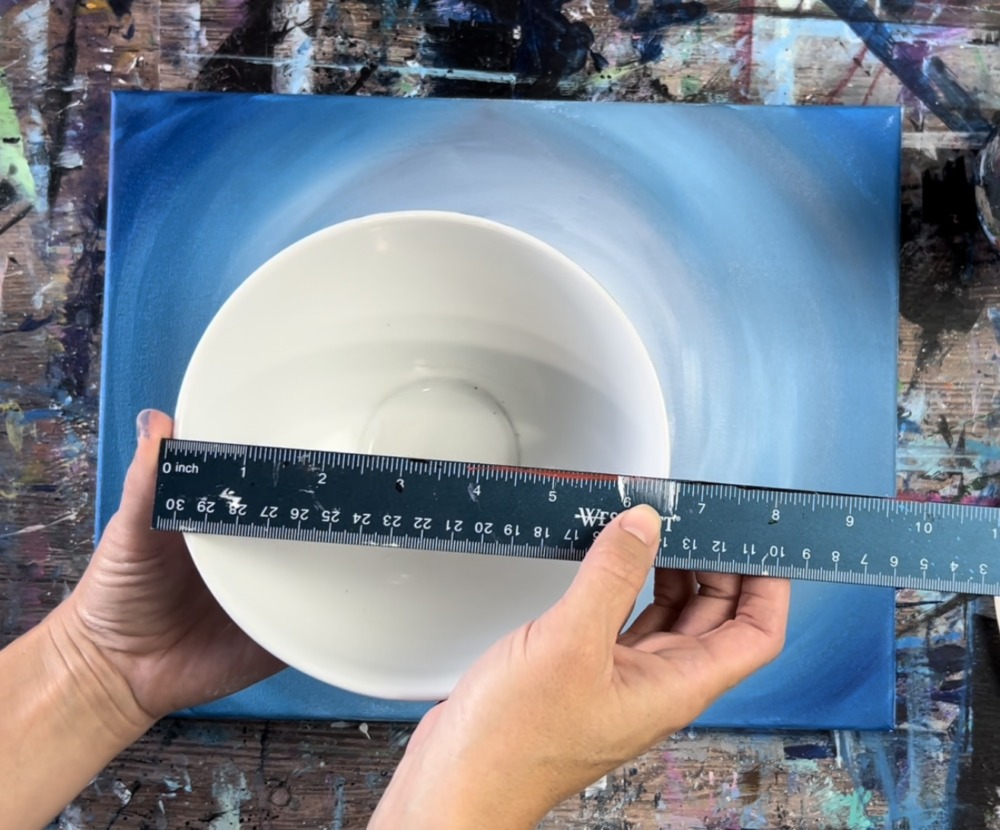
Simply place the circle in the middle of the canvas and trace.
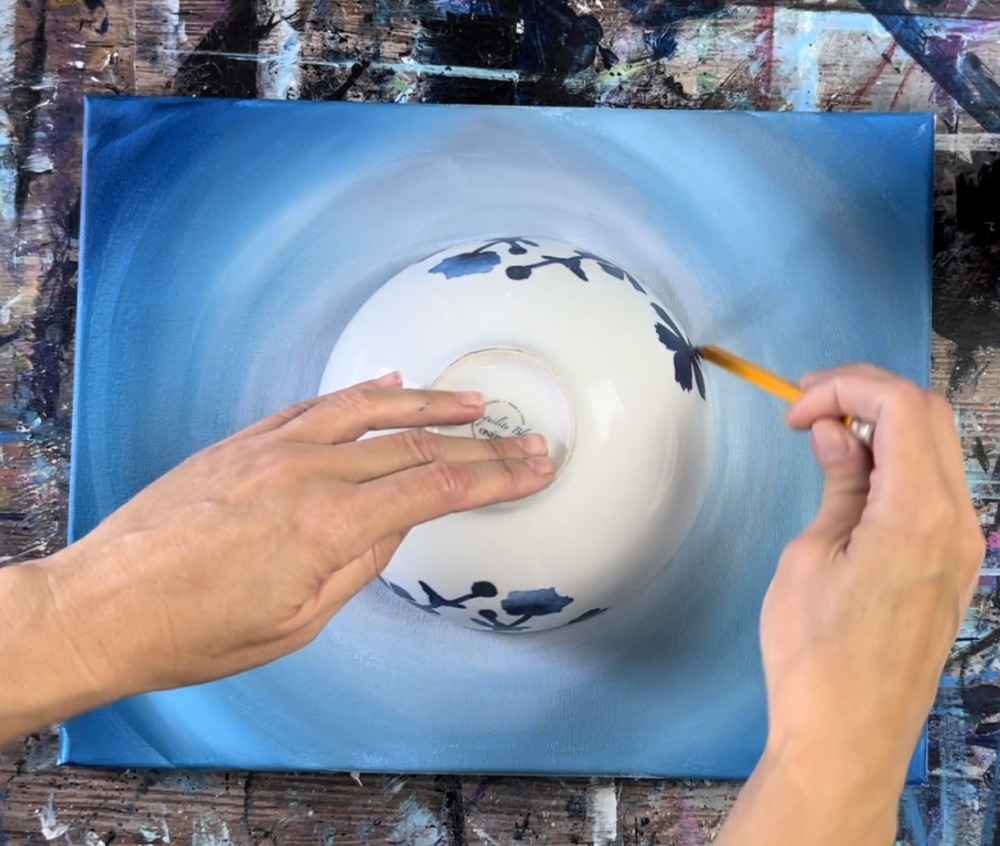
Then paint the circle with one thin layer of titanium white paint.
Optional: you can “dry brush” white strokes on the outside part of the circle.
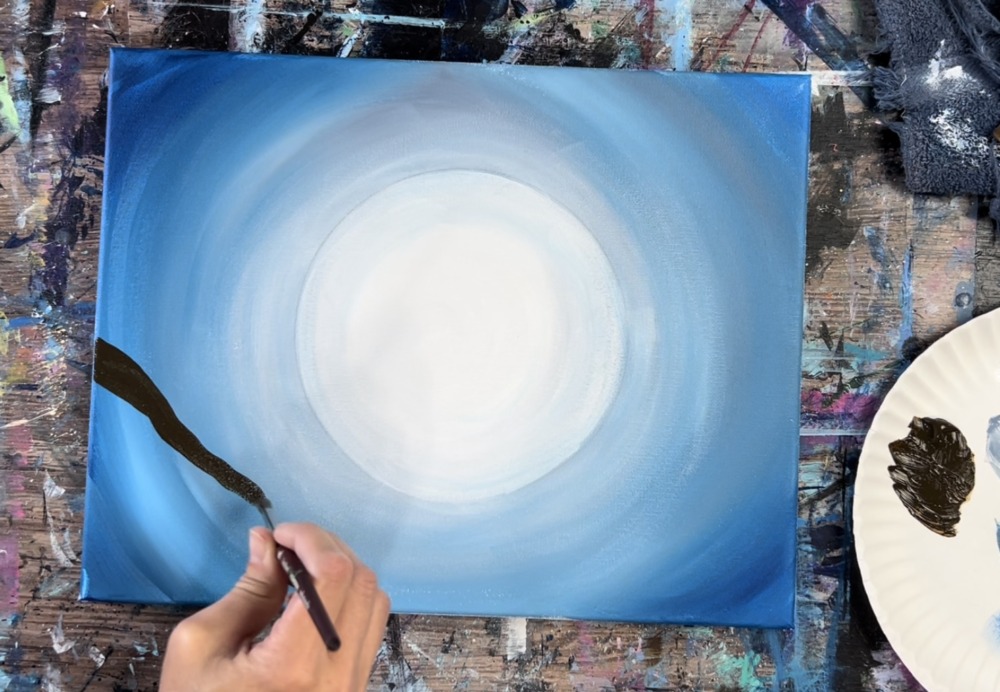
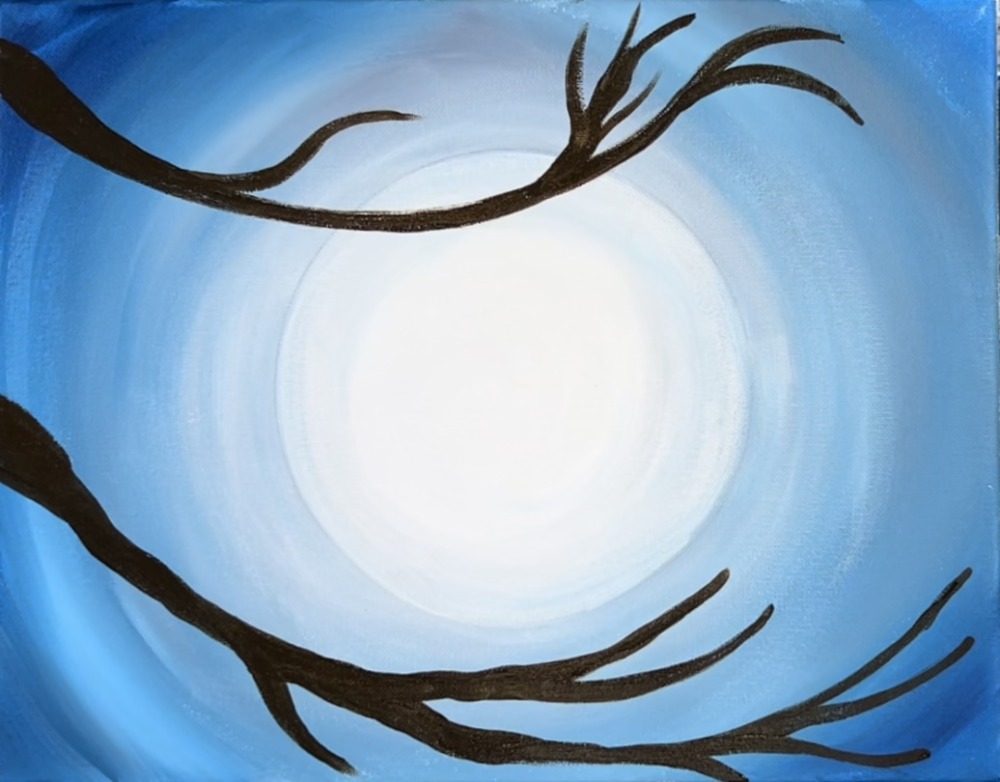
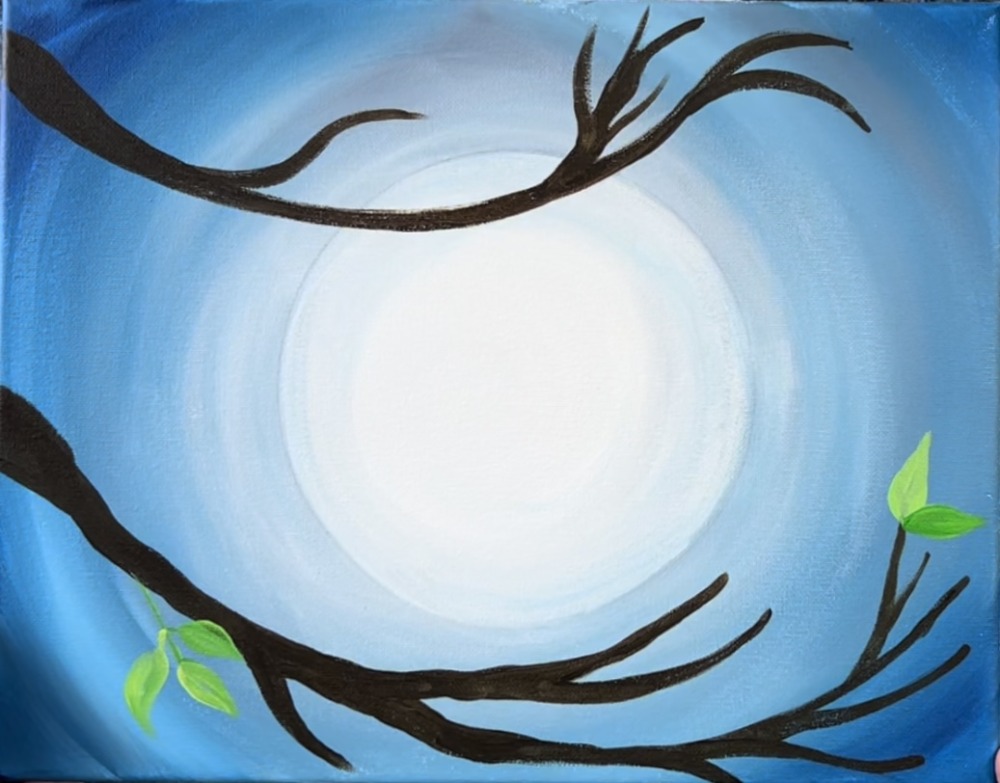
3. Paint Branches
Use a #8 round brush and raw umber paint to do the branches. Slightly water the brown down to help it flow.
Tip: it may be helpful to draw the branches first with a pencil or a piece of chalk and then paint them in.
Start with the bottom branch. Paint a thick line that goes thinner as it paint diagonally under the circle. The edges of the branch should be somewhat wavy/uneven.
Use the #4 round brush to paint the smaller branches that stem out from this main branch. Try to make the branches sort of curve with the direction of the curves in the sky.
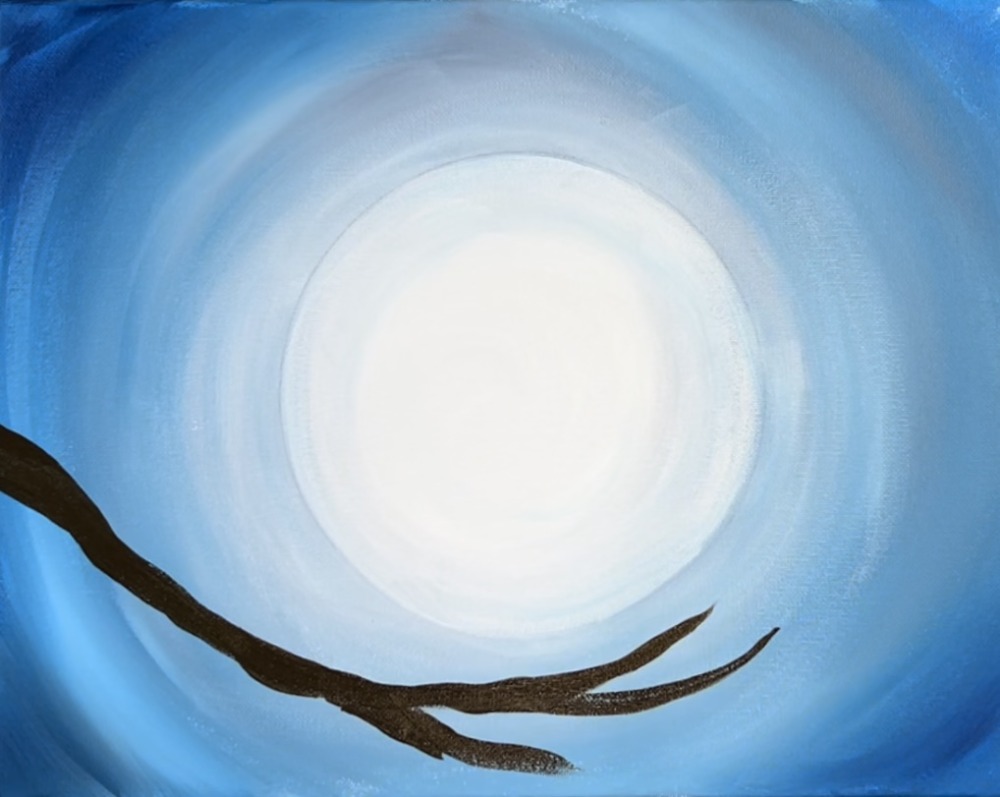
Paint the second branch. This one slightly overlaps the top of the moon.
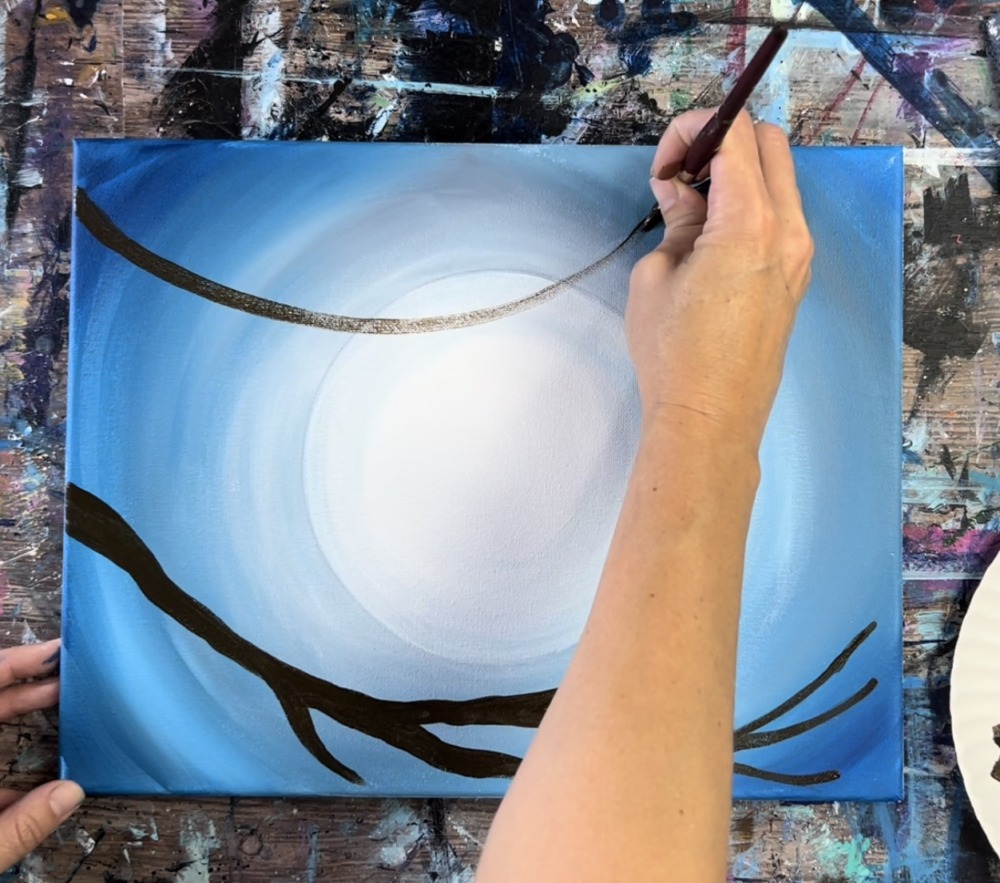
It dips down and then curves downwards on the end.
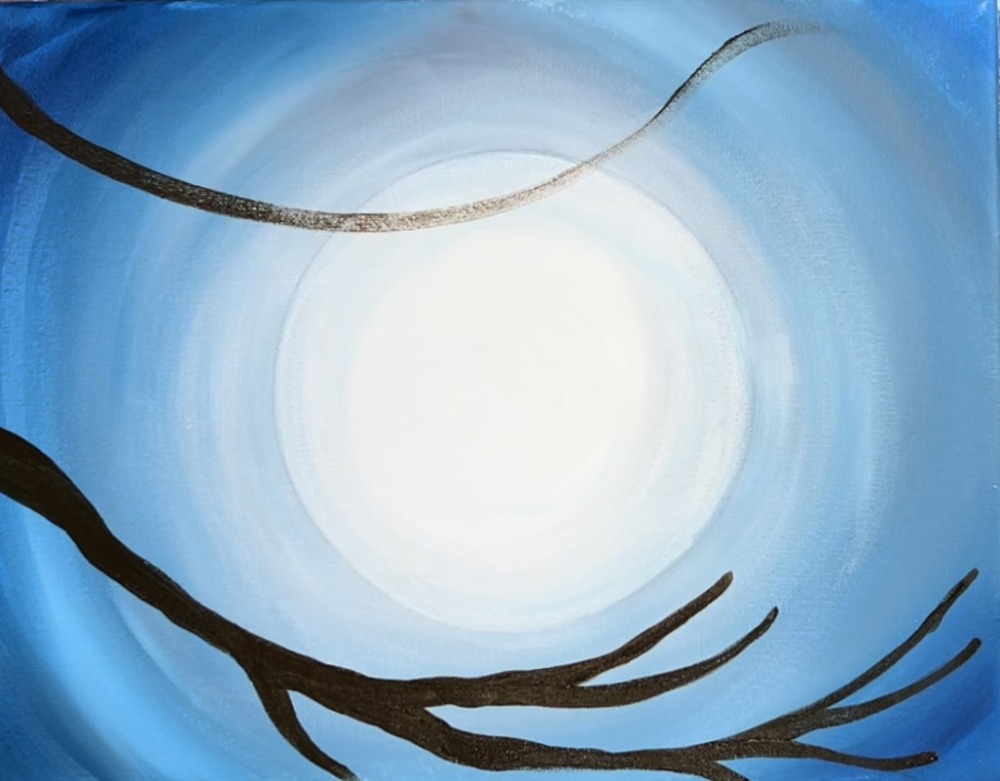
Make this branch thicker at the base and thinner on end. Paint your smaller branches with the #4 round brush. Make these branches curve with the direction of the circle.
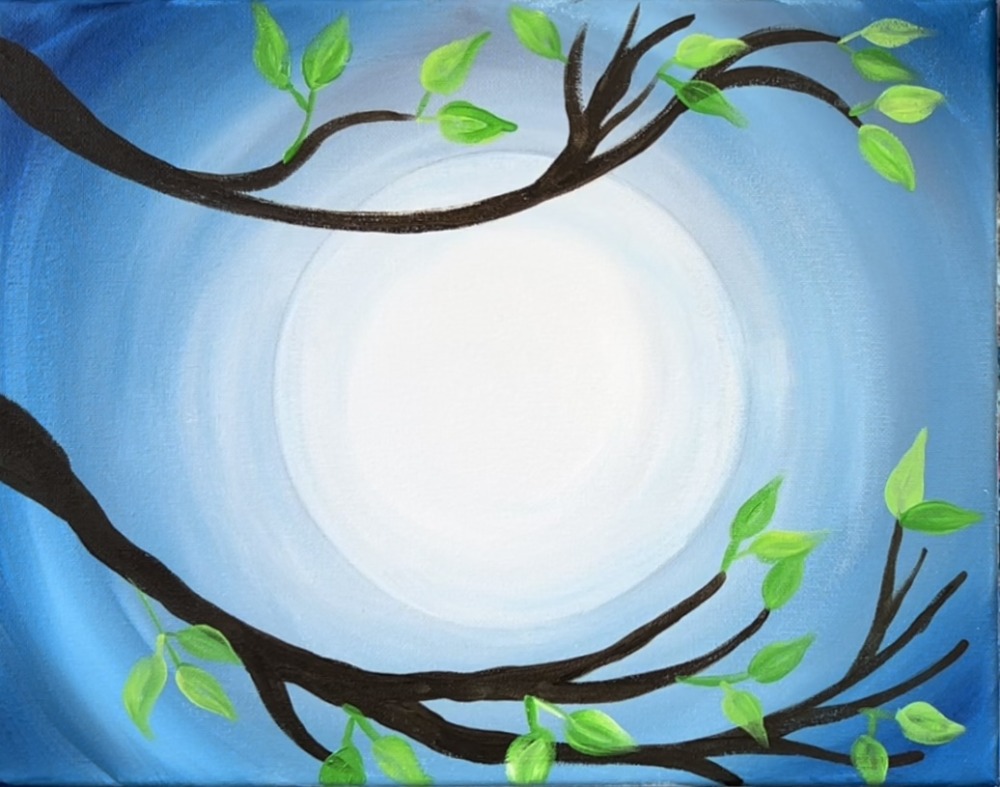
4. Paint Leaves
Load your palette with the colors: light green permanent, brilliant yellow green and titanium white. Use a #4 round brush to paint leaves. These leaves are positioned on the tips of the branches and on small green branch lines attached to the brown branches.
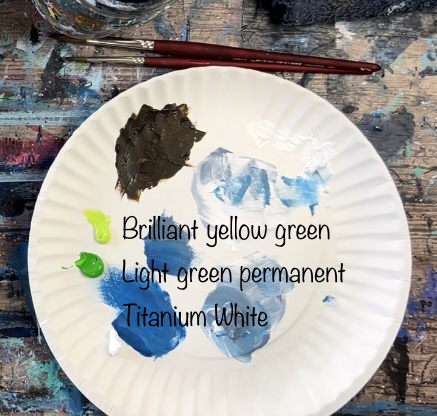
Load your brush in different amounts of each of the greens to create color variations in your leaves.
Position your leaves so that they go kind of in the direction of the curves in the sky. Add bits of white to your greens as well to create variety in the color.
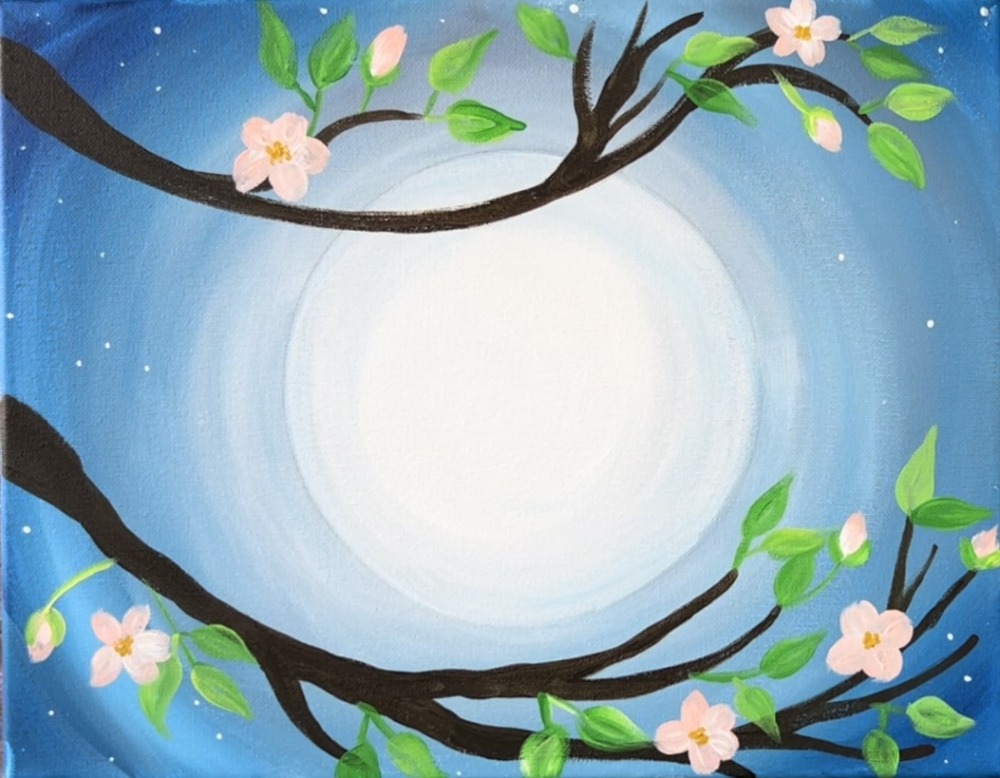
5. Paint Blossoms
Load your palette with: titanium white, light pink and yellow oxide. Use your #4 round brush and double load it into the pink and the white. Paint 4-5 petal flowers that overlap some of the branches (or float off the branch).
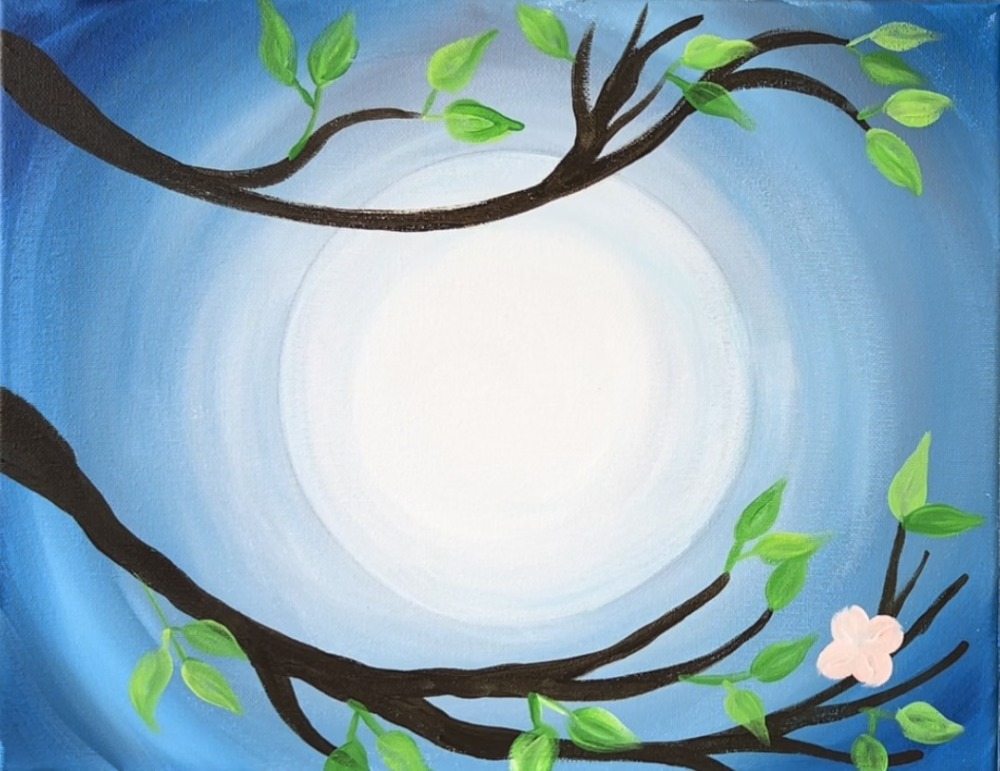
Paint some smaller oval shapes for flower buds.

Then use your #4 round brush and titanium white to paint small white dots in the sky for the stars. Paint a variety of sizes in your dots and paint them in clusters that may be dense or further apart.
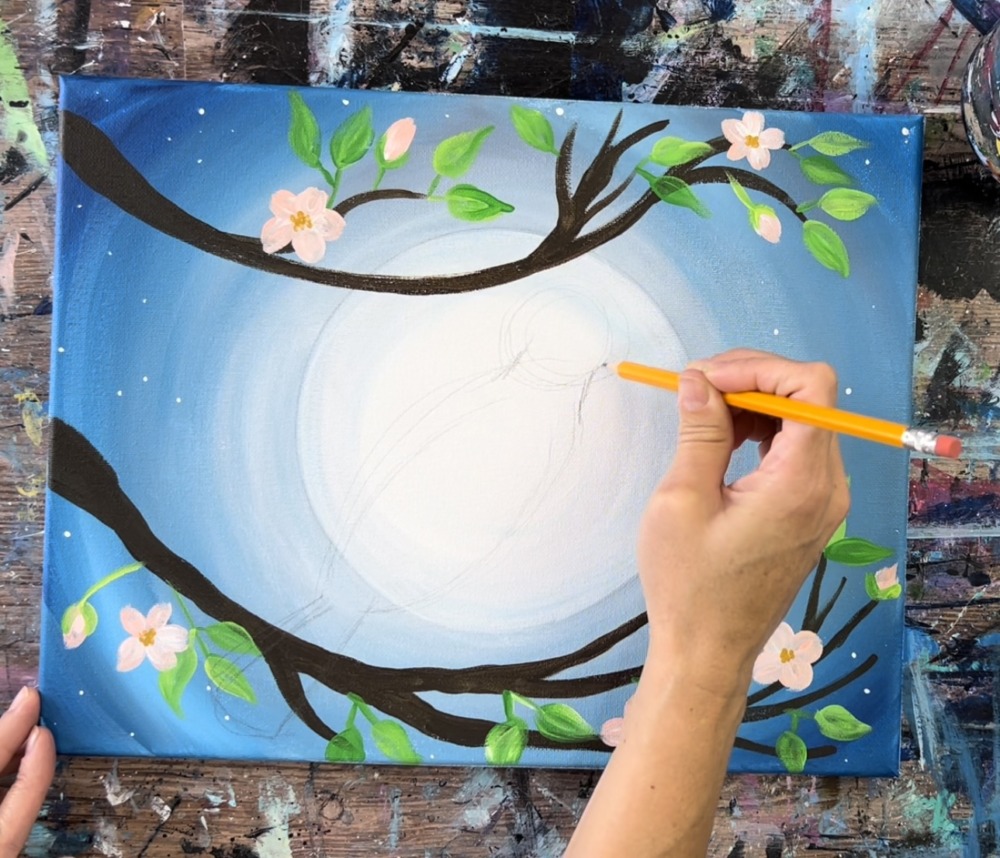
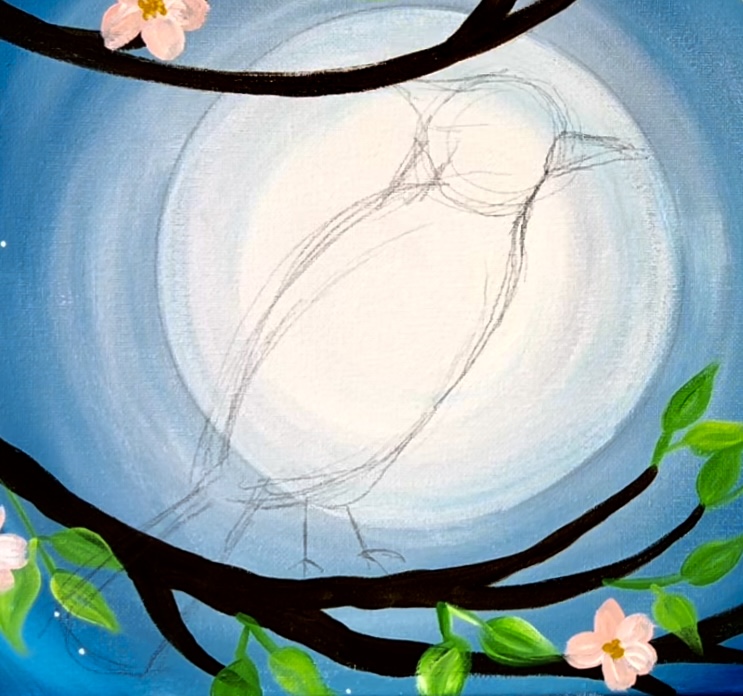
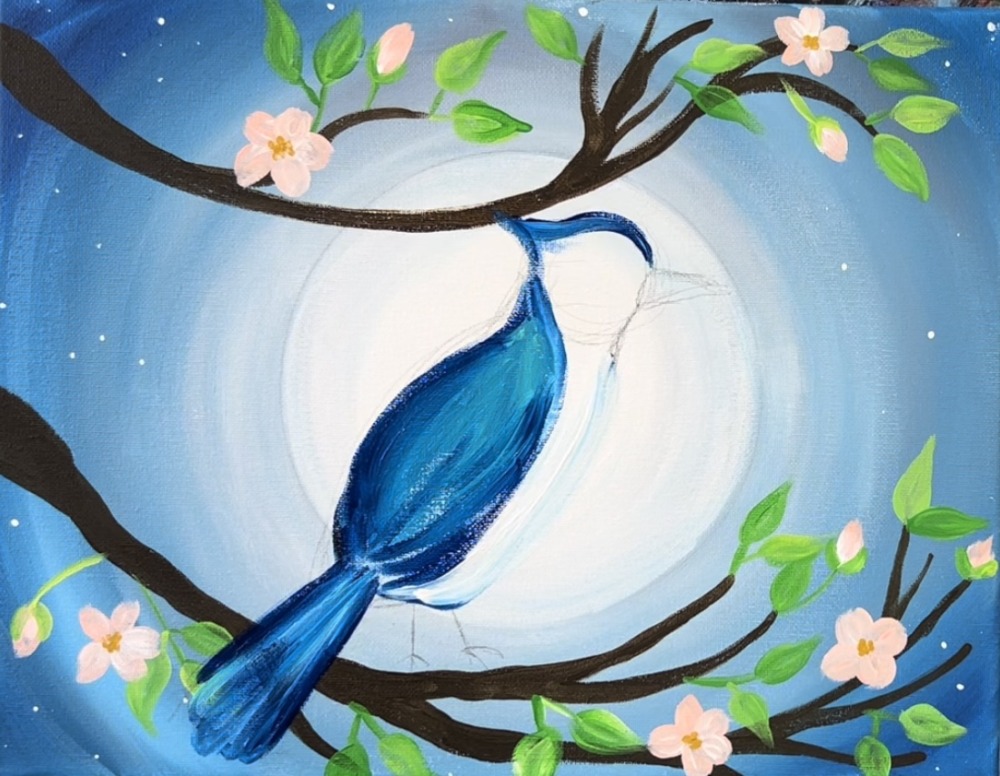
6. Draw Blue Jay
Wait for your painting to dry before proceeding to the drawing of this bird. You can hand draw this bird or use the template to transfer it to your canvas. You can get the PDF version of this bird (sized appropriately) by clicking here!
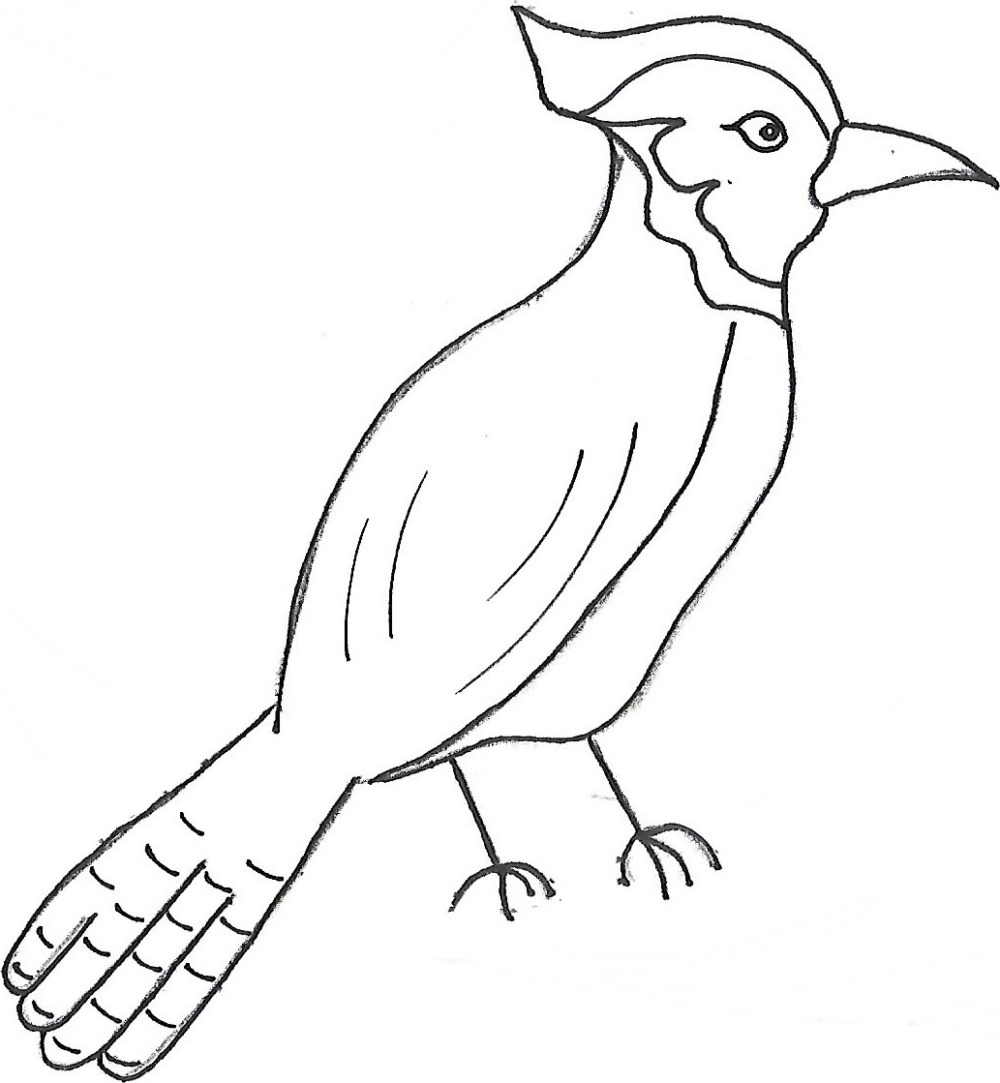
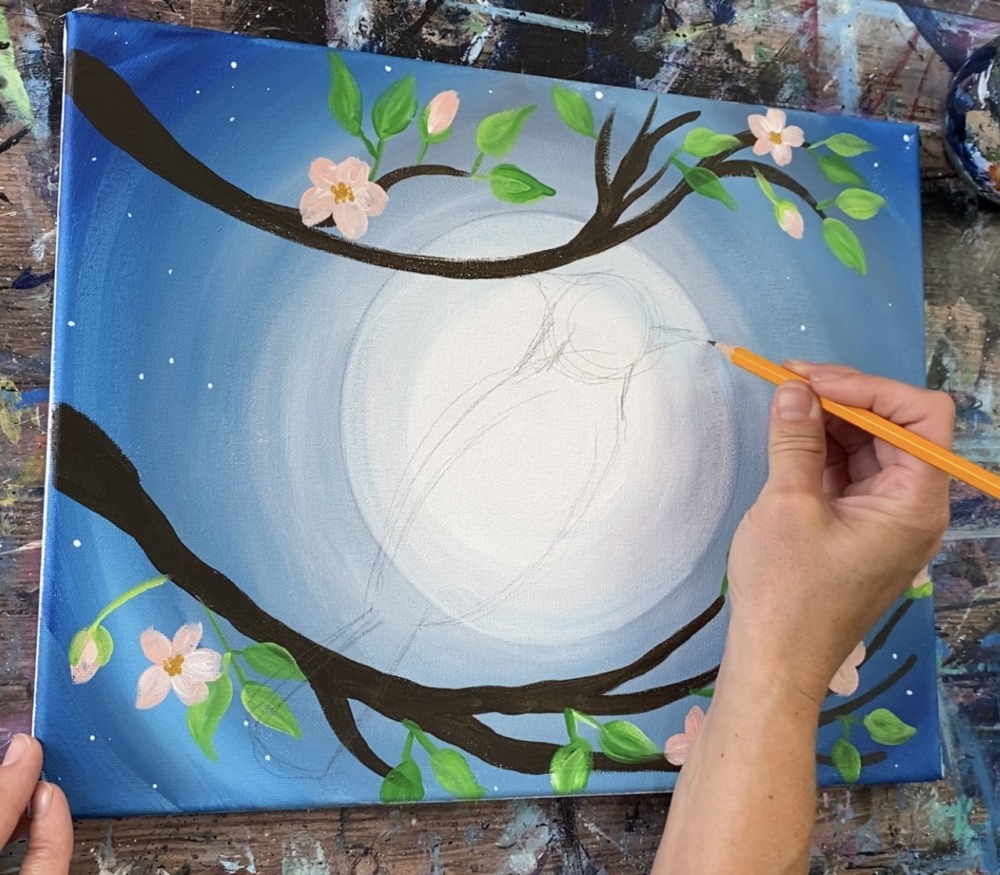
Start by sketching the body. Draw an elongated oval. Draw the tail as a triangle shape so that it overlaps the branch. Draw the neck and a circle for the head.
Sketch the crest on the left side of the head and the beak.
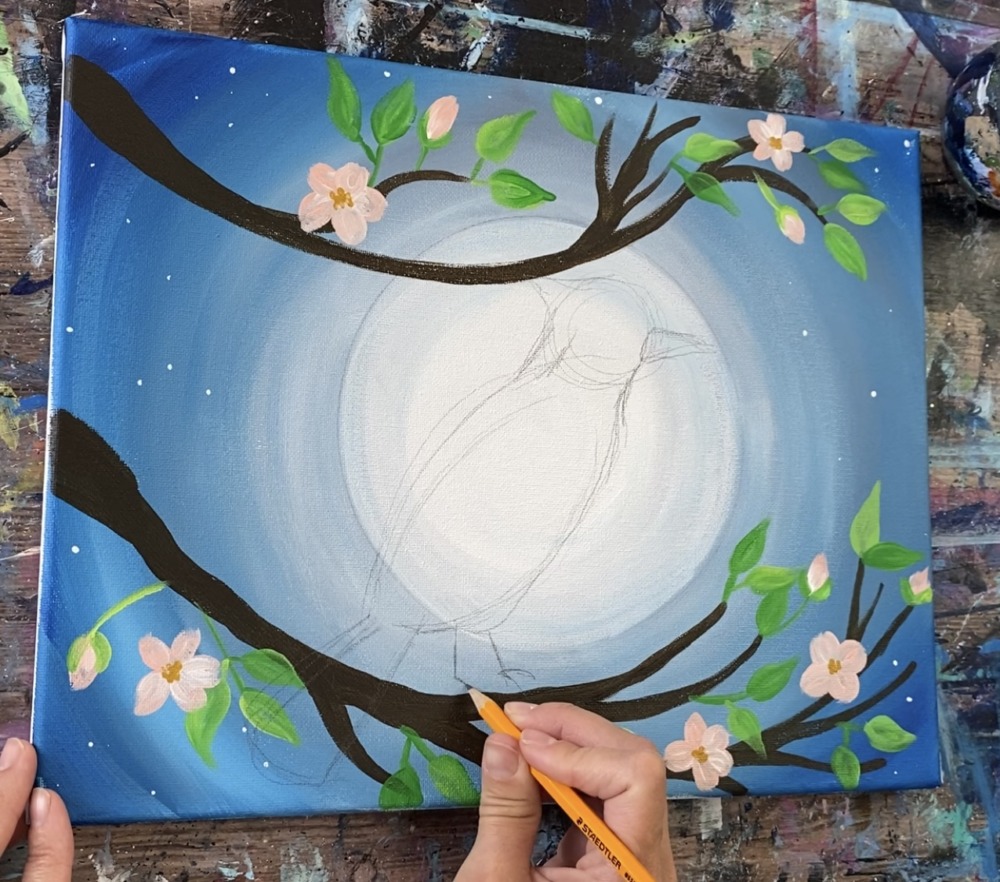
Sketch the legs as two diagonal lines that go down to the bottom branch.
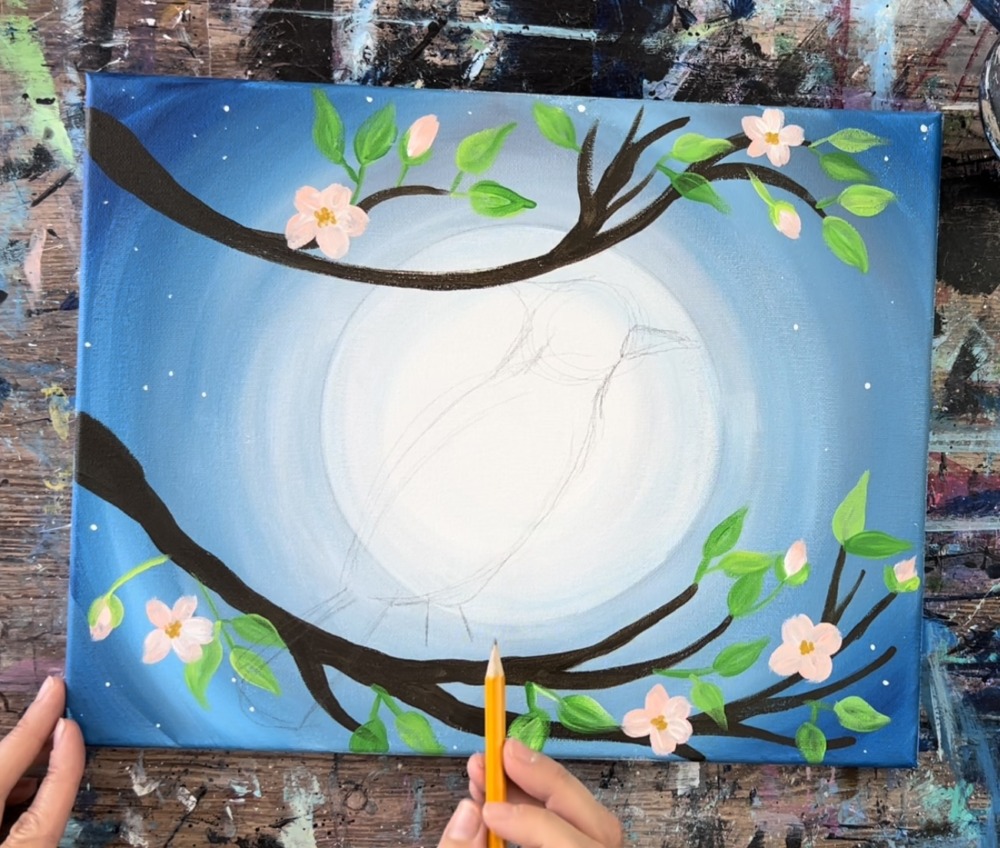
Draw curved lines that grasp the bottom branch.
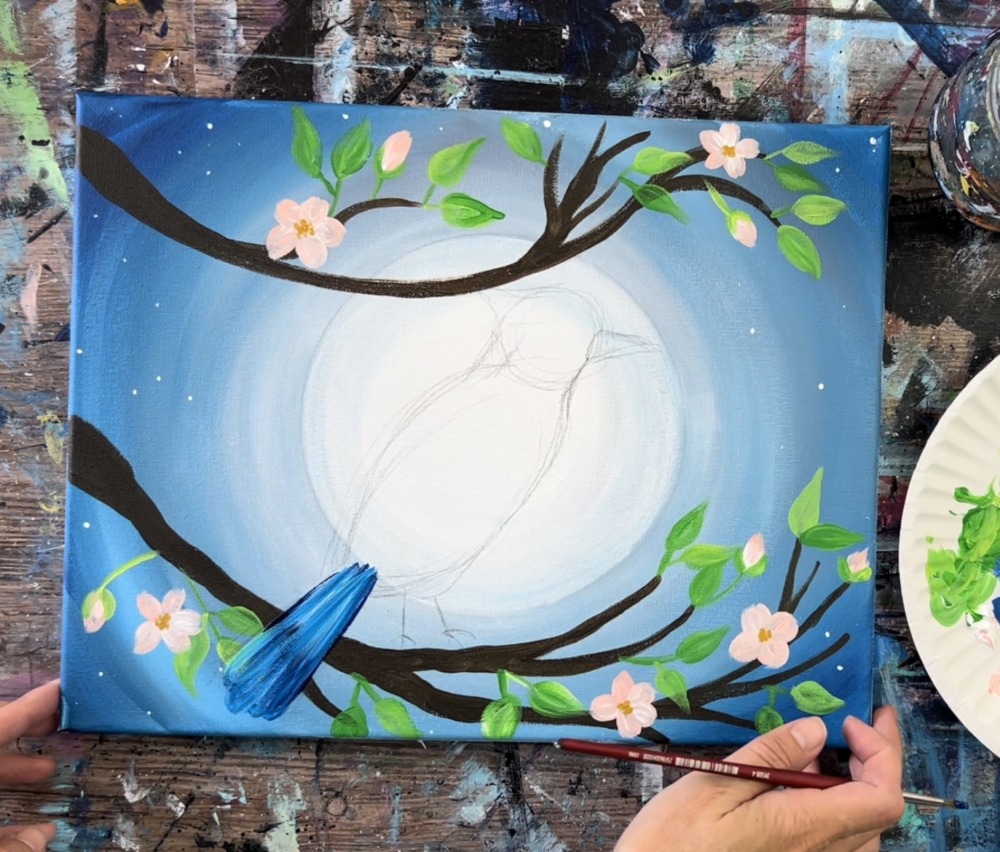
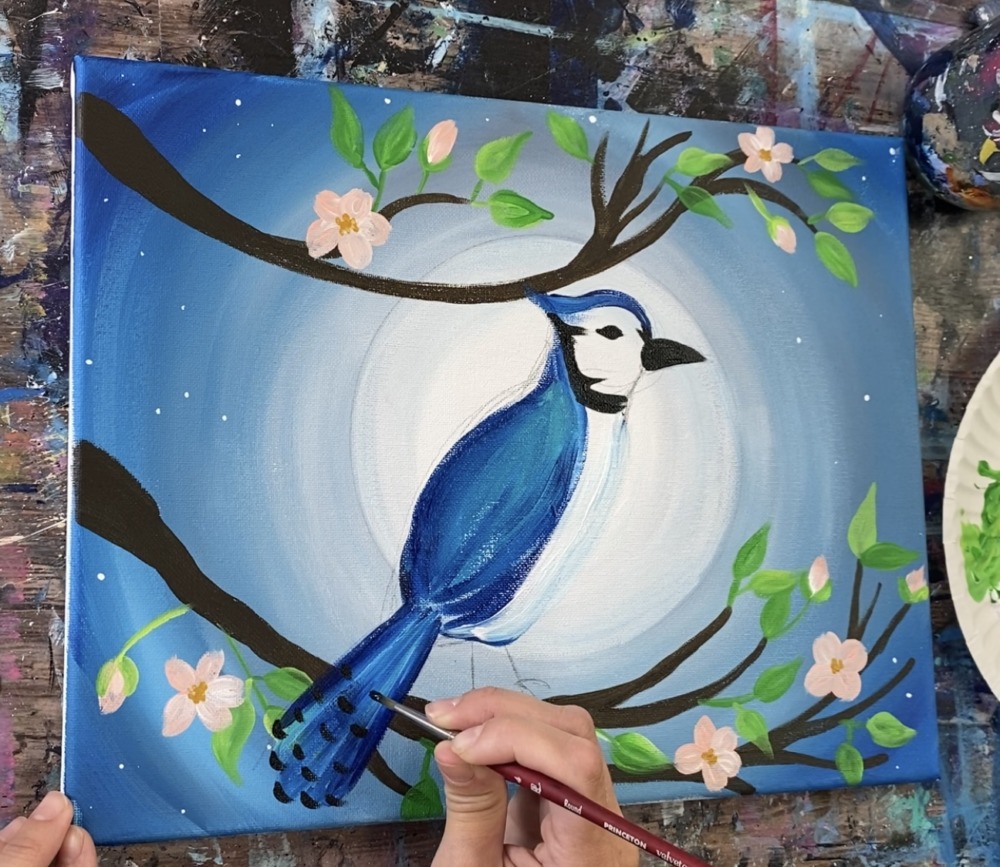
7. Paint Blue Jay
Load your palette with: titanium white, bright aqua green, phthalo blue and mars black. Also, freshen up your yellow oxide if needed. These are the colors you will use for the bird.

Use you’re #4 round brush to paint the tail. Paint diagonal strokes from the bottom of the bird’s body to the end of the tail.

Next, load your brush with titanium white without rinsing the blue off. Apply white over the blue, blending it gently.

Then make the tip of the tail a scalloped edge by painting curved strokes on the edge.
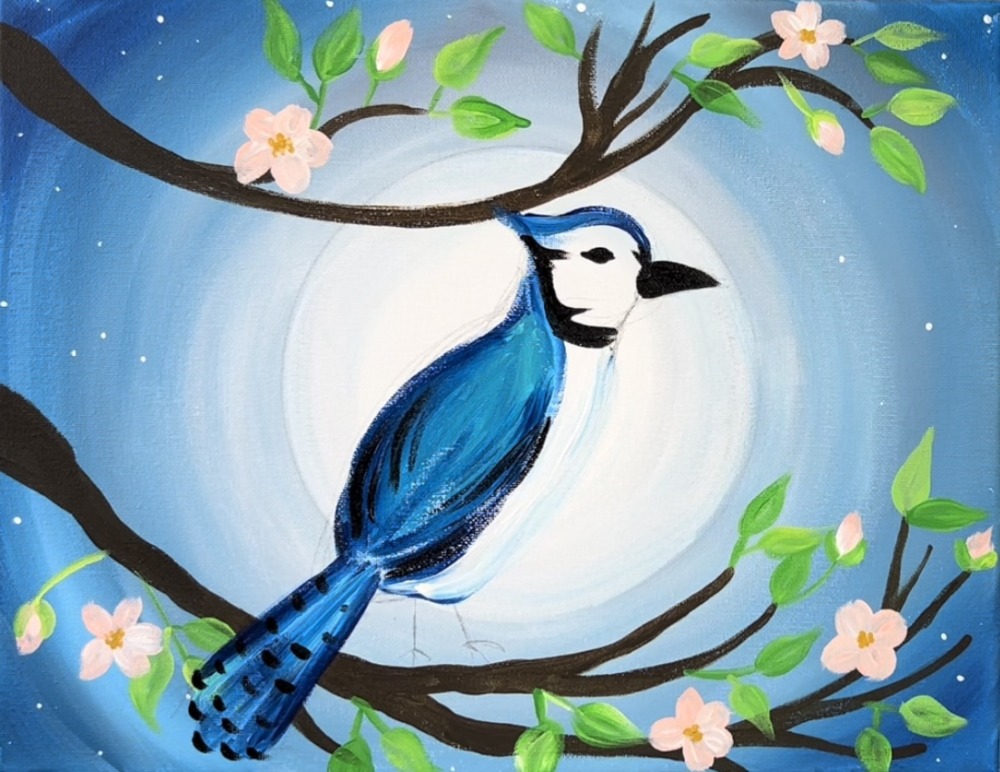
Next, load your brush in phthalo blue and sort of sketch out the back up to the head/ crest and the under side of the wing area.
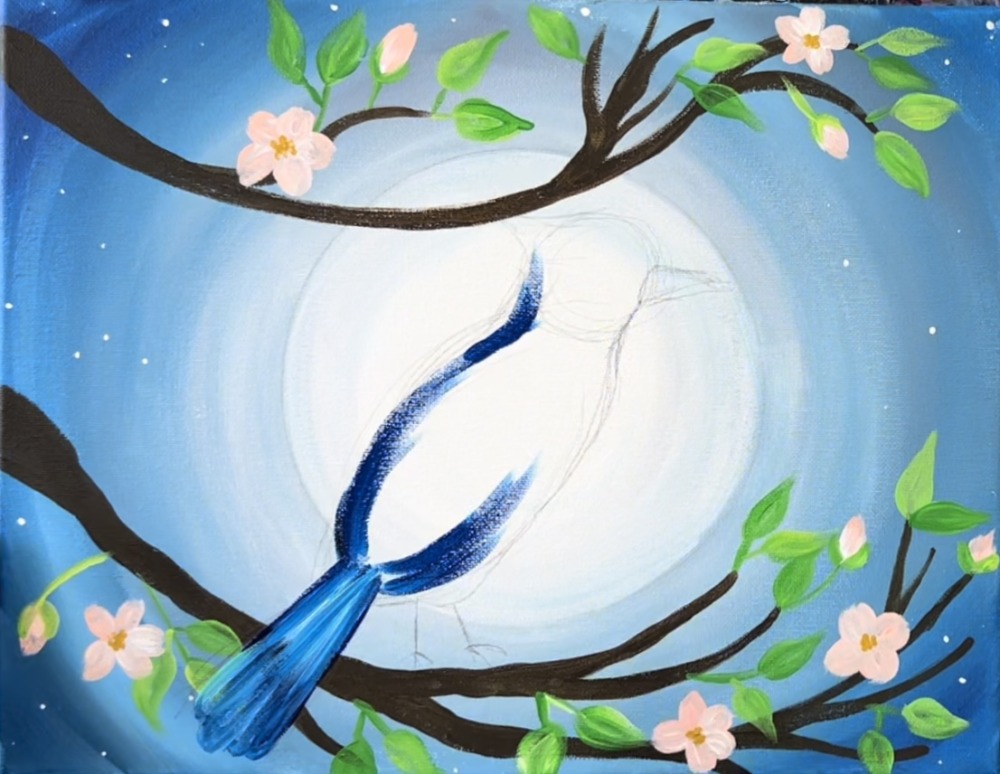
Use your brush to sketch a very thin line on the belly/right side area of the bird.
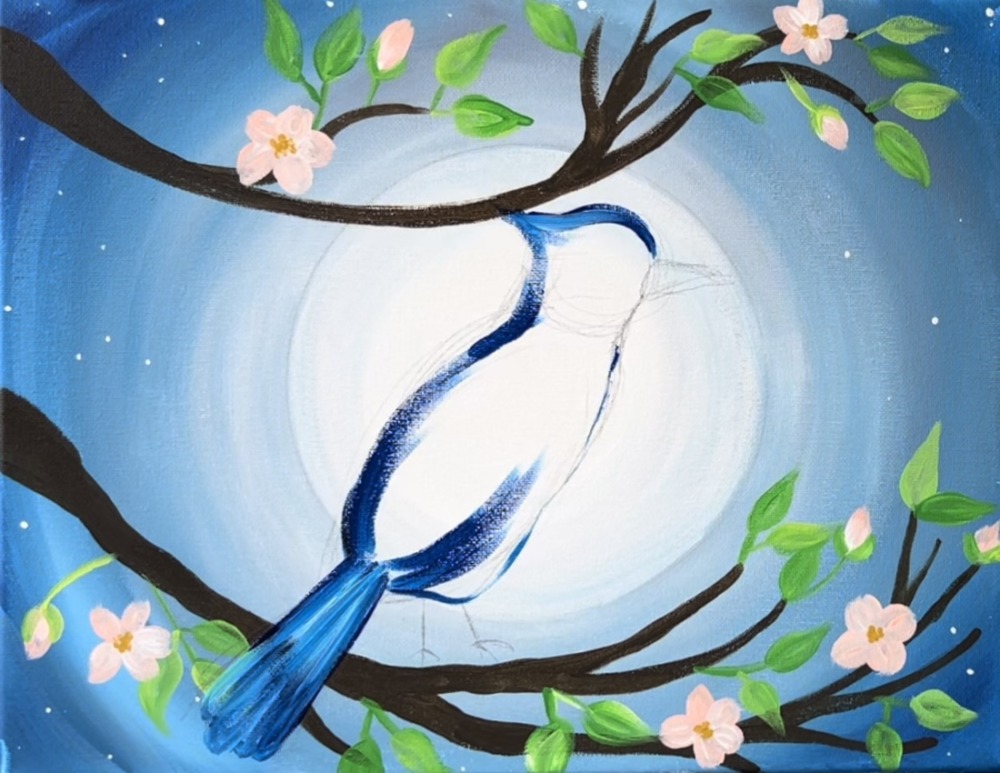
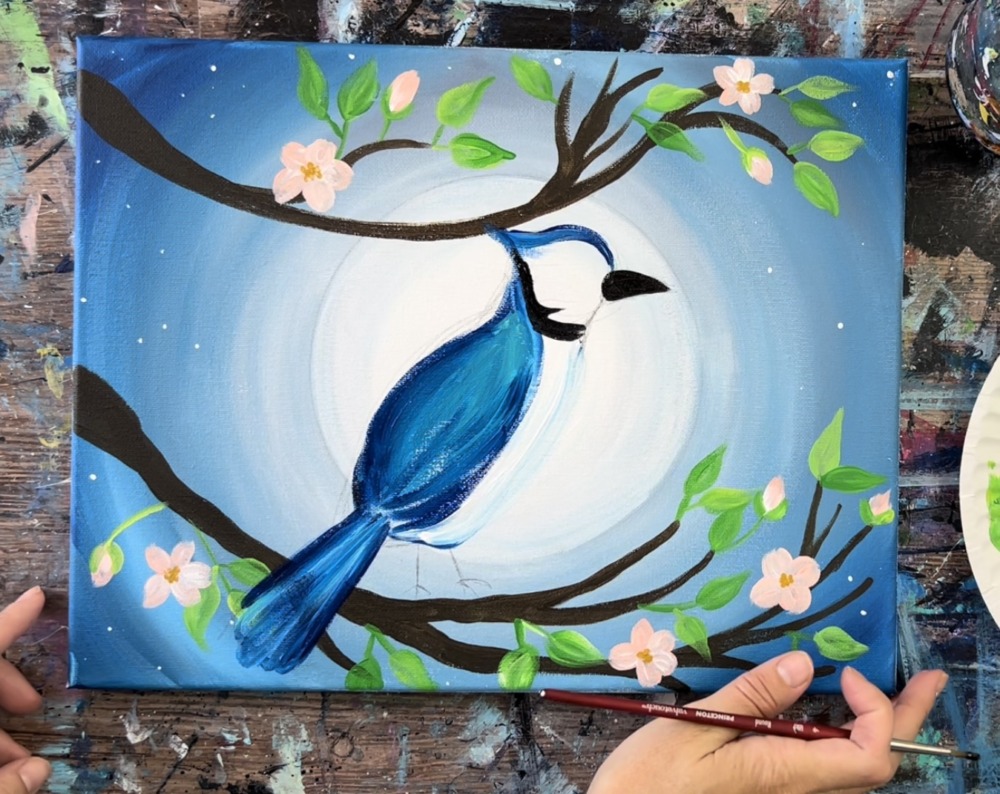
Next, paint the wing area. Use a combination of phthalo blue, bright aqua green and some white. Paint in curved strokes forming the shape of the wing. Then rinse your brush and paint the belly area with titanium white.
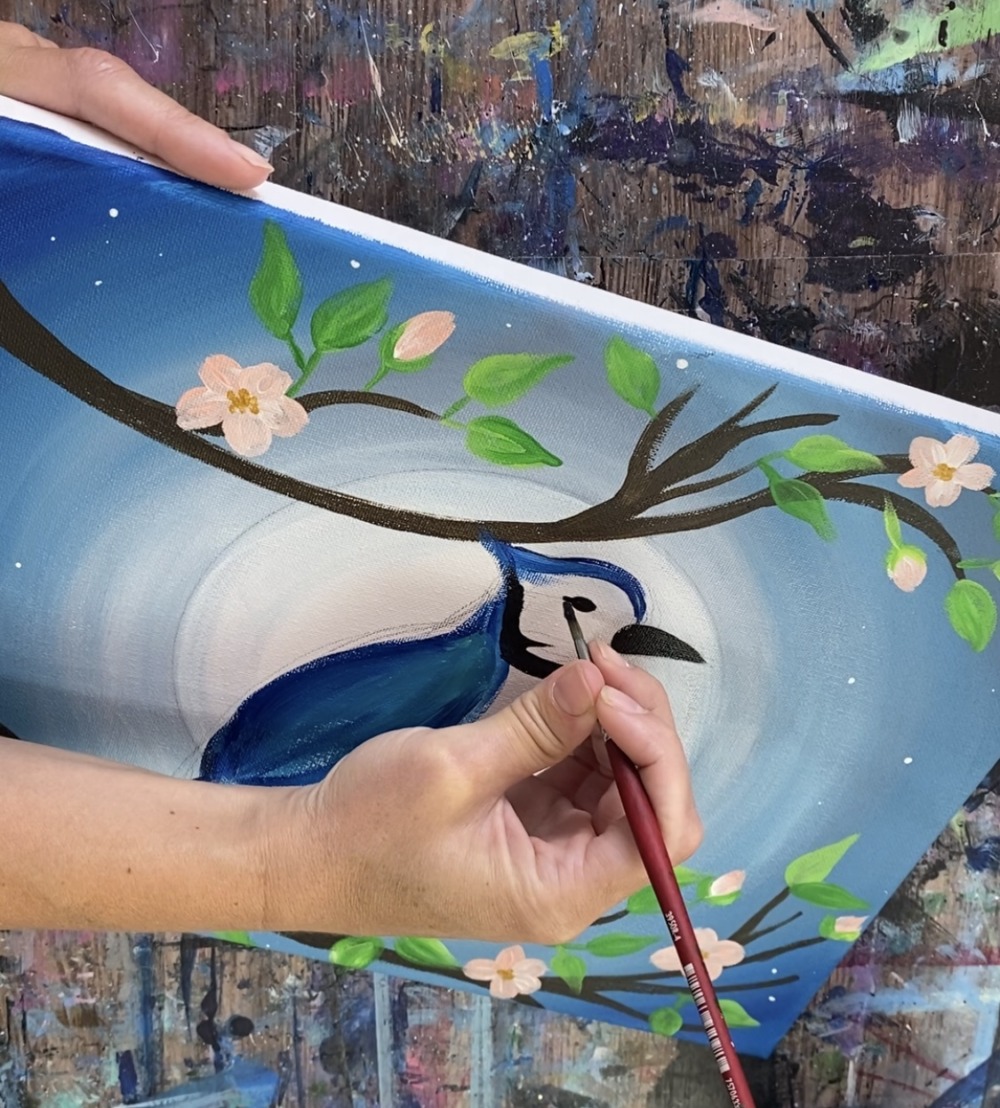
Then paint the black with mars black. Paint a black stripe area on the left side of the head that dips down and goes to the right under the beak.
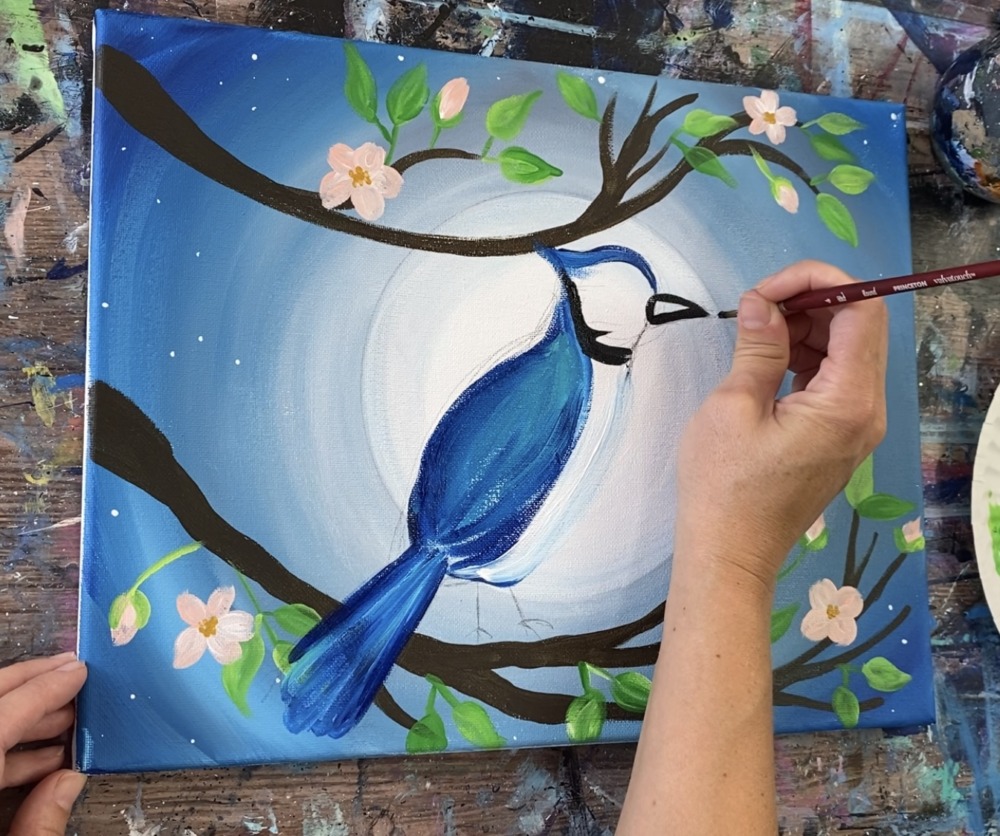
Then paint the eye. You can use a smaller round brush for this step if needed.
Then paint small, black curved lines on the tail of the blue jay. Stagger them along the tail.
Paint a few strokes of curved lines that go inwards on the side of the wing.
Next, mix some yellow oxide with titanium white. Paint the right area under the beak with the yellow oxide then blend more white to the left of it.

Paint the legs using your brush double loaded in mars black and yellow oxide.
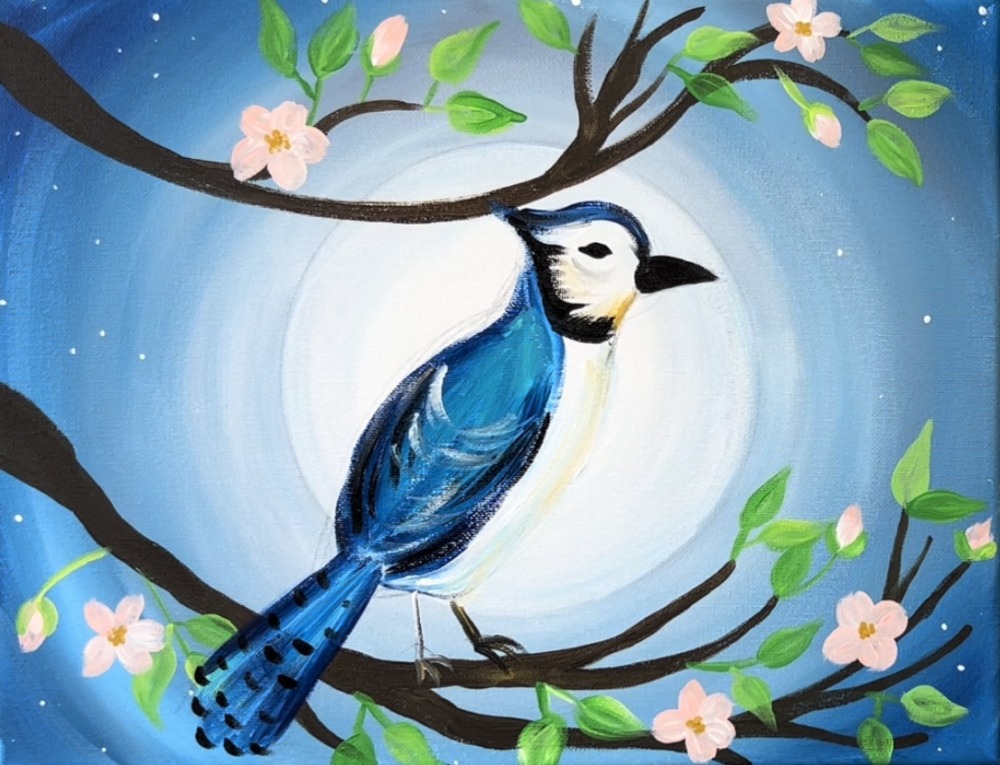
Add a highlight/dot on the bird’s eye. Also add a white stroke on the top of the black as well as a few white strokes on the wing area.
If any pencil marks remain from the drawing, erase gently with an eraser.

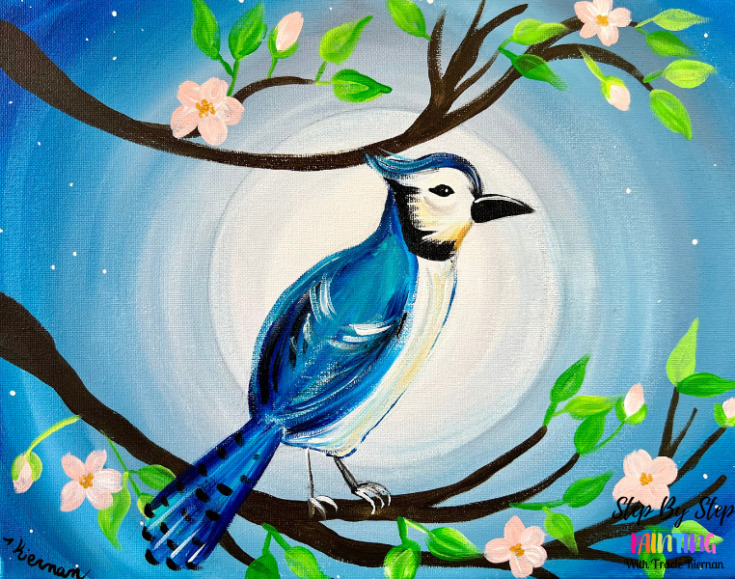
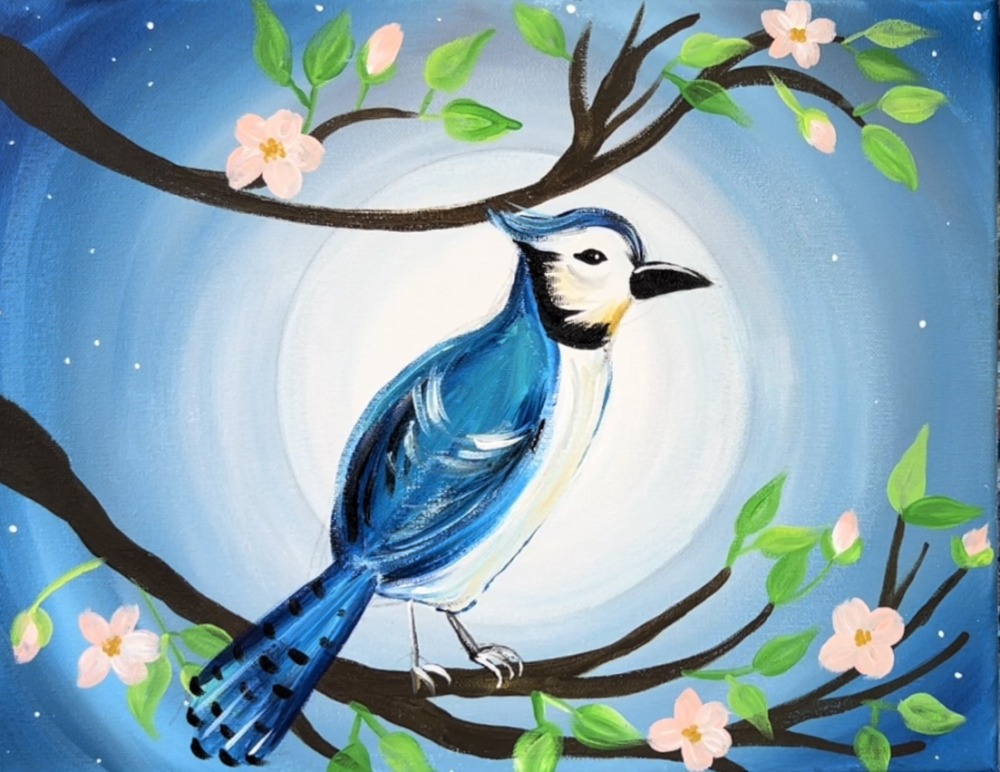
Finished!
Sign your name and show it off!
Share Your Art Here:


