

Would you like to save this?
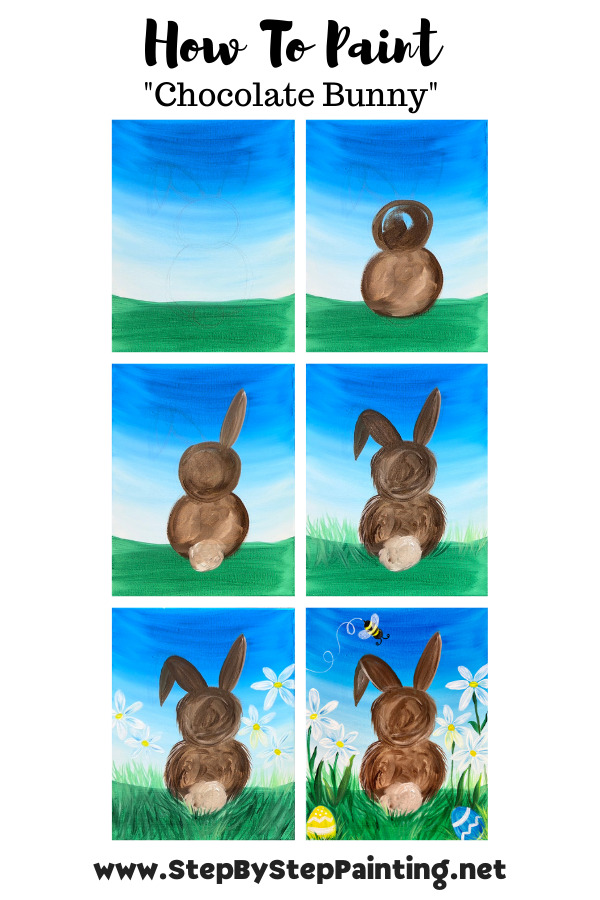
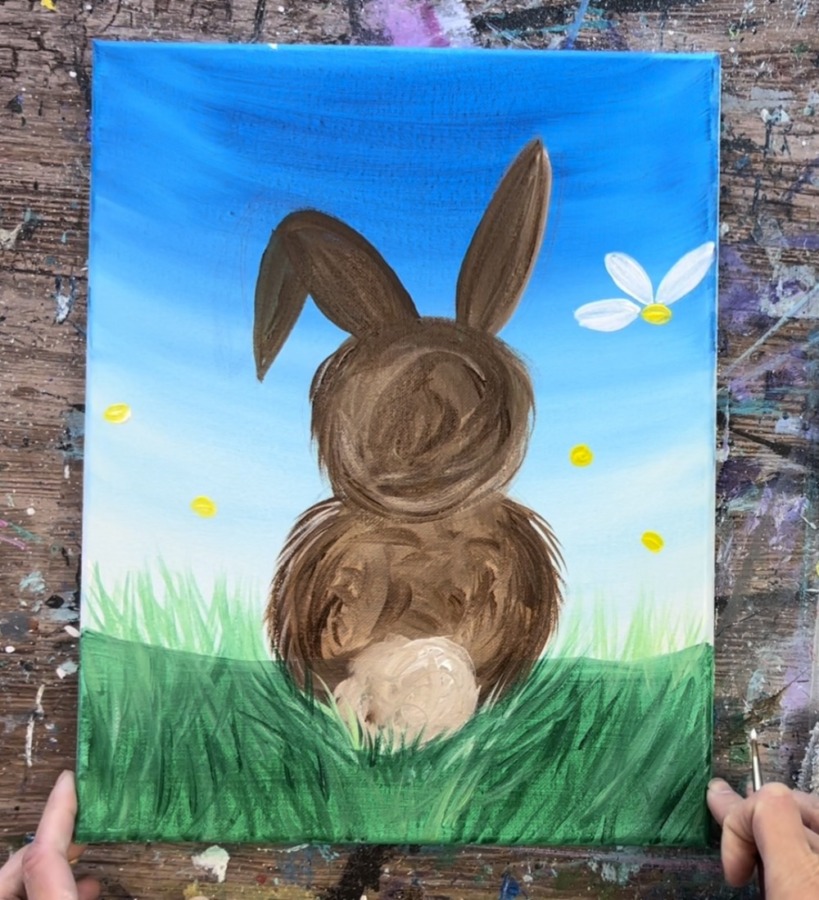
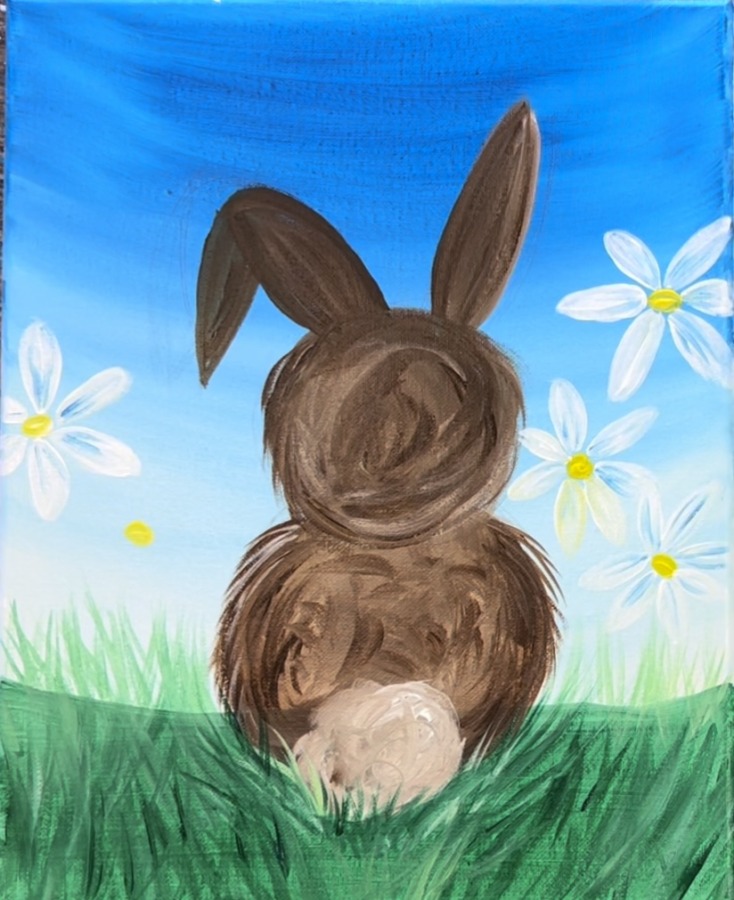
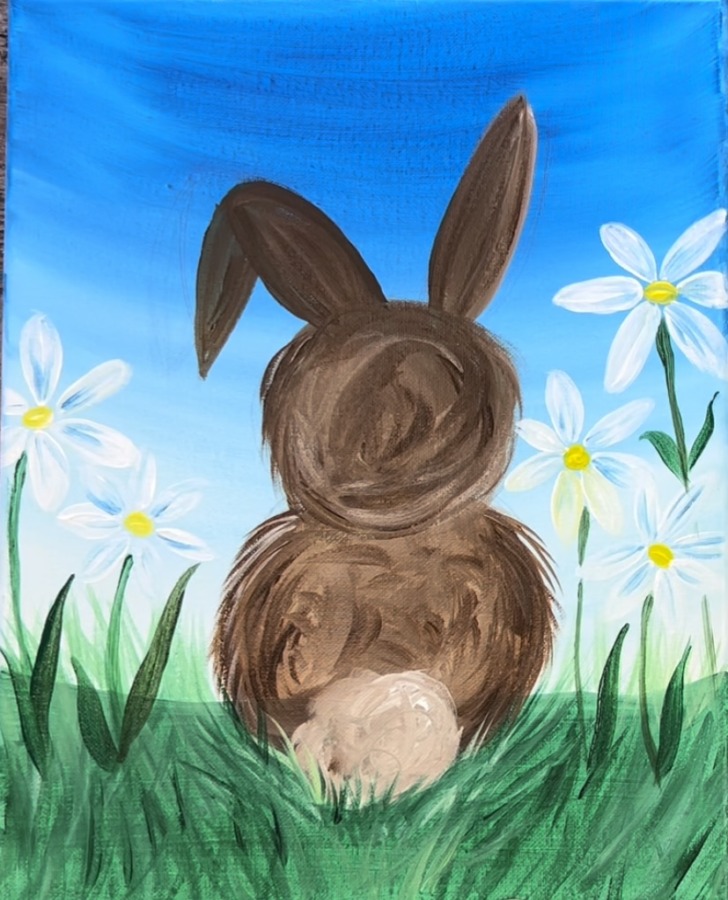
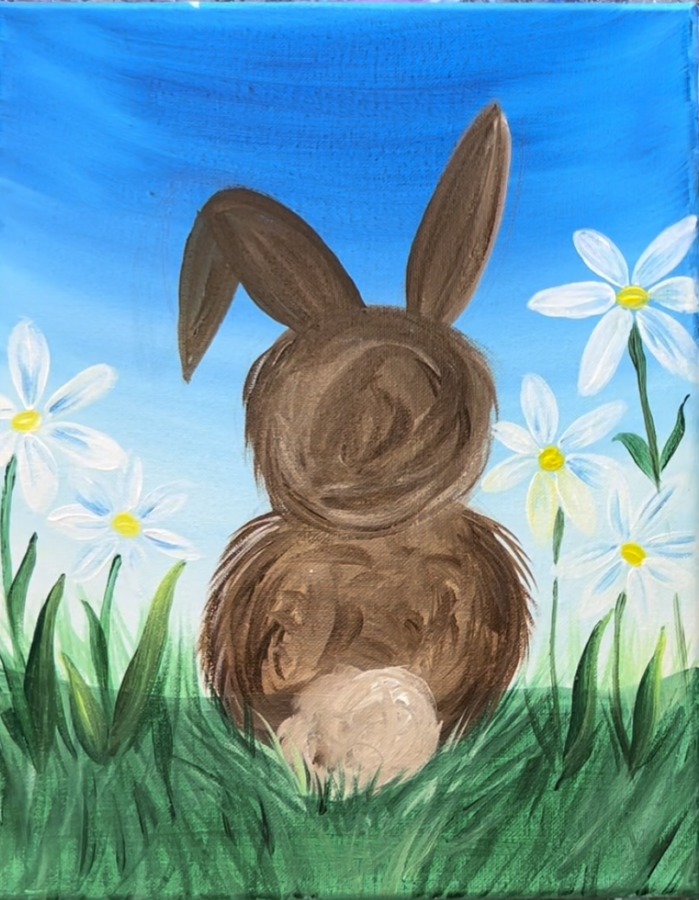
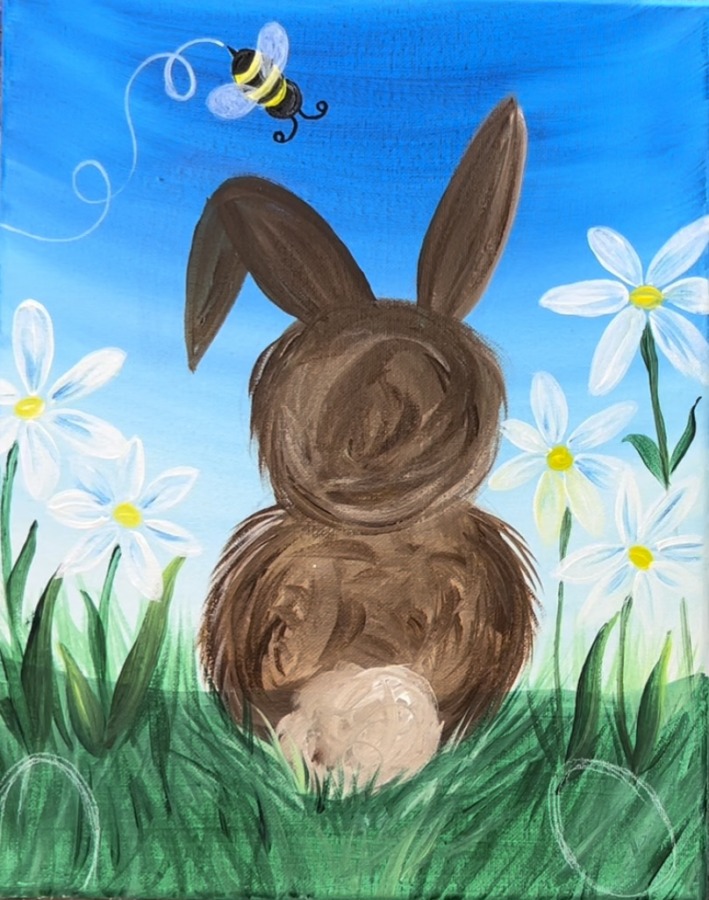
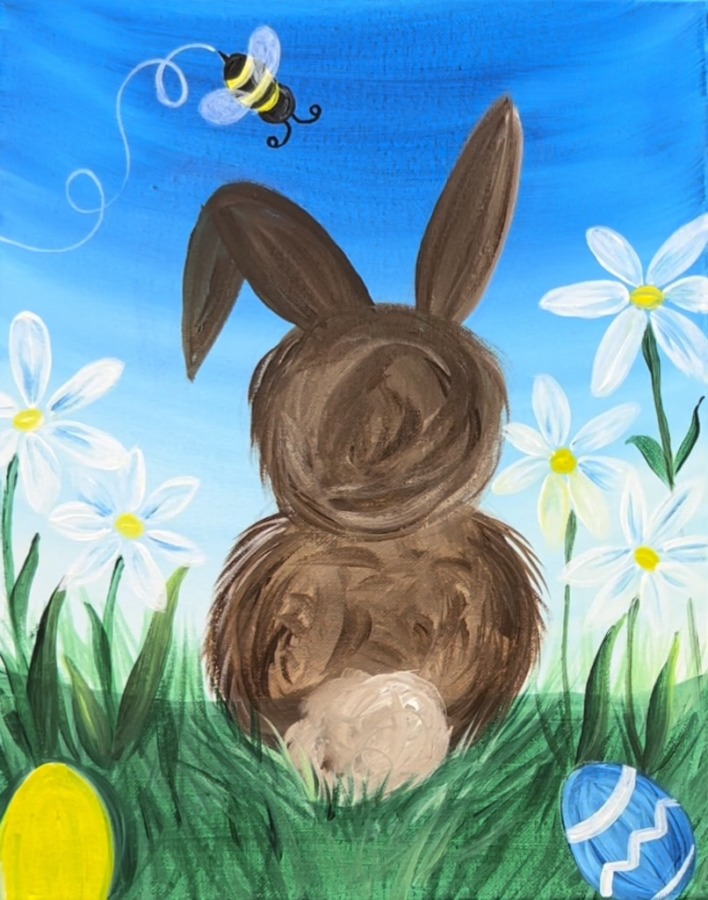
This acrylic painting tutorial will demonstrate how to paint a chocolate easter bunny in grass with Easter eggs and daisies. This is a painting of a bunny from behind. It is an easy level painting, great for beginners!
Enjoy and happy painting!
Materials
How To Paint Chocolate Easter Bunny
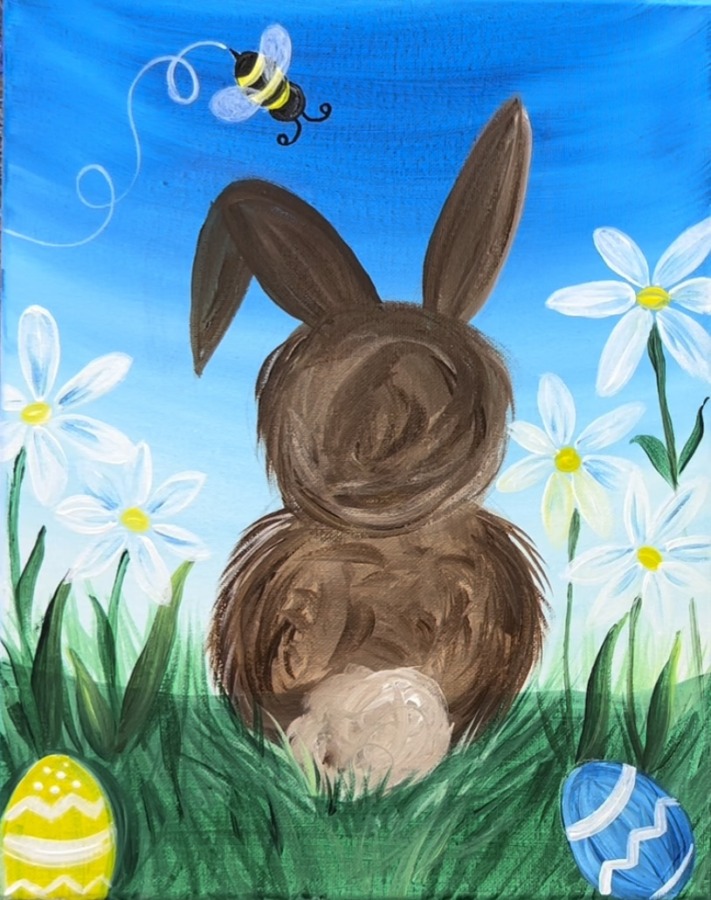
This acrylic painting tutorial demonstrates how to paint a chocolate easter bunner with acrylics on an 11 x 14 canvas.
Materials
- 11 x 14 Canvas
- Acrylic Paint
- Pencil
- Chalk Pencil
- Black Paint Pen
- Soft Towel
- Water Cup
- Palette
- Optional Easel
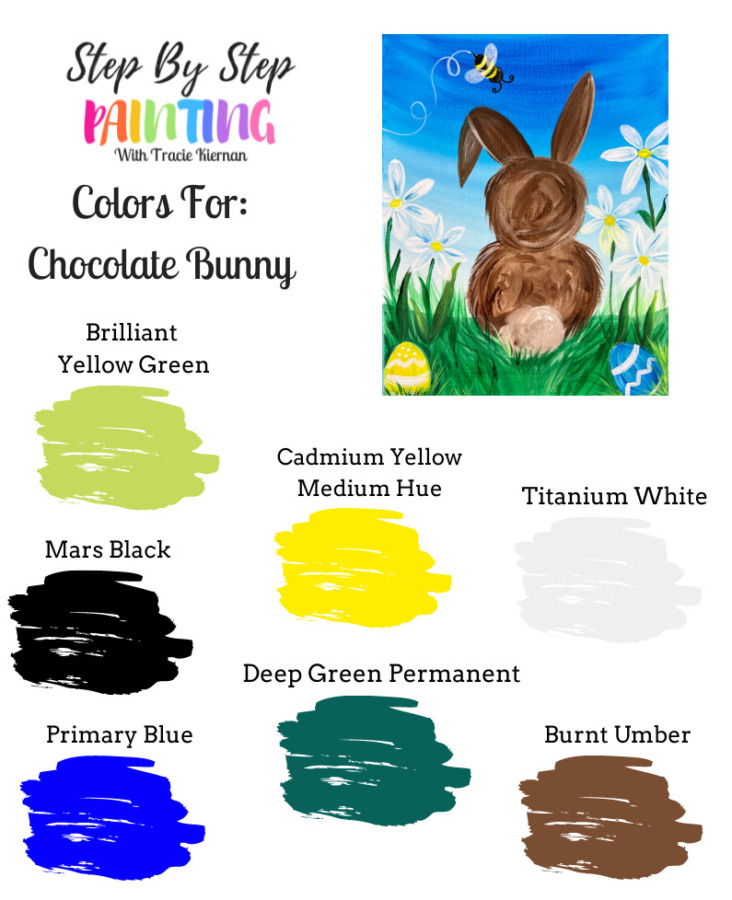
Colors
- Titanium White
- Cadmium Yellow Medium Hue
- Green Deep Permanent
- Primary Blue
- Mars Black
- Burnt Umber
- Brilliant Yellow Green
Brushes
Color Palette
Directions At A Glance
Video
Step By Step Directions
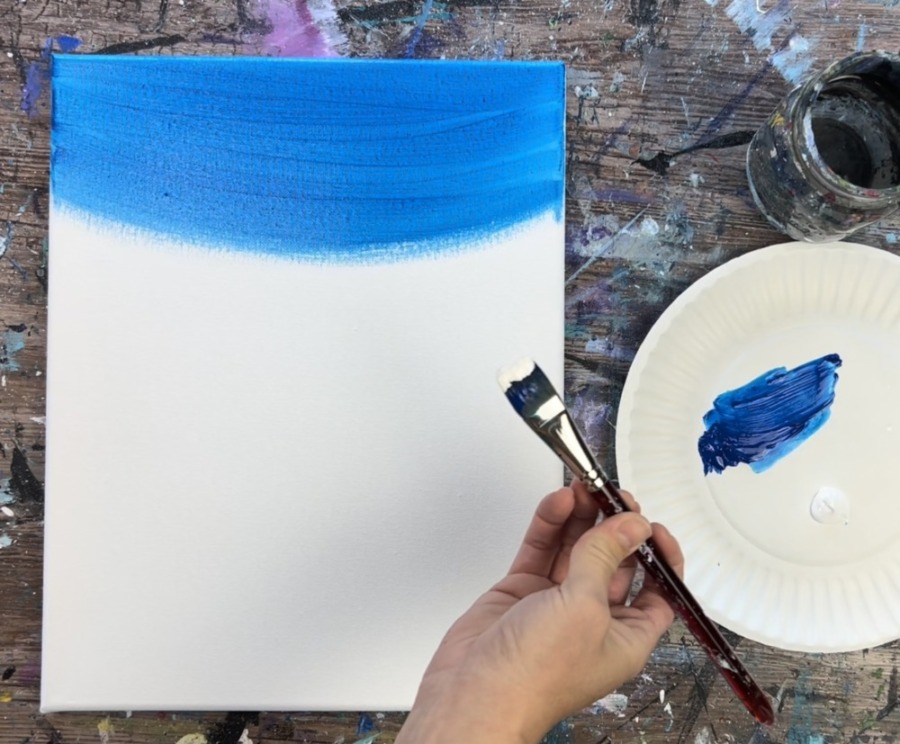
1. Paint The Sky
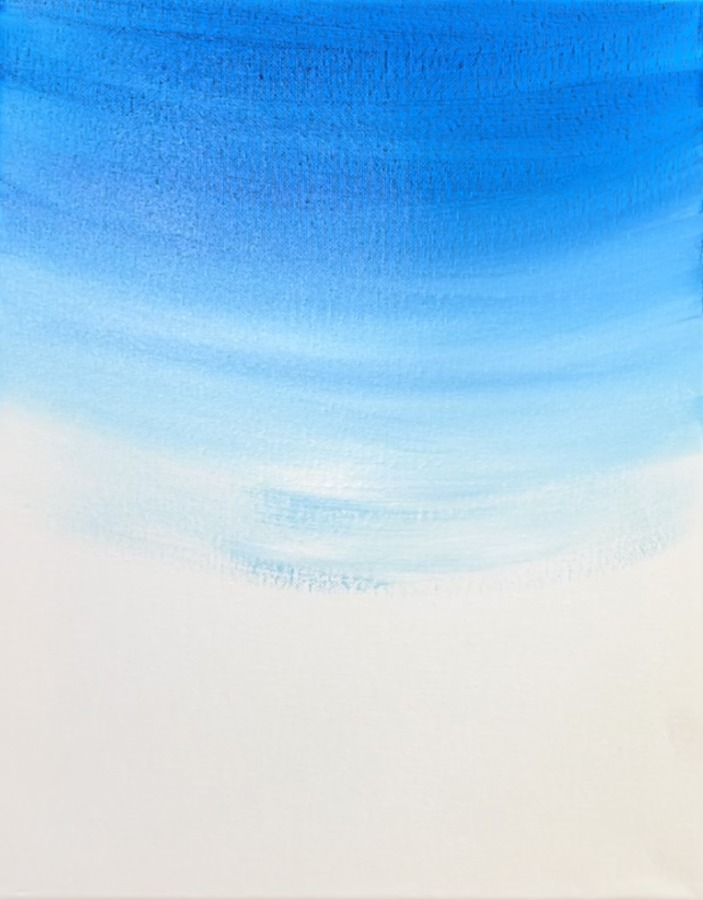
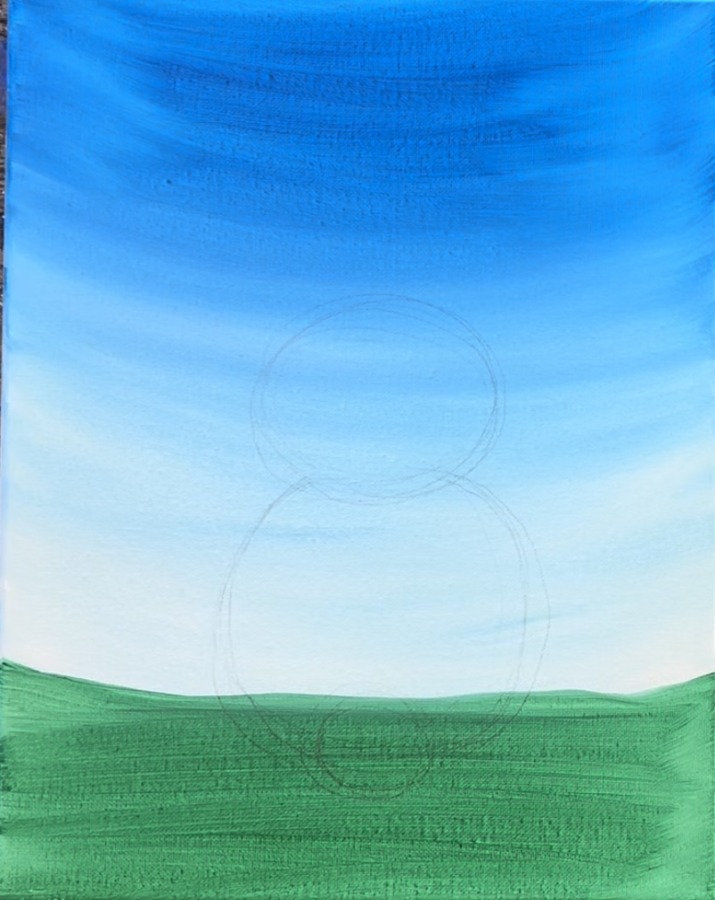
Use your 3/4″ flat wash brush, primary blue and titanium white to paint the sky. Start by dipping your brush in a small amount of water and wiping it gently with a towel.
Load your brush in the primary blue. Start at the top of your canvas and paint left and right strokes across the canvas. Start allowing your strokes to concave downwards.
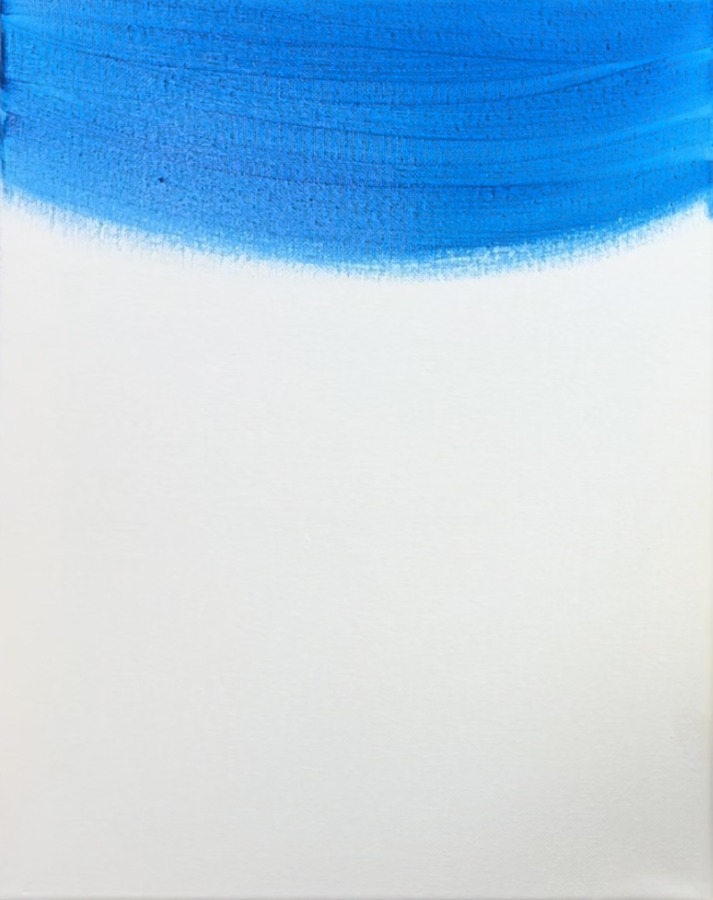
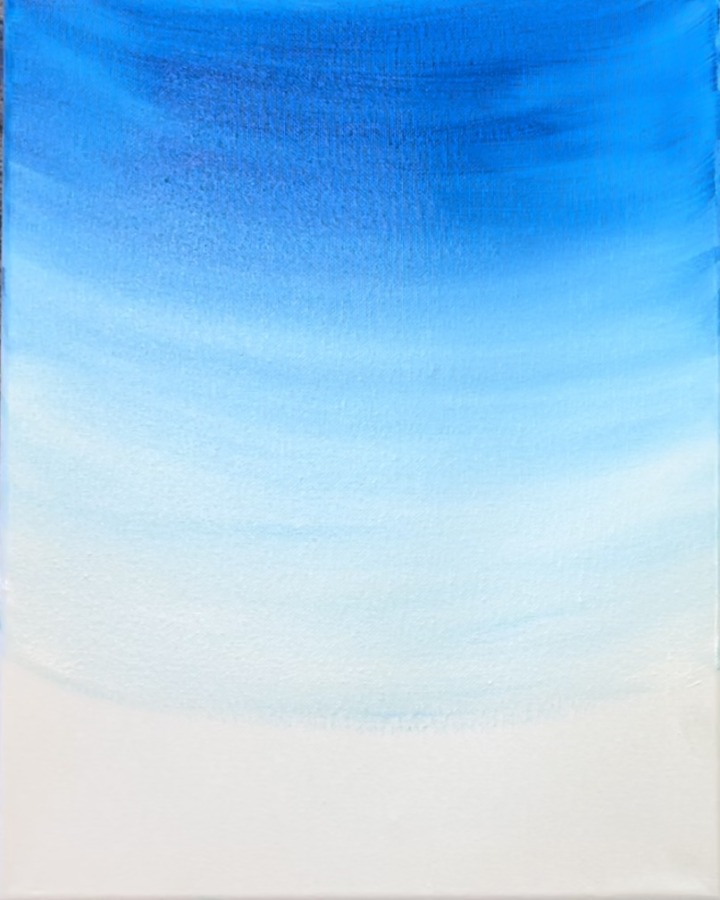
Go about a quarter of the way down the canvas. Then load the tip of your brush in titanium white (without rinsing the brush). Blend the white below the blue, still going in a slightly curved direction.
Keep painting in a curved direction and go about 3/4 of the way down the canvas.
Leave about 3-4 inches of space on the bottom of the canvas.
2. Paint The Ground
Clean and rinse your 3/4″ wash brush. Load your palette in just deep green permanent. Paint the bottom of your canvas one solid coat of this green.
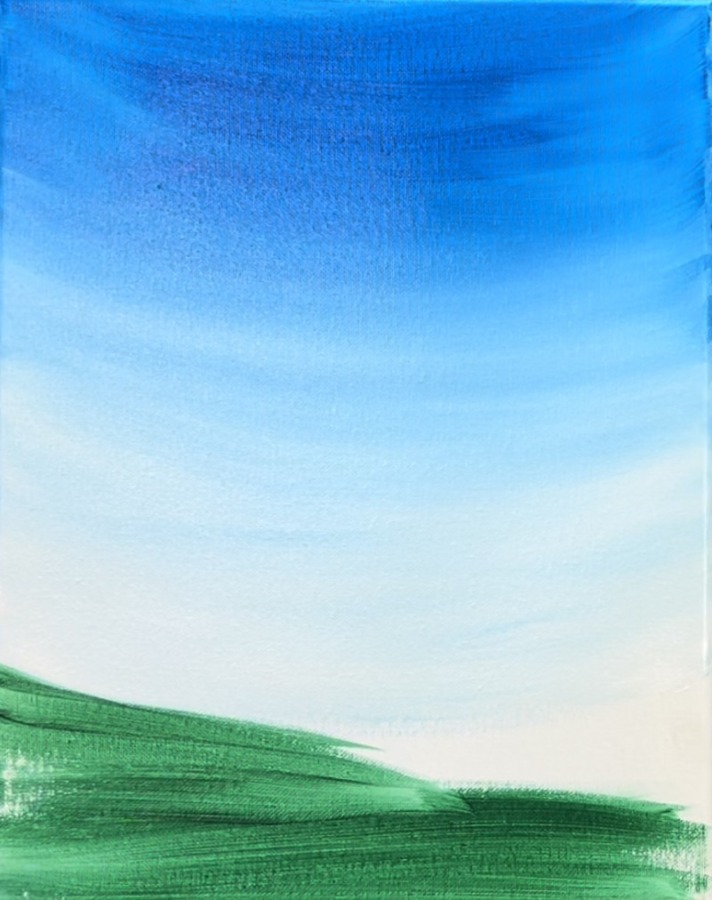
The “horizon line” of this grassy area does not have to be straight across. It can be a little wavy or sloped.
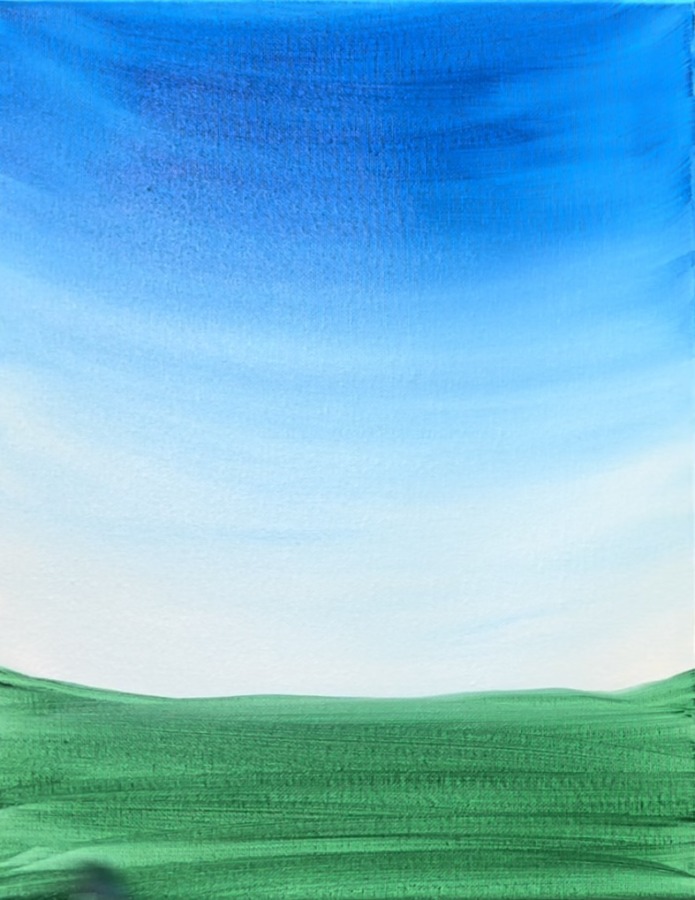
Let your canvas dry before going onto the next step.
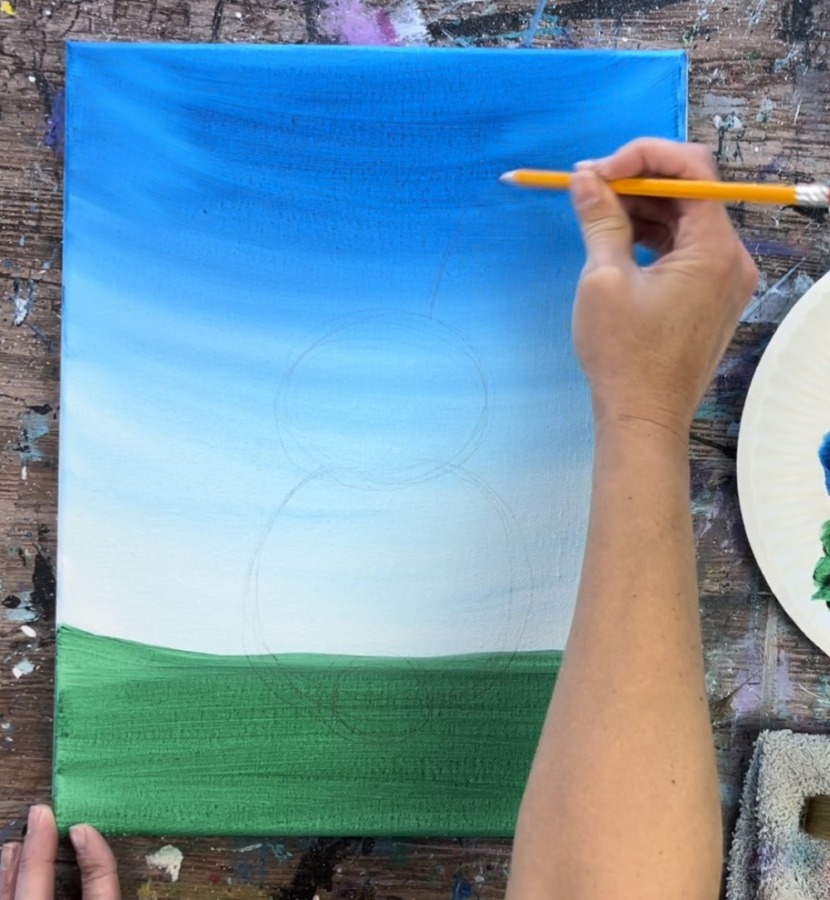
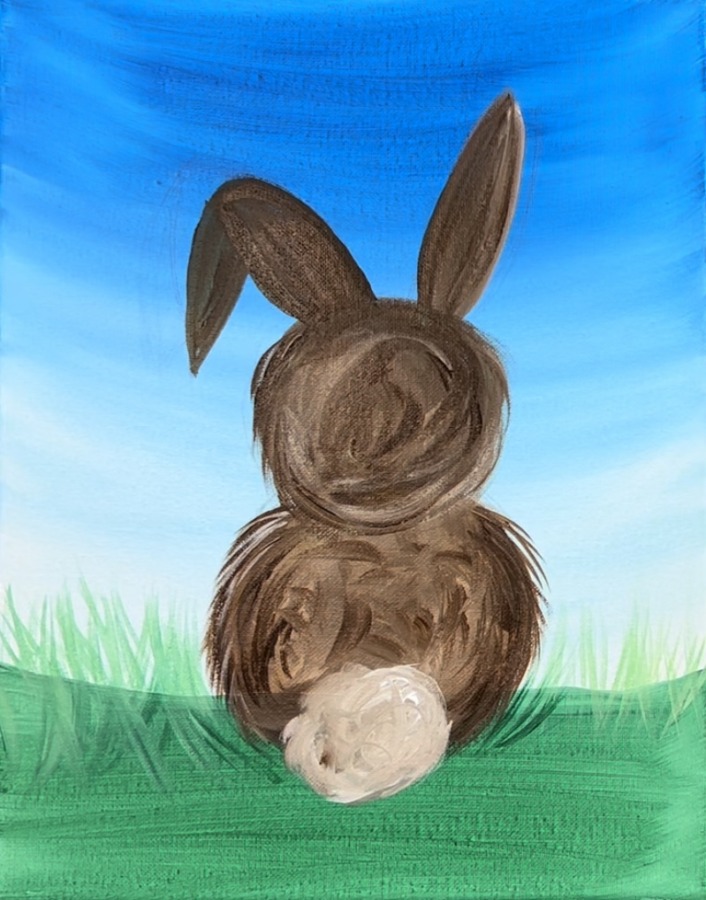
3. Draw The Bunny
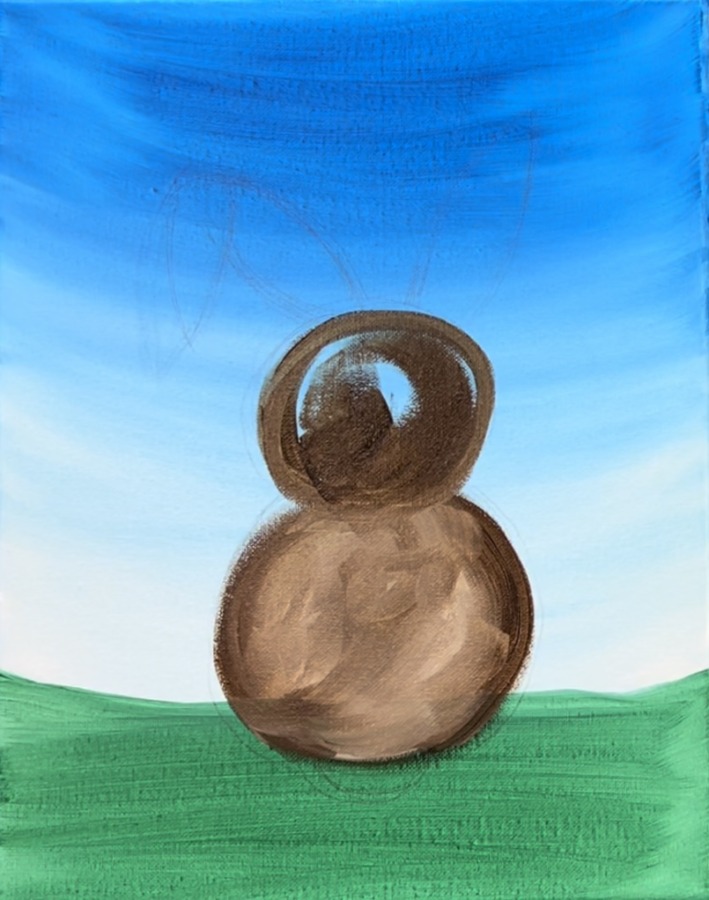
Use a pencil to lightly sketch the shape of the bunny. Draw a circle in the middle of the canvas that is about a 4″ radius. Then draw a larger circle below that. This larger circle goes down to the green area. Then draw a smaller circle on the bottom inside of the body for the bunny tail.
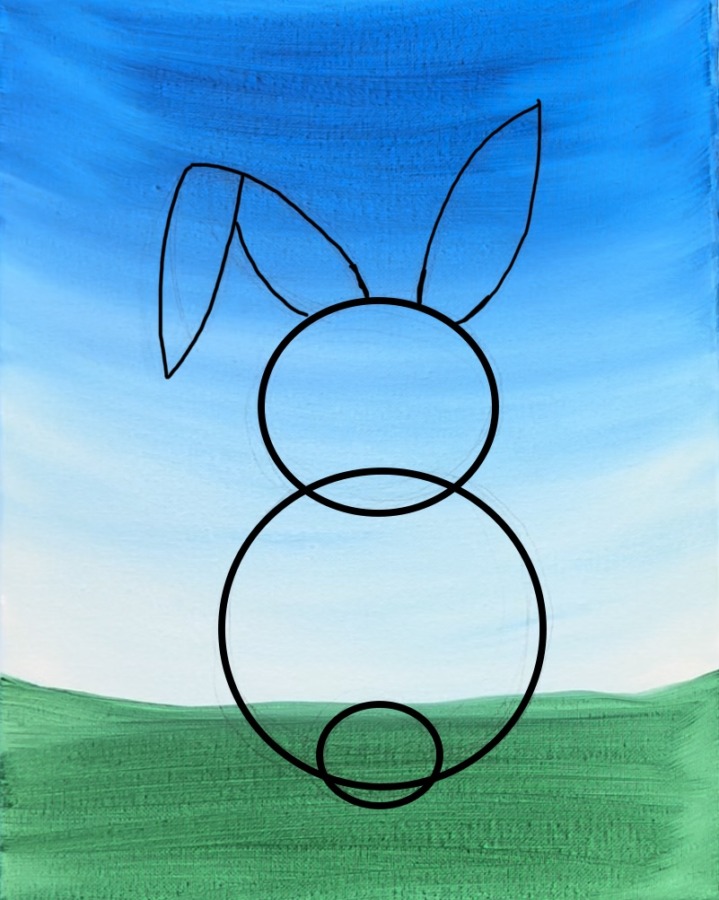
Then draw the bunny ears. Draw one ear on the top of the head towards the middle. Both lines on the ear curve and then form a point.
Draw the left ear so that it points down.

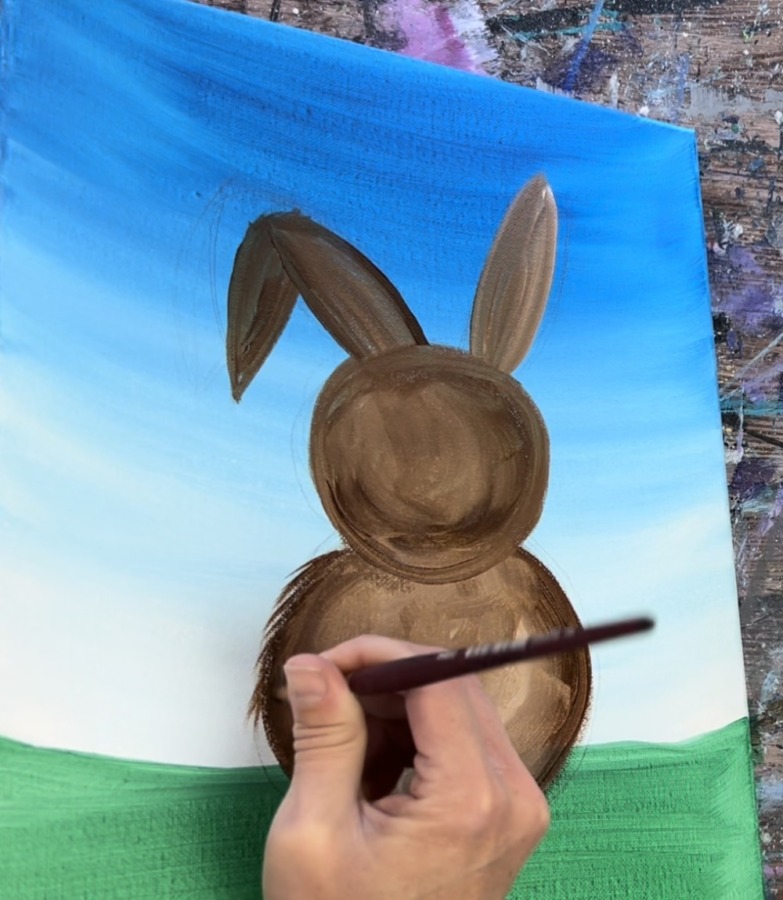
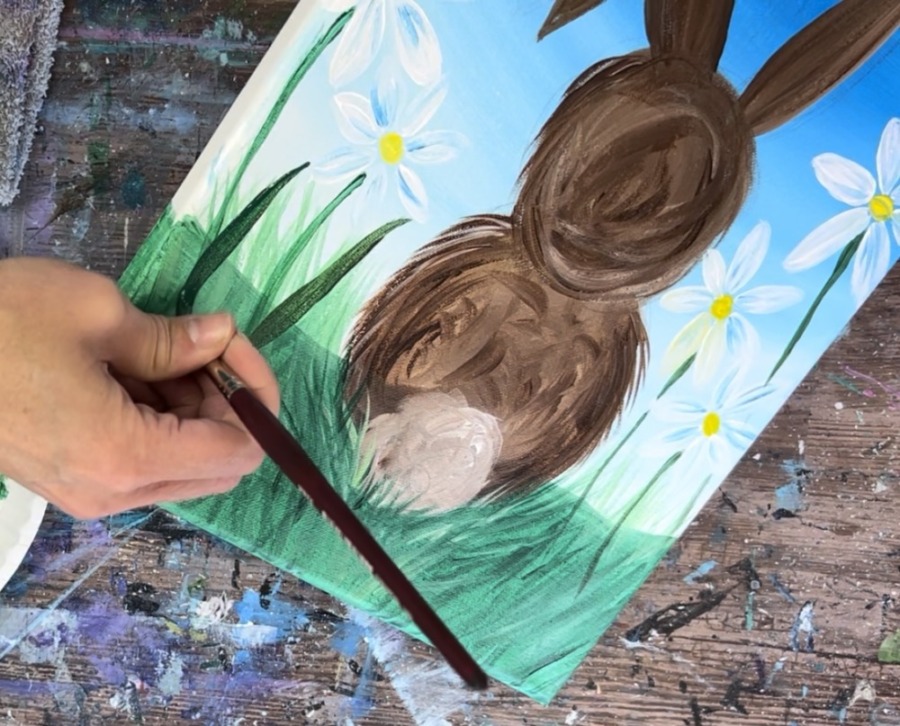
4. Paint The Bunny
Load your palette with burnt umber and titanium white. Use your 3/4″ wash brush to paint the bottom of the bunny. Mix about 1 part white to 3 parts brown. Start on the inner edge of the circle and paint in a circular direction.

Then fill the circle using expressive “x strokes”. Load your brush with more titanium white so the inner part of the circle is a lighter brown and the outer edge of the circle is slightly darker.
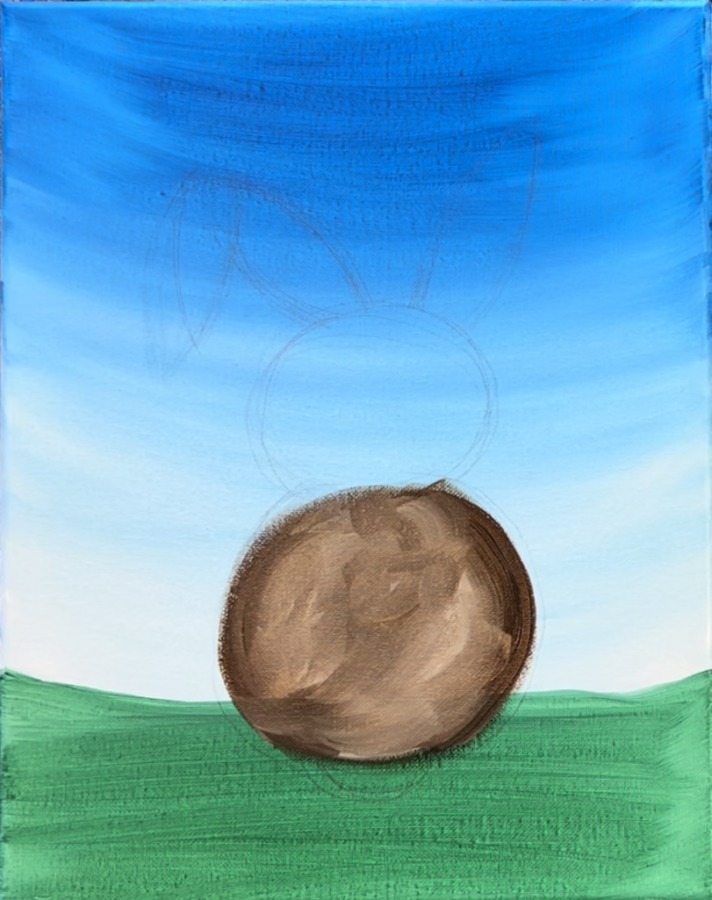
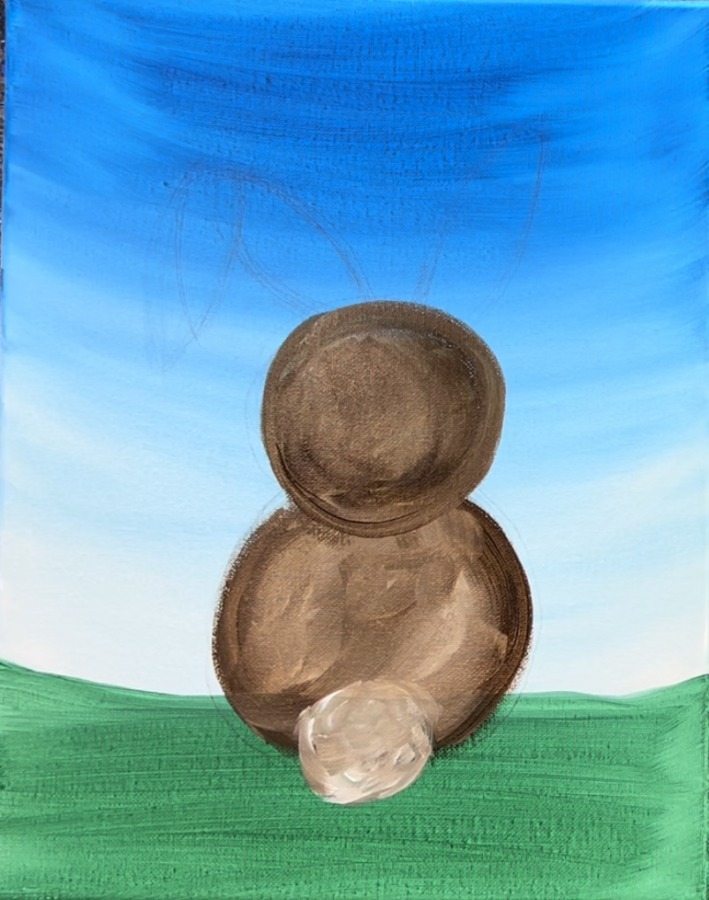
Repeat this step for the head. The head circle should slightly overlap the bottom part of the circle.
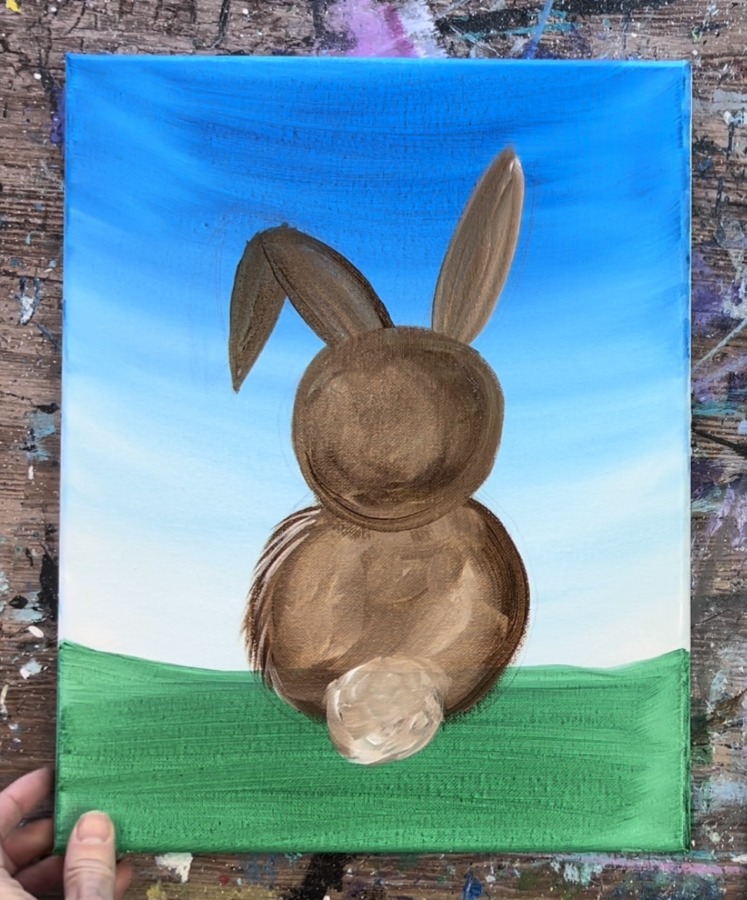
Paint the bunny tail using 3 parts titanium white and 1 part brown so that it shows up as a lighter brown color than the body. Paint that circle using more expressive “scribble” style strokes to get the texture of a fluffy tail. Note: I used my 3/4 wash brush for this tail, however, you may feel you need to use a smaller brush because this is a smaller area.
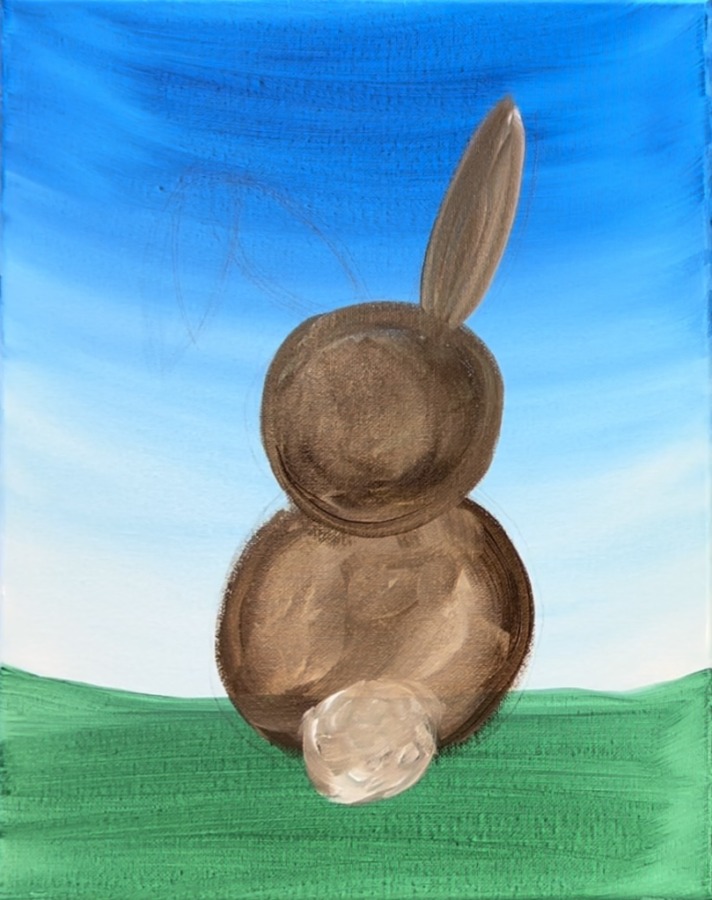
Then use the 3/4″ wash brush to paint the ear. Double load the brush in brown and white. Outline the shape of the ear and then fill it in with strokes that go in the direction of the shape. You will get a varied brown and white color as the two colors blend on the canvas.
Then paint the floppy ear. Make the bottom part of the ear before the fold look like it is in front of the part that folds down.
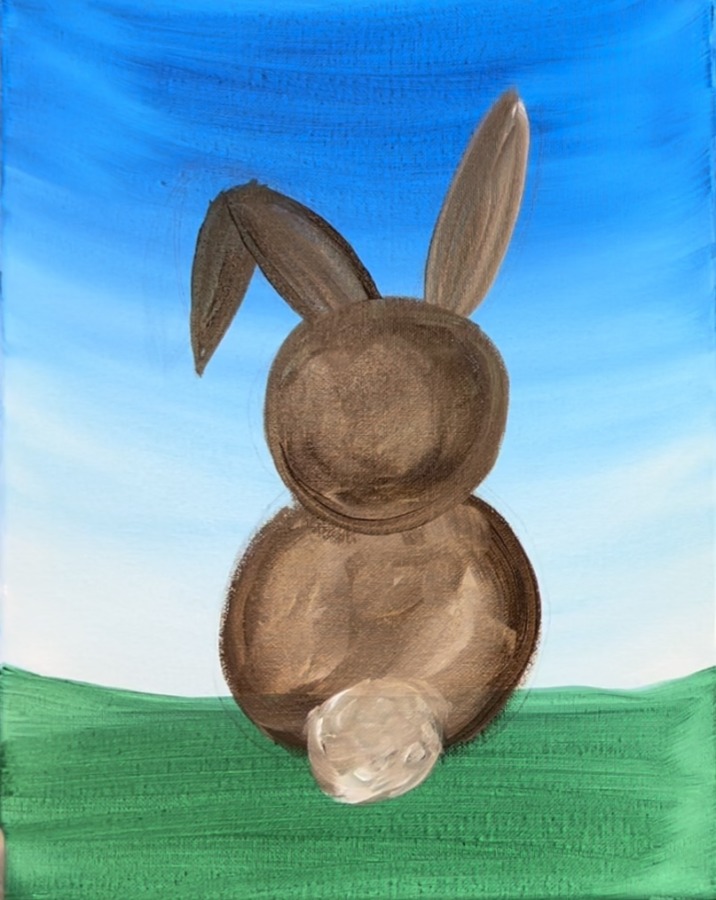
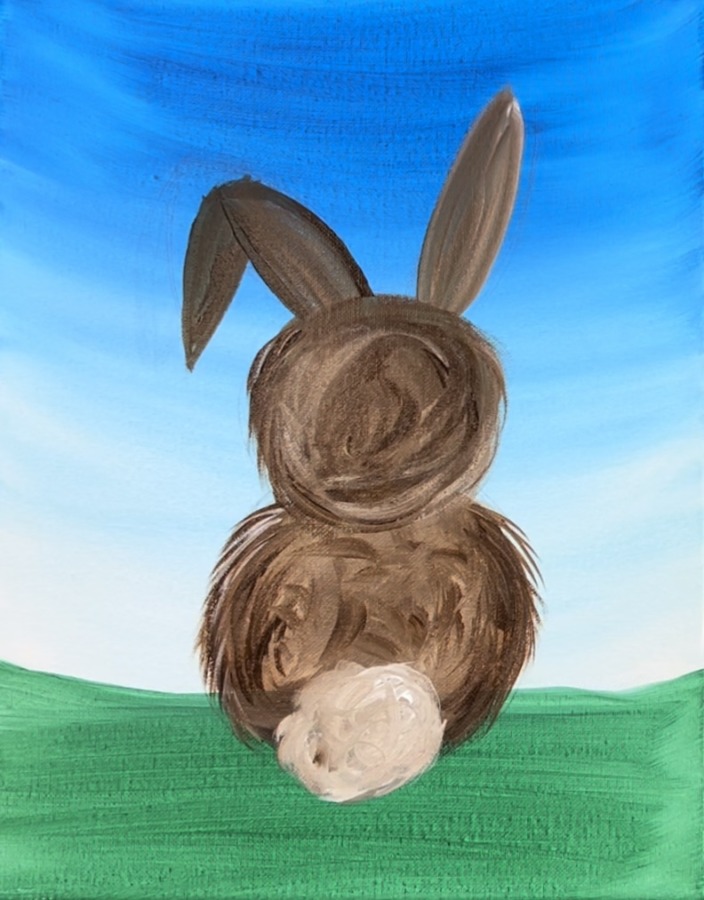
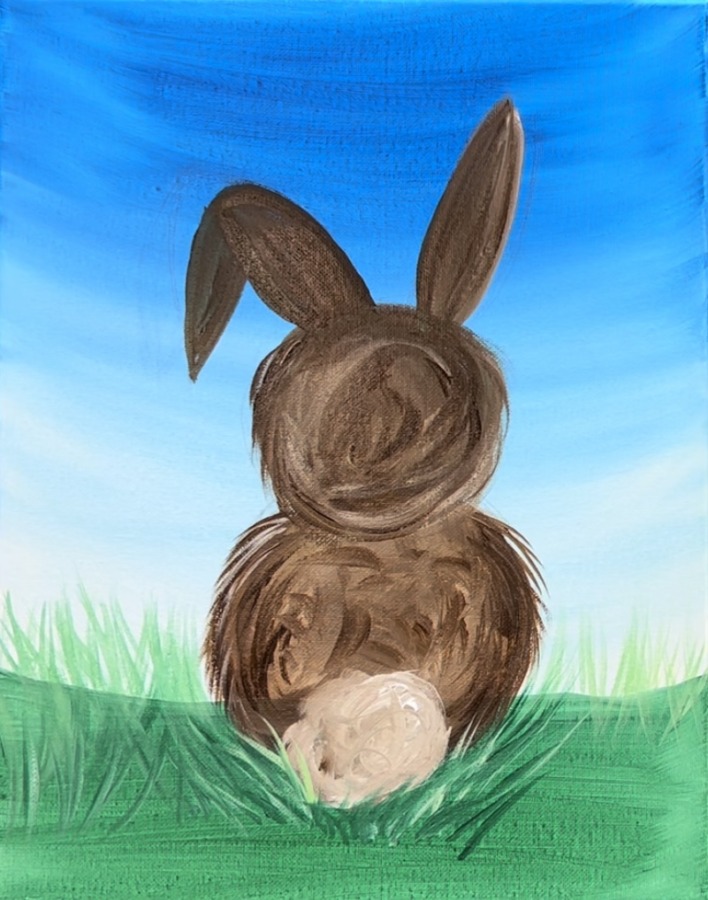
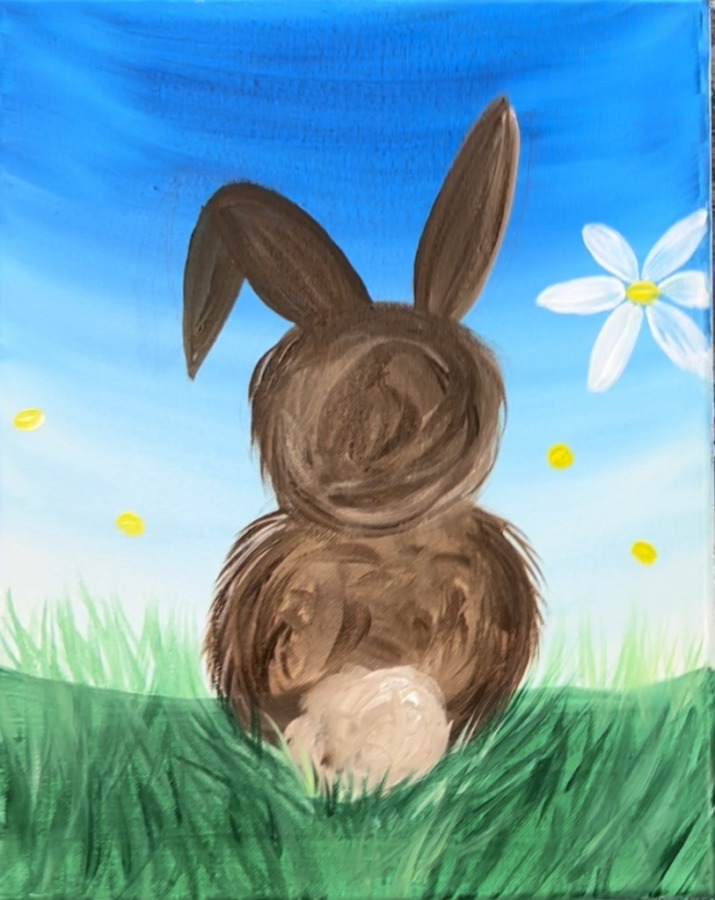
5. Paint Bunny Fur
This is an optional step that can be skipped if you are trying to simplify this painting.
Use a #8 round brush and use the tip of it to paint thin strokes that curve downwards on the edges of the bunny. Use a combination of brown and white.
Do this on both sides of the bunny’s body. Then do some more textured strokes on the inside part of the body.
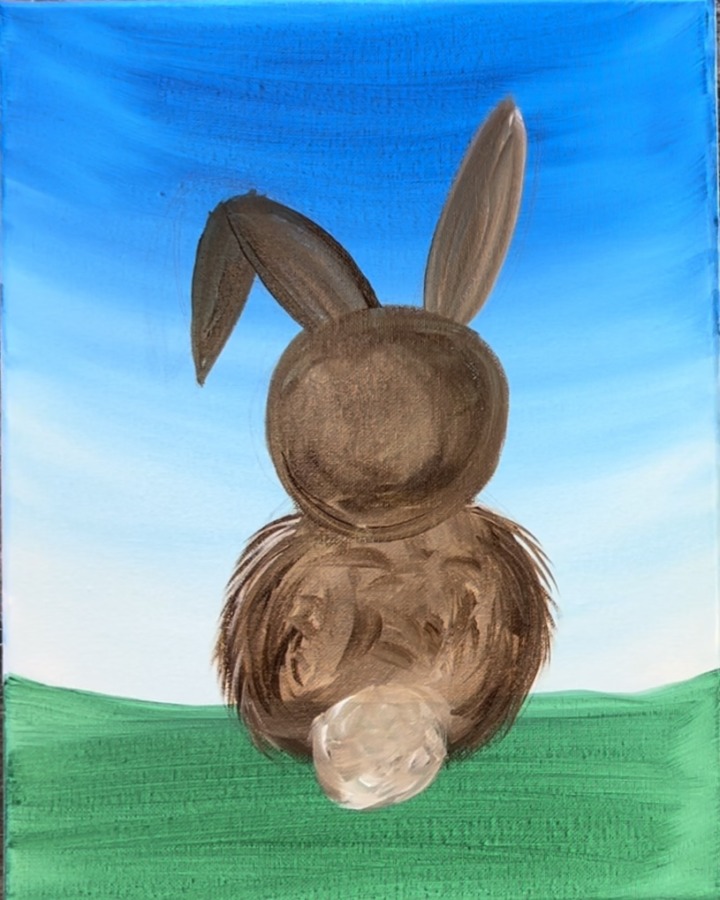
Repeat this step for the bunny’s head.
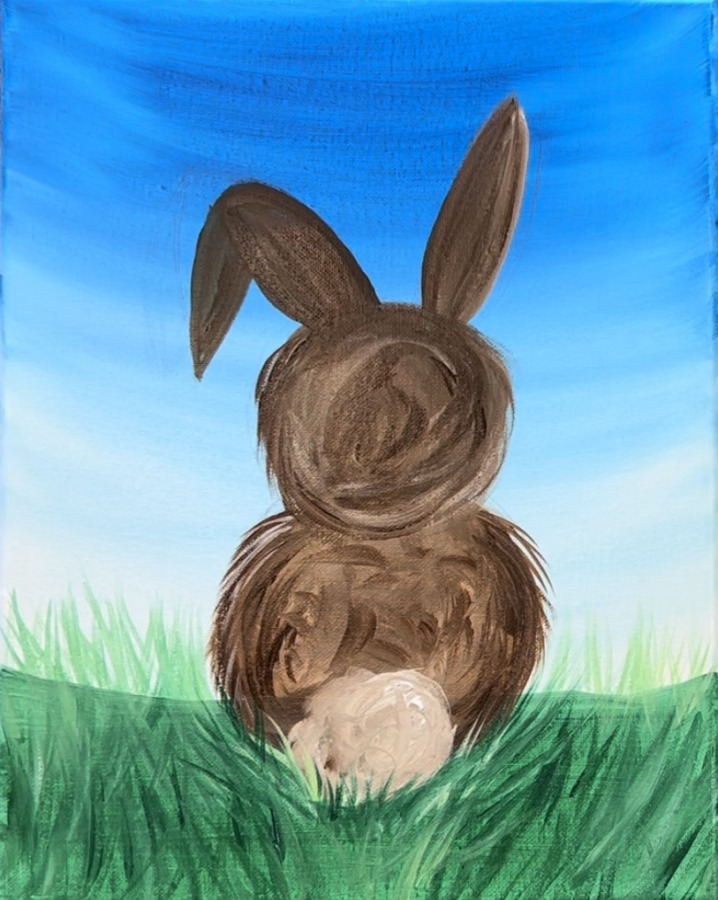
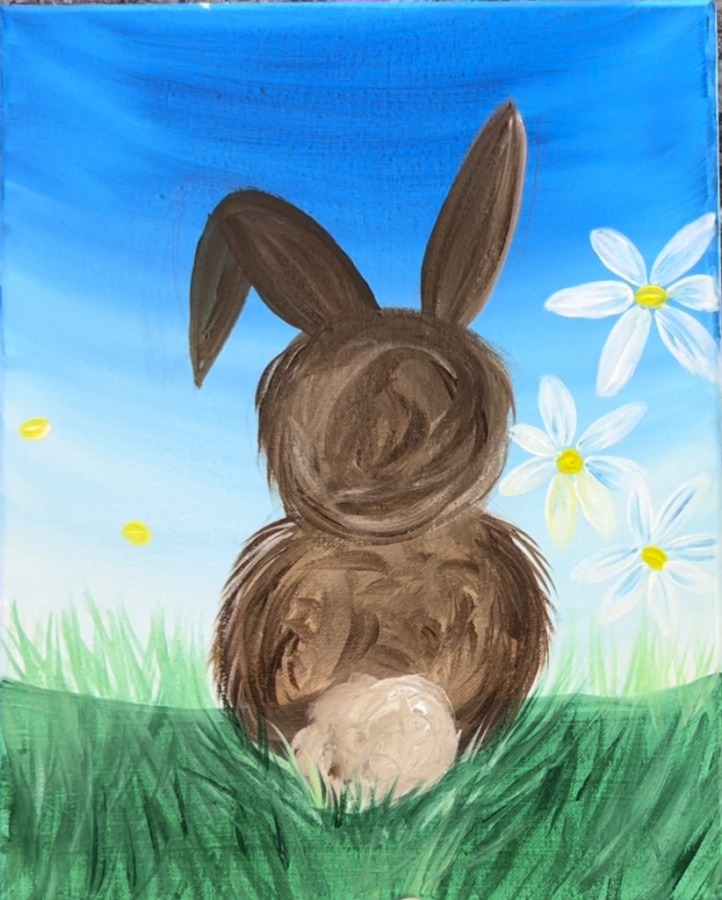
6. Paint Grass
Use your #8 round brush to paint the grass. Load your palette with: deep green permanent, brilliant yellow green and titanium white. Mix a medium green color by mixing 1 part deep green permanent with 1 part brilliant yellow green. Paint a row of grass starting at the top of the green area. Stroke upwards and go across the green area.
Paint your grass strokes so they go around the bottom of the bunny and angle outwards and away from the shape. Add little bits of titanium white to the green to lighten up some of the grass blades.
Continue to paint rows of grass working your way down to the bottom edge of the canvas. Add more darker green in the grass.
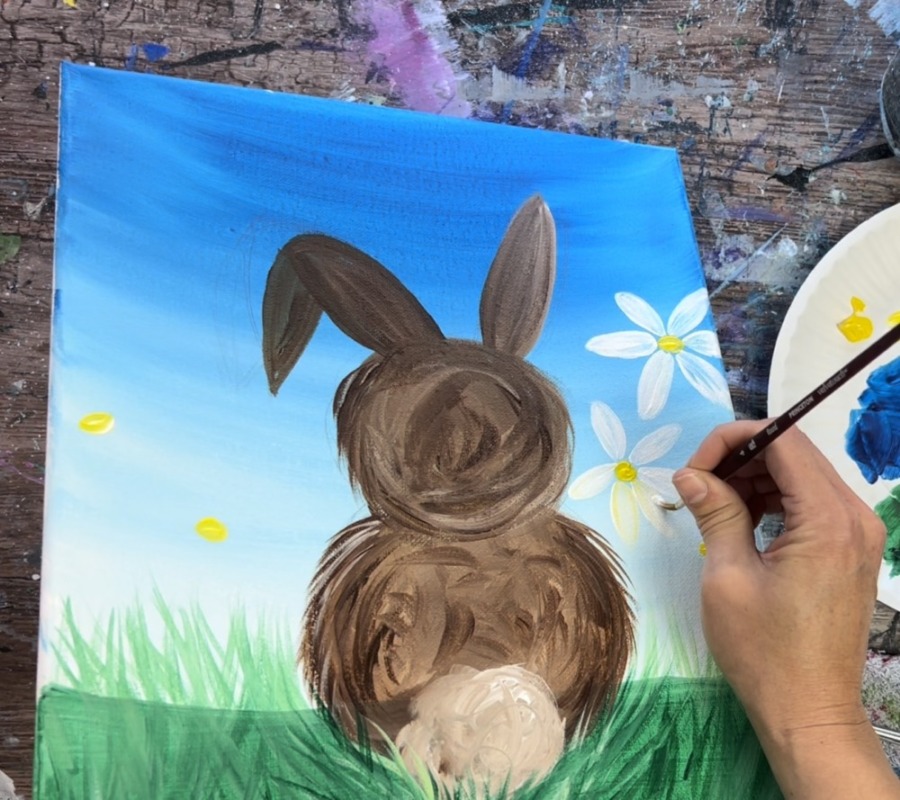
7. Paint Daisies
Use a #4 round brush and load your palette with titanium white and cadmium yellow medium. Mix equal parts white and yellow. Use your round brush to paint the centers of your daisies at different heights. The centers are an oval shape (some are a circle shape). I did three on the right and two on the left.
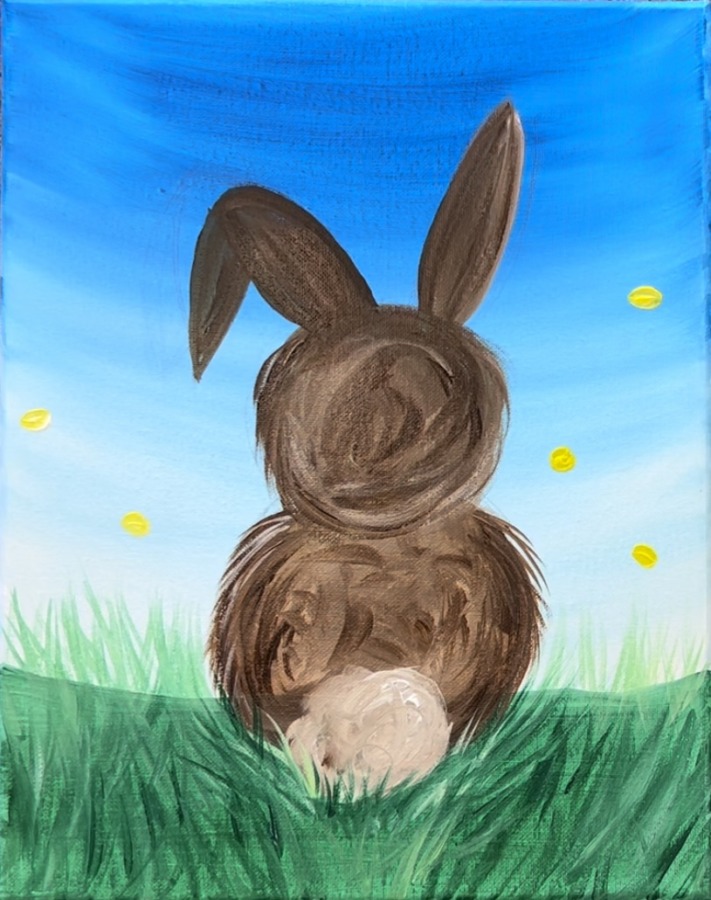
Use a round brush and titanium white to paint the petals of the daisies. Paint small ovals (at least 5 petals) going in a radial direction around your center oval.
Your oval shapes do not have to all be the same size. Then use a little bit of primary blue to paint little lines on the base of each of the petals and blend up. This will provide a little bit of shading to your petals.
Repeat this for each of your daisies. If you accidentally drag some yellow into your petals, that is okay!
Some petals may overlap each other.
Then use your round brush and deep green permanent to paint a thin stem that goes from the flower head down to the grass.
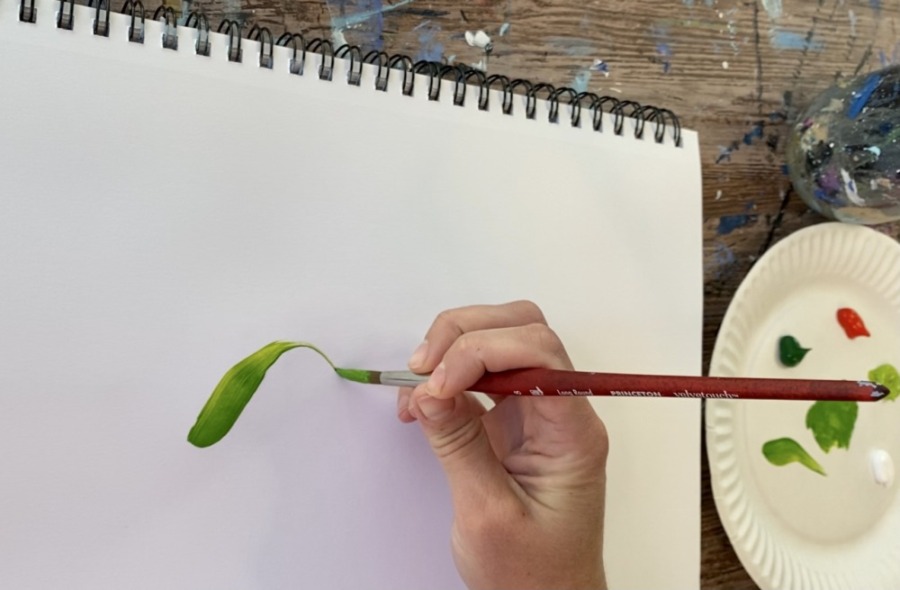
Use your #8 round brush to paint the leaves. When you paint these leaves, press firmly with your #8 round brush at first.

Then release the pressure of the brush to let the leaf go to a point. You can also do this technique backwards (starting at the tip and then going down to create a thicker stroke).
Paint your leaves at the base of your daisy stems.
Paint some smaller leaves higher up on the stems as well. Tip: you may need to adjust your green to be darker or lighter by adding some brown into the green or white in the green.
You can highlight some of your greens with brilliant yellow green by going over your stroke once and making one side of the leaf lighter.
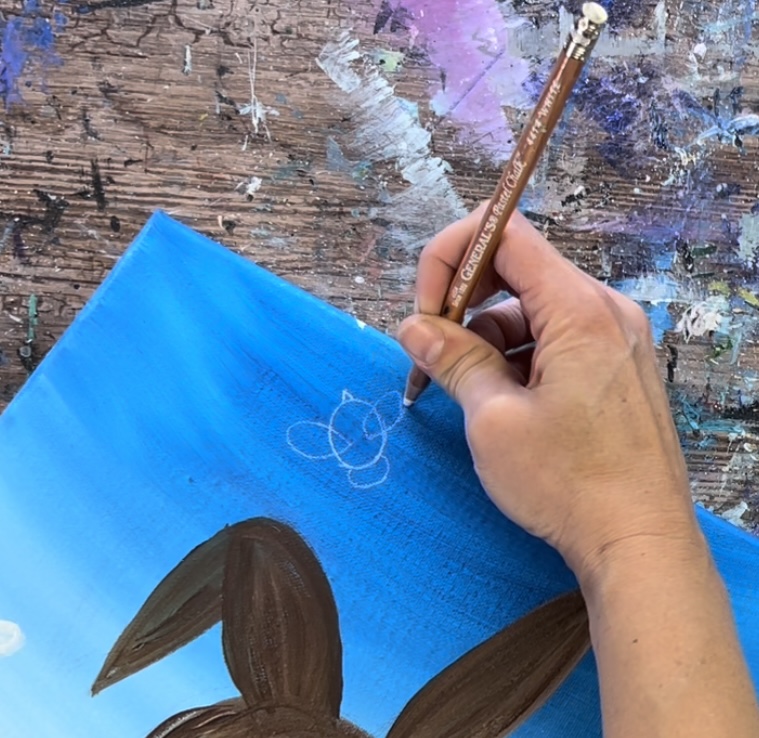
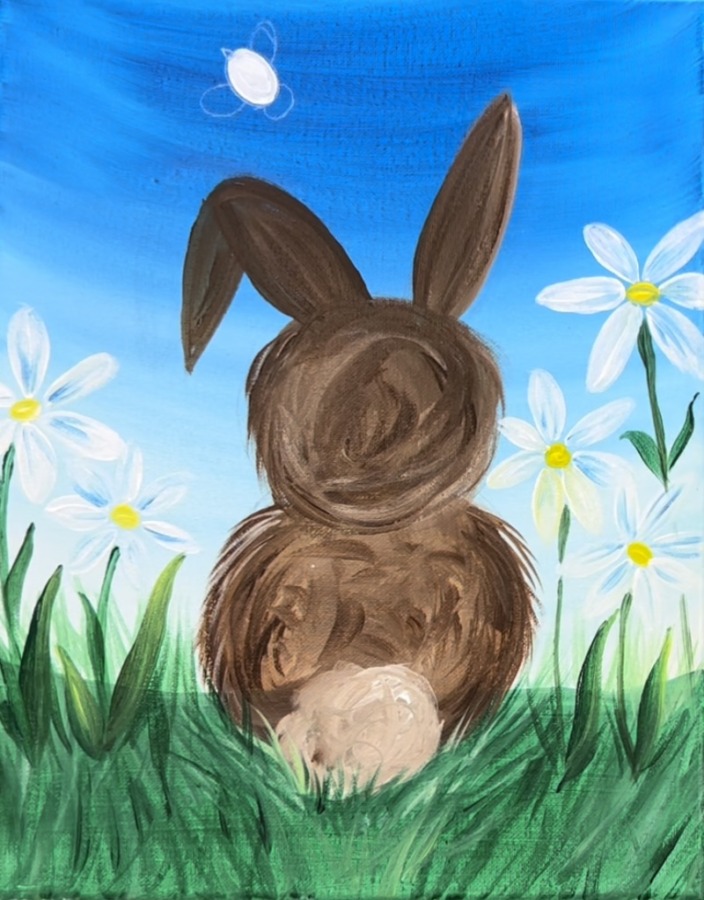
8. Draw And Paint Bee
Use a white chalk pencil to draw the bee. Draw an oval for the body, a half circle shape for the head, a small triangle on the end of the oval and two tear draw shapes pointing outwards for the wings.
Use a #4 round brush and titanium white to paint the body of the bee.
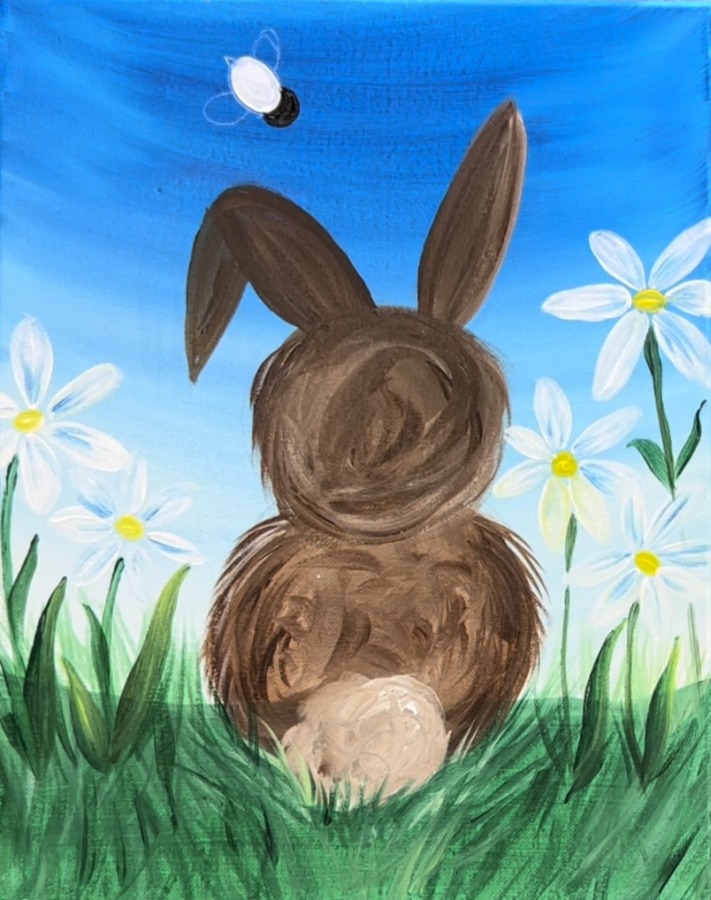
Then use mars black to paint the head.
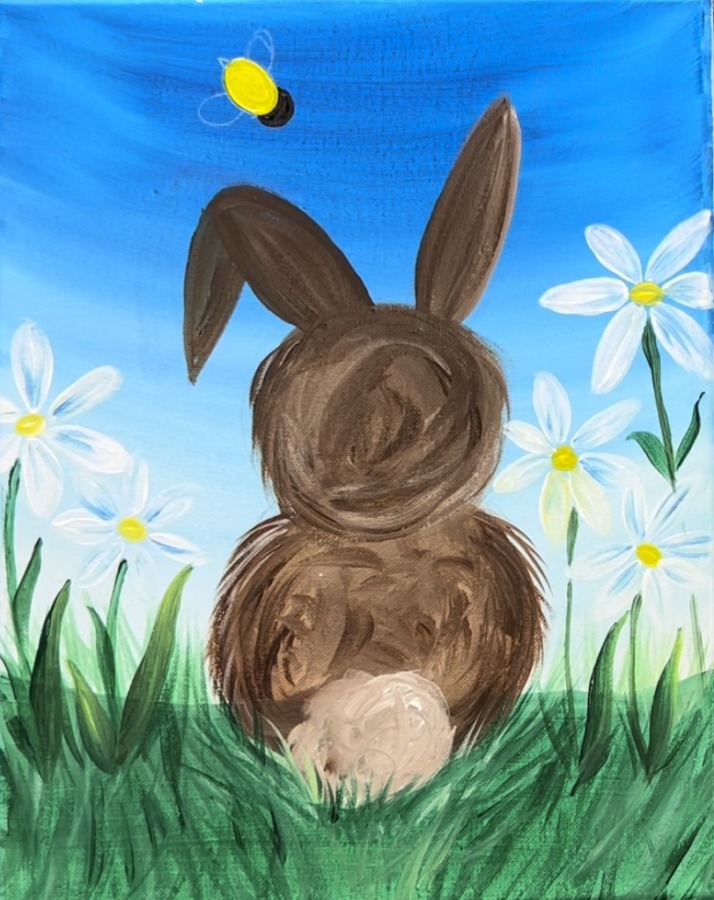
Let the white dry. Then paint the body with cadmium yellow medium hue.
Let the yellow dry. Then paint the stinger and the stripes.
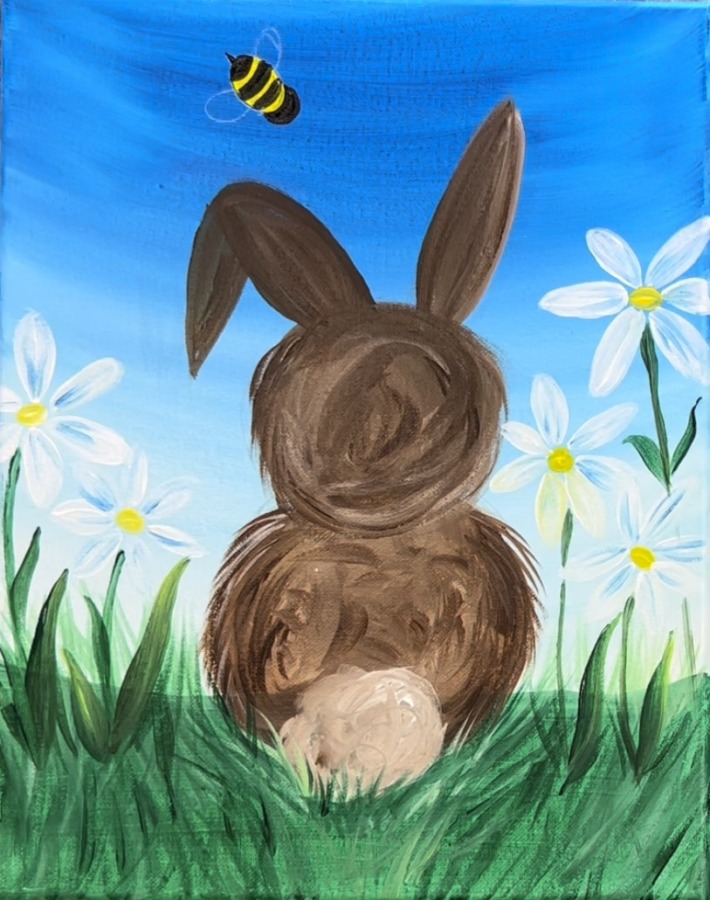
Use a paint pen to paint the antennae of the bee. Then use the #8 round brush and titanium white to paint the bee trail.

Then paint the wings. Make your white somewhat translucent by adding a little water into it. Use the #4 round brush to lightly paint the wings and allow the color below to show through a bit.

9. Draw And Paint Eggs
Use your white chalk pencil to draw the eggs.
Then use your #4 round brush to paint the eggs in solid white.
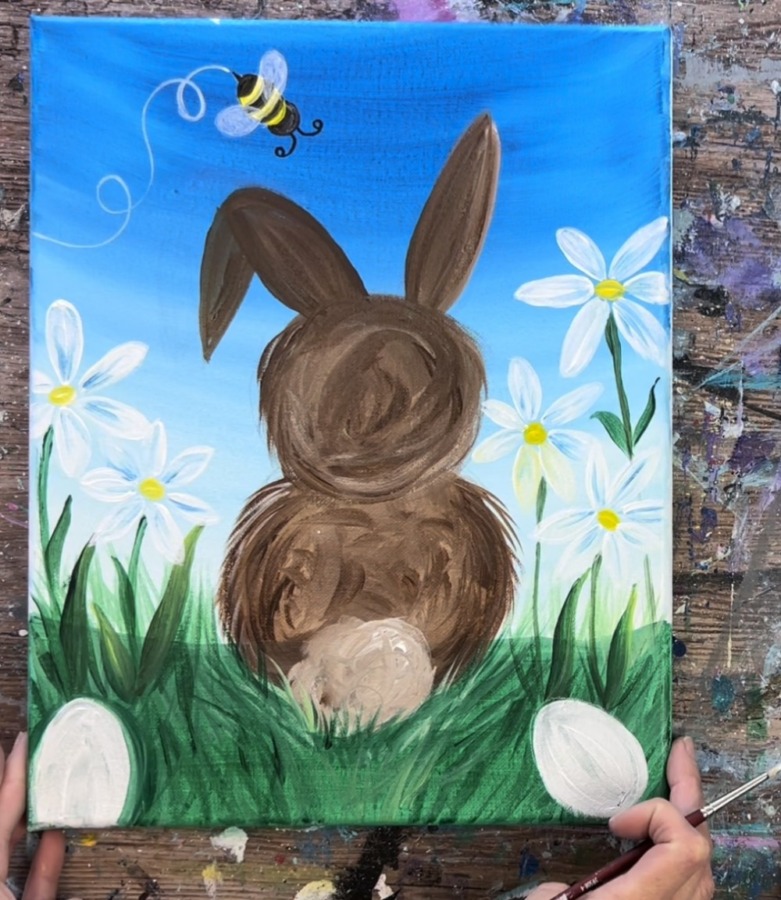
Let that white dry a little bit. Then paint the eggs with the #4 round brush. I did the egg on the right with primary blue and the egg on the left with cadmium yellow medium. You can change the colors of these eggs and decorate them differently if you want.
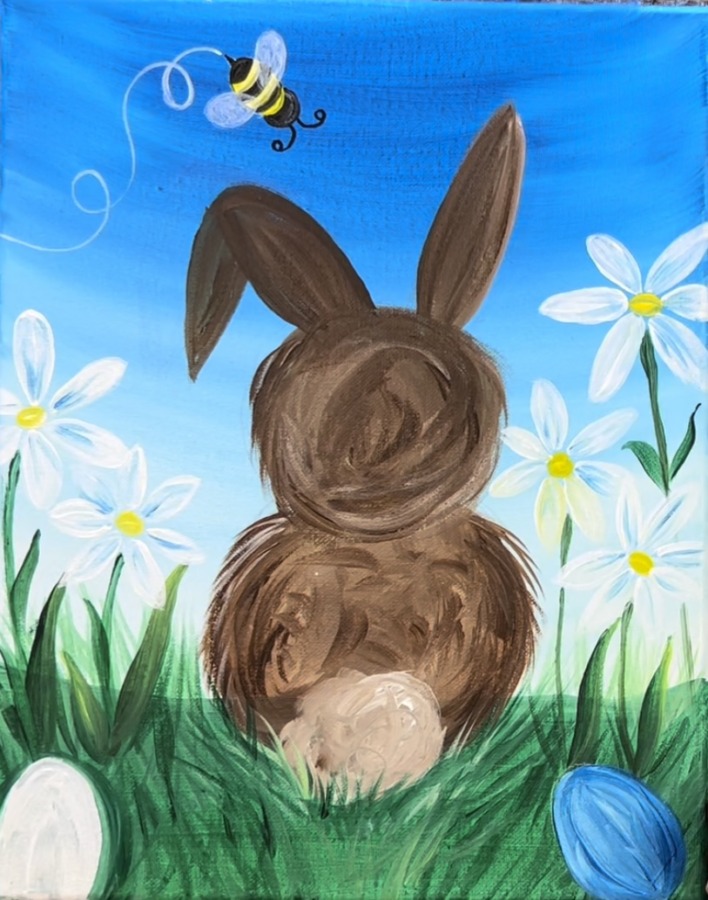
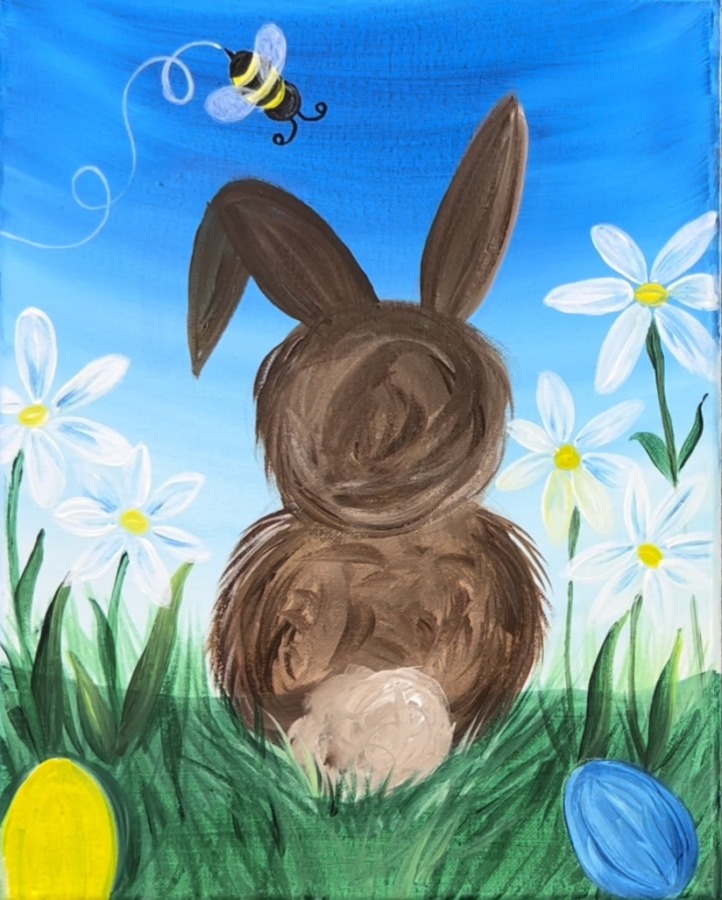
Wait for your eggs to dry. Then use a #4 round brush and titanium white to paint the designs on the eggs.
Wait for the eggs to dry. Then paint a little grass texture that overlaps the base of the eggs.
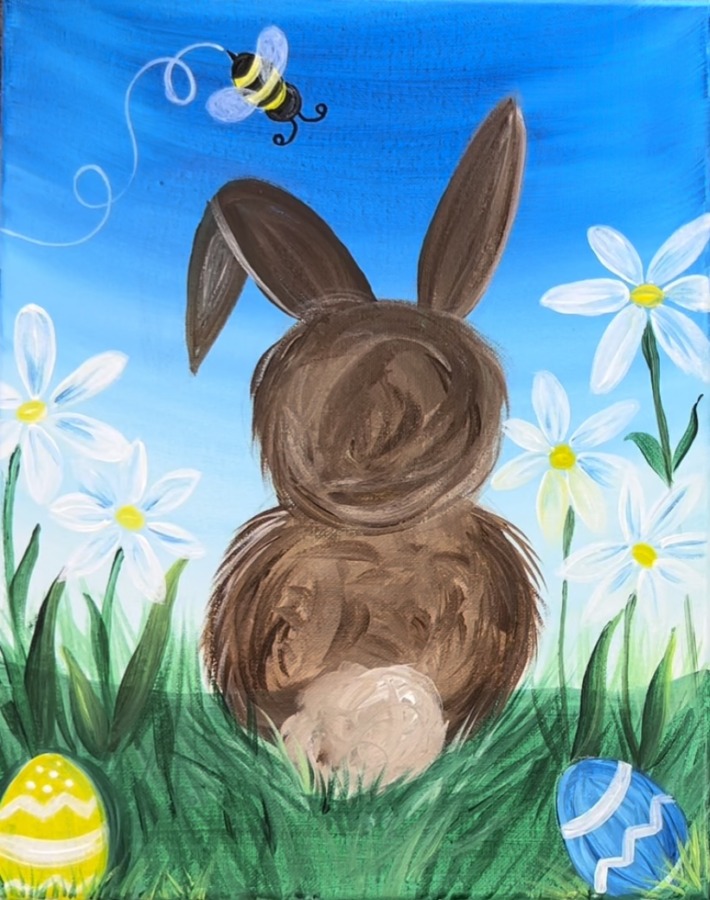
Finished
Share Your Art Here


