
Would you like to save this?
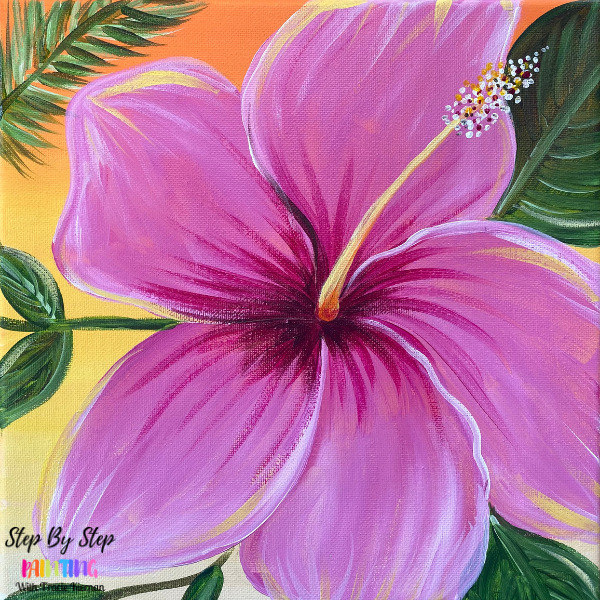
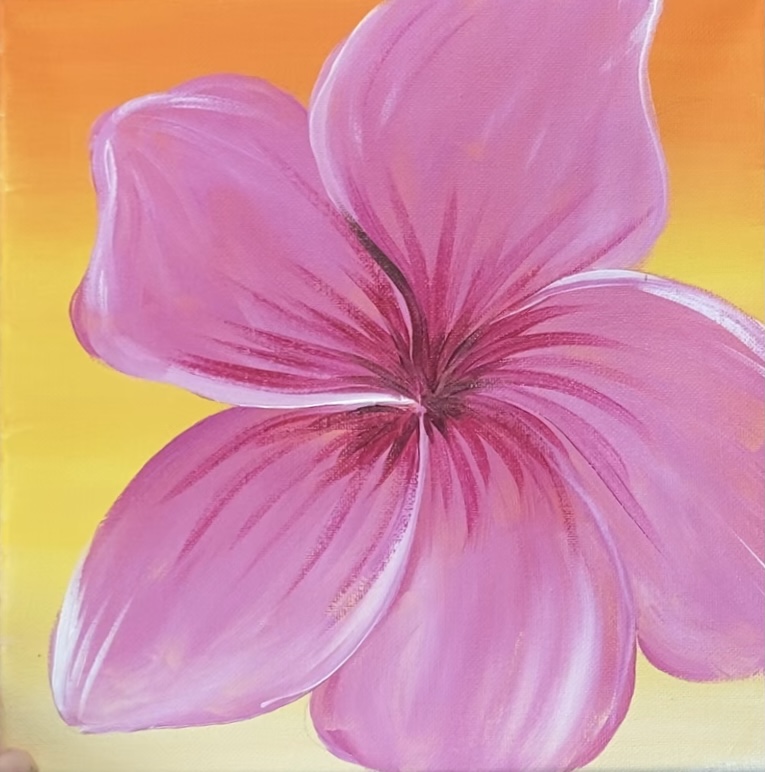
Learn how to create a pretty pink tropical hibiscus painting with acrylics on canvas.
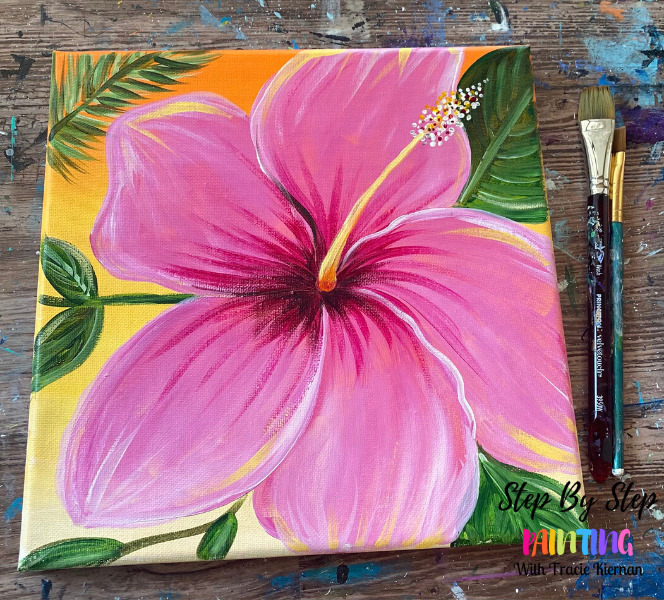
This hibiscus painting is demonstrated on a square 10″ x 10″ canvas. You can also do this on a similar size or a rectangular canvas.
A free template download is also in this tutorial! You have the option of printing out the template and transferring it to your canvas OR drawing the hibiscus free-handed with a pencil.
Enjoy and happy painting!
Materials Needed
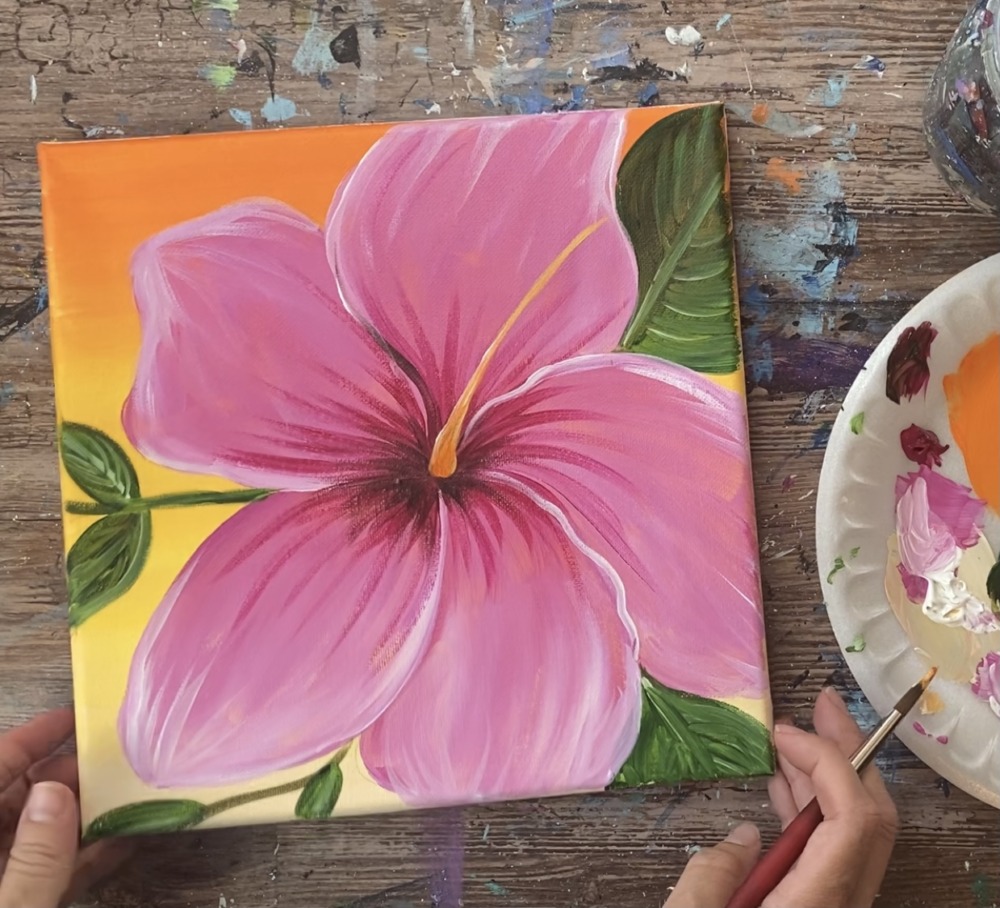
How To Paint A Hibiscus Easy Acrylic Tutorial
Learn how to paint a pretty pink tropical hibiscus flower on a 10" x 10" canvas.
Materials
- 10 x 10 Canvas (or similar size)
- Acrylic Paint
- Paint Brushes
- Drawing Pencil
- Template (optional)
- Graphite Transfer Paper
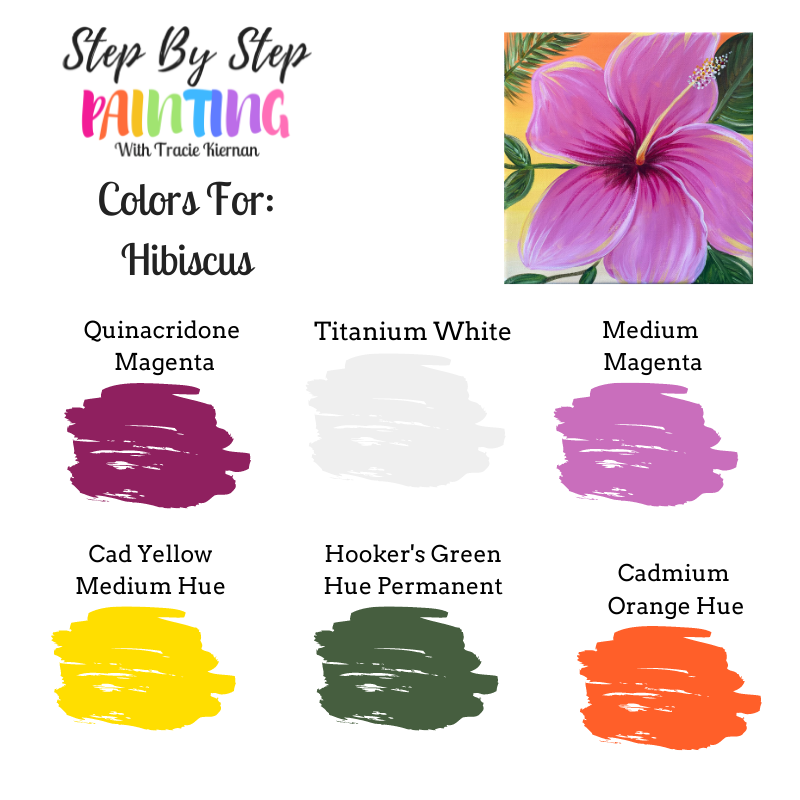
Colors
- Cadmium Orange Hue
- Cadmium Yellow Medium Hue
- Titanium White
- Medium Magenta
- Hooker's Green Hue
- Quinacridone Magenta
Brushes
- 3/4" Flat Wash
- #12 Bright Brush (1/2" flat)
- #8 Round Brush
Instructions
- See instructions on www.stepbysteppainting.net for tutorial.
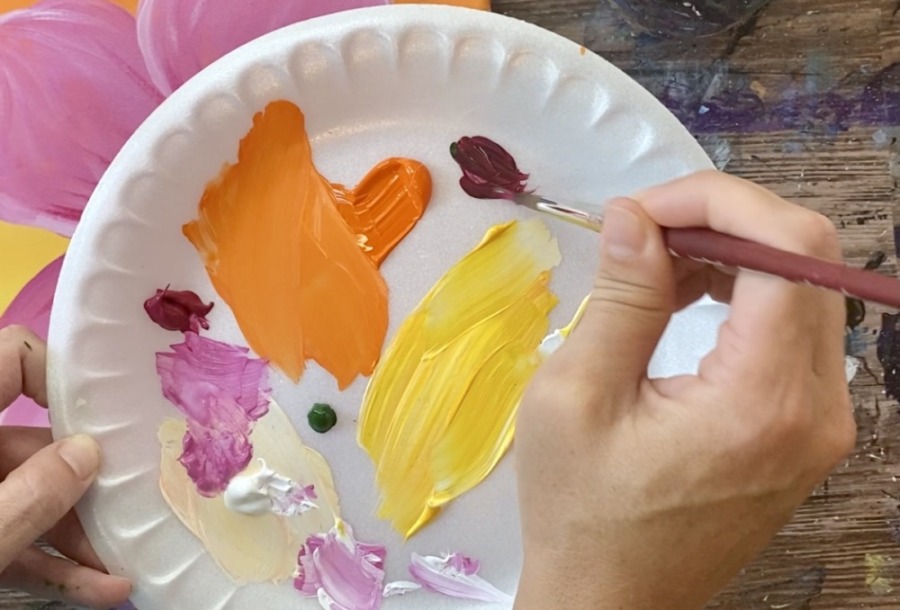
Color Palette
Using Craft Paints?
If you are using craft paints such as the Apple Barrels, you can try substituting with these colors:
- Bright Magenta
- White
- Fuchsia
- Bright Yellow
- Holly Branch
- Jack-O-Lantern
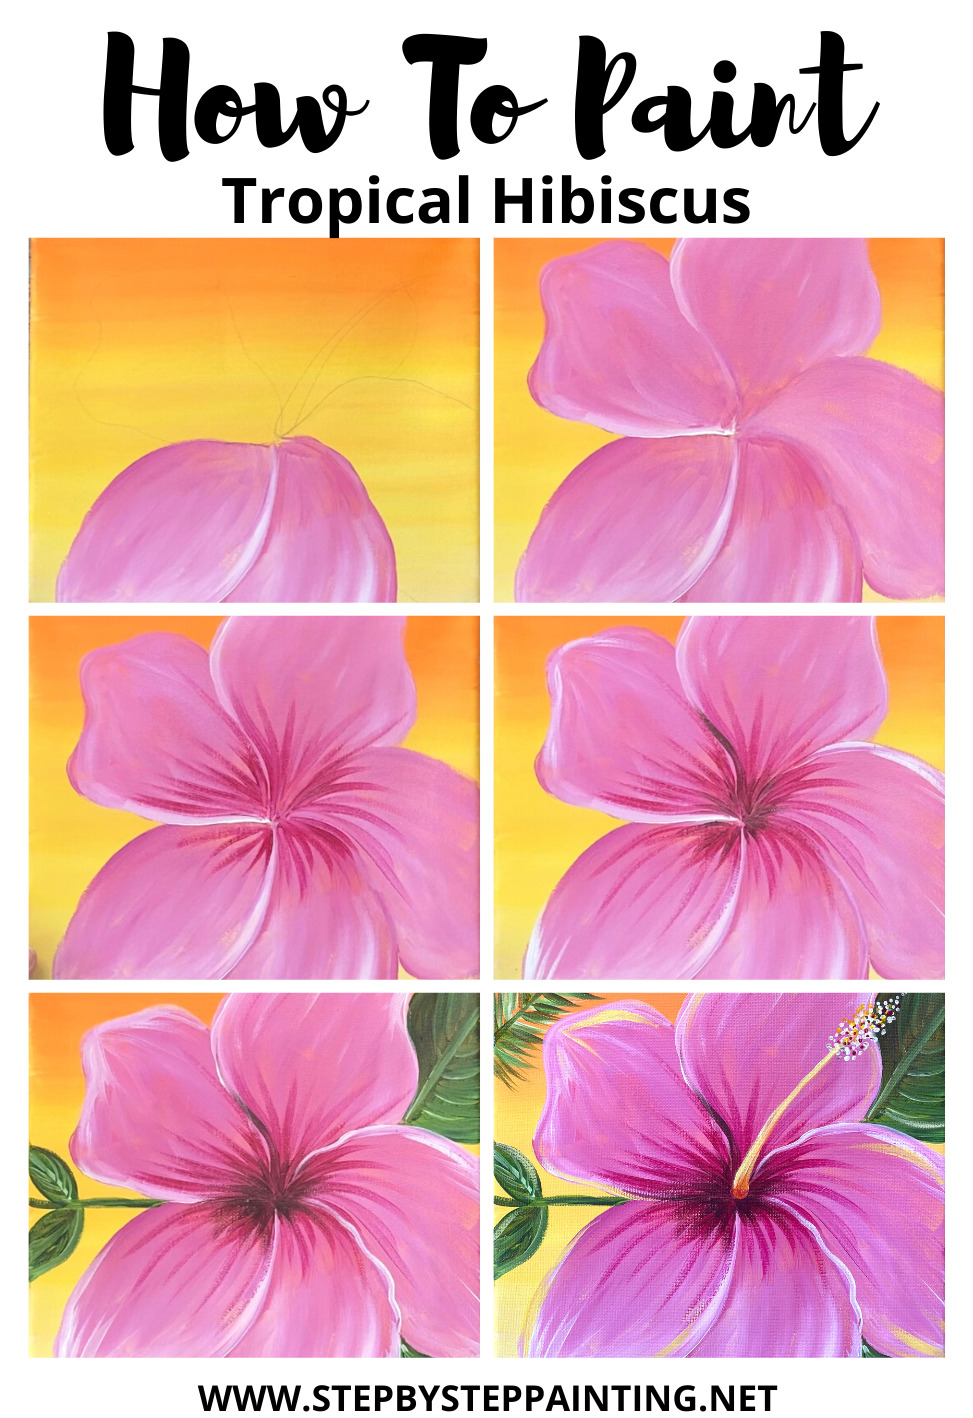
Directions At A Glance
Traceable For Hibiscus Painting
This is optional! In the tutorial, I show you how to draw the hibiscus. However, you can use this traceable to transfer to your canvas if you prefer to skip the drawing part.
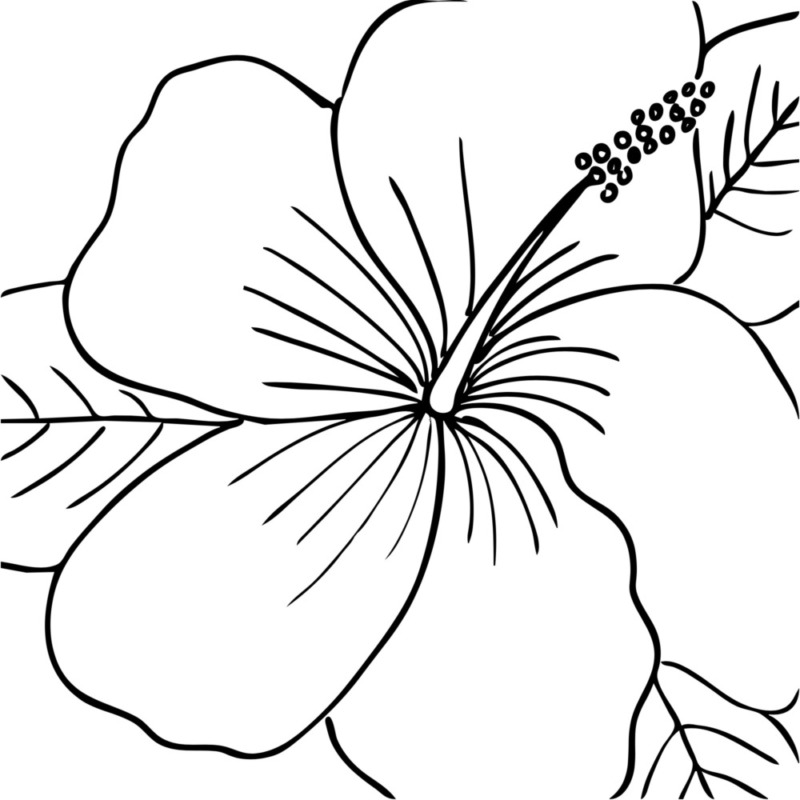
To transfer this to your canvas, use a sheet of graphite transfer paper and place below the printable. Then trace on top of the printable and the design will go on the canvas.
Video
Step By Step Instructions
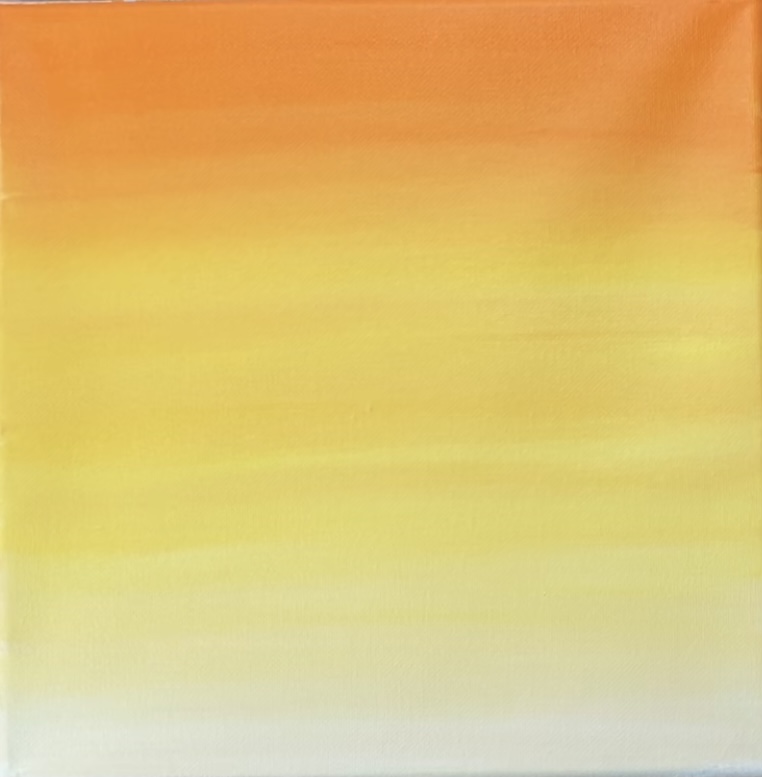
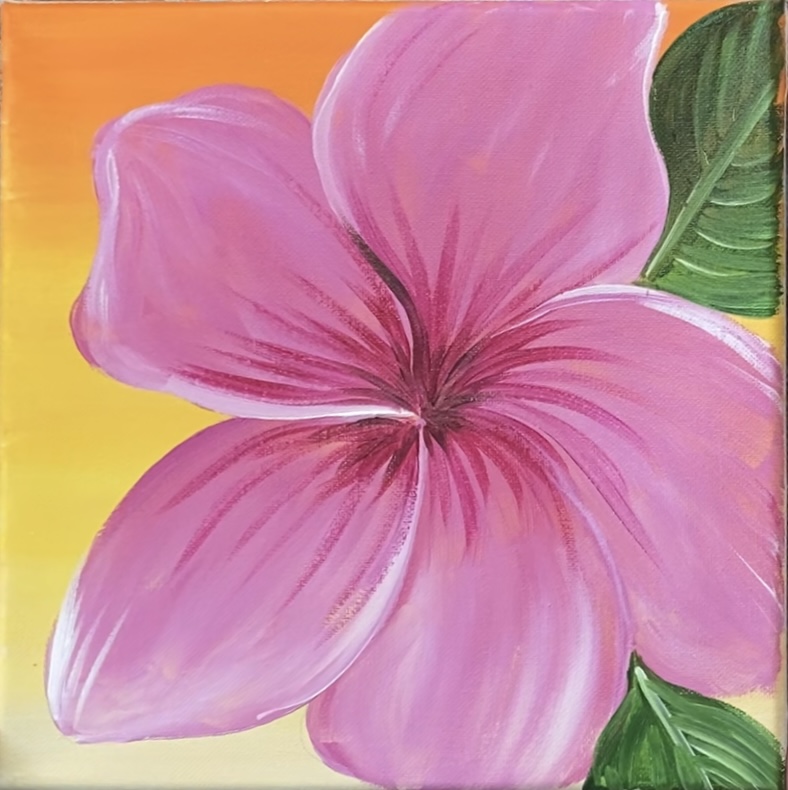
1. Paint The Background
The background of this painting is a gradient that blends from orange to yellow to a light yellow/white. You can also customize this background with different colors if you’d like!
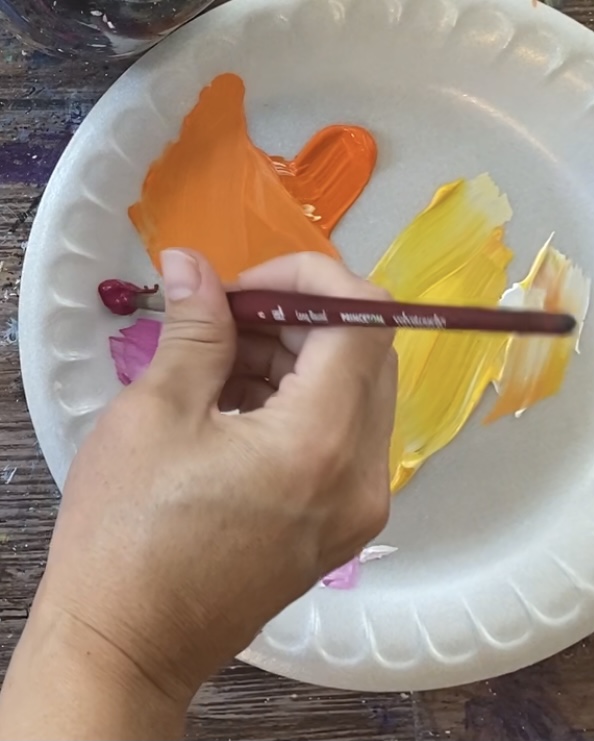
First load your palette with cadmium orange hue, cadmium yellow medium hue and titanium white.
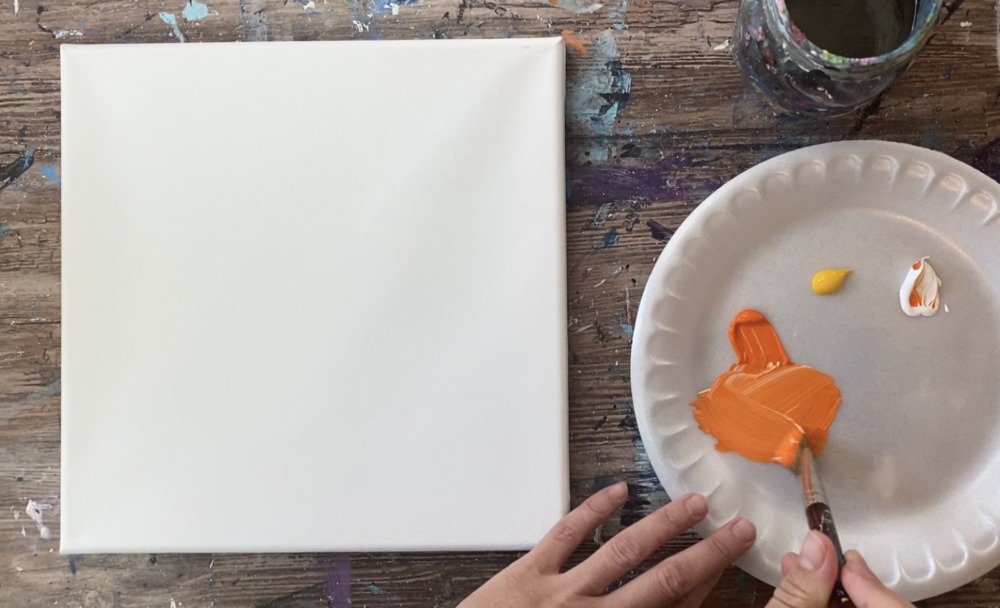
Using a 3/4″ flat wash brush to mix a little white into the orange to lighten the orange up.
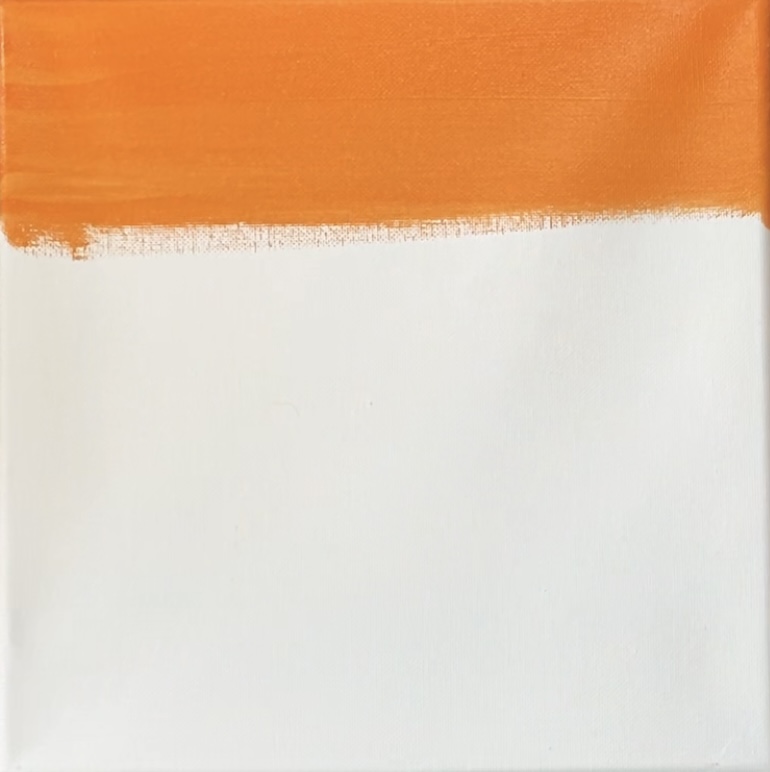
Then paint left and right horizontal strokes starting at the top of the canvas. Next mix a little white into the yellow to make a lighter yellow.

Paint left and right horizontal strokes under the orange to blend the yellow into the orange.
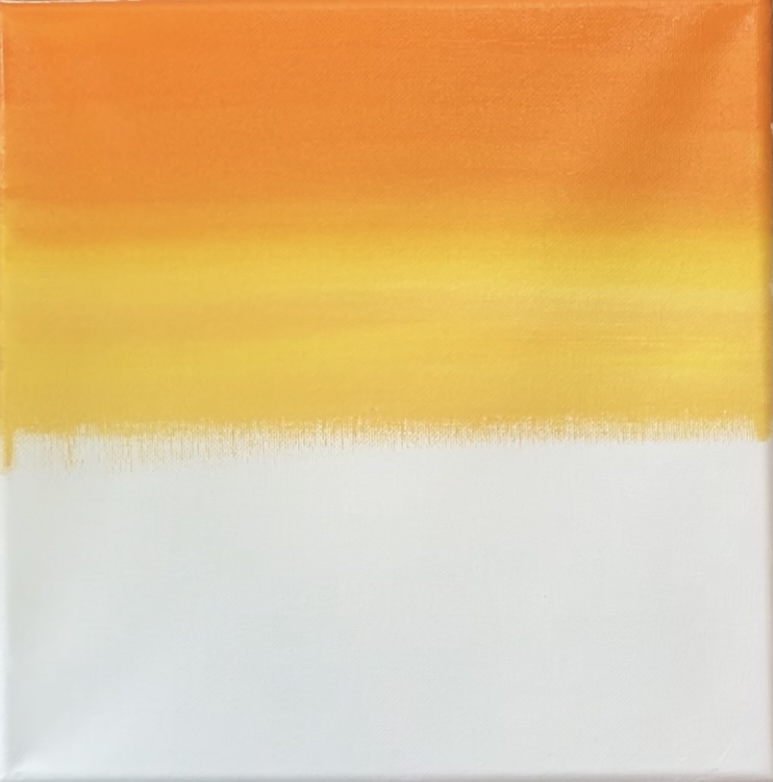
Then continue down the canvas with more titanium white so that the yellow blends to a much lighter yellow.
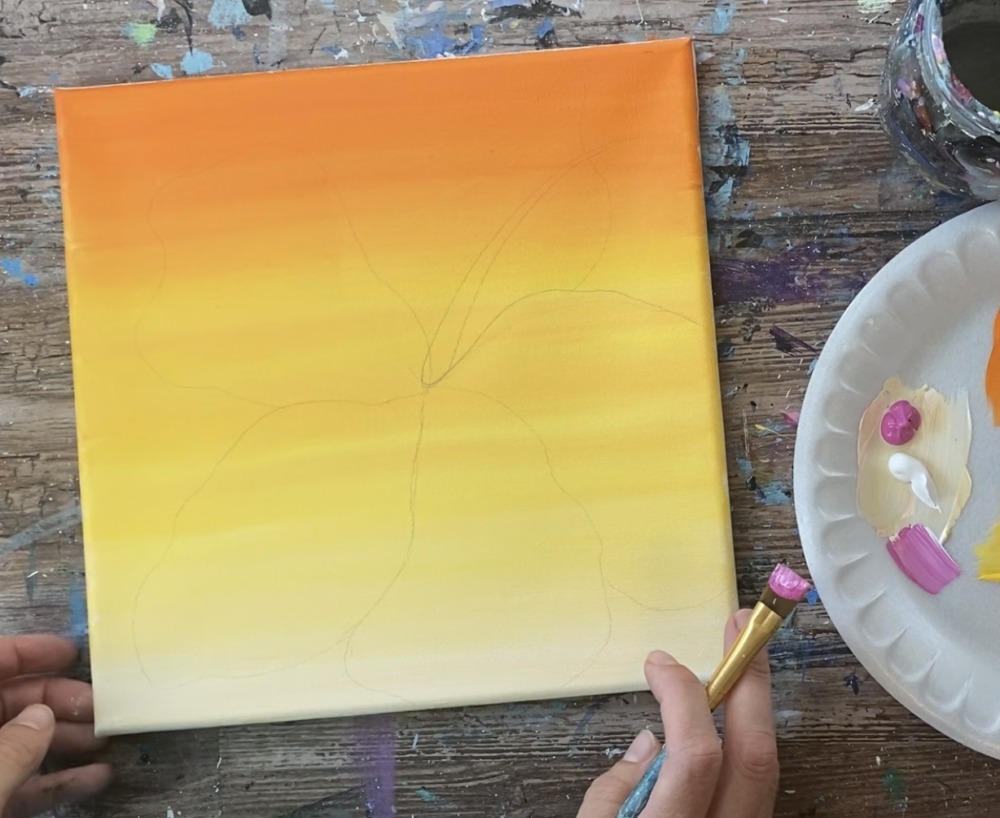
2. Draw Hibiscus
Let your canvas dry. You can use the provided traceable to transfer the hibiscus to the canvas or lightly draw the hibiscus with a pencil.
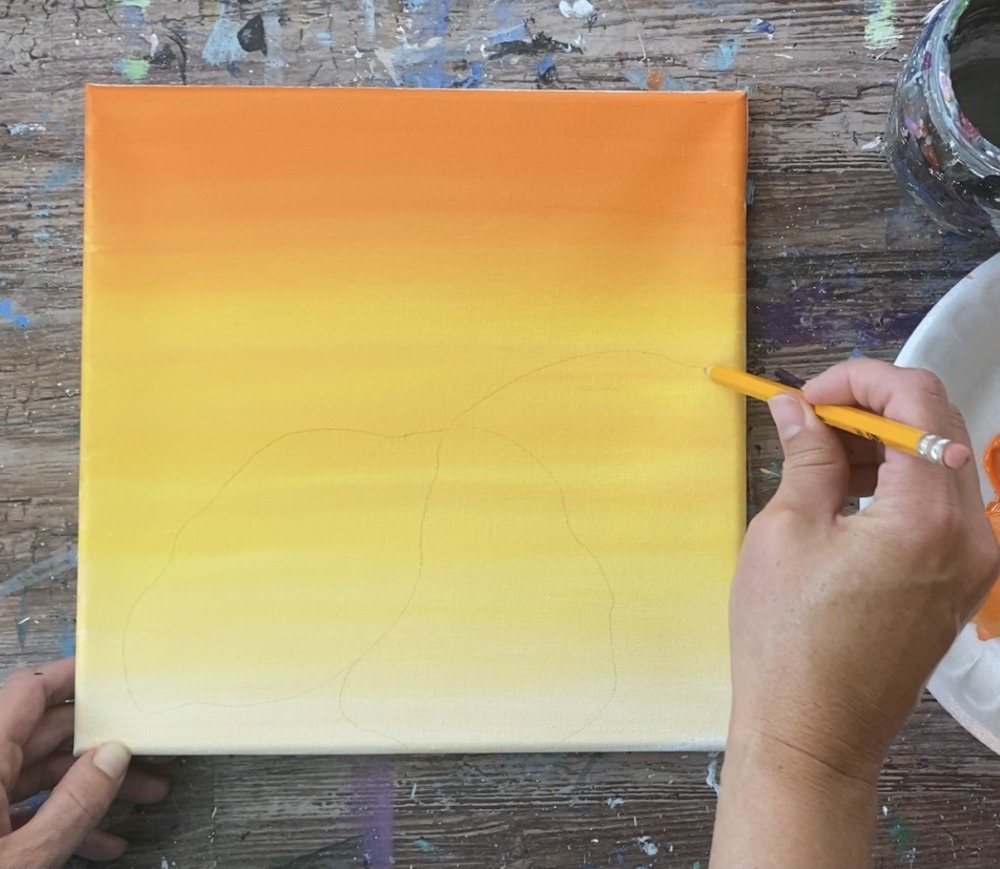
Lightly draw the petals with a pencil. Draw loose petal shapes that start in the middle of the canvas.
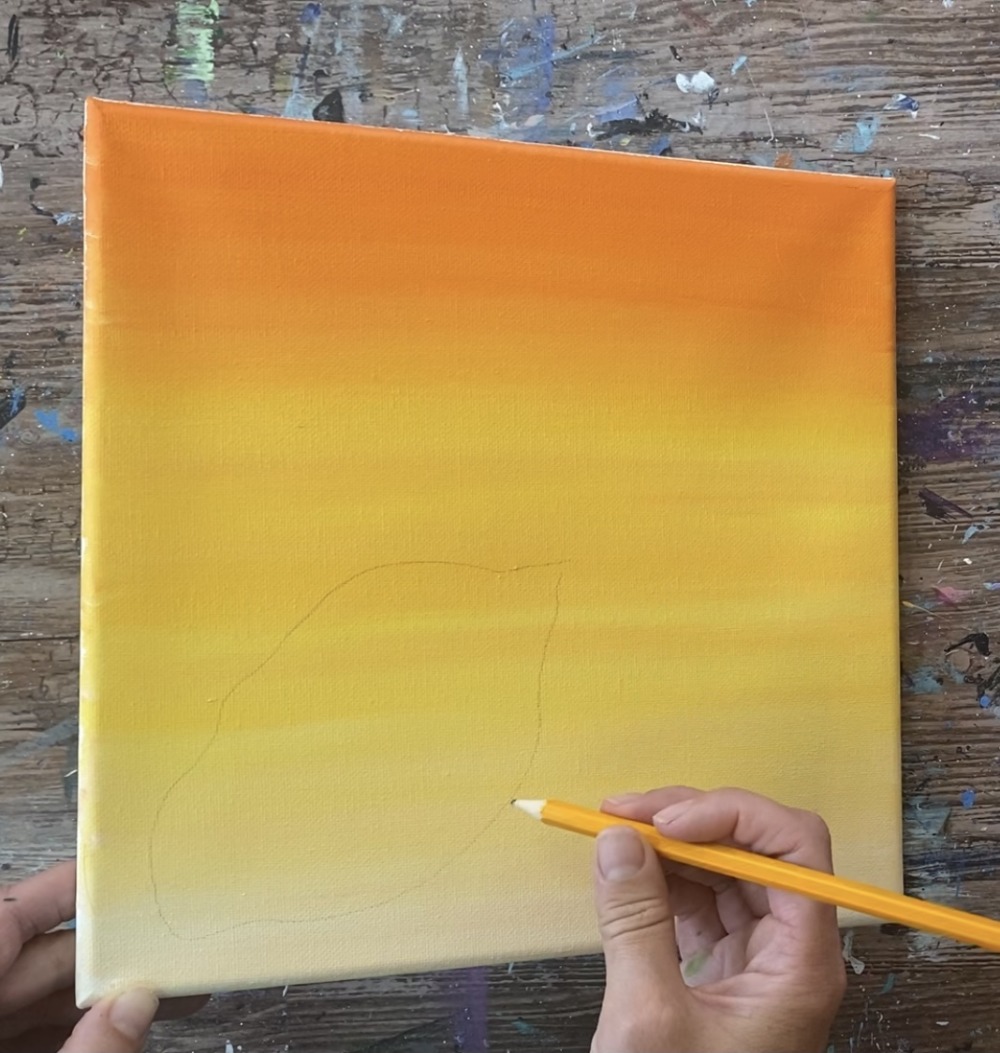
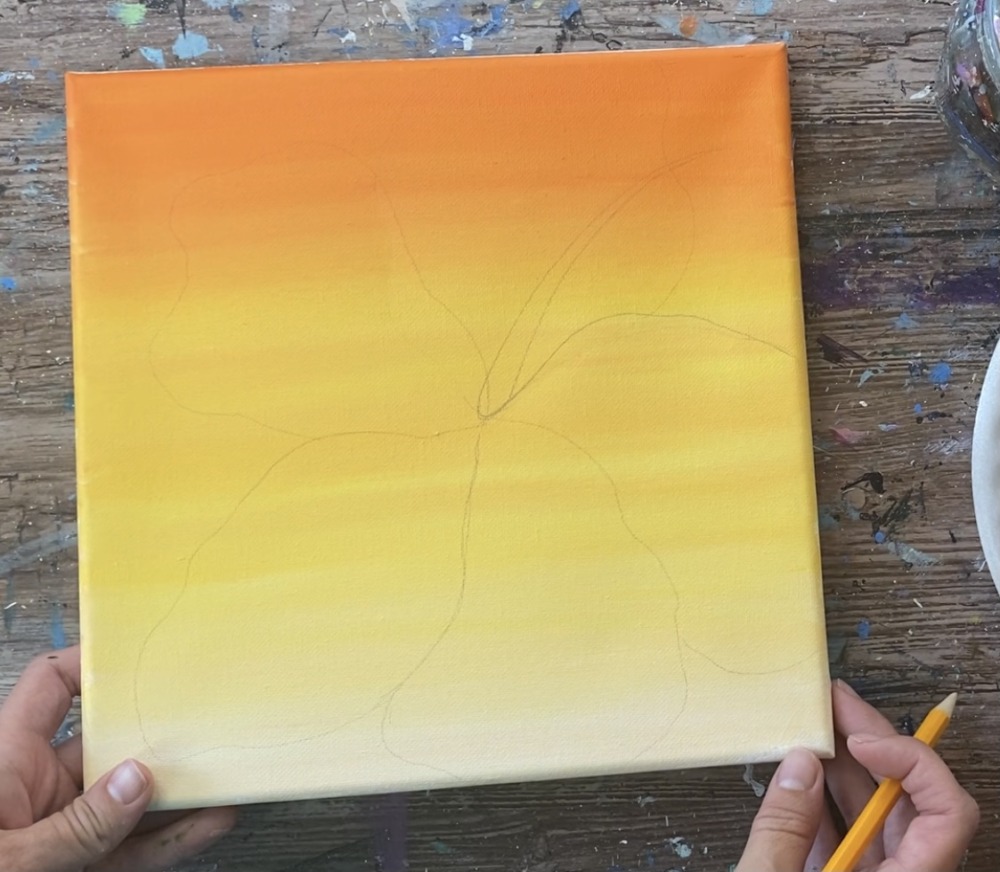
Draw five petals. Each petal slightly overlaps the petal next to it.
Then draw the pistil in the middle of the flower. This shape has a wider and curved base and goes to a point.
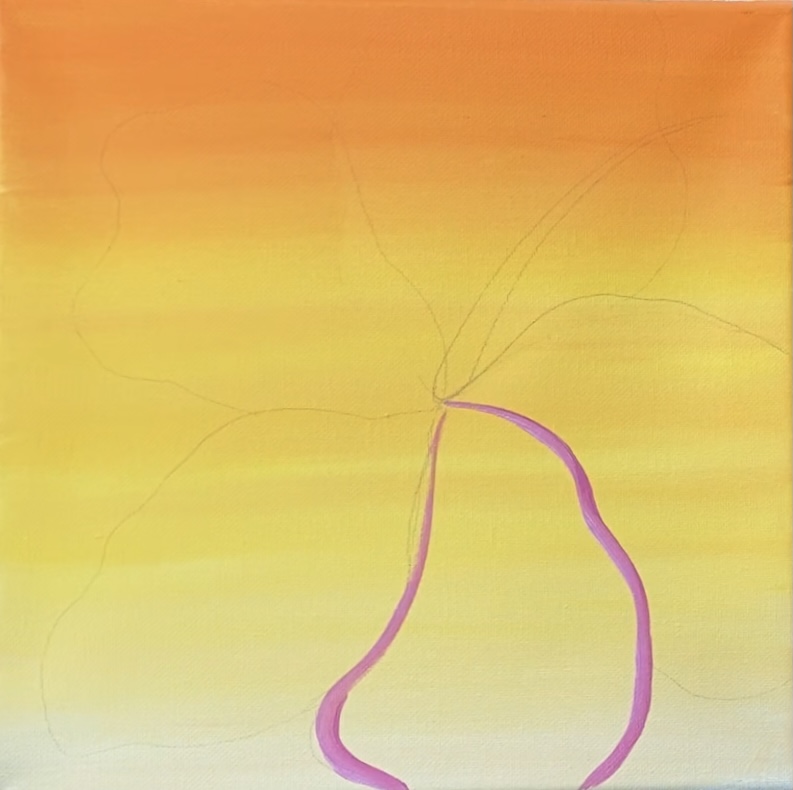
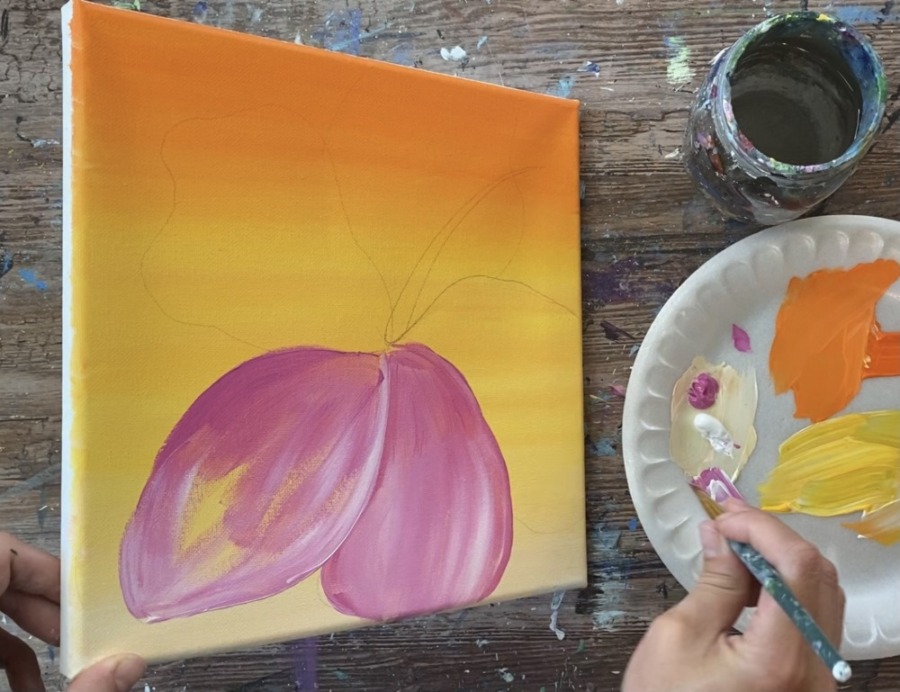
3. Paint First Coat On Petals
Load your palette with medium magenta and titanium white. Use a small flat brush (1/2″ flat brush or #12 bright) and double load it into the magenta and the white. (Load about equal amounts)
Use the edge of your brush to outline the petal.
Then use the full width of the brush to paint the petal in. Let the magenta and white slightly blend together. Allow the center part of the petal to be slightly more magenta (slightly darker) and the end of the petal to be lighter (more white).
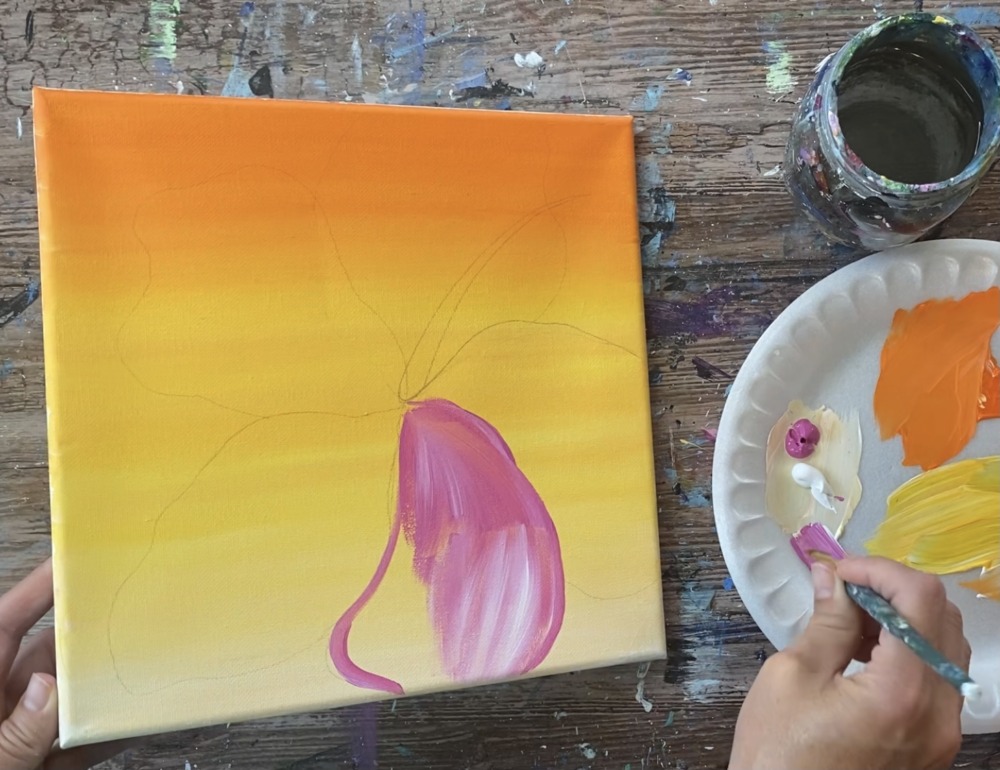
Try not to over blend the pink and the white.
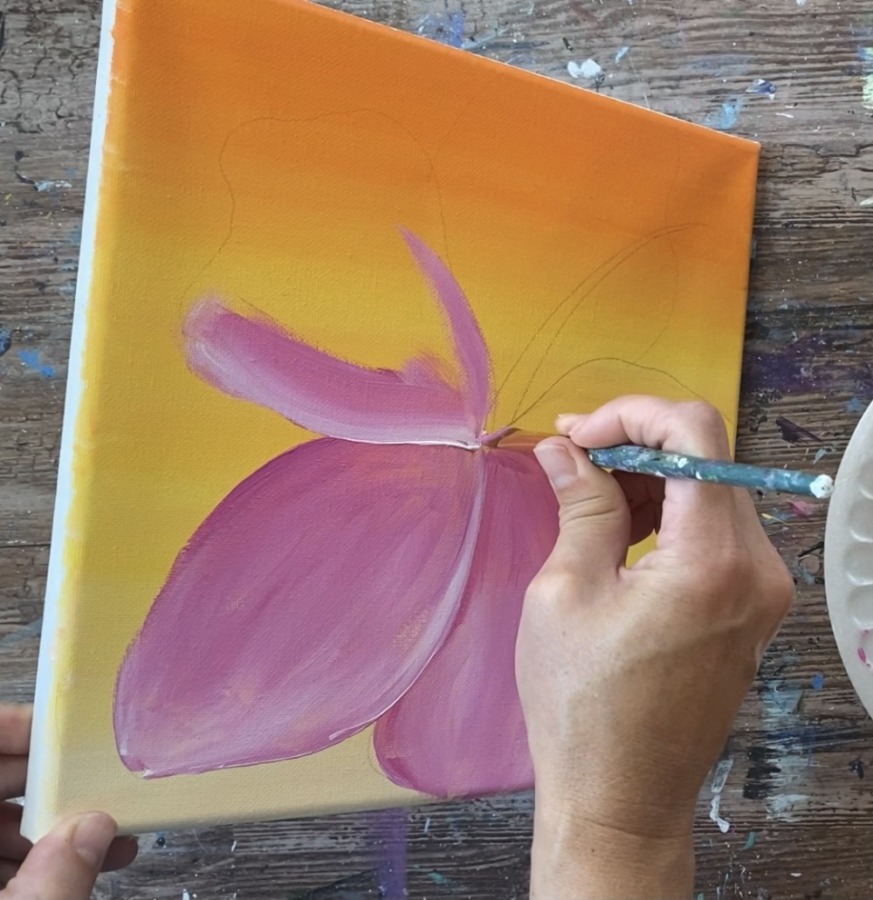
When you paint each petal, allow the color to stand out so it looks like the petal is overlapping. For example, add more white to the edge of the next petal so that it looks like it is overlapping it. Then blend more magenta into the rest of the petal. Your strokes should contour and go in the direction of the shape of the petal.
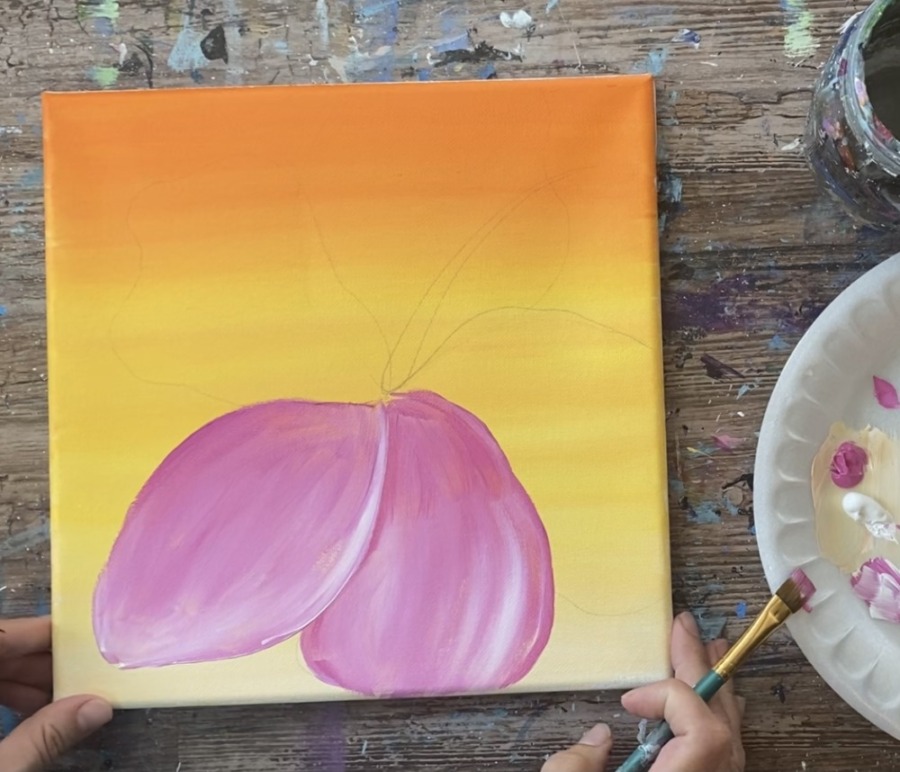
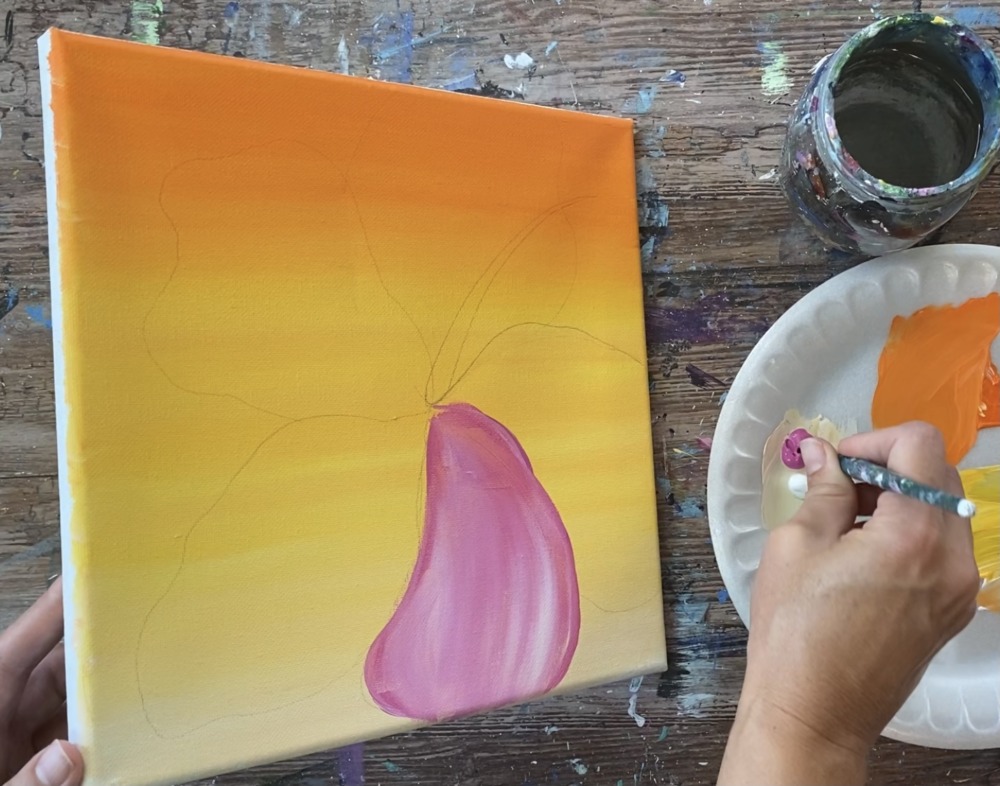
Continue to paint each of the petals with the pink and white combination letting the two colors blend. Make sure you are covering up all of the canvas and filling in the whole shape.
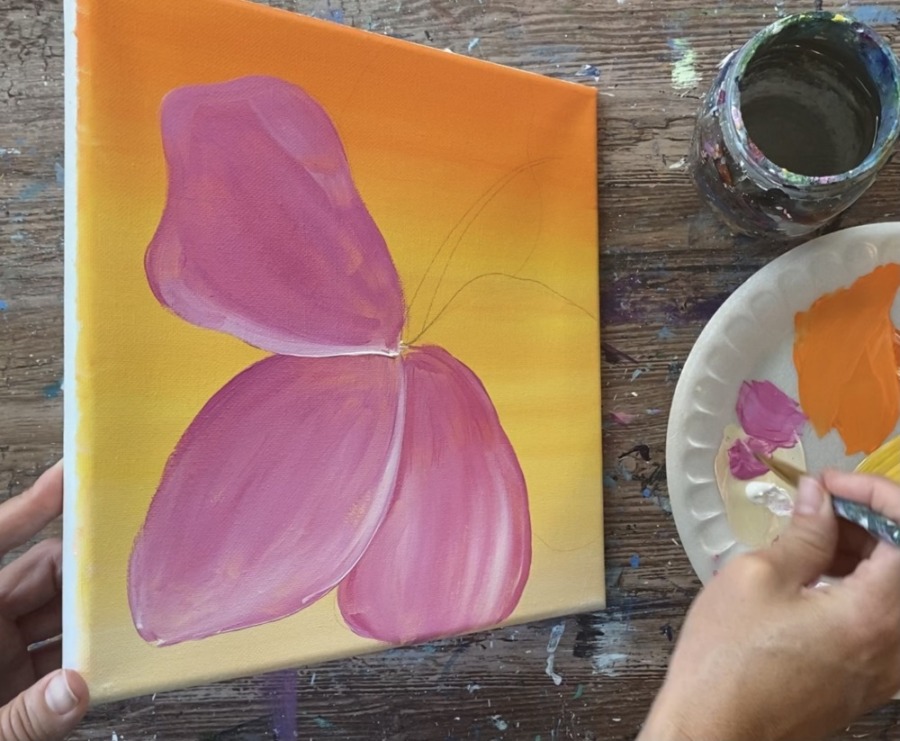
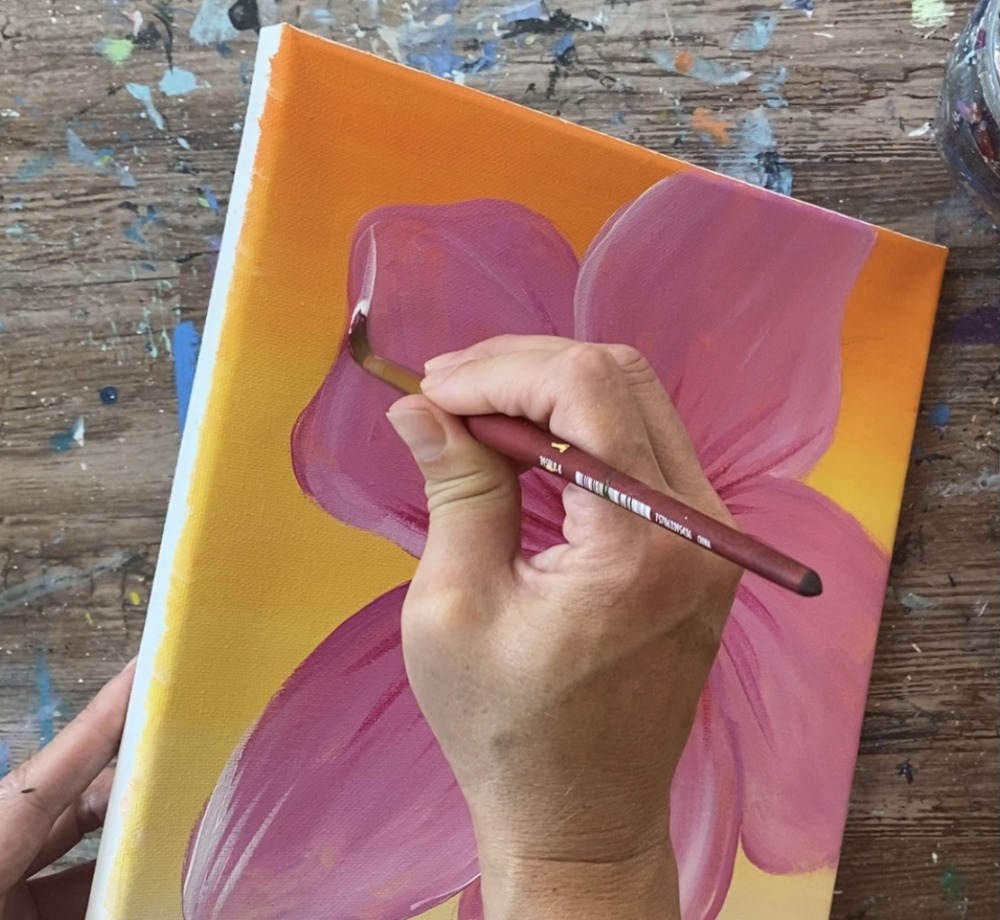
4. Paint Darker Center Of Petals
Next load your palette with quinacridone magenta. This is a darker magenta. If you do not have this color, you can add a small amount of green or black into your magenta to darken it.
Use your #8 round brush. Paint curved strokes in the center of the hibiscus to make it appear darker in the center.
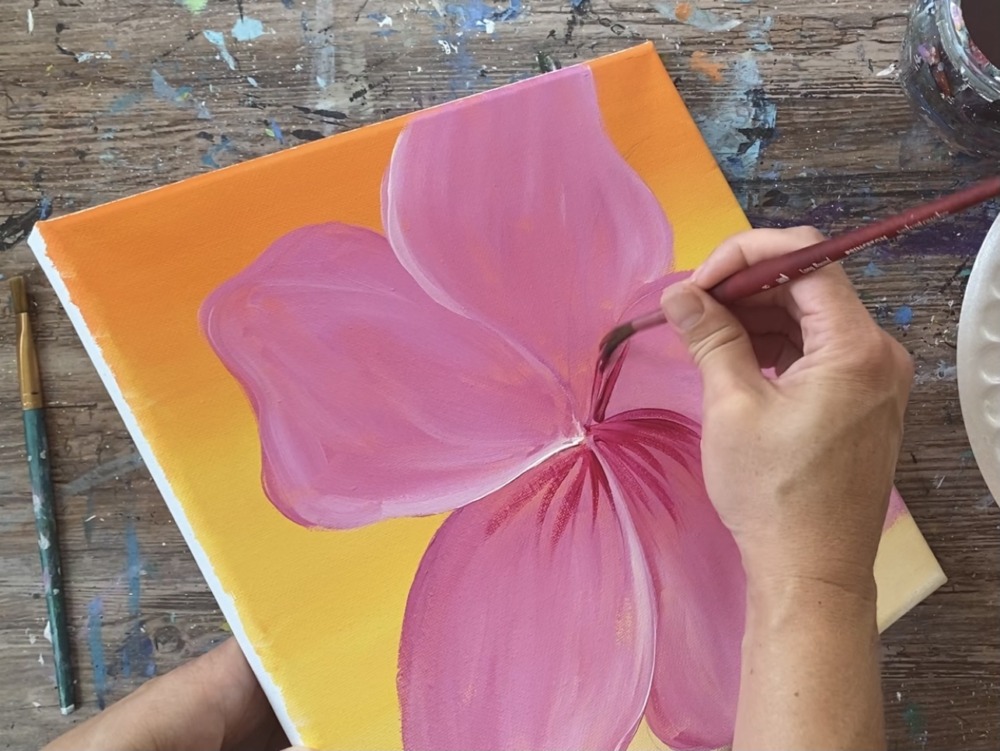
Paint each of those strokes starting in the center and stroking outwards so the stroke goes to more of a point.
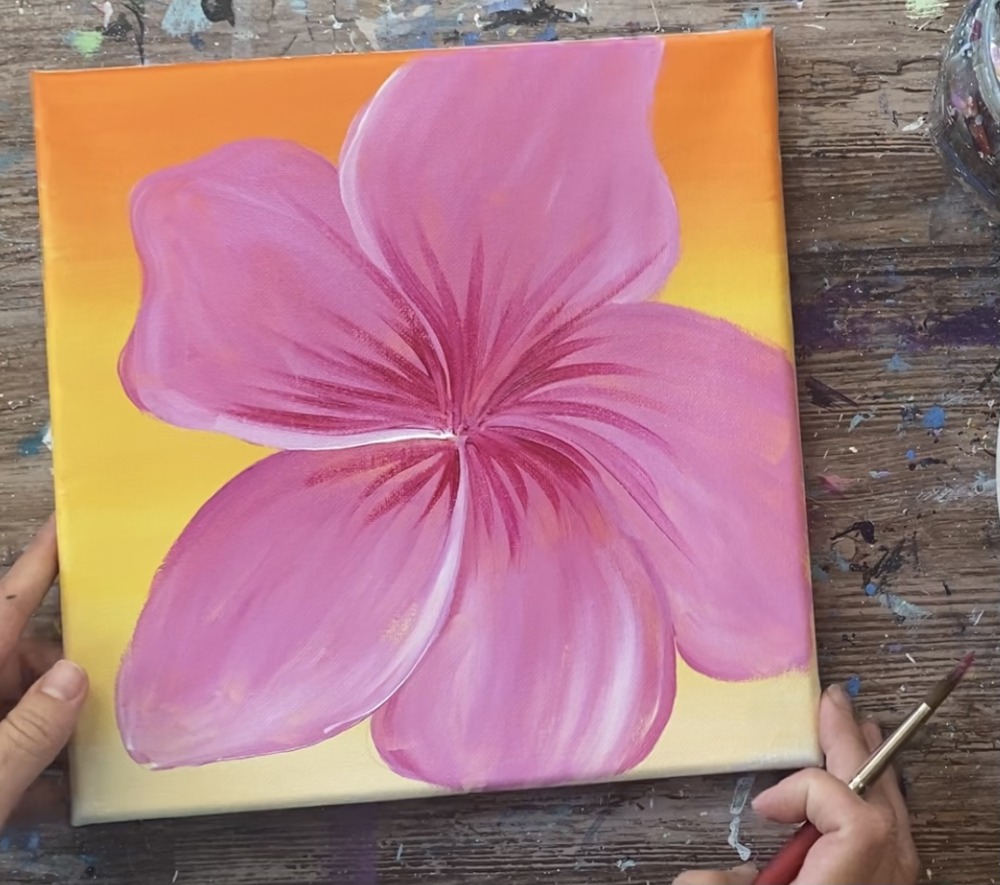
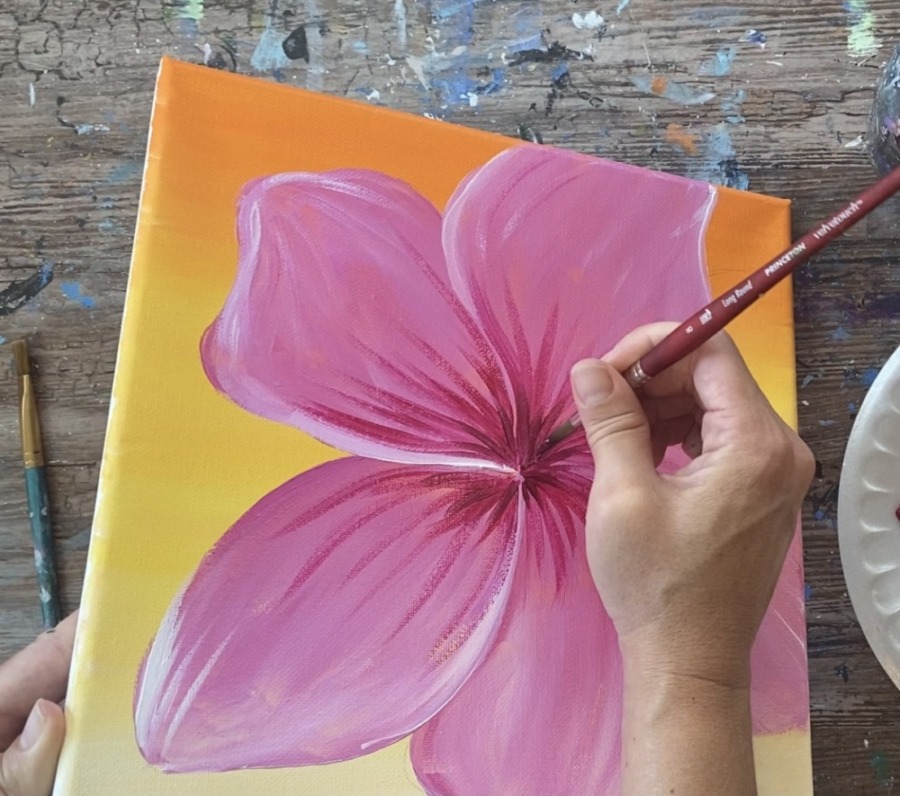
5. Paint White Highlights
Next add some white to the outer edges of the petals. Load your brush in a small amount of titanium white.
Loosely paint the outer edges of the petals.
6. Paint Darker Center
Load some hookers green hue permanent (dark green) on your palette. Then mix a small amount of it into the quinacridone magenta. This will make a very dark magenta color.
Paint more curved strokes in the center on each of the petals. This will darken the center even more.
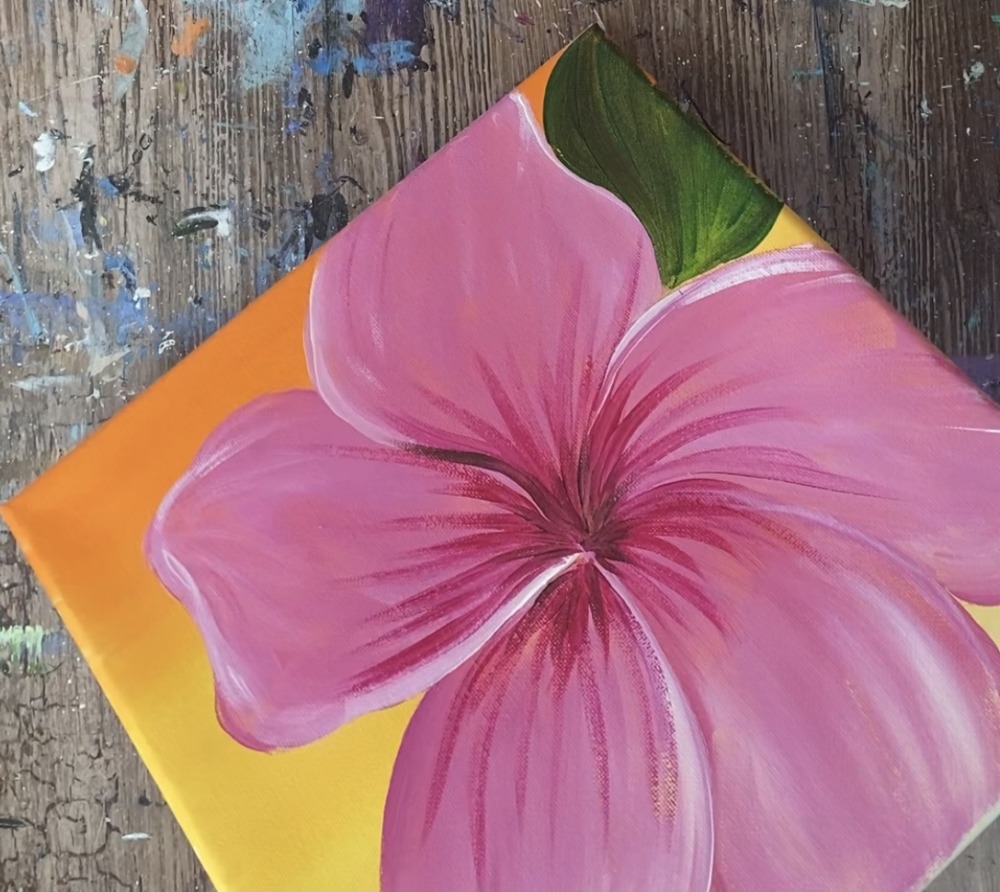
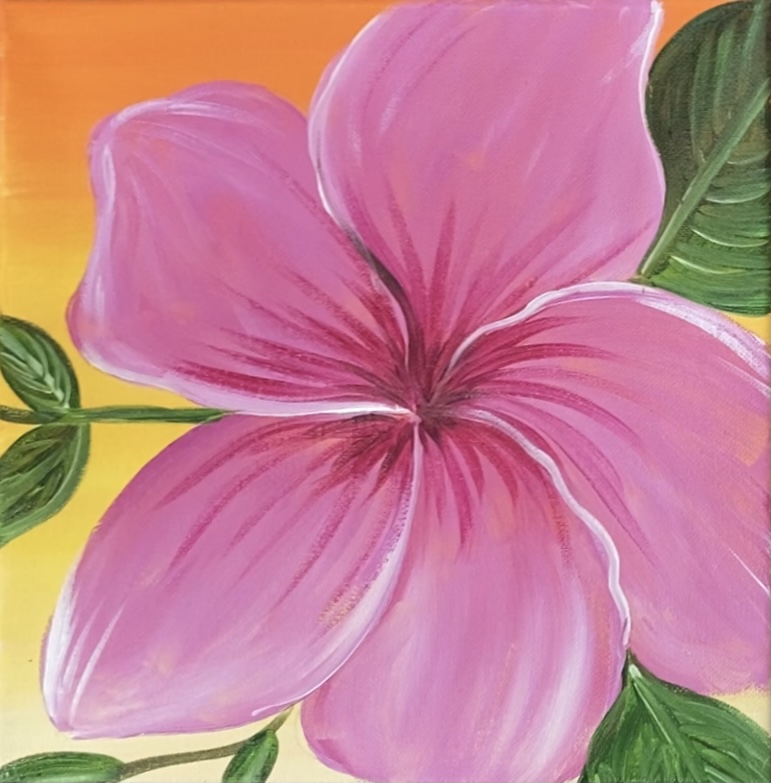
7. Paint Leaves
Next paint the leaves of the hibiscus. These leaves likely will be going off the side of the canvas. Use the #8 round brush to paint the outer edge of the leaf and then fill it in solid.
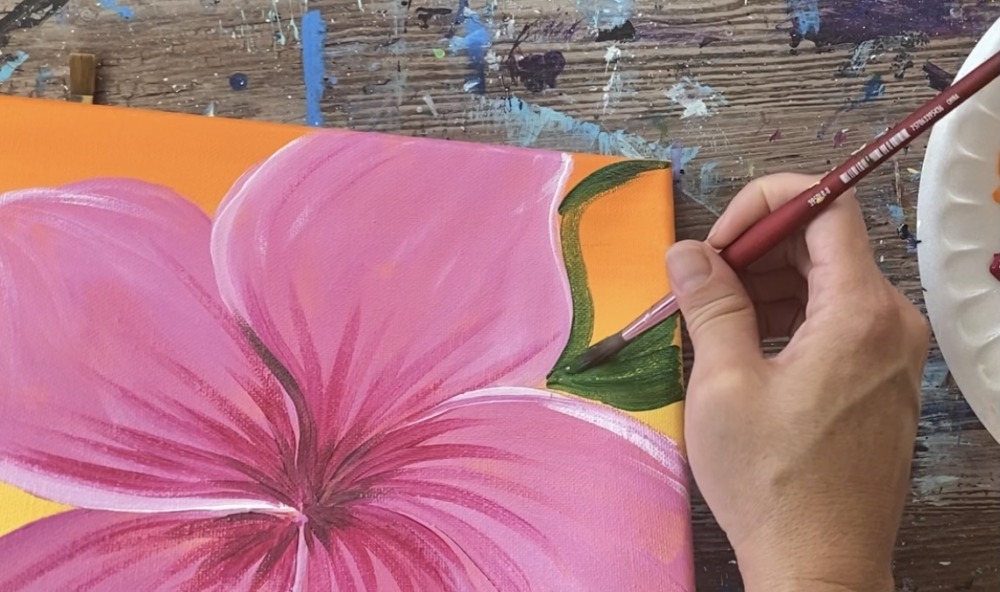
Then load your brush in a small amount of titanium white and mix it with the green to make a lighter green. Paint a center line of the leaf and the veins.
Paint as many leaves as you would like going on the side of the flower and off the edge of the canvas.
Then I opted to paint some smaller leaves and a few stems using the same green and white combination.
8. More dark in center (if needed)
Then I did another coat of darker magenta in the center of the flower. Mix a little more green into the magenta to make it darker.
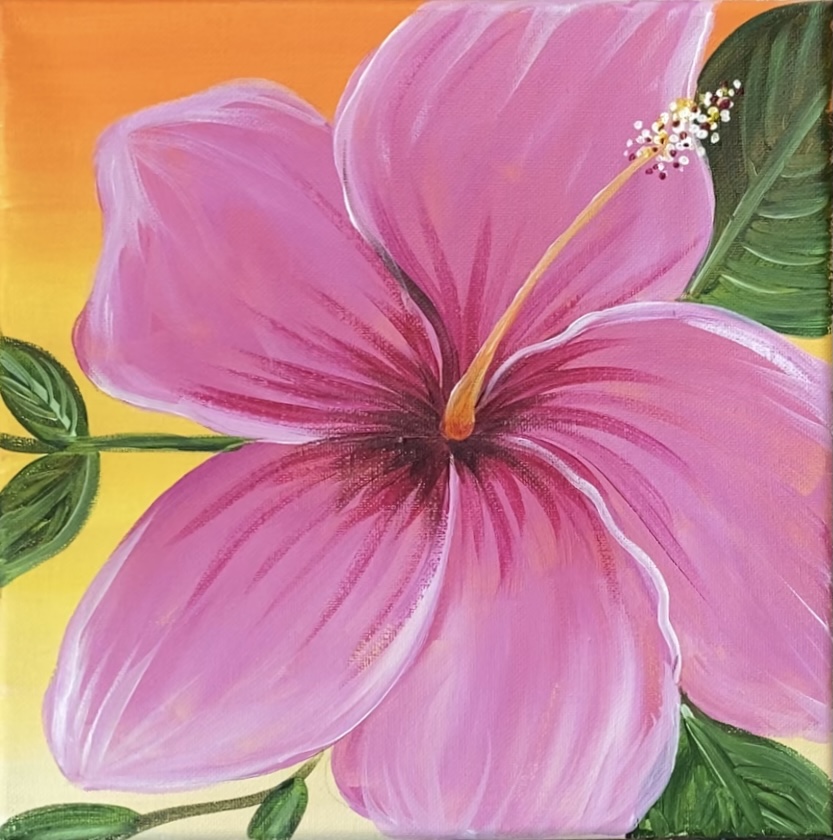
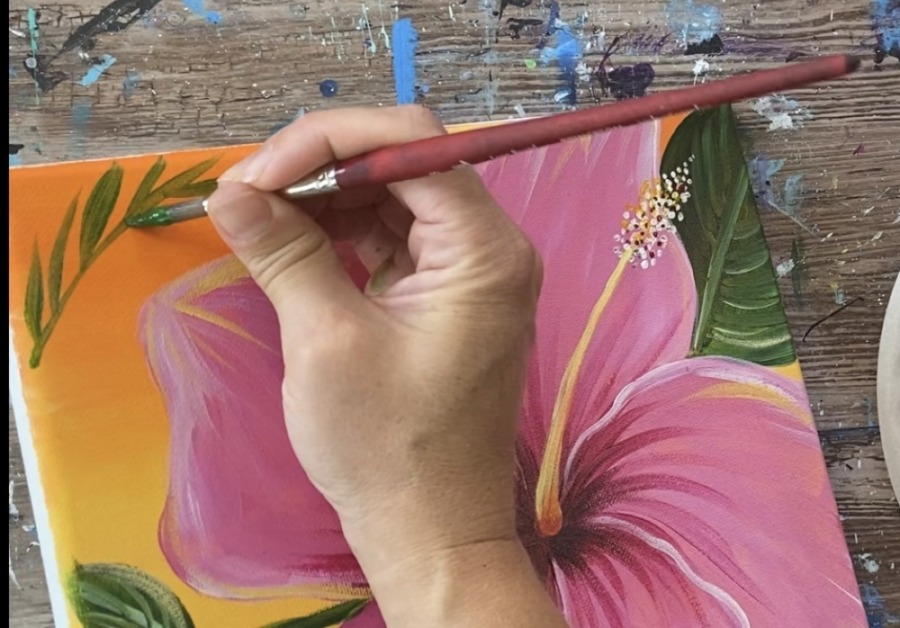
9. Paint the pistil
Wait for the flower to dry. Then mix on your palette a light yellow by mixing about equal amounts of white with yellow. Start with a slightly wider and rounded base. Then paint the pistil so it curves and goes to a tip.
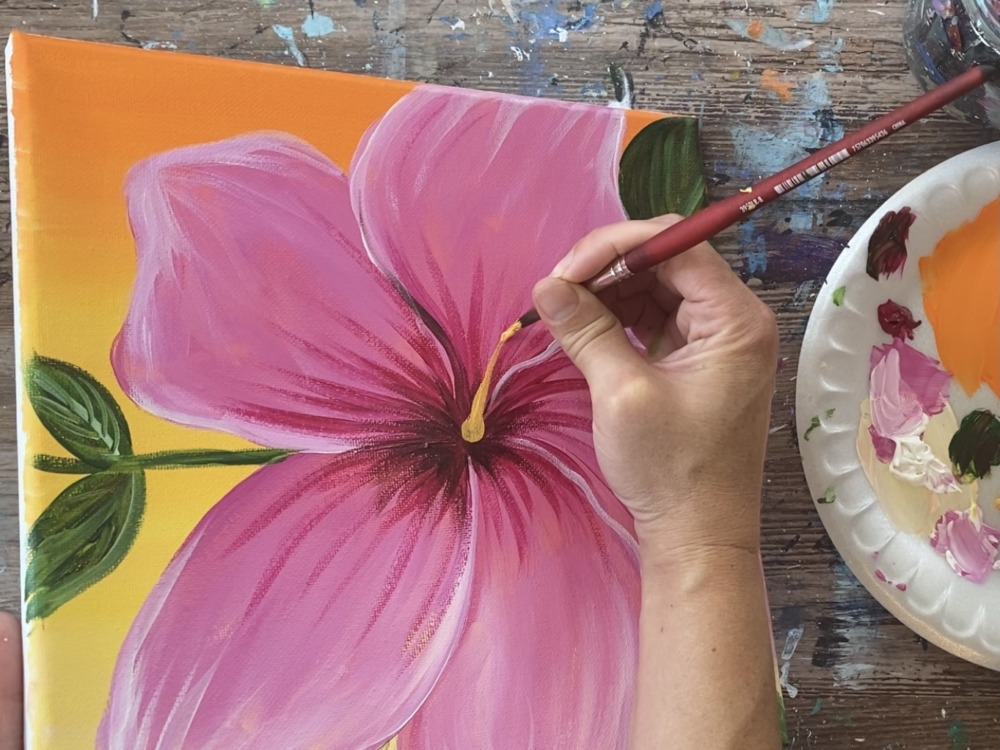

Optional: add a small amount of orange on the base of the pistil and blend it up into the yellow.
Then load the tip of your brush in some white and paint small dots on the end of the pistil.
Paint some quinacridone magenta dots and well as some yellow dots.
Then (optional) add some yellow highlight on the ends of some of the petals.
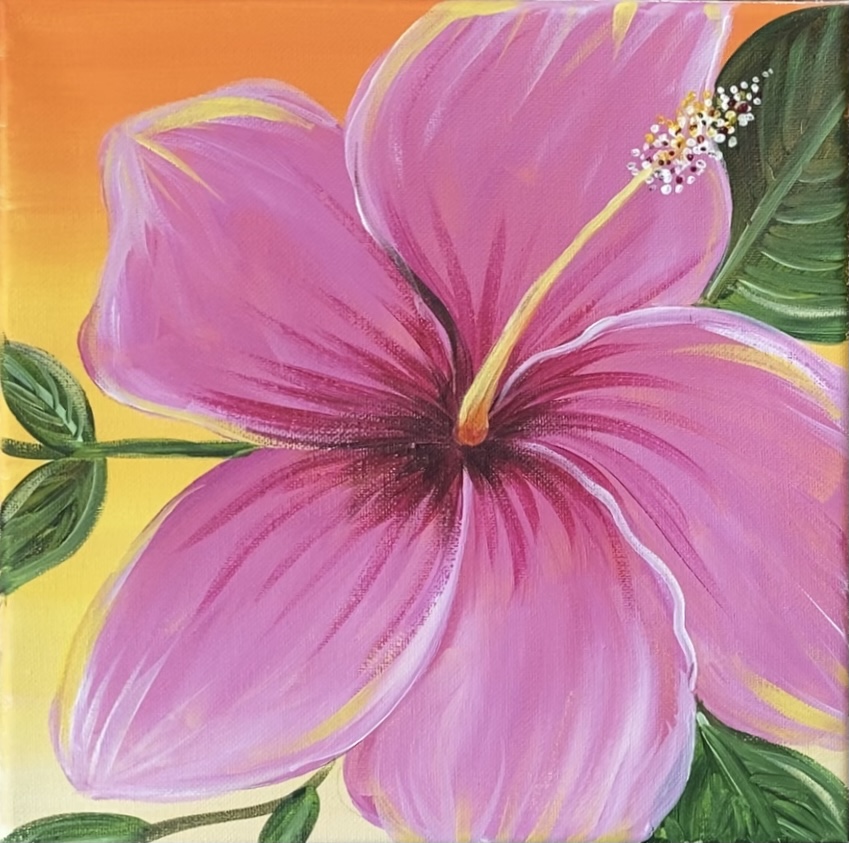
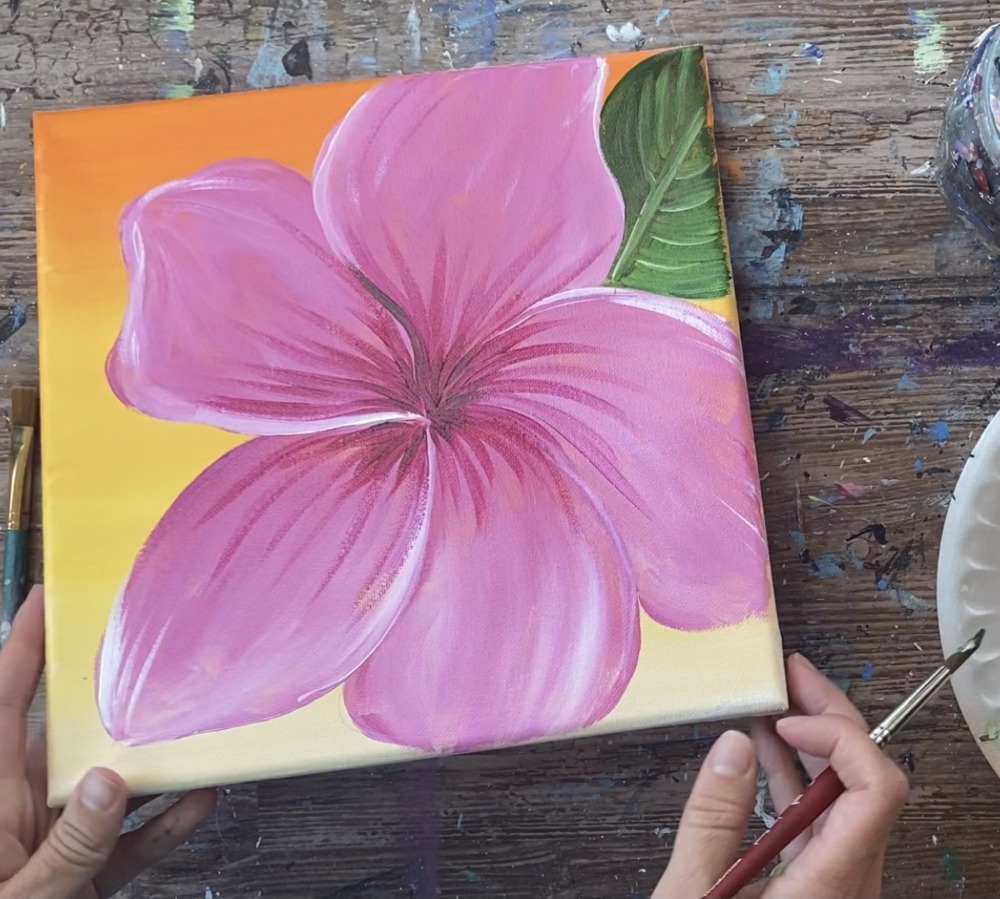
10. Paint More Foliage In Background
To fill up the blank area in the upper left, I painted a palm branch. This was done with the #8 round brush and hookers green hue permanent.
Paint the center of the palm frond. Then paint the palm leaves. Add some white into the green to make a lighter green.
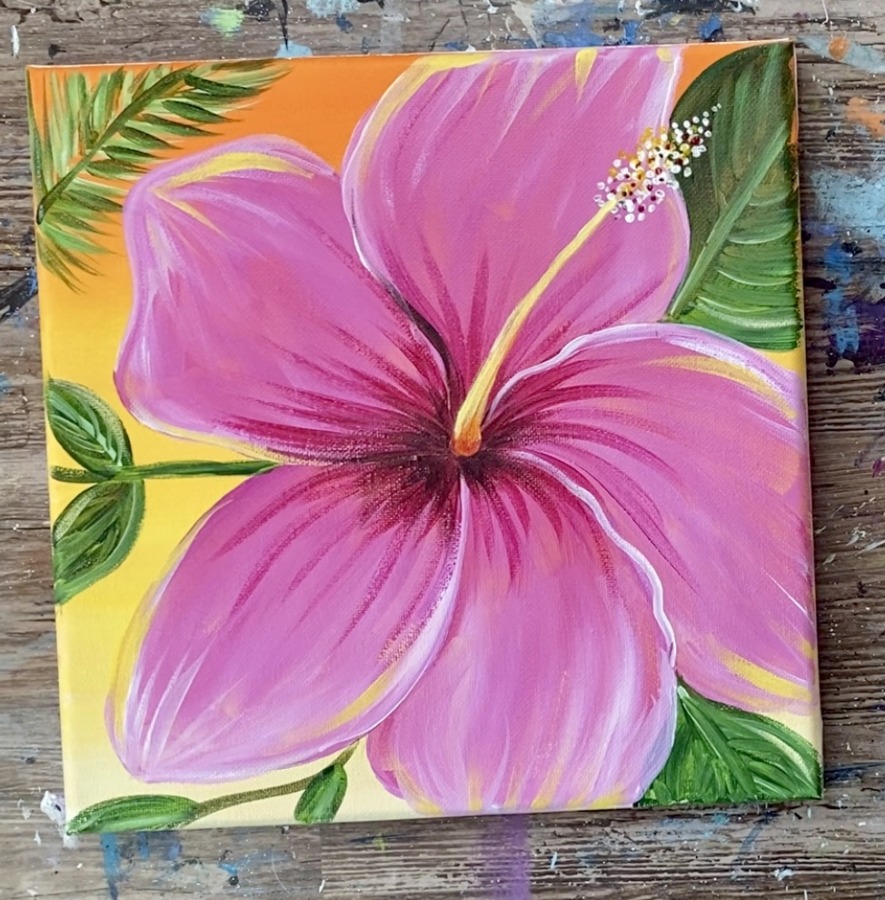
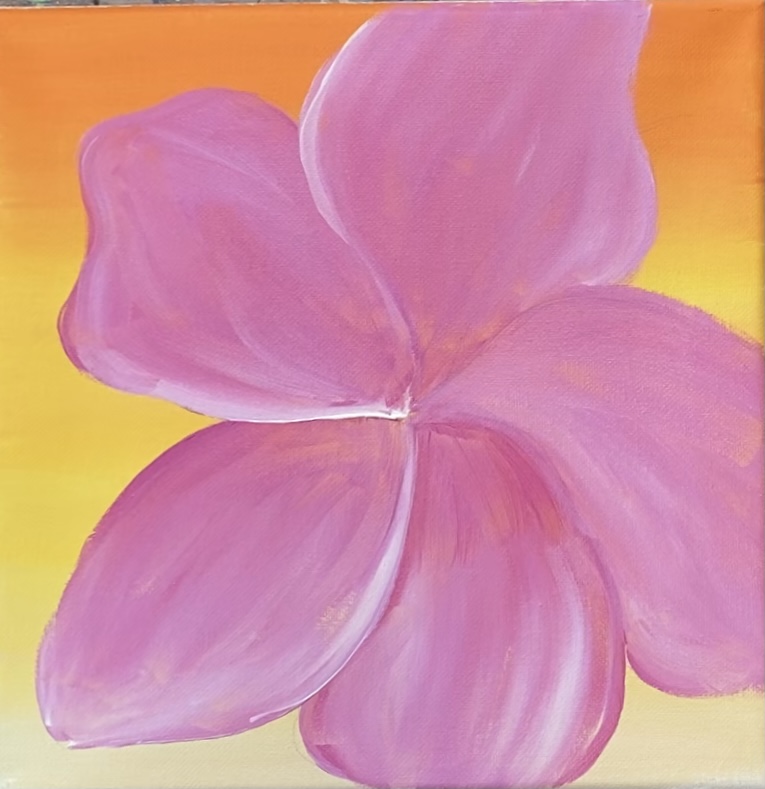
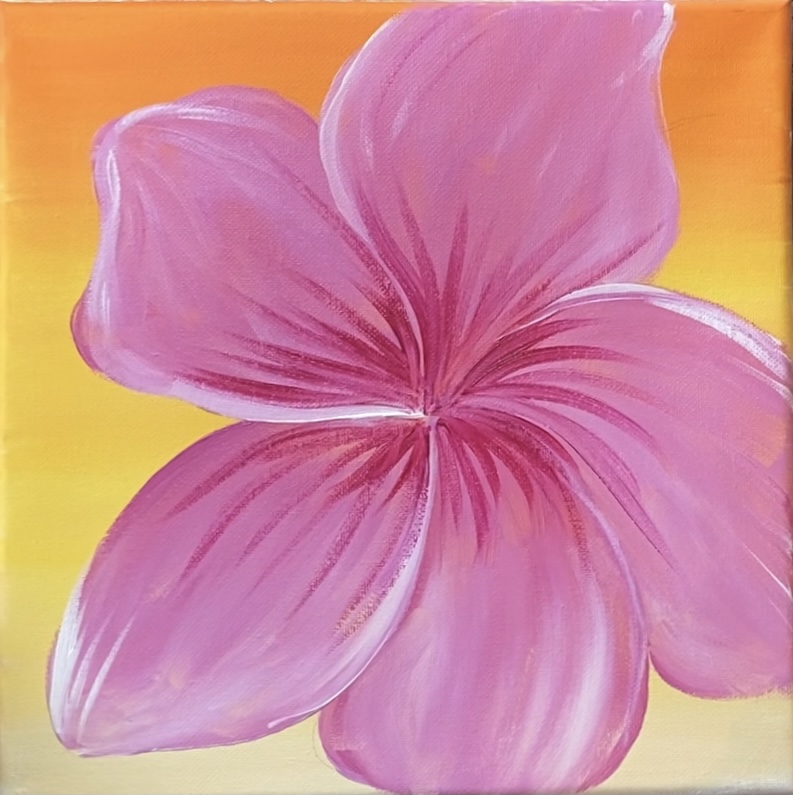
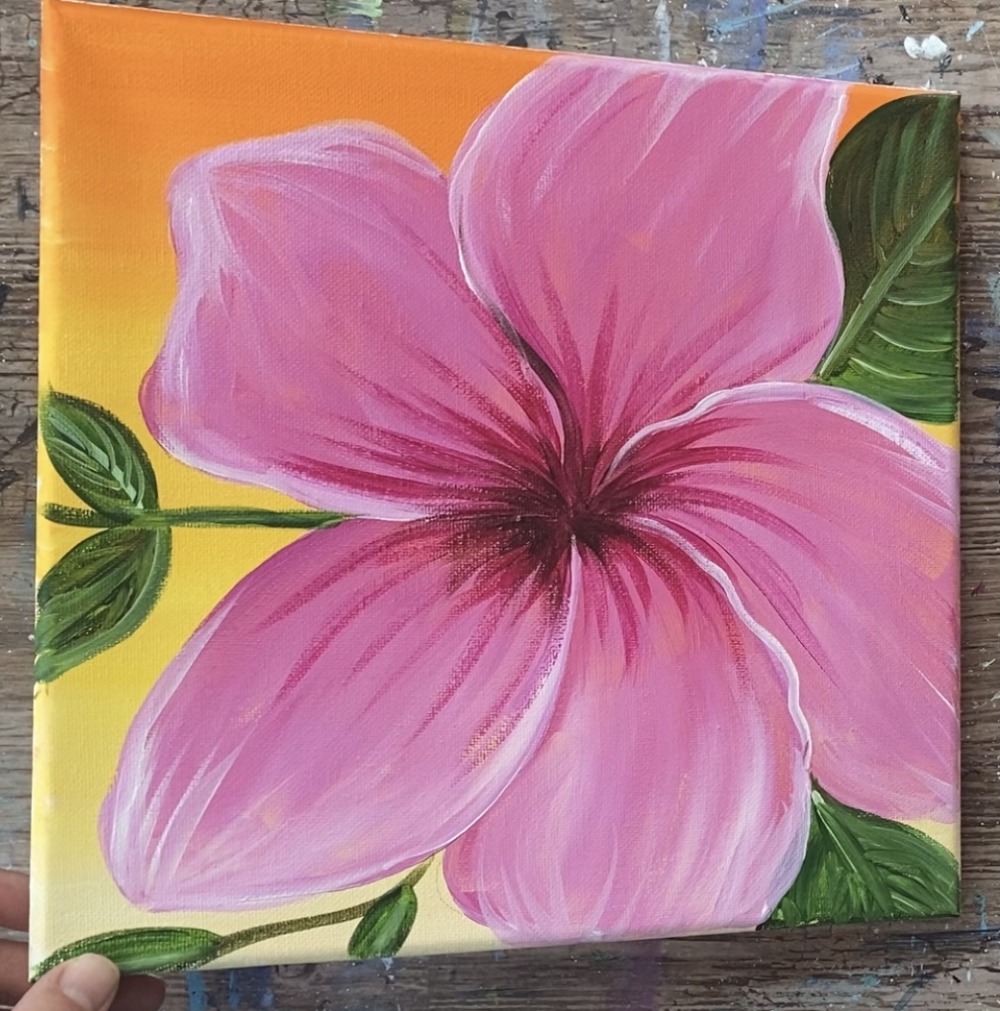
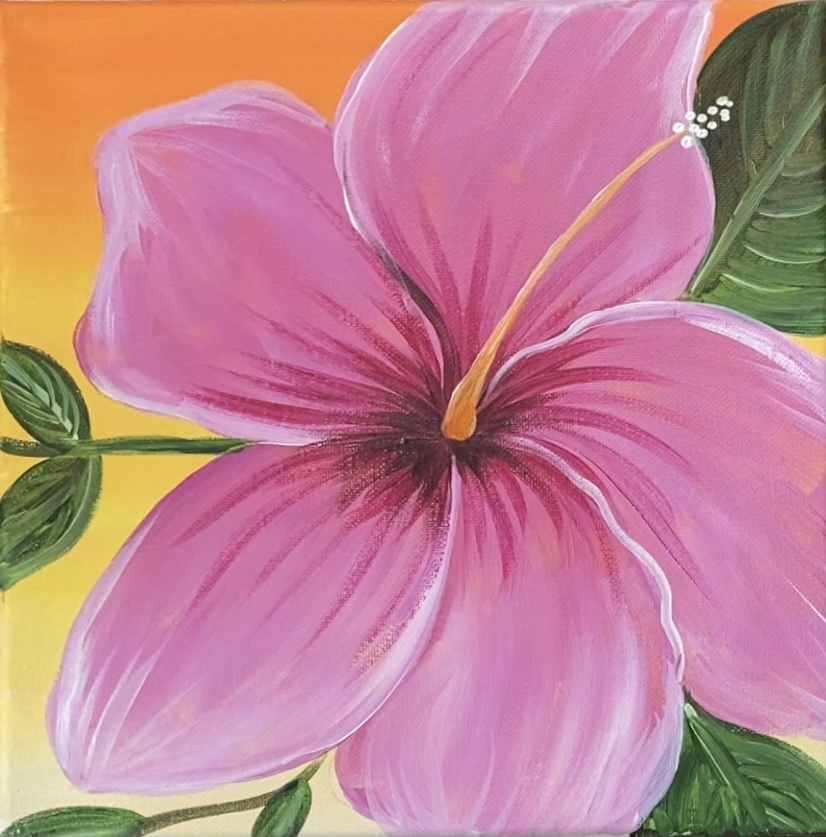
Finished!
Share Your Art Here!


Beautiful!
Thank you Jenn! I just love your tutorials.
Thank you so much. Your tutorials are great. I’m just getting back into painting after many years. Had totally lost my confidence and your excellent guidance has helped me step back into art in a really non intimidating way. Xxx
You’re welcome Tara! I’m so glad you found confidence with painting again!!