
Would you like to save this?
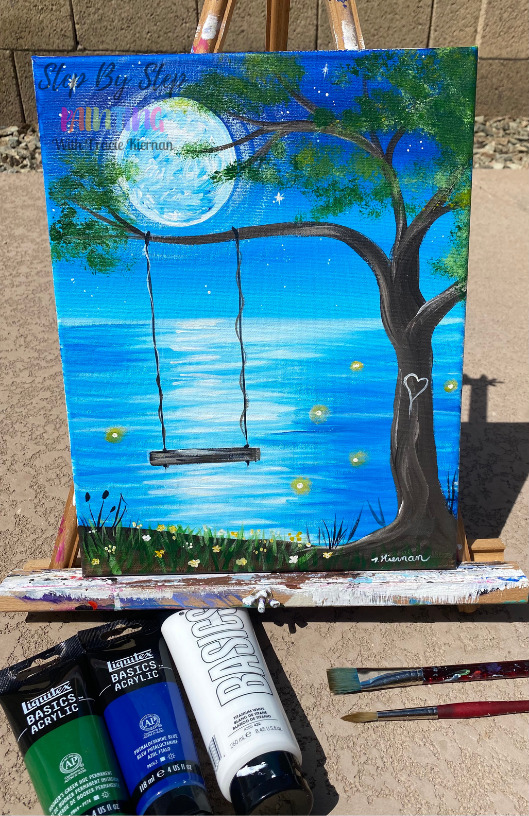
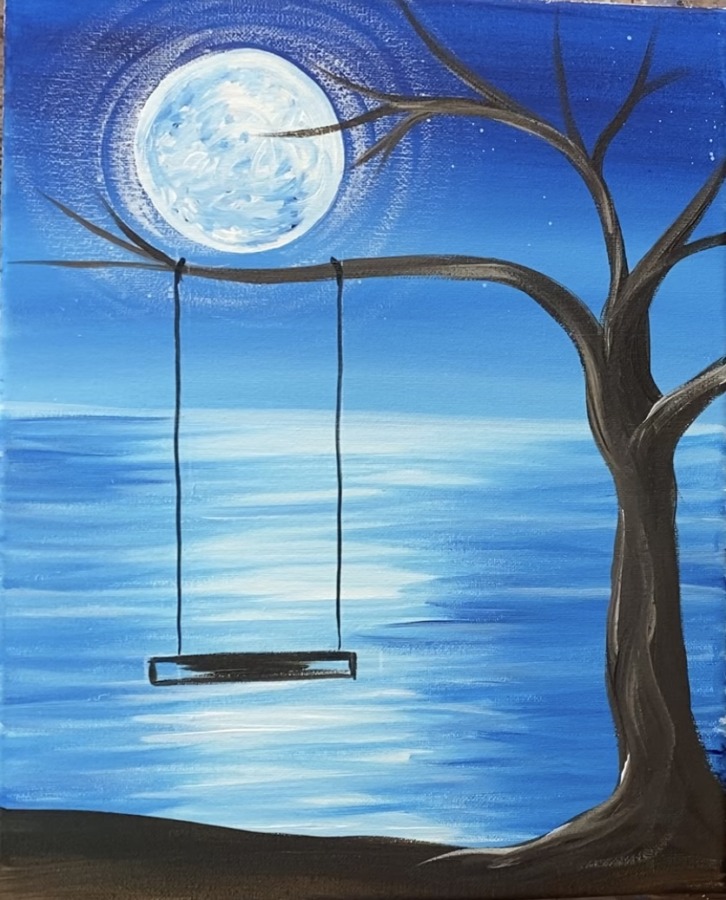
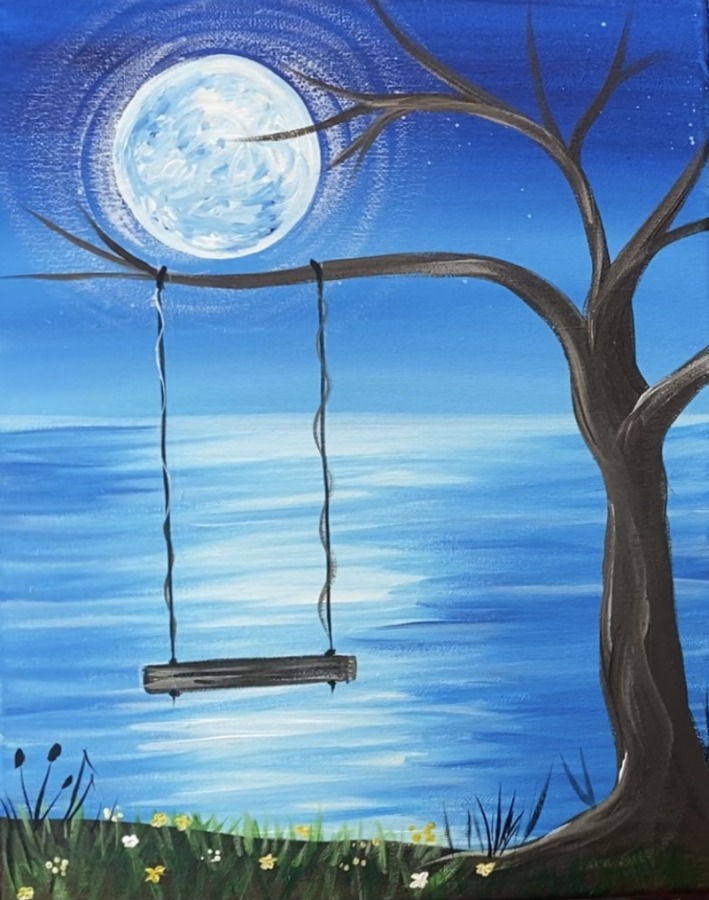
Learn how to paint a night scene with full moon over a lake and a tree with a swing. This is a beginner step by step acrylic painting tutorial.
The painting is demonstrated on an 11 x 14 canvas but can be done on any size.
Enjoy and happy painting!
This post contains affiliate links.
Materials
Whimsy Summer Swing Painting Tutorial
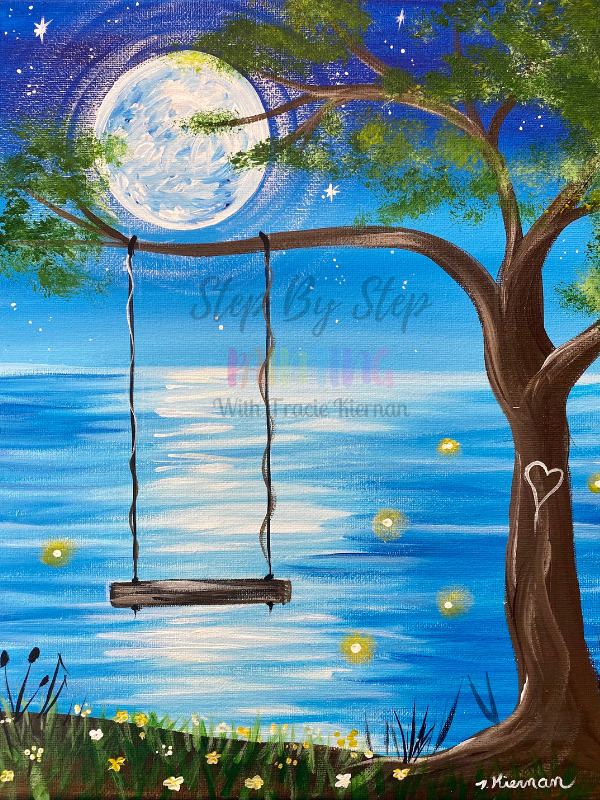
Learn how to paint a whimsical night scene with a swing and a full moon over a sparkling lake.
Materials
- 11 x 14 Canvas
- Acrylic Paint
- Brushes
- Water Cup
- Palette
- Three Inch Circle To Trace
- White Chalk Pencil
Colors
Brushes
Instructions
- See tutorial on www.stepbysteppainting.net for full instructions.
Color Palette

Using Craft Paints?
You can try substituting these Apple Barrel Craft Paint Colors:
- Black
- White
- Bright Yellow
- Too Blue
- Holly Branch or New Shamrock
- Melted Chocolate
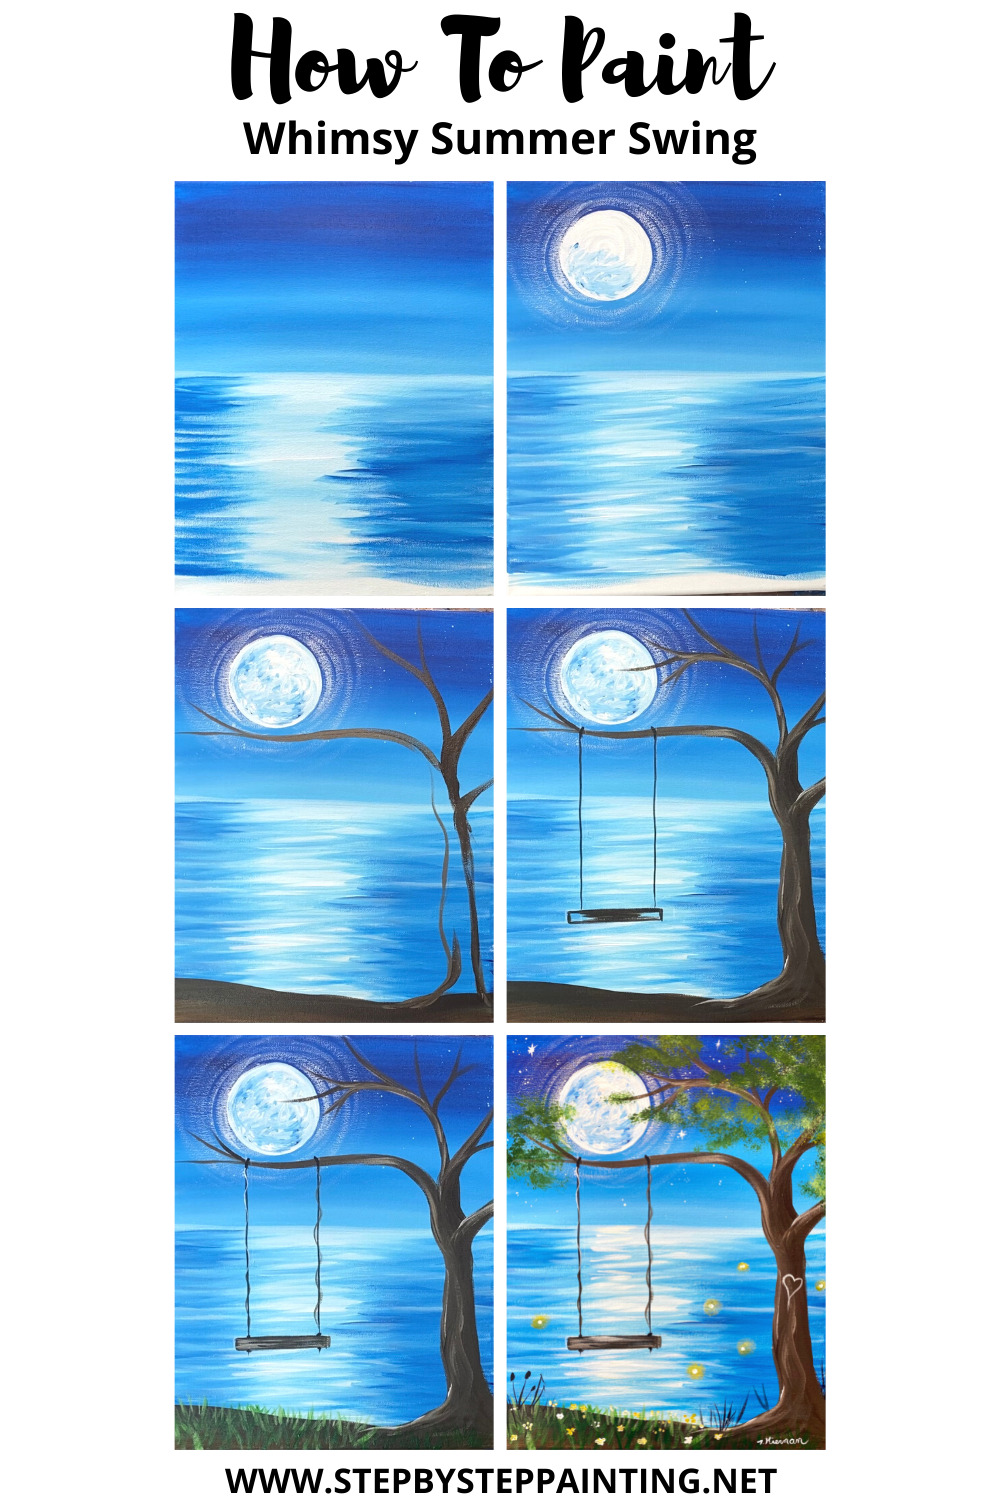
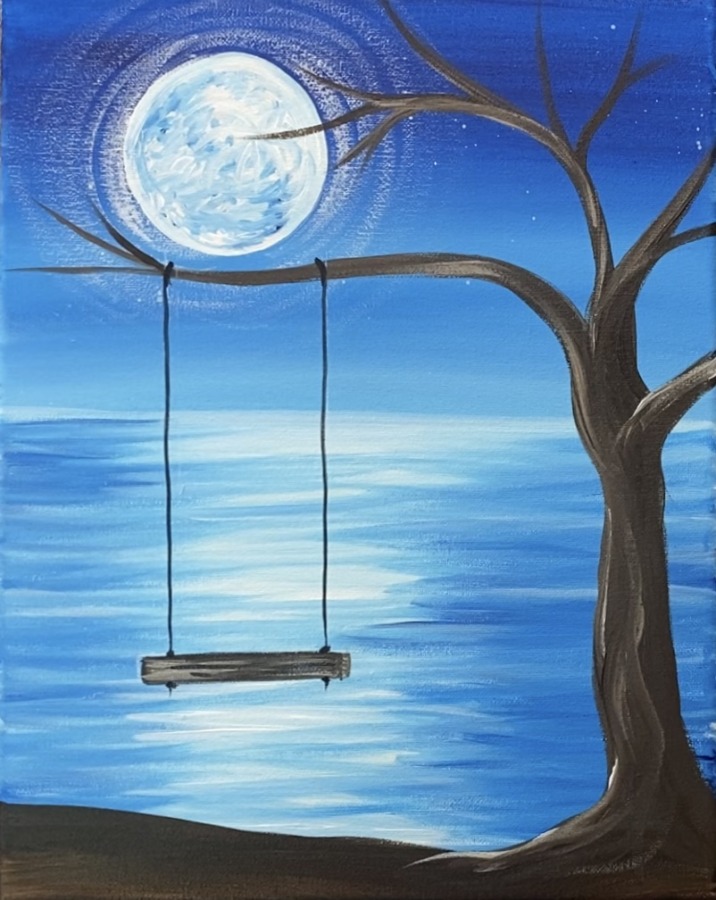
Directions At A Glance
Video
Step By Step Directions
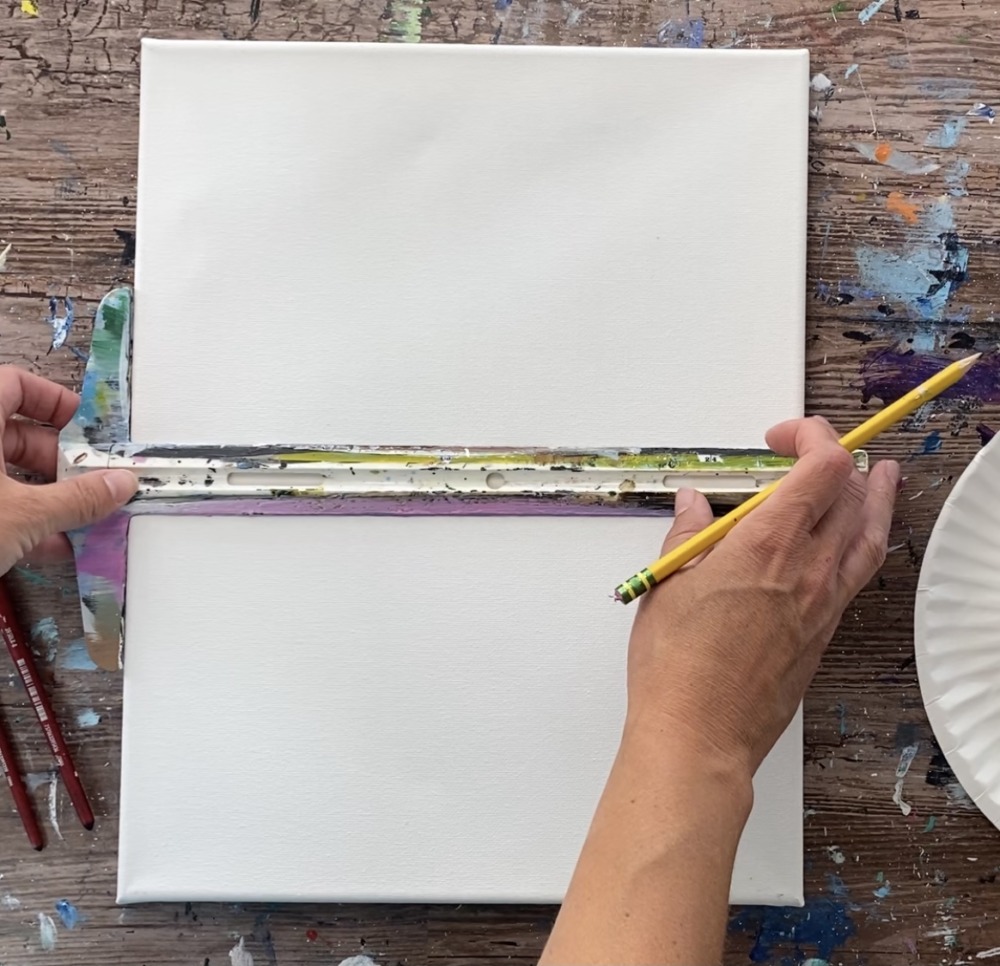
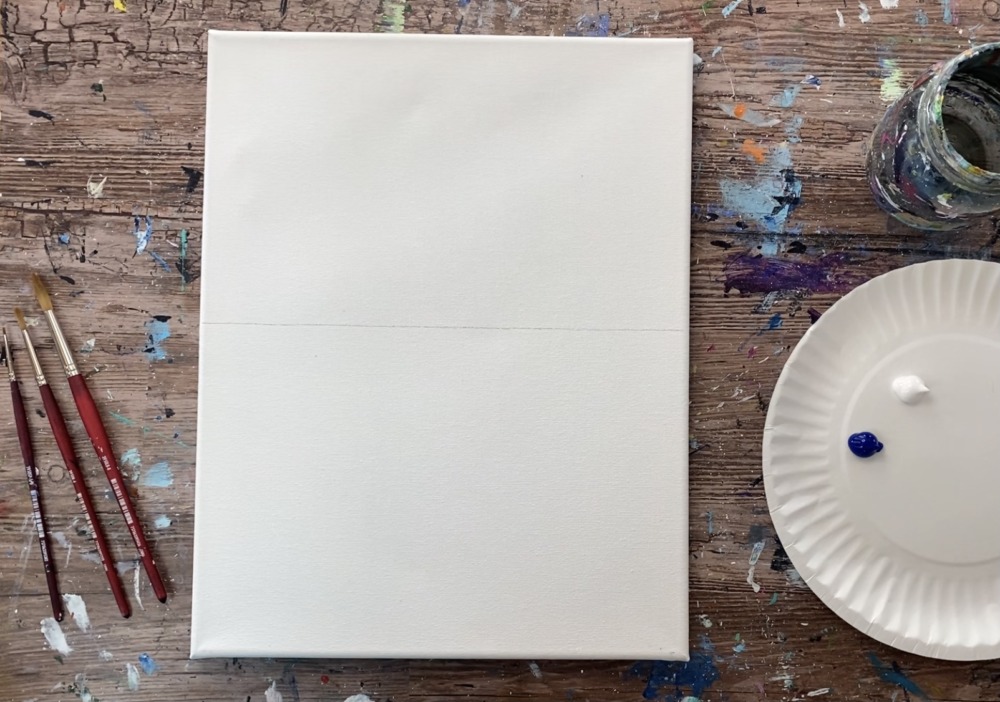
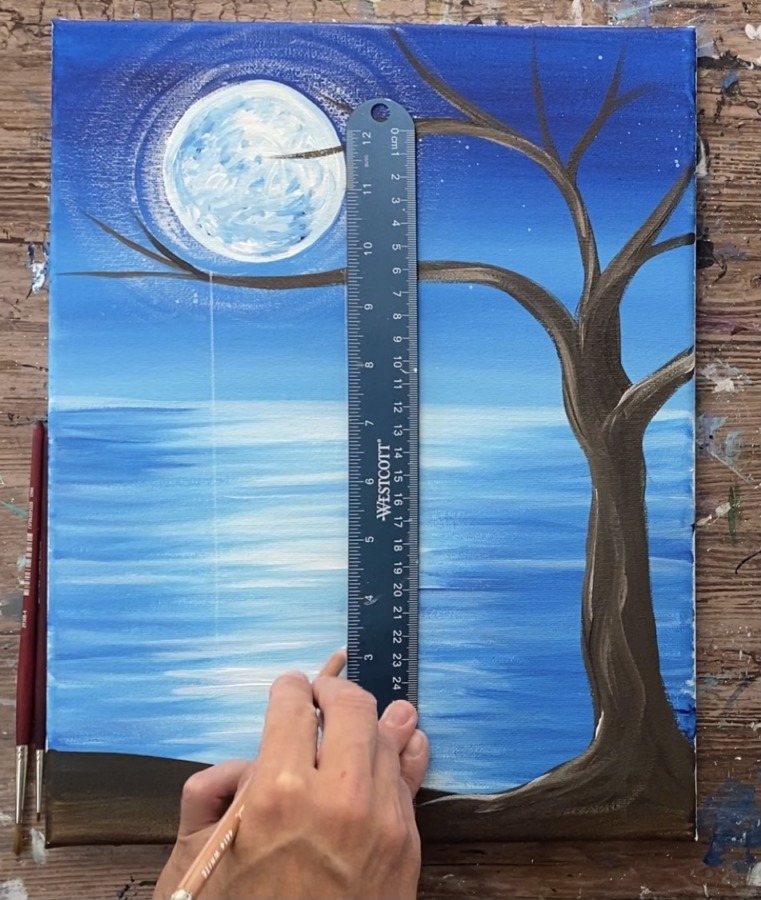
1. Draw Horizon Line
Place your canvas so it is vertical and draw a horizontal line in the very center. You can use a t-square ruler or any straight edge.
2. Paint The Sky
Load your palette with phthalo blue and titanium white. Use your 3/4″ flat wash brush and dip it in the water/ tap it. Load it into the phthalo blue, let some of the water from brush thin the pthahlo blue down.
Then start at the top of the canvas and paint left and right strokes across the canvas using the full width of the brush.
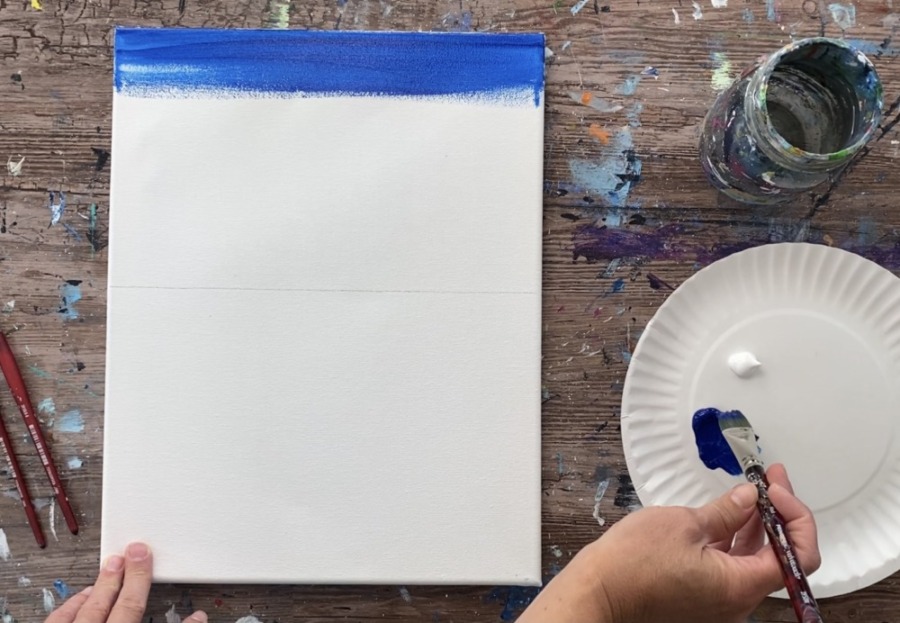
Go about half way down the sky.

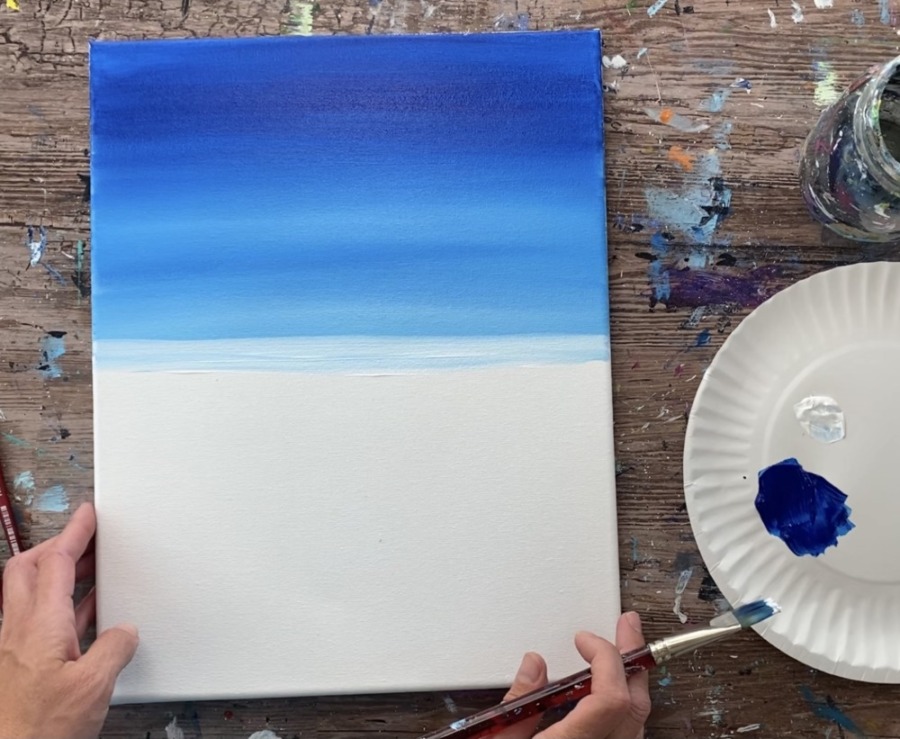
Then add a small amount of titanium white to the brush. Blend the titanium white into the blue so that it becomes lighter. Have your sky gradually get lighter as you reach the horizon line.

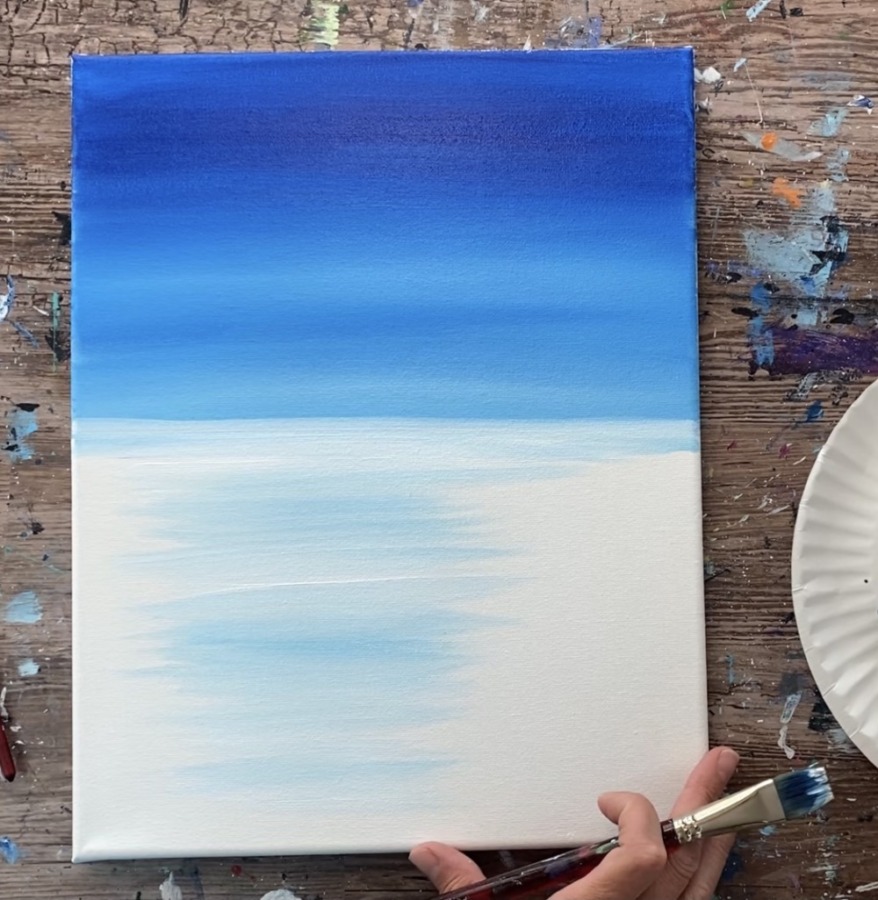
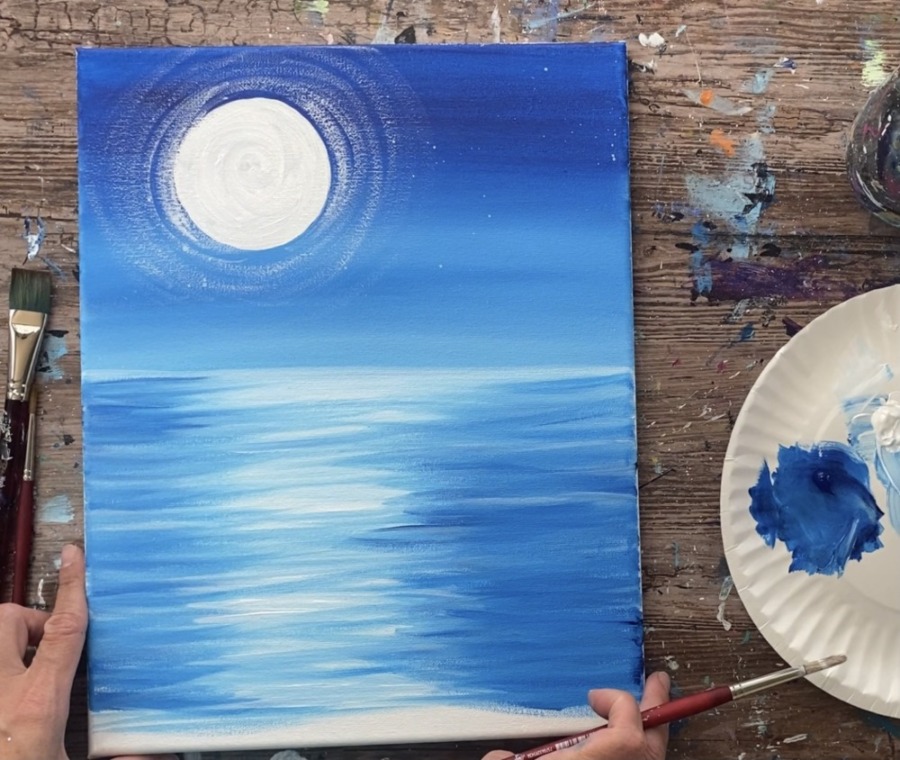
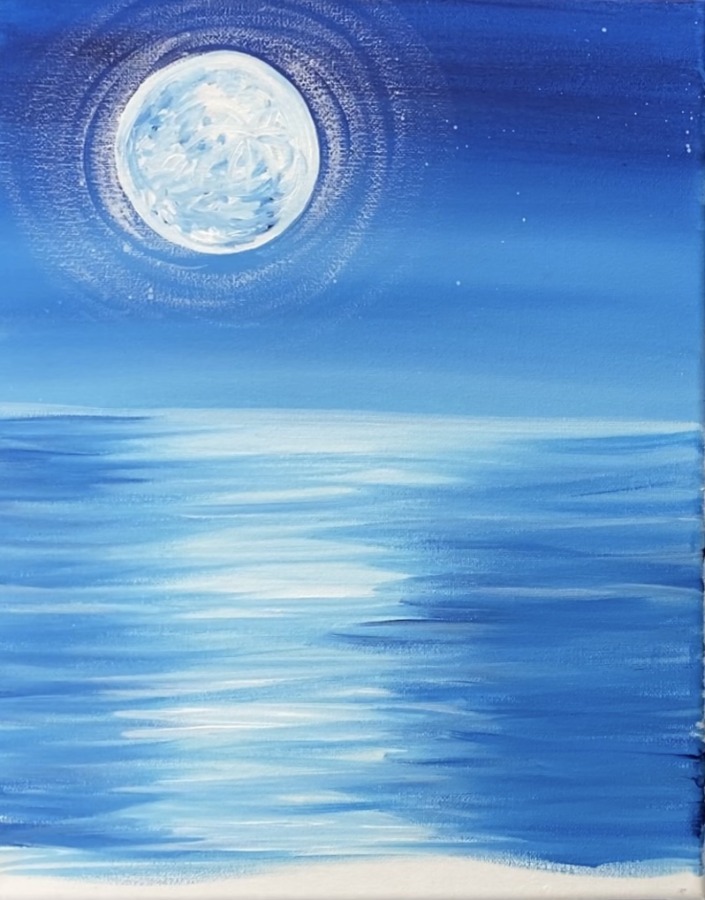
3. Paint The Water
Then wipe off your brush (you do not need to rinse it). Load it into titanium white and start painting the water below the horizon line. This should be a light tint of blue – lighter than the bottom part of the sky so it stands out.
Paint left and right just under the horizon line and go about an inch down.
Then estimate where the moon reflection will be. This is center and to the left. Paint left and right strokes in a vertical area down the canvas. This will be a light blue because some of that phthalo blue will mix with the white.
Then wipe off your brush and load it into just phthalo blue. Paint left and right strokes on each side of the middle moon reflection area.
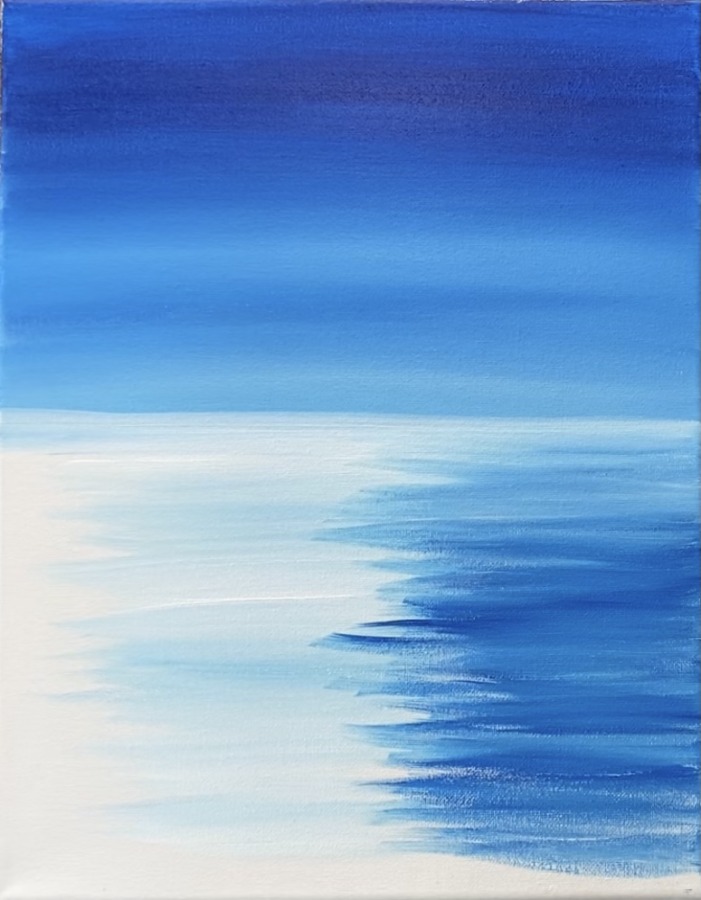
To make these strokes look more like water texture, you can use just the tip of your brush (instead of the full width). Paint left and right thinner strokes.
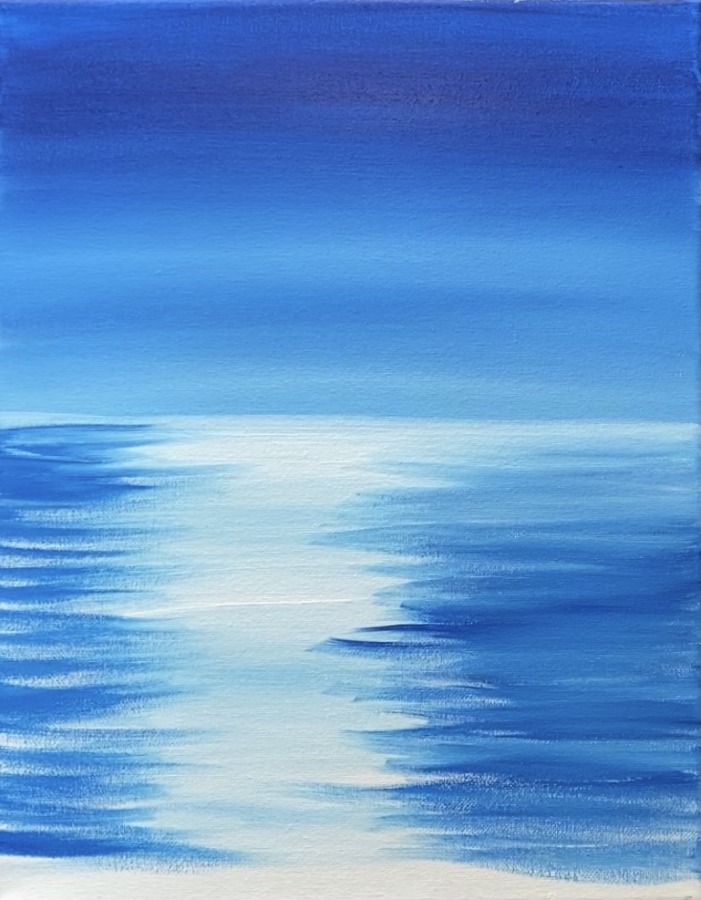
Fill up the entire lake area and try to keep the moon reflection area lighter than the left and right of the water. You can add white in the left and right area but try to keep it darker.
Leave about an inch gap on the bottom of the canvas.
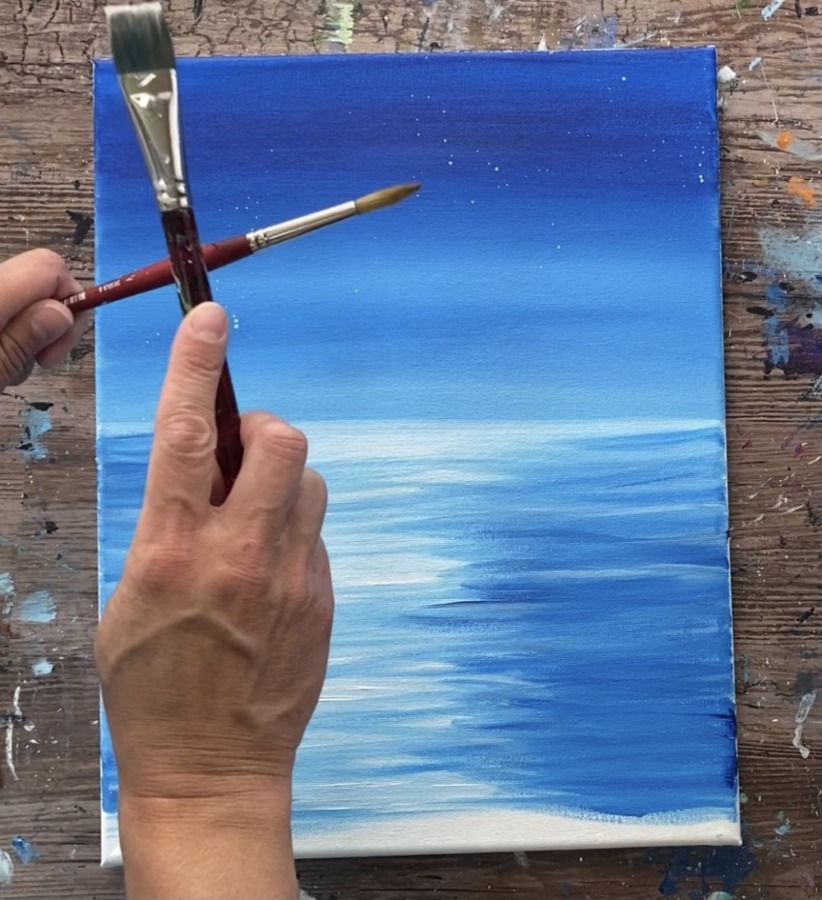
4. Paint The Stars
Next splatter some stars in the sky. Load your 3/4″ flat wash brush in some titanium white slightly watered down. Then tap the brush against another brush so that little splatters of white dots go on the sky. (Tip: it is recommended that you try this on a separate surface first so you have the consistency of the white correct)
5. Paint The Moon
Locate a circle you can trace that is about 3″ in diameter. I used a glass cup.
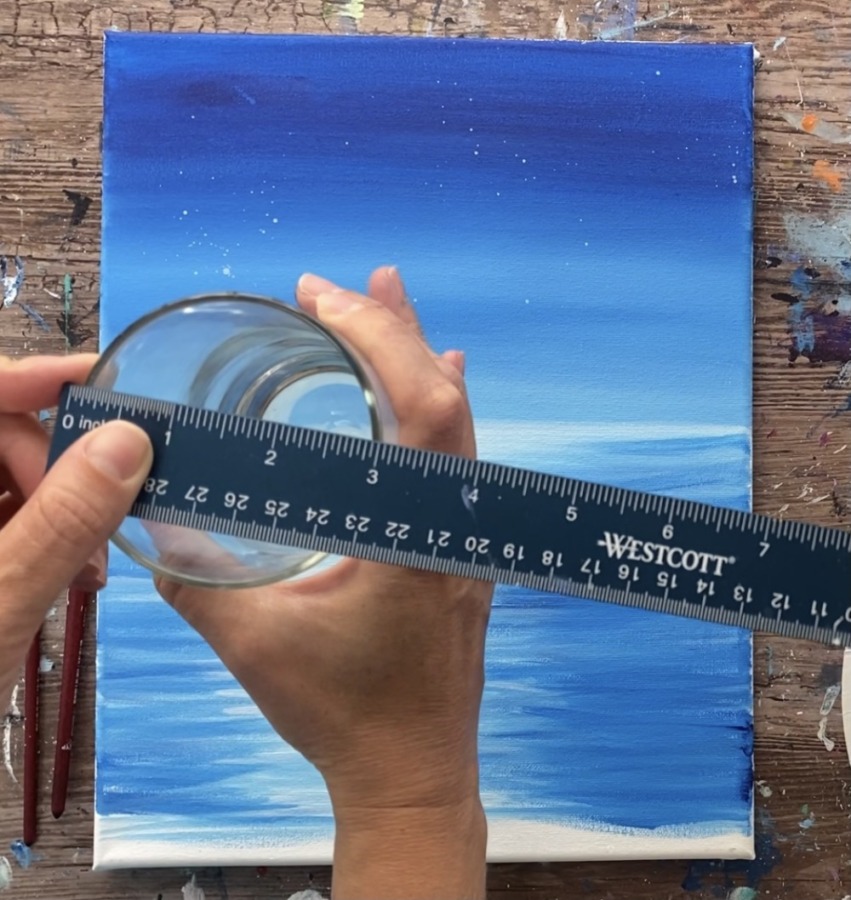
Then trace the circle with a pencil, chalk or chalk pencil.

The placement of this moon circle is in the upper left of the canvas above your water reflection area.
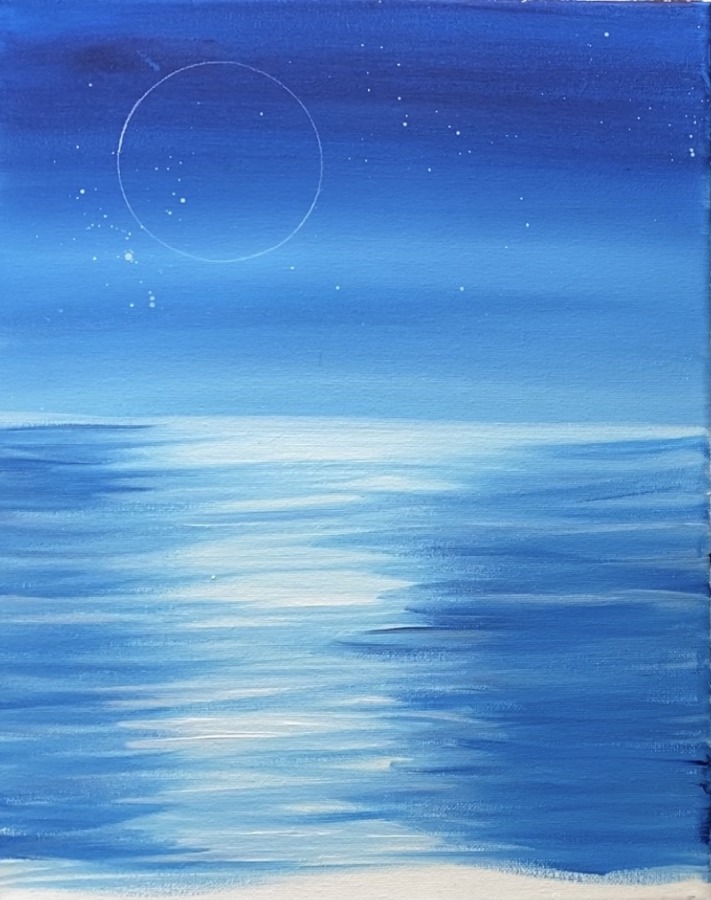
Paint the circle titanium white using a #8 round brush (or any brush you want to use).

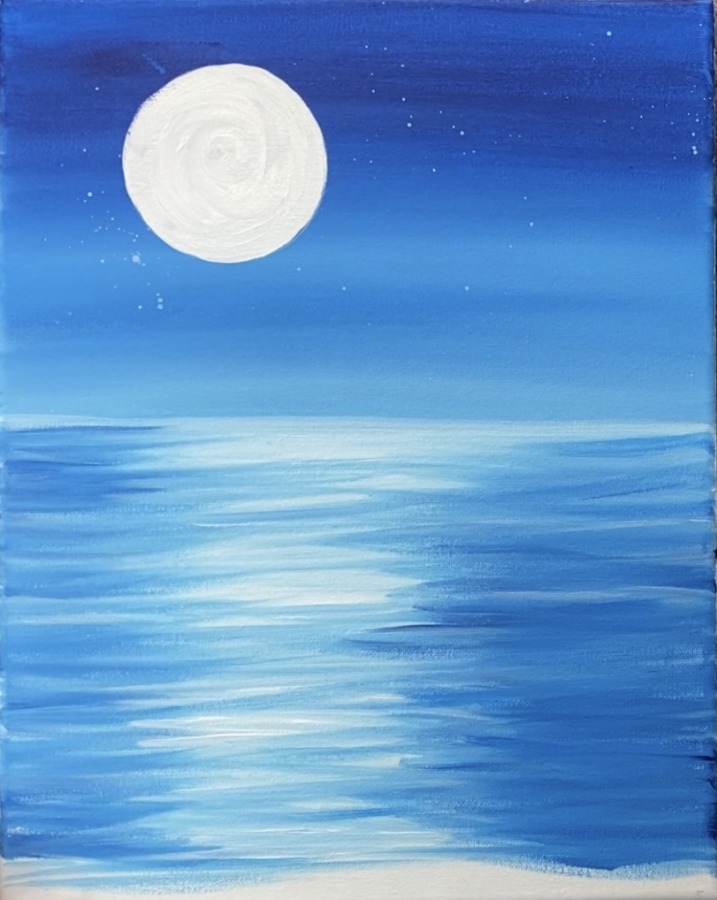
Then “dry brush” moon beams around the moon for a glowing moon effect! To do a dry brush technique, load your brush with a small amount of white paint. Then wipe most of it off with a towel.

Paint circular strokes around the moon creating this effect. Let the strokes fade out into the rest of the sky.
Then paint the “moon texture”. Do this by loading a small amount of white mixed with phthalo blue on your palette. Use the tip of your #8 round brush to paint short textured strokes.
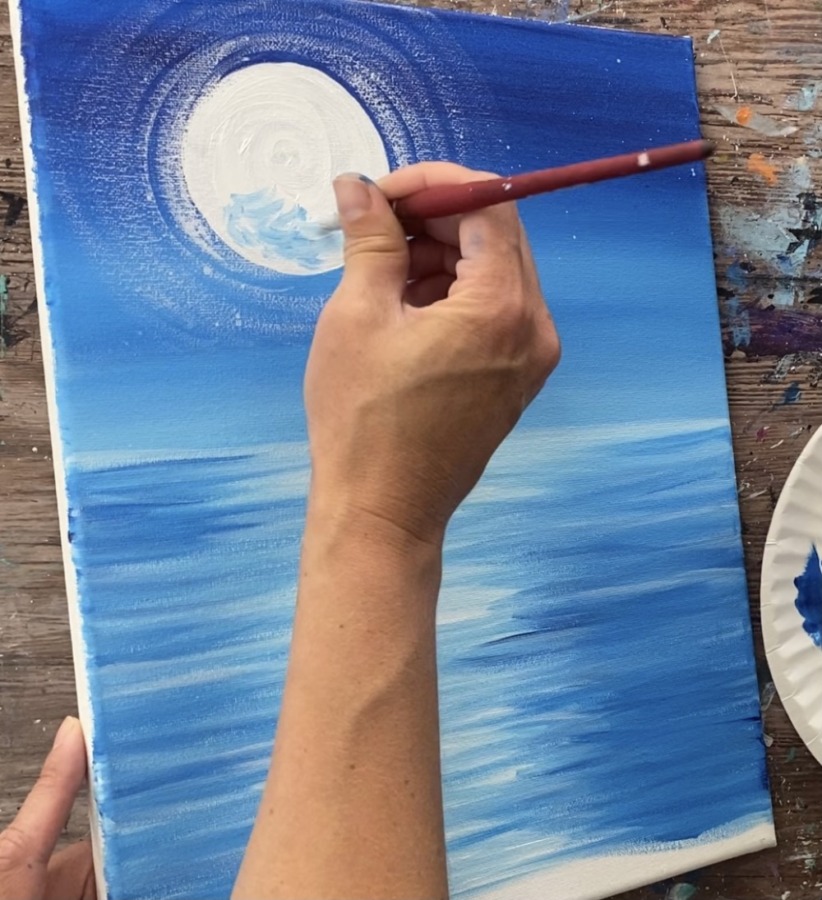
Create blotches in different areas. I like to start on the bottom of the moon and work my way up.
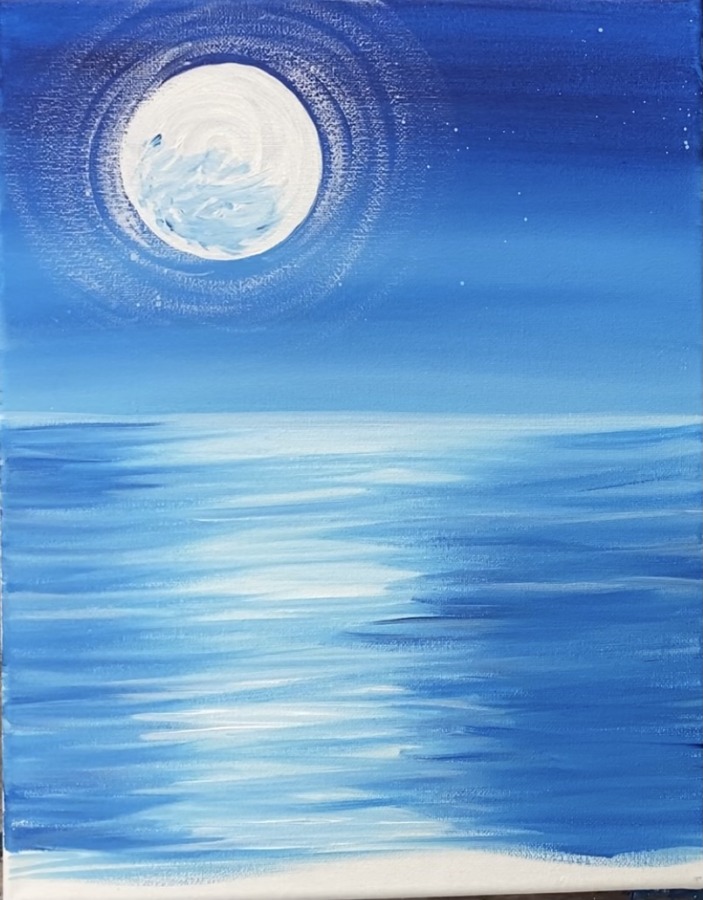
Add some blotches that are darker in some areas. Then lightly outline the inner part of the circle with just titanium white.
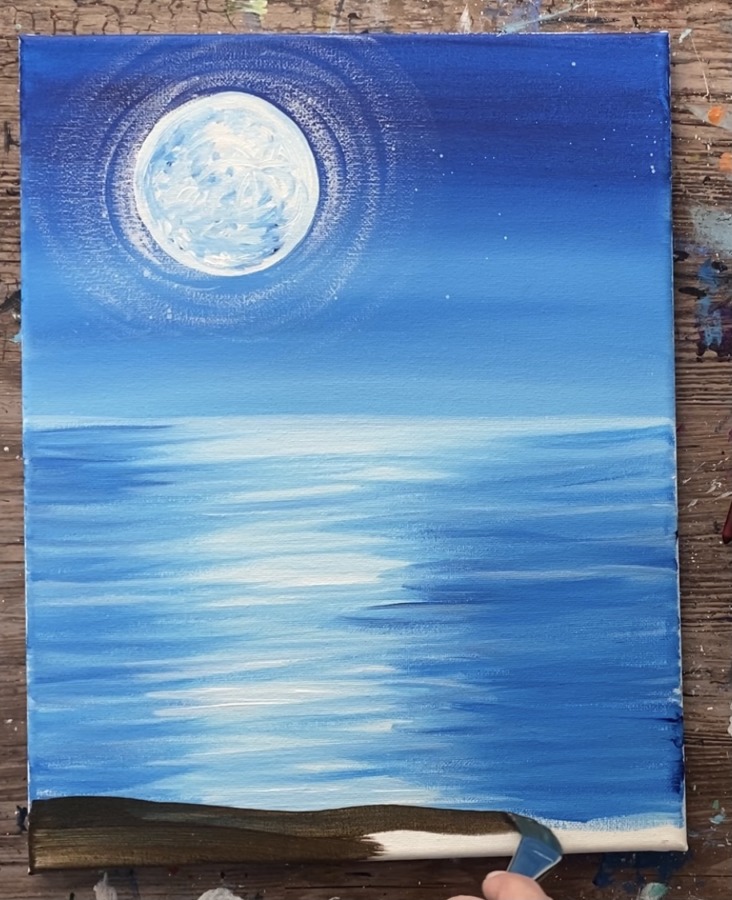
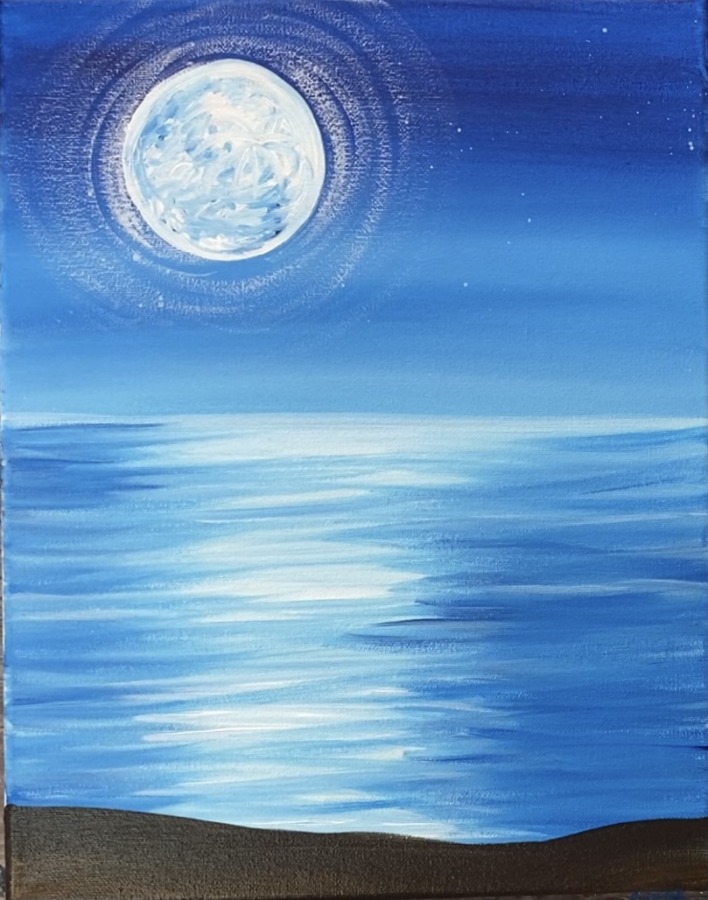
6. Paint The Ground
Use your 3/4″ flat wash brush & the color raw umber. Paint the bottom land area that overlaps the water. Paint an uneven/ wavy land area.
7. Paint The Tree
Then use your #8 round brush to paint/sketch the tree out. If it helps, you can use a piece of chalk or chalk pencil to draw the tree out first.
Mix a little white into the raw umber to make it lighter. Use the tip of your brush to paint the large branch under the moon. This branch is important and must be mostly horizontal so that it can hold the swing.
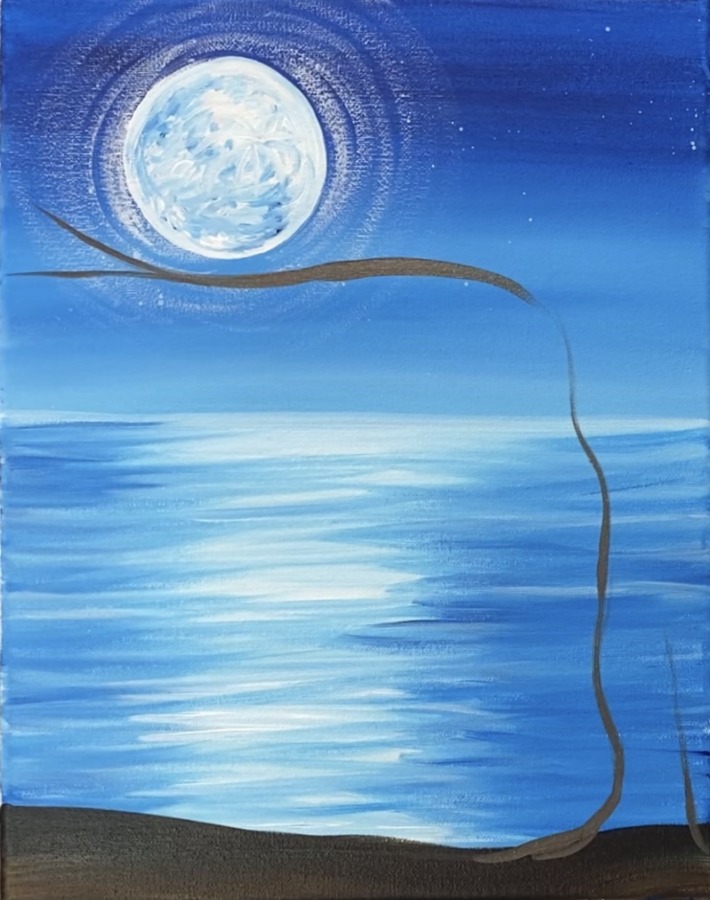
Then paint the vertical tree trunk and roots.
Paint more branches stemming from the trunk.
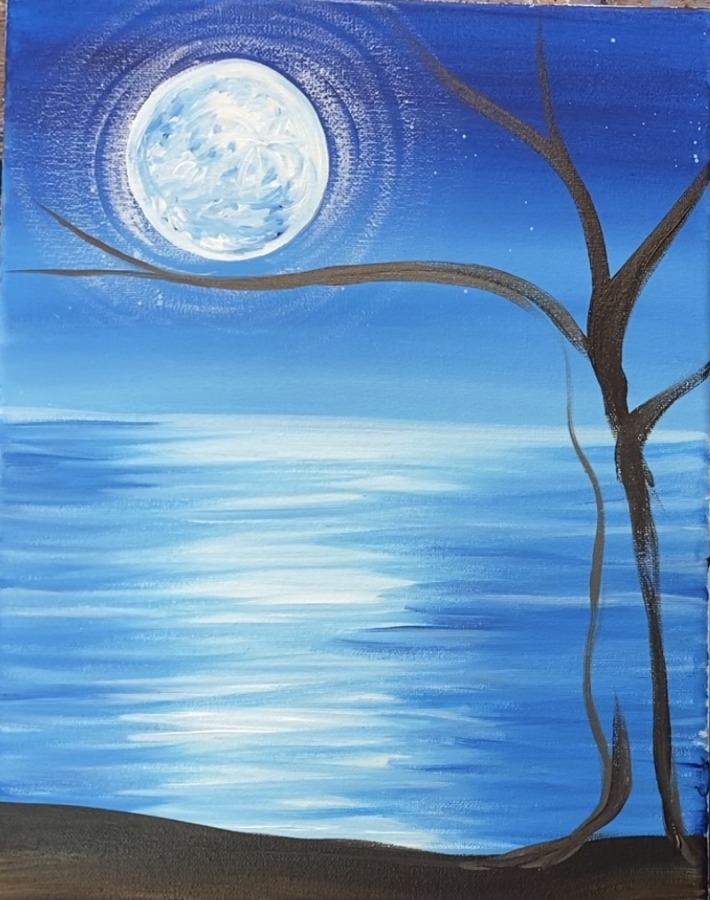
Then fill in the tree trunk and branches solid with the raw umber mixed with a little titanium white.
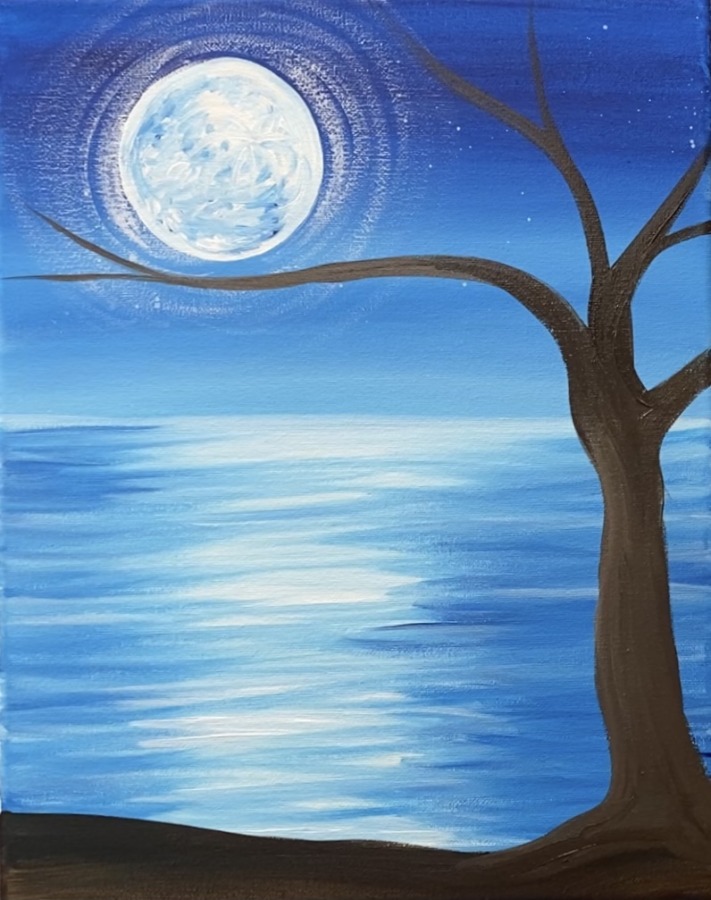
Next give the tree some “highlight”. Mix a little more white into the raw umber color to make it lighter. Paint just the left side of the branches so that the tree has come lighter areas where the moonlight would be hitting it.
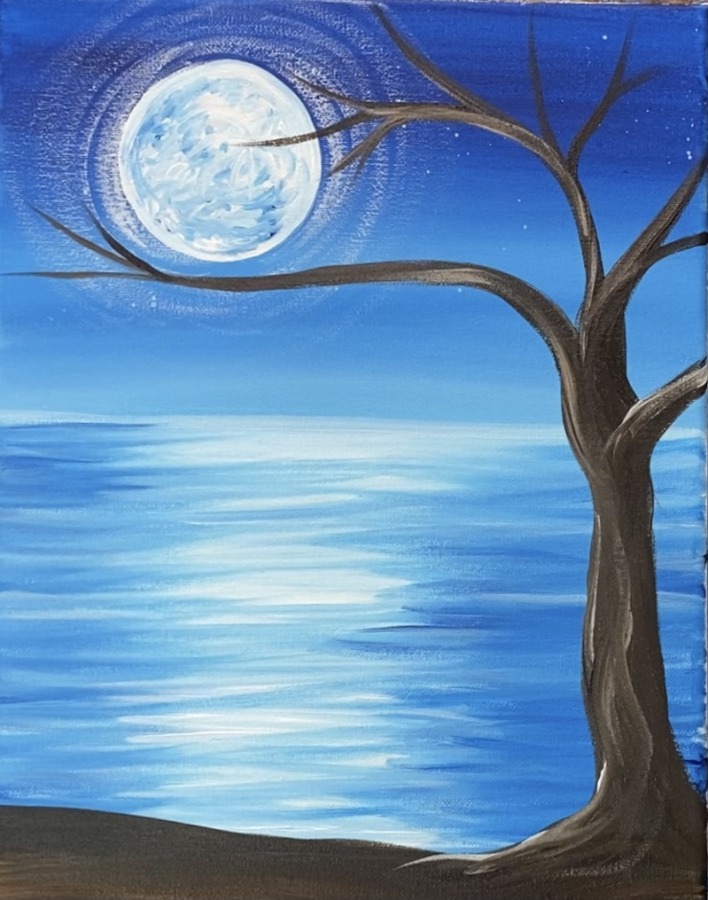
Paint some lighter color on the bottom of the tree where the roots would be. Also paint some wavy/ vertical strokes on the tree trunk to give the tree some “twisting” texture.
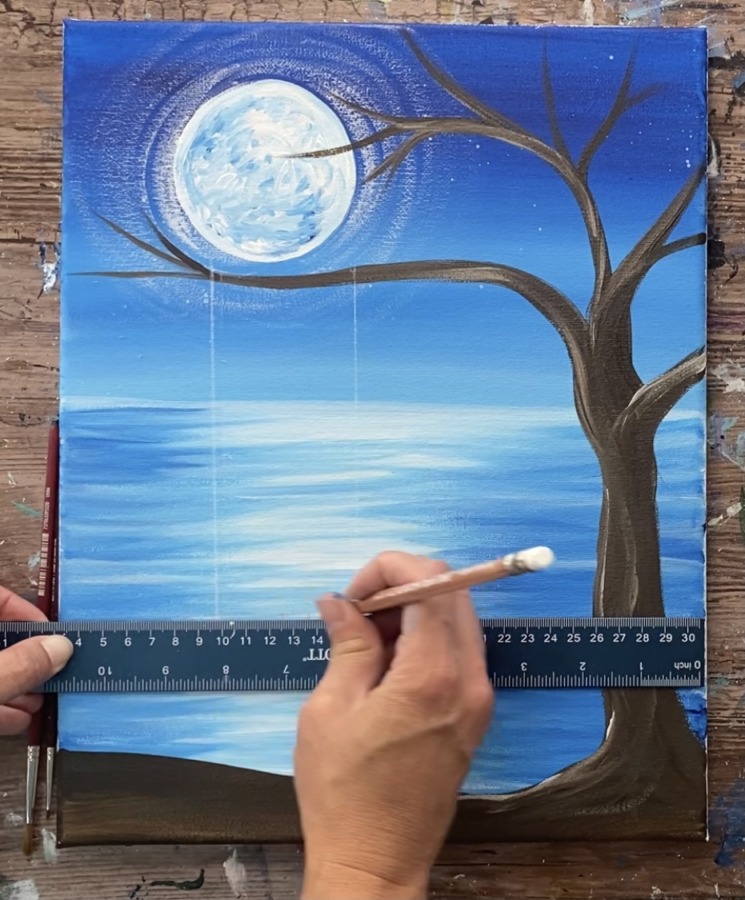
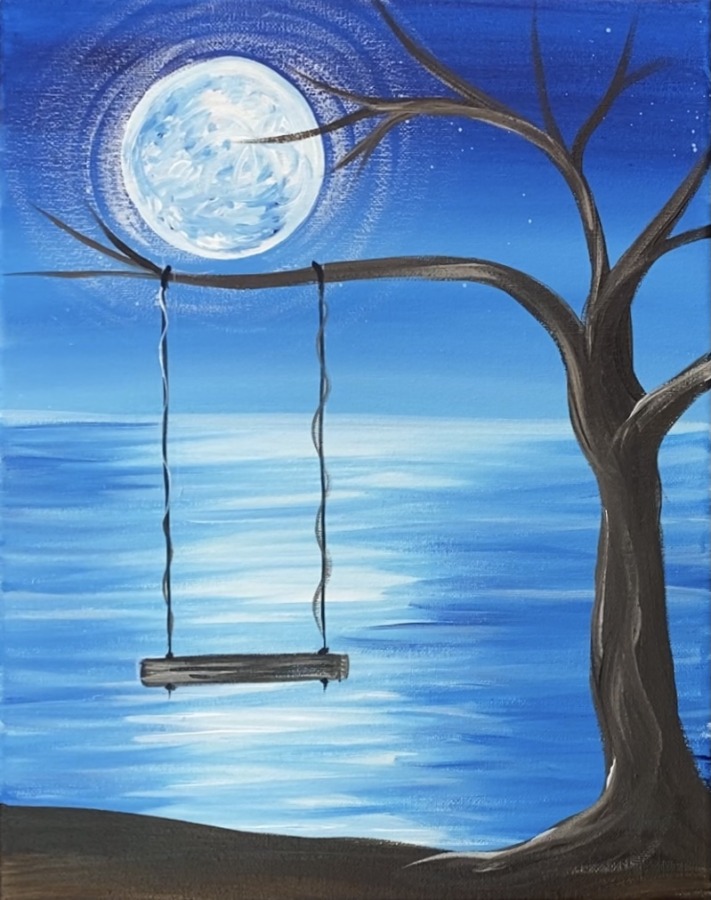
8. Paint The Swing
Use a chalk pencil and a ruler to draw the swing. Line the ruler up vertically to draw two rope lines. These lines line up to about the width of the moon.
Then draw a horizontal rectangle shape on the bottom of the two ropes.
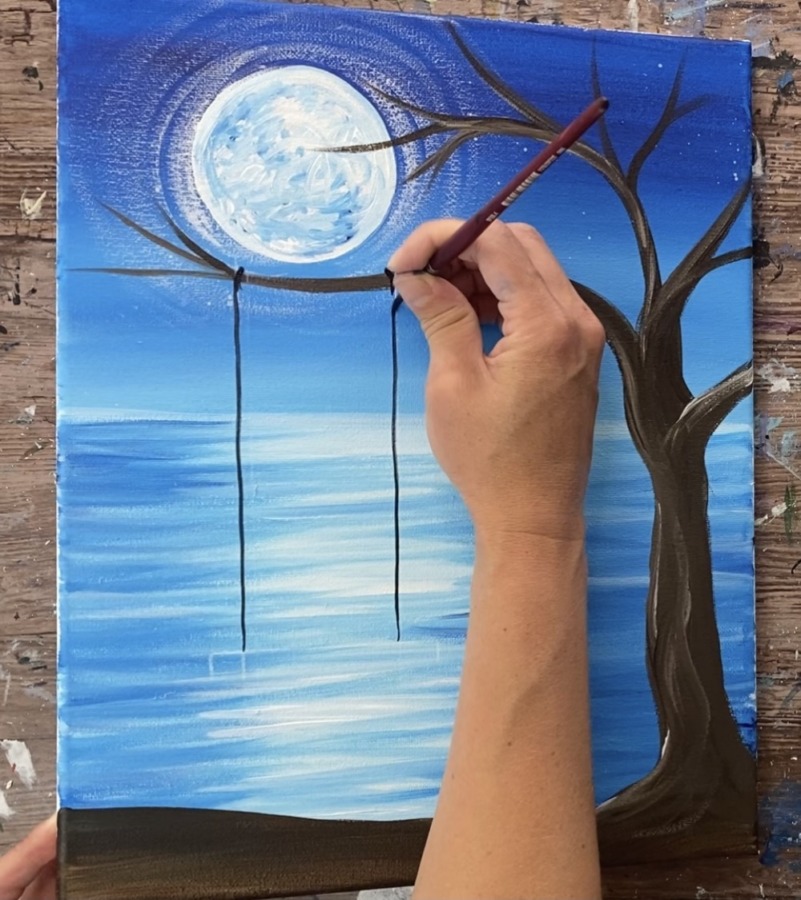
Next load your palette in mars black but slightly water it down so it will flow. Use a #4 round brush to lightly paint both of the road lines as well as the piece of the road that is tied to the branch (a small curved line).
Then paint the horizontal swing piece in with mars black, raw umber and white to create a wood texture.
Don’t use too much black on the swing piece. Lightly blend the brown and white together but leave it unblended to create the wood look.
Paint a small black dot on the top and bottom of the swing where the rope is and a small line going down.
Next paint a light wavy line vertically down the ropes. Mix a little white into the brown into the white and let the white and brown mix together.
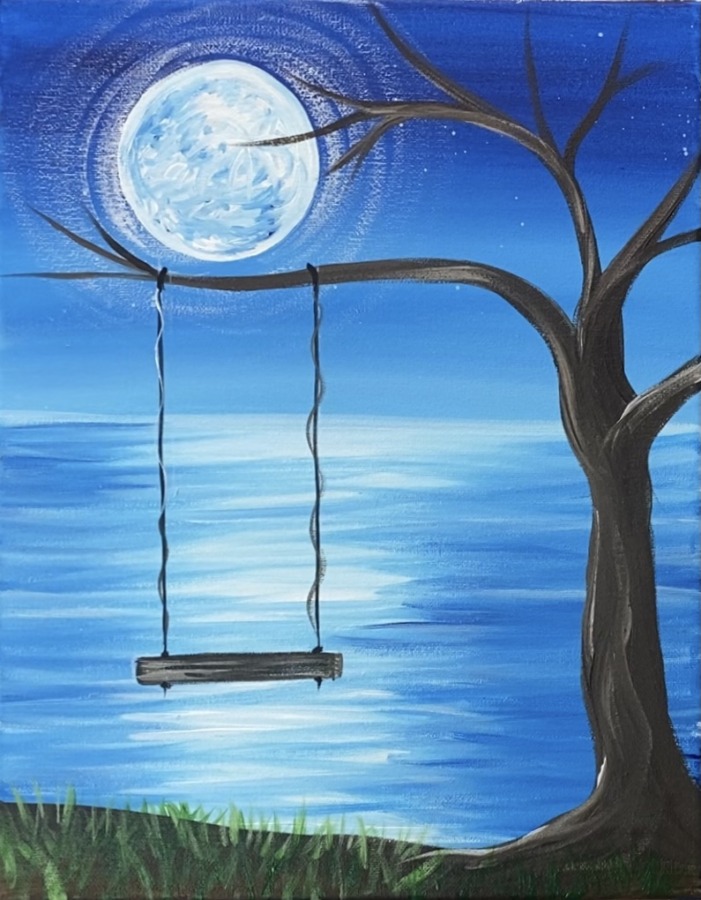
9. Paint The Grass
Then use your #4 round brush and hooker’s green hue permanent mixed with a little titanium white. Paint light green grass blade lines on the ground area. Do angled strokes going in different directions.
Then paint little yellow dots in the grass area for the flowers. You can also do little 4-5 petal flowers. Mix some white into the yellow to make some lighter color flowers in some areas.
Then use mars black to paint more grass. Paint some cattail silhouette pieces as well.
10. Paint The Fireflies
Use your finger to paint the fireflies! Load the tip of your finger in a small amount of yellow and white paint. Then wipe most of it off with a towel so there is very little paint on your finger.

Press and form circles all throughout the bottom area around the swing and tree. Do as many firefly circles as you want.
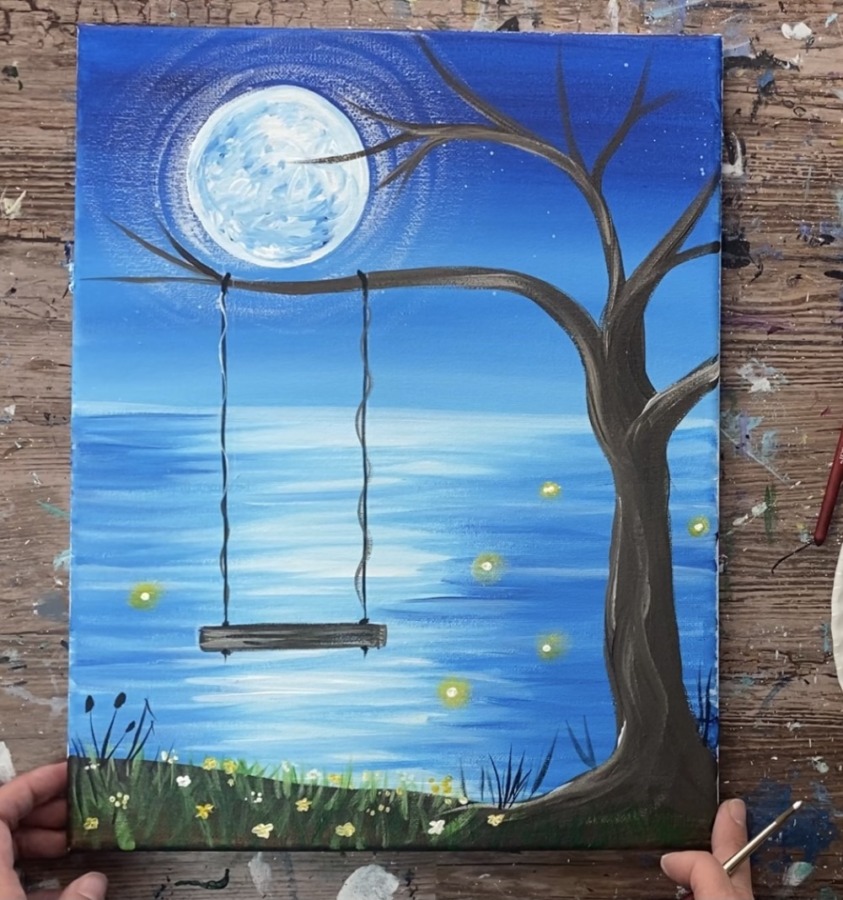
Then use your round brush to paint a small white dot in the middle of the blurry circle. This makes it look like a glowing light!

Paint a heart on the tree trunk with titanium white mixed with a little brown. You can also do letter initials on the tree if you want!
11. Paint The Leaves In Tree
Use a “bristle brush” and the color hookers green hue permanent. Tap the brush to paint the leaves in the tree branches.
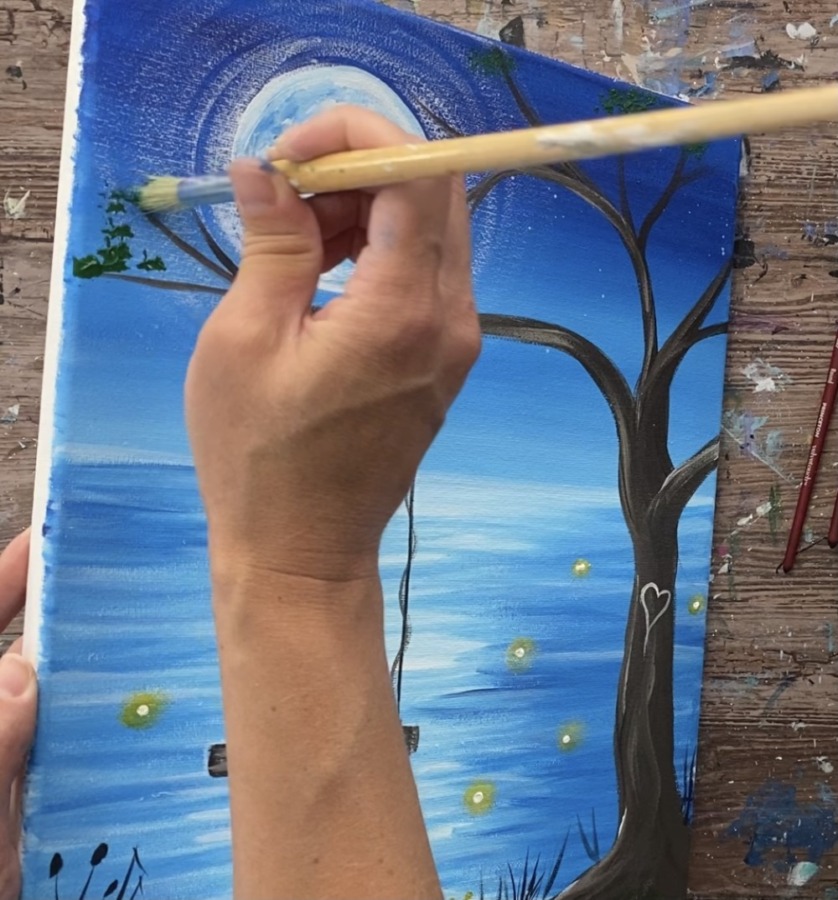
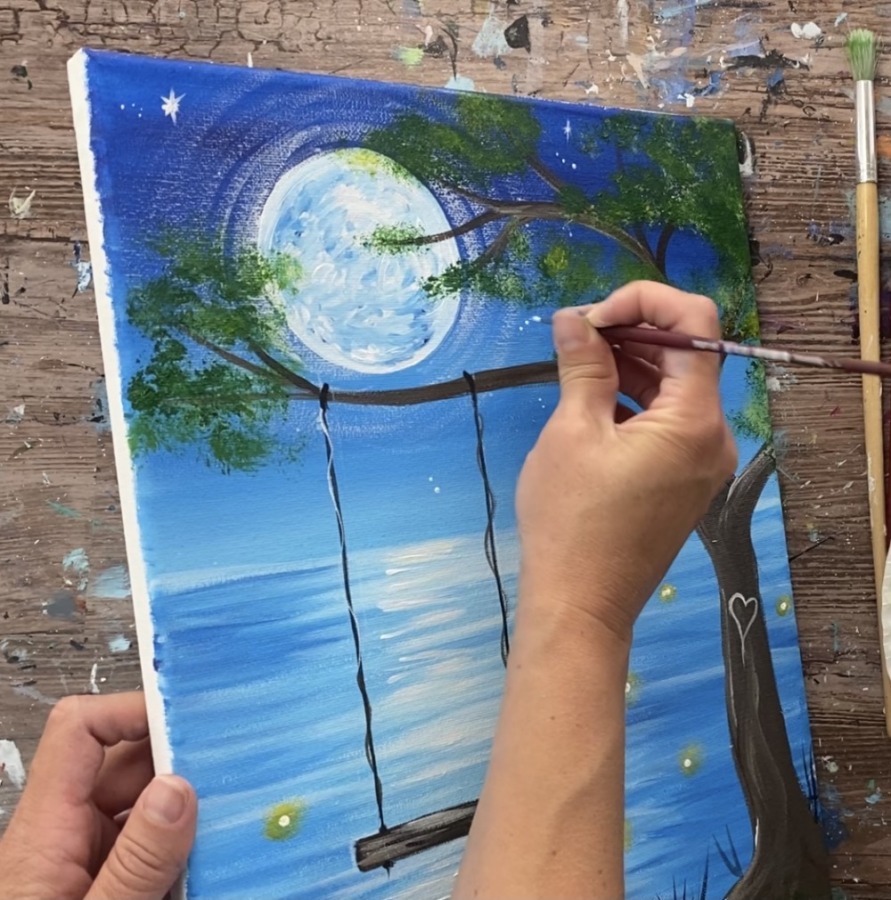
Dab different blotches with this green all over. You can also have some of it go over the moon. Then mix a little white into the green so that it gets lighter.

Blot the light green texture all throughout the tree as well!
Finally, use your 5/0 round brush and titanium white to paint more stars! You can do twinkling diamond stars and clusters of small dots wherever there is sky showing through the tree.
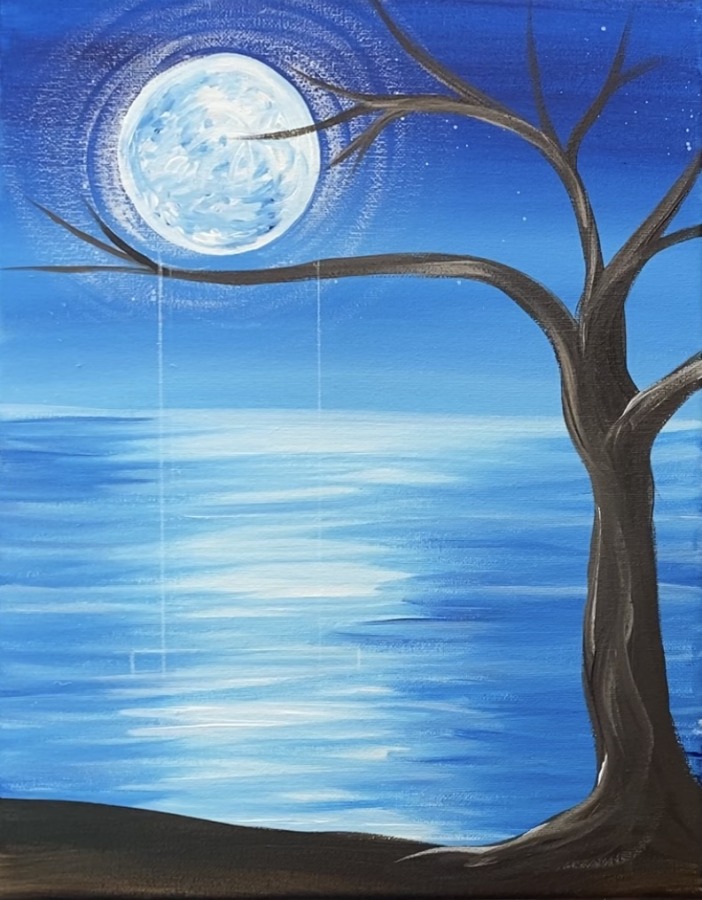
Finished!
That’s it! Sign your name and show it off!
Share Your Art Here!


Hello Tracie, thanks a lot for such a beautiful painting with detailed instructions 🙂
Painted this for my little daughter’s birthday and she loved it 🙂
Thank you !!
You’re welcome!!! I’m so glad your daughter loved the painting!
this was an awesome painting instructions very clear and easy to follow. I had a great time, and my picture came out beautiful