
Would you like to save this?
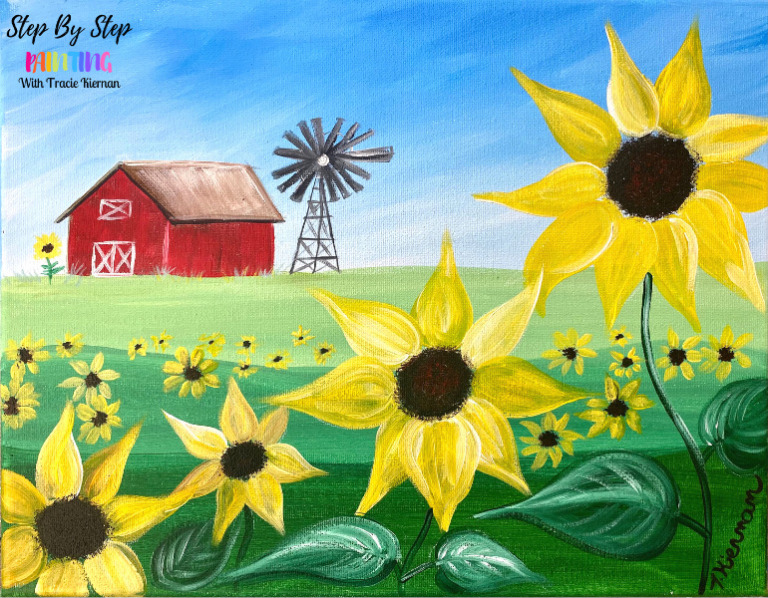
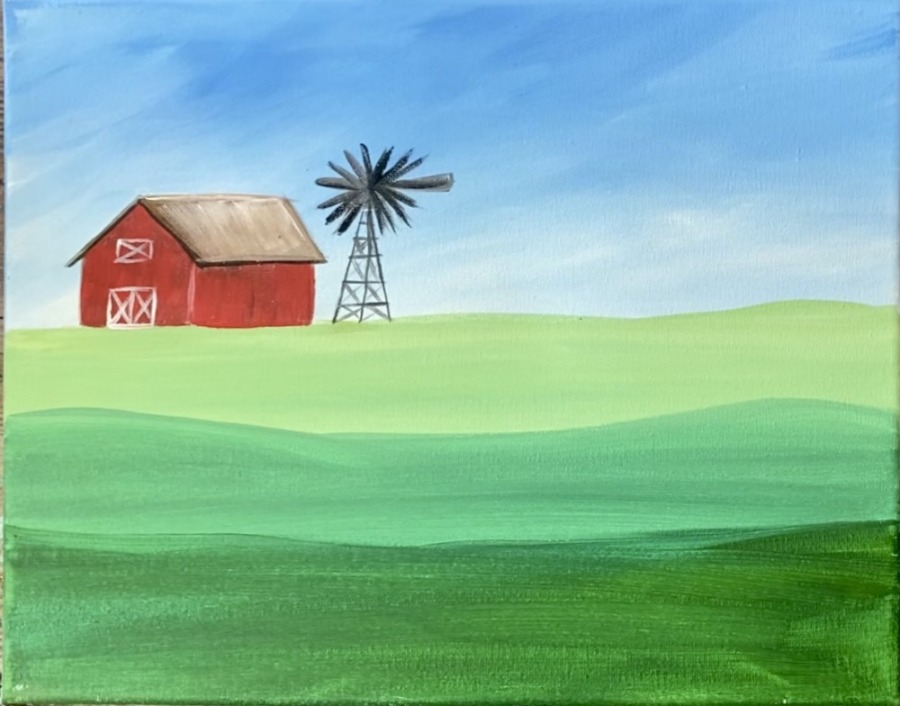
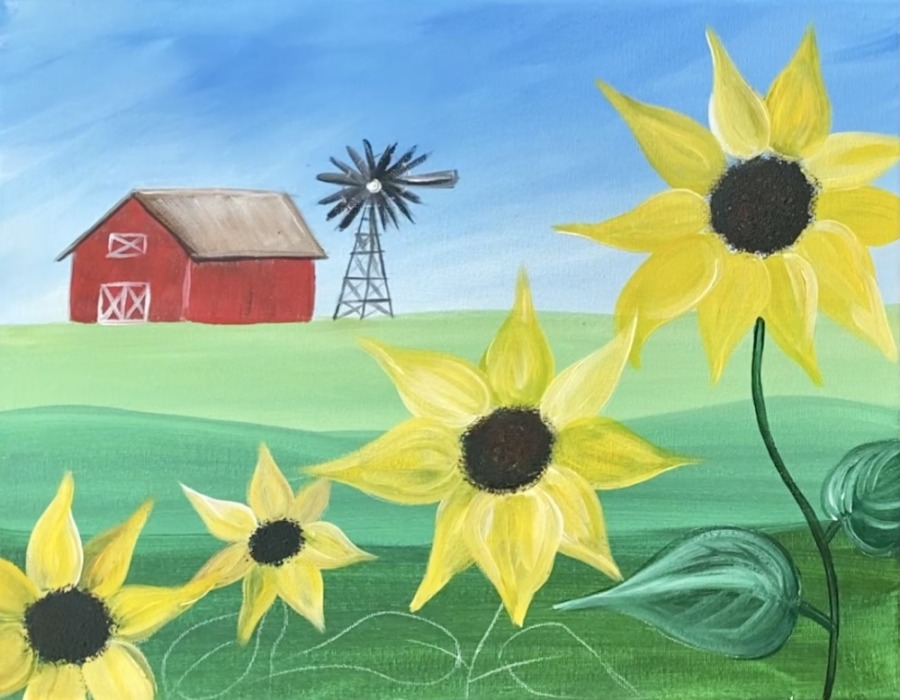
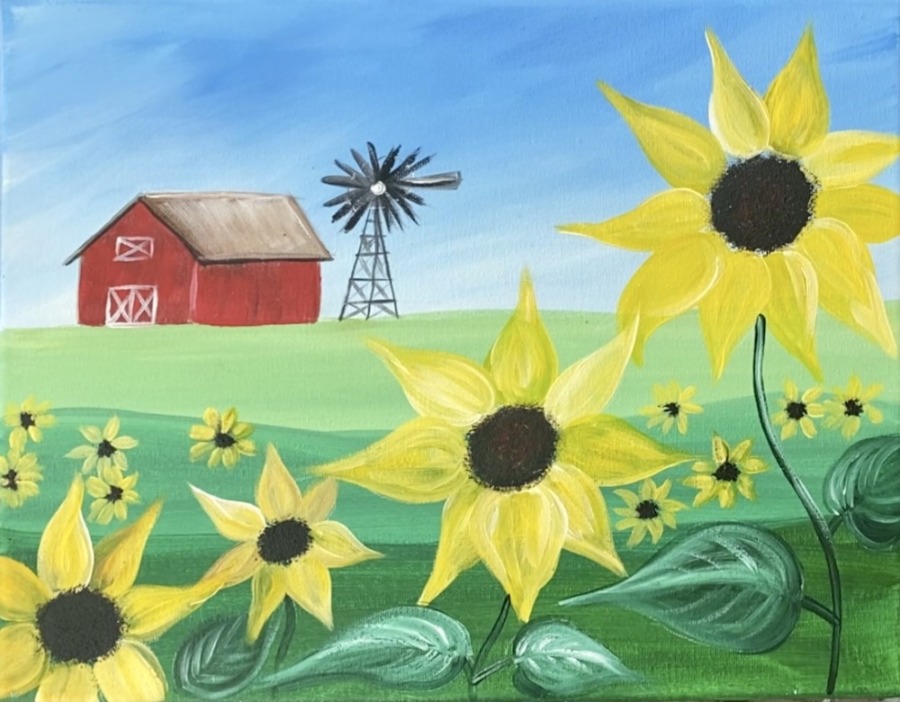
Escape to a sunflower farm! This is a beginner acrylic painting tutorial demonstrated on an 11 x 14 canvas. I will show you step by step how to paint the pretty green landscape with a red barn in the distance and several large, cheery, bright yellow sunflowers in a field!
Enjoy and happy painting!
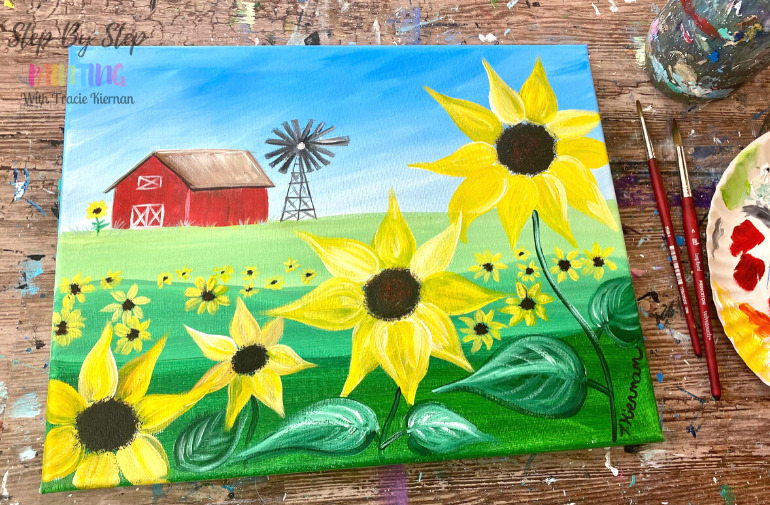
Materials
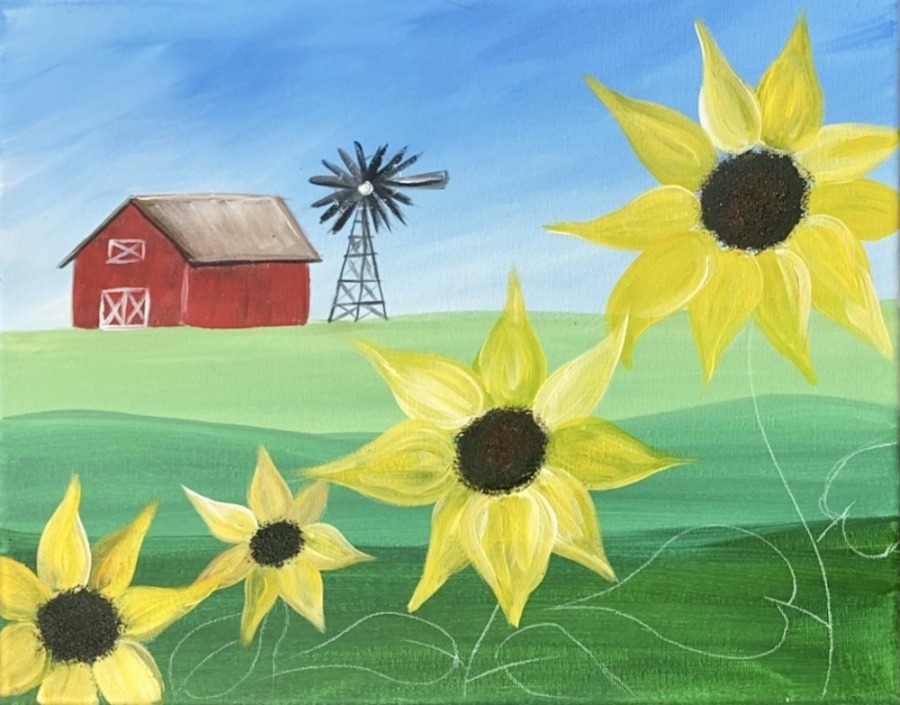
Sunflower Farm Acrylic Painting Tutorial

Learn how to paint a field of sunflowers with a red barn in the distance.
Materials
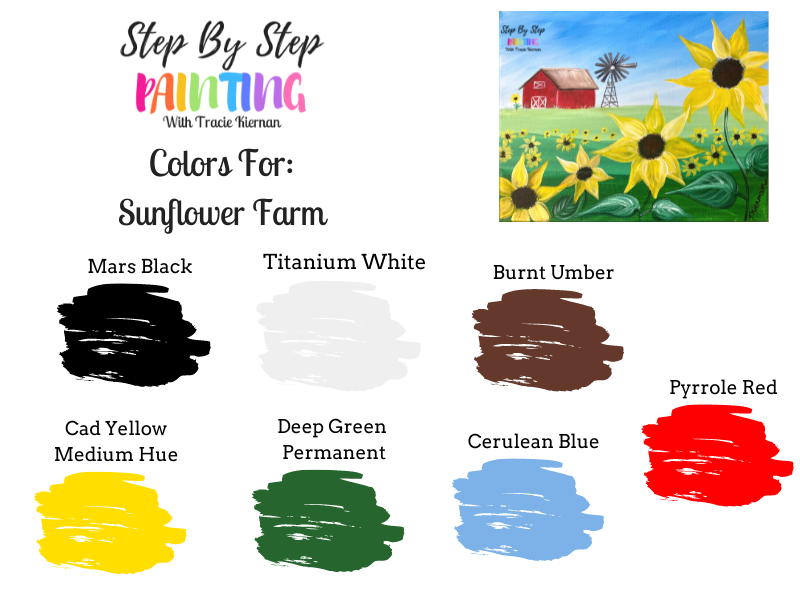
Colors
- Titanium White
- Cerulean Blue
- Mars Black
- Deep Green Permanent
- Burnt Umber
- Pyrrole Red
- Cadmium Yellow Medium Hue
Brushes
Instructions
- See tutorial on www.stepbysteppainting.net for full instructions!
Color Palette
Using Craft Paints?
You can try substituting these Apple Barrel Craft Paints:
- White
- Yellow Flame & Bright Yellow
- Holly Branch
- Black
- Nutmeg Brown
- Parrot Blue
- Flag Red
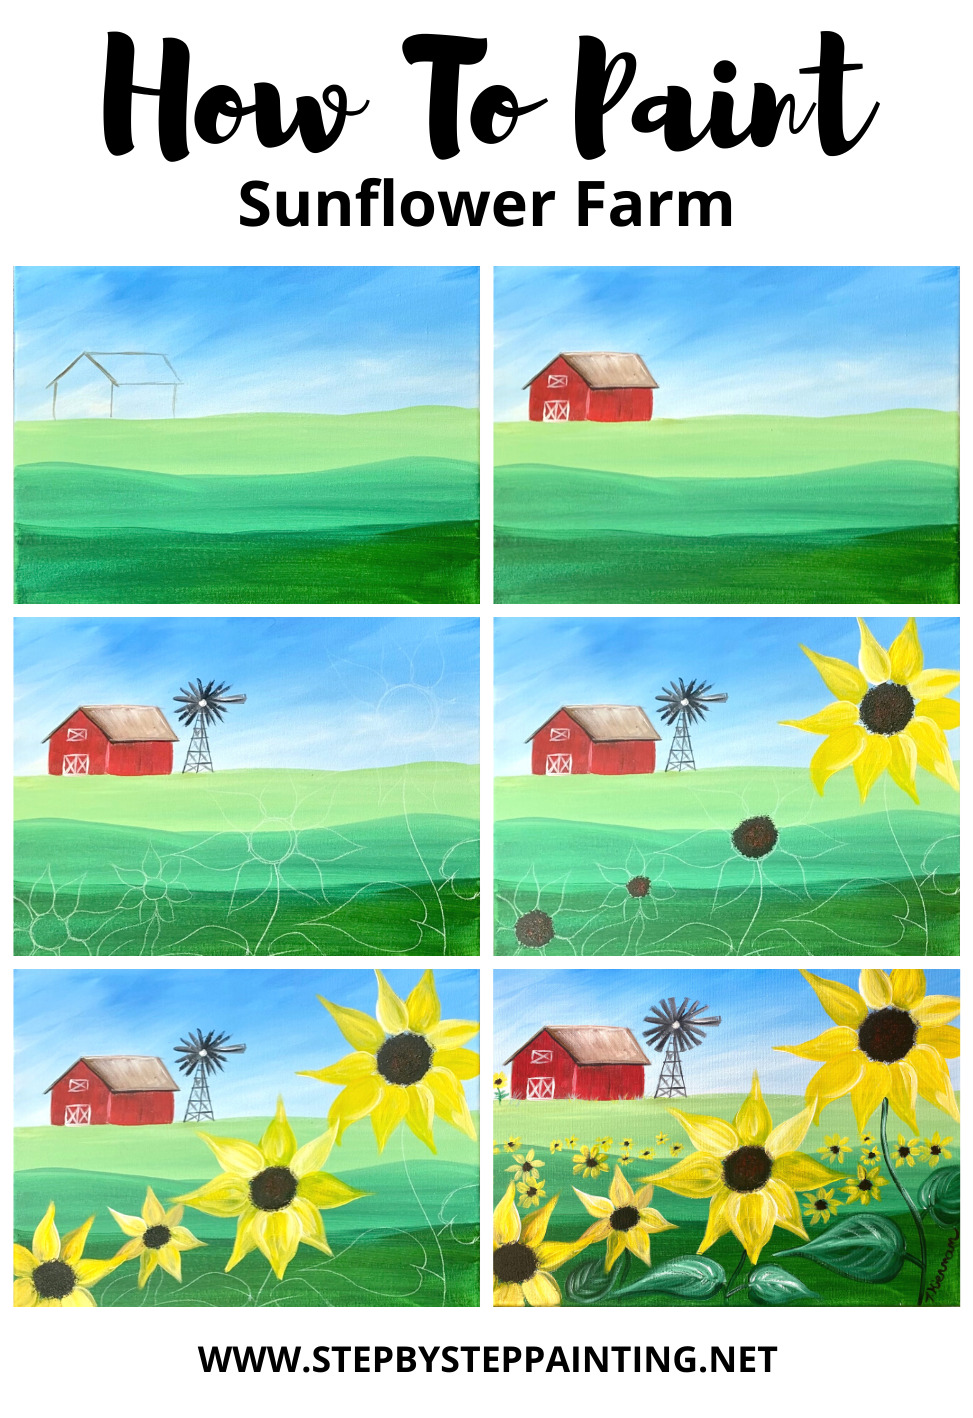
Directions At A Glance
Video
Step By Step Directions
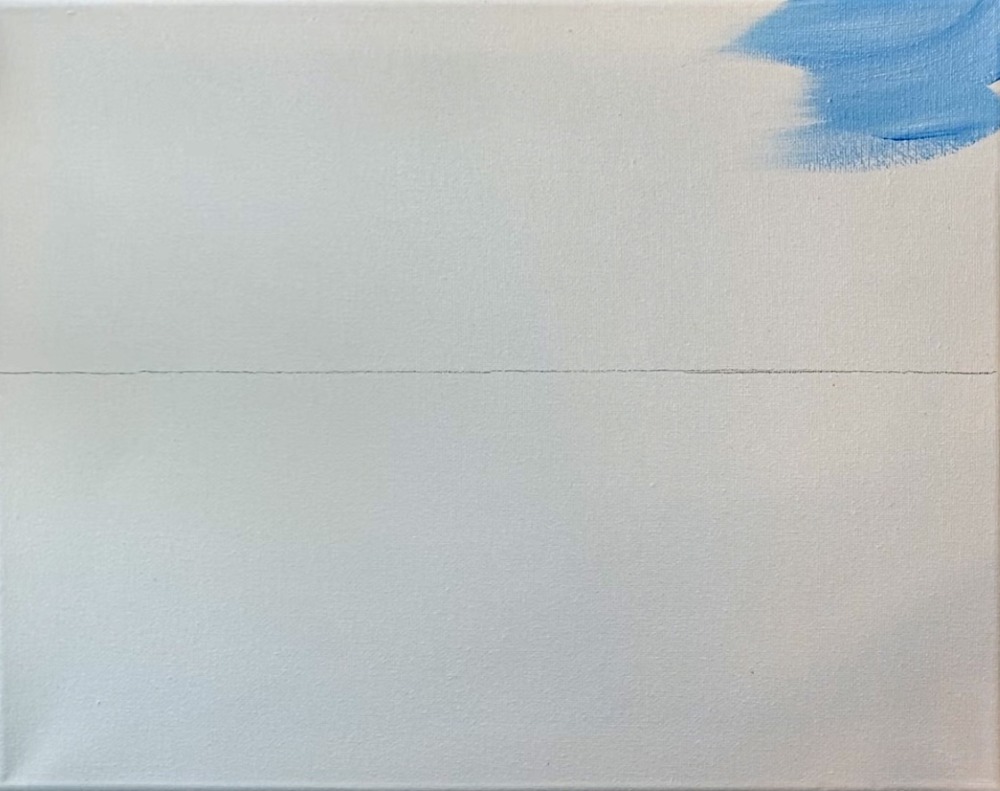
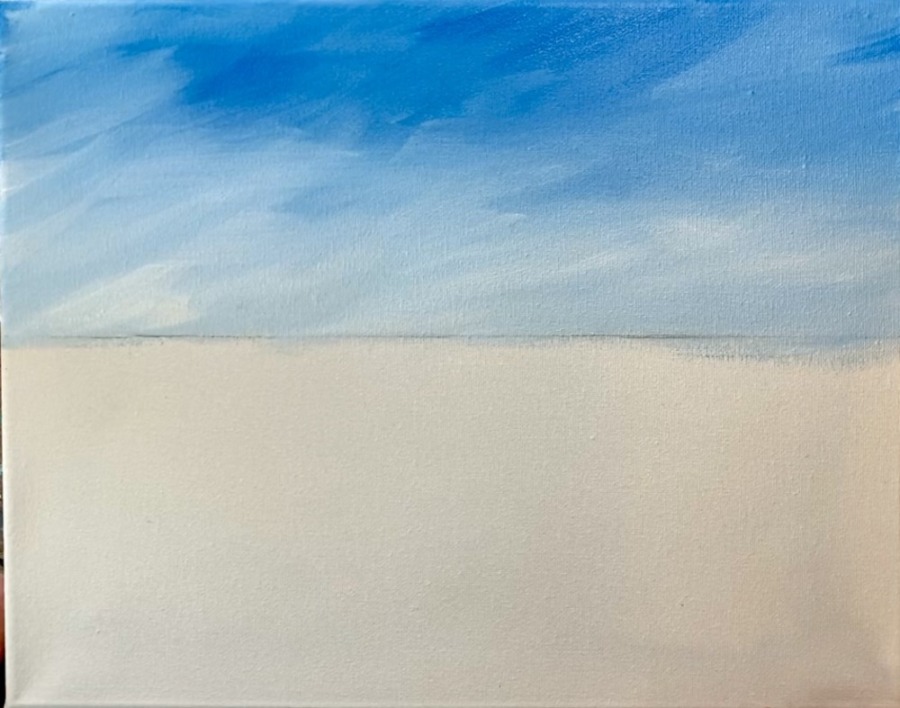
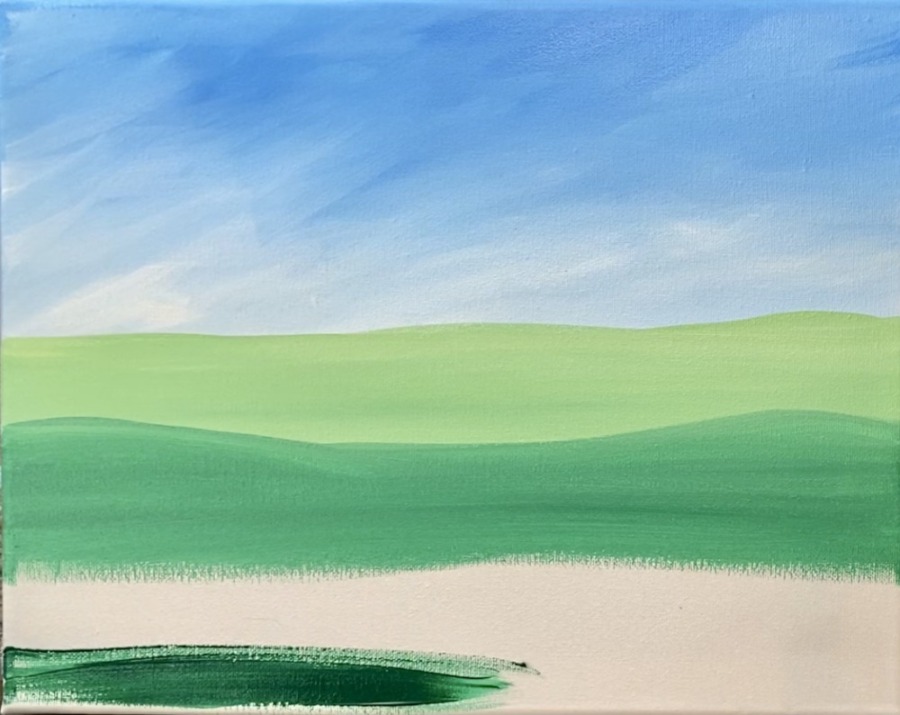
1. Draw Horizon Line & Paint The Sky
Lay your canvas in horizontal form. Then use a t-square or straight edge to draw a horizontal line across the estimated center of the canvas.
Load your palette with cerulean blue and titanium white. Use a 3/4″ flat wash brush to double load it into both the colors. Use a little more white than blue in the ration.
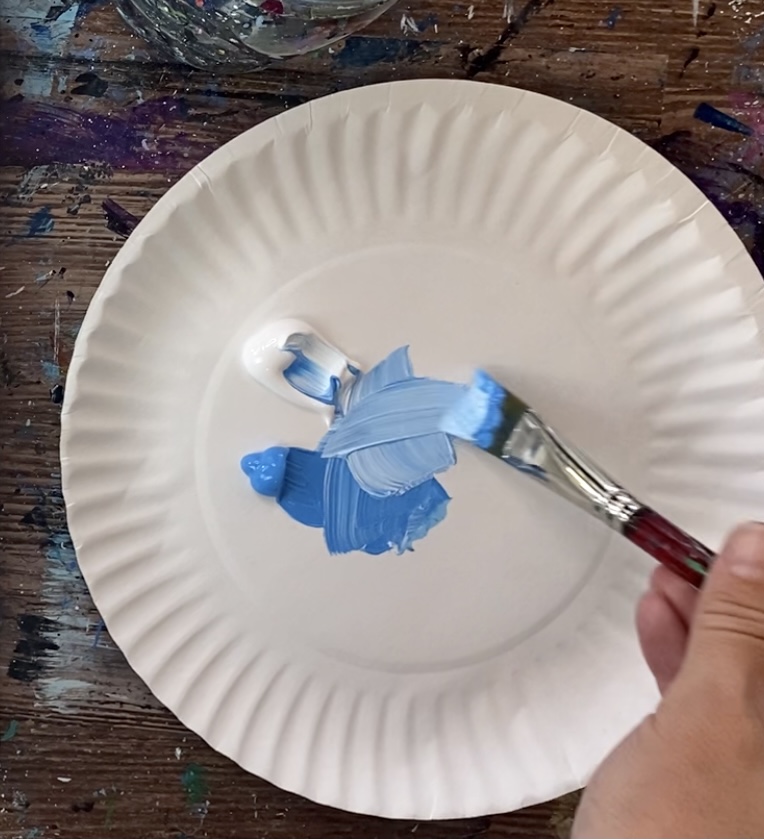
Then paint the sky using angled cross-hatching strokes. The blue and white will blend together on the canvas.
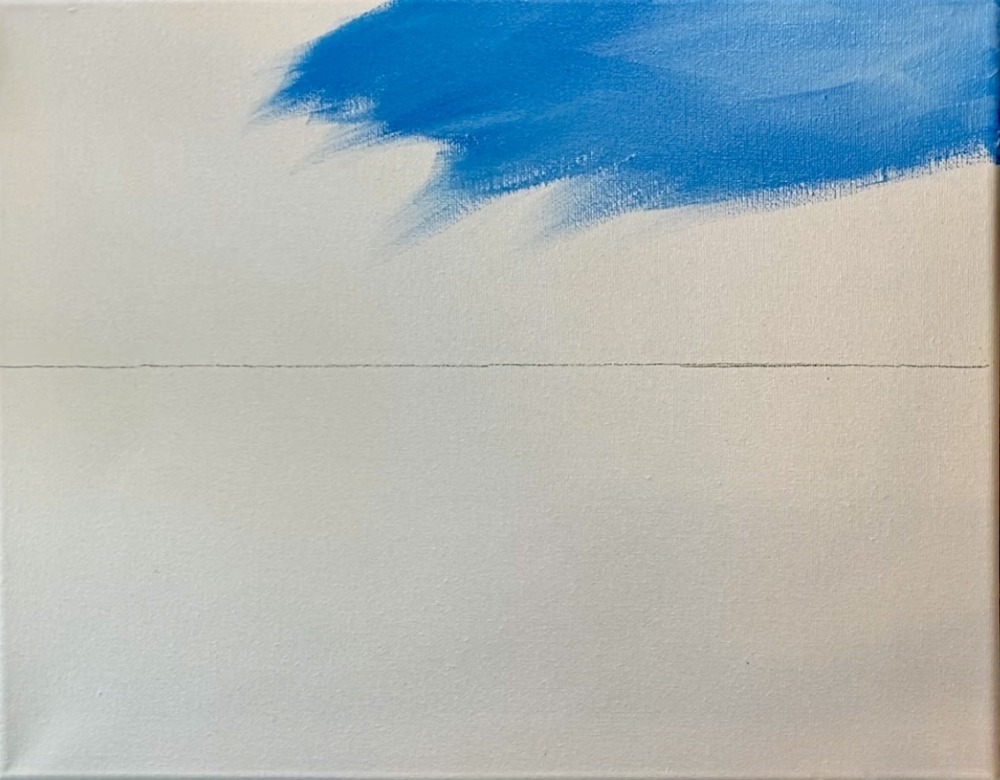
Allow the blue to be slightly darker at the top and get gradually lighter as it approaches the horizon line.
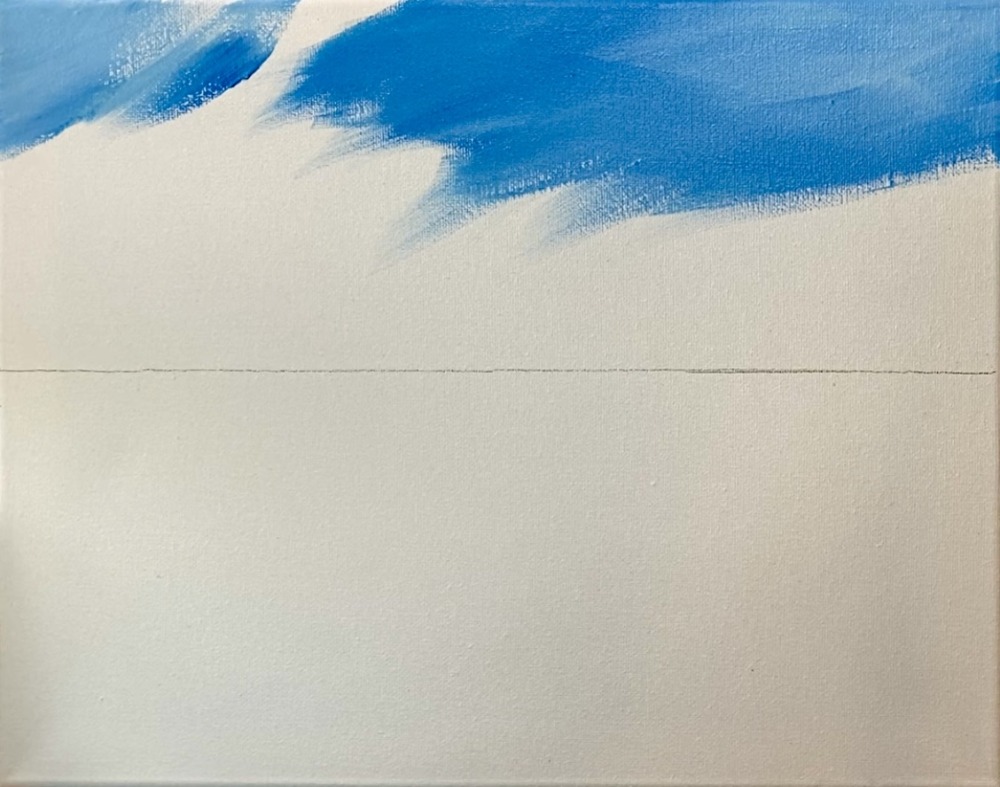
Add more white into the blue as you work your way down to the horizon line. The blue and white do not have to blend all the way together, you can leave them unblended.
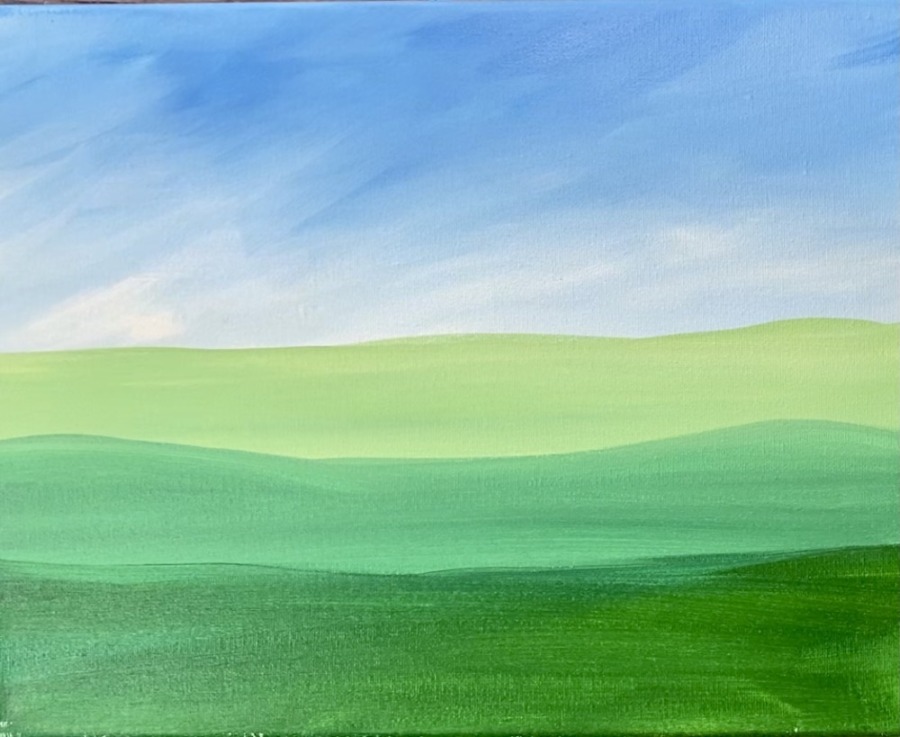
2. Paint The Green Fields
On your palette, mix a very light yellow-green. Mix about 3 parts white, 1 part deep green permanent and 1 part yellow.
Use your 3/4″ flat wash brush to paint the land in the distance. This starts a little bit above the horizon line.
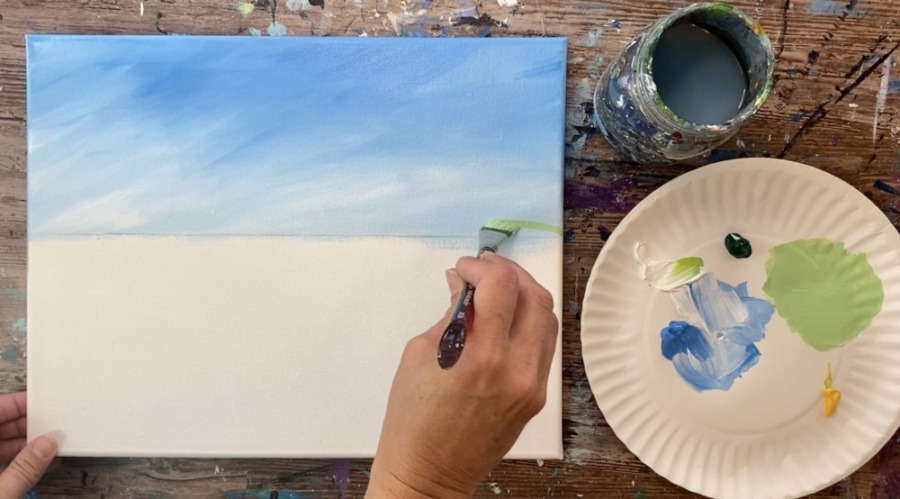
Then continue to paint that light green down about two to three inches.
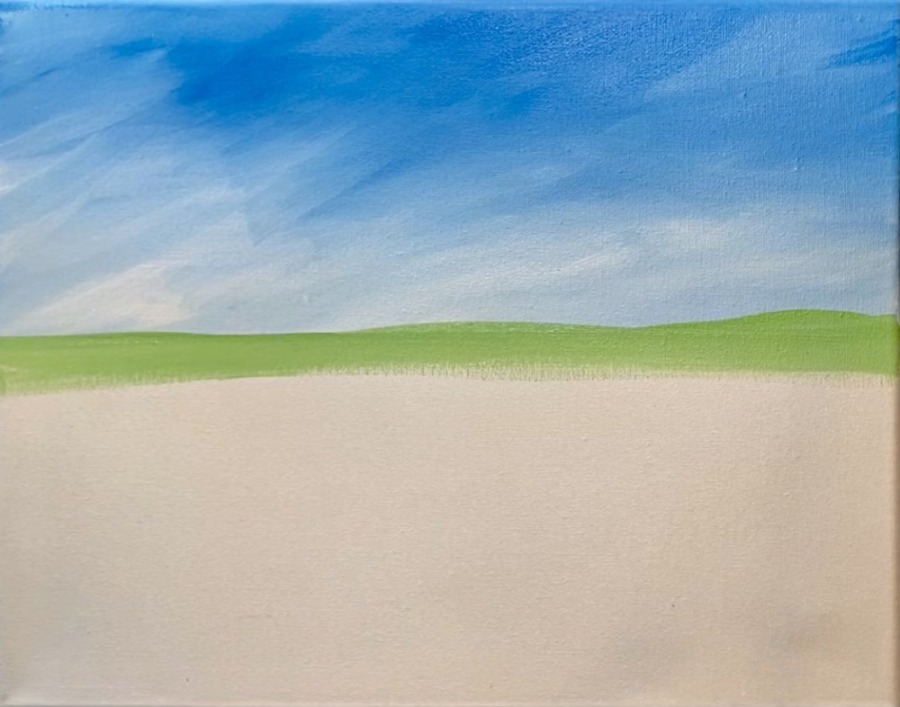
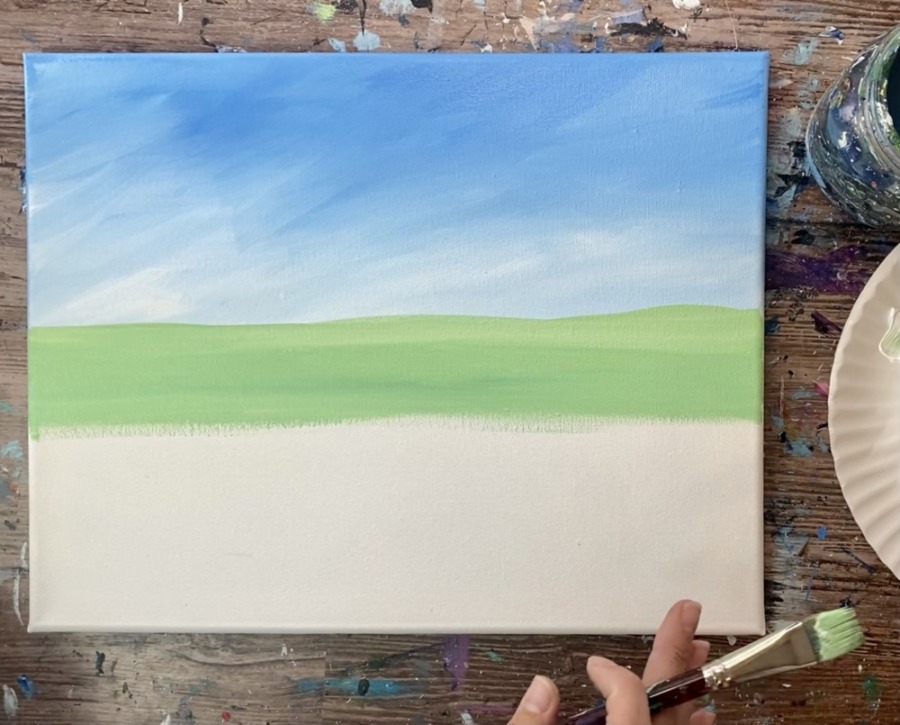
Then mix a little more of the deep green permanent into that color so that it is 3 shades darker. Paint another land area with the top being a little wavy. Go down about two to three inches.
Then paint the bottom of the land with just deep green permanent. You will now have three layers of land with the lightest in the back and the darkest in the foreground.
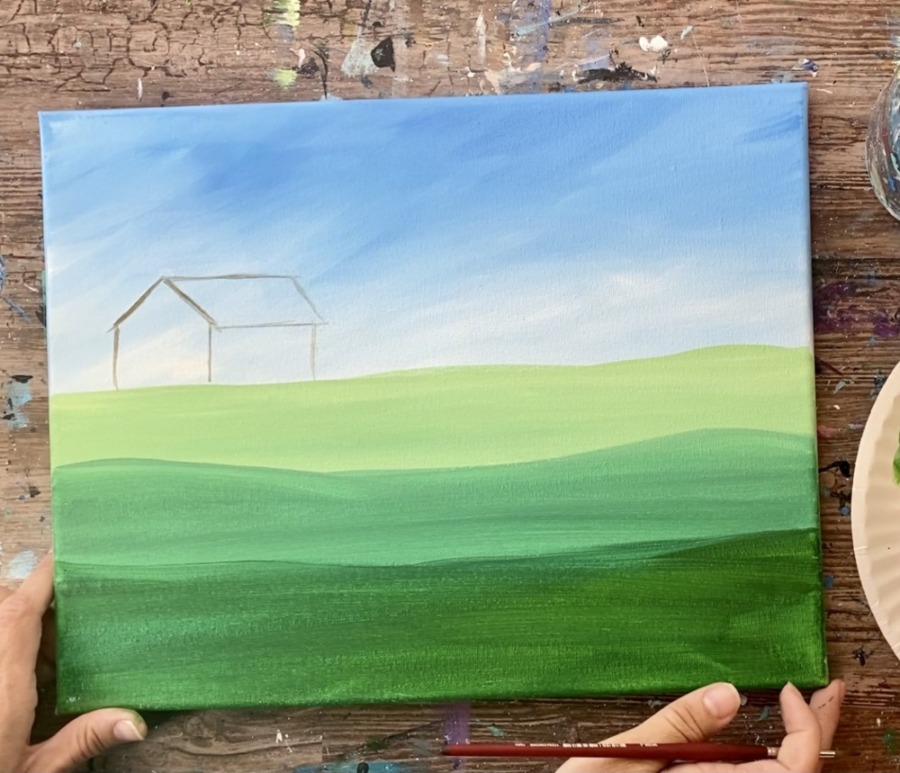
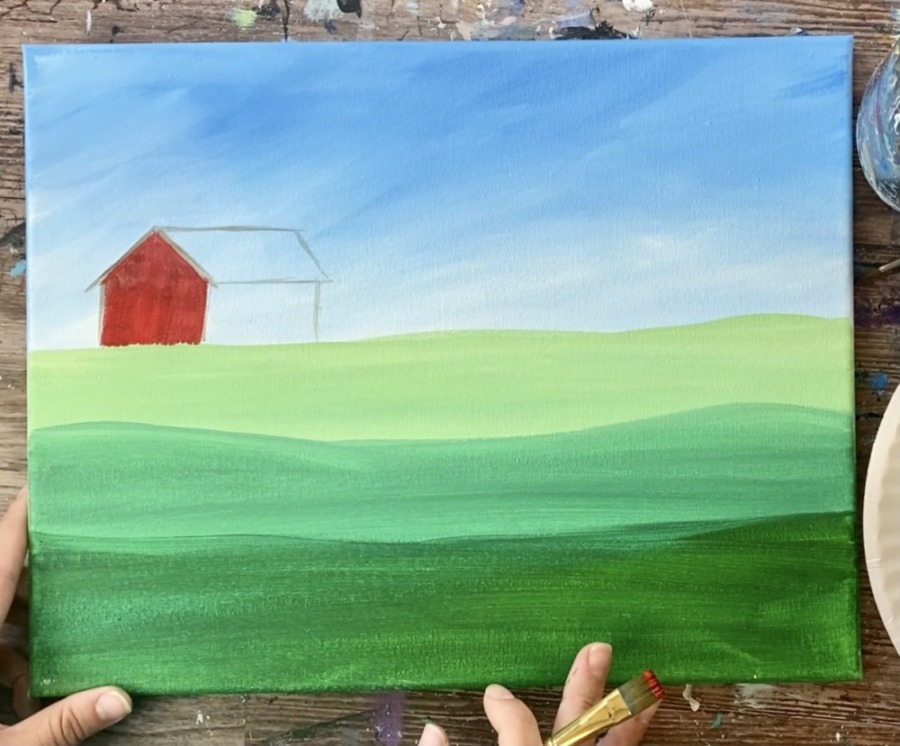
3. Paint The Barn
Note: this barn is about 2″ high and 4″ wide.
Use a #4 round brush and the color burnt umber to draw/paint the shape of the barn. It helps to water the brown down just slightly. Paint/draw the front left part of the barn. This part is about 2″ high.
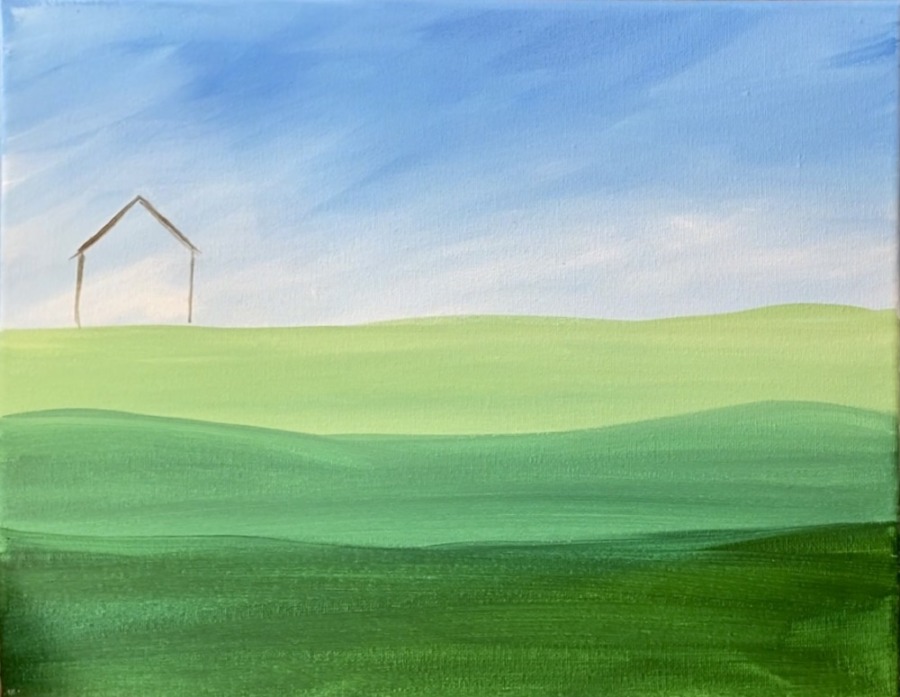
Then paint/draw the roof and right side of the barn. The barn is about 4″ wide.
Next paint the barn a dark red. To make this dark red, mix a little bit of the burnt umber into the pyrrole red. Use a 1/2″ flat brush to paint the barn using all up and down strokes.
Paint the front and right side of the barn. You can add a few strokes of burnt umber in there to make it appear more “rustic” and give it some color variation.
Then paint the roof. Use either a round brush or the 1/2″ flat brush. Mix a little white into the burnt umber so it is lighter. Paint the roof at an angle so your strokes are going in the same direction as the diagonal line.
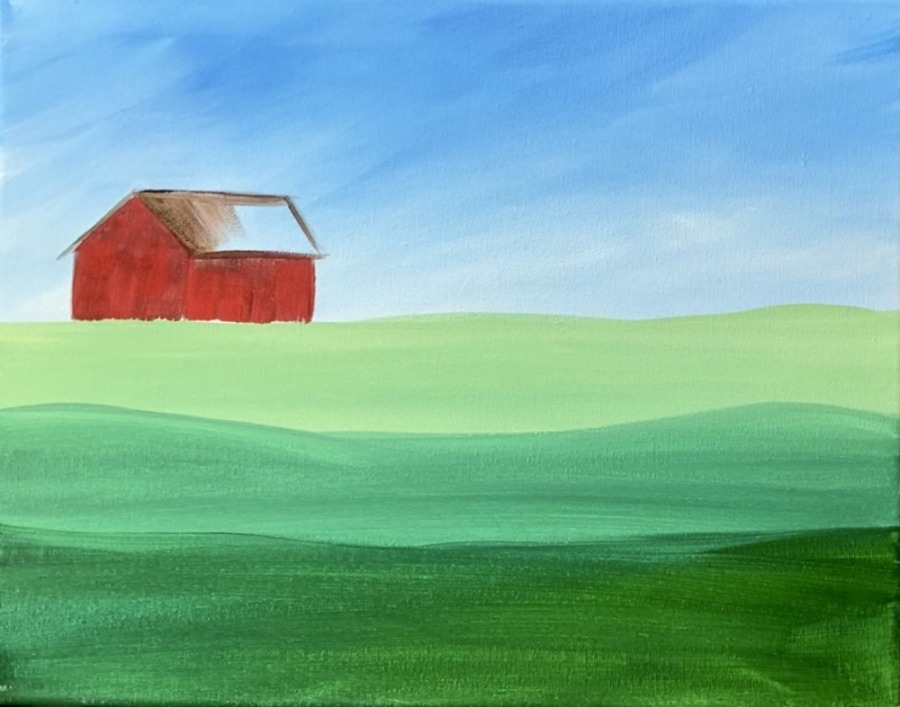

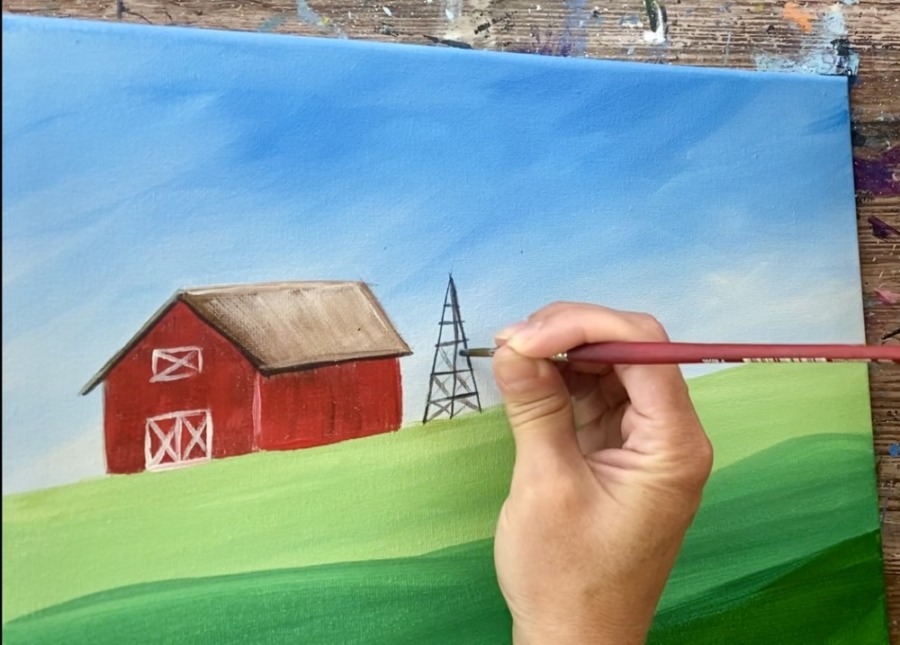
Then use a #4 round brush to paint/outline the roof with mars black. Next paint the door and top window opening with titanium white. This can be loose and not as detailed since the barn is in the distance.

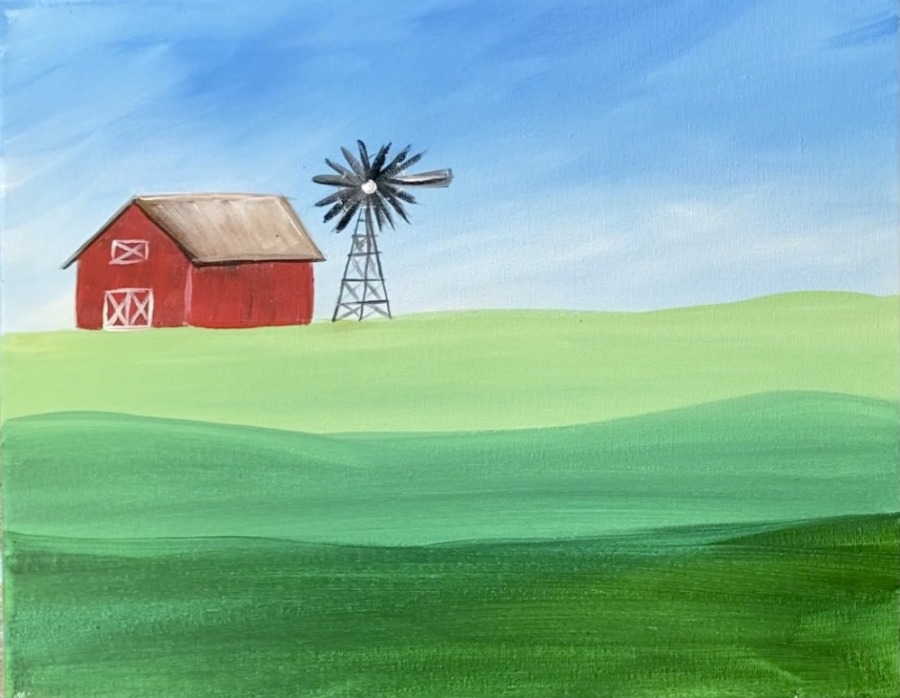
4. Paint The Windmill
Use the #4 round brush and the colors mars black and titanium white to paint the windmill. Paint a triangle as tall as the barn. Then paint a line down the middle. Then paint horizontal lines and then “x’s” in between the squares.
Next paint the blades of the windmill starting at the top point and going in an array circle.
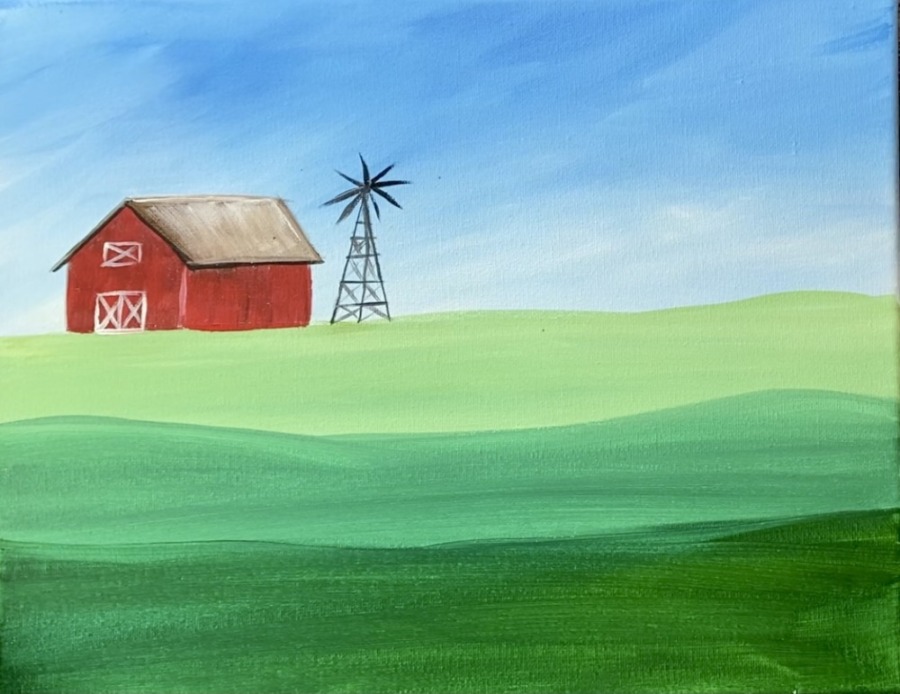
Paint a longer triangle on the right then paint a circle over the blades.

Make the blades thicker.
Then add some white in some areas such as in the middle of the blades and on the triangular piece on the right. Remember this windmill is far away so it doesn’t have to be super detailed!
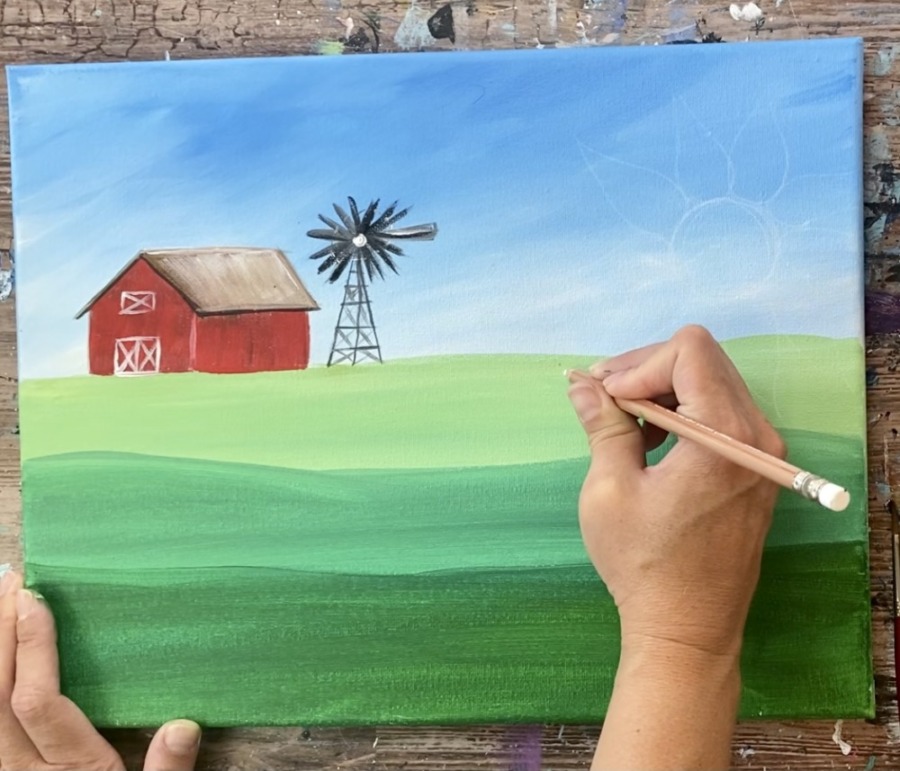
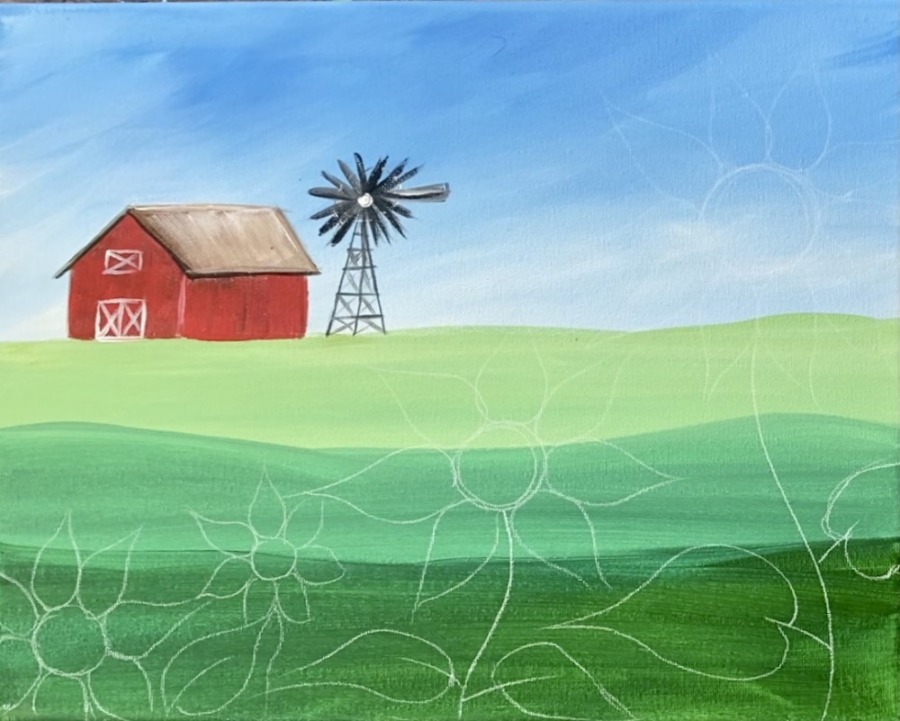
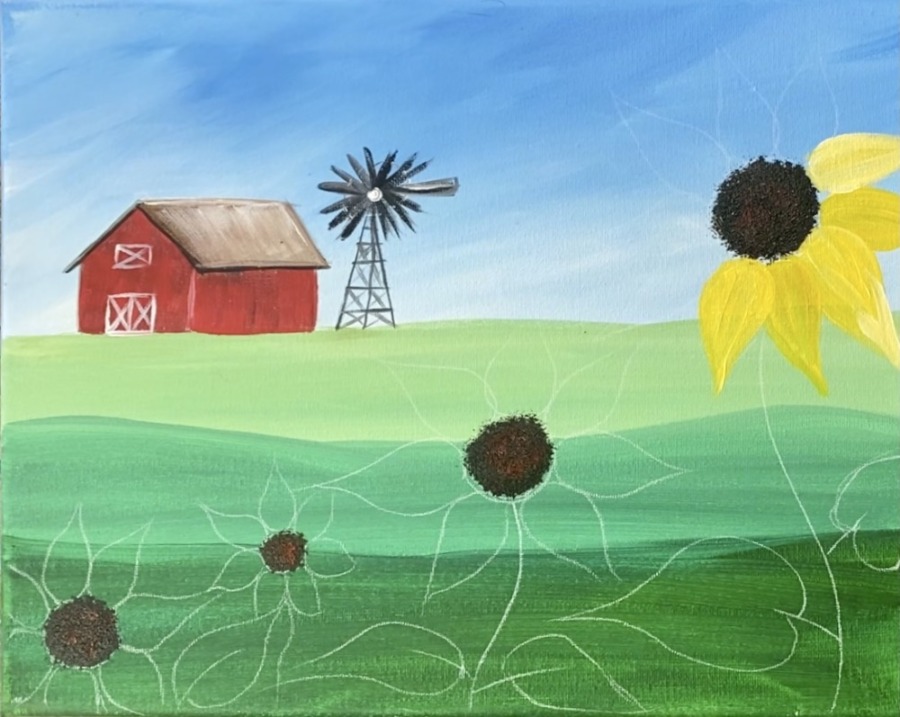
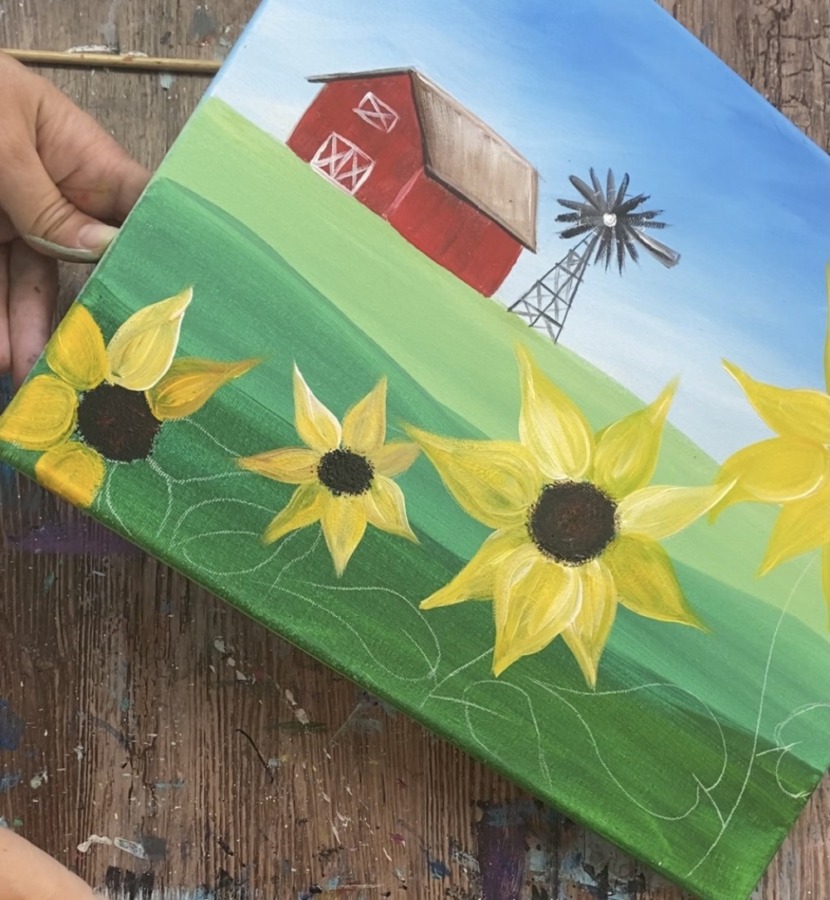
5. Draw The Sunflowers
Make sure your painting is completely dry! Then use a chalk pencil (or regular drawing pencil) to draw the sunflowers. Start by drawing a large circle on the top right above the horizon line.
Then draw the petal shapes going around the circle. These petal shapes are wide on the bottom and then go to a point at the tip.
Draw two large sunflowers. One is above the horizon line and one below. Draw stems that go down to the bottom of the canvas. Then draw the leaves. The leaves are somewhat of an upside down heart shape.
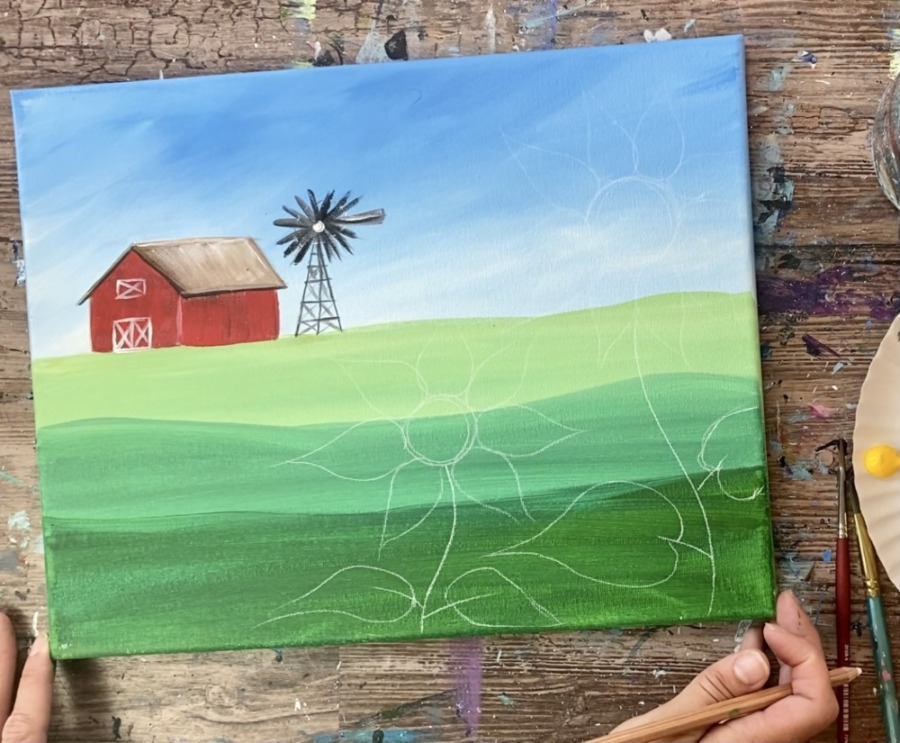
Then draw two more smaller sunflowers going diagonally down to the lower right corner. You can draw more larger ones if you want! You can also draw sunflowers so they are going off the side of the canvas.
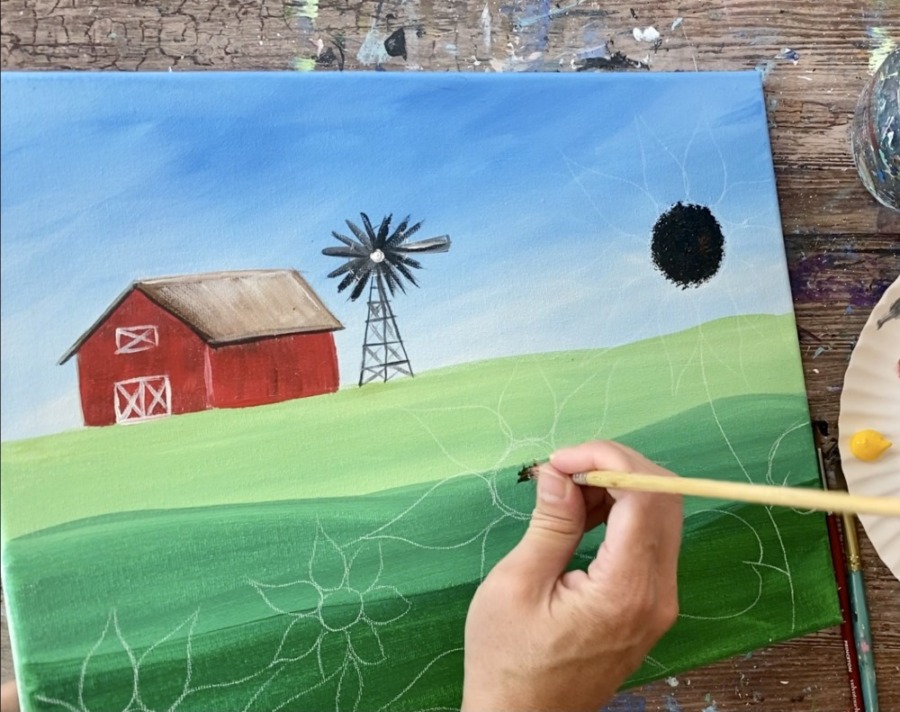
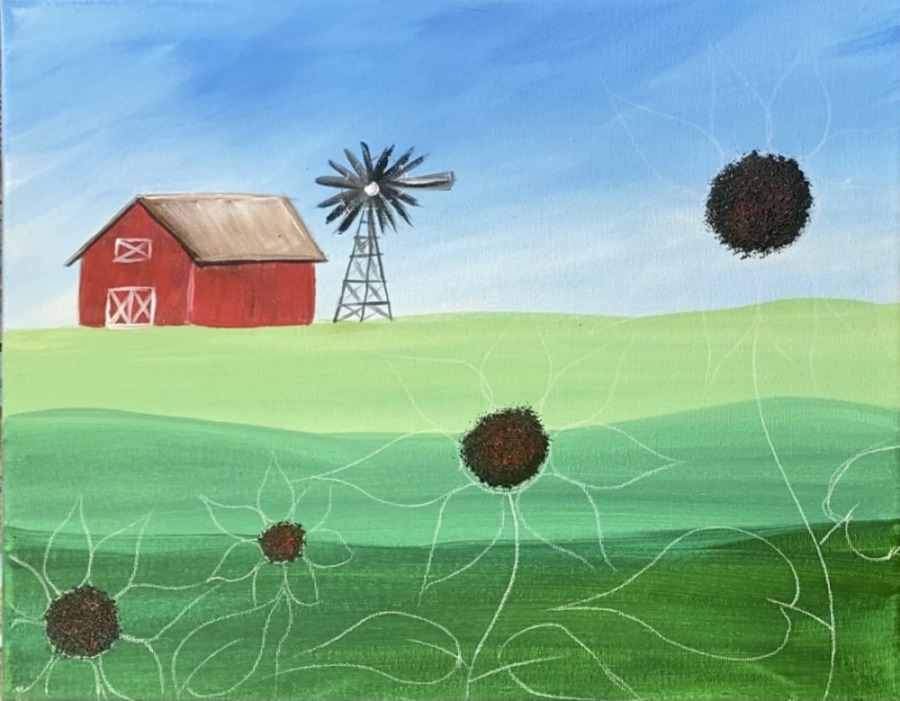
6. Paint The Sunflower Centers
Next use a round bristle brush to paint the center circles on each of the sunflowers. Use the colors burnt umber and mars black. Stamp the center circles with the brush to create the texture in the center.
7. Paint Sunflower Petals
Then use a #4 or #8 round brush to paint the petals. Double load the brush in cadmium yellow medium and a little bit of titanium white. Paint the shape of each of the petals.
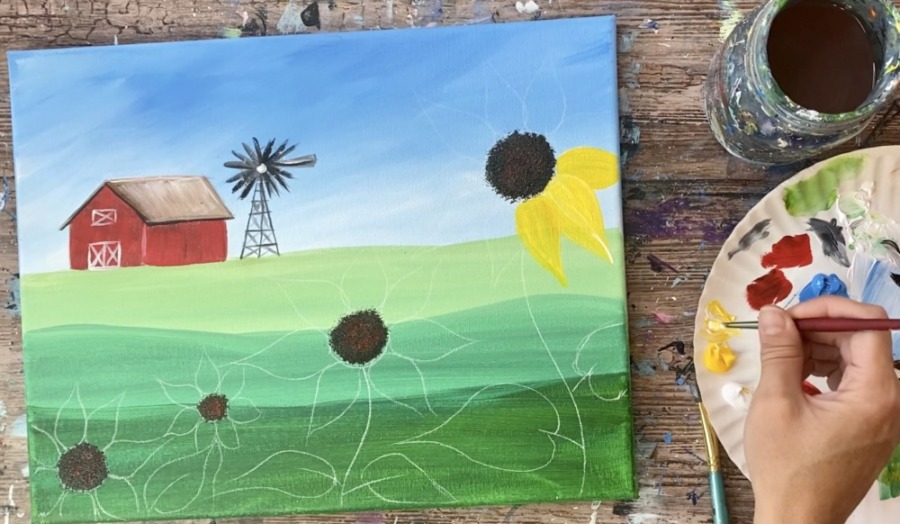
Fill the petals in solid. Try to create different variations of white and yellow. This will help the petals stand out from each other and create contrast. In other words, you can make the back petals somewhat darker by painting them yellow with no white and then painting some of the front petals yellow with more white so it appears brighter.
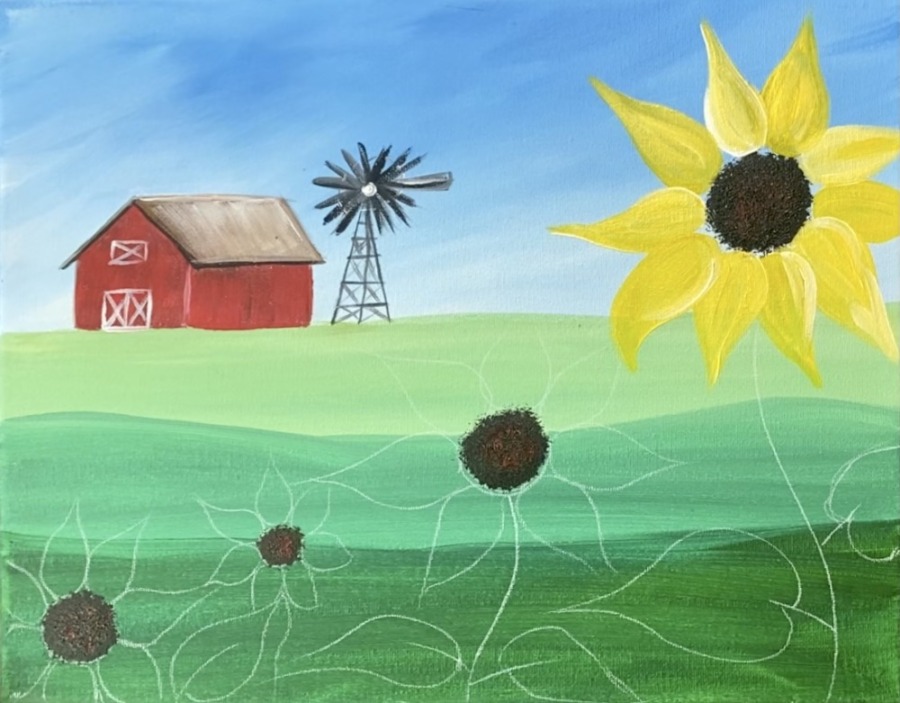
Continue to paint each of the sunflowers’ petals.
Tip: you can go back over the center circles with the round bristle brush to make some of the center overlap the bottom of the sunflower petals.
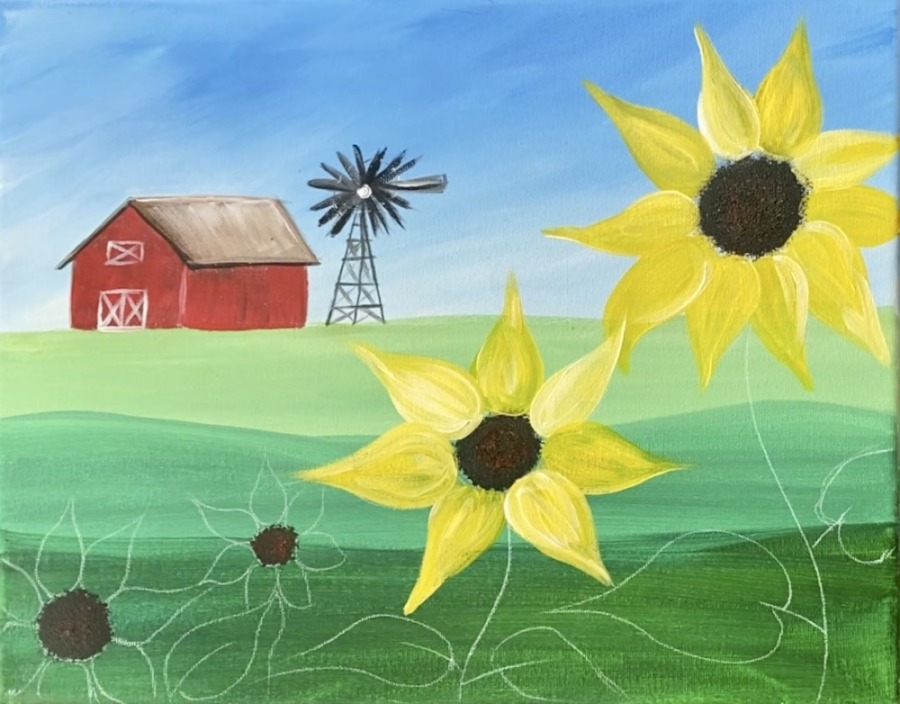
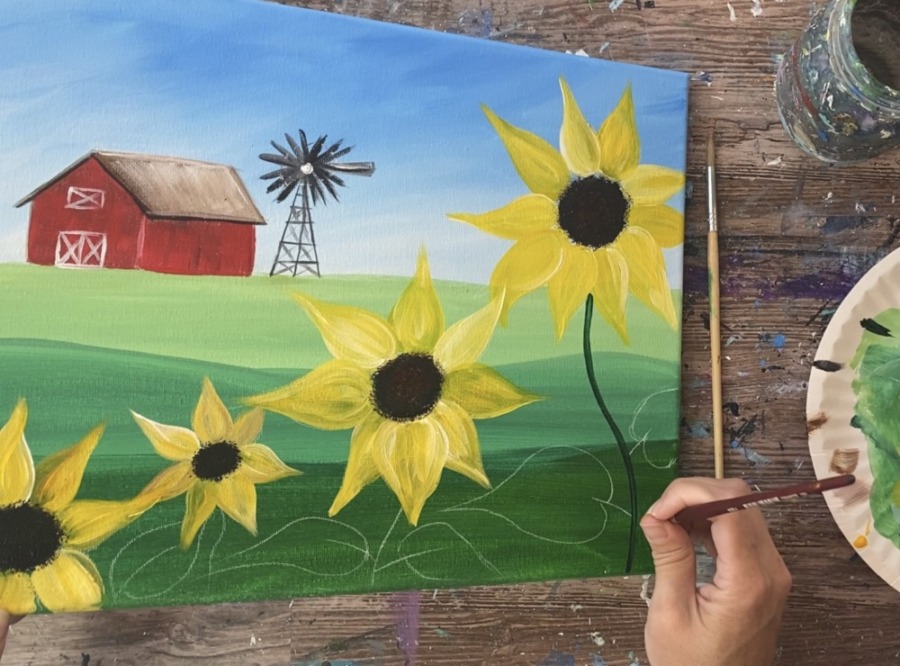
8. Paint Sunflower Stems & Leaves
Paint the stems of each of the sunflowers with deep green permanent.
Then mix some titanium white into deep green permanent to paint the petals of the sunflowers. Do this to create contrast against the dark green background on the land. The lighter color will show up better.
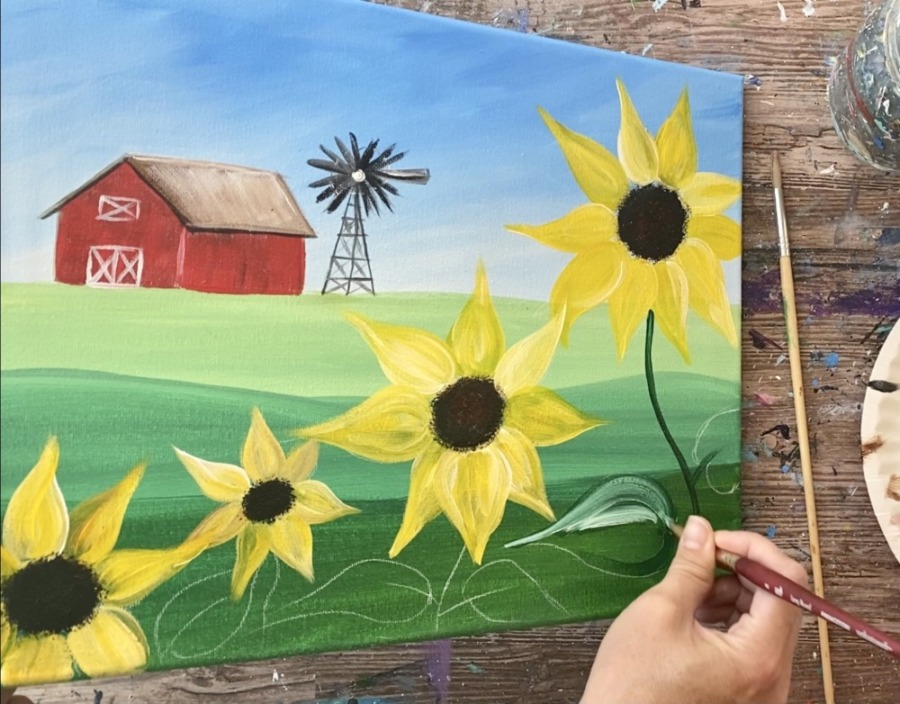
I used the white mixed with the green to create some of the lines on the leaves.
Then add some of that light green on the main stem for some highlight. Paint the rest of the sunflower leaves with that white and deep green permanent combination.
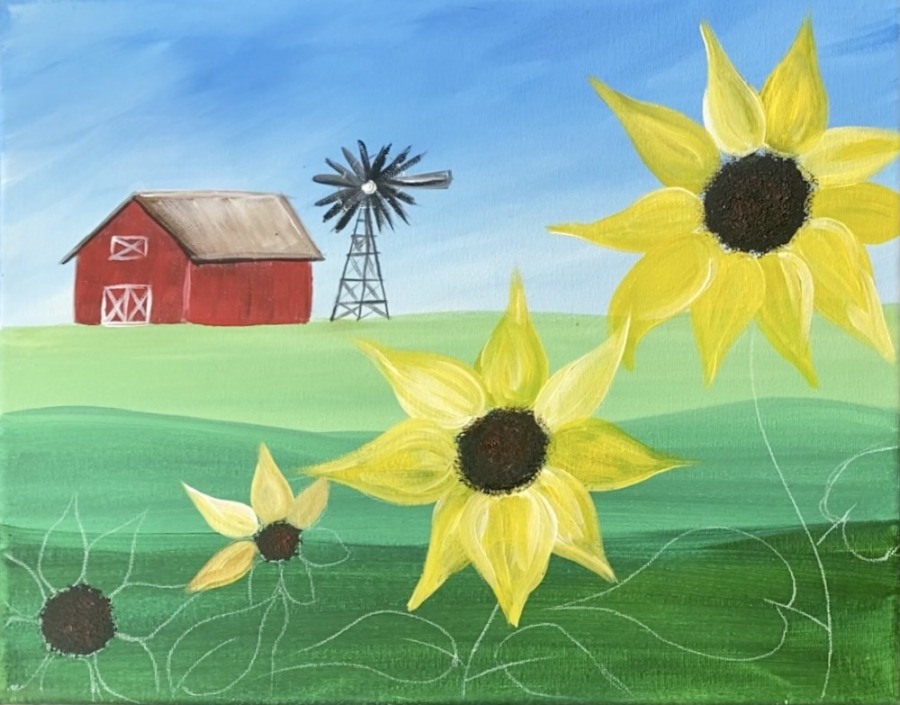
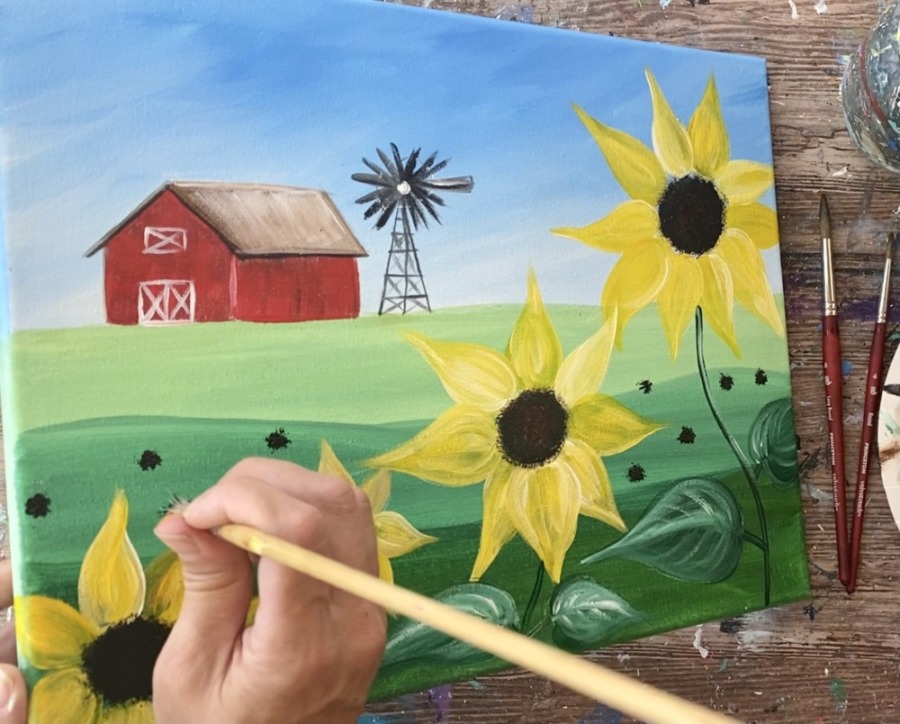
9. Paint More Sunflowers In The Distance
Then use the round bristle brush (or a round brush) to paint smaller dark brown circles in the distance.
Paint the petals on those sunflowers using a #4 round brush and the colors cadmium yellow medium hue and titanium white.

You don’t have to be super detailed with the petals. They are smaller and in the distance so you can do each of the petals with one or two paint strokes.
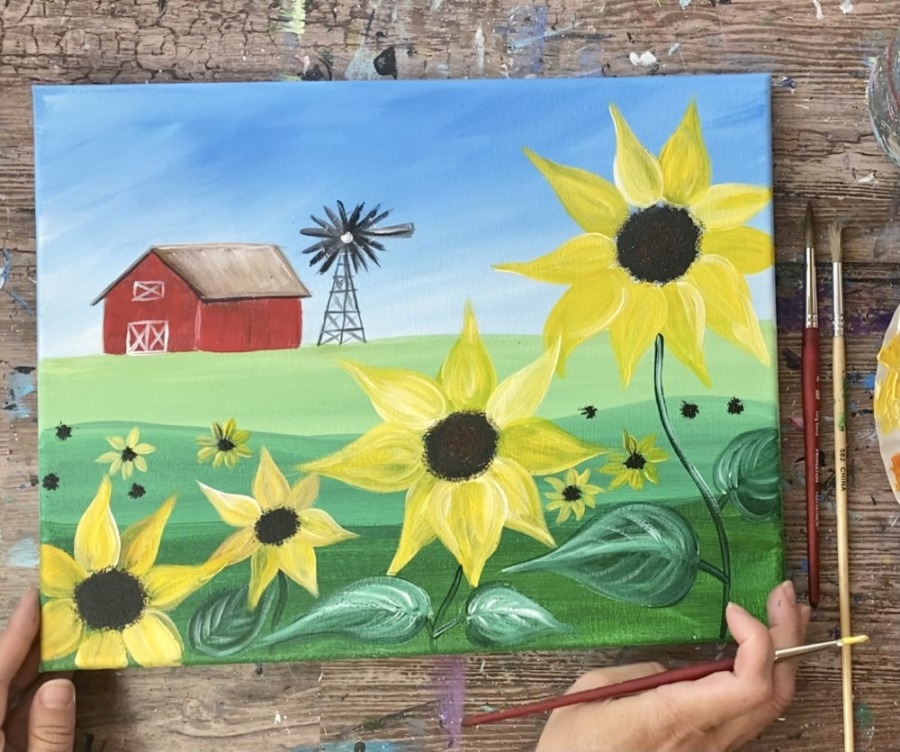

Then paint even smaller sunflowers further in the distance. You can also paint a sunflower next to the barn.
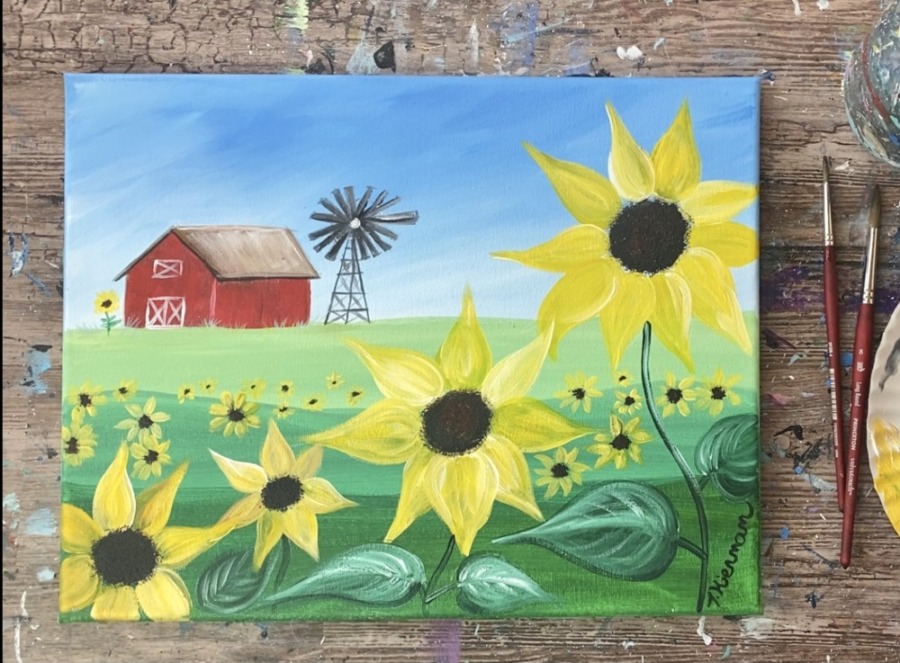
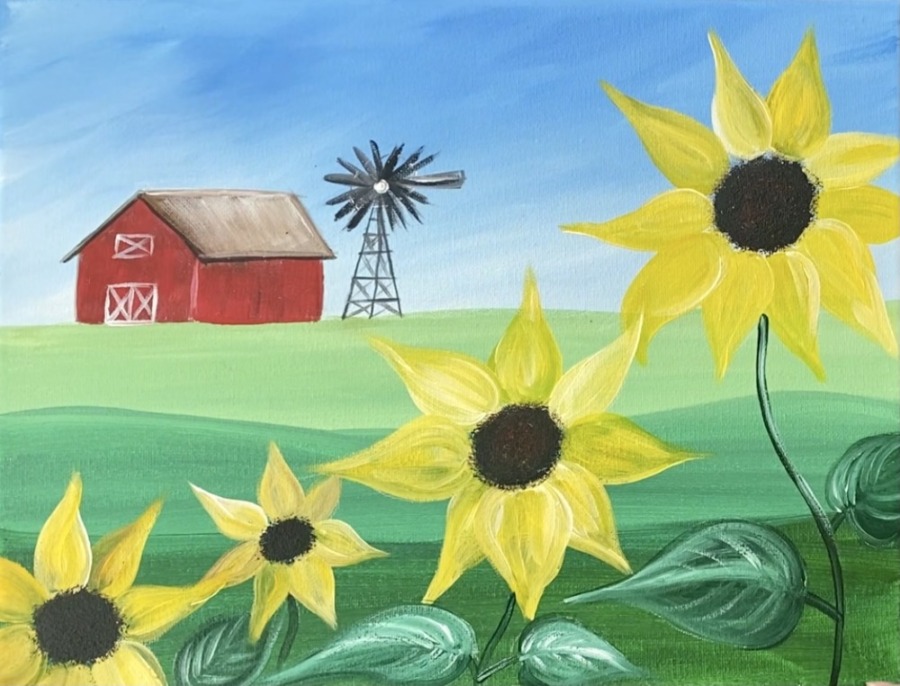
Finished!
That’s it! Sign your name and show it off! I did also fix the windmill a bit and made the blades a bit thicker and flatter on the tips. I also did a few grass blades at the base of the barn.

Share Your Art Here!


You are absolutely the best teacher, I’m new to acrylics but following you I’d say I did it, does it look like yours no but that’s alright, I’m now ready to follow another of your step by step acrylics! Thank you!
Thanks Andrea!
I think that you should do a summer painting with something that has to do with strawberries. Maybe fresh strawberries in a bowl? Strawberries on the stem? Some variation of that would be a very good summer or springtime painting.